Some more photos of the working on Hellcat...
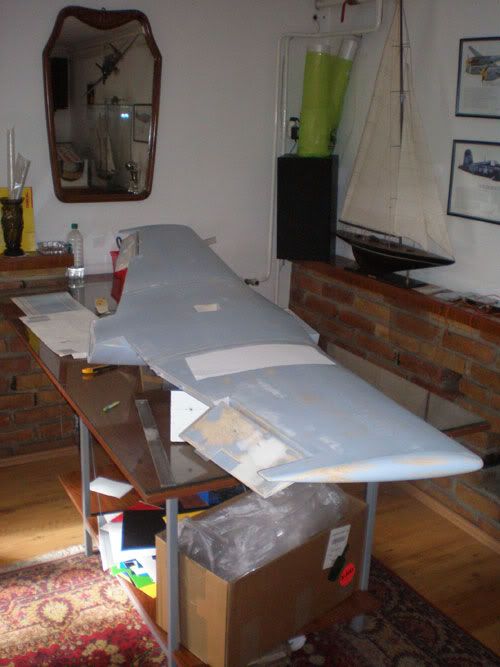
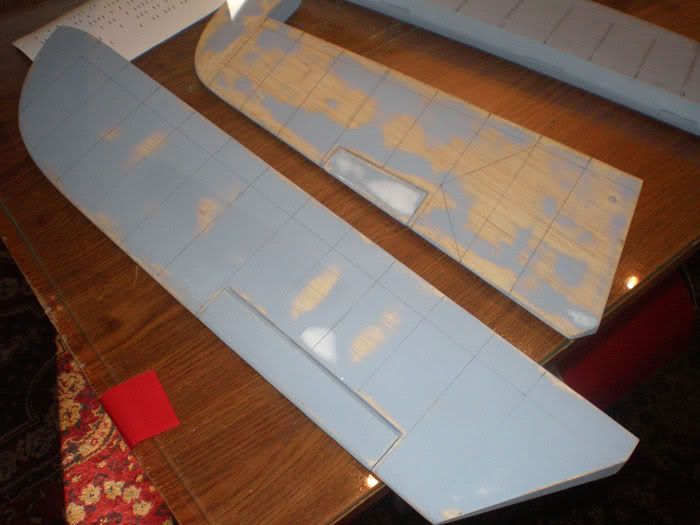
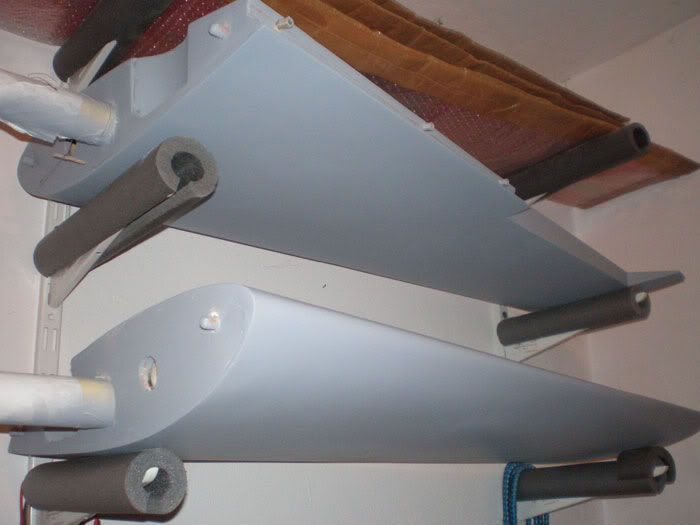
In the meantime I add glass coat and filler on fuselage and wing. After that I start with details...
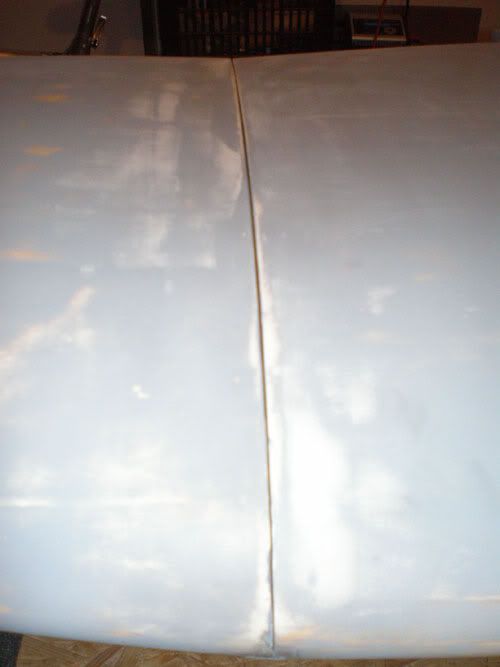
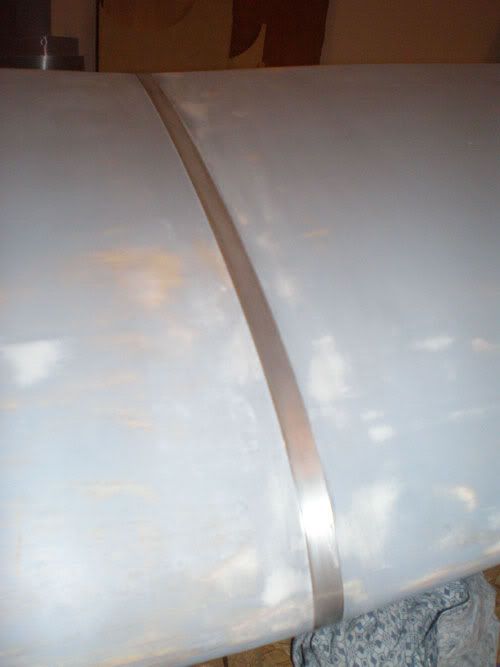
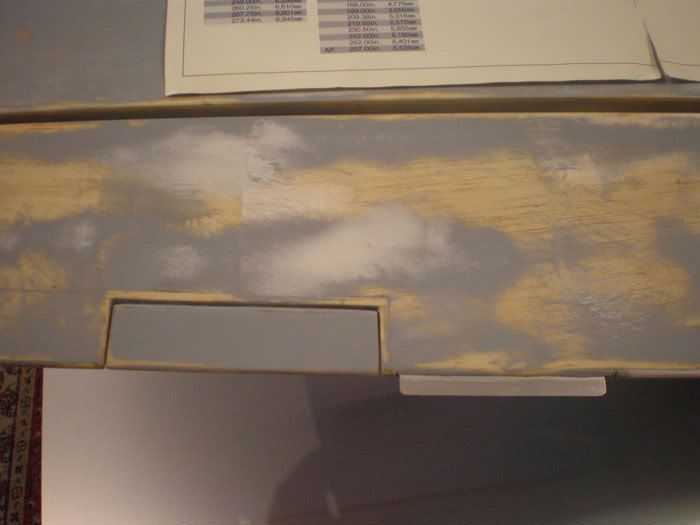
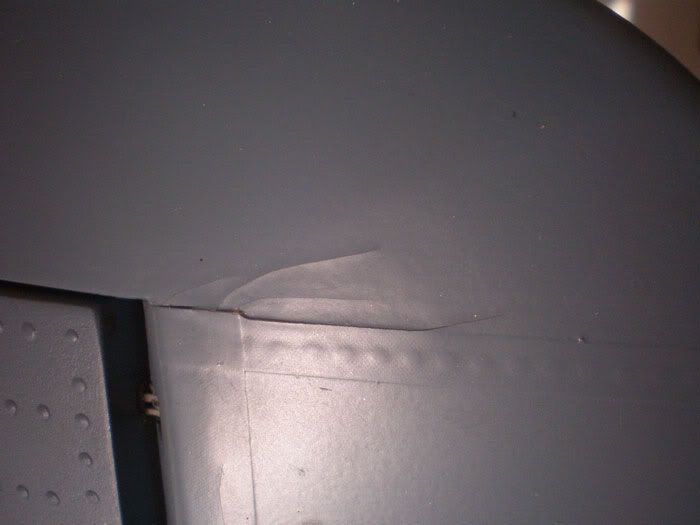
Between center panel and wing tips was a little gap, so I made stripes from thin aluminum (0,3 mm) and glued it on the wing tips...

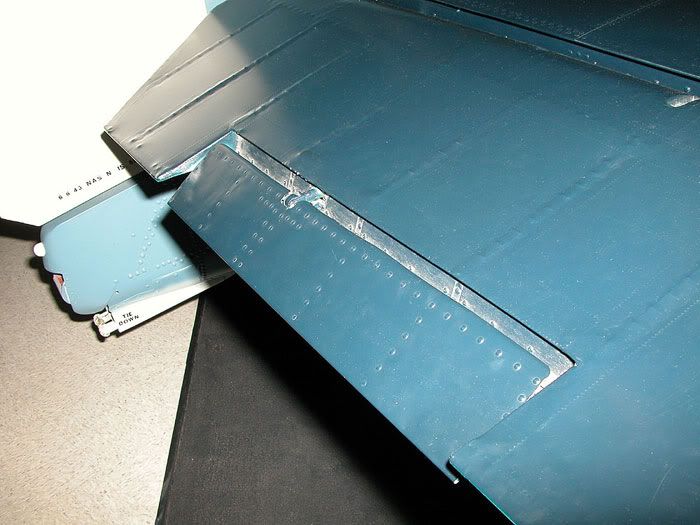
On ailerons I add trimmers...
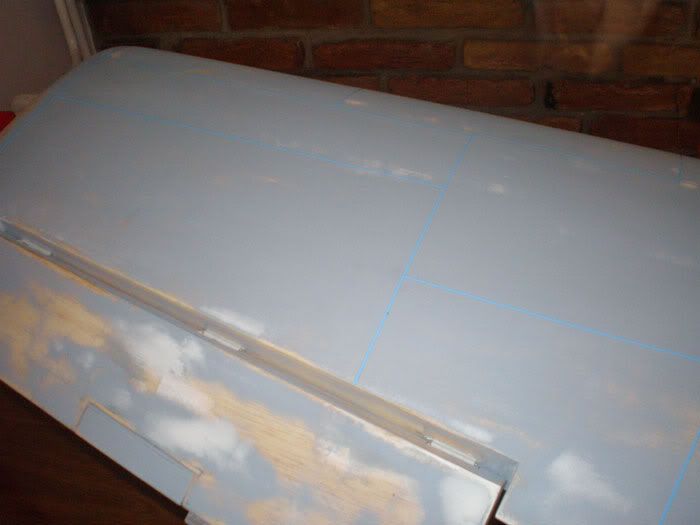
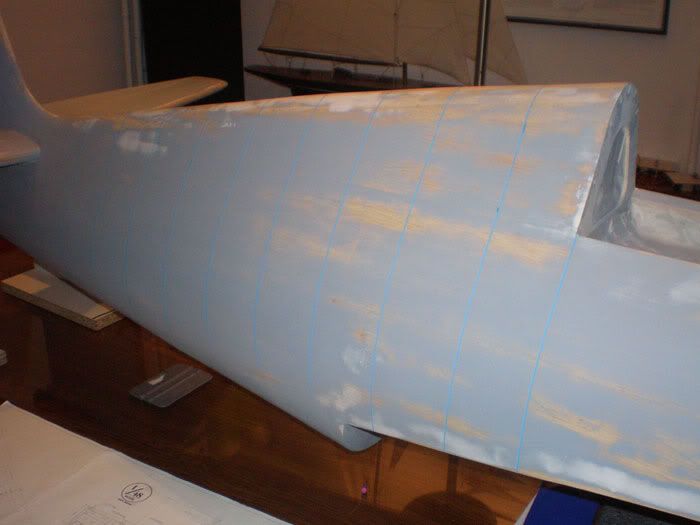
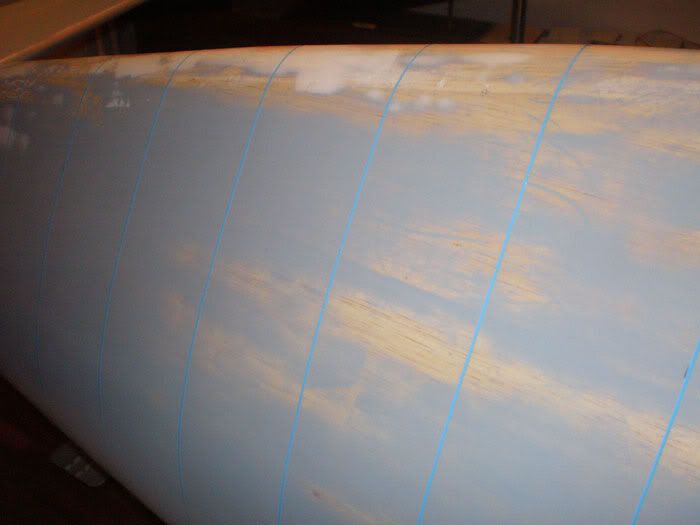
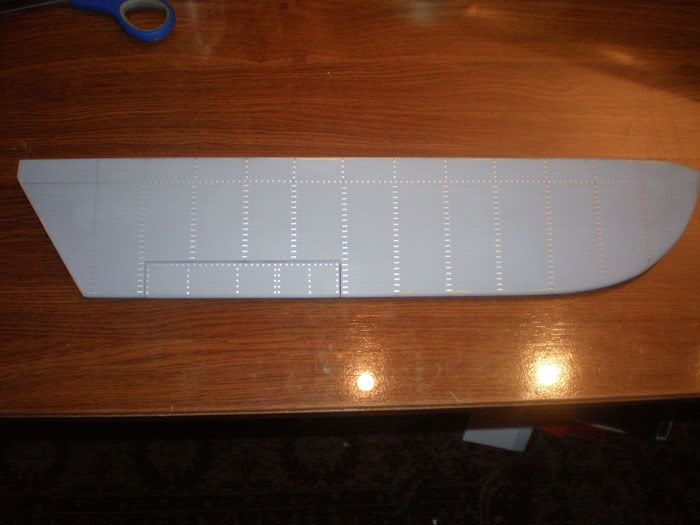
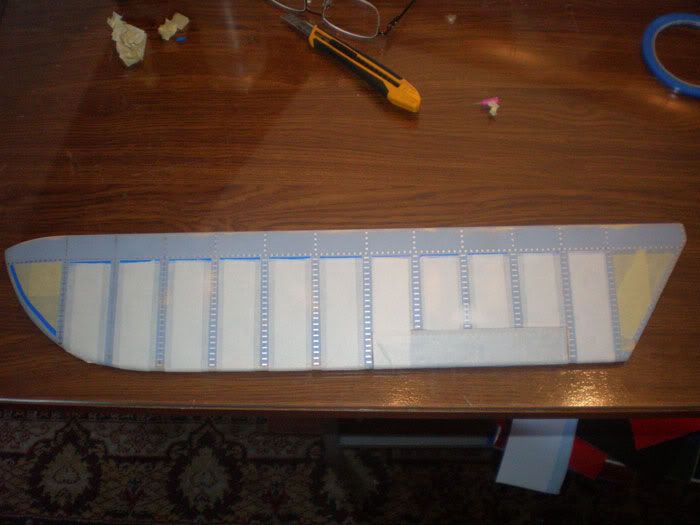
Than I start working on panel lines...
On my cutter I made 1,2 mm wide stripes...
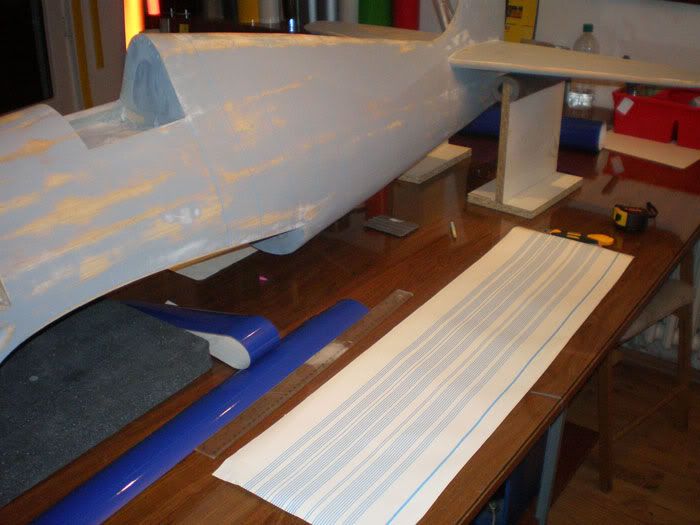
...and put it on model...

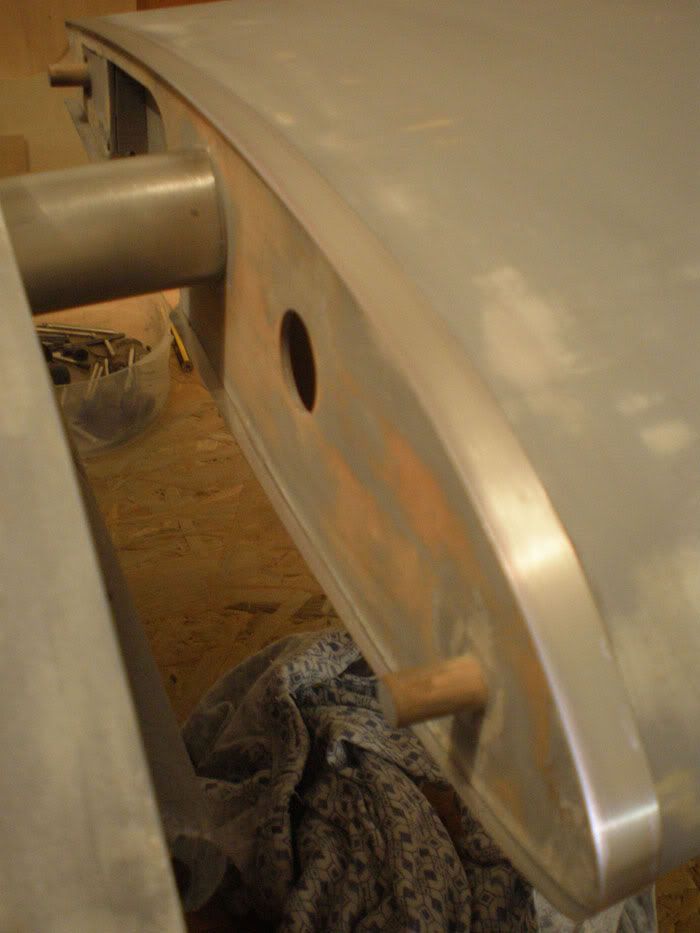
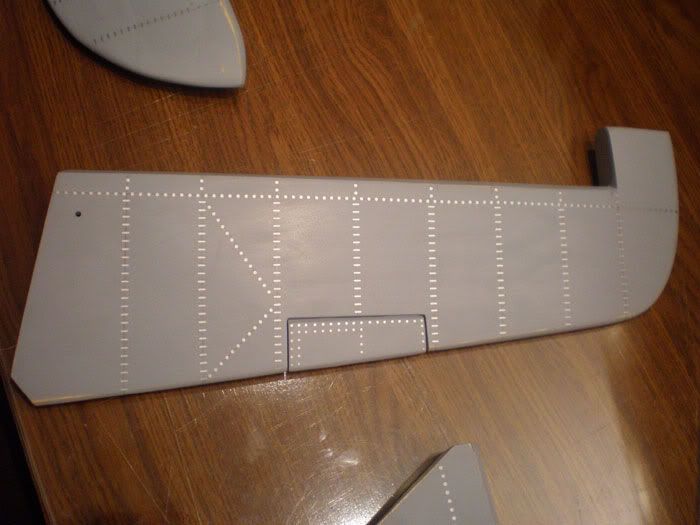
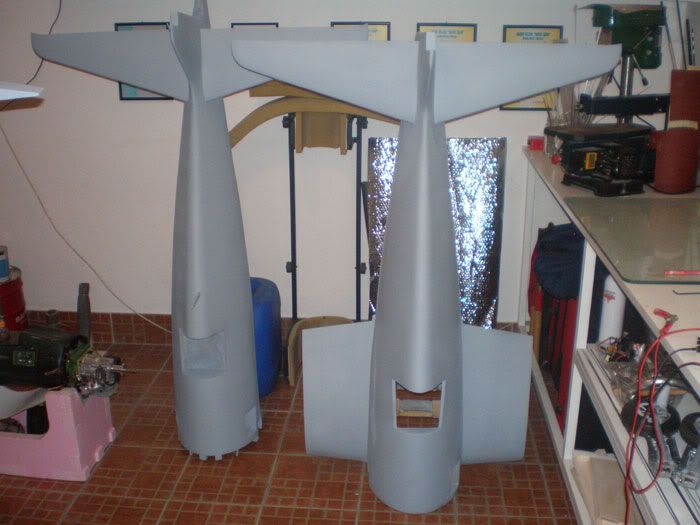
Than I start working on tail details. When I was made my first model, I cover tail surface with Oratex, add details, and paimt it. But, after some time in few places Oratex was separated.

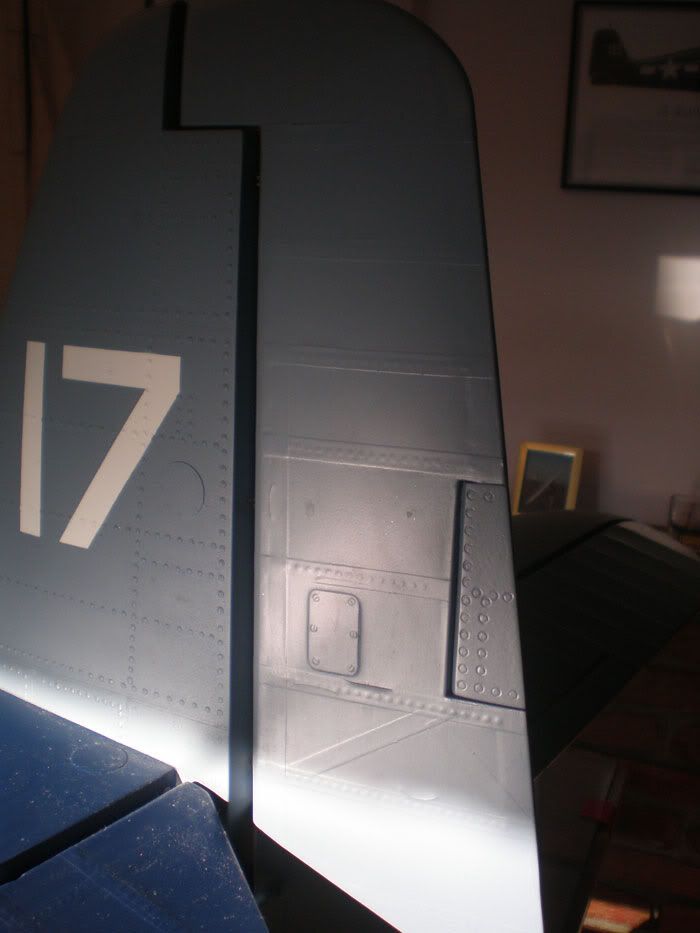
So, on this Hellcat, I put 0,8 mm balsa plate instead of Oratex, and want to made details from filler...
Control surfaces are stronger also...
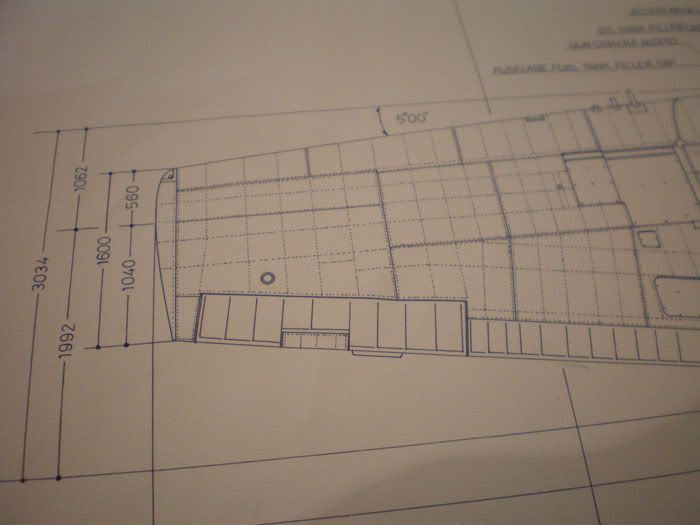
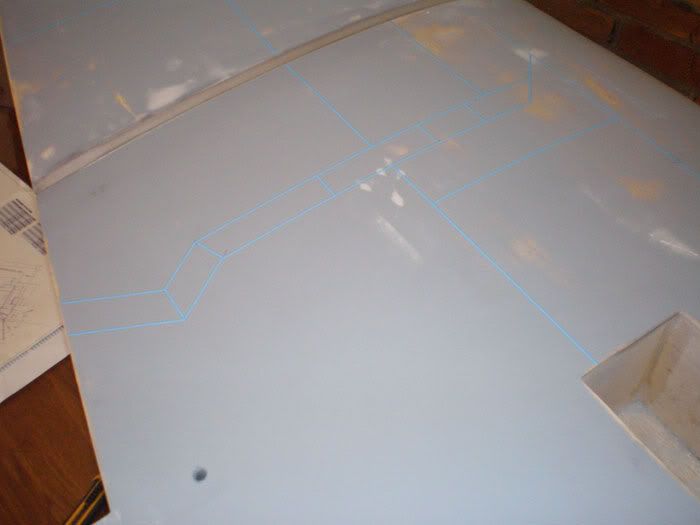
First I put lines on which I add little, 2 mm, circles and other little details...

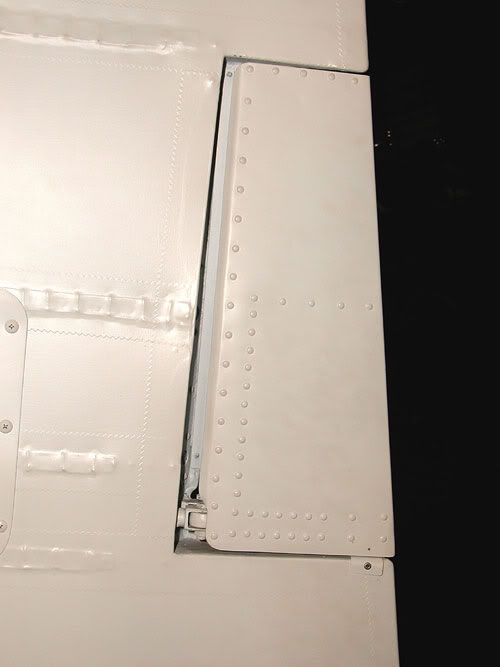
I used photos from original airplanes, and try to made details...

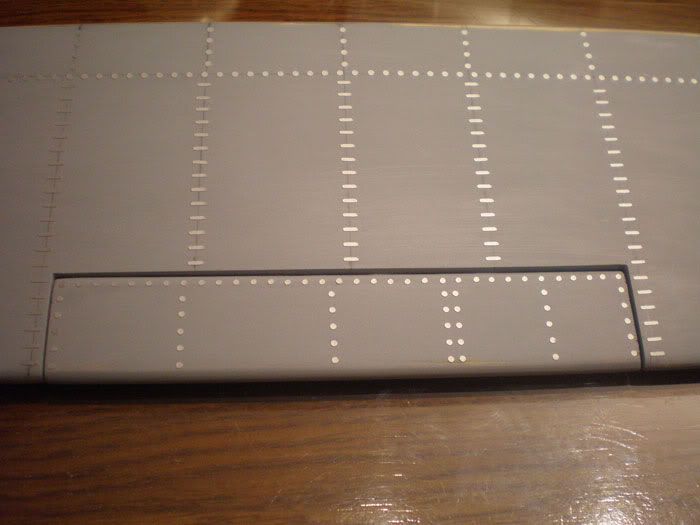

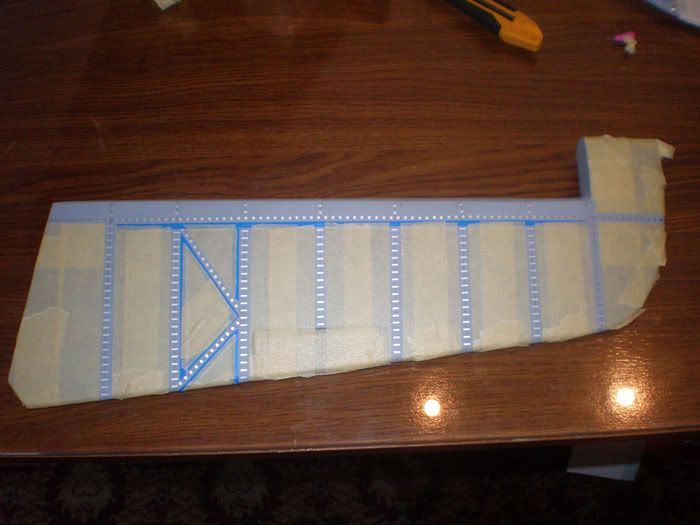
Now I masking areas which must stay lower, and than I will add filler...
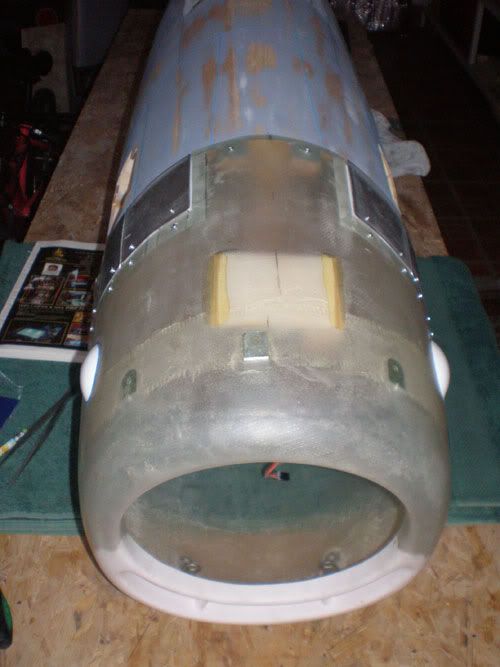
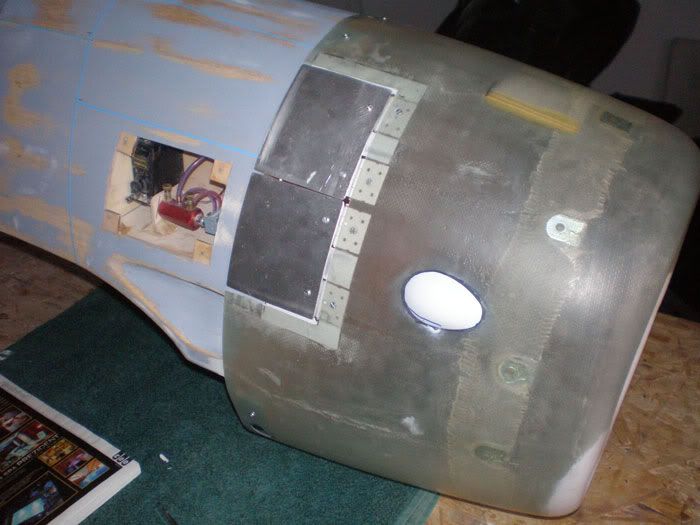
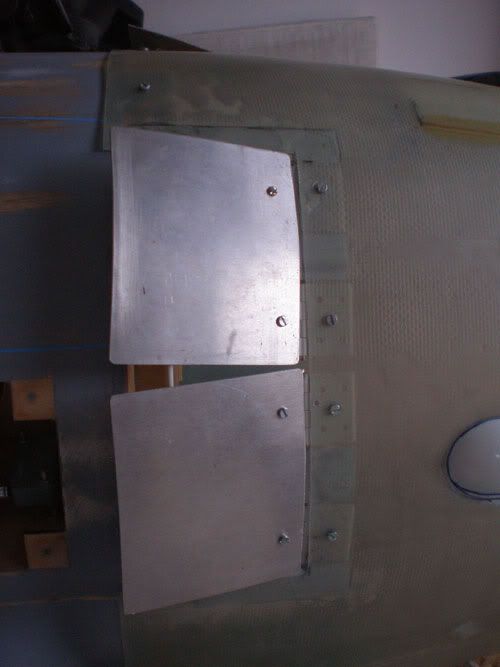
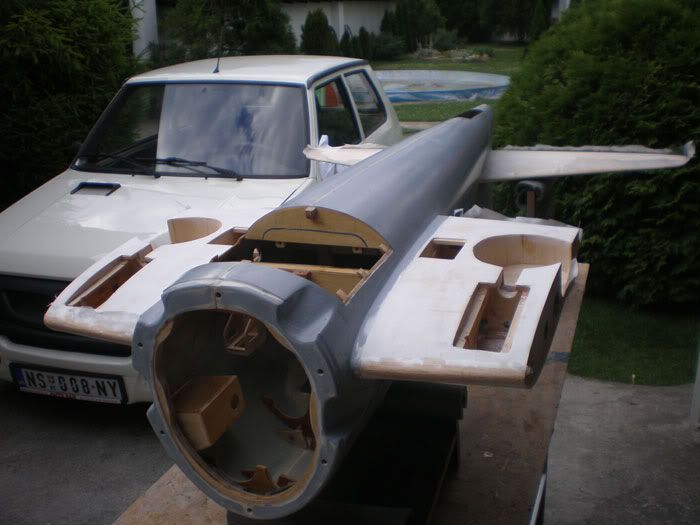
On cowl, I made shifting flaps, from 0,3 mm aluminum plate. Servo is on the top of the cowl...

My friend Dule work on his Hellcat also, and he put glas, epoxy resin and filler on wooden parts of his plastic fuselage...


His wing tips are ready for panel lines...
...and fuselage will be in next few days...
Best Regards
Mirce