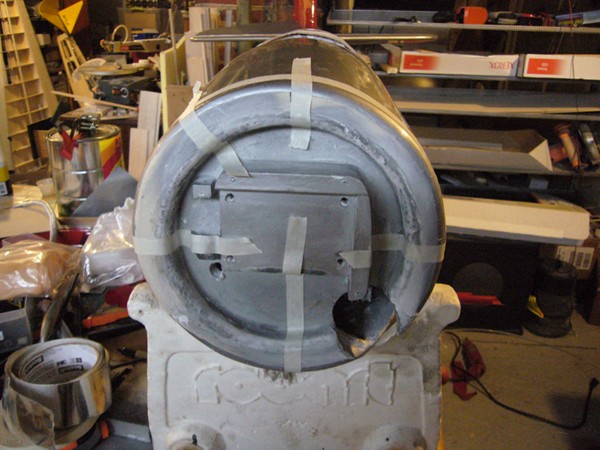
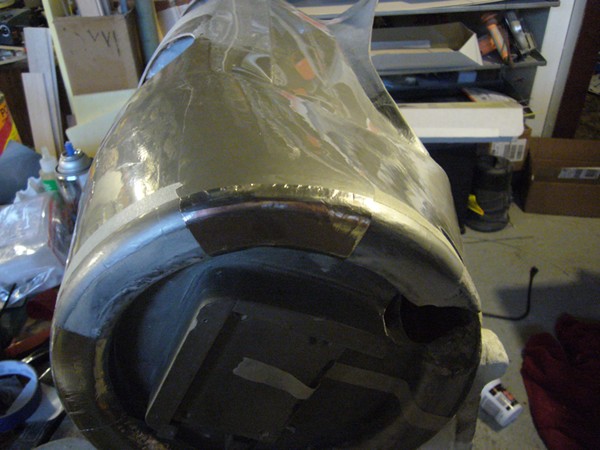
Little by little it's getting closer to the finish line. Two nights ago I cleaned up the nose for the last time then sealed it. I shot it with some chrome spray paint to give it a silver color then painted a thin coat of epoxy over the entire surface.
Last night I applied the aluminum front ring. I used hardware store aluminum furnace tape for this. First I masked off the back edge then middle panel breaks. I'm doing the nose in 8 panels, panel breaks at every 45 degrees. I use the masking tape as an edge to cut against, it also makes removing the excess easy.
Each panel is applied to the front surface first.
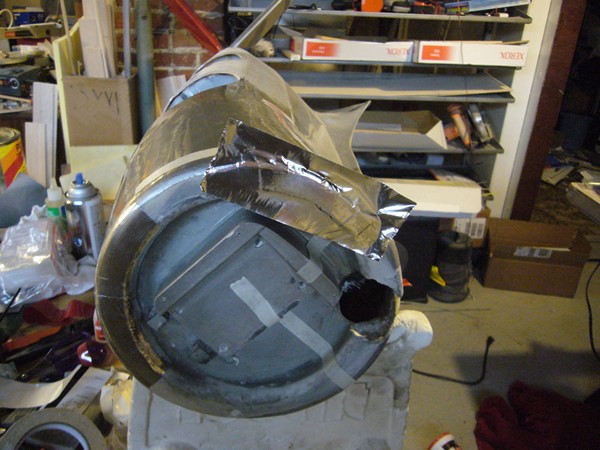
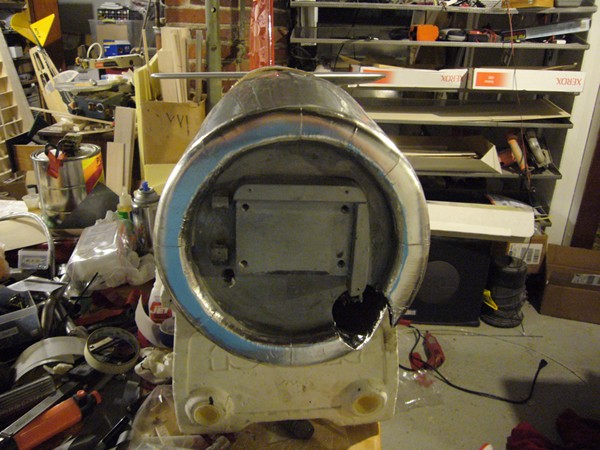
Then smoothed down around the curves.
The excess is trimmed away using the masking tape as a guide, then the edges are burnished down good.
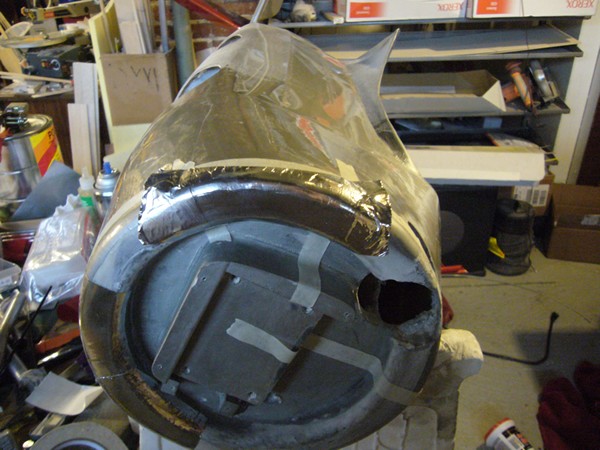
All 8 panels applied.
To make them look more weathered, I scuffed them using a Scoth-Brite pad.
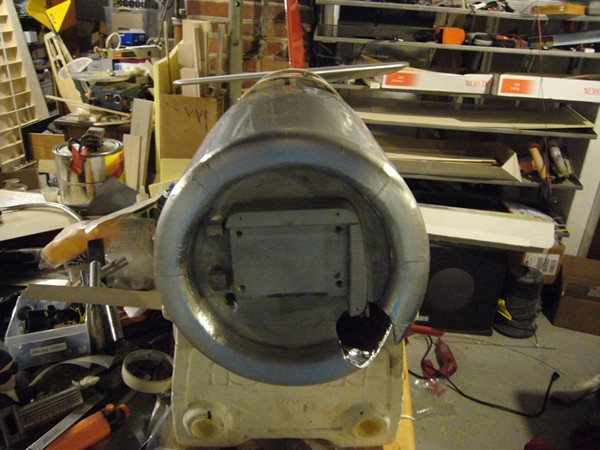
At this point I had to do one more thing I hate. My epoxy coating on the nose never completely set-up

and was still a little tacky. So I doused the area with baby powder and rubbed it in with a dry acid brush. Hopefully that will take care of it for me.
I masked off the top of the fuse for the anti-glare paint, and scuffed the monokote until it was dull with a sanding sponge.
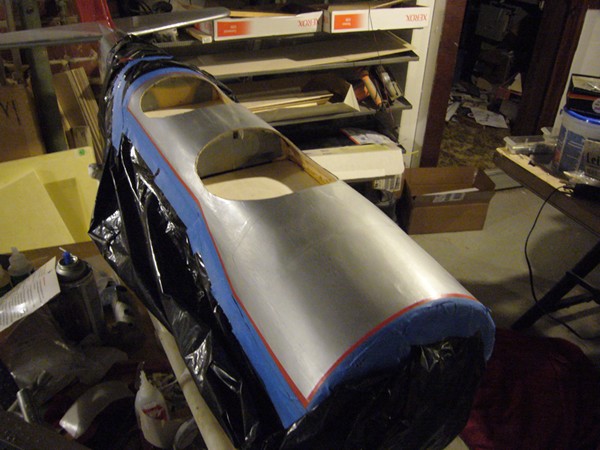
The anti-glare was painted with flat black spray paint.

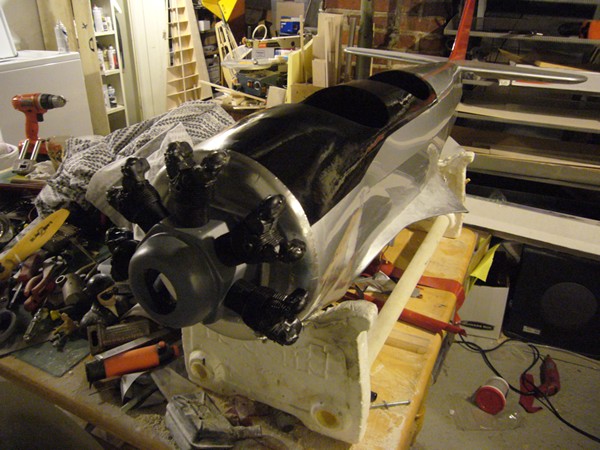
I had to see what it all looked like with the dummy radial in place. The black anti-glare paint wasnot dry so it looks a bit shiny in this pic. Also note that the crankcase for the radial has been primed and sanded but, still needs the proper color applied.