Hey guys,
I took these pictures a few weeks ago while doing this with the intent of doing a how to on this subject but forgot all about it, so here it is. Simply put, it's how I do a hot section on exhaust nozzles, I love the way it looks and it's easy to do.
What you'll need:
Aluminum Ducting tape (I prefer this over flite metal for this application as it is stickier, a little thicker, and allows some harsher sanding)
Xacto Knife
Masking tape
Airbrush (I used an Iwata HP-CR for this exerciese)
Mr Clean Magic Eraser
Paint colors - Black, Pthalo Blue Candy, Root Beer Candy
320 grit sand paper
Patience
Since RCU is acting lame and I can't upload pictures, I had to use photo bucket, that's alright though, it'll work fine

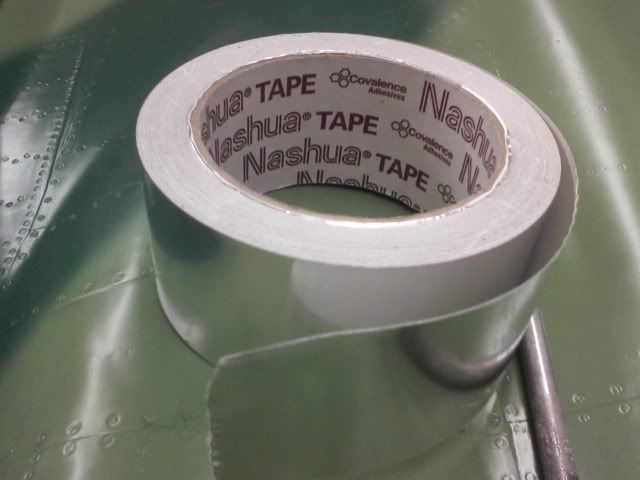
Step 1.
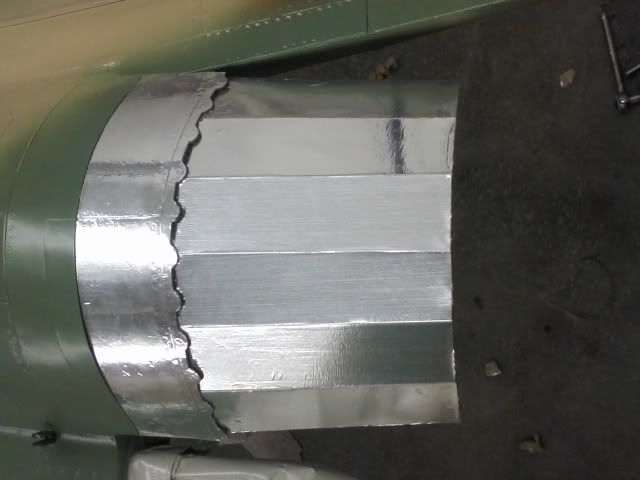
Here is the aluminum ducting tape I use, it's 2" wide which is plenty wide for doing nozzles and hot sections. Notice there is already a "grain" to the tape, I try to apply it so the grain is already going the direction I want.
Step 2.
Begin by taping off with masking tape the area's you don't want the aluminum tape to stick to. Once this stuff sticks, there is no getting it off. Use the masking tape so that you can remove the excess!!!!

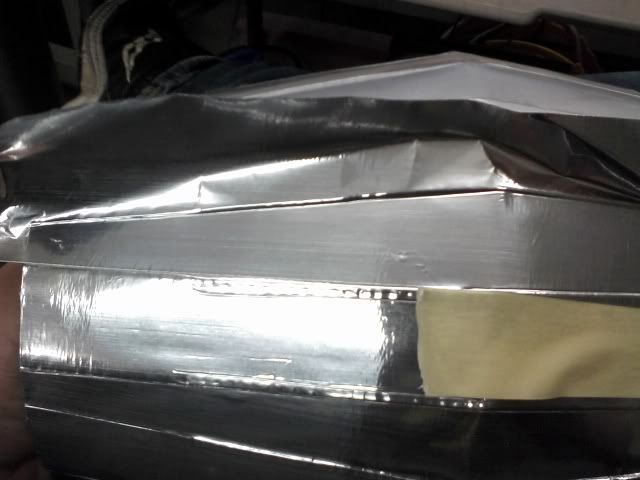
Step 3.
Start placing the tape where it needs to be, cut the excess off with a sharp exacto blade and just use your thumb to press it all down. Don't get to hell bent on burnishing it down like flite metal, you'll just put marks in it, it's thicker and softer than flite metal.
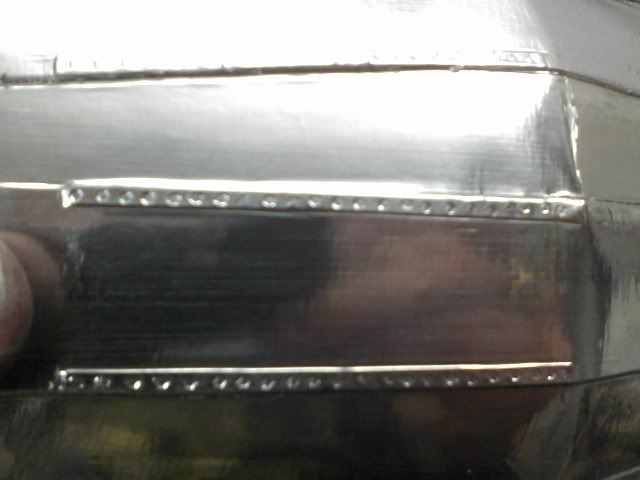
Step 4.
Using a hex head driver I pressed in fastener shapes where they needed to be on the nozzles

Step 5.
Hex heads in the nozzle
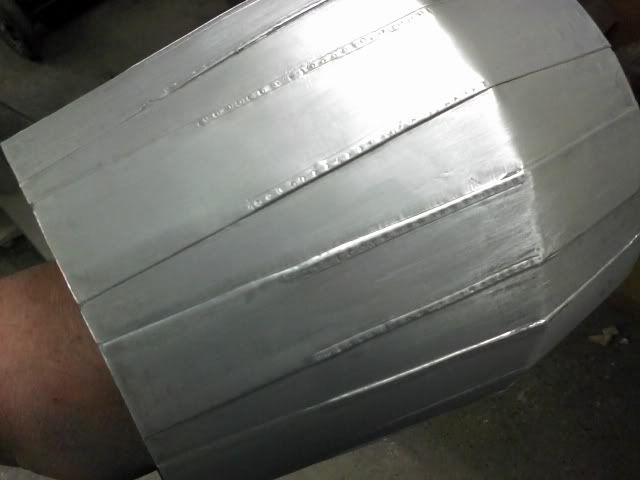
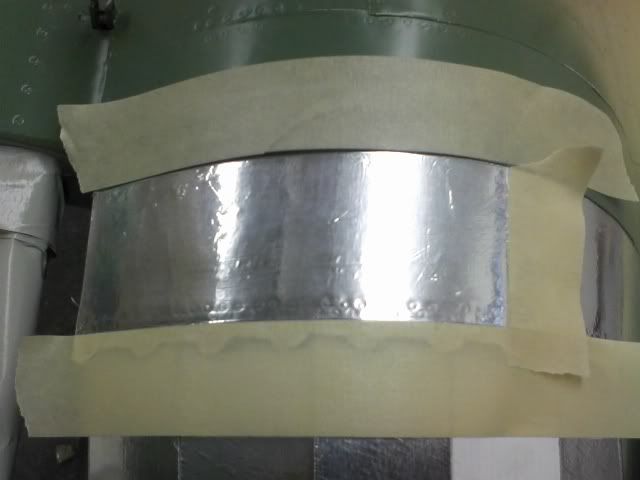
Step 6.
Here is the metal section on the fuselage. Don't worry about there being bumps, wrinkles, etc, that will all go away in the next steps.
Step 7.
Next mask off one panel at a time in preparation for sanding
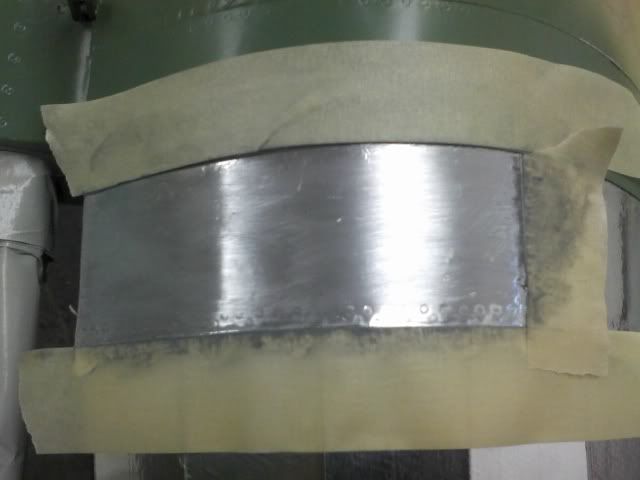
Step 8.
Sand in the direction of the metal grain. This particular jet is a Mig 29 and after looking at multiple images of the nozzles I wanted to keep it pretty rough looking. I started with 320 grit to knock down the bumps and scrapes, then went to 400 grit just to smooth it off a bit. Continue with progressively finer grits of paper if you want to have a smoother look.
Step 9.
If all of your sanding will be in the same direction, you don't need to mask off the adjacent panels, just be careful not to sand through any corners.