Guys,
I have been around the RCU for some time now and I decided to place this discussion thread over here because it was as close to the interest and title of the section.
The only exception is the improvements I have made to the Model (Originally came as Bind-N-Fly) from Horizon Hobby. What pushed me into having a completely different Power System and Electronics was the fact that the STOCK motor / ESC caused me to worry due to very poor Commutation from the ESC and I thereby lost ALL Faith and Assurance to the STOCK components. Additionally, I TURNED-OFF ALL of the AS3X (Artificial Stabilization in 3 Axis), however to my dismay these features as I learned the HARD WAY will always be there and I am OLD SCHOOL and do NOT need any Assistance with onboard Software telling my model to do stuff that I don't want. I do NOT need SAFE nor AS3X, period.
I have had this model with the Model Motors AXI 2826-10 (910Kv) brush-less motor with very high quality magnets that you can notice the strong appeal by just swinging the Propeller at the motor and you can see the magnet take over in a short order (NON-Energized). Coupled with this AXI motor, the Castle Creations 45-AMP ESC was installed and the E-Flite 40-AMP was taken out. The Castle Creations is a much better ESC all around and provides just smooth and very efficient commutation of "ANY" motor.
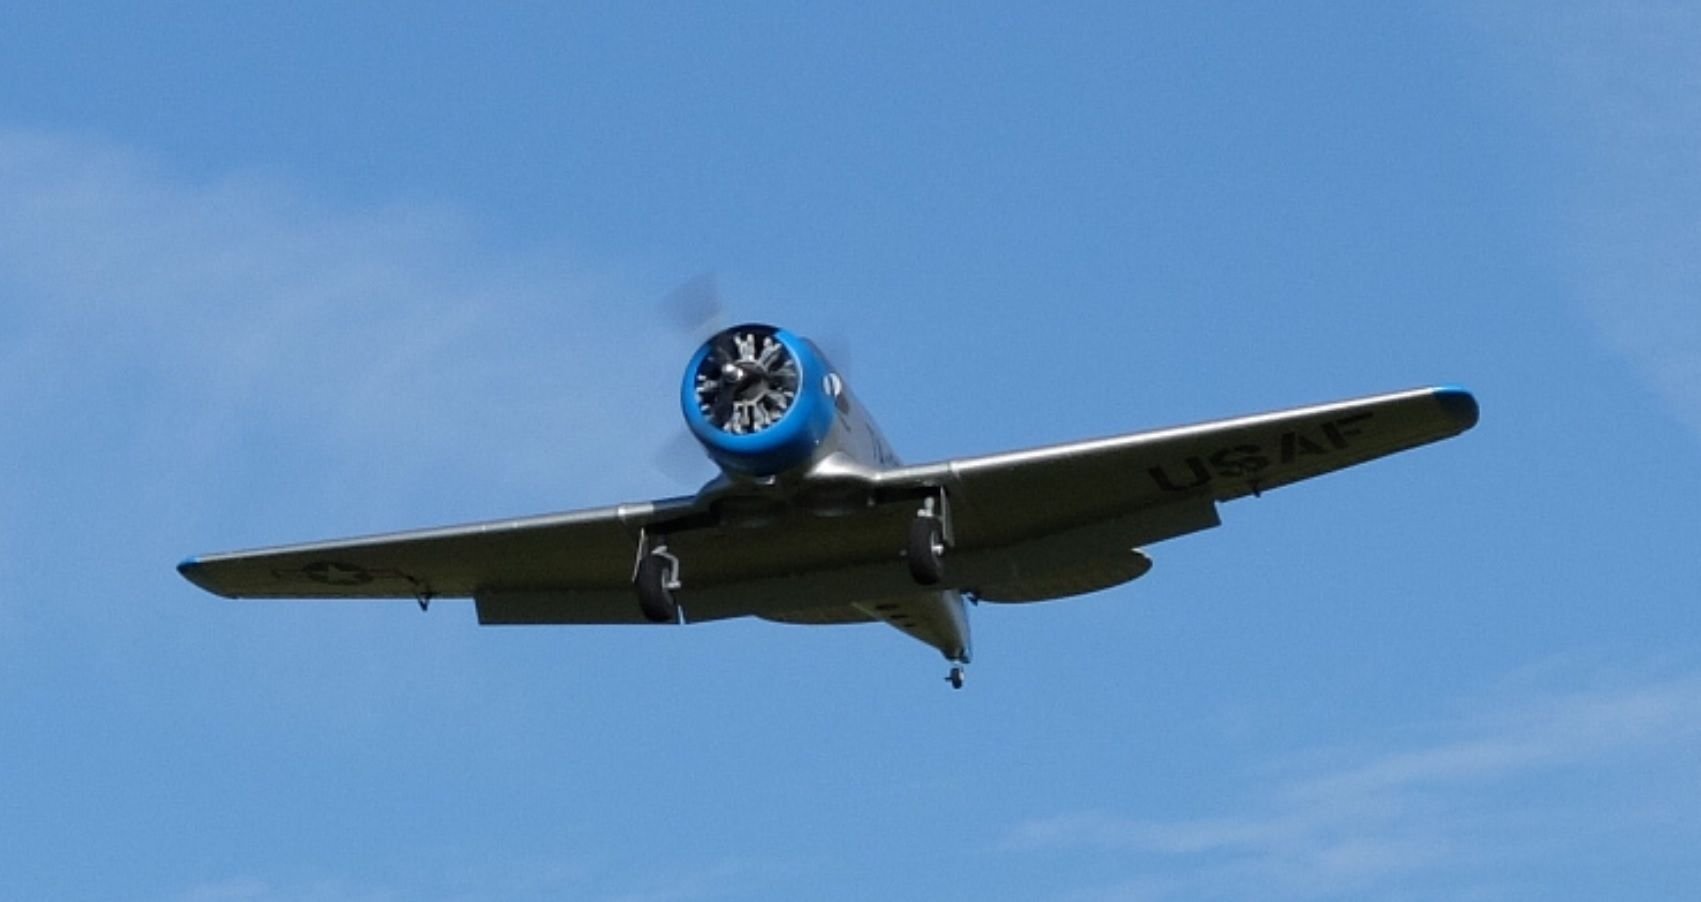
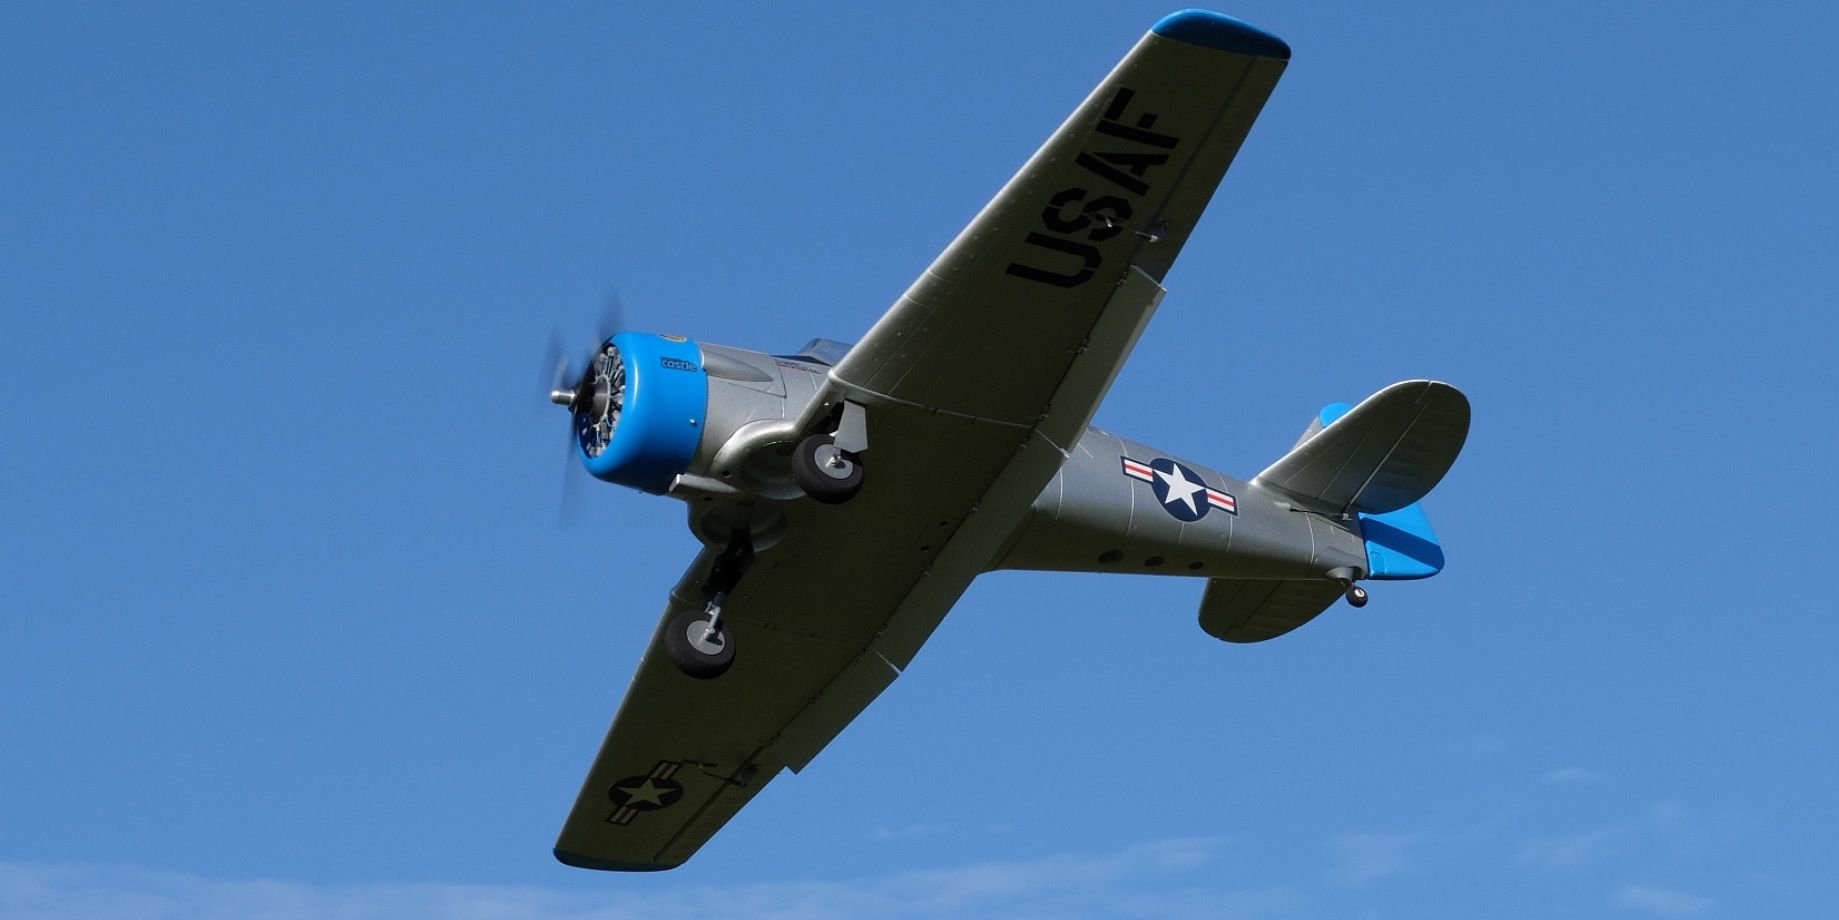
Fast forward today, about three weeks ago a nice gentleman named PETER from GERMANY posted over at the RCGroups saying that he was into 3D Printed Radial Engine Bust for scale warbirds and that he was looking for someone to build and provide comments on his instructions and any possible improvements on the actual build of a certain 3D Printed 9-Cylinder Radial Engine bust for the E-Flite AT-6 Texan (1.5 Meter size). He started with this model because he already owned and has flown it over at GERMANY. I was delighted to learn that he selected me to review this 3D Printed Radial Engine and I paid the shipping and he supplied the parts.
For about one solid week, I had to determine how to lighten UP the Frontal FUSE area (Business End) of the E-Fite AT-6 Texan 1.5m model because the fully assembled 3D Printed 9-Cylinder Radial Engine tips the digital scale at over 3+ ounces. Of course I had to eliminate the Model Motors AXI 2826-10 because just the motor weighed in at 7+ ounces and the STOCK ParkZone 15 was almost 6+ ounces so, I was at a dilemma of sorts. Also, the internal housing (main 3D Printed Radial) had limited space so, the selected motor had to be nothing over 30mm in diameter and length had to be nothing over 30mm.
I looked and looked and noticed that I had a few Park Zone 480 motors available and they have been very good in both my Park Zone T-28 Trojan (1.1meter version) and my Park Zone P-47 Snorting Bull (1.1meter version). I made some initial measurements and fit-checking and it seemed to fit the Bill for a possible solution so, I went for it. I had NO Issues and NO worries that this motor (Park Zone 480) with 30mm X 30mm was not up to the task of flying the larger and heavier E-Flite AT-6 Texan (1.5m). The big issue was Center-Of-Gravity issues and was able to absorb most of the worries by installing the Solid Muffler piece that came with the 3D Printed Radial Engine Kit which initially instructed me not to use it.
Assembly of the 3D Printed 9-Cylinder Radial Engine was almost like building a Plastic Static model but, with the difference of having the parts snap out of the honey-comb surrounding molds and carefully used a hook pick tool so as not to apply too much pressure while taking out and separating the very small parts. This same Hook Pick tool was used to clean OFF any excess material of the left over Honey-comb material and provide a good alternative from using drills and other power tools. Fit checking was super important in this Project (just like a normal Plastic Kit) such that before you use any glue you are certain that ALL parts of the Radial Engine kit was ready for permanent assembly using glue. The best glue that I decided "is" a relatively new product (at time of this write-up) was the GORILLA CLEAR GLUE and found it at the CRAFT Section at Wal-Mart. It was an incredible selection of glue as this
GORILLA Clear did not leave any residue of any kind and allowing the parts to fully cure made a super strong bond, much better than plastic glue!
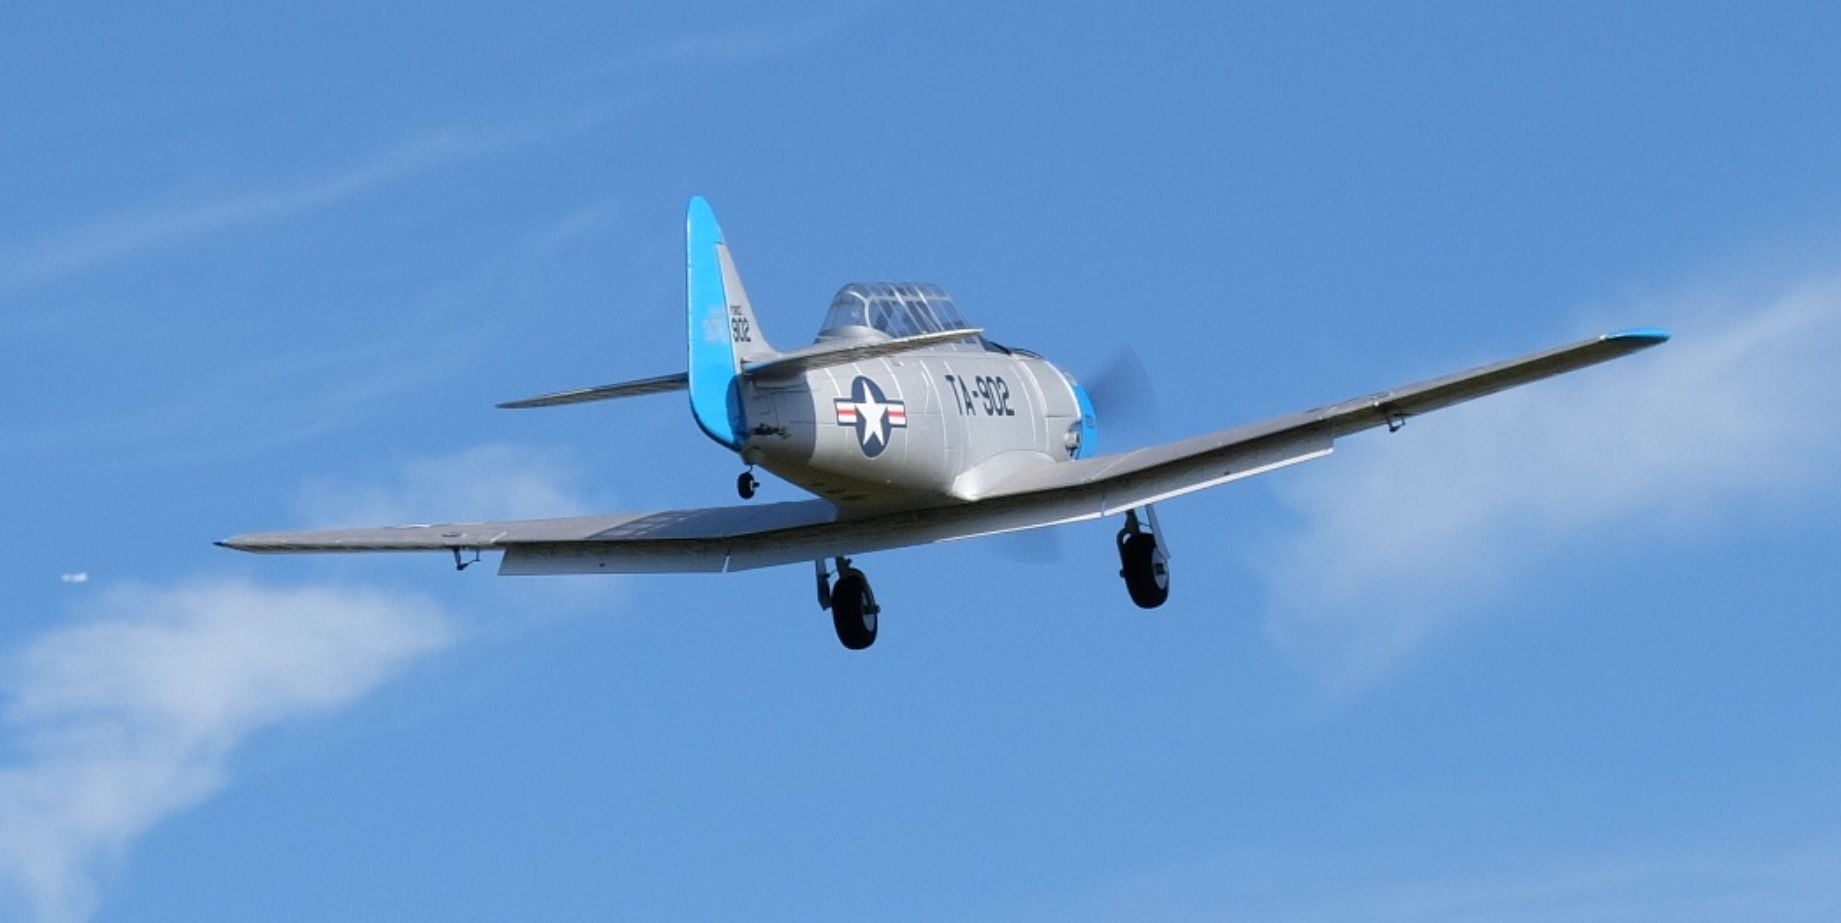
I found my long lost MOTOR-CALC sofware (version 8) and verified many of the Park Zone 480 Parameters based on the actual Static Testing and they all came super close and the Opinion was right-on the actual flight characteristic of the model when it finally flew. A few buddies help with the Still In-Flight Pictures and a Video of the Flight of the model. The first flight the model exhibited a slight Tail Heaviness and compensated with trim, however, the landing was full of bounce due to the condition. The 2nd Flight was performed by adjusting the Battery pack Forward and this improved greatly the Flight and most especially the landing of the model and trim was to the Elevator was no longer required.
I am going to spare you ALL with the Grossly Details of ALL I did and this post is meant to provide you with a briefing of sorts on the 3D Printed 9-Cylinder Radial Engine and what I did to compensate for weight savings to allow for additional weight distribution as a result of the 3D Printed Radial. It is my thoughts that someone could implement this 3D Printed Radial Kit using the STOCK Motor that comes with the E-Flite AT-6 Texan (1.5m) with adjustments of using stand-offs for the 3D Printed Engine Radial as it would need a little more shift Forward because the Park Zone 15 is longer than the Park Zone 480. Center-of-Gravity is attained by sliding the Battery Pack AFT and there should not be an issue because the Park Zone 15 has the same exact diameter as the 480.
Providing High Resolution Pictures provided by Gerry Rivera.