Slow build. Yes, I know. The last six months have been interesting: "Opportunity" to look for new work, surgery and father passed away. He served in Japan at the end of WWII and earned his jump wings there with the 11th Airborne. He became a private pilot after the war and got me started in RC when I was old enough.
Making some progress fitting the Top-Flite cowling. To finish this portion of the job, I first needed to mount the dummy engine in order to see what site lines exist for the internal cowl mounting bolts.
1. Fill dummy engine backside with Cosplay Creative Clay Compound (C-4) and some balsa. I did this to provide some mounting surfaces and eliminate any vibration of the rather thin vacuum formed plastic. Also, provides some useful nose weight for balance.
2. Make and attach a plywood mounting ring to the back of the dummy engine.
3. Make mounting brackets out of aluminum L-bracket material.
4. Trim cowling chin area to provide clearance
Almost done with these steps - two more L-brackets to make. Will take engine off the plane to make and position these. Already, I can see where I can and cannot access the firewall with a long T-handled screw driver or hex bit. The 'out of the box' mounting bolt tabs on the Top-Flite cowling former won't work at at all, as the carburetor, exhaust and my mounting location for the air cylinder all block access. Next steps will be to finish the L-brackets for the dummy engine mount, install blind-nuts in the firewall for the cowling 1/4-20 nylon mounting bolts, and install mounting tabs to the already installed cowling former. The mounting bolts will pass through these tabs and into the blind nuts.
And then... strip back the already installed fuse sheeting in order to reshape the firewall to fit the cowling!
 A paper cup in the center; balsa added for epoxy purposes; Cosplay Creative Clay Compound going in (this stuff is very light - it also shrinks a lot so overfill and let it set several days (a week) before sanding to shape; this is actually a foam, not traditional clay).
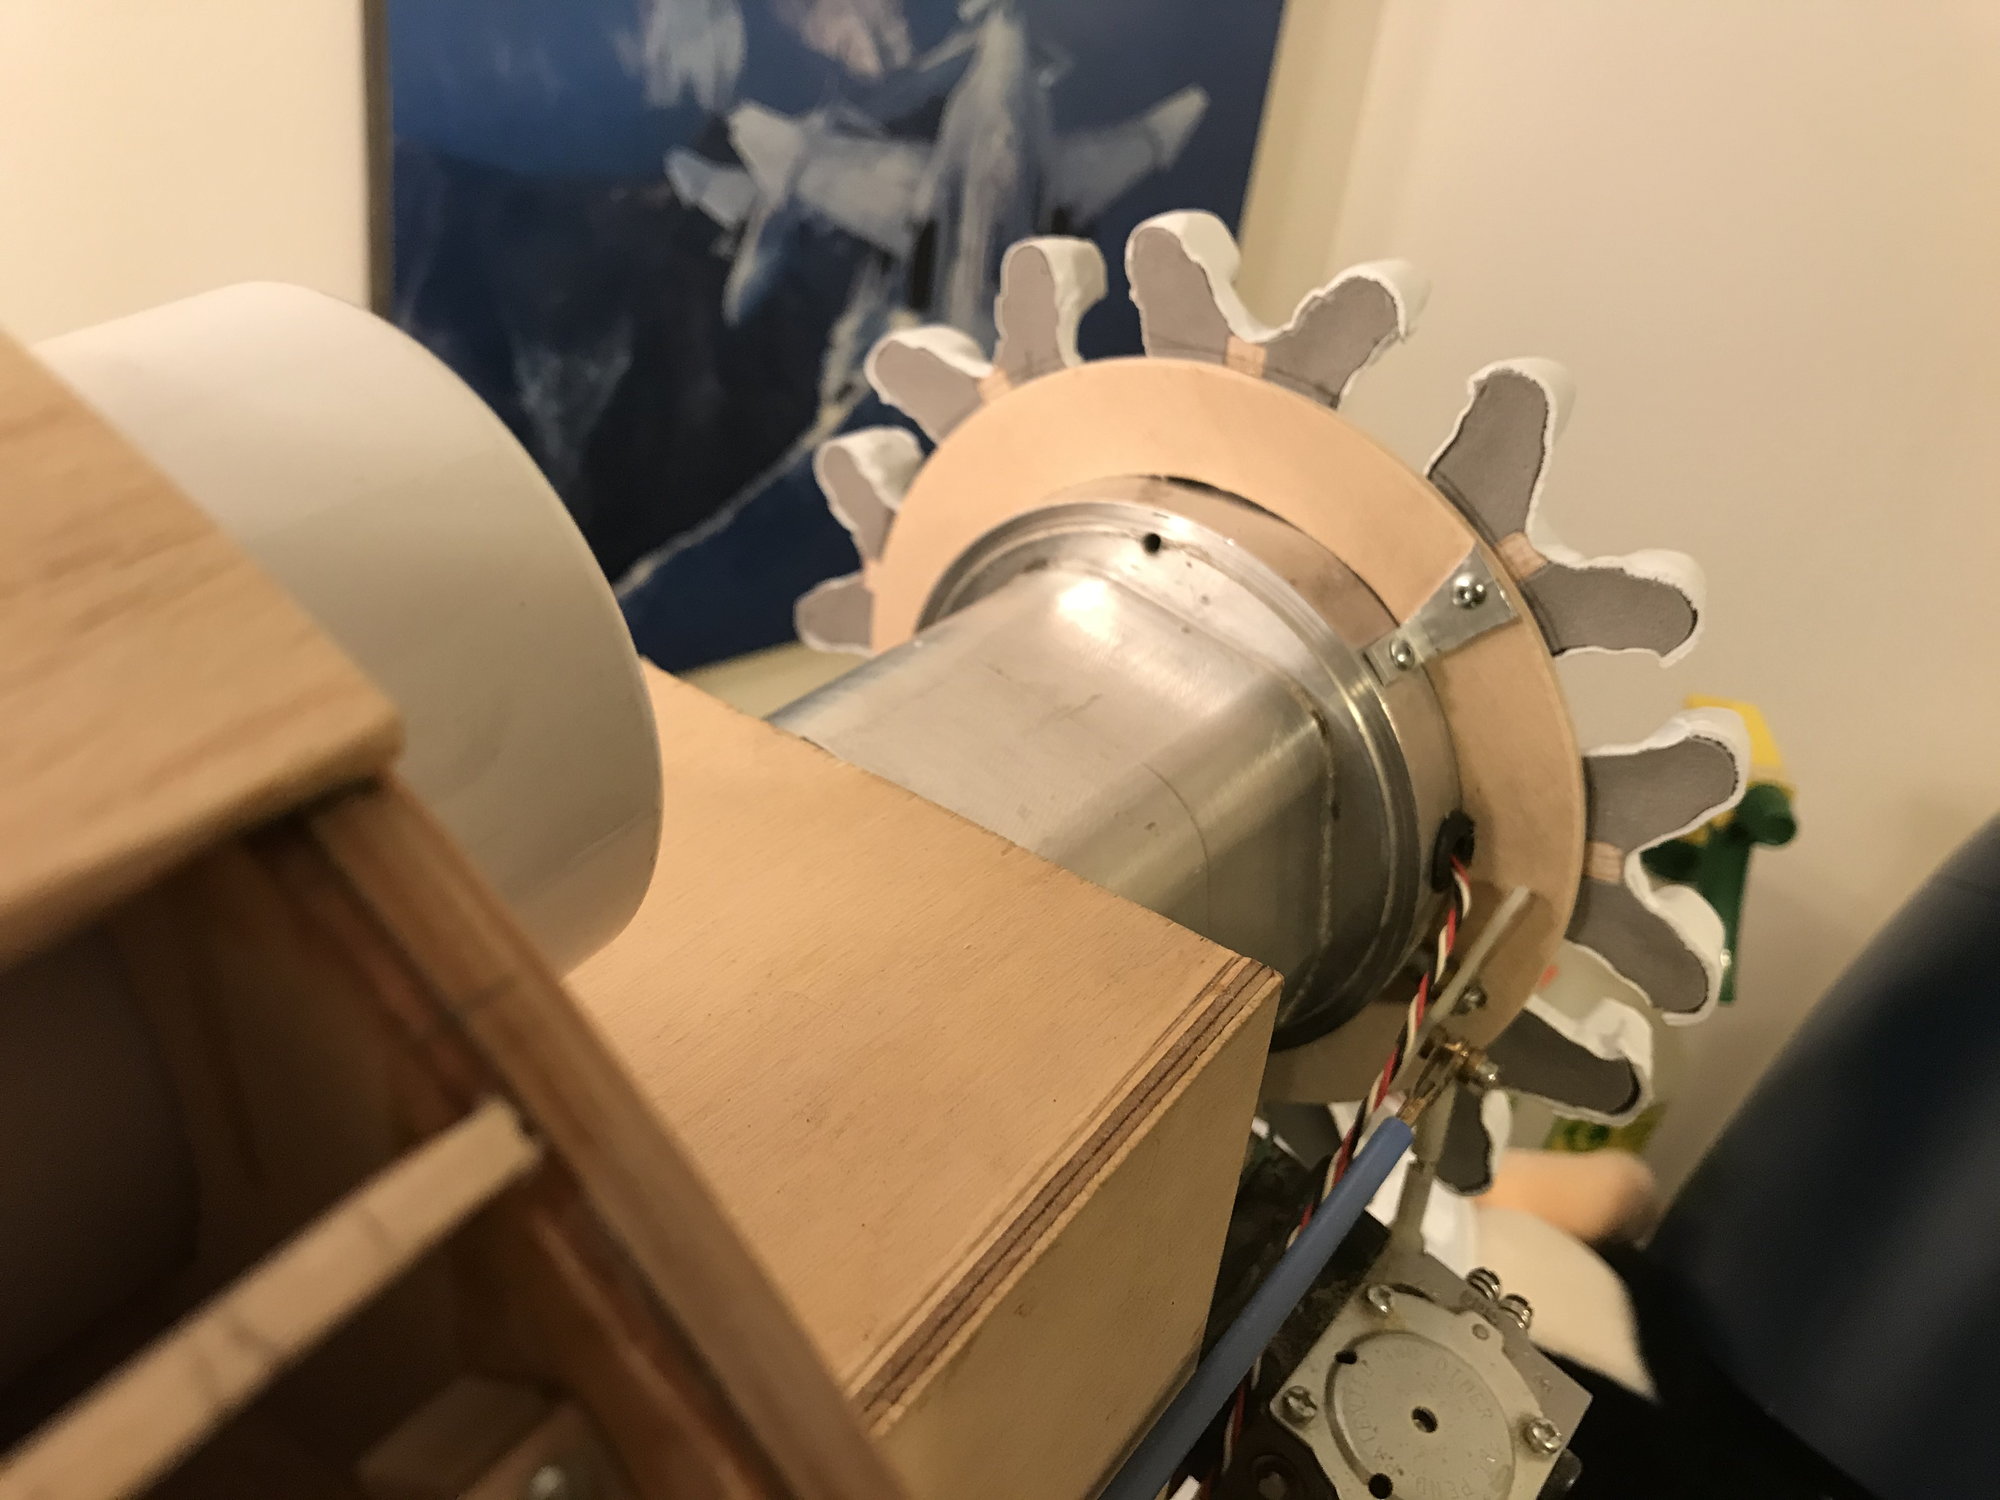 "Clay" filled and sanded with mounting ring attached. My aluminum brackets are a bit odd shaped - yes, I know. I'm having to reuse some pre-existing holes from a Byron dummy engine, where these old holes don't line up well with the new dummy engine's cylinders.
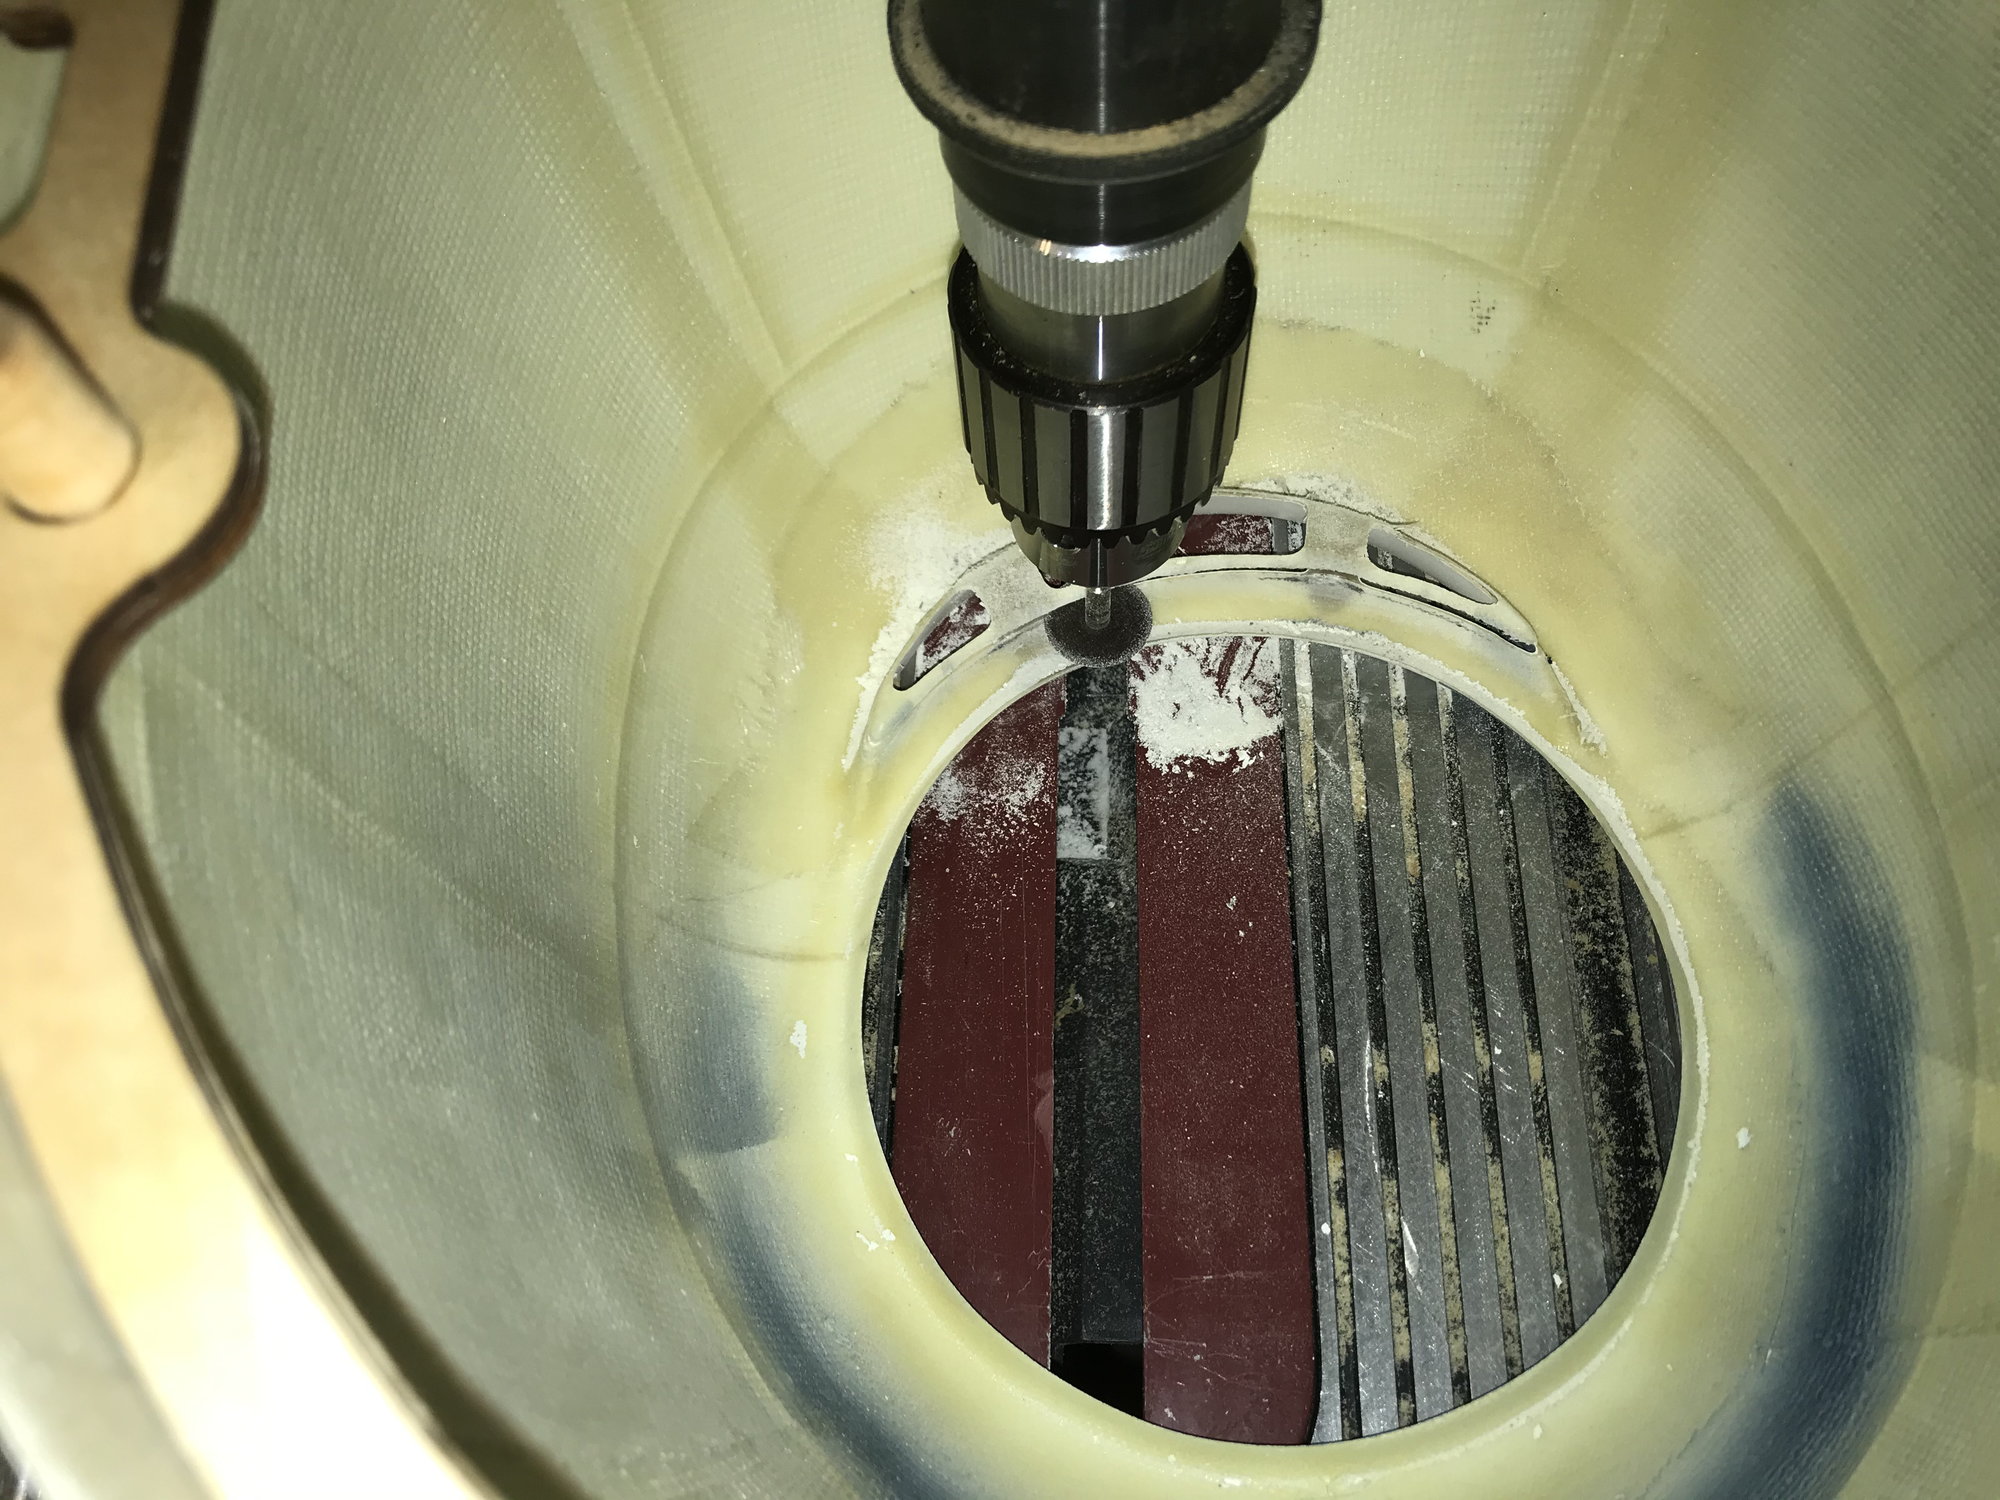 Removing material from the inside the 'chin' area of cowling; using my drill press and Dremel cutting wheel at a fixed depth. Used the same technique on Byron/Iron Bay cowlings, years ago.
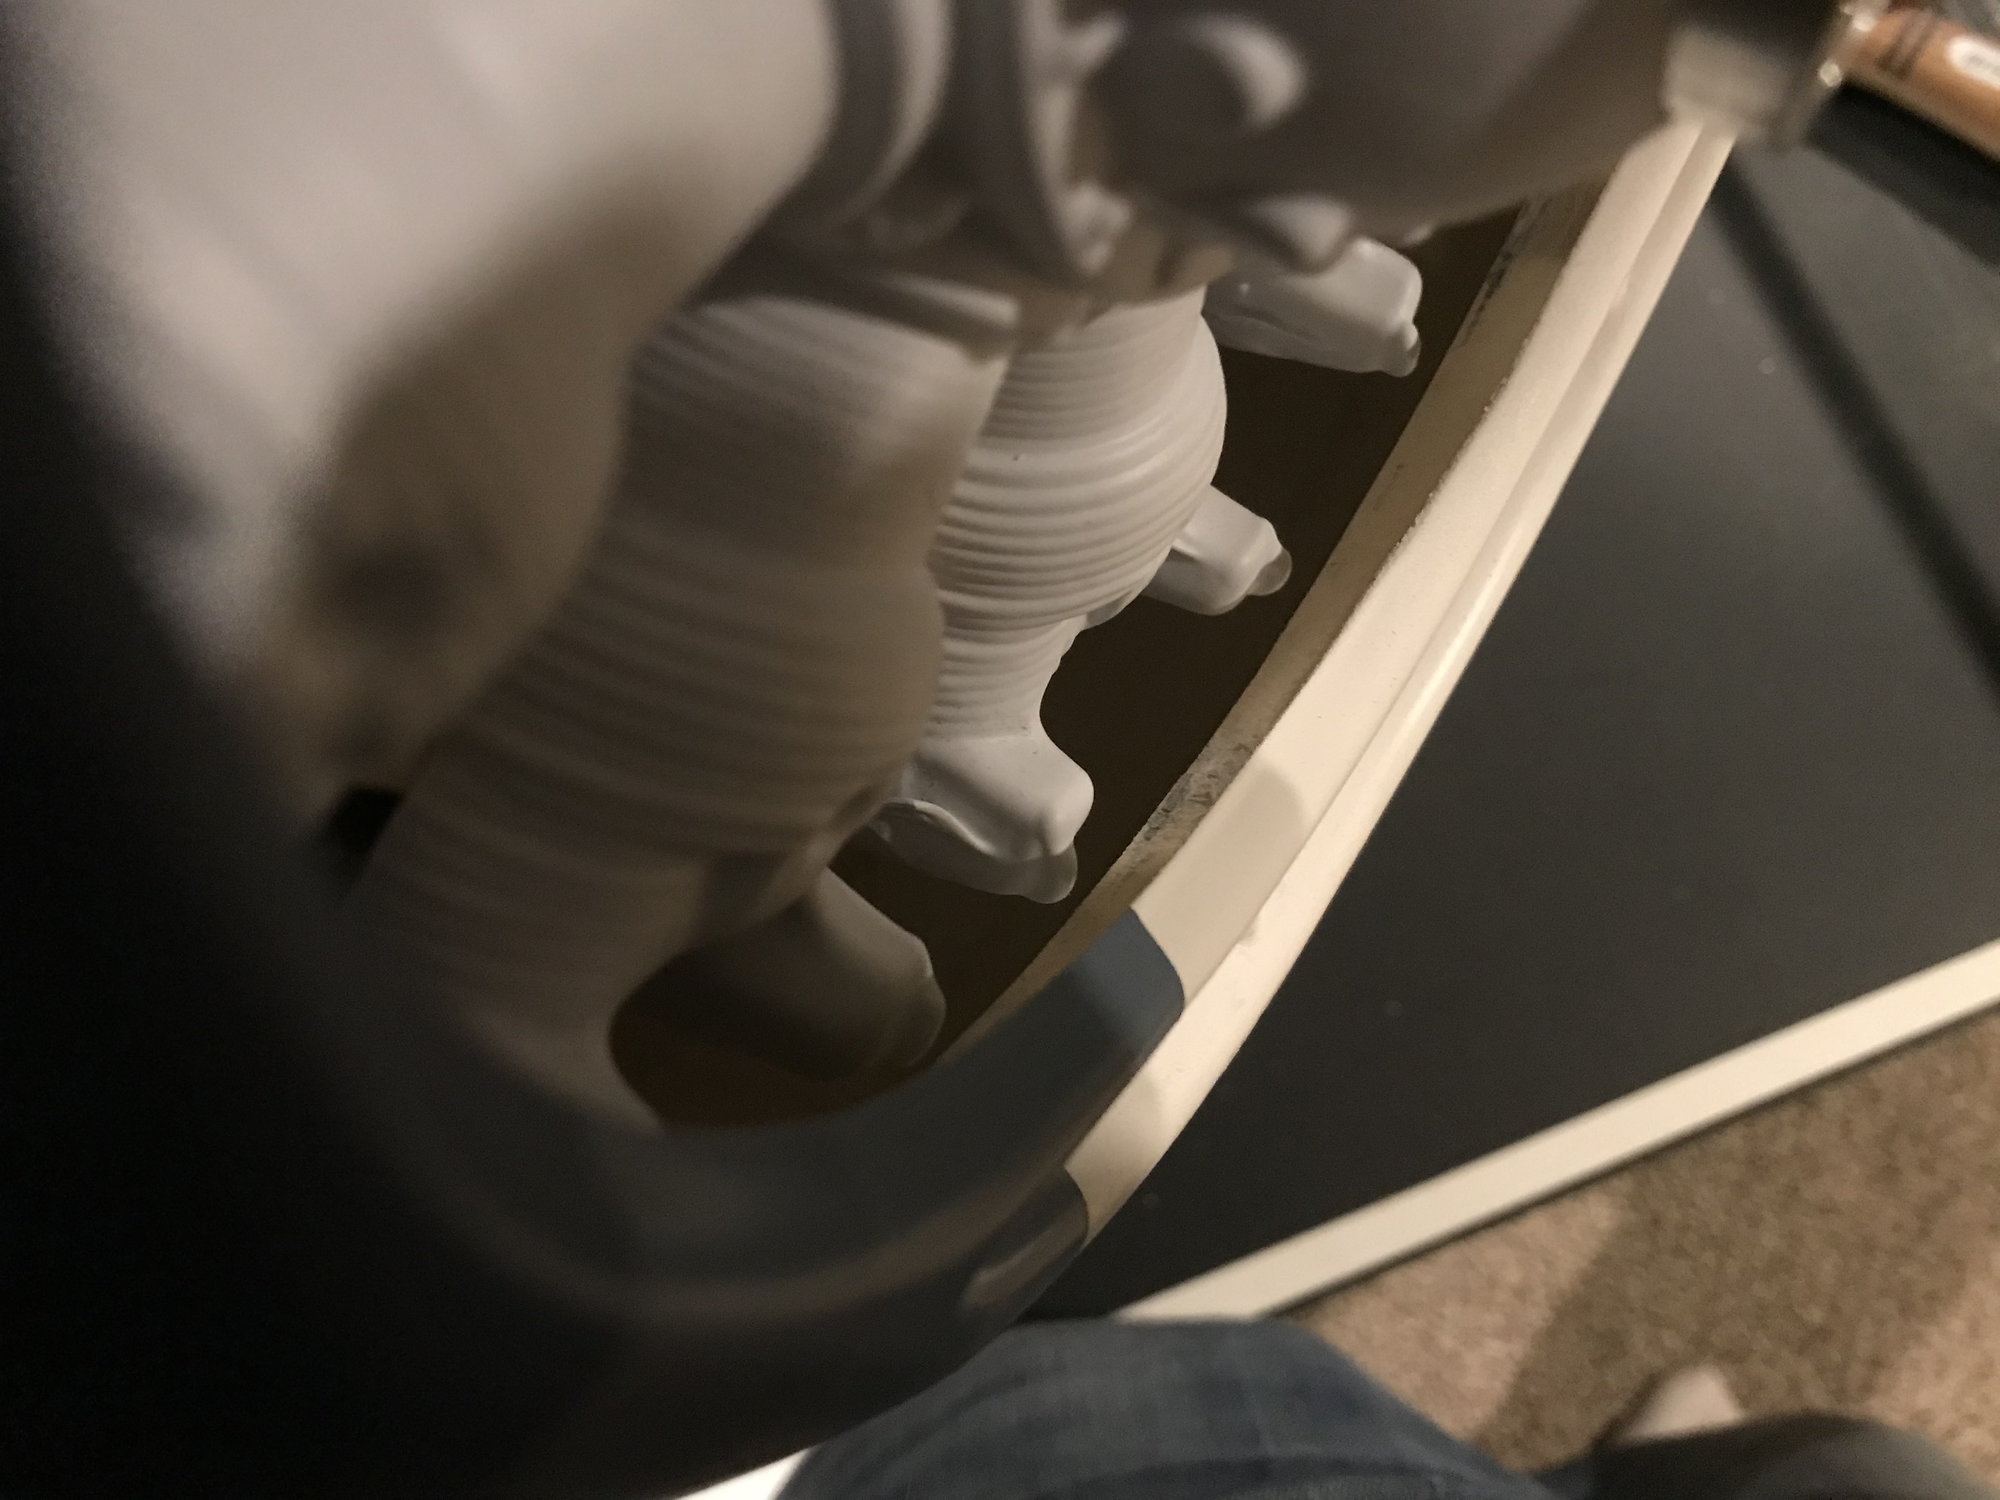 With material removed from the backside of the 'chin,' I now have 5/32" clearance between the rocker covers of the dummy engine and the cowling.
That's all, for now.