Currently we're building two Stiletto speedmodels at my local club. Maybe you're interested also, and therefore I came to the idea of starting a topic here at RC-Universe. Lots of speed fanatics are gathering here and it's always fun to follow somebody building a plane. Hope you'll enjoy it also!
The Stiletto is original a Club20 pylonrace model, powered with a .20 size engine with side-exhaust. Since I don't participate at Pylon-competitions it was possible to exchange the wing for a faster example. It's the same wing that is used on the Kasumi from Corvidae / Jet & Speedmodels.
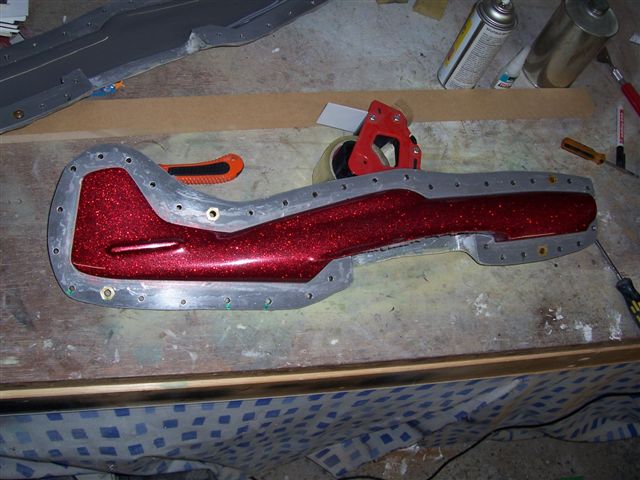
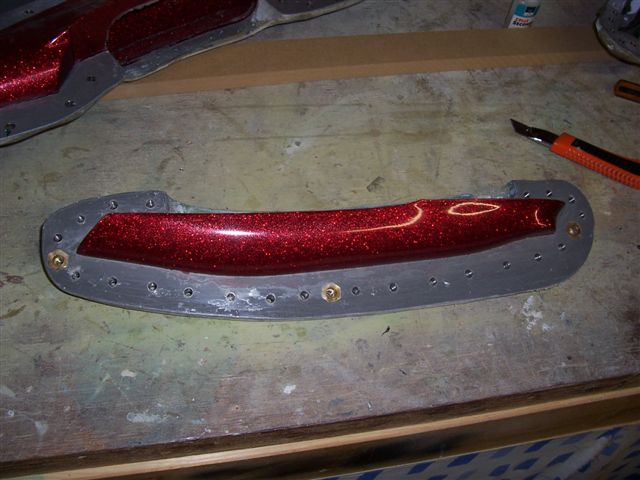
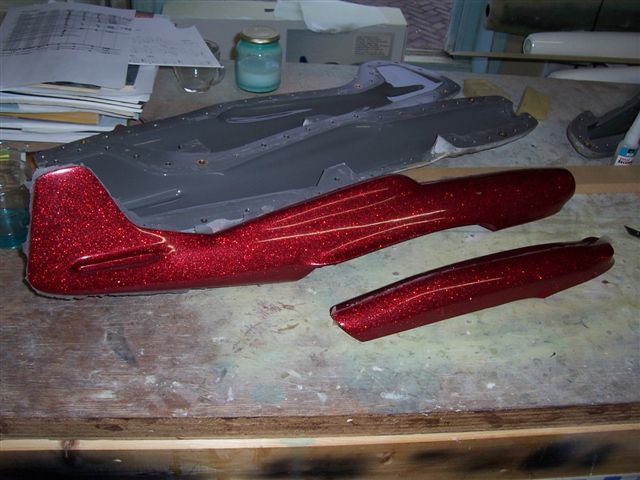
The models were made from fiberglass and carbon to consolidate the model. Color was sprayed on in the template before adding epoxy resin and glass. Peter Pankras, who has made these models, has added glitter powder to the paint to give it a 'bling' effect. (Just like what they like on MTV )This gives it a very nice finish and looks very cool.
The moulds with paint sprayed, ready to add glass and carbon.
Both sides are soaked in epoxy resin, now the moulds can be closed.

Feels like Christmas, opening the moulds after 24 hours hardening.
The cowl for the tuned pipe to reduce drag.
The fuselage is taken out of the template. Edges need to be finished with a Dremel cutter and gets a warm bad of water to remove PVA and wax.
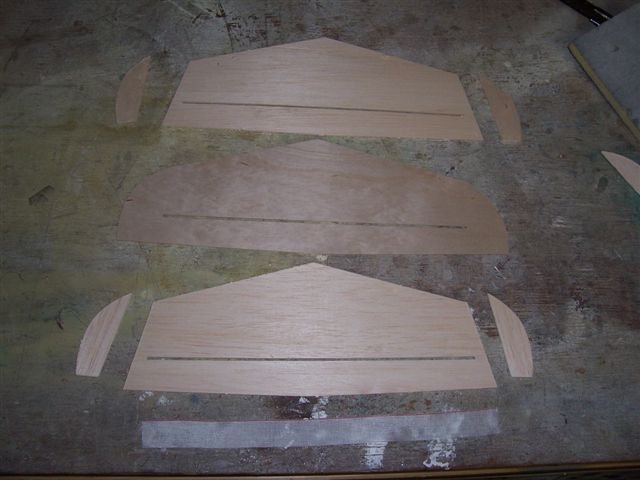
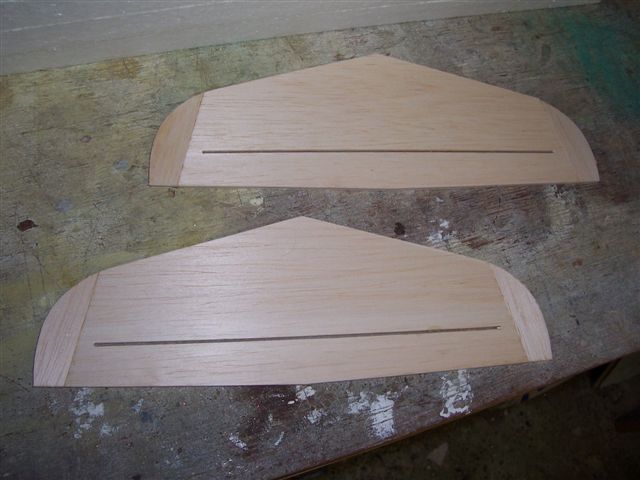
CNC milled parts from the stab's. It's made of 2 layers balsa with 0,3mm plywood in between. Laminated with epoxy and hinging material was added.
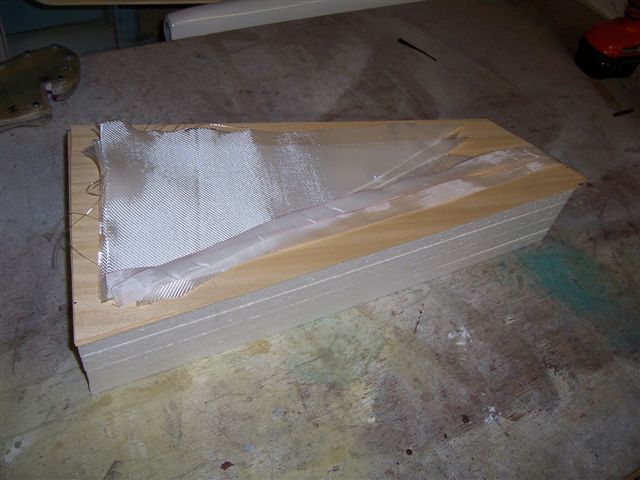
All the components. Styropor core with glass reinforcements between the top layer and core. There is also hinge material added between the top layer and core.
The stabilizer finished.
Jorrit's Stiletto. Quite a hell to make with the silver glitter material. After 5 minutes of laminating you lose track of what you're doing.
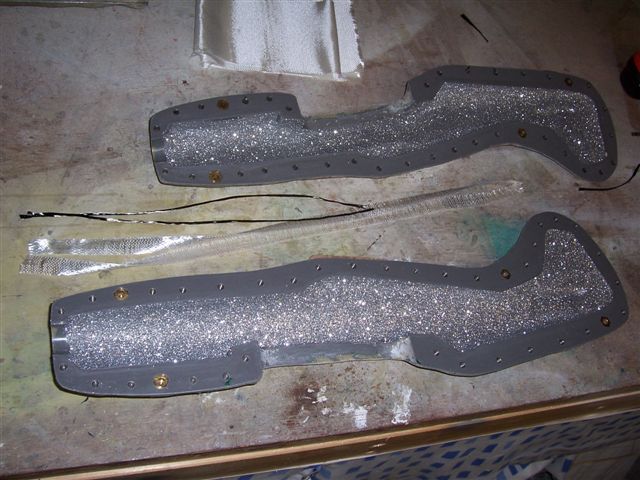
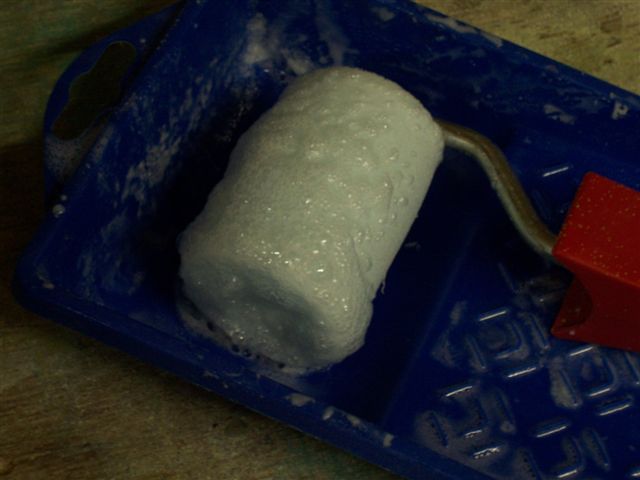
This is where the wing is made of. The 24 hours epoxy will be rolled on with a roller.
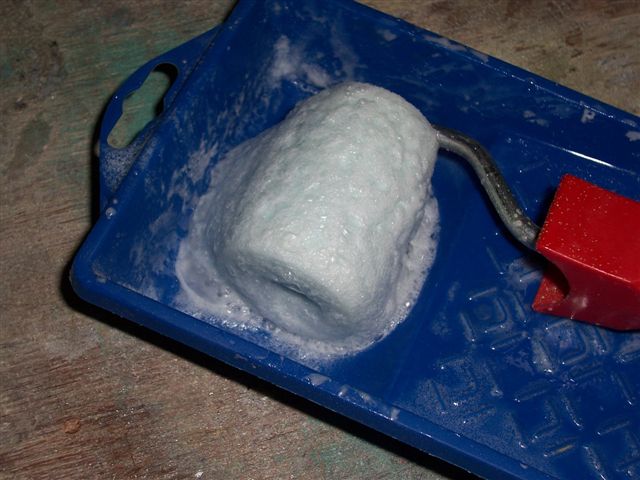
The epoxy after 15 minutes. It's a sort of foam that fills the gaps completely with a very strong wing as result.
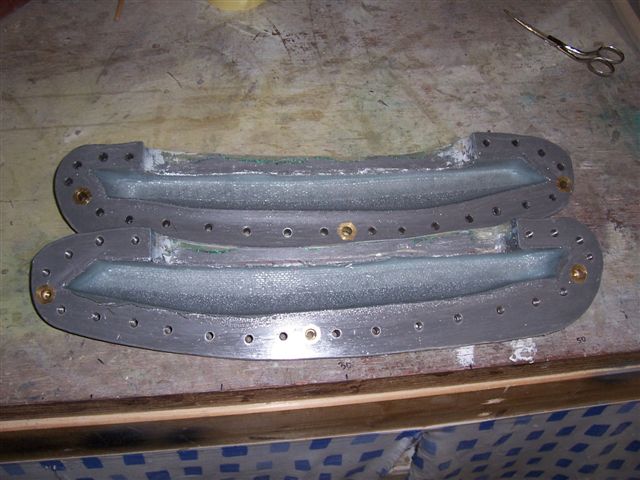
The next day the epoxy resin is cured.
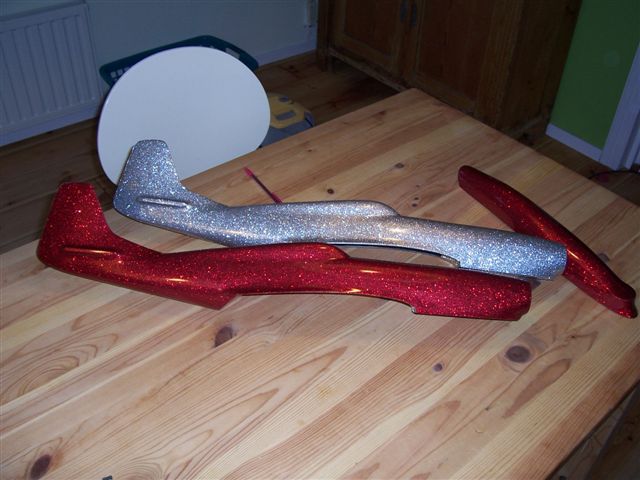
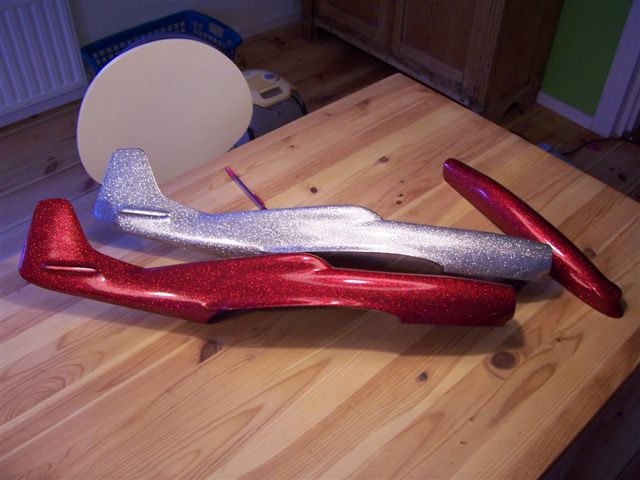
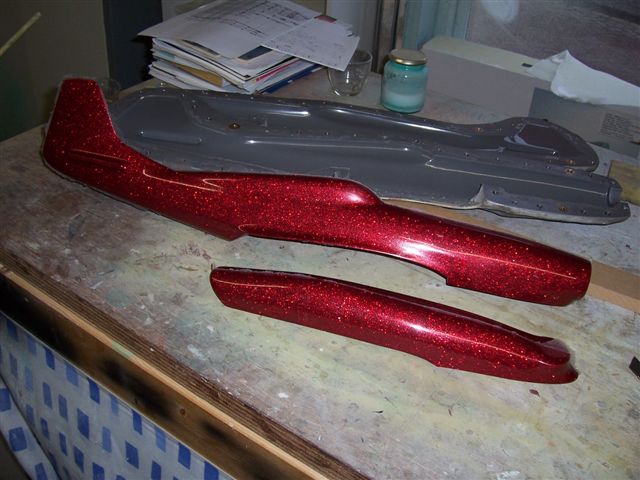
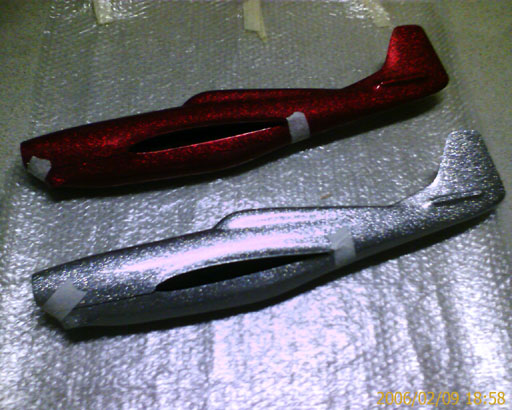
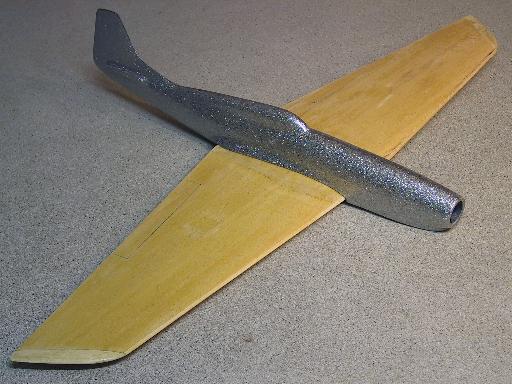
And the Stiletto's ware delivered. Both fuses are very nice. Great finish! Should be looking very cool with the colorscheme I have in mind.
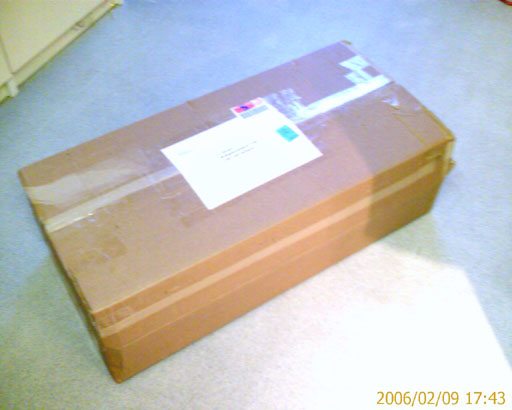
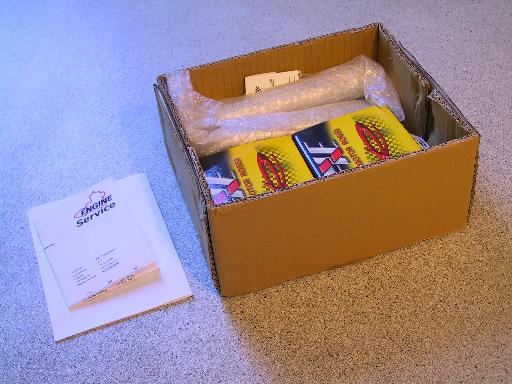
The box, large package.
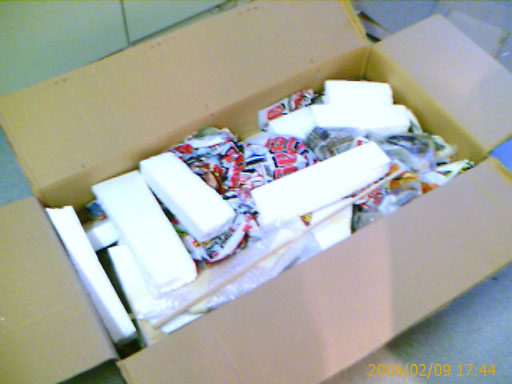
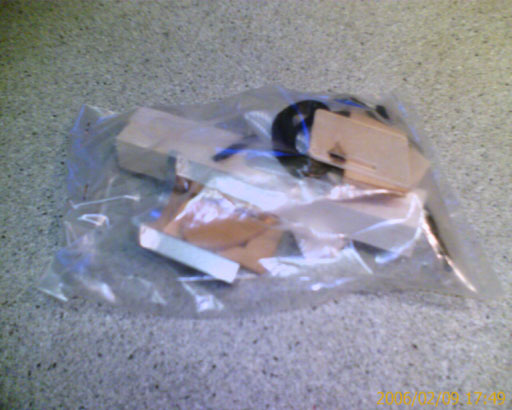
Unwrapped the materials.
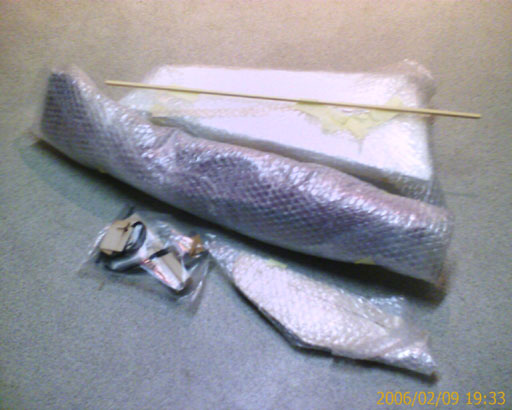
2 masterpieces!
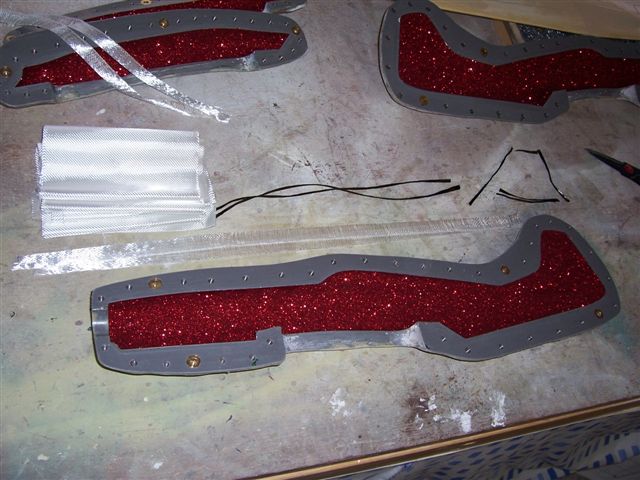
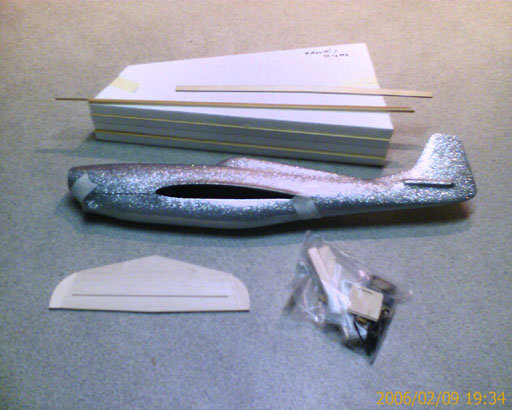
Package of small components with the wingtips, carbon strings, heavy glass, plywood CNC material and an aluminum engine mount for the Rossi 21.
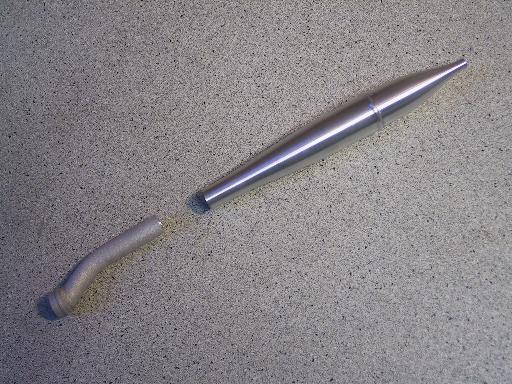
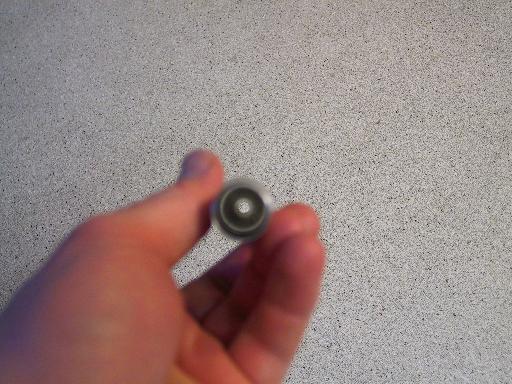
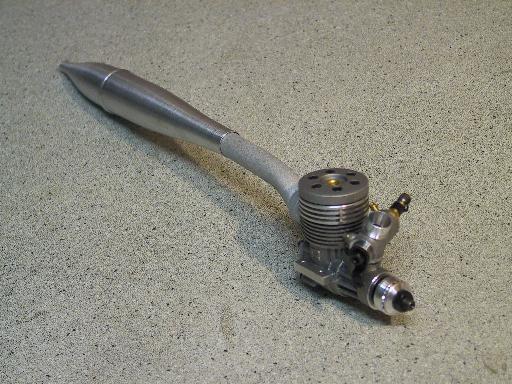
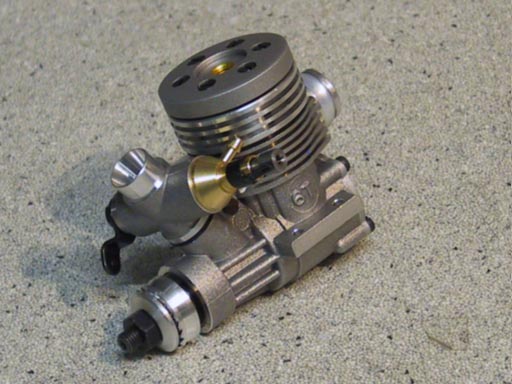
Both Rossi R21 engines arrived! Great service from RC-Technik! 4x APC 6,5x6 props included and 4x Rossi glow plugs R5 and R6.
Package with receipt.
All components gathered for the picture.

Silencer, which silencer? Open tuned pipe!
Great finish looks very good!
Started building the Stiletto.
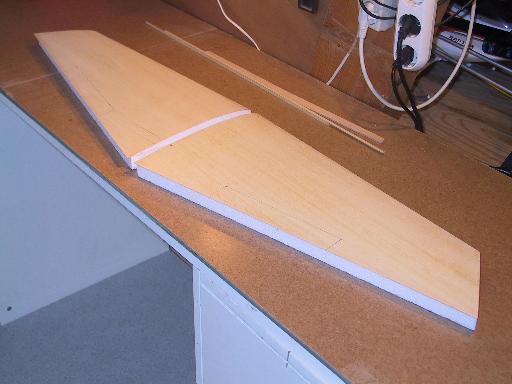
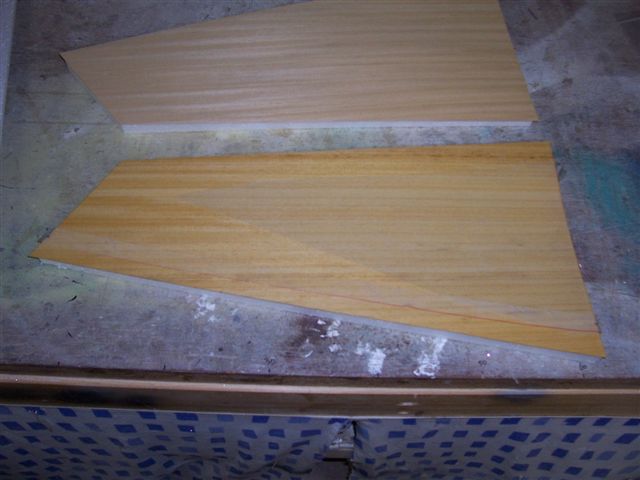
Pine-wood leading edge. Less fragile compared to balsa.
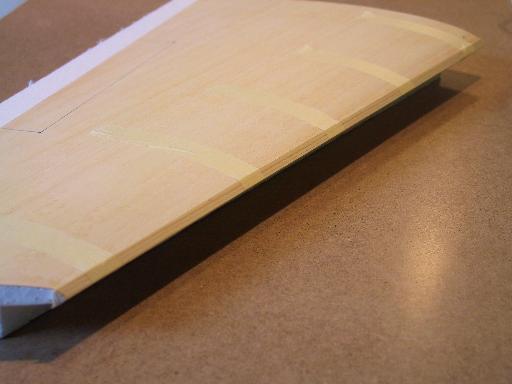
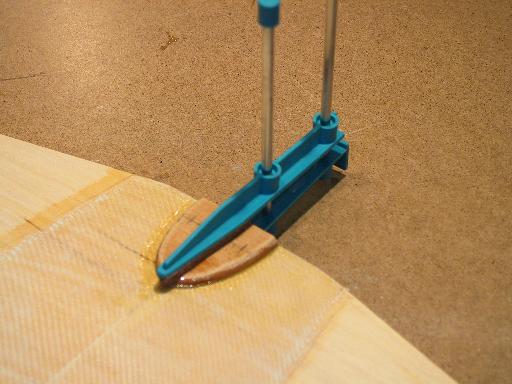
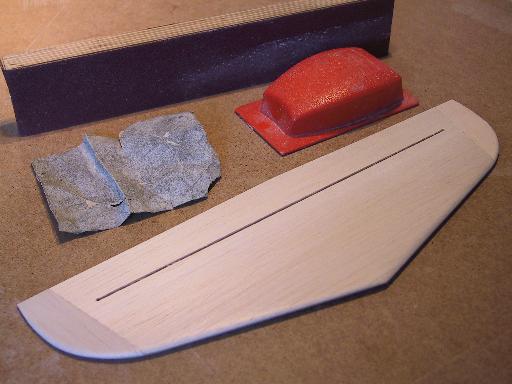
Wingtips sawed off and sanded into shape.

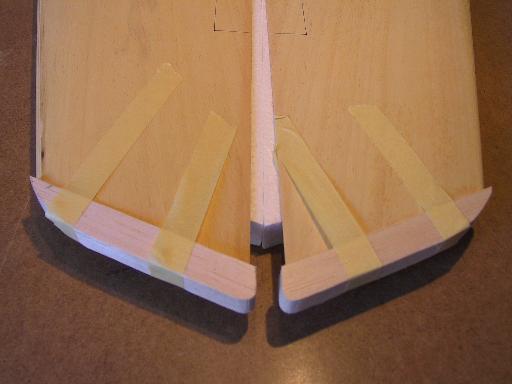
Both wings glued together at a 3° angle with some 30 min. epoxy.
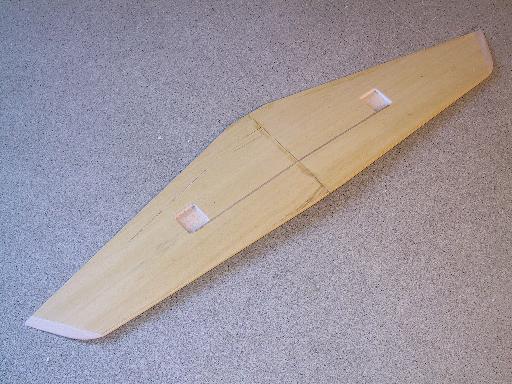
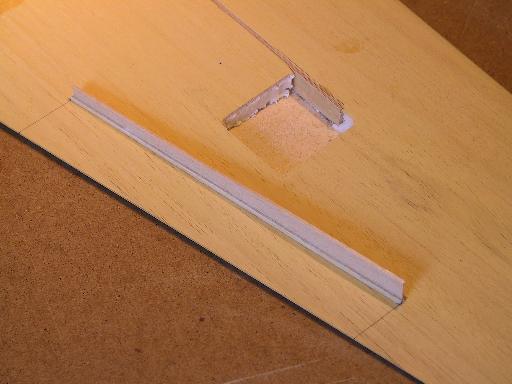
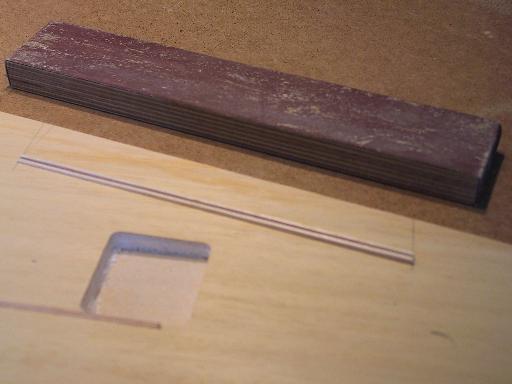
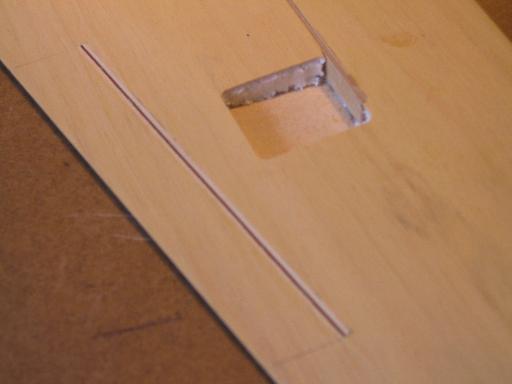
Gap for the wingspar.
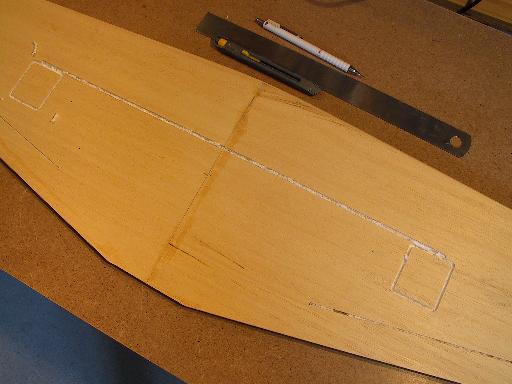
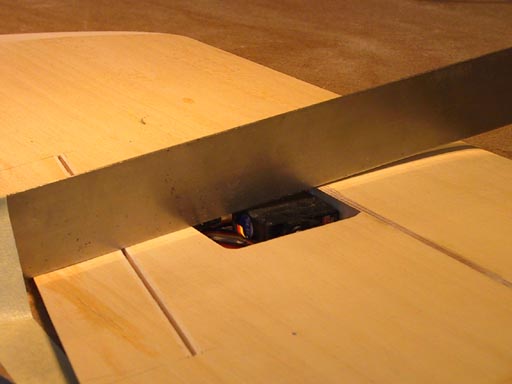
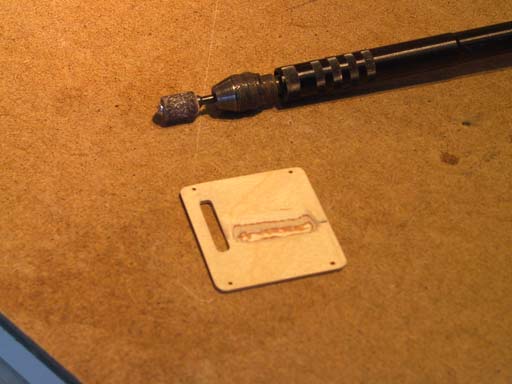
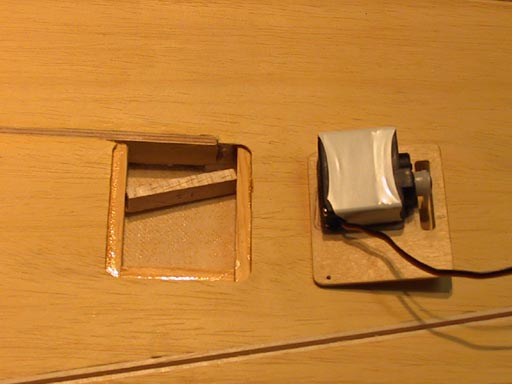
Milled holes free from styropor to fit the servos.
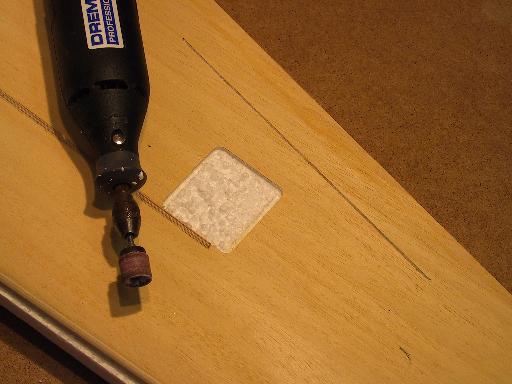
Both holes empty. Only problem is the location of the holes. The Hitec HS85-MG servos are too thick to fit inside the profile, and to fit the hatch on top. The hatch will be sticking out of the profile. The only solution I can think of is using aerodynamic pushrod plates.
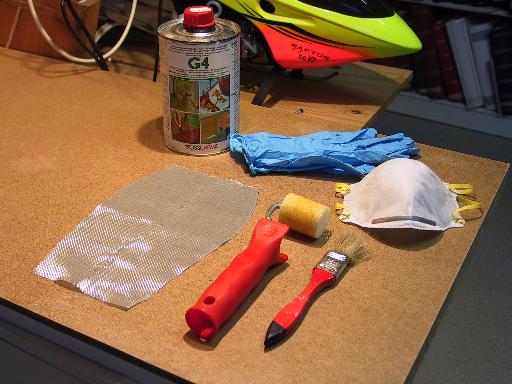
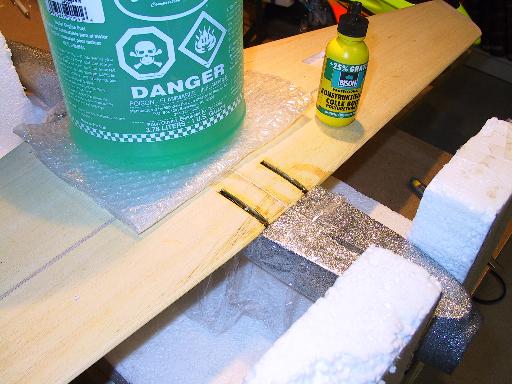
Use personal protection while using G4. It's not good for your health.
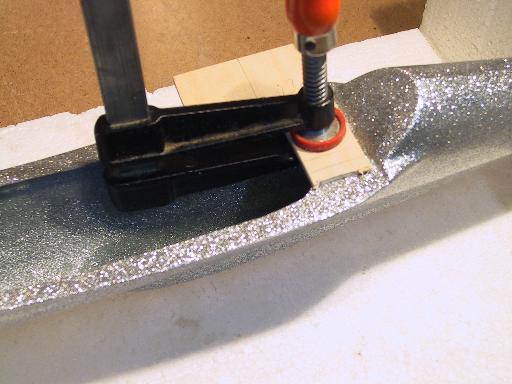
Added some 80grams fiberglass to reinforce the wing.
This topic needs an update. ;-)
The wing dowels are glued into place

I bought two Hitec Hs81-MG servo's because the Hs85-MG was to big to fit nicely.
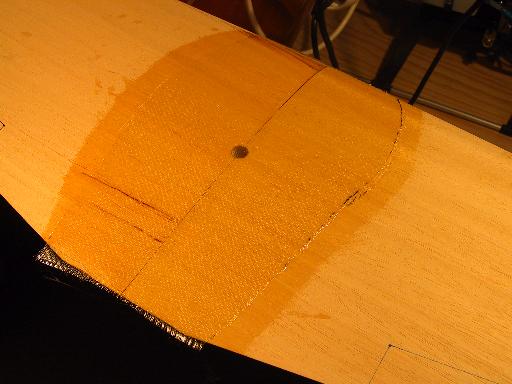
The wing, bottom view with fresh G4 and glass. I'm very sure this will work out very well instead of Epoxy.
Upper side is also covered with glass.
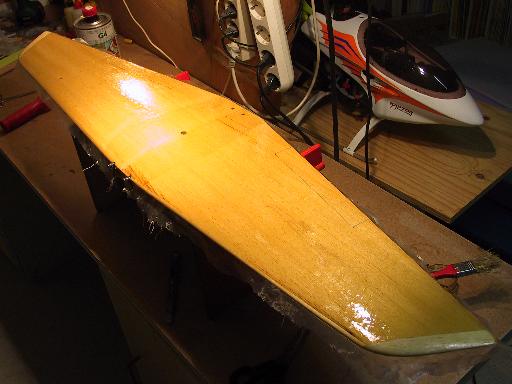
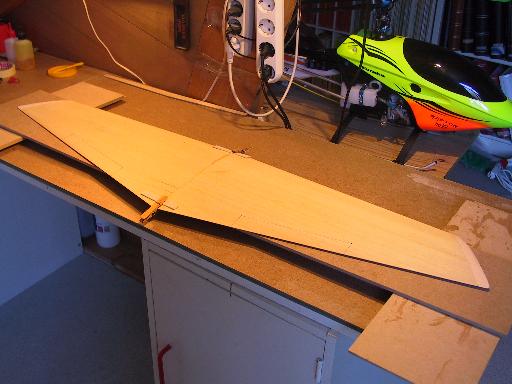
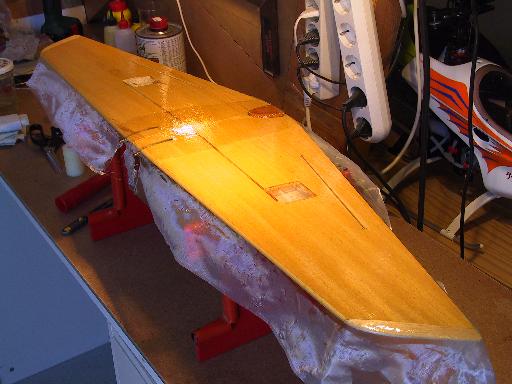
Wing sanded and mounted at the fuselage.
Very nice result, very smooth.

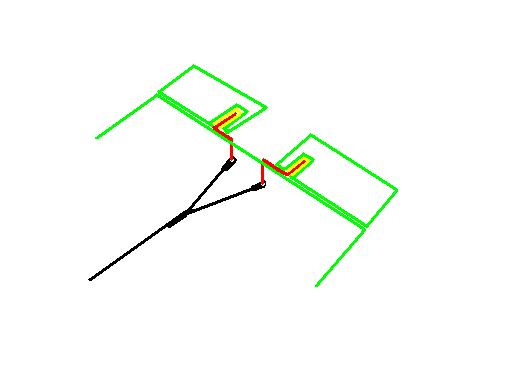
I was thinking about how to control the elevator. Using a Y-link is possible, but you need to attach 2 rudderhorns on each side of the elevator, which causes extra drag later on. What do you think about trying to fit the steering rods inside the fuse? It isn't possible to do maintenance after fixing the stabilo with epoxy, but therefore I want to use ball links. What do you advice? I'm not sure about the setup I'm planning to use.
Does anyone have any pictures or ideas how to get this problem solved the best way? I would be very thankful!
Simple drawing. Yellow is epoxy to fix the bended rods.