


Hanger 9 Hellcat
 07-19-2018, 02:57 AM
#1

Was thinking about pre ordering the new hanger 9 hellcat 15cc. I think they done similar size a few years ago but discontinued it. Does anyone have any experience of flying them? Does anyone know the date of release of the new one?
 07-19-2018, 04:38 AM
#2

I've got one of the original ".60-size" Hellcats with a Valley View 20cc gas engine. It flies great and lands slow even though it doesn't have flaps. It did have a tendency to nose-over so I shimmed the back of the retracts to move the wheels forward a little. I'm selling it, but only because I want to make room for new projects. A good flying plane.


 07-28-2018, 03:22 PM
#8

My Feedback: (9)
Join Date: Jan 2002
Location: Copperas Cove, Tx.
Posts: 552
Likes: 0
Received 0 Likes
on
0 Posts
Been working on mine. Its mostly going okay but have encountered a few problems.
1) They want you to use an arm on the rudder that has holes 20mm from center. I'm using Spektrum DS821 and A6060 servos and none of them have an arm that long. Decided to use a TowerPro servo I had laying around that had a long arm in the package.
2) On the left wing panel, the wing tube is VERY tight. I polished it according to the instructions but it's still really tight. Gonna just leave it in the panel as the other side slides on perfectly.
3) The paint on the tail wheel cover comes off if you look at it wrong. When I cut it out I was really careful but it still chipped a bit along the cut line. Didn't look too bad but still not real happy with it. BUT!....when I went to glue it on I used low tack tape like the instructions stated but it still pulled all the paint off of one side. Looks like total crap now. Needless to say I am NOT happy! I ordered the touch-up paint they recommend but the more I think about it the more pissed I'm getting.
Moving on, I'm getting my engine installed now. Using a K&B 1.00 I converted to ignition.
Mike
Elev and rudd servo install
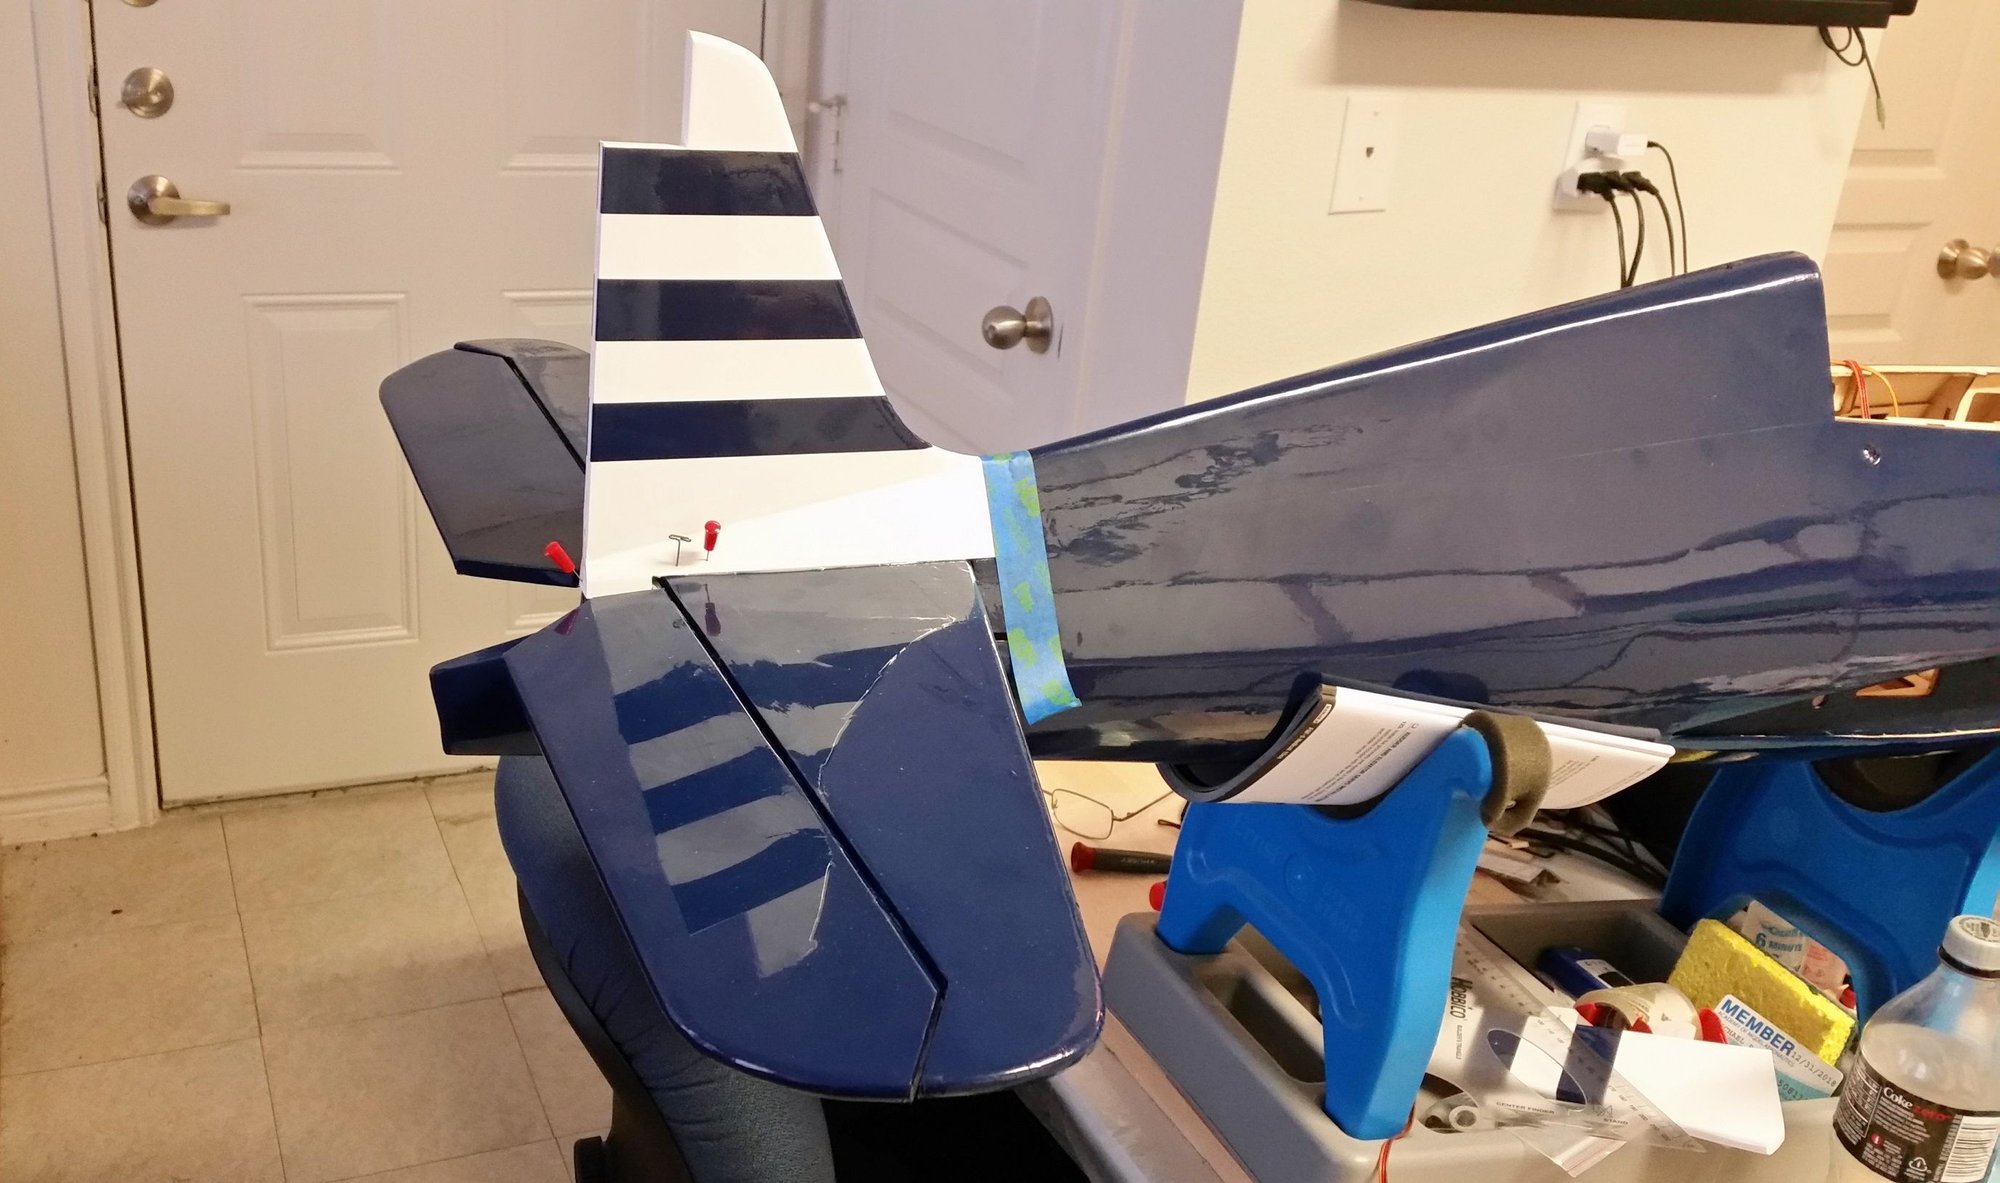
Gluing the tail on. No problems.
First side the tape pulled of with minimal paint loss.
2nd side the taped pulled most of the paint off with it. Looks like crap! NOT happy.
1) They want you to use an arm on the rudder that has holes 20mm from center. I'm using Spektrum DS821 and A6060 servos and none of them have an arm that long. Decided to use a TowerPro servo I had laying around that had a long arm in the package.
2) On the left wing panel, the wing tube is VERY tight. I polished it according to the instructions but it's still really tight. Gonna just leave it in the panel as the other side slides on perfectly.
3) The paint on the tail wheel cover comes off if you look at it wrong. When I cut it out I was really careful but it still chipped a bit along the cut line. Didn't look too bad but still not real happy with it. BUT!....when I went to glue it on I used low tack tape like the instructions stated but it still pulled all the paint off of one side. Looks like total crap now. Needless to say I am NOT happy! I ordered the touch-up paint they recommend but the more I think about it the more pissed I'm getting.
Moving on, I'm getting my engine installed now. Using a K&B 1.00 I converted to ignition.
Mike
Elev and rudd servo install
Gluing the tail on. No problems.
First side the tape pulled of with minimal paint loss.
2nd side the taped pulled most of the paint off with it. Looks like crap! NOT happy.
Last edited by optech; 07-28-2018 at 03:30 PM.
07-29-2018, 10:48 AM
#10
My Feedback: (9)
Join Date: Jan 2002
Location: Copperas Cove, Tx.
Posts: 552
Likes: 0
Received 0 Likes
on
0 Posts
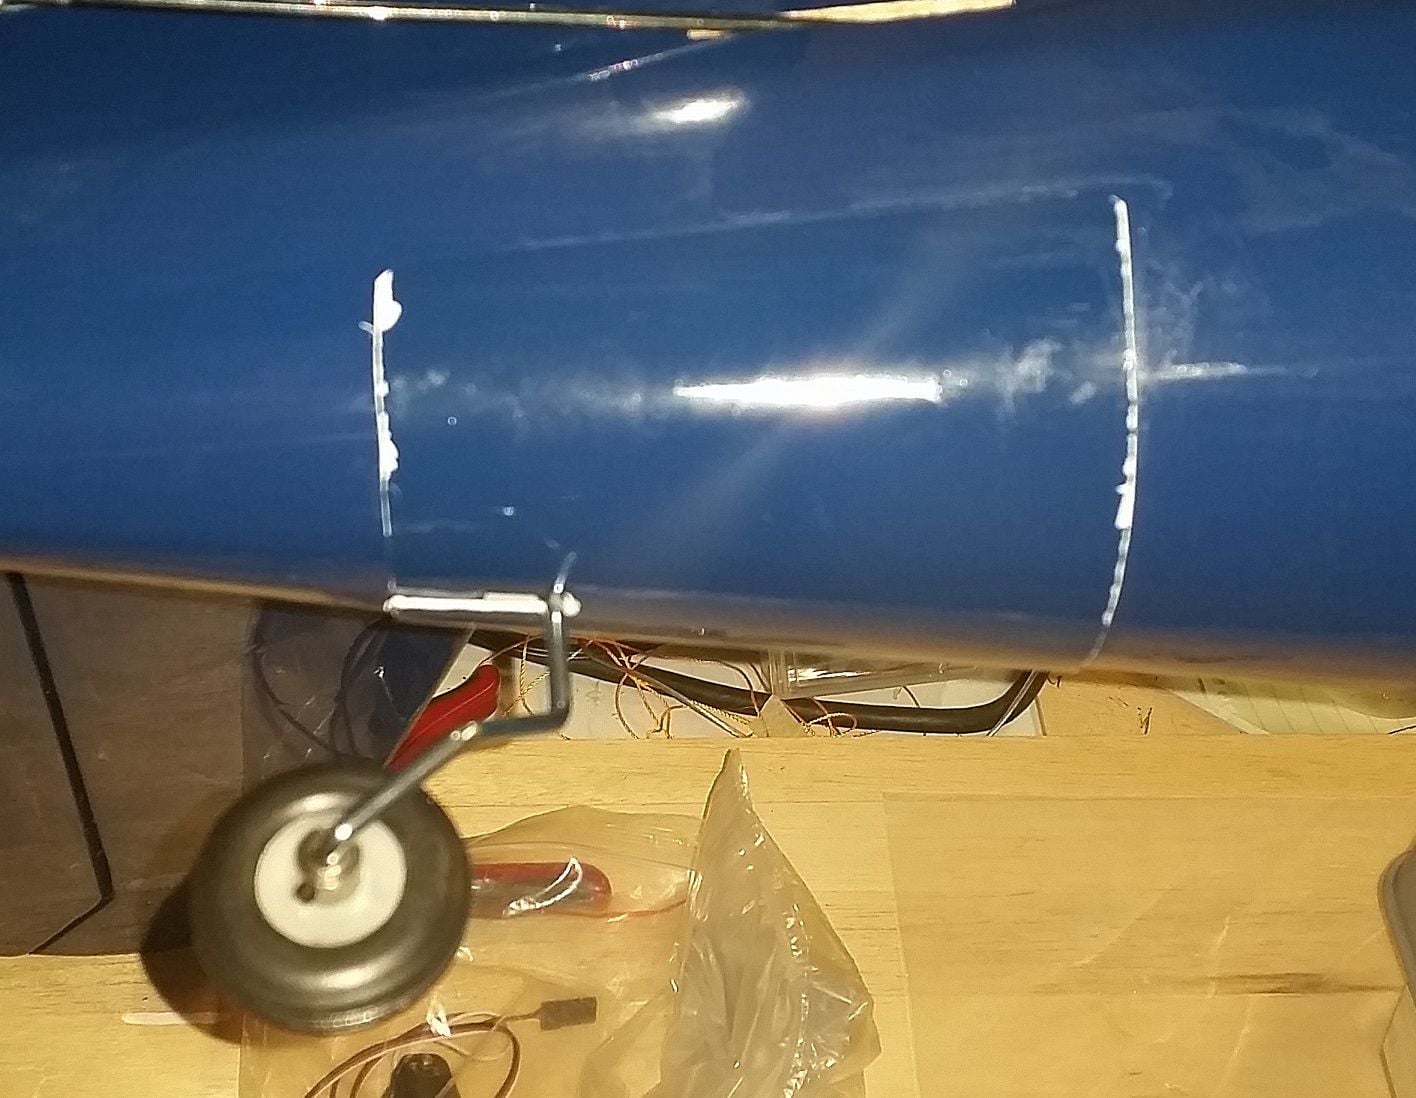
The TowerPro servo I used for the rudder is a little taller than the Spektrum servos so I had to put a little riser bend in the tail wheel pushrod. That pushrod has a weird angle to begin with.
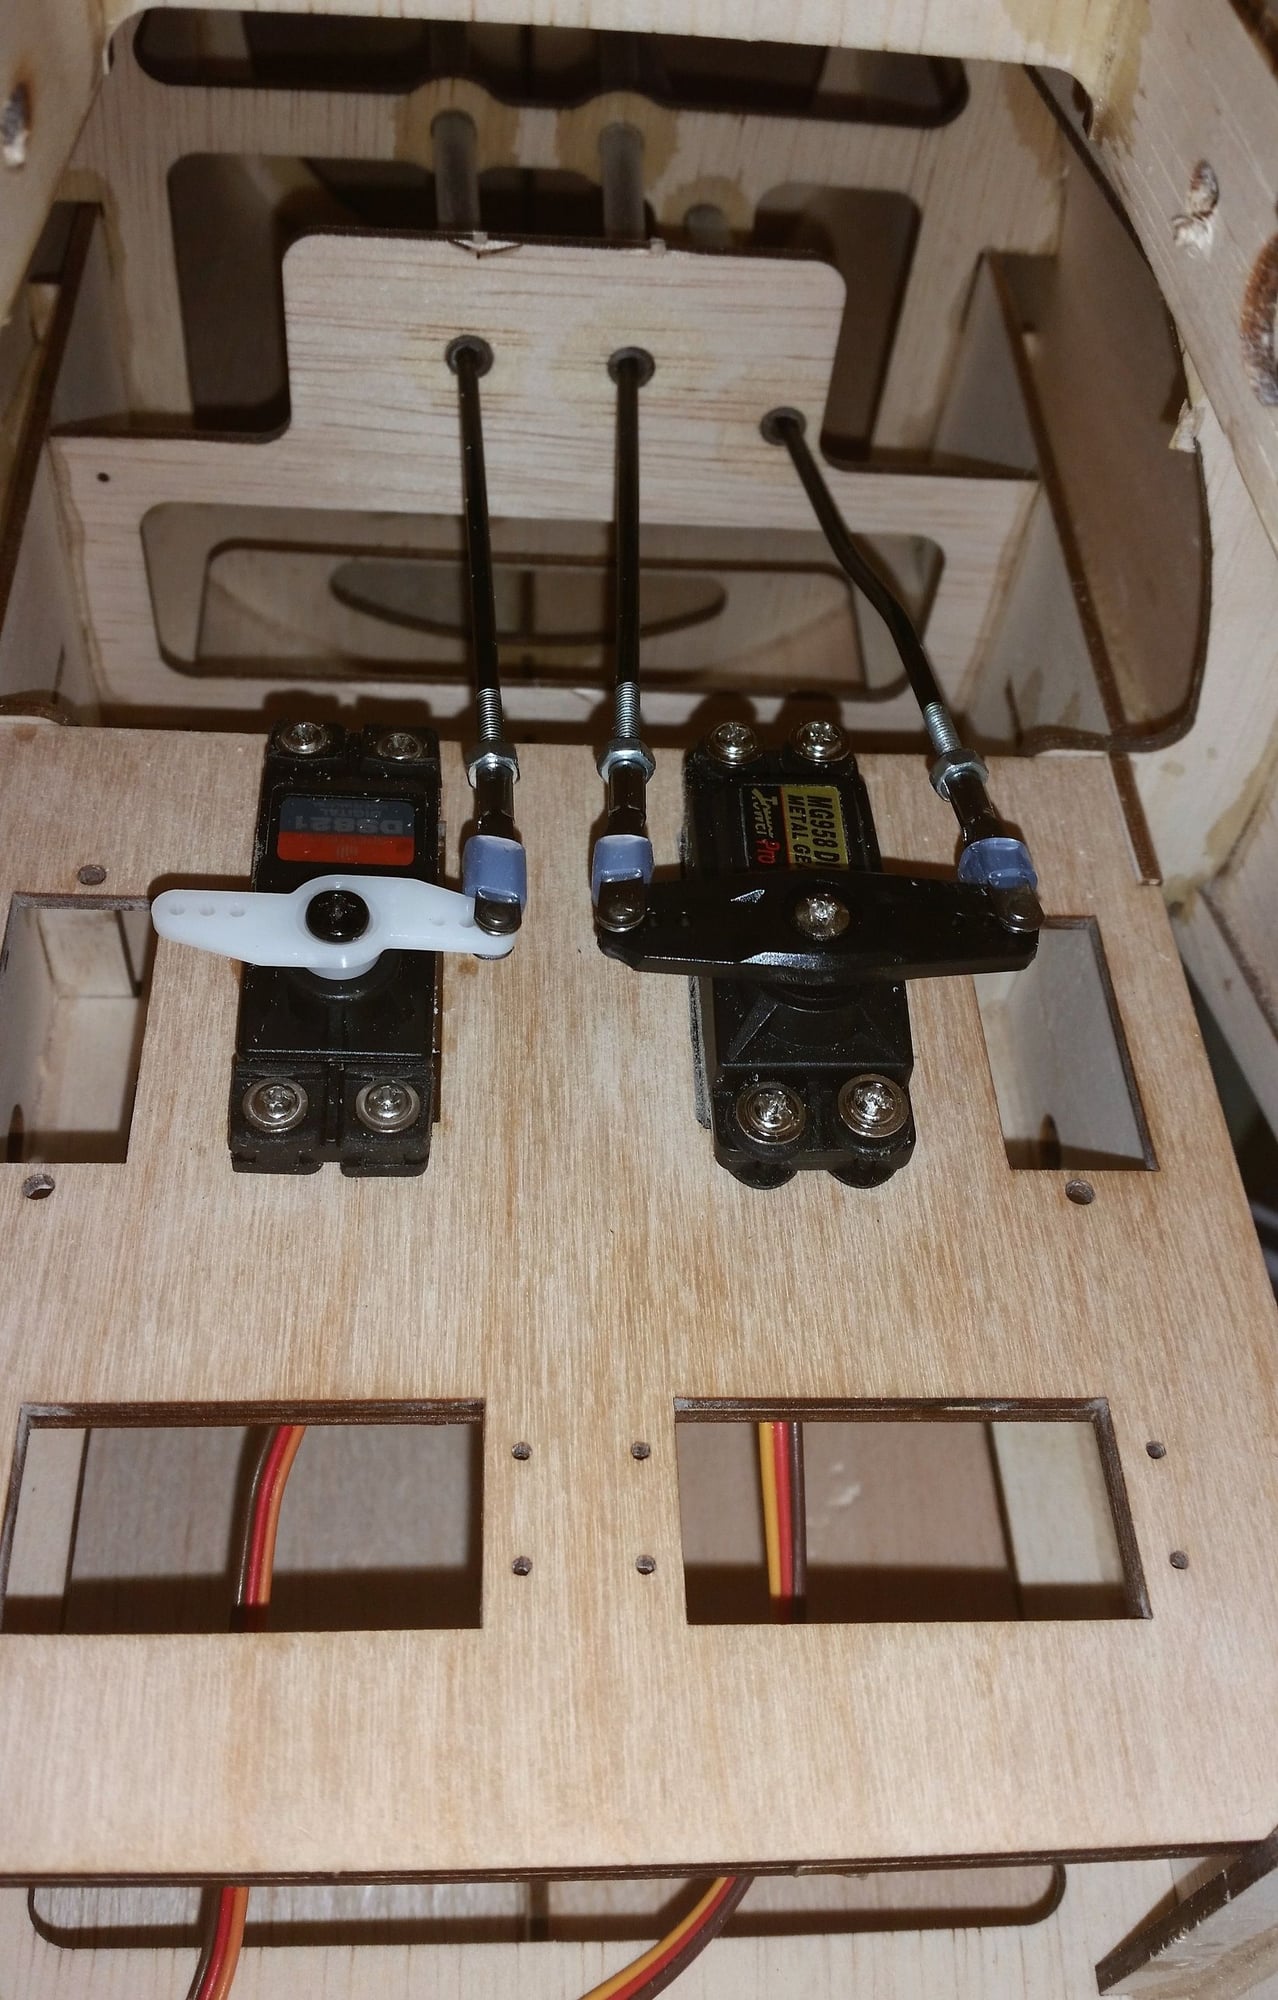
Had to put a riser bend in the tail wheel pushrod.
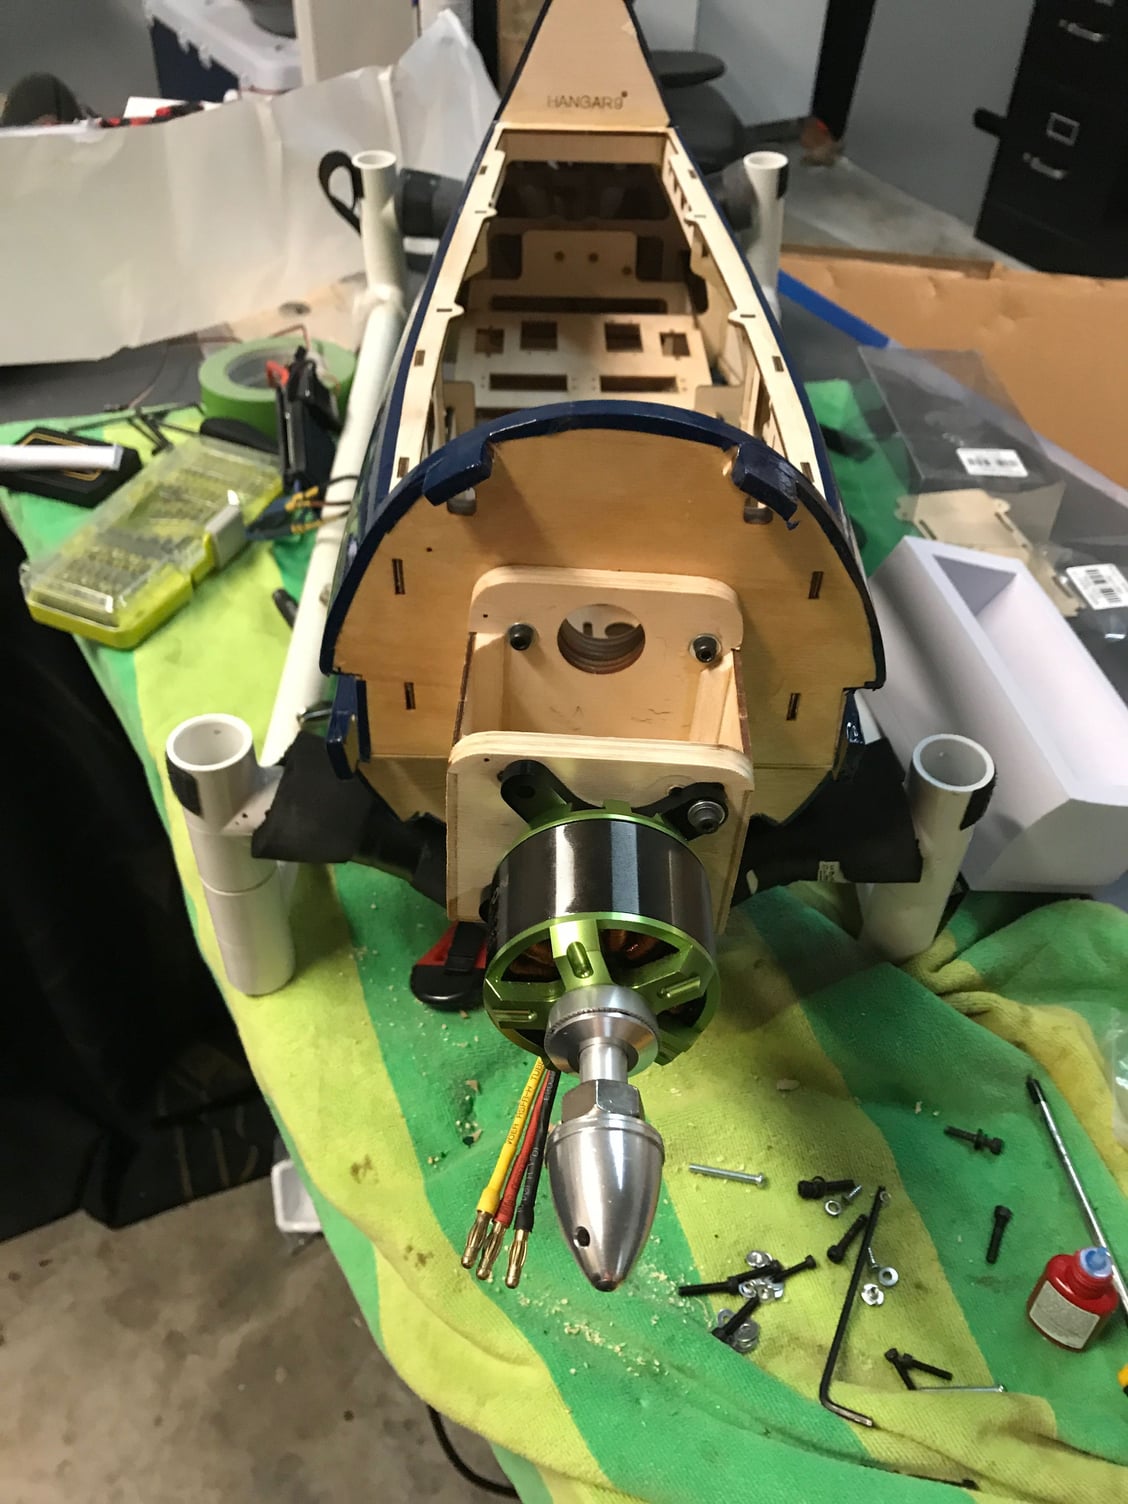
Since I'm using a different engine than they intended, I extended the center lines and transferred the mounting holes for my engine. Then used the template to drill the holes.
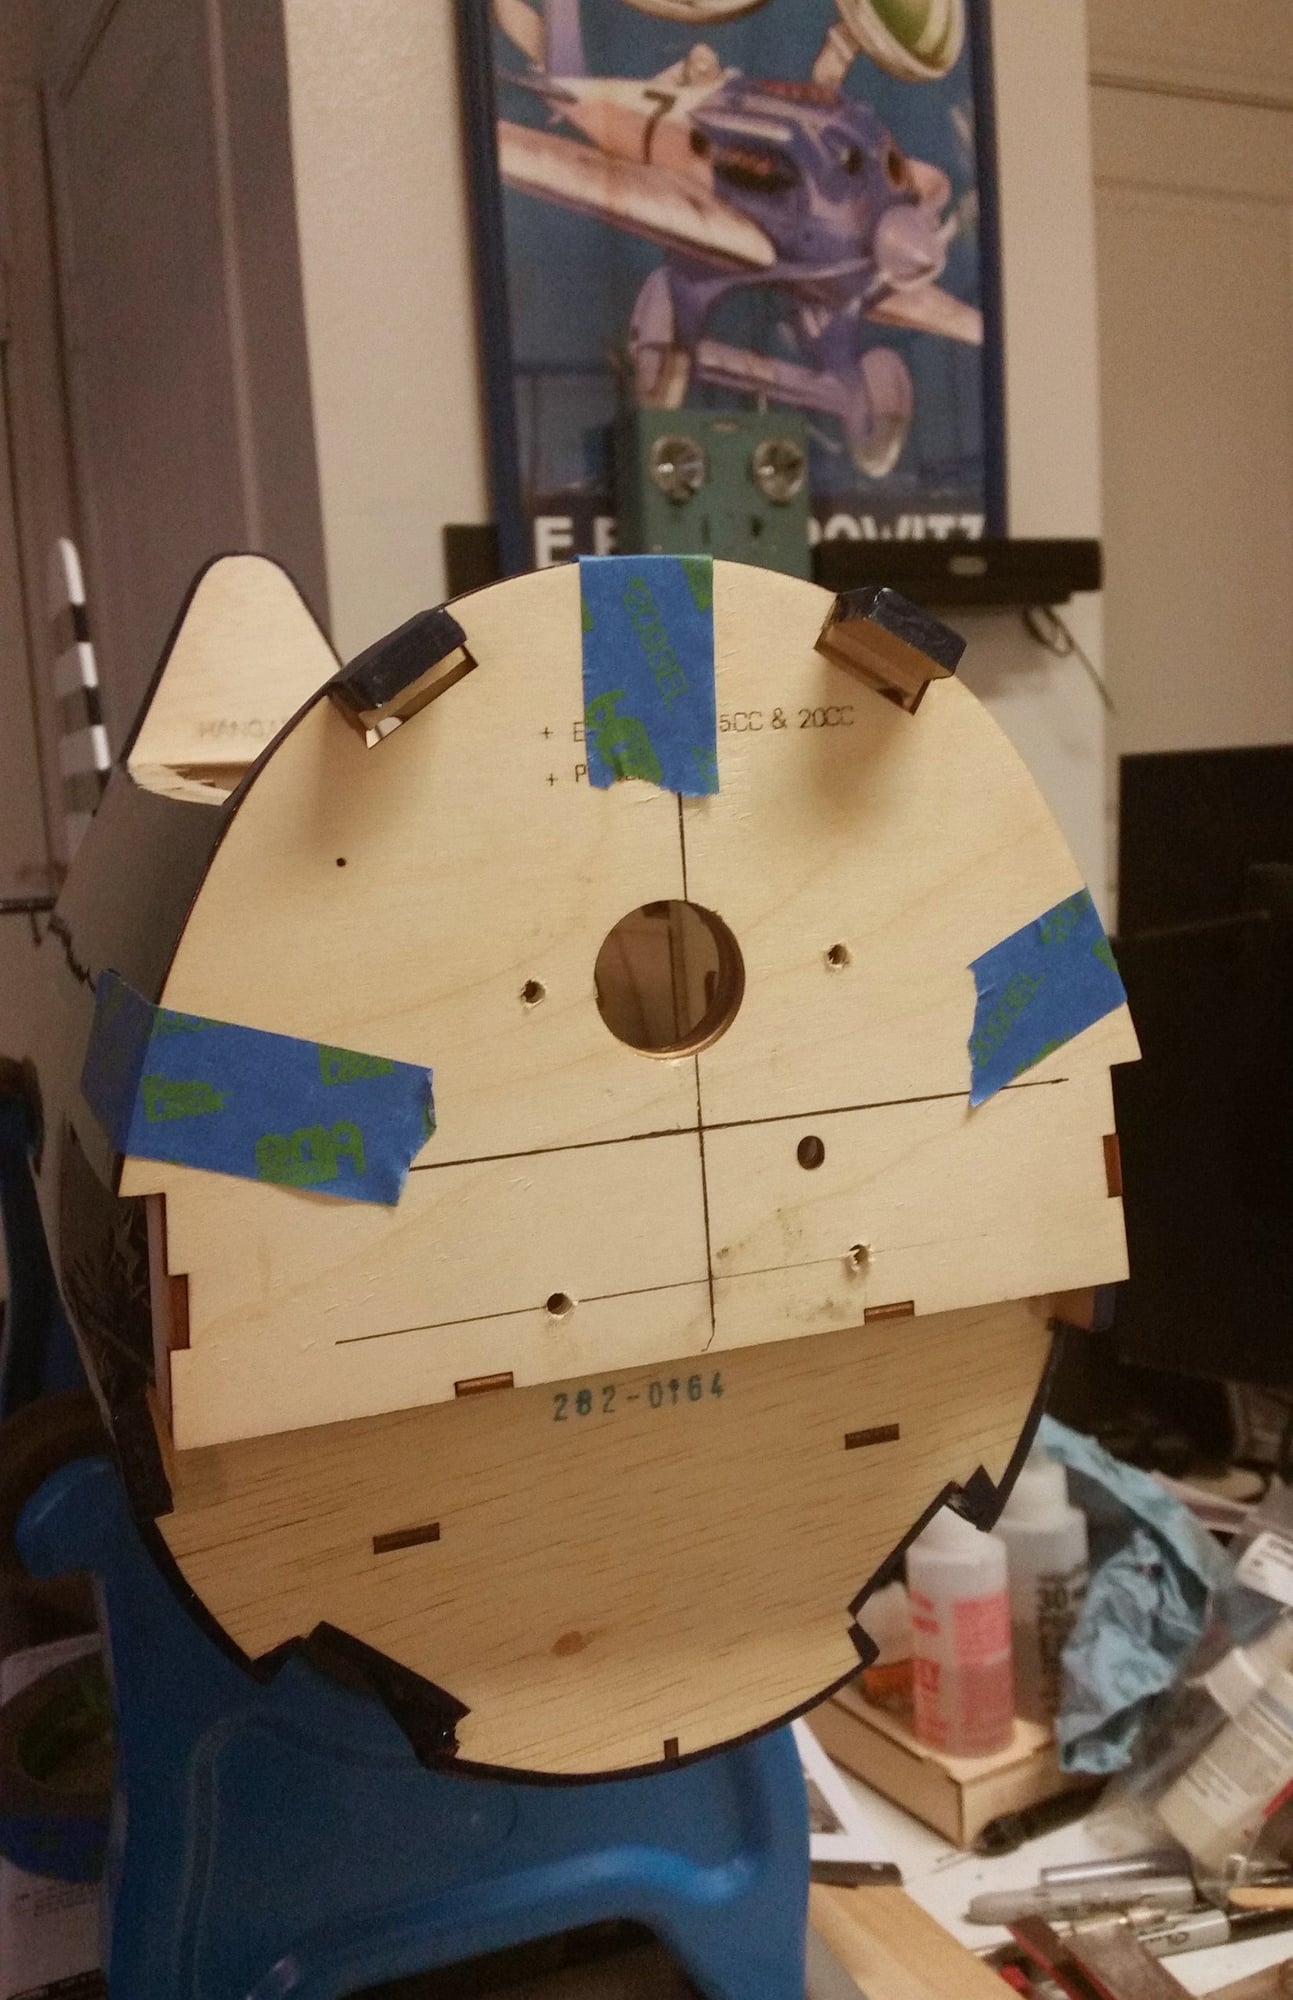
Used the template to drill the mounting holes for my engine.
I had to make some custom length spacers to get the Firewall-to-prop distance specified in the manual.
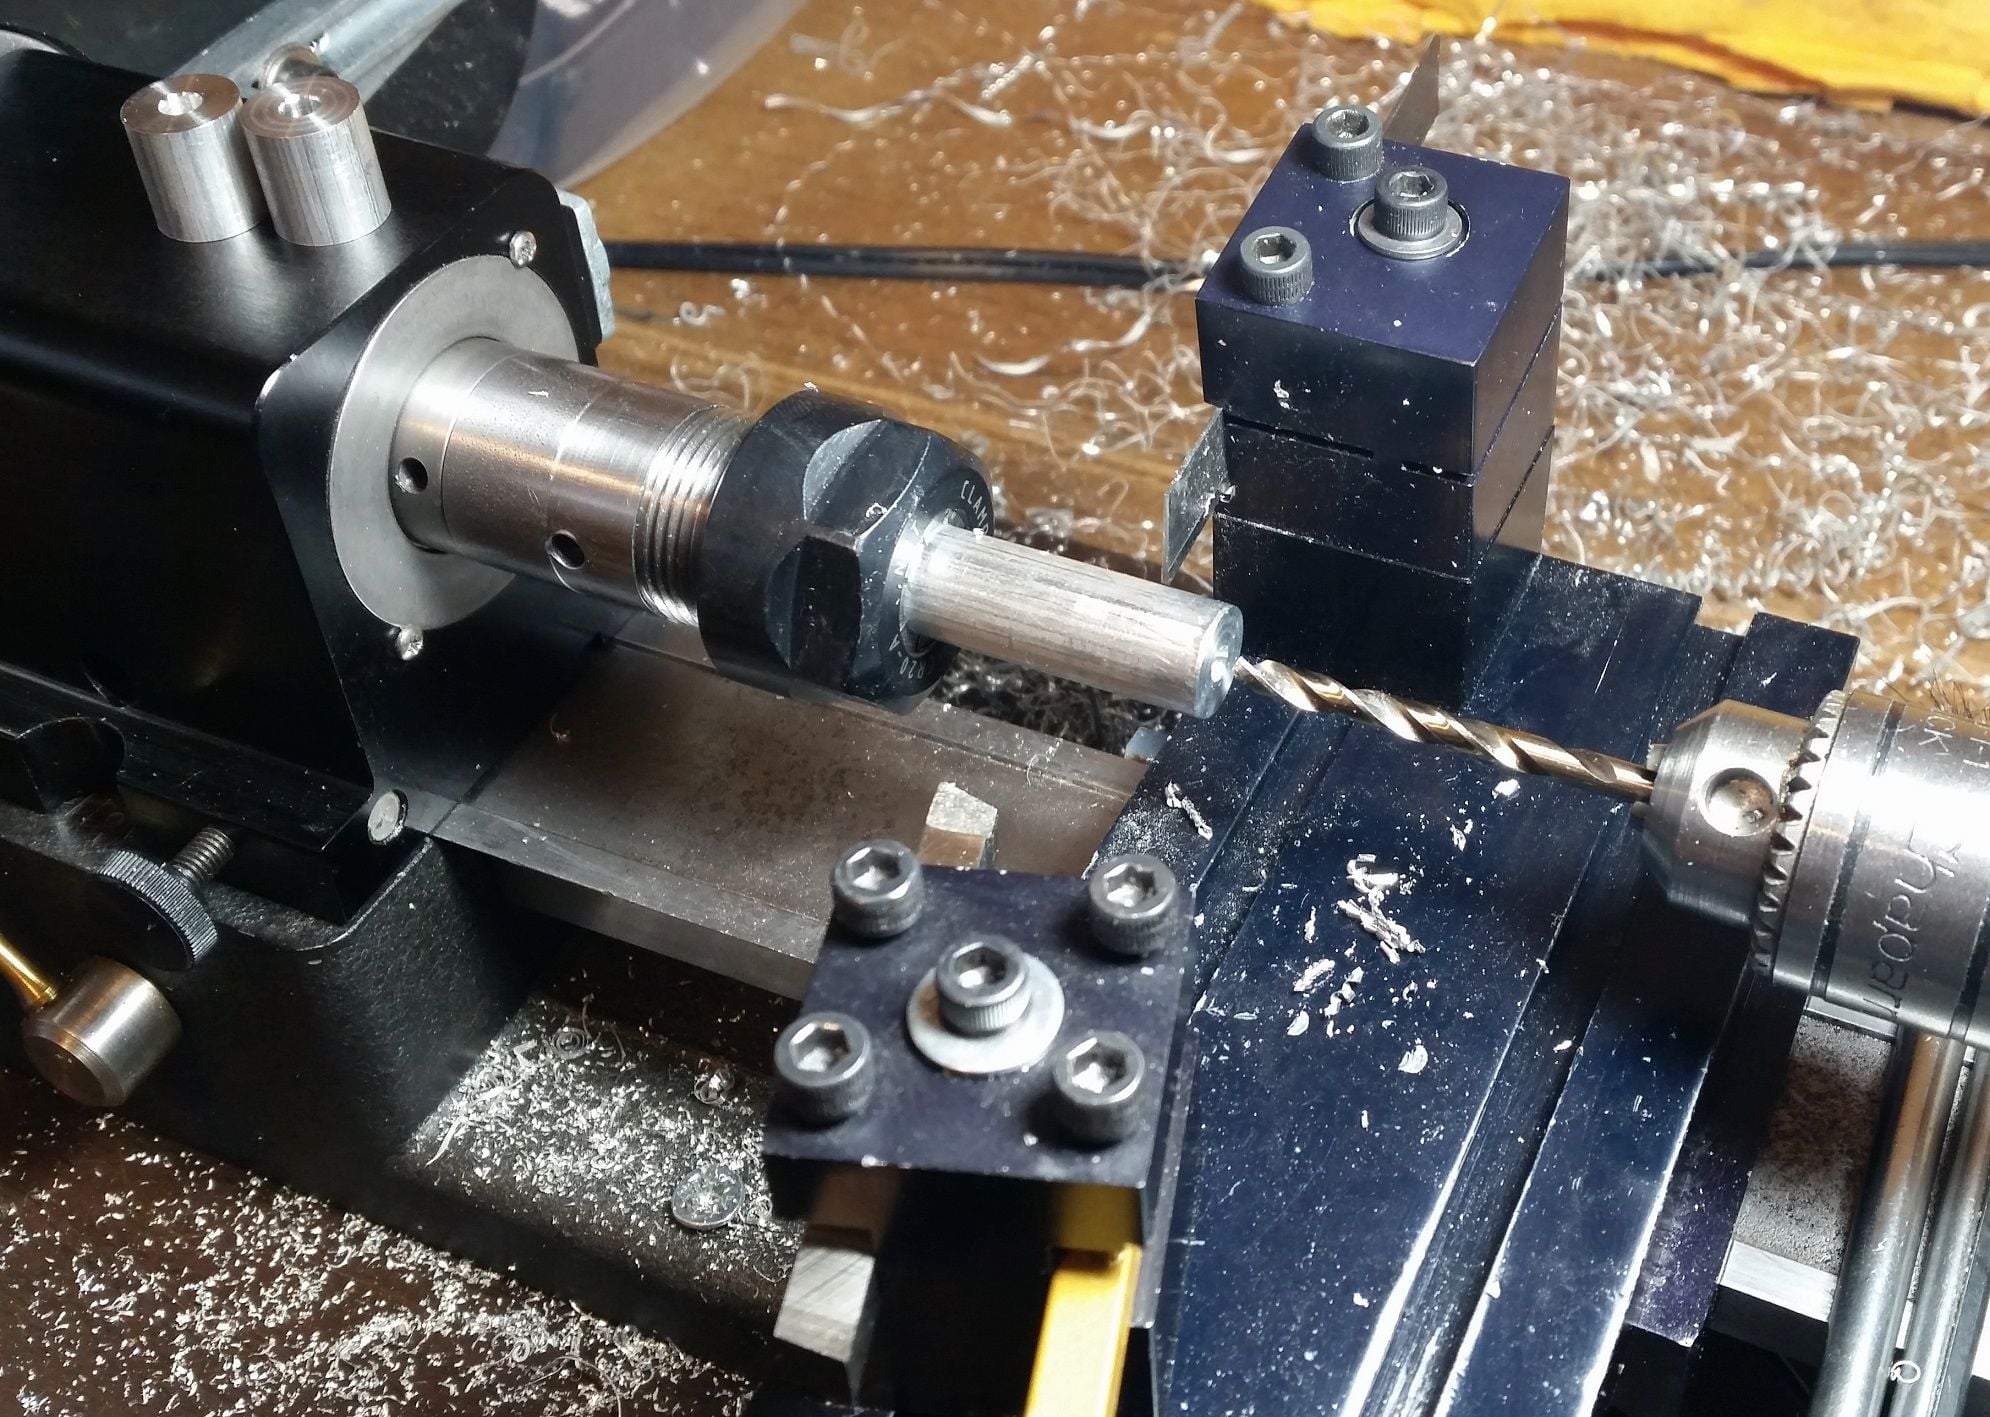
Making the engine mounting spacers. Nothing fancy, just functional.
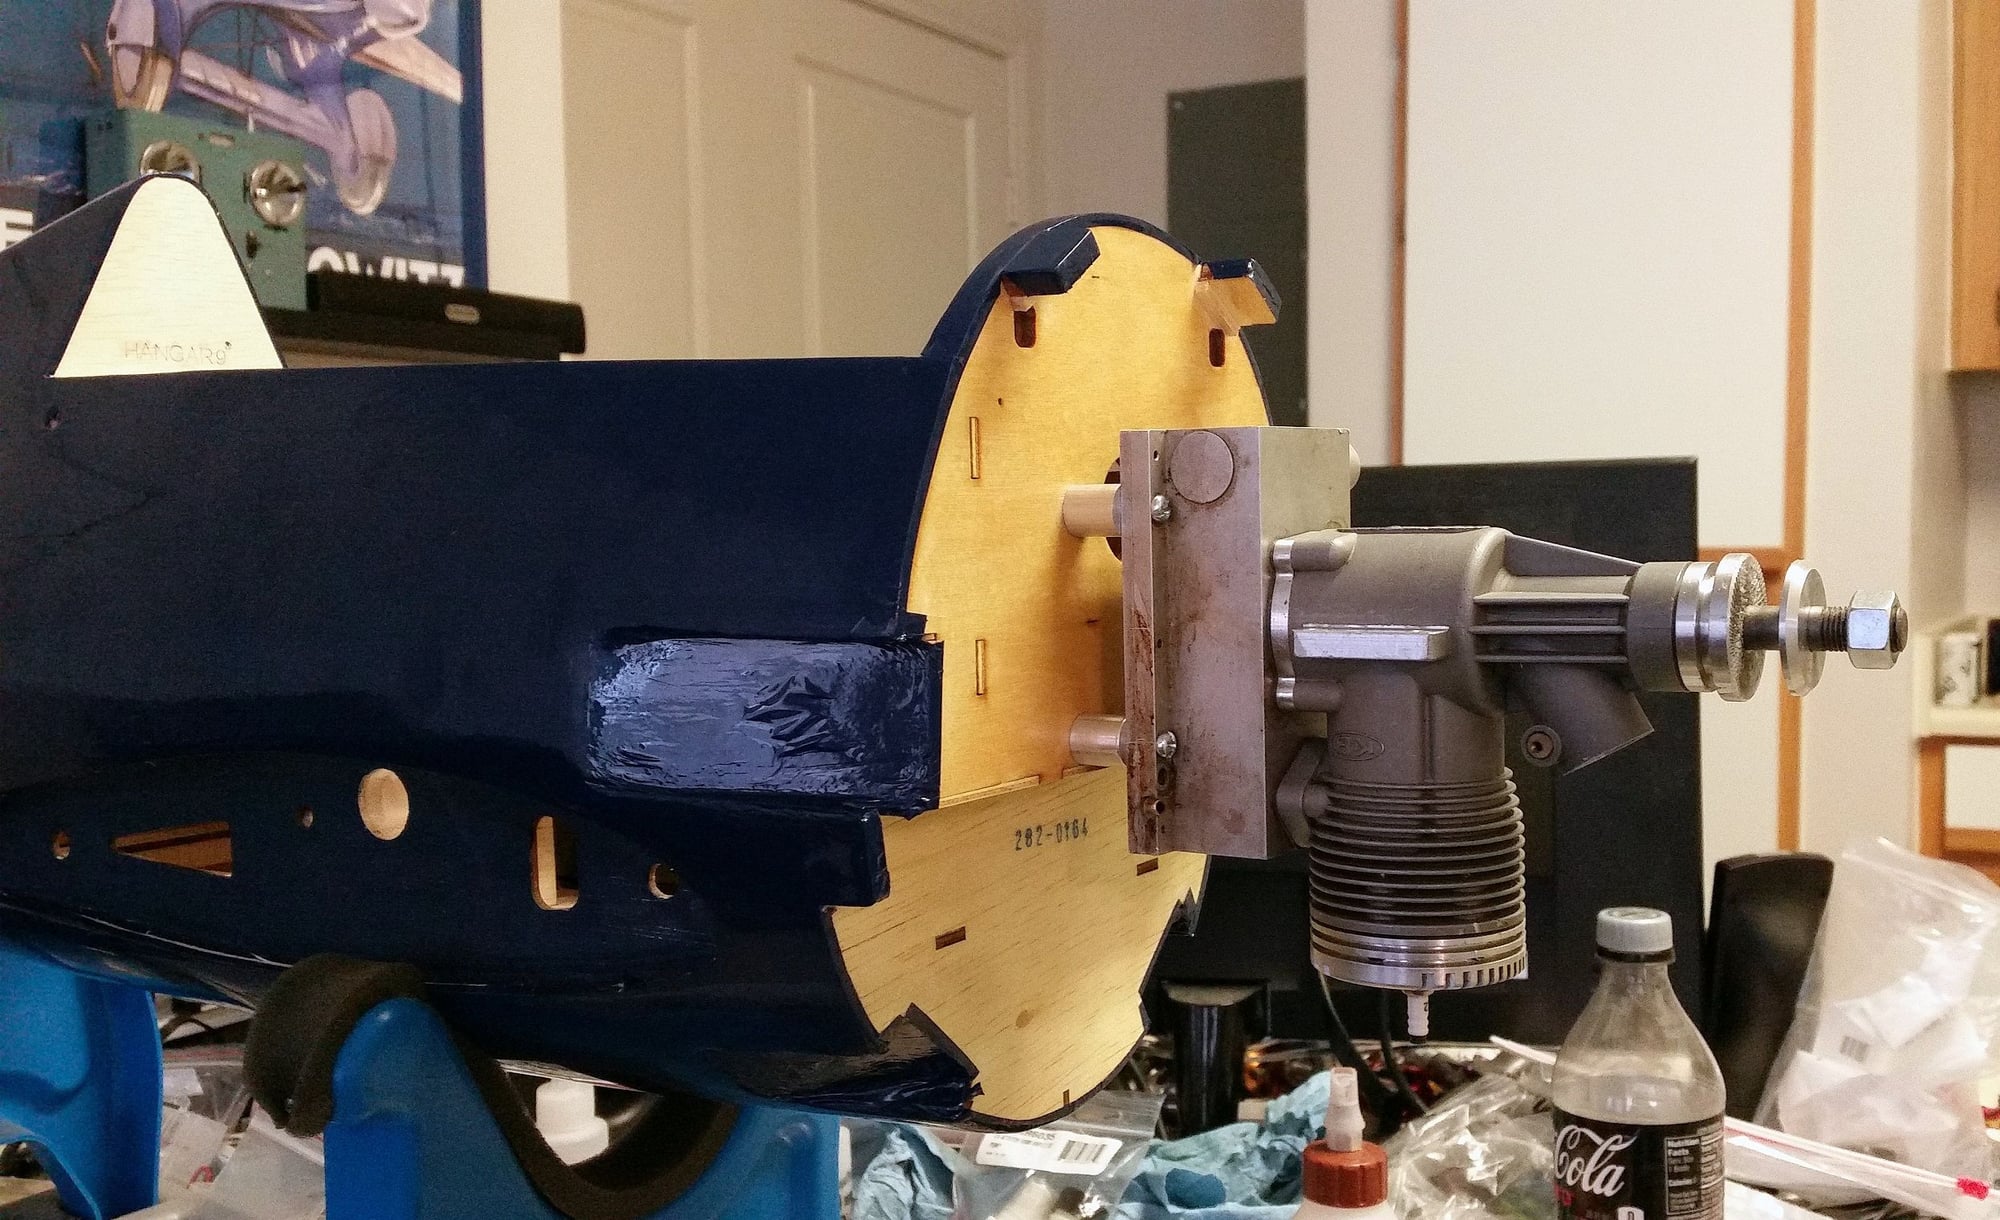
Fits perfectly!
Mike
Had to put a riser bend in the tail wheel pushrod.
Since I'm using a different engine than they intended, I extended the center lines and transferred the mounting holes for my engine. Then used the template to drill the holes.
Used the template to drill the mounting holes for my engine.
I had to make some custom length spacers to get the Firewall-to-prop distance specified in the manual.
Making the engine mounting spacers. Nothing fancy, just functional.
Fits perfectly!
Mike
08-03-2018, 10:48 PM
#12
My Feedback: (9)
Join Date: Jan 2002
Location: Copperas Cove, Tx.
Posts: 552
Likes: 0
Received 0 Likes
on
0 Posts
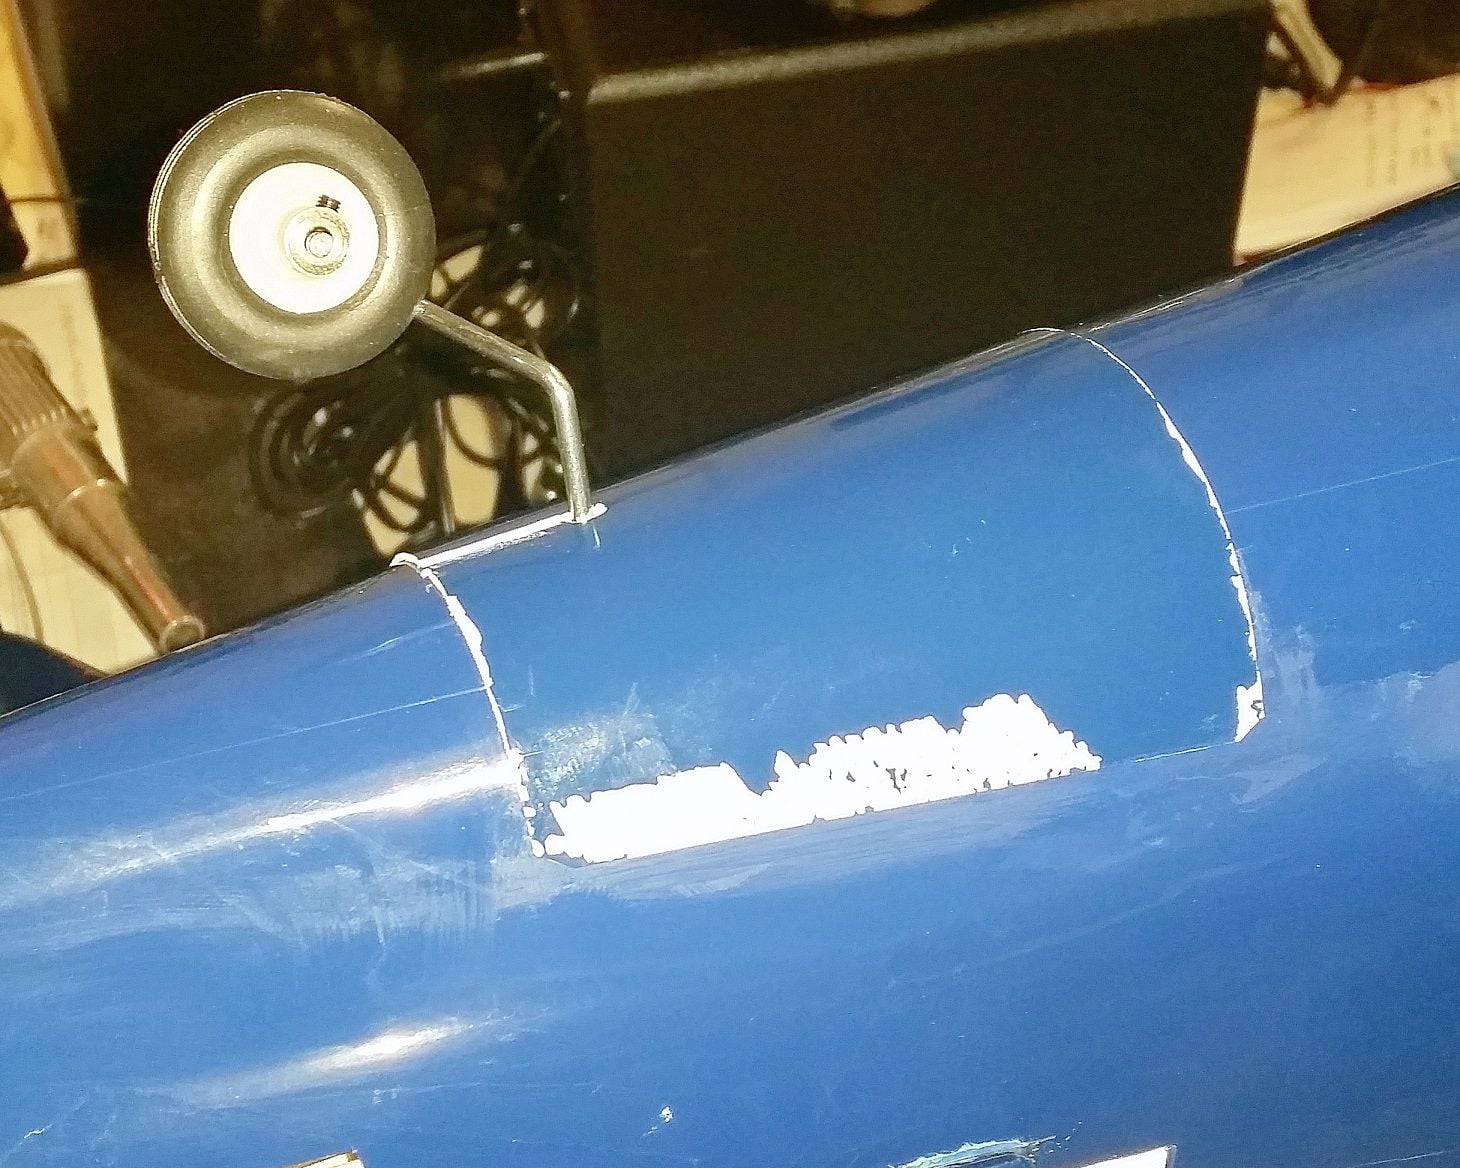
So I got the Tamiya paint in that Horizon recommends to touch up the plastic if the paint chips. Its a bit darker than the kit paint. Its really hard to get good pics in my shop so the camera makes it look worse than it is so it doesn't look that bad from a few feet away. I just touched up the edges and it kinda gives a weathered look like its a panel or something. At least on the side where I just needed to touch-up the edges. On the other side, the big missing paint blob where the tape pulled it off is still a bit unsightly. I guess we'll see what happens long term.
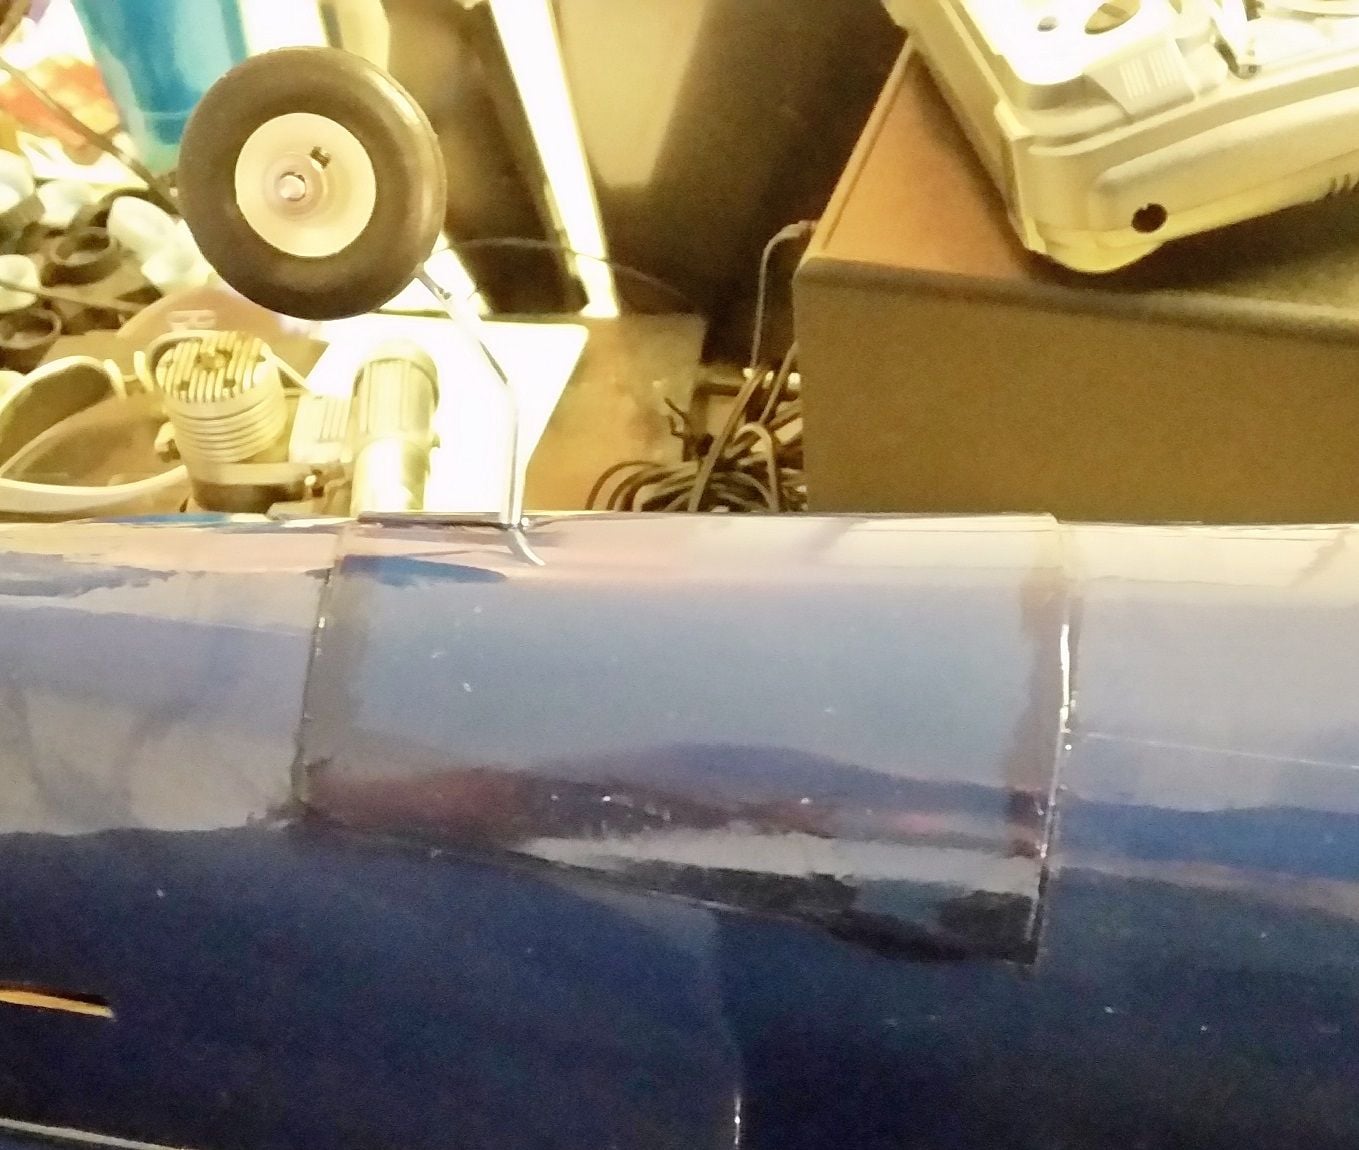
The Tamiya paint is darker so the big blob still stands out somewhat.

The touch-up around the edges doesn't look too bad. The camera makes it look more noticeable than it is.
Mike
The Tamiya paint is darker so the big blob still stands out somewhat.
The touch-up around the edges doesn't look too bad. The camera makes it look more noticeable than it is.
Mike
12-16-2018, 04:00 PM
#13
Join Date: Jun 2014
Posts: 62
Likes: 0
Received 0 Likes
on
0 Posts
just finished up mine yesterday. what an awesome plane. one of the best quality and shortest assembly times I've ever had  . Putting a DLE 20cc gas engine in it for power, so it should tare up the sky's when flying!! only 2 short coming's for this arf. First is the poor quality of the paint used on the plastic parts. I used rust-oleum "deep blue" spray paint and that seemed to fix that little problem. the second was the why they wanted you to attached the retract gear shaft to the wheel well cover. it just plain doesn't work and is a pretty poor why way to do it anyway. I fix it by make my own attachment system and that work great. take care fellow war bird pilots.
. Putting a DLE 20cc gas engine in it for power, so it should tare up the sky's when flying!! only 2 short coming's for this arf. First is the poor quality of the paint used on the plastic parts. I used rust-oleum "deep blue" spray paint and that seemed to fix that little problem. the second was the why they wanted you to attached the retract gear shaft to the wheel well cover. it just plain doesn't work and is a pretty poor why way to do it anyway. I fix it by make my own attachment system and that work great. take care fellow war bird pilots.
Last edited by jet jocky97; 12-16-2018 at 04:10 PM.
