


KAOS AND RELATED PLANES AND INFO
 02-19-2018, 09:54 AM
#1126

Vertical grimmace good looking wing core and airplane. You sure don't want to see my first attempt at cutting wings. Definitely a learning curve there. Wish I had more time to practice.
I have most of the fuselage glued together. I made my tail wheel assembly and here am checking the fit. The stem needs to be cut to size. I have it angled at 40*. I went with a bent design rather than a coiled gear. It should work good. Easy to change out if needed. The only major job still left is join the wing. Hope to get that done soon.
I have most of the fuselage glued together. I made my tail wheel assembly and here am checking the fit. The stem needs to be cut to size. I have it angled at 40*. I went with a bent design rather than a coiled gear. It should work good. Easy to change out if needed. The only major job still left is join the wing. Hope to get that done soon.
 02-21-2018, 08:43 AM
#1127
Major component building is over. Now the tedious work begins. It is starting to look like SOMEWHAT A KAOS. This is what a bunch of sticks flying in close formation looks like. Lol.
It came out exactly as I planned 76" WS 72" Length to tip of rudder. Total weight so far 3.6 pounds.
It came out exactly as I planned 76" WS 72" Length to tip of rudder. Total weight so far 3.6 pounds.
02-21-2018, 08:59 AM
#1128
The tail end. Looking good. When you stick build triangles are your friend. Placing the sticks in a triangle form adds lots of strength to the structure. The top will be covered with ⅛� balsa crosswise. The rest will be a covered frame. Not sure if iron-on or fabric and paint.
i need to make the front gear. I need clearance for a 14" prop. After that I'll look at an approximate CG.
i need to make the front gear. I need clearance for a 14" prop. After that I'll look at an approximate CG.

 02-21-2018, 02:57 PM
#1130
Thanks vasek. You have 20-20 vision. There is one other pin in the picture. See if you can find it. Will post location in the morning if not found. I use the pin with a string to measure and check things.
02-22-2018, 05:11 AM
#1133
Wow, I thought for sure someone would find that missing pin. I even looked at the picture very closely to make sure the pin is there before making the statement. Anyway, if you zoom in close on the blue tape over the firewall, you can make out the pin. It is well camouflaged but it is there. The edge of the tape is the center and there is the pin. Lol.
I glued the fuselage in 2 steps. First the parallel front forward of the wing saddle. Then the rear portion. I glued this part using a straight line on my building board and the string run from the center of the fire wall. The line showed me when the fuselage was straight. The string showed areas where the sides of the fuselage was off center. I then used weight to move it to center. It needed to be straight but also the sides square to the building board. Lots of weight on the sides. Once satisfied all looked good I cut the cross members to glue and hold it to shape. Here is a picture I took but did not post.
This new RCU program plus my very old iPad does not allow me to attach multiple pictures in one post. I'm limited to one picture per post. It is time for a new iPad. I have a computer, given to me not too long ago, but I have not learned using pictures yet.
02-23-2018, 04:39 PM
#1134
I made this little Mickey Mouse table years ago. I designed it to hold a water bucket for a water level. I used it to level a wood frame house for a lady and to level my foundation for my storage building that I built. So no real quality went into building the table. I've had it for a few years but never threw it away.
When I got back into RC I found a use for it building my airplanes. So here I have the fuselage level and am measuring clearance for my 14� prop. I have it set for 3� clearance on a 14� prop. Reading the engine manual I can also use a 15� prop so I may increase the height another 1.5-2 inches. There is a threaded handle under the airplane that allows me to raise or lower the table as needed. I think it goes up 12-14 inches. It is coming in handy for RC. Now I wish I had built it with a bit more quality.
With the measurement I have now I can make a sample landing gear to see how it would work. Once satisfied I can make the permanent landing gear. My gear will go on the fuselage. That way the fuselage can sit on its gear without a need for a holding cradle.
With the fuselage as set up, I came close to the printout plan I followed. I came in at 6� and I measured the printout plan at 5.75�. But the 15� prop will change all that.
02-24-2018, 03:59 PM
#1135
Today I decided to do a quality control check on this build. First I turned the fuselage over and leveled it. Then I fit the wing in the saddle and centered it with the marks I had next to the wing saddle. I measured from the tail center to each wing tip and was ⅝� off. I centered the wing until I had equal measurements to each wingtip. I also measured from each wing tip to the fuselage center. I got 38� which is one half the wing span. I then made alignment mark on the wing and the fuselage for future use. Then I measured from each wingtip to the ground. I was just �� off. So not too bad. I checked the wing saddle to wing surface and had a nice tight fit. Finally I checked the biggie; wing incidence. What a surprise when I got a 0 reading on each side. Not bad. The plan calls for �* positive incidence.
Then I turned the fuselage right side up and leveled it. I placed the horizontal stabilizer in position. I measured from the firewall and it was dead equal measurements to each tip. I measured from tip to ground and again dead equal measurements. Overall I'm a happy camper with this build.
Then I turned the fuselage right side up and leveled it. I placed the horizontal stabilizer in position. I measured from the firewall and it was dead equal measurements to each tip. I measured from tip to ground and again dead equal measurements. Overall I'm a happy camper with this build.
03-03-2018, 04:51 AM
#1137
I haven't worked on the Kaos lately. I gave it a lot of attention during our rainy period. Now that is over and I have to work on a farm mower. I have to replace and weld in a new top plate cover. It has been taking up most of my time. I need to get this repair done. The grass is starting to grow high.
I'm at the point, on the Kaos, that I need to join the wing to the fuselage. Then I can do a CG check before proceeding. So the build will be on a back burner for now. I'll get to work on it on any rainy days ahead. Will post if any major progress.
I'm at the point, on the Kaos, that I need to join the wing to the fuselage. Then I can do a CG check before proceeding. So the build will be on a back burner for now. I'll get to work on it on any rainy days ahead. Will post if any major progress.
03-16-2018, 04:36 AM
#1138
Not a lot of forum activity here but many views. So I thought I'd update what I am doing and need to finish before getting back on the Kaos.
Here is the start of the work. Remove the stump jumper and blades. Then remove the gearbox and bolted on super structure. Zooming in close you can see the holes in the top plate. Mostly at the front. Dangerous to use in this condition.
Found new things added to RCU. But I still can only attach one picture to a post. A few more pictures to follow.
03-16-2018, 05:01 AM
#1142
Trial fit of the parts. I need to cut the two angle pieces in the rear and an opening for the gearbox. I figure maybe one more week to finish.
I never got to work on the Kaos at the same time. Just too many tools and parts in my way to adequately work on the Kaos. Hopefully in a week I can start to finish the build.
03-18-2018, 03:55 PM
#1143
There is light at the end of the tunnel. Worked hard yesterday. I didn't have any new primer so I brushed on some old primer. Rain was coming and it needed some protection. Worked out good. Found watered beading up on it today.
This plate weighs around 200 lbs. I needed a �� spacing all around except up front. Working alone you have to be inventive. So I placed the plate on those ball bearing rollers you see at rear. With that I was able to easily move the plate into position. I recommended those rollers to a member here who want to make an inexpensive slide out tray for transporting airplanes.
Maybe 3-4 days I'll have the mower ready. Then Kaos time. Kaos in more ways than one. Lol.
I see they have changed how pictures are attached. Will have to see how this works out. Always something new here. Last change I lost the ability to attach more than one picture to a post
03-18-2018, 04:08 PM
#1144

I tried to change some words in previous post but somehow the window to make changes was all screwed up. Some of my sentences were missing. So I posted it to see how it would display.
Found some time to finally do RC work. The tail on this airplane that I pictured when I joined this thread had too much white on the vertical stabilizer. So I added a name. Looks good to me. But I see I need white strips where the stabilizers are glued to the tail area. Forgot about those but easy to do.
03-19-2018, 08:33 AM
#1146

Join Date: Dec 2016
Posts: 62
Likes: 0
Received 0 Likes
on
0 Posts
That seems to be a big thing when programmers do things!! I am a retired Electronic Engineer and did the hardware in systems. Then I had to deal with how the engineers programmed it. They DO NOT think like normal people!! Take Windows operating system for instance. Every new version made changes that probably seemed like good ideas to the programmers but confused the hell out of the average user!! You had to learn how to do something you thought was easy and had been doing for years.. Thank you MicroShaft!!! And now it seems, Thank you RCUniverse!! LOL
You will learn it and I am sure you are not the only one. Your mower looks great and the mod to the existing airplane looks good too. I need to learn to do trim on monokote a bit better. I did it on the last airplane I built, the first one I had built in over 17 years, as I was out of the hobby and I did well in some places, not so well in others...
Need to show it... Yeah not a Kaos but that is my next build...
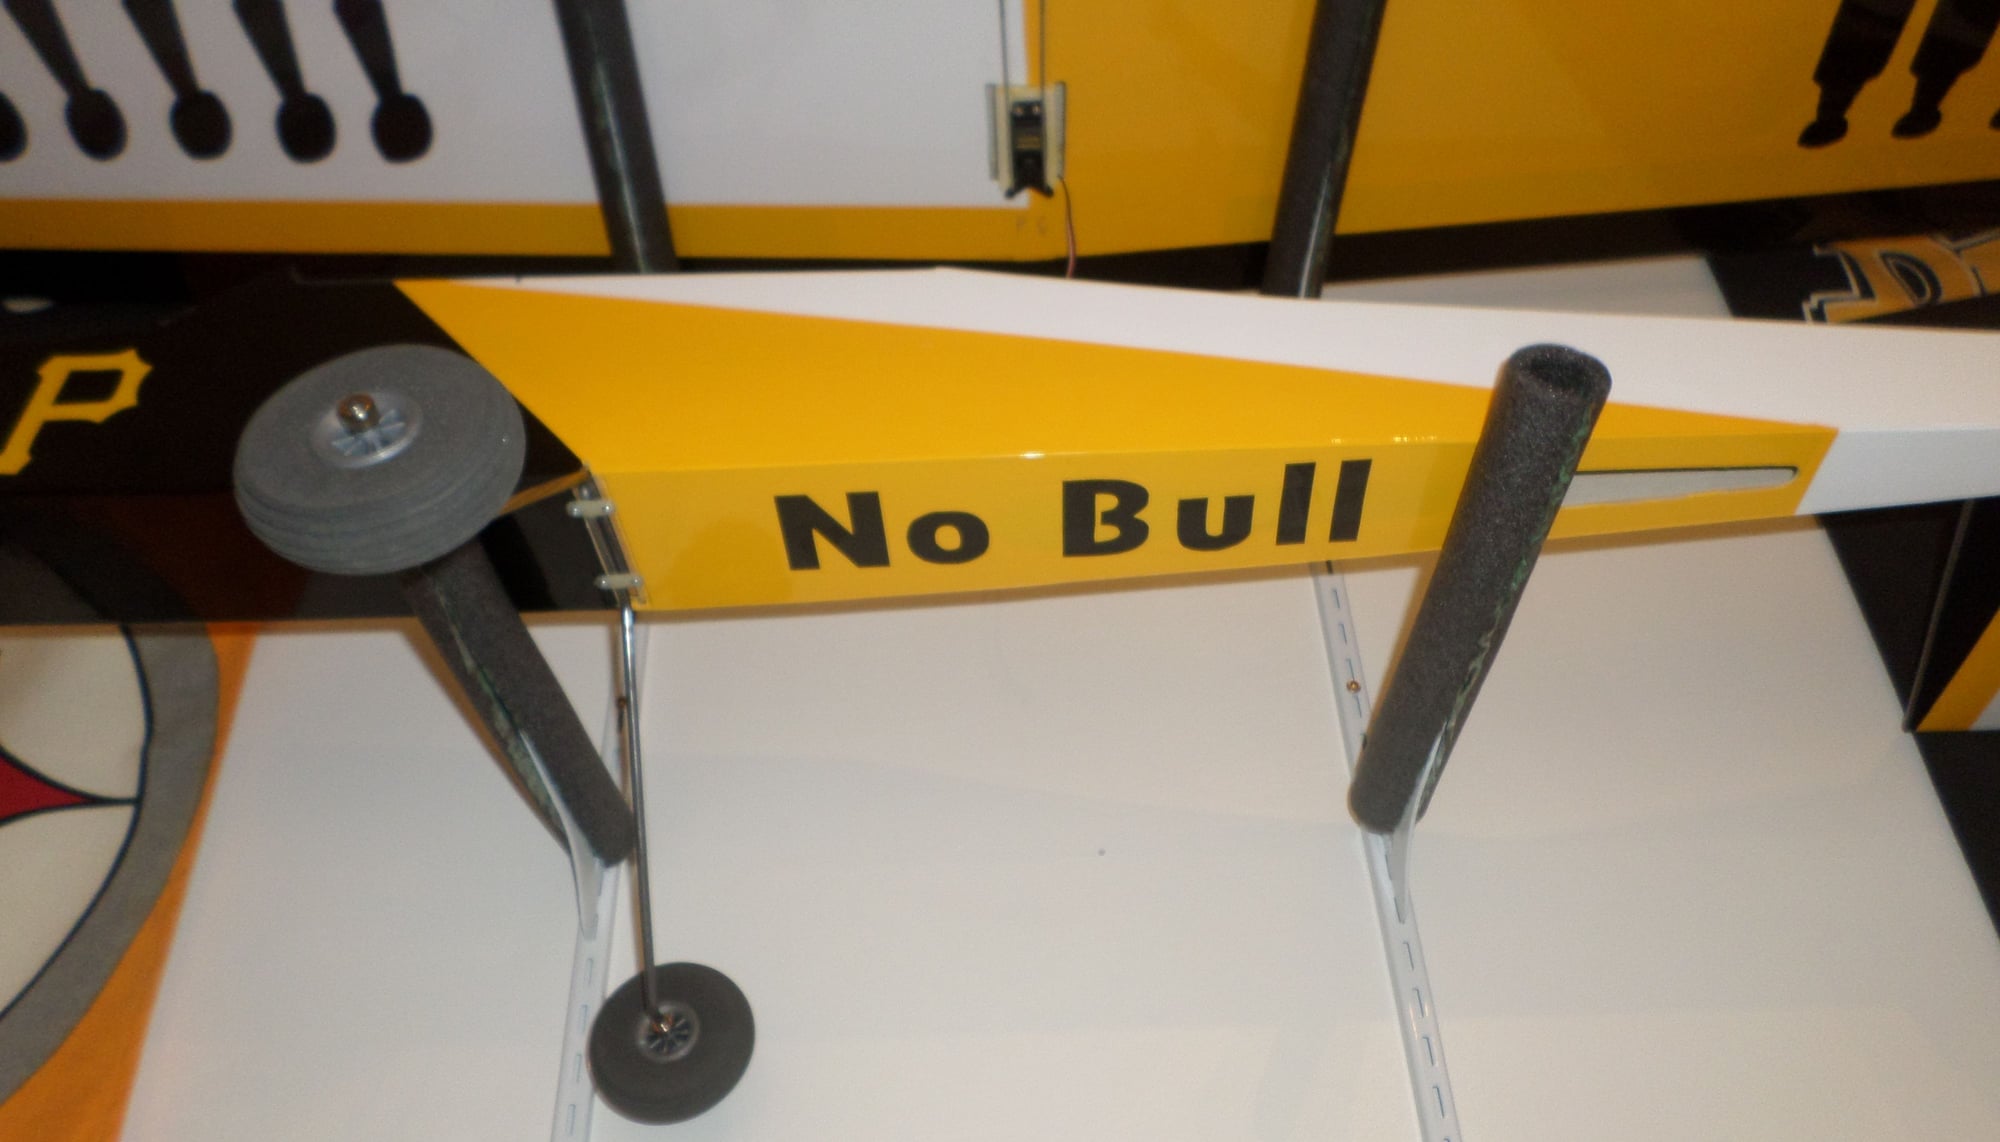
I am just so tired of RED BULL everything!!

I grew up around Pittsburgh if you couldn't tell..
You will learn it and I am sure you are not the only one. Your mower looks great and the mod to the existing airplane looks good too. I need to learn to do trim on monokote a bit better. I did it on the last airplane I built, the first one I had built in over 17 years, as I was out of the hobby and I did well in some places, not so well in others...
Need to show it... Yeah not a Kaos but that is my next build...
I am just so tired of RED BULL everything!!
I grew up around Pittsburgh if you couldn't tell..
Last edited by kablake; 03-19-2018 at 08:40 AM.
03-19-2018, 04:16 PM
#1148
If you think Windows is bad, try Apple, every update is different like you said, but worse of all is it don't save anything like passwords and such. "Hi, welcome to I-pad let's get started...." Every update!
Skyhawk
Skyhawk
03-22-2018, 11:01 AM
#1149
Kablake you did a nice job on that airplane. I've always been a fabric and paint builder. I've only covered 2 planes with iron on covering. Learning more about graphics..
Well, I replied to another thread and found with this new RCU update I, now, can post more than one picture per post. So that is good.
Have had had all kinds of problems getting my mower finished. Had some other equipment to repair. Then my auto darkening welding helmet went bust. I had to go out and buy another one. Getting ready to start welding today. I'll be glad when this mower repair is over.
With the little time I can devote to RC I am finishing up that airplane I pictured. Today I wanted to install the engine. I took an engine I had on my engine test stand thinking that was the engine for this model. Wrong, it was not the one. So I had to look all around the shop for the correct engine. I finally found the engine I needed but ran out of RC time. So engine install left for another time. I'm trying to get all my airplanes ready for maiden flights this season. Will have 5 airplanes to fly.


