Don Muddiman Flying Machine
 11-29-2015, 05:28 PM
#876
Senior Member
My Feedback: (14)
I first saw it flown by Don in 1983 down in Florida, and wanted one ever since. Purchased the short kit from him in 2010.....
THIS THING IS A FLYING MONSTER .....HOLY MACARONI......The Flying Machine is FANTASTIC!! This little 4 pound powerhouse does EVERYTHING your fingers can do. Does so many Snap Rolls they can't be counted. Pulls about 50 G's...EASILY and stays in one piece!!
This air frame IS NOT for the timid or the "faint at heart" RC Pilot, but certainly a winner in my book!!
smile emoticon
smile emoticon
 11-30-2015, 06:02 AM
#877

My Feedback: (36)
Nice scheme! What's the bottom look like? Bet that looks good in the air.
Lom
Lom
I first saw it flown by Don in 1983 down in Florida, and wanted one ever since. Purchased the short kit from him in 2010.....
THIS THING IS A FLYING MONSTER .....HOLY MACARONI......The Flying Machine is FANTASTIC!! This little 4 pound powerhouse does EVERYTHING your fingers can do. Does so many Snap Rolls they can't be counted. Pulls about 50 G's...EASILY and stays in one piece!!
This air frame IS NOT for the timid or the "faint at heart" RC Pilot, but certainly a winner in my book!!
smile emoticon
smile emoticon
THIS THING IS A FLYING MONSTER .....HOLY MACARONI......The Flying Machine is FANTASTIC!! This little 4 pound powerhouse does EVERYTHING your fingers can do. Does so many Snap Rolls they can't be counted. Pulls about 50 G's...EASILY and stays in one piece!!
This air frame IS NOT for the timid or the "faint at heart" RC Pilot, but certainly a winner in my book!!
smile emoticon
smile emoticon
11-30-2015, 04:51 PM
#880
My Feedback: (36)
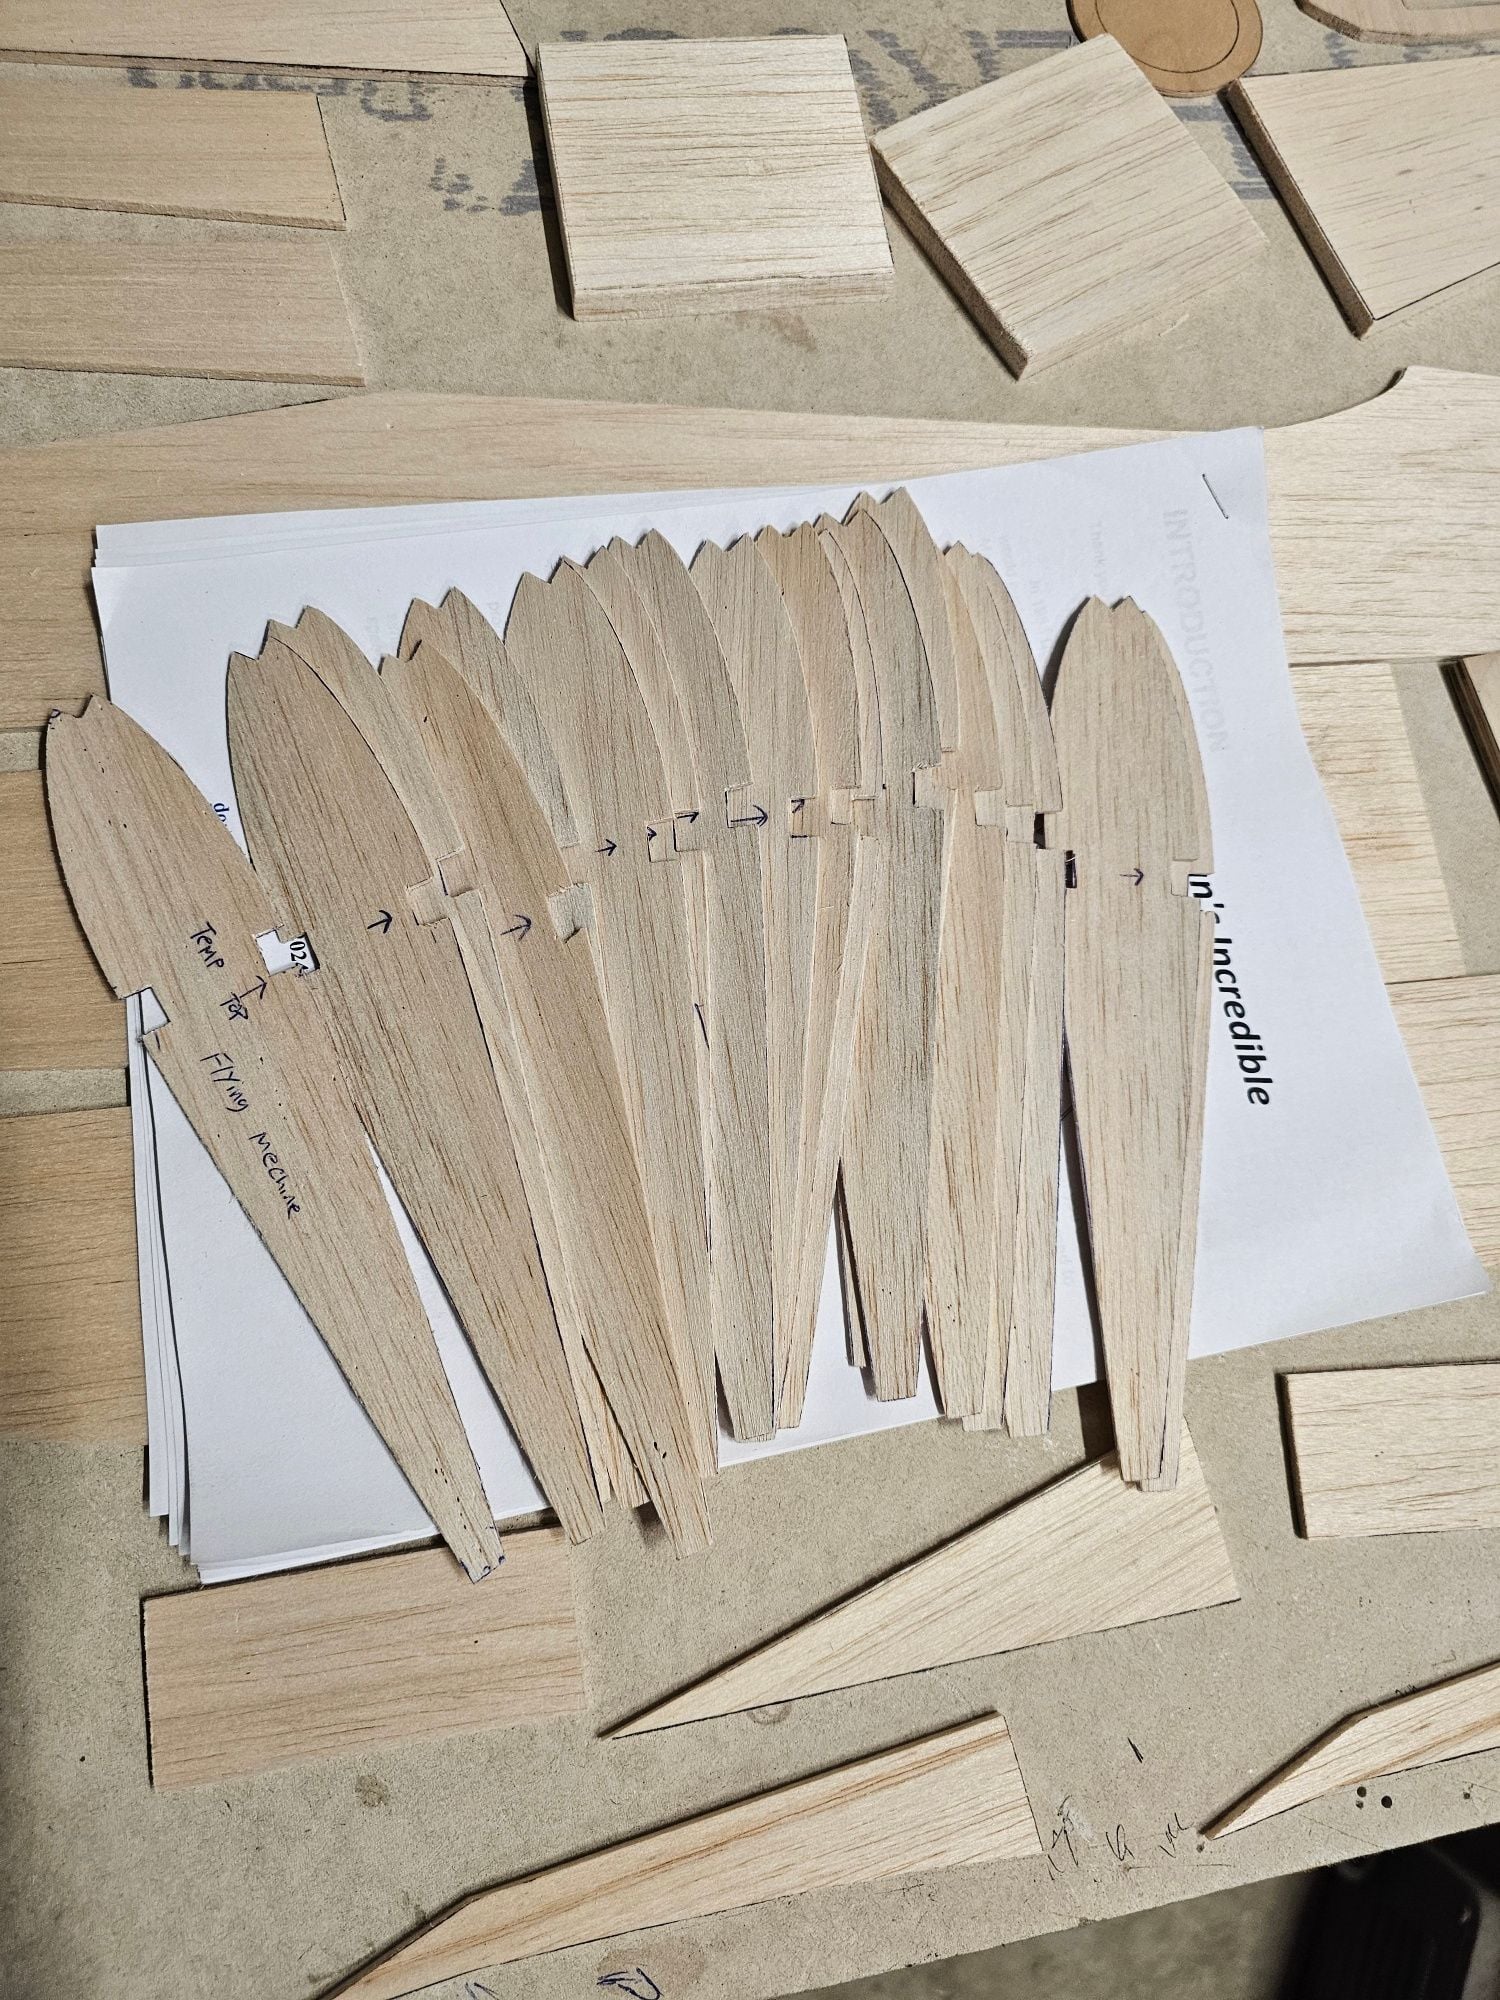
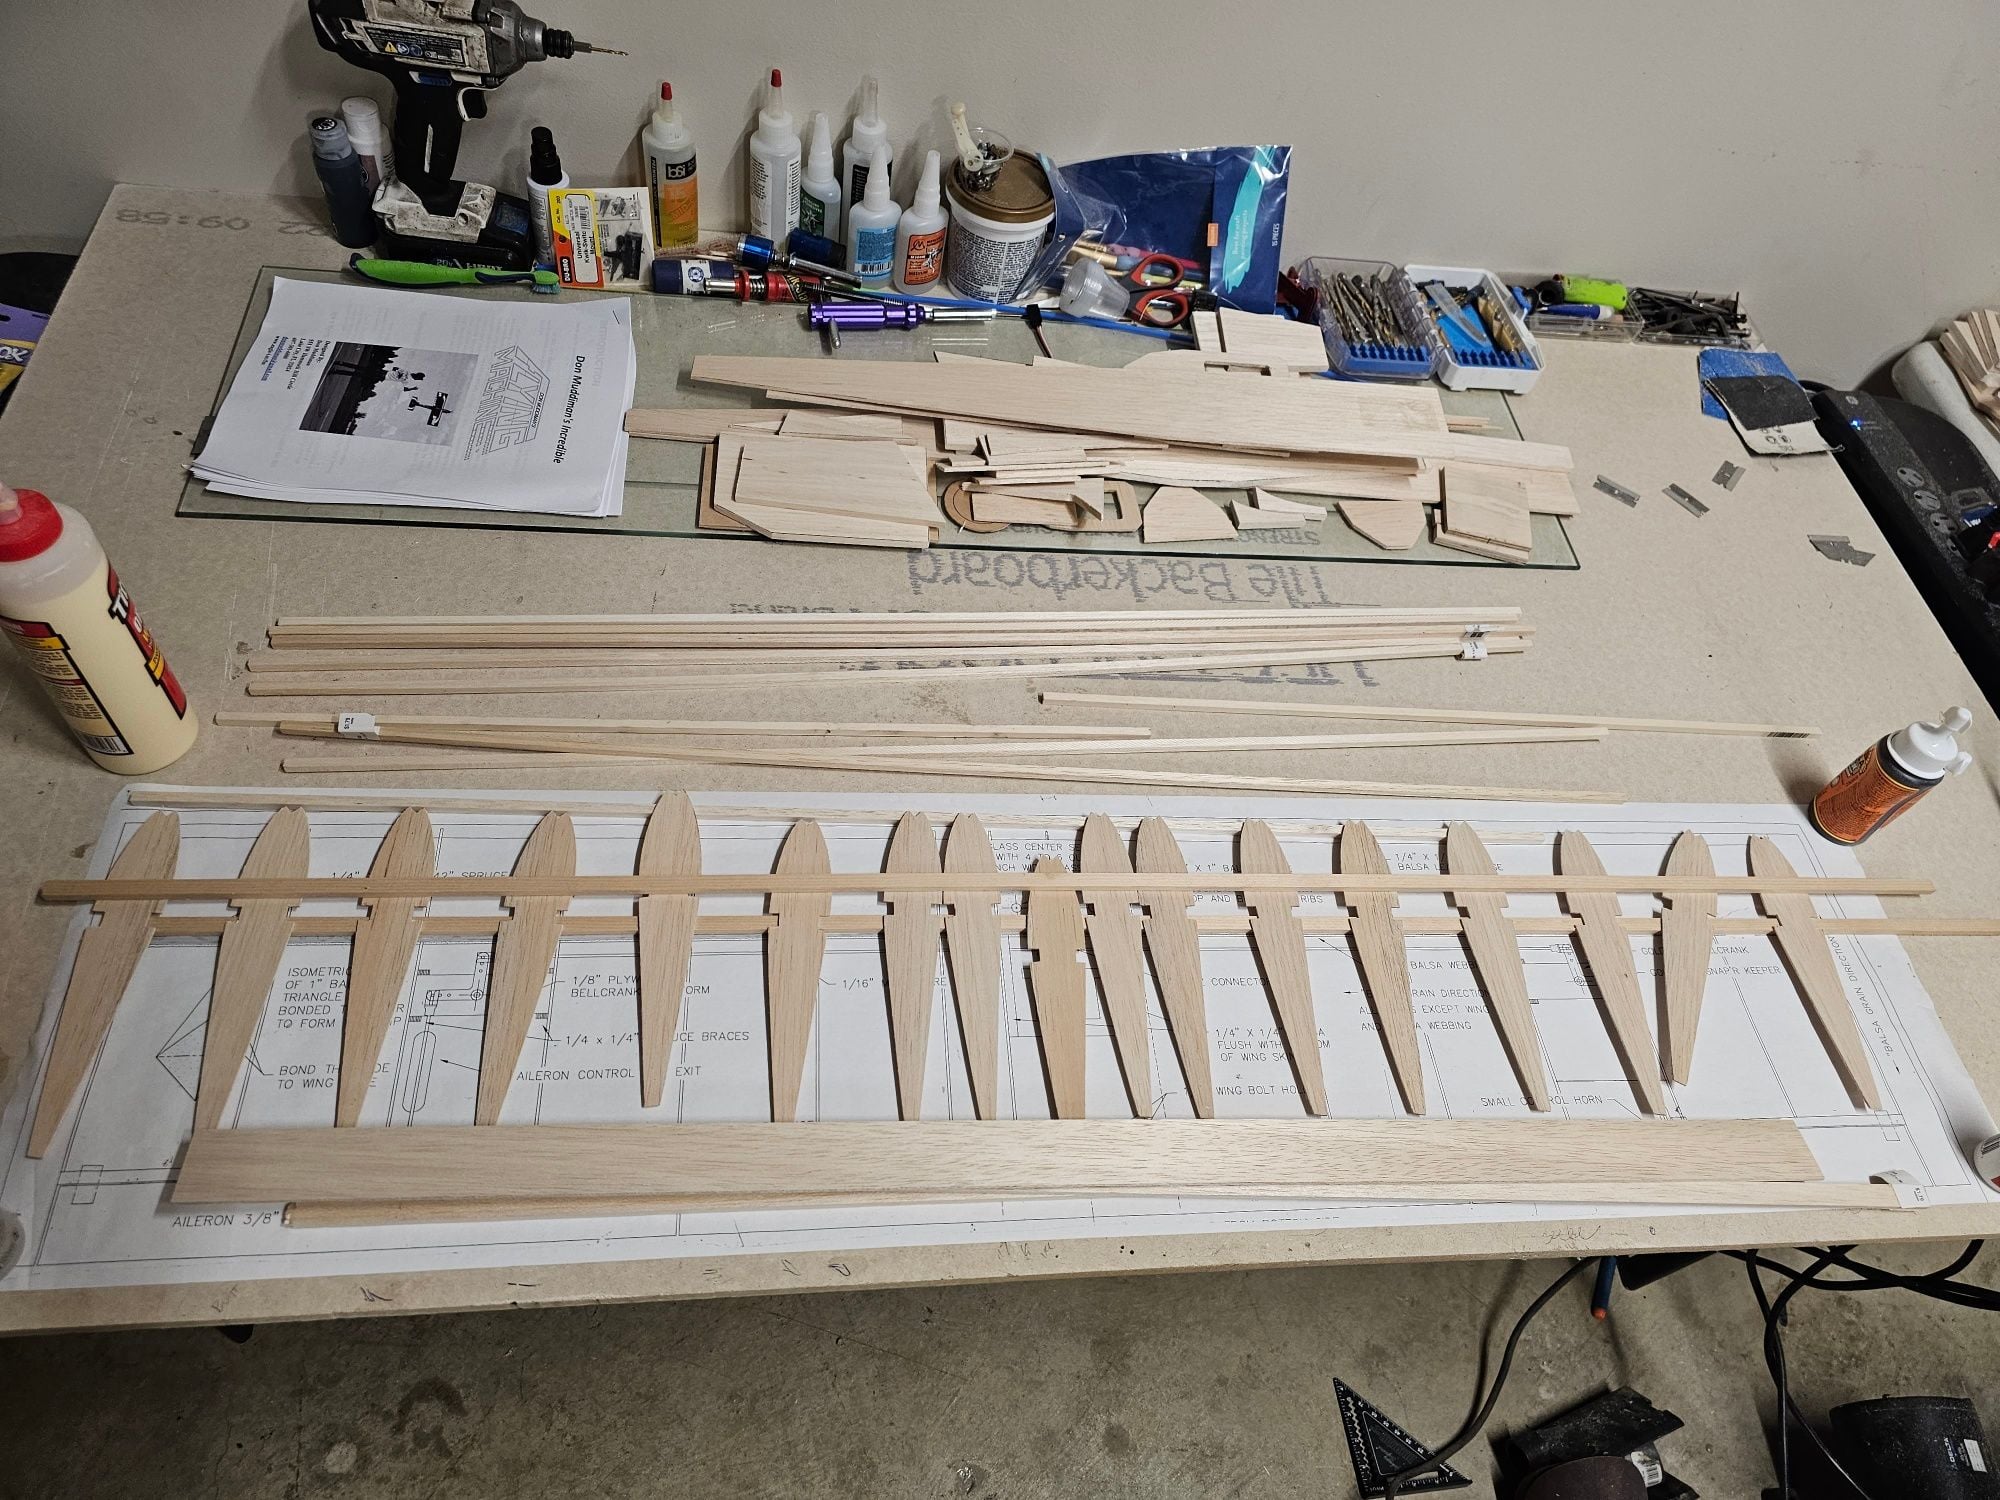
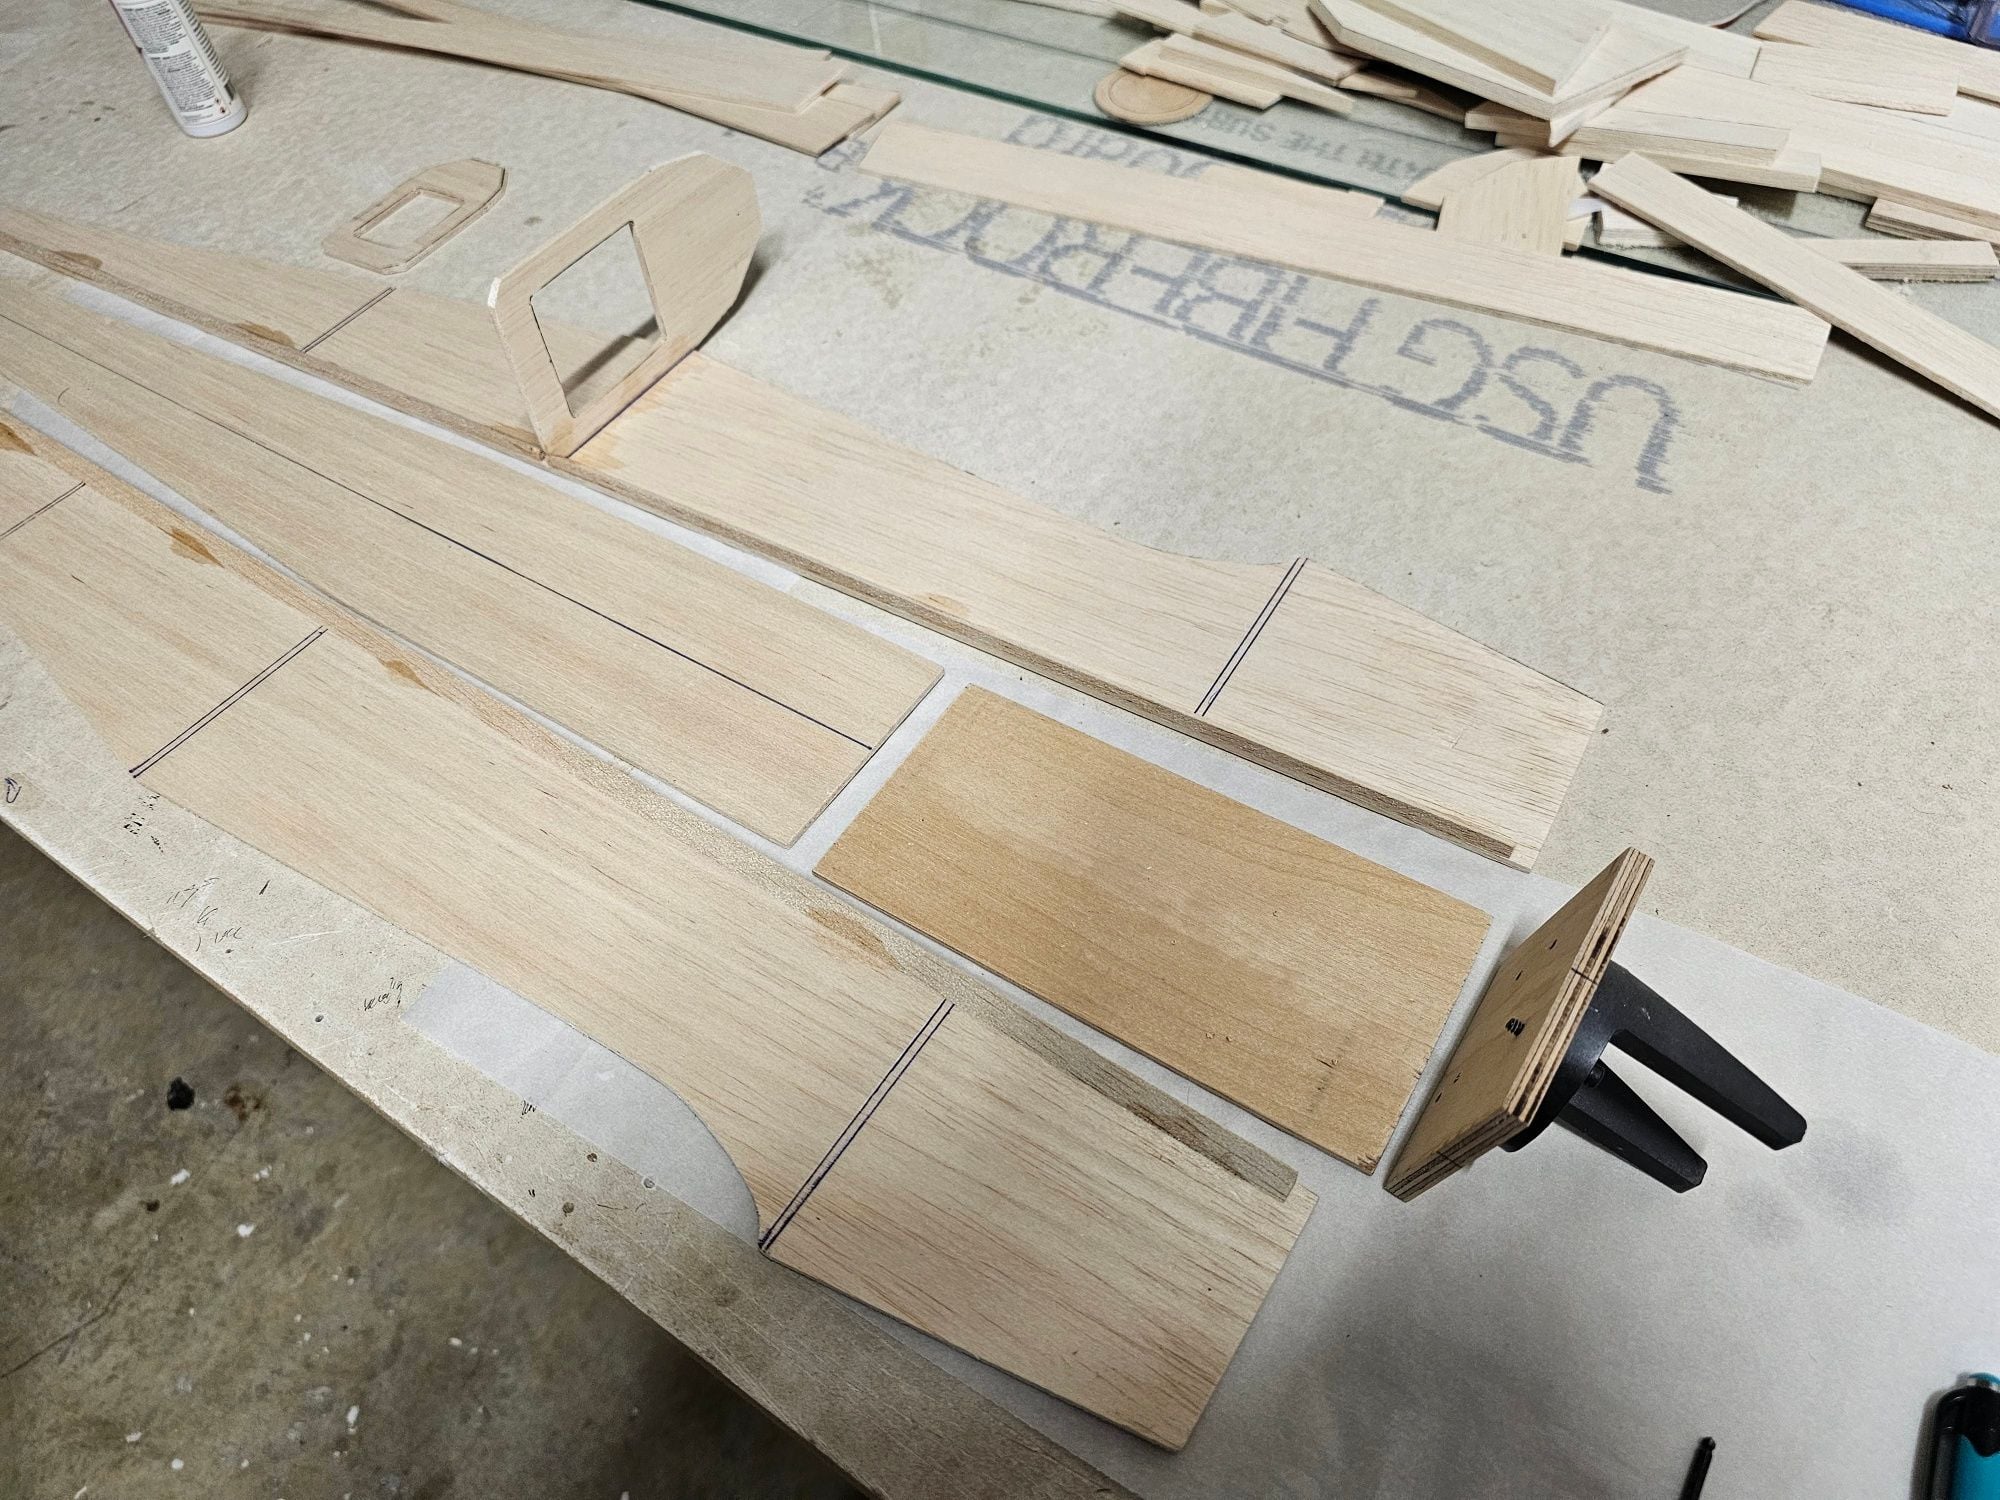
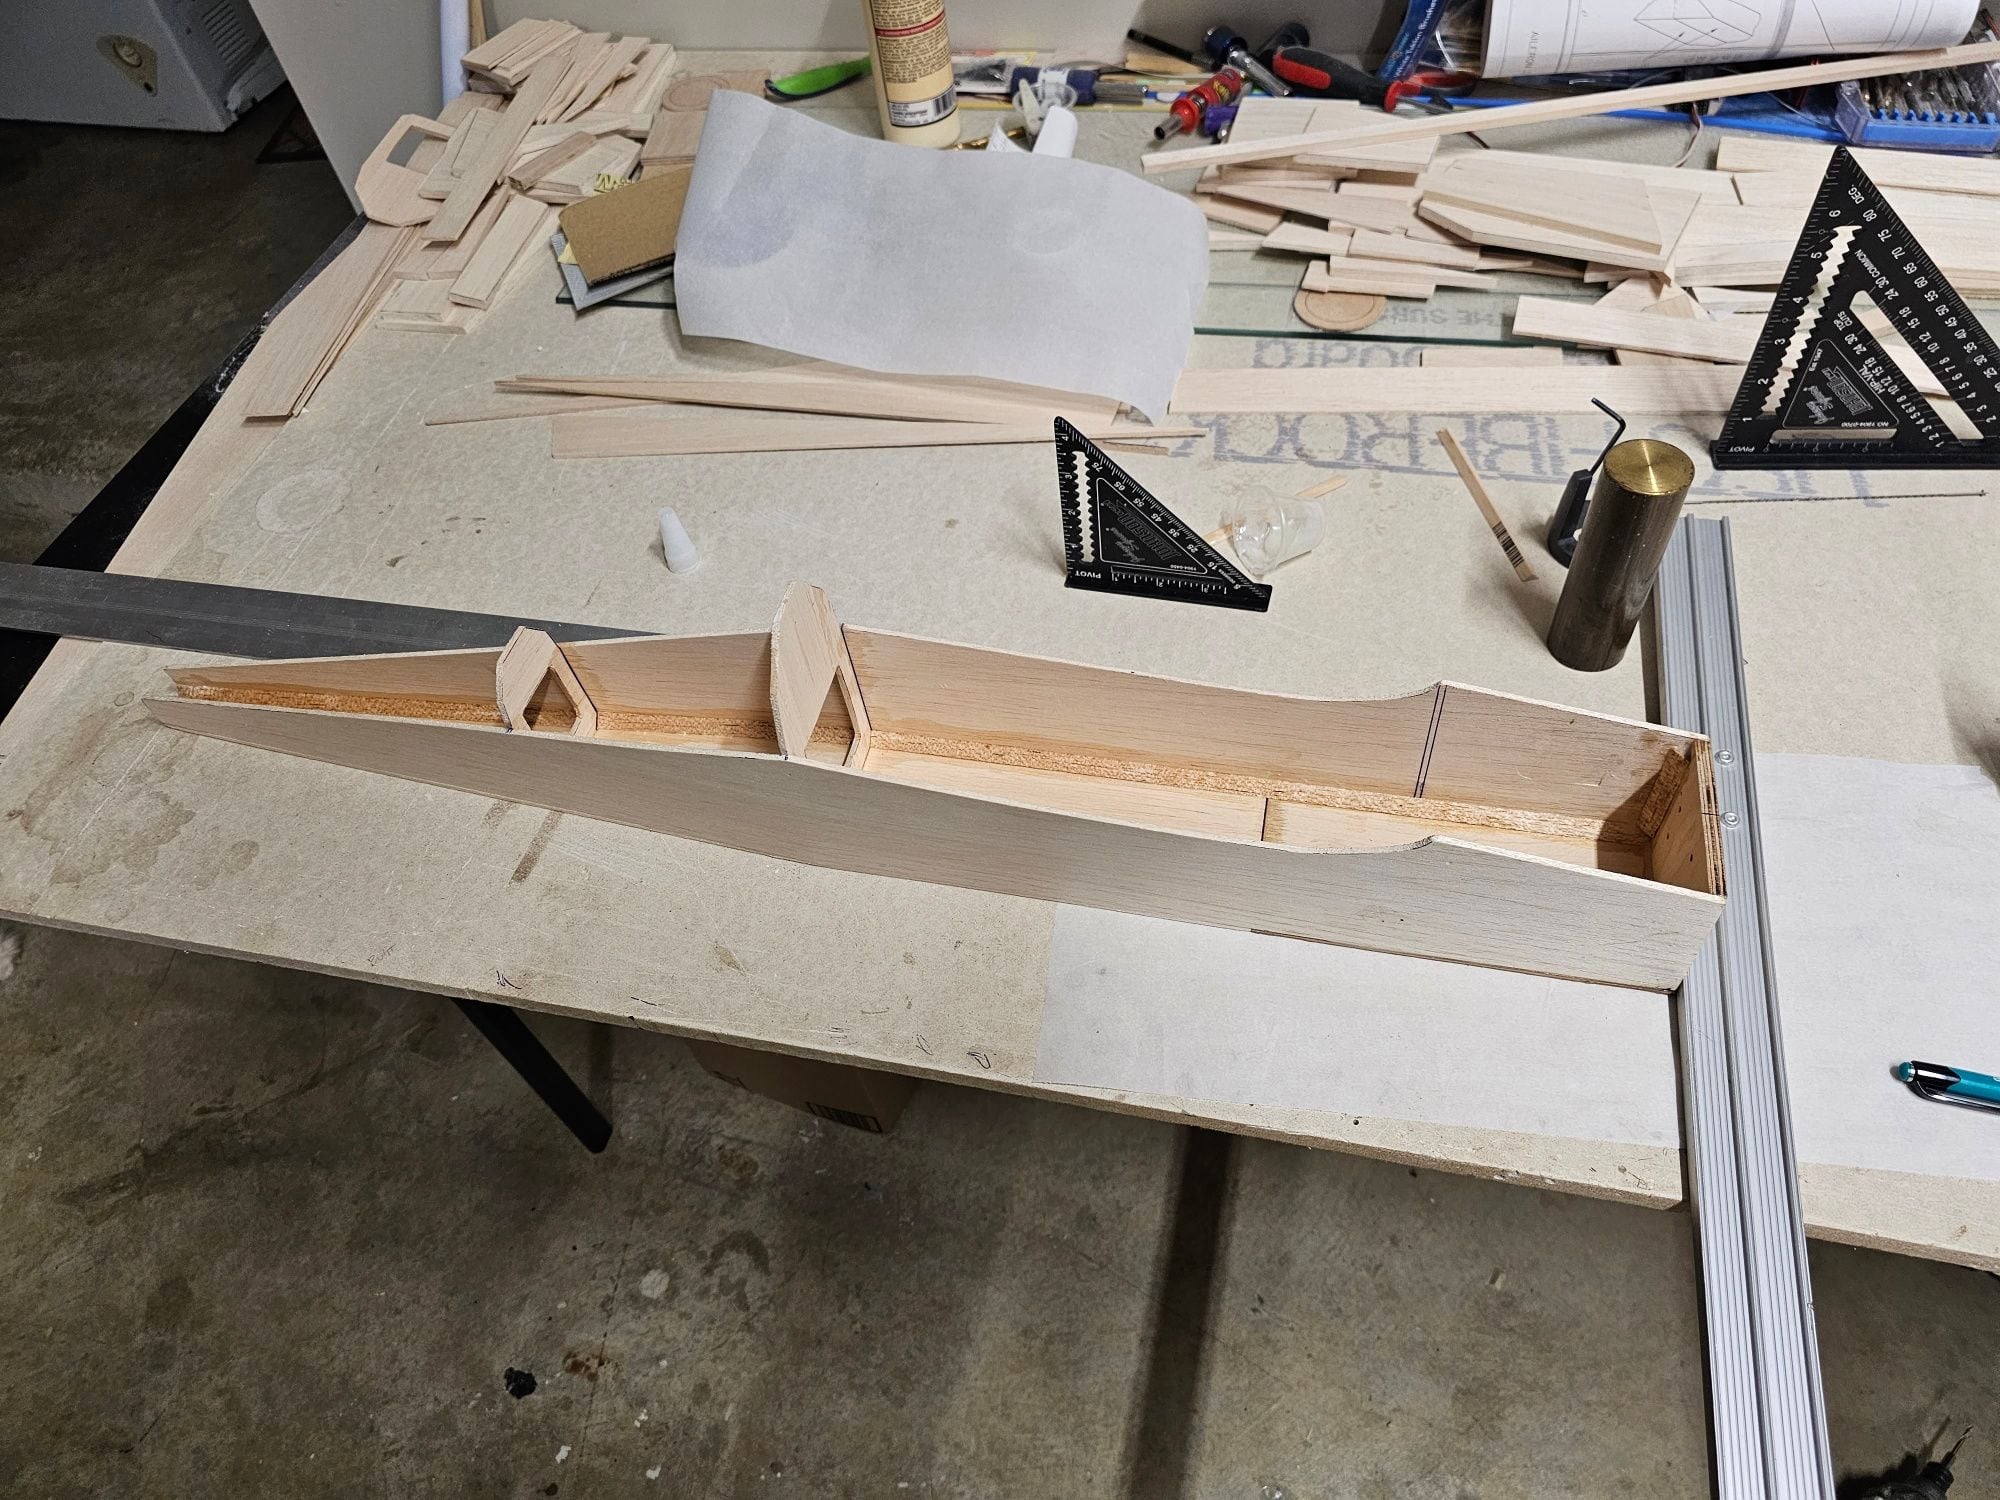
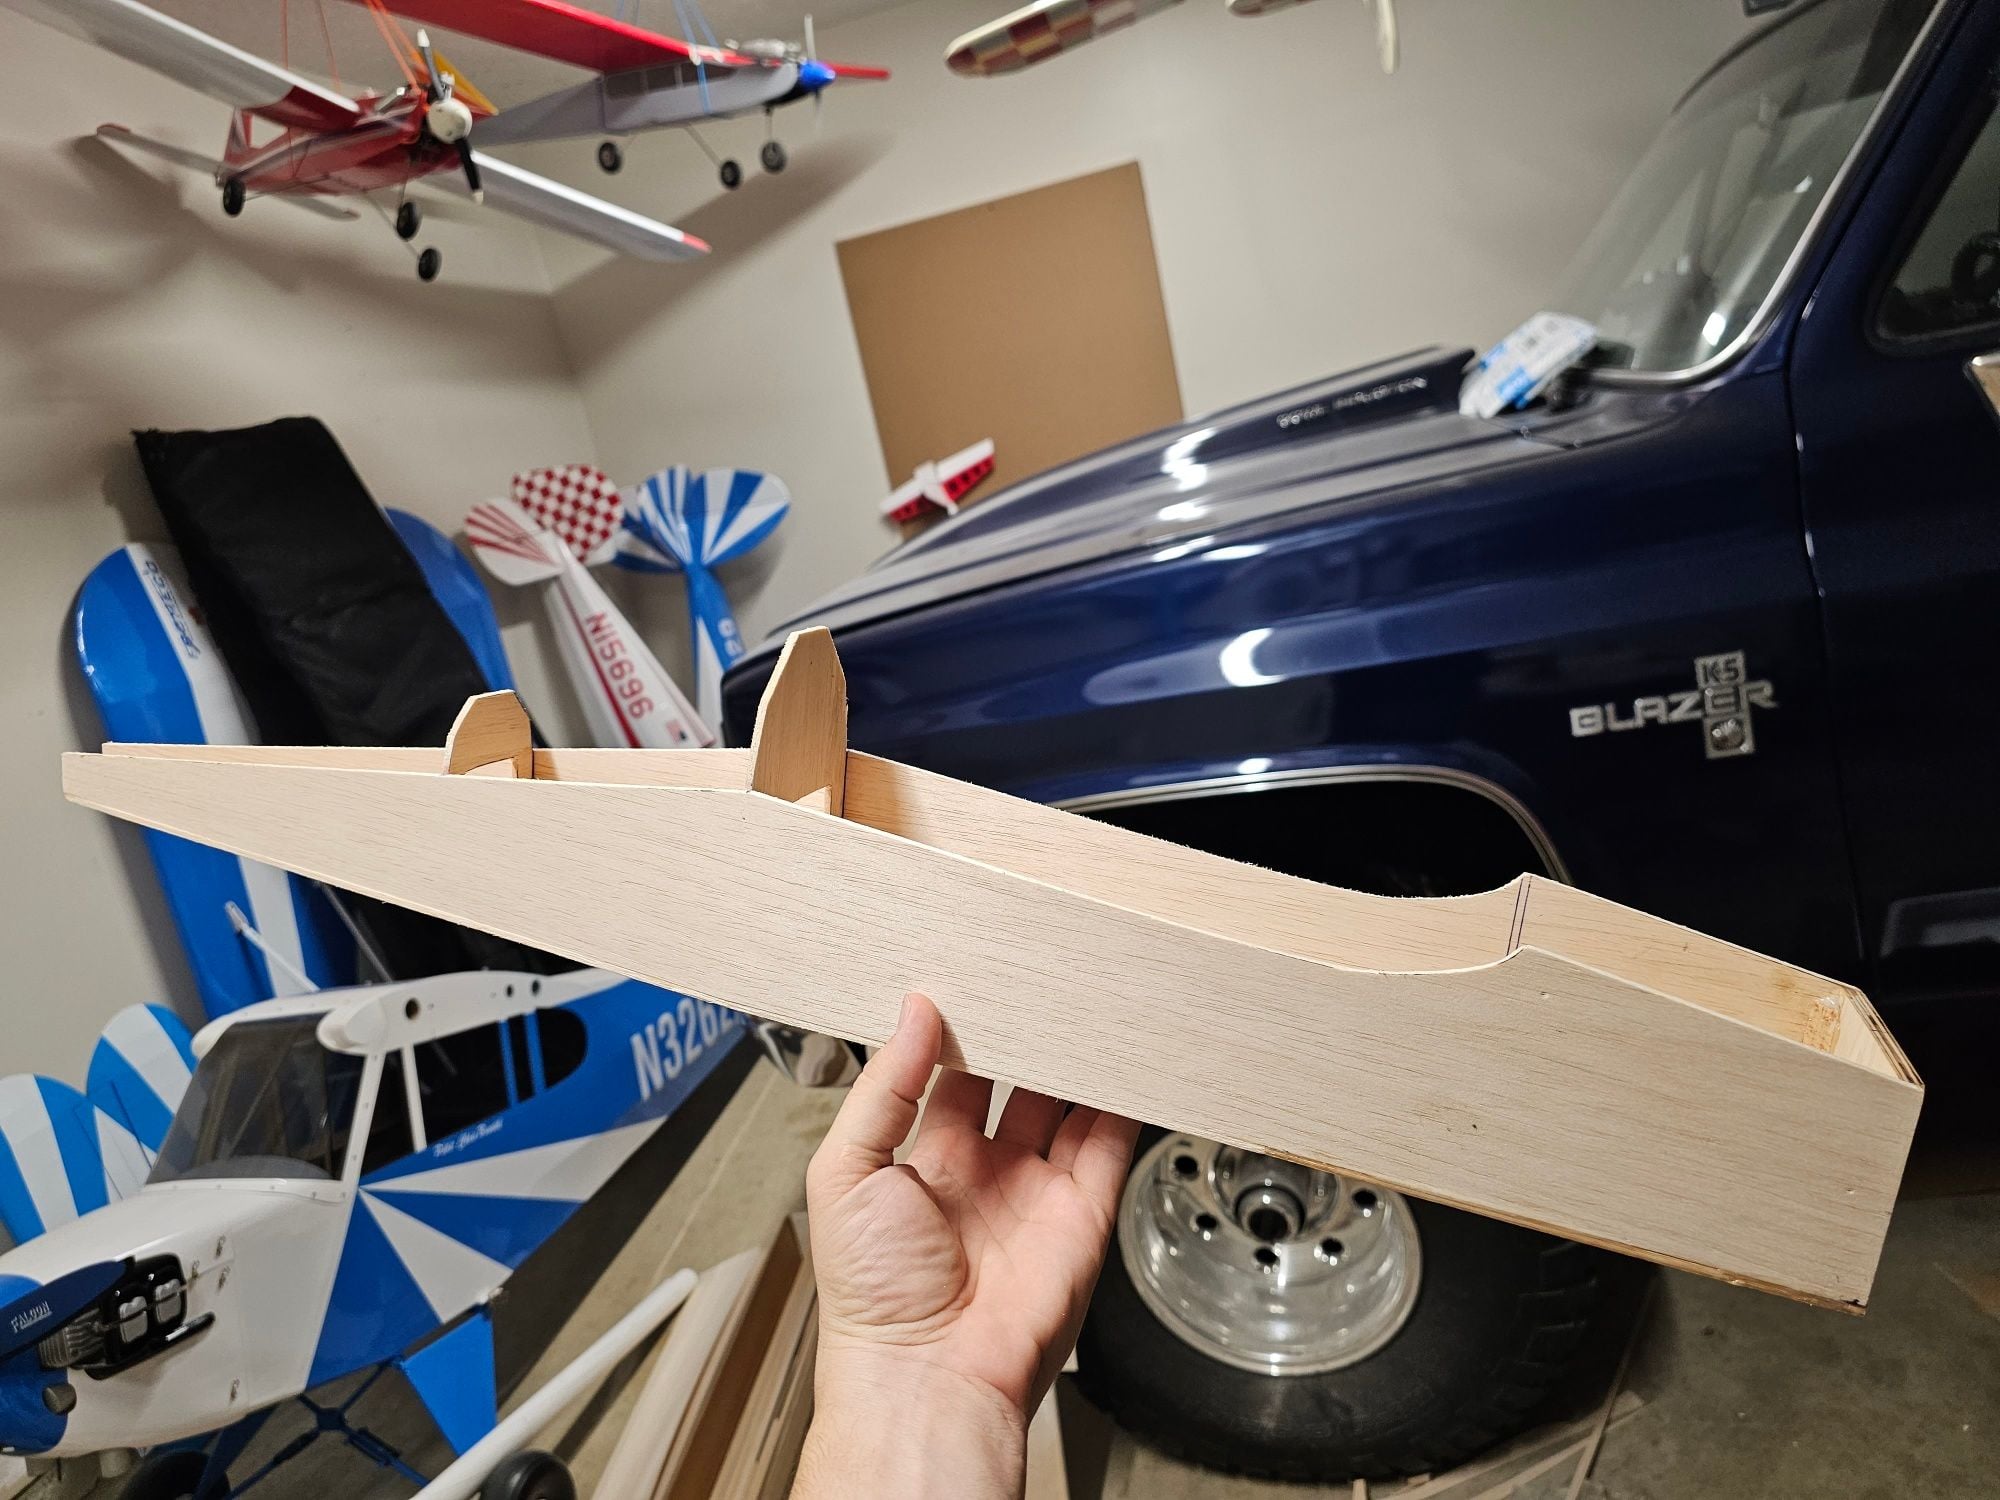
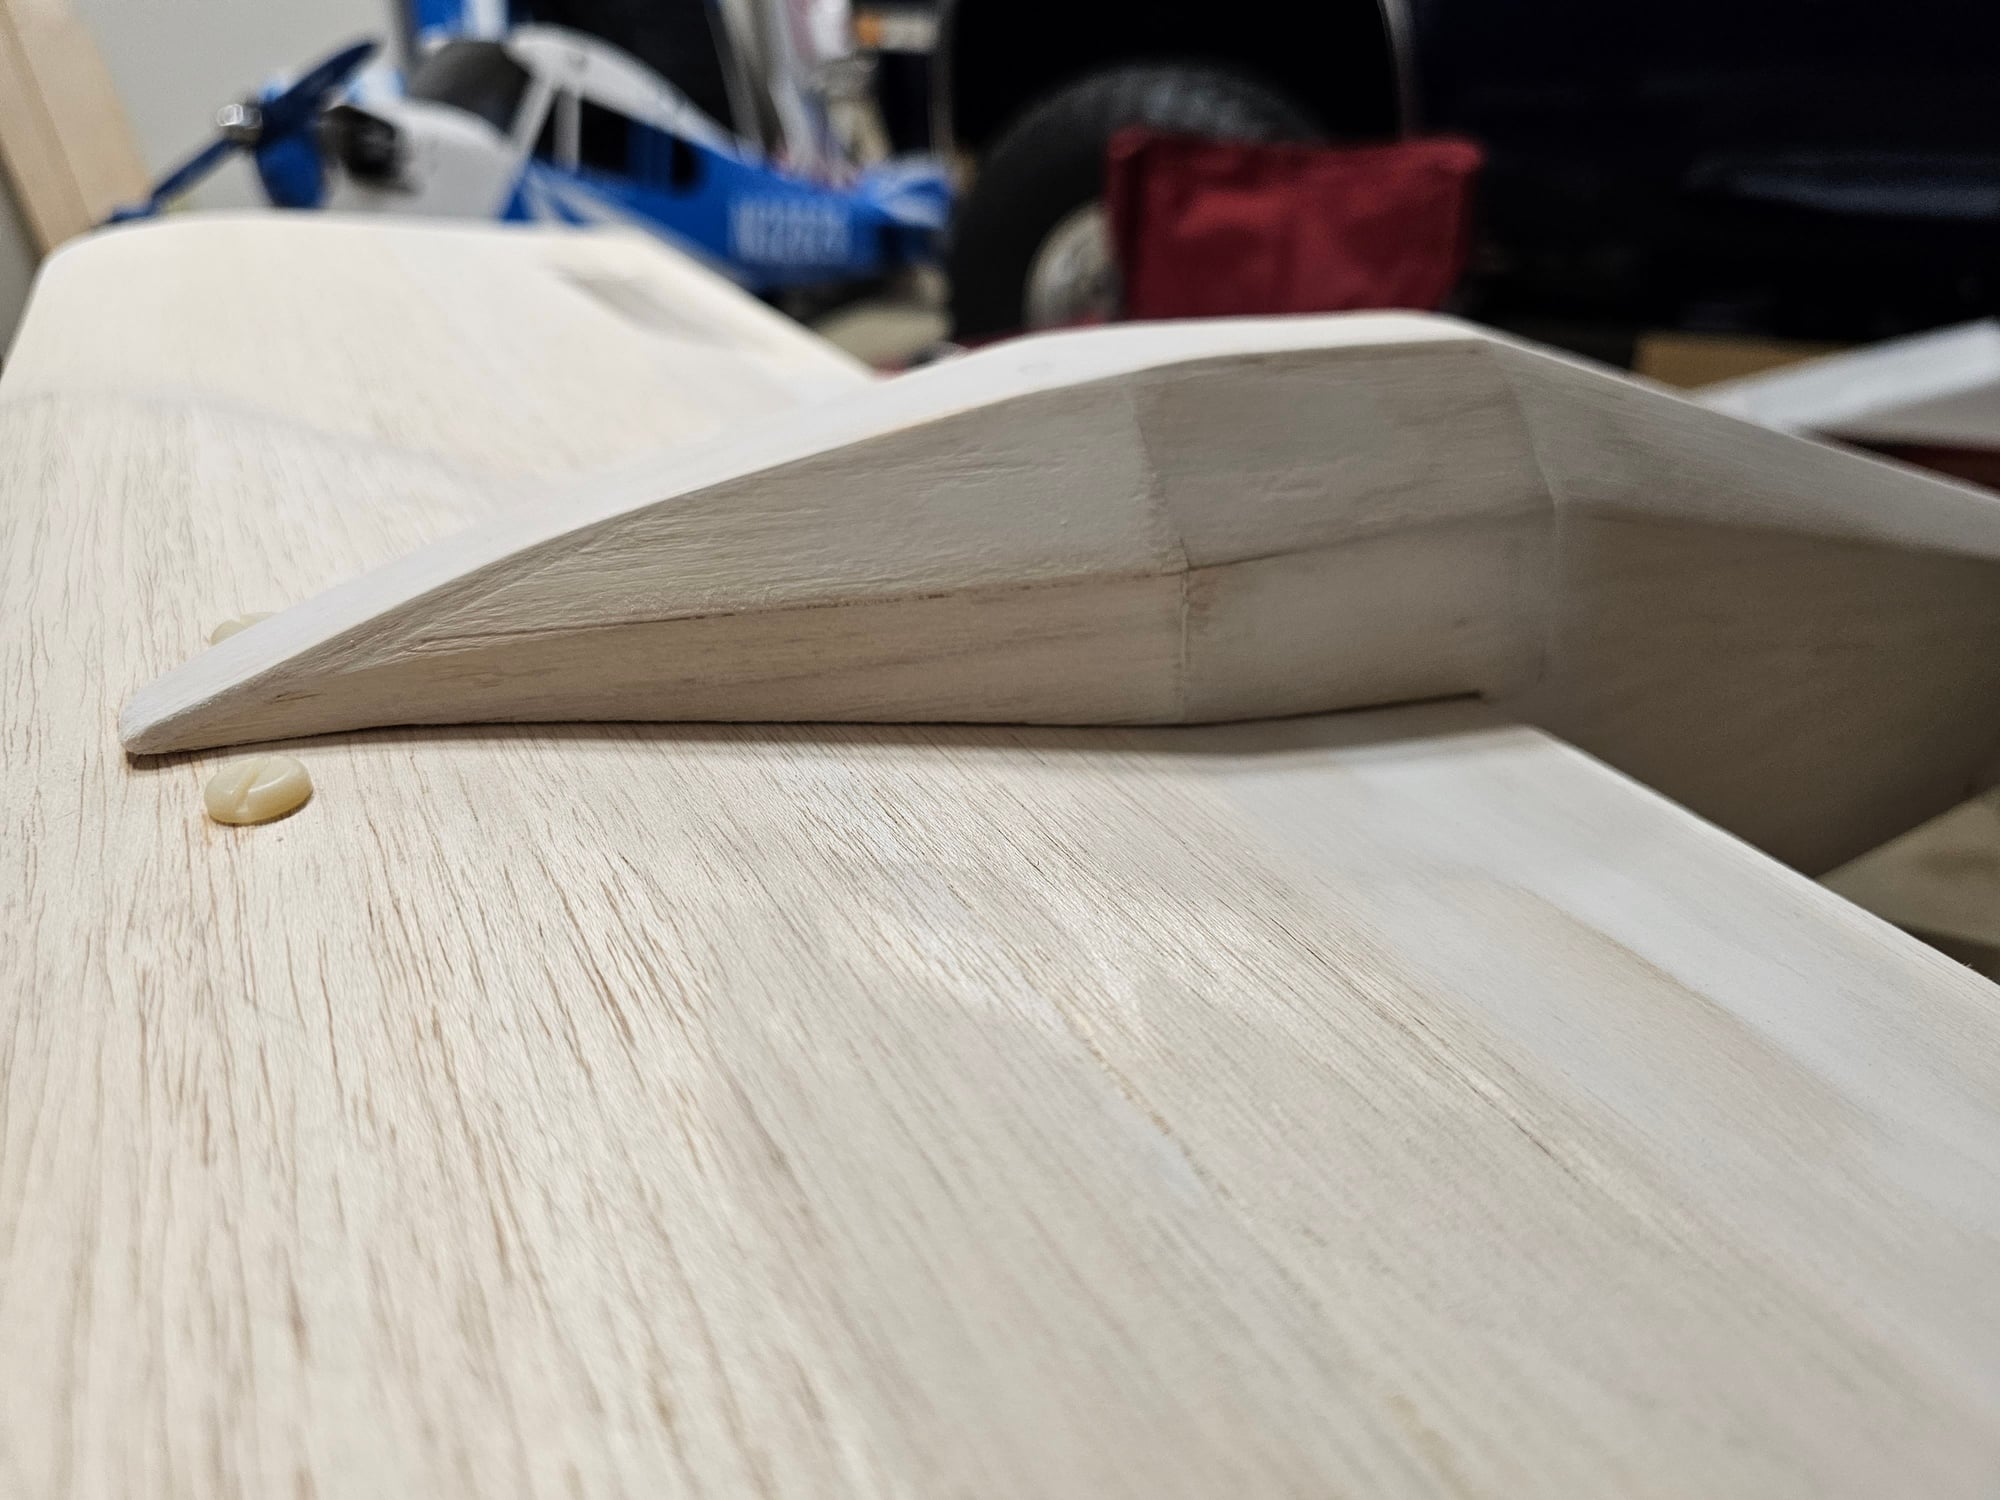
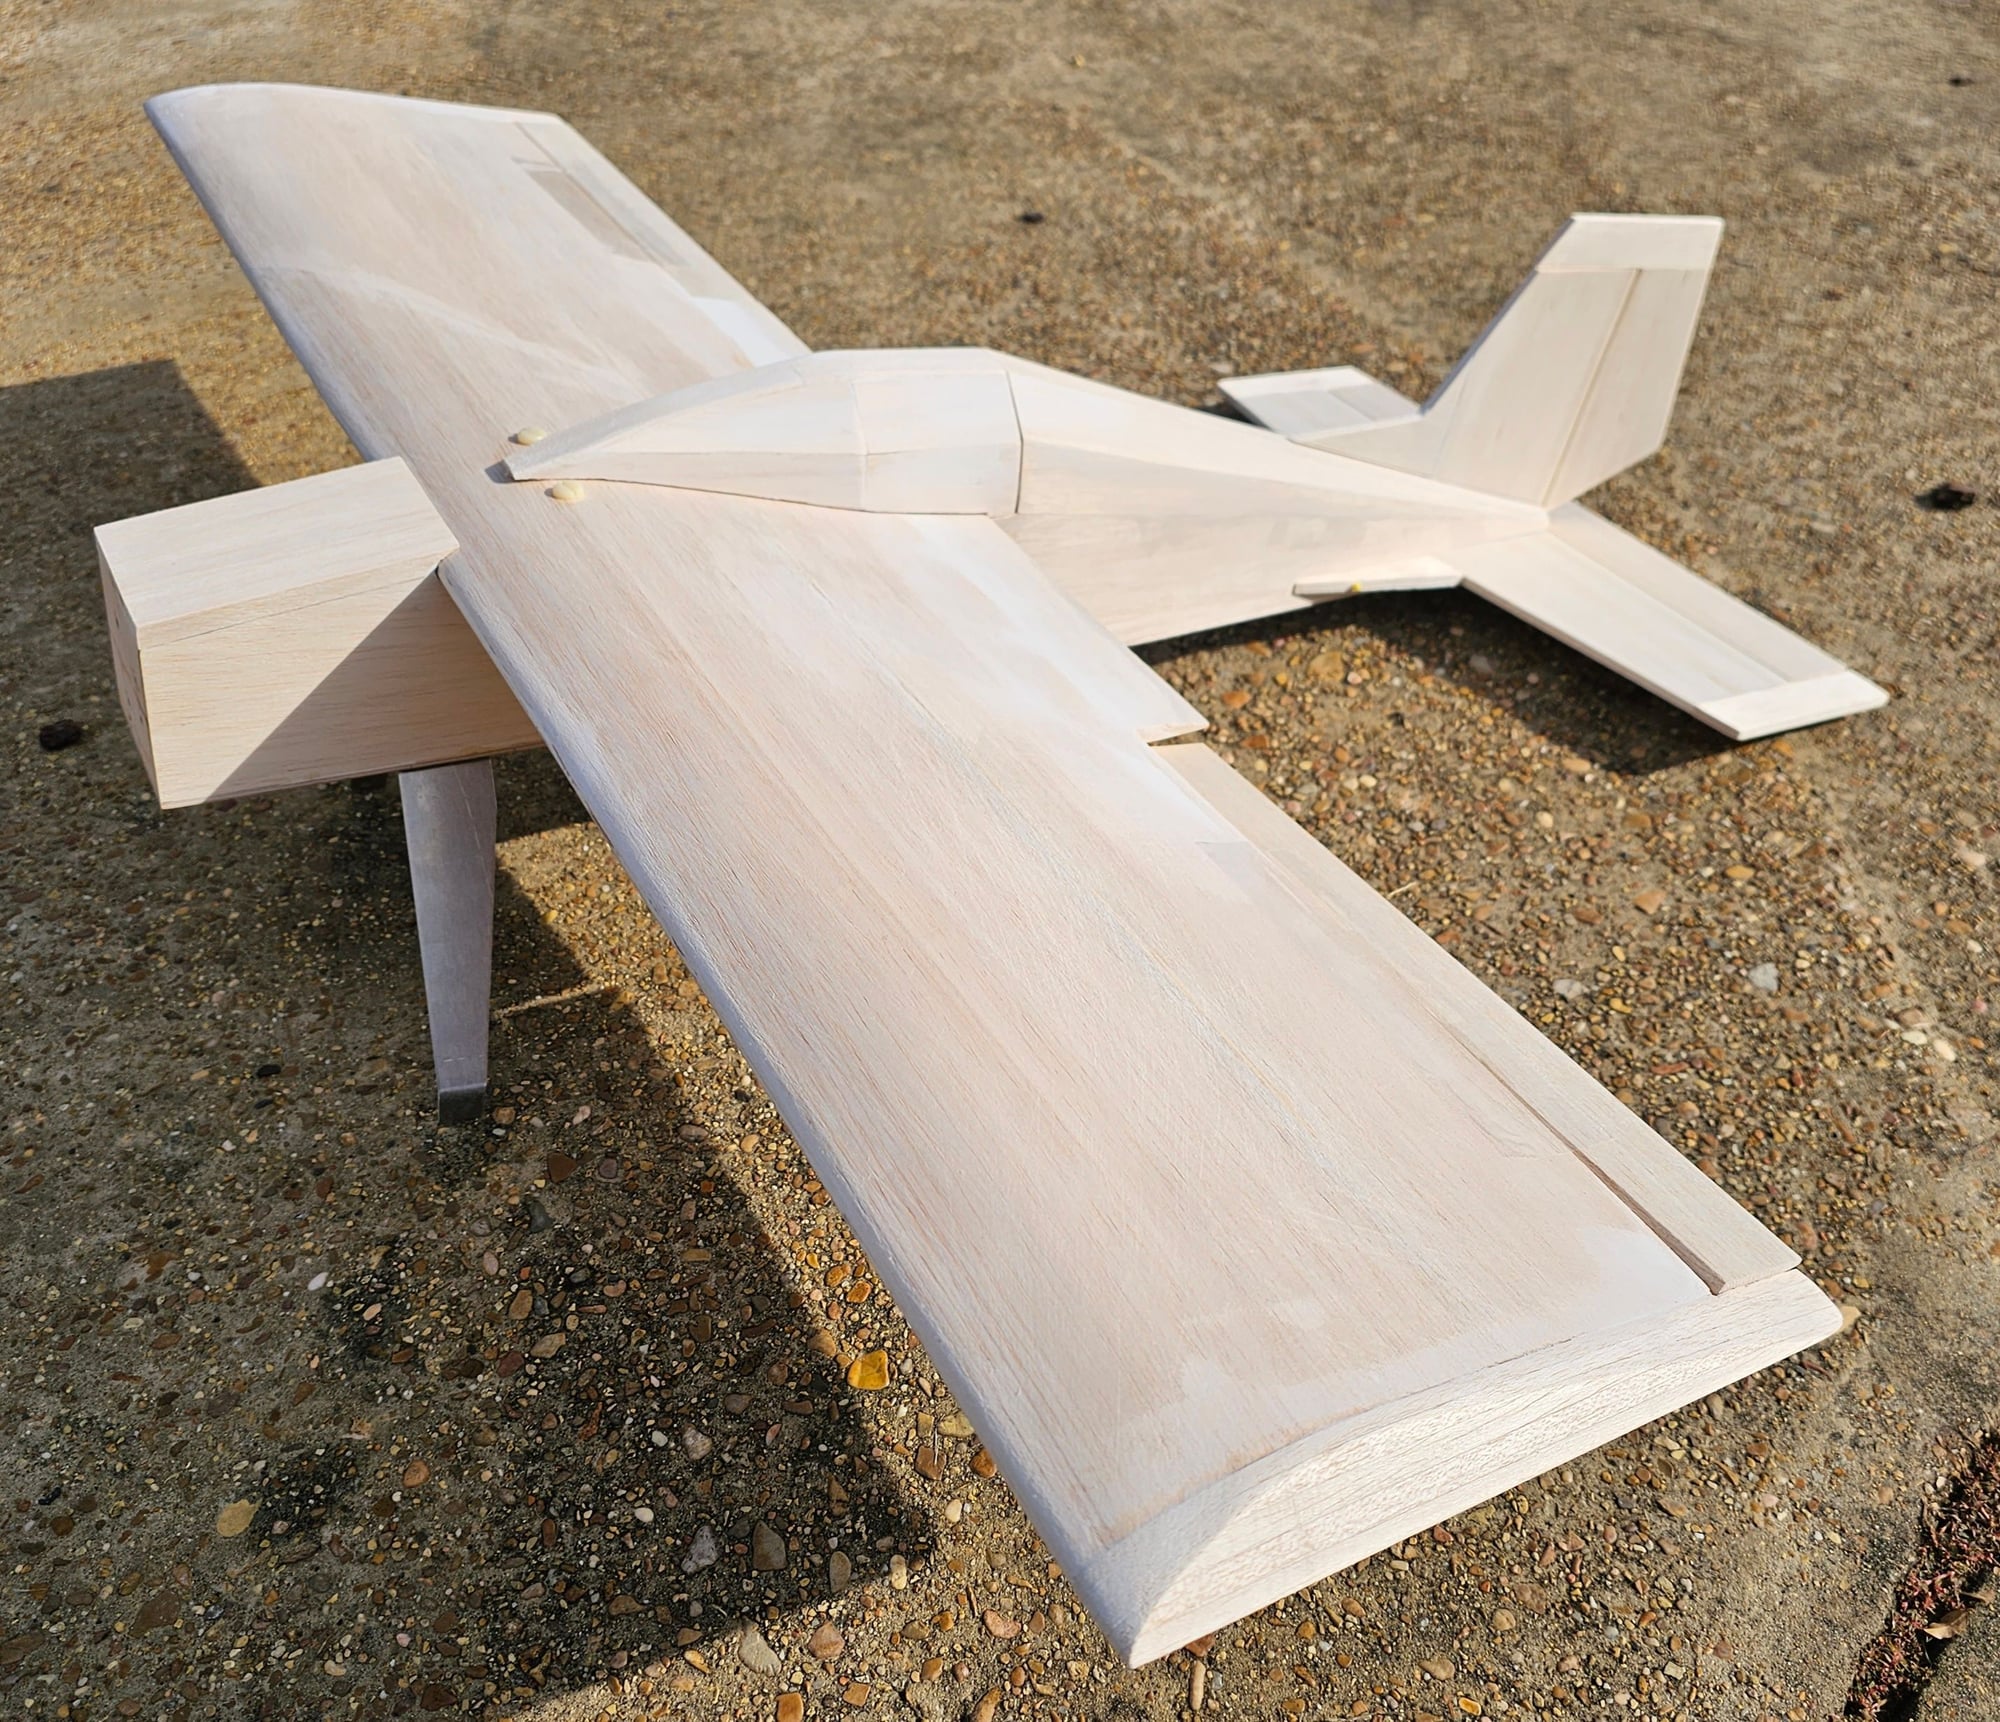
I have had mine all framed up and ready for installing pushrods for about a year n half. Kind put it up cause I really needed to think thru how I was going to estimate the exit points of the rear pushrod exits. Thinking back on it I wish I would of laud the exits out before I sheeted it. I don't want to butch it cause I meticulously sanded each panel for a NO gap fit up on each tapered fuse panel! The last thing I want to do is do patch work on the back half cause I missed the exact exit point ( I'm just analysis about that kinda stuff, scratch builders disease)..lol
That is a sweet scheme though!
Lom
That is a sweet scheme though!
Lom
06-24-2017, 02:03 PM
#888
My Feedback: (36)
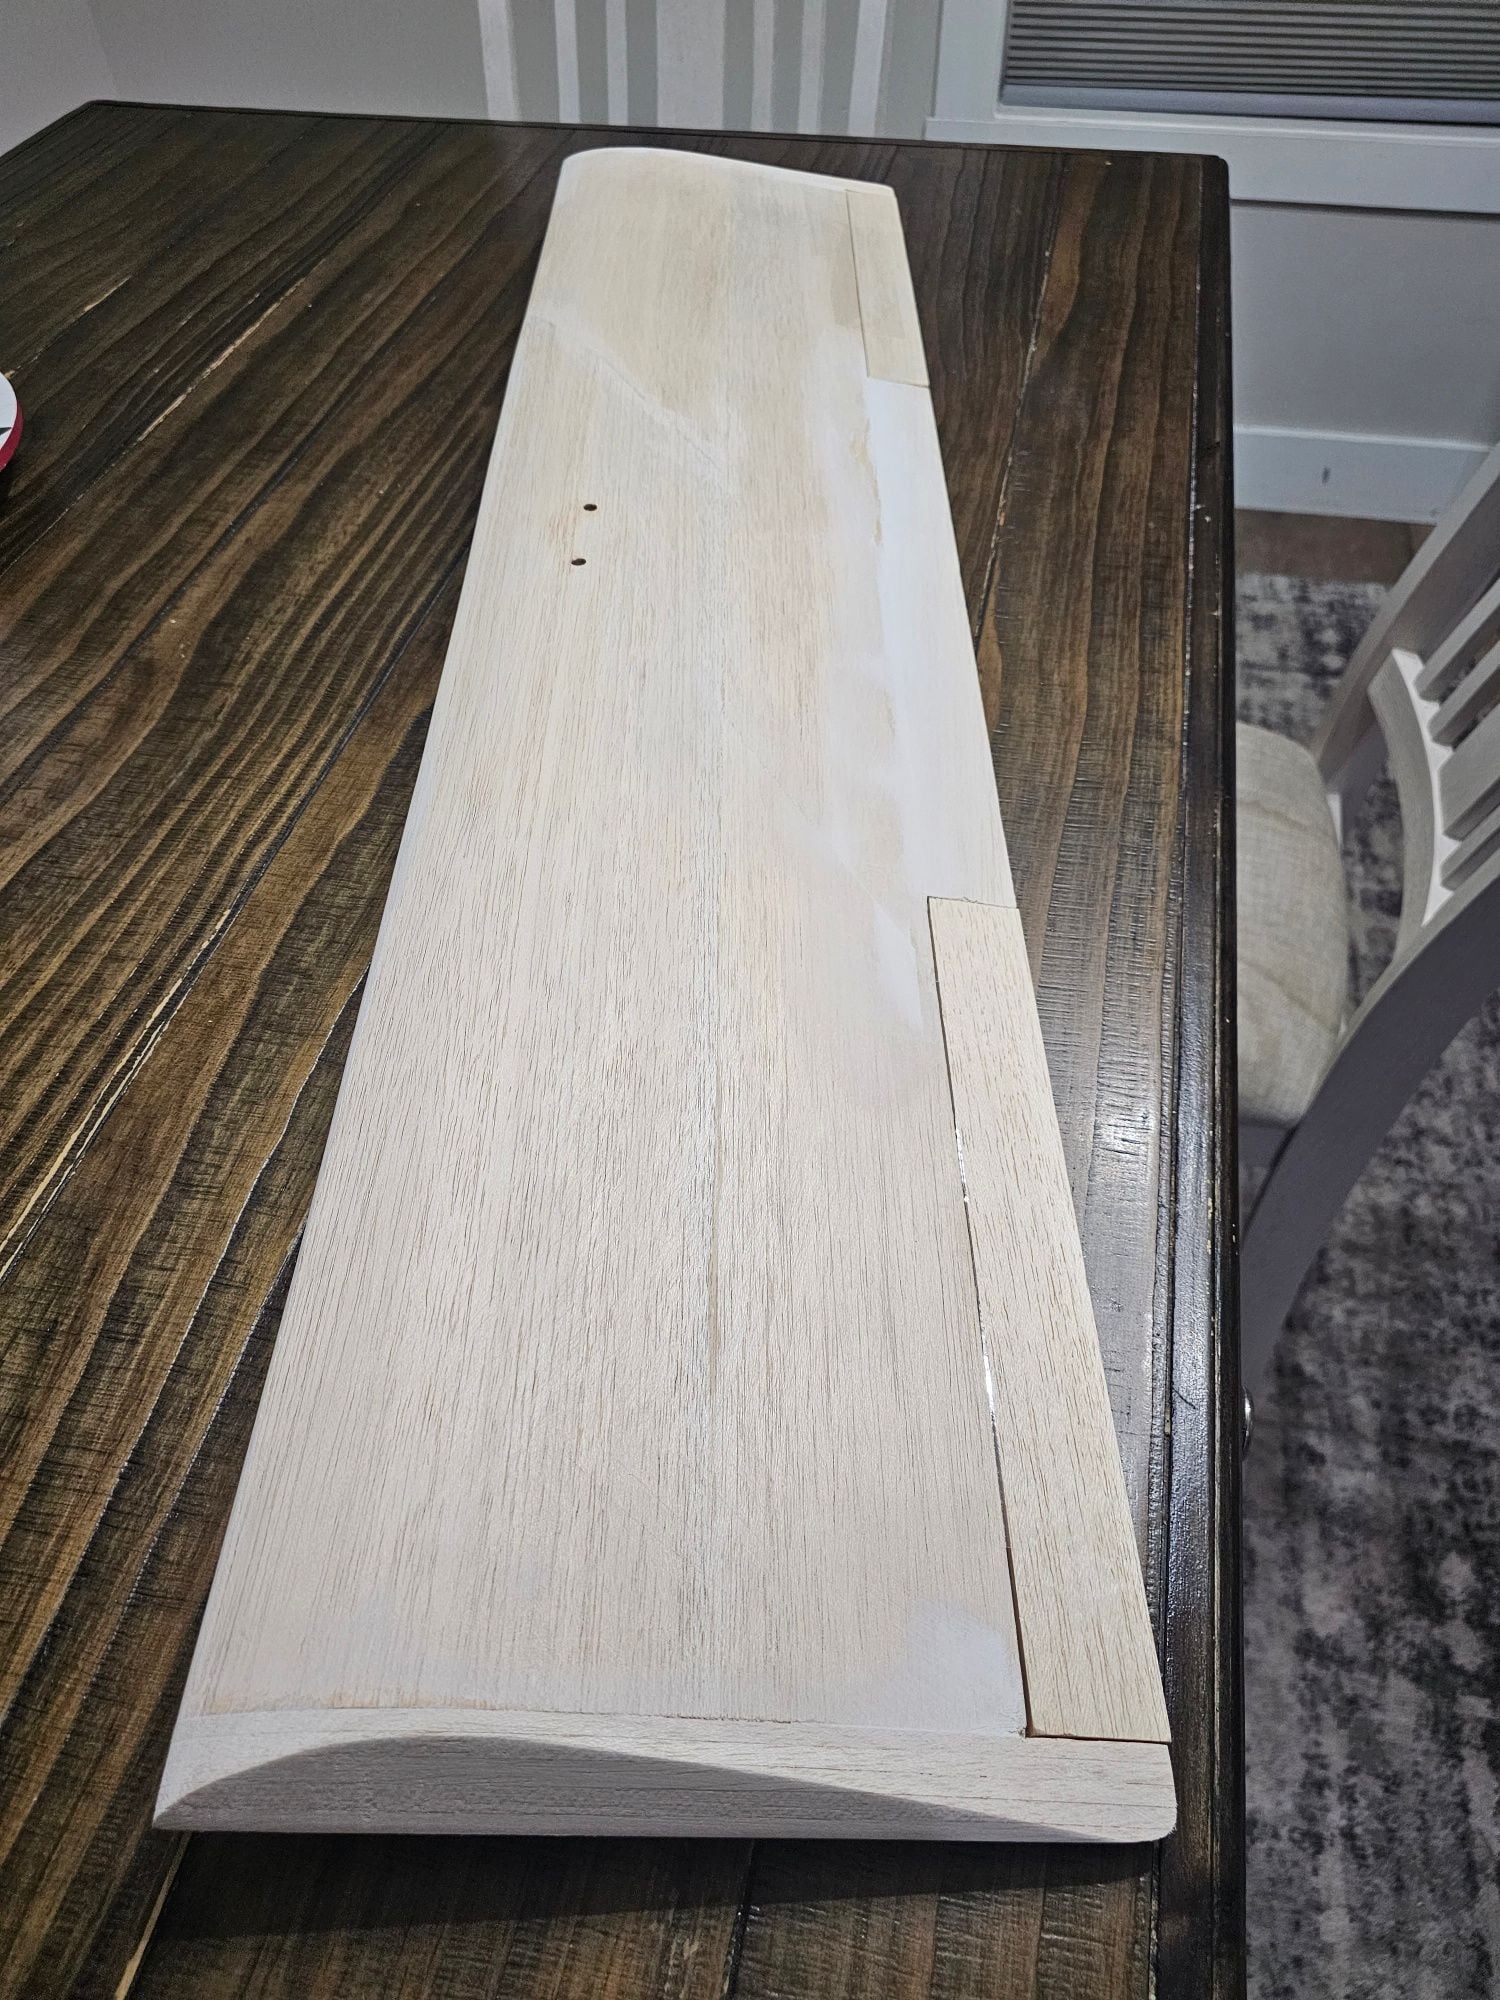
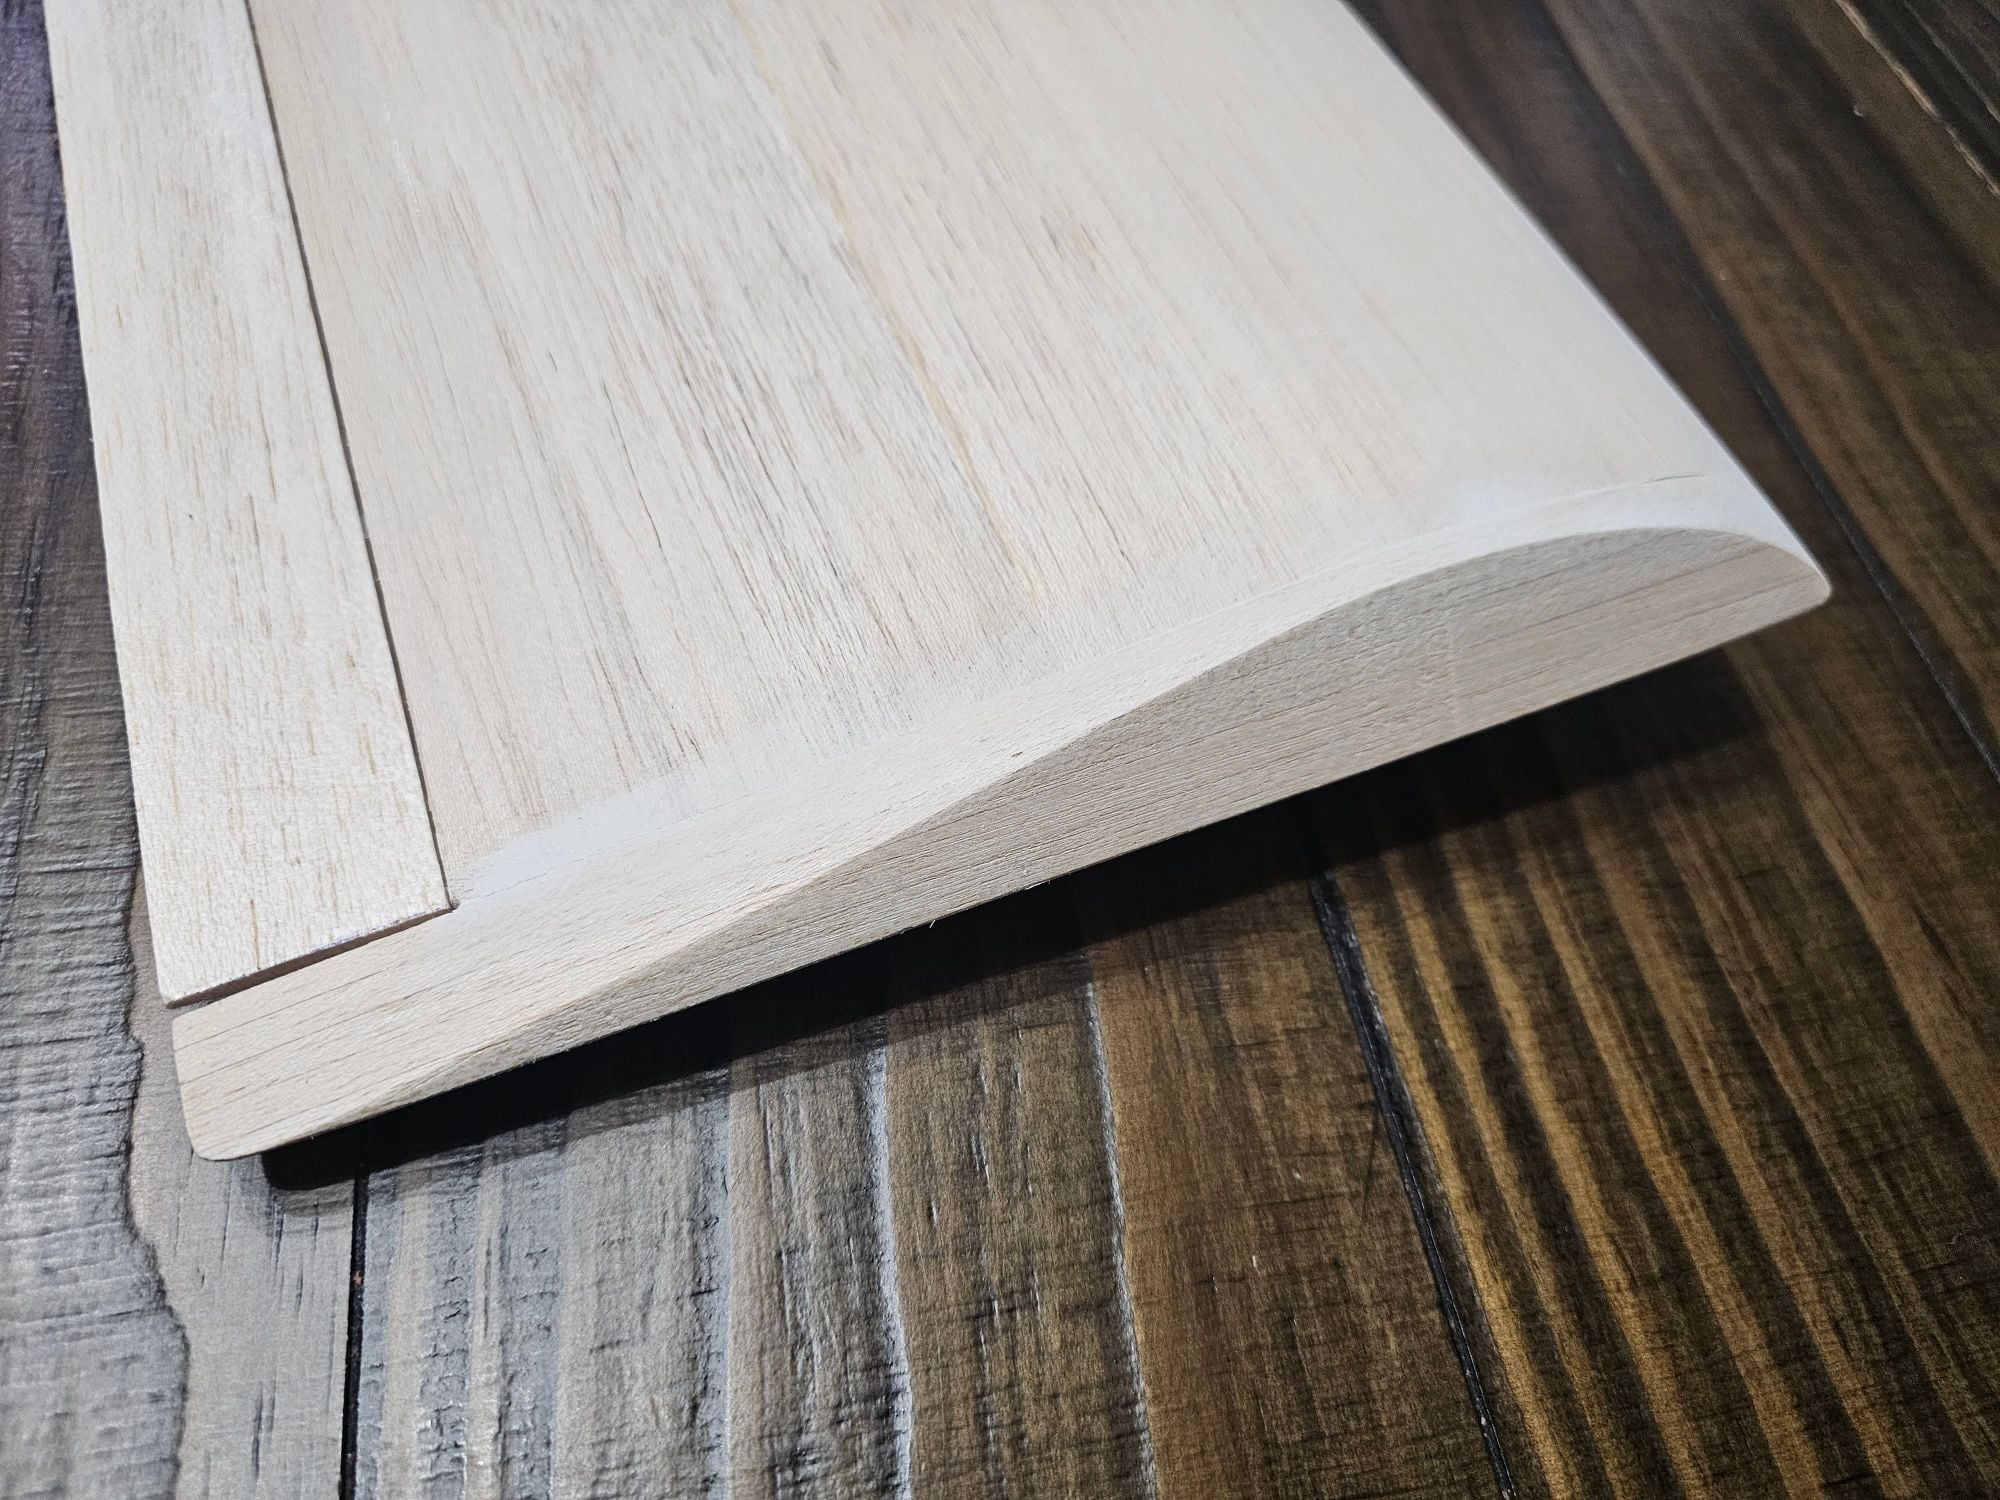
What are you talking about... I simply asked what control rod set up and where abouts everyone's exits ended up out the back. There are several different types of control rod styles to use you know. If you read my previous post, I had already sheeted the Fuse and was just looking for a ballpark placement of where the exited. Thanks anyhow for the vote of competency though. And for the record, no, it's NOT a static flying model and it's not the first Scratch Built model neither. Just because folks ask questions on these forums don't mean they are oblivious to building and aren't proud to admit they don't know everything , it's sometimes asked to avoid reinventing the wheel.
Lom
Lom
06-25-2017, 08:10 AM
#889

My Feedback: (9)
WHOA, settle down let me buy you a beer! Gotcha, sorry I struck nerve somewhere! I know your plane is awesome! Its a FLYINGMACHINE for Gods sake. Mine are 4-40 and the exit the aft part of the fuse and strike the control surfaces as close to center on the elevator as possible and close to the bottom on the rudder under the elevator.
Did not mean to piss ya off!
SORRY
Did not mean to piss ya off!
SORRY
06-25-2017, 02:22 PM
#890
My Feedback: (36)
No problem. Like I said, I wish I would of run the control rods before I meticulously sheeted the Fuse. I'll work through it, just part of scratchin'. I was thinking about either hardwood or dowels with 4-40 wire ends. I just didn't want to invite flutter without having to easily add stand offs for the plastic nyrod outer tubing based off of the violent maneuvers we can put this little guy through.
I'd like to take you up on that beer and shoot the chit over the Flying Machine though.
Have a great day.
Lom
I'd like to take you up on that beer and shoot the chit over the Flying Machine though.
Have a great day.
Lom
06-28-2017, 03:28 AM
#891
Senior Member
My Feedback: (16)

Join Date: Apr 2005
Location: Linden, MI
Posts: 499
Likes: 0
Received 0 Likes
on
0 Posts
In mine, I used 4-40 pushrods too. I use the sheath from one of the gold-n-rods, and use the yellow tubing for a spacer. I cut the yellow ribbed tubing in about 1/4" lengths, and slide them over the steel rod every couple inches (this keeps the rod centered in the sheath and keeps flex to a minimum), then just wick some thin CA on the yellow tubing so it does not move on the rod. This makes for a very slop-free yet rigid setup and has worked well for me.
Dave
Dave
11-10-2017, 11:56 AM
#892

Hey Guys,
I think i will will sell my Flying Machine kit since I won�t get to it for some time. Since I subscribed to this thread, I thought I would put the word out here first to see if there�s interest. Otherwise I�ll list it.
Looks like the pre-bent aluminum gear is missing but everything else is there.
Let me know.
Thanks.
 11-10-2017, 06:34 PM
#894
Join Date: May 2007
Location: Kissimmee,
FL
Posts: 64
Likes: 0
Received 0 Likes
on
0 Posts
Hey Guys,
I think i will will sell my Flying Machine kit since I won�t get to it for some time. Since I subscribed to this thread, I thought I would put the word out here first to see if there�s interest. Otherwise I�ll list it.
Looks like the pre-bent aluminum gear is missing but everything else is there.
Let me know.
Thanks.
I think i will will sell my Flying Machine kit since I won�t get to it for some time. Since I subscribed to this thread, I thought I would put the word out here first to see if there�s interest. Otherwise I�ll list it.
Looks like the pre-bent aluminum gear is missing but everything else is there.
Let me know.
Thanks.
10-12-2018, 12:56 PM
#895
My Feedback: (27)

Join Date: Feb 2004
Location: Norton,
OH
Posts: 737
Likes: 0
Received 0 Likes
on
0 Posts
Attention Flying Machine Fanatics!
I am considering purchasing 6 short kits, 6 sets of plans and possibly even the rest of the sticks and sheeting to make complete kits, minus hardware. If there are four willing buyers, I can sell the short kit and plans for $90.00 plus shipping (you'll save $17.00 over purchasing them individually). With all wood included, the cost is $115.00 plus shipping.
Do I have four takers?
Doug Keck