


All Composite 1/7th P-40E Mould Build
 06-14-2011, 07:43 PM
#351
Senior Member
Thread Starter

Join Date: Apr 2007
Location: Toronto,
ON, CANADA
Posts: 757
Likes: 0
Received 0 Likes
on
0 Posts
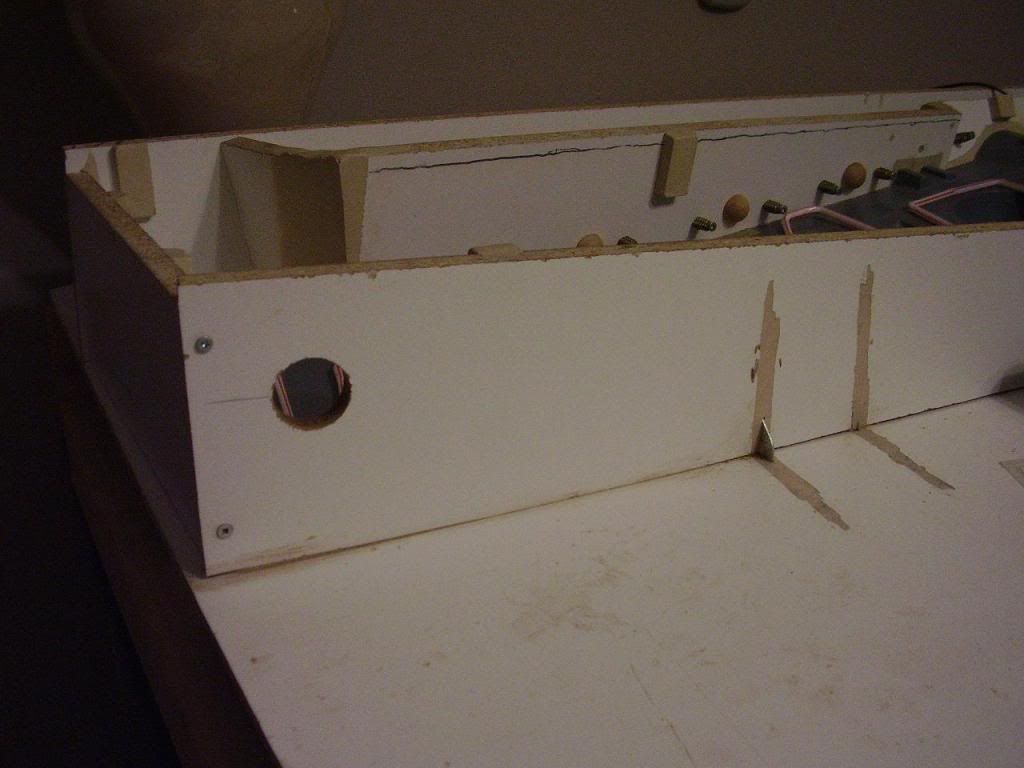
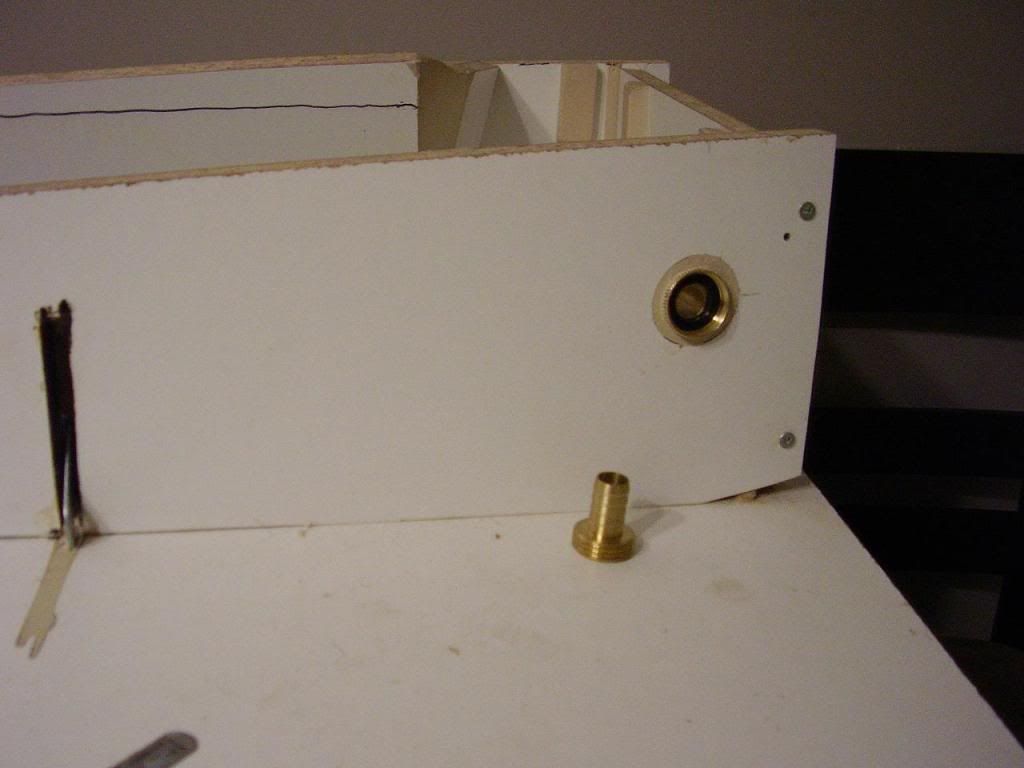
The lowest cost solution seemed to be a hose repair kit. It cost me just under $5 for both the male and female brass fittings. I now have a couple of spare 1/2" gear clamps in the top drawer of my tool chest.
I've positioned the hose hookups on the rear face of the mould section so that the potential exists to hook the upper and lower sections together in a series configuration during final assembly with two small lengths of hose.
Normally I would wait an additional 24 hrs to demould the joined wing assembly. With heat to aid in reducing cure times and improving wing rigidity, I'm hoping to take a mould cycle from a tiresome 3 day operation to an easy 2 days per wing.
 06-15-2011, 08:23 AM
#352
Senior Member
Thread Starter
Join Date: Apr 2007
Location: Toronto,
ON, CANADA
Posts: 757
Likes: 0
Received 0 Likes
on
0 Posts
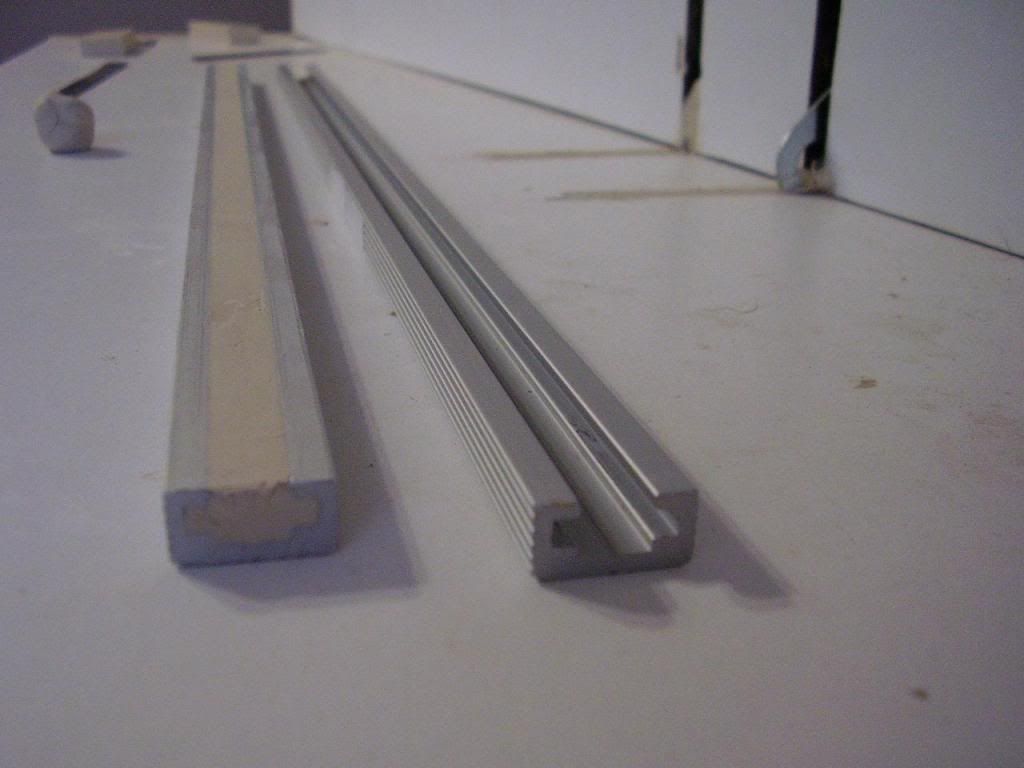
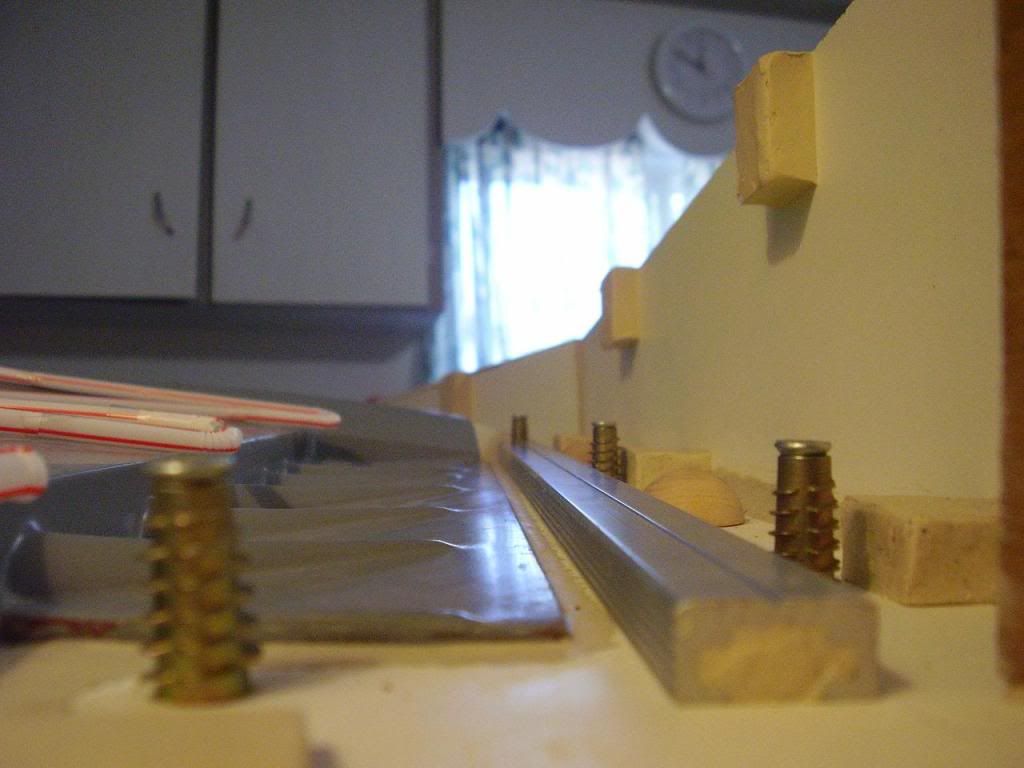
One of the first places to wear on a multi-piece mould like this, is the edge along which you trim semi-green parts just prior to joining. As a result, it's a very slow and tedious process to try and freehand.
This aluminum insert in the mould face will help to provide a nice durable trimming edge face. Notice the external grooving to aid in bonding with the tool surface coat.
It will also form an overflow channel to give excess resin during joining a place to go.
It might also provide a calibrated groove in which a custom trimming blade jig might ride...
Here's a source link (for future reference, 36" weighed in at 205 g)
http://store.workshopsupply.com/cata...ck-p-2954.html
...and here's the idea...
 06-18-2011, 01:31 PM
#354
Senior Member
Thread Starter
Join Date: Apr 2007
Location: Toronto,
ON, CANADA
Posts: 757
Likes: 0
Received 0 Likes
on
0 Posts
OK, first of all - thank you for your patience - I know that this takes forever, and now I've gone and switched things all around on you....
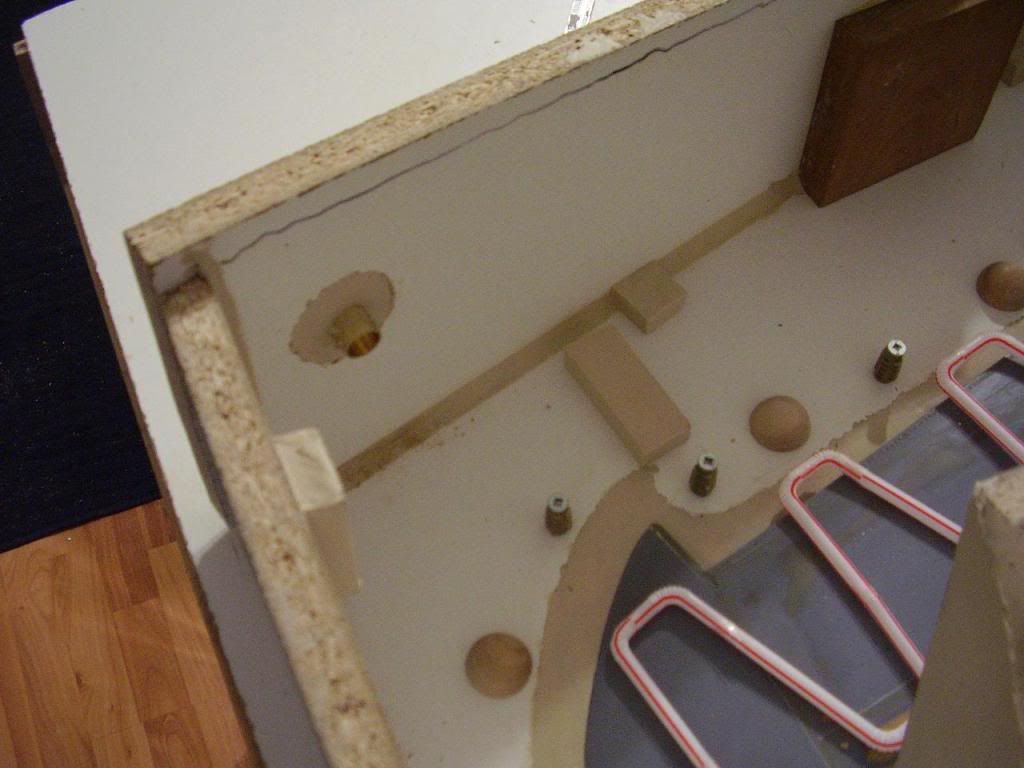
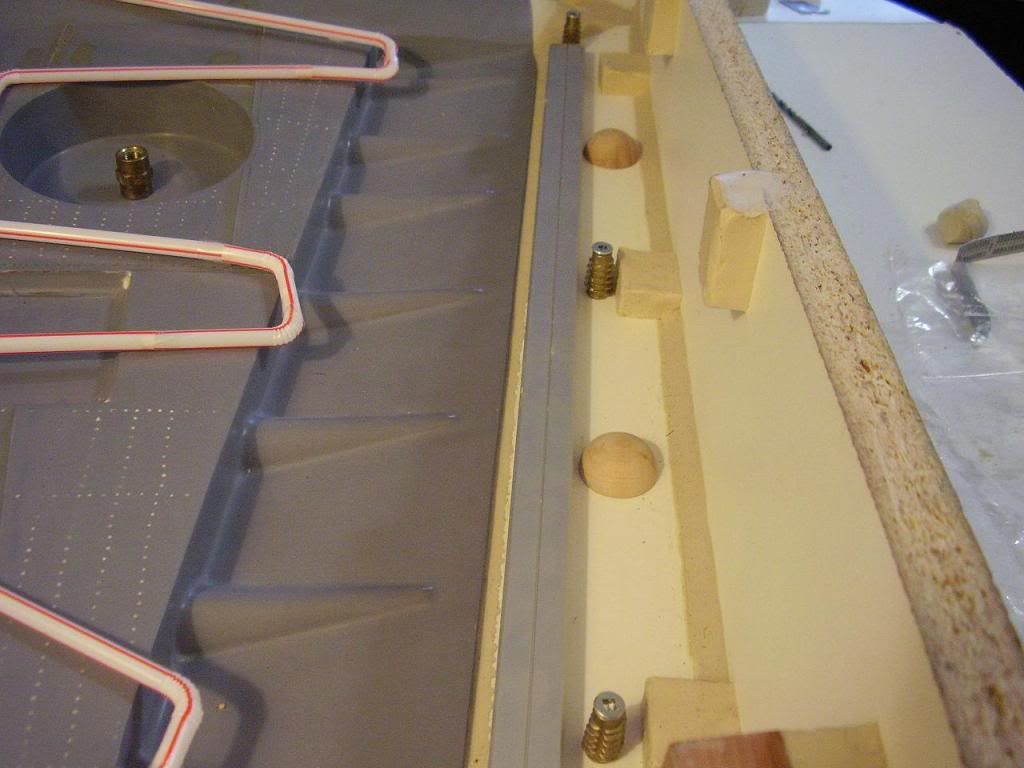
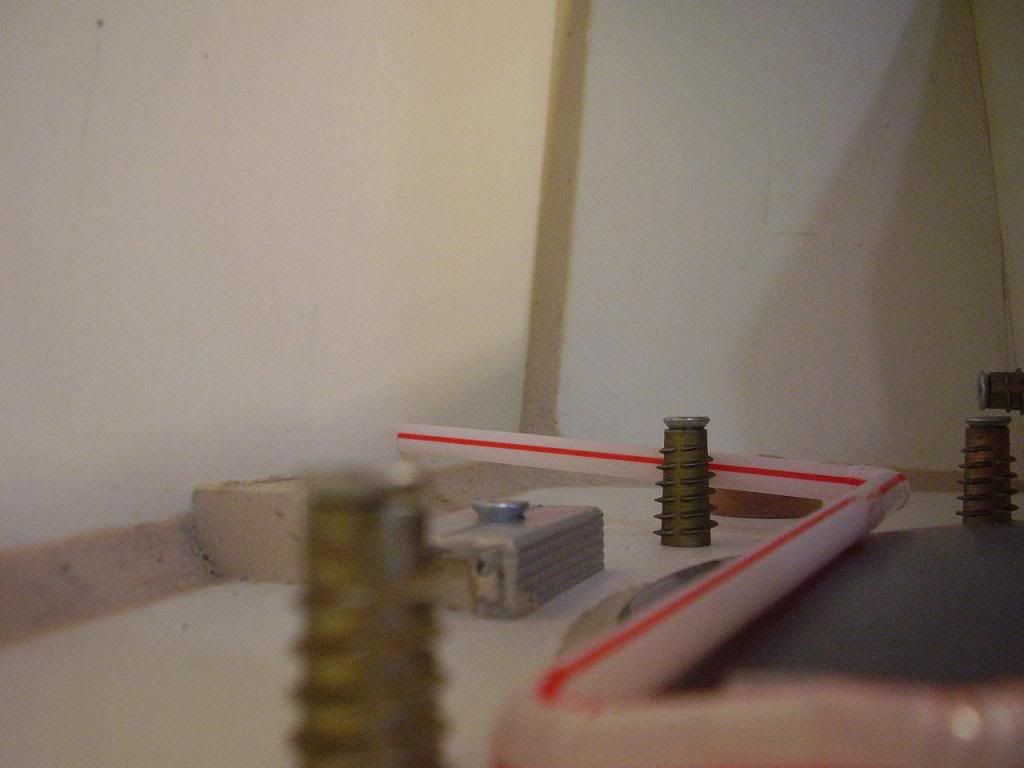
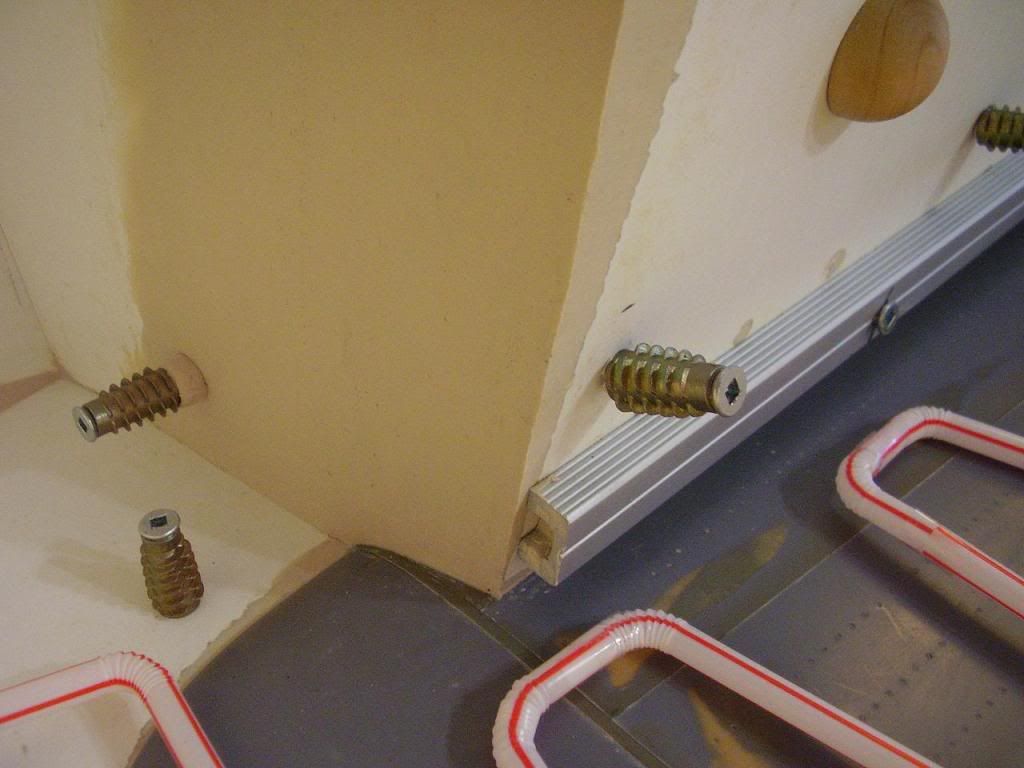
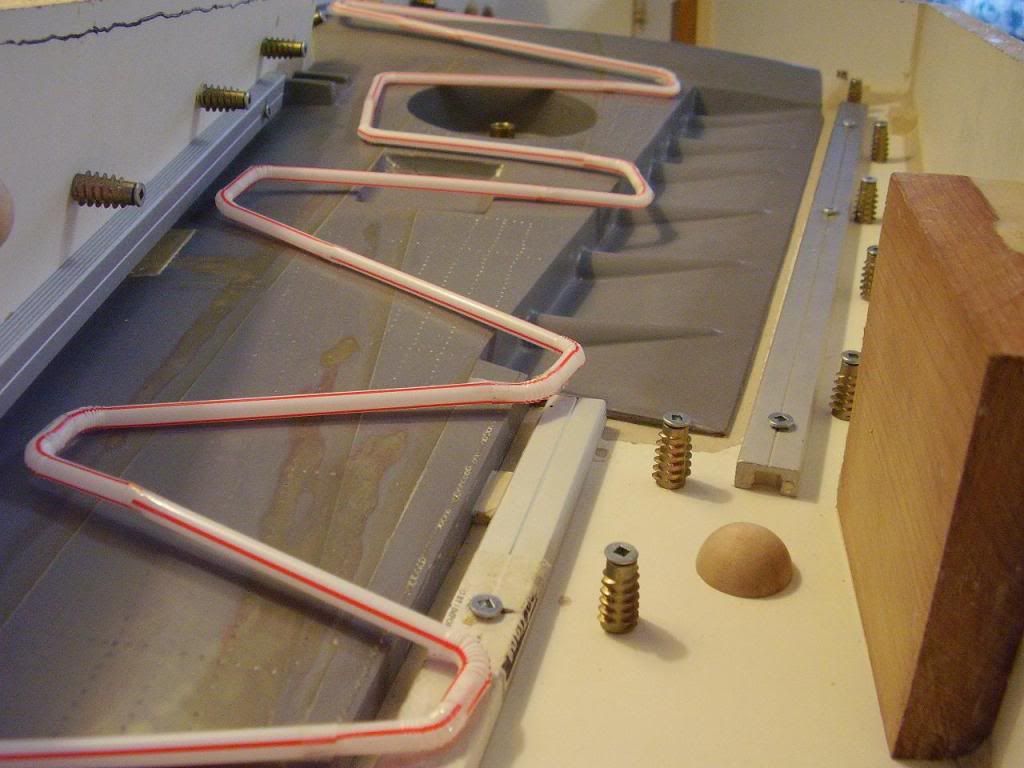
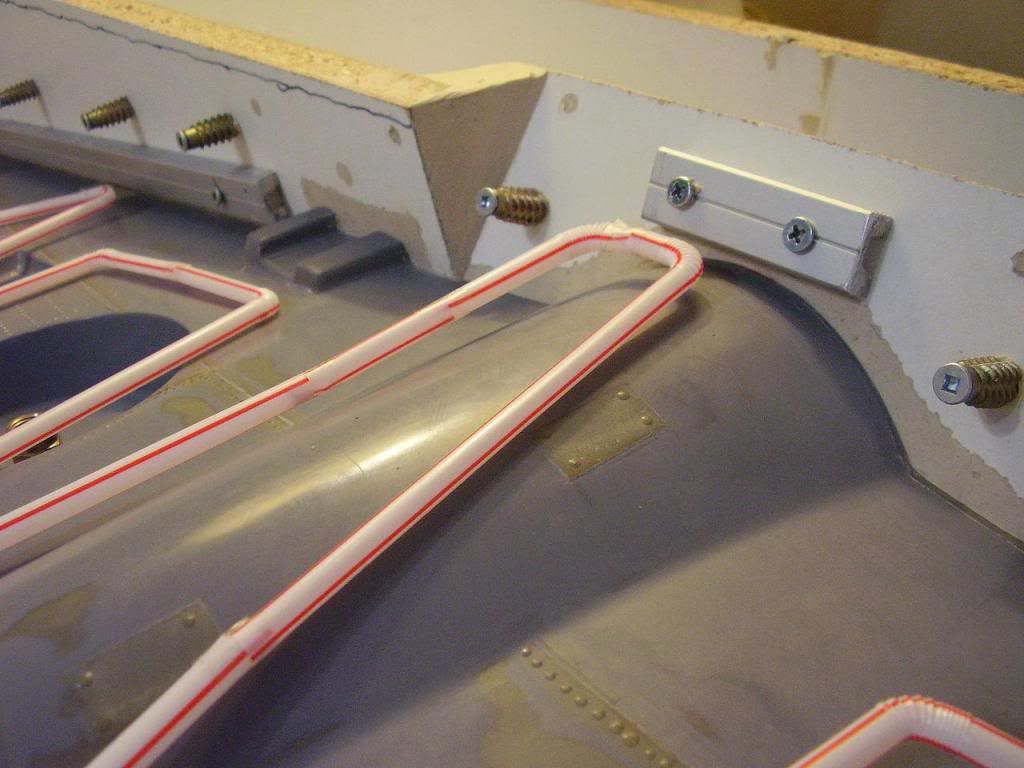
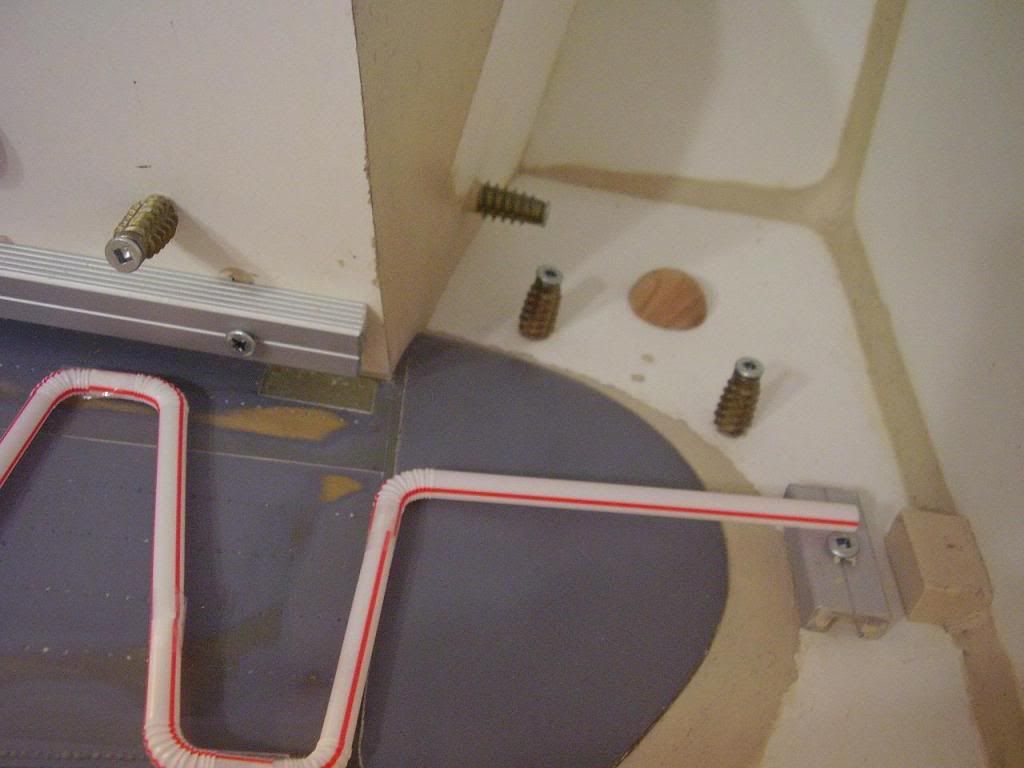
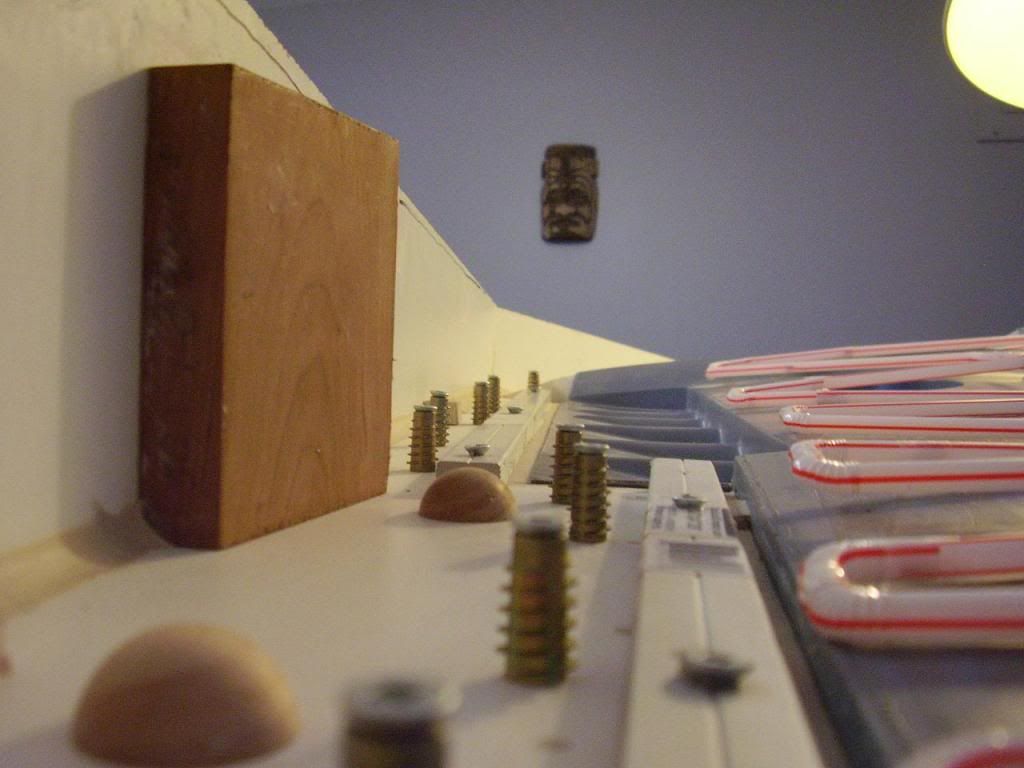
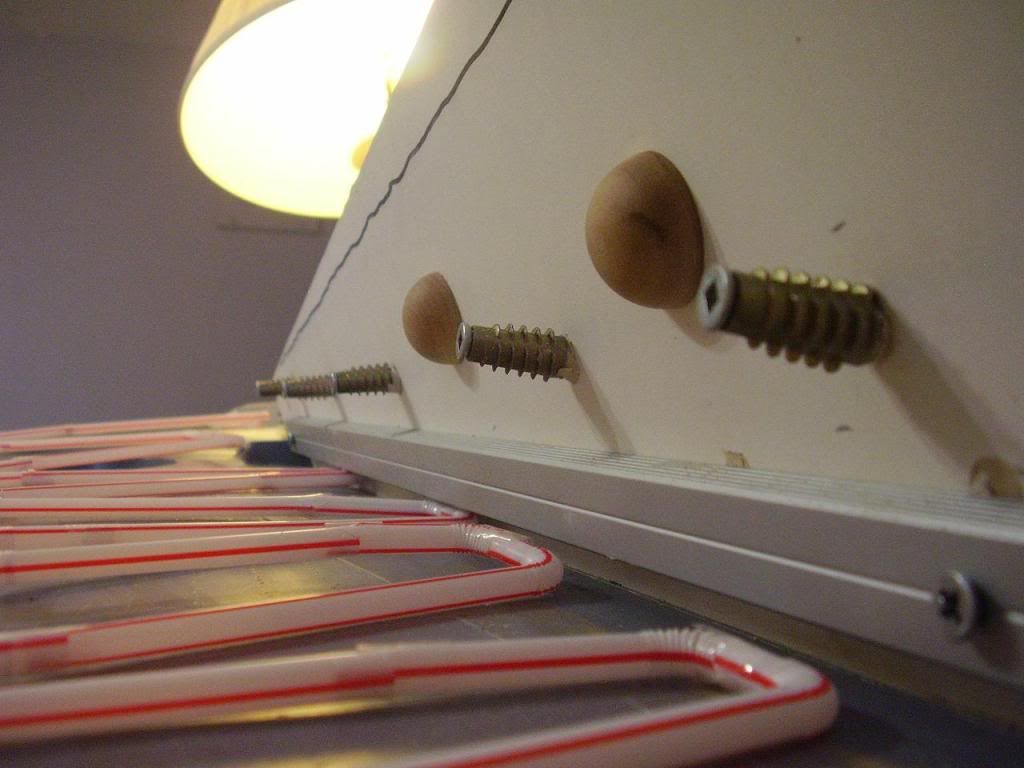
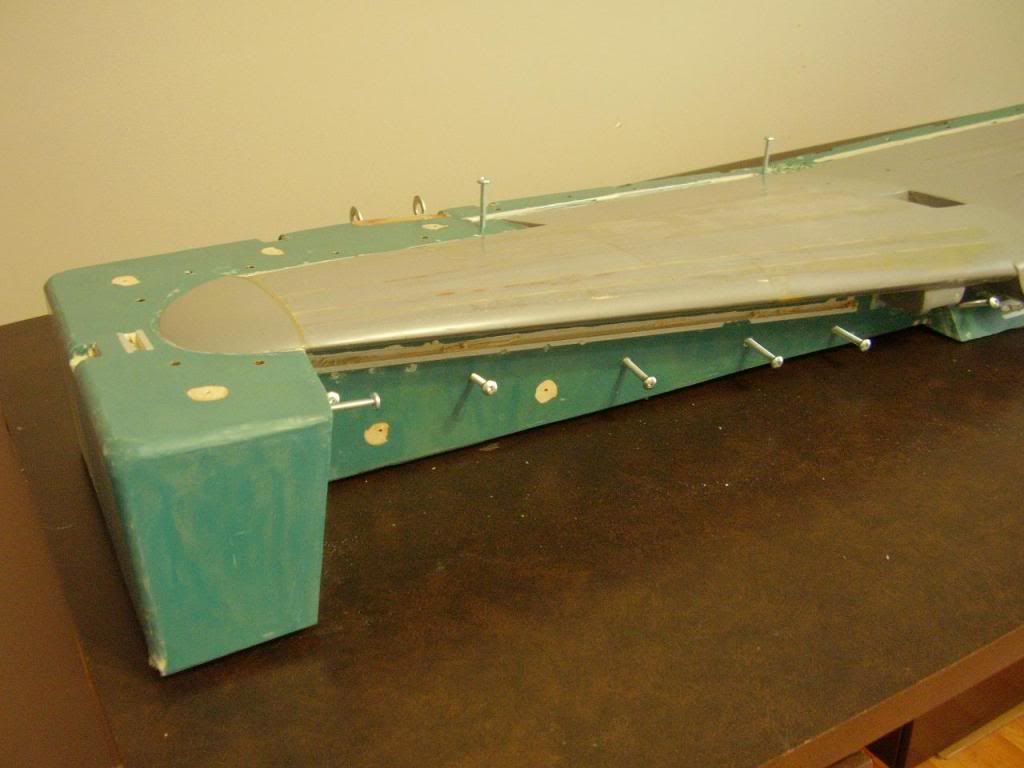
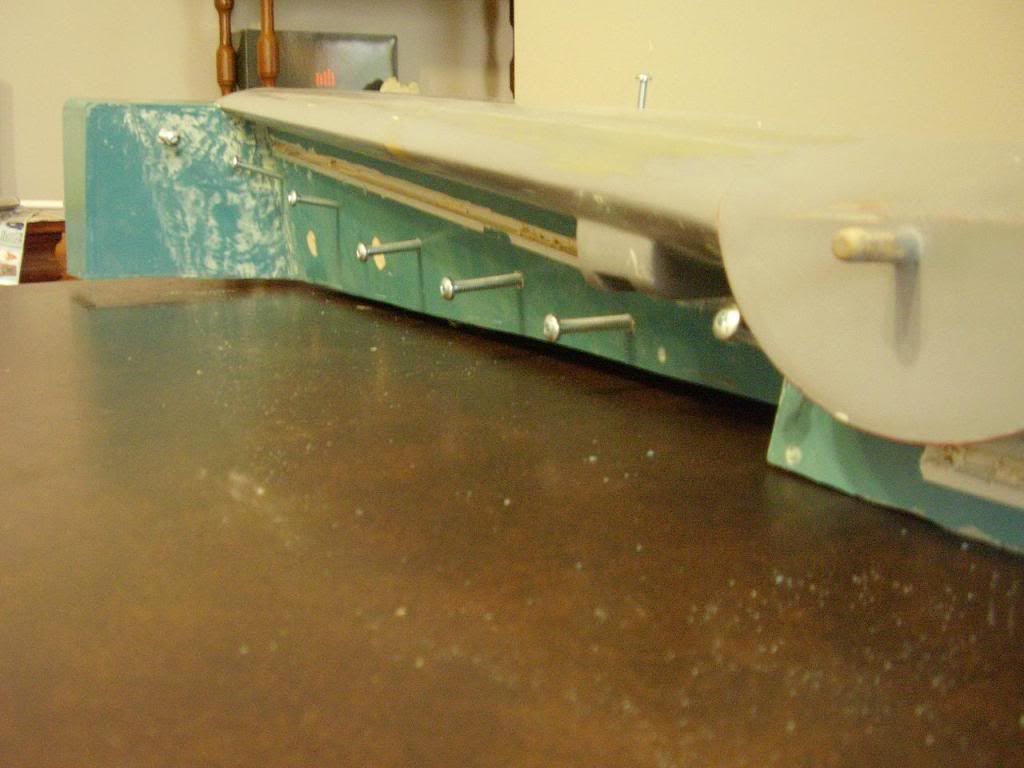
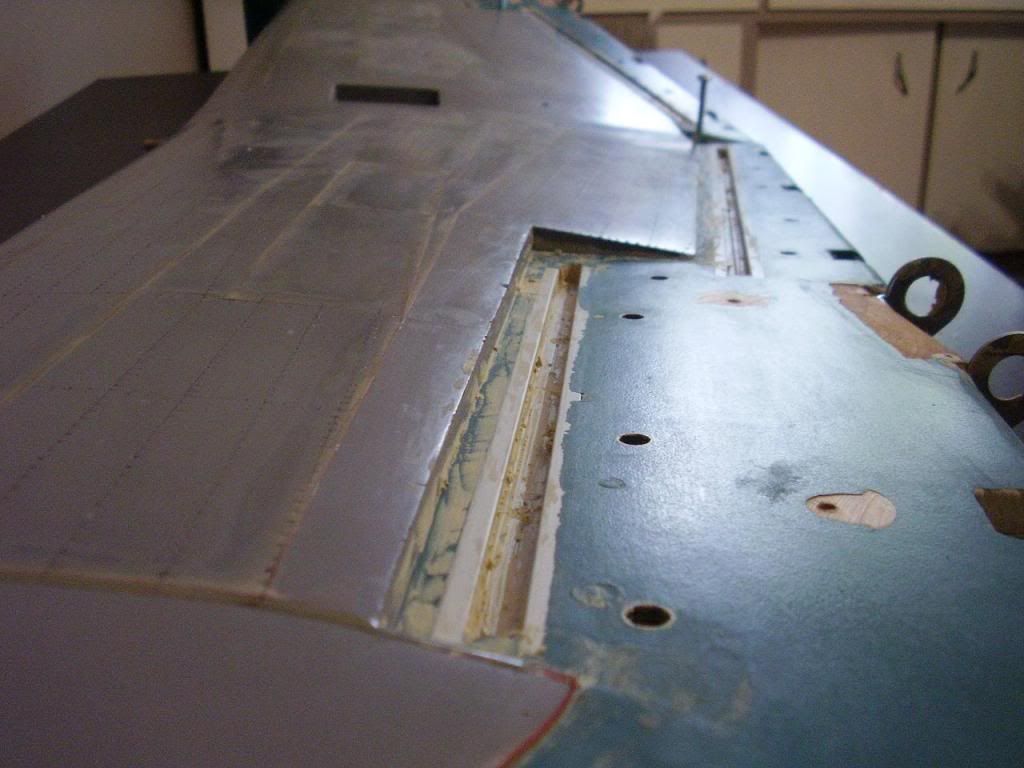
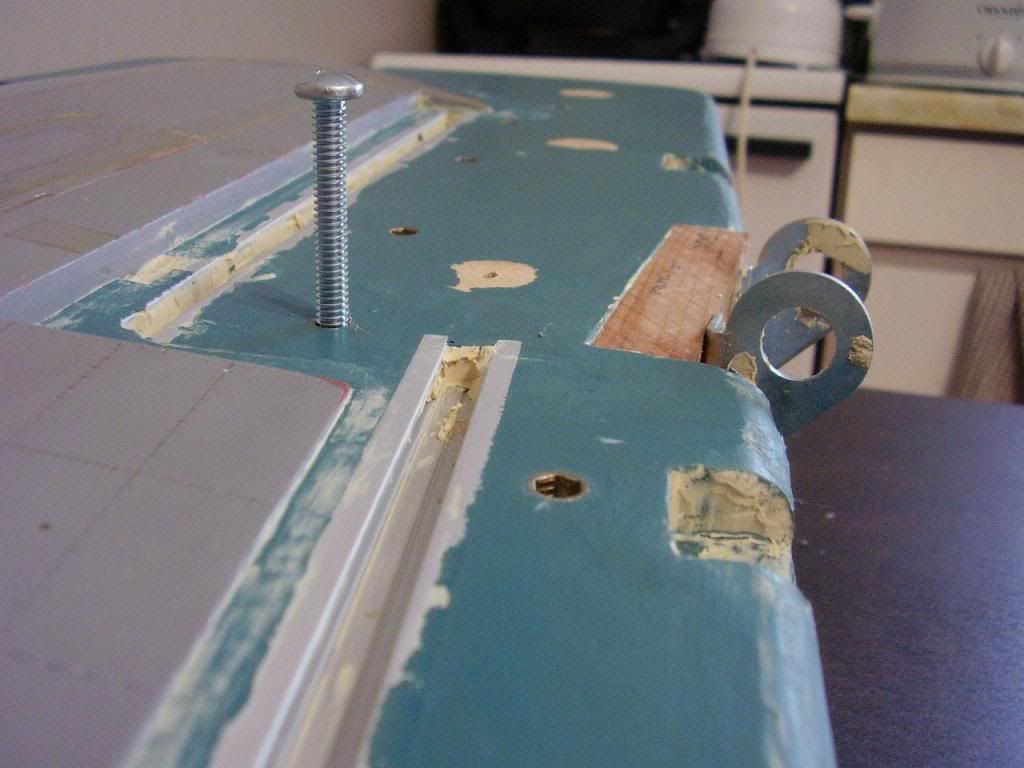
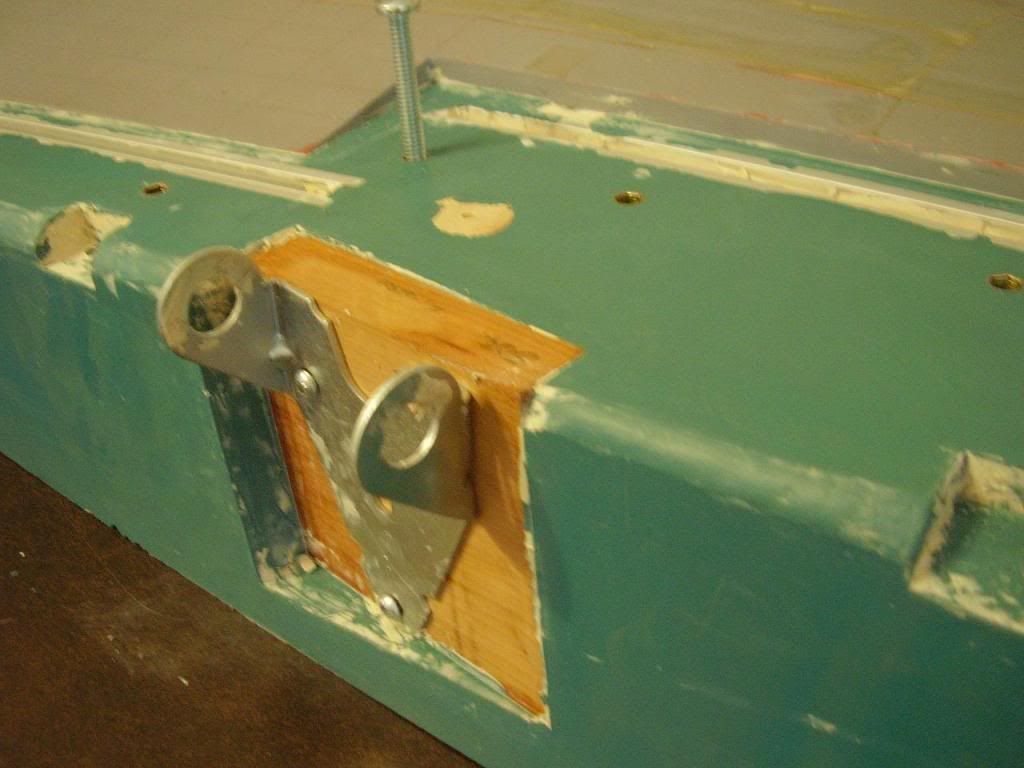
We still have the semi-spherical registration keys - but there are fewer of them. Fewer means less effort in keeping them clean and free from build-up. In an effort to maximize their effect however, they are placed at the extremes of the mould sections.
We still have the 1/4"-20 thread inserts for joining. There are a couple new ones. You can also see that I've countersunk the two on the end faces so that they will not interfere with removing the leading edge section.
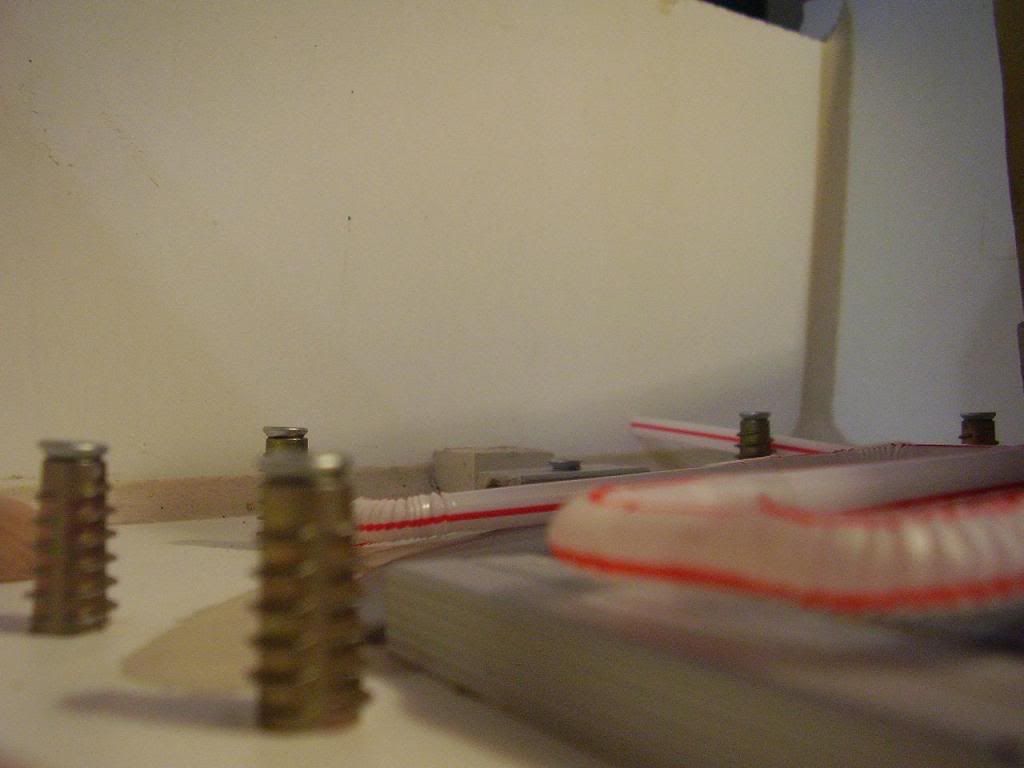
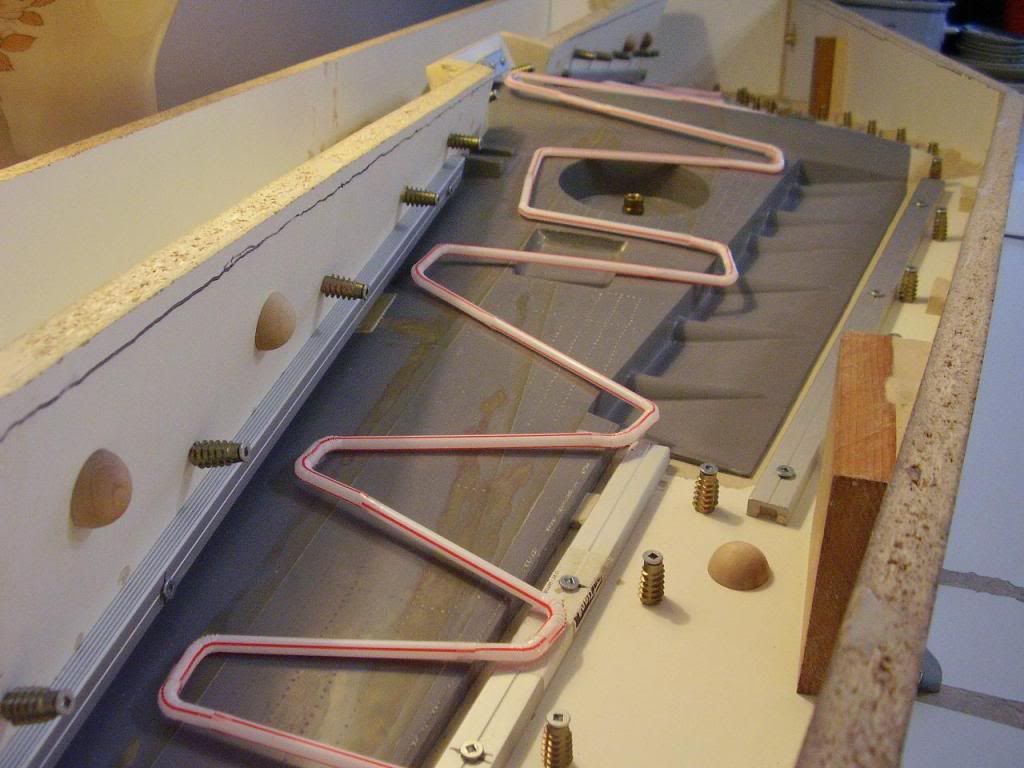
The new bits are the extruded aluminum T-slot ways. I've filled them with clay, and then screwed them down to the parting board.
They will provide a nice flat, and wear-resistant face to trim against.
They will also act as an overflow channel during assembly.
But mostly, they give me the option of speeding things up considerably if needed at some time down the road. By vacuum sealing across the flange face and controlling resin flow into each of the nine overflow channels, while drawing vaccum from the underside through the gear bays it will be possible to infuse parts rather quickly.
I left the conduit for the heating circuit on top just for the sake of the picture: of course it will be embedded in the layup.
We still have the semi-spherical registration keys - but there are fewer of them. Fewer means less effort in keeping them clean and free from build-up. In an effort to maximize their effect however, they are placed at the extremes of the mould sections.
We still have the 1/4"-20 thread inserts for joining. There are a couple new ones. You can also see that I've countersunk the two on the end faces so that they will not interfere with removing the leading edge section.
The new bits are the extruded aluminum T-slot ways. I've filled them with clay, and then screwed them down to the parting board.
They will provide a nice flat, and wear-resistant face to trim against.
They will also act as an overflow channel during assembly.
But mostly, they give me the option of speeding things up considerably if needed at some time down the road. By vacuum sealing across the flange face and controlling resin flow into each of the nine overflow channels, while drawing vaccum from the underside through the gear bays it will be possible to infuse parts rather quickly.
I left the conduit for the heating circuit on top just for the sake of the picture: of course it will be embedded in the layup.
06-21-2011, 12:45 PM
#355
Senior Member
Thread Starter
Join Date: Apr 2007
Location: Toronto,
ON, CANADA
Posts: 757
Likes: 0
Received 0 Likes
on
0 Posts
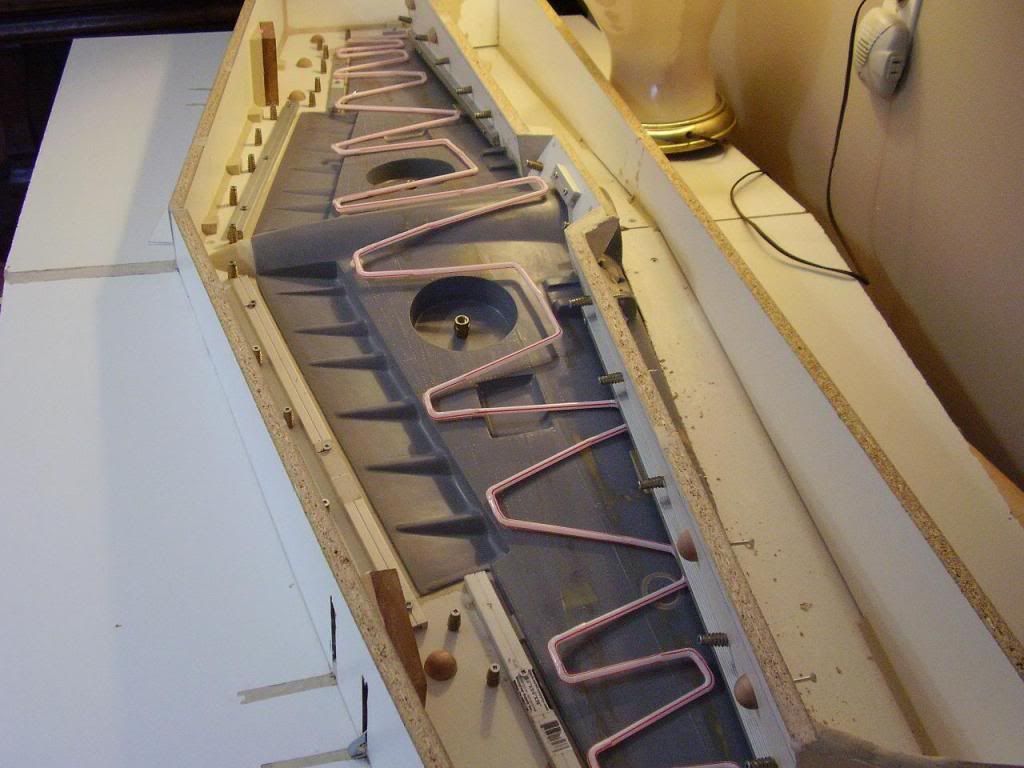
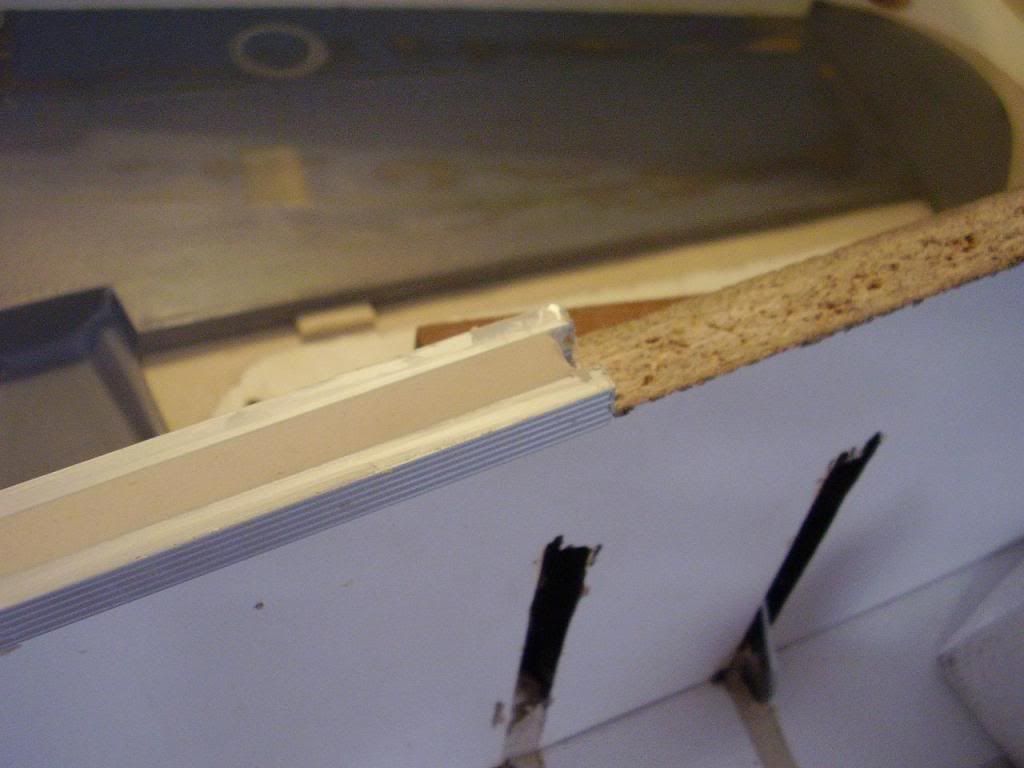
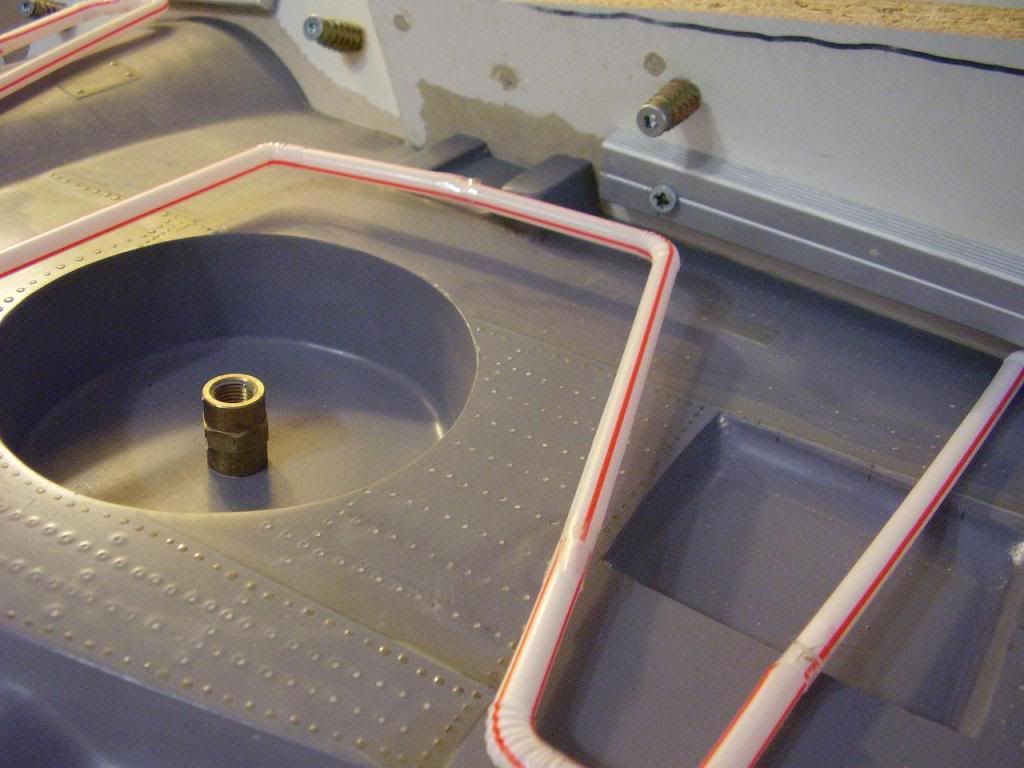
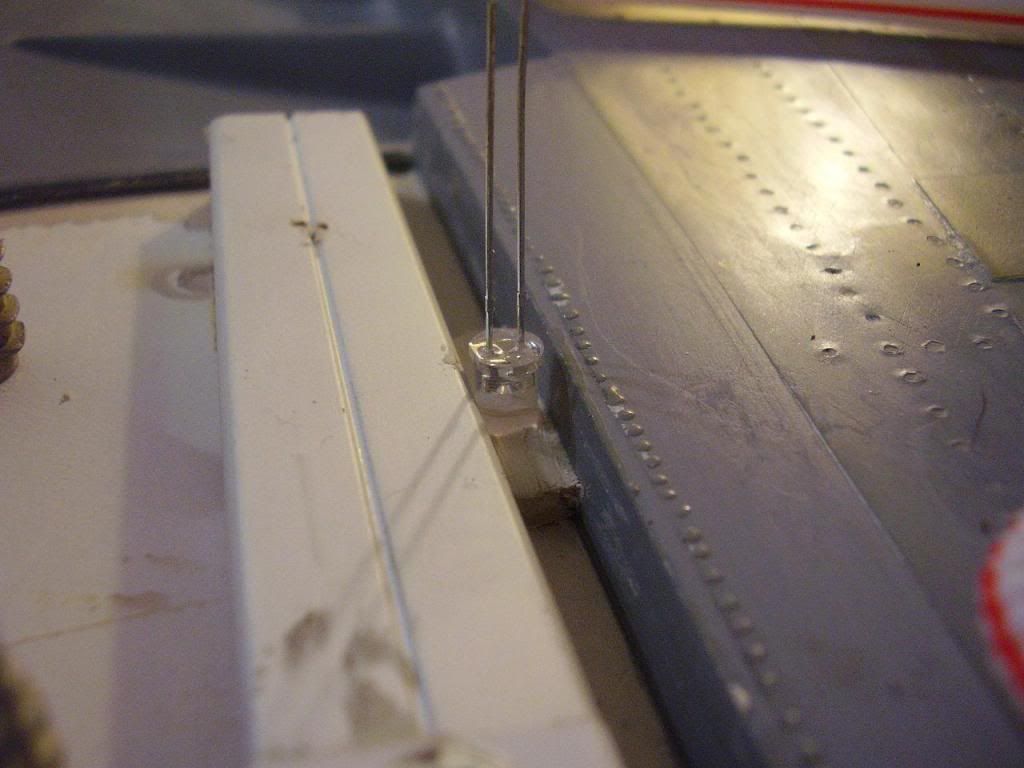
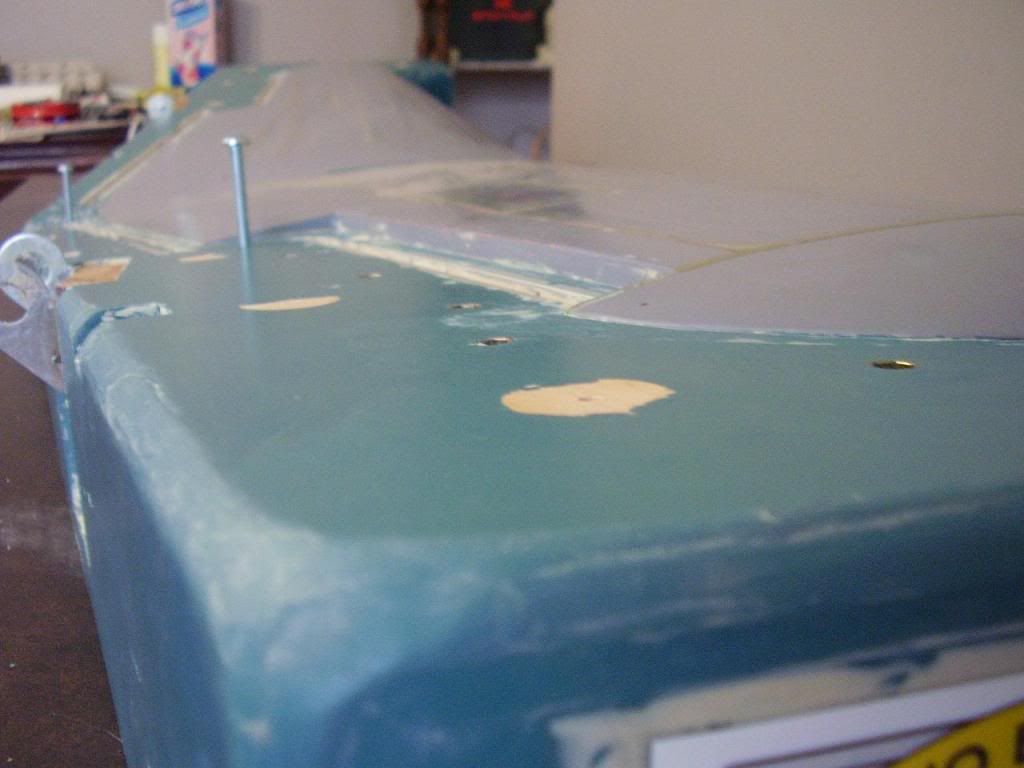
These bright white LED's will provide some light in the cavities where the control rods will extend past the trailing edge during final assembly.
(...because I'll be sure to be an old grey man with bad eyes by the time this thing's done!!)
How do you like my scale bullet holes in the wing skins in this first close up shot!?
(...because I'll be sure to be an old grey man with bad eyes by the time this thing's done!!)
How do you like my scale bullet holes in the wing skins in this first close up shot!?
06-21-2011, 12:47 PM
#356
Senior Member
Thread Starter
Join Date: Apr 2007
Location: Toronto,
ON, CANADA
Posts: 757
Likes: 0
Received 0 Likes
on
0 Posts
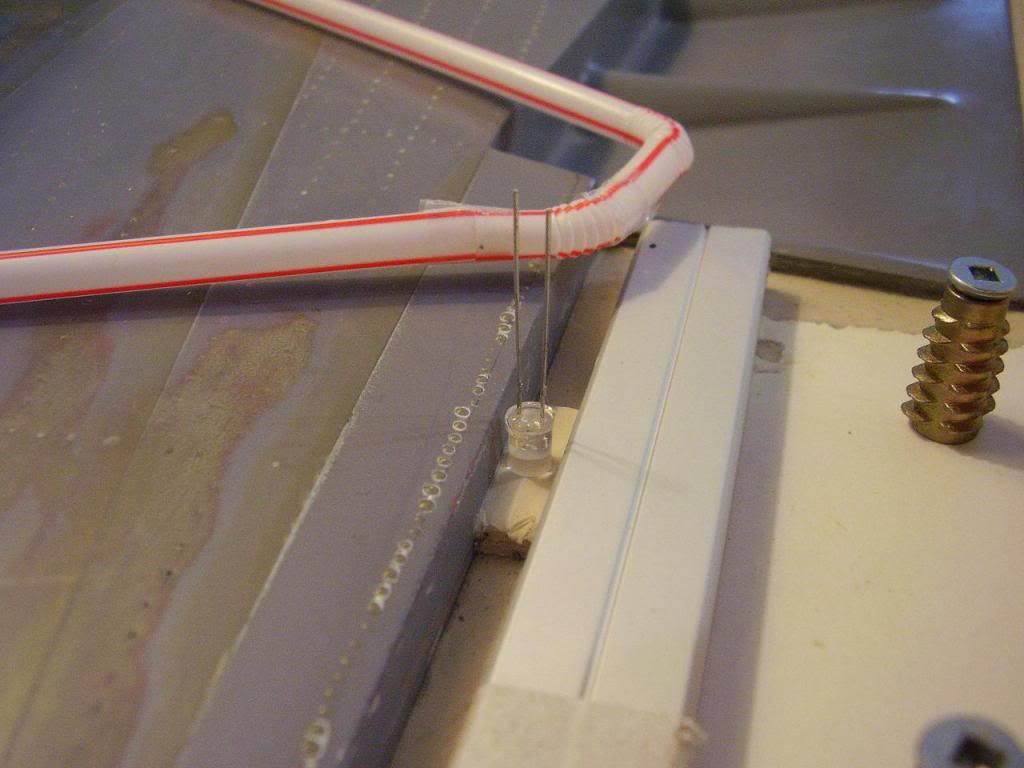
These bright white LED's will provide some light in the cavities where the control rods will extend past the trailing edge during final assembly.
(...because I'll be sure to be an old grey man with bad eyes by the time this thing's done!!)
How do you like my scale bullet holes in the wing skins in this first close up shot!?
(...because I'll be sure to be an old grey man with bad eyes by the time this thing's done!!)
How do you like my scale bullet holes in the wing skins in this first close up shot!?
06-22-2011, 05:05 PM
#357
Senior Member
Thread Starter
Join Date: Apr 2007
Location: Toronto,
ON, CANADA
Posts: 757
Likes: 0
Received 0 Likes
on
0 Posts
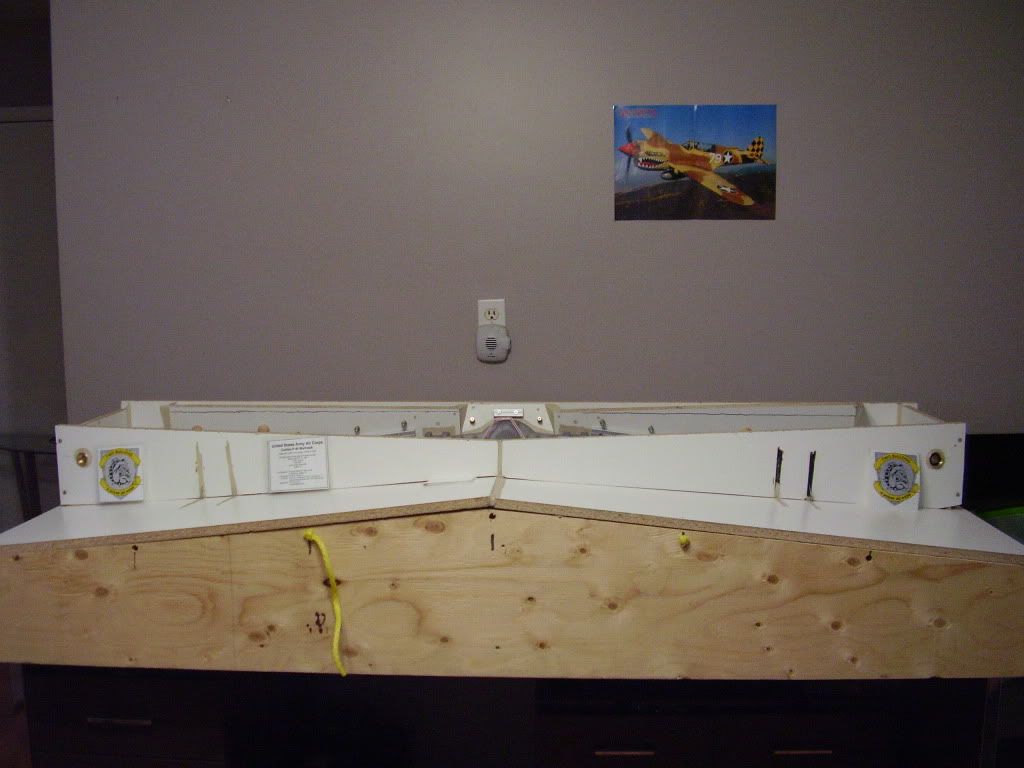
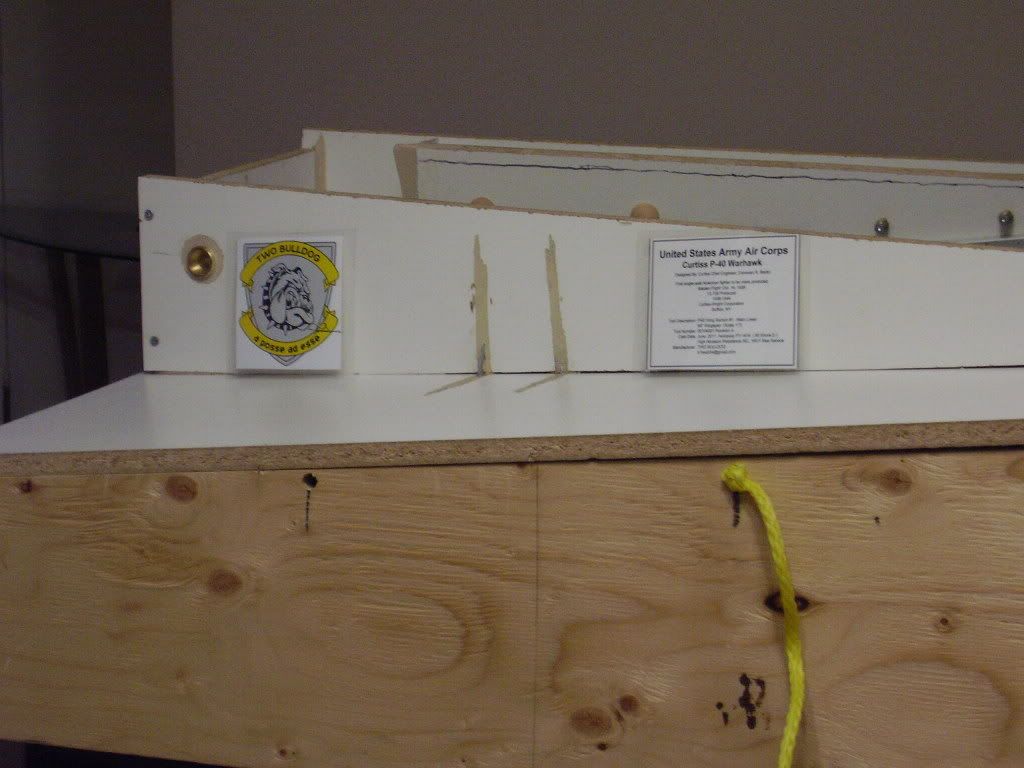
Alright, it's been 8 weeks setting up the first section of the wing mould. But it's good news / good news: I'll be starting the layup this evening / the next sections will be much quicker.
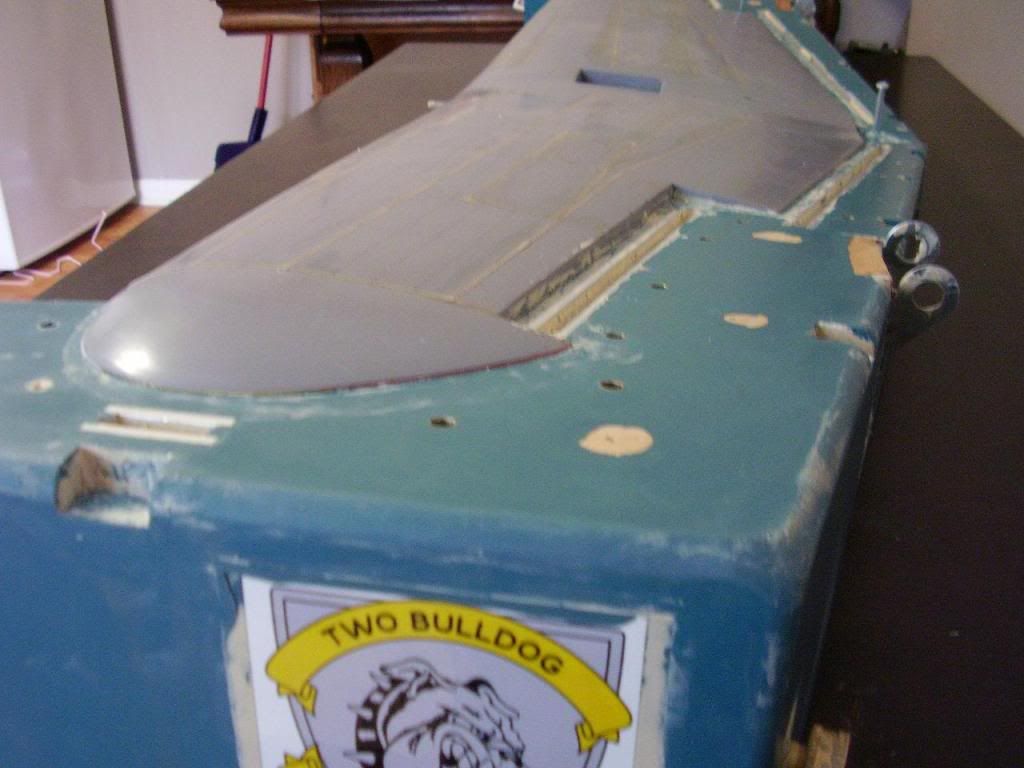
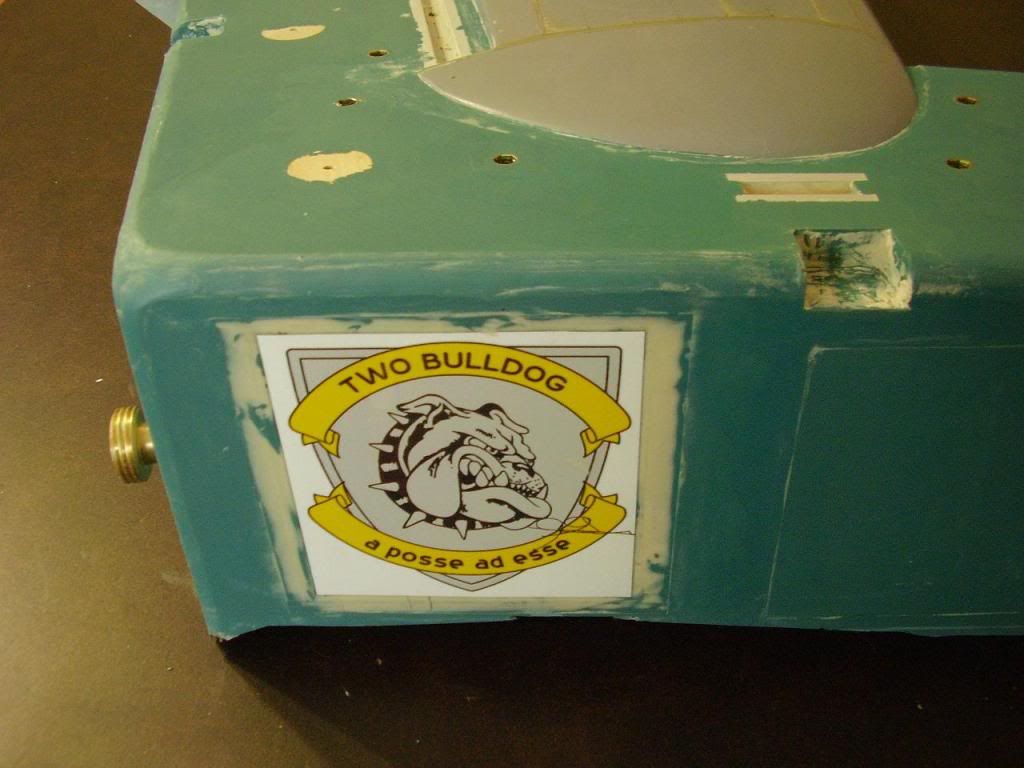
I've added some artwork that will be cast into the end faces of the mould (just for a little fun) and I've also updated the tool ID tag.
Stay tuned, there'll be ongoing pics, and so without further adieu...
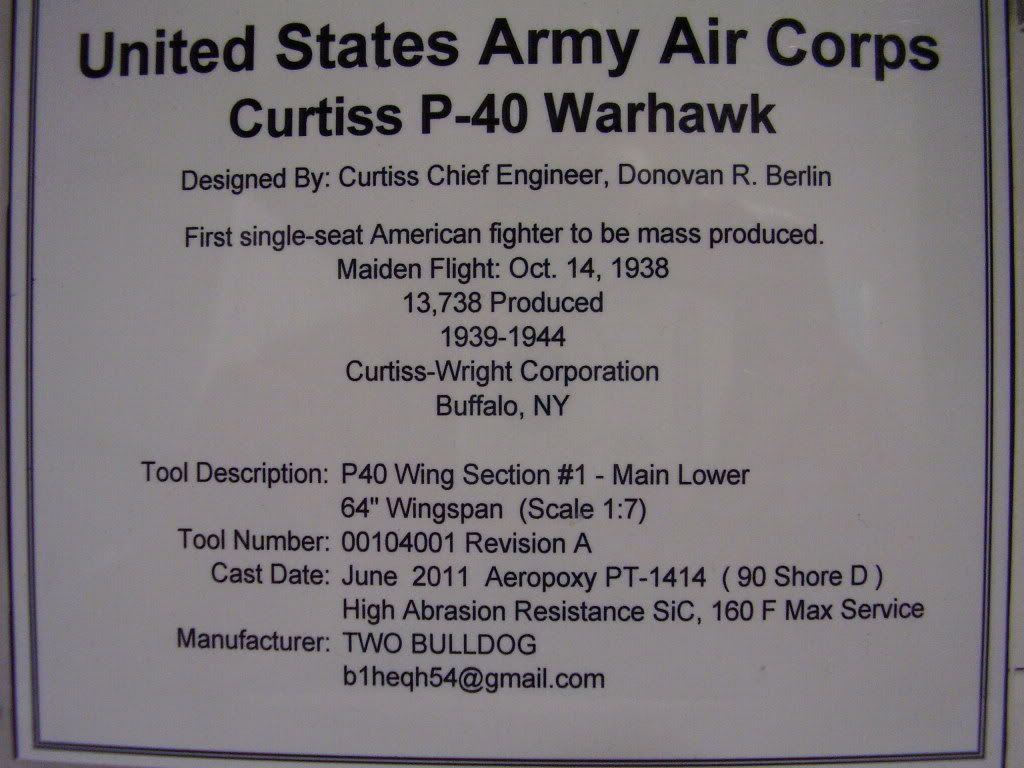
I've added some artwork that will be cast into the end faces of the mould (just for a little fun) and I've also updated the tool ID tag.
Stay tuned, there'll be ongoing pics, and so without further adieu...
 06-24-2011, 03:58 AM
#360
Senior Member
Thread Starter
Join Date: Apr 2007
Location: Toronto,
ON, CANADA
Posts: 757
Likes: 0
Received 0 Likes
on
0 Posts
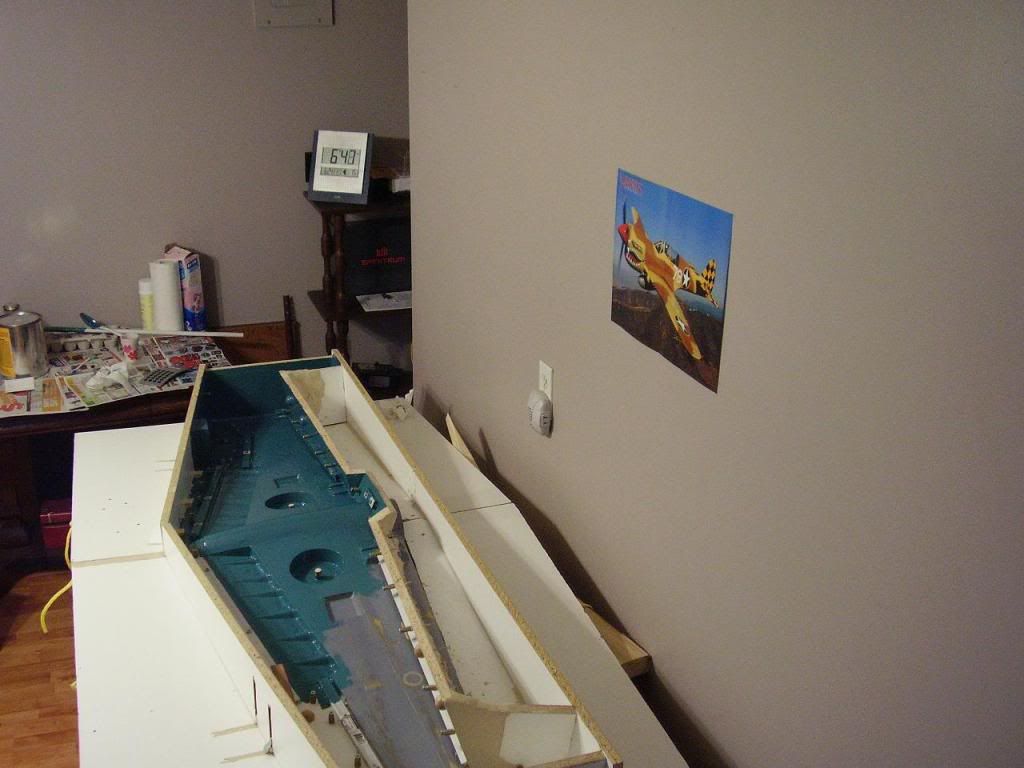
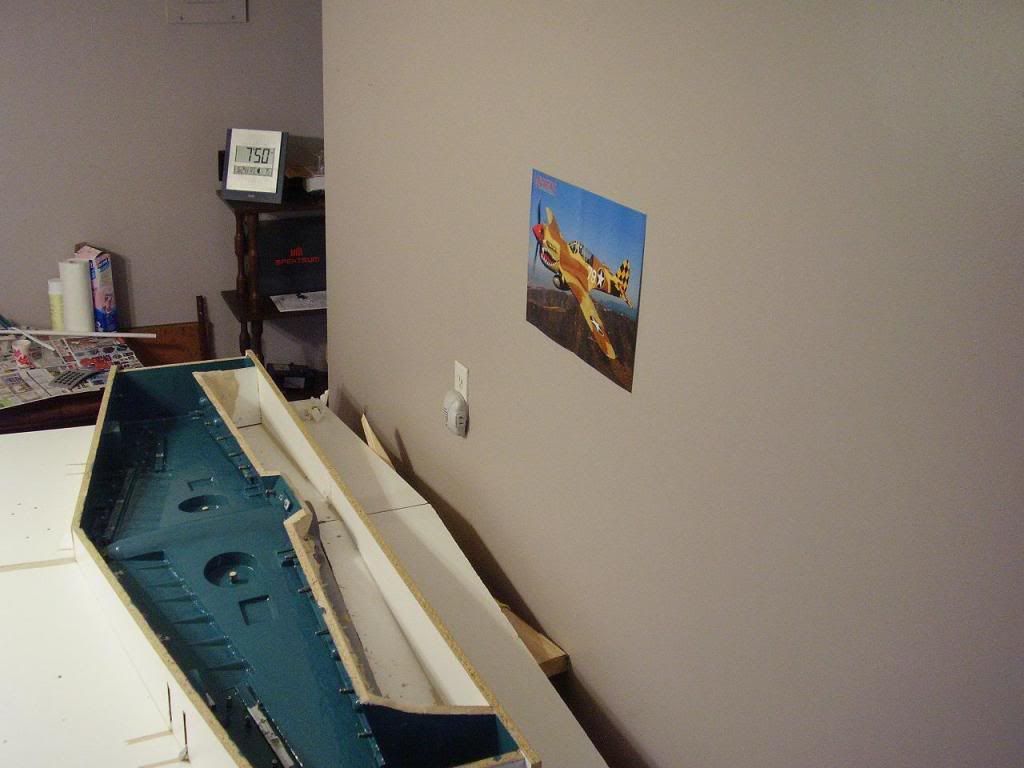
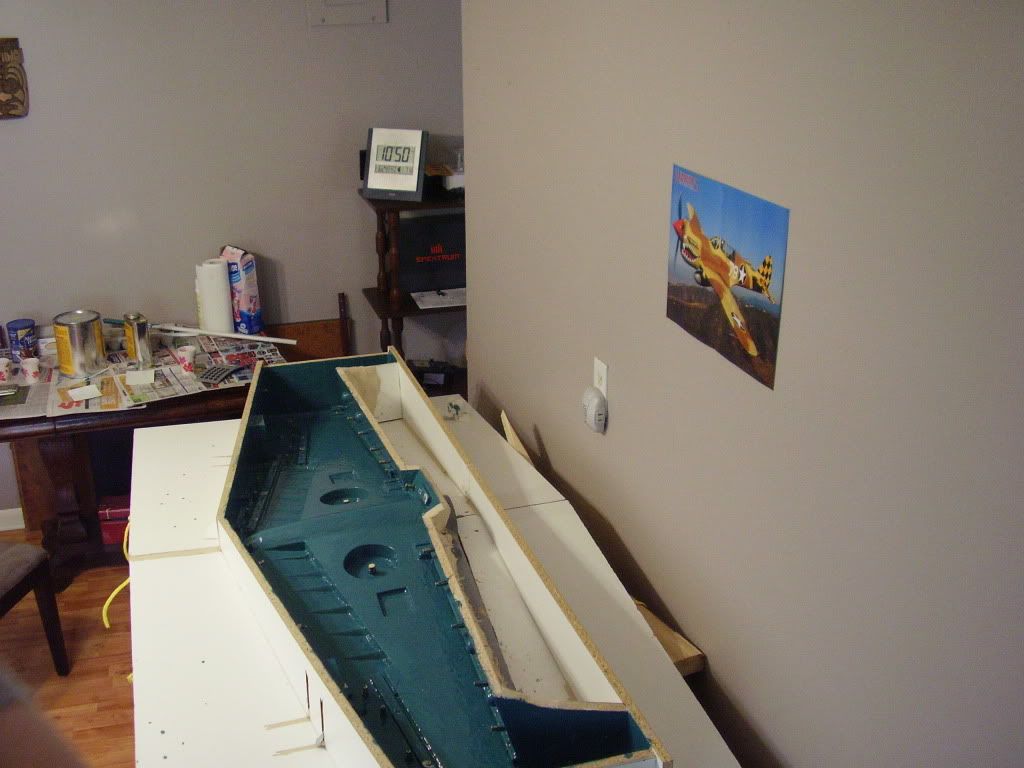
That's the first coat of tool coat applied, with particular attention to over hangs. Generally I mix up about 100 grams and put it into tight corners like where the part meets the parting board first while it still flows like no tomorrow. Once it starts to get a little thicker I move onto vertical walls, overhangs and the like.
I'll let this set up for an hour or two, and then I'll give it a second coat of tooling epoxy. I'm shooting for about 1/16" thick and complete coverage.
Haha - my tool ID tag fell off, but both bulldog tags stayed put - can't win for losing. I'll stick the tool ID tag on later I guess.
I'll let this set up for an hour or two, and then I'll give it a second coat of tooling epoxy. I'm shooting for about 1/16" thick and complete coverage.
Haha - my tool ID tag fell off, but both bulldog tags stayed put - can't win for losing. I'll stick the tool ID tag on later I guess.
 06-24-2011, 08:23 AM
#363
Senior Member
Thread Starter
Join Date: Apr 2007
Location: Toronto,
ON, CANADA
Posts: 757
Likes: 0
Received 0 Likes
on
0 Posts
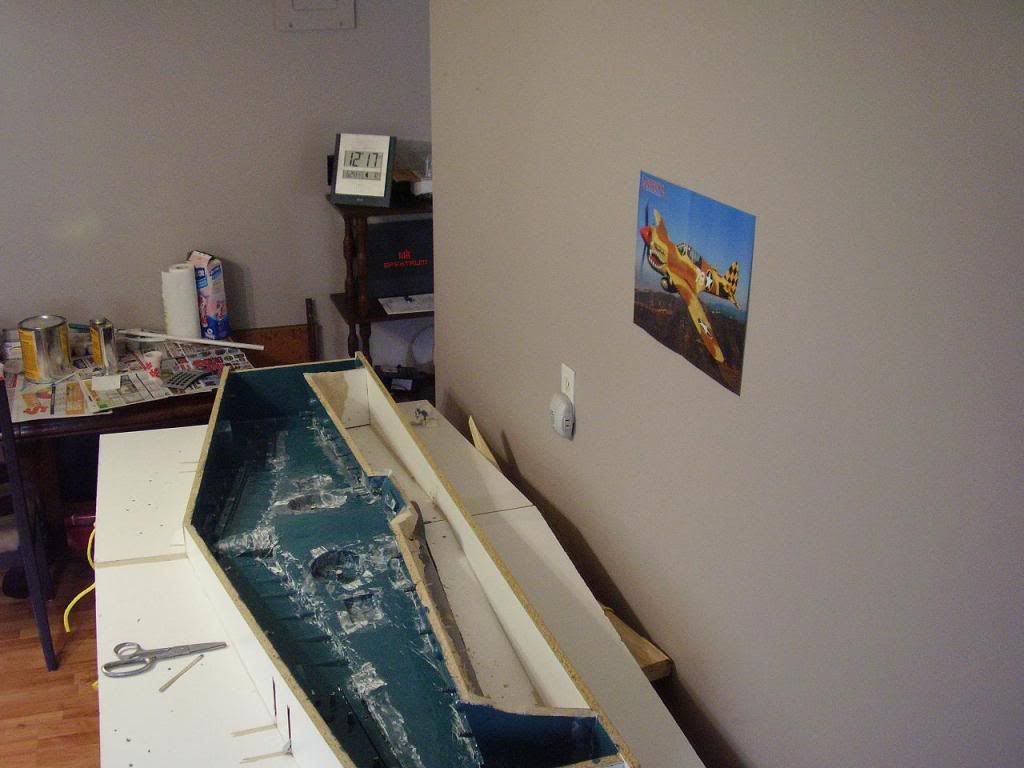
This is very light cloth. Mostly it's scraps of 1/2 and 3/4 oz/^yd
that I've set aside when covering other models in the past. I haven't laid any epoxy on it yet, just put it down on the tacky surface coat.
This is what you won't see a lot of others doing: they should.
I've placed it into all of the tight corners. What you do not want are air bubbles and voids. A heavier cloth will show through the tool coat over time and the surface veil will not stay in the tight corners.
06-24-2011, 09:15 AM
#364
Senior Member
Thread Starter
Join Date: Apr 2007
Location: Toronto,
ON, CANADA
Posts: 757
Likes: 0
Received 0 Likes
on
0 Posts
I've wet out the light cloth ensuring that it's into all the tight spots.
OK - I've now been working for 8hrs straight (can you say morphine) and I'm just about to start putting down surface veil. I hope you can see that this is something for which you need to set aside a couple of very long days and nights. Once you start, you don't want to stop or you'll need to sand the entire thing before continuing. (it never works out...)
OK - I've now been working for 8hrs straight (can you say morphine) and I'm just about to start putting down surface veil. I hope you can see that this is something for which you need to set aside a couple of very long days and nights. Once you start, you don't want to stop or you'll need to sand the entire thing before continuing. (it never works out...)
06-24-2011, 09:47 AM
#365
Senior Member
Thread Starter
Join Date: Apr 2007
Location: Toronto,
ON, CANADA
Posts: 757
Likes: 0
Received 0 Likes
on
0 Posts
This would be a typical first cloth layer. This is continuous strand surface veil or mat. It will stop the heavier weaves yet to come from showing through your surface coat over time. No need to apply it to the flanges: just the part.
You may be tempted to use a chopped strand mat, but the binder in it will react negatively with epoxy resins.
I will now wet this out with laminating resin.
Aeropoxy 2032 with a 30 minute hardener.

You may be tempted to use a chopped strand mat, but the binder in it will react negatively with epoxy resins.
I will now wet this out with laminating resin.
Aeropoxy 2032 with a 30 minute hardener.
06-24-2011, 03:35 PM
#366
Senior Member
Thread Starter
Join Date: Apr 2007
Location: Toronto,
ON, CANADA
Posts: 757
Likes: 0
Received 0 Likes
on
0 Posts
I double dog dare someone to try this on their own! lol
1st layer of 9 oz/yd^2 almost 15 hours into things - I haven't stopped for a coffee yet....
1st layer of 9 oz/yd^2 almost 15 hours into things - I haven't stopped for a coffee yet....
06-24-2011, 06:03 PM
#368
Senior Member
Thread Starter
Join Date: Apr 2007
Location: Toronto,
ON, CANADA
Posts: 757
Likes: 0
Received 0 Likes
on
0 Posts
So now it's just 7 more layers....still haven't managed to eat...as soon as I finish at one end, it's time to start at the other again...
06-24-2011, 08:35 PM
#369

ORIGINAL: Slow Low
I double dog dare someone to try this on their own! lol
1st layer of 9 oz/yd^2 almost 15 hours into things - I haven't stopped for a coffee yet....
I double dog dare someone to try this on their own! lol
1st layer of 9 oz/yd^2 almost 15 hours into things - I haven't stopped for a coffee yet....
100% scale drawings off internet, got kid to enlarge them. Full composite 90mm edf. Tried not to look, but alas.
steve
06-26-2011, 12:33 PM
#372
Senior Member
Thread Starter
Join Date: Apr 2007
Location: Toronto,
ON, CANADA
Posts: 757
Likes: 0
Received 0 Likes
on
0 Posts
Well, everything seems to have turned out quite well. The only thing that I'm not overly happy with is the sealer on my wooden registration keys didn't handle the job. Next time I'll use some Kermit the frog eyes from the craft store probably. This time, I'll use the back up plan around the perimeter.
Anyway, here are some early shots. I still have a lot of clay to clean etc., but hey, pictures are cool on a Sunday afternoon too...I'll have more to say later, but I need a coffee.

Anyway, here are some early shots. I still have a lot of clay to clean etc., but hey, pictures are cool on a Sunday afternoon too...I'll have more to say later, but I need a coffee.
06-30-2011, 12:17 PM
#373
Member
My Feedback: (1)
Join Date: Feb 2003
Location: Zagreb, CROATIA (HRVATSKA)
Posts: 81
Likes: 0
Received 0 Likes
on
0 Posts
Nice work !
Allways liked P-40E, very cool plane design.
Man, I really feel your pain, mold making is very nervbraking and time consuming.. [:'(]

I can relate, recently I done something similar, and also did not sleep about few days;
http://www.rcgroups.com/forums/showt...252959&page=10
Looking forward to see your molds finished, and first composite 1/7th P-40E completed.
Regards,
Kristijan Kljucaric
06-30-2011, 06:20 PM
#374
Senior Member
Thread Starter
Join Date: Apr 2007
Location: Toronto,
ON, CANADA
Posts: 757
Likes: 0
Received 0 Likes
on
0 Posts
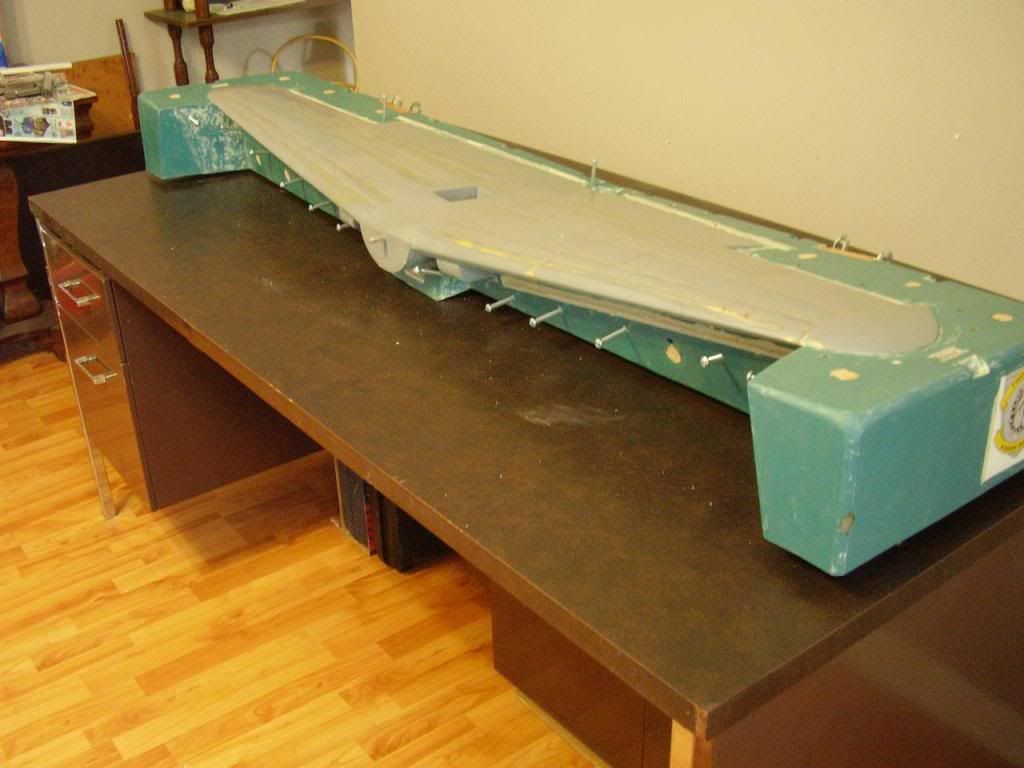
Sorry for the slow reply guys, but after a marathon layup, I need a few days to myself on the couch. lol At any rate, that's the first section done. It looks good, but it smells like money! lol
Hey Steve - now that I know you've got a bank account bigger than that plug you're working on, your only saving grace would be driving an old pickup, or drinking 18 year old single malt while your buddies drink beer by the pitcher - if you drive a Benz I hope your resin separates on you ;D
Kristijan - My hat is off to you sir: NICE WORK. (you europeans are always making us new world men look bad over here) Thank you for the link: it also led to a few others. You get an official Two Bulldog badge for patience and determination above and beyond humane limits.
07-04-2011, 08:40 AM
#375
Senior Member
Thread Starter
Join Date: Apr 2007
Location: Toronto,
ON, CANADA
Posts: 757
Likes: 0
Received 0 Likes
on
0 Posts
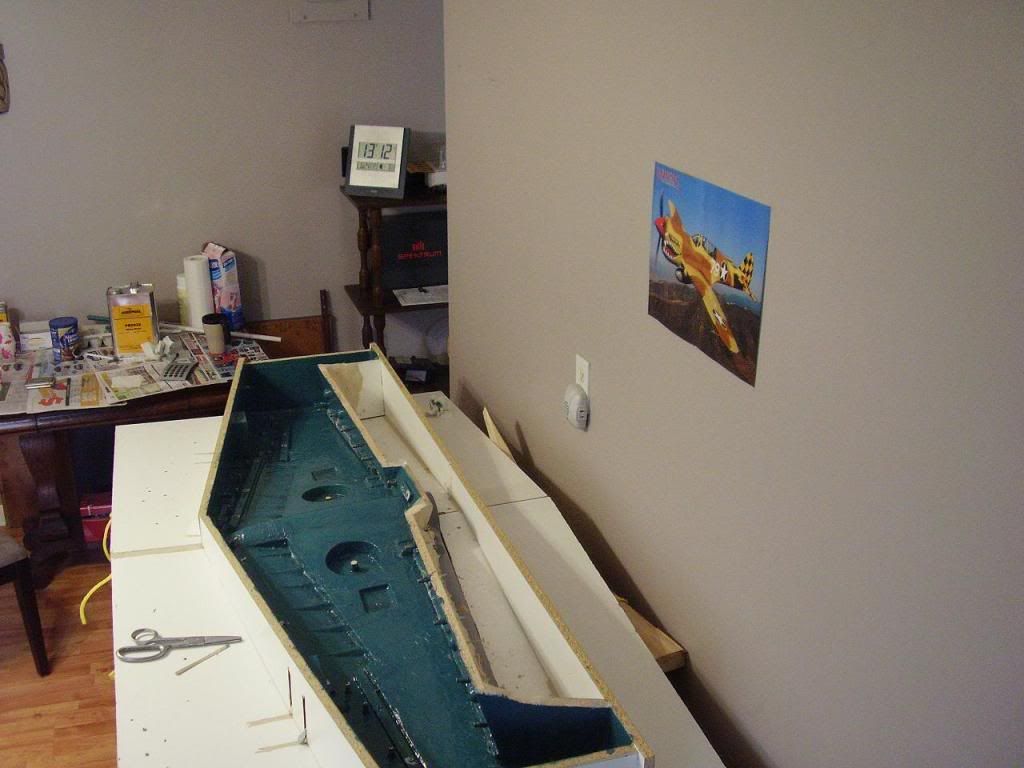
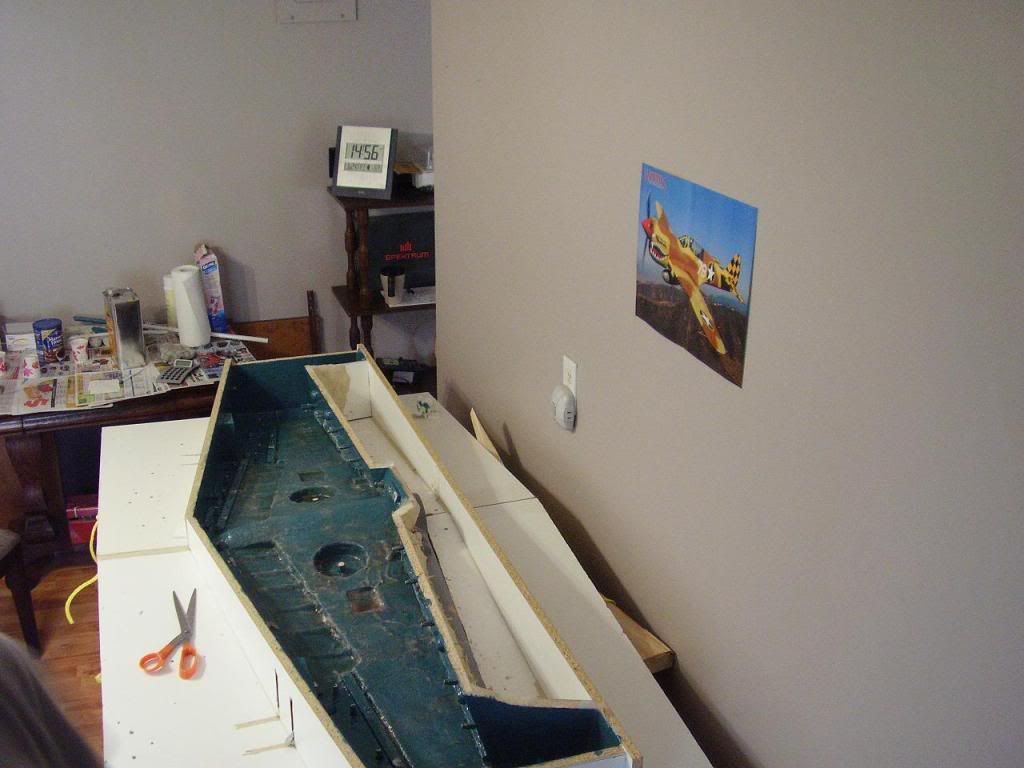
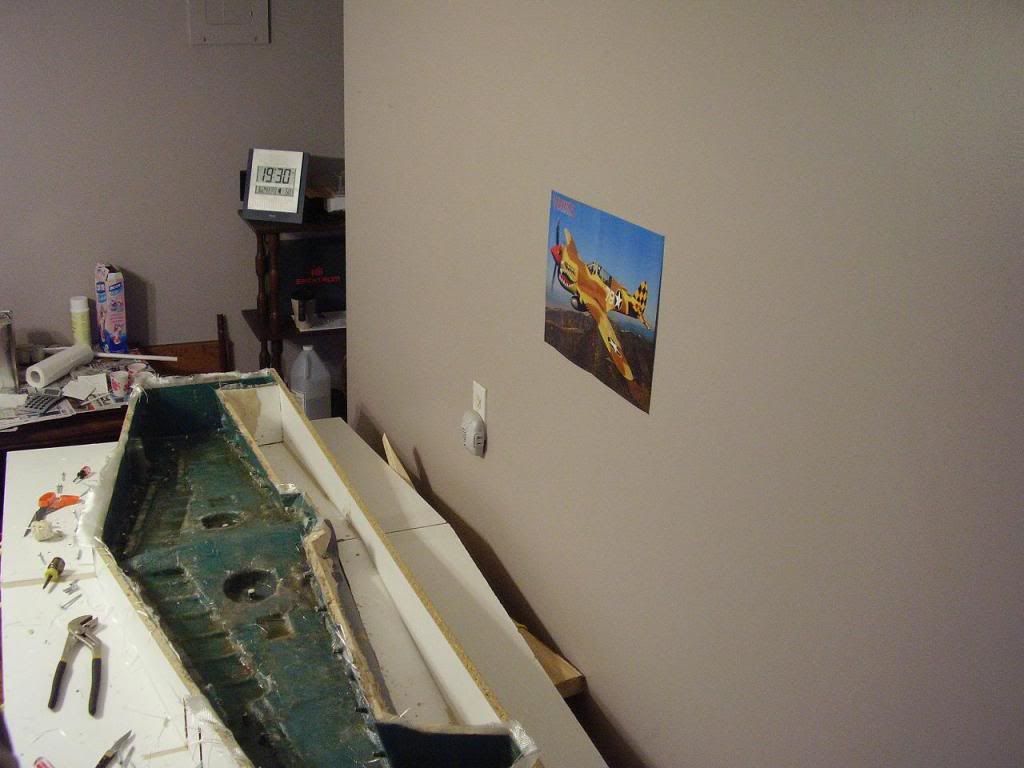
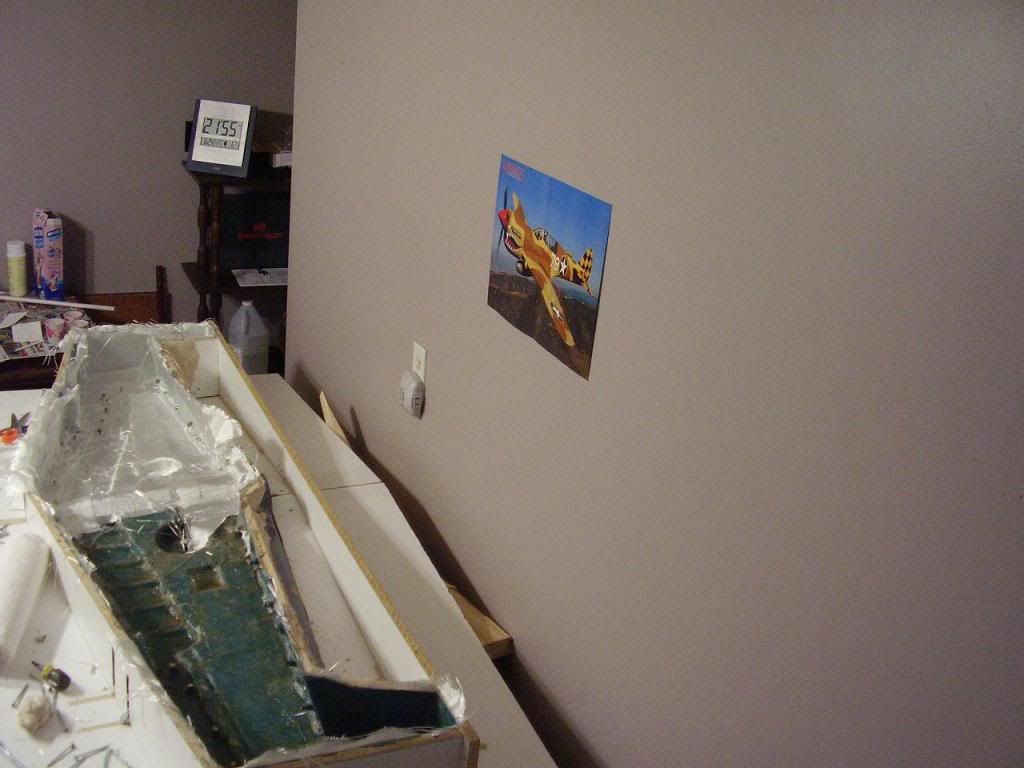
Alright, I've had a nice little rest so I thought I should document some things here while I've got a moment.
Since making the fuse mould in 16pcs that each contained 13 layer laminations, at about 3 hours each, I decided that I needed to explore methods for not only speeding things up, but also reducing material costs. As a home hobbiest, you know that the further you can stretch a buck, the better. And afterall, we're building model airplanes here....
The first thought, as silly as it sounds was to go to a bigger brush. Well, that means mixing larger batches, which means a new scale. It also results in using about twice as much resin, but that's another story.
After some thought about rigidity of the tool, I came to the conclusion that what was needed, was much the same thing that's needed in a wing; a spar to take the bending moment produced along the length of the wing, and something to resist twist.
In the end, by using an integral fibreglass outer shear flange around the tool perimeter, and also incorporating the aluminum extrusions at acute angles in the tool face, I was able to cut the 13 layers down to 6 in the tool face and only 4 around the vertical perimeter shear flange.
More substantially, in terms of cost, I went from 2 gallons of laminating resin down to under one. In ballpark figures that's about a 60% savings in the material cost of this tool. The labour savings, although I will not quantify it here because it would require me to assign some certain degree of value to my skill level, was priceless to a guy who couldn't feel his legs after laying down each layer.
What does General Bugsy think of our new toy?