


All Composite 1/7th P-40E Mould Build


 02-16-2012, 02:36 PM
#402
Senior Member
Thread Starter

Join Date: Apr 2007
Location: Toronto,
ON, CANADA
Posts: 757
Likes: 0
Received 0 Likes
on
0 Posts
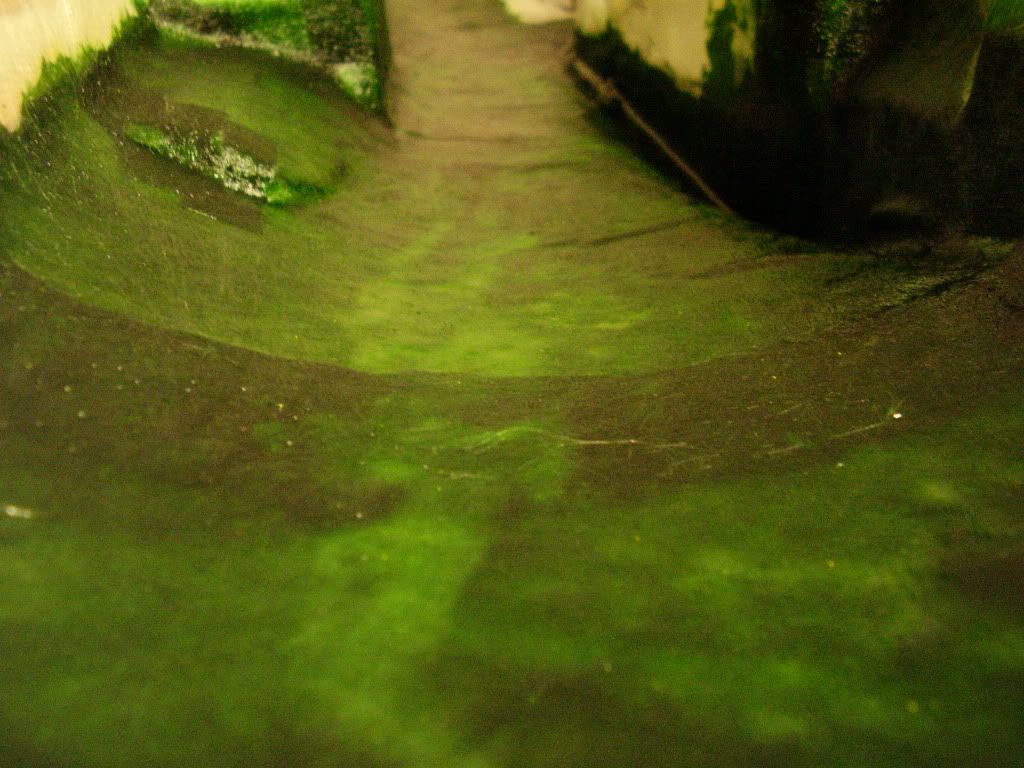
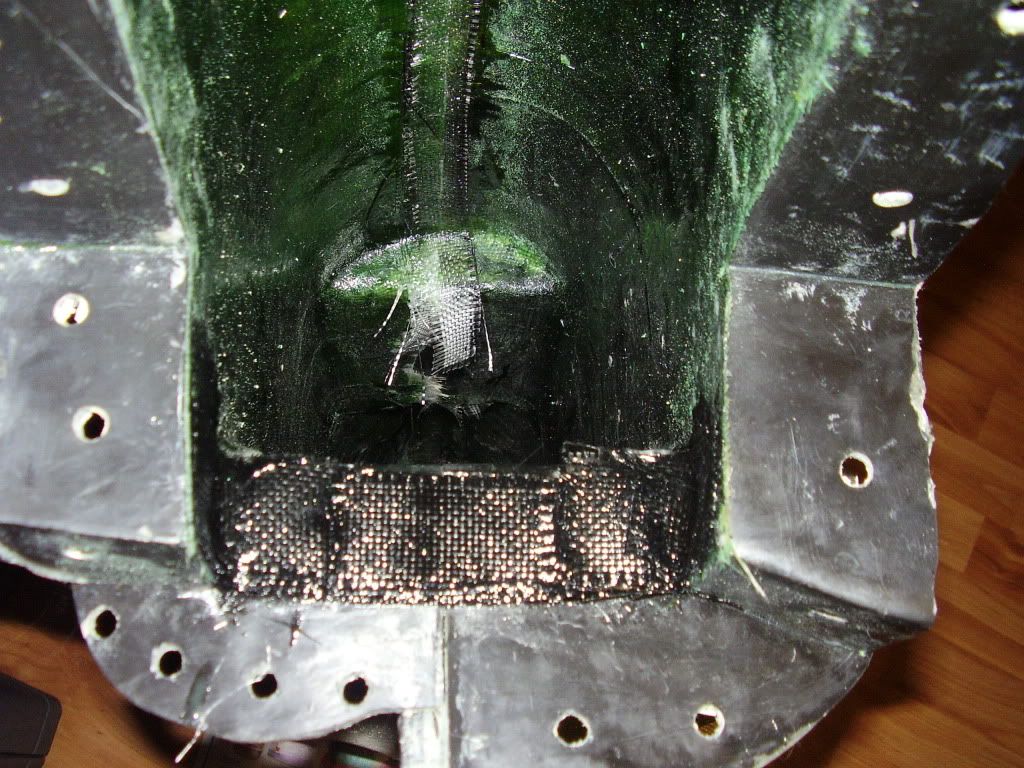
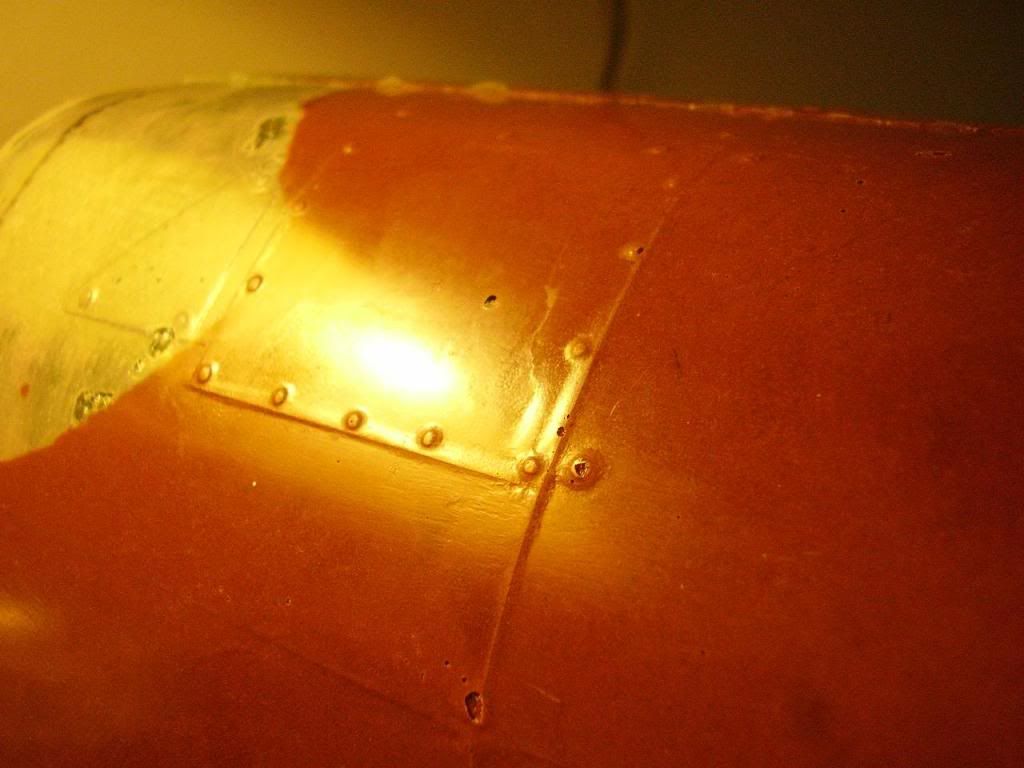
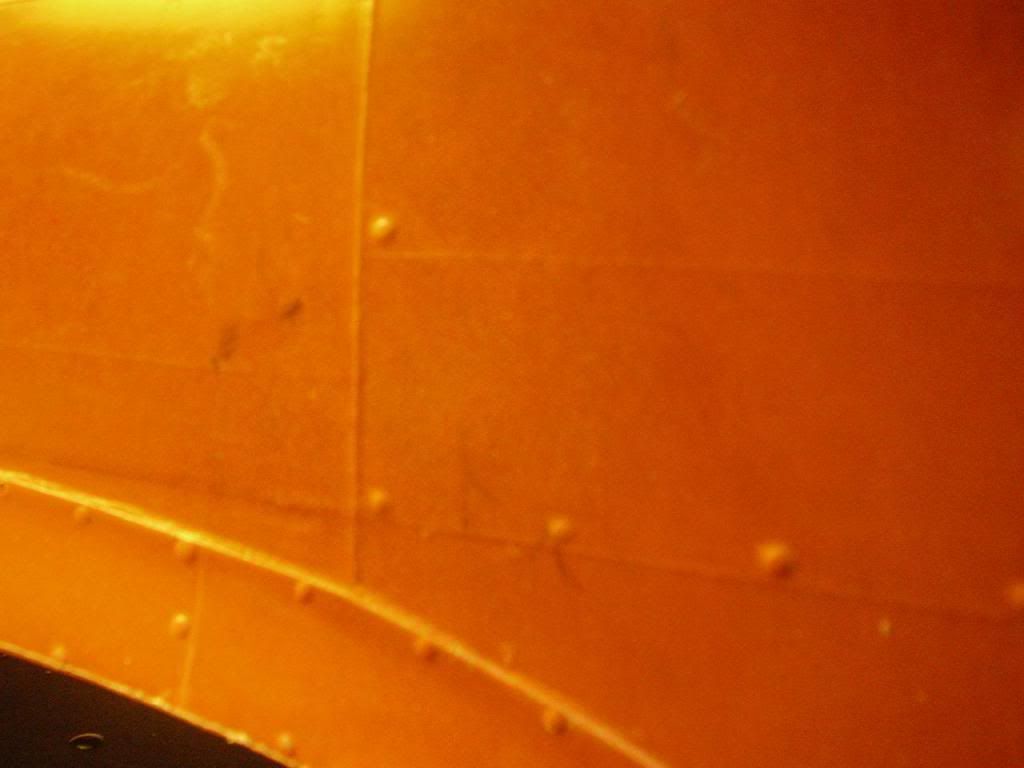
OK, so it's 3/4 Oz cloth in all the tight spots. This is followed by a layer of 9 OZ cloth all around and overlapped in some critical areas like around the firewall and wing saddle etc.. Then it's all wrapped up with a final layer of surface veil. You like?? 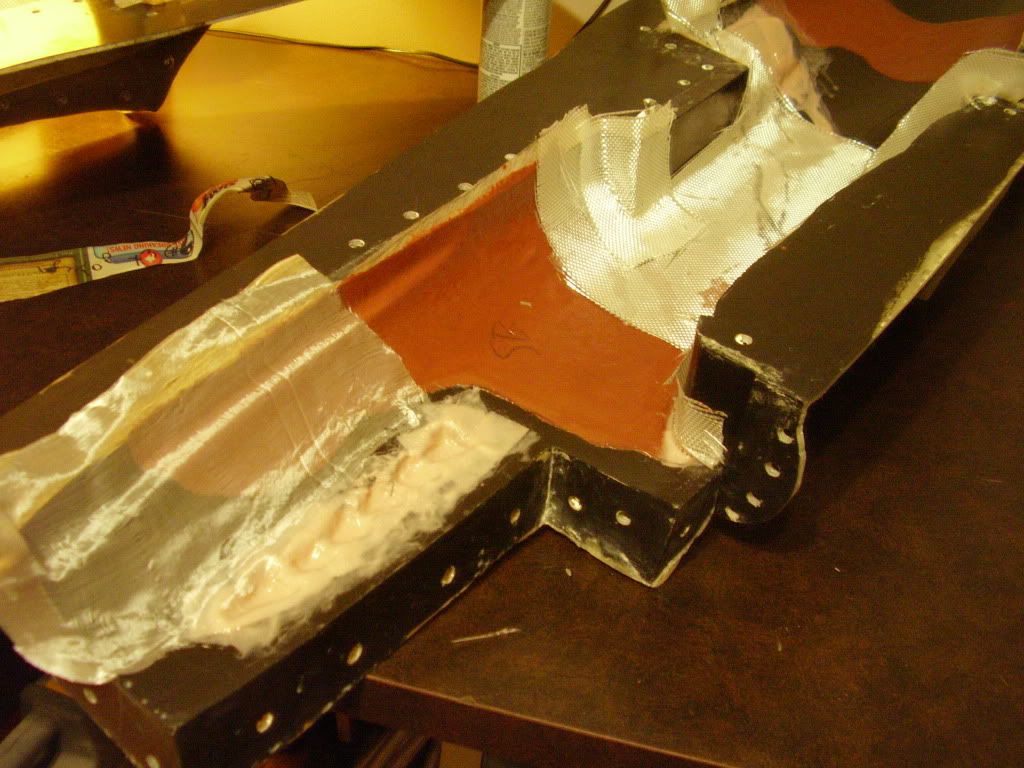


 02-17-2012, 08:21 AM
#404
Senior Member
Thread Starter
Join Date: Apr 2007
Location: Toronto,
ON, CANADA
Posts: 757
Likes: 0
Received 0 Likes
on
0 Posts
For my next trick, and with a little bit of luck, I will demonstrate a bit of the assembly plan that I designed into this mould more than 5 years ago now....patience my friends, patience...
02-18-2012, 06:00 AM
#405
Senior Member
Thread Starter
Join Date: Apr 2007
Location: Toronto,
ON, CANADA
Posts: 757
Likes: 0
Received 0 Likes
on
0 Posts
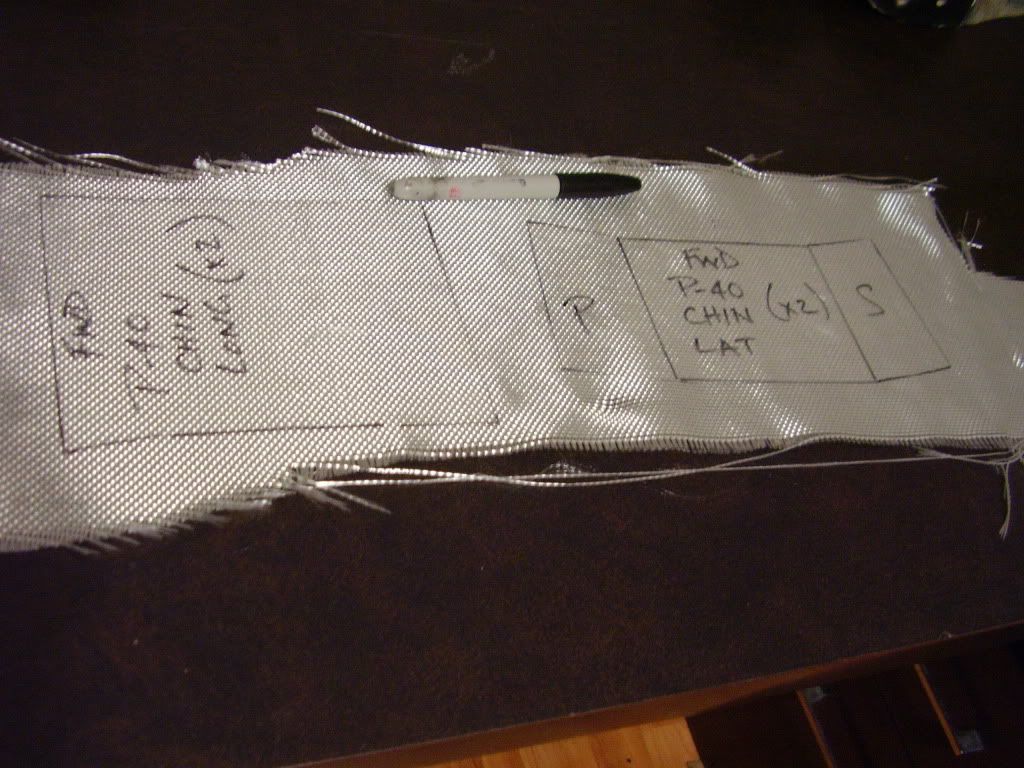
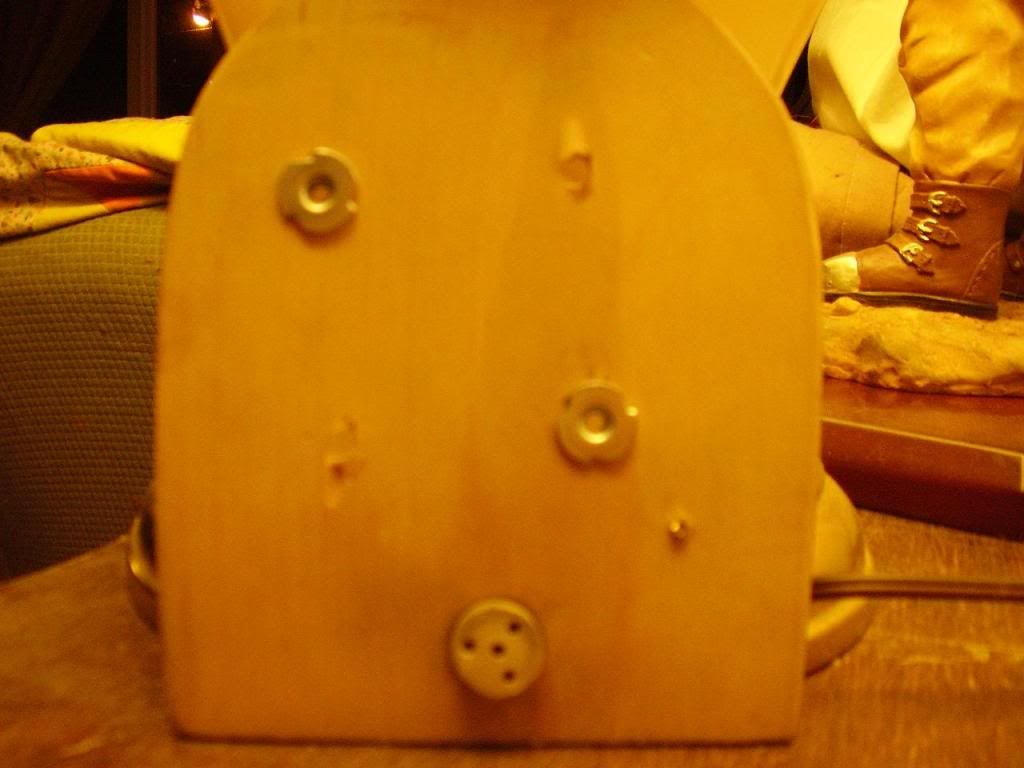
The chin plate is 2 layers of 6 Oz and 2 layers of 9 Oz. This is what connects the firewall to the wing saddle.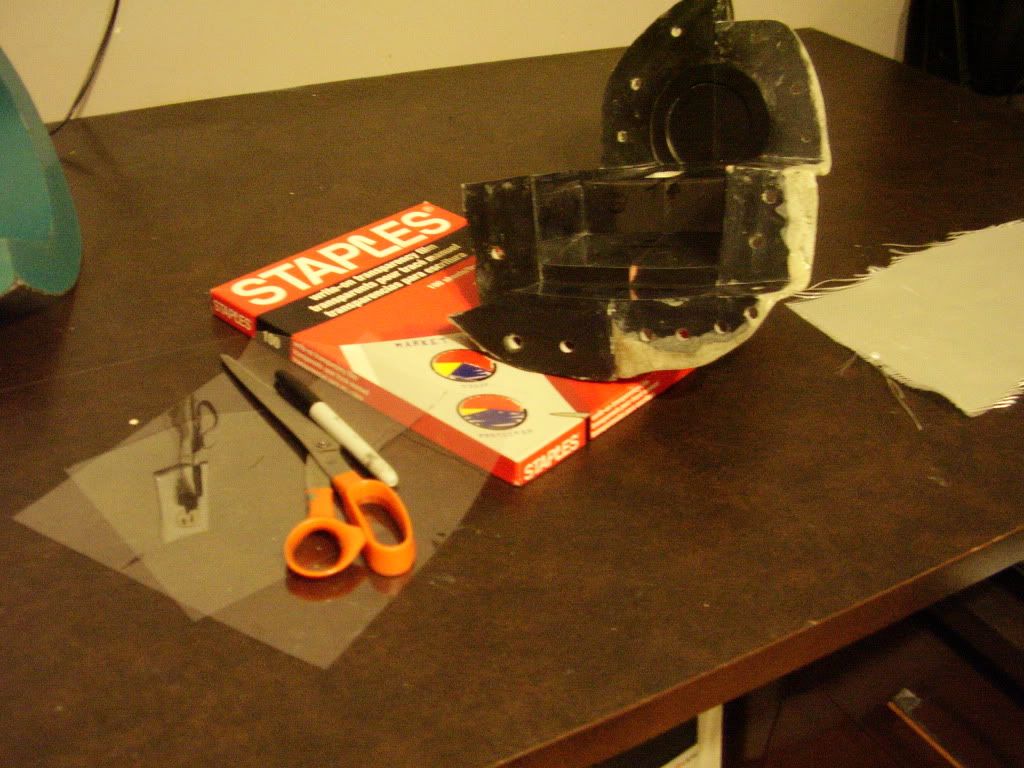

02-18-2012, 10:21 AM
#406
Junior Member
Join Date: Dec 2011
Location: RichmondVA
Posts: 9
Likes: 0
Received 0 Likes
on
0 Posts
thank god ,i was starting to wonder if i was ever going to get my slow-n-low fix talk about a long withdrawl 8} glad to see you back brother .im still on the final stages of sanding before i start the primer and scale work but ttyl,brian
02-21-2012, 11:26 AM
#407
Slow
Why would one not airbrush the colors into the mold? Save time, material, and save weight.
This would give a feathered/soft edge at the color borders as in full scale. Of course the paint can easily be made fuel proof in the fabrication process as well.
Quality airbrushes and techniques can do amazing things.
??
Steve
02-21-2012, 12:50 PM
#408
Senior Member
Thread Starter
Join Date: Apr 2007
Location: Toronto,
ON, CANADA
Posts: 757
Likes: 0
Received 0 Likes
on
0 Posts
I have airbrushes large and small Steve, and you can bet that mine will get full treatment, but this costs a whole penny per plane, so Ican't help but answer the question....
02-21-2012, 06:18 PM
#409
Senior Member
Thread Starter
Join Date: Apr 2007
Location: Toronto,
ON, CANADA
Posts: 757
Likes: 0
Received 0 Likes
on
0 Posts
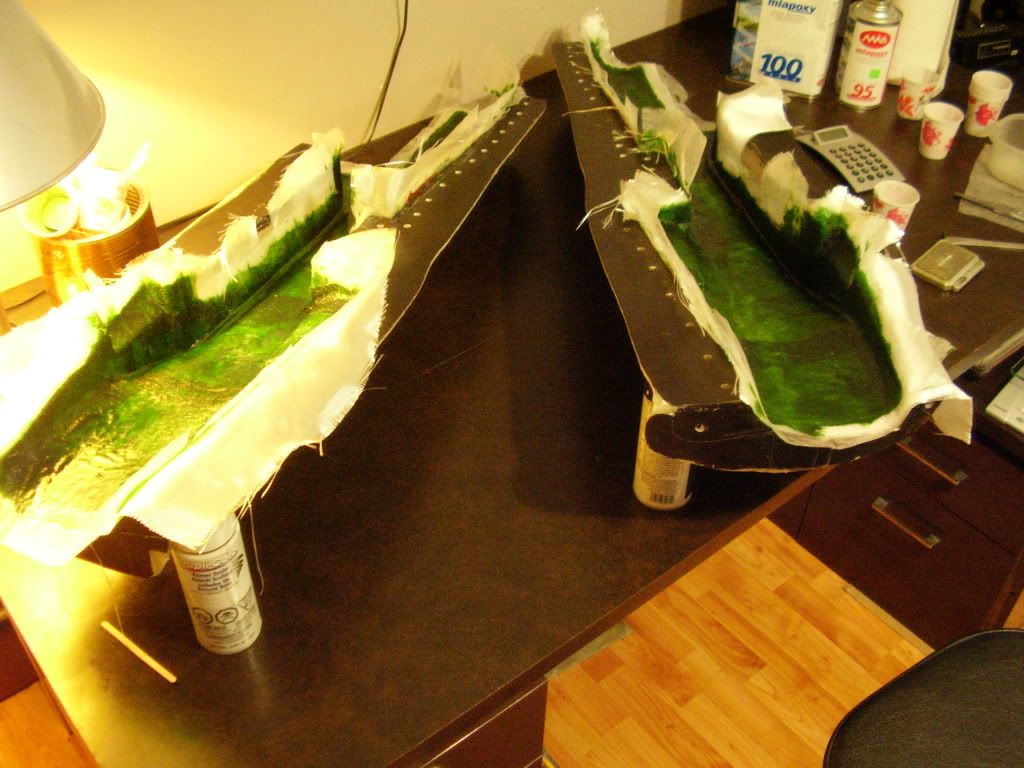
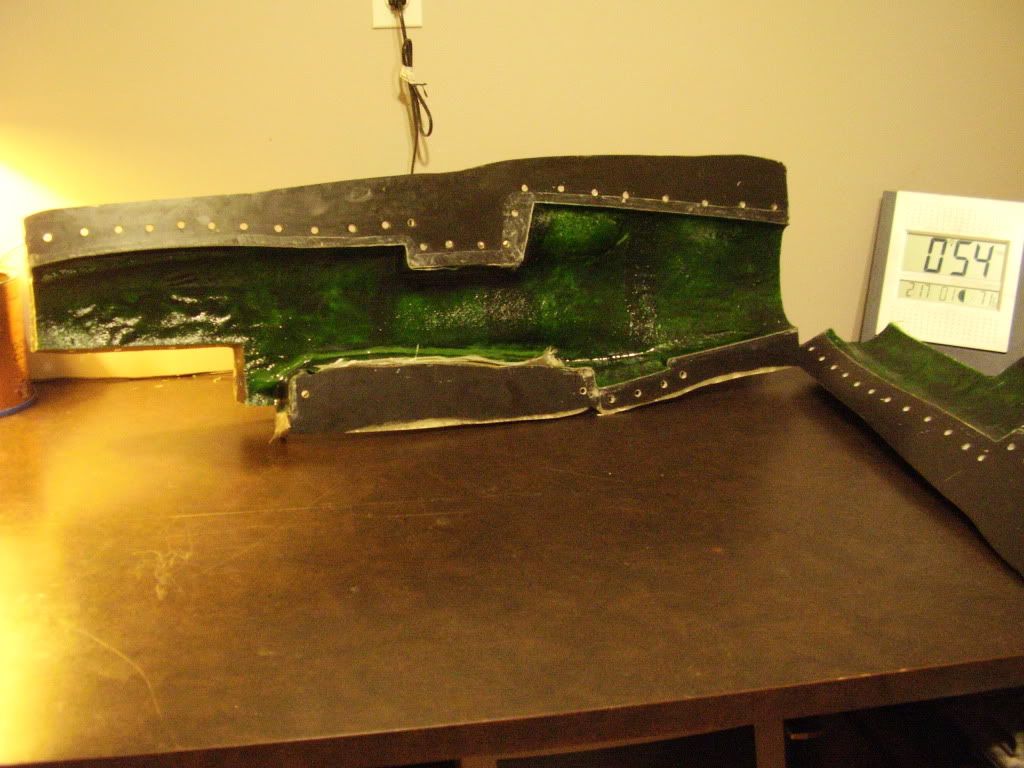
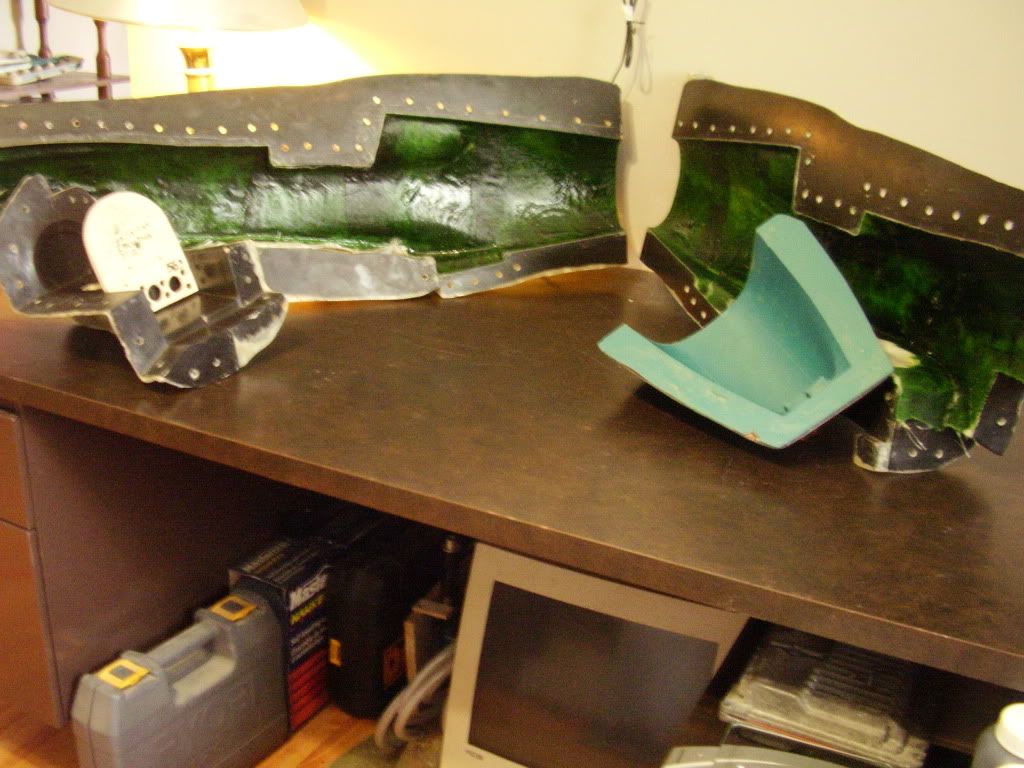
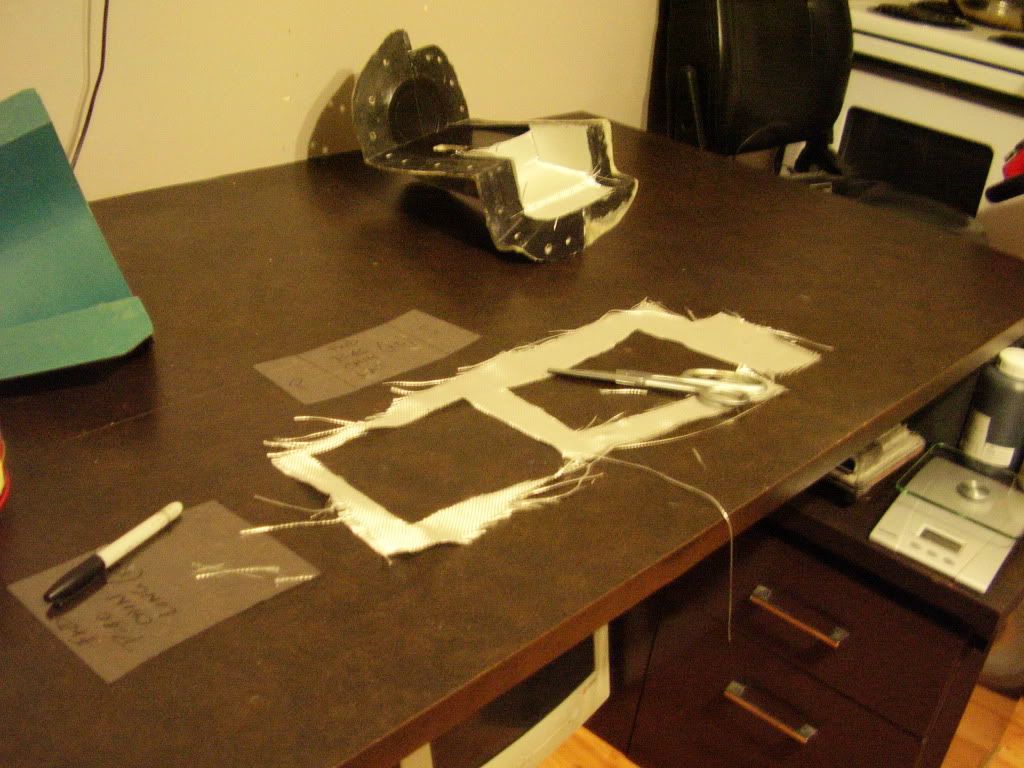
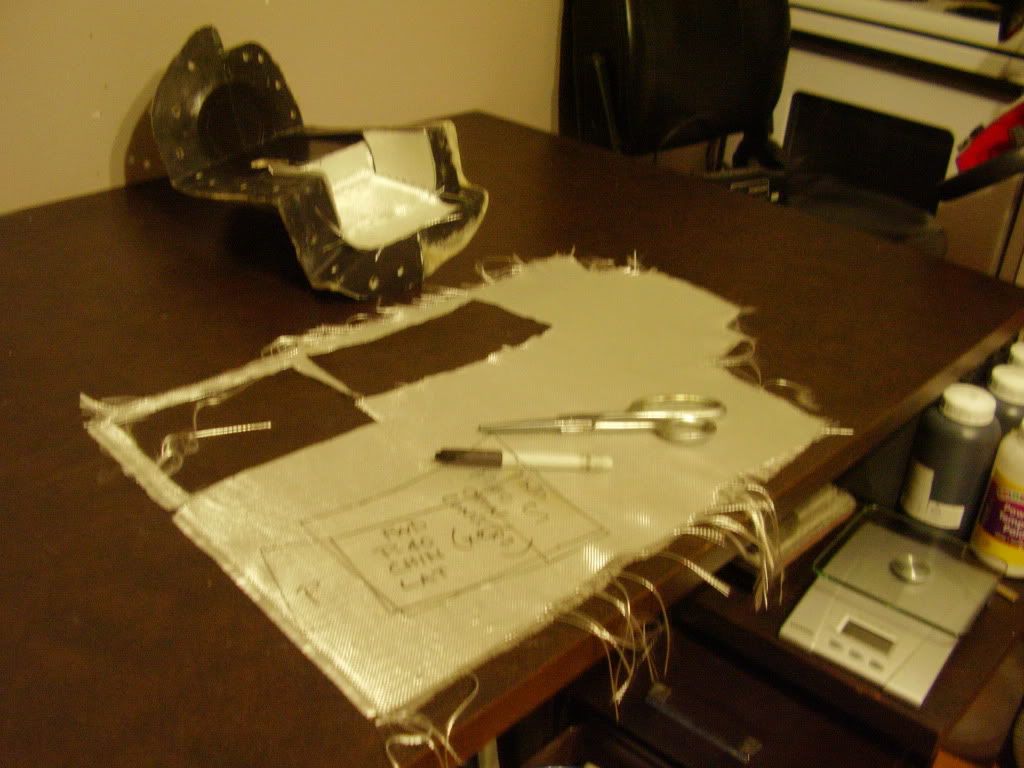
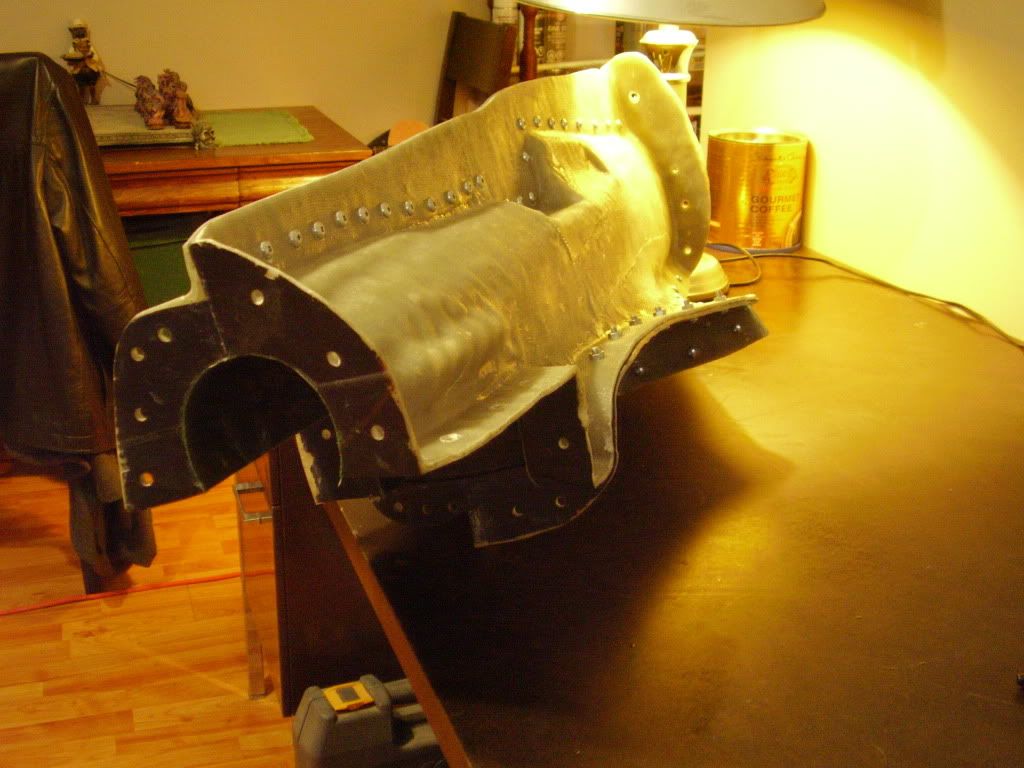
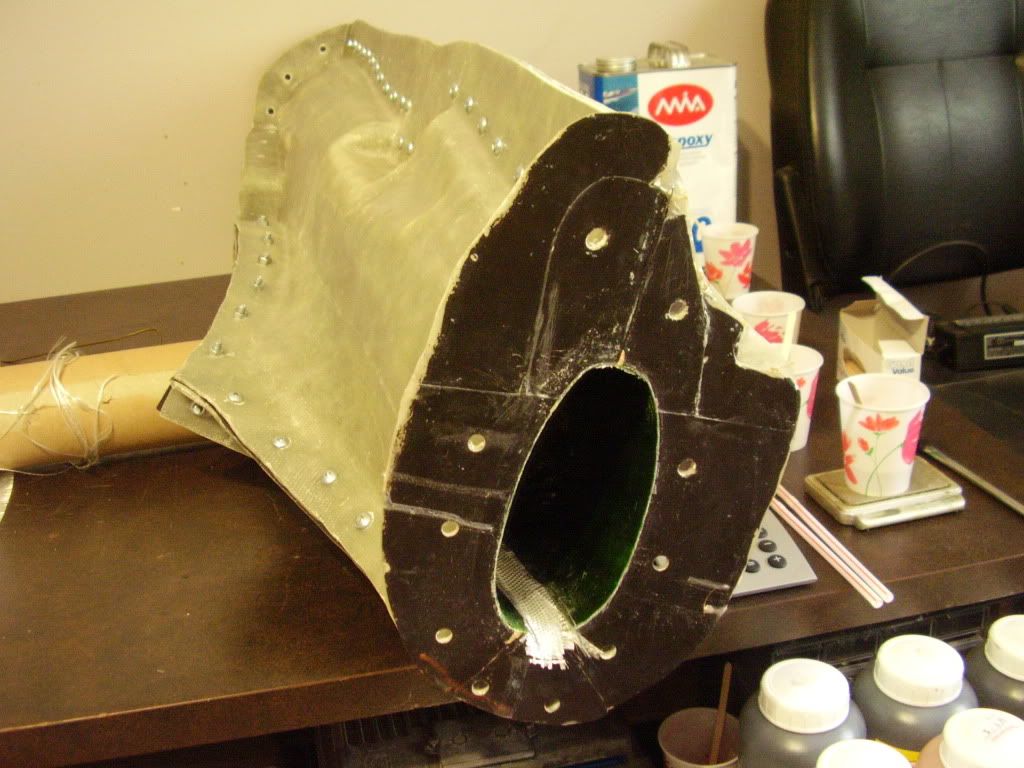
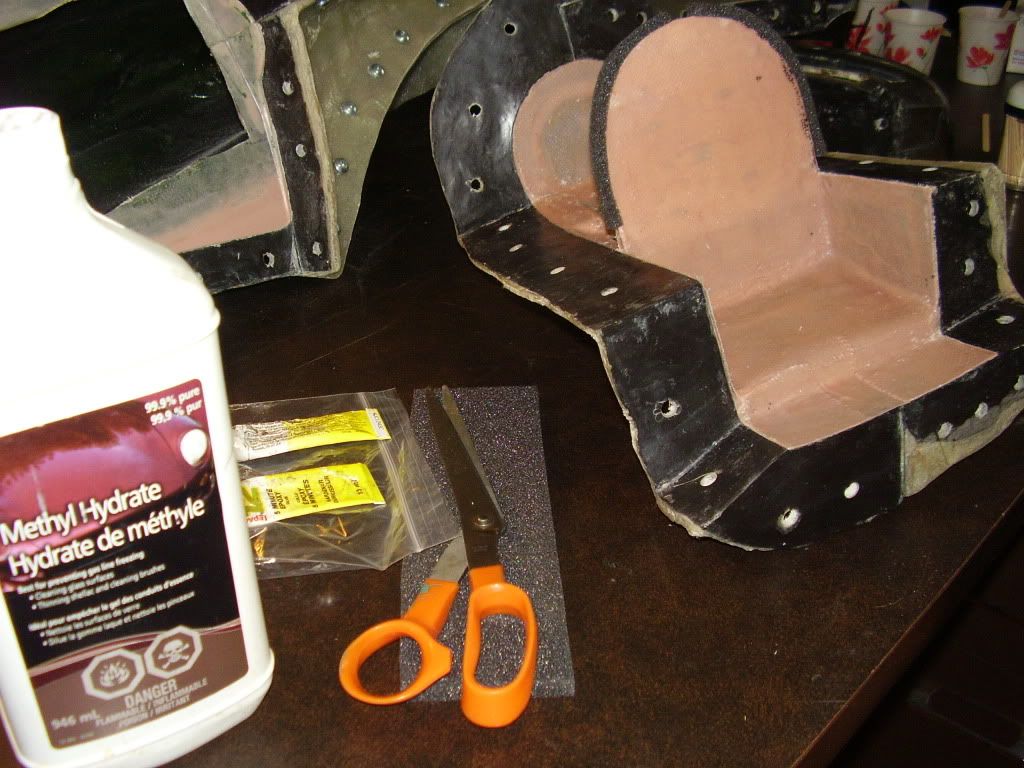
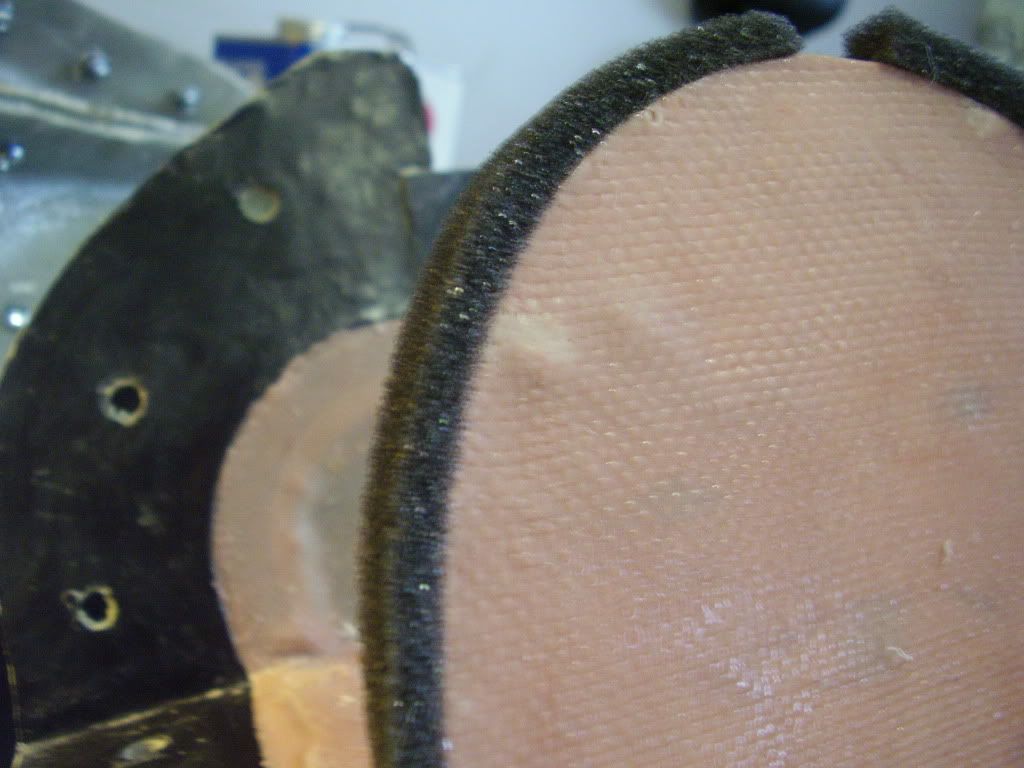
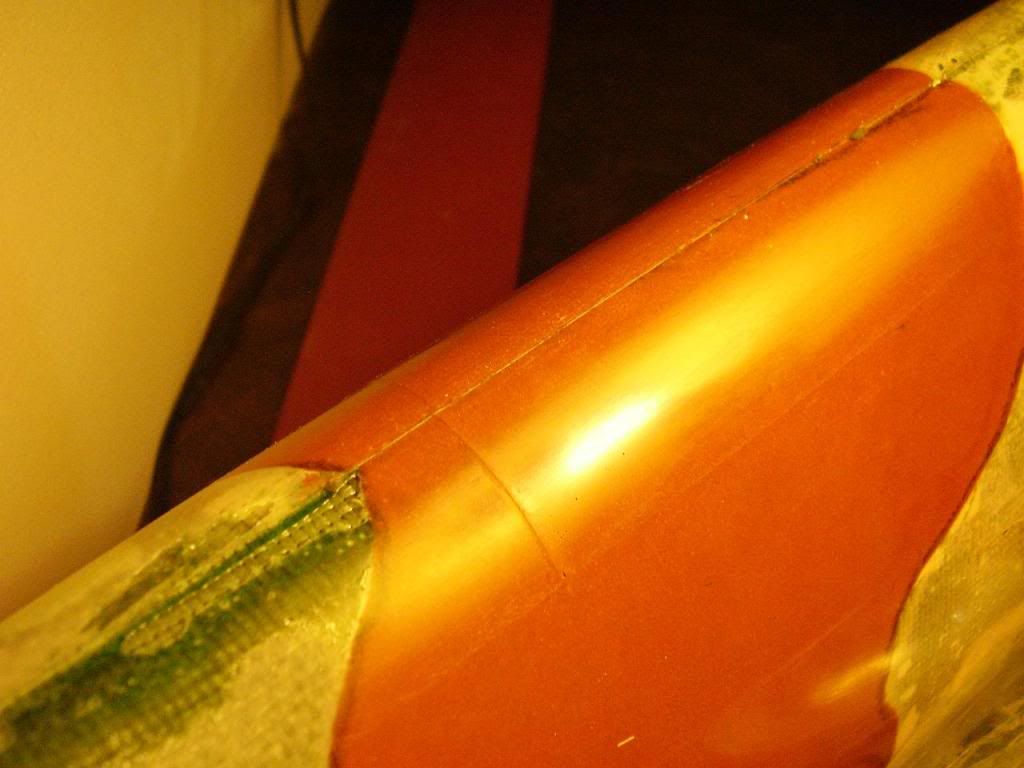
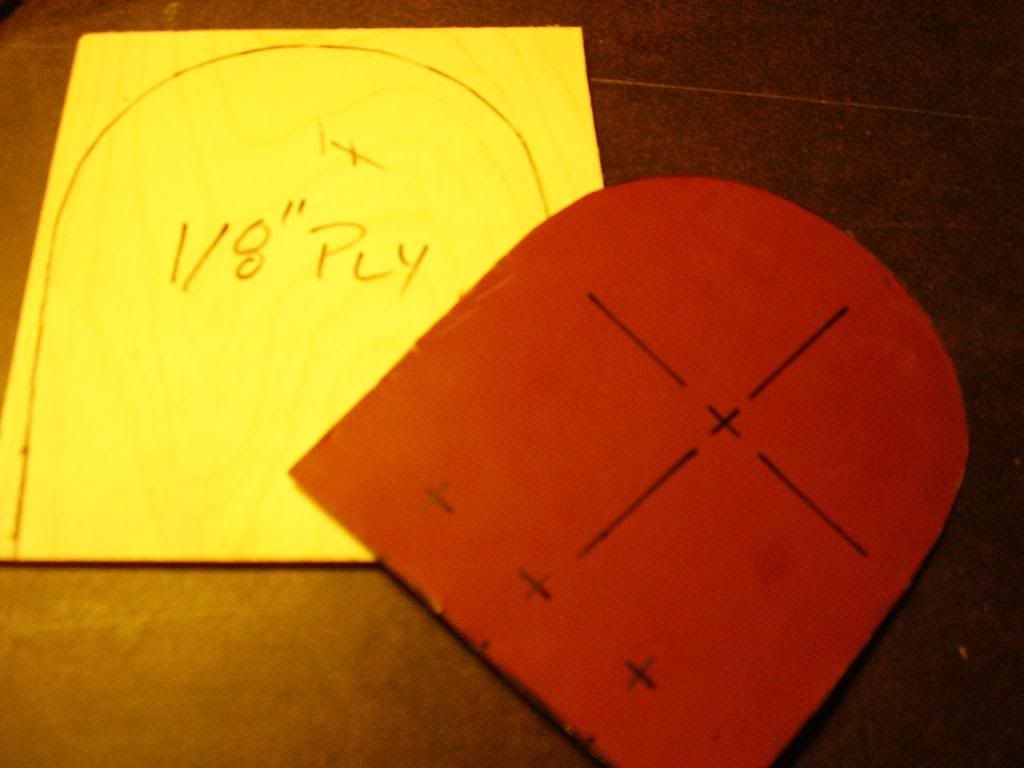
Changed the lamination a little - 3/4 Oz all over, 2 Oz all over, 6 Oz Chin PlateAlso layed in some scrap 1/8" ply to attach cowl mounting blocks to later.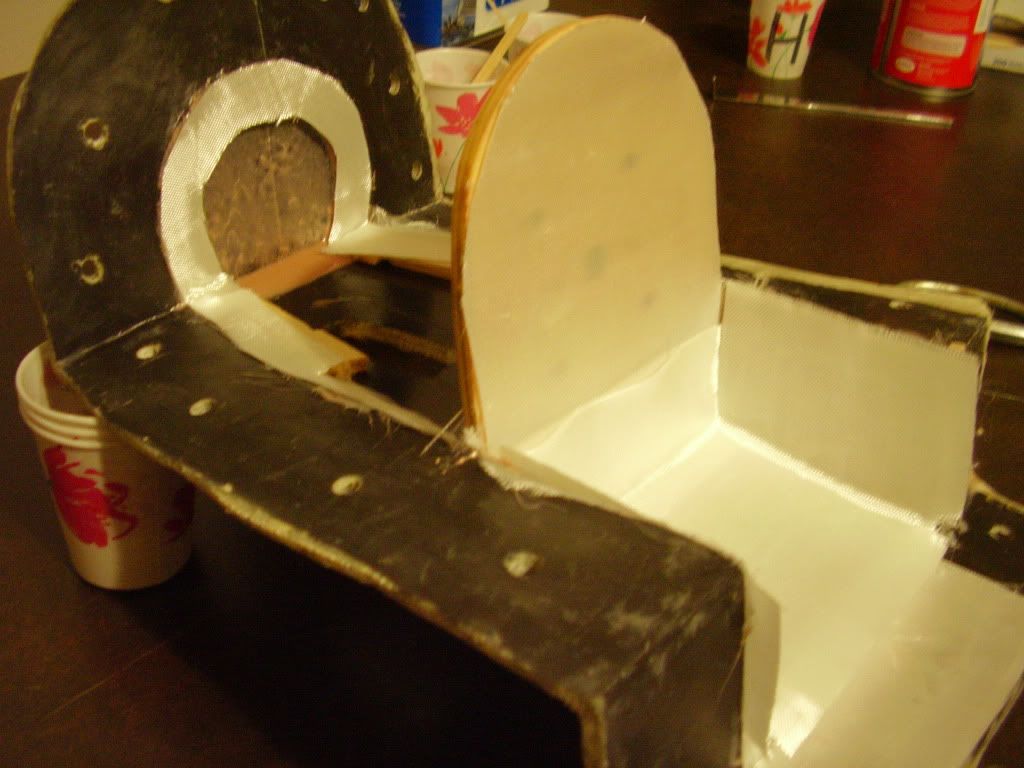
 ...next to join main halves and then assemble with firewall subassembly
...next to join main halves and then assemble with firewall subassembly
02-22-2012, 01:40 PM
#410
Senior Member
Thread Starter
Join Date: Apr 2007
Location: Toronto,
ON, CANADA
Posts: 757
Likes: 0
Received 0 Likes
on
0 Posts
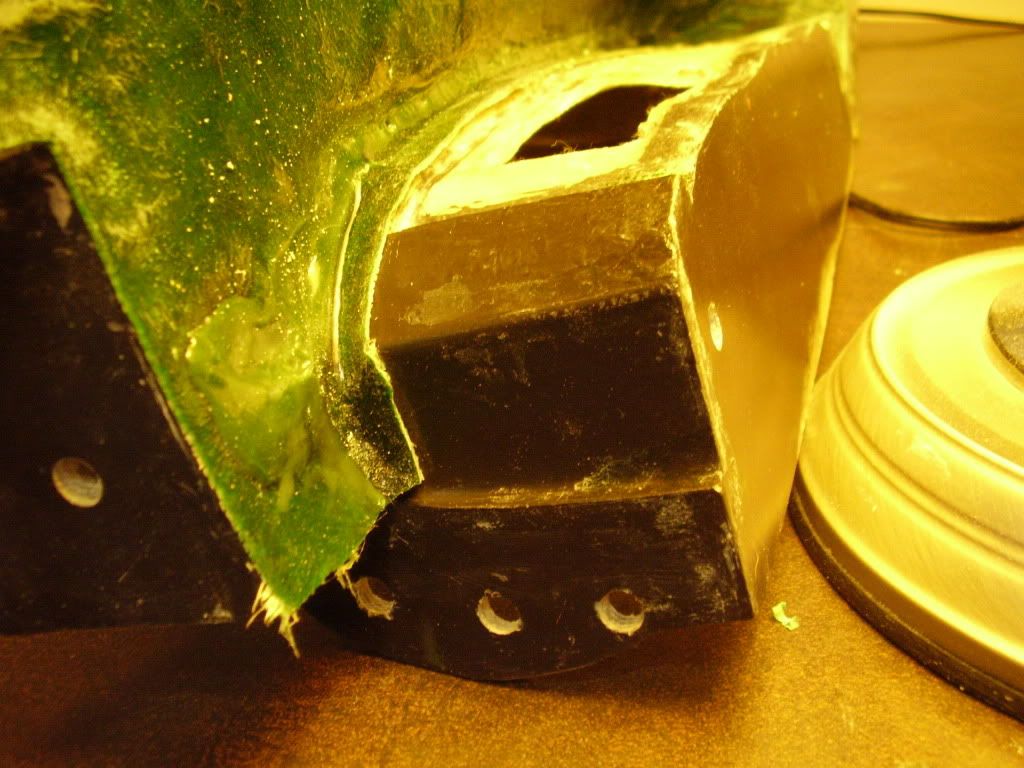
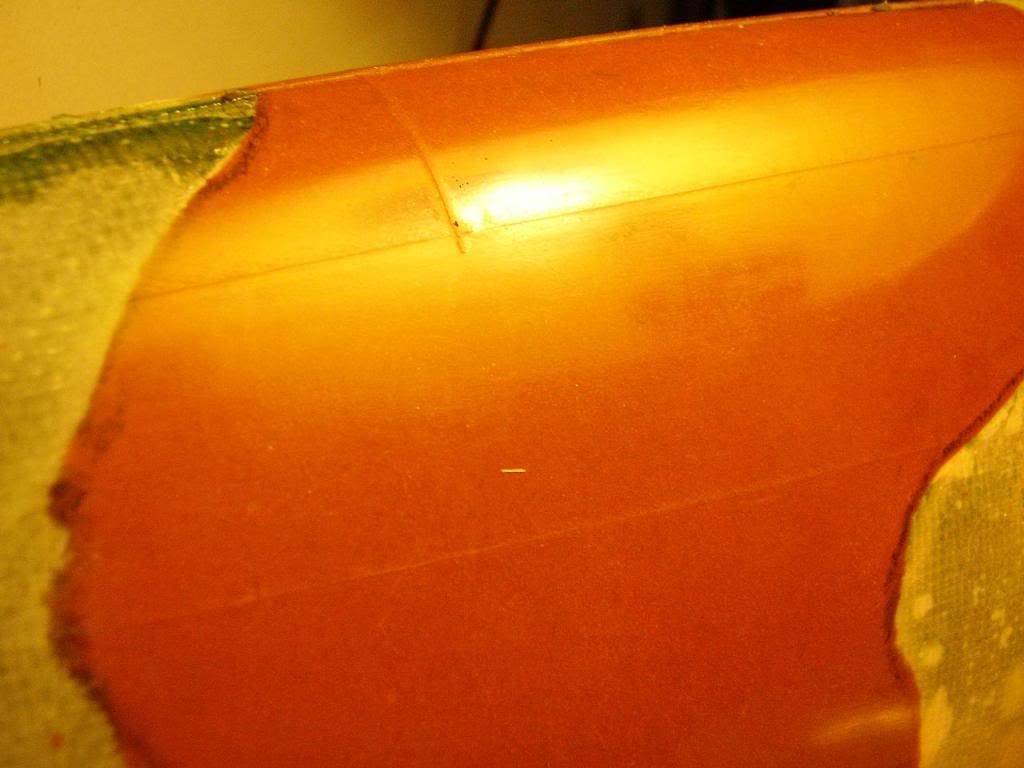
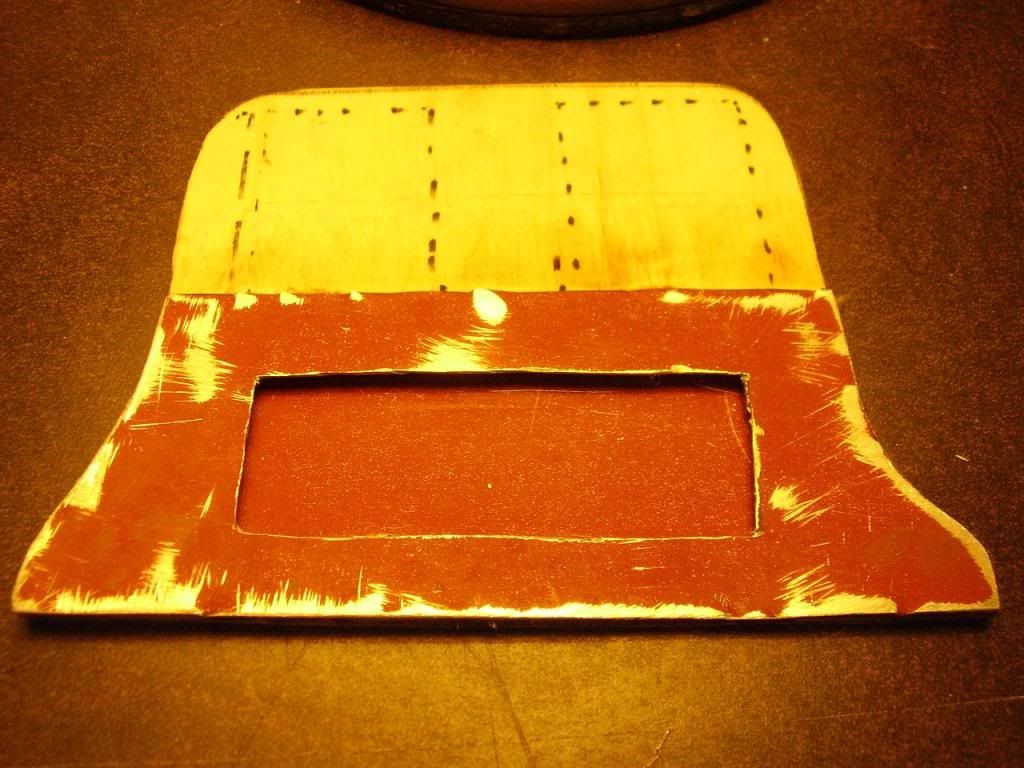
Trimmed the perimeter with a blade at around 10hrs into room temp cure.Prepped for joining with 80 grit paper.Notice that I'm also going to insert the 1/8" ply dowel bulkhead now as well. I cut away the opening by removing the lower wing saddle sections of the mould and getting in there with a dremmel and a cutoff wheel rather than messing with the knife.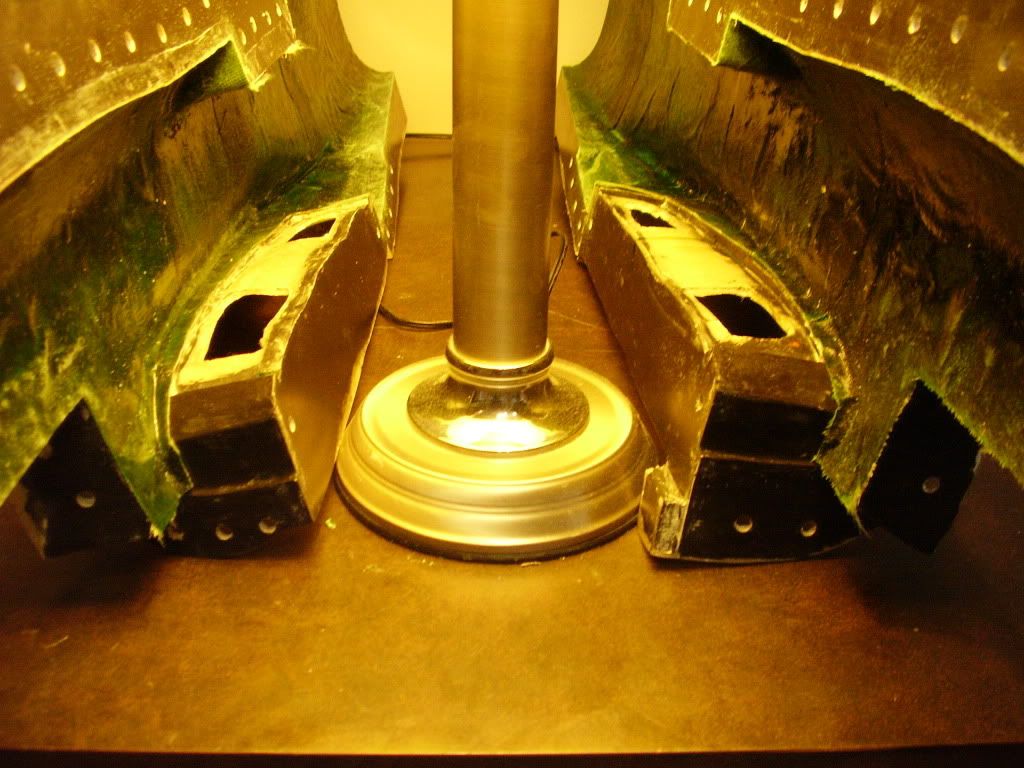

 02-23-2012, 10:37 PM
#412
Senior Member
Thread Starter
Join Date: Apr 2007
Location: Toronto,
ON, CANADA
Posts: 757
Likes: 0
Received 0 Likes
on
0 Posts
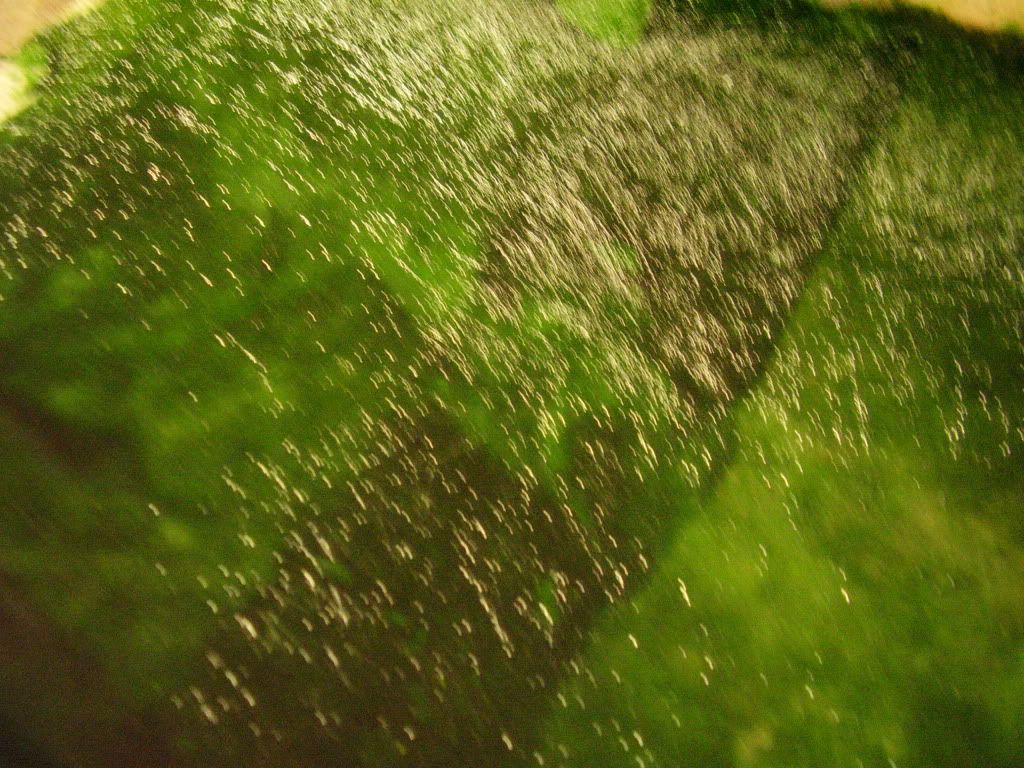
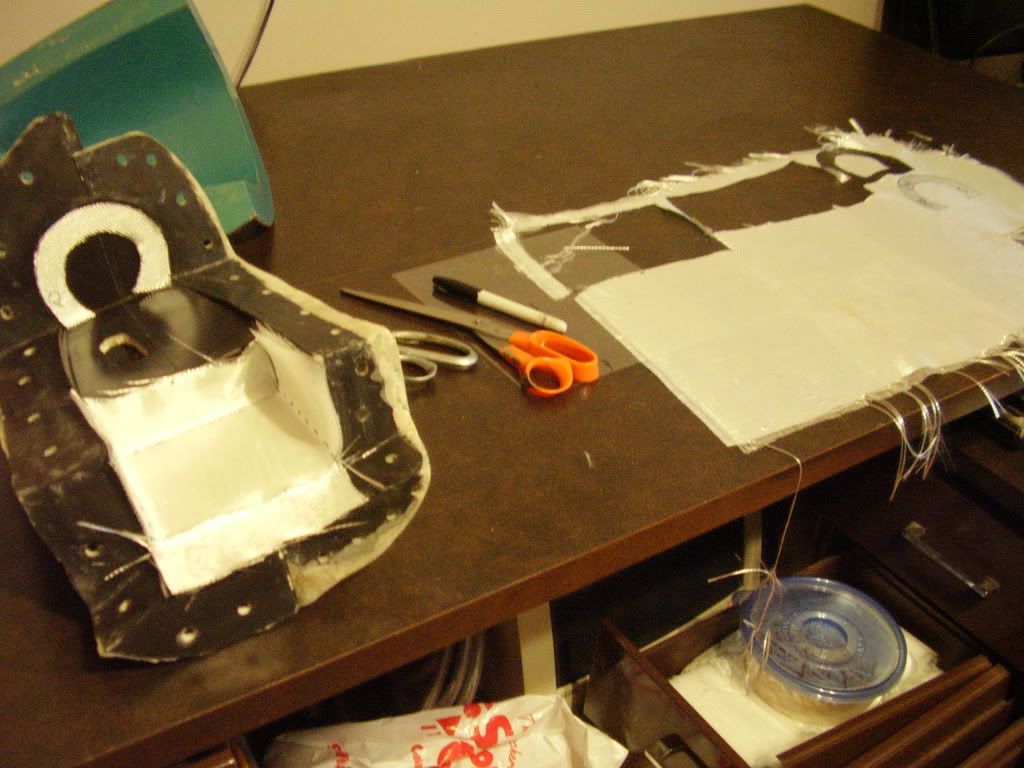
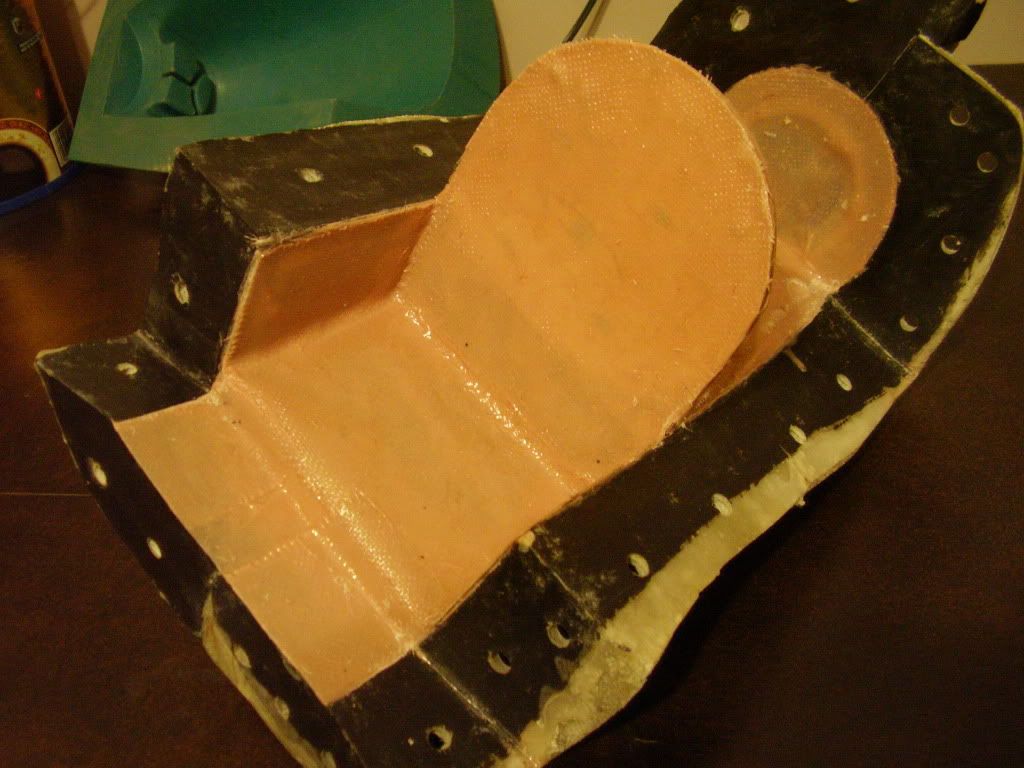
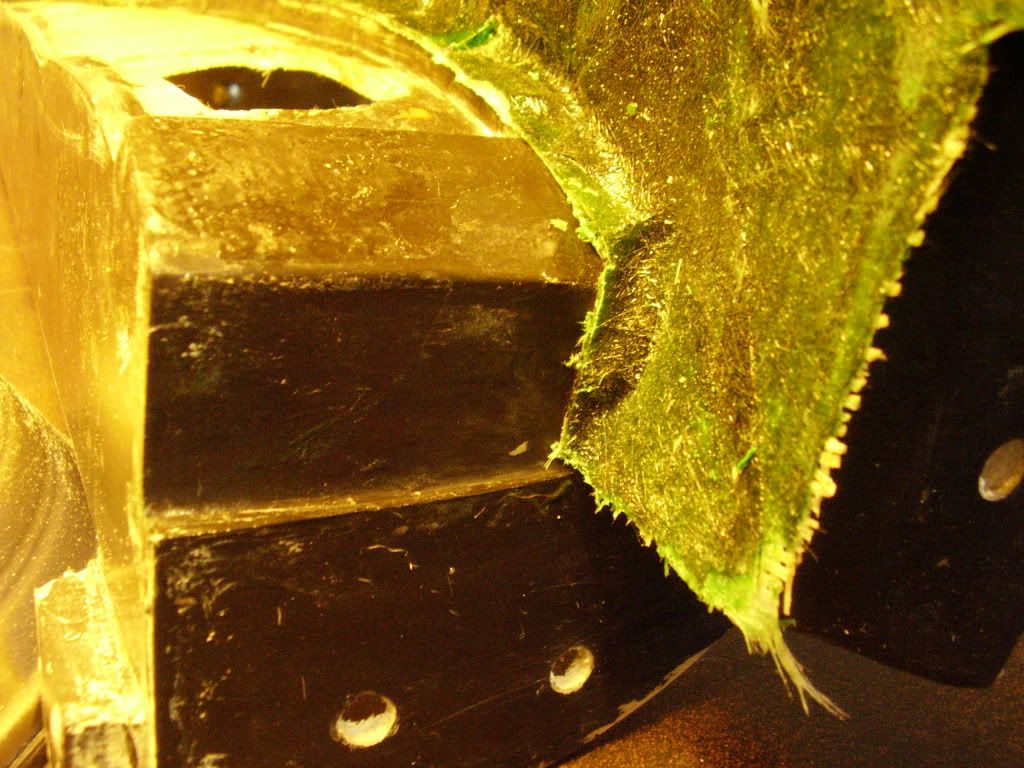
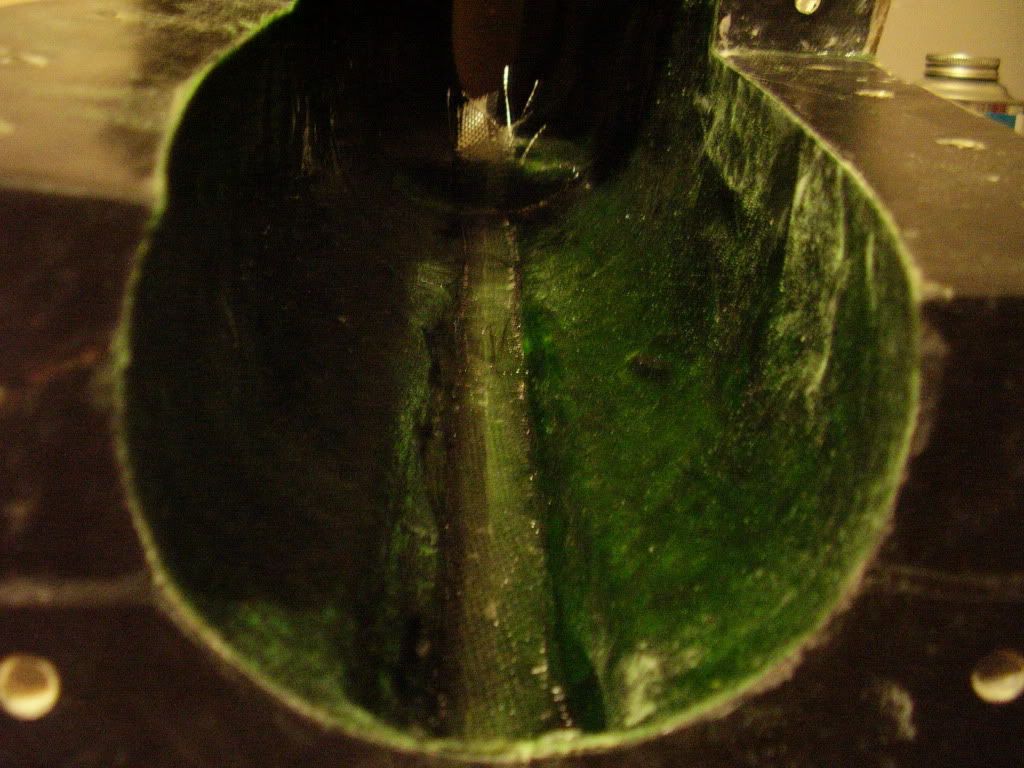
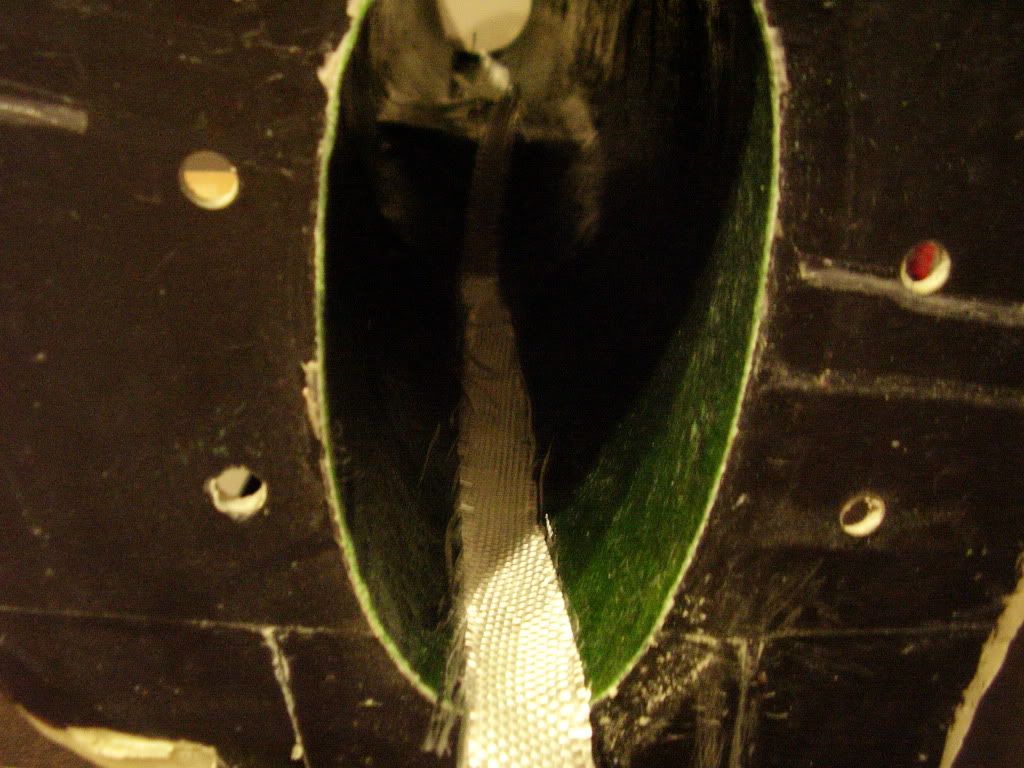
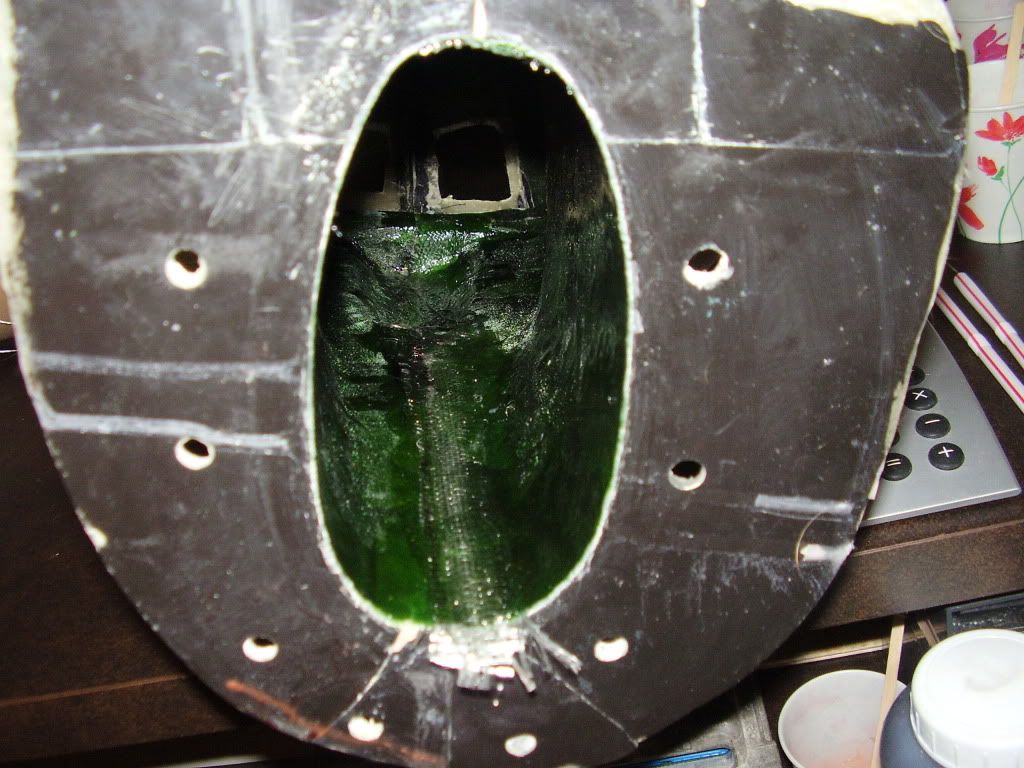
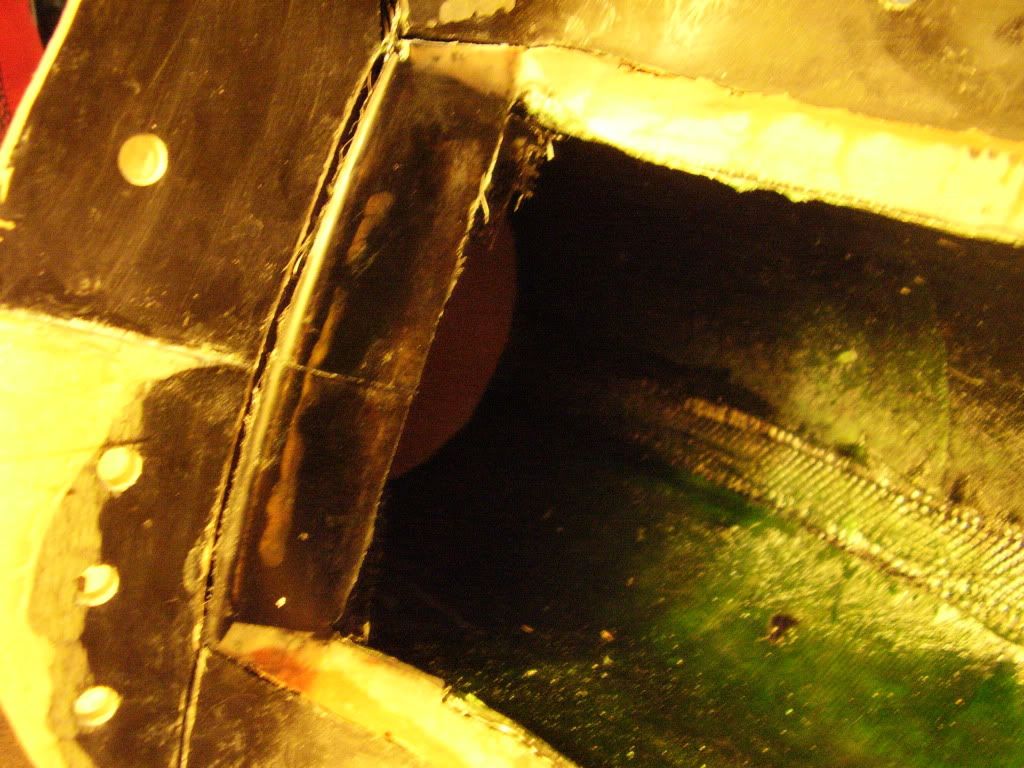
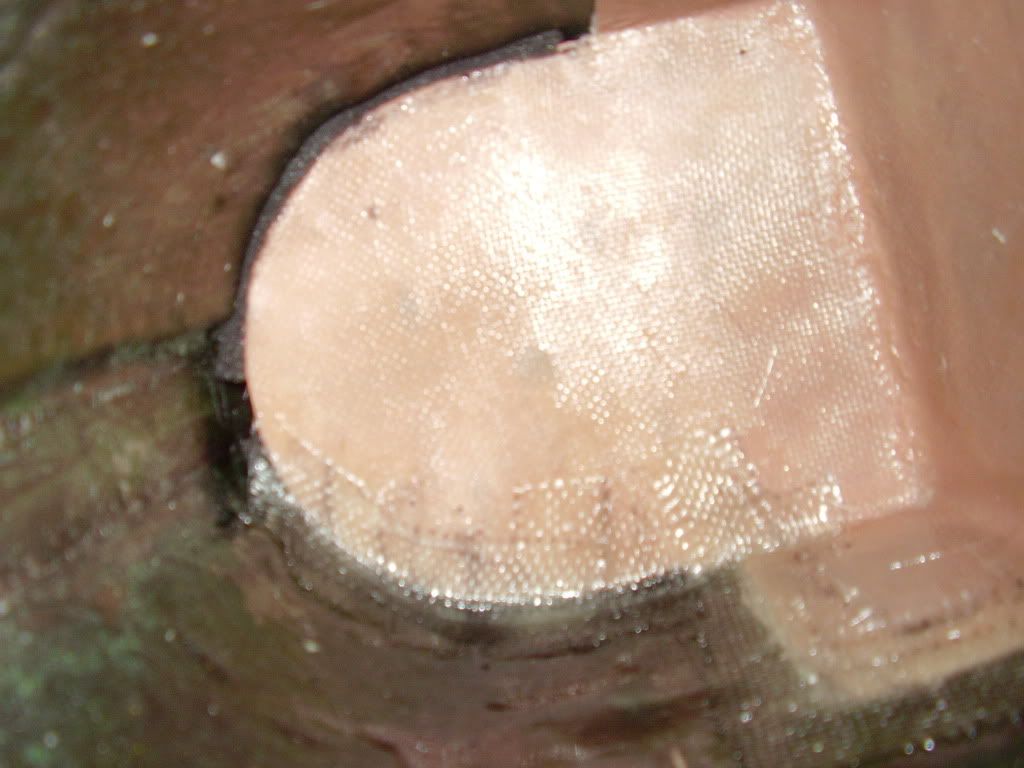
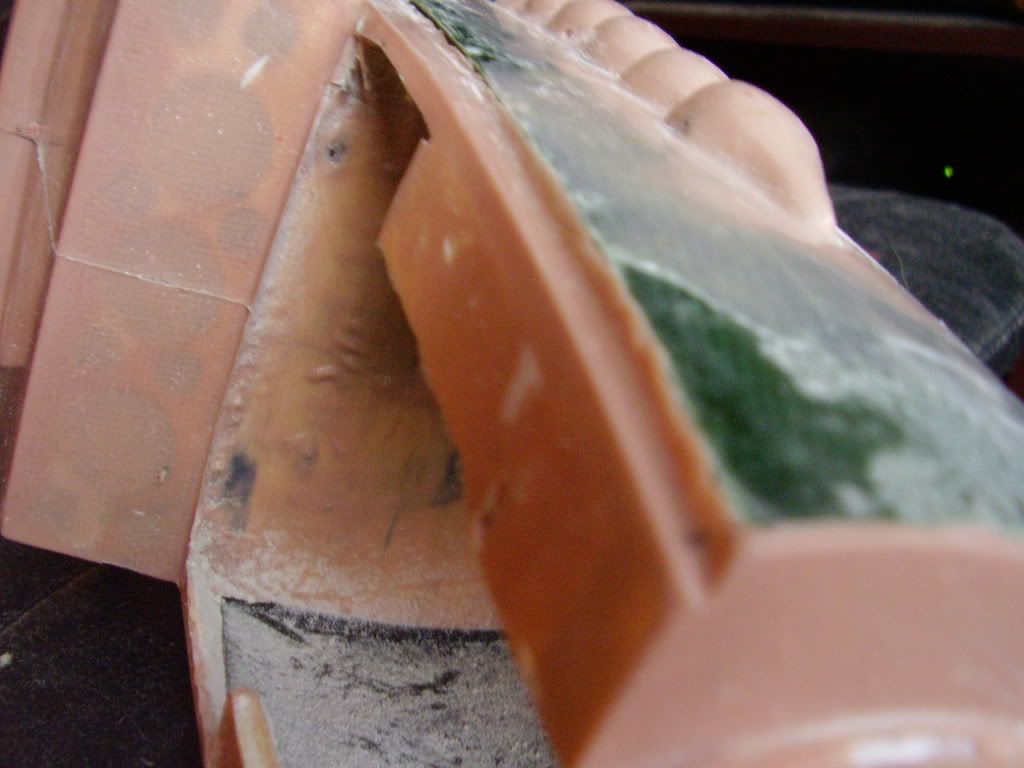
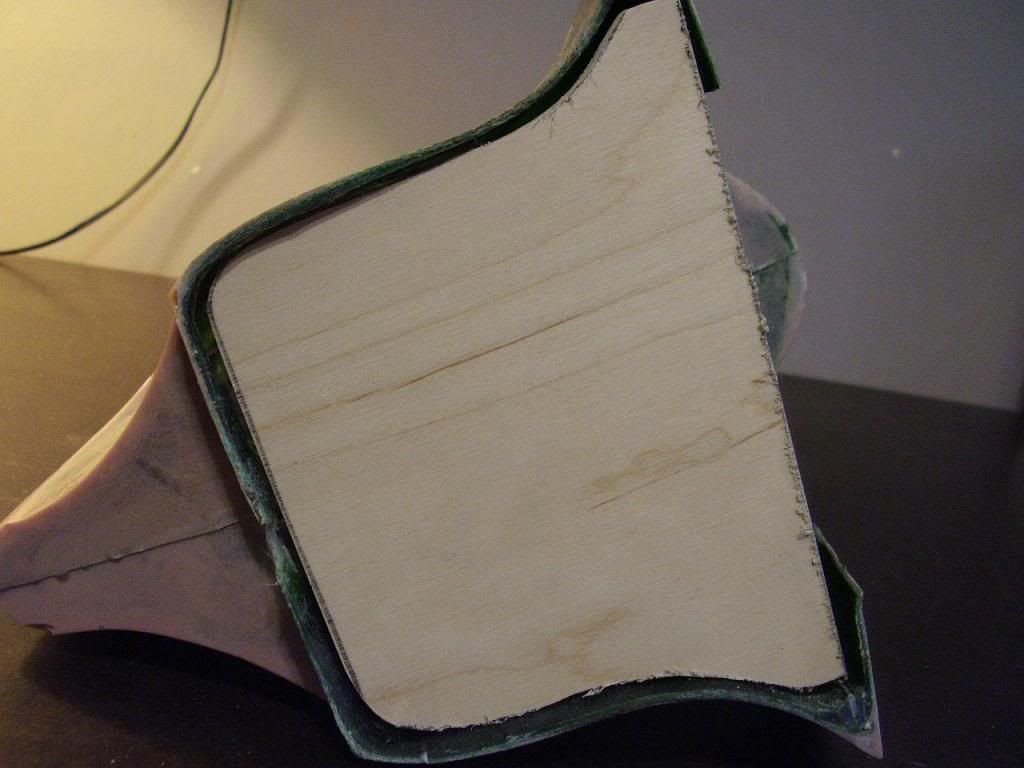
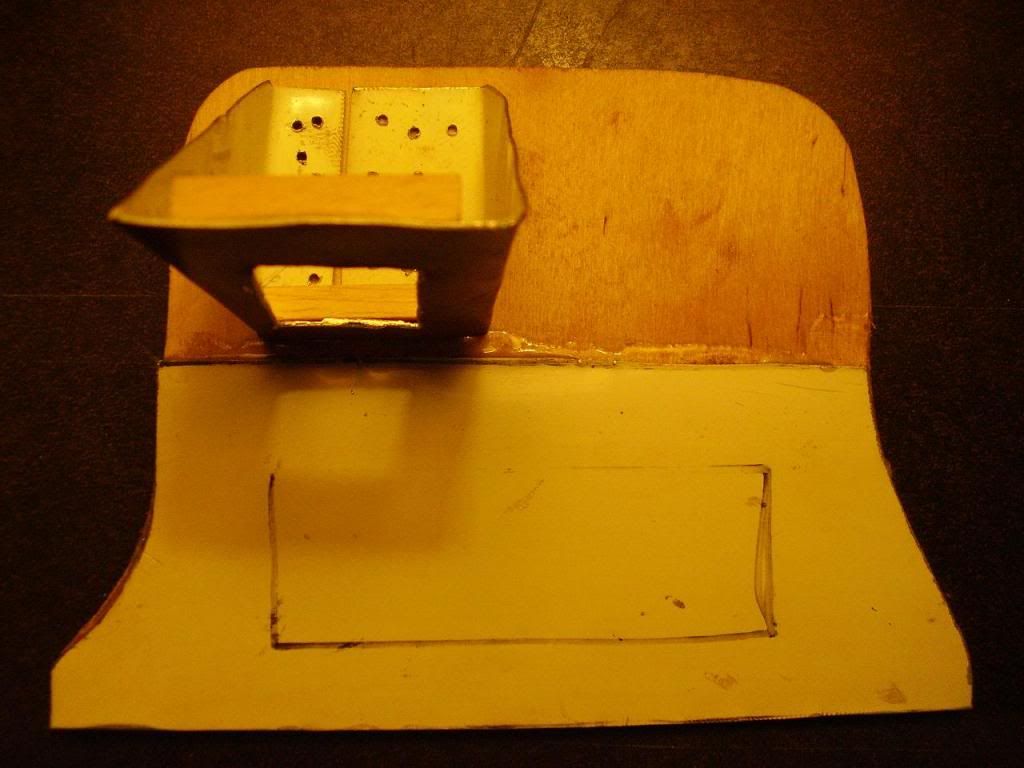
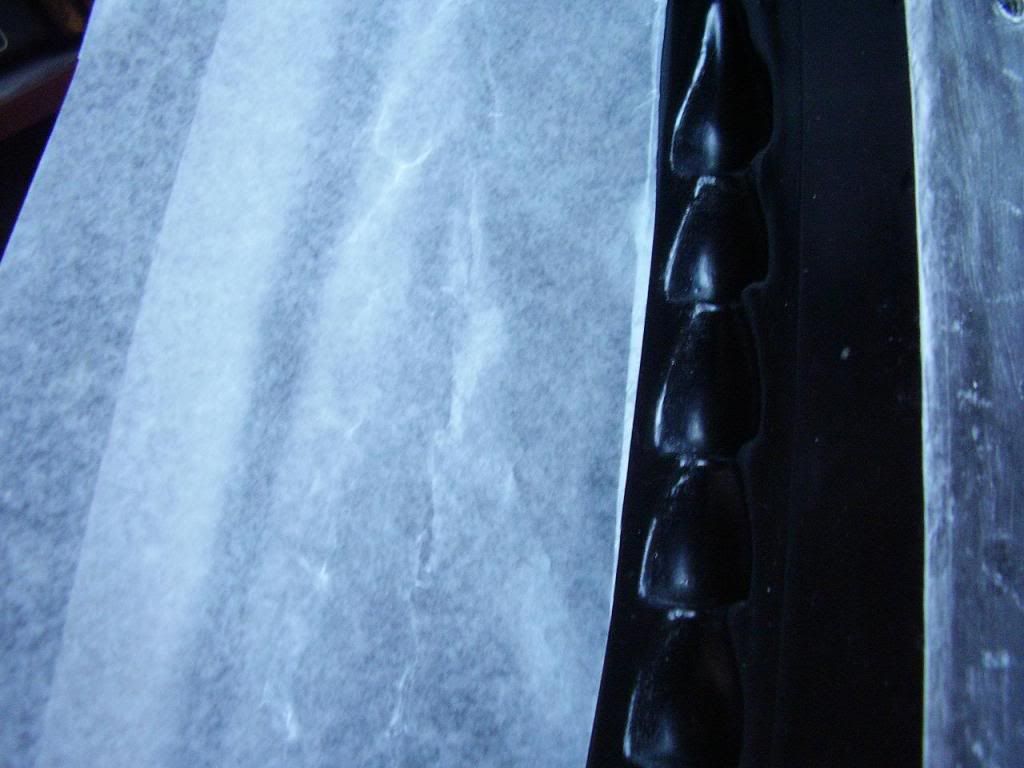
I can't believe I forgot to take a picture, but you'll have to take my word for it that there's a 1/8th ply bulkhead in there too. It's sandwiched between 3/4 Oz and several layers of 6 Oz cloth.
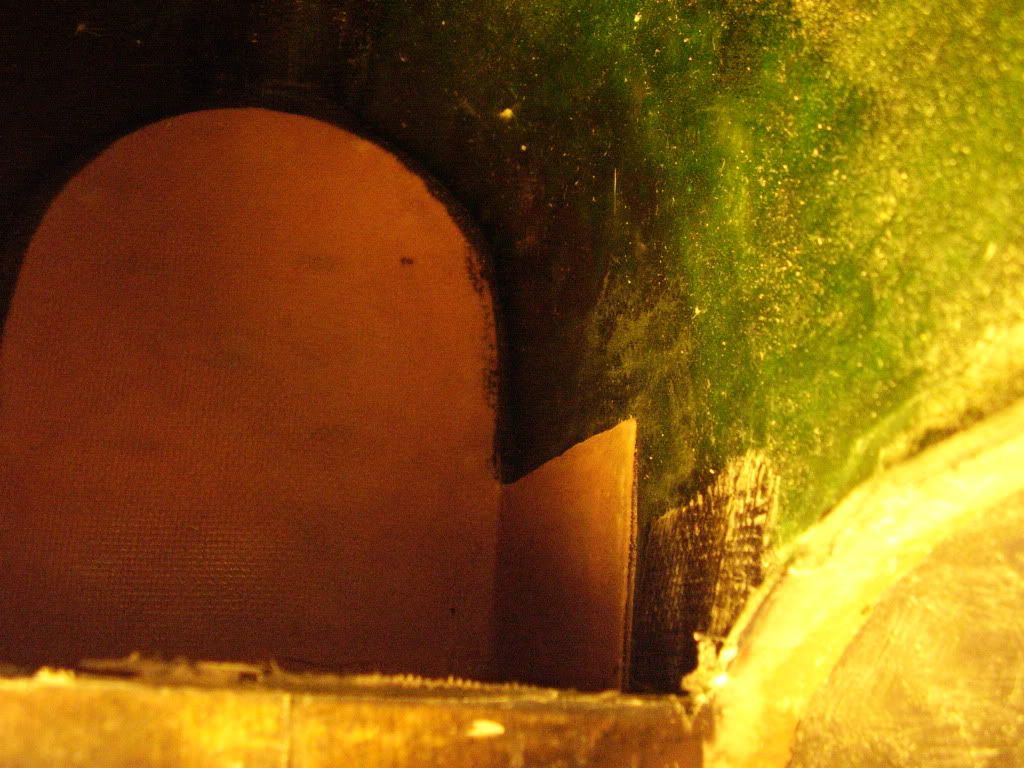
I impregnated the epoxy with black tempra with the idea being easy contrast witht any contaminates that might get picked up by the wing locating face...and I hadn't used black yet either
I impregnated the epoxy with black tempra with the idea being easy contrast witht any contaminates that might get picked up by the wing locating face...and I hadn't used black yet either
02-24-2012, 07:31 PM
#413
Senior Member
Thread Starter
Join Date: Apr 2007
Location: Toronto,
ON, CANADA
Posts: 757
Likes: 0
Received 0 Likes
on
0 Posts
now I'm havin' f-u-n  heaven, I'm in heaven
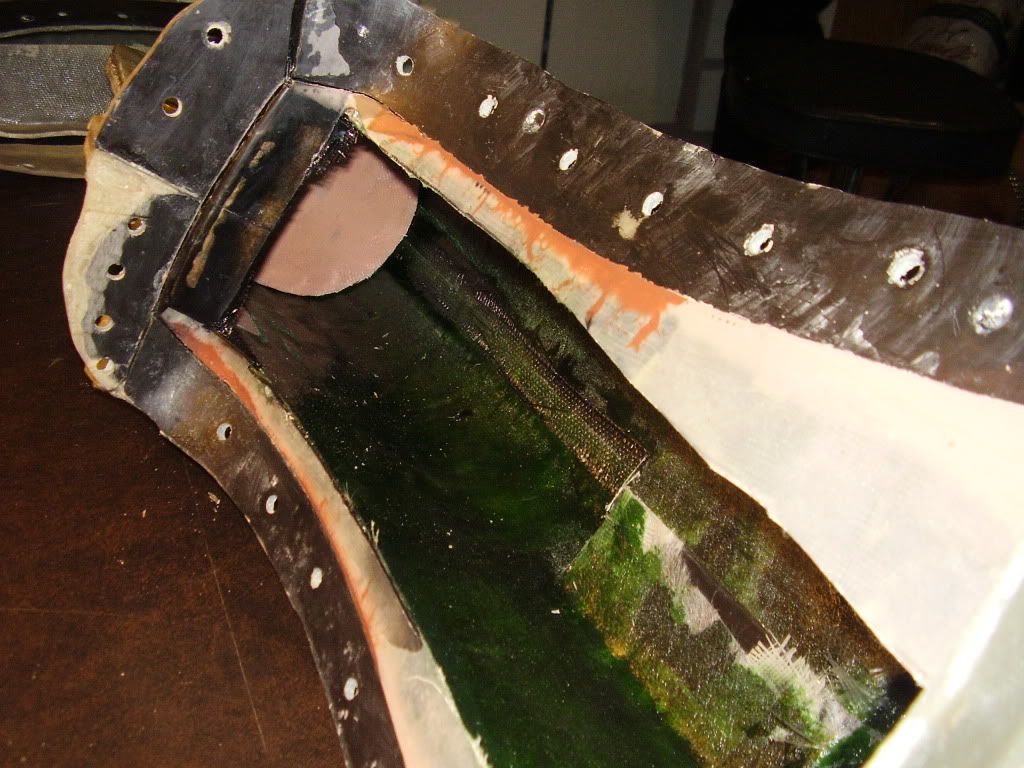
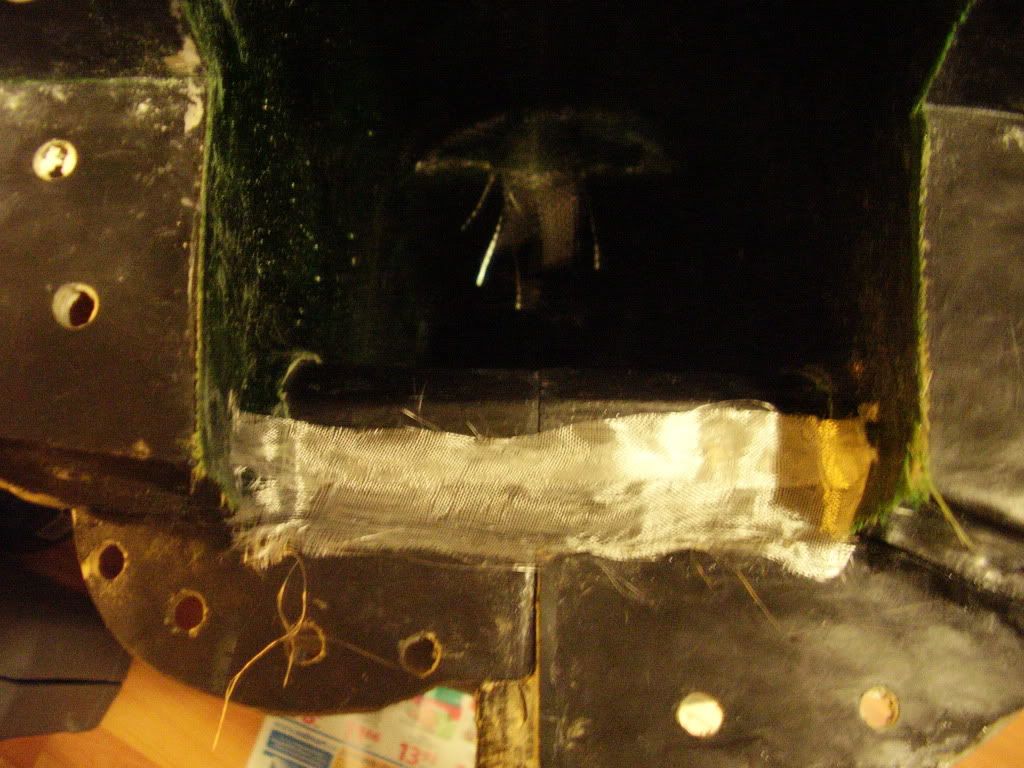
 ply insert is excessively strong...very nice for rigidity
heaven, I'm in heavenply insert is excessively strong...very nice for rigidity
02-25-2012, 12:11 PM
#414
Senior Member
Thread Starter
Join Date: Apr 2007
Location: Toronto,
ON, CANADA
Posts: 757
Likes: 0
Received 0 Likes
on
0 Posts
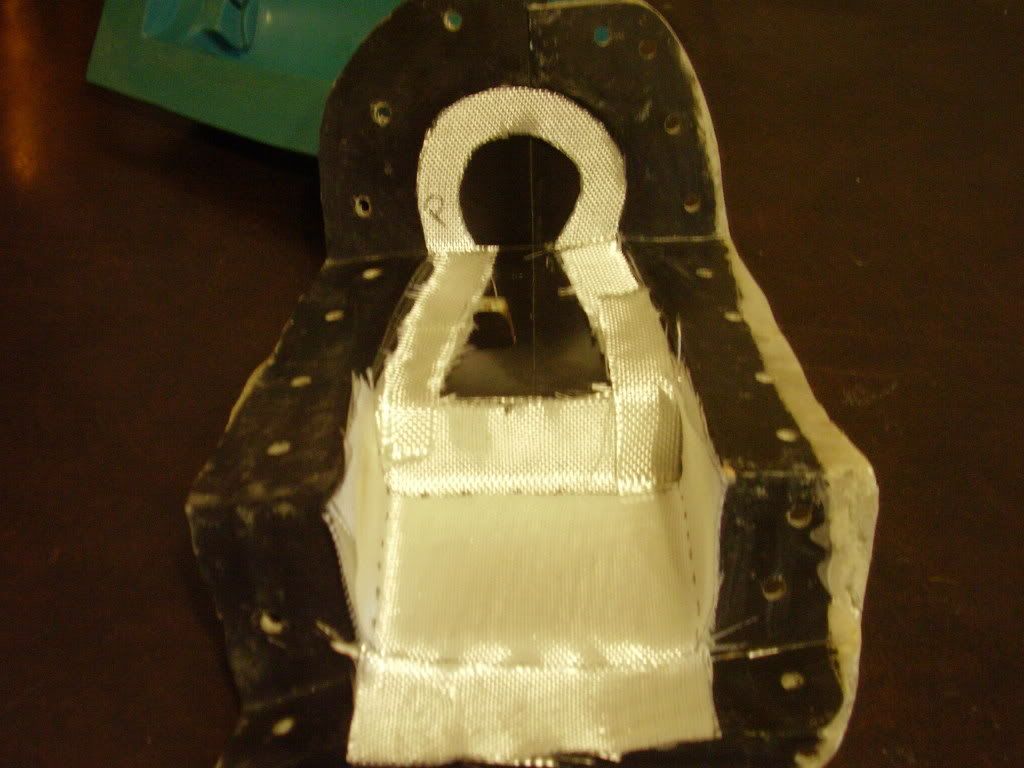
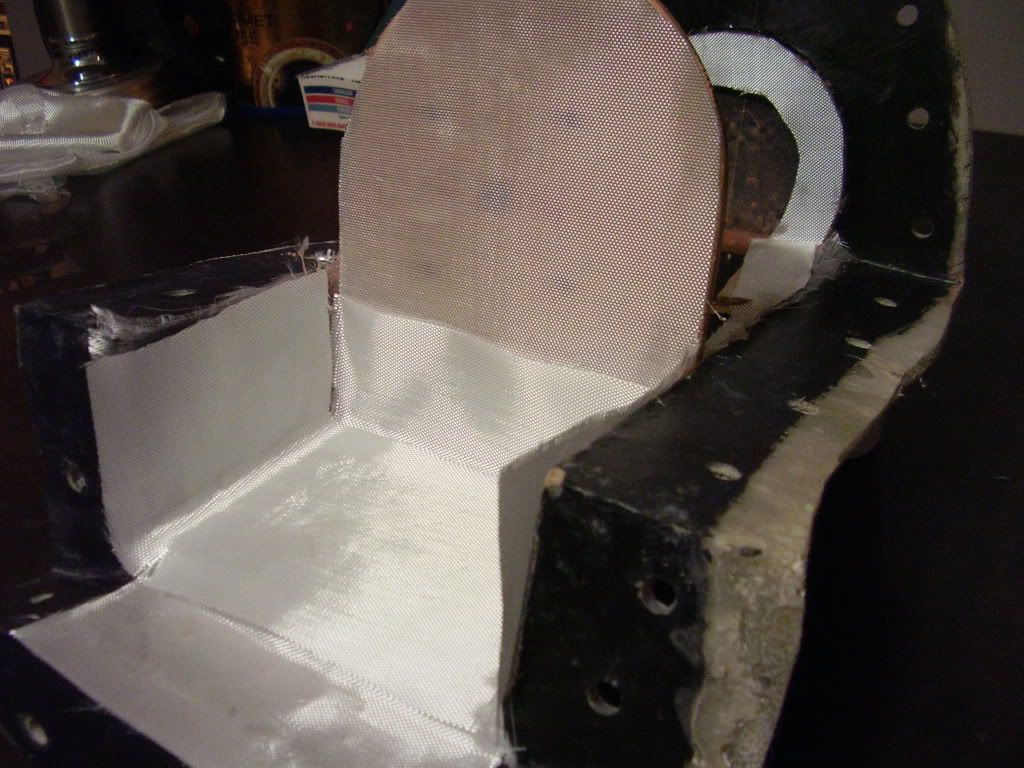
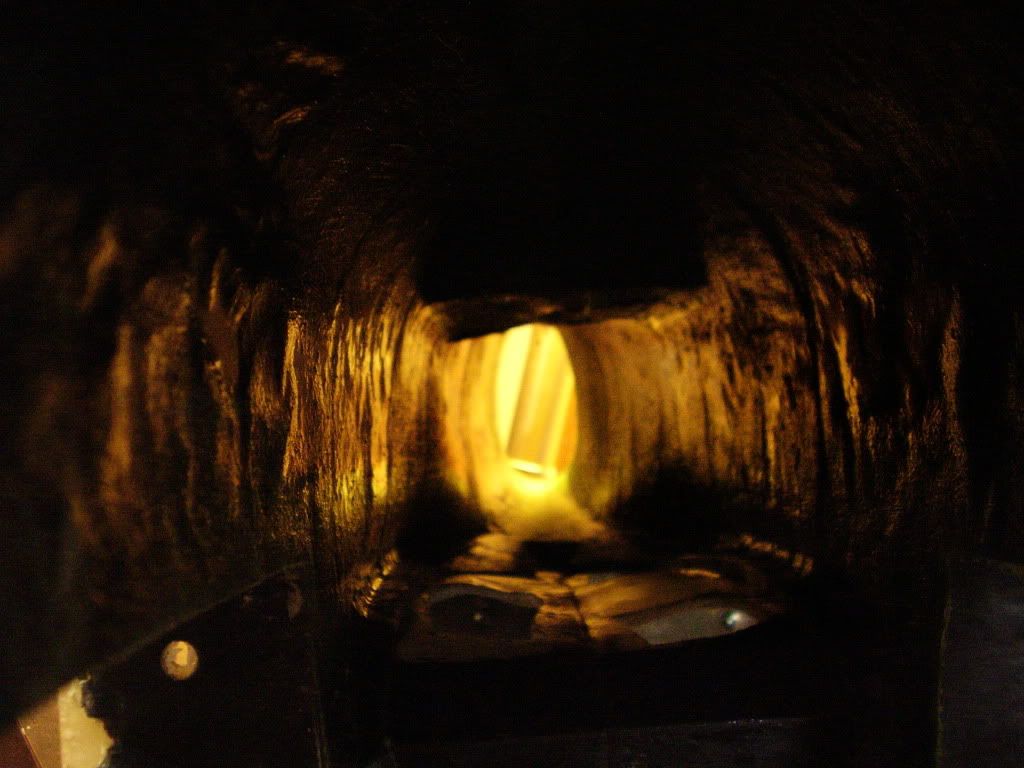
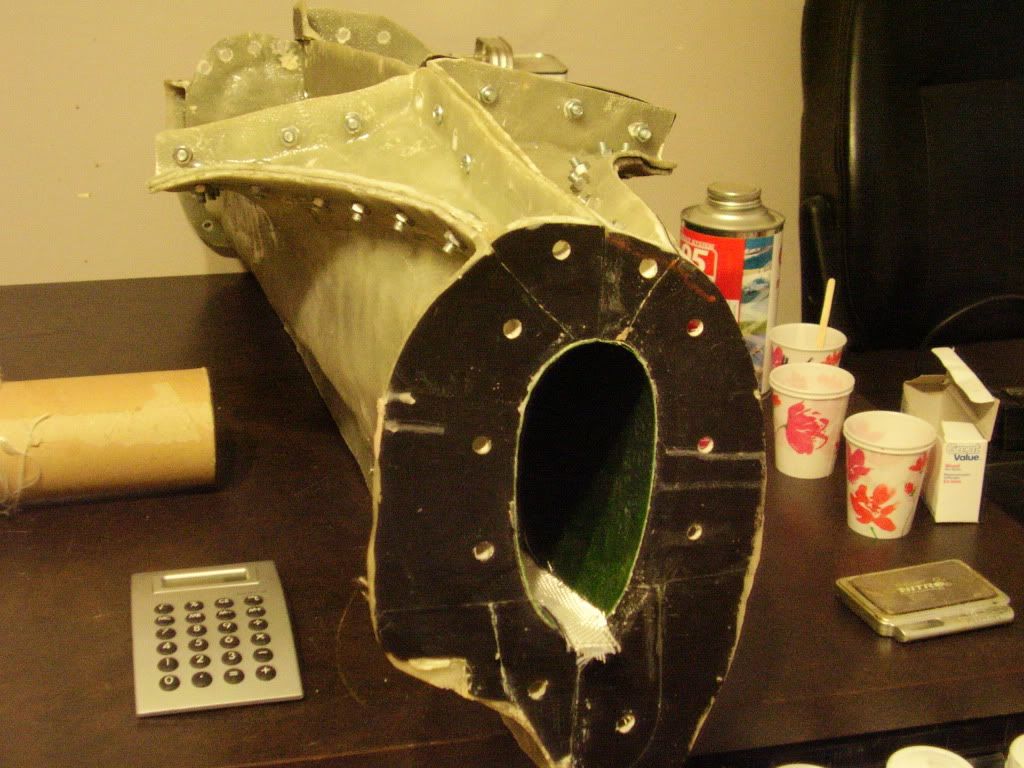
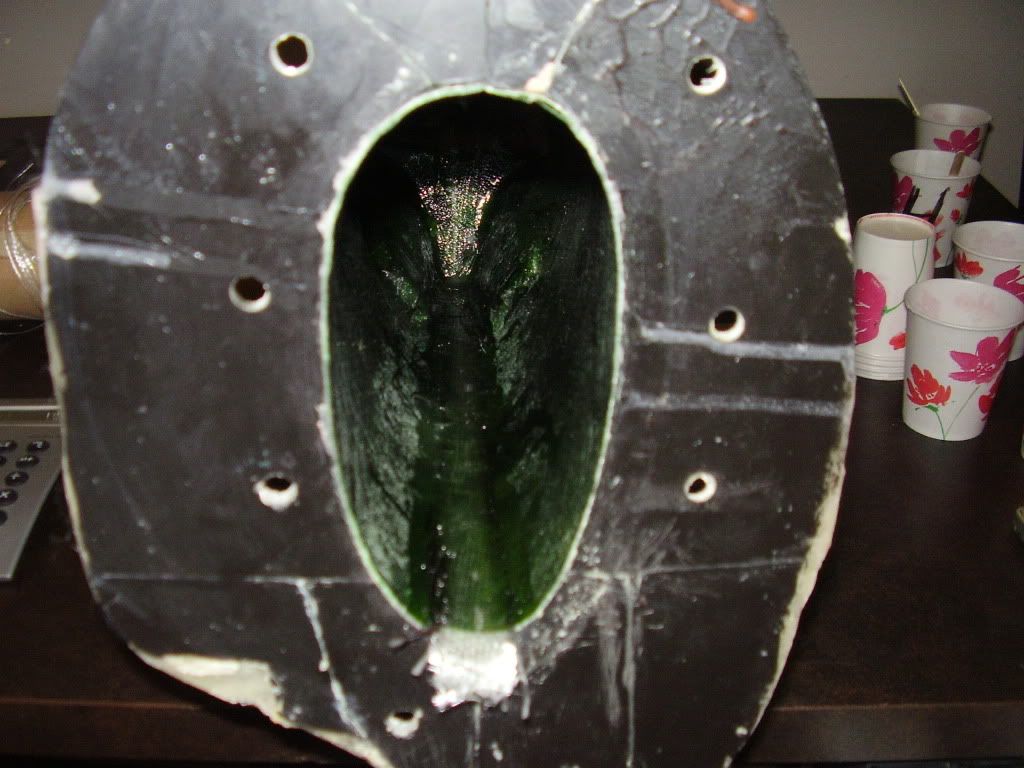
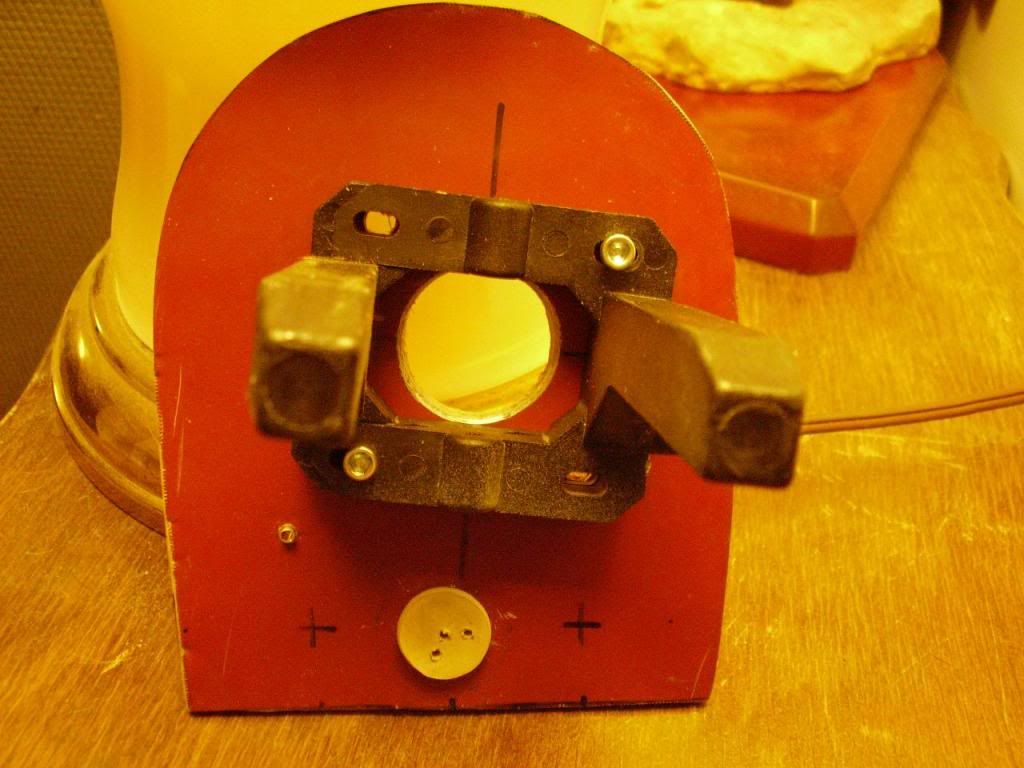
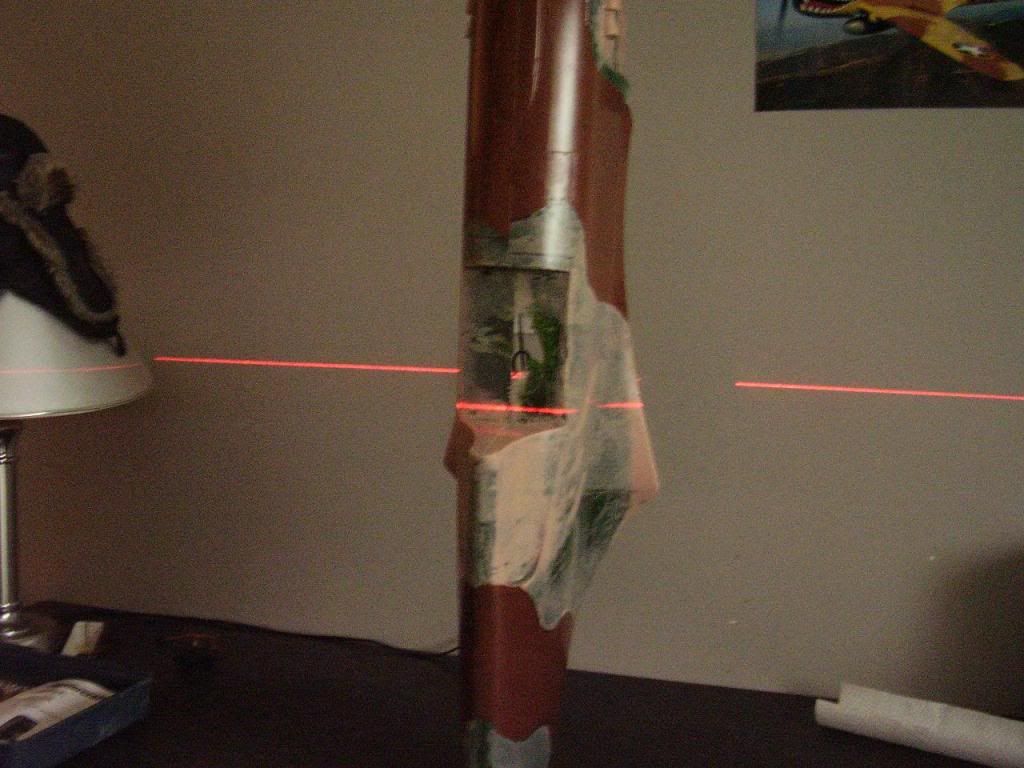
All ready to join firewall subassembly to main fuselage assembly.Although this resin and hardener combination is taking up to 48hrs at 72 F to cure to a point where I would consider demoulding it, I'm in no rush, and it seems to be extremely stiff in the wing saddle cross section when it finally does harden right out to the surface.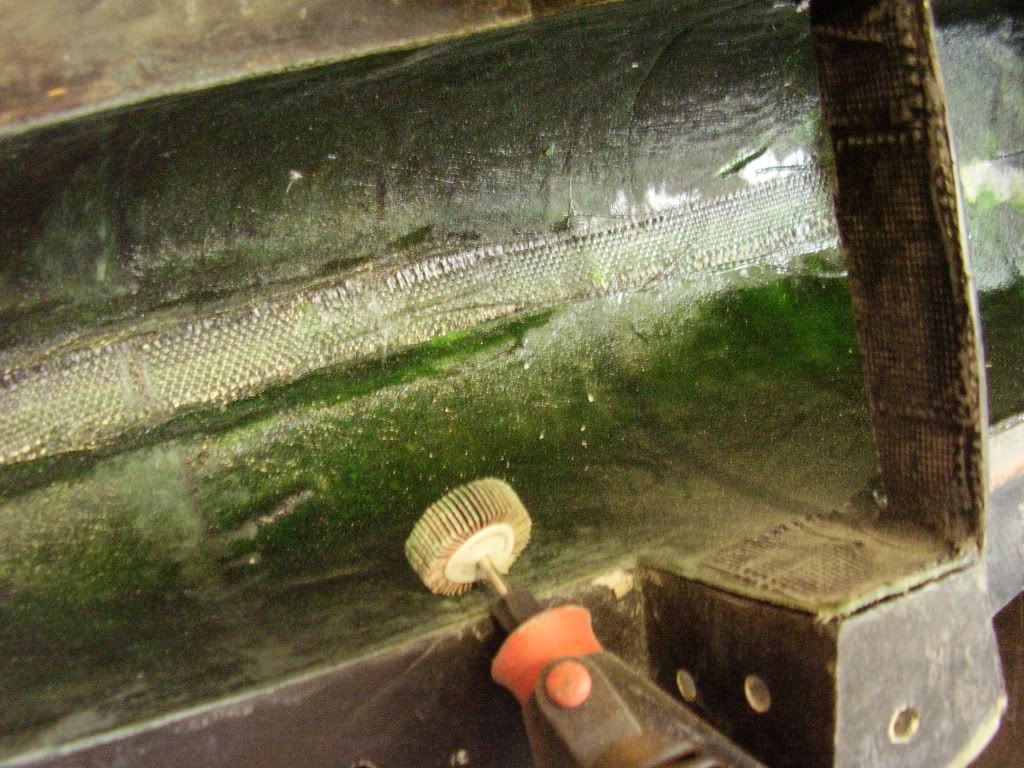
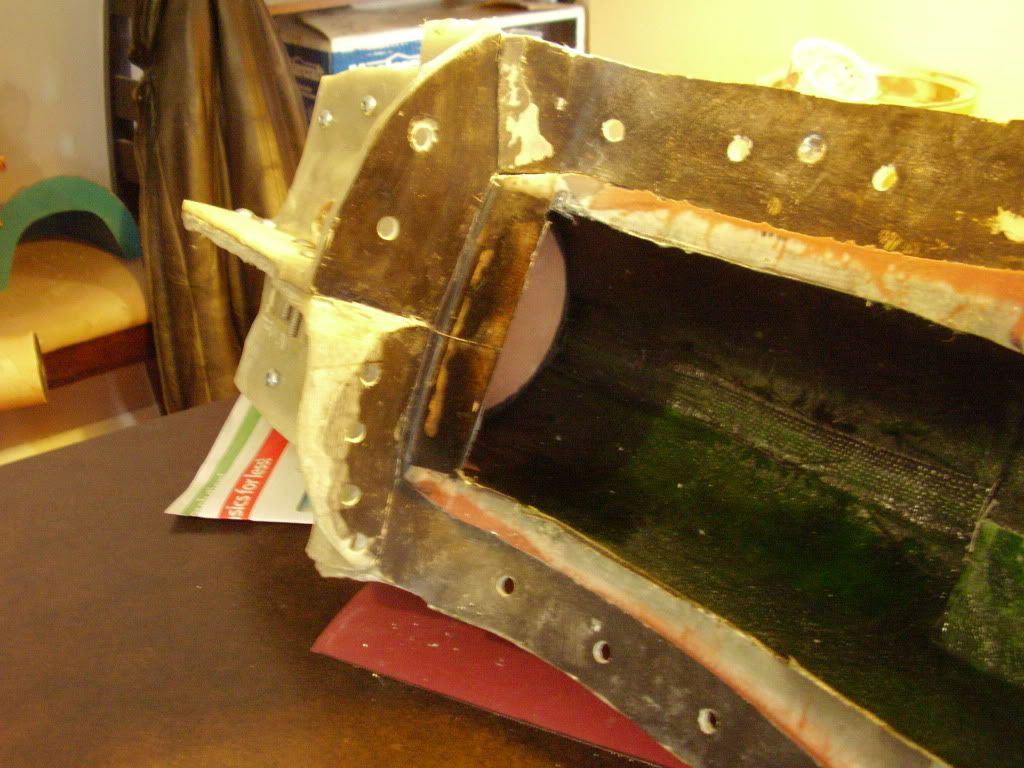
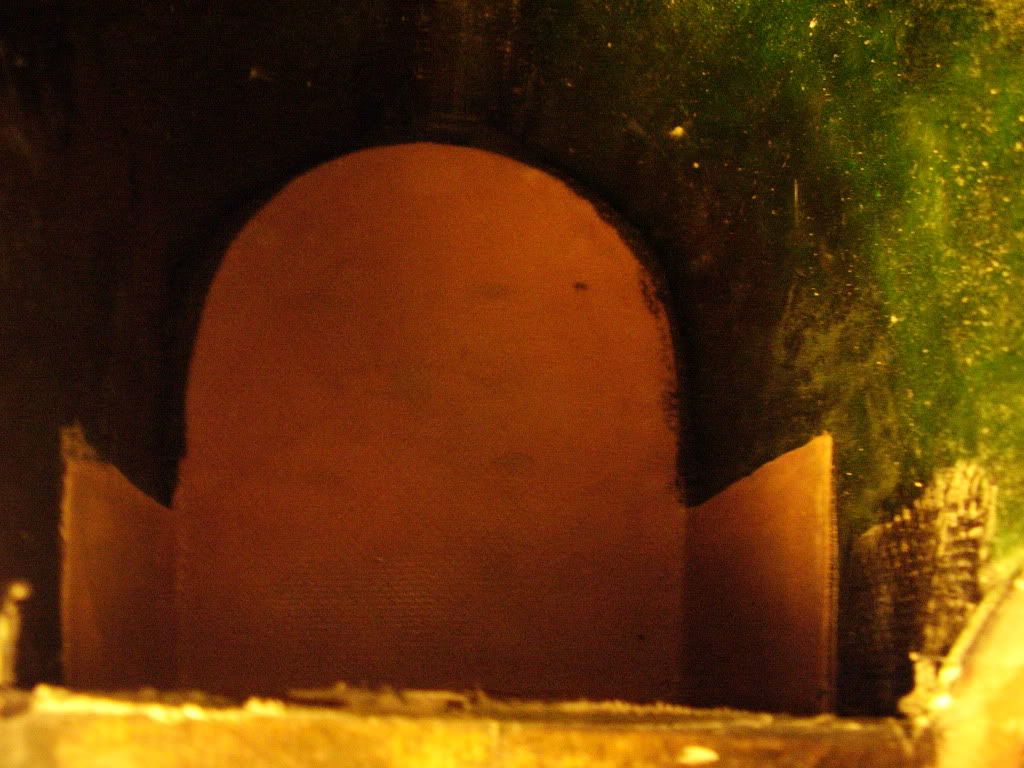 I am considering turning this cavity into an integral fuel tank....
I am considering turning this cavity into an integral fuel tank....
 This will eventually become the inside of the fuel tank.
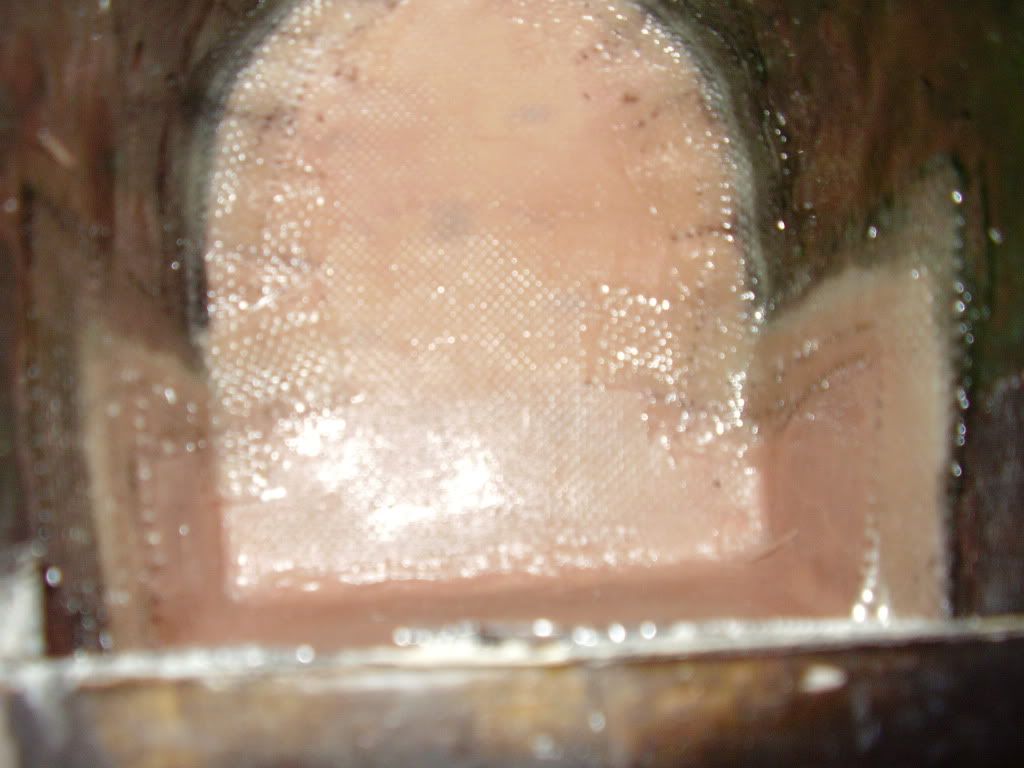 02-27-2012, 07:32 PM
#416
Senior Member
Thread Starter
Join Date: Apr 2007
Location: Toronto,
ON, CANADA
Posts: 757
Likes: 0
Received 0 Likes
on
0 Posts
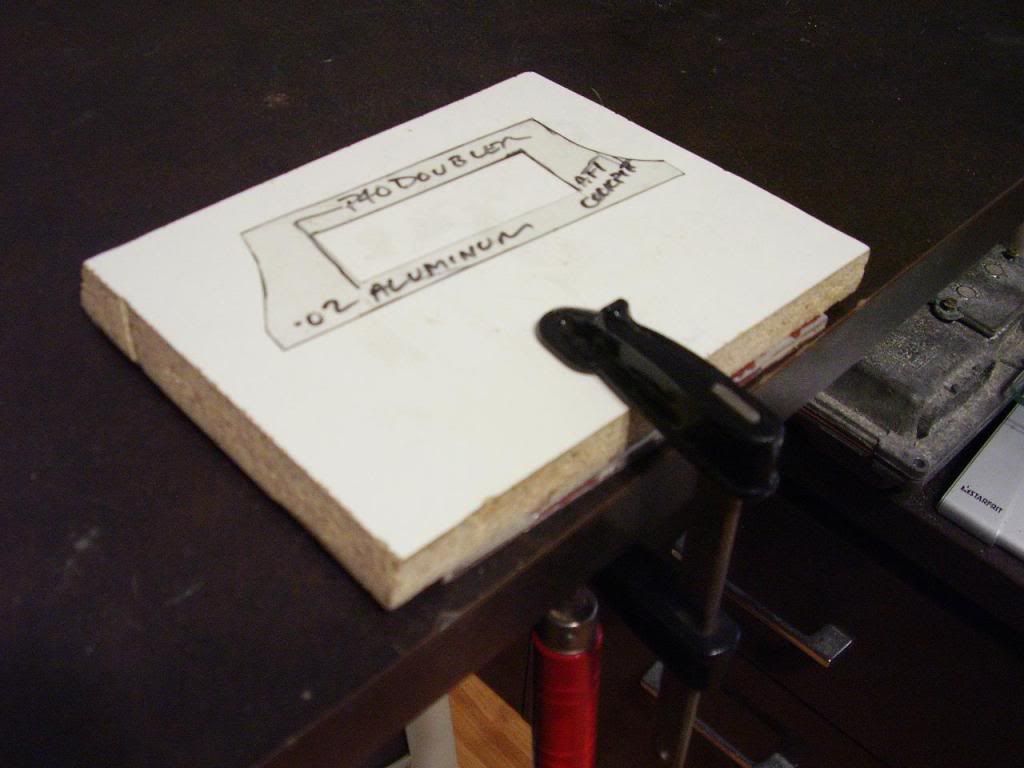
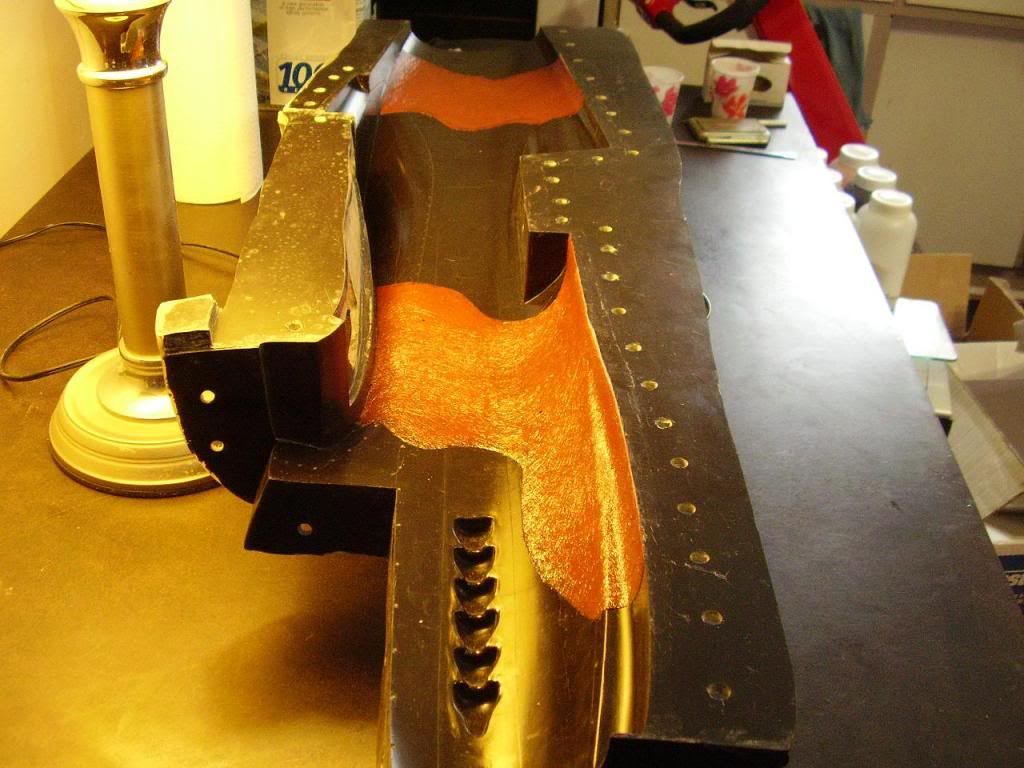
Oh boy, so much to tell....This new cheap epoxy is great. It produces a stiffer, stronger part.Now don't let the ugly test fuselage scare you off, here's some things we learned...- surface veil for camouflage works great!- some black sharpie around the perimeter of dark brown camo patches adds a level of detail too- it is possible to match camo across parting lines- tempra powder works great and is inexpensive (10% by resin weight)- 1/4" ply is too heavy for firewall- 1/8" ply dowel bulkhead works great- assembly method for inserting chin plate / firewall subassembly works great! (I've been waiting to see if this would work for a very long time now)- pink P-40's are for girls next time green/blown blend will be substituted for the lighter brownI've also started on the firewall for the next one.It will now be 1/8" Ply laminated with aluminum skin.This aluminum looks to be around 0.020" maybe 0.5mm - it used to be a window awning...I've also calculated that I can squeeze in around 16 Oz of fuel in an integral tank behind the firewall and centered around the plug in the pictures.All in all, I'm already started on the next one... 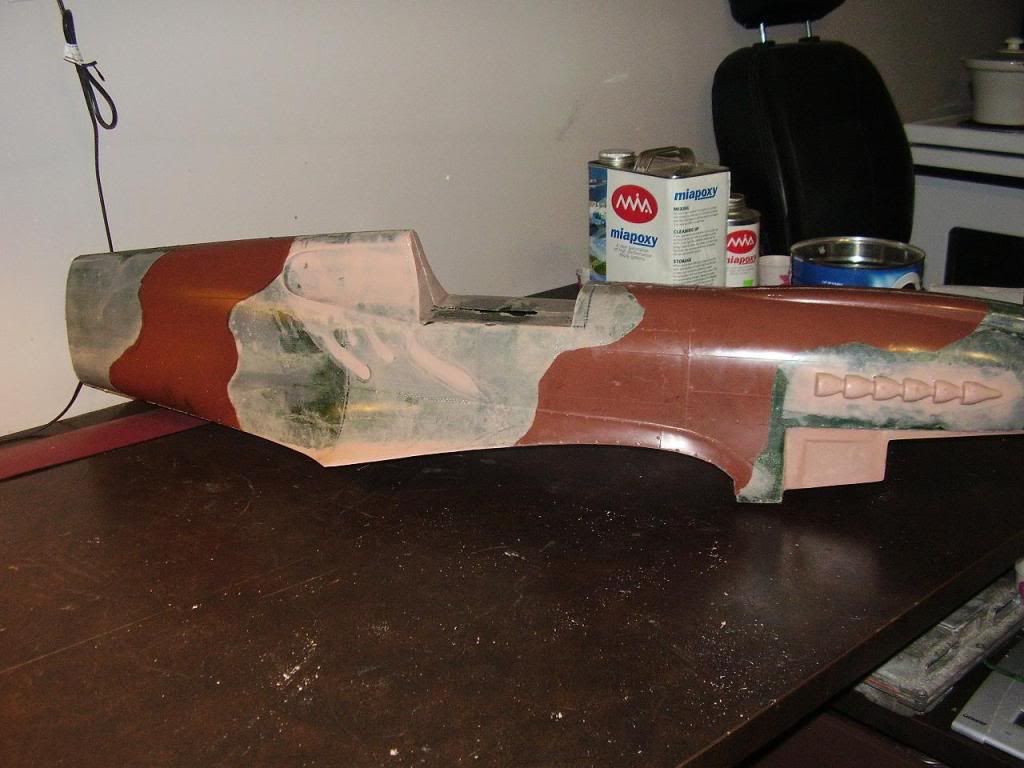

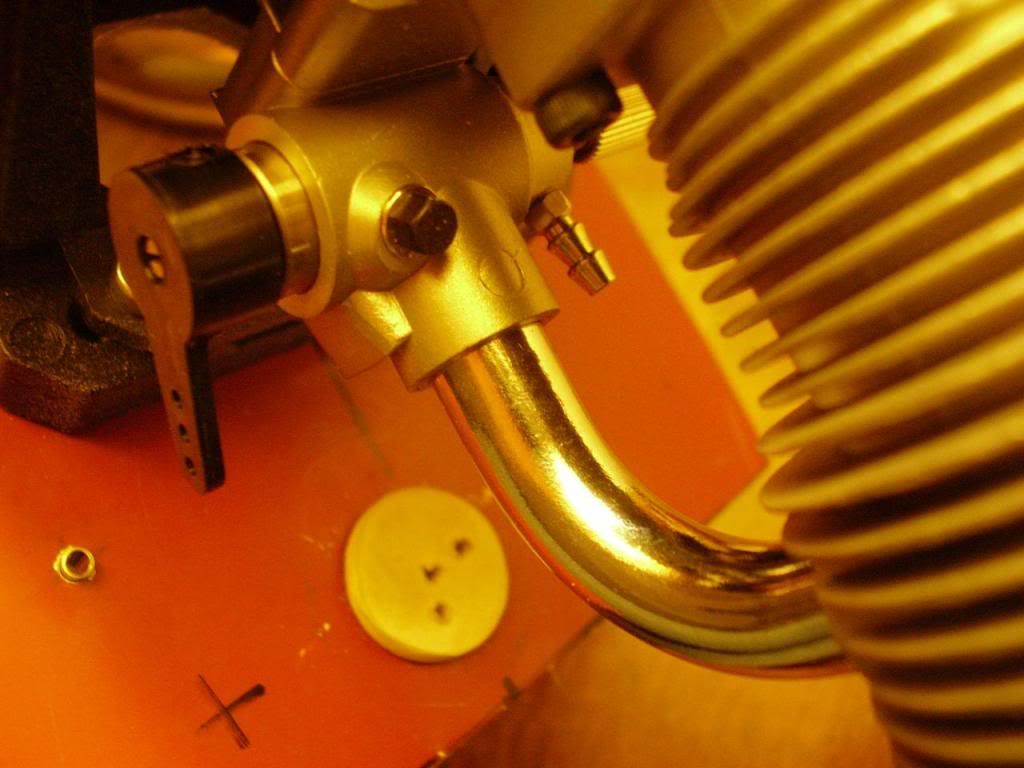
next time green/blown blend will be substituted for the lighter brownI've also started on the firewall for the next one.It will now be 1/8" Ply laminated with aluminum skin.This aluminum looks to be around 0.020" maybe 0.5mm - it used to be a window awning...I've also calculated that I can squeeze in around 16 Oz of fuel in an integral tank behind the firewall and centered around the plug in the pictures.All in all, I'm already started on the next one...
02-28-2012, 05:10 AM
#417
Junior Member
Join Date: Dec 2011
Location: RichmondVA
Posts: 9
Likes: 0
Received 0 Likes
on
0 Posts
hey slow low,
great job i love the work you ve done. 1 question today, on your panel lines i am using a water based paint and primer i got from the local big box store. i've completed the primer and 1st sanding and getting ready to put first base coat on. my idea was to put about 4-6 layer buildup and then using a hot knife cut in the lines but ive noticed that some of your lines only have one raised edge on it. if i burn in ill have two.how did you get that single raised edge and do you think the two raised edges would be ok for scale?
thanks ,
brian(AT-6) midwest products 83" wingspan scrach-build
02-28-2012, 08:54 AM
#419
Senior Member
Thread Starter
Join Date: Apr 2007
Location: Toronto,
ON, CANADA
Posts: 757
Likes: 0
Received 0 Likes
on
0 Posts
@rvaflyer - it took me longer to put those panel lines on than to build and finish the fuse - there's complete info in this thread regarding exactly how I did it (in fact there's even a video file)
Each panel was finished individually with resin and microballoons after the fuse was flat, straight, smooth, and ready for paint - it took years of sanding all day and night by hand - no joke.
What Ithink of your plane's panel lines doesn't matter at all - you're the guy who'll be standing beside it...
02-28-2012, 10:32 AM
#420
Junior Member
Join Date: Dec 2011
Location: RichmondVA
Posts: 9
Likes: 0
Received 0 Likes
on
0 Posts
hey slow low,
thanks for the input i've seen all you're vids(thats what inspired me to make moulds of this AT-6) being the perfectionist that i am this scrach build has taken me 8 months just to build the the fuse and wing.my biggest conserns are going to be w/ the canopy.i saw your vac moulding tech(about 5 months ago) and was wondering, ive heard that it can burn out the compresser have you run into that problm yet? plz keep up the good work i love following your thread and when im done ill finaly get to build a p-40(at-6 kit was free)))
i've seen all you're vids(thats what inspired me to make moulds of this AT-6) being the perfectionist that i am this scrach build has taken me 8 months just to build the the fuse and wing.my biggest conserns are going to be w/ the canopy.i saw your vac moulding tech(about 5 months ago) and was wondering, ive heard that it can burn out the compresser have you run into that problm yet? plz keep up the good work i love following your thread and when im done ill finaly get to build a p-40(at-6 kit was free)))
02-28-2012, 05:29 PM
#421
Senior Member
Thread Starter
Join Date: Apr 2007
Location: Toronto,
ON, CANADA
Posts: 757
Likes: 0
Received 0 Likes
on
0 Posts
...not a lot of free time today, but here's a pic to motivate some of you to get away from the PC and wander back in the direction of your own workbenches.... 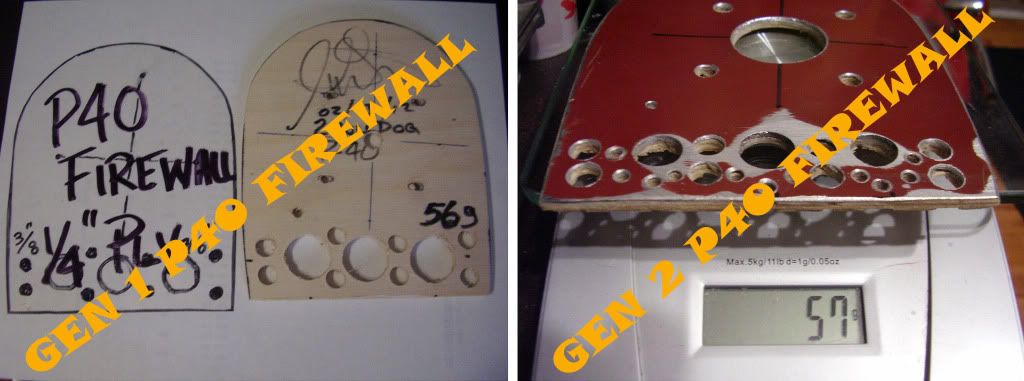 how do like my computer skills!?
how do like my computer skills!?
02-29-2012, 09:42 AM
#422
Senior Member
Thread Starter
Join Date: Apr 2007
Location: Toronto,
ON, CANADA
Posts: 757
Likes: 0
Received 0 Likes
on
0 Posts
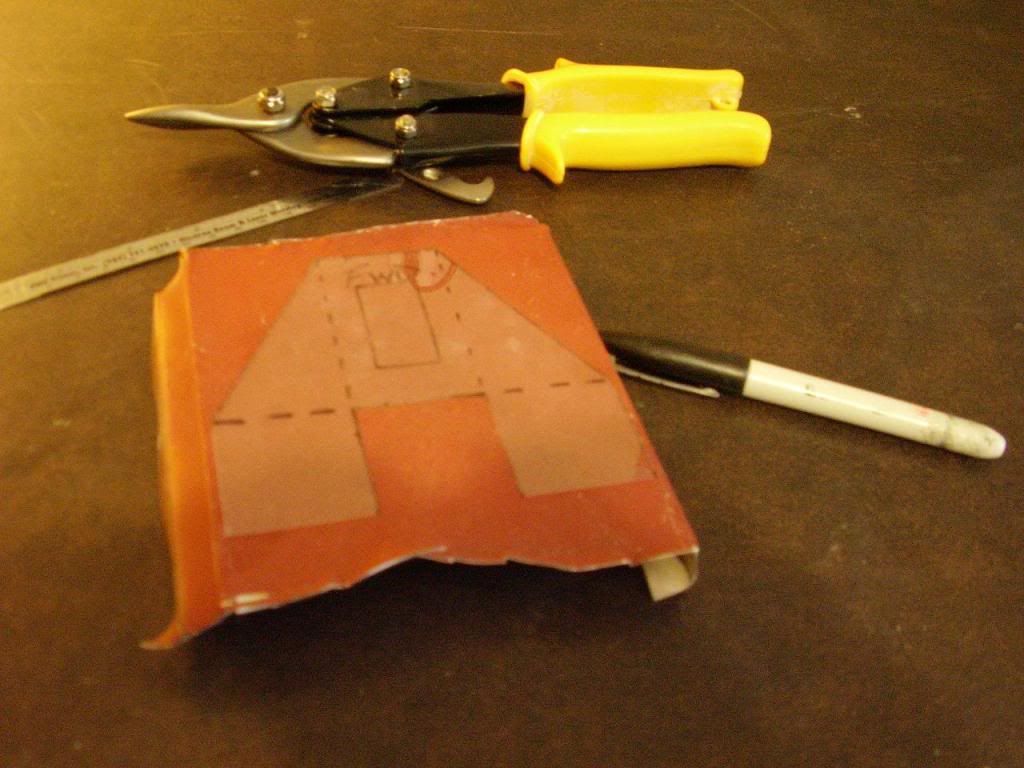
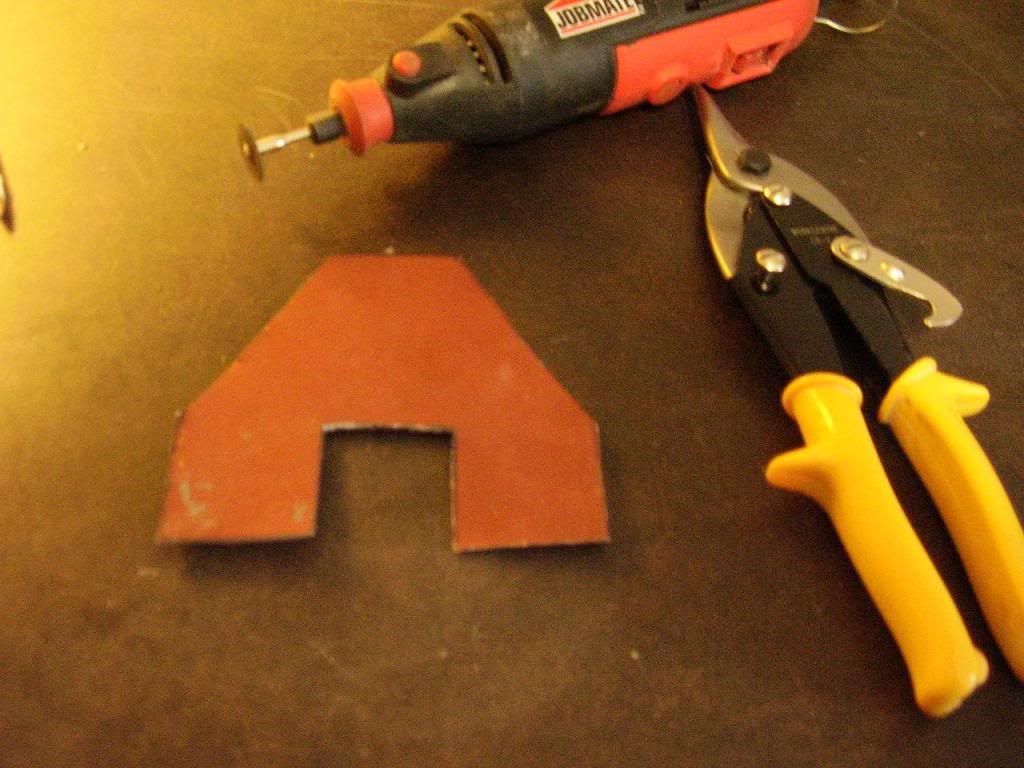
We need some internals and they need to be inexpensive, lightwight, and easy to install.I submit exhibit "A" - Aluminum with basswood if you please...11 grams worth 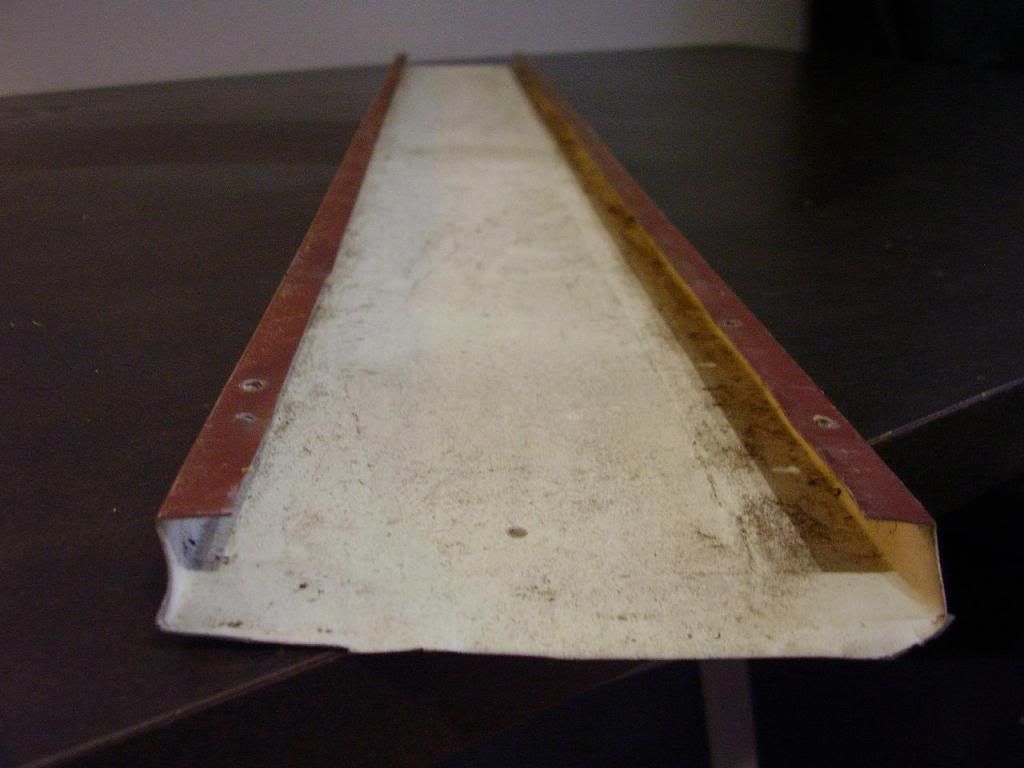


02-29-2012, 03:21 PM
#423
Senior Member
Thread Starter
Join Date: Apr 2007
Location: Toronto,
ON, CANADA
Posts: 757
Likes: 0
Received 0 Likes
on
0 Posts
Firstly - we've exceeded our bandwidth allowance for the original photobucket account, so all picture links from here forward will point to a new account that can be found here... http://s1069.photobucket.com/albums/u475/Two_Bulldog/
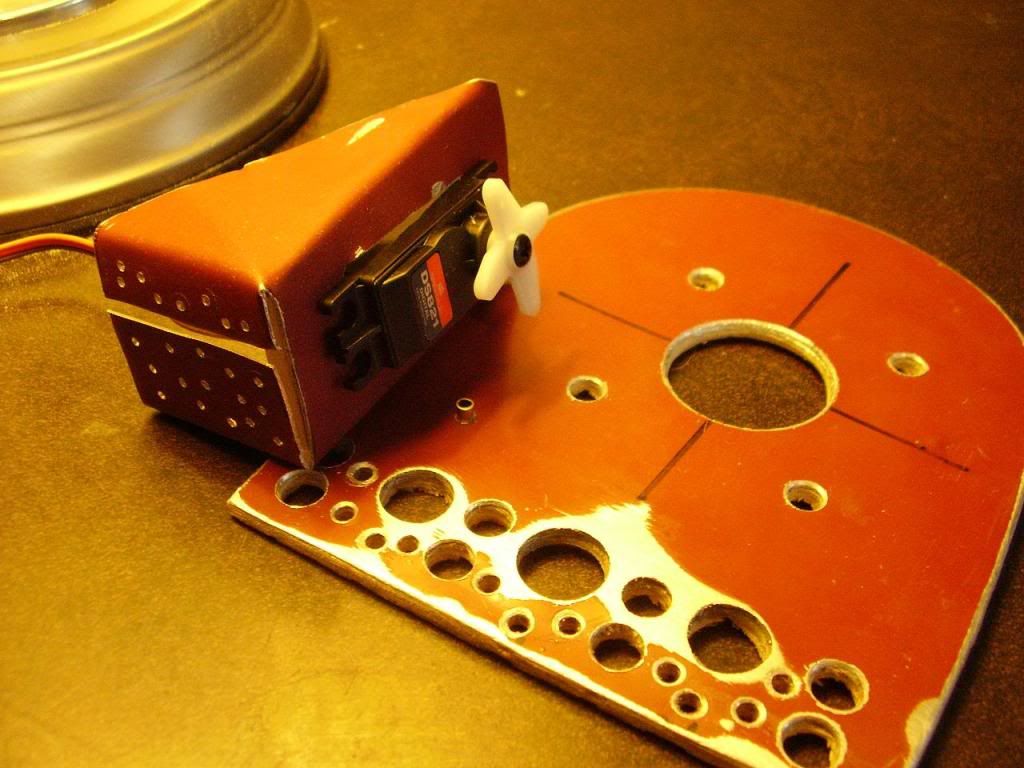
This is the rear cockpit bulkhead. It provides a vertical mounting surface on the rear face for our rudder and elevator servo mounting brackets. It also provides a shear pocket in the forward face, into which the hardwood blocks that draw the fuselage to the wing saddle will seat.
Please remember that these are prototype parts and although they're not necessarily the prettiest, they are functional and more importantly have provided templates, and benchmarks for all future part revisions.
Making more is easy work...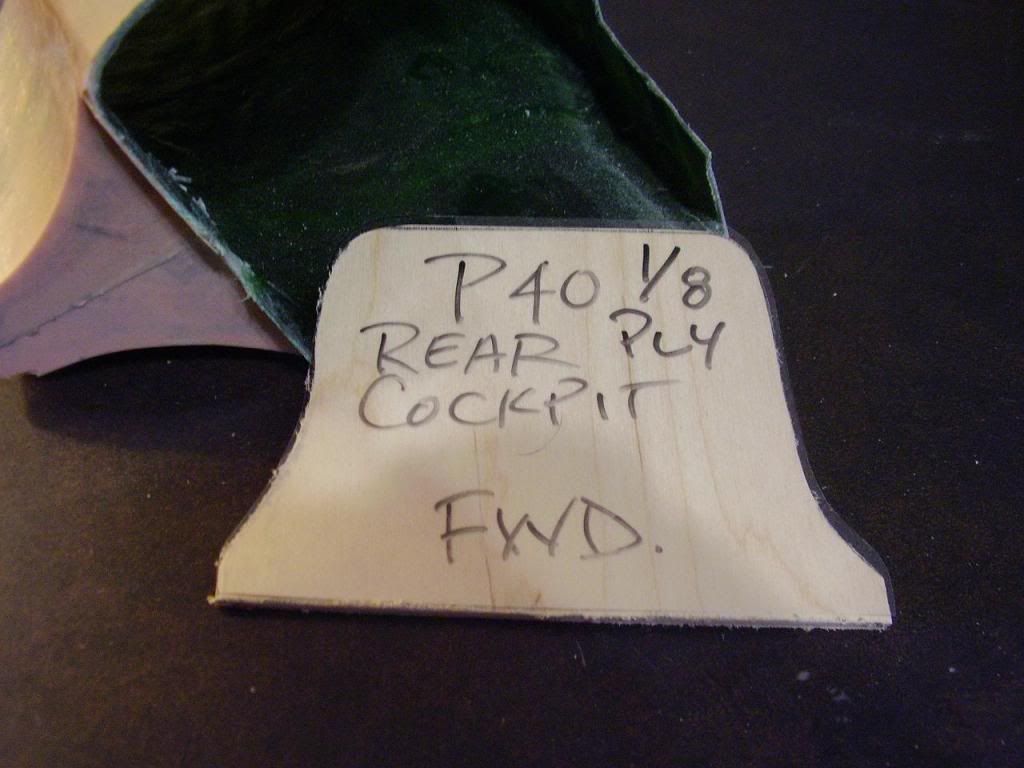
03-04-2012, 06:27 AM
#424
Senior Member
Thread Starter
Join Date: Apr 2007
Location: Toronto,
ON, CANADA
Posts: 757
Likes: 0
Received 0 Likes
on
0 Posts
If refinement is a fool's recipe for success, then I think on the right path...worn out old uniform pants - could I get any more ironic?? )
 Post Script - the missing pics will be back 031012
)Post Script - the missing pics will be back 031012
03-04-2012, 12:10 PM
#425
Senior Member
Thread Starter
Join Date: Apr 2007
Location: Toronto,
ON, CANADA
Posts: 757
Likes: 0
Received 0 Likes
on
0 Posts
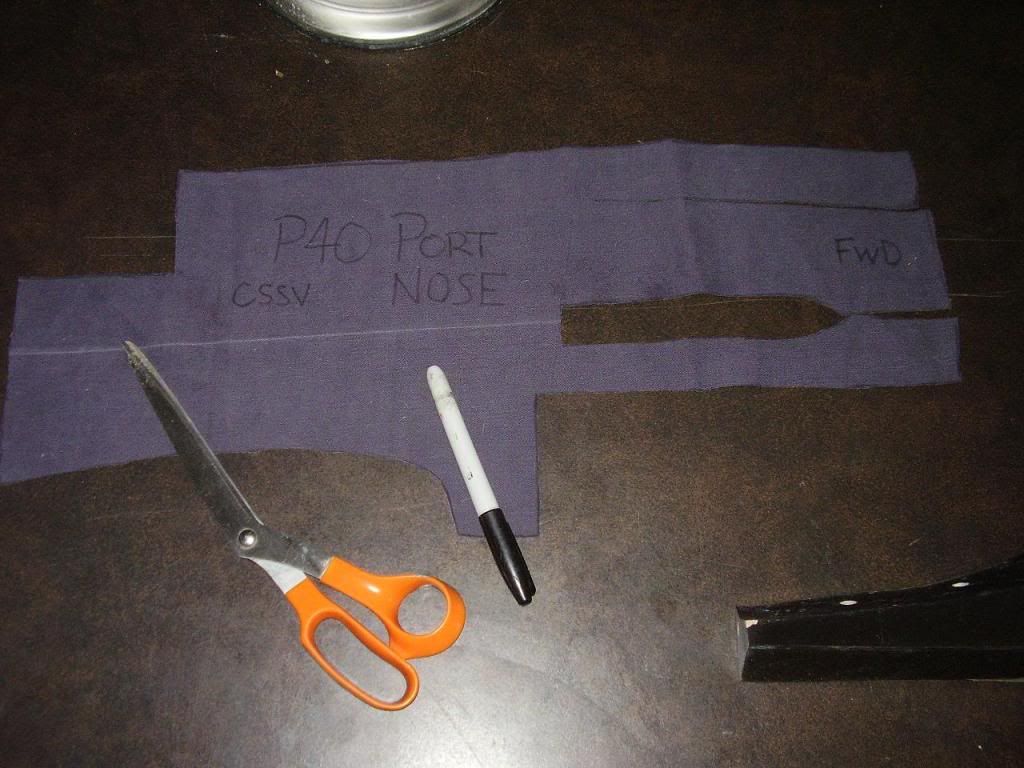
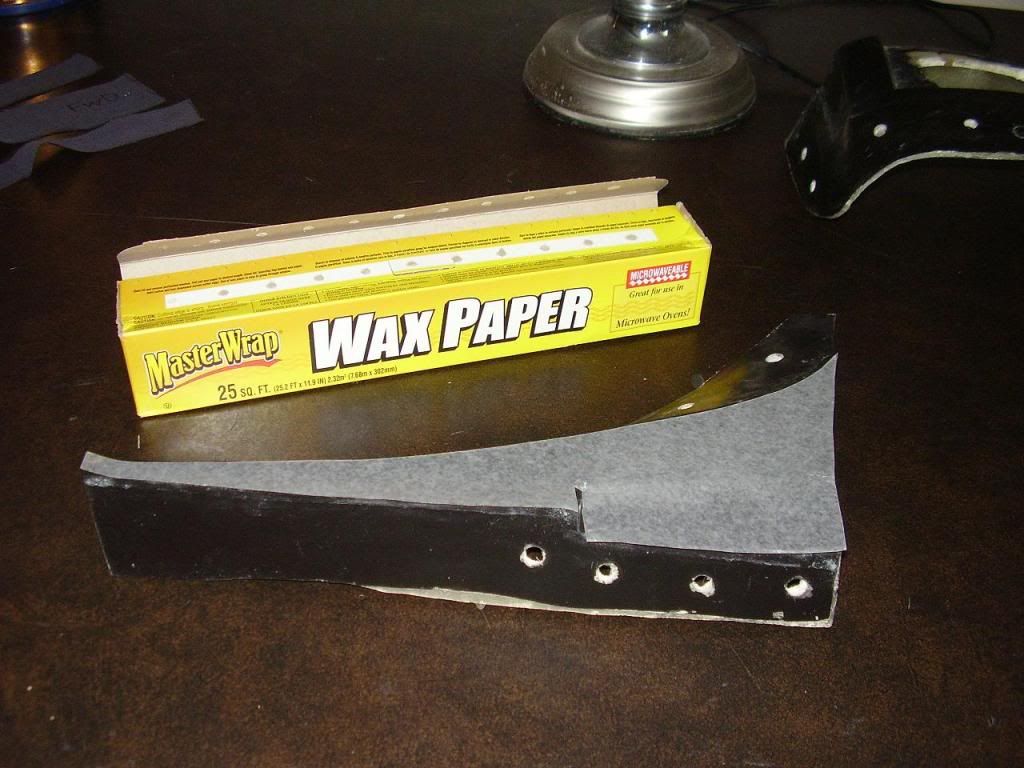
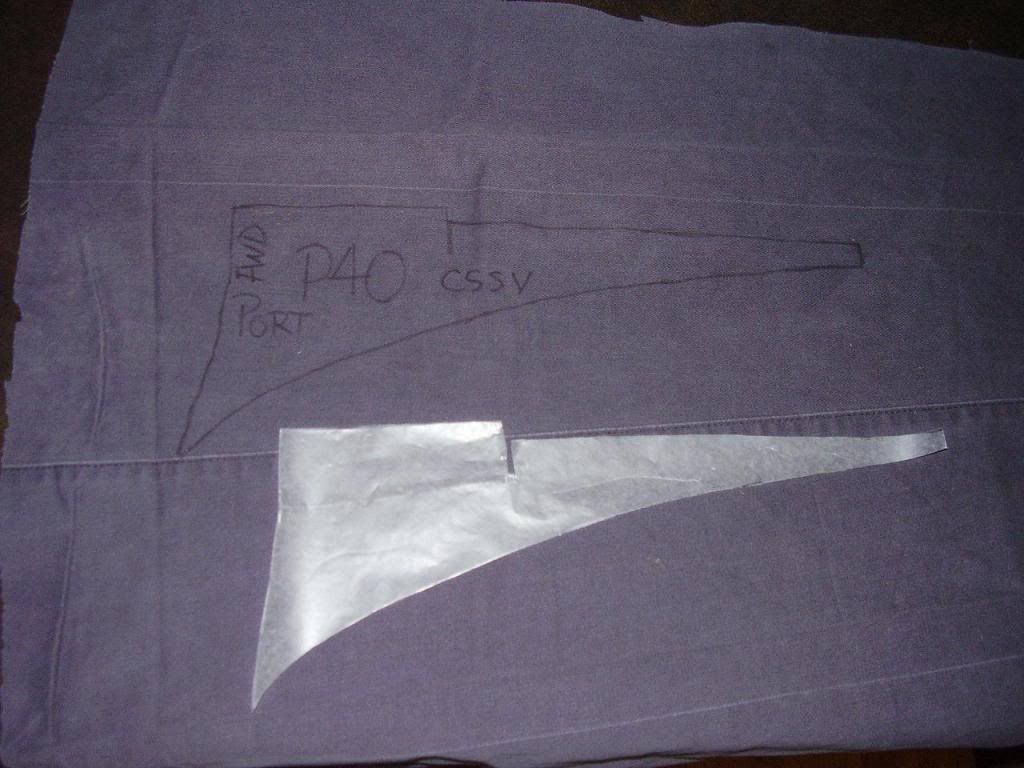
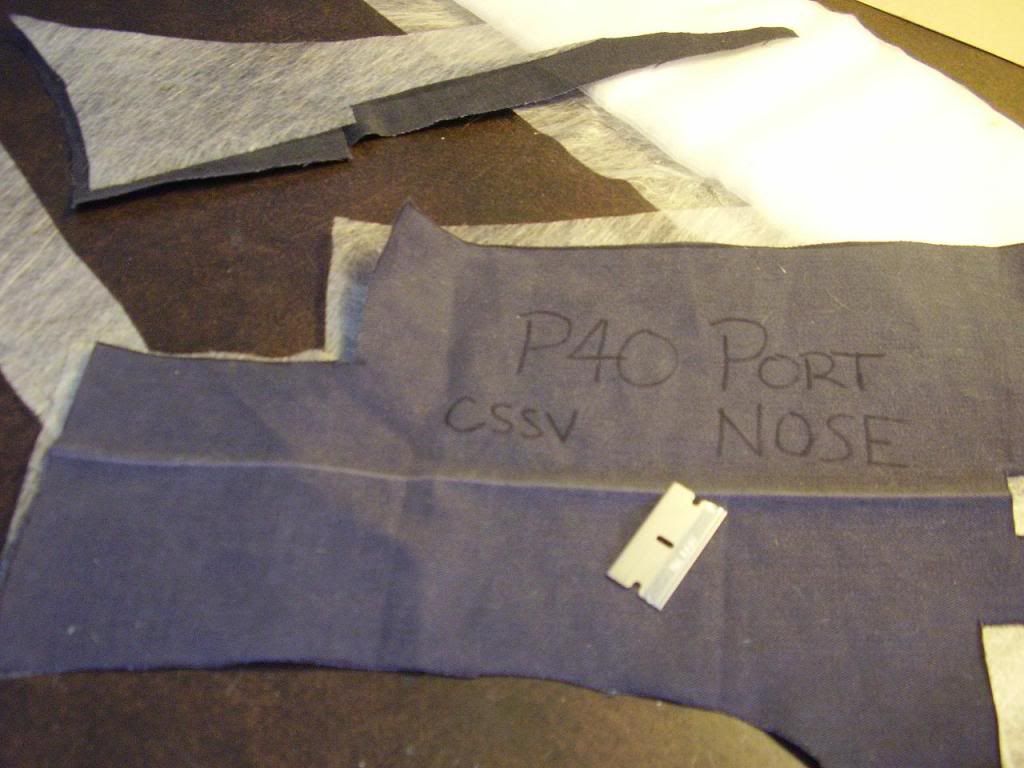
So our templates for cutting cloth are getting more and more refined, and in addition we now have a complete set including not only the brown areas but also the green. This will allow me to accurately pre-cut and lay down the continuous strand surface veil everywhere as an initial layer. This is what keeps the epoxy concentration and therefore opacity high at the part surface.
Alright, you may have noticed that I keep chopping things up into smaller and smaller operations. This is because I'm only one person. I will focus on producing one section at a time and joining them post-cure. There's been no issues with the strength of any seam thus far and this will allow me to take my time.
so first it's brown camouflage portside on cssv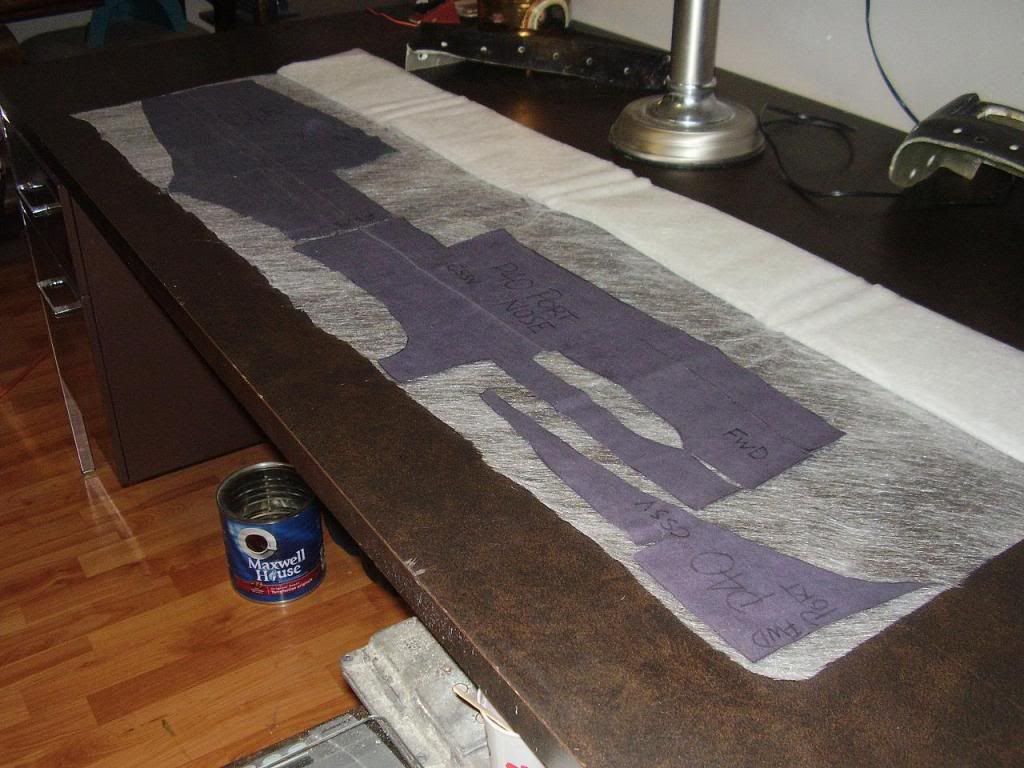