


Repairing an RTF wing - my Hobbistar 60 trainer
 08-08-2012, 03:59 AM
#1
Senior Member
Thread Starter

I learned to fly last year with a Hobbico Hobbistar 60 Mk III select - an RTF. This spring while I was flying I dumb-thumbed it into a tree. I was lucky enough to get it back, and just the wing was damaged.

The starboard wing took a hit on the leading edge and cracked near the root. The port wing left its leading edge and tip in the top of the tree.
A replacement wing is a reasonable $90. I decided to rebuild it myself for the experience and to save money*. The purpose of this thread is to follow my progress.
*Ha!
 08-08-2012, 04:00 AM
#2
Senior Member
Thread Starter
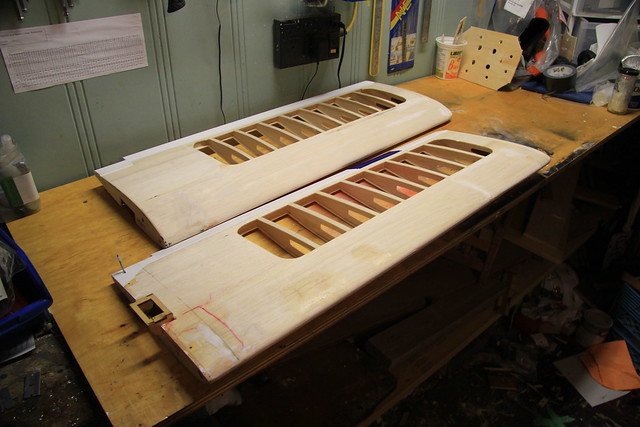
So - onwards and upwards. I set the starboard wing aside and turned my attention to port.
None of the rib stumps were big enough to provide support for the new ribs, so they all came off. Afterwards I prepped the main spar, planing off all of the remaining stubs and any glue.
After a couple of not-so-great attempts at making a cardboard template for the ribs, I removed one of the two intact ribs to use instead. That did the trick.

Shortly afterwards all the ribs were in place, supported at the base by tri-stock. I made a mistake, though...

... I cut the ribs in the wrong grain. I fixed that later.
None of the rib stumps were big enough to provide support for the new ribs, so they all came off. Afterwards I prepped the main spar, planing off all of the remaining stubs and any glue.
After a couple of not-so-great attempts at making a cardboard template for the ribs, I removed one of the two intact ribs to use instead. That did the trick.
Shortly afterwards all the ribs were in place, supported at the base by tri-stock. I made a mistake, though...
... I cut the ribs in the wrong grain. I fixed that later.
08-08-2012, 04:01 AM
#3
Senior Member
Thread Starter
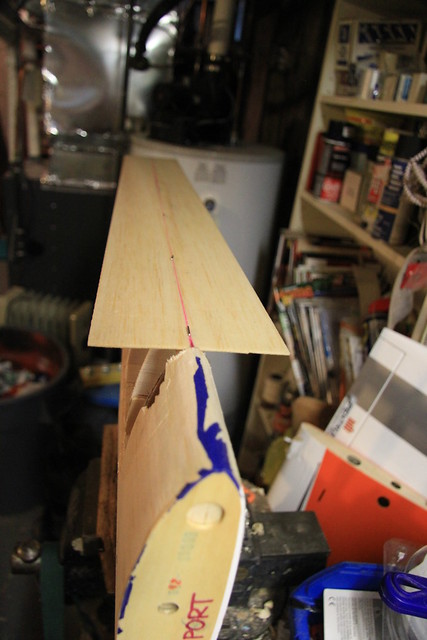
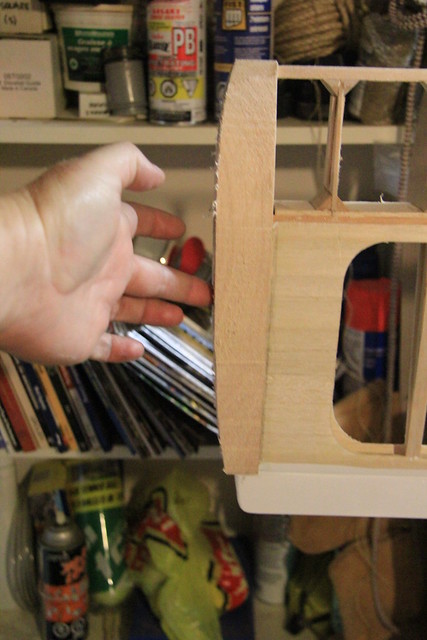
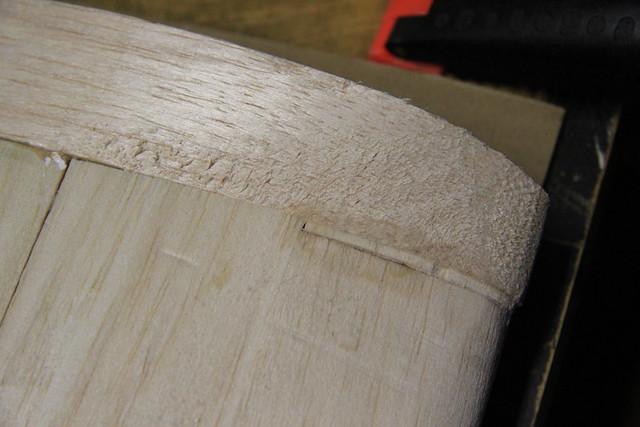
After the ribs were on, it was time for the leading edge. The piece I chose was a little (read: WAY) too thick so I brought the whole thing over to the band saw for a trim.
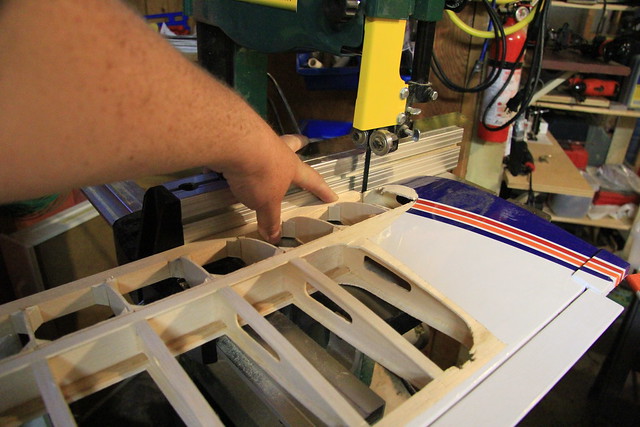
There - that's better. But still square.
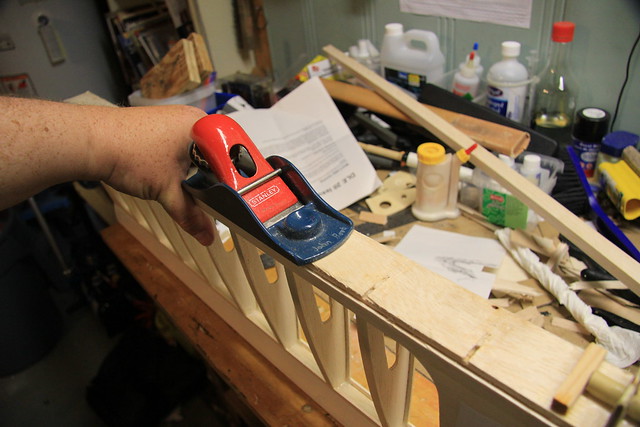
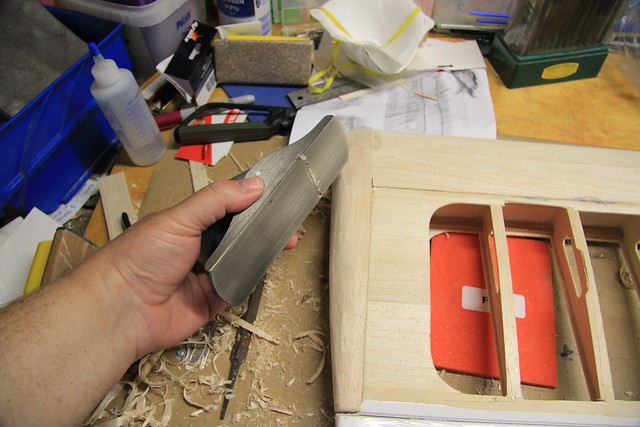
I tried using my large block plane to round the corners but it's way too big for such delicate work. Enter Lee Valley Tools and the miniature block plane.
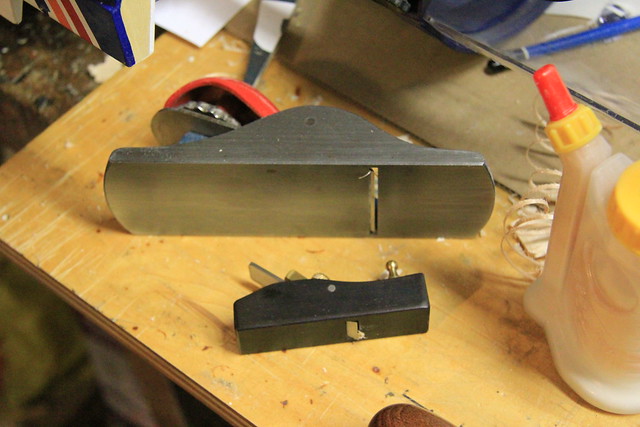
After a long time spent planing and sanding, the proper shape of the leading edge emerged.

There - that's better. But still square.
I tried using my large block plane to round the corners but it's way too big for such delicate work. Enter Lee Valley Tools and the miniature block plane.
After a long time spent planing and sanding, the proper shape of the leading edge emerged.
08-08-2012, 04:03 AM
#4
Senior Member
Thread Starter
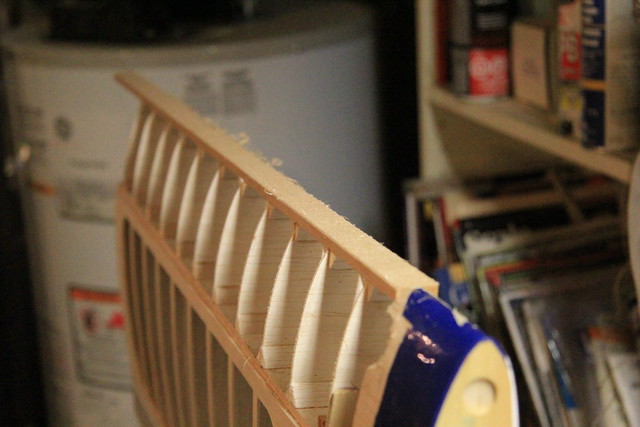
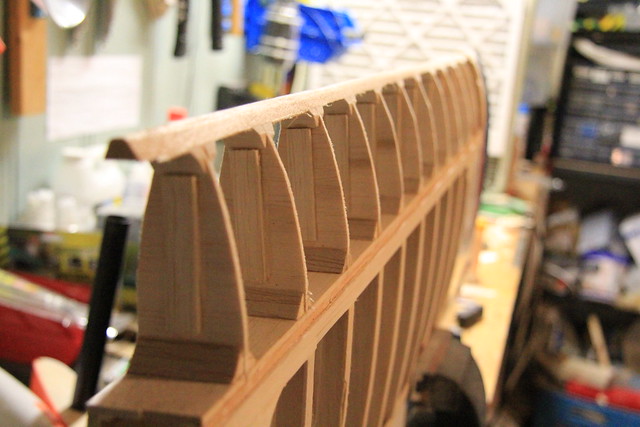
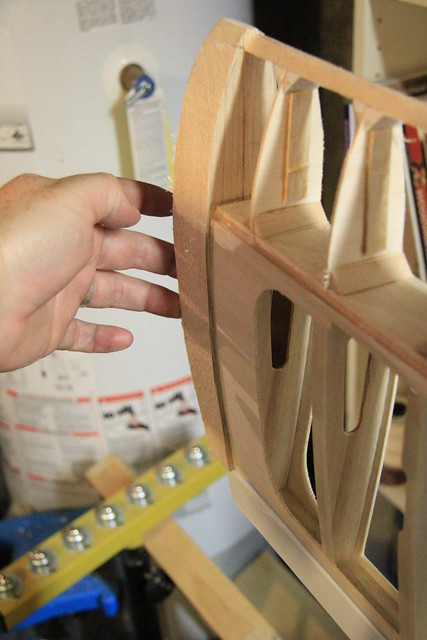
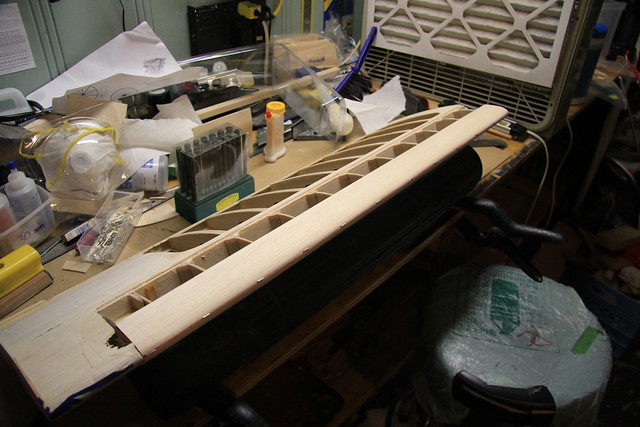
I mentioned a post or two ago that I cut the ribs in the wrong grain. My solution was to make stiffeners out of 3/32" balsa, 1/2" wide. Cut in the correct grain this time. Luckily, they don't weigh too much.
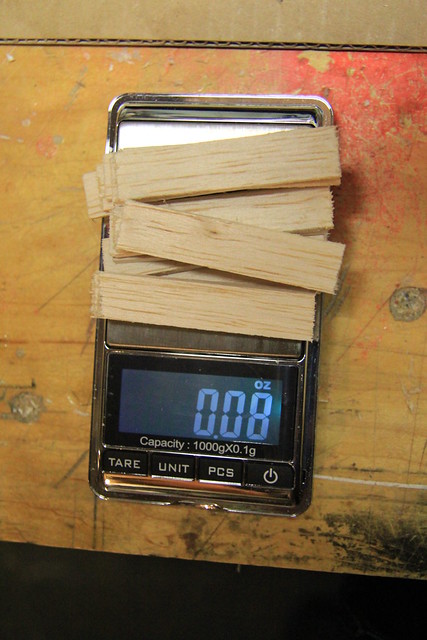
One went on each side of each rib. Now they're much more rigid.
One went on each side of each rib. Now they're much more rigid.
08-08-2012, 04:30 AM
#5
Senior Member

Join Date: Nov 2002
Location: Sterling , CO
Posts: 6,059
Likes: 0
Received 0 Likes
on
0 Posts
Remember to put the same amount of weight on the other wing to make it ballance looks like a great repair job
Larry K
Larry K
08-08-2012, 06:23 AM
#6
Senior Member
Thread Starter
ORIGINAL: Live Wire
Remember to put the same amount of weight on the other wing to make it ballance looks like a great repair job
Larry K
Remember to put the same amount of weight on the other wing to make it ballance looks like a great repair job
Larry K
 08-12-2012, 04:52 PM
#8
Junior Member
Join Date: May 2012
Location: kerhonkson, NY
Posts: 2
Likes: 0
Received 0 Likes
on
0 Posts
nice job! I too am reparing my first arf. I like to build them now and think my next plane will be a kit. I am getting lots of practice as I just learned to fly this year. I currently monocoated for the first time and its not bad!
08-15-2012, 05:47 AM
#9
Senior Member
Thread Starter
Thanks for the positive feedback, folks.
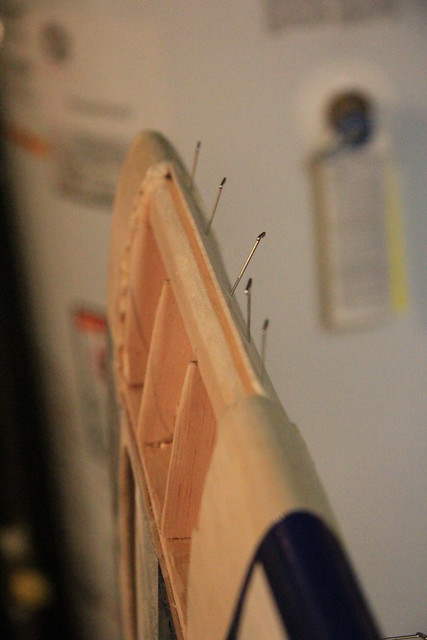
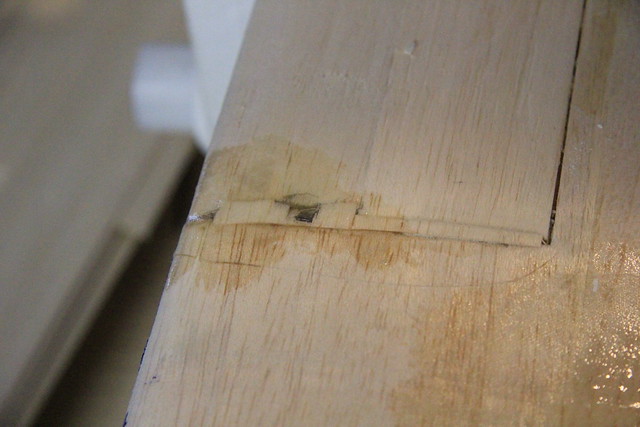
Turning back to the starboard wing, I cut the leading edge to length and glued it into place. During the process I used a pair of end cutters to trim the leading edge ribs flush.

Once the leading edge was shaped, I started the sheeting process. I figured it was better to start with the starboard wing because the leading edge repair is small. I hope the experience I gain will serve me well when I undertake the sheeting for the port wing.
I didn't find much online about sheeting but I figured it was better to start at the base and work towards the leading edge.

Turning back to the starboard wing, I cut the leading edge to length and glued it into place. During the process I used a pair of end cutters to trim the leading edge ribs flush.
Once the leading edge was shaped, I started the sheeting process. I figured it was better to start with the starboard wing because the leading edge repair is small. I hope the experience I gain will serve me well when I undertake the sheeting for the port wing.
I didn't find much online about sheeting but I figured it was better to start at the base and work towards the leading edge.
08-15-2012, 05:58 AM
#10
Senior Member
Thread Starter
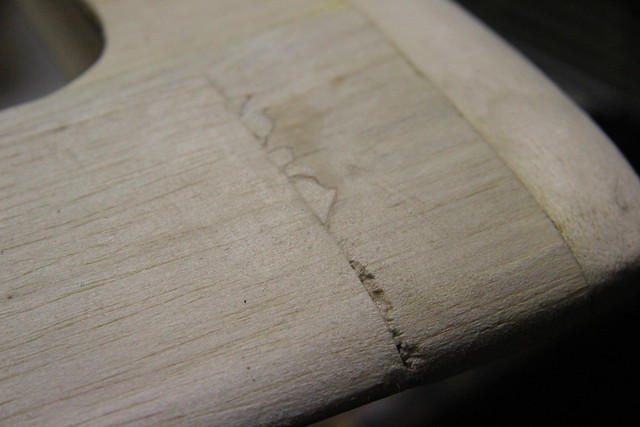
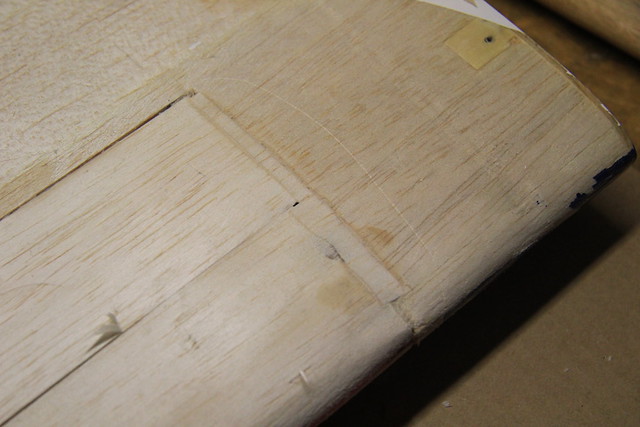
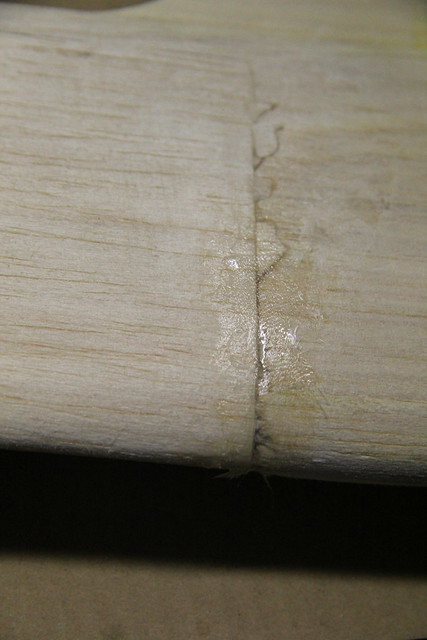
While the glue for the sheeting cured, I took a look at a hole in the sheeting that was closer to the wing root. I cleaned out the splintered pieces, gave it a simple shape and beveled the edges with a razor blade.
I used a piece of broken sheeting from the port wing to make the patch, and beveled the back edges.

Then it was just a matter of adding some glue and securing it in place while the glue cured.

Later, it will be sanded smooth.
I used a piece of broken sheeting from the port wing to make the patch, and beveled the back edges.
Then it was just a matter of adding some glue and securing it in place while the glue cured.
Later, it will be sanded smooth.
08-21-2012, 06:36 AM
#11
Senior Member
Thread Starter
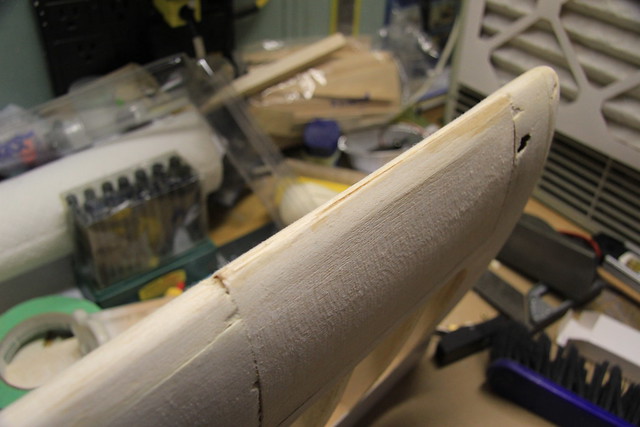
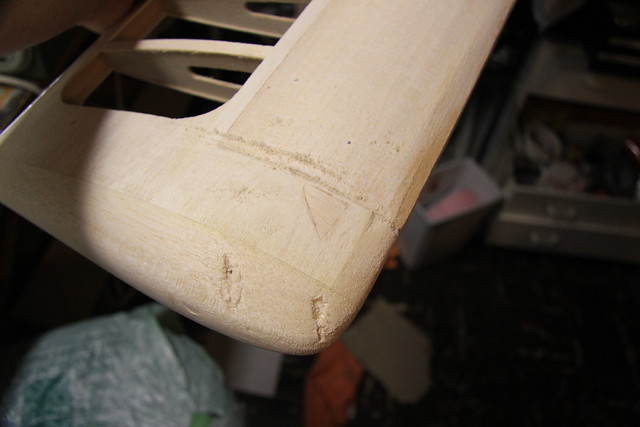
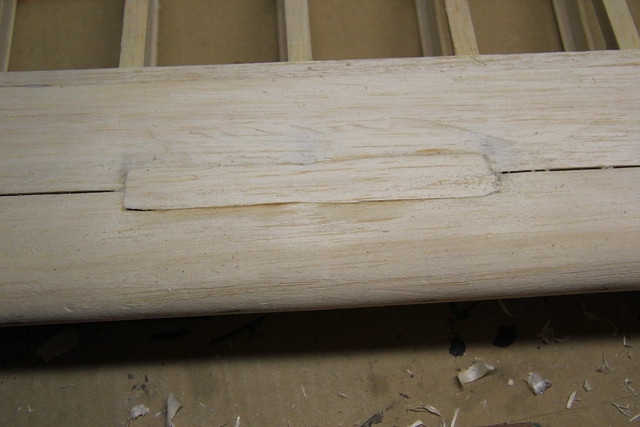
The patch turned out well after sanding.

And I continued gluing the wing sheeting.
I came across some information on how wetting one side of the sheeting will bend it away - I'm working on that now.
And I continued gluing the wing sheeting.
I came across some information on how wetting one side of the sheeting will bend it away - I'm working on that now.
09-07-2012, 03:18 PM
#12
Senior Member
Thread Starter
I finished the sheeting repair of the starboard wing. I soaked the second sheet for a couple of days, which was a big improvement over moistening one side of the first one. Far from perfect, but not bad for a first go.
Turns out there was another part of the starboard wing that needed a patch.

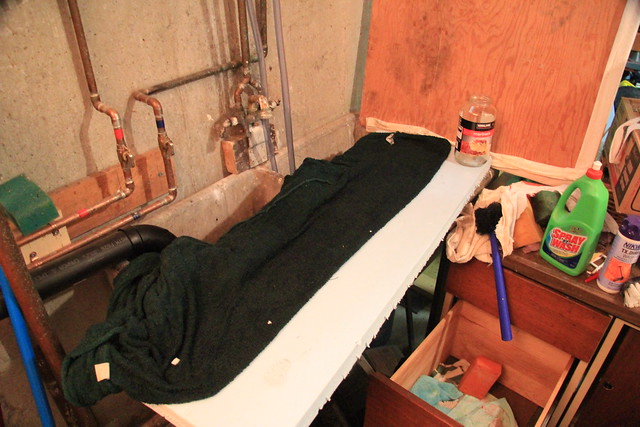
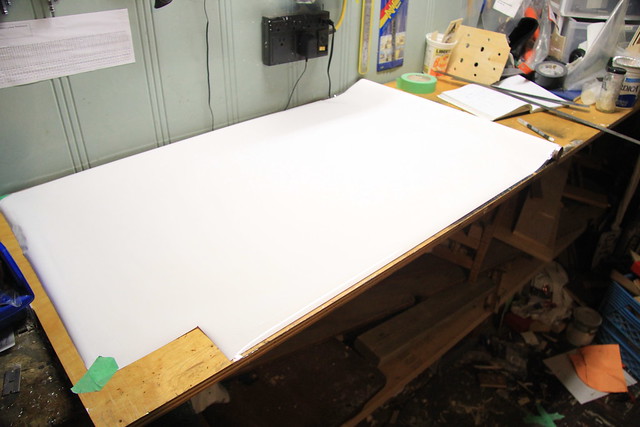
After that, I started soaking the sheeting for the port wing. I didn't have a big enough container for three feet of balsa, so I improvised with what I did have - some insulation board and an old robe in the rag drawer. I soaked the robe and laid it out on the board, then put the sheeting on the robe...
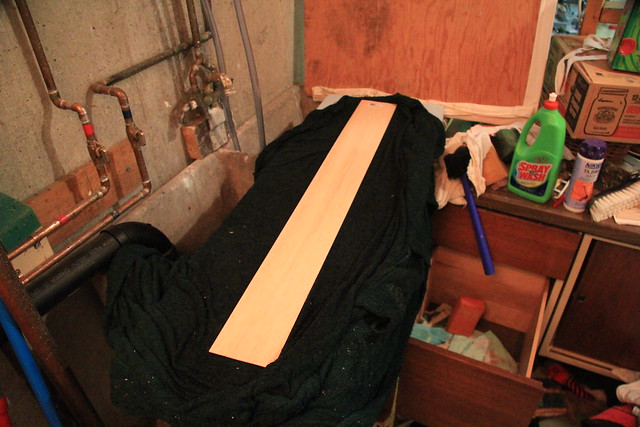
... and folded the robe over. I poured water over it every day - it sat for several because I didn't have time to get to the sheeting repair.
Turns out there was another part of the starboard wing that needed a patch.
After that, I started soaking the sheeting for the port wing. I didn't have a big enough container for three feet of balsa, so I improvised with what I did have - some insulation board and an old robe in the rag drawer. I soaked the robe and laid it out on the board, then put the sheeting on the robe...
... and folded the robe over. I poured water over it every day - it sat for several because I didn't have time to get to the sheeting repair.
09-07-2012, 03:32 PM
#13
Senior Member
Thread Starter
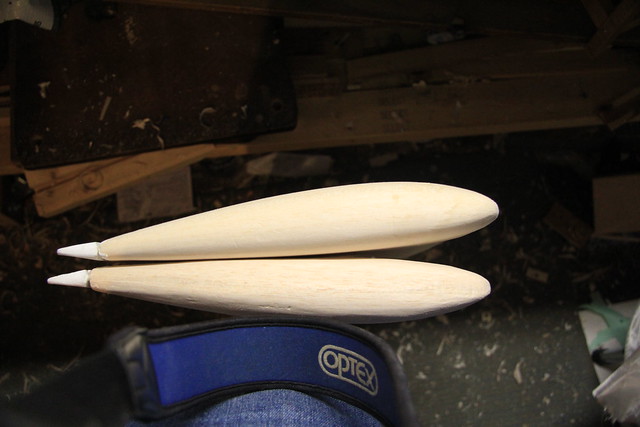
While the sheeting was soaking I cut and glued the two pieces of balsa that would form the new port wingtip.
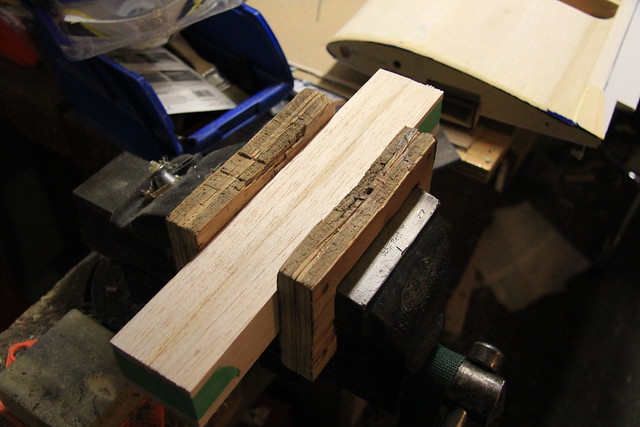
I traced the outline from the starboard wing as best I could (keeping in mind that I was after a mirror image, not an exact copy) and cut out the VERY rough shape on the band saw.
I plan to work it closer to size then, once the sheeting is done, attach it to the wing before doing the final shaping.
I traced the outline from the starboard wing as best I could (keeping in mind that I was after a mirror image, not an exact copy) and cut out the VERY rough shape on the band saw.
I plan to work it closer to size then, once the sheeting is done, attach it to the wing before doing the final shaping.
09-07-2012, 03:38 PM
#14
Senior Member
Thread Starter
Back to the wing sheeting. After it sat for a few days I took it out of the robe and trimmed it to length. It was certainly saturated.
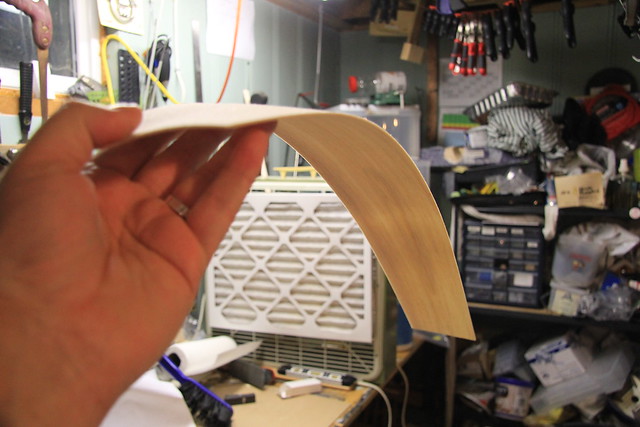
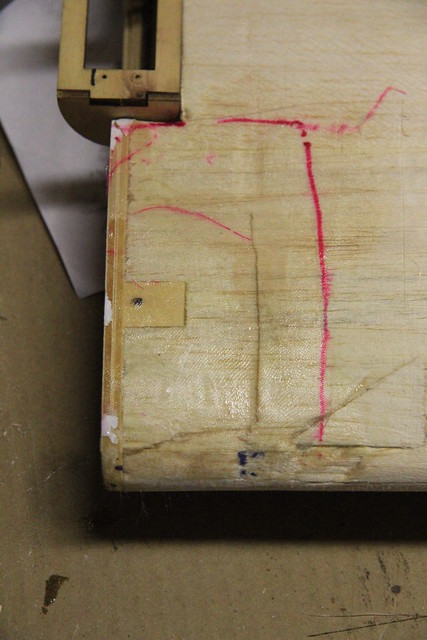
After the starboard wing repair I had decided to try a different method that wouldn't require a joint at the leading edge. So I marked a centre line on the wing and the sheeting...
... pinned it in place...
... and placed magazines to shape it.
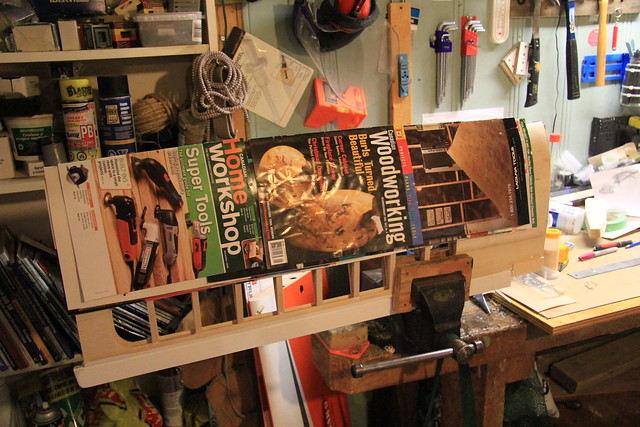
I'll leave that for a couple of days.
After the starboard wing repair I had decided to try a different method that wouldn't require a joint at the leading edge. So I marked a centre line on the wing and the sheeting...
... pinned it in place...
... and placed magazines to shape it.
I'll leave that for a couple of days.
09-09-2012, 03:15 AM
#15
Senior Member
Thread Starter
In the meantime, that other patch on the starboard wing has been sanded flush.
The shape of the wingtip has also been refined, both to the contour of the wing...
... and the wingtip itself.
The shape of the wingtip has also been refined, both to the contour of the wing...
... and the wingtip itself.
09-22-2012, 11:30 AM
#16
Senior Member
Thread Starter
It's been a while and a lot has been done. The port wing leading edge got finished.
The upper sheeting was installed.
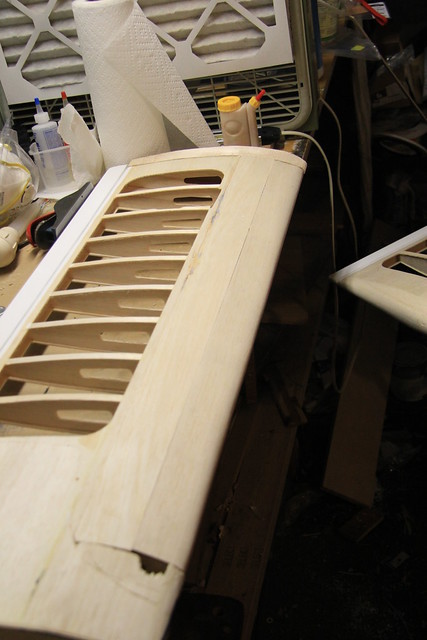
And I patched some sheeting damage.
The upper sheeting was installed.
And I patched some sheeting damage.
 09-29-2012, 03:38 AM
#19
Senior Member
Thread Starter
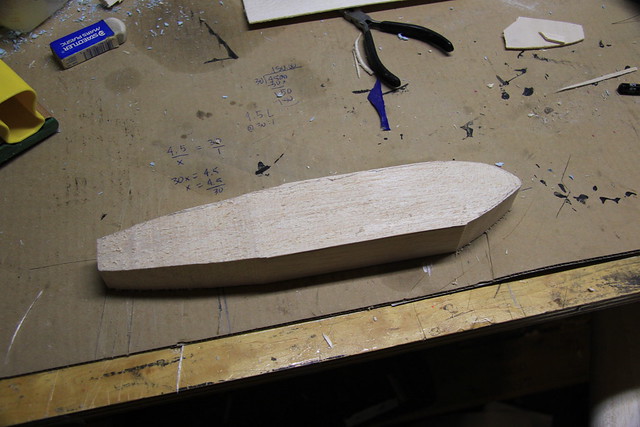
I was apprehensive about shaping the port wingtip because of the amount of wood that had to be removed. In the end I did almost all of the shaping with a block plane.
It's not completely finished - but so far I'm happy with the results.
I wasn't happy with the sheeting on the upper surface of the port wing, however, so I decided to reinforce it.

It's not completely finished - but so far I'm happy with the results.
I wasn't happy with the sheeting on the upper surface of the port wing, however, so I decided to reinforce it.
10-01-2012, 06:18 AM
#20
Senior Member
Thread Starter
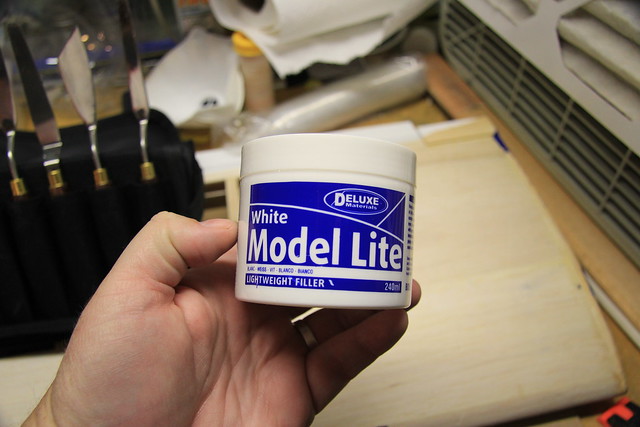
This was a good time to start filling some gaps. I got some palette knives from Lee Valley Tools...
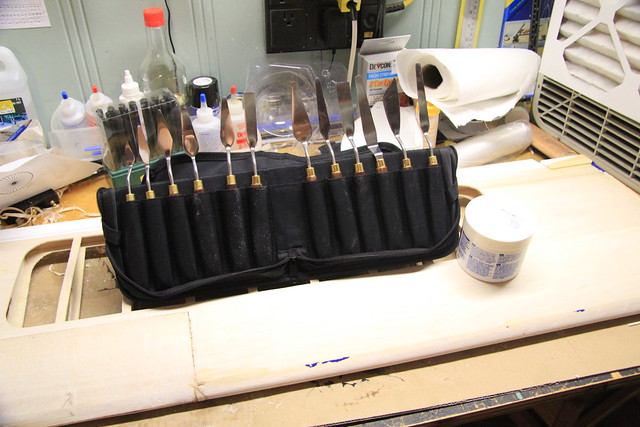
... and some filler from my LHS.
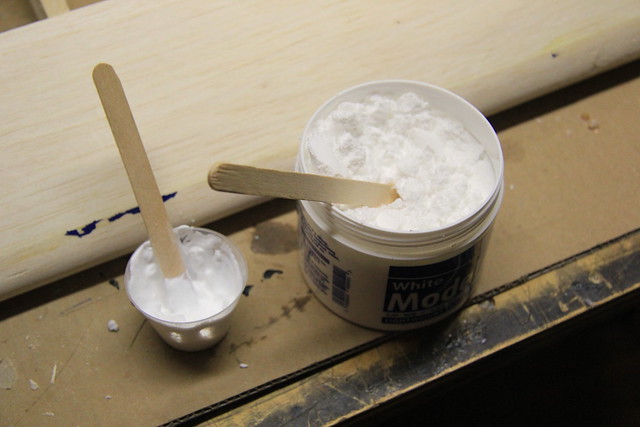
After that it was a matter of experimenting with the mix...
... and trying it out.
... and some filler from my LHS.
After that it was a matter of experimenting with the mix...
... and trying it out.
10-04-2012, 06:11 AM
#21
Senior Member
Thread Starter
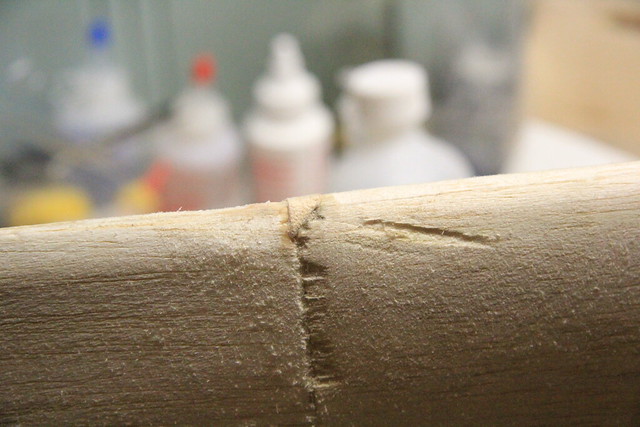
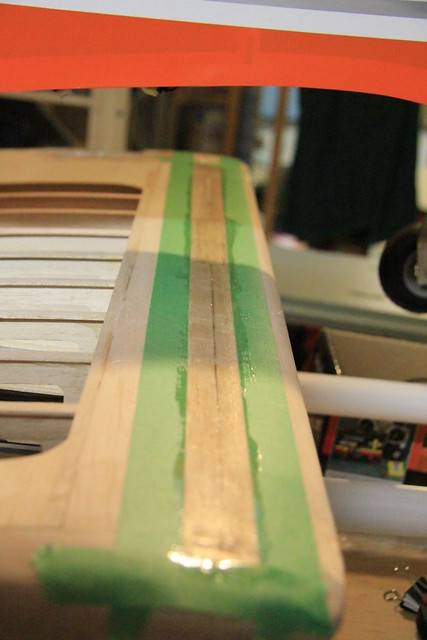
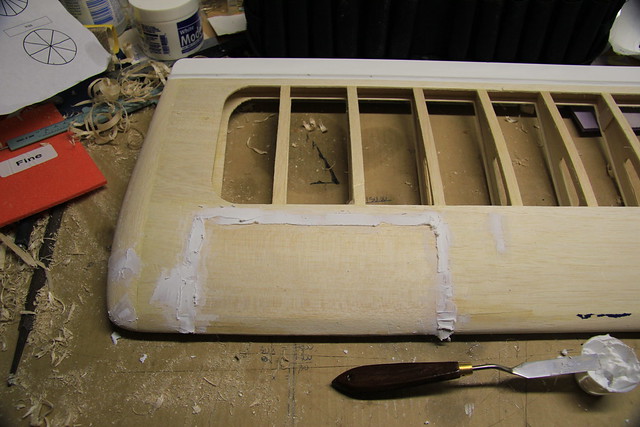
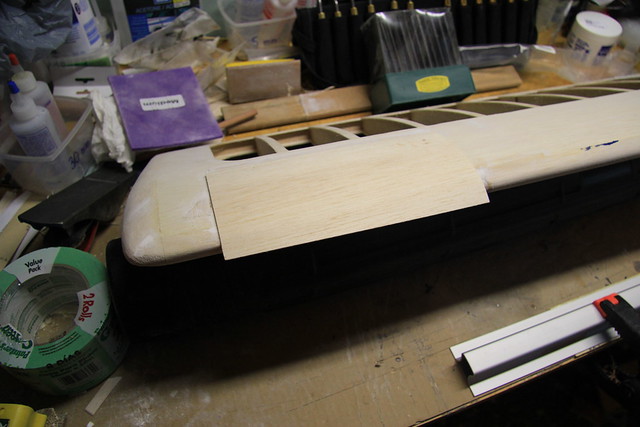
I must have shaped the ribs on the starboard wing incorrectly, because the sheeting on the top of the wing was recessed from the original sheeting. At first I figured I could fill it with the Model Lite but an experiment showed it would be way too much filler. So, I went with a different approach.
Once the glue cured, I taped up the surrounding sheeting to protect it. Thanks for the tip, Dave!
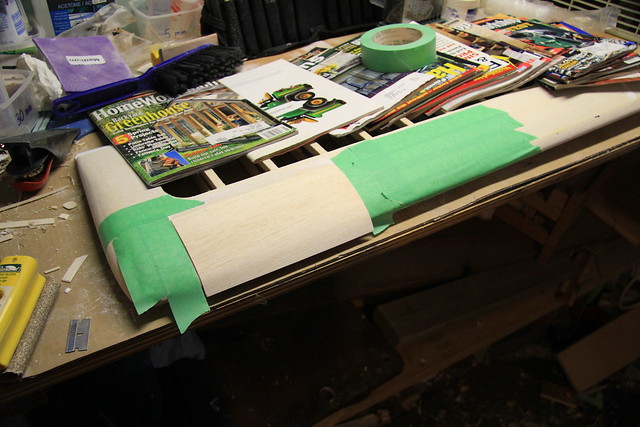
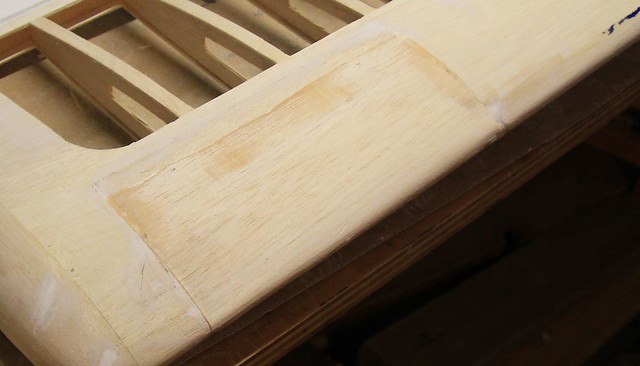
After a lot of sanding, the new section of the wing is flush with the old.
Once the glue cured, I taped up the surrounding sheeting to protect it. Thanks for the tip, Dave!
After a lot of sanding, the new section of the wing is flush with the old.
 10-11-2012, 03:29 PM
#23
Senior Member
Thread Starter
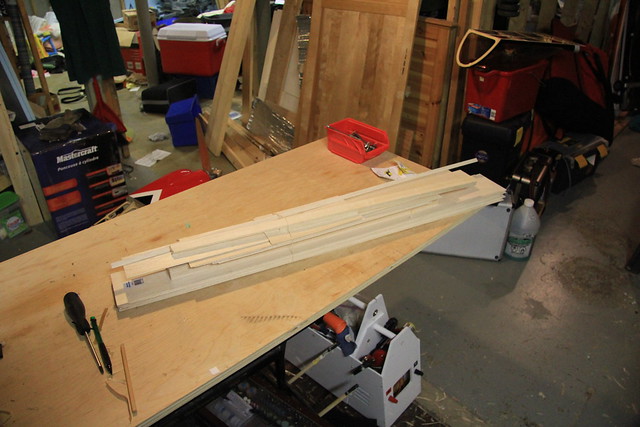
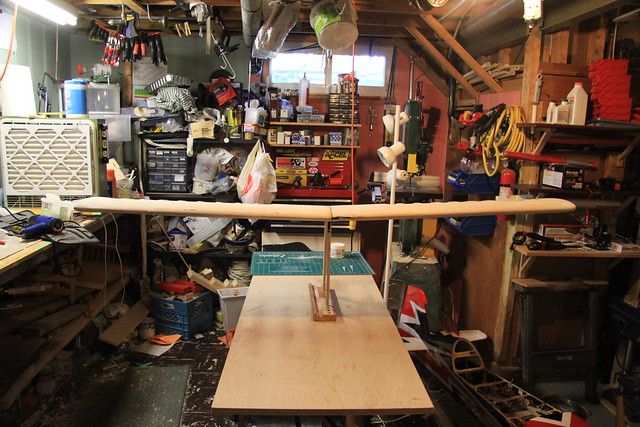
At long last the woodwork is done. I may have bought a bit too much balsa for this job... no doubt it'll find a use in the future.
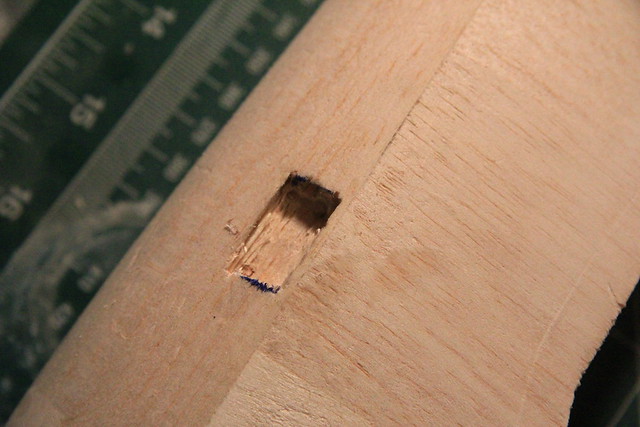
Balancing time - it was good to see them joined again. It took about 2.7g (3/32 oz) on the starboard wingtip to balance - not bad considering the extensive reconstruction of the port wing.

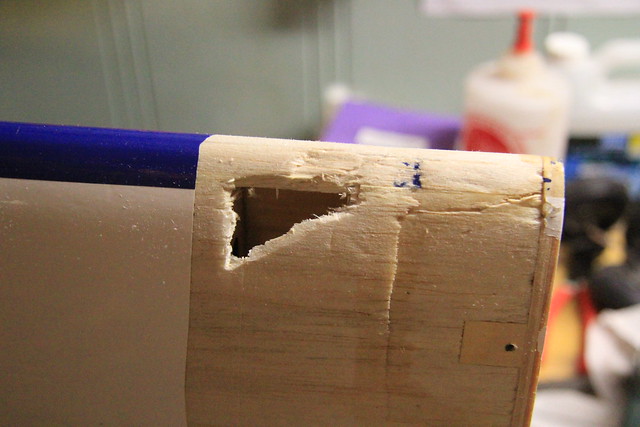
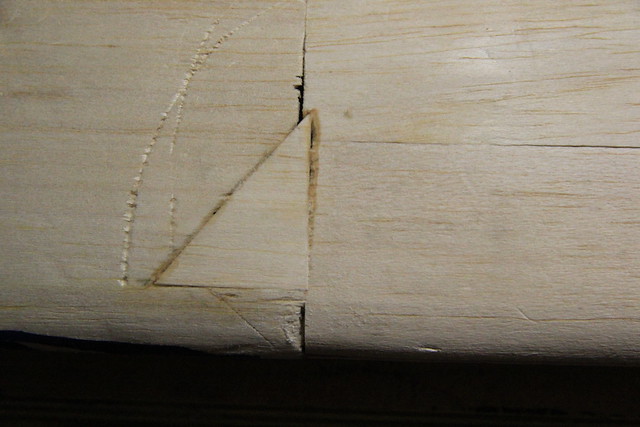
I marked the position of the weights on the wingtip and roughed it out with a dremel and router attachment. I cleaned it up and enlarged it with a chisel.
After a test fit, some 30 minute epoxy went into the pocket, followed by the weights.

After the epoxy cures I'll cover the weights with filler.
Balancing time - it was good to see them joined again. It took about 2.7g (3/32 oz) on the starboard wingtip to balance - not bad considering the extensive reconstruction of the port wing.
I marked the position of the weights on the wingtip and roughed it out with a dremel and router attachment. I cleaned it up and enlarged it with a chisel.
After a test fit, some 30 minute epoxy went into the pocket, followed by the weights.
After the epoxy cures I'll cover the weights with filler.
10-19-2012, 05:49 PM
#24
Senior Member
Thread Starter
Finishing the weight pocket was quick and easy...

... and the wing balanced afterwards.
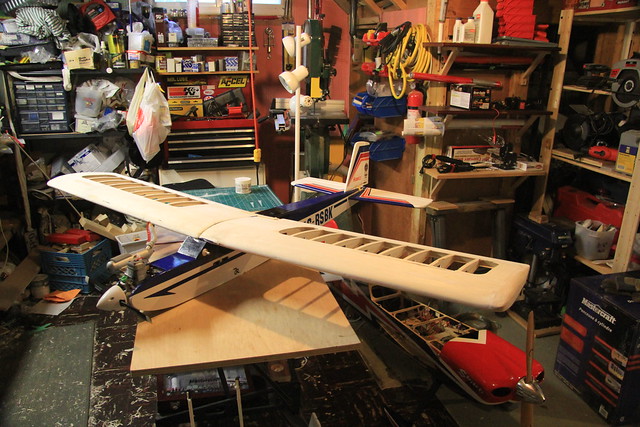
I had a quick look at the wings back on the plane.
Time to start the covering. Bench and both wings have been meticulously vacuumed.
... and the wing balanced afterwards.
I had a quick look at the wings back on the plane.
Time to start the covering. Bench and both wings have been meticulously vacuumed.
10-19-2012, 06:03 PM
#25
Senior Member
Thread Starter
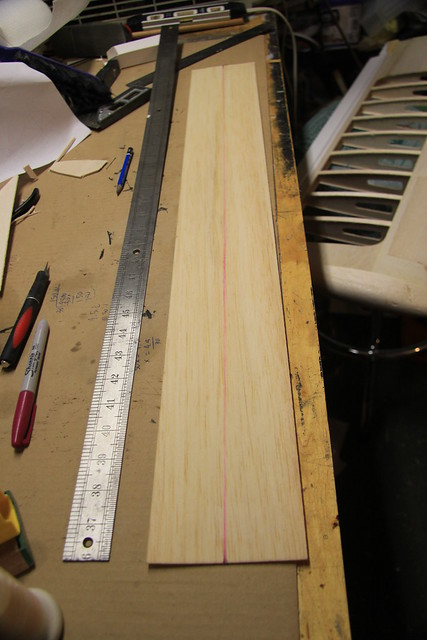
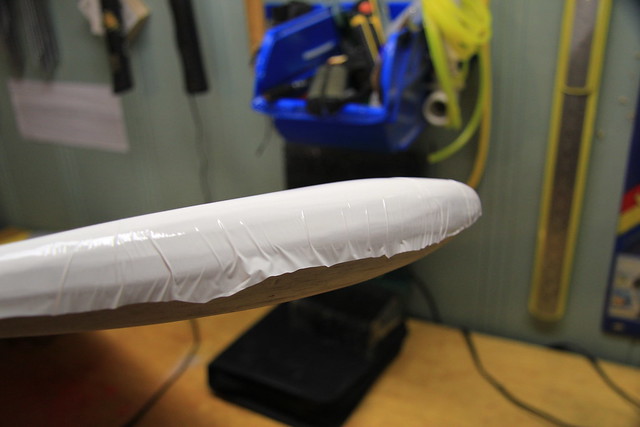
On to the covering. I'd like to thank RFCafe on YouTube for the video Covering Compound Curved Surface with Monokote.
I started with the bottom surface of the starboard wing. I measured the wing, adding 3" to the length and 1-1/2" inches to the width. I have a 3' steel ruler which was very useful.
I won't go into a lot of detail about the covering except to say that I've never covered a wing or a compound curve before. I made a few mistakes but overall I'm pleased with how it turned out.
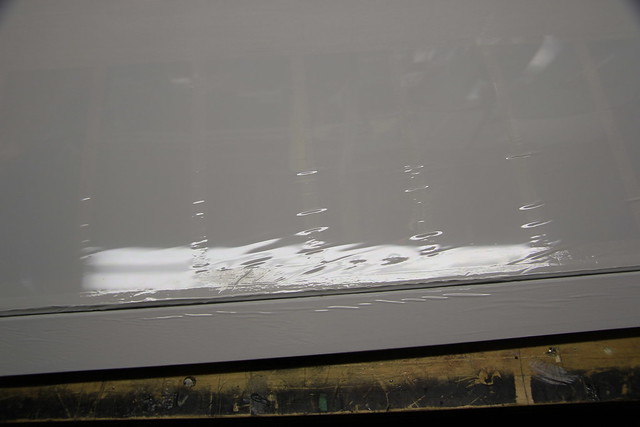
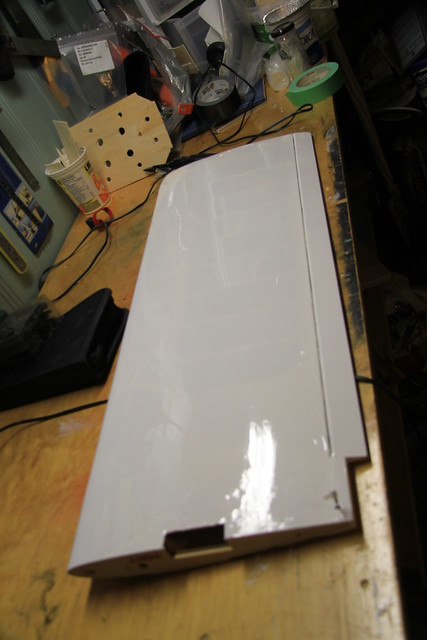
I learned a few things along the way so I'm confident that the results will improve as I continue. Incidentally, the base covering is white but I'll be adding some sort of custom scheme that will clearly differentiate the top and bottom surfaces.
I started with the bottom surface of the starboard wing. I measured the wing, adding 3" to the length and 1-1/2" inches to the width. I have a 3' steel ruler which was very useful.
I won't go into a lot of detail about the covering except to say that I've never covered a wing or a compound curve before. I made a few mistakes but overall I'm pleased with how it turned out.
I learned a few things along the way so I'm confident that the results will improve as I continue. Incidentally, the base covering is white but I'll be adding some sort of custom scheme that will clearly differentiate the top and bottom surfaces.