


Patching damaged sheeting - a brief tutorial
 09-22-2012, 11:54 AM
#1
Senior Member
Thread Starter

While repairing a badly damaged wing I've had several opportunities to patch holed sheeting. Here's my process.
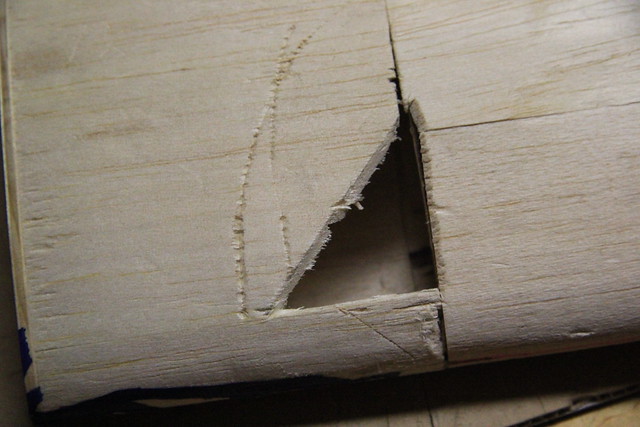
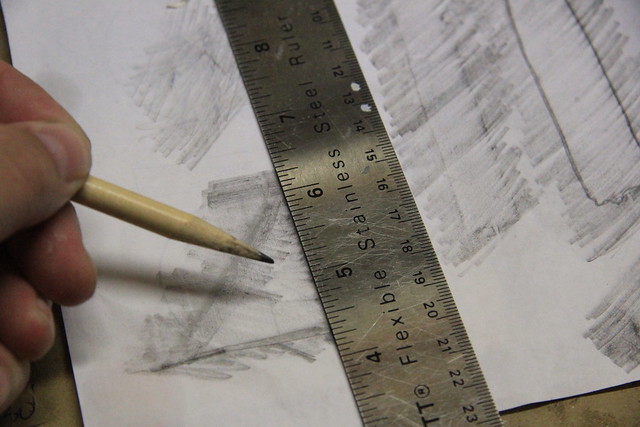
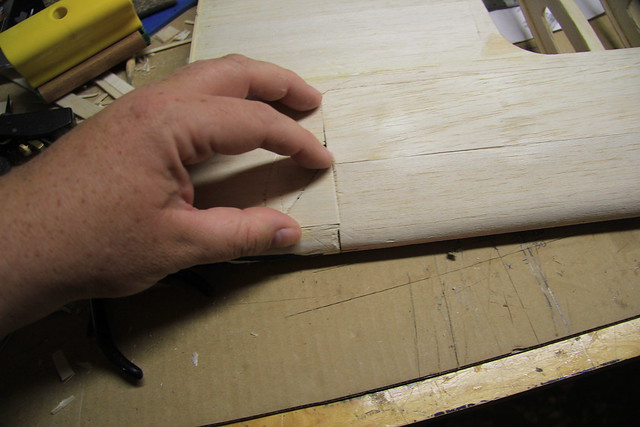
1. Mark a simple geometric shape around the damaged area
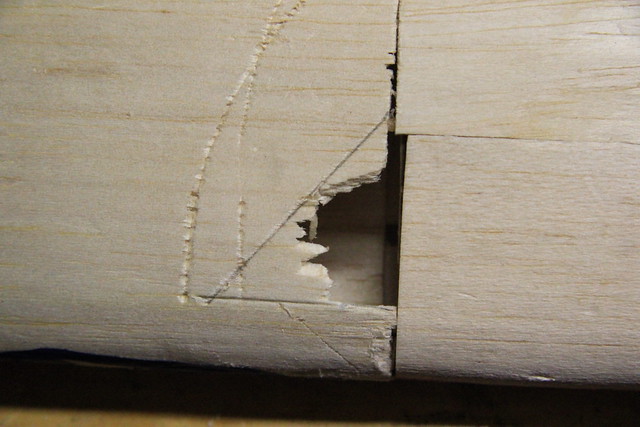
2. Trim away the excess balsa, beveling the cut in the process
3. Using the side of a pencil lead, shade the opening onto a piece of paper
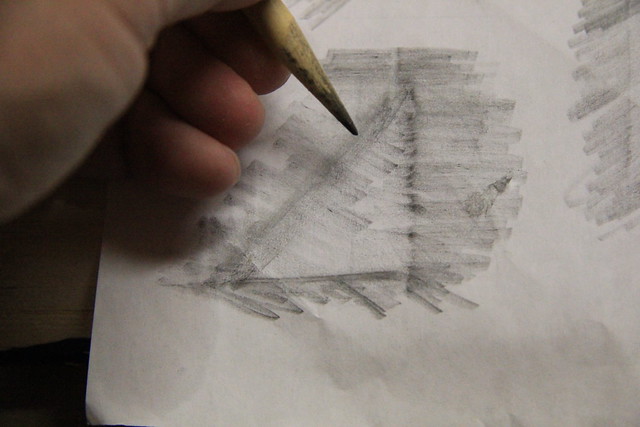
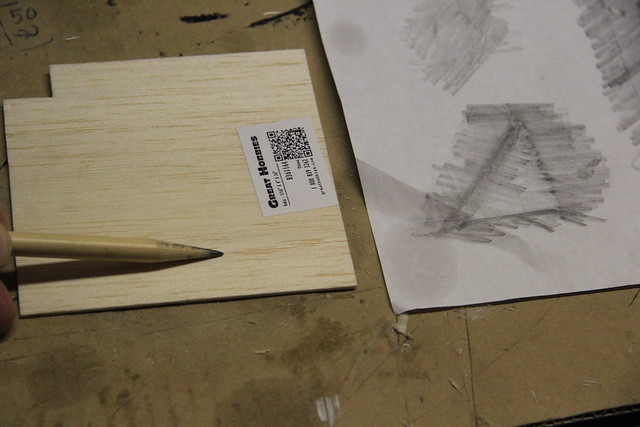
4. Take a minute to check the required grain direction for your patch
1. Mark a simple geometric shape around the damaged area
2. Trim away the excess balsa, beveling the cut in the process
3. Using the side of a pencil lead, shade the opening onto a piece of paper
4. Take a minute to check the required grain direction for your patch
 09-22-2012, 11:55 AM
#2
Senior Member
Thread Starter
5. Trace the outline onto the patch
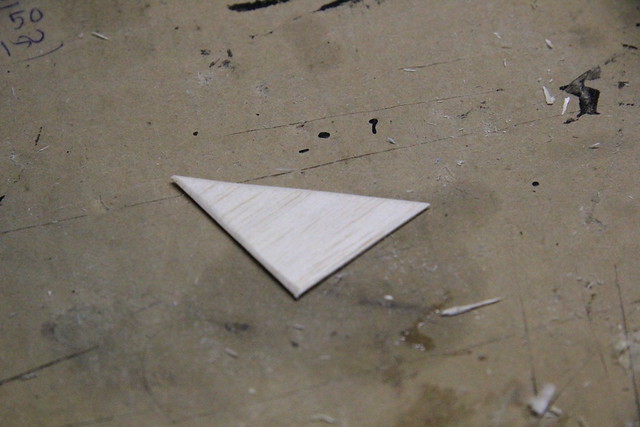
6. Cut out the patch
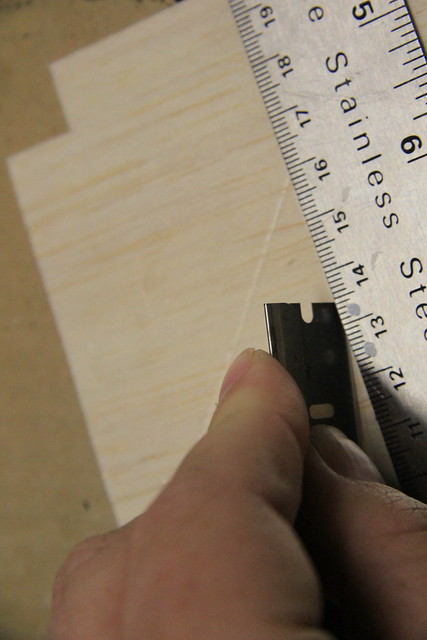
7. Bevel the bottom edges of the patch
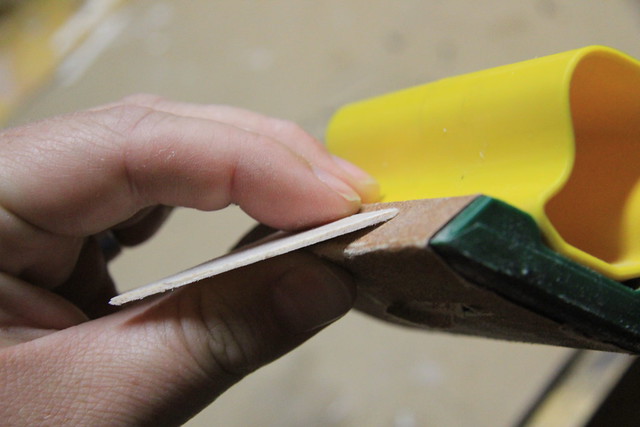
6. Cut out the patch
7. Bevel the bottom edges of the patch
09-22-2012, 12:02 PM
#3
Senior Member
Thread Starter
8. Glue the patch in place
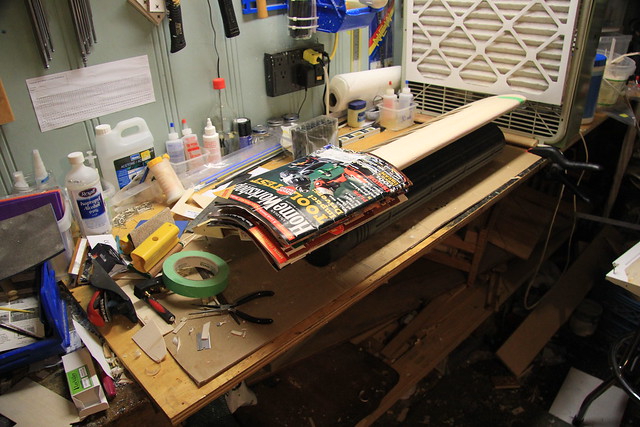
9. Secure the patch while it's curing
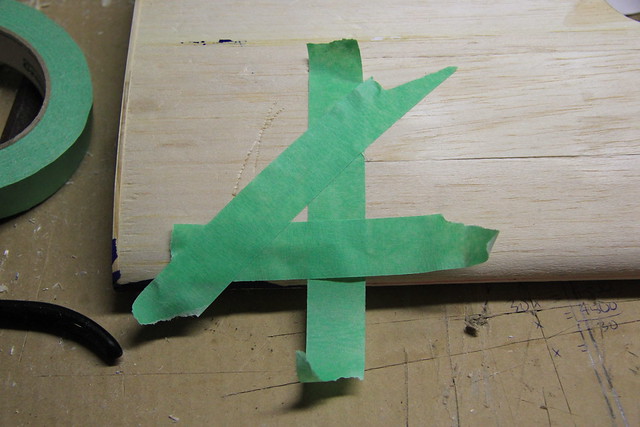
10. Once it's cured, sand the patch flush if necessary.
9. Secure the patch while it's curing
10. Once it's cured, sand the patch flush if necessary.
09-22-2012, 01:34 PM
#4

My Feedback: (2)
Hmmm, thanks for the tip on using the bevel. I always put support strips on the bottom of the existing sheeting instead. I like your idea better.
What do you use for glue? I personally would use yellow glue for something like that so that it would be easy to sand and blend with the top sheeting afterwards.
Thanks again for the tip,
Bob
What do you use for glue? I personally would use yellow glue for something like that so that it would be easy to sand and blend with the top sheeting afterwards.
Thanks again for the tip,
Bob

 09-23-2012, 03:41 PM
#6
Senior Member
Thread Starter
Bob - I use Lee Valley cabinetmaker's glue 2002 GF with their dripless glue bottle. I've used it for years and it's easy to work with.
Frank - Thanks for the tip!
Frank - Thanks for the tip!
09-28-2012, 06:01 PM
#8
Senior Member
Thread Starter
Next steps...
Mix some Deluxe Materials Model Lite filler with water to create a paste just a little thicker than water.
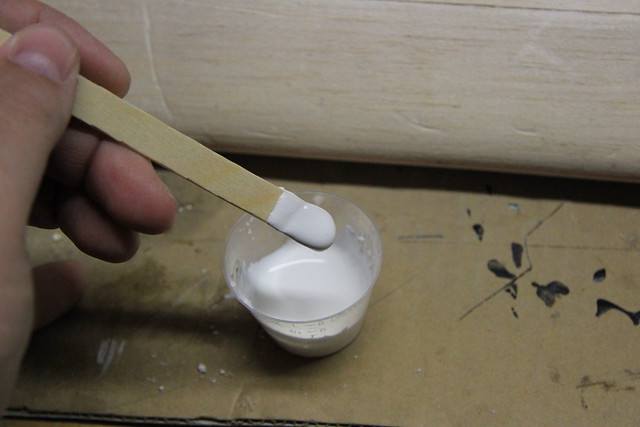
Apply some filler to a palette knife and dab it into the cracks.
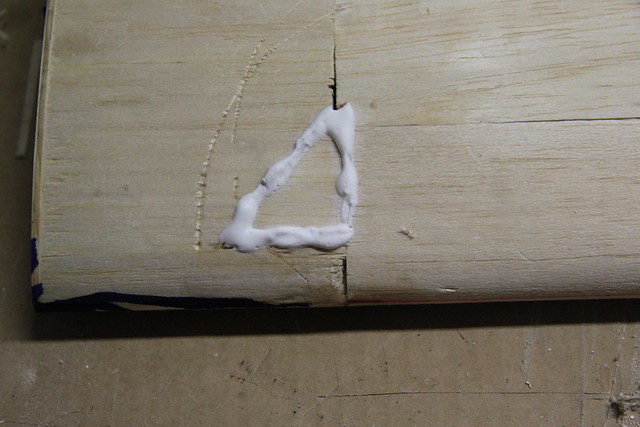
Flatten it out with the palette knife.
Note that this mixture sets well and is very easy to sand, so applying a little extra is no big deal.
A couple of other products I'm using, both from Lee Valley Tools:
35K09.10 - Set of 12 Palette Knives in Case
99W73.38 - Sanding Sponge Assortment, pkg. of 10
Mix some Deluxe Materials Model Lite filler with water to create a paste just a little thicker than water.
Apply some filler to a palette knife and dab it into the cracks.
Flatten it out with the palette knife.
Note that this mixture sets well and is very easy to sand, so applying a little extra is no big deal.
A couple of other products I'm using, both from Lee Valley Tools:
35K09.10 - Set of 12 Palette Knives in Case
99W73.38 - Sanding Sponge Assortment, pkg. of 10
09-29-2012, 06:34 AM
#9


I do mine much the same except for the last step. I like to sand with a T bar and fine paper till the cracks fill in with saw dust. Then touch it with thin CA using an aplicator nozzle and imediately wipe with a paper towel. Sometimes this process has to be repeated several times to build it up level. It is a little more time consuming than using filler. But it is much stronger. Especially if one side of your patch in next to a rib where a bevel cant be cut. This side can be glued with med CA and the other sides done as described above.
Great job with the description and pics Grosbeak!
david
Great job with the description and pics Grosbeak!
david
10-01-2012, 06:29 AM
#10
Senior Member
Thread Starter
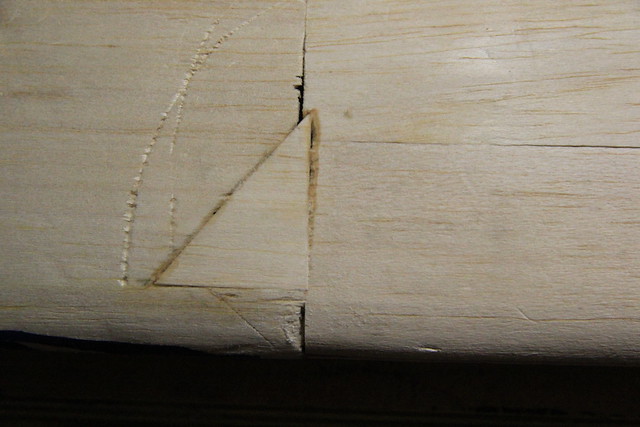
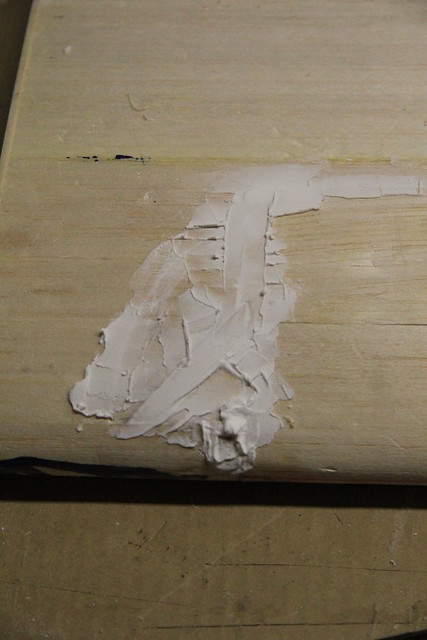
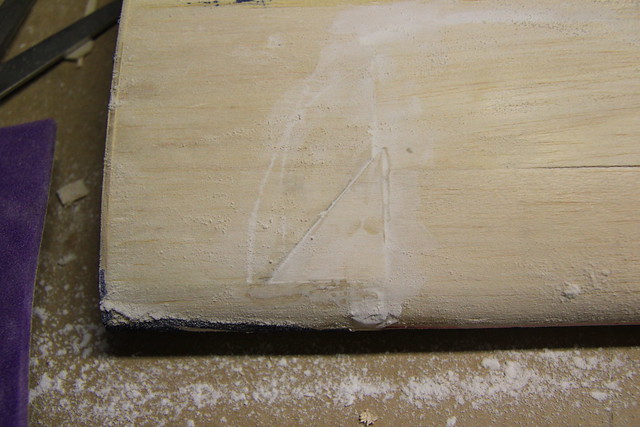
As mentioned, this filler is very easy to sand.
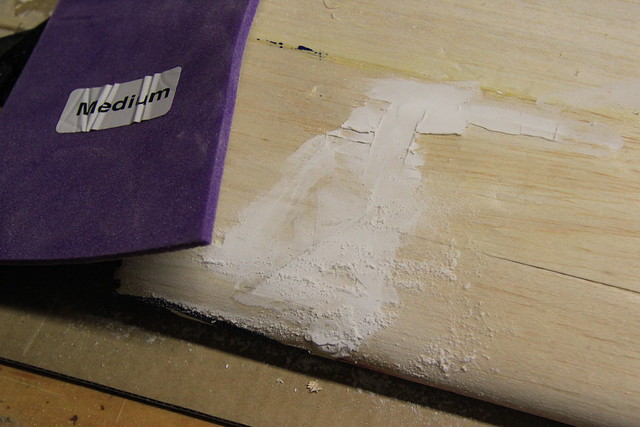
It did a great job filling the gap on the patch, and it fills small scratches very well too.
It did a great job filling the gap on the patch, and it fills small scratches very well too.
