


Great Planes Sequence 1.20 Build Thread
 01-06-2015, 10:17 AM
#1

Thread Starter
My Feedback: (2)

Join Date: May 2002
Location: Around
Posts: 1,432
Likes: 0
Received 0 Likes
on
0 Posts
I hope everyone had a great holiday season and is ready for 2015. Since I'm still on a 'break' I decided to do something new to start the year... assemble a pattern ARF. OK, so maybe this isn't really new to me, but this plane is fairly new and I thought it'd be a great plane to add to the local scene.
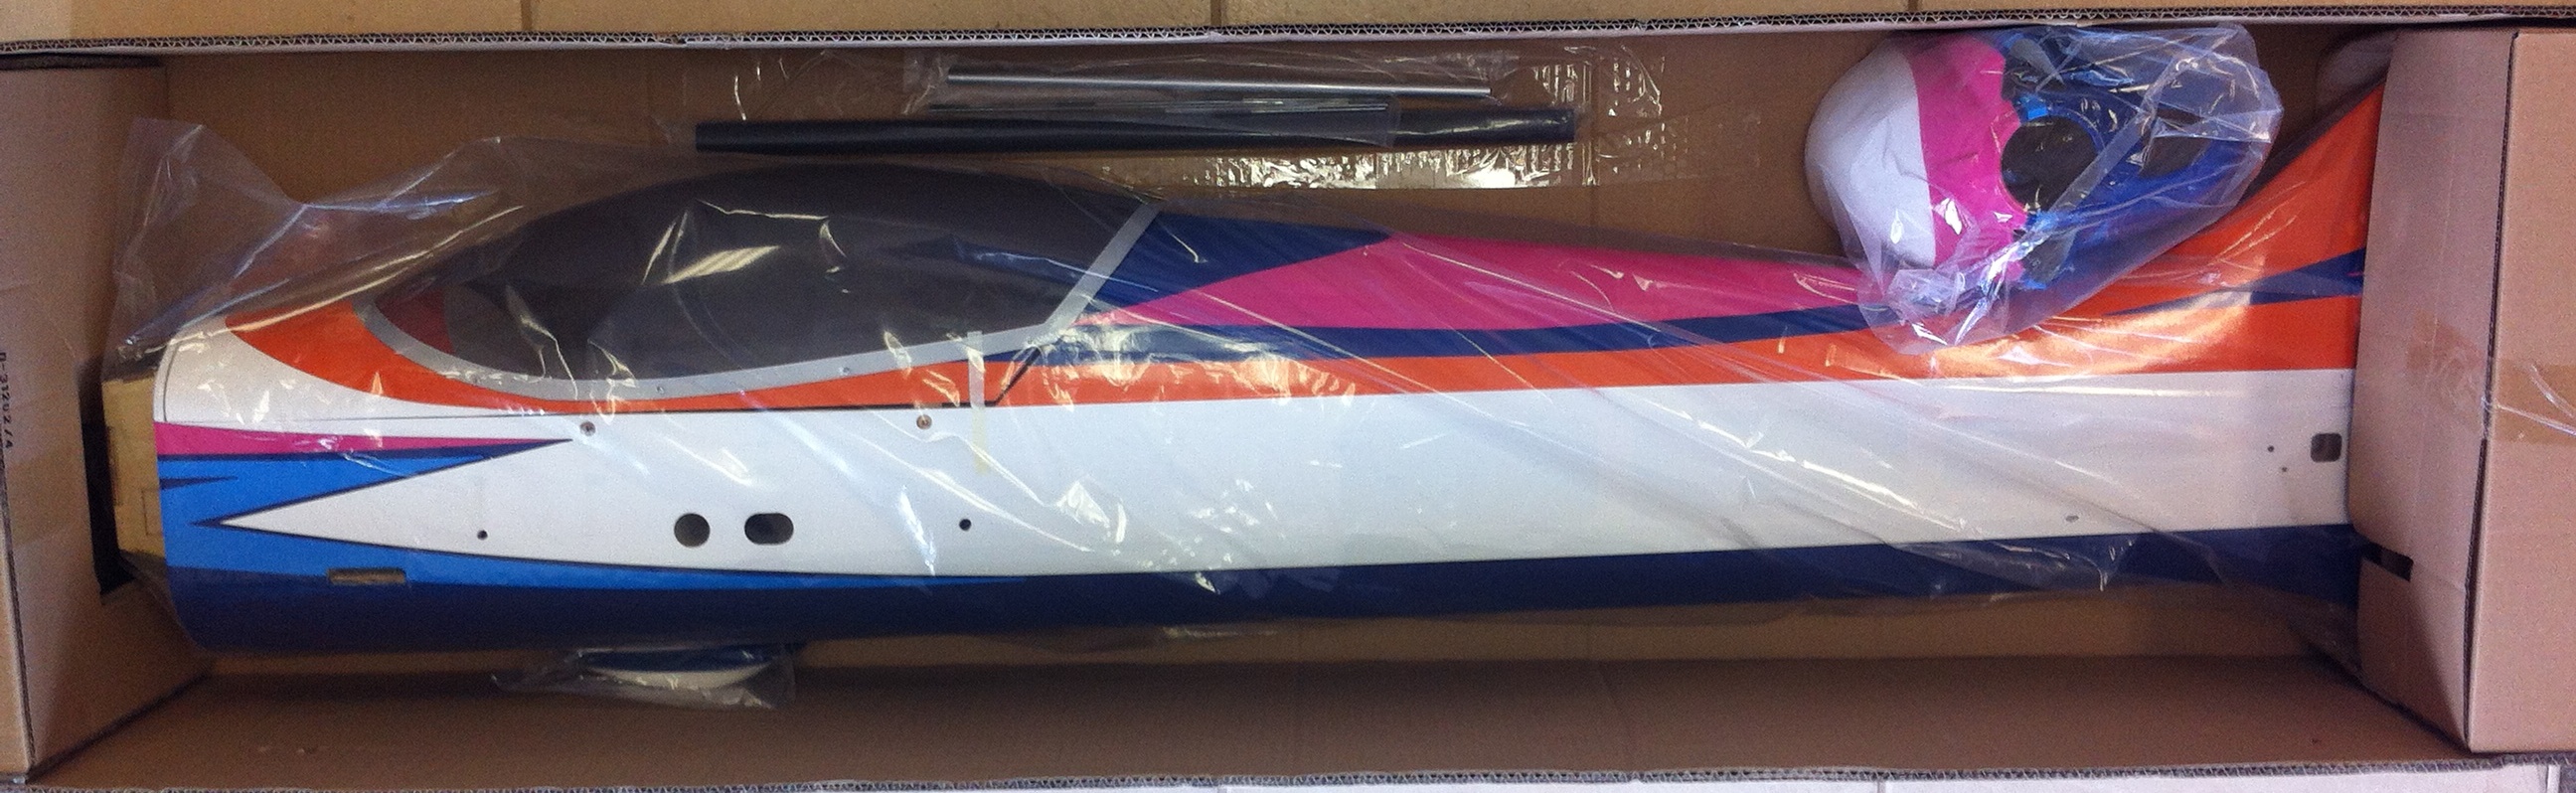
This build will start slow because I am waiting on the rest of the parts so here's a preview of the ARF as I received it from Tower Hobbies. I also received the RimFire 1.20 motor which will be used. As for servos, the stabs will have Futaba 9650's. The suggested aileron servos are Futaba 9252's but I am going to use 9151's or 9551's instead. Suggested rudder servo is a 9155 but I think I'll go with the lighter 9151.
This will be built mostly stock. I won't be using the 4-40 supplied hardware, and will instead use 2mm carbon and 2/56 swivel links and clevis'. I think that on any 2M Electric pattern plane, 4-40 is overkill and unnecessary weight IMO. I will also look into adding a hatch latch for battery access ease and will order the front motor mounting assembly* instead of using the aluminum motor mount.
Having read through the manual a couple of times, it looks like it will be a fairly easy assembly and shouldn't take too long once I get everything together.
http://www.greatplanes.com/airplanes/gpma1232.html
Last edited by JAS; 01-07-2015 at 01:10 PM.
 01-06-2015, 10:47 AM
#2
Thread Starter
My Feedback: (2)
Join Date: May 2002
Location: Around
Posts: 1,432
Likes: 0
Received 0 Likes
on
0 Posts
After 2 attempts to deliver the Sequence ( I wasn't home) I finally went and picked it up this morning. The box looked good except one ding on an edge, but it didn't look like it went through more than the outside box.

First was the motor. I have seen other RimFires at the field being used, but never ran one myself. Initial thoughts are the motor looks good, has soldered on male 4mm bullets (females included for your ESC), the only 'drawback' would be if you wanted to front mount the motor. There is no included hardware for mounting the prop.

Opening it up, the airplane box was undamaged. Not bad considering my last plane delivery from UPS.

So like every one of us, it was time to dig in...The wings, stabs and sticker/instructions were sitting on top. The stabs stayed taped in place but the wings had popped loose from the tape. A quick visual inspection through the bags and they looked good. On to the bottom layer and side boxes.

Here you can see the parts bags in the larger end box, the fuse, cowl, wheel pants and tubes in the center and the landing gear legs in the small end box.


The parts bags include a tank and engine mount for glow set-ups and all the nuts, bolts, horns, etc.... The gear are carbon and look very nice. They are a bit heavy, but they are stout. If i were to go crazy, I might look into a lighter set, but they're going on as is for now. The wing and stab tubes are taped to the floor and also have the pushrods with them. The wing tube is carbon but the stab tube is aluminum.


I will weigh all the parts later with more pics. If you have any questions, ask away. If i don't answer that means the answer is coming soon. Like I said before, I am waiting on all the rest of the stuff to build/finish this so it will go slowly. Also once I start the build I won't be posting anything until its either all done or I stop for a few days.
First was the motor. I have seen other RimFires at the field being used, but never ran one myself. Initial thoughts are the motor looks good, has soldered on male 4mm bullets (females included for your ESC), the only 'drawback' would be if you wanted to front mount the motor. There is no included hardware for mounting the prop.
Opening it up, the airplane box was undamaged. Not bad considering my last plane delivery from UPS.
So like every one of us, it was time to dig in...The wings, stabs and sticker/instructions were sitting on top. The stabs stayed taped in place but the wings had popped loose from the tape. A quick visual inspection through the bags and they looked good. On to the bottom layer and side boxes.
Here you can see the parts bags in the larger end box, the fuse, cowl, wheel pants and tubes in the center and the landing gear legs in the small end box.
The parts bags include a tank and engine mount for glow set-ups and all the nuts, bolts, horns, etc.... The gear are carbon and look very nice. They are a bit heavy, but they are stout. If i were to go crazy, I might look into a lighter set, but they're going on as is for now. The wing and stab tubes are taped to the floor and also have the pushrods with them. The wing tube is carbon but the stab tube is aluminum.
I will weigh all the parts later with more pics. If you have any questions, ask away. If i don't answer that means the answer is coming soon. Like I said before, I am waiting on all the rest of the stuff to build/finish this so it will go slowly. Also once I start the build I won't be posting anything until its either all done or I stop for a few days.
Last edited by JAS; 01-06-2015 at 01:26 PM.
01-06-2015, 10:53 AM
#3
Thread Starter
My Feedback: (2)
Join Date: May 2002
Location: Around
Posts: 1,432
Likes: 0
Received 0 Likes
on
0 Posts
I removed the big parts from the bags and here's what I found.
The wings looked good and are all hinged. The ailerons had a few wrinkles, but nothing too bad. The wings themselves were wrinkle free. One aileron, at the tip, looks like it was inadvertantly glued to the wing during the hinging process and then cut free. It's not bad and was cut free, just needs a bit of clean up work in the cut. Other than that, wings look good.

The stabs had a few wrinkles, one more than the other, but still not too bad. They are also already hinged.

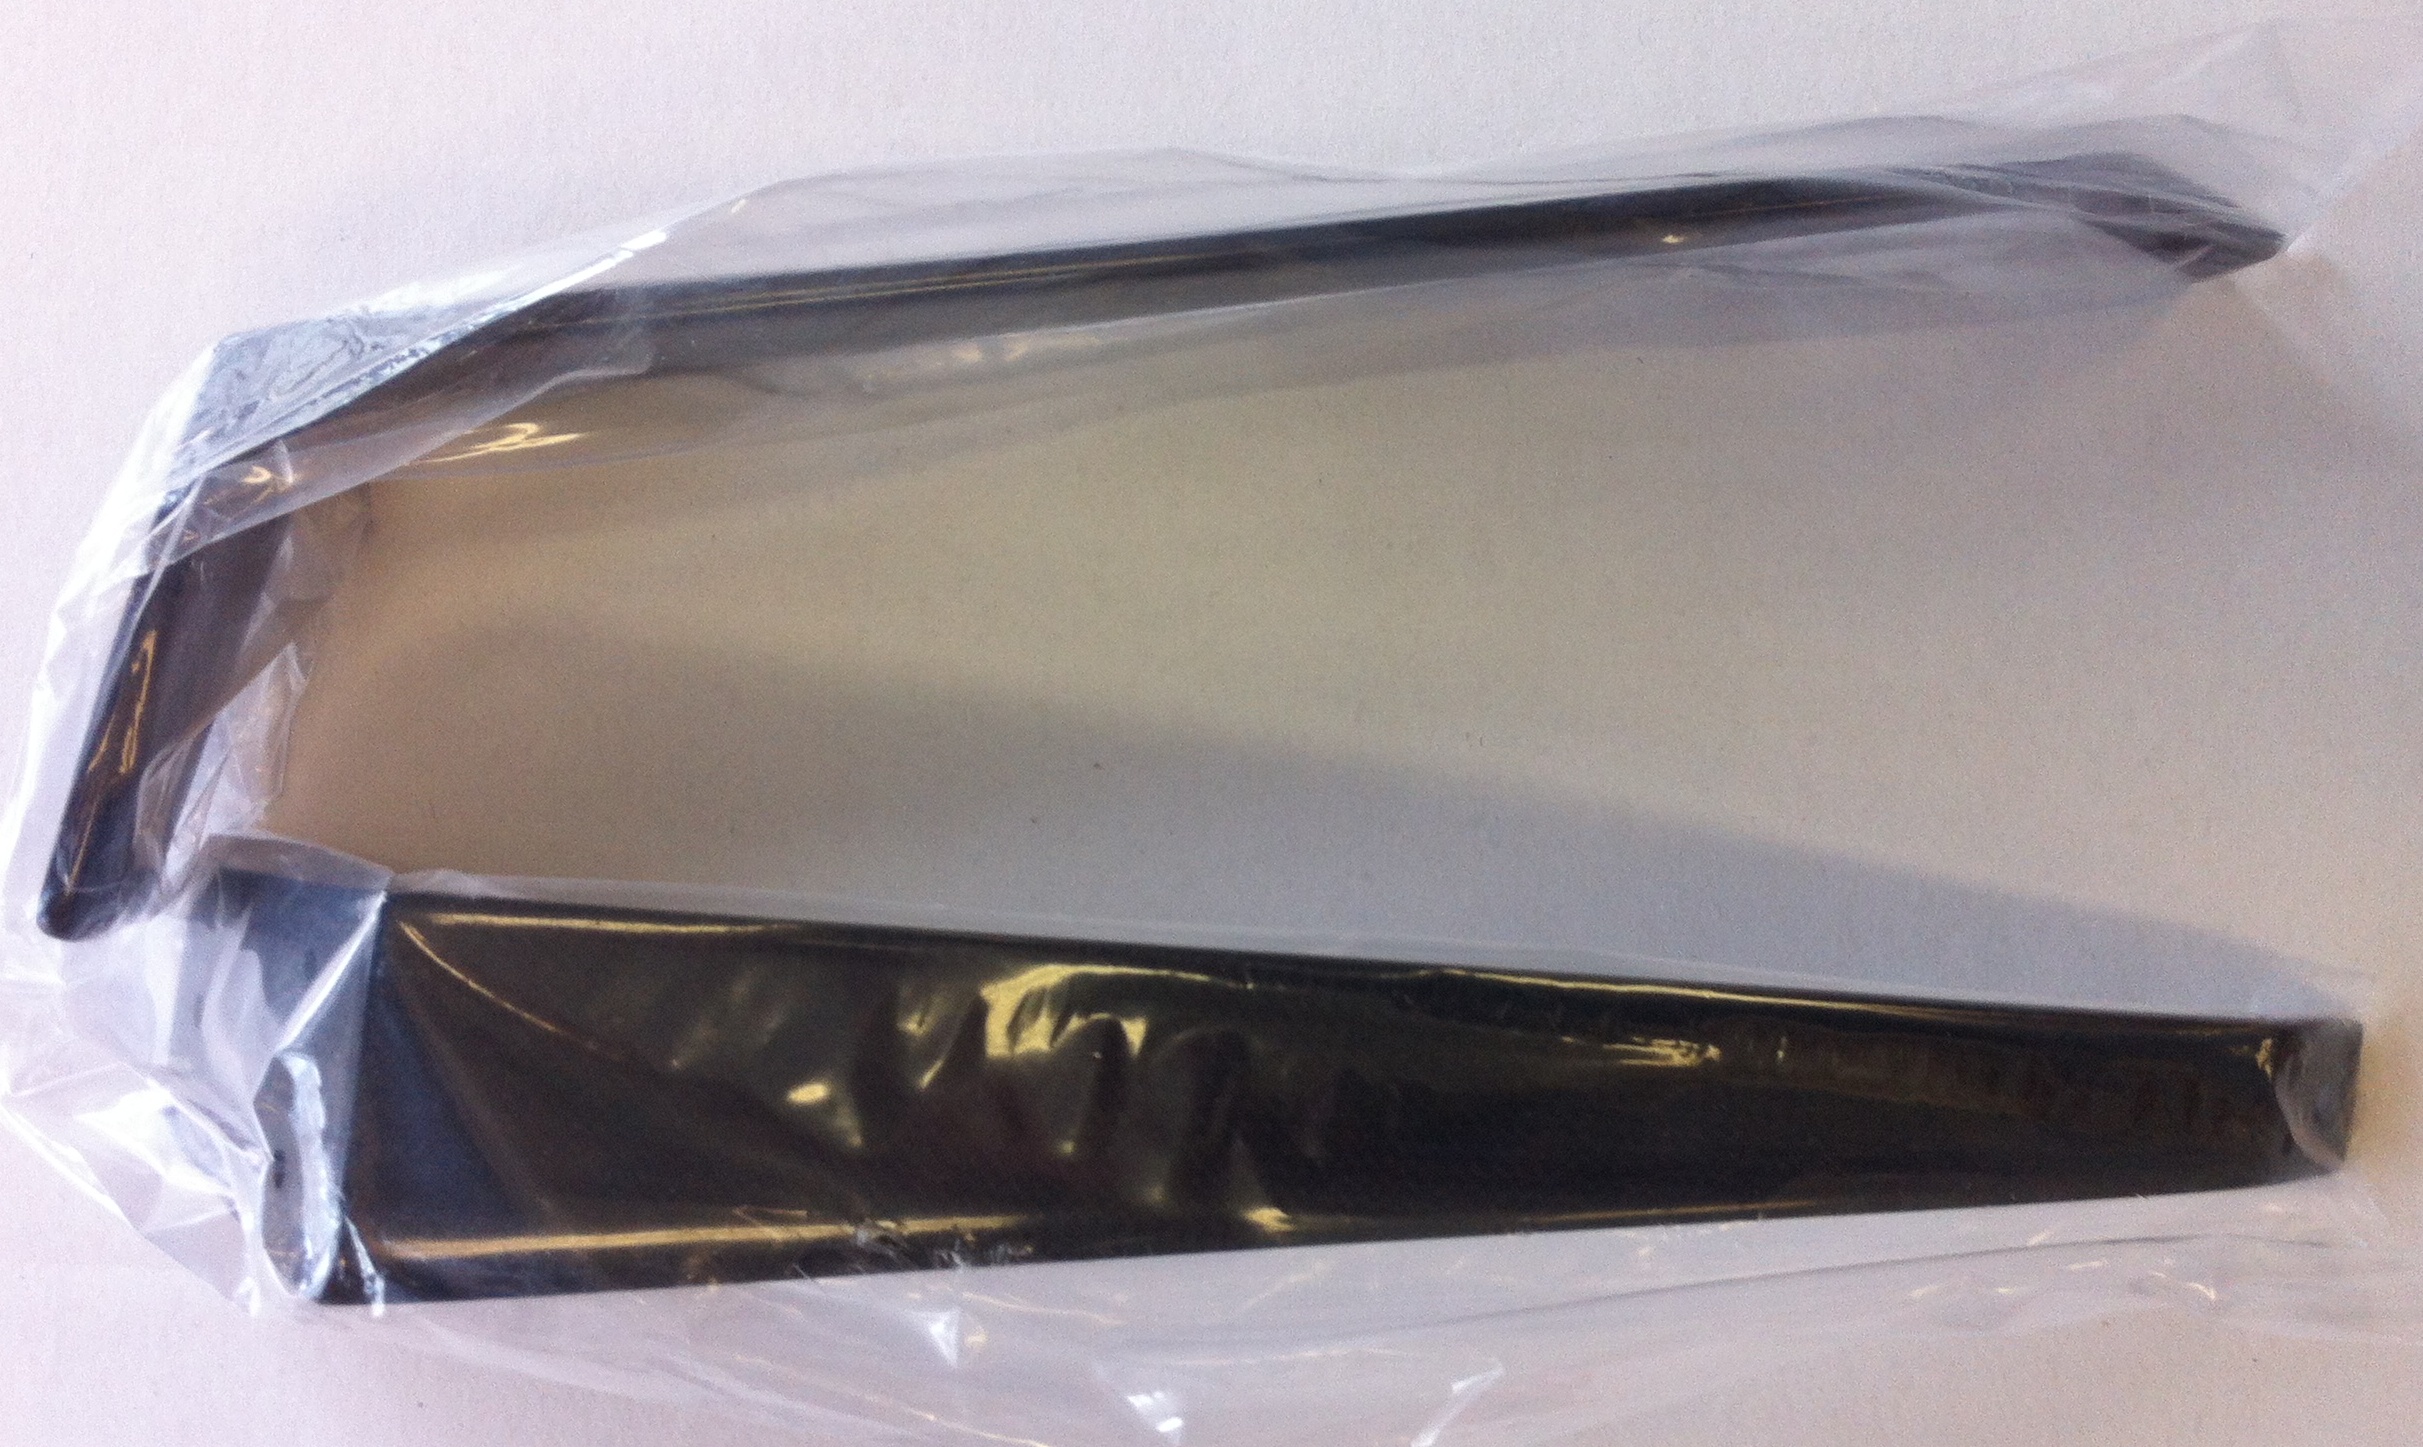
The cowling is all painted and feels light for it's size. I will opt for the cowl ring for a cleaner look.

The wheel pants look small compared to typical 2M pants, but are precut for the axle and blind-nuts are already installed to mount to the gear.

The landing gear look nicer out of the bag than in them. Predrilled and ready to go.

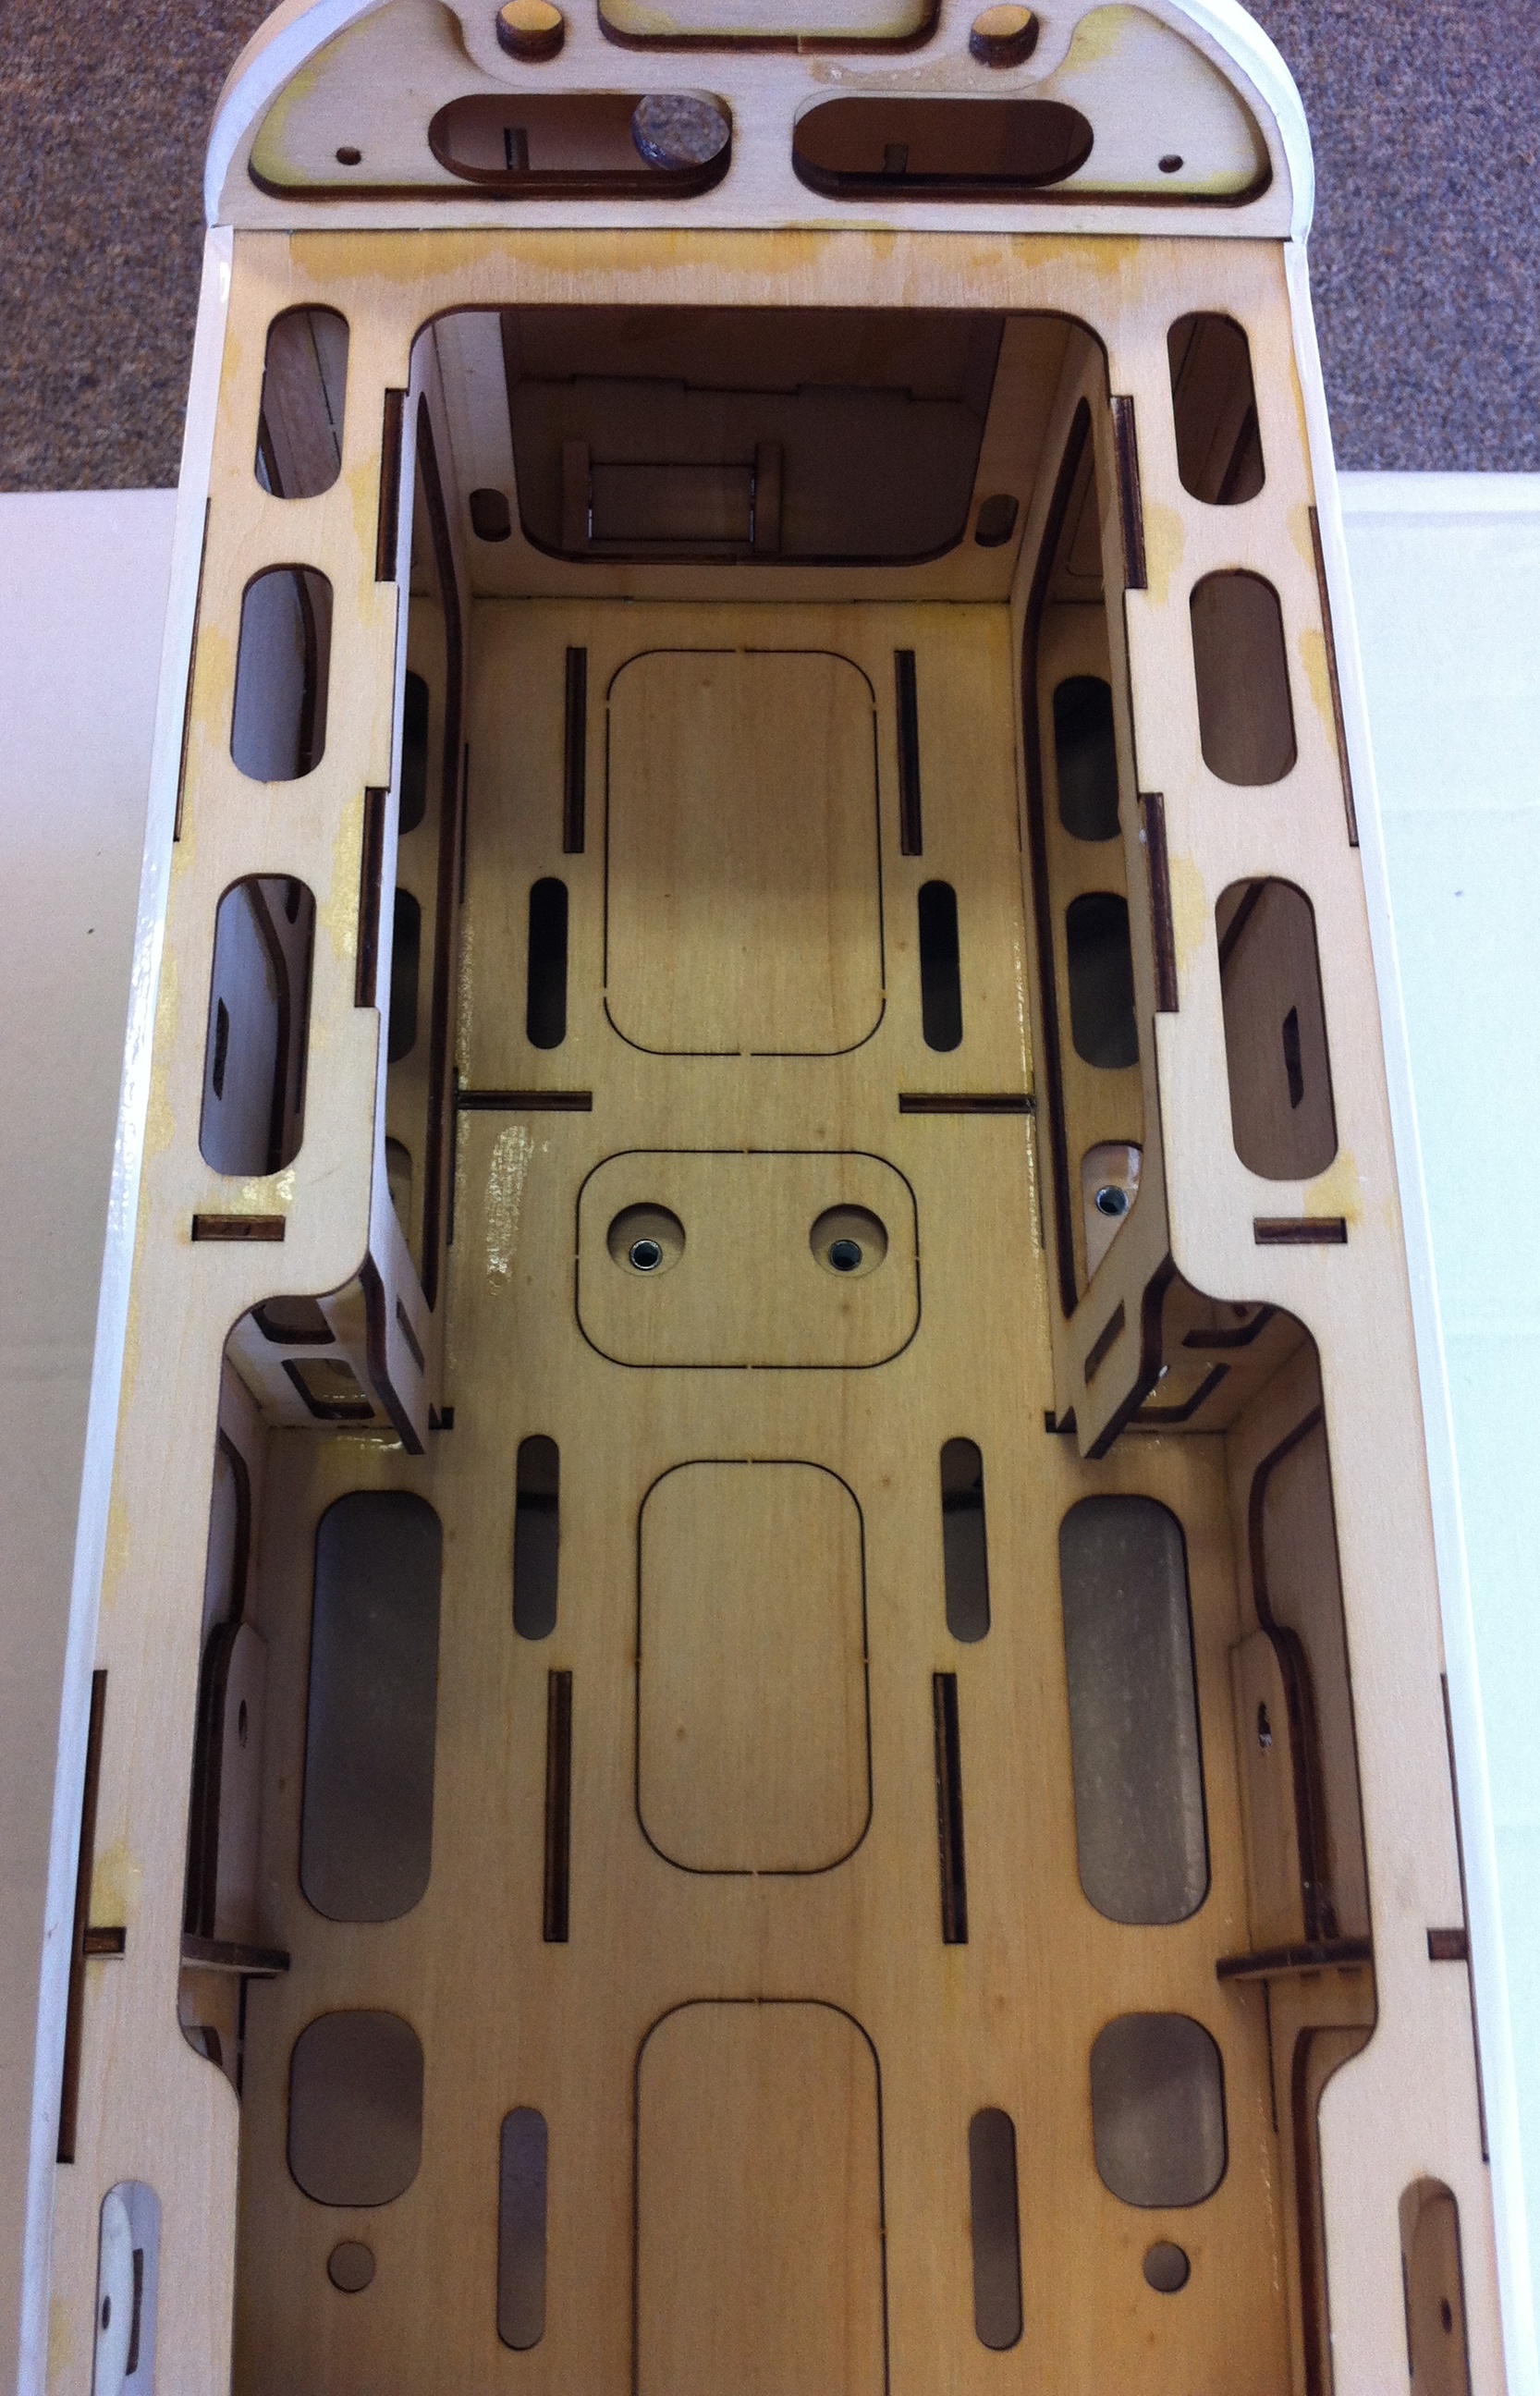
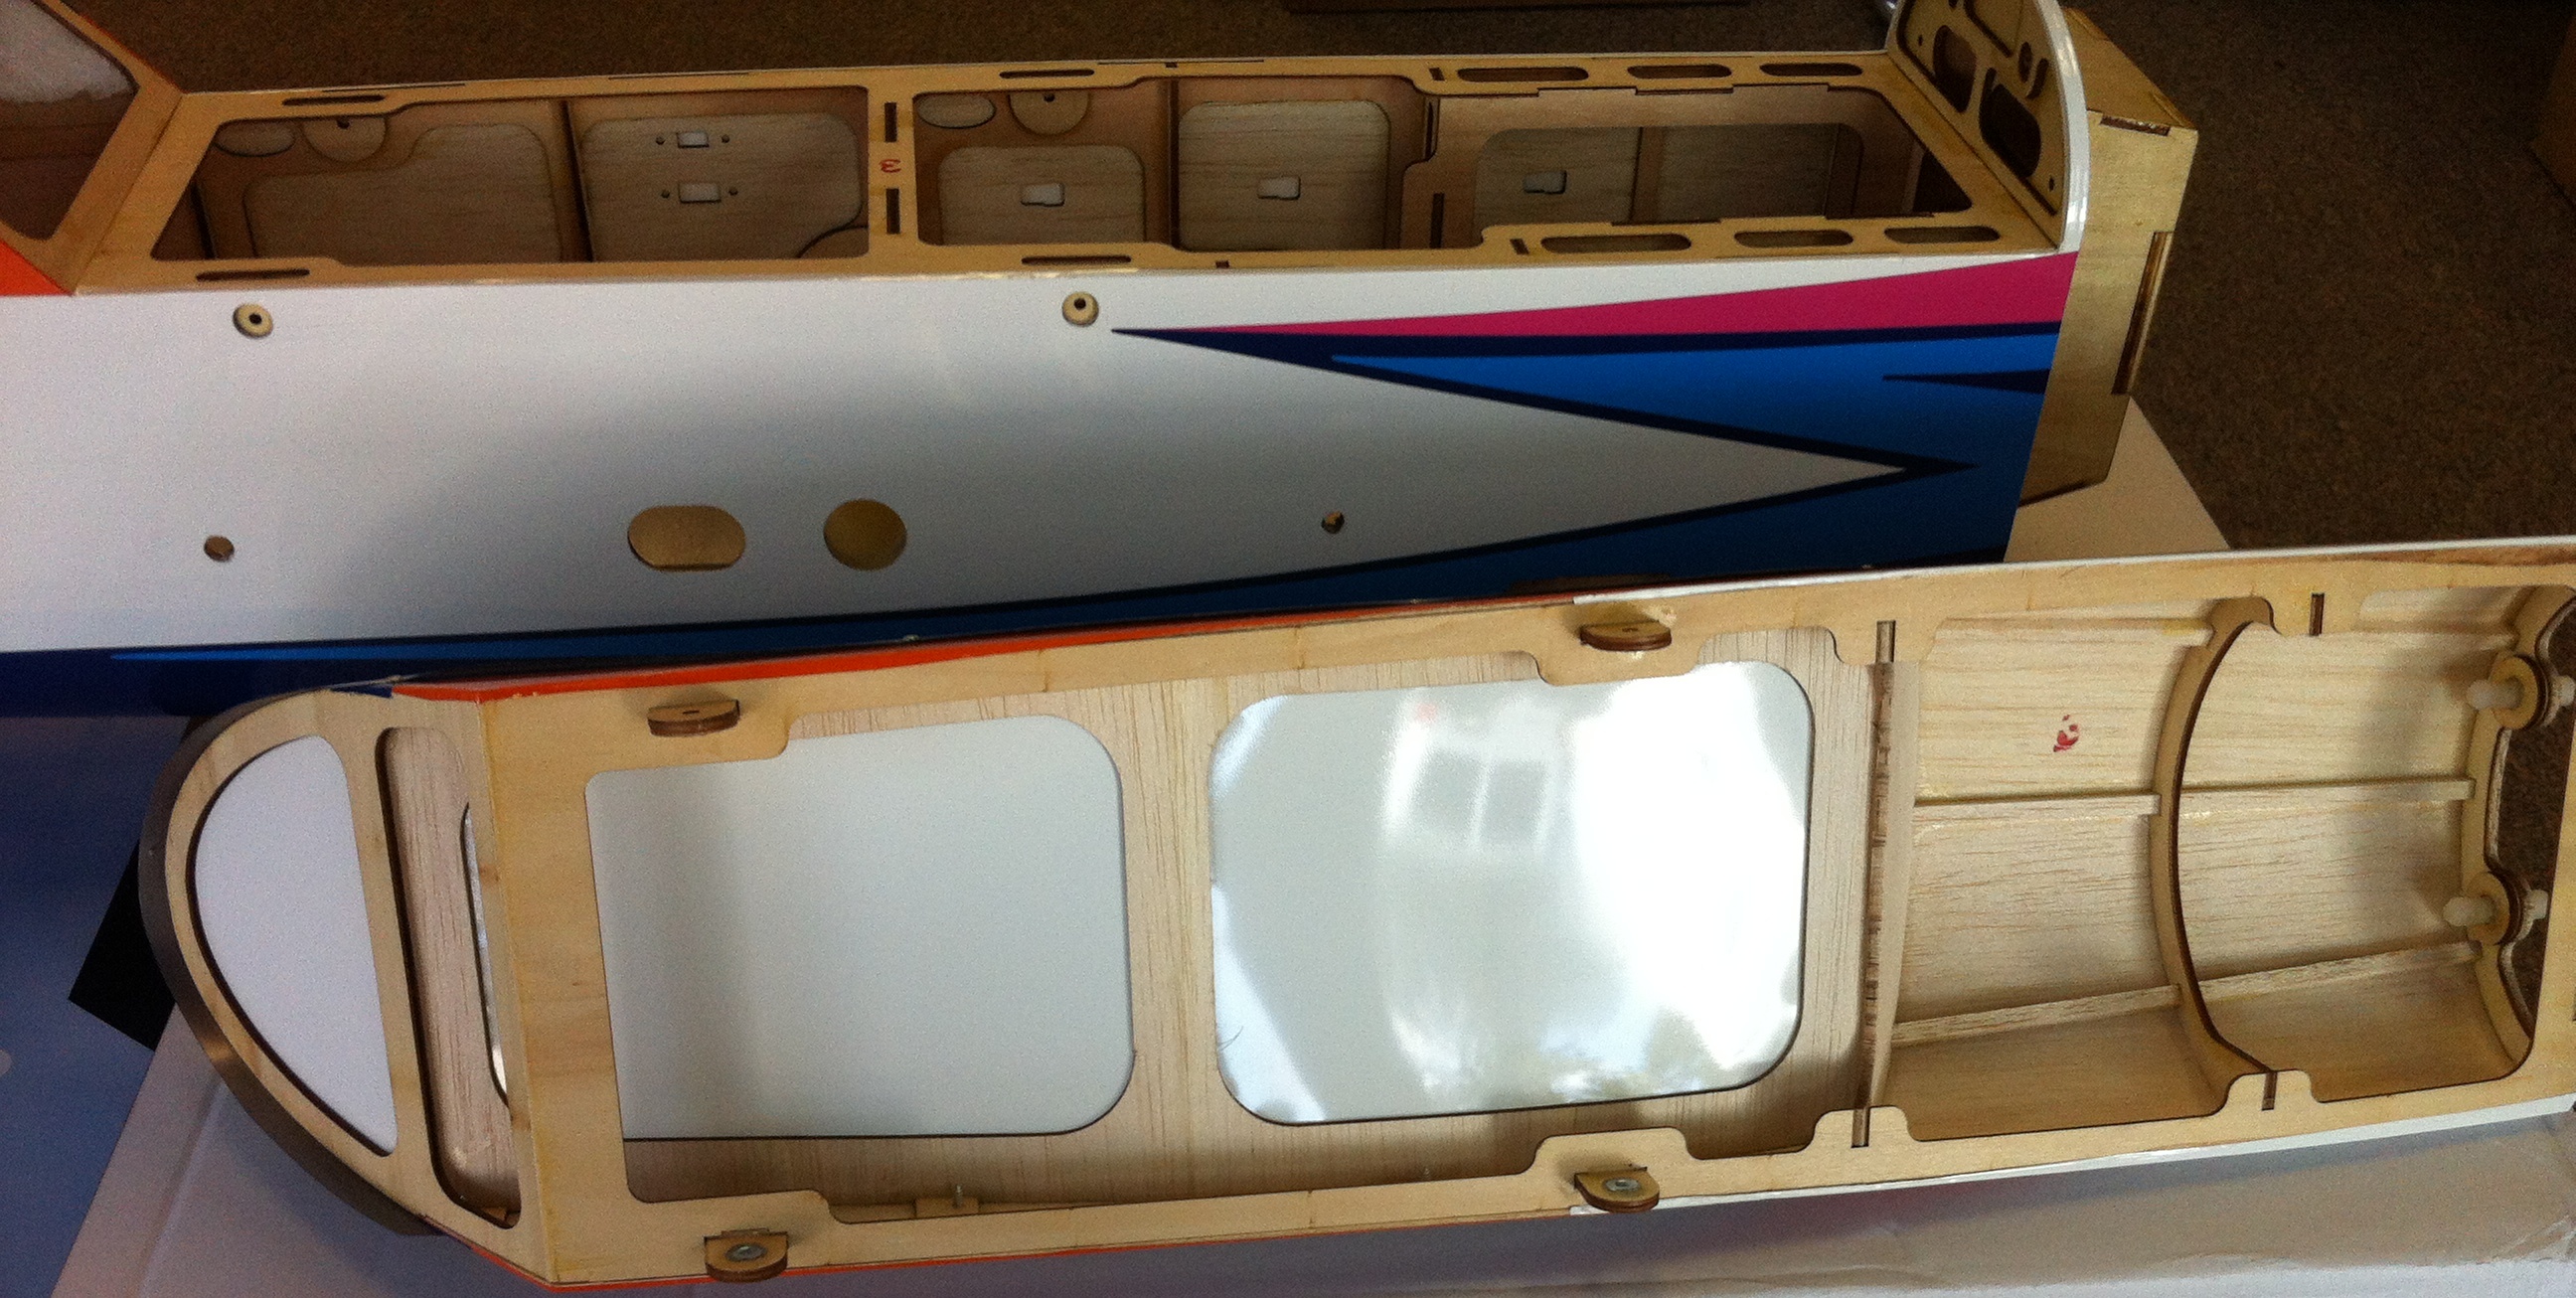
The fuselage didn't have any wrinkles and the rudder is hinged, horn glued in and tail-wheel wire finished. All the holes are opened up as well (tubes, screws, servo leads, pull-pull exits, gear slots).


A shot towards the front, tail and the firewall.


The rudder horn and tail-wheel wire.

Bottom side of the canopy. Not sure how I would do a hatch latch, so I'll just use the rear 2 screws for now.
The wings looked good and are all hinged. The ailerons had a few wrinkles, but nothing too bad. The wings themselves were wrinkle free. One aileron, at the tip, looks like it was inadvertantly glued to the wing during the hinging process and then cut free. It's not bad and was cut free, just needs a bit of clean up work in the cut. Other than that, wings look good.
The stabs had a few wrinkles, one more than the other, but still not too bad. They are also already hinged.
The cowling is all painted and feels light for it's size. I will opt for the cowl ring for a cleaner look.
The wheel pants look small compared to typical 2M pants, but are precut for the axle and blind-nuts are already installed to mount to the gear.
The landing gear look nicer out of the bag than in them. Predrilled and ready to go.
The fuselage didn't have any wrinkles and the rudder is hinged, horn glued in and tail-wheel wire finished. All the holes are opened up as well (tubes, screws, servo leads, pull-pull exits, gear slots).
A shot towards the front, tail and the firewall.
The rudder horn and tail-wheel wire.
Bottom side of the canopy. Not sure how I would do a hatch latch, so I'll just use the rear 2 screws for now.
Last edited by JAS; 01-06-2015 at 01:13 PM.
01-06-2015, 01:08 PM
#4
Thread Starter
My Feedback: (2)
Join Date: May 2002
Location: Around
Posts: 1,432
Likes: 0
Received 0 Likes
on
0 Posts
A shot of the scheme (from the box)
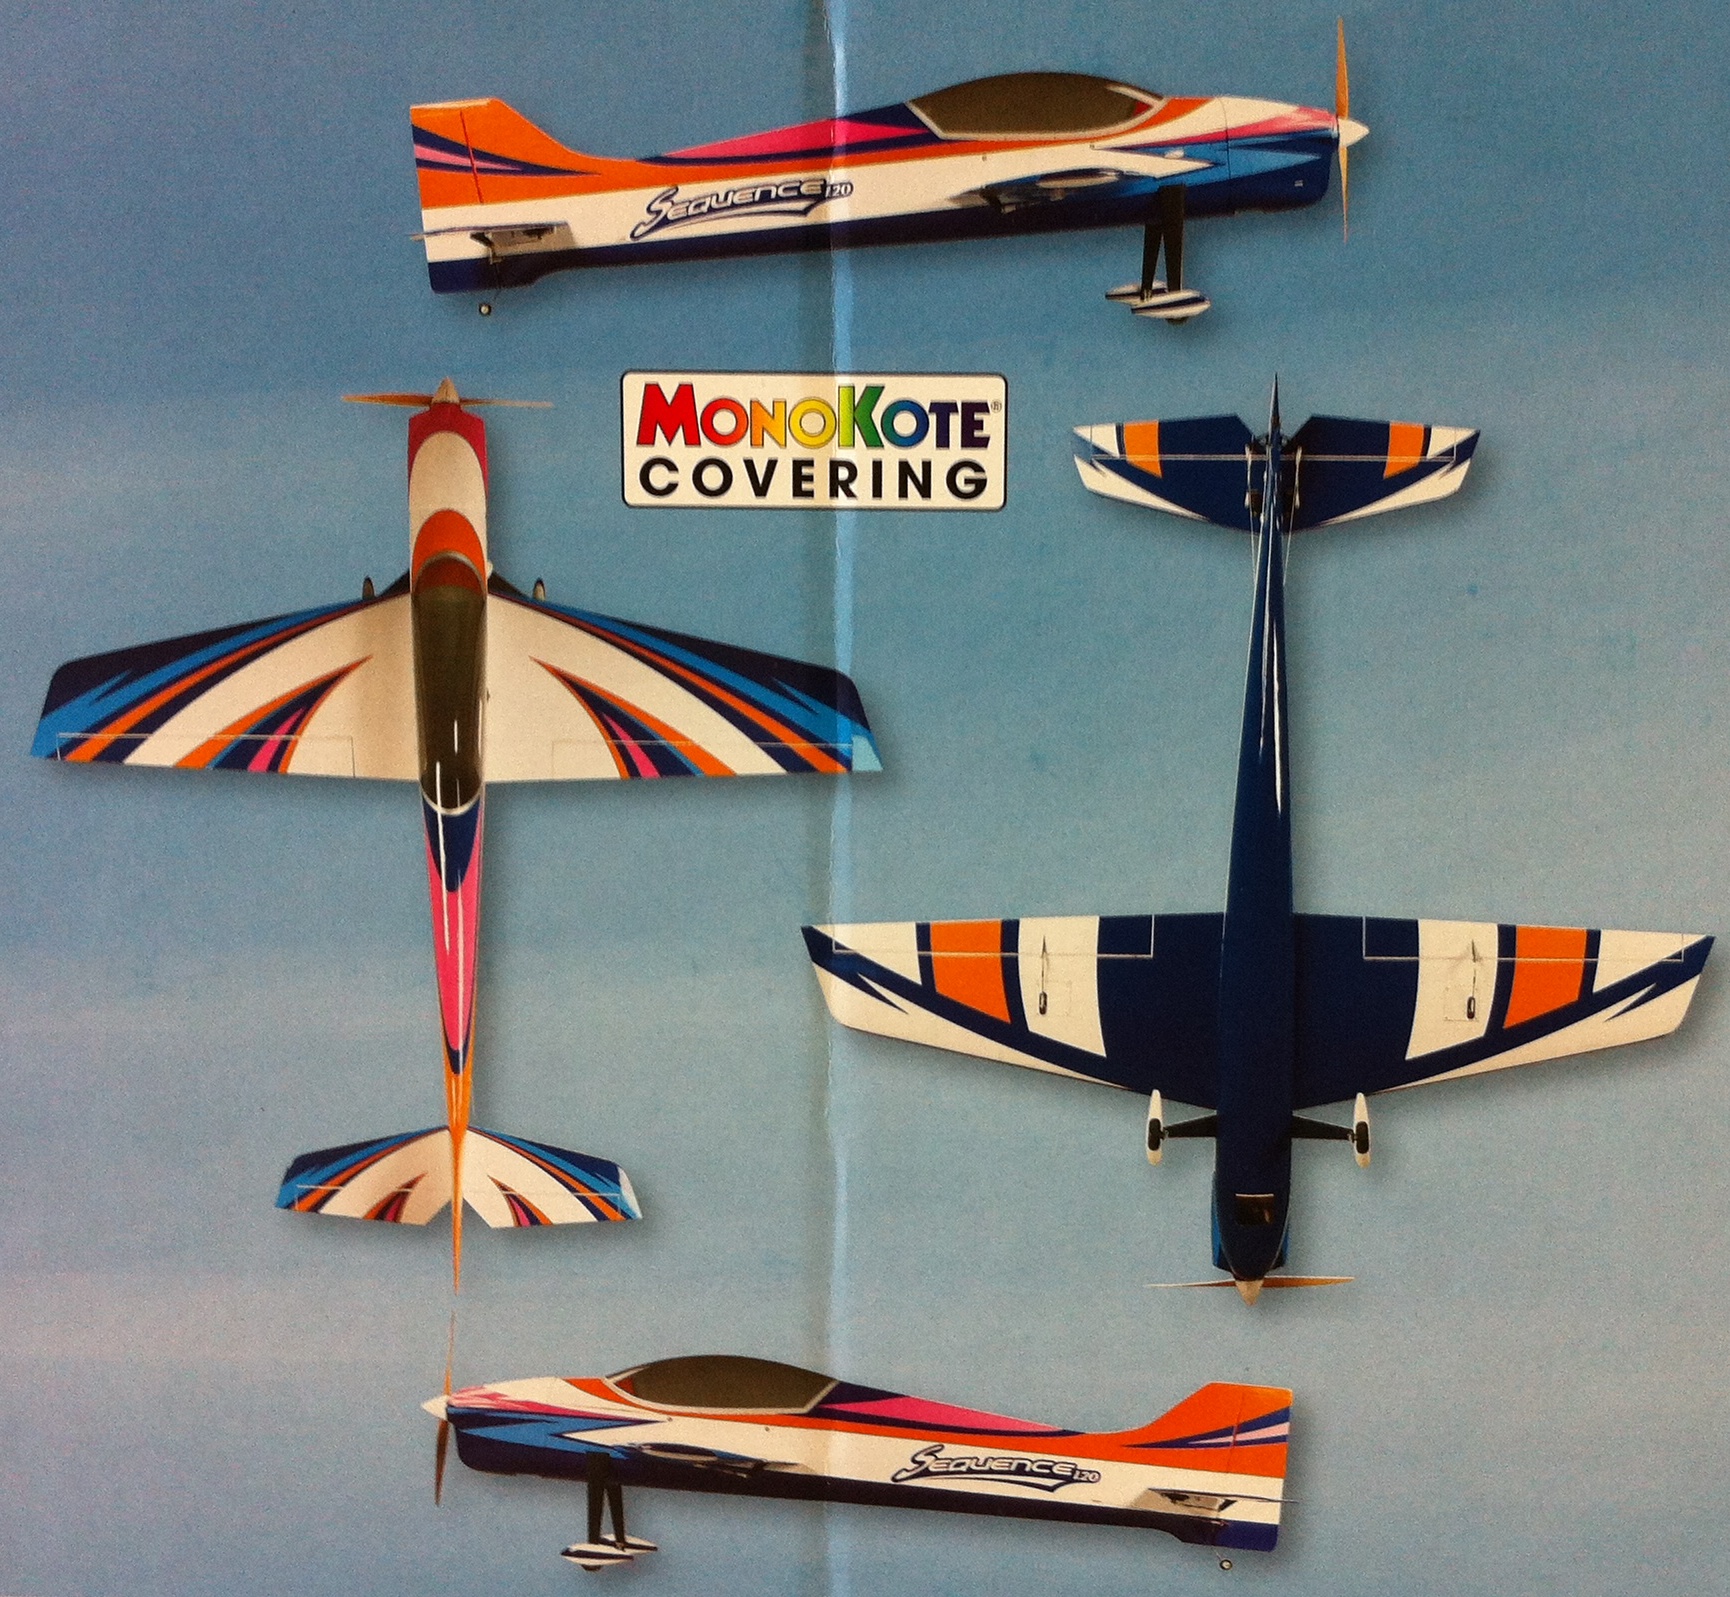
And it looks like the servo selection on the box is different from the instructions I quoted above. I forgot about the low profile 9551 servo... there's 10g of savings there.

And it looks like the servo selection on the box is different from the instructions I quoted above. I forgot about the low profile 9551 servo... there's 10g of savings there.
01-06-2015, 01:18 PM
#5
Thread Starter
My Feedback: (2)
Join Date: May 2002
Location: Around
Posts: 1,432
Likes: 0
Received 0 Likes
on
0 Posts
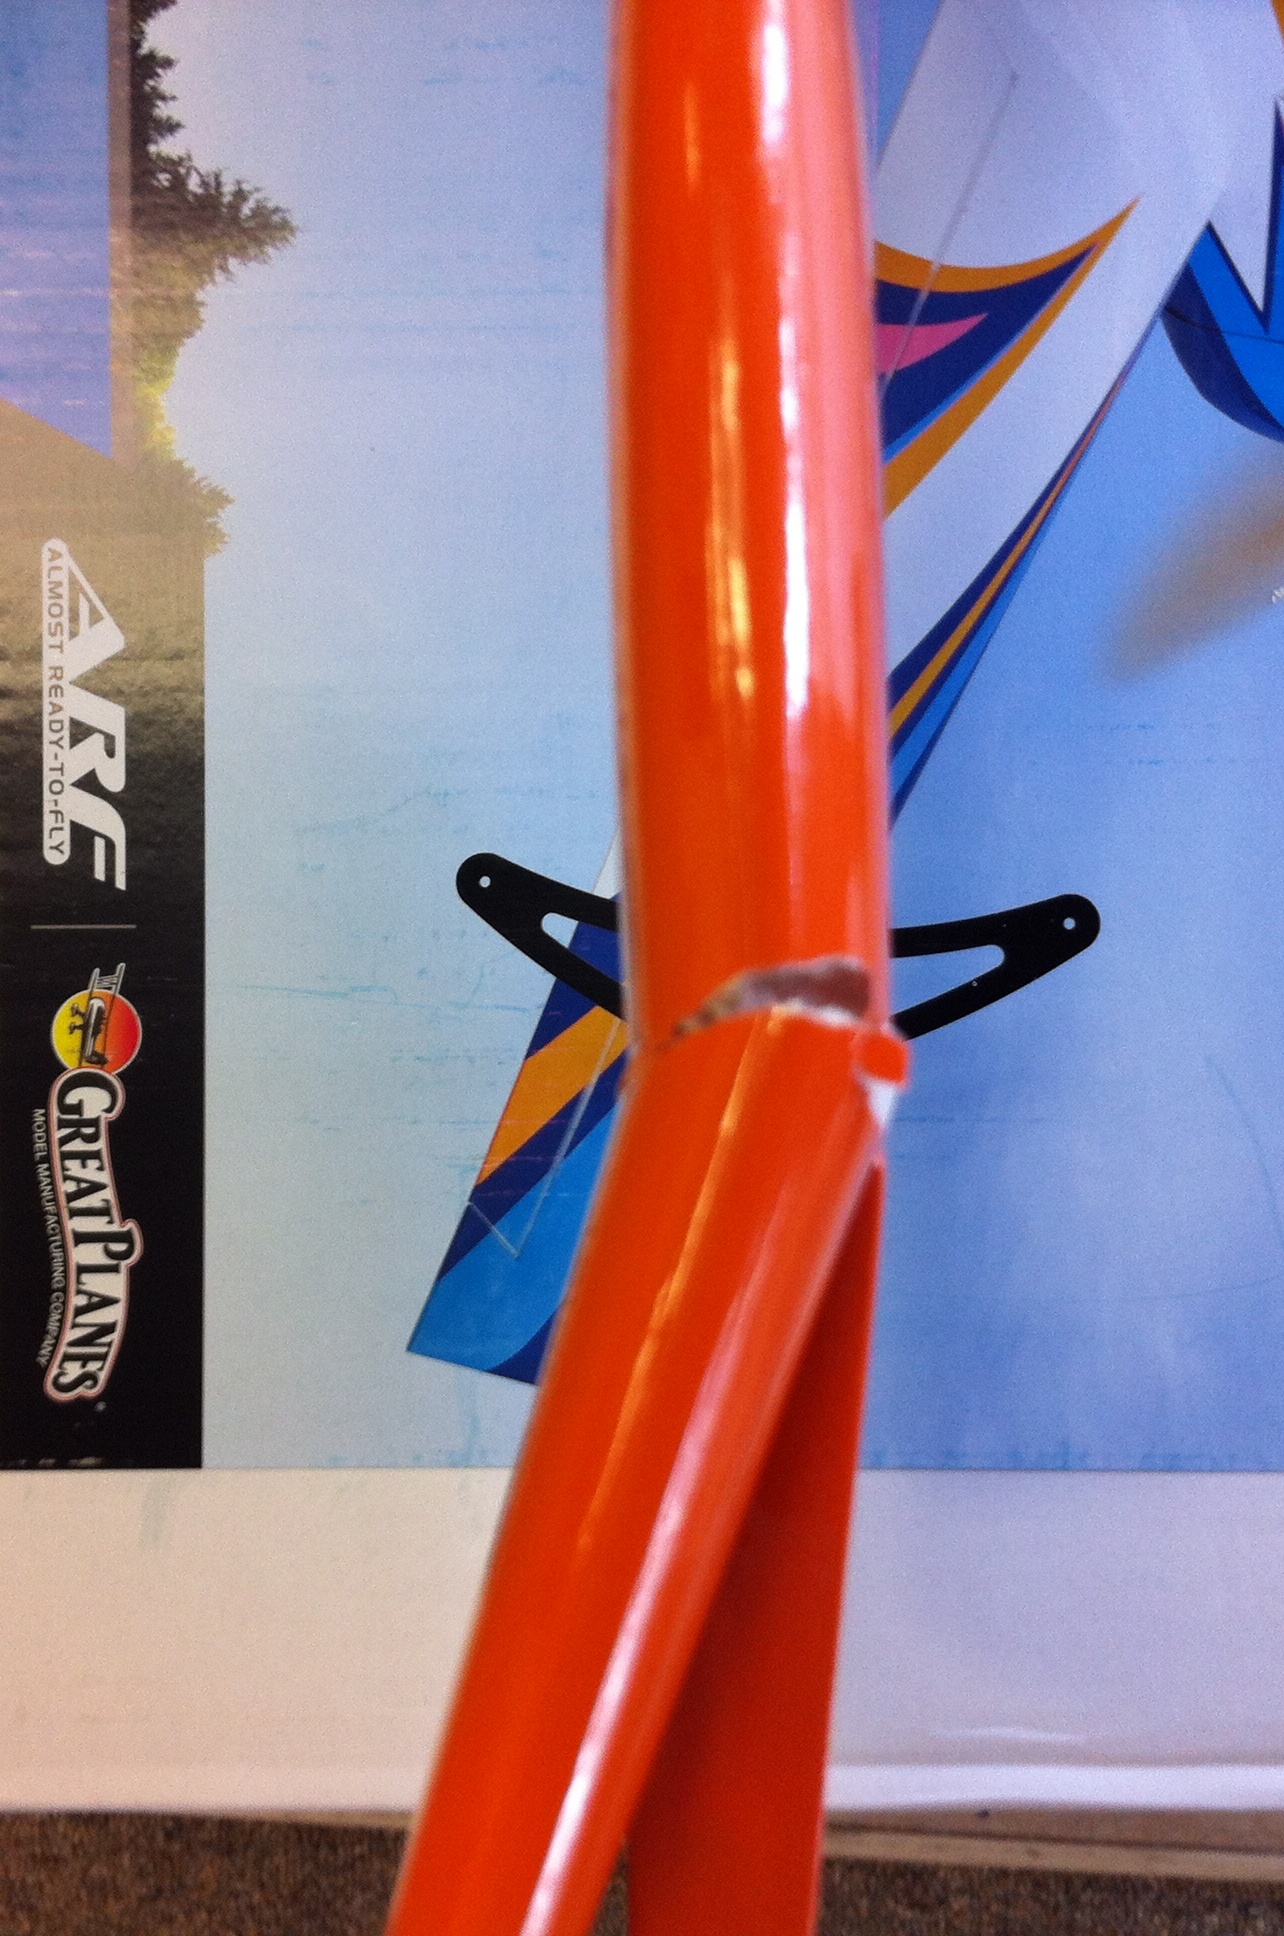
And the one problem that I can see possibly happening with others... It looks like while my box was bouncing around it caught a side load on the rudder cap and snapped it sideways. I'll drop some thick Zap in there and straighten it out and not worry about it. I've had that happen on my bipe coming back from the Worlds, so now all the top caps are removable to avoid that 

I'll try and have weights for tomorrow, but that's it for today. I have a Revolver to finish up this week for a friend so we can fly it Saturday if it's not too windy/wet.
I'll try and have weights for tomorrow, but that's it for today. I have a Revolver to finish up this week for a friend so we can fly it Saturday if it's not too windy/wet.
Last edited by JAS; 01-06-2015 at 01:27 PM.

 01-07-2015, 11:00 AM
#7
Senior Member

Hey Jason!
Thanks for the build thread!
Say, I'm putting together a Sequence of my own. I'm with you - the 4-40 hardware is overkill (and old-school!). Will you tell me about those carbon pushrods and swivel links you alluded to in your opening post? Can you provide images and/or a link to where you get that stuff?
Also, if you want to front-mount the motor this can be done with the optional wood motor mount box:
http://www3.towerhobbies.com/cgi-bin...?&I=LXEHJW&P=7
I'll be using one on my Sequence, but I made CF parts to replace the FRP parts it comes with to shave a little more weight (a little more than 1/2 oz).
Thanks!
Tim
01-07-2015, 11:54 AM
#8
Thread Starter
My Feedback: (2)
Join Date: May 2002
Location: Around
Posts: 1,432
Likes: 0
Received 0 Likes
on
0 Posts
Chad, that was supposed to be a secret! But still using a bipe for F lol.
That's no fair Tim, now you'll have to post pictures of your mount. I will be ordering one for sure though.
As for the linkages, it's the same thing I've done for may years on my competition planes (although I first saw it done by Dave Lockhart in the late 80's).
I use Hayes 2-56 clevis' on the servo sides, 2mm carbon rod, and 2-56 swivel links (on the horns).


First I cut the pushrods to length then sand the ends.
Next, measure the thickness after sanding and drill out the clevis and swivel links. Clean with alcohol and mark how deep the rods will go into the swivel link ends.
Then, with servos on (and horns mounted to surface) put the clevis and link on.
Finally, Insert the rod into the swivel link end to the mark and then into the clevis. Glue with thin Zap once the surface is straight.
I have started to drill a tiny hole at the end of the opening in the swivel links to let the air out and also to put a couple drops of Zap in it. I've only had one come loose (on a friends plane no less) because I used an oversized drilled hole link that I forgot to replace before assembling.
That's no fair Tim, now you'll have to post pictures of your mount. I will be ordering one for sure though.
As for the linkages, it's the same thing I've done for may years on my competition planes (although I first saw it done by Dave Lockhart in the late 80's).
I use Hayes 2-56 clevis' on the servo sides, 2mm carbon rod, and 2-56 swivel links (on the horns).
First I cut the pushrods to length then sand the ends.
Next, measure the thickness after sanding and drill out the clevis and swivel links. Clean with alcohol and mark how deep the rods will go into the swivel link ends.
Then, with servos on (and horns mounted to surface) put the clevis and link on.
Finally, Insert the rod into the swivel link end to the mark and then into the clevis. Glue with thin Zap once the surface is straight.
I have started to drill a tiny hole at the end of the opening in the swivel links to let the air out and also to put a couple drops of Zap in it. I've only had one come loose (on a friends plane no less) because I used an oversized drilled hole link that I forgot to replace before assembling.
Last edited by JAS; 01-07-2015 at 12:03 PM.
01-07-2015, 12:22 PM
#9
Thread Starter
My Feedback: (2)
Join Date: May 2002
Location: Around
Posts: 1,432
Likes: 0
Received 0 Likes
on
0 Posts
Here are the weights: ozs / grams
L Wing: 11.4 / 322
R Wing: 11.4 / 322
L Stab: 2.5 / 72
R Stab: 2.6 / 74
Fuse: 34.1 / 965
Hatch: 6.1 / 174
Gear Legs: 5.9 / 168
Cowl: 3.1 / 87
Wheel Pants: 1.3 / 37
Wing Tube: 2.5 / 72
Stab Tube: .8 / 24
Total: 81.7 (5lbs 1.7ozs) / 2317
I didn't weigh any bags of parts.
L Wing: 11.4 / 322
R Wing: 11.4 / 322
L Stab: 2.5 / 72
R Stab: 2.6 / 74
Fuse: 34.1 / 965
Hatch: 6.1 / 174
Gear Legs: 5.9 / 168
Cowl: 3.1 / 87
Wheel Pants: 1.3 / 37
Wing Tube: 2.5 / 72
Stab Tube: .8 / 24
Total: 81.7 (5lbs 1.7ozs) / 2317
I didn't weigh any bags of parts.
Last edited by JAS; 01-07-2015 at 01:09 PM.
01-07-2015, 01:22 PM
#10
Senior Member
Chad, that was supposed to be a secret! But still using a bipe for F lol.
That's no fair Tim, now you'll have to post pictures of your mount. I will be ordering one for sure though.
As for the linkages, it's the same thing I've done for may years on my competition planes (although I first saw it done by Dave Lockhart in the late 80's).
I use Hayes 2-56 clevis' on the servo sides, 2mm carbon rod, and 2-56 swivel links (on the horns).
First I cut the pushrods to length then sand the ends.
Next, measure the thickness after sanding and drill out the clevis and swivel links. Clean with alcohol and mark how deep the rods will go into the swivel link ends.
Then, with servos on (and horns mounted to surface) put the clevis and link on.
Finally, Insert the rod into the swivel link end to the mark and then into the clevis. Glue with thin Zap once the surface is straight.
I have started to drill a tiny hole at the end of the opening in the swivel links to let the air out and also to put a couple drops of Zap in it. I've only had one come loose (on a friends plane no less) because I used an oversized drilled hole link that I forgot to replace before assembling.

That's something I was already considering, but was afraid to try. But now that I see it's been done before I'll DEFINITELY be preparing my Sequence the same way (and I won't blame you if one of the glue joints lets-go!). I'll be thorough in sanding and drilling to proper size and CA-ing thoroughly! Gee, think of the weight savings over those 4-40 pushrods! (Looks like you're using DuBro ball links?). EDIT: Oops...I see you provided links to the...links.
")
Thanks again!
Tim
P.S. Just today we temporarily removed the mount boxes from stock due to some "less-than-desirable" plywood, but are expecting replacements soon. If you want me to laser-cut you a set let me know and I will do.
Last edited by krproton; 01-07-2015 at 01:34 PM.
01-31-2015, 03:27 PM
#13

My Feedback: (18)
Join Date: Jan 2003
Location: Florida
Posts: 108
Likes: 0
Received 0 Likes
on
0 Posts
frequent flyer
Just ordered a GP Sequence 1.20 today. Send me your info on your tubes and other items that you offer for the Sequence 120
Just ordered a GP Sequence 1.20 today. Send me your info on your tubes and other items that you offer for the Sequence 120
Last edited by rampage-1; 01-31-2015 at 07:02 PM.
02-02-2015, 06:07 AM
#15
Senior Member
The wing tube is 22mm x 575mm and the stab tube is 10mm x 357mm.
Thanks!
Tim
02-02-2015, 07:55 AM
#16
My Feedback: (6)

Join Date: Feb 2003
Location: Grand Junction, Colorado
Posts: 1,484
Likes: 0
Received 4 Likes
on
4 Posts
You'll have to contact us by email RCU doesn't support me sending you the PDF price list.
A 7/8" x 24" tube and sleeve is 49.95 tube alone about 39.95
7/8" = 22.22mm
24" = 609mm
I have found that 7/8" fits 22mm if it is snug I just take 600 grit wet paper and a few strokes its fine.
We have 10mm=3/8, 11mm=7/16, " stab tubes. They are 12" long and are $12.95 with a carbon fiber sleeve
We have 1/2' x 20" & 5/8" x 20" stab tubes also for Giant Scale planes They are 19.95 & 29.95
Any tube without a sleeve is available at a reduced price.
We have tubes up to 48"
Highest Quality available
All our tubes come with a Carbon Fiber Sleeve not a phenolic card board or fiberglass tube.
Strongest & Lightest!
Last edited by frequent flyer; 02-10-2015 at 06:07 AM.
02-10-2015, 05:42 AM
#17
My Feedback: (21)
Join Date: Aug 2009
Location: Apple River IL
Posts: 951
Likes: 0
Received 0 Likes
on
0 Posts
Re: the low profile 9551 servos JAS. If I may ask, since you have to cut the hardwood block to accomodate the servo wire what is your preferred method to cutting it? I picked up the 9551s for mine and I am concerned about damaging the cover while cutting/grinding it to accomodate the servo wires. . Really like the pushrod idea, going that route too, I take it any centering issues are programmed out with the TX? Thanks for any feedback you can offer.
Mark
Mark
02-11-2015, 05:24 AM
#18
Senior Member
My Feedback: (1)
Join Date: Mar 2010
Location: grand rapids, MI
Posts: 313
Likes: 0
Received 0 Likes
on
0 Posts
Re: the low profile 9551 servos JAS. If I may ask, since you have to cut the hardwood block to accomodate the servo wire what is your preferred method to cutting it? I picked up the 9551s for mine and I am concerned about damaging the cover while cutting/grinding it to accomodate the servo wires. . Really like the pushrod idea, going that route too, I take it any centering issues are programmed out with the TX? Thanks for any feedback you can offer.
Mark
Mark
Last edited by corch; 02-11-2015 at 05:29 AM. Reason: addition
02-11-2015, 08:43 AM
#19
My Feedback: (21)
Join Date: Aug 2009
Location: Apple River IL
Posts: 951
Likes: 0
Received 0 Likes
on
0 Posts
Thanks corch! I found an example of that and did just that, except I used a dremel with cutoff wheel to make the cuts. Worked just fine. Considering using the Sullivan tail wheel instead of the one attached with hinge, any thoughts on that? Thanks.
mark
mark
02-12-2015, 01:29 PM
#20
Thread Starter
My Feedback: (2)
Join Date: May 2002
Location: Around
Posts: 1,432
Likes: 0
Received 0 Likes
on
0 Posts
Don,
Thank you for posting here about the tubes. I'll be in contact for this (and Worlds planes) soon.
Mark,
I am just starting to work on it and since it's going to be cold here (FL wise at least lol) I'll be working on it for the next 4 days. Might even have it done, but I'm not promising that. It looks like you've got the aileron blocks figured out.
As for tailwheel assembly, I was going to suggest the Du-Bro .40 size as that's what a bunch of guys here use on their 2M planes. The Sullivan .40-.60 size will work also, it just seems heavier.
So I did a search on Tower and I came across these:
RTF tailwheel assembly: http://www3.towerhobbies.com/cgi-bin...&I=LXLLB9&P=ML
And 'ARF' tailwheel assembly: http://www3.towerhobbies.com/cgi-bin...?&I=LXLGN7&P=7
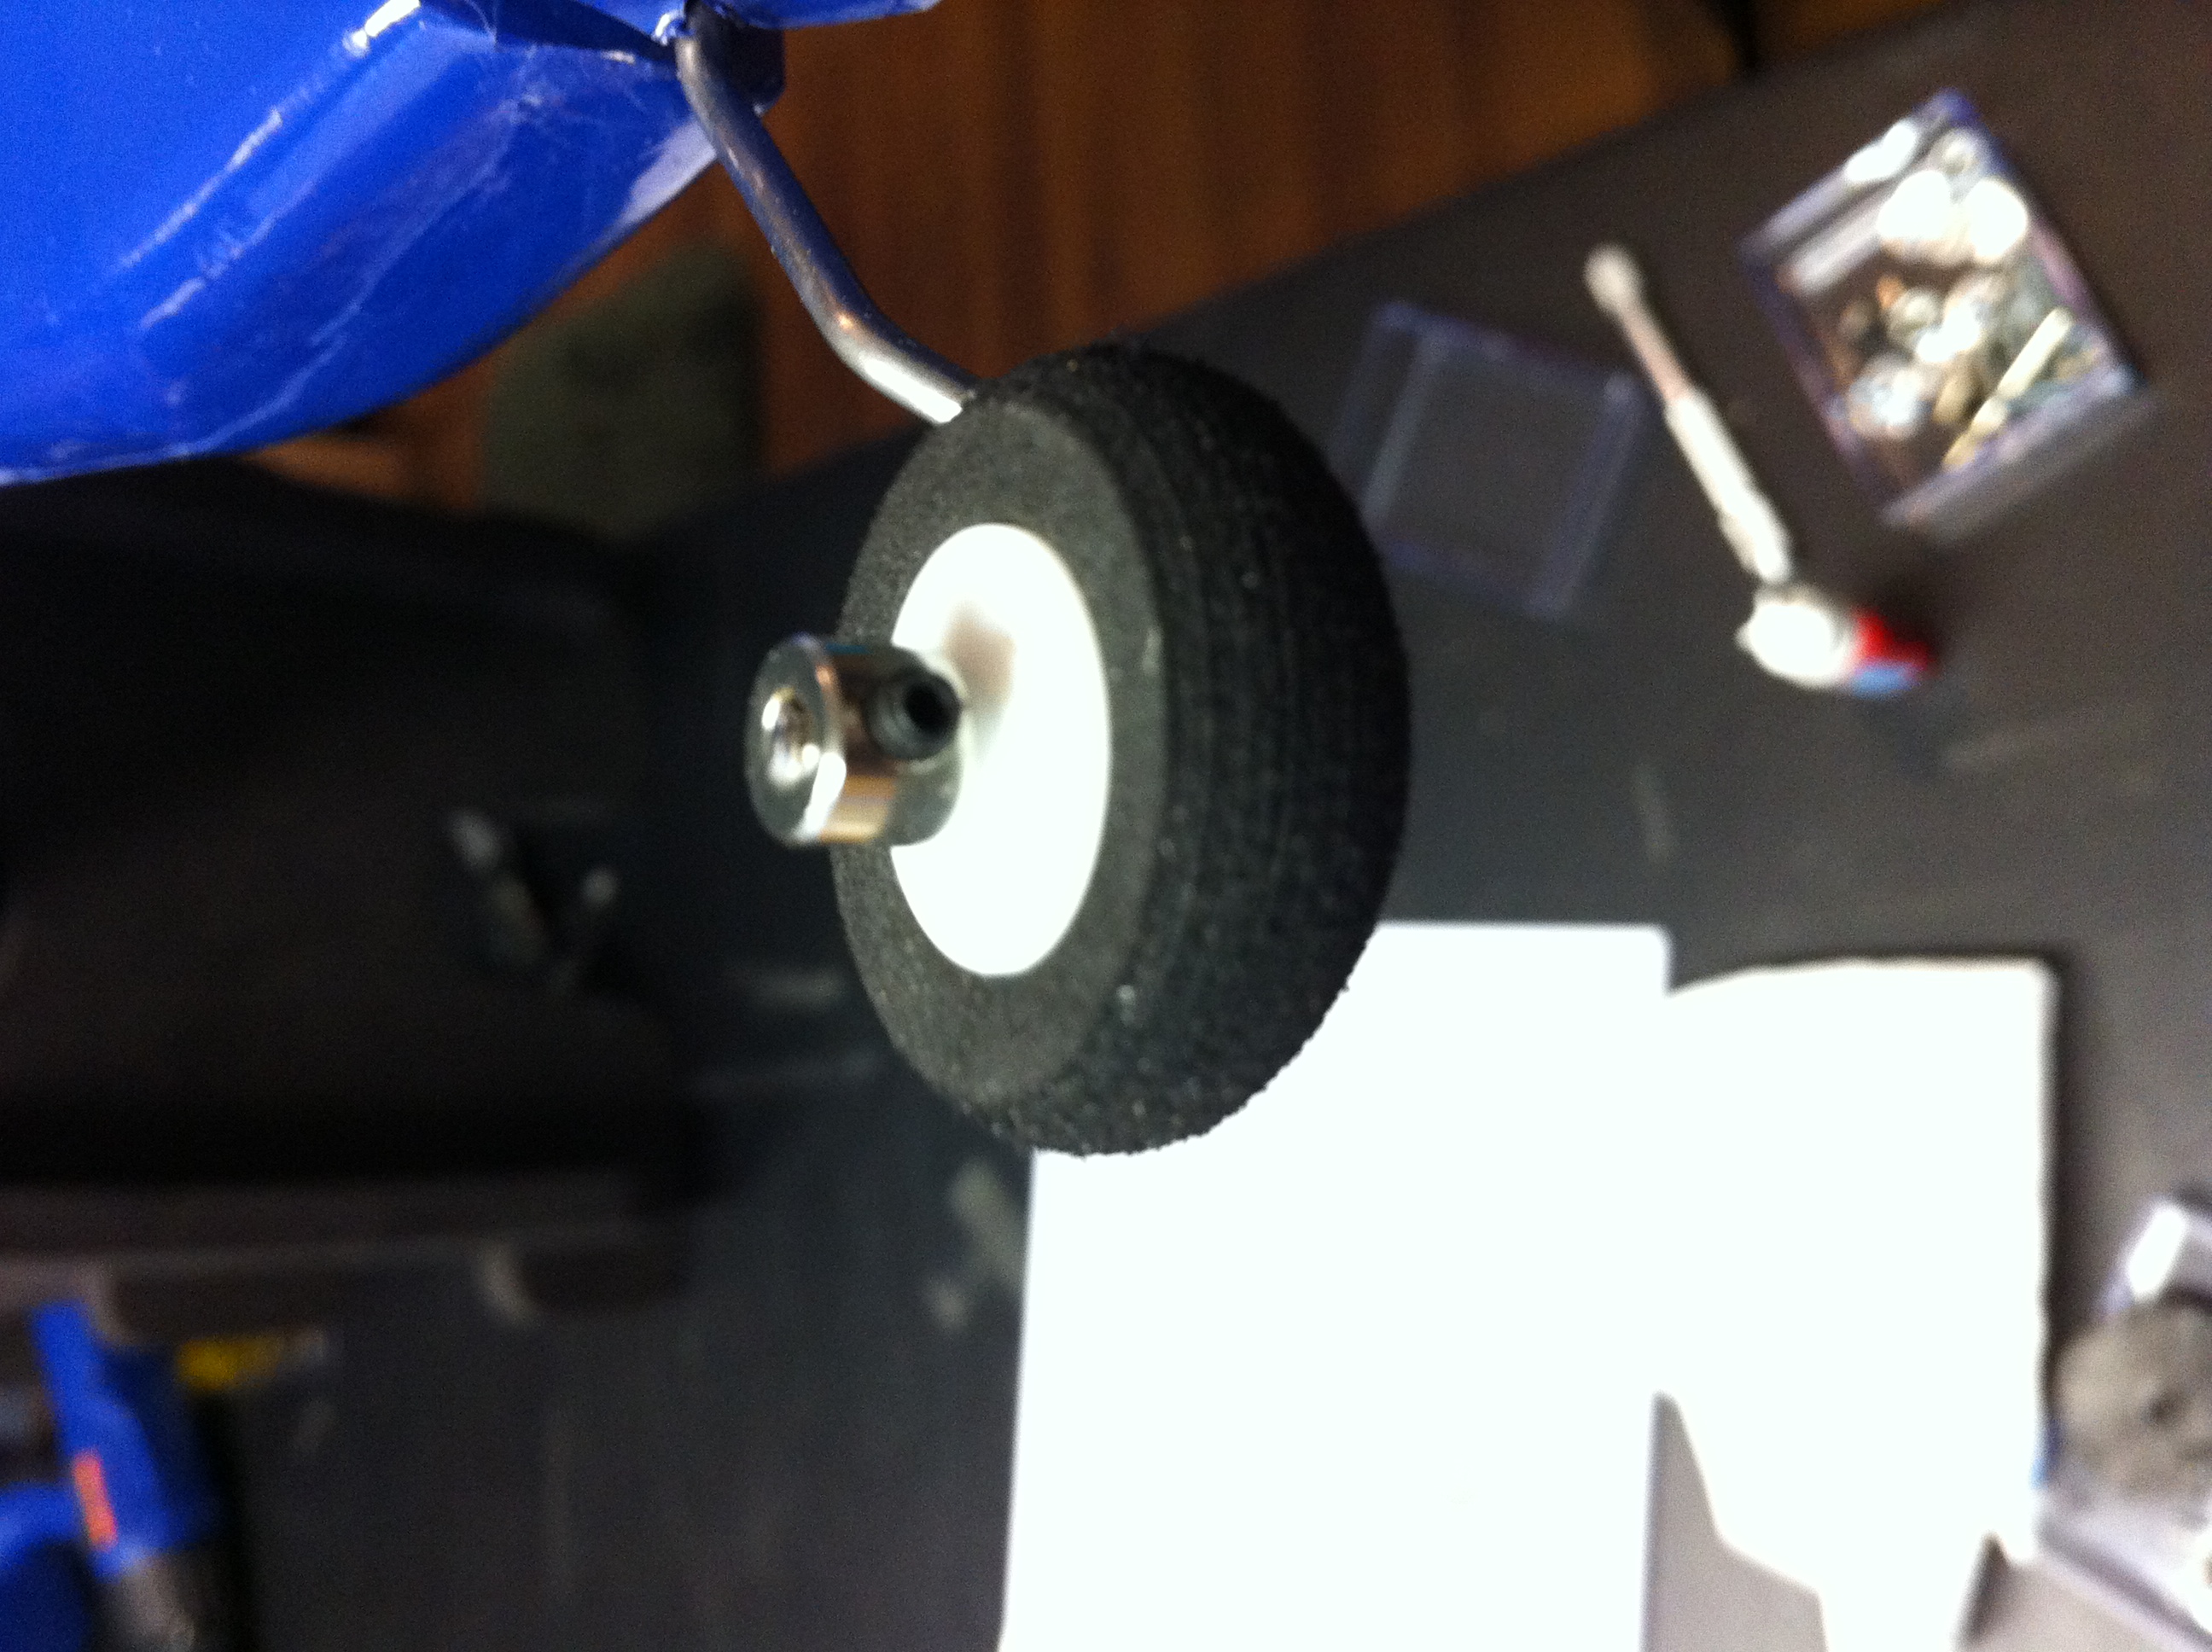
I like the 'ARF' version cause I can put a plastic/foam wheel on it which is lighter than the aluminum/rubber wheel, and I only use 3/4" wheels for it. This is basically the same set-up I use on all my competition planes.
Thank you for posting here about the tubes. I'll be in contact for this (and Worlds planes) soon.
Mark,
I am just starting to work on it and since it's going to be cold here (FL wise at least lol) I'll be working on it for the next 4 days. Might even have it done, but I'm not promising that. It looks like you've got the aileron blocks figured out.
As for tailwheel assembly, I was going to suggest the Du-Bro .40 size as that's what a bunch of guys here use on their 2M planes. The Sullivan .40-.60 size will work also, it just seems heavier.
So I did a search on Tower and I came across these:
RTF tailwheel assembly: http://www3.towerhobbies.com/cgi-bin...&I=LXLLB9&P=ML
And 'ARF' tailwheel assembly: http://www3.towerhobbies.com/cgi-bin...?&I=LXLGN7&P=7
I like the 'ARF' version cause I can put a plastic/foam wheel on it which is lighter than the aluminum/rubber wheel, and I only use 3/4" wheels for it. This is basically the same set-up I use on all my competition planes.
02-12-2015, 01:47 PM
#21
Thread Starter
My Feedback: (2)
Join Date: May 2002
Location: Around
Posts: 1,432
Likes: 0
Received 0 Likes
on
0 Posts
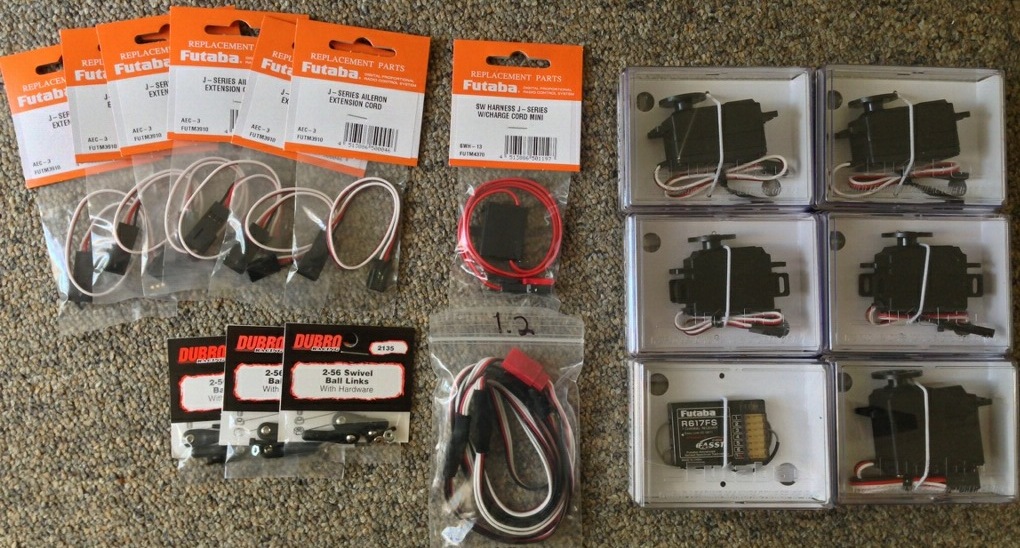
Almost all of my parts are here.
From Tower: Futaba servos, RX, switch and extensions, Du-Bro swivel links, 2.5" GP Spinner
From Shulman Aviation: 1.2m Quad extension (for the elevator servos) and a Fury 110 Opto ESC (up to 6S).

From Tower: Futaba servos, RX, switch and extensions, Du-Bro swivel links, 2.5" GP Spinner
From Shulman Aviation: 1.2m Quad extension (for the elevator servos) and a Fury 110 Opto ESC (up to 6S).
02-12-2015, 05:49 PM
#22
My Feedback: (21)
Join Date: Aug 2009
Location: Apple River IL
Posts: 951
Likes: 0
Received 0 Likes
on
0 Posts
JAS, Thanks much, appreciate the info. I picked pretty much the same as far as accessories go. Will look at the Dubro tail wheel too, I've plenty of planes to use the Sullivan one on. I was going to use a Castle ESC 100 as that's what I have, but could easily try something else. Not familiar with the 1.2M quad extension? Is there an advantage to using it versus the separate 36" extensions? Sure do appreciate the feedback and posts of your assembly as you get time. Again thanks.
Mark
Mark
Last edited by hook57; 02-12-2015 at 06:12 PM.
02-17-2015, 10:26 AM
#23
Thread Starter
My Feedback: (2)
Join Date: May 2002
Location: Around
Posts: 1,432
Likes: 0
Received 0 Likes
on
0 Posts
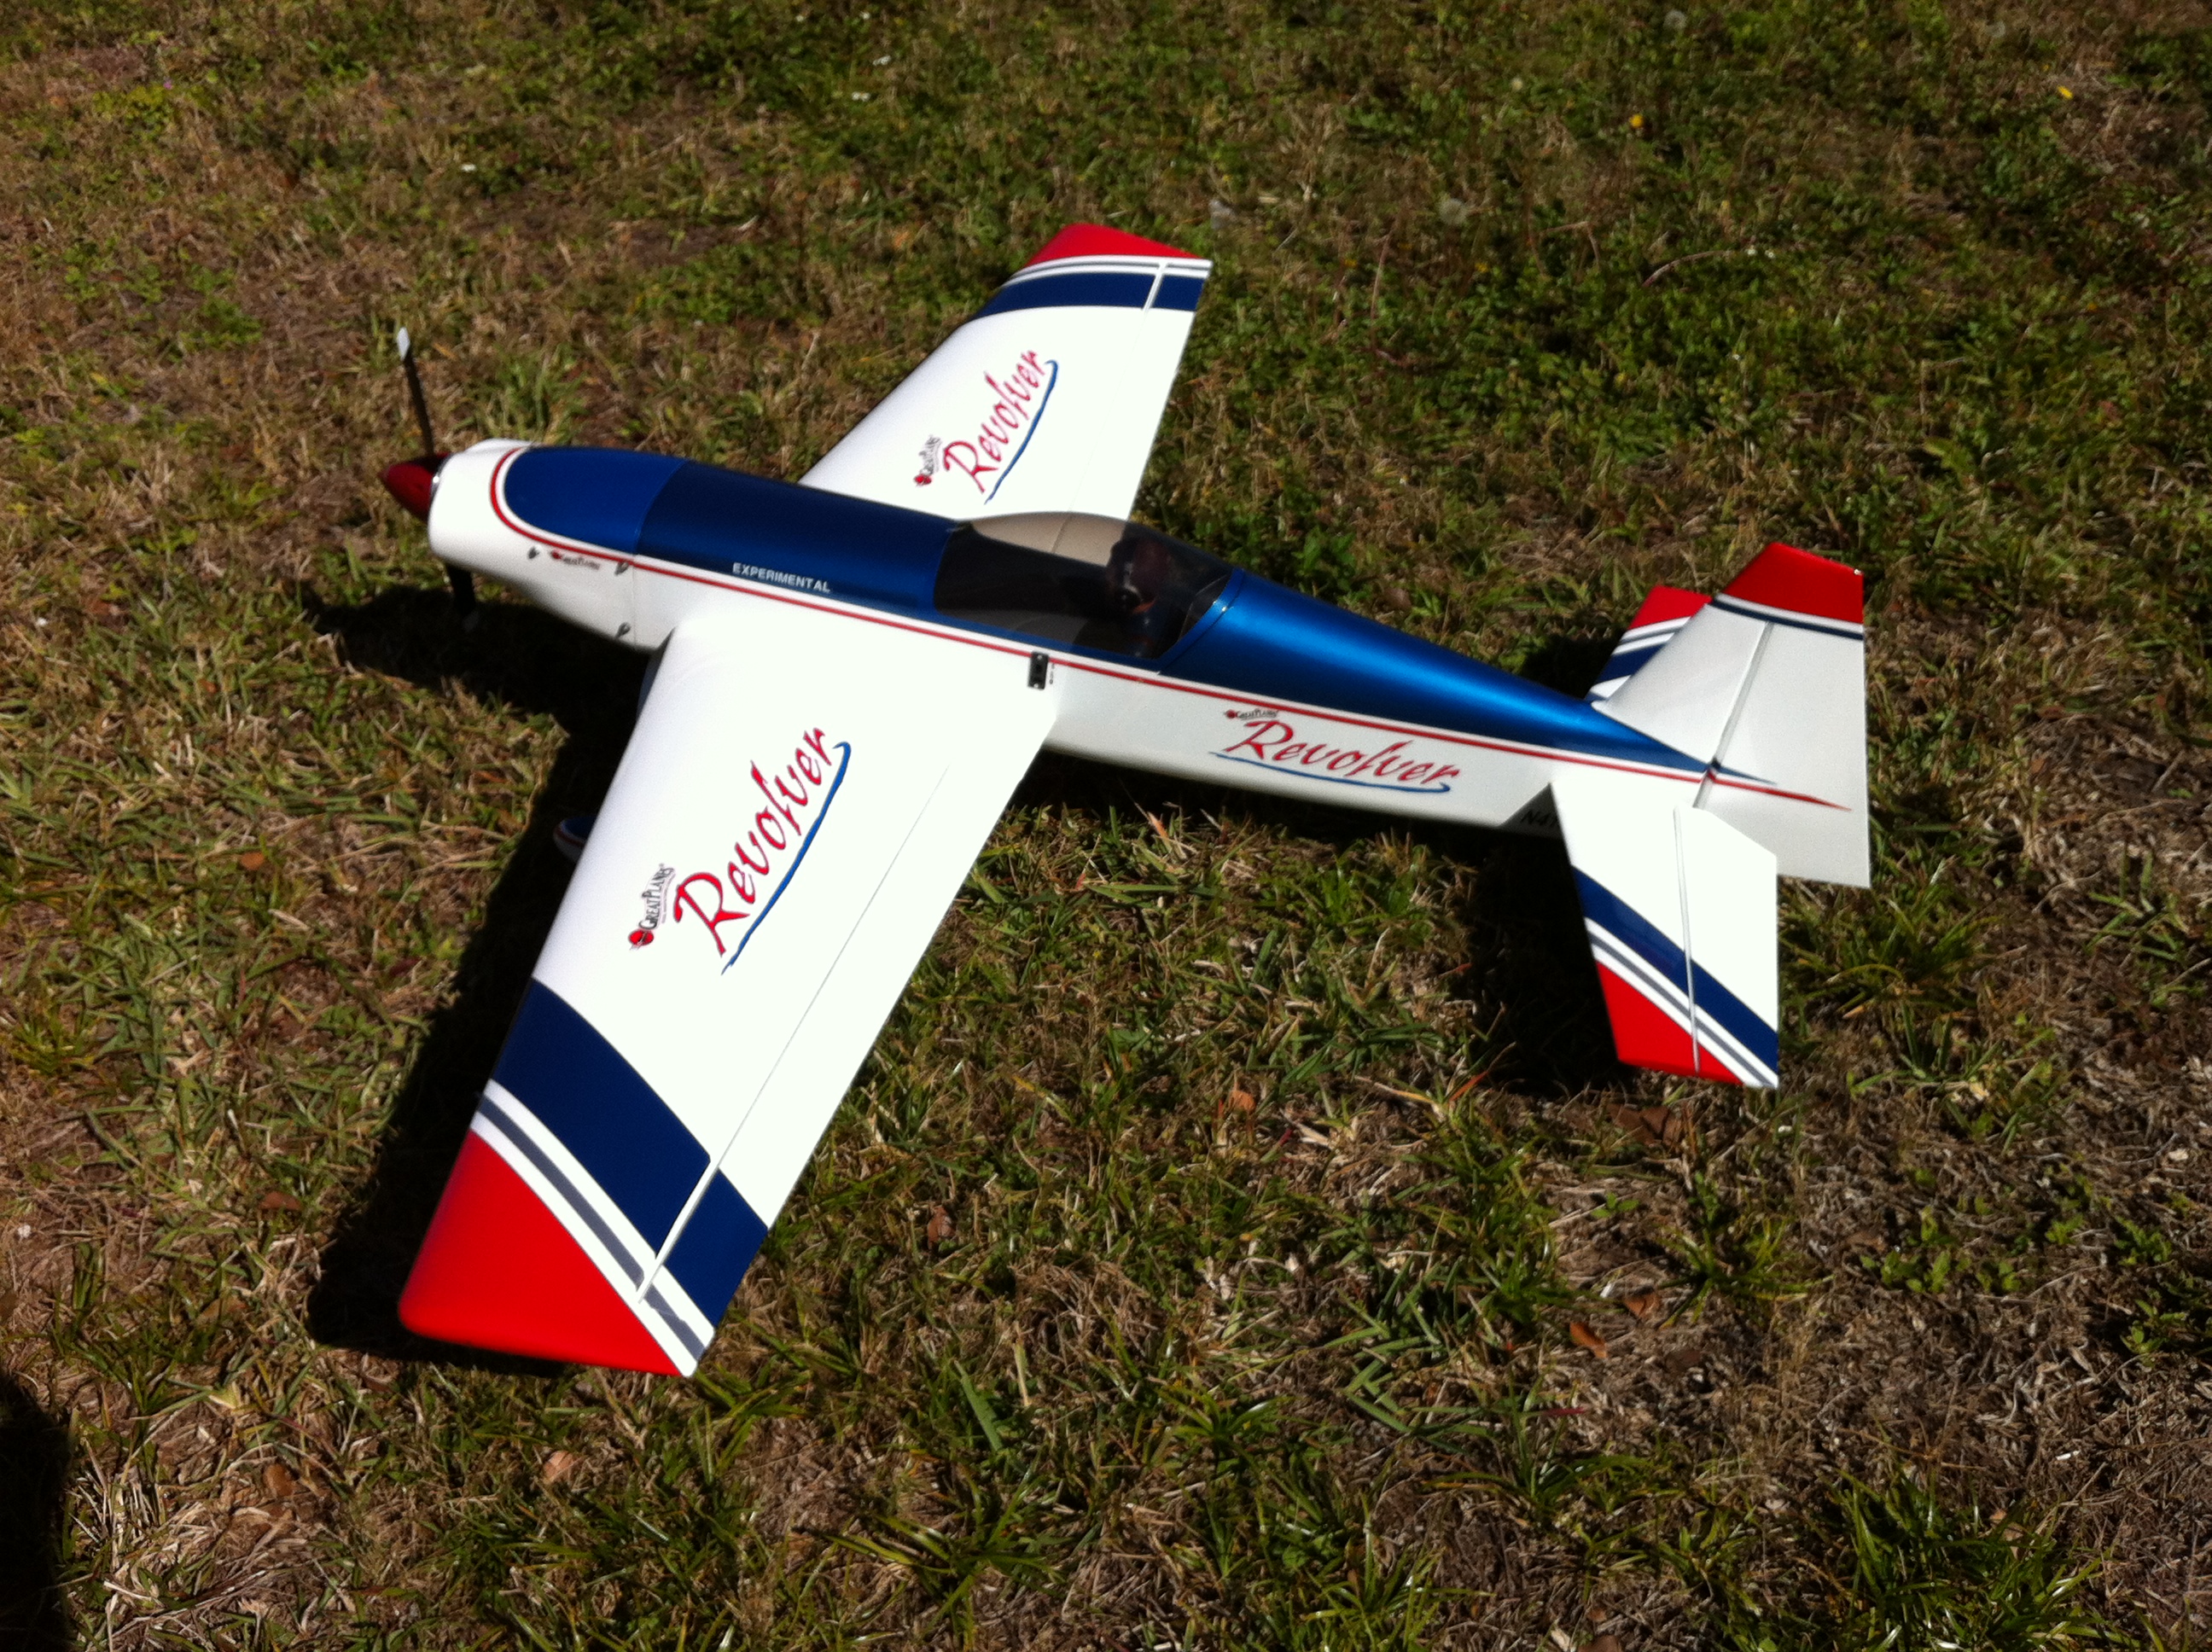
Sorry just pics for now. Revolver I just finished for a friend. Test flight went well, couple clicks of aileron was all that was needed.
Some Medium Zap and push and hold straight until it was dry.


Since i didn't have Orange MonoKote, I used a couple of stickers to help mask the crack.

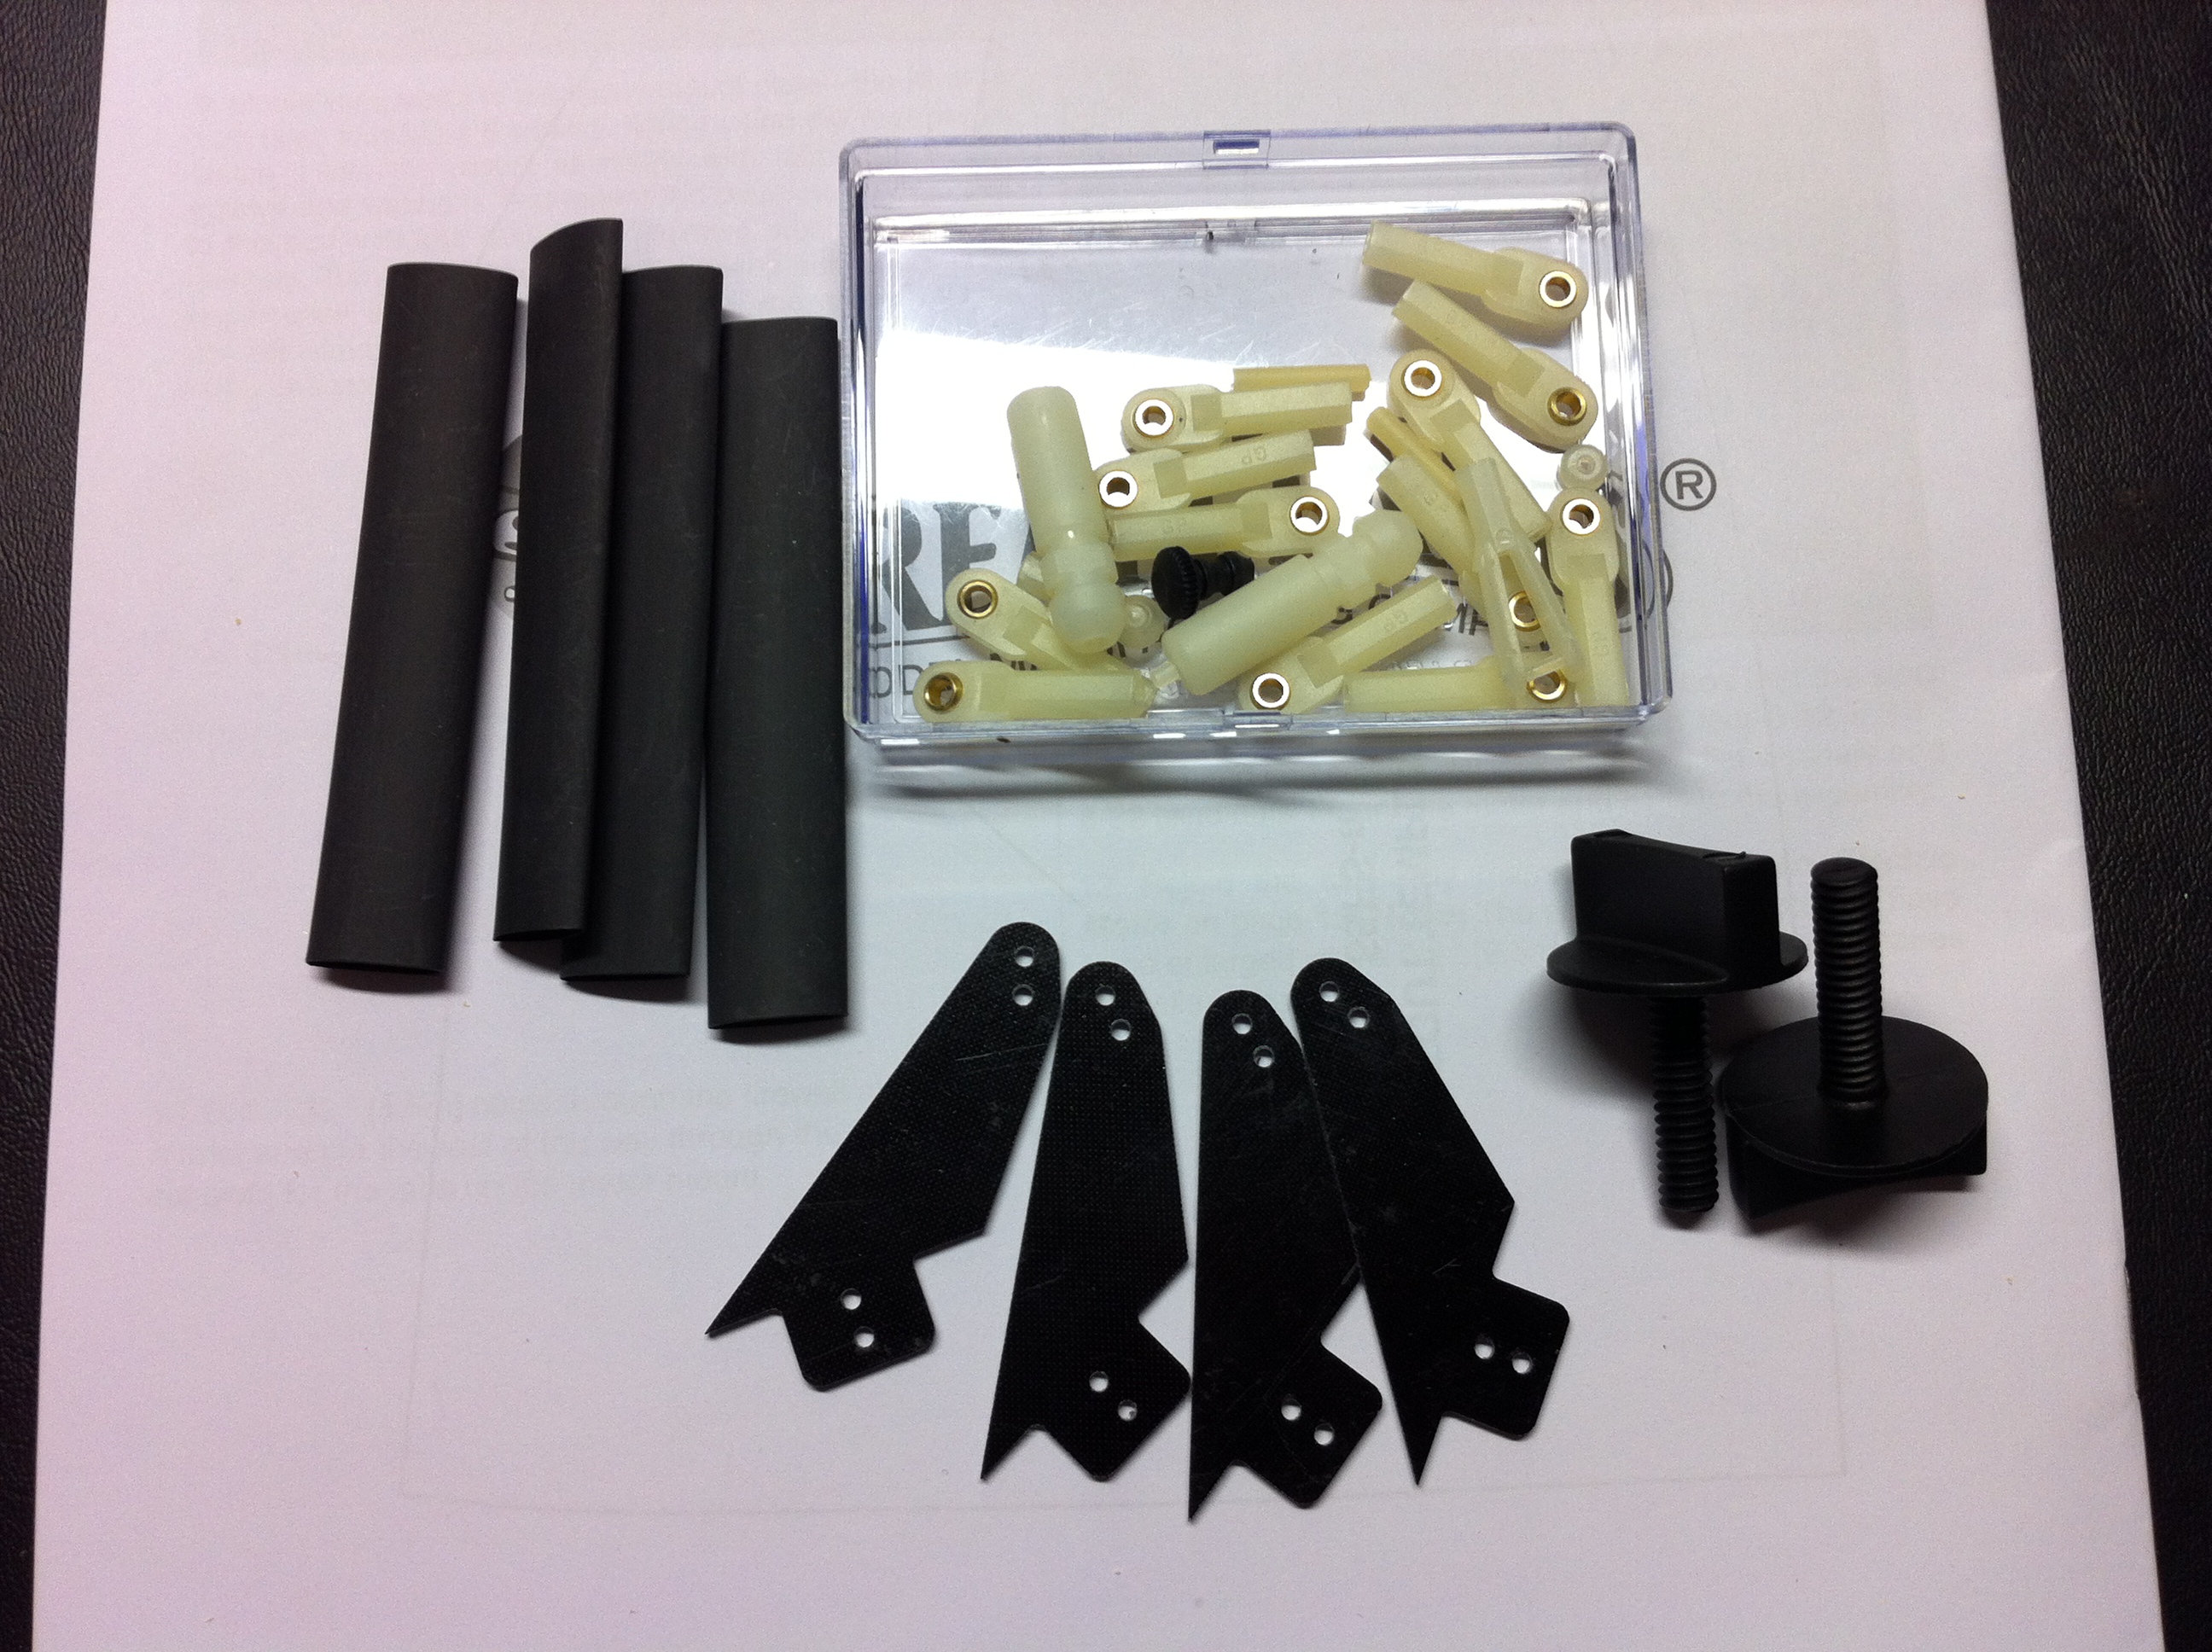
Metal parts
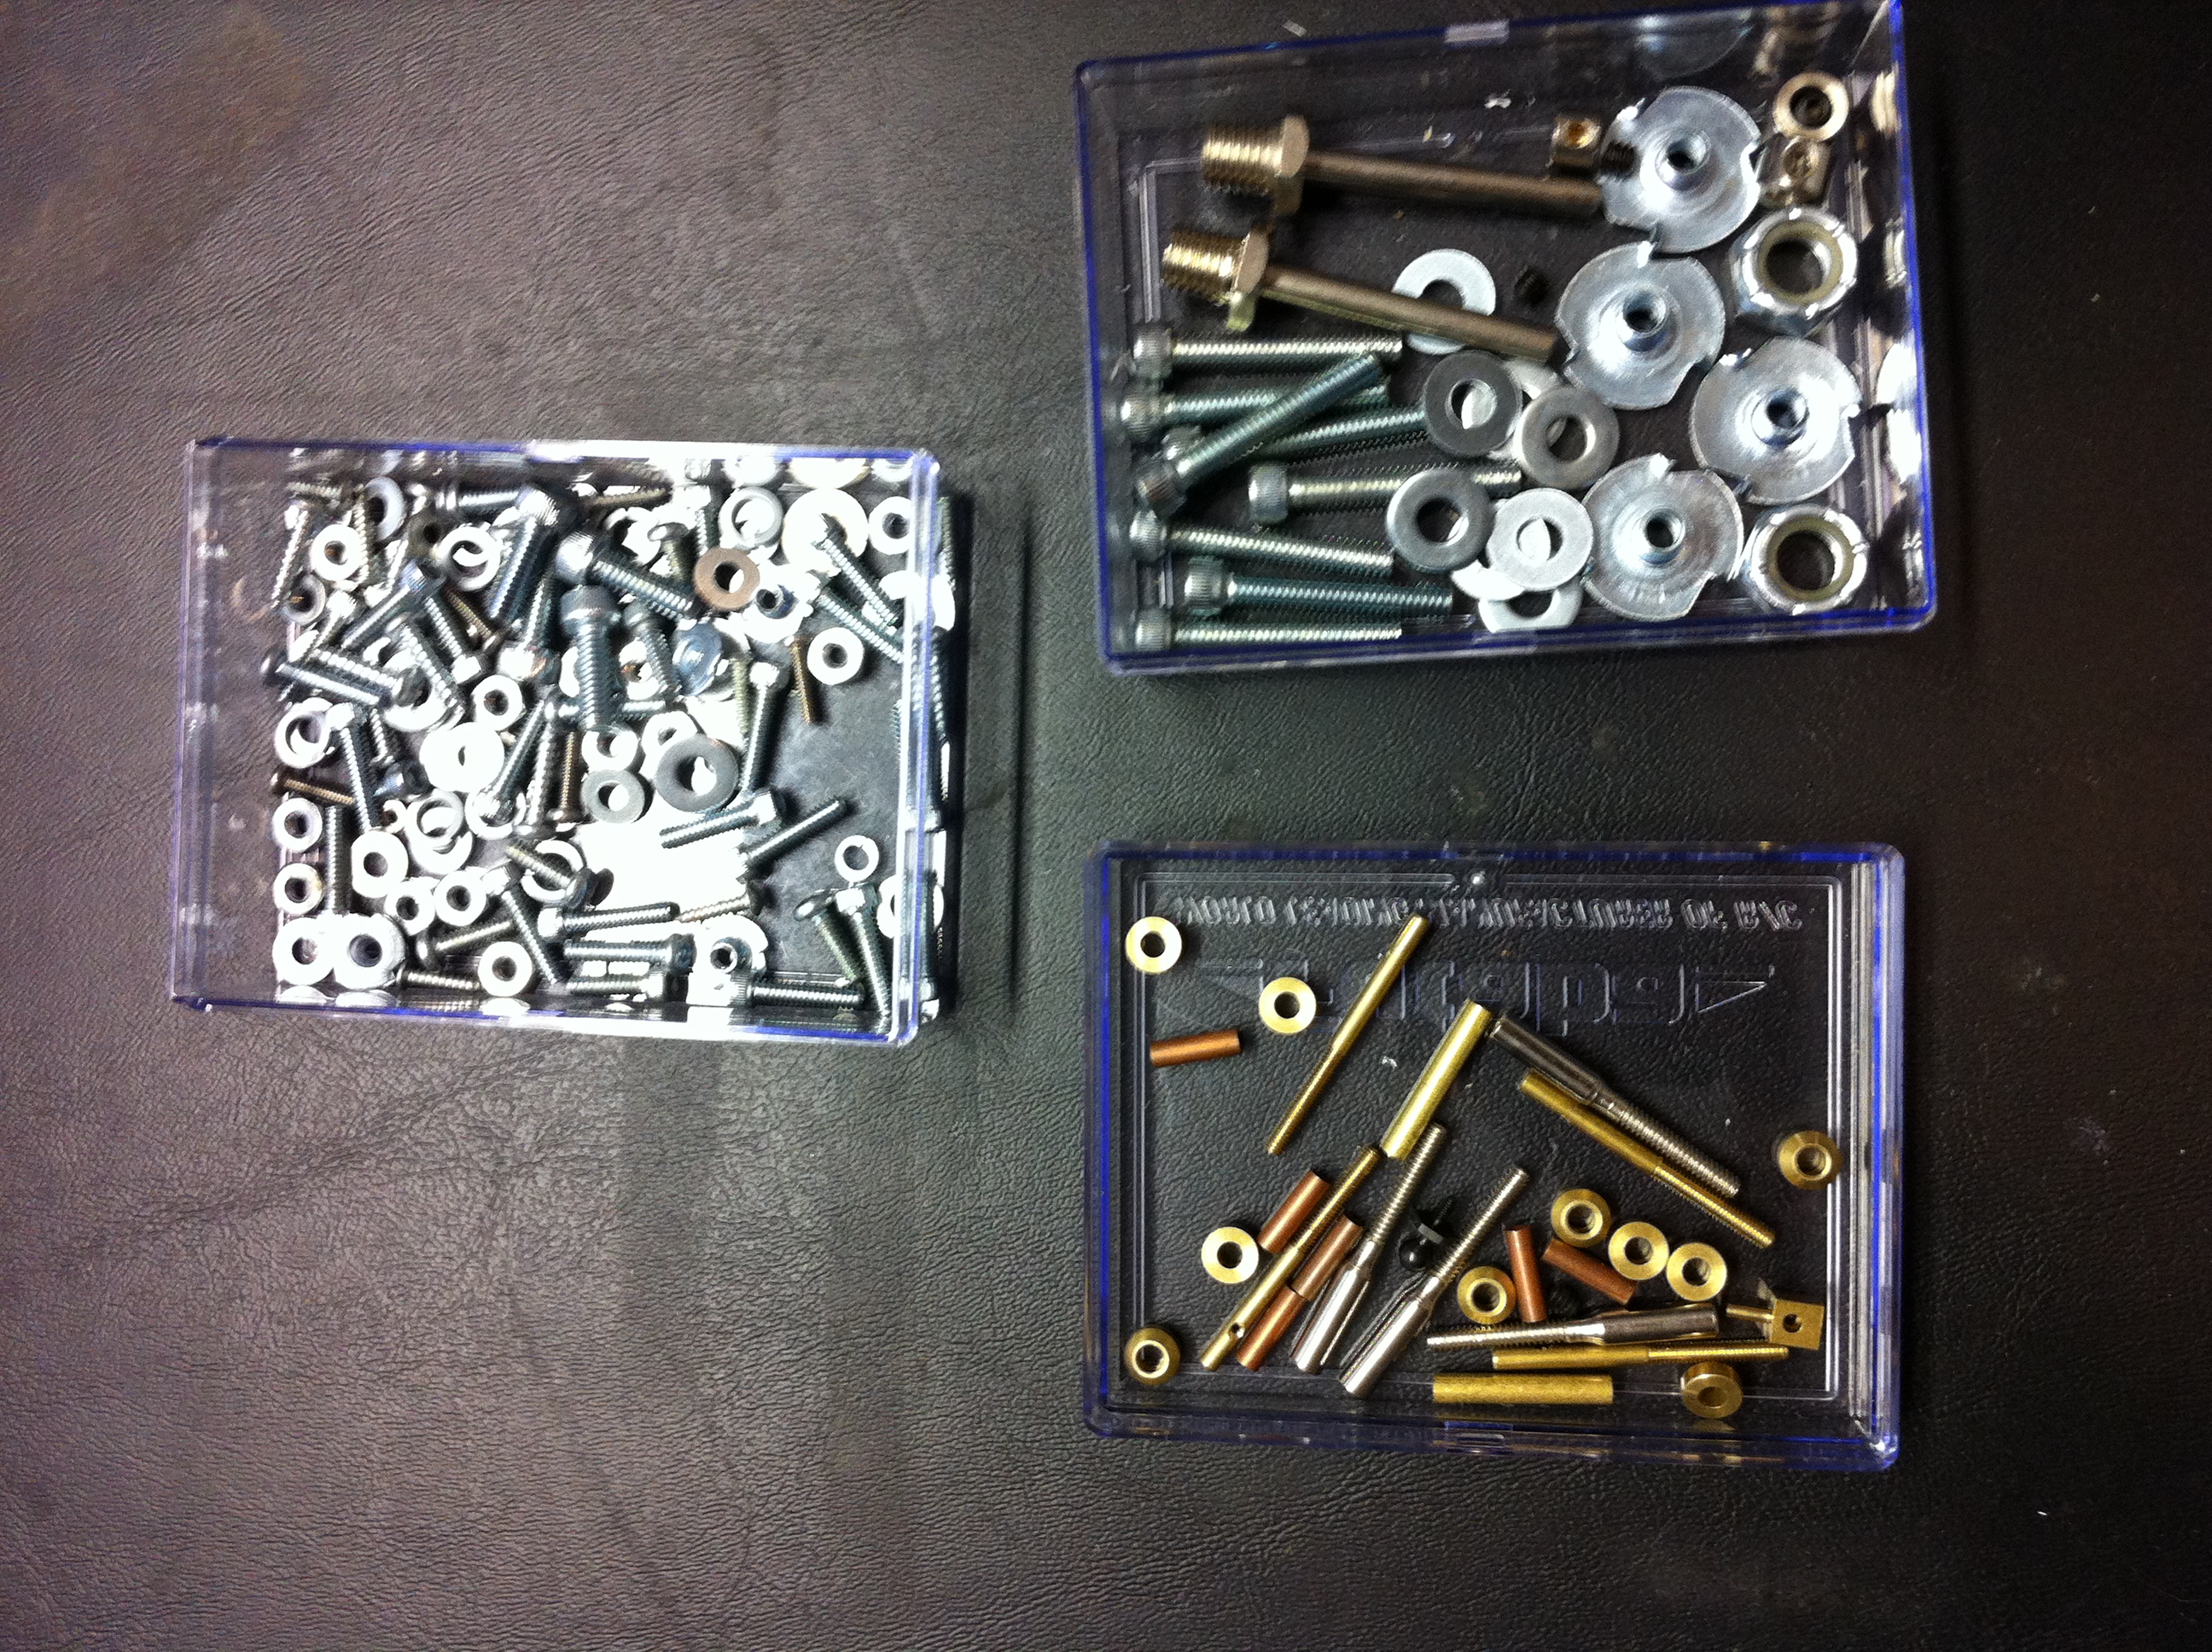
Wood and plastic parts

Nylon and fiberglass parts
Some Medium Zap and push and hold straight until it was dry.
Since i didn't have Orange MonoKote, I used a couple of stickers to help mask the crack.
Metal parts
Wood and plastic parts
Nylon and fiberglass parts
Last edited by JAS; 02-27-2015 at 11:11 AM.
02-17-2015, 10:28 AM
#24
Thread Starter
My Feedback: (2)
Join Date: May 2002
Location: Around
Posts: 1,432
Likes: 0
Received 0 Likes
on
0 Posts
Instead of having 6 wires running to the rear of the plane, this uses a common red and black wire so there are only 4 wires. It's a bit lighter than 2 standard extensions.
JAS, Thanks much, appreciate the info. I picked pretty much the same as far as accessories go. Will look at the Dubro tail wheel too, I've plenty of planes to use the Sullivan one on. I was going to use a Castle ESC 100 as that's what I have, but could easily try something else. Not familiar with the 1.2M quad extension? Is there an advantage to using it versus the separate 36" extensions? Sure do appreciate the feedback and posts of your assembly as you get time. Again thanks.
Mark
Mark
02-17-2015, 10:32 AM
#25
Thread Starter
My Feedback: (2)
Join Date: May 2002
Location: Around
Posts: 1,432
Likes: 0
Received 0 Likes
on
0 Posts
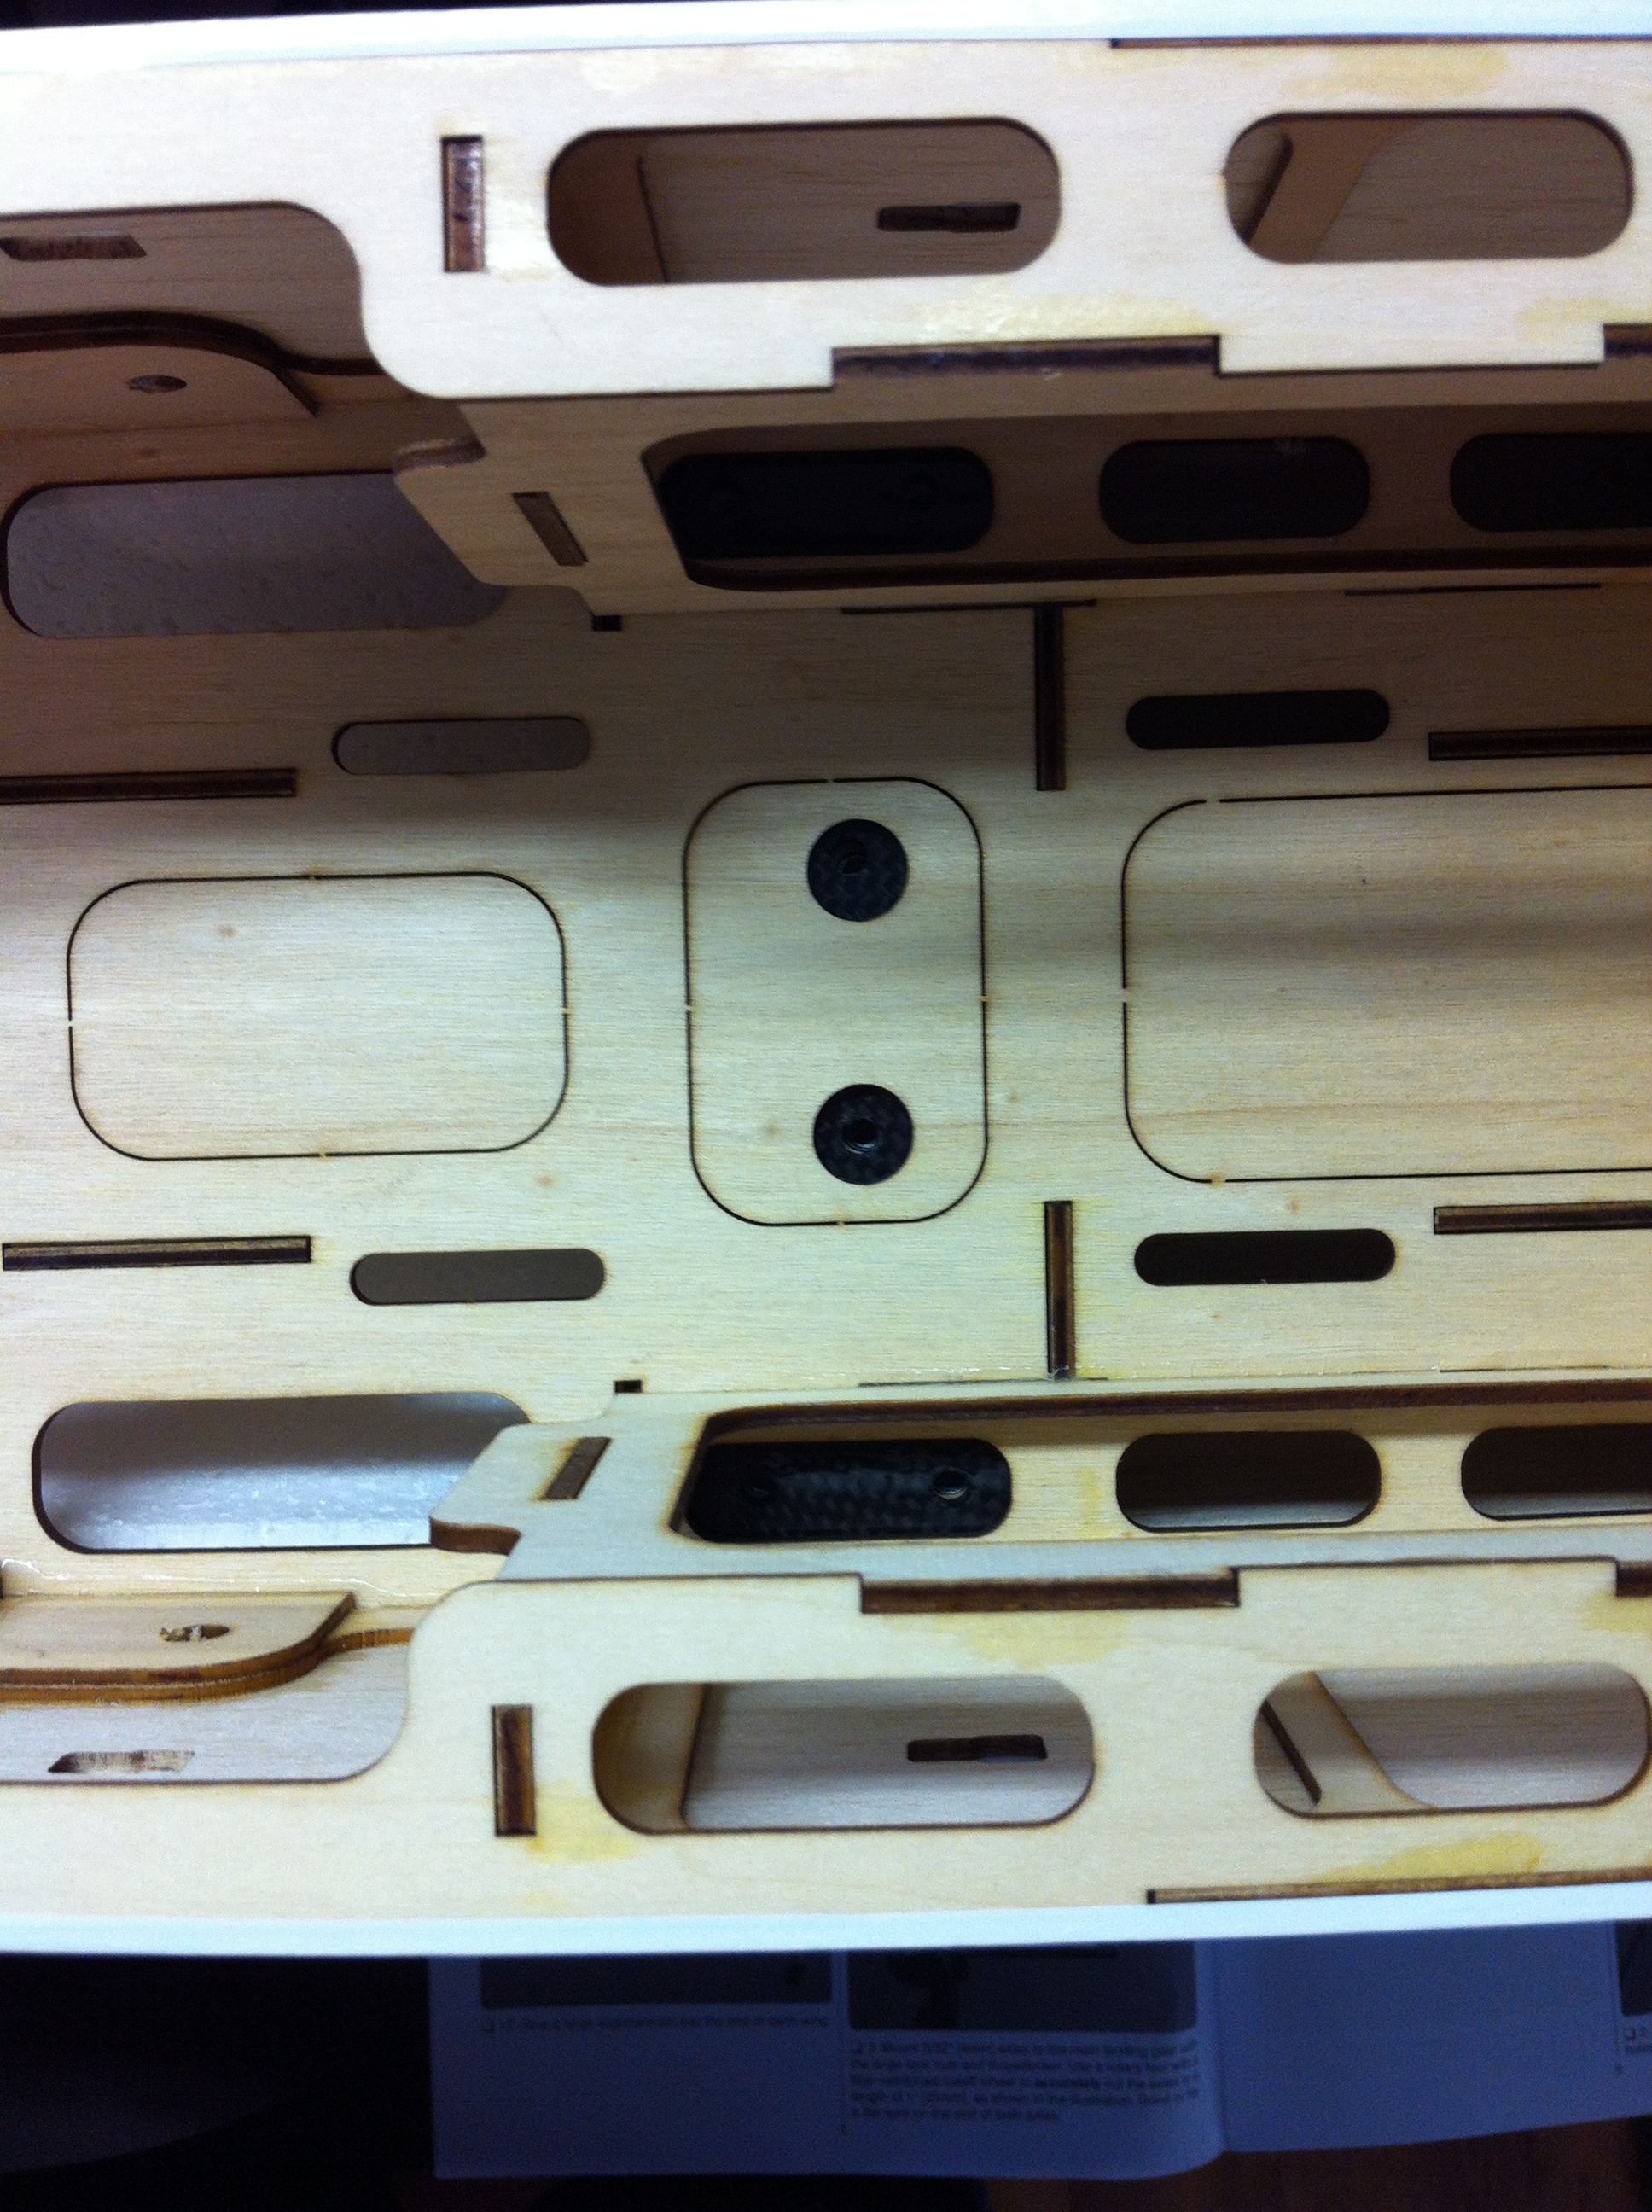
Landing gear and tail wheel

I had to open the corners a little for the gear to slide in perfectly and line up the bolt holes.

First I checked that the screws went in easily to the blind nuts.
Then I added some blue thread lock and tightened everything up.
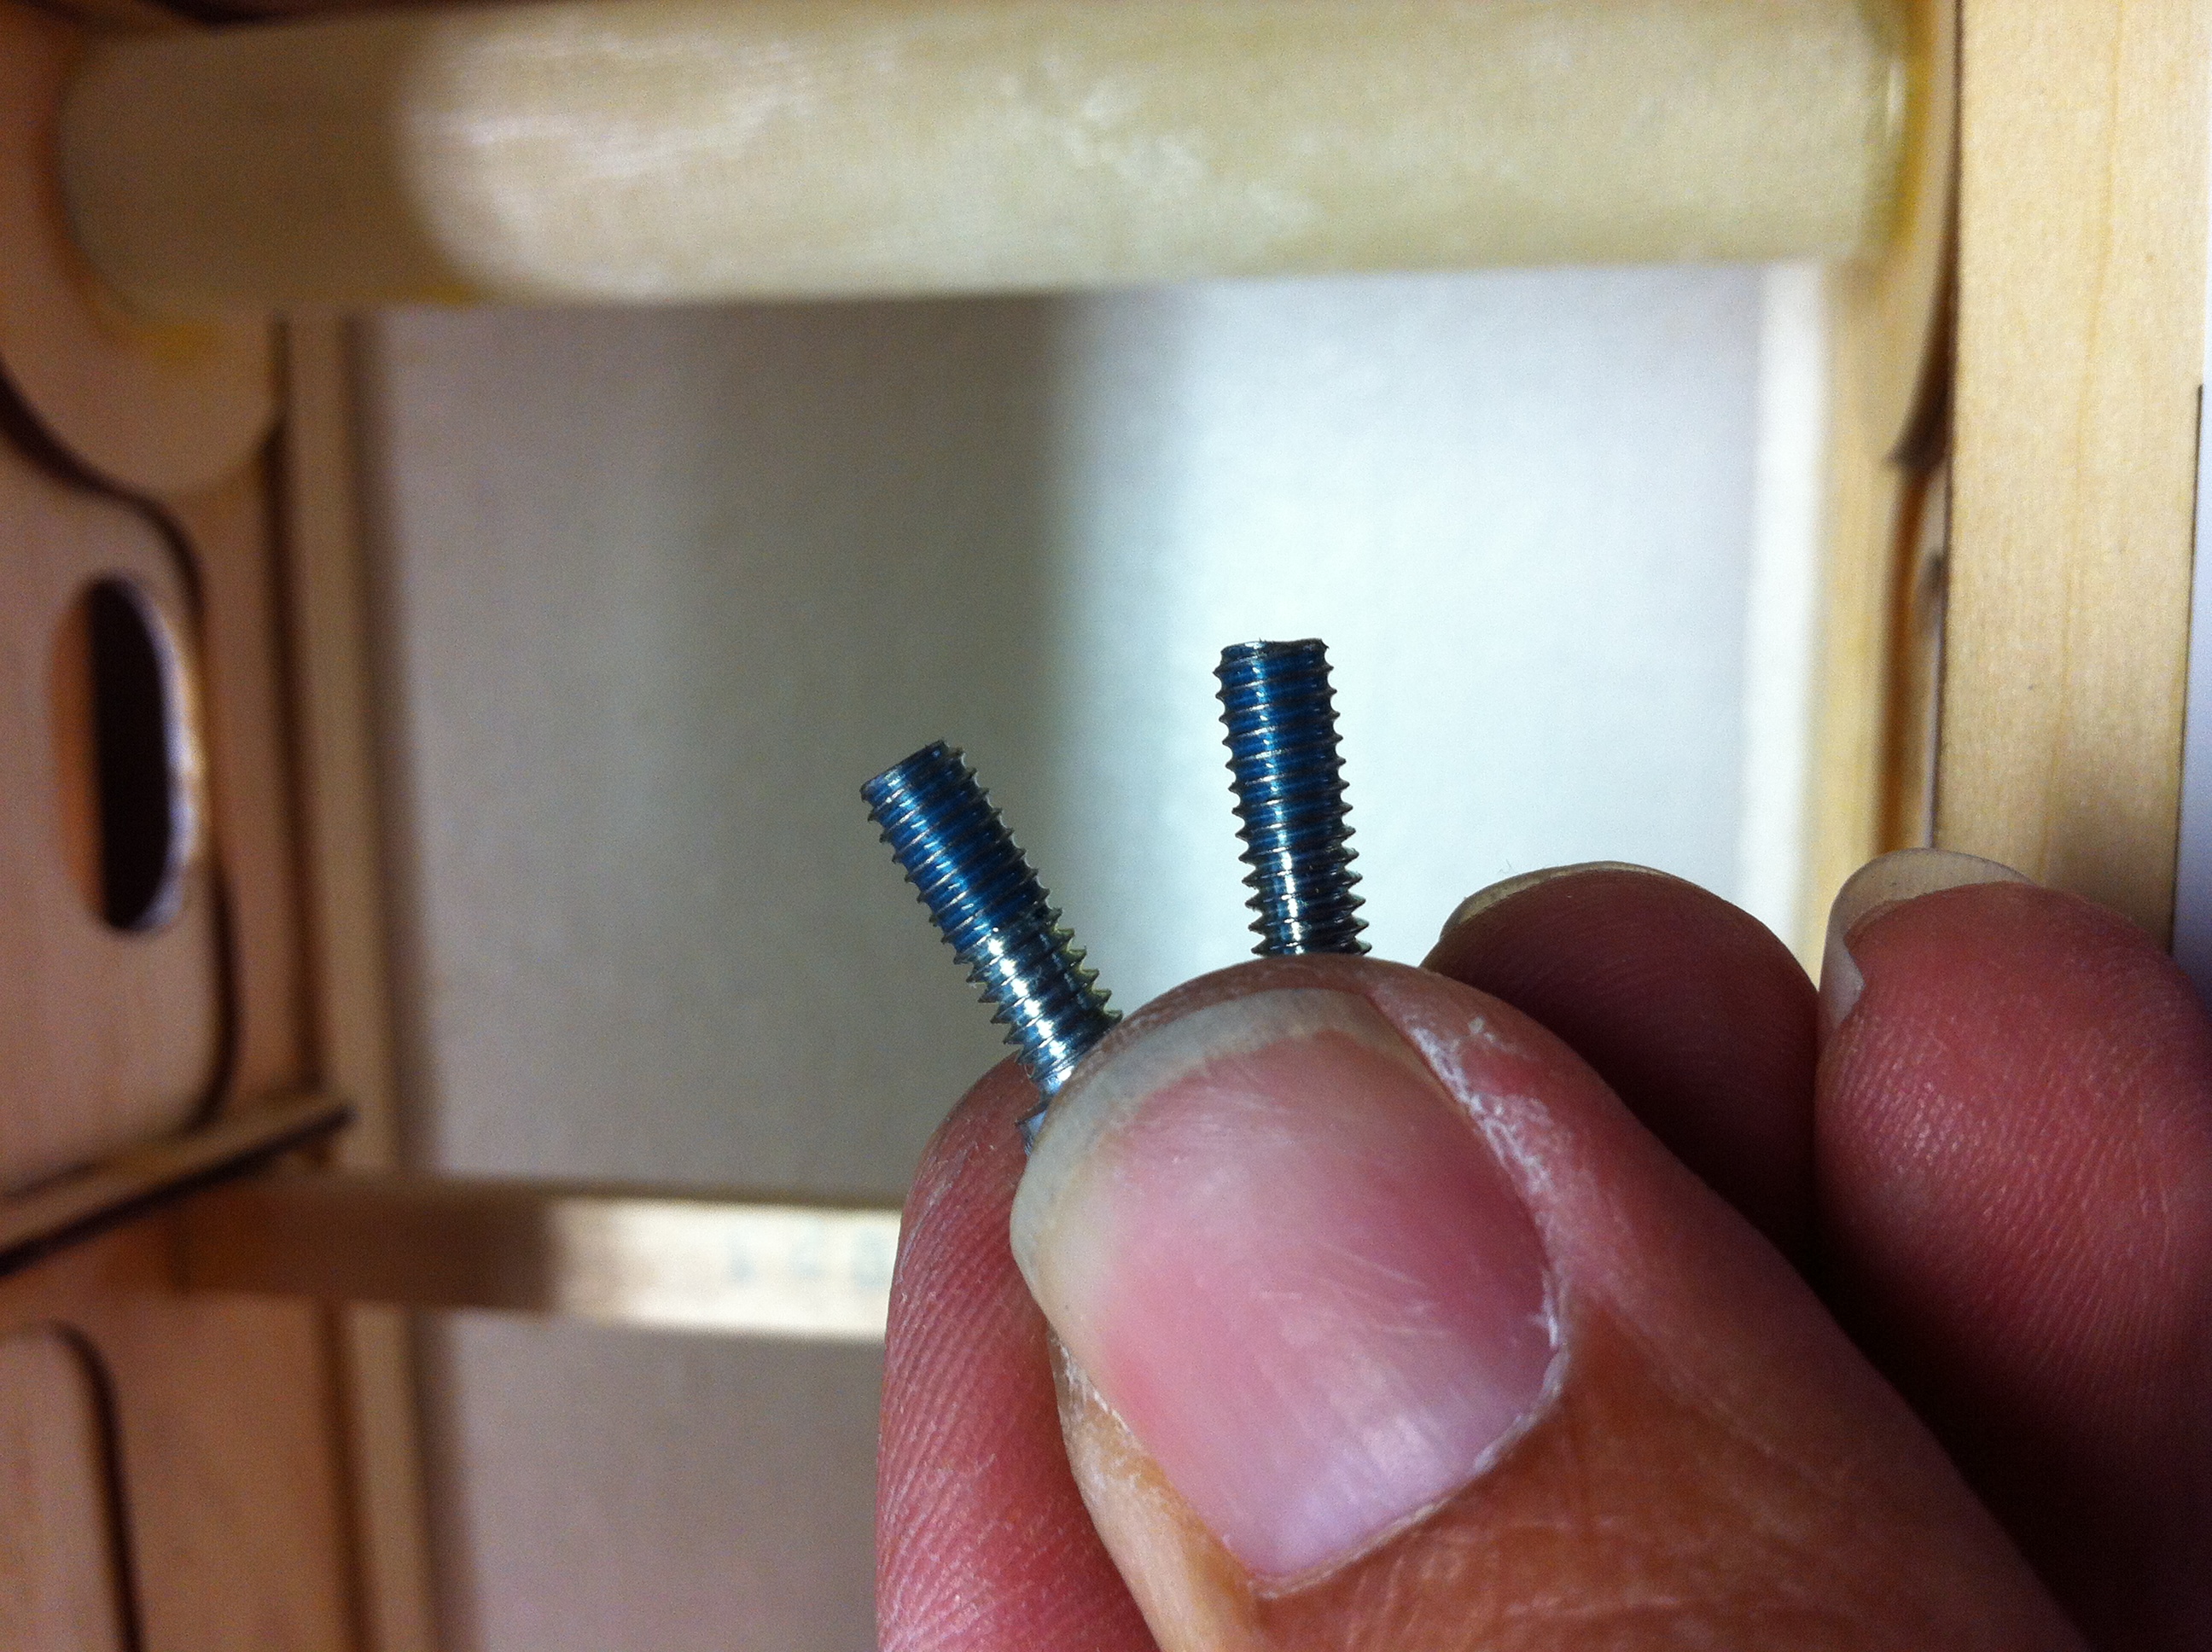
The middle bolts do stick up a bit, but I didn't replace them. I will see how it works out in the end and decide later if I will replace with shorter (or button) head screws.

I'll put the axels and wheels/pants on last so I don't break the wheel pants off while working on it.
Tailwheel and wheel collar

Easy
I had to open the corners a little for the gear to slide in perfectly and line up the bolt holes.
First I checked that the screws went in easily to the blind nuts.
Then I added some blue thread lock and tightened everything up.
The middle bolts do stick up a bit, but I didn't replace them. I will see how it works out in the end and decide later if I will replace with shorter (or button) head screws.
I'll put the axels and wheels/pants on last so I don't break the wheel pants off while working on it.
Tailwheel and wheel collar
Easy
Last edited by JAS; 02-27-2015 at 11:16 AM.

