


HK GeeBee 1.20 Questions
 01-02-2012, 09:46 PM
#1

Thread Starter
Join Date: Dec 2006
Location: , CA
Posts: 90
Likes: 0
Received 0 Likes
on
0 Posts
I just got one of these - awesome looking and beautiful quality especially for the price.
http://www.hobbyking.com/hobbyking/s...dProduct=16639
It didn't come with any manual - most things are pretty obvious, but have a few parts that I have no idea what they are for, how to do the elevator and rudder linkages, where the CG should be. etc. Searched and found nothing.
Anybody know of a good build thread for it? PDF manual?
Links to any references would be greatly appreciated.
Searched and found nothing.
- Rob
 01-02-2012, 11:39 PM
#2
Member
Join Date: Dec 2008
Location: Pierre, SD
Posts: 31
Likes: 0
Received 0 Likes
on
0 Posts
Hi Rob:
Great Planes is still listing the manual for the now discontinued Gee Bee .91 arf at
http://manuals.hobbico.com/gpm/gpma1326-manual.pdf
and also
http://www.greatplanes.com/manuals/discontinued.html
My GP Gee Bee flys GREAT with an OS Max 120 (pump) and the Robart "Beefy" Gee Bee struts....
http://www3.towerhobbies.com/cgi-bin/wti0001p?&I=LXFRS2
.... now if I can only figure out how to land it.
01-03-2012, 03:24 AM
#3
Senior Member

Join Date: Dec 2008
Location: Cape L\'\'\'\'\'\'\'\'Agulhas, SOUTH AFRICA
Posts: 687
Likes: 0
Received 2 Likes
on
2 Posts
Hi,
These GB's are beautiful planes and certain crowd pullers. They also have a couple of quirks due to the short body and stubby wings. You may consider using a gyro initially to help with landing approaches as they tend to nose over quickly. Get the main gear as far forward as possible without spoiling the looks. Use larger tires, preferably soft ones to reduce bounching. Use a strong prop as nose overs can chew props. Consider fitting sealed bearings in the wheels. Setting up landing approach line and angle is important to avoid nose overs on landing.
Enjoy. Your Gee Bee!!!
Cheers
Bundu
01-03-2012, 03:48 PM
#4
Thread Starter
Join Date: Dec 2006
Location: , CA
Posts: 90
Likes: 0
Received 0 Likes
on
0 Posts
Chuck - good info thanks. This one is different in how it goes together and slightly bigger - 71" span vs 68".
Bundu - I've flown the one on my sim Aerofly and it flies fine, but landing is NOT easy.
I weighed the parts in the box and with everything minus the engine mount and fuel tank it came to about 8 lbs - 3 oz. I figure an all up weight of about 13 - 13.5 lbs if I go electric or a lb or so less if I go with a DLE 30.
If anyone else might know of the manual for the 71" span model, Let me know.
- Rob
01-04-2012, 08:45 AM
#5
Senior Member
GeeBees are awesome! They actually have the same 'moments' as a Piper Cub. They look stubby because they are 'fat'! 'Wheel landing' is the watchword with these. They are draggy so no flaring until in ground effect. I'm going to embark upon a 1/4 scale R-1 build (Jimmy Doolittle's) using Vern Clements drawings in the near future. Good luck.
01-06-2012, 02:25 PM
#6
Senior Member
Join Date: Jan 2006
Location: Lexington,
VA
Posts: 1,556
Likes: 0
Received 0 Likes
on
0 Posts
Robert
I'll be interested to follow along w/ your experiences w/ this one. Interesting airplane from an interesting source. I may well pull the trigger here, based on what you find.
Al
I'll be interested to follow along w/ your experiences w/ this one. Interesting airplane from an interesting source. I may well pull the trigger here, based on what you find.
Al
01-06-2012, 08:52 PM
#7
Junior Member
Join Date: Jan 2012
Location: , SC
Posts: 1
Likes: 0
Received 0 Likes
on
0 Posts
(first post on RCU)
Rob-
I think there were a batch of just eight that came into HK inventory and were sold out in about 16 hours. I got two - or as I like to think of it, I got one and a very complete parts kit for crash repair. It appears to be a truly well-made kit. The only real shortcoming I see is that the things were shipped sans instruction manuals of any kind. Like you said, *most* of it is pretty intuitive. Please PLEASE be generous with your discoveries with this plane. I have little to offer for a while due to finishing a few other plane projects before fooling with these.
-DS
Rob-
I think there were a batch of just eight that came into HK inventory and were sold out in about 16 hours. I got two
- or as I like to think of it, I got one and a very complete parts kit for crash repair. It appears to be a truly well-made kit. The only real shortcoming I see is that the things were shipped sans instruction manuals of any kind. Like you said, *most* of it is pretty intuitive. Please PLEASE be generous with your discoveries with this plane. I have little to offer for a while due to finishing a few other plane projects before fooling with these. -DS
01-06-2012, 09:14 PM
#8
Thread Starter
Join Date: Dec 2006
Location: , CA
Posts: 90
Likes: 0
Received 0 Likes
on
0 Posts
OK. I will do my best to post what I learn along the way with this one.
Dave - When I ordered mine, I did the notify when they get in stock. Went to the site, there were 3 left. So I didn't hesitate. When I completed checkout and clicked back there was 1 left!
Haven't decided on electric or gas power yet. Gas would be easier as there is no hatch for quick battery installation - the only access is via the wing saddle.
Probably will also use pin hinges instead of the supplied CA hinges. The wings and stab are pre-slotted for CA hinges, but rudder and vert fin are not.
It comes with a dummy radial, it doesn't appear to be large enough so I will probably get another - I want to detail the dummy radial with push rod tubes and ignition wire.
Think I might try those Robart struts for the GP GeeBee that Chuck suggested as I think I can figure a way to work them in - and ANYTHING I can do to make landings easier, the better. The supplied wire is stout, but just a single wire - no aft bracing or even a coil.
08-03-2012, 01:59 PM
#9
Junior Member
Join Date: Jun 2012
Location: Muenchen, GERMANY
Posts: 25
Likes: 0
Received 0 Likes
on
0 Posts
Hello,
any news about the HK Gee Bee 1.20? Maiden flights?
What i want to know, who gets this kit with the correct rudder and if yes when ordered?
Please post pics of it. Is it wood or glass?
The actual kits are sold with a faulty rudder, to thin, too short!
It is a modified aileron!!!!
Many people has reported this to HK and they promise a replacement part. I´m waiting for months...
3 weeks ago I asked two (2) times, if the rudder is updated and correct, HK said yes, i ordered another one, again the faulty rudder. What the fu§%???
Off course i sent the kit back and now i`m waiting for the refund...
Please DON´T buy this kit until HKreacts!
The problem is there`s at the moment no alternative for a 1.20 Gee Bee R1/R2
Great Planes, please DOITAGAIN!
Best wishes,
Wolfgang
11-06-2012, 01:50 AM
#10
Junior Member
Join Date: Jun 2012
Location: Muenchen, GERMANY
Posts: 25
Likes: 0
Received 0 Likes
on
0 Posts
Hello,
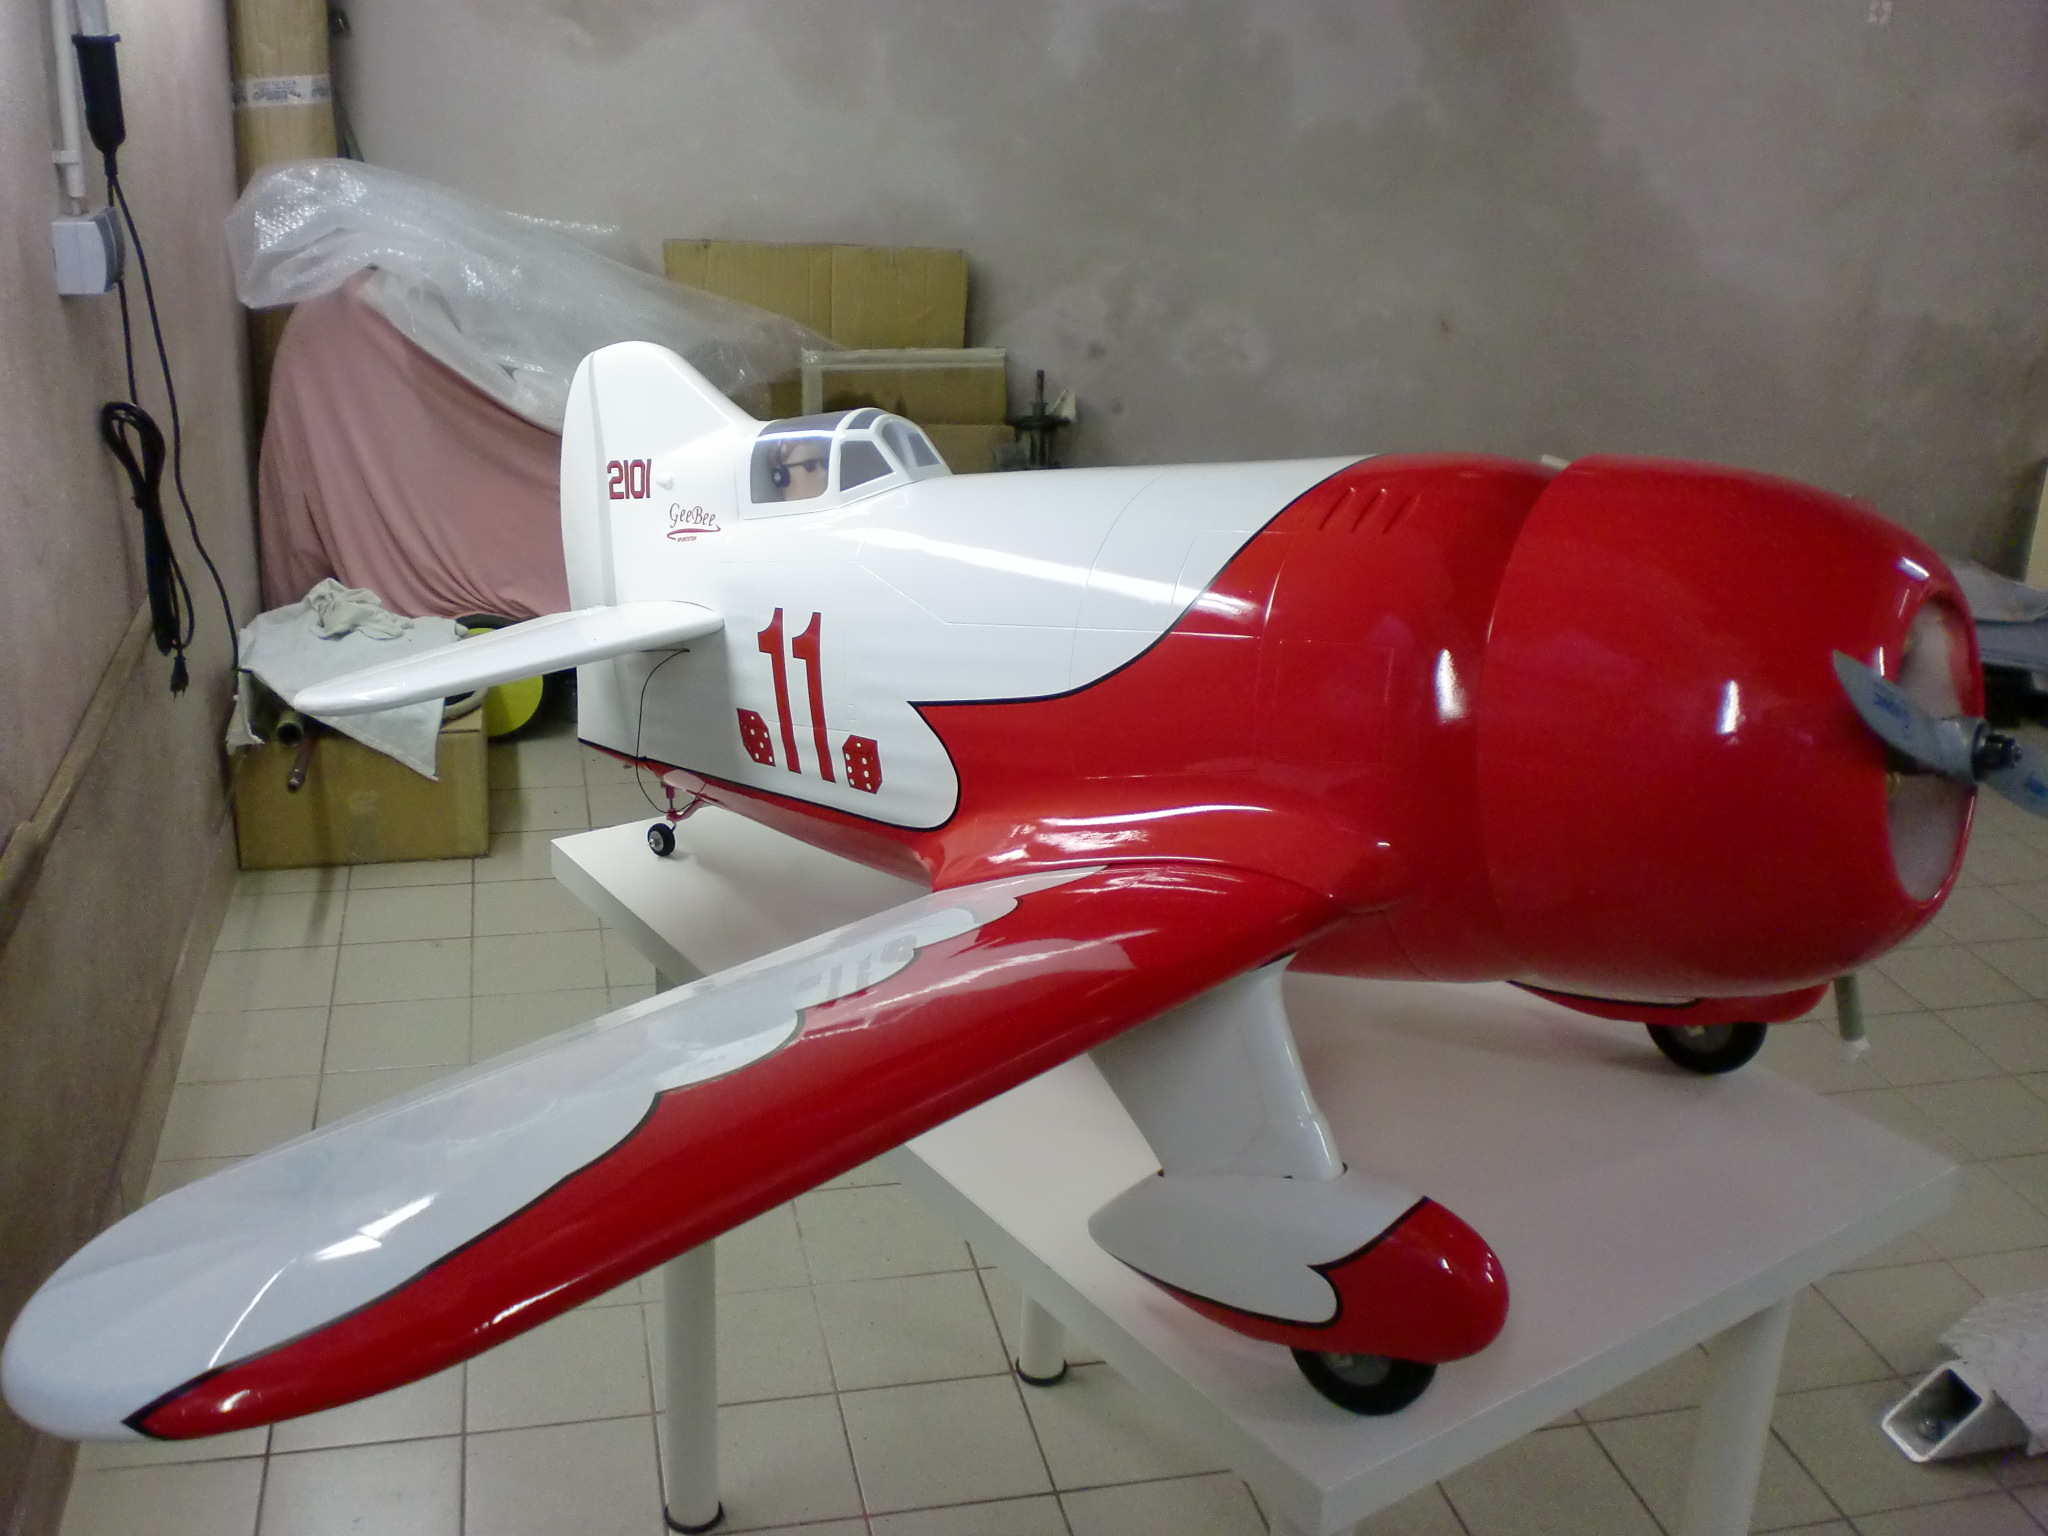
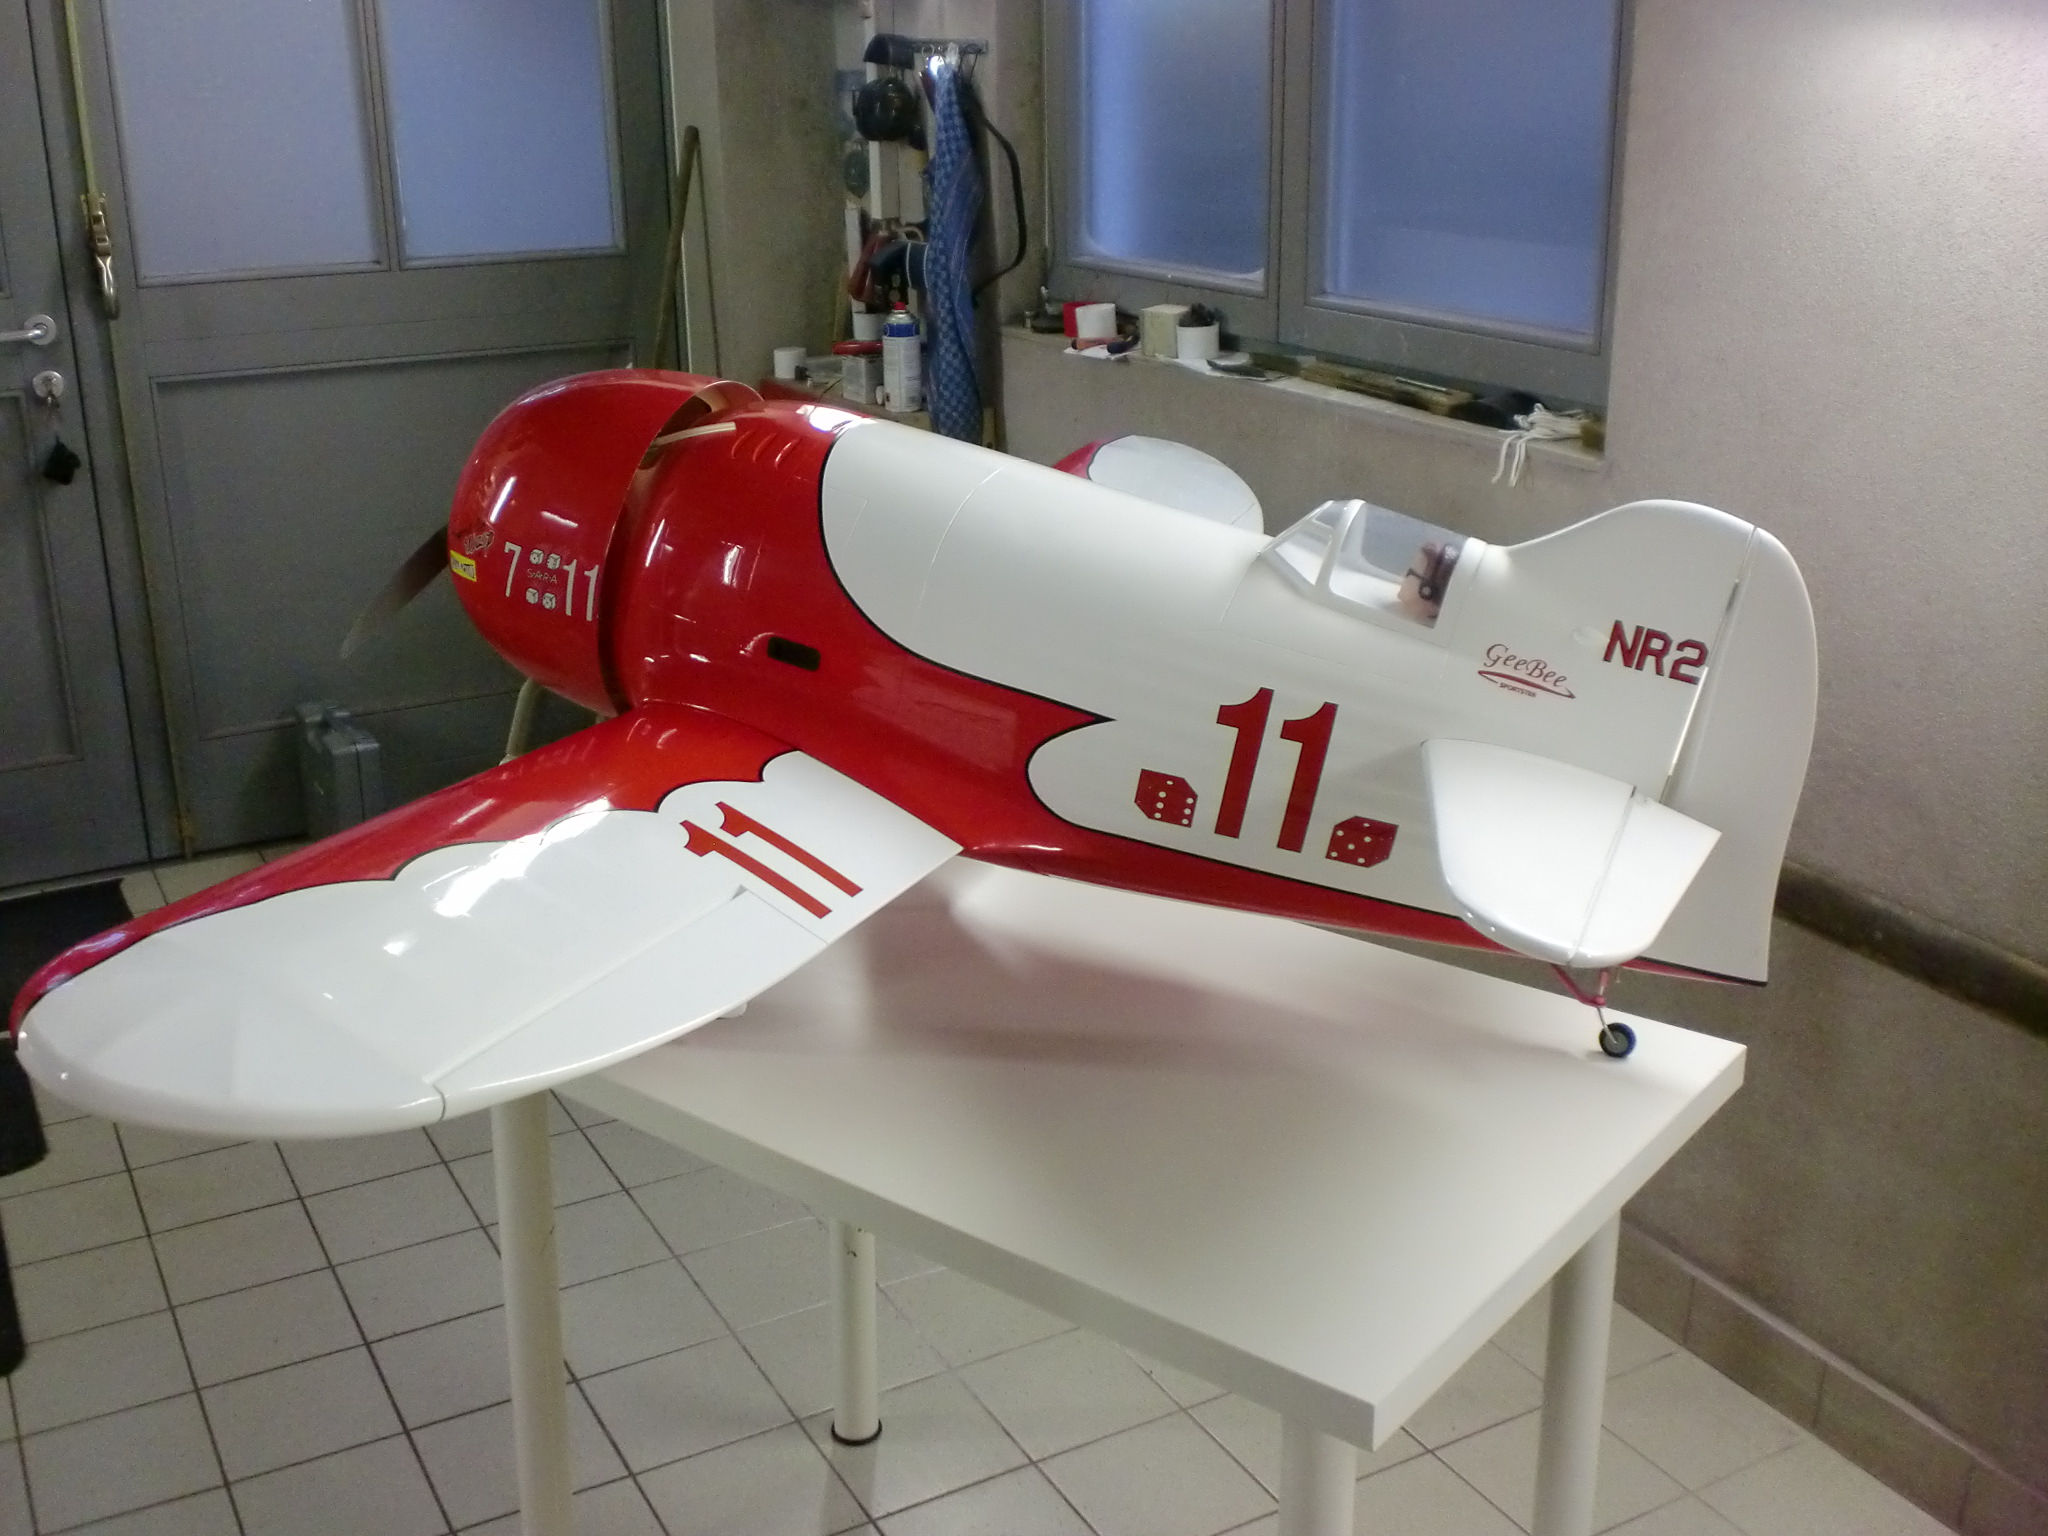
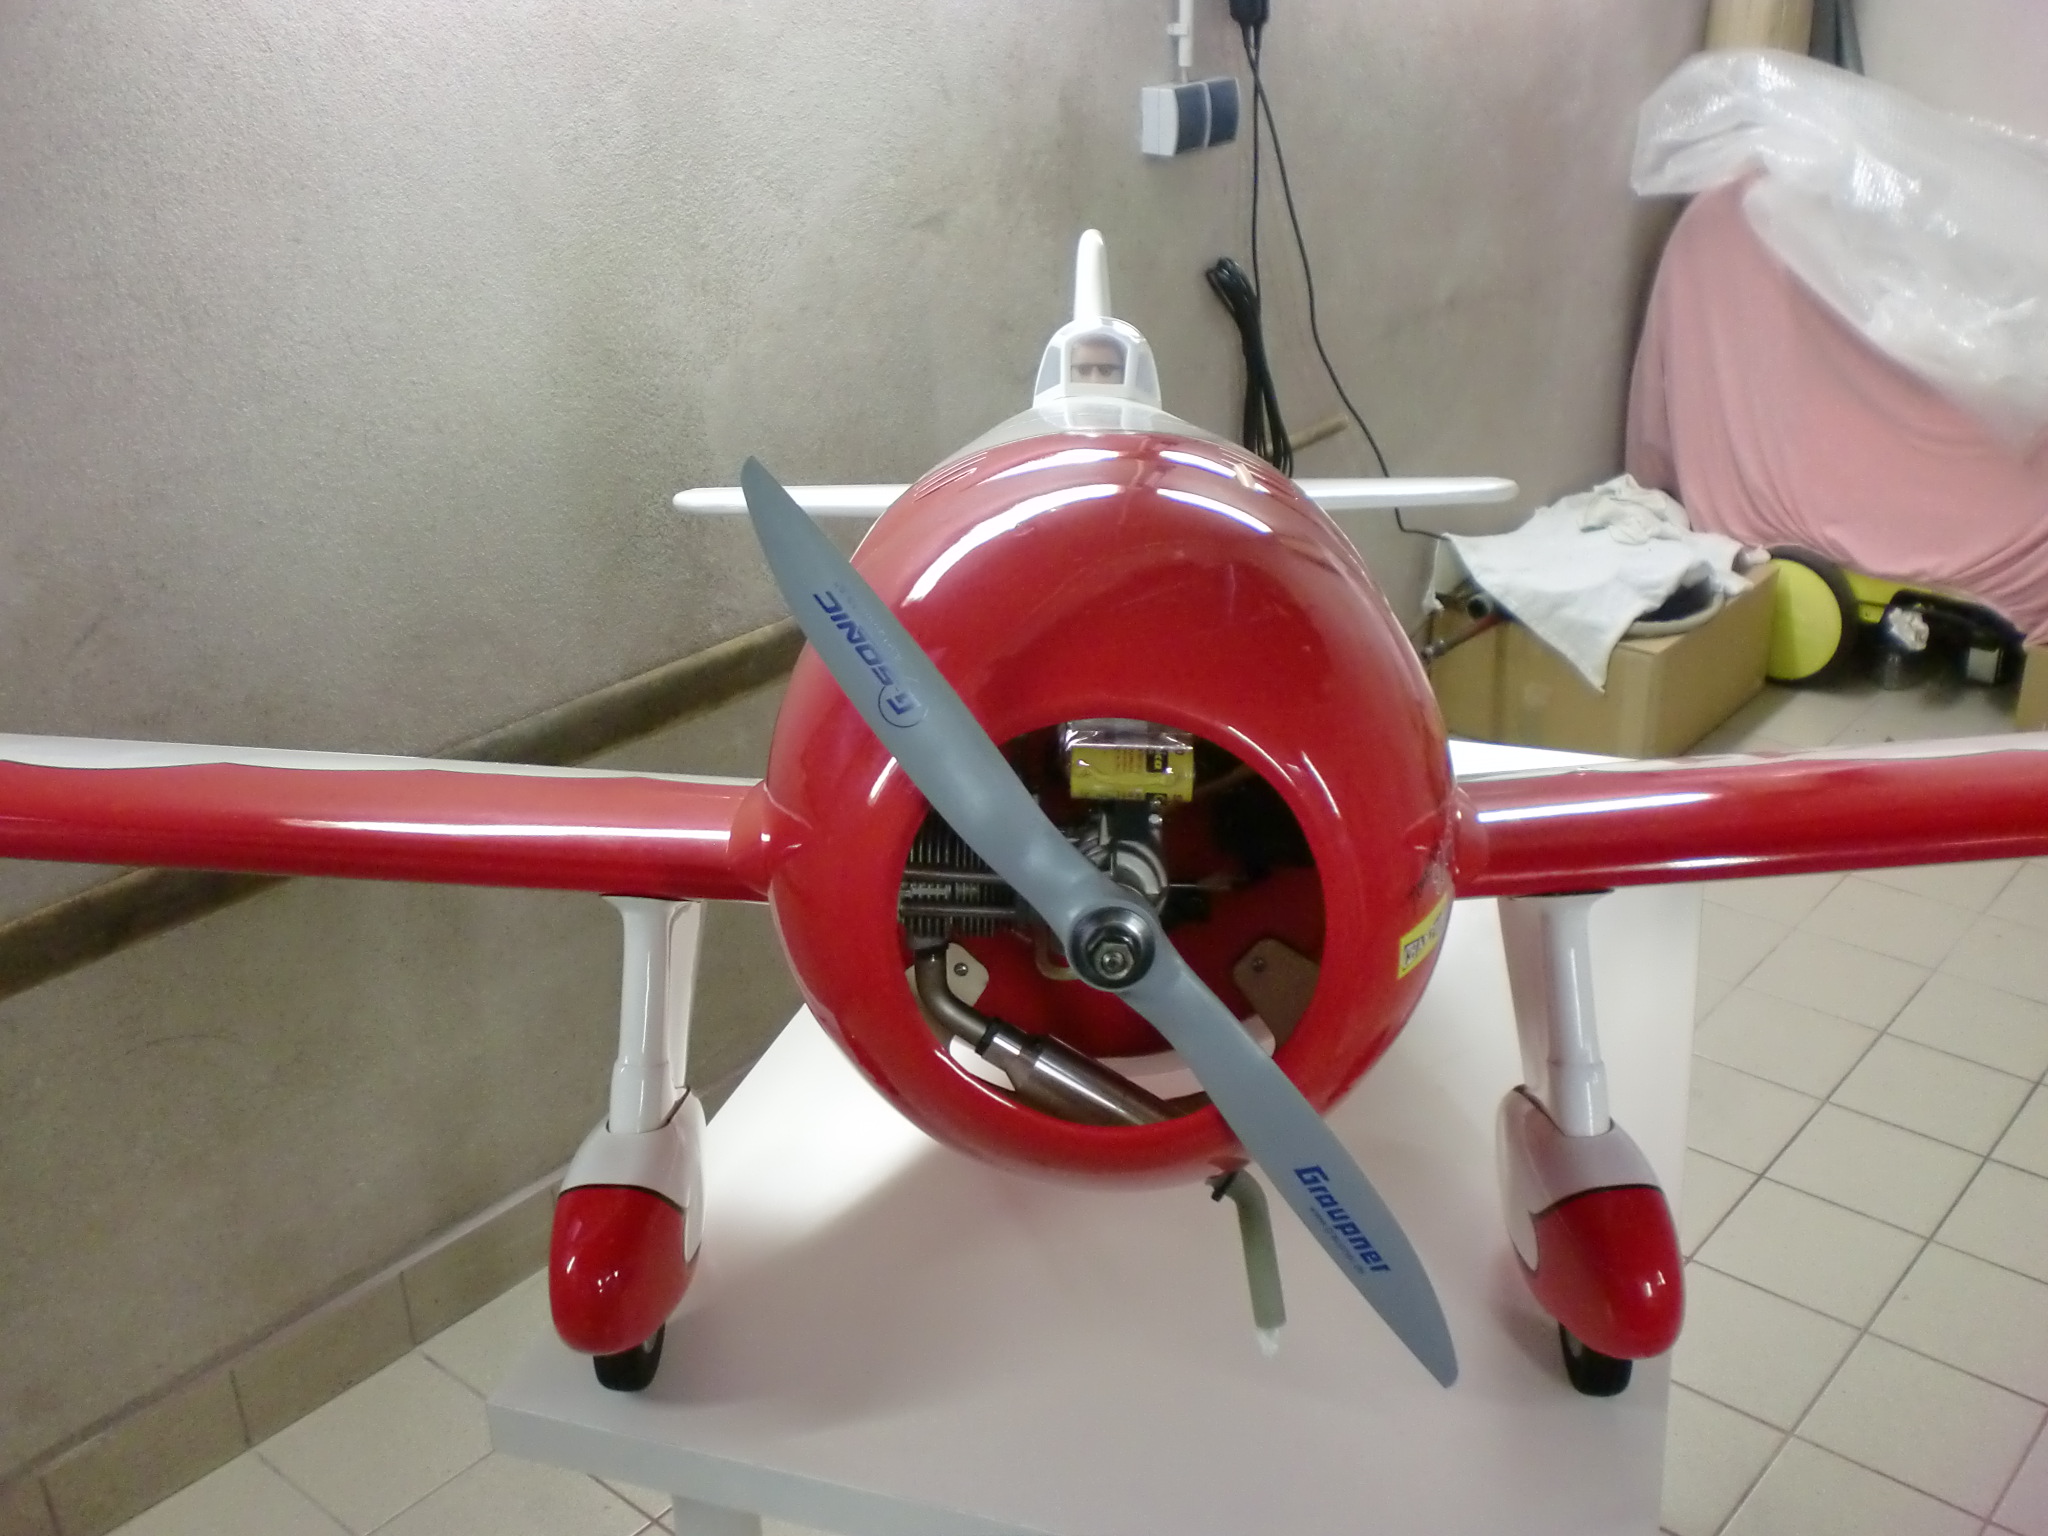
in the meantime, my HKGee Bee is almost ready to fly, the most important work was the modification of the landing gear.
Engine is a OSFS120 Surpass II, CG is at 75mm from the leading edge, weight is 5,8kg (12,79 lbs)
here some pics:

Best wishes,
Wolfgang
in the meantime, my HKGee Bee is almost ready to fly, the most important work was the modification of the landing gear.
Engine is a OSFS120 Surpass II, CG is at 75mm from the leading edge, weight is 5,8kg (12,79 lbs)
here some pics:
Best wishes,
Wolfgang
11-06-2012, 01:55 AM
#11
Junior Member
Join Date: Jun 2012
Location: Muenchen, GERMANY
Posts: 25
Likes: 0
Received 0 Likes
on
0 Posts
Here´s a link to a friends HKGee Bee in the USA:
http://z11.invisionfree.com/GMARC/in...?showtopic=223

He also published some further pics of my HKGee Bee.
Wolfgang
http://z11.invisionfree.com/GMARC/in...?showtopic=223
He also published some further pics of my HKGee Bee.
Wolfgang
07-16-2013, 12:03 AM
#12
Member

Join Date: Aug 2011
Location: GosfordNSW, AUSTRALIA
Posts: 80
Likes: 0
Received 0 Likes
on
0 Posts
Hi Guys,
I have just finished my HK Gee Bee with a DLE-30 and it had its maiden last weekend. I built it as though it was a giant scale plane, cutting and re-enforcing the wings for fitting the Robart Great Planes Gee Bee Struts plus a huge amount of other setup work including remaking the rudder.
The c.g. and throws are as set to the Great Planes model and the c.g. is 70mm exactly set on a precision balancer. I did give it differential on the ailerons.
It flew perfectly with no bad tendancies, just a fast bouncy landing as it drops quickly as the speed washes off.
Oh I finished him off as El Chupacabra from the new Disney Planes animation coming out soon
[youtube]http://www.youtube.com/watch?v=XykUCuTURJw[/youtube]
07-16-2013, 10:57 AM
#13
Junior Member
Join Date: Jun 2012
Location: Muenchen, GERMANY
Posts: 25
Likes: 0
Received 0 Likes
on
0 Posts
Hello Kitty,
wow, great.
Nice to hear after a long time from another HK Gee Bee R2 owner.
Never thought there´s a Gee Bee R2 flying girl outta there!
Do you have some more details about the rudder mod. (wood or fiber?) and the
installation of the Robart gear?
Some pics during doing the mods?
Looking forward to your promised video!
Thanks,
Wolfgang
07-16-2013, 04:18 PM
#14
Member
Join Date: Aug 2011
Location: GosfordNSW, AUSTRALIA
Posts: 80
Likes: 0
Received 0 Likes
on
0 Posts
Hi Wolfgang,
It is great to find others who have this plane as there is not a lot on the web with successful flights. I fly giant scale stuff as well as planes which are not floaters so my attitude was to approach this as a really hard plane to fly. As well I took no shortcuts in the build using all heavy duty gear and things like radio battery redundancy plus so much more. In the end the plane came out really heavy at 7.1kg but it handles it fine if you are expecting it not to fly like a park flyer or aerobatic plane.
The rudder I could made lighter but took the easy path building the original skinny one up with balsa then sheeting it. The original is in there underneath it all! I have the giant CARF Gee Bee R2 as well so had something to go from with getting the shape right.
Anyway I will post more later on the build when time permits.
Jaz
07-17-2013, 01:44 AM
#15
Member
Join Date: Aug 2011
Location: GosfordNSW, AUSTRALIA
Posts: 80
Likes: 0
Received 0 Likes
on
0 Posts
Hi Guys,
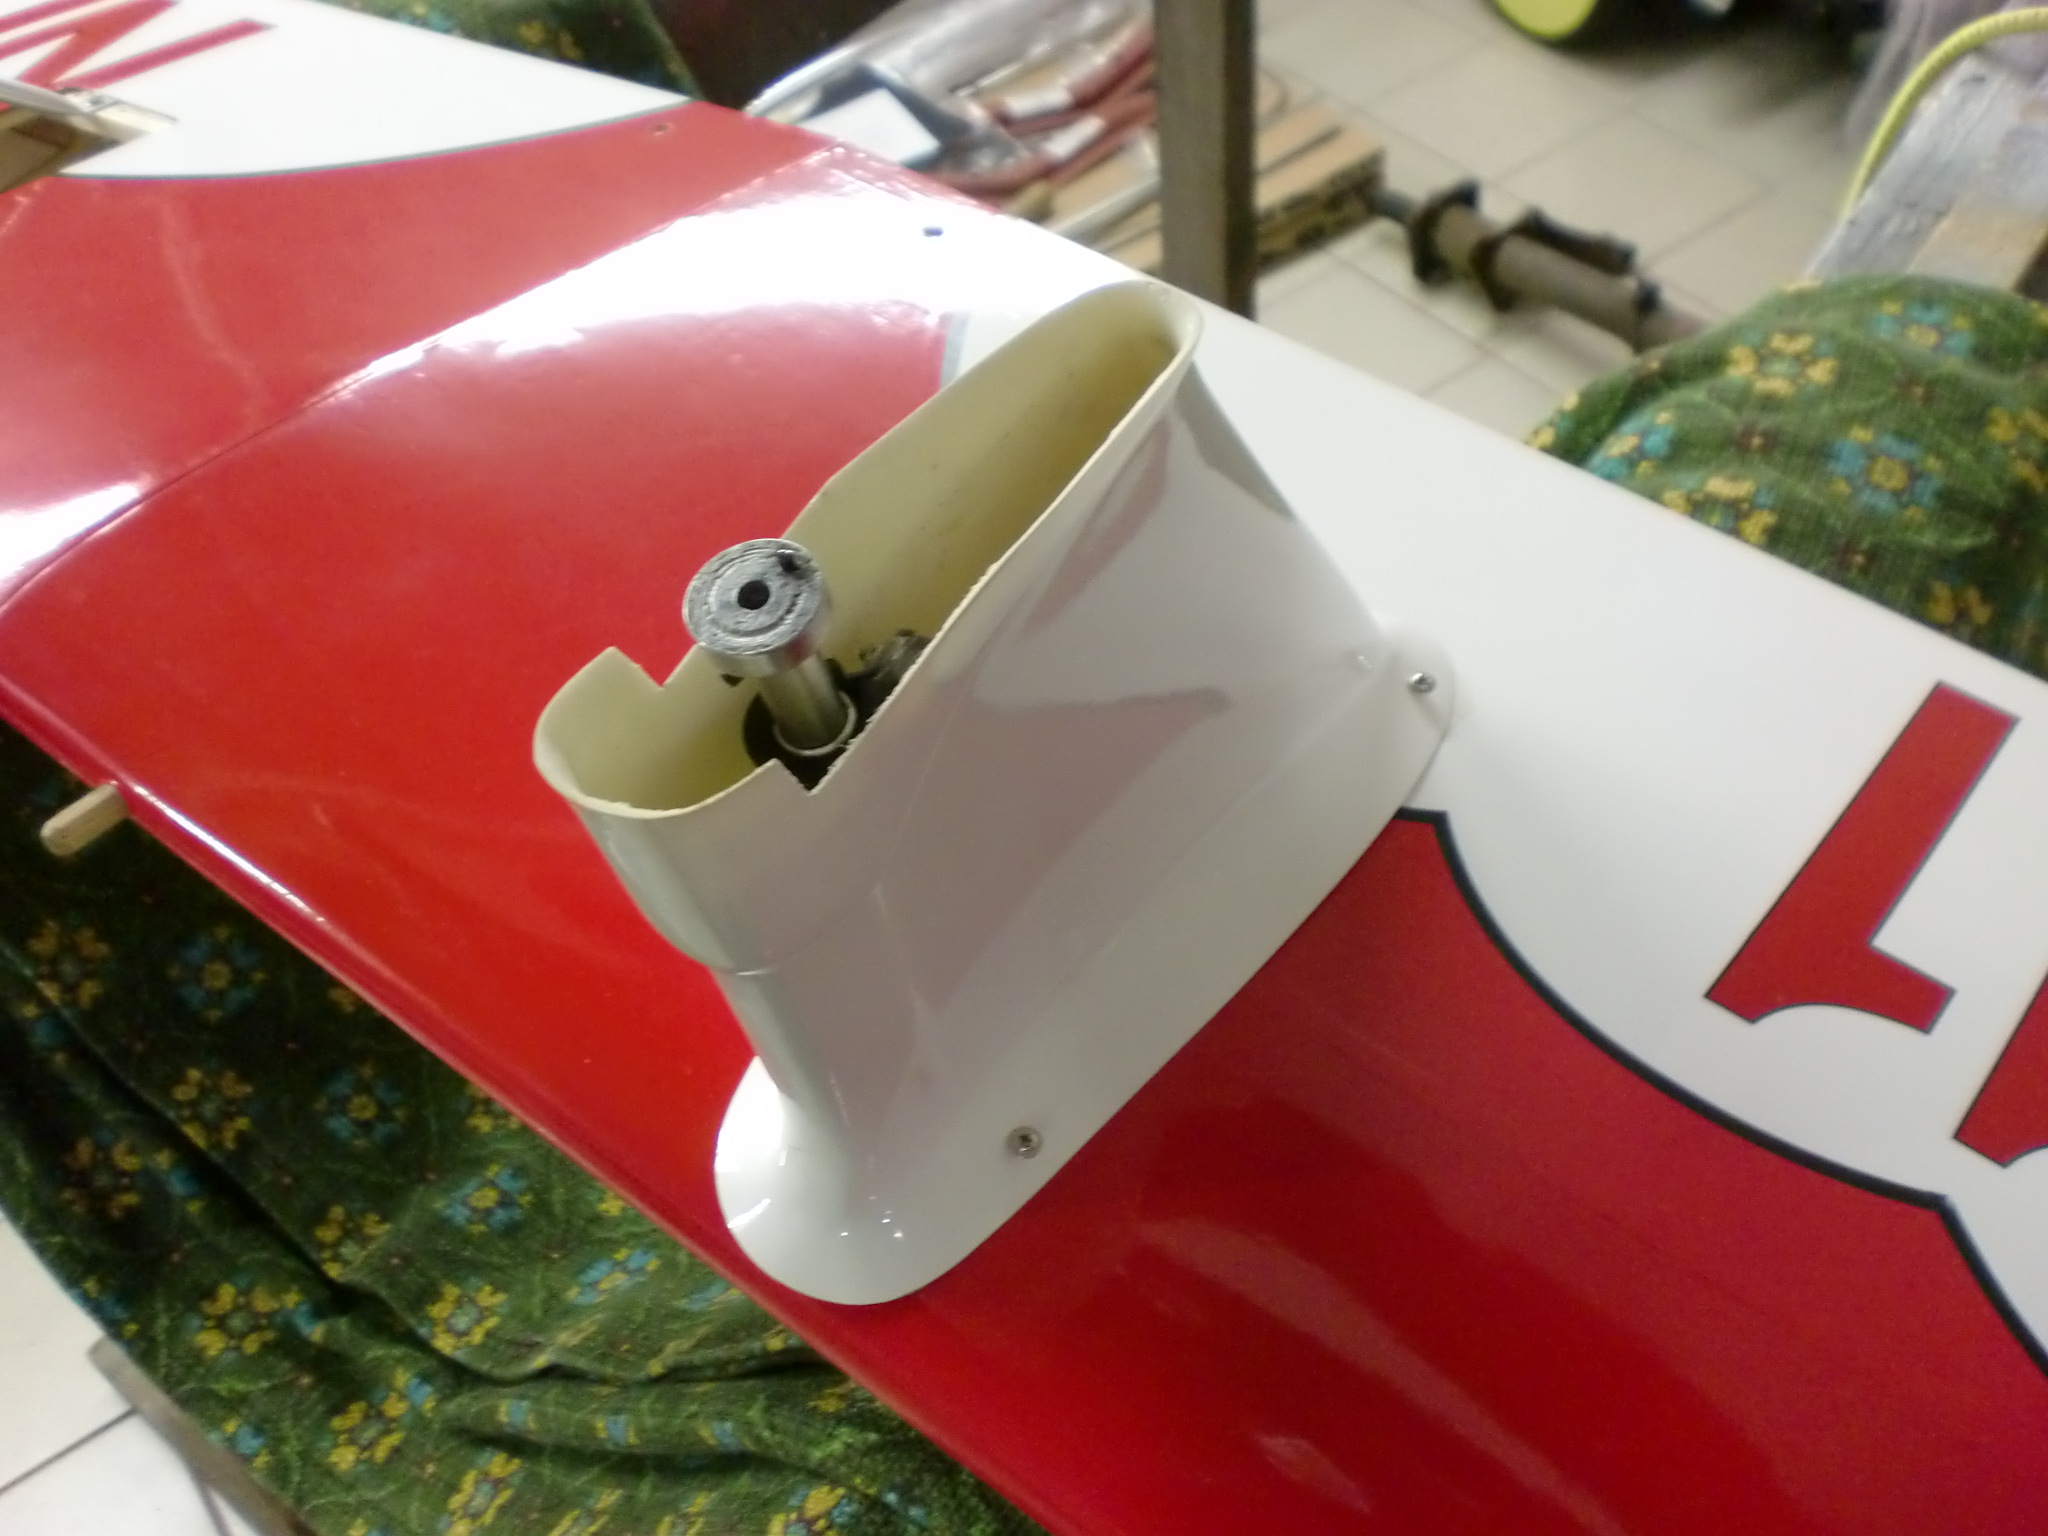
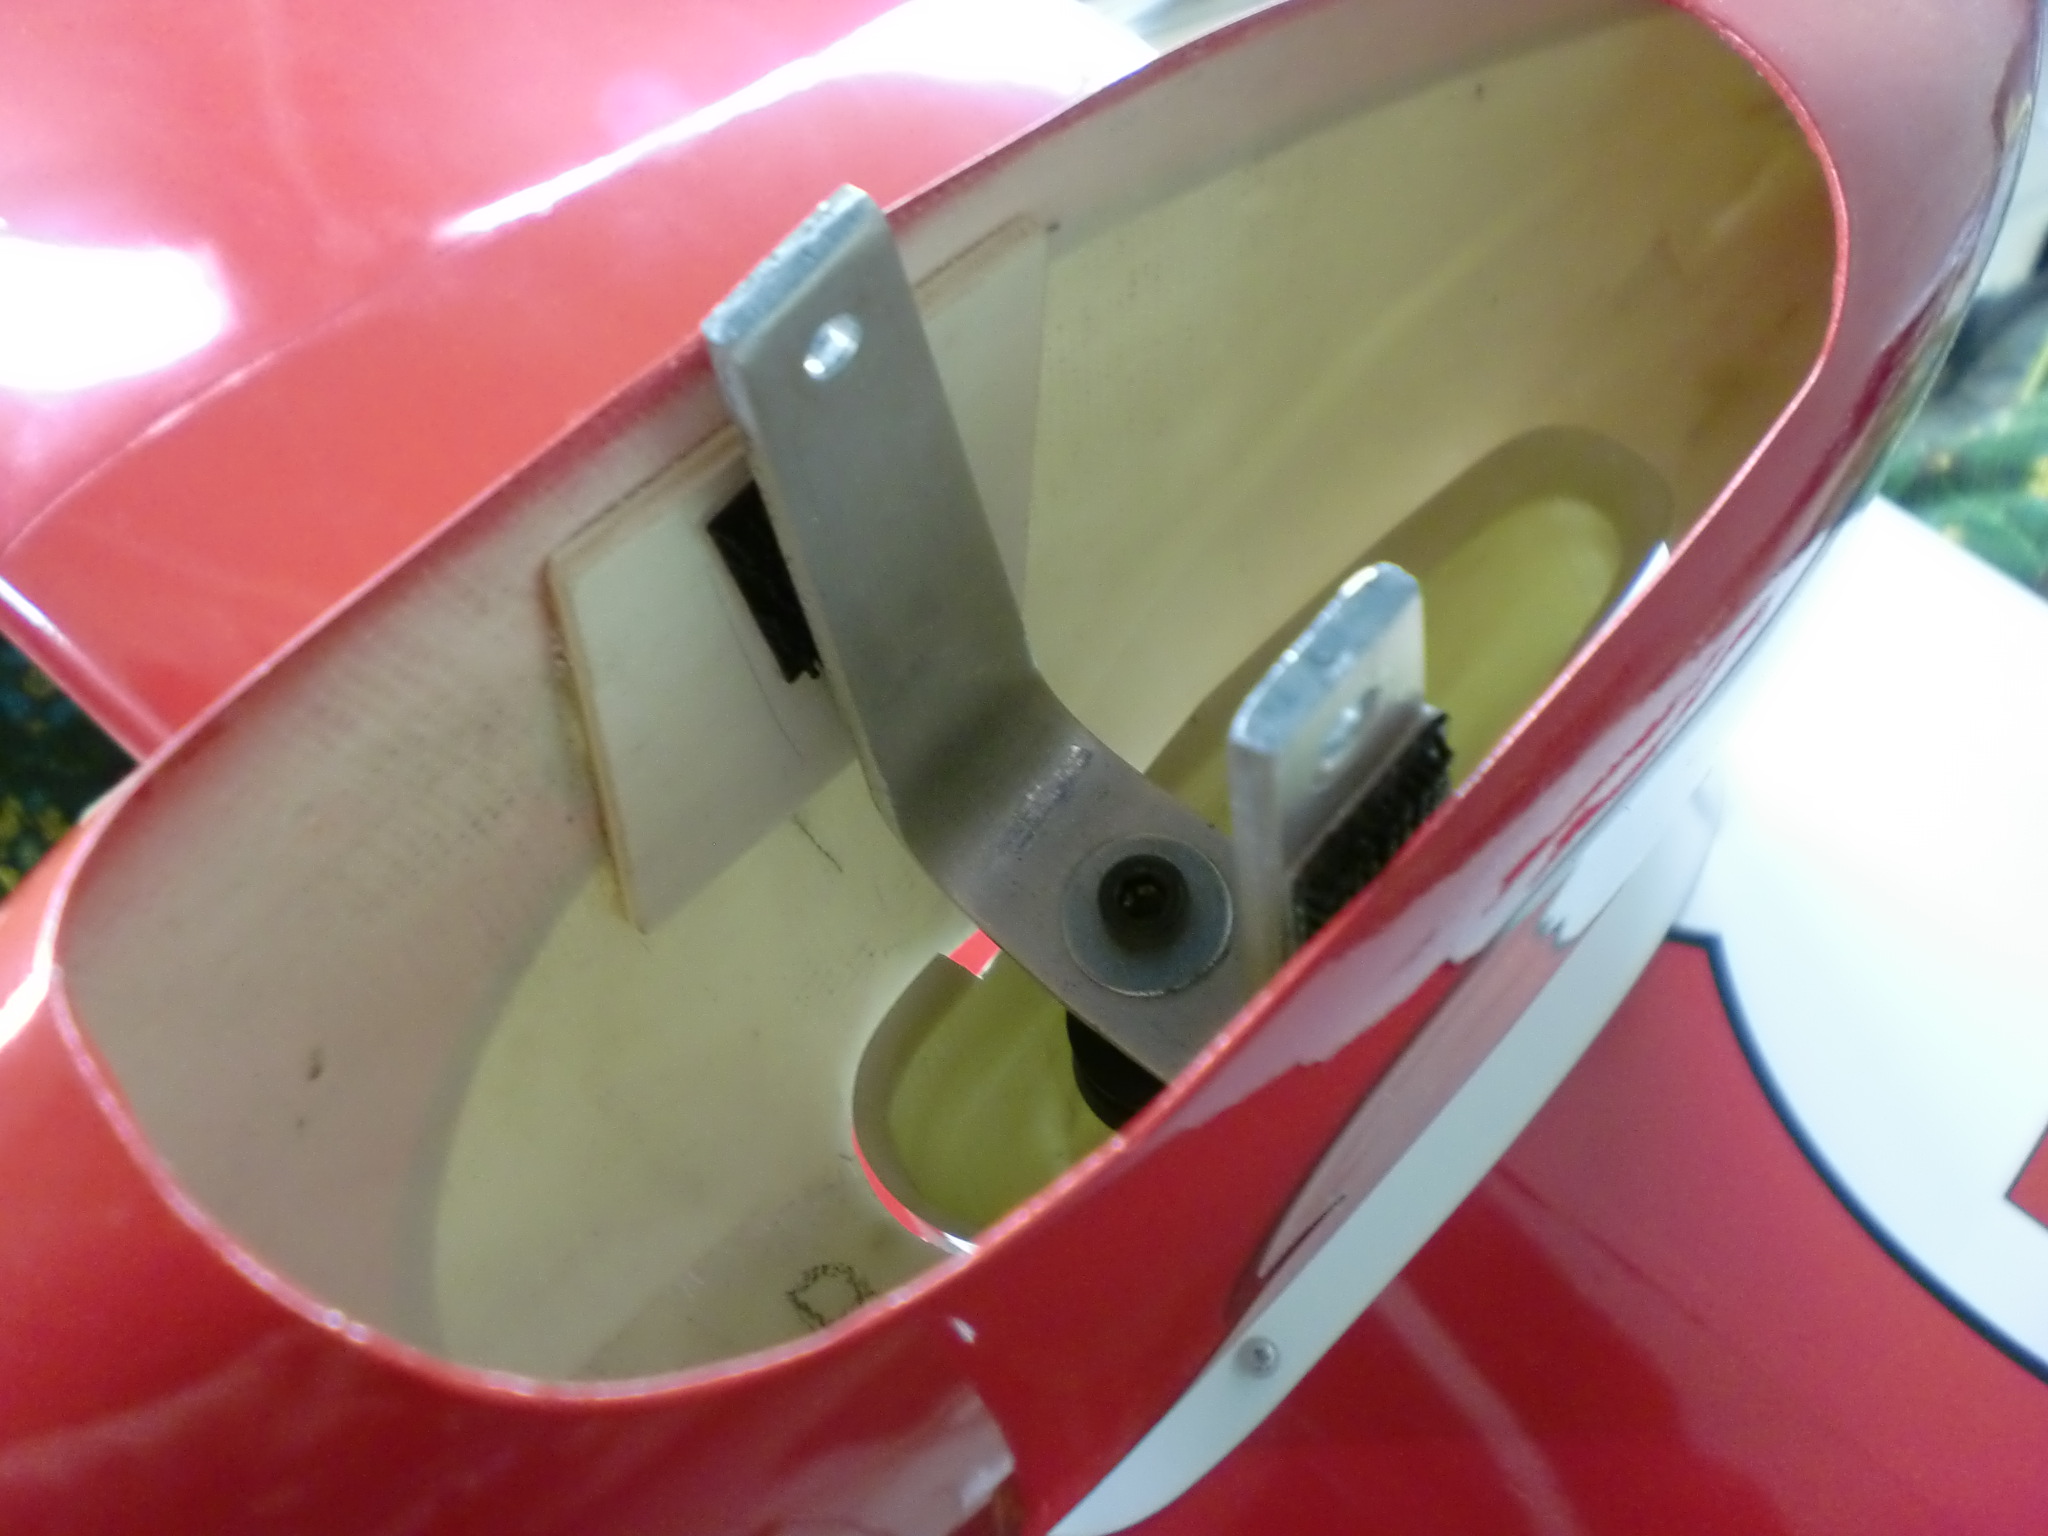
Fitting the Robart struts and modifying the wheel pants was probably the most time consuming part of this build. The Robart struts for the Great Planes Gee Bee are a really nice bit of gear. They do give a wide load area to spread the force on landing which is why it was difficult fitting them.
I started by doing one wing first and the main part of the mount, once I got that right did the front mount on the other wing. Then when they were finished I did the same with the rear support for the strut. I did not remove any of the original ribs only added thicker support ribs to help support the ones fitted. The glue I used was Hysol which is the strongest stuff I use when working on really critical load bearing joints.
The first task was to remove the original mount plate from the wing then clean up the tiny amount of original glue. The original mounts are a joke and there is no way that they would hold on the first landing. For such a nice plane they really went backwards in this part of the design.
Once the original plate was removed then I added new thicker ribs the outer one of which was glued to the original rib. They thick ribs were placed where the block goes that holds the strut in position so when I made the block it was a tight fit allowing it to be glued to the sides of the rib to add additional support to stop it moving or breaking. I then lengthen the support plate and precisely fitted it back into the ribs. The main task was to give a large surface area which to glue as well as support for the gear to spread its load. The block I used to support the strut position is made from Oak so it is really hard and I drilled it to be a tight precision fit on the wire.
The rear support mounts were cutting the wing and fitting extra log ribs that glued not only to the wing sheeting but to the inner wing spars. All that would support another load bearing plate for the wire.
There was a huge amount of thought that went into the mounts including the angle and it took me a few weeks to complete them.
Look at the photos and you will get an idea of what I did.
More to come...
07-17-2013, 02:31 PM
#16
Member
Join Date: Aug 2011
Location: GosfordNSW, AUSTRALIA
Posts: 80
Likes: 0
Received 0 Likes
on
0 Posts
Hi Guys,
The wheel pants are probably one of the most thought inducing parts of the build. Separating them into two parts so the bottom part goes up and down with the wheel was a no brainer but how to fasten them to the leg, well that had me thinking.
First I cut the wheel pants along the ridge line where they are separate on the real plane. Then using a Dermal made the hole in the lower section larger so it could freely move up and down over the upper part of the wheel pants without scuffing or binding. The good thing is the Robart struts are shorter than the original wire legs so there was no gap after seperating the pants into two sections.
To mount the lower part of the pants to the legs I made ply blocks from two sheets of 6mm ply laminated together then cut into squares. These were lined up inside the pant then glued in with Hysol. Once they were dry I drilled through the pant and block into the Robart leg fork then tapped it with a 3mm drill. The pant is held on with a simple 3mm screw on either side. To stop the pant swivelling backwards and forwards I then added a thin ply strip to fit snug up against the leg to prevent movement.
Once I was happy that it was all fine I then lined the inner part of the lower pants with fibreglass cloth and using proper fibreglass epoxy gave them a good covering to strengthen them up. Otherwise these pants would of cracked on the first bump. They are heavy at around 120-130 grams for each lower pant but solid.
Originally I fitted Robart 3 3/4" scale wheels but the tyres keps scuffing on the leg and one had a slight bind. I have just replaced them with Dubro 4" wheels which have slightly firmer tyres and a little more side clearance.
Originally I fitted Robart 3 3/4" scale wheels but the tyres keps scuffing on the leg and one had a slight bind. I have just replaced them with Dubro 4" wheels which have slightly firmer tyres and a little more side clearance.
Jaz
07-20-2013, 01:42 PM
#17
Junior Member
Join Date: Jun 2012
Location: Muenchen, GERMANY
Posts: 25
Likes: 0
Received 0 Likes
on
0 Posts
Hello Jaz,
thanks for sharing your mods with words and pictures.
I must say fantastic and clean work, wow!
Why are the black stripes on the shoes are missing on the last pics?
Did you repaint them?
Best wishes,
Wolfgang
thanks for sharing your mods with words and pictures.
I must say fantastic and clean work, wow!
Why are the black stripes on the shoes are missing on the last pics?
Did you repaint them?
Best wishes,
Wolfgang
07-21-2013, 05:35 AM
#18
Member
Join Date: Aug 2011
Location: GosfordNSW, AUSTRALIA
Posts: 80
Likes: 0
Received 0 Likes
on
0 Posts
Hi Wolfgang,
Thank you for your compliments. I like reliability and that comes from doing a thorough job. Takes much longer but well worth it.
I removed the black pinstripes from the whole plane as they were just too thick. I believe the original did have a fine pinstripe but it would not have been this wide. Personally I think it looks cleaner without them. On mine the pinstripe is only vinyl stick on which was easy to remove.
I flew the plane again on Saturday and it flies brilliantly. Very sensitive on the controls, fast and a huge amount of fun. The strip I flew from on Saturday is grass and in not that great shape at the moment. So unfortunately the little fella flipped on landing as soon as the wheels touched but luckily not much damage, just a cracked vertical stab which is already mostly repaired. Any other plane it would have been a text book approach and touchdown as it was smooth and level with a fine gradual touchdown. This one I think is going to have to be a three pointer on grass.
Weather permitting will fly him again next Sunday from tarmac so hopefully get some more video.
Regards,
Jaz
ORIGINAL: brezel53
Hello Jaz,
thanks for sharing your mods with words and pictures.
I must say fantastic and clean work, wow!
Why are the black stripes on the shoes are missing on the last pics?
Did you repaint them?
Best wishes,
Wolfgang
Hello Jaz,
thanks for sharing your mods with words and pictures.
I must say fantastic and clean work, wow!
Why are the black stripes on the shoes are missing on the last pics?
Did you repaint them?
Best wishes,
Wolfgang
07-29-2013, 03:24 PM
#19
Member
Join Date: Aug 2011
Location: GosfordNSW, AUSTRALIA
Posts: 80
Likes: 0
Received 0 Likes
on
0 Posts
Hi Guys,
Here is another video of the Gee Bee R2 flight. This one includes the landing.
It is flight number four so am getting into the swing of the plane now. I absolutely love flying this little fella. Certainly enjoy the quirkiness of him.
[youtube]http://www.youtube.com/watch?v=eXQnmPmq3uM[/youtube]
Jaz
<o ></o>
></o>
07-30-2013, 09:14 AM
#20
Nice planes guys and gals! I built a 1/5 GB R2 (#7) years ago and it didn't come out that nice; I could never get the paint job right. For me, the only tricky part of the 1st flight was the landing; it pays to use a little more throttle control rather than more elevator control on final. You already figured out the CG is more forward of a typical plane (~18 to 20% of the chord); that detail escaped some of the original GB pilots. Another thing I found is that you need to make sure the tires can't rub on the wheel pants, your plane will make a unexpected quick turn (ground loop). The last thing I discovered is to avoid landing in a gopher hole, GBs have no sense of humor! Good luck, enjoy your GBs!
03-22-2014, 05:00 AM
#21
Junior Member
Join Date: Sep 2013
Location: Fort Wayne, IN
Posts: 17
Likes: 0
Received 0 Likes
on
0 Posts
Very nice work Jaz! Nice videos, nice pictures and excellent info. I just sent the money order out to a girl in Philly here in the US for an AMD Gee Bee kit that has a 71" WS. I have been looking at the Gee Bees every since I got into flying! They are my favorite planes (mainly the R2 and Z). I just built a Herr R2. I made it into a static model and I love it.
The info you have given on installing the Robart gear is awesome! I knew I would replace the stock gear but now I have the exact knowledge of how to go about doing it! Thanks!
The info you have given on installing the Robart gear is awesome! I knew I would replace the stock gear but now I have the exact knowledge of how to go about doing it! Thanks!
03-15-2015, 03:29 PM
#22

Join Date: Apr 2009
Location: Wayland,
NY
Posts: 83
Likes: 0
Received 0 Likes
on
0 Posts
Hello everyone,
I finished my HK Gee Bee R2 today and wanted to share a couple pics and express my thanks for the info I found here.
I had already started building custom steel landing gear when I found this thread 'cause I couldn't believe what I found in the box when I first opened it. I also planned for the possibility of some rough landings with this plane (with me at the controls) so strong and functional seemed the way to go. I added larger wheels (5") and let them protrude out the bottom of the wheel pants more than normal 'cause our club flying field is grass and I wanted to minimize any issues there.
As others found out the rudder was not even close to correct so I built my own from scratch based on three view drawings I found online of the real plane. The dummy radial engine was also the wrong size so I picked up a Top Flite 1/5 scale 9 cylinder that was a much more appropriate size for the cowl.
My version of the wing modifications (for the landing gear) was to epoxy solid pine blocks in between the wing ribs with notches cut into them into which I epoxied the t-shaped upper end of the gear I made. All voids were filled completely with slow set epoxy. I'm hoping these mounts coupled with the fully sprung gear will be enough to save the plane on rougher touchdowns. I guess we'll see when the time comes.
I'm using a converted Ryobi 31cc trimmer engine for power. It spins the 18x8 prop at 7800rpm which should make adequate thrust to make her fly well.
She turned out as heavy as any I've seen (over 16 pounds) but everyone seems to be saying these things fly well when they're on the heavy side. I have a simulator with the Great Planes R2 on it and when I crank the total mass up to 16 pounds it is still very manageable and mine will have more power so hopefully the simulation is fairly accurate.
I'm grateful to kittykatjaz for posting the info about using the Great Planes CG and throws. I was thinking about going that route but the numbers just seemed so odd compared to most other planes I've built that I was really second guessing myself. After reading her posts and watching her videos I have no qualms about sticking with that setup. THANK YOU JAZ!!!
Overall this was not the build I expected at all. I usually plan on 20-40 hours assembly time for anything called an ARF. I finished final assembly and balancing today with a total of 148 hours in my log book. Many modifications and much custom fitting or refitting was required. The fiberglass fuselage itself wasn't even all that straight so some changes had to be made to it as well to keep the geometry right. I wanted a Gee Bee R2 and this was a good cost effective way to go for a first attempt but anyone wanting a simple easy build or quick gratification might want to shy away from this one. If this one survives long enough to really get my juices flowing for the Gee Bee experience I very well may opt to build a quarter scale version from plans or a kit depending on what's available at the time. I'm confident I could make things fit more accurately and correctly that way and I'm sure I could keep the wing loading lower too. We'll see.
There's still snow on the ground here in Upstate New York USA and the simulator has also encouraged me to look for a near perfect low wind day before I try to fly this one so it'll be a while before a maiden flight happens but she's all done and waiting patiently for that day. Thank you all again...
Pete
03-15-2015, 03:57 PM
#23
Member
Join Date: Aug 2011
Location: GosfordNSW, AUSTRALIA
Posts: 80
Likes: 0
Received 0 Likes
on
0 Posts
Hello everyone,
I finished my HK Gee Bee R2 today and wanted to share a couple pics and express my thanks for the info I found here.
I had already started building custom steel landing gear when I found this thread 'cause I couldn't believe what I found in the box when I first opened it. I also planned for the possibility of some rough landings with this plane (with me at the controls) so strong and functional seemed the way to go. I added larger wheels (5") and let them protrude out the bottom of the wheel pants more than normal 'cause our club flying field is grass and I wanted to minimize any issues there.
As others found out the rudder was not even close to correct so I built my own from scratch based on three view drawings I found online of the real plane. The dummy radial engine was also the wrong size so I picked up a Top Flite 1/5 scale 9 cylinder that was a much more appropriate size for the cowl.
My version of the wing modifications (for the landing gear) was to epoxy solid pine blocks in between the wing ribs with notches cut into them into which I epoxied the t-shaped upper end of the gear I made. All voids were filled completely with slow set epoxy. I'm hoping these mounts coupled with the fully sprung gear will be enough to save the plane on rougher touchdowns. I guess we'll see when the time comes.
I'm using a converted Ryobi 31cc trimmer engine for power. It spins the 18x8 prop at 7800rpm which should make adequate thrust to make her fly well.
She turned out as heavy as any I've seen (over 16 pounds) but everyone seems to be saying these things fly well when they're on the heavy side. I have a simulator with the Great Planes R2 on it and when I crank the total mass up to 16 pounds it is still very manageable and mine will have more power so hopefully the simulation is fairly accurate.
I'm grateful to kittykatjaz for posting the info about using the Great Planes CG and throws. I was thinking about going that route but the numbers just seemed so odd compared to most other planes I've built that I was really second guessing myself. After reading her posts and watching her videos I have no qualms about sticking with that setup. THANK YOU JAZ!!!
Overall this was not the build I expected at all. I usually plan on 20-40 hours assembly time for anything called an ARF. I finished final assembly and balancing today with a total of 148 hours in my log book. Many modifications and much custom fitting or refitting was required. The fiberglass fuselage itself wasn't even all that straight so some changes had to be made to it as well to keep the geometry right. I wanted a Gee Bee R2 and this was a good cost effective way to go for a first attempt but anyone wanting a simple easy build or quick gratification might want to shy away from this one. If this one survives long enough to really get my juices flowing for the Gee Bee experience I very well may opt to build a quarter scale version from plans or a kit depending on what's available at the time. I'm confident I could make things fit more accurately and correctly that way and I'm sure I could keep the wing loading lower too. We'll see.
There's still snow on the ground here in Upstate New York USA and the simulator has also encouraged me to look for a near perfect low wind day before I try to fly this one so it'll be a while before a maiden flight happens but she's all done and waiting patiently for that day. Thank you all again...
Pete
Your little Gee Bee looks great and have done a nice job of putting it together. Putting an engine that can spin an 18" prop at a decent speed is the only way to go. This Gee Bee needs a big engine to really bring out the best.
This model though a lot of hard work to assemble is well worth it as flies really well. The biggest thing is strong landing gear for those bouncy landings and you have certainly covered that.
You will certainly have a lot of fun flying this. My only advice is use the rudder on take off, don't slow too much on the approach or try to glide onto the ground without a little bit of speed on. It does have a high wing loading and without the speed it drops like a brick.
Let us know your thoughts or better a video when you do the maiden.
Jaz
10-31-2017, 05:27 AM
#24
Is there anybody who has a spare set of Main Gear for the Great Planes 120 size Gee Bee R2? I just got one used to restore it and would love to change the landing gear to the Robart Ones.
I am unfortunately located in Germany but will be in the States about once a month. I would pick it up or it can be sent to an address somewhere in USA.
Thank you in advance.
I am unfortunately located in Germany but will be in the States about once a month. I would pick it up or it can be sent to an address somewhere in USA.
Thank you in advance.


