A4 Skyhawk build
#126

Thread Starter
Hi Sean
Thanks, I'm glad you've enjoyed the thread We only set the igyro up on the ailerons so I can't really comment yet on the whole package. It worked well in roll however the GPS was over compensating the gain so the airspeed factor needed setting to 3. We didn't get time to dial it in properly. Hopefully once its painted I'll get a chance to return to RAF Alconbury and set it up properly.
Cheers, Alex
Thanks, I'm glad you've enjoyed the thread
 We only set the igyro up on the ailerons so I can't really comment yet on the whole package. It worked well in roll however the GPS was over compensating the gain so the airspeed factor needed setting to 3. We didn't get time to dial it in properly. Hopefully once its painted I'll get a chance to return to RAF Alconbury and set it up properly.
 Cheers, Alex
#127

Join Date: Feb 2003
Location: Palmerston North, NEW ZEALAND
Posts: 92
Likes: 0
Received 0 Likes
on
0 Posts
Hi Alex,
Great thread mate and really nice build on your A4.
I'm also about to test fly a SM A4 bought 2nd hand and your thread has been really useful on various detail. The previous owner was also involved in the initial test flying of the prototype and has given me some control throws and CofG suggestions but would appreciate knowing what throws you ended up settling on?
Could you please measure the elevator and aileron horn length from skin surface to clevise pin hole and let me know the distance...thanks!
I have fitted mine with a Kingtech 140 and I was advised to set the CofG at 330mm back from the LE but think I'll start with your recommended 300mm suggestion!
I'll try and upload a few photos but at the moment I'm getting an error message when I try attaching.....
All the best
Rene
#129

Thread Starter
Hi Rene
Thanks, nice part of the world your from! I lived in Auckland for 2 years while I was with CTC McAlpine. Great country planning on taking the family back out there in the next few years for a few months holiday ....anyway I digress...
The measurements you wanted are 11mm for the elevator horn although I didn't install these and would have liked it to be 15mm. The aileron horns are 15mm but you could get away with less. I went with as much movement as possible on the elevator and Ali flew round on high rate and was happy, if anything it needed a little more. The ailerons were on the low rates with around 1/2inch of movement. Sorry I cant measure them exactly but the model has been prepared for the painters and Ive removed some of electronics.
The CG was set at 300mm and could go a little further back. Ive tried to attach a picture that Skymaster sent me to explain where its measured from if it doesn't work send me your email via Facebook or PM me you address.
I hope this helps
Cheers, Alex
Thanks, nice part of the world your from! I lived in Auckland for 2 years while I was with CTC McAlpine. Great country planning on taking the family back out there in the next few years for a few months holiday
 ....anyway I digress...
The measurements you wanted are 11mm for the elevator horn although I didn't install these and would have liked it to be 15mm. The aileron horns are 15mm but you could get away with less. I went with as much movement as possible on the elevator and Ali flew round on high rate and was happy, if anything it needed a little more. The ailerons were on the low rates with around 1/2inch of movement. Sorry I cant measure them exactly but the model has been prepared for the painters and Ive removed some of electronics.
The CG was set at 300mm and could go a little further back. Ive tried to attach a picture that Skymaster sent me to explain where its measured from if it doesn't work send me your email via Facebook or PM me you address.
I hope this helps
Cheers, Alex
#132

Join Date: Feb 2003
Location: Palmerston North, NEW ZEALAND
Posts: 92
Likes: 0
Received 0 Likes
on
0 Posts
Hi Alex,
Thanks for the info likewise we did'nt install the horns either and think they should be longer as the servos are currently working over a very small movement range which is not the best!
I have that factory photo Anton sent showing the CofG thanks but based on your flights will start at 300mm and move back from there. The previous owner of my A4 was Jason Starkey who did the prototype flights, his throw recommendations were 27mm for Ail & Ele and 30mm for rudder, these were final figures after initial test flights that were very pitch/roll sensitive based on factory recommendations, I'm presuming the ele & ail are total movements (approx 12.5mm each way)...
The photos show my scratch built BAC 167 Strikemaster at 1/5th scale as well, worked on both as an engine fitter during my time in the RNZAF so it's kinda nice to have these as turbine powered models to fly some 30 years later!
Just for interest I machined up a semi scale machine gun and using one of Dean's (Jerseymodeler) drybreak fittings use the machine gun as the fill port for the aircraft, seems to work fine.
If you ever come back to our beautiful country you'll have to come say gidaye! plus I'm 20 minutes drive from Ohakea airbase which we have recently got jet flying access to again nice...will be the site of the A4's test flights.
Will post some flying shots in due course, keep up that nice build of yours it's brilliant!
Cheers.....Rene
Thanks for the info likewise we did'nt install the horns either and think they should be longer as the servos are currently working over a very small movement range which is not the best!
I have that factory photo Anton sent showing the CofG thanks but based on your flights will start at 300mm and move back from there. The previous owner of my A4 was Jason Starkey who did the prototype flights, his throw recommendations were 27mm for Ail & Ele and 30mm for rudder, these were final figures after initial test flights that were very pitch/roll sensitive based on factory recommendations, I'm presuming the ele & ail are total movements (approx 12.5mm each way)...
The photos show my scratch built BAC 167 Strikemaster at 1/5th scale as well, worked on both as an engine fitter during my time in the RNZAF so it's kinda nice to have these as turbine powered models to fly some 30 years later!
Just for interest I machined up a semi scale machine gun and using one of Dean's (Jerseymodeler) drybreak fittings use the machine gun as the fill port for the aircraft, seems to work fine.
If you ever come back to our beautiful country you'll have to come say gidaye! plus I'm 20 minutes drive from Ohakea airbase which we have recently got jet flying access to again
 nice...will be the site of the A4's test flights.
Will post some flying shots in due course, keep up that nice build of yours it's brilliant!
Cheers.....Rene
#134

Join Date: Feb 2003
Location: Palmerston North, NEW ZEALAND
Posts: 92
Likes: 0
Received 0 Likes
on
0 Posts
Thanks Eddie I know......bit embarrising really but in a twist of fate I'm about to change the roo's for kiwi's on the roundals and low and behold it becomes a genuine RNZAF aircraft!
How so....well turns out that "887" was one of 10 A4's purchased by the RNZAF and operated out of Nowra, 887 was flown across the Tasman in June 1984 in those colours (but with kiwi roundals) to RNZAF Base Ohakea. Several months later it was repainted in the RNZAF scheme of the day and renumbered NZ6214...so for at least a few months of it's life it was officially an RNZAF aircraft in this scheme.
Besides I didn't fancy trying to repaint the aircraft...big job!
Thanks for your nice comments on the Blunty she flies great on a PST 1300 with AUW around 29lb, main departure from scale is she's being flown by George W!!! not that it's obvious from the photo
Cheers.........Rene
 but in a twist of fate I'm about to change the roo's for kiwi's on the roundals and low and behold it becomes a genuine RNZAF aircraft!
How so....well turns out that "887" was one of 10 A4's purchased by the RNZAF and operated out of Nowra, 887 was flown across the Tasman in June 1984 in those colours (but with kiwi roundals) to RNZAF Base Ohakea. Several months later it was repainted in the RNZAF scheme of the day and renumbered NZ6214...so for at least a few months of it's life it was officially an RNZAF aircraft in this scheme.
Besides I didn't fancy trying to repaint the aircraft...big job!
Thanks for your nice comments on the Blunty she flies great on a PST 1300 with AUW around 29lb, main departure from scale is she's being flown by George W!!! not that it's obvious from the photo

Cheers.........Rene
#135

Join Date: Feb 2003
Location: Palmerston North, NEW ZEALAND
Posts: 92
Likes: 0
Received 0 Likes
on
0 Posts
Alex,
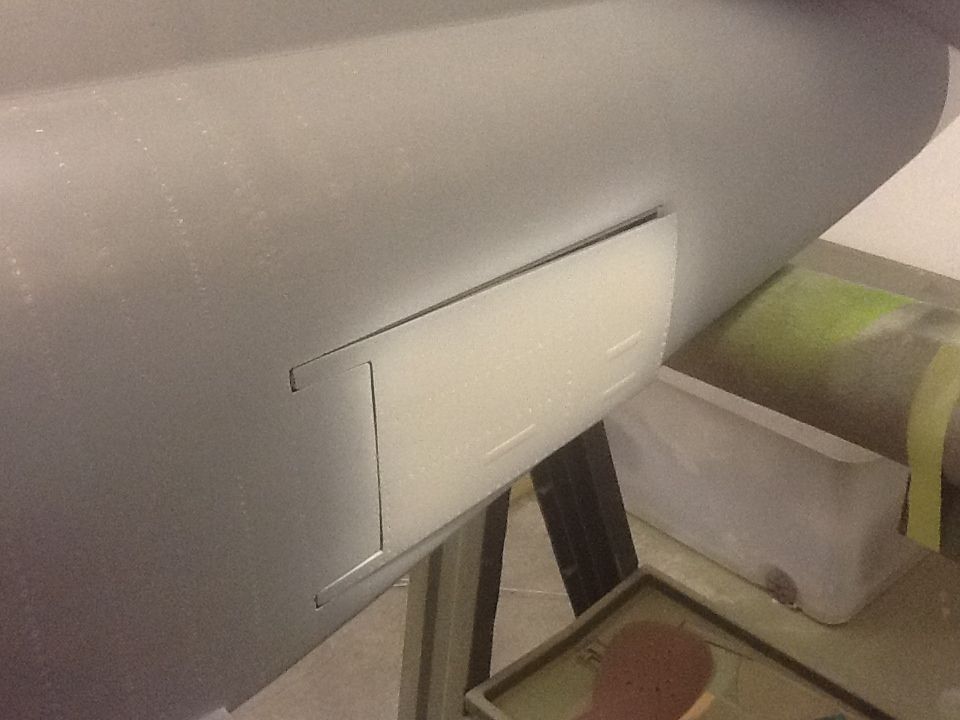
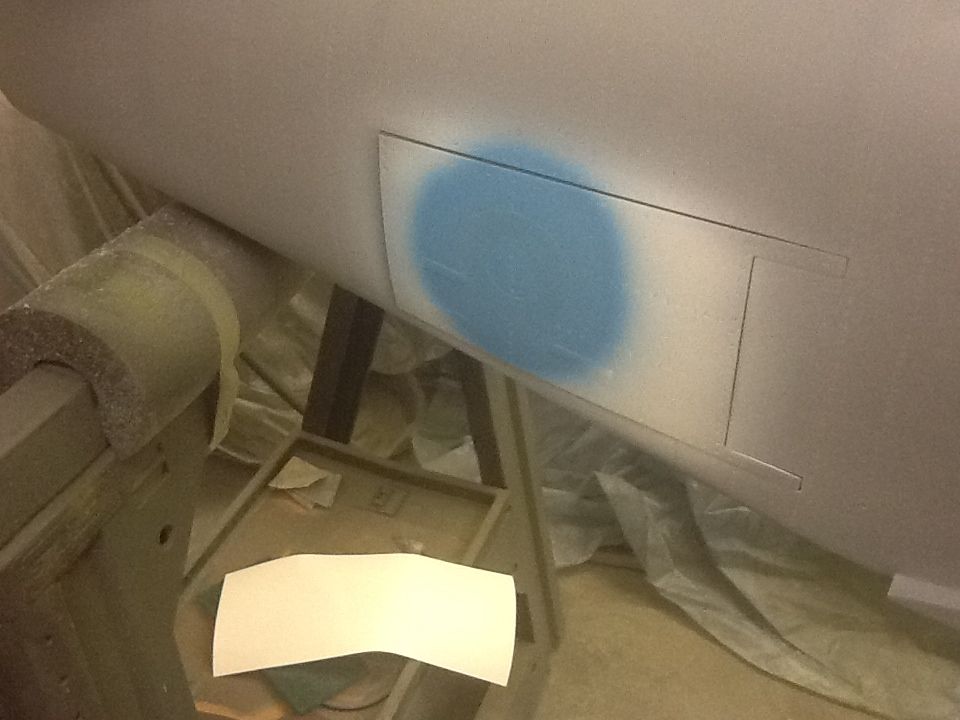
Would you mind sharing your technique for cutting the access hatch out of the fuselage?
After seeing your port side forward hatch I'm considering this approach for fitting batteries rather than on a tray inserted via the cockpit but wondering how you achieved the nice close fit of the hatch.
Cheers.....Rene
#136

Thread Starter
Hi Rene
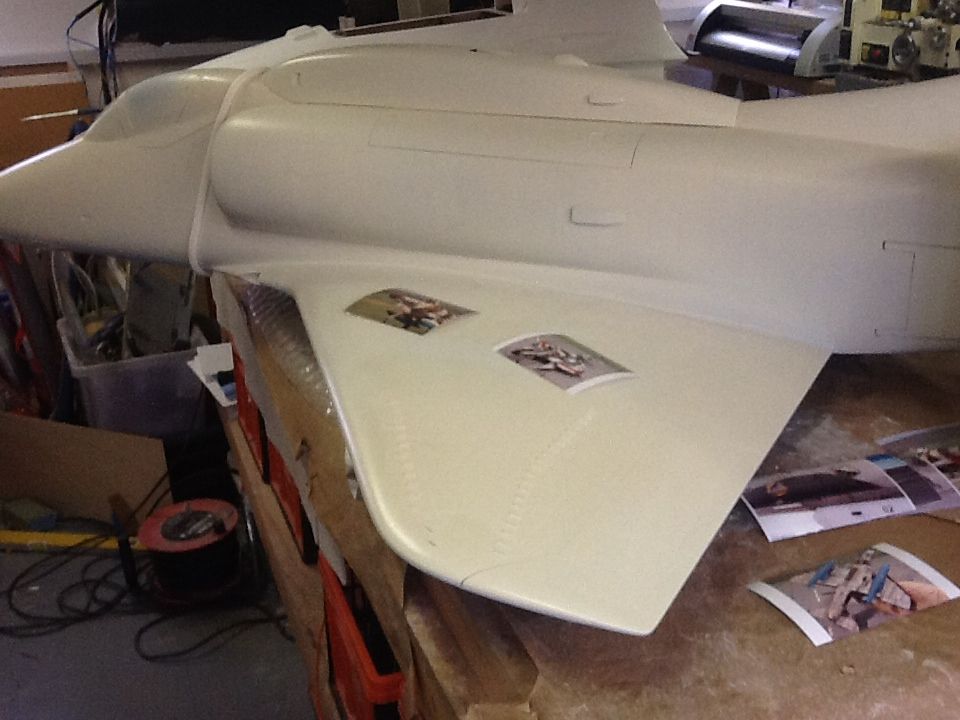
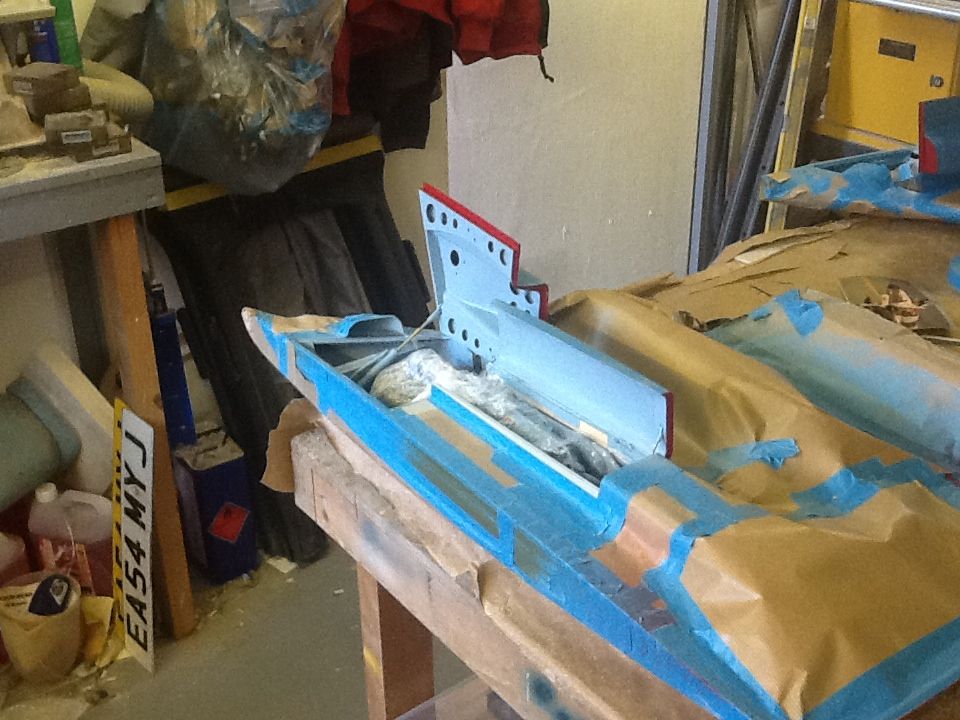
I tend to only do hatches on models that need painting. I use a scalpel, 10 or so blades and plenty of patience. This way the join is only the width of a blade. If you do it on a painted model you'll chip the paint and raise the sides of the join without the ability to sand them back. You can order touch up paint from SM, If you do the hatch you'll most likely have to re spray that part of the camouflage.
Cheers, Alex
#137
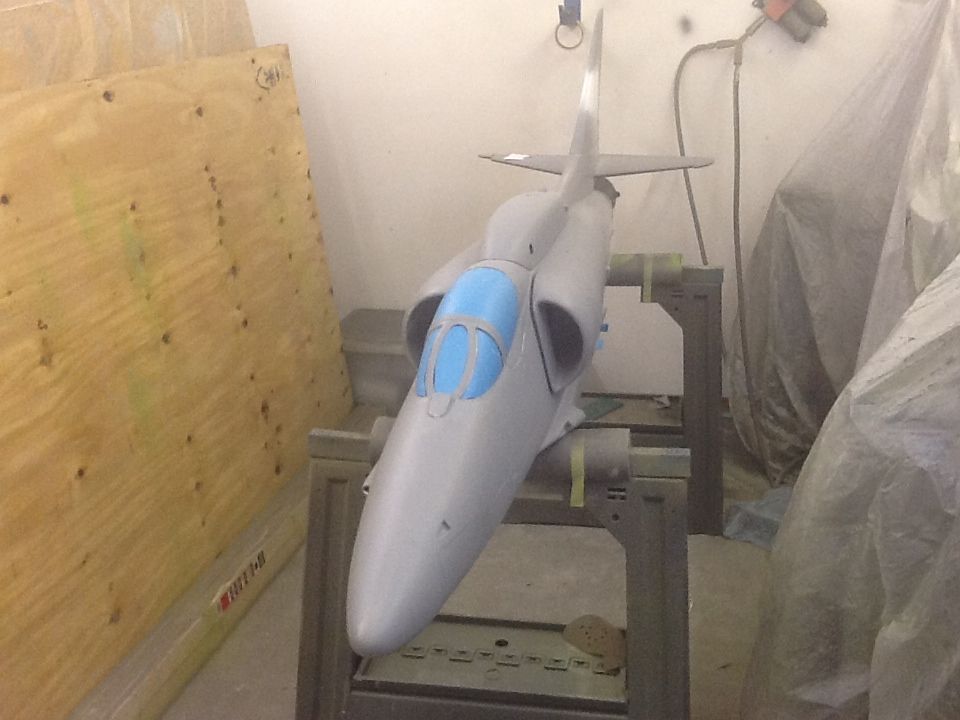
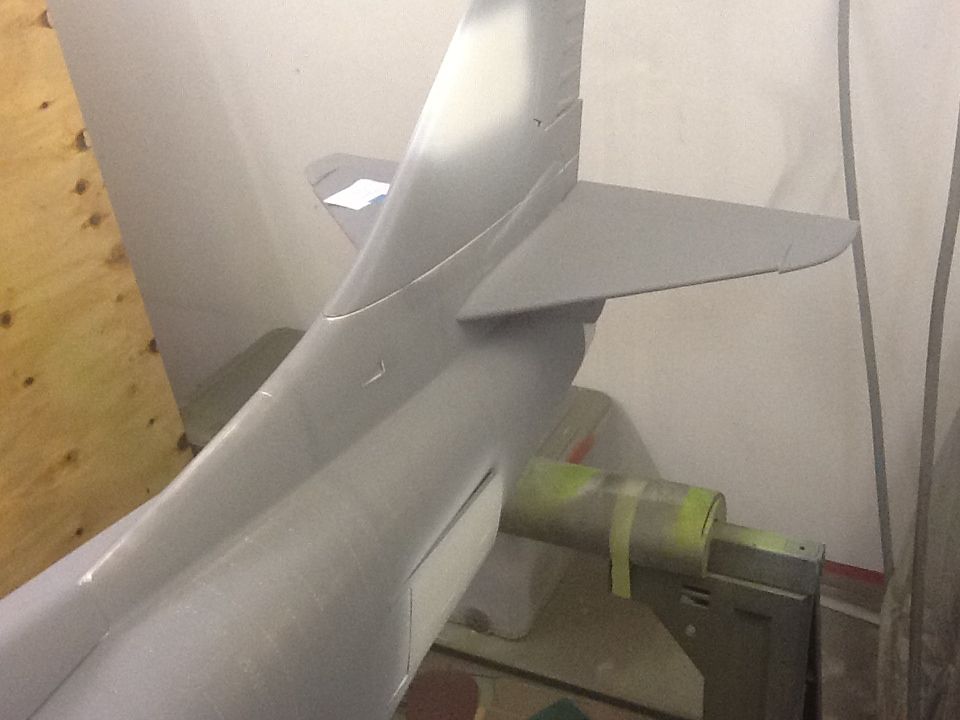
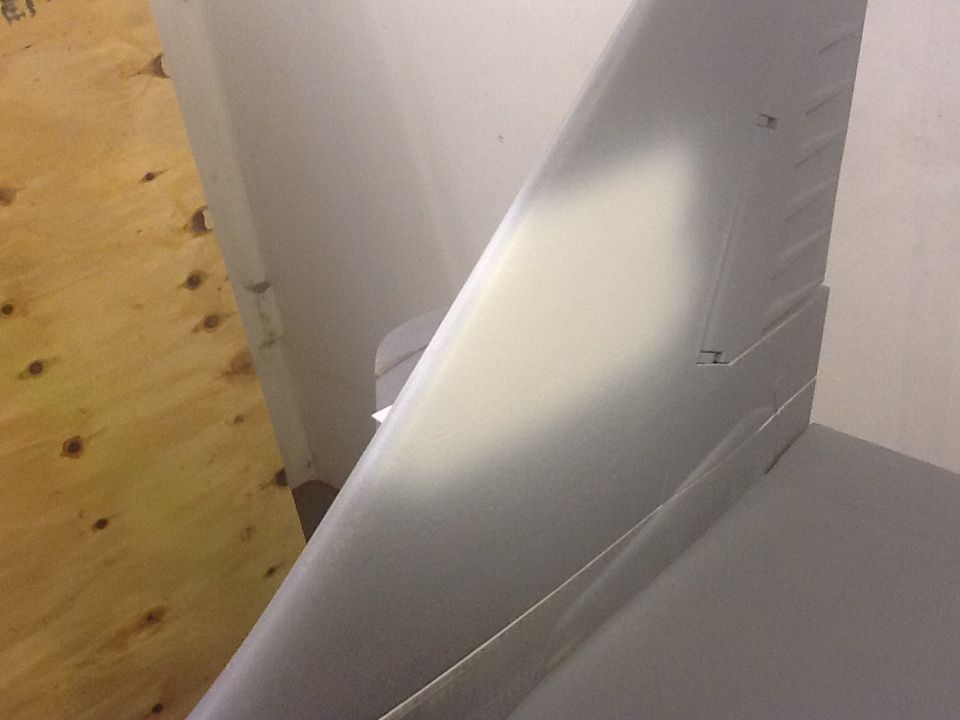
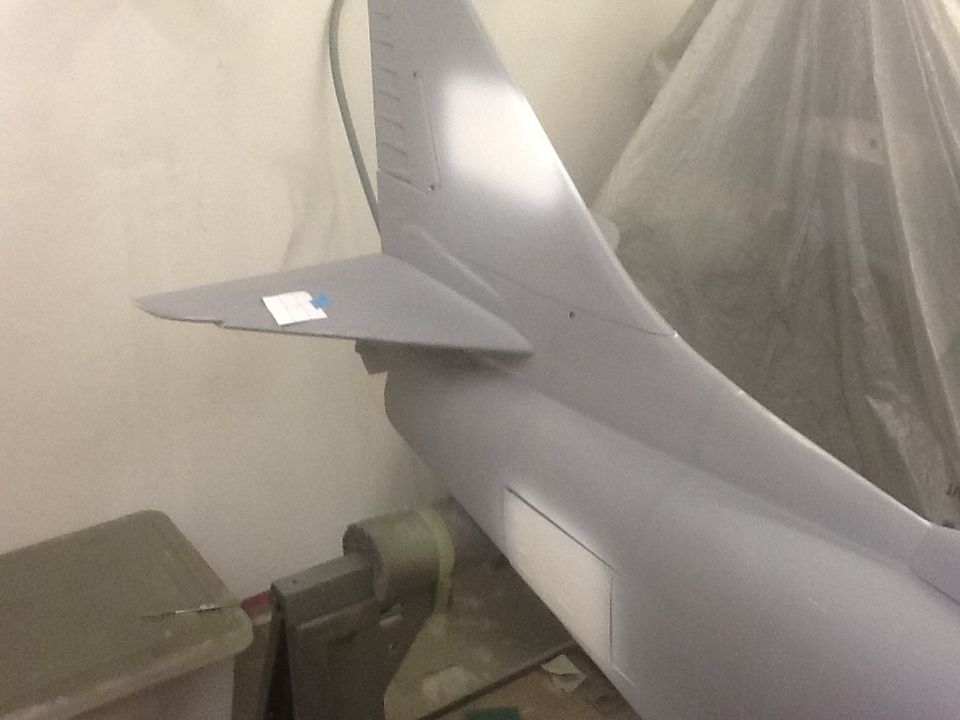
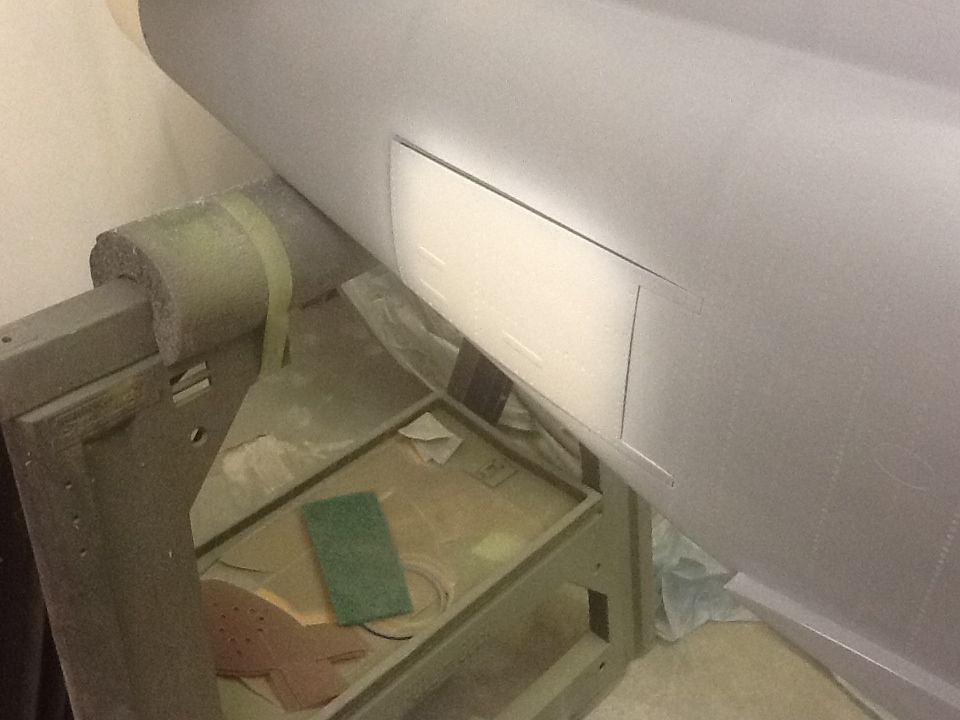
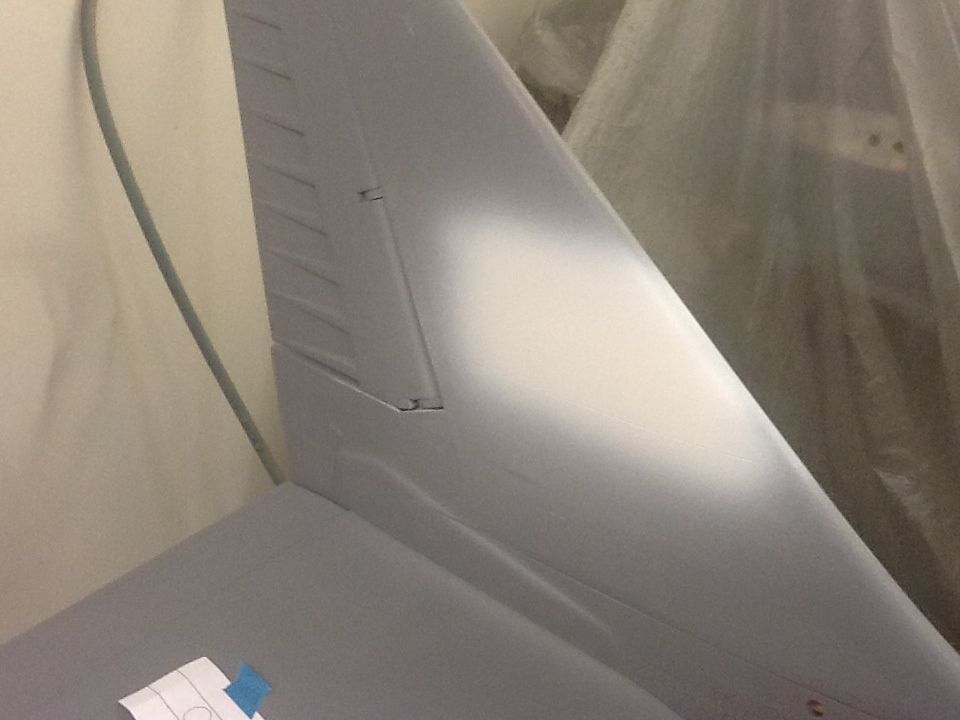
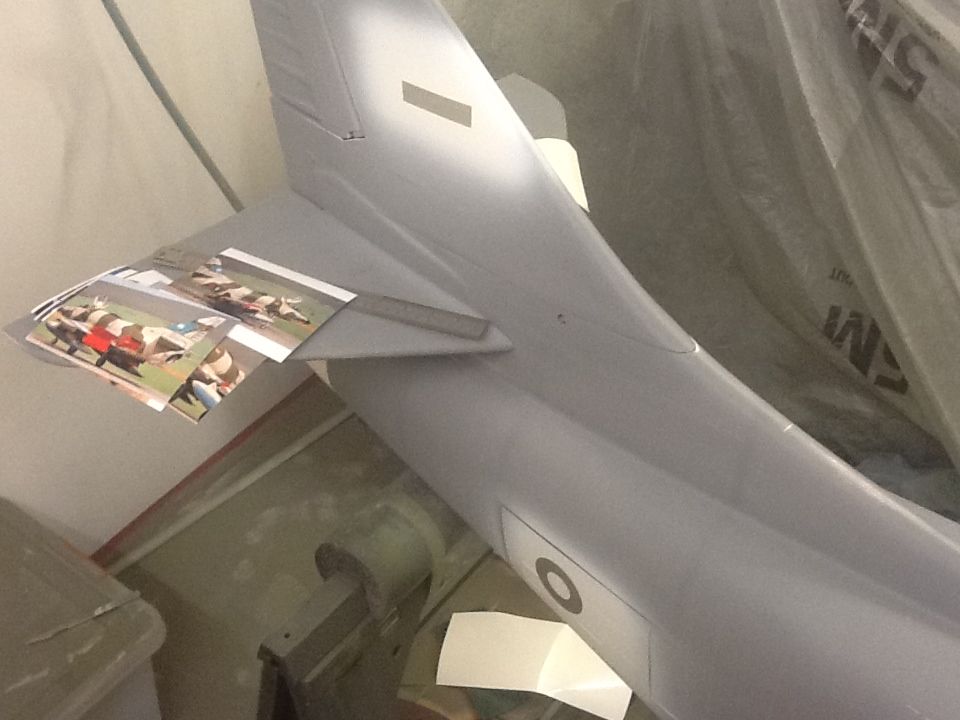
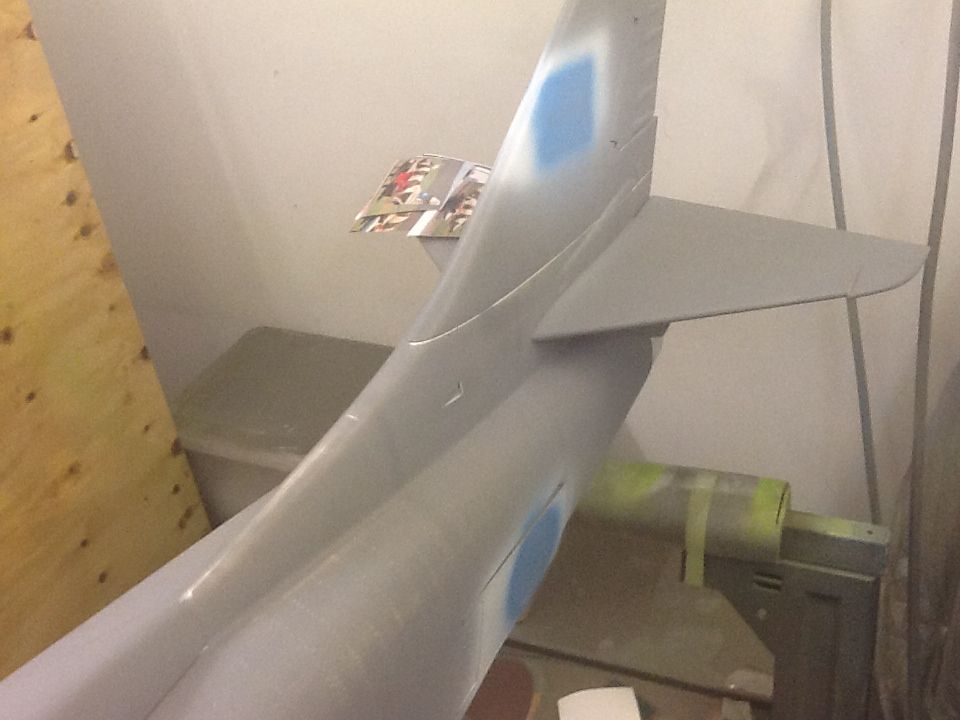
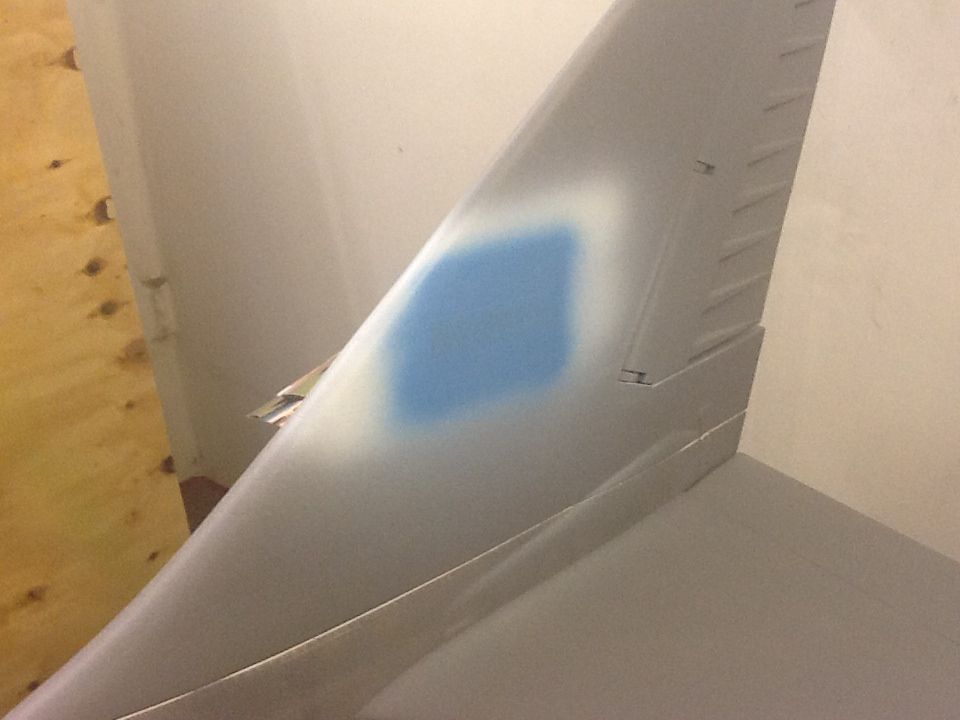
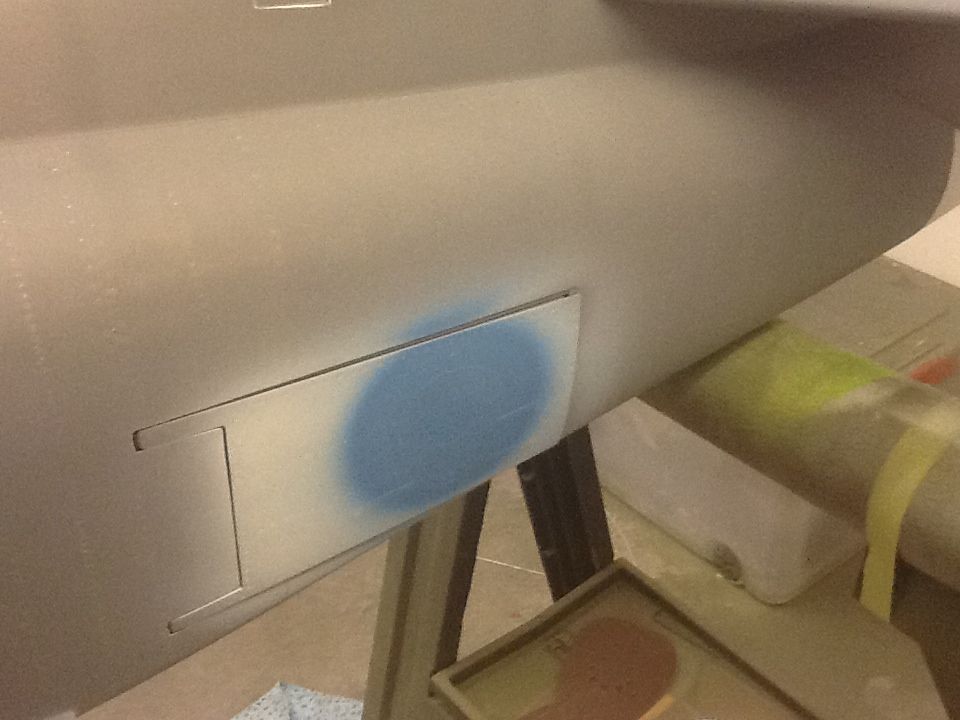
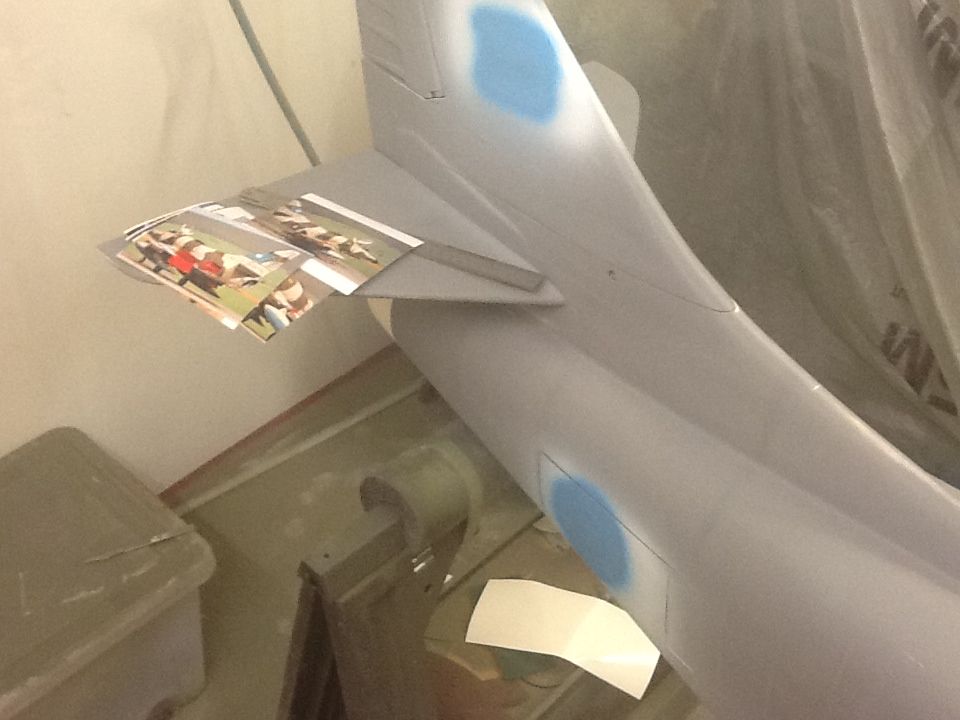
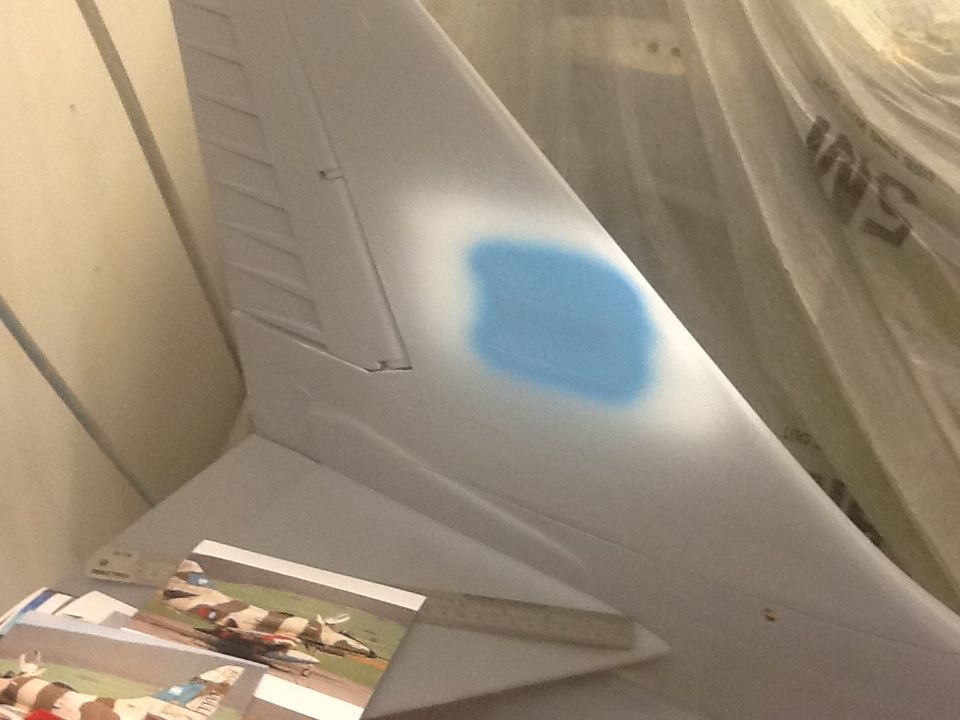
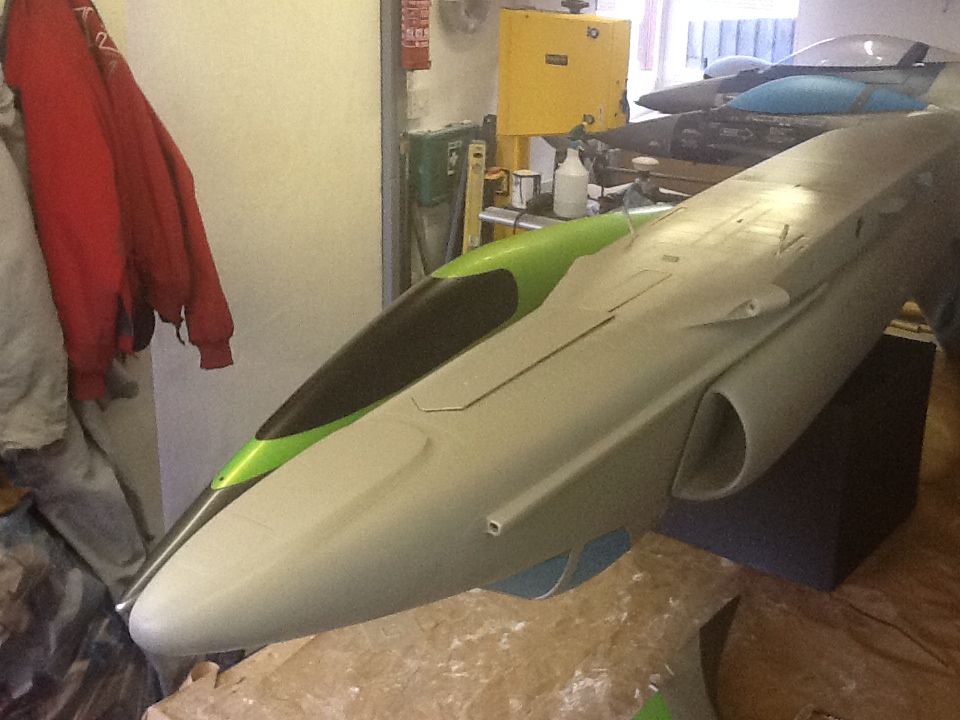
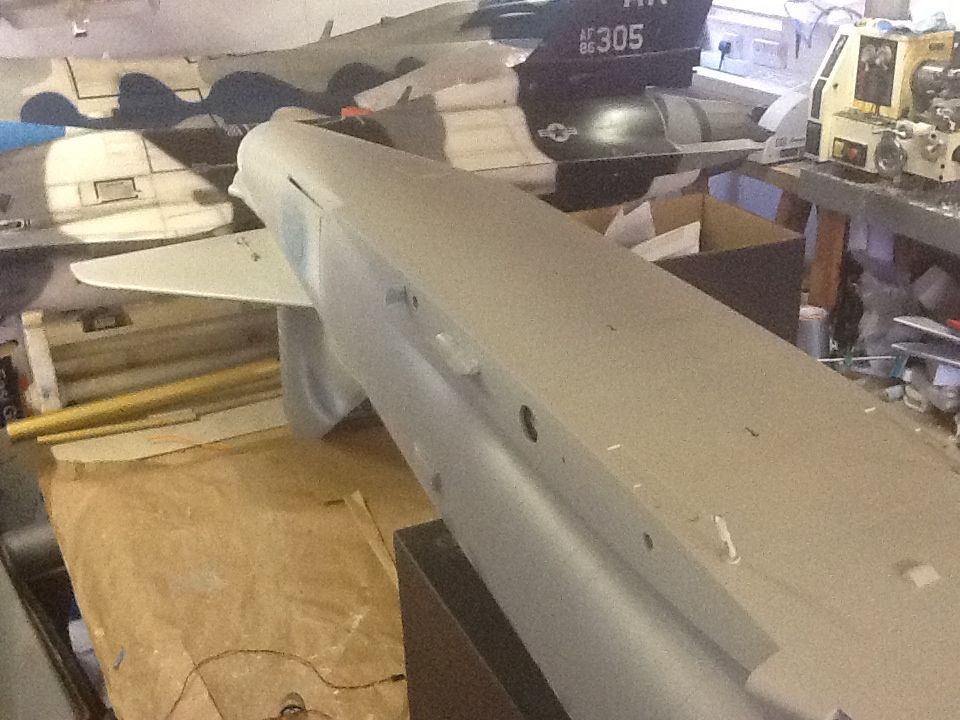
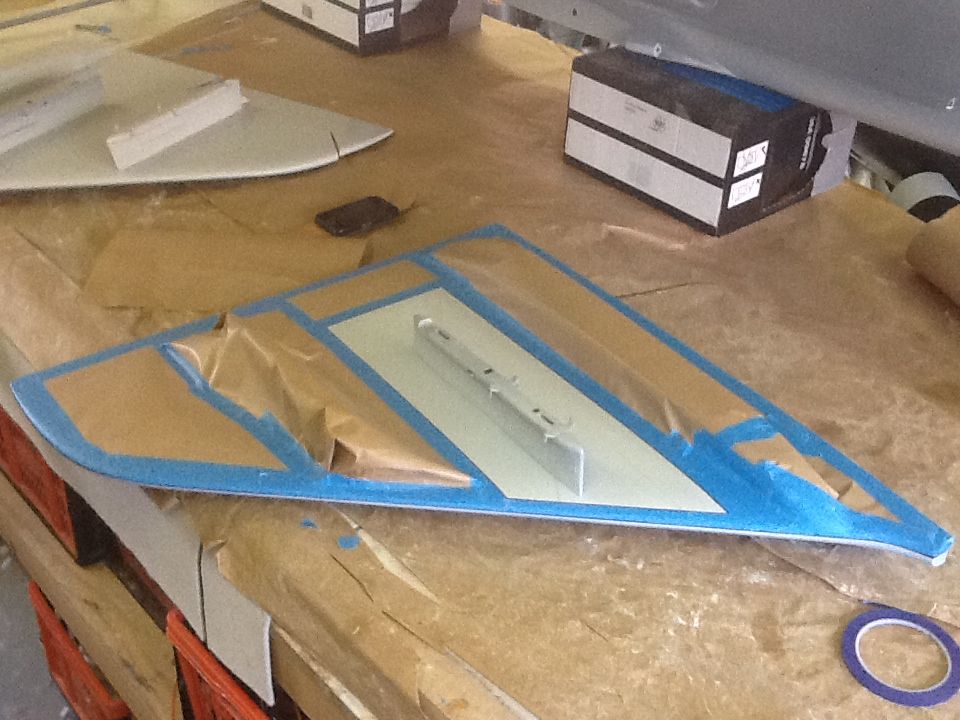
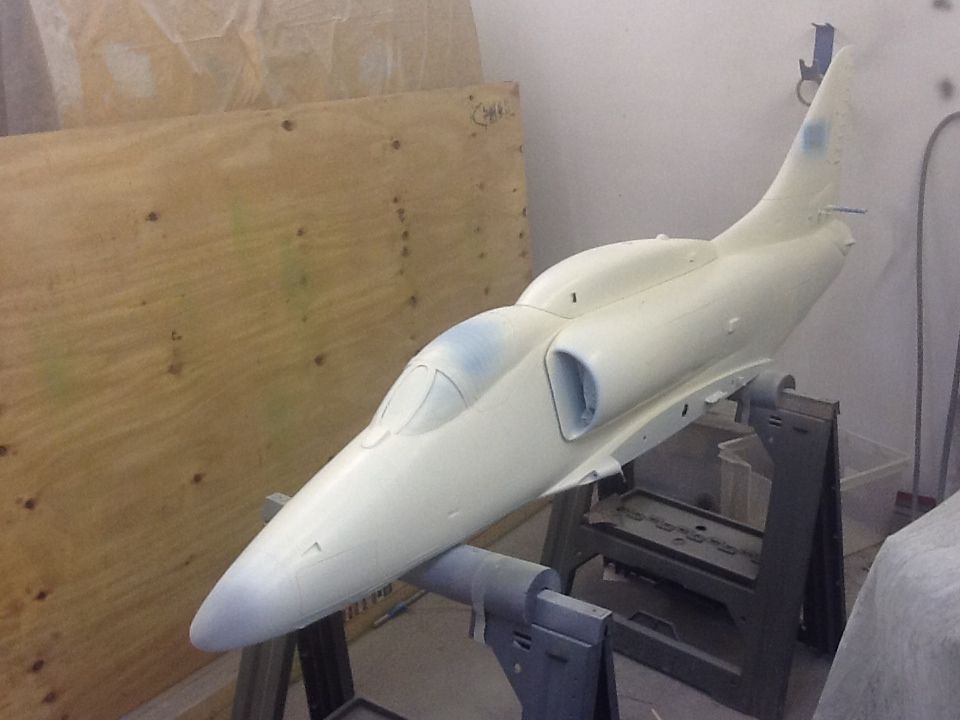
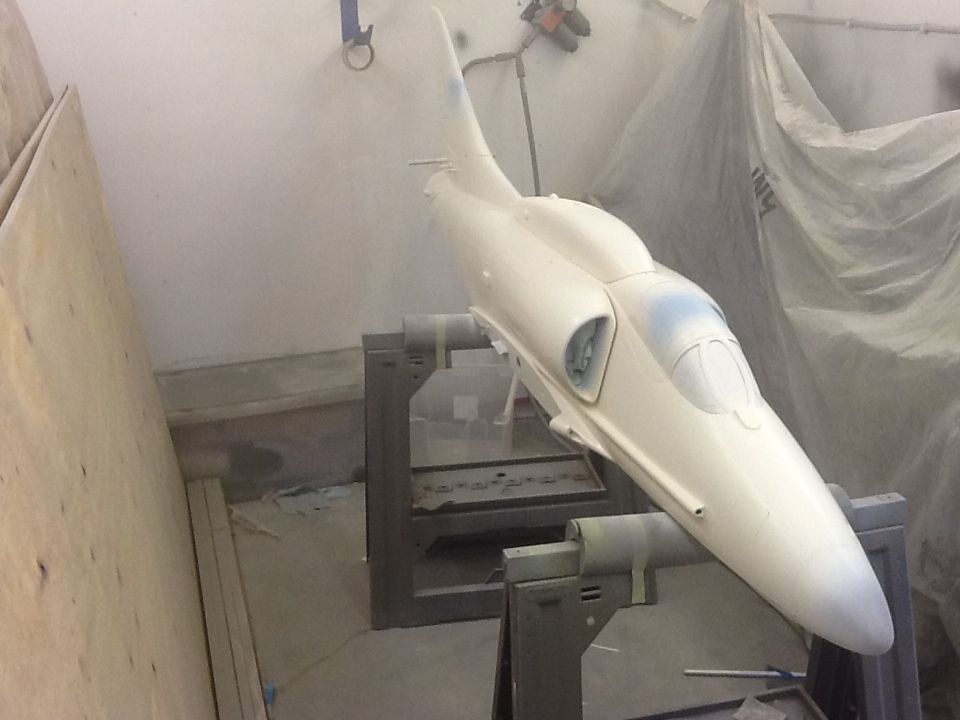
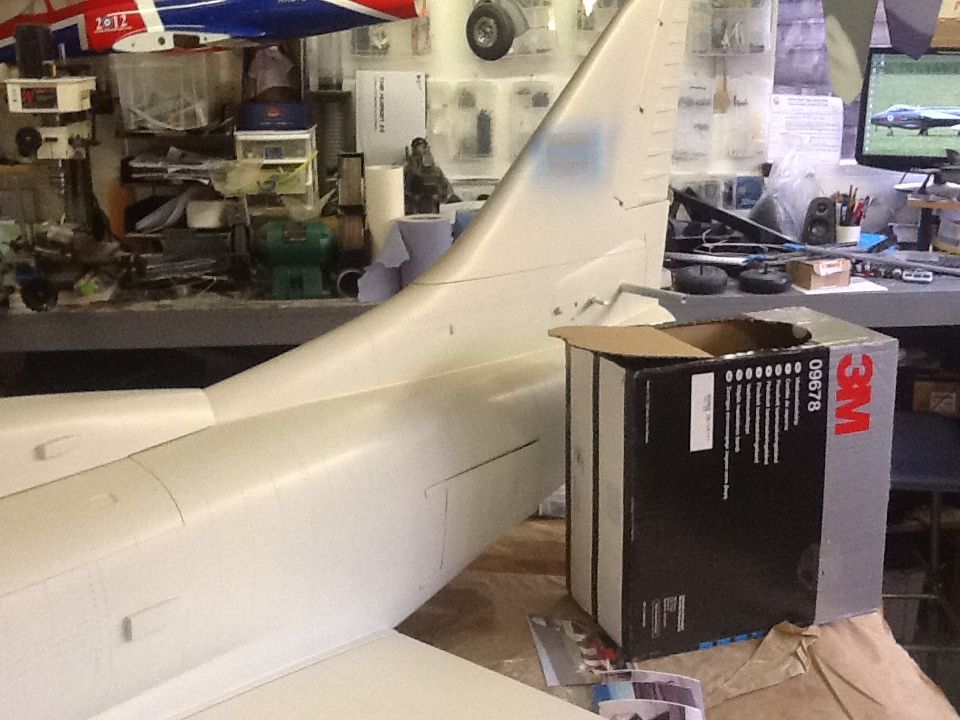
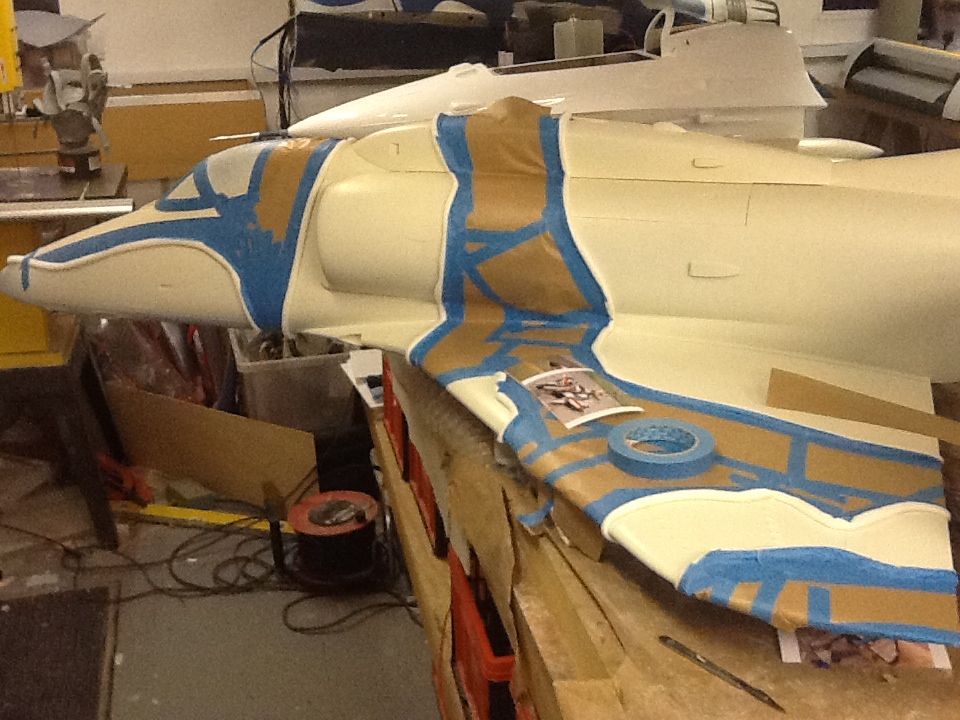
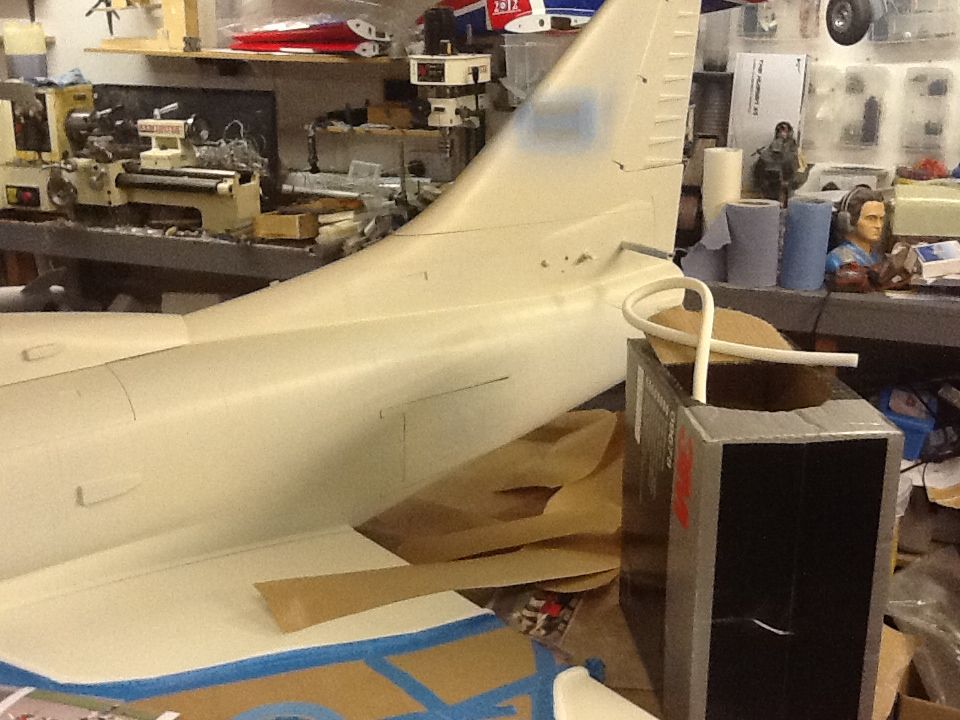
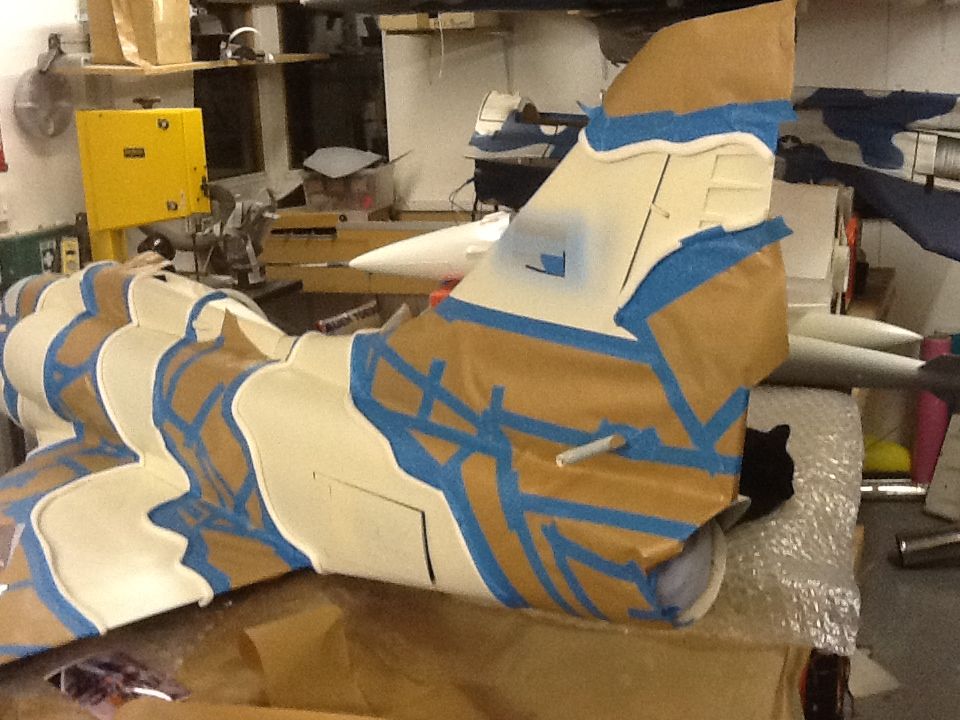
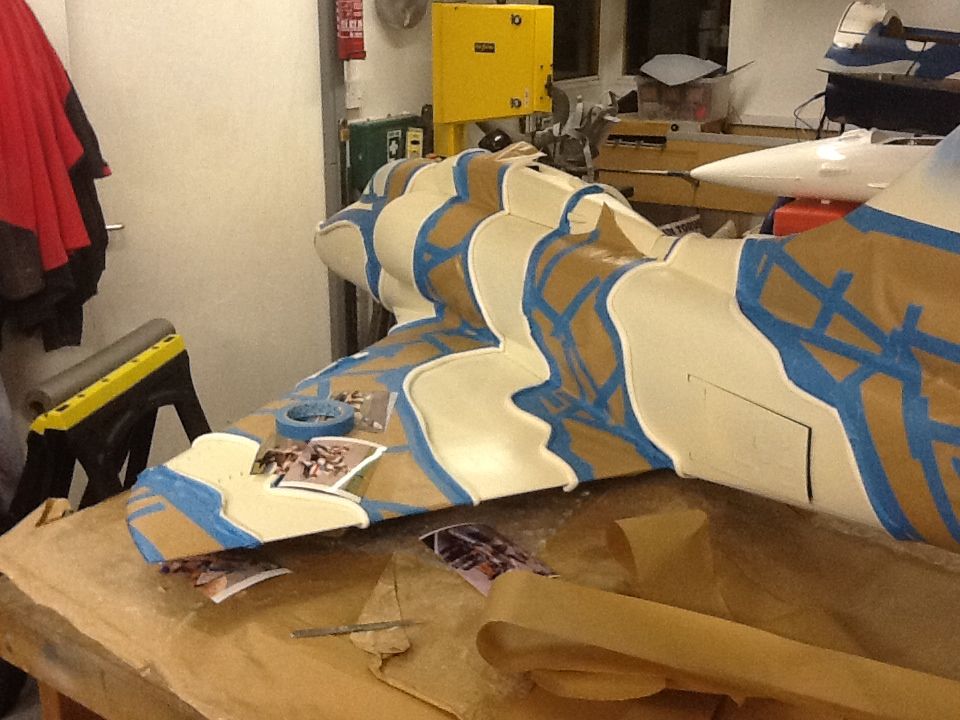
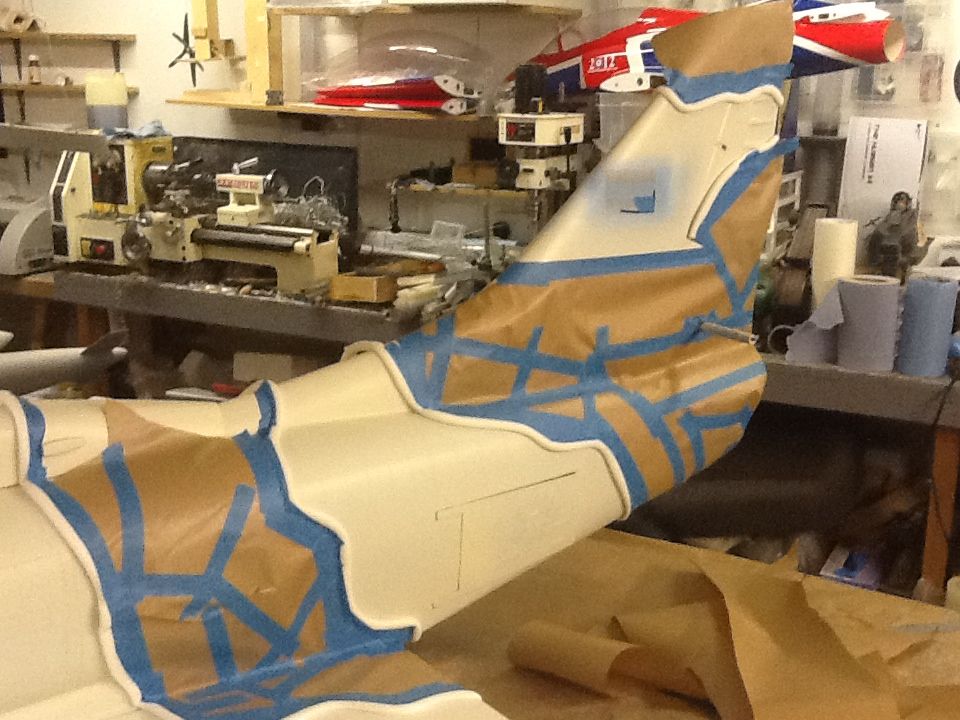
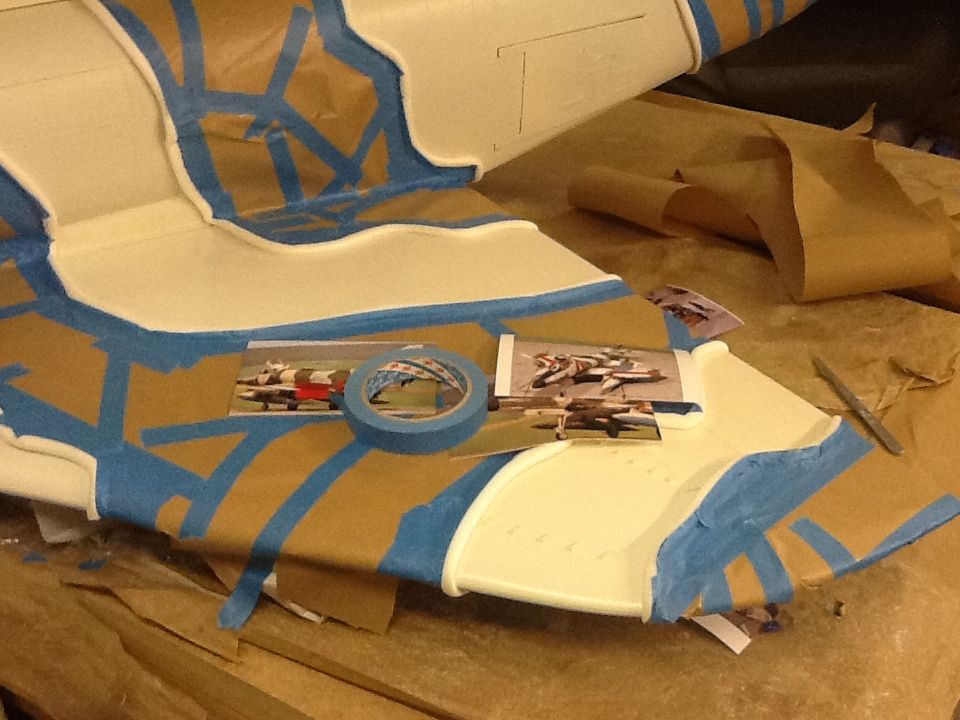
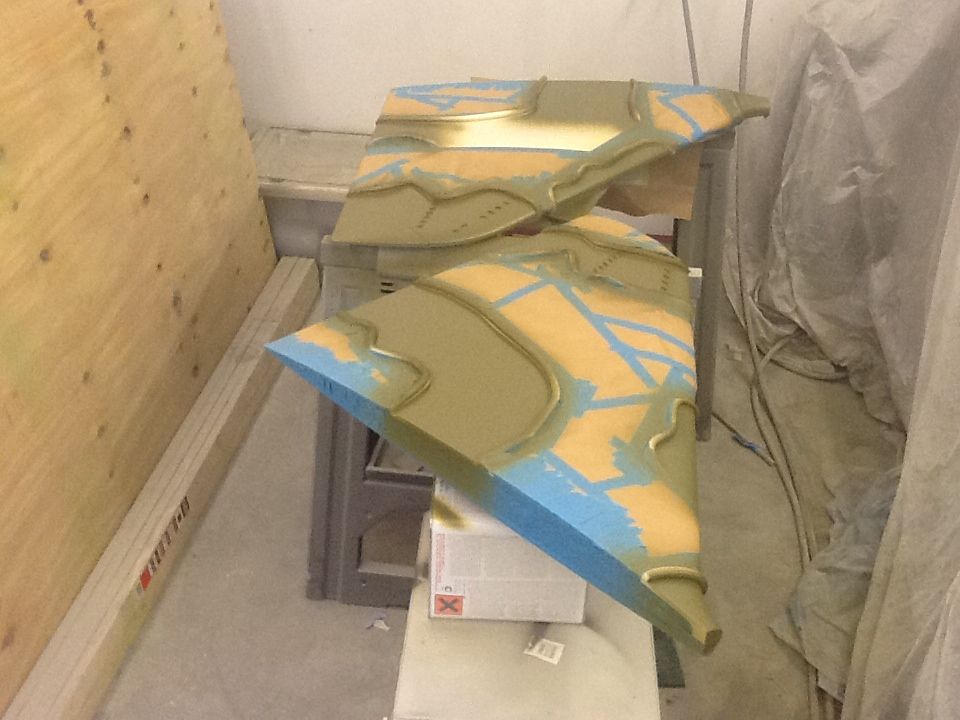
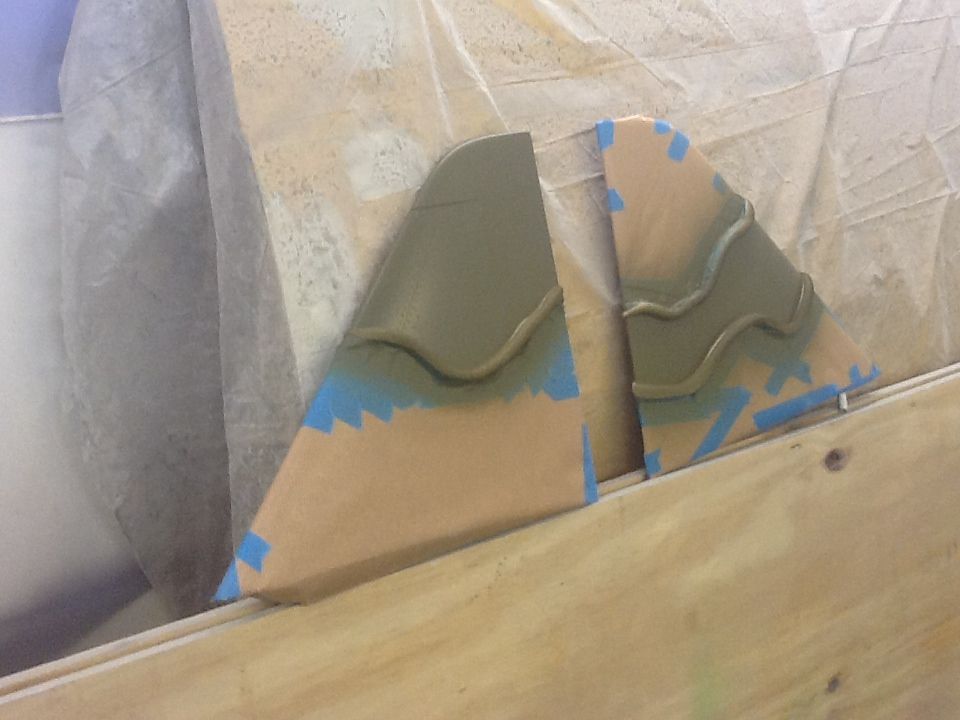
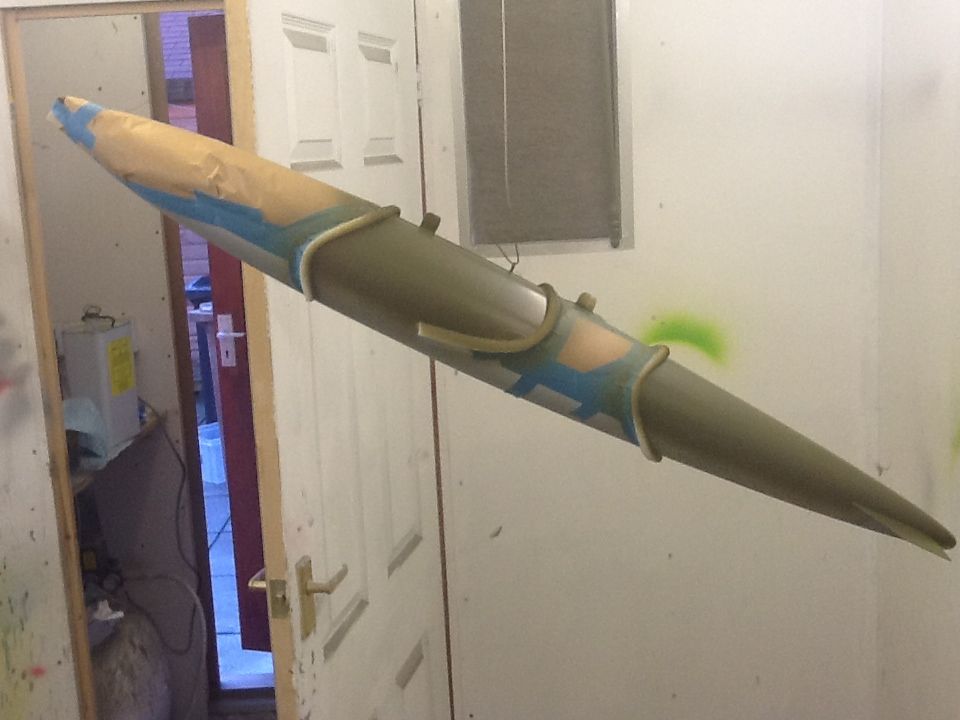
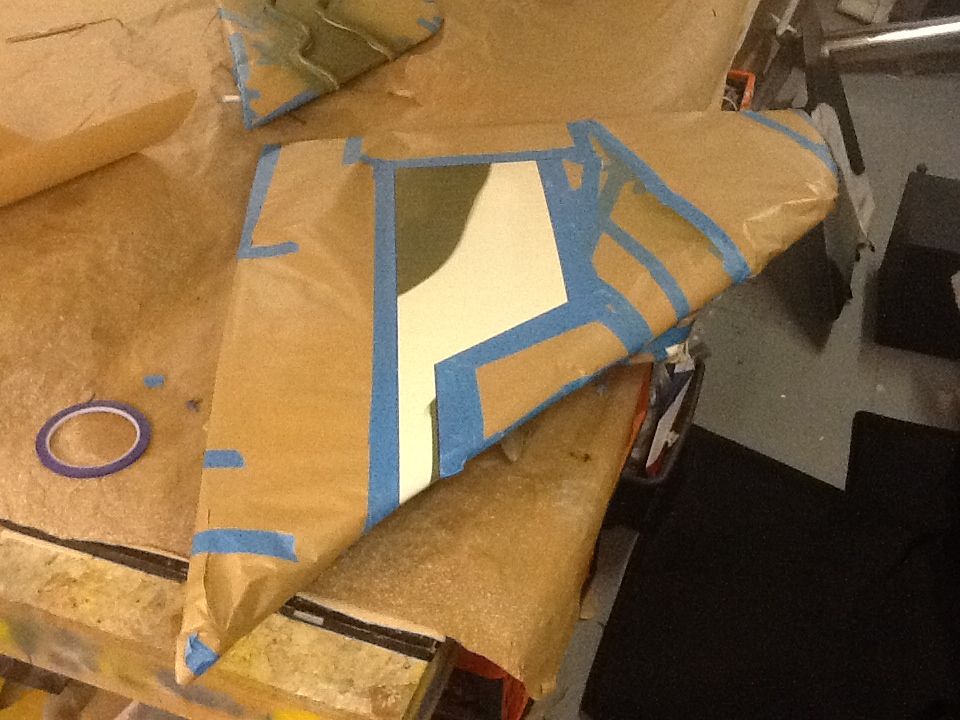
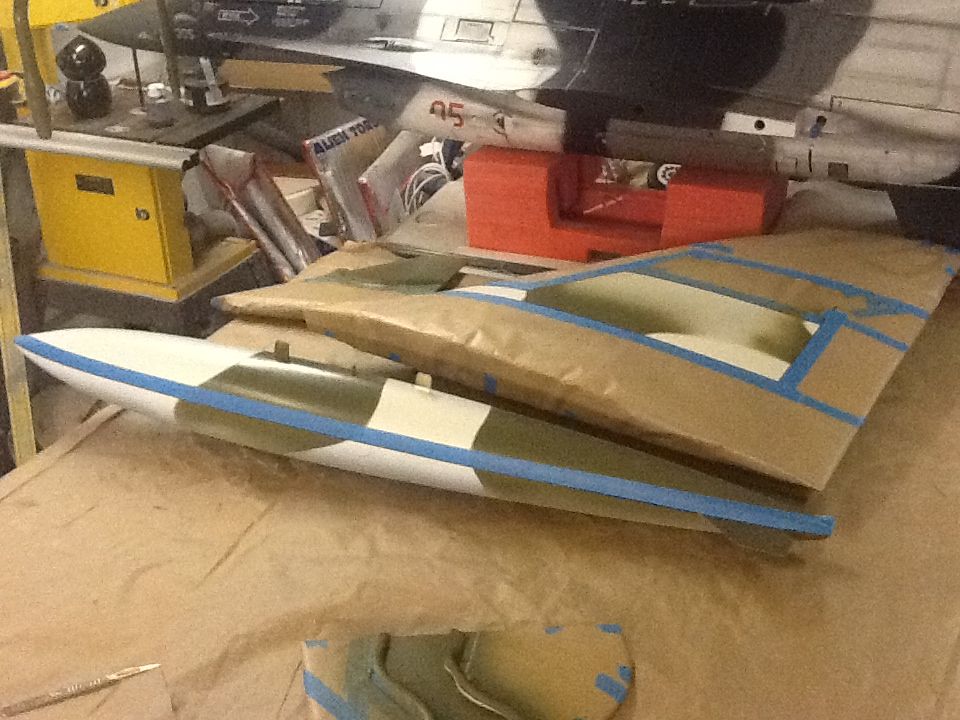
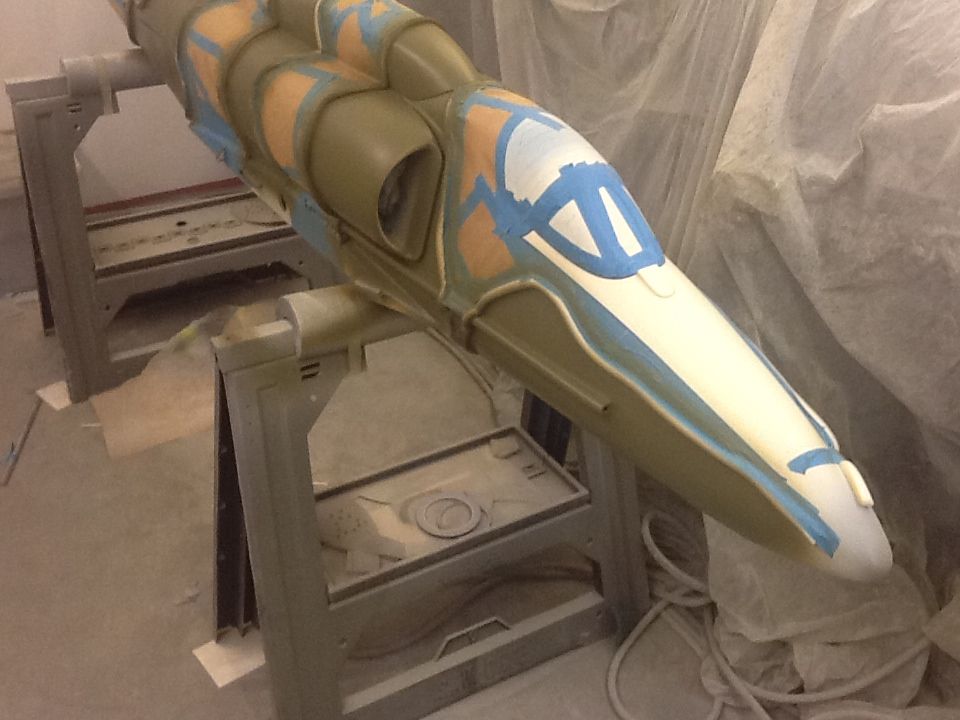
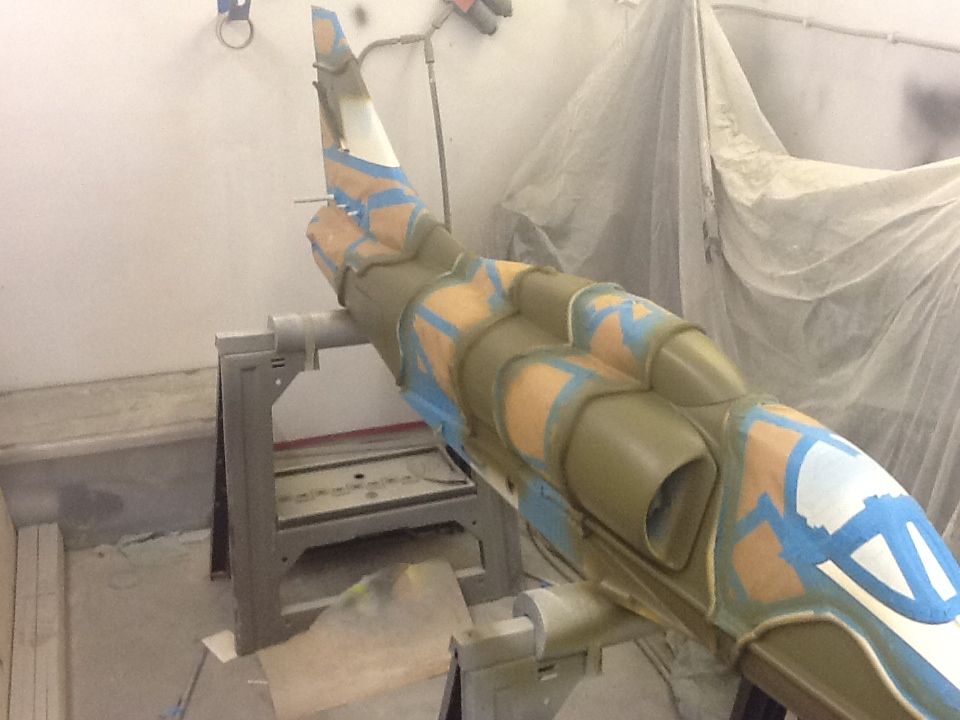
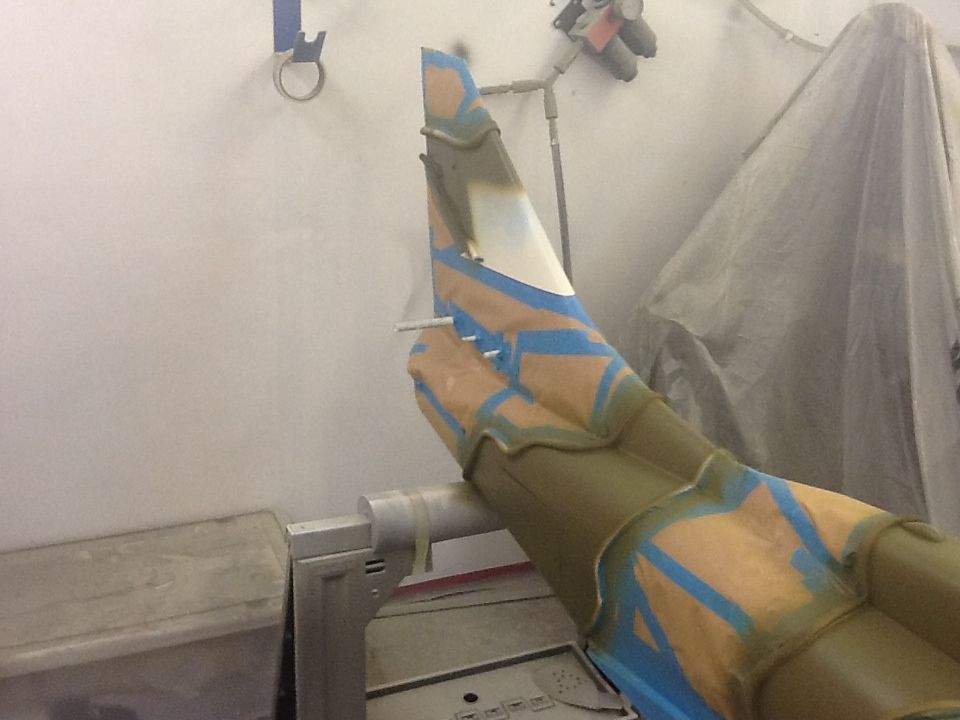
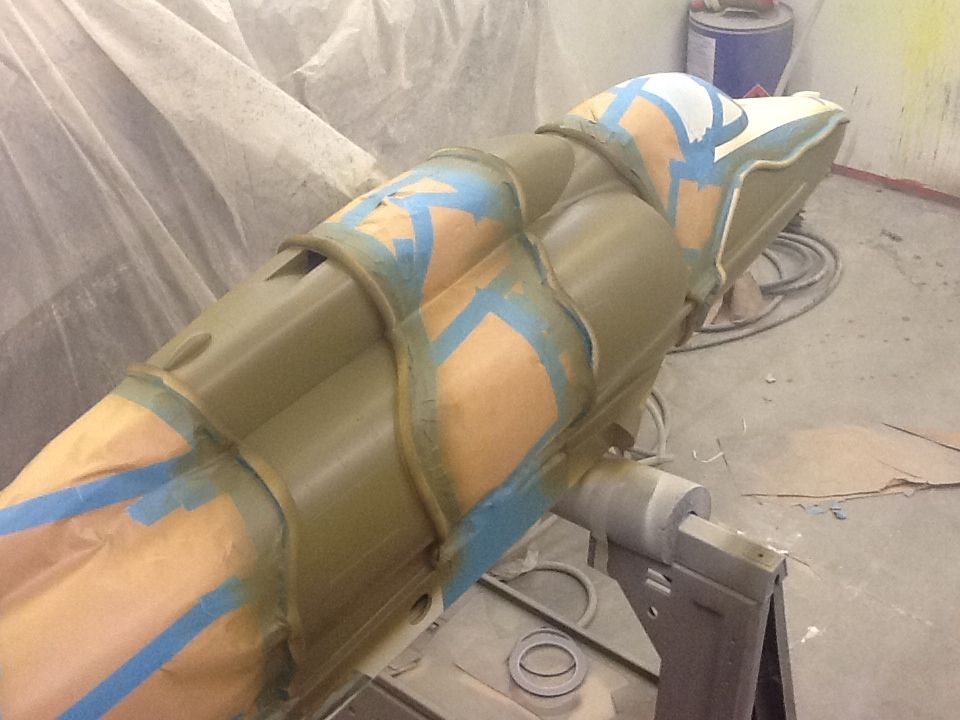
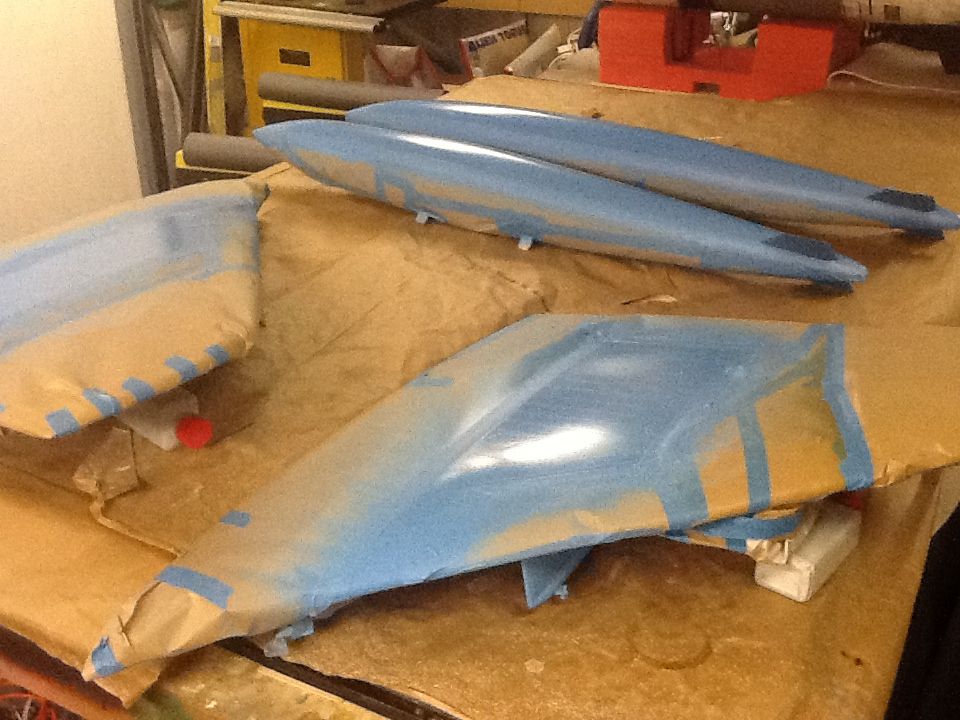
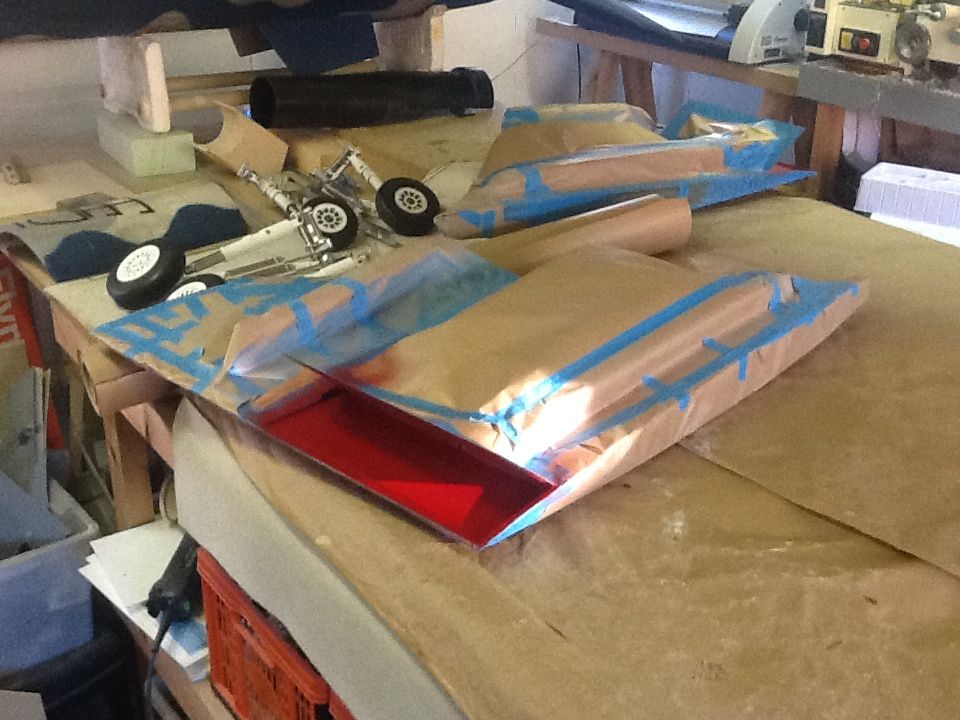
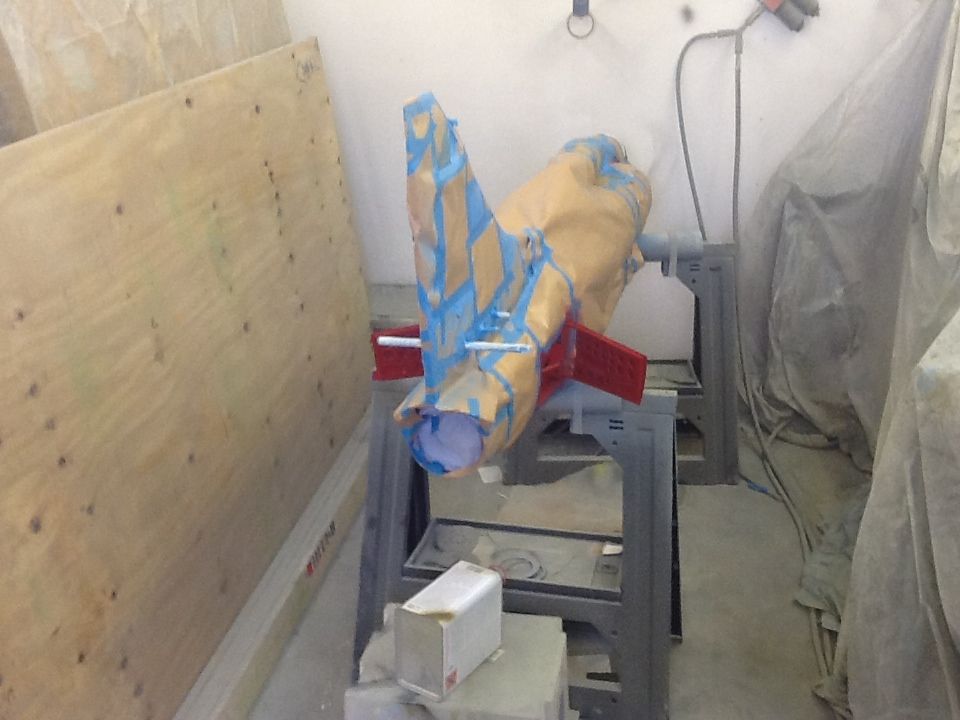
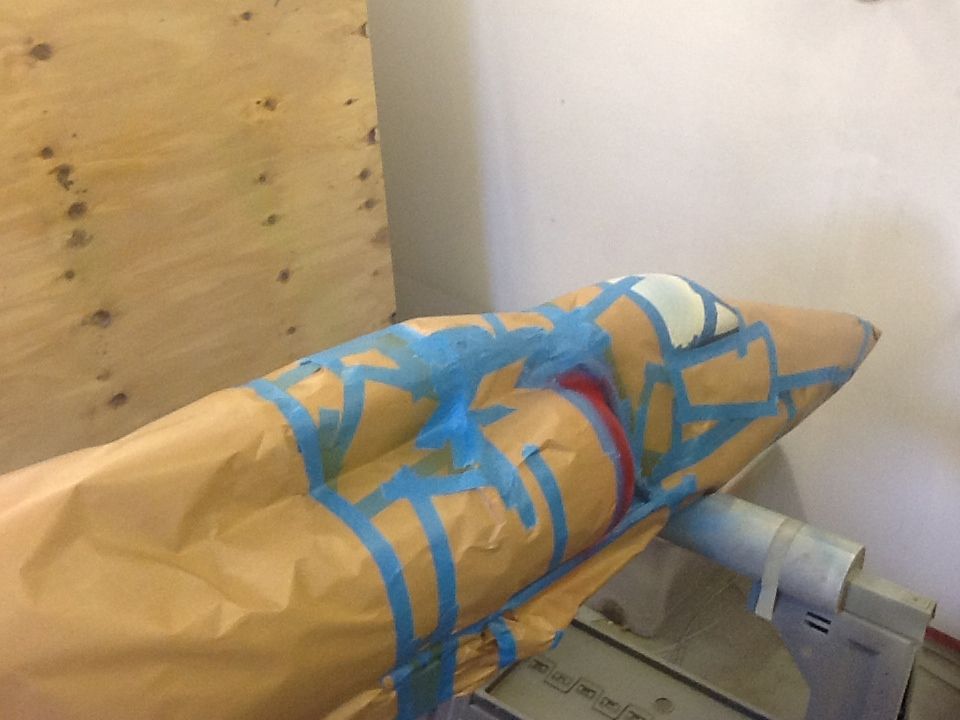
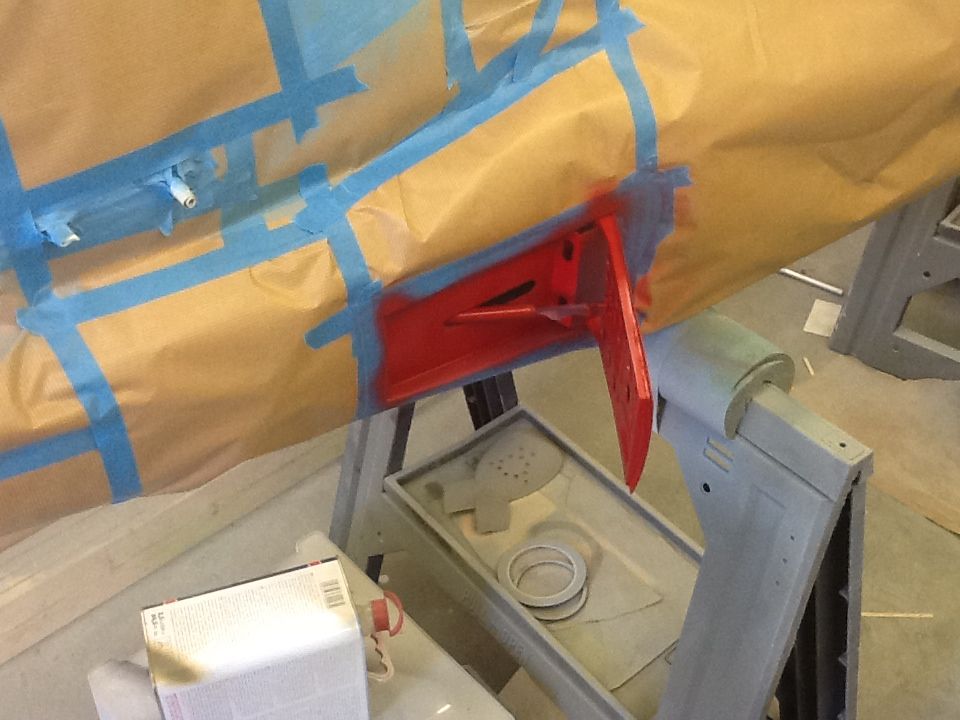
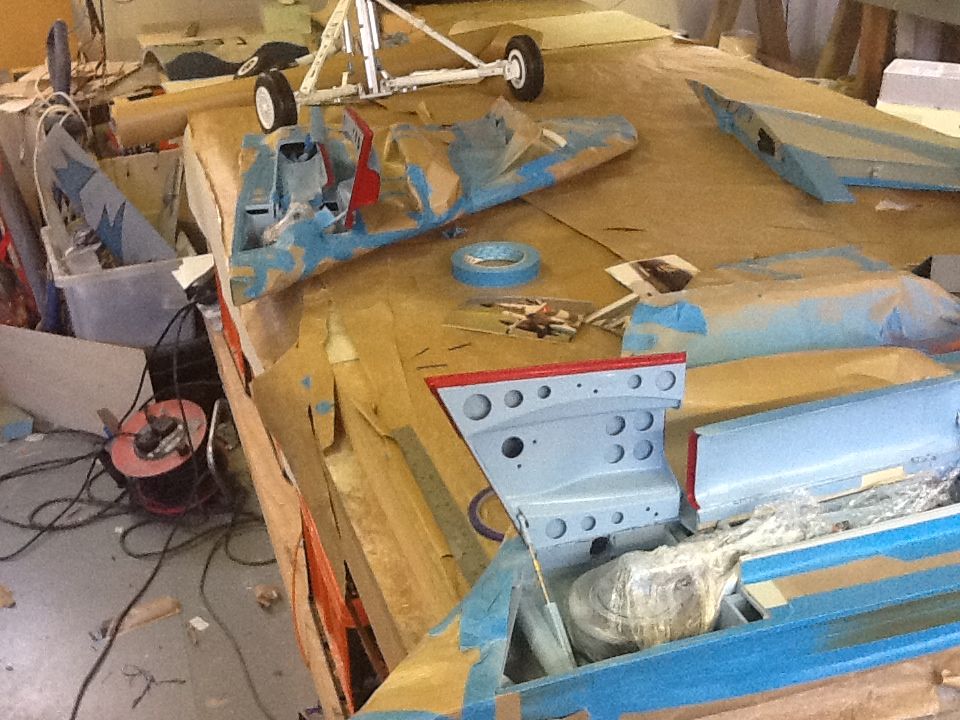
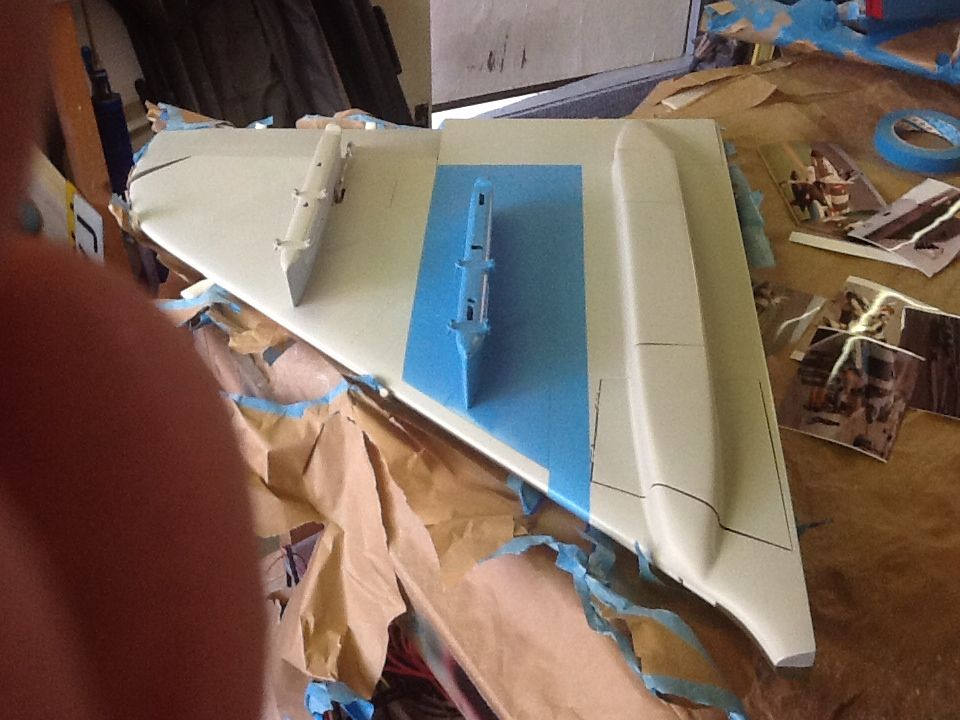
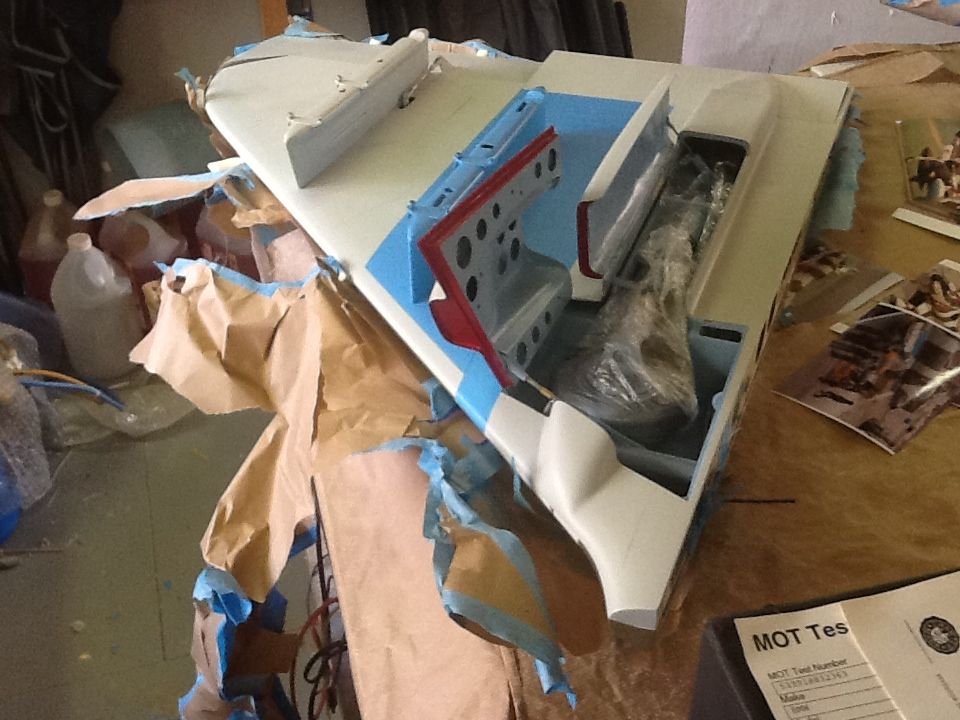
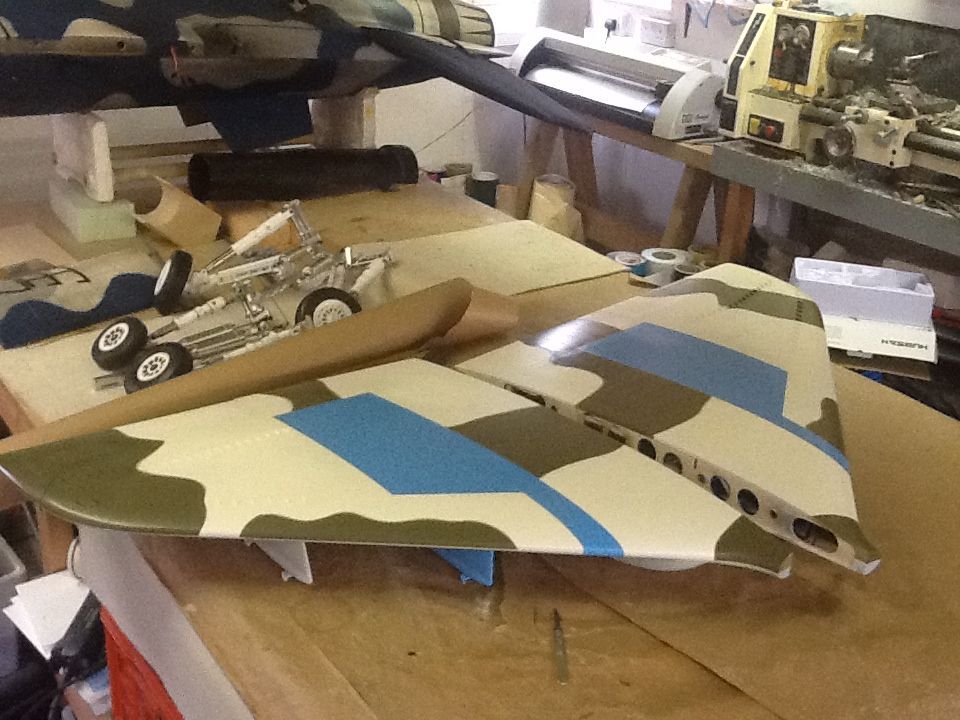
Today the A4 goes in to the paint shop to start the transformation, it will be insignia whit where the roundels and flags are, nothing special, I will post a couple of photos later when it's done.
#139

Thread Starter
Interesting that you do the white first... Not being a painter I would have painted the flags on at the end but then I suppose I would have needed loads of coats and it would of ended up looking like a raised panel...
Glad I got you to paint it
Glad I got you to paint it

#149

Thread Starter
Looking good Phil!
On a different note, I had reason to send the nose oleo back to Taiwan for repair as it leaked when the gear was up and I couldn't cure the problem with new seals. I sent this back to Li Kai in Taiwan who designs the gear for Skymaster. Its been repaired and sent back all with in two weeks They also supplied me with some of the scale parts free of charge as these were not included when Ali picked this up at Jetpower in 2010. I'm very pleased with the service and support I've received with this model...thanks Skymaster.
Cheers
On a different note, I had reason to send the nose oleo back to Taiwan for repair as it leaked when the gear was up and I couldn't cure the problem with new seals. I sent this back to Li Kai in Taiwan who designs the gear for Skymaster. Its been repaired and sent back all with in two weeks
 They also supplied me with some of the scale parts free of charge as these were not included when Ali picked this up at Jetpower in 2010. I'm very pleased with the service and support I've received with this model...thanks Skymaster.
 Cheers


