


Composite-Arf 33% Gee Bee R2 - First Flight - Pics - Videos - L@@K


 10-11-2019, 05:58 PM
#1877


 10-15-2019, 10:09 AM
#1884
Thanks Richard. It helps to use a laser pointer. Unfortunately, they had to be elongated slightly in the back in order to remove the cowl after the baffles were installed. They still look good though.
Thanks to Joshua (N99JH) for posting the pictures for me. Thanks again Josh.
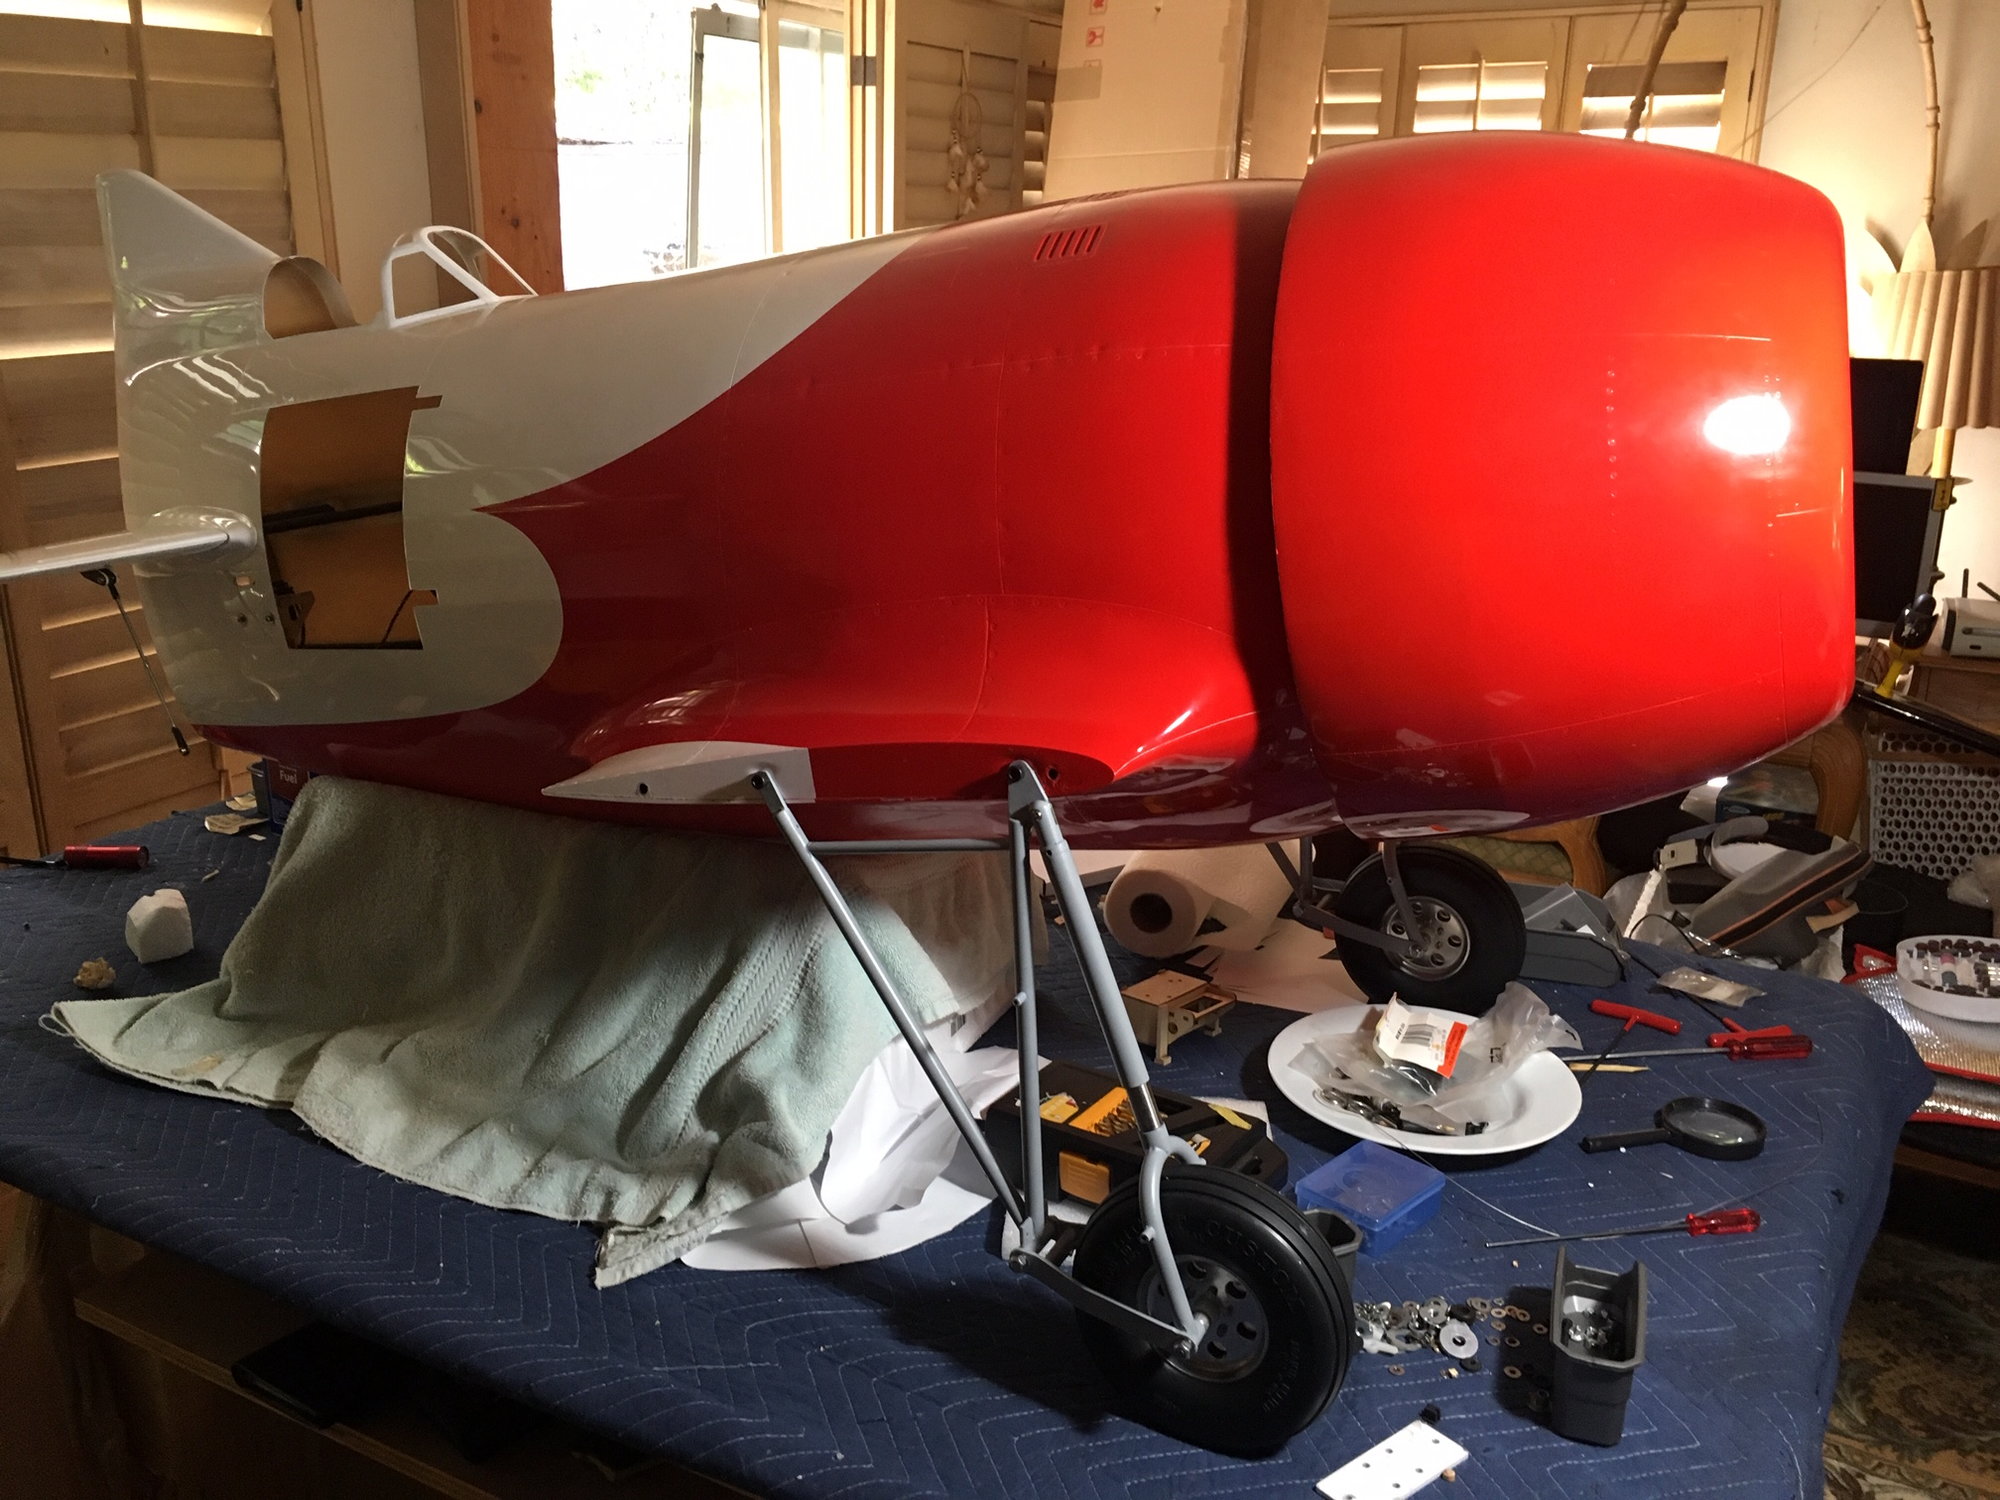
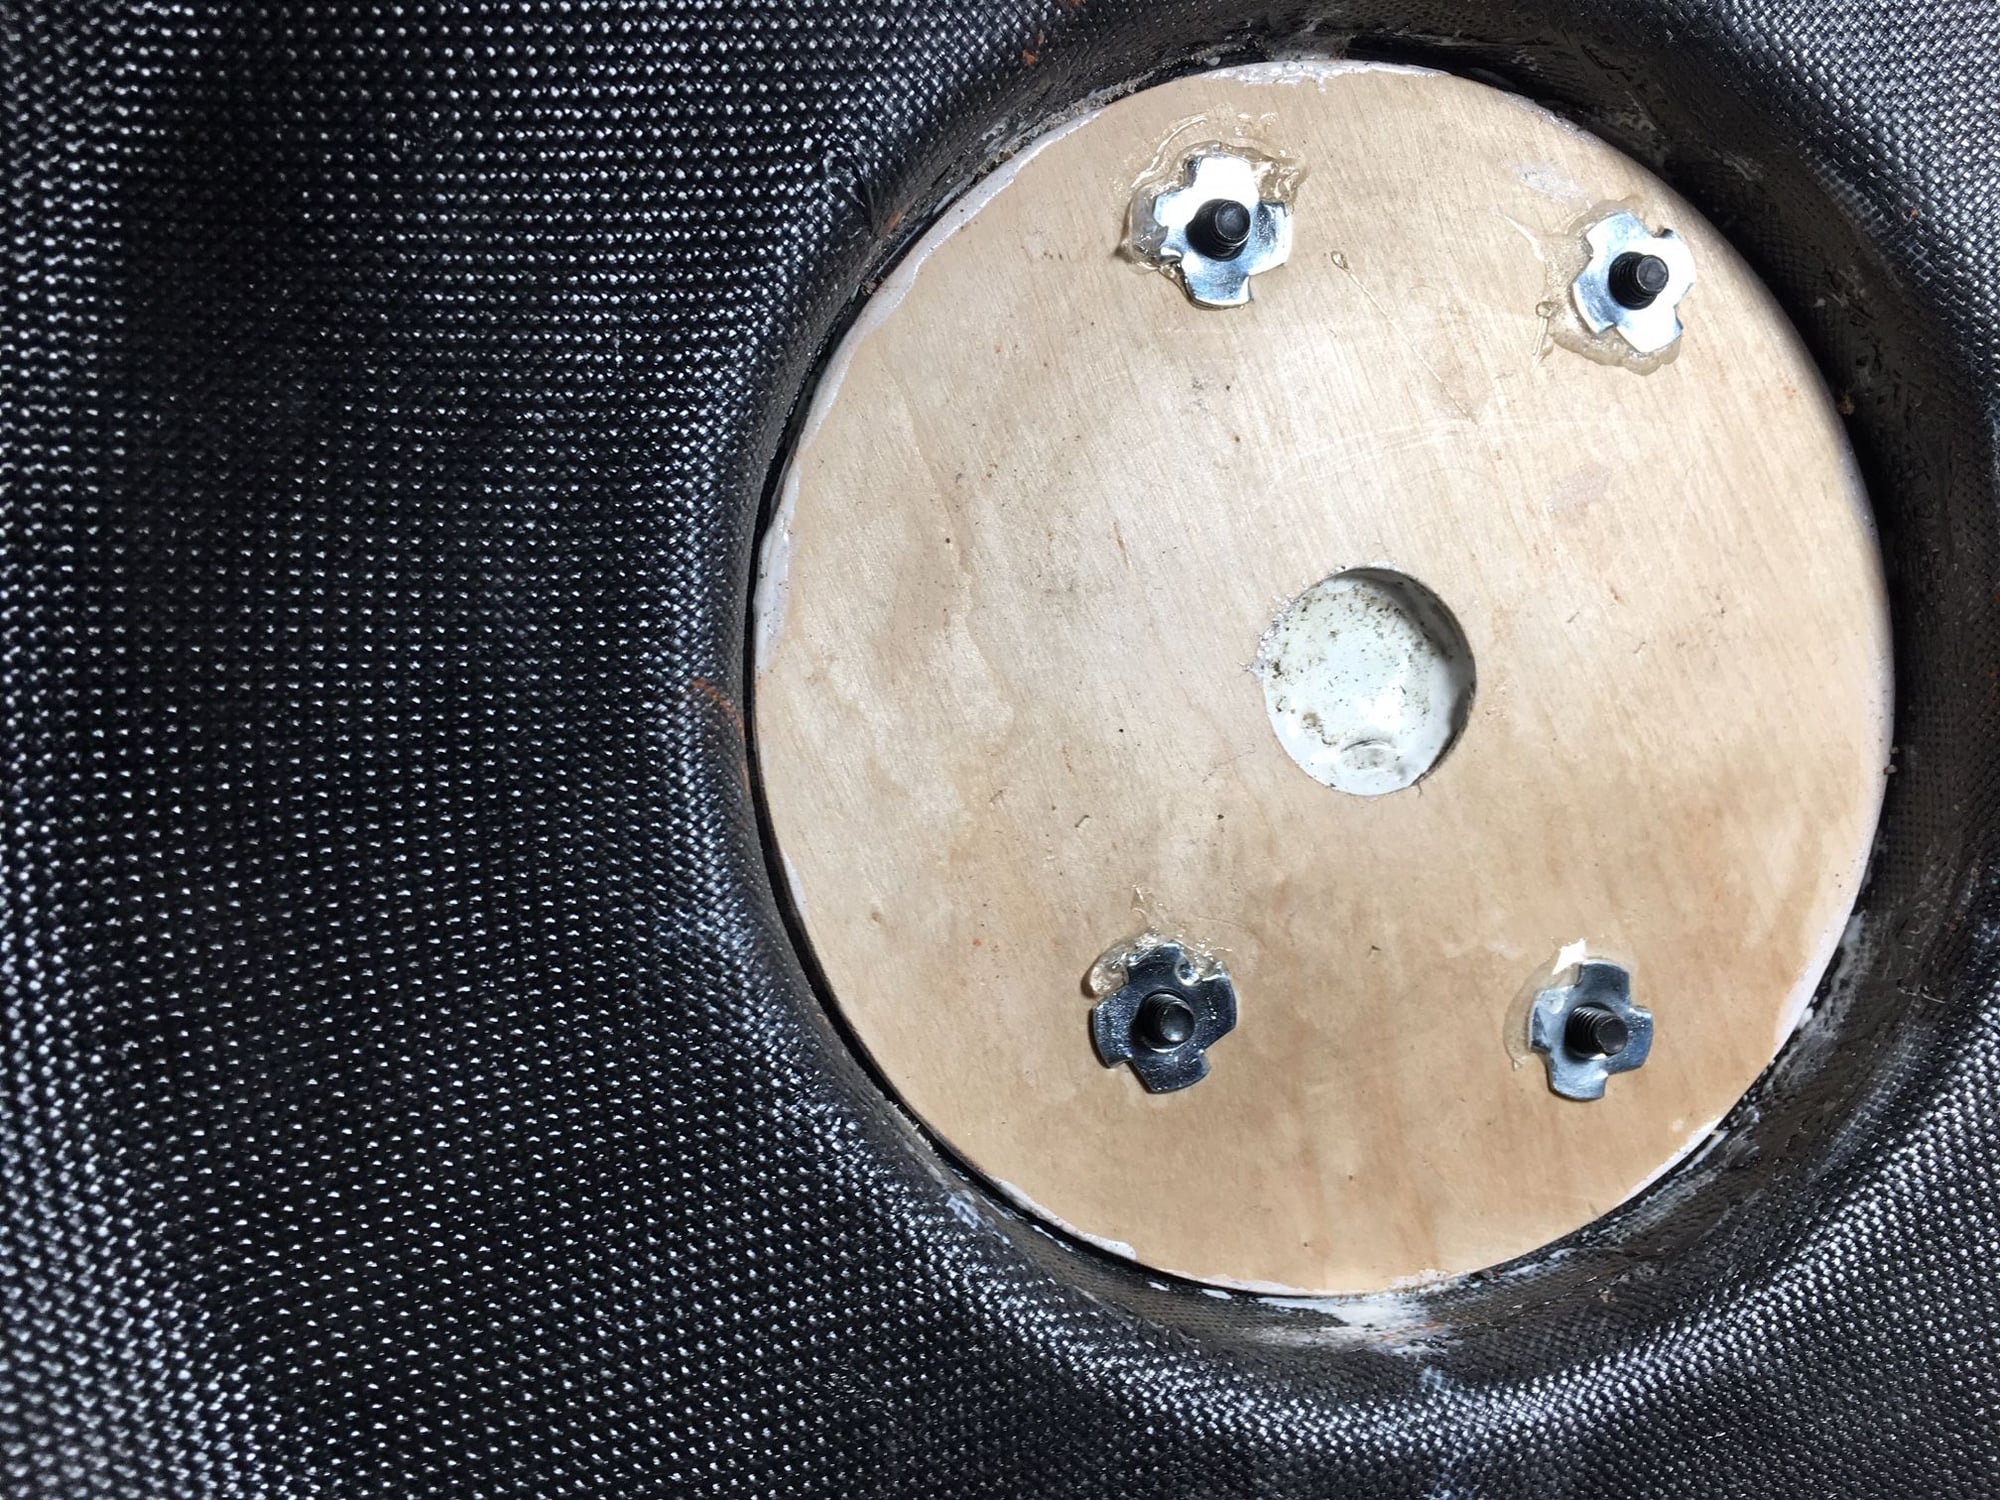
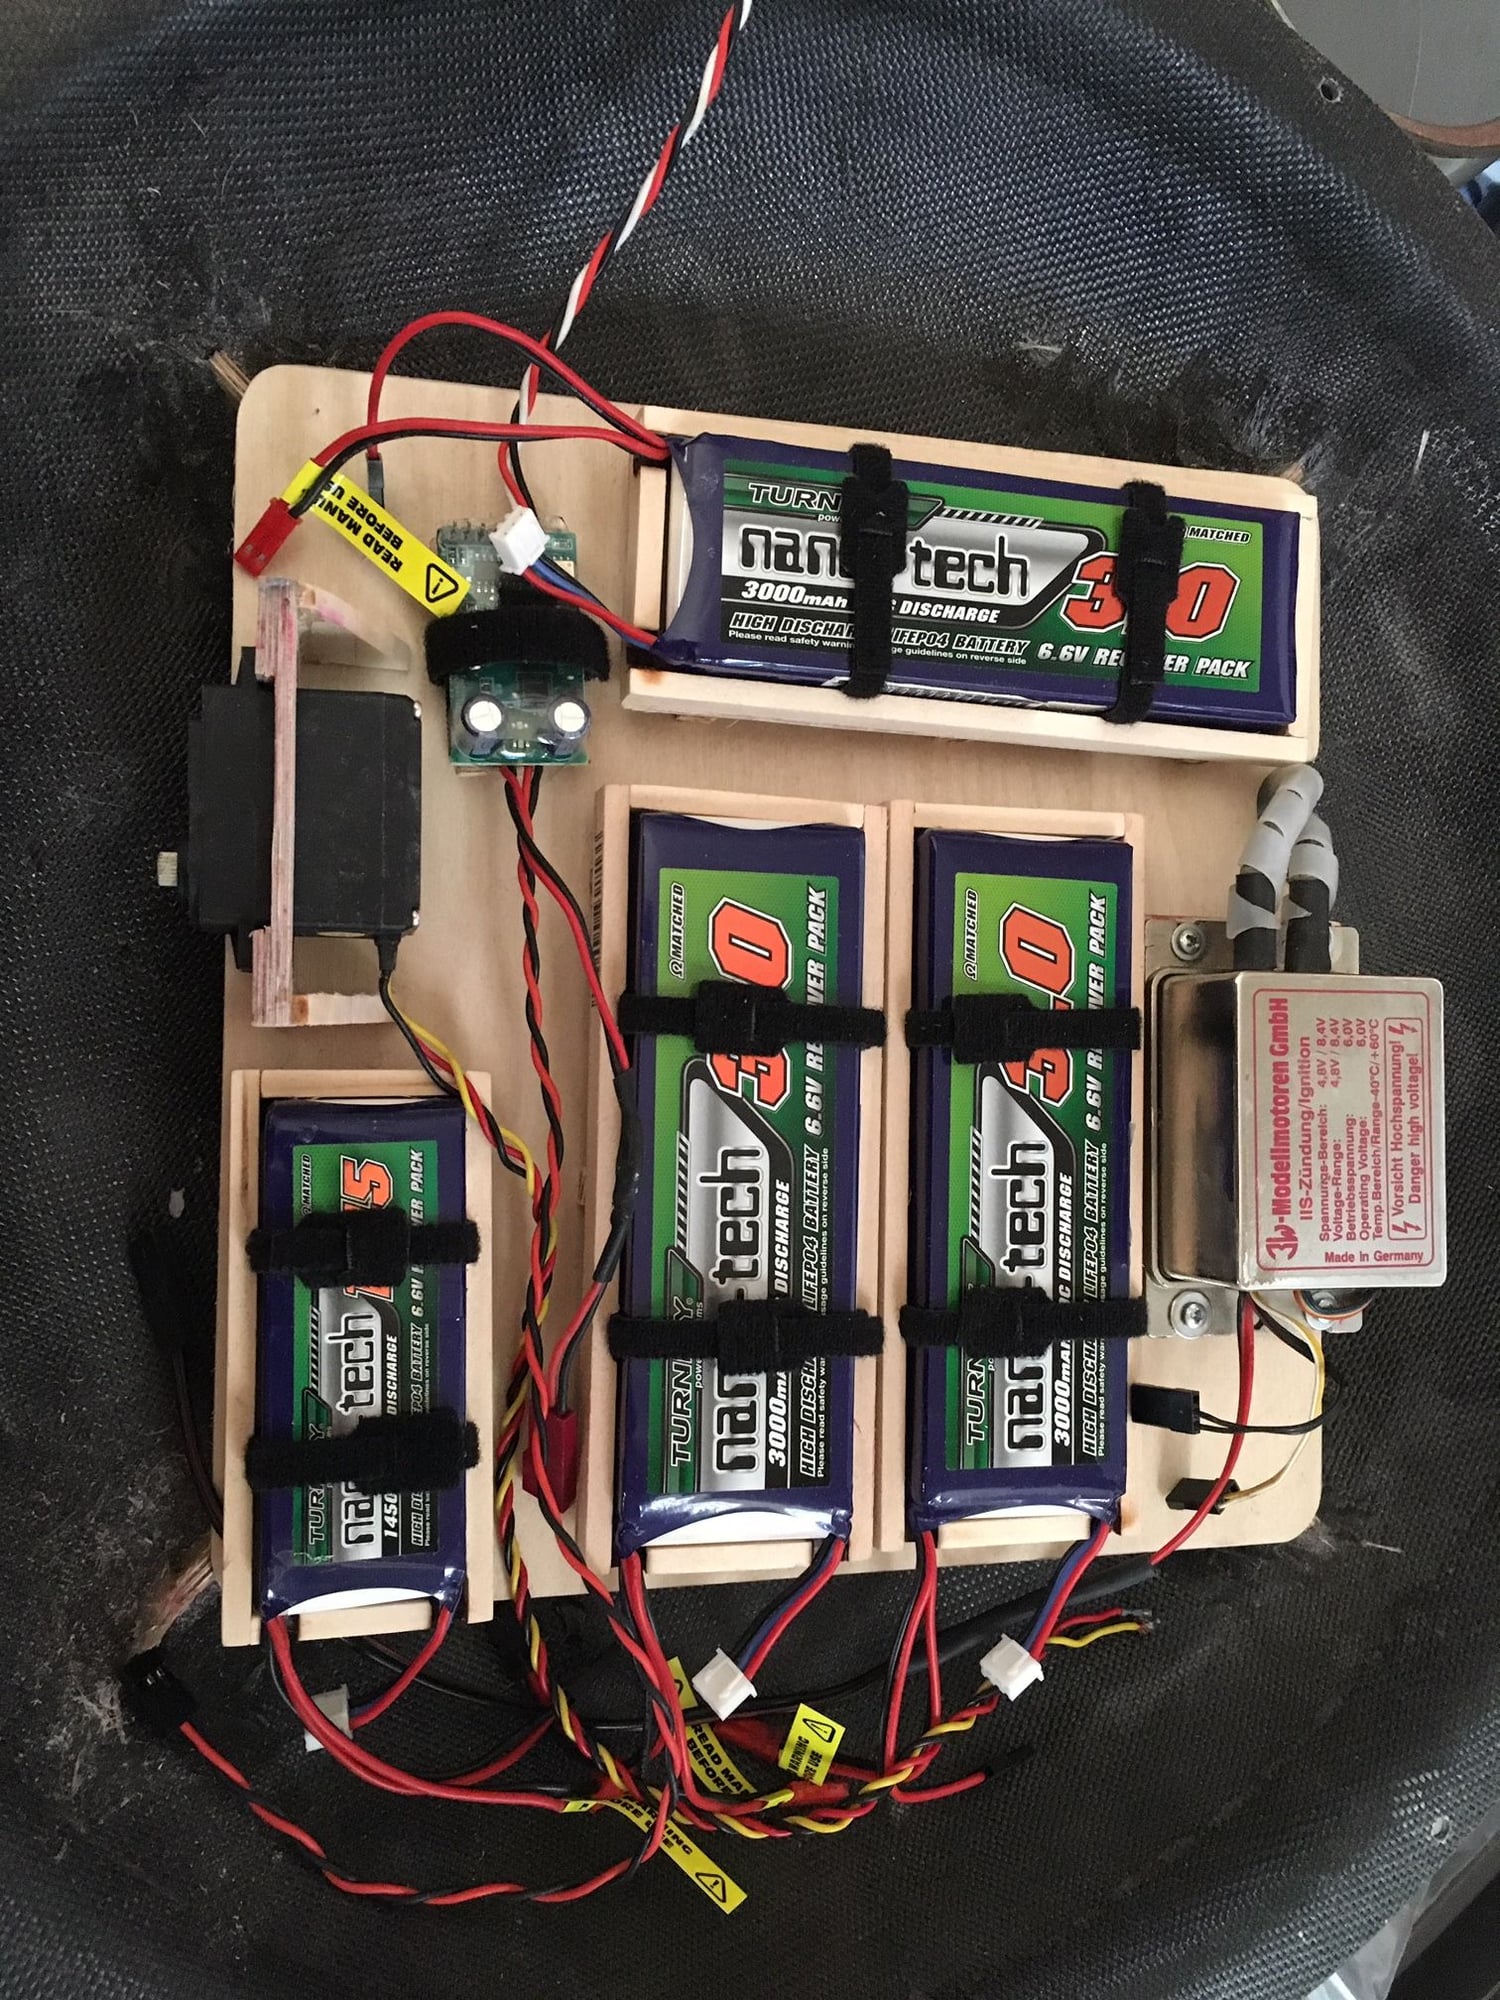
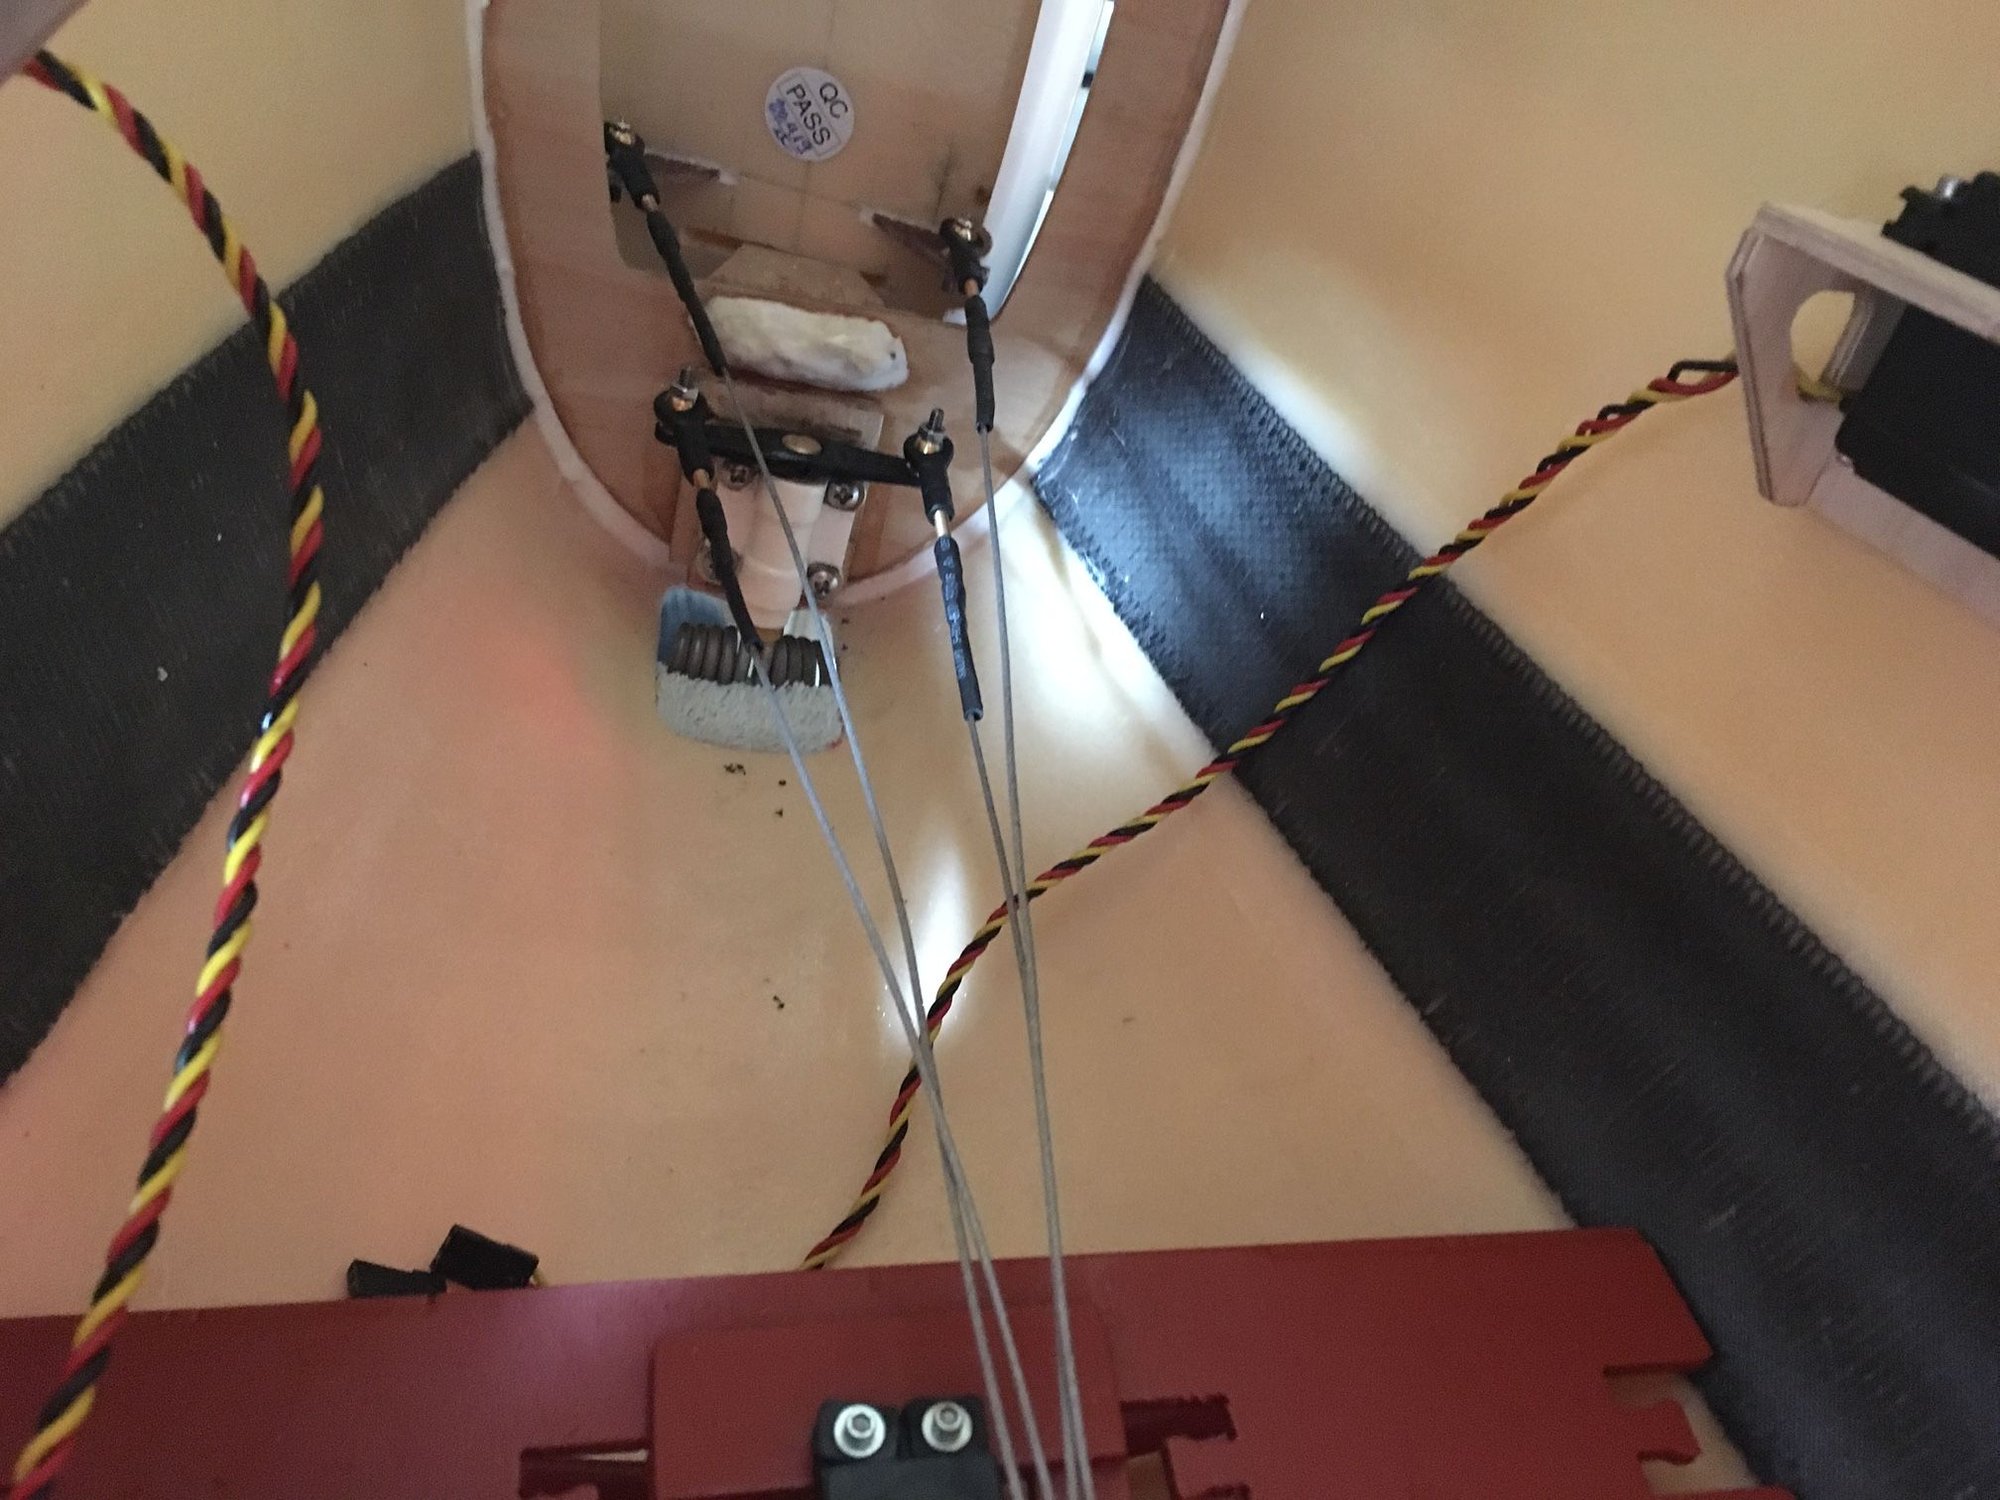
After reinforcing with cloth and sealing the structure (I use 30 min. epoxy thinned down with denatured alcohol to seal), I epoxied a 9"x9"x1/8" plywood plate to the back. I ground a hole in the dome just big enough for the plug caps and mounted the ignition. I was not able to use the RCEXCEL replacement because of an incompatibility with the hall sensor mount. The picture shows a mock-up including a Tech Aero IBEC. I will lightly tack the battery trays until I'm sure of the CG. I haven't mounted the tail-wheel yet for two reasons: 1. the control horn is crap and I had to decide how to improve it (I'll explain later) and 2. I had to find a clamp that would hold it in place while the epoxy set up. It should go on in the next couple of days. I was about to put locknuts on all of the F.W.s when careful measurement showed the gear were slightly splayed so I've got to correct that before finalizing them. My friend Scott lathed me some new engine standoffs. He makes and sells several very cool R.C. products including a great flexible tuning screwdriver and a leak-down test kit for DLE and DA engines. Google Protune Stick. (Richard, I think you've done business with him: Highonthai)
"Everybody Crashes"....,.Mark
Thanks to Joshua (N99JH) for posting the pictures for me. Thanks again Josh.
After reinforcing with cloth and sealing the structure (I use 30 min. epoxy thinned down with denatured alcohol to seal), I epoxied a 9"x9"x1/8" plywood plate to the back. I ground a hole in the dome just big enough for the plug caps and mounted the ignition. I was not able to use the RCEXCEL replacement because of an incompatibility with the hall sensor mount. The picture shows a mock-up including a Tech Aero IBEC. I will lightly tack the battery trays until I'm sure of the CG. I haven't mounted the tail-wheel yet for two reasons: 1. the control horn is crap and I had to decide how to improve it (I'll explain later) and 2. I had to find a clamp that would hold it in place while the epoxy set up. It should go on in the next couple of days. I was about to put locknuts on all of the F.W.s when careful measurement showed the gear were slightly splayed so I've got to correct that before finalizing them. My friend Scott lathed me some new engine standoffs. He makes and sells several very cool R.C. products including a great flexible tuning screwdriver and a leak-down test kit for DLE and DA engines. Google Protune Stick. (Richard, I think you've done business with him: Highonthai)
"Everybody Crashes"....,.Mark
Last edited by 5th GeeBee; 10-15-2019 at 10:14 AM.
 10-16-2019, 02:03 PM
#1887
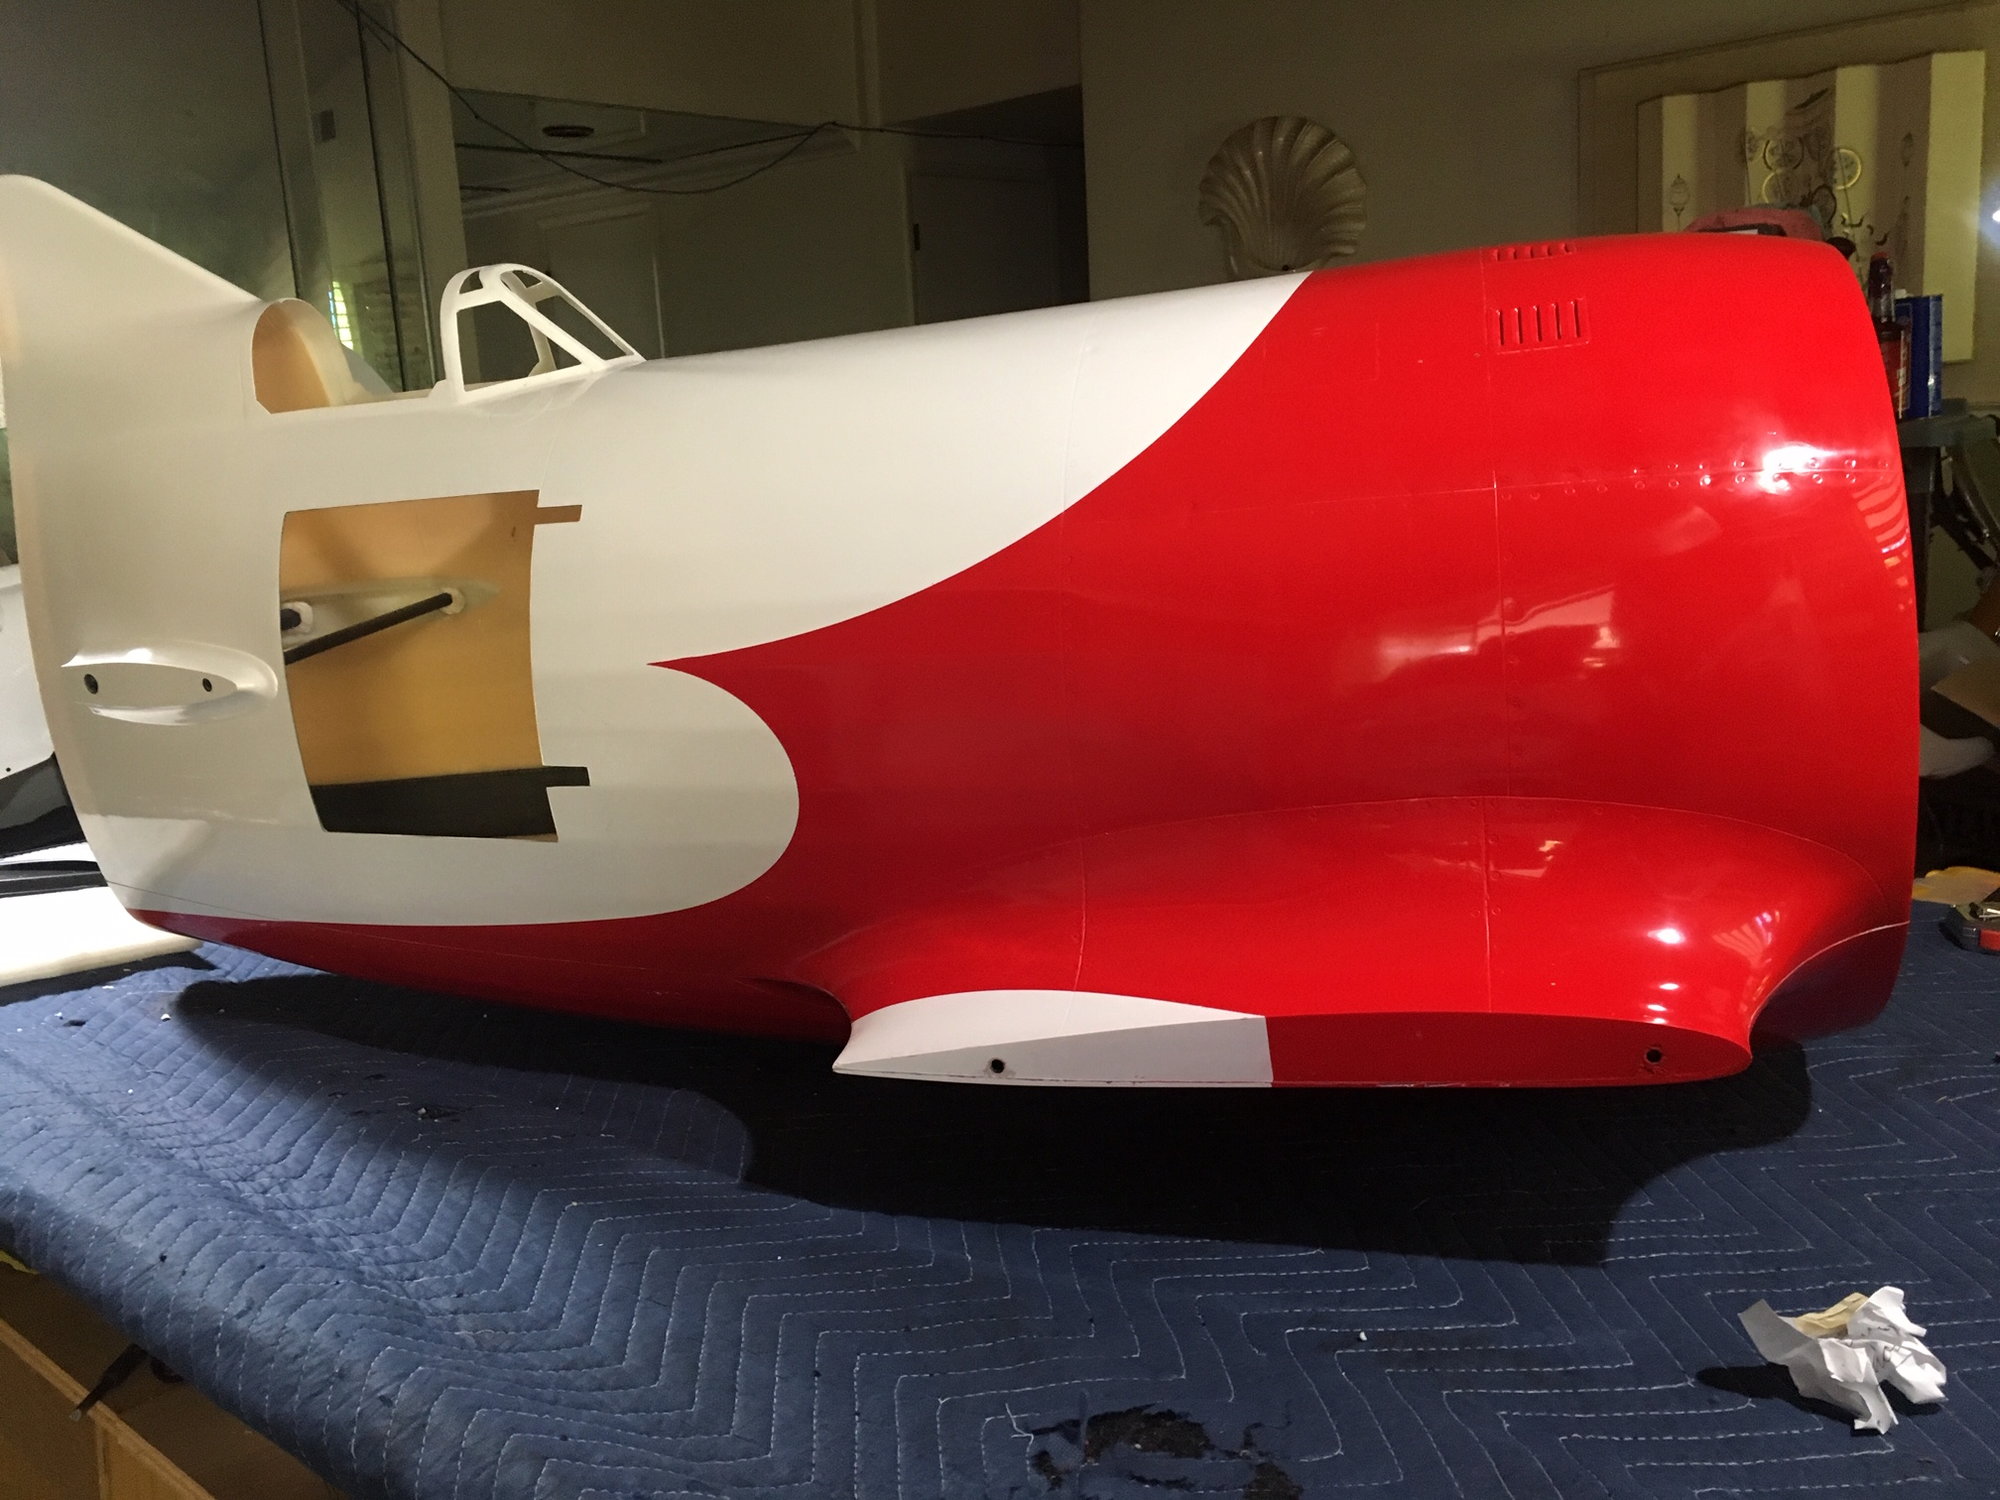
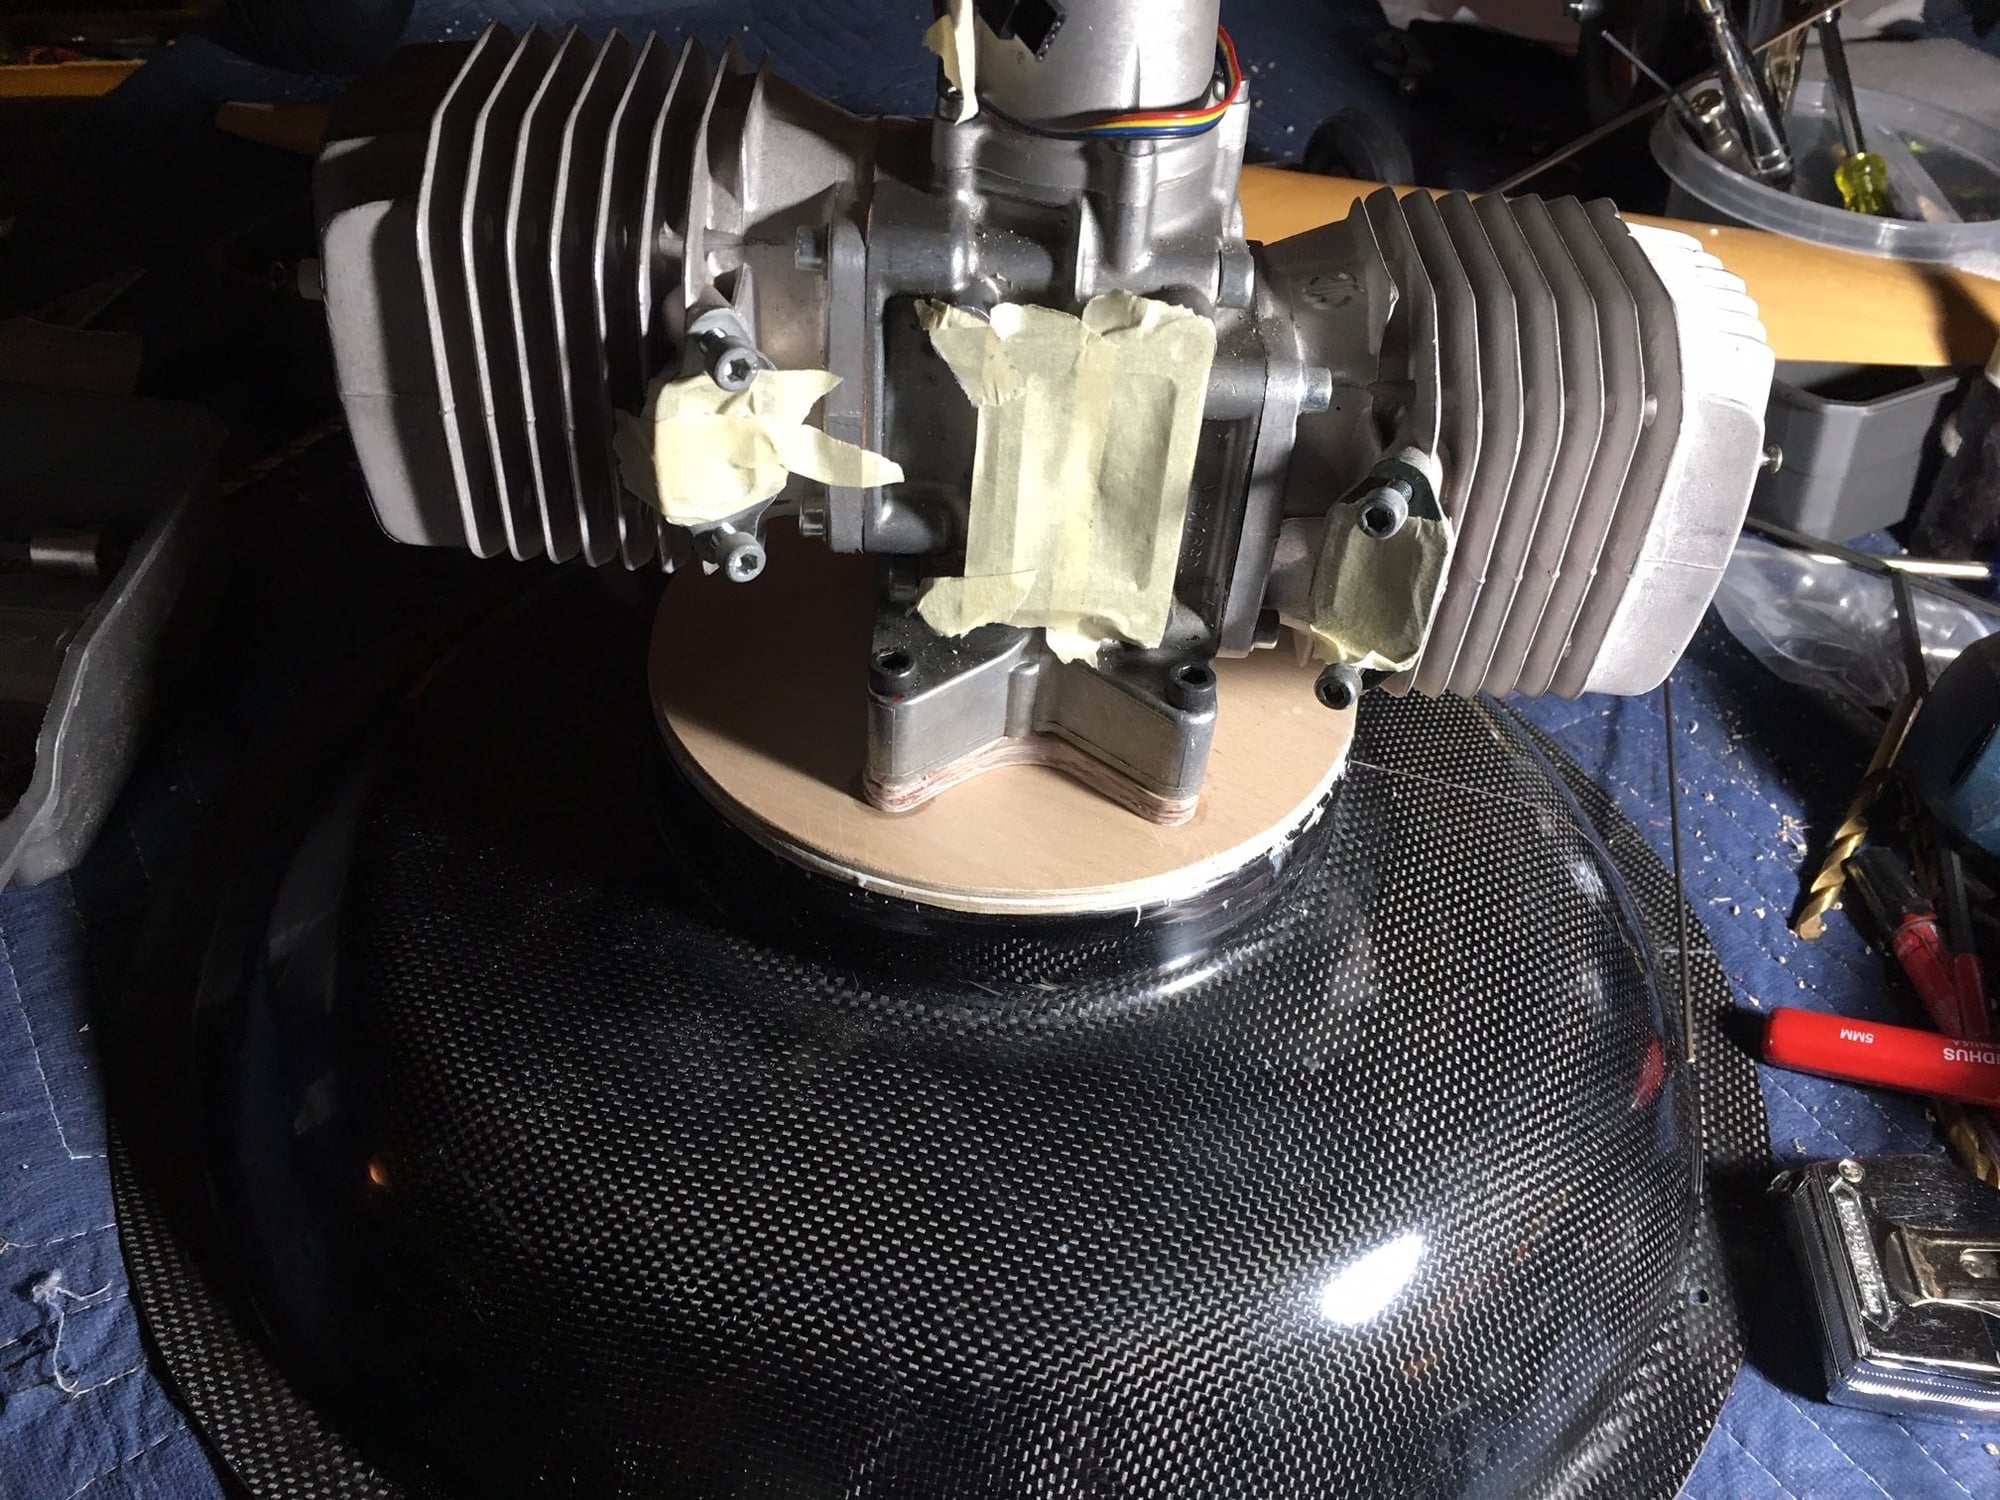
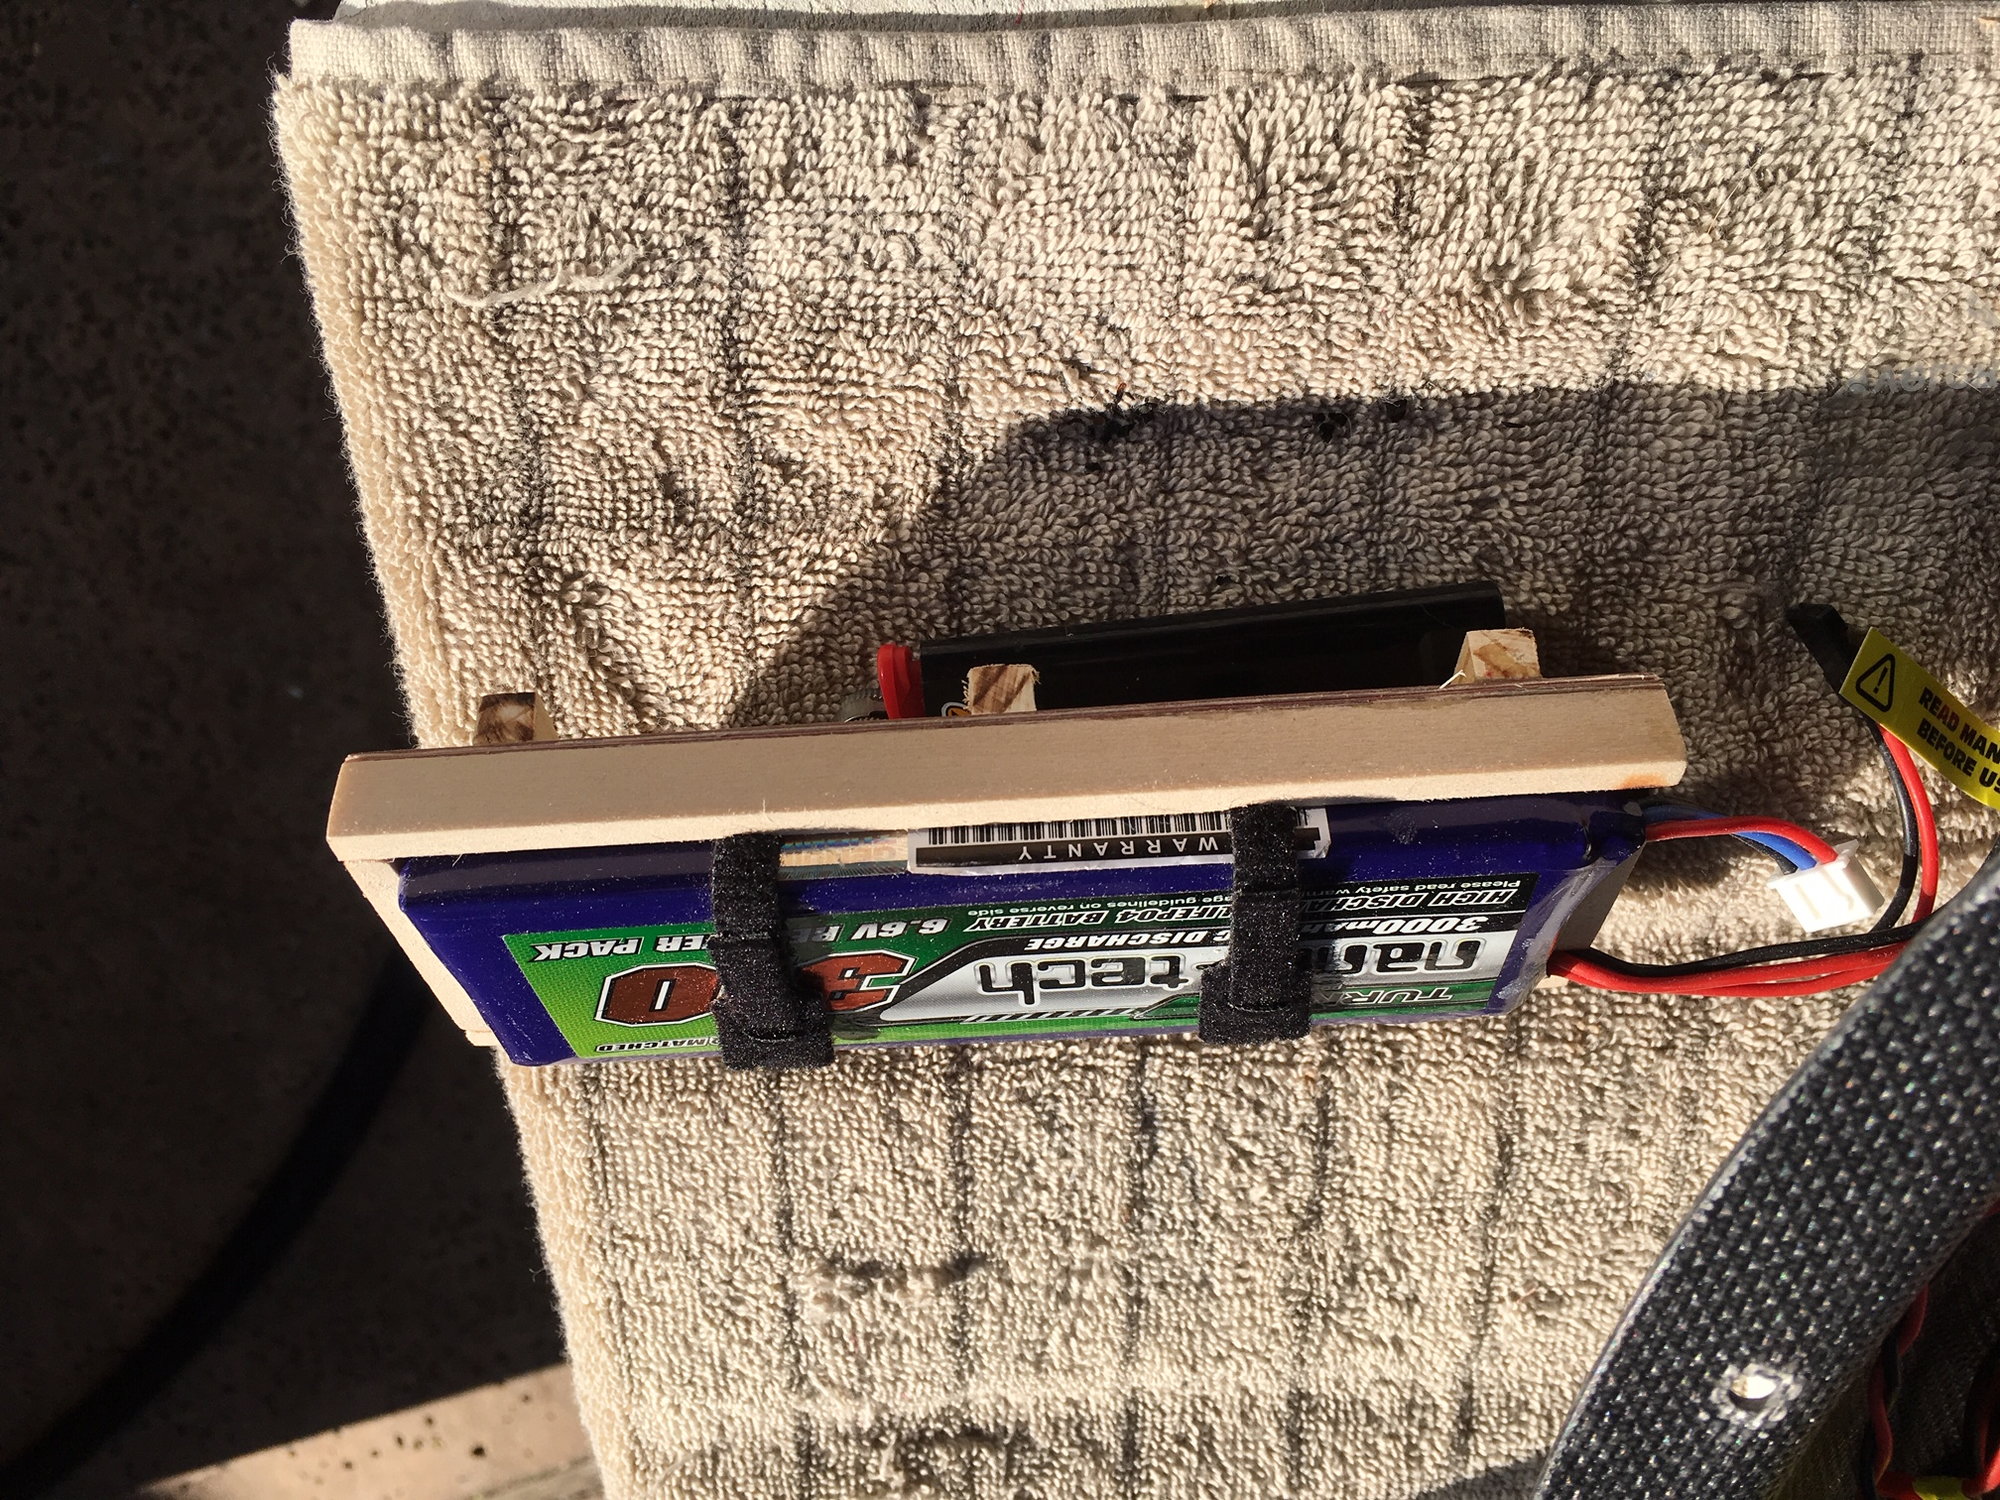
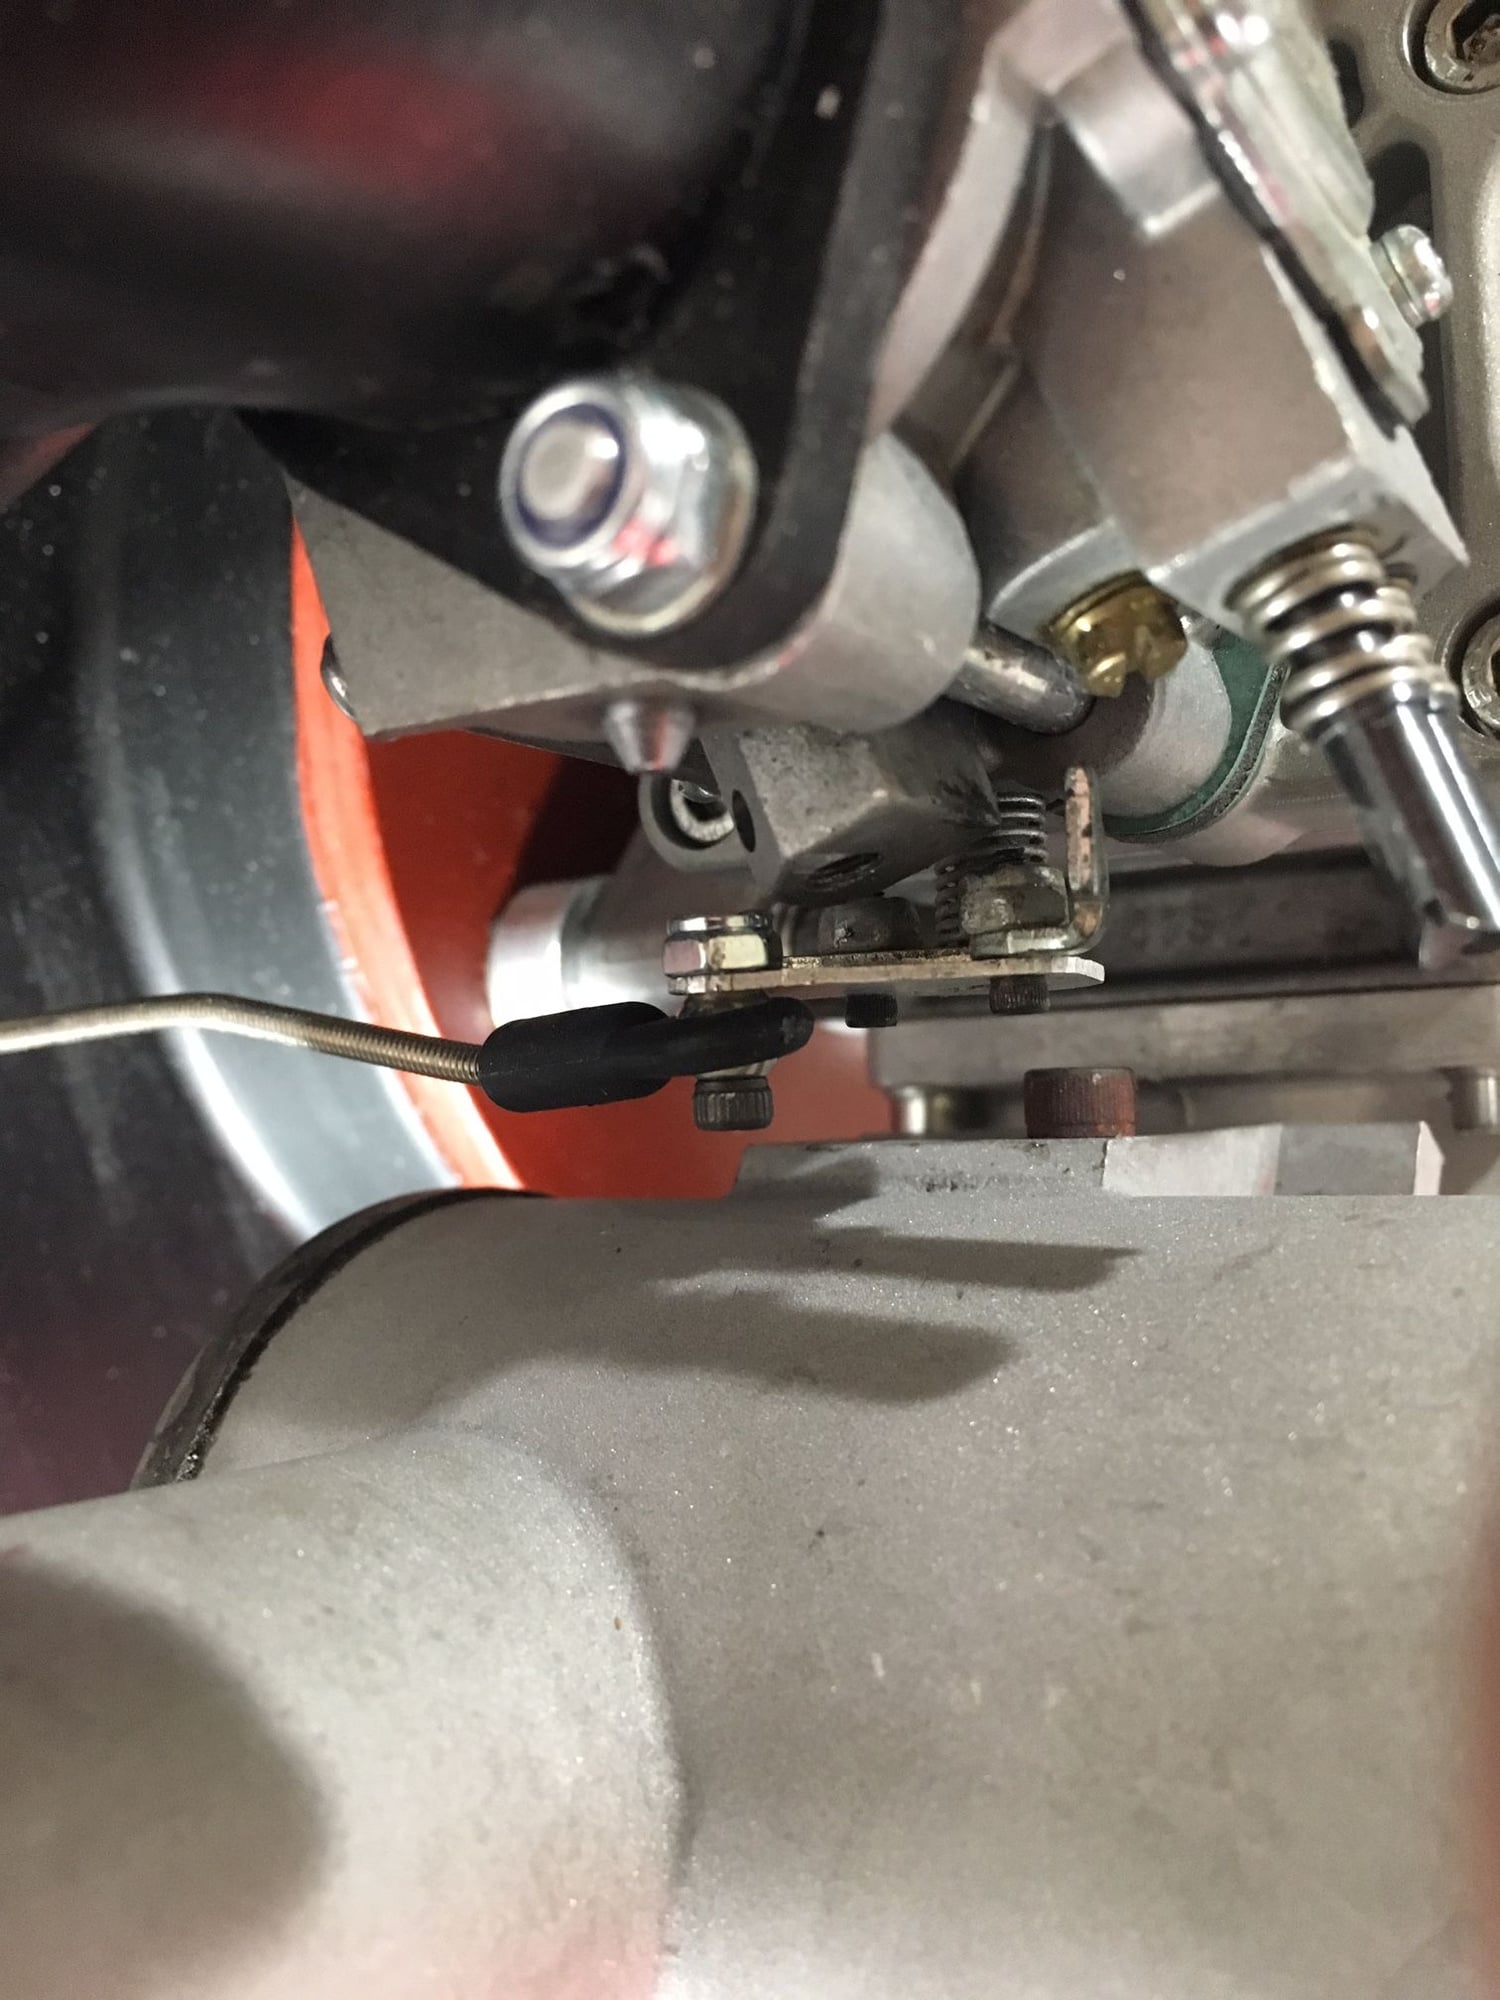
Today was finalize the engine dome day. I started by cleaning and rebuilding the carb and mounting the mufflers. I've given up on muffler gaskets.They are too rigid and almost always come loose. I use permatex copper and red locktite and I haven't had any problems. The carb rebuild went well until I noticed the reed valves had play. Pulled em off and lapped them for a tight fit.Then I discovered a crack in the bakelite carb mount. Turns out 3W has replaced all the plastic with machined aluminum. In addition, the rubber coated reed cage was falling apart so I ordered the entire assembly. Another $180 bucks.Geesh!
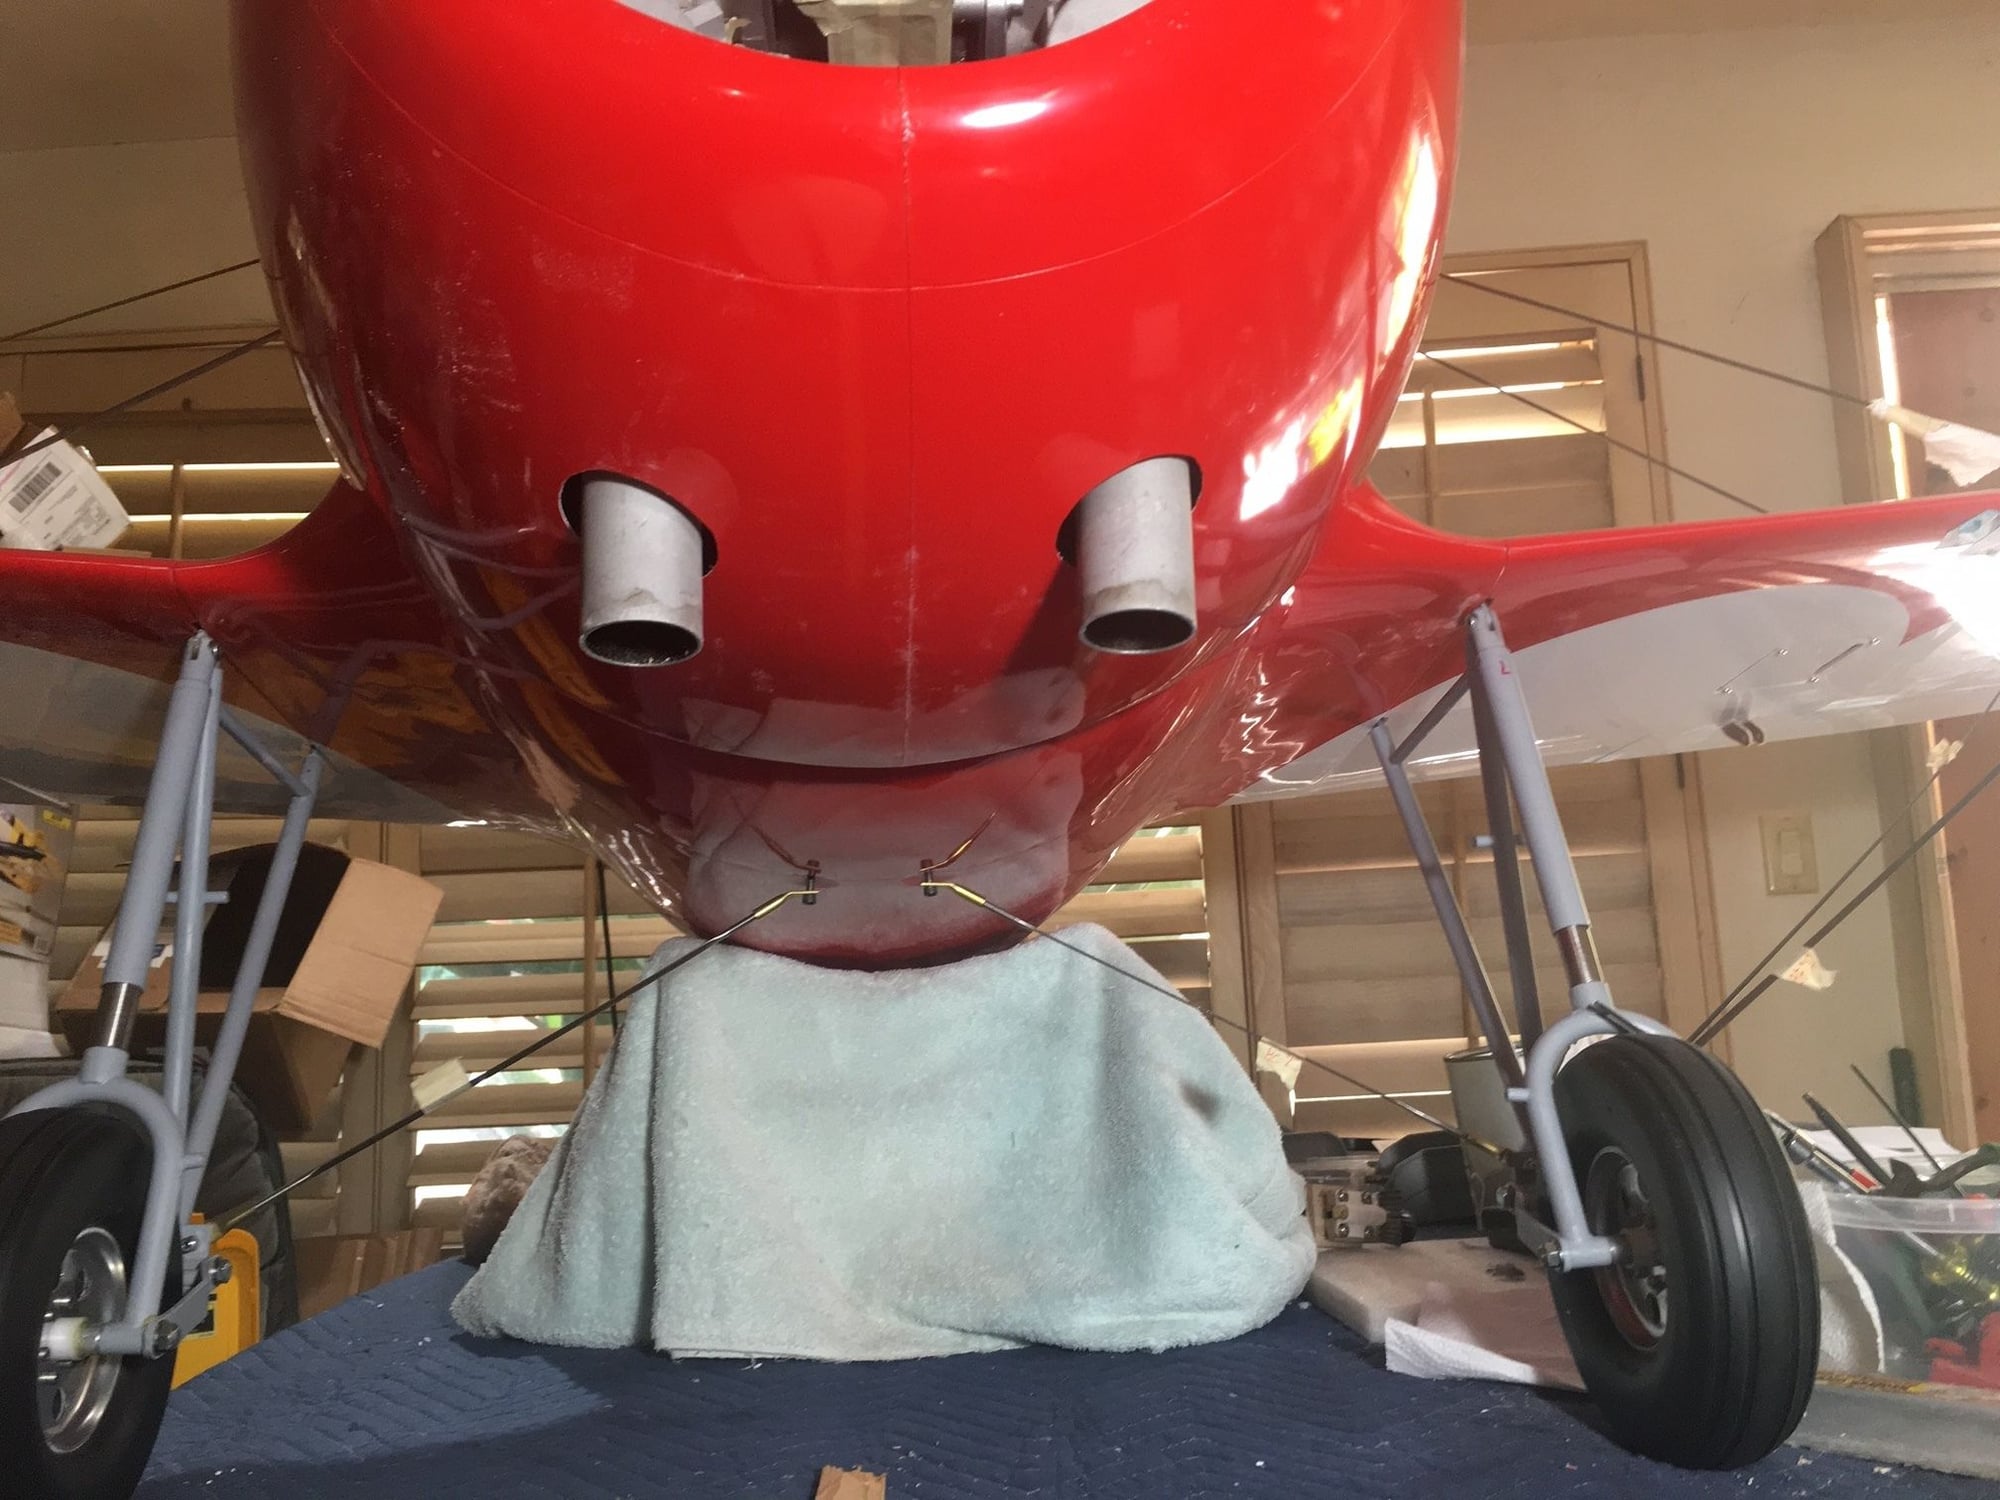
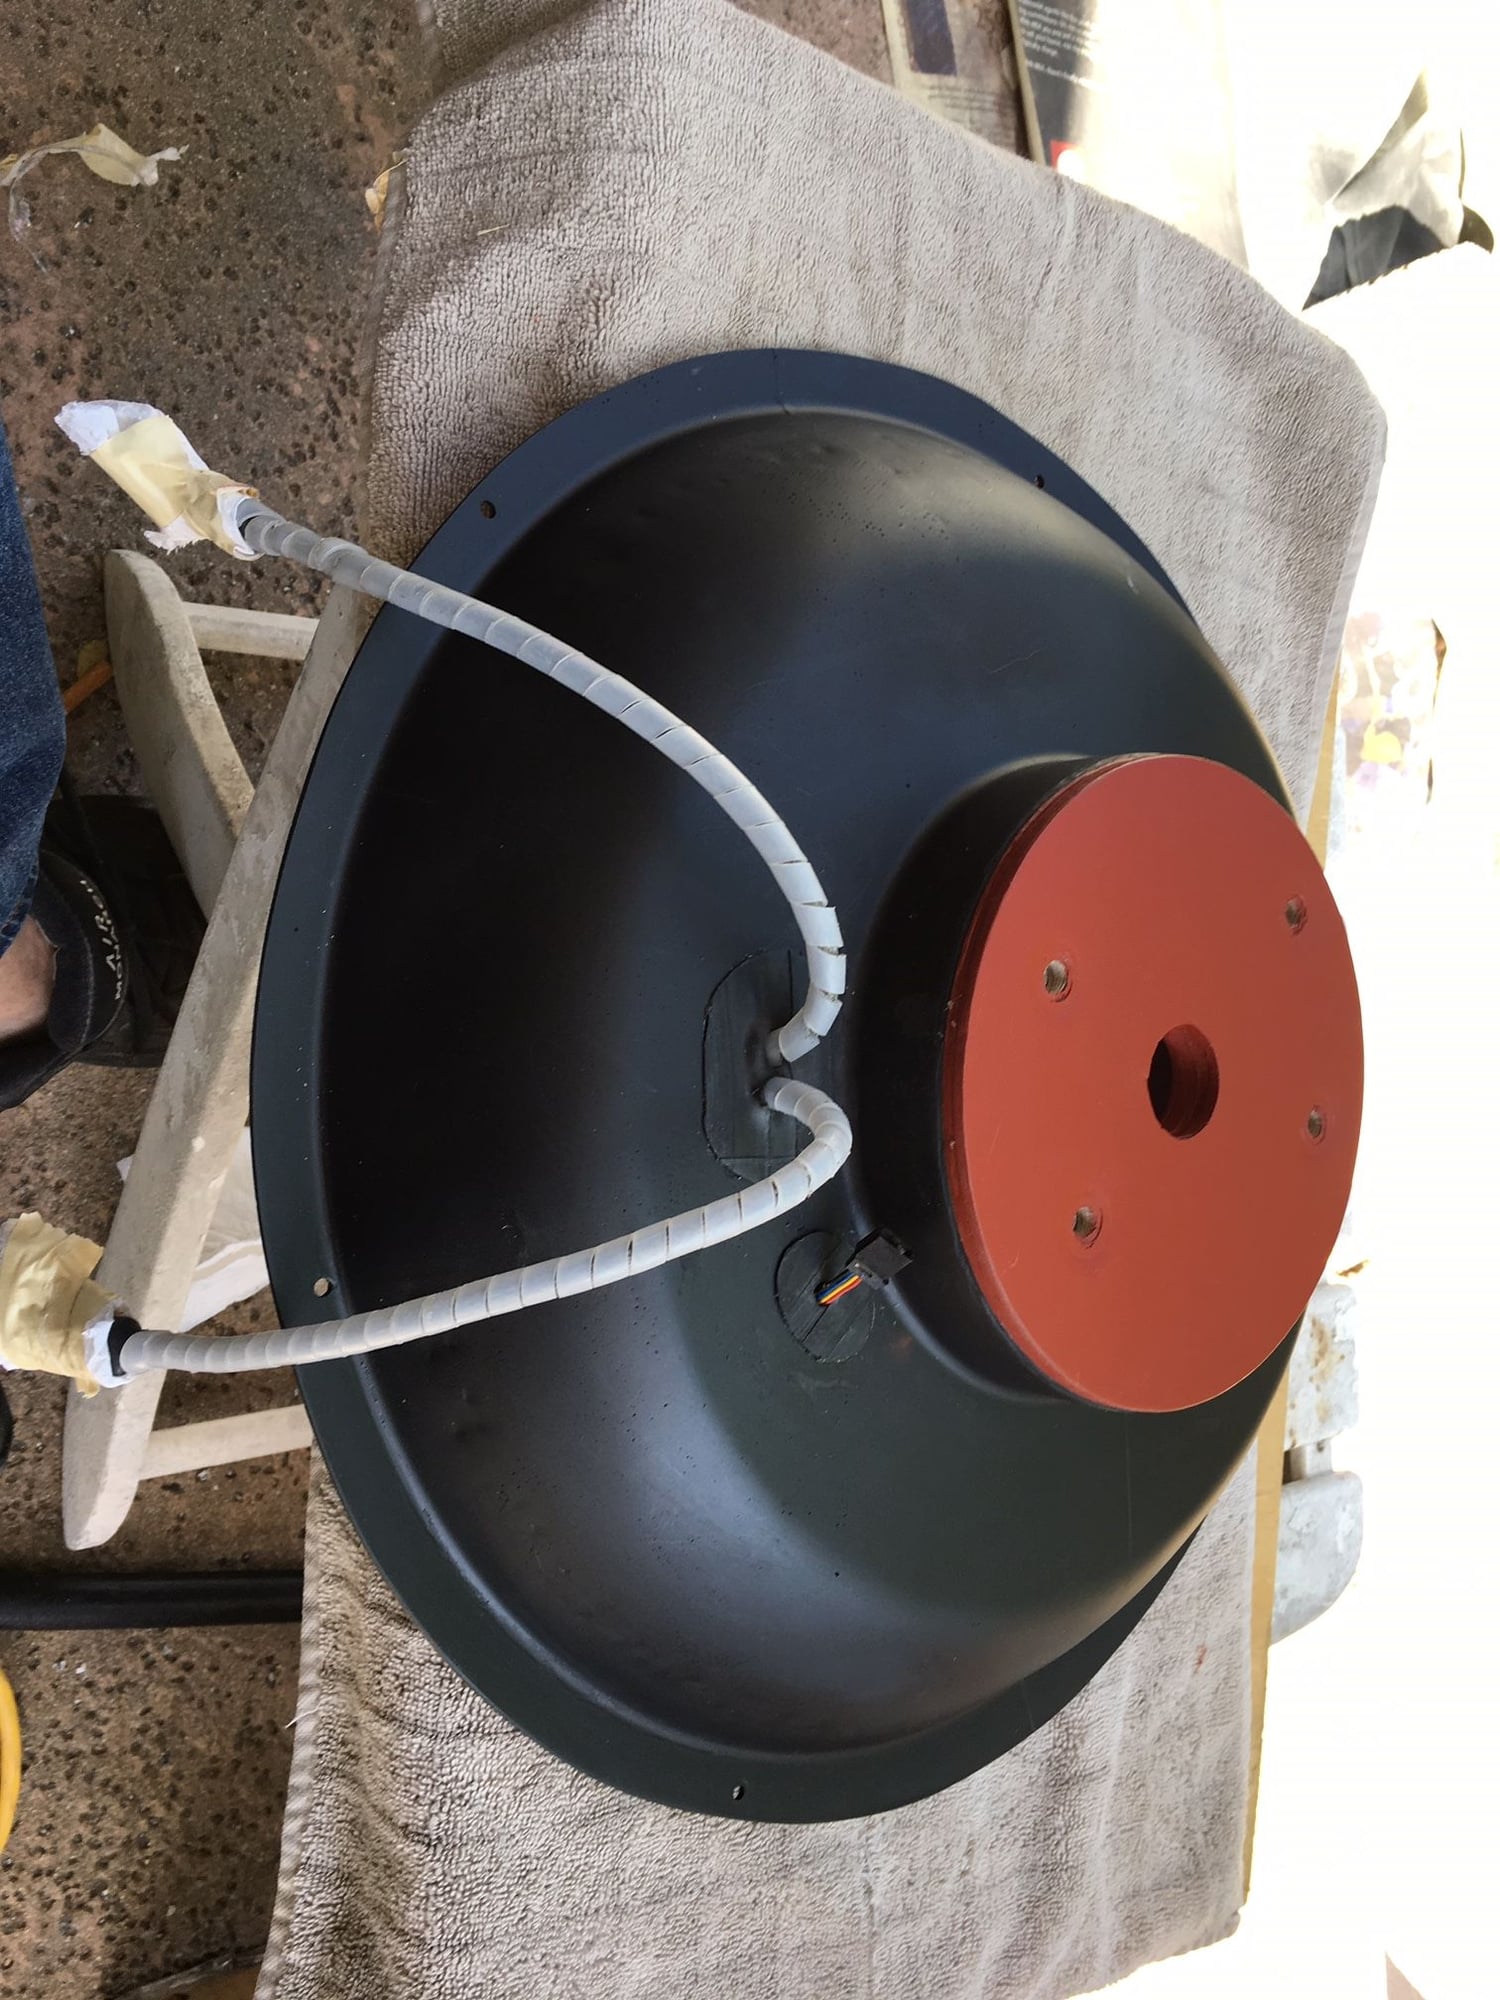
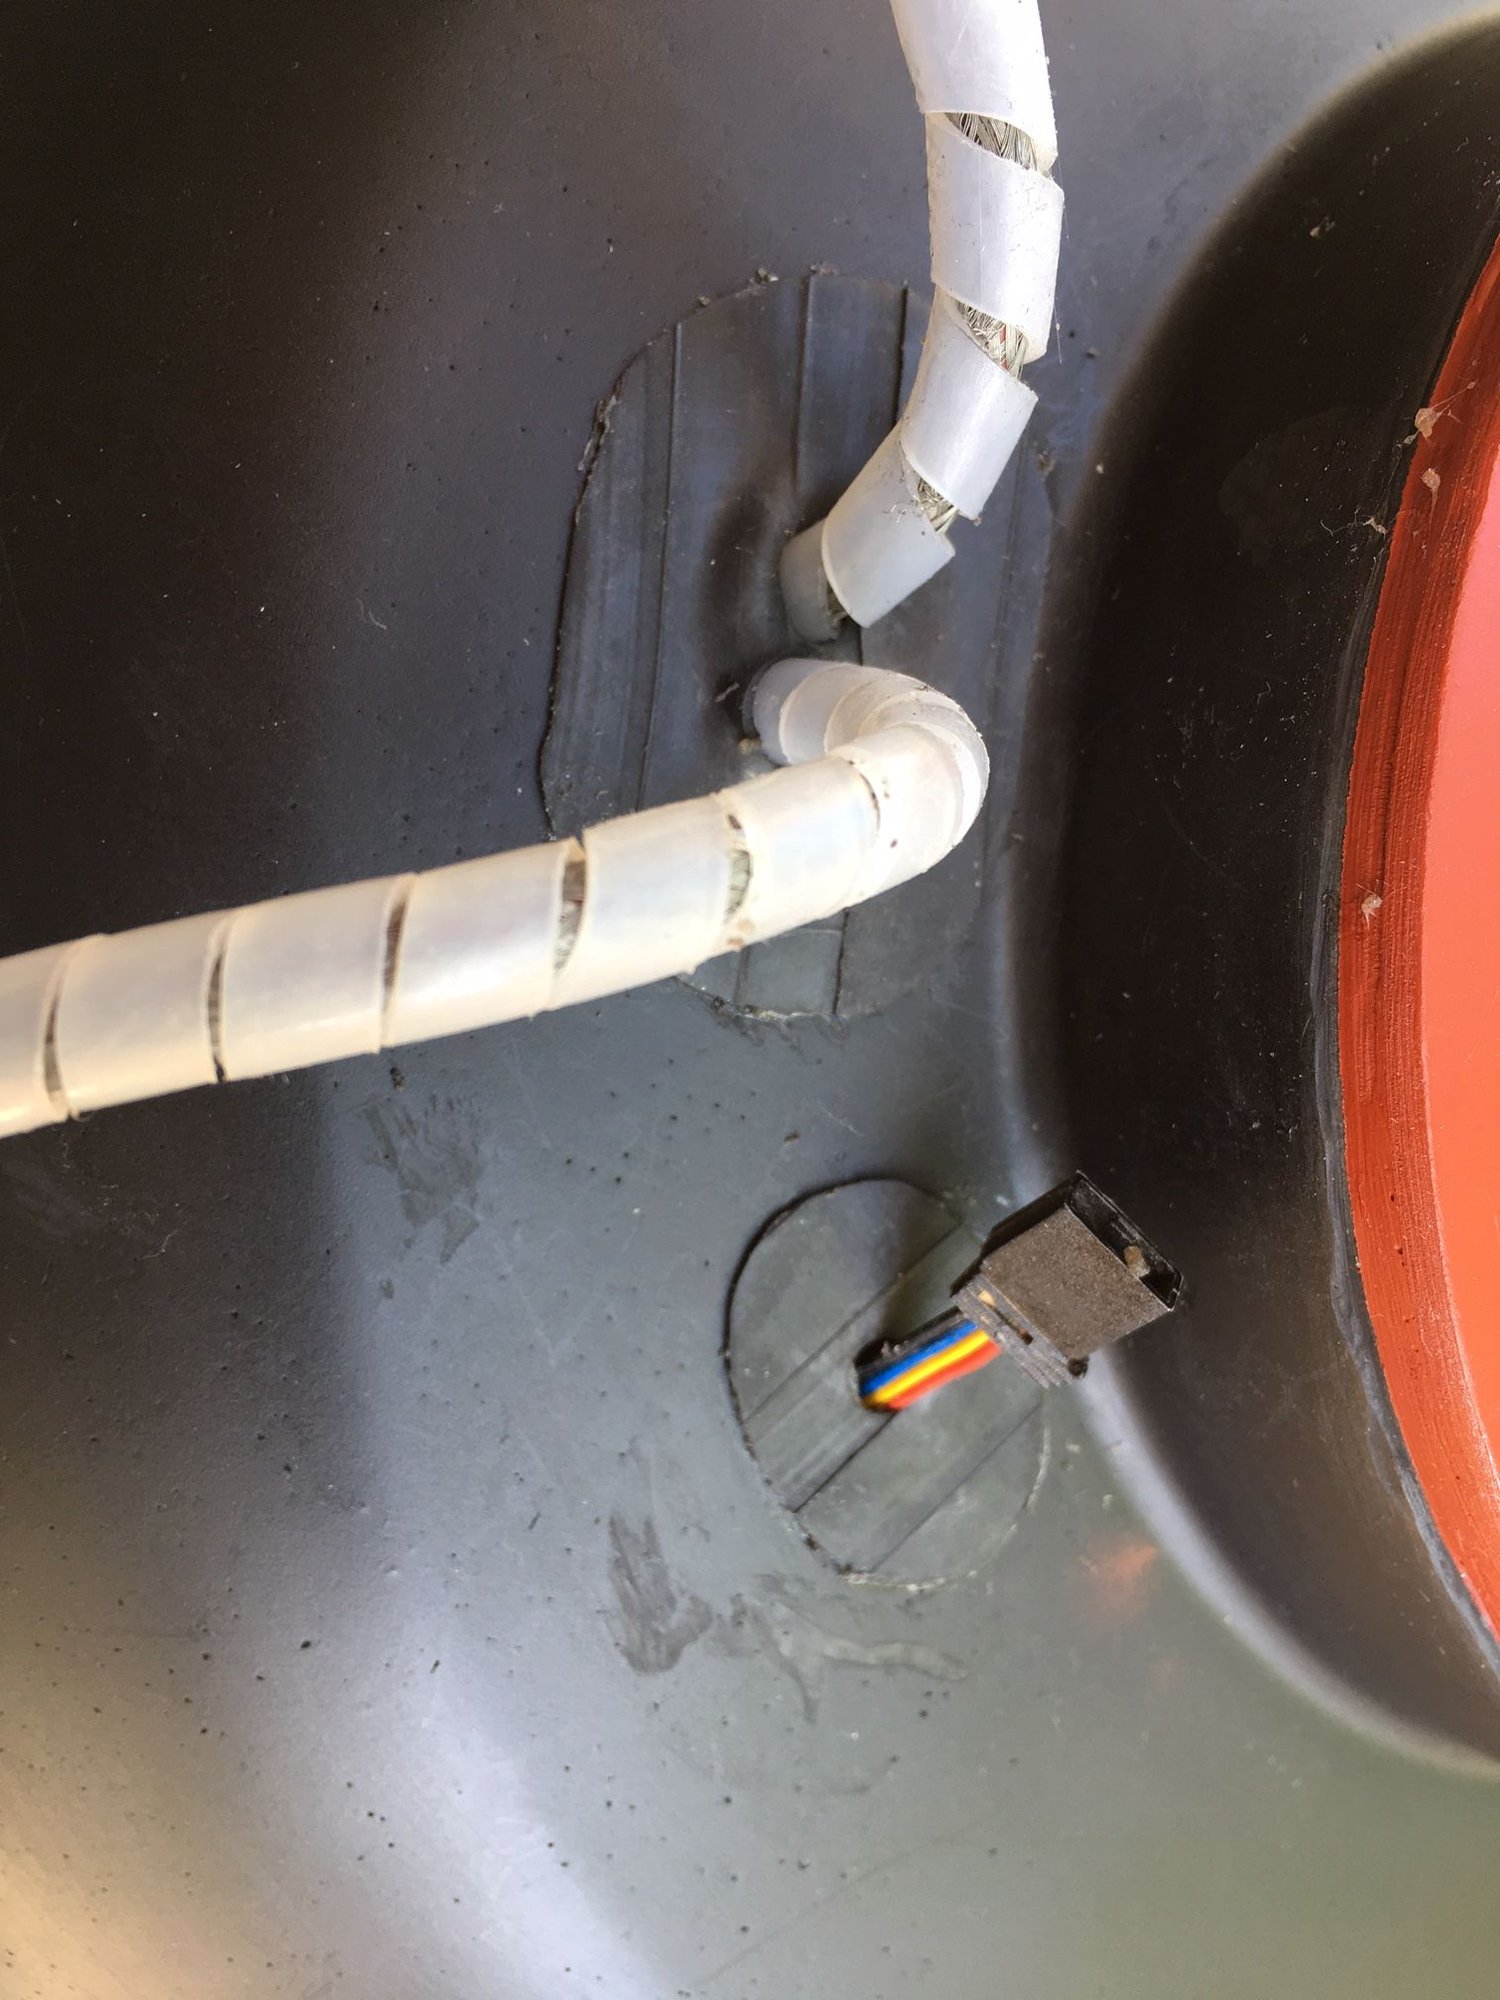
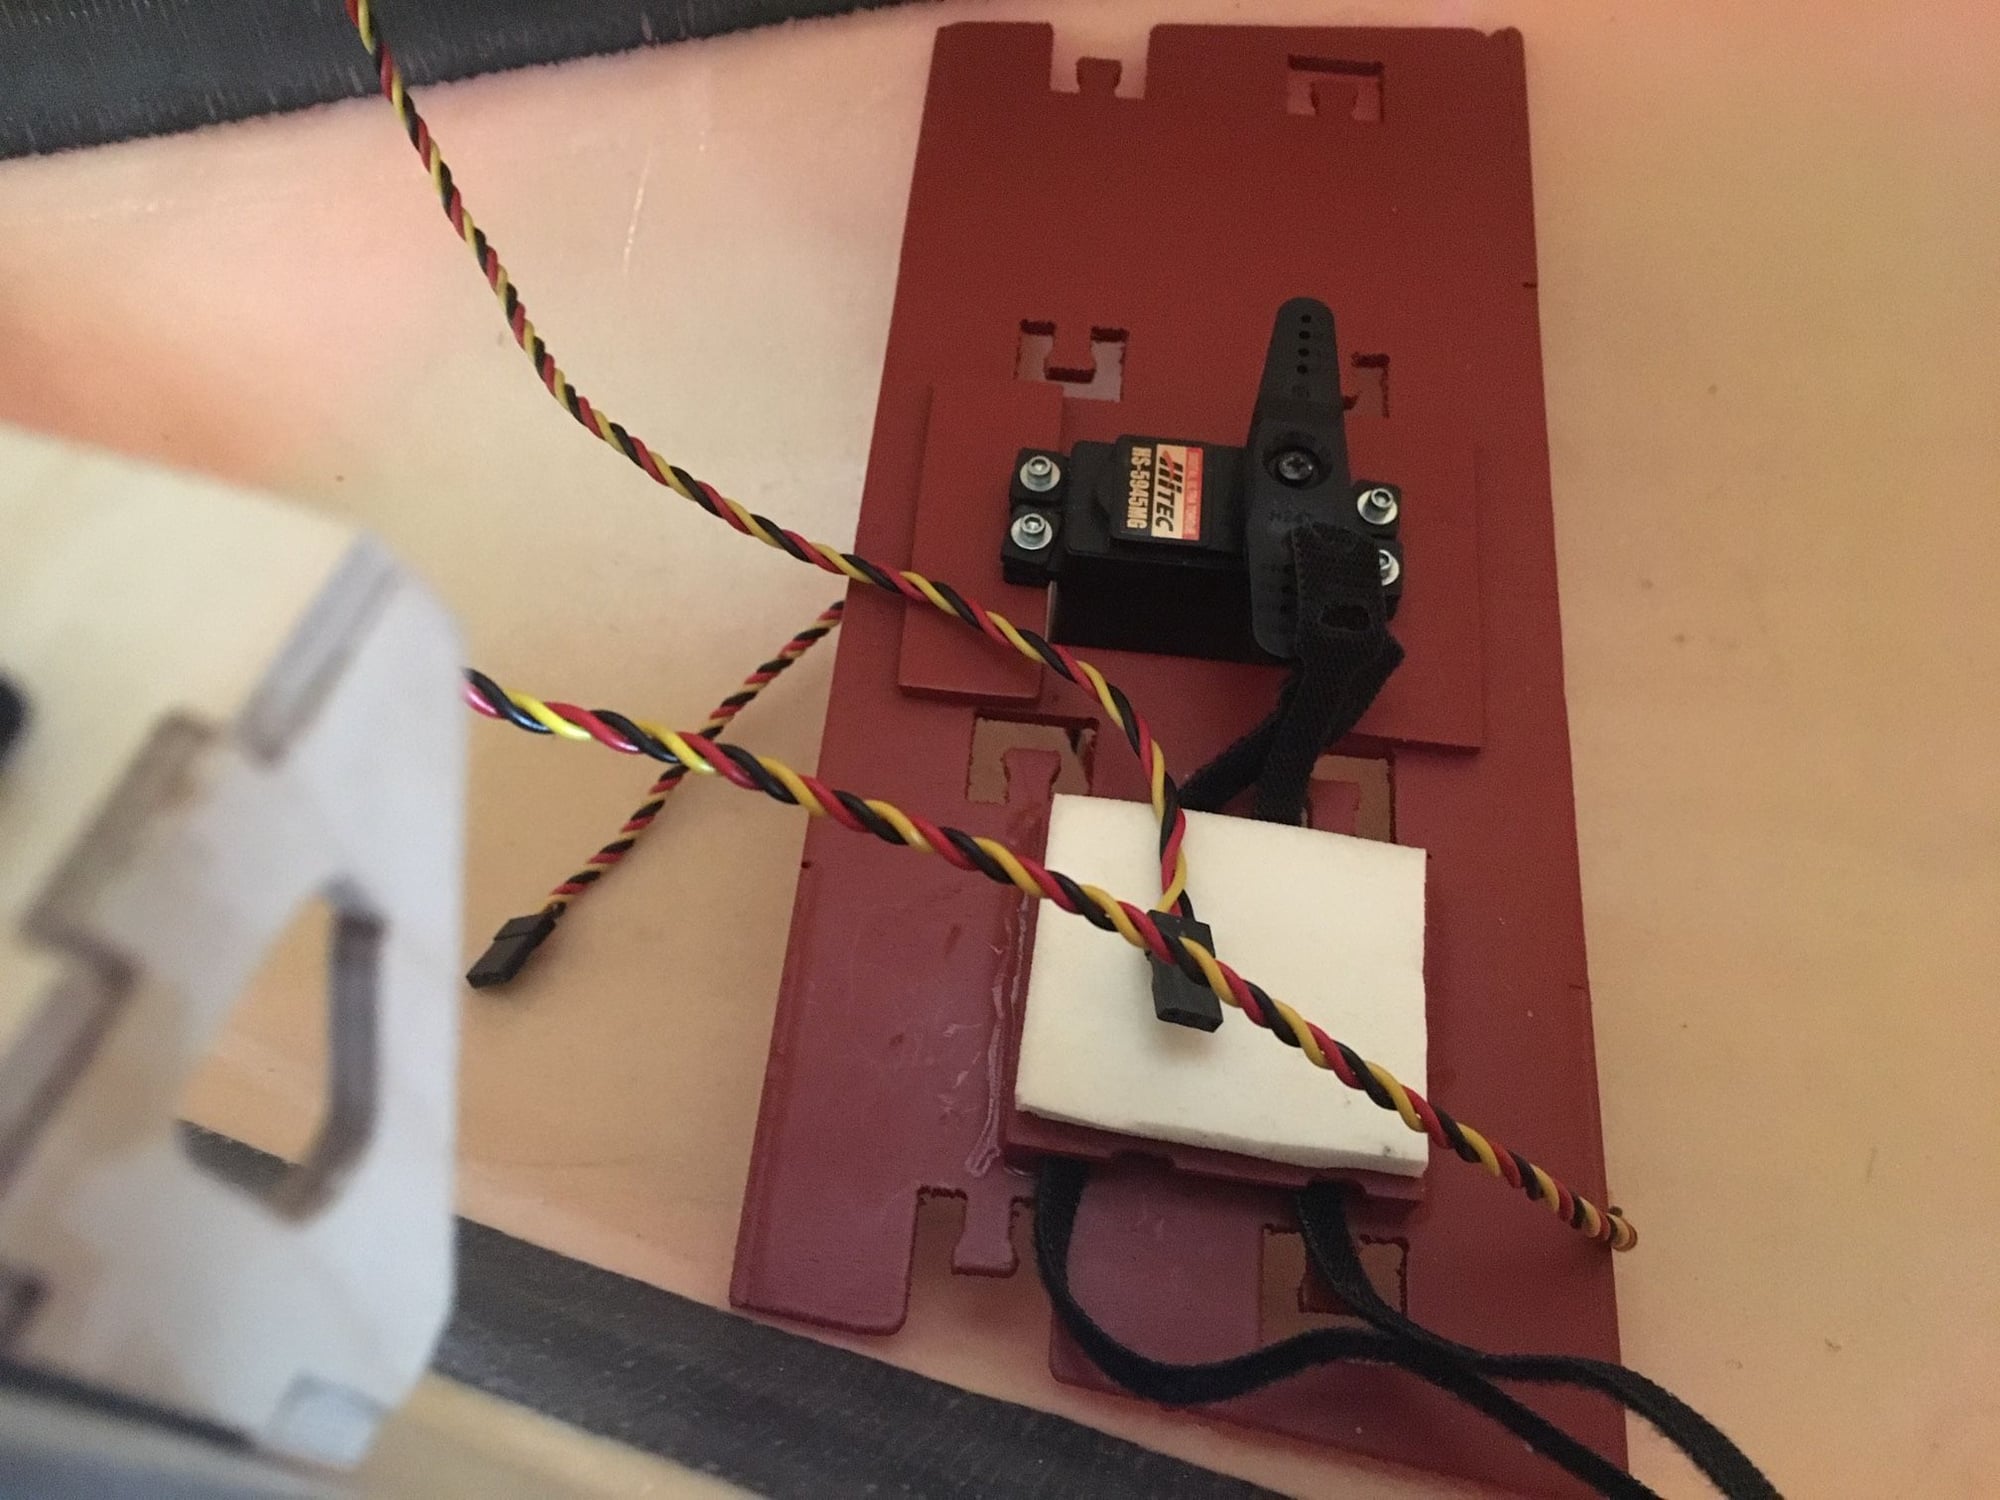
When I have a round penetration I'll use a grommet but in this instance I had two oblong holes in the carbon dome so I'm using bicycle tube rubber and contact cement. I've been doing this for years and the results are pleasing to the eye and very durable. Batteries, throttle servo and ignition are now mounted. The dome's getting heavy!
Everybody crashes!.......Mark
Last edited by 5th GeeBee; 10-16-2019 at 02:08 PM.
 10-17-2019, 09:00 PM
#1889
I've been obsessing over this thing for over a month now and I think I need a break. My son-in law is opening a restaurant in Phoenix this weekend and I'm invited to the opening so that will be my break. He and my daughter met in culinary school (C.I.A. in upstate N.Y.). Plus, I get to spend time with my 14 month old grandson. I did manage to put the radio and fuel tank trays together today. I mounted the rudder servo and painted the radio tray as well. (I still need to f*** with that s***** tail-wheel assembly)
Everybody crashes...........Mark
Everybody crashes...........Mark
Last edited by 5th GeeBee; 10-17-2019 at 09:48 PM.
10-20-2019, 10:54 AM
#1890
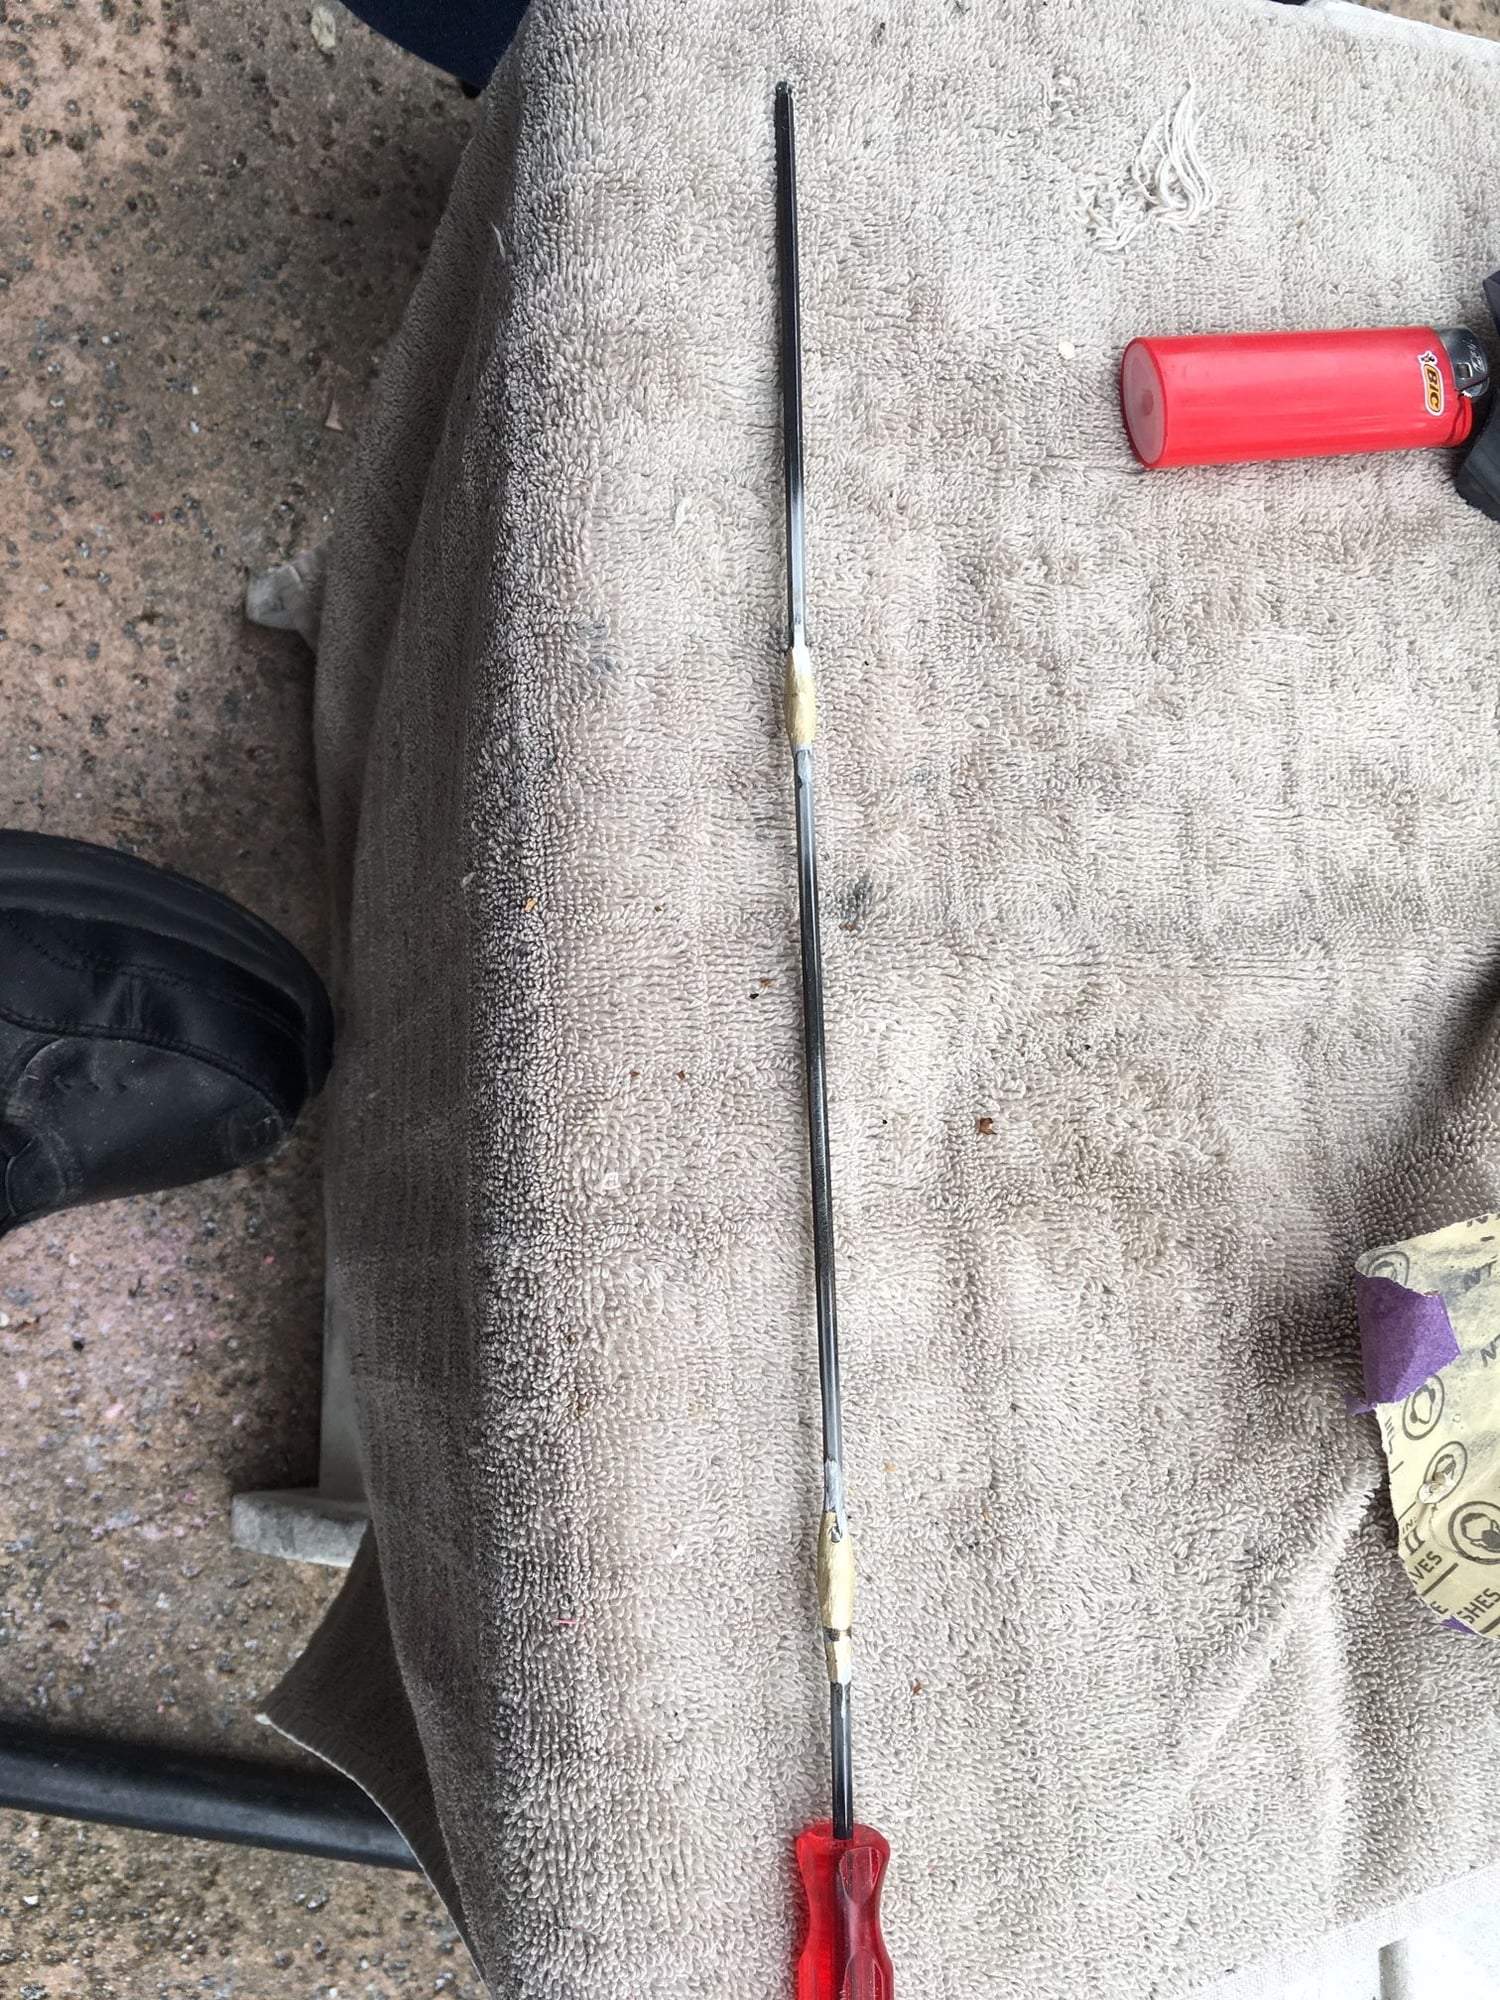
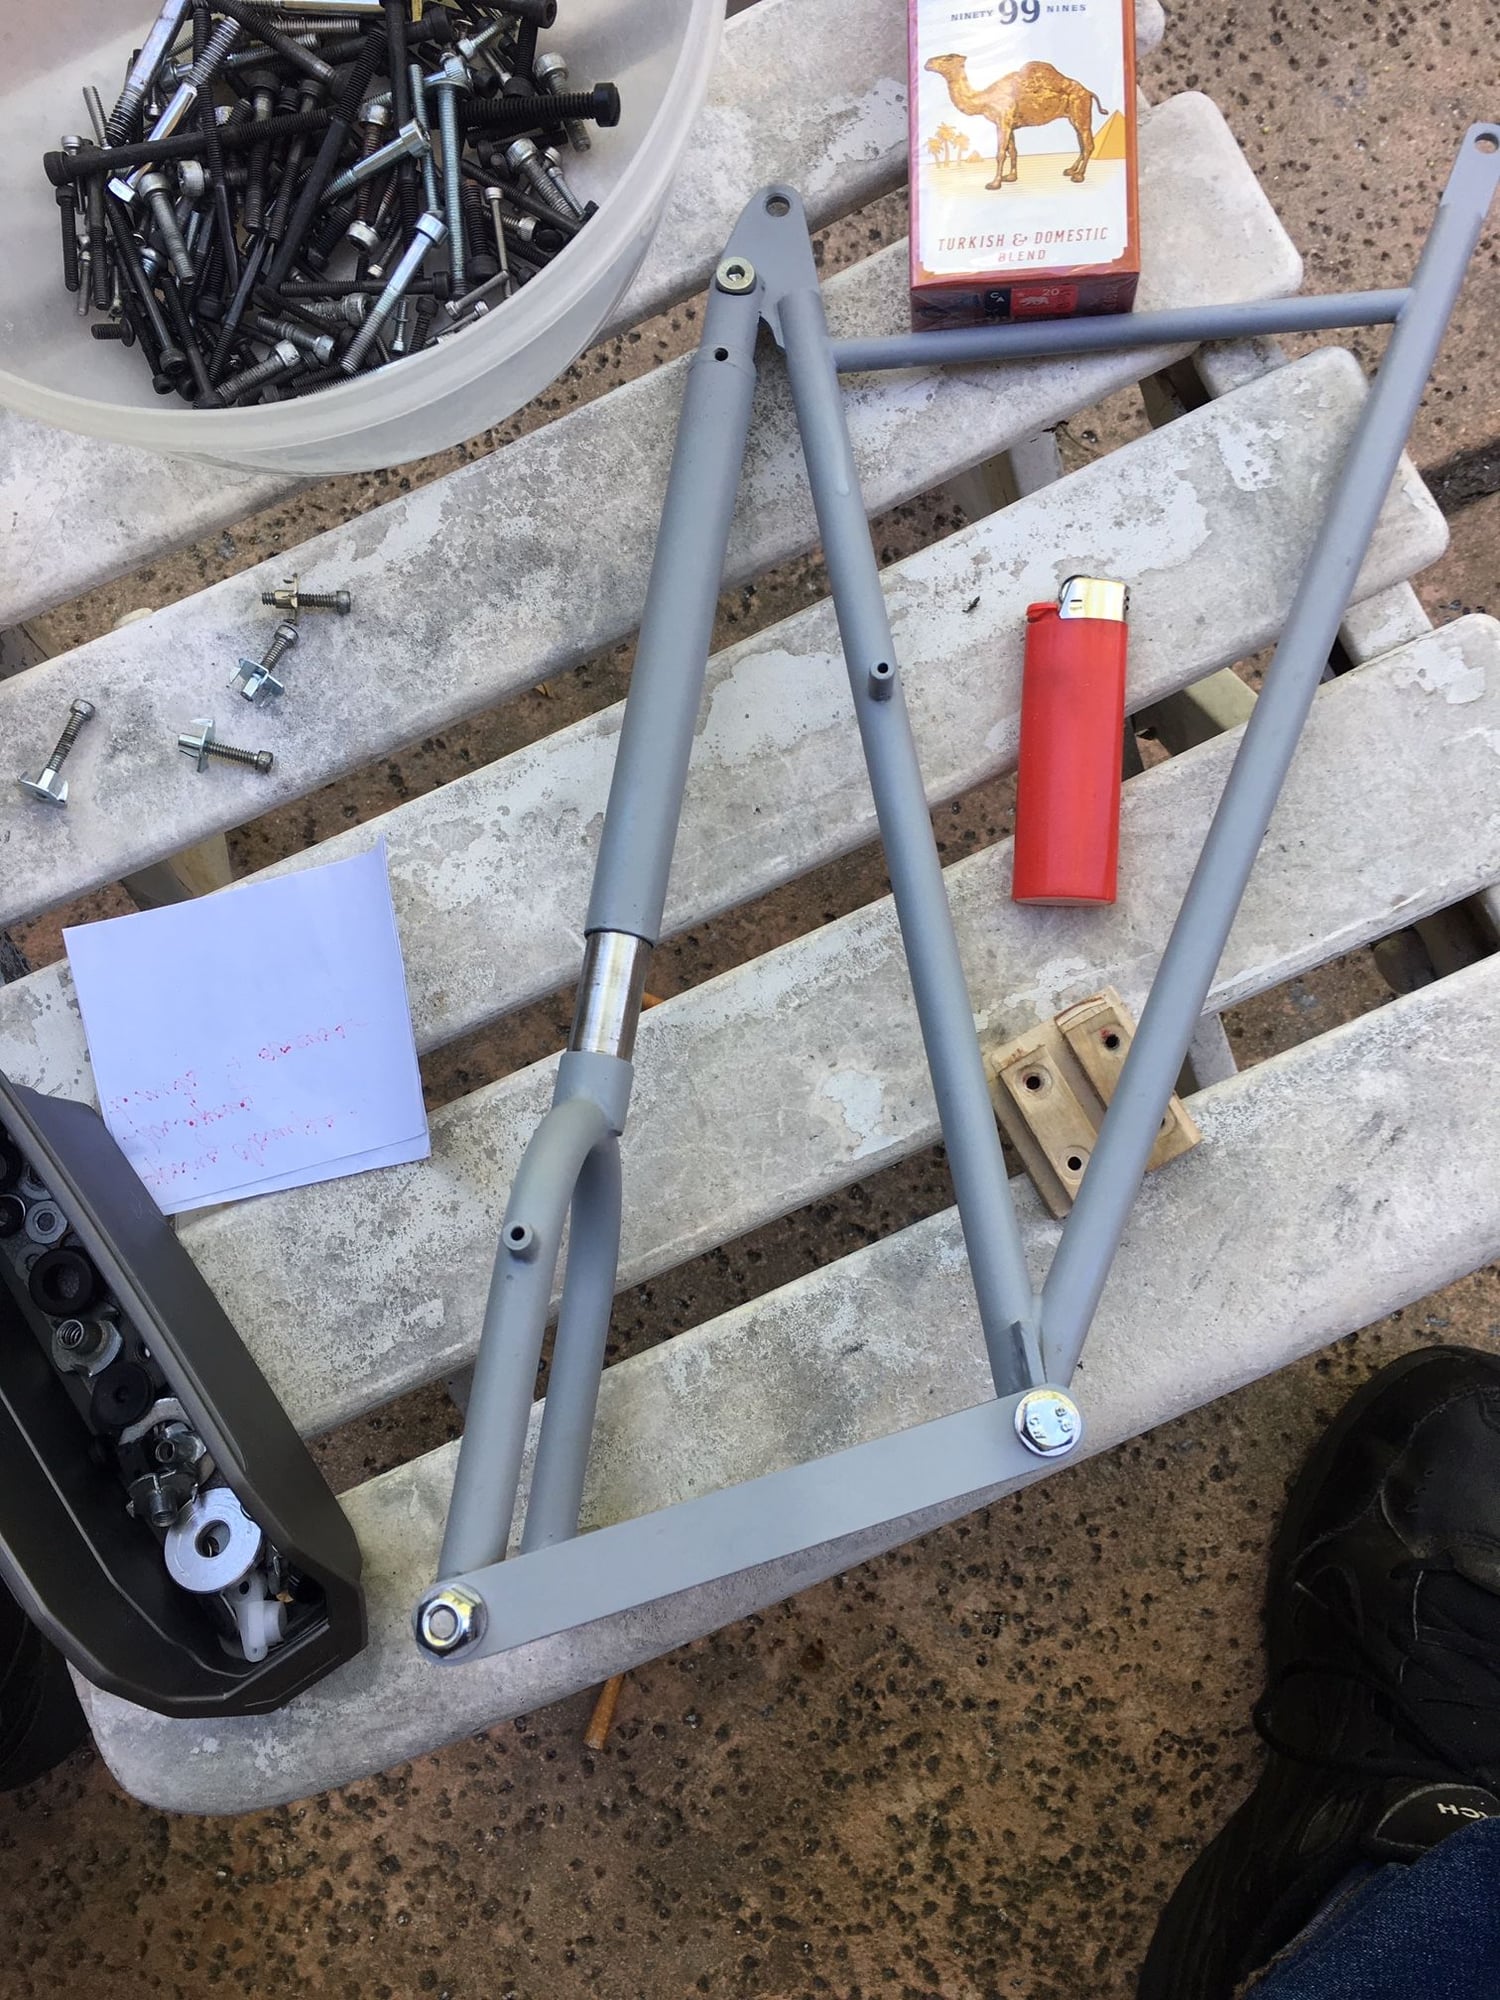
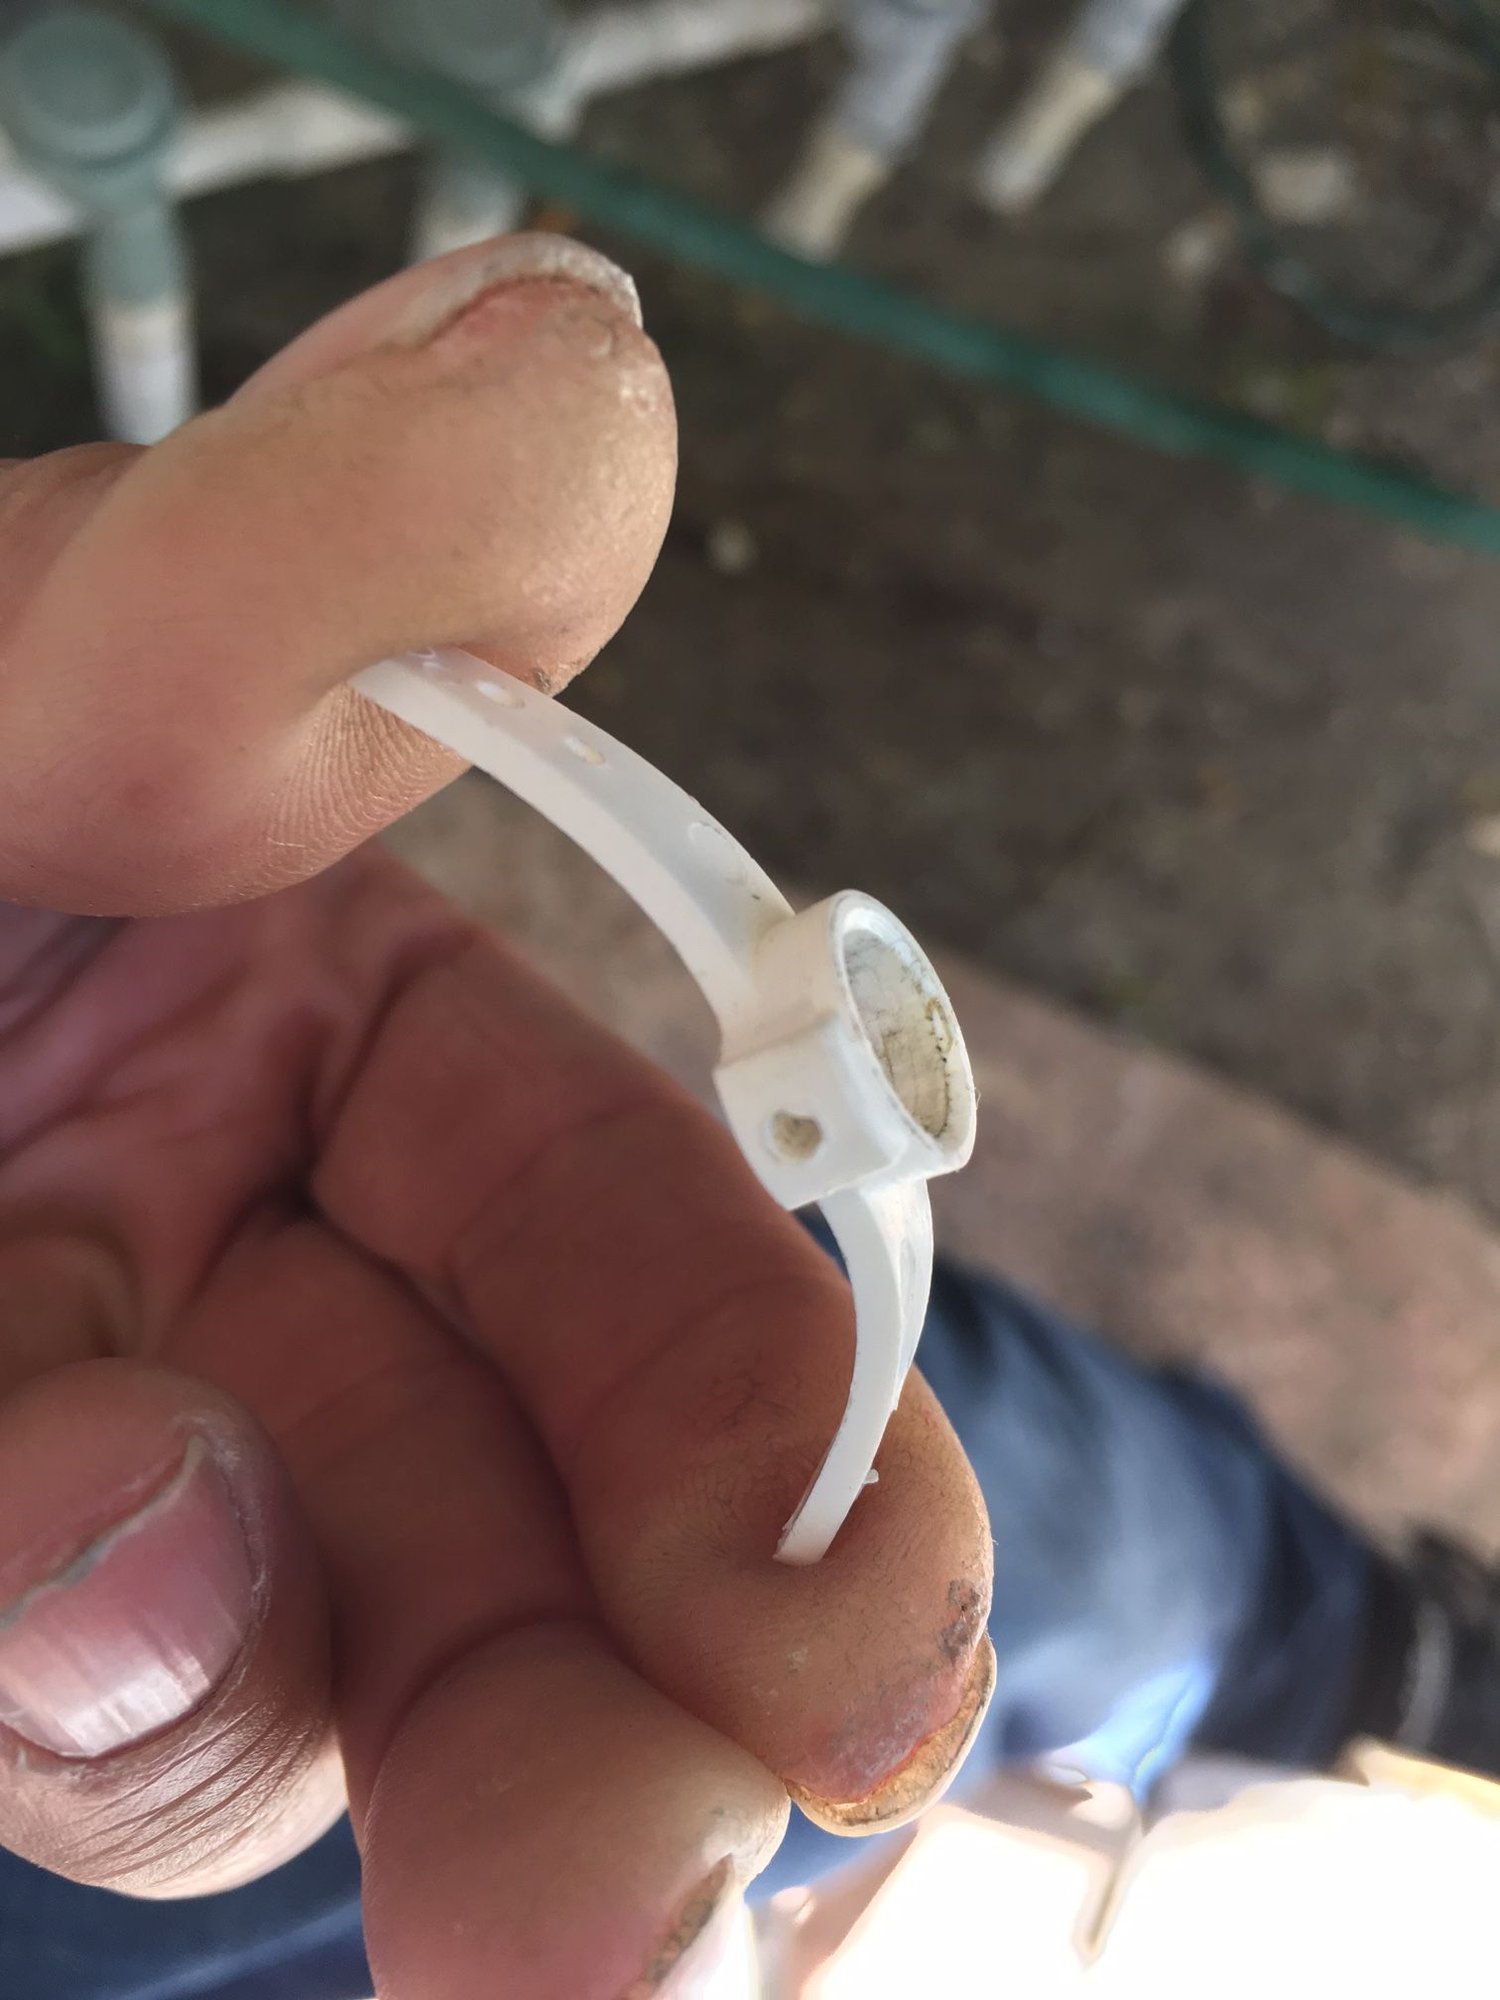
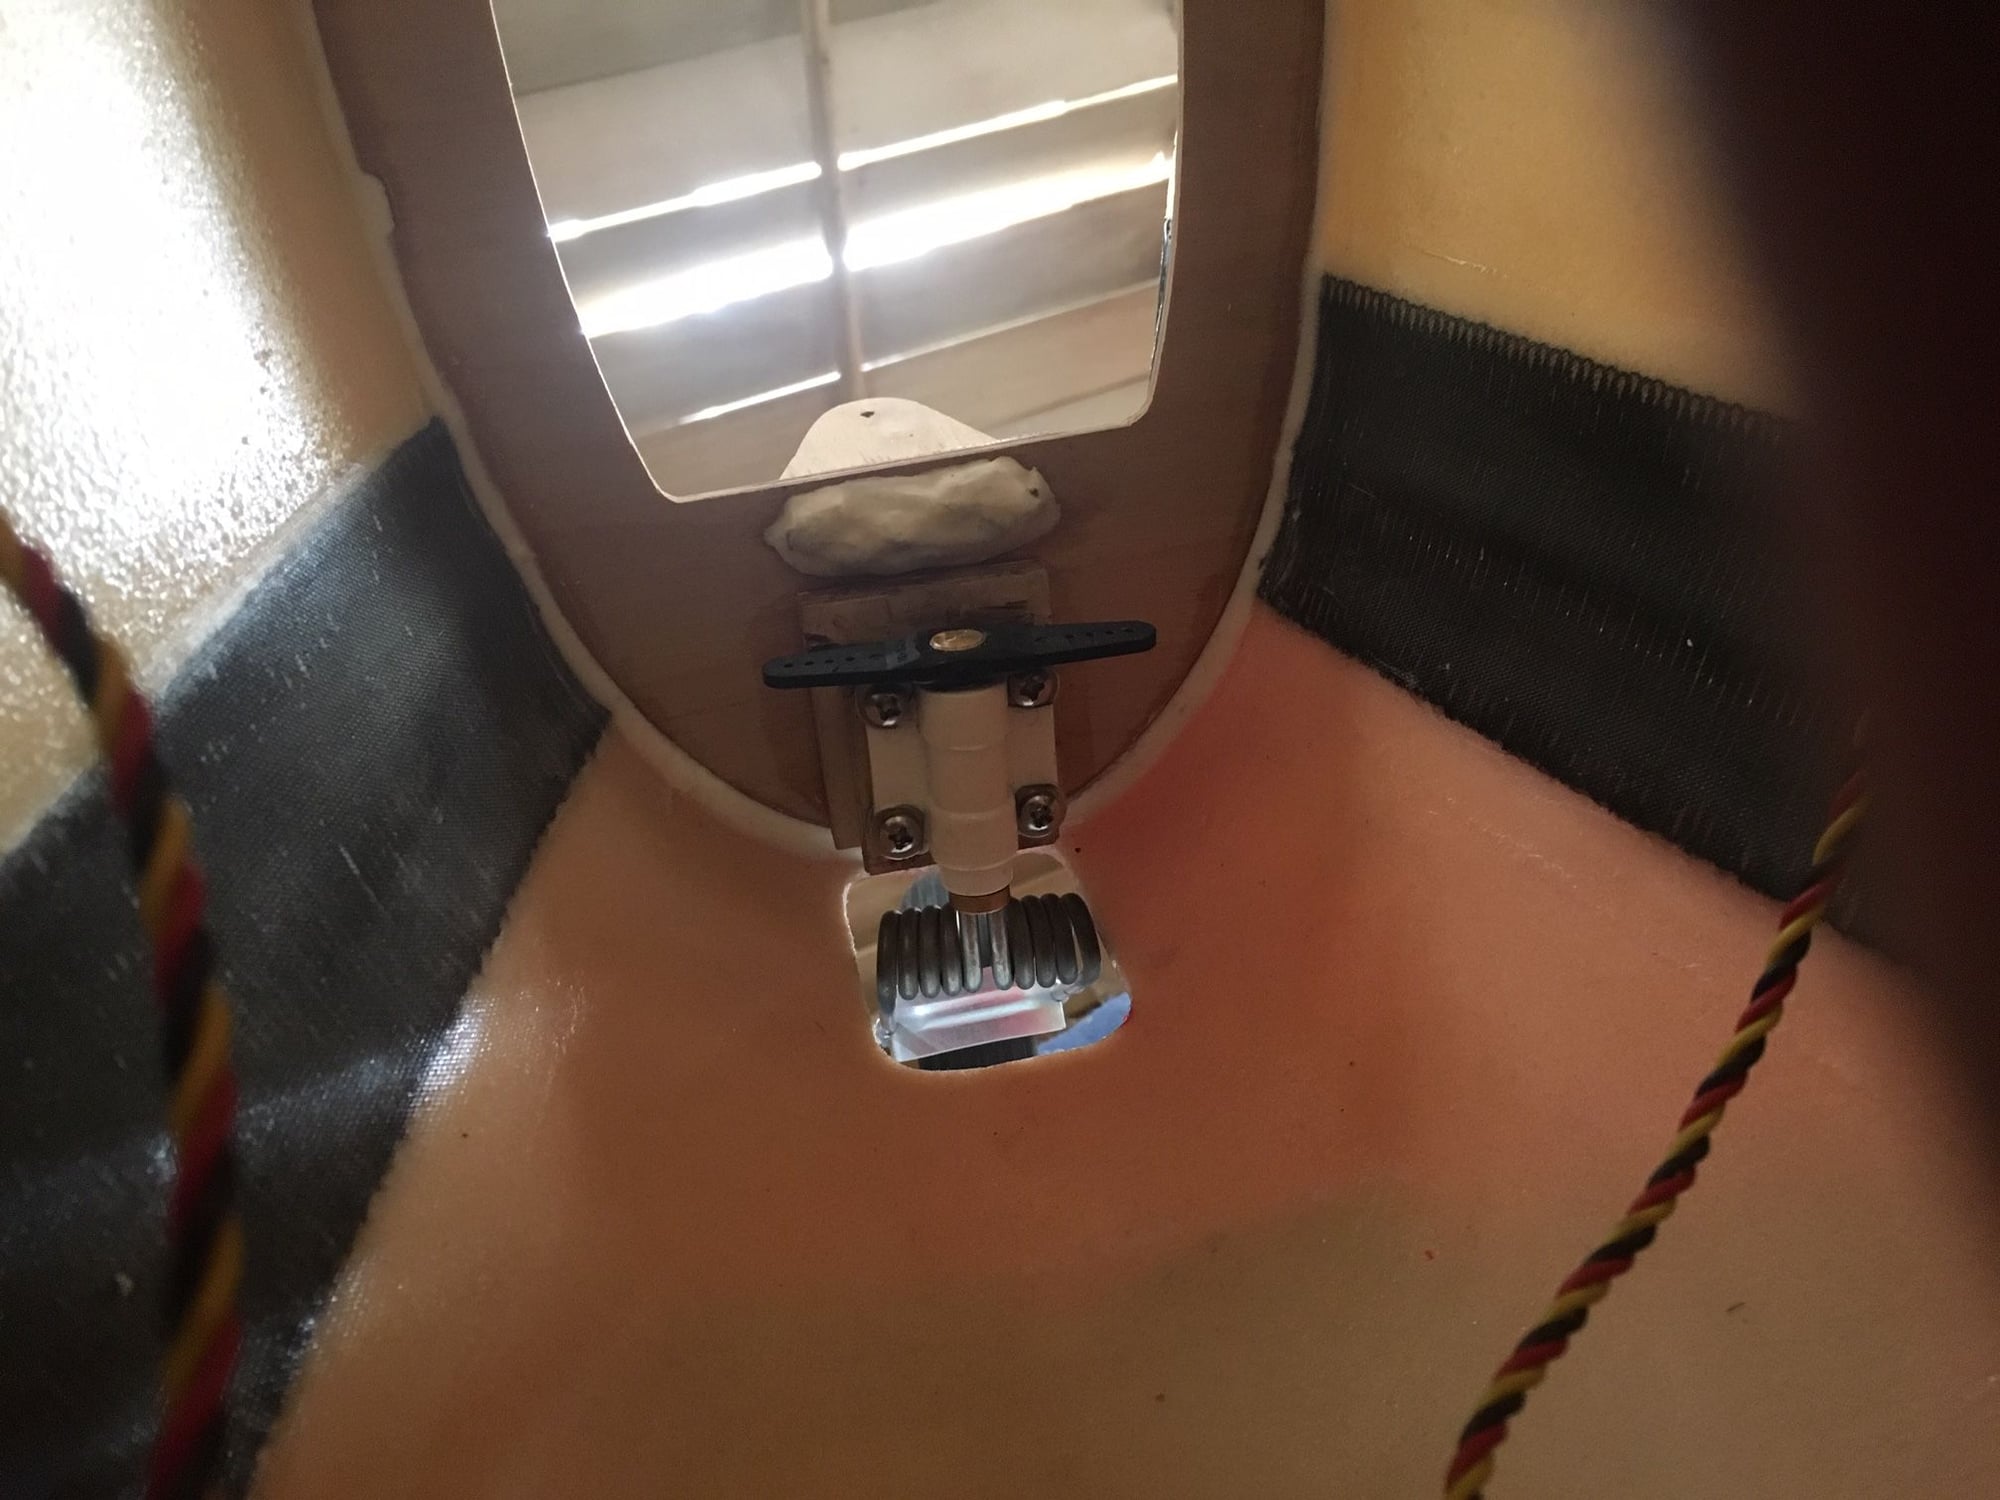
I sent Josh a couple of pictures showing the problem and my solution to the tailwheel assemblies deficiencies. The white control horn I'm bending was to be mounted with a small sheet metal screw, threaded into the plastic and set in a small dimple in the brass. I modified a Hitec servo arm, drilled and tapped the brass for a 2-56 socket head screw and set it. Now it's rock solid. I was going to make a charging hatch up front but the fuse is too pretty to cut. I found some 36" 2s balance plug extensions on Amazon so my plan is to put all of the charging points just inside the door.
Thanks again Josh.......Mark.
Thanks again Josh.......Mark.


 10-23-2019, 03:24 PM
#1896
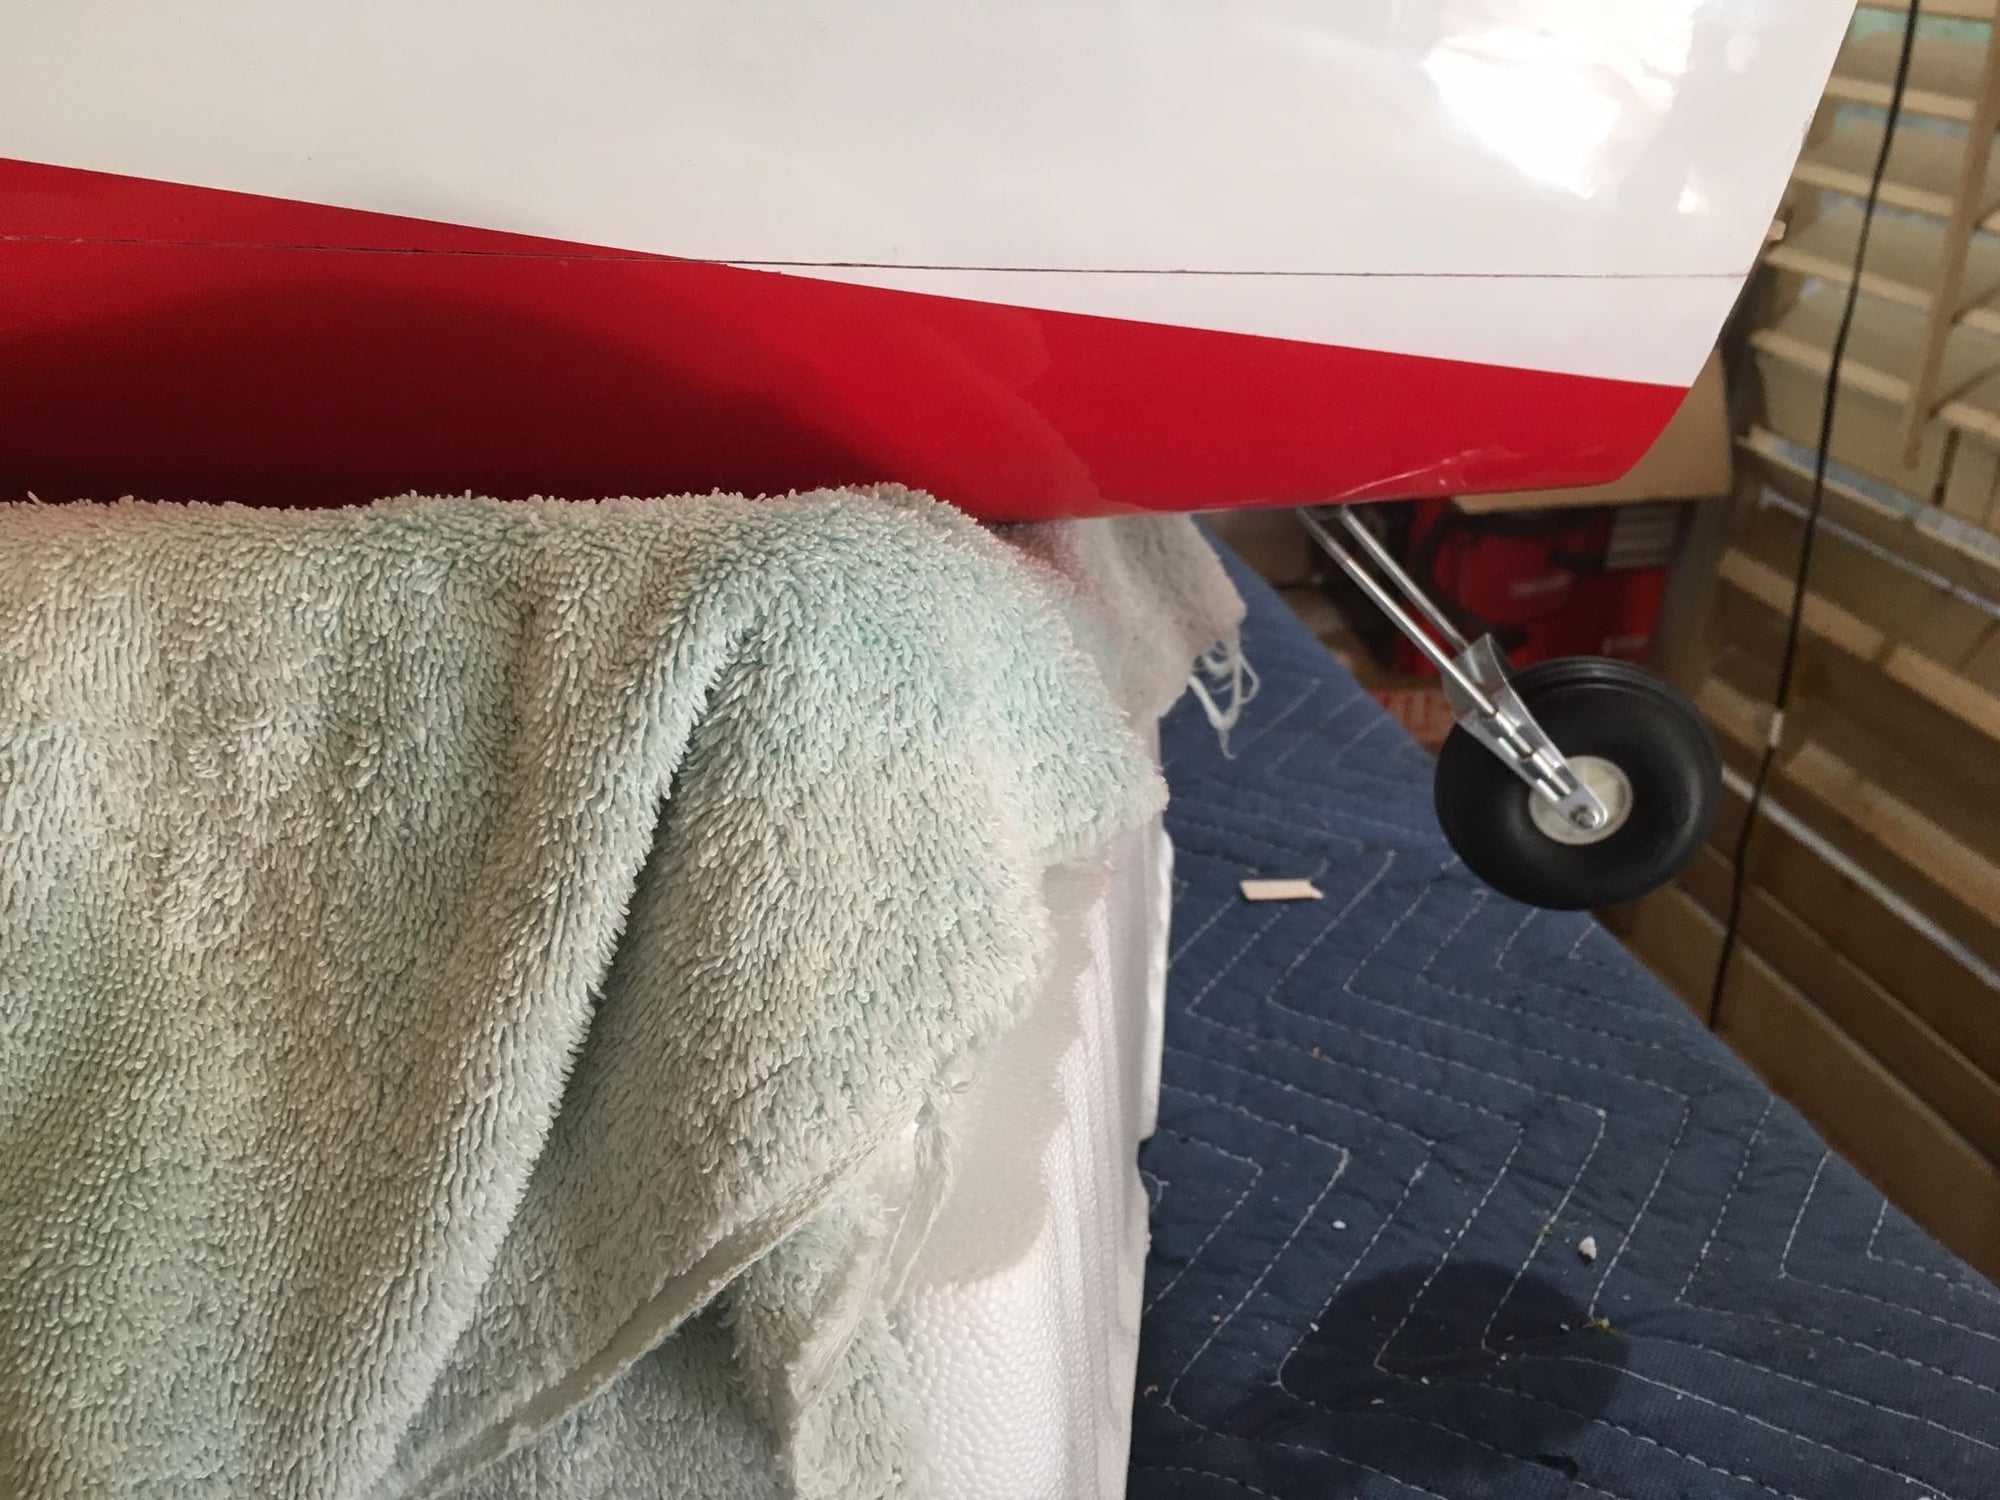
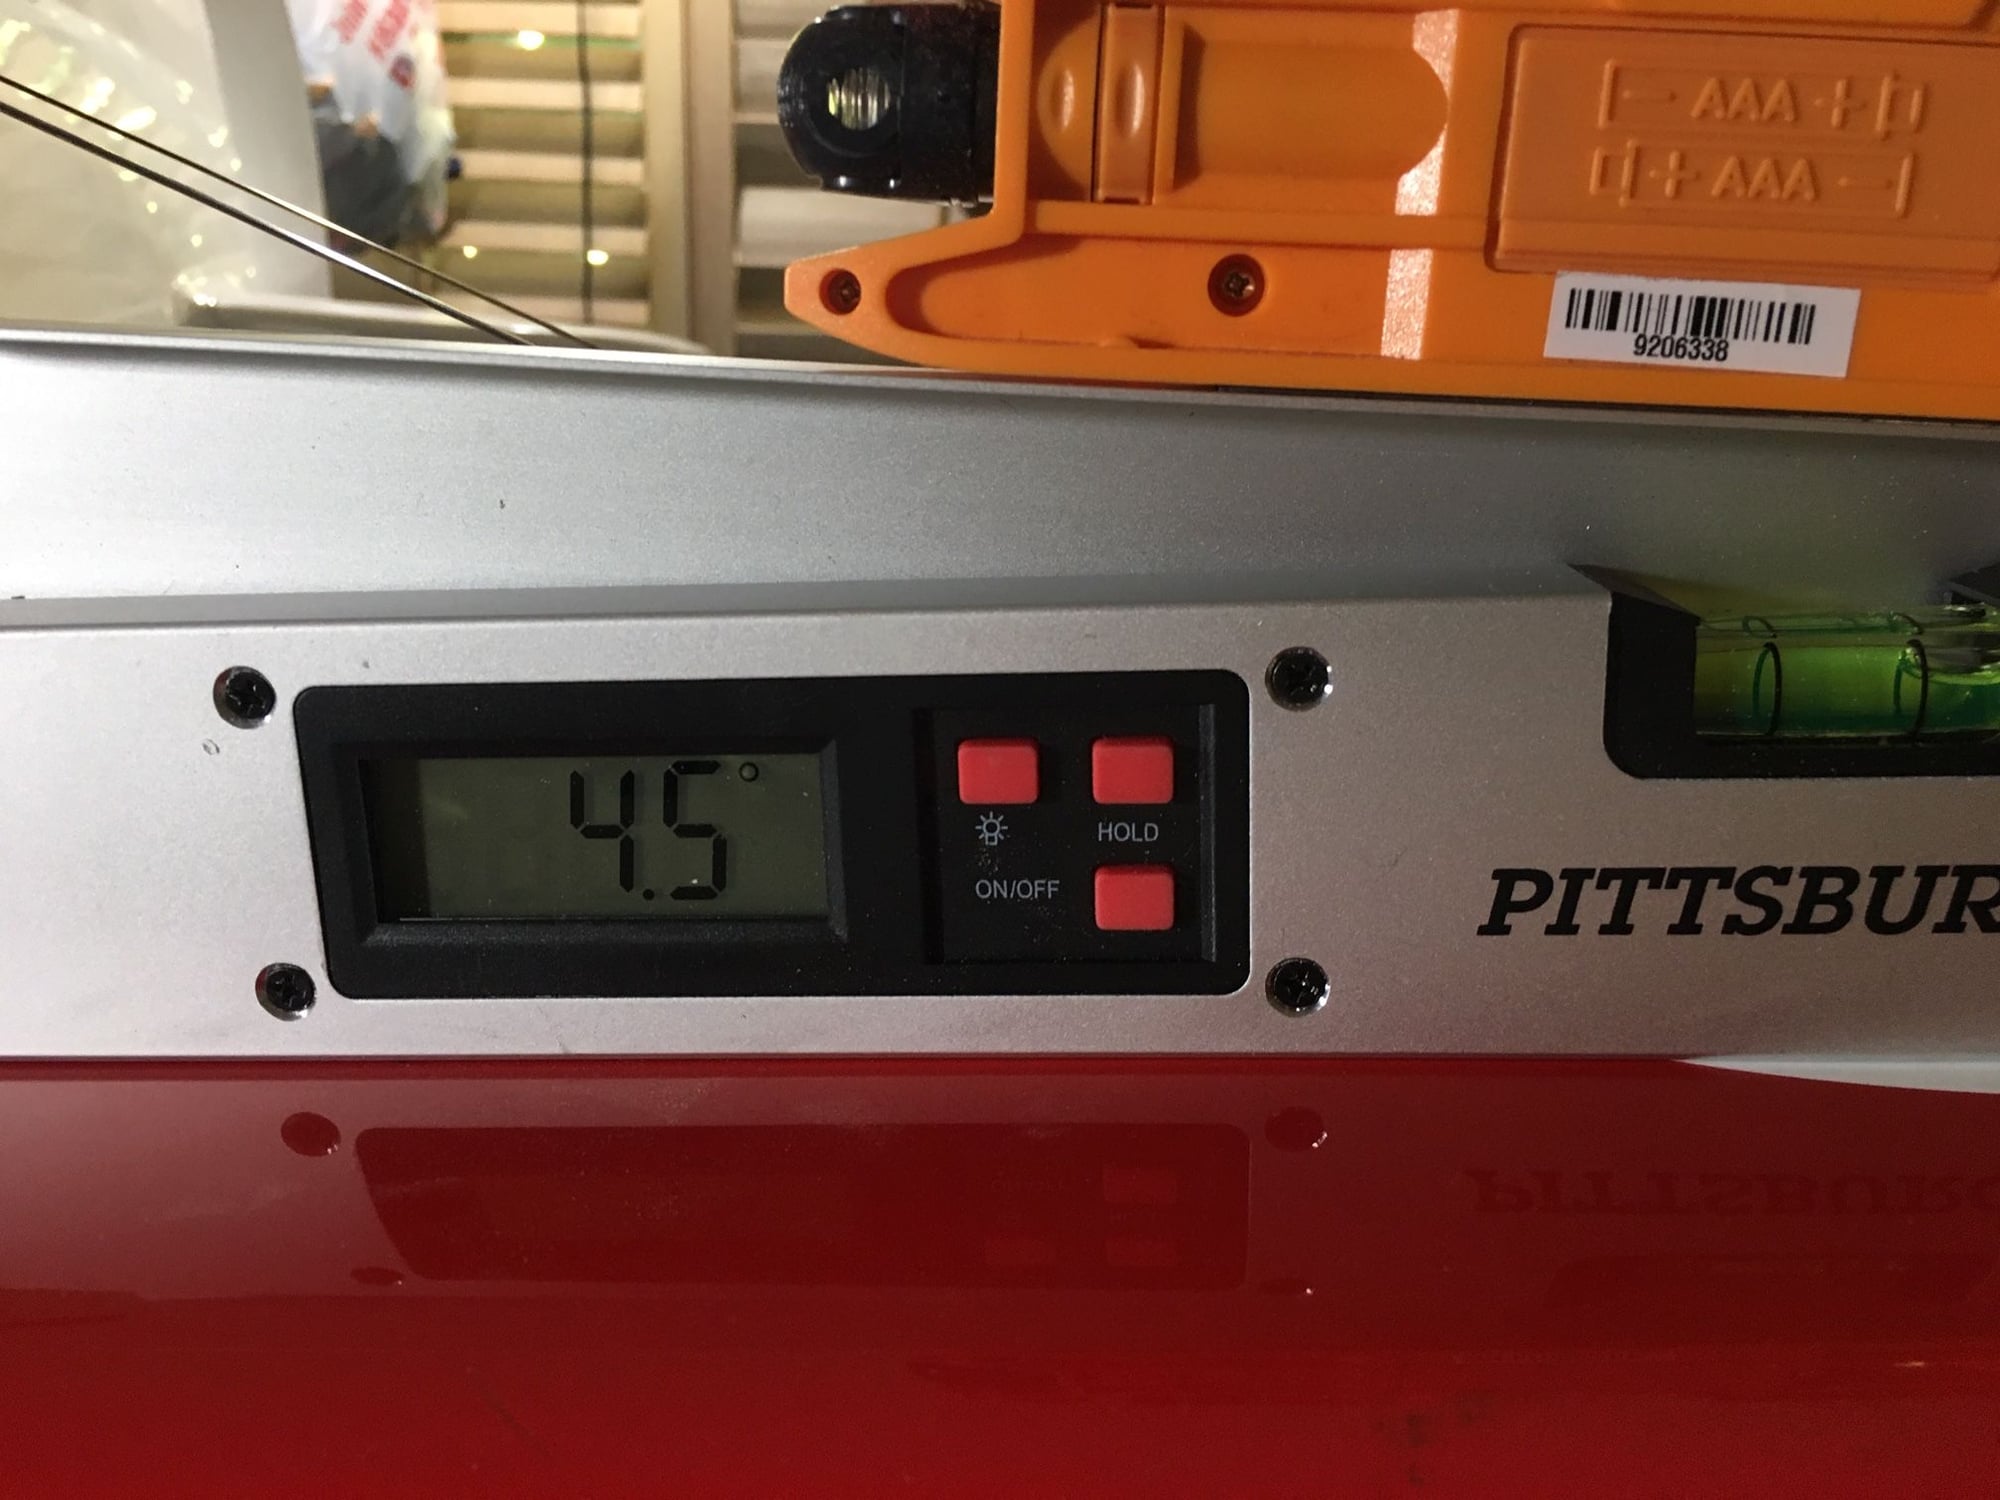
Woke up this morning determined to finalize the FWs and square the gear. Let me preface this by saying "NOTHING IS STRAIGHTFORWARD ON THIS BUILD". Thanks to Richard, I realized I couldn't finalize anything without taking into consideration the dihedral. It needs to be 4.5 deg on each wing. It's hard enough to get the FWs all evenly tensioned without having to consider dihedral angles to 1/2 of a degree. It can be done! I started by squaring the left side gear with a level. This only works if the plane is level so I used the main bulkhead spar as a reference. To square the gear, I had to remove and adjust the tabs several times and it turned out the gear reliefs on the wing were insufficient. To make a long story a little shorter, none of my FW settings were correct. Slowly but surely, after many mounts, remounts and remounts again, this time using a digital level, I managed to get all the FWs evenly tensioned at 4.5 deg. dihedral. It took over 8 hrs but it came out perfect. Do Not Trust Your Eyes To Set The Dihedral!! I had thought I had it close but one wing was at 7 deg and the other at 6. Yesterday I completed the throttle linkage, set the timing on the 3W, and did half the pull-pull on the rudder/ tailwheel. Waiting for an aluminum servo arm to complete it. Pics to follow.
Thanks again to Josh AND Richard.
Everybody Crashes but I'm hoping not me this time..........Mark
Thanks again to Josh AND Richard.
Everybody Crashes but I'm hoping not me this time..........Mark
Last edited by 5th GeeBee; 10-23-2019 at 03:29 PM.

 10-27-2019, 06:13 AM
#1898
The working Gee Bee door is a nice feature, until you have to get inside the plane with both hands 12 dozen times... at which point, it becomes a liability.
I had been puzzling with a good way to make the door removable, yet still 100% secure while in flight. Magnets? Several latches?
My solution is quite simple. Put it together via the instructions, then cut away a small portion to allow the door to slip on and off the hinge pins.
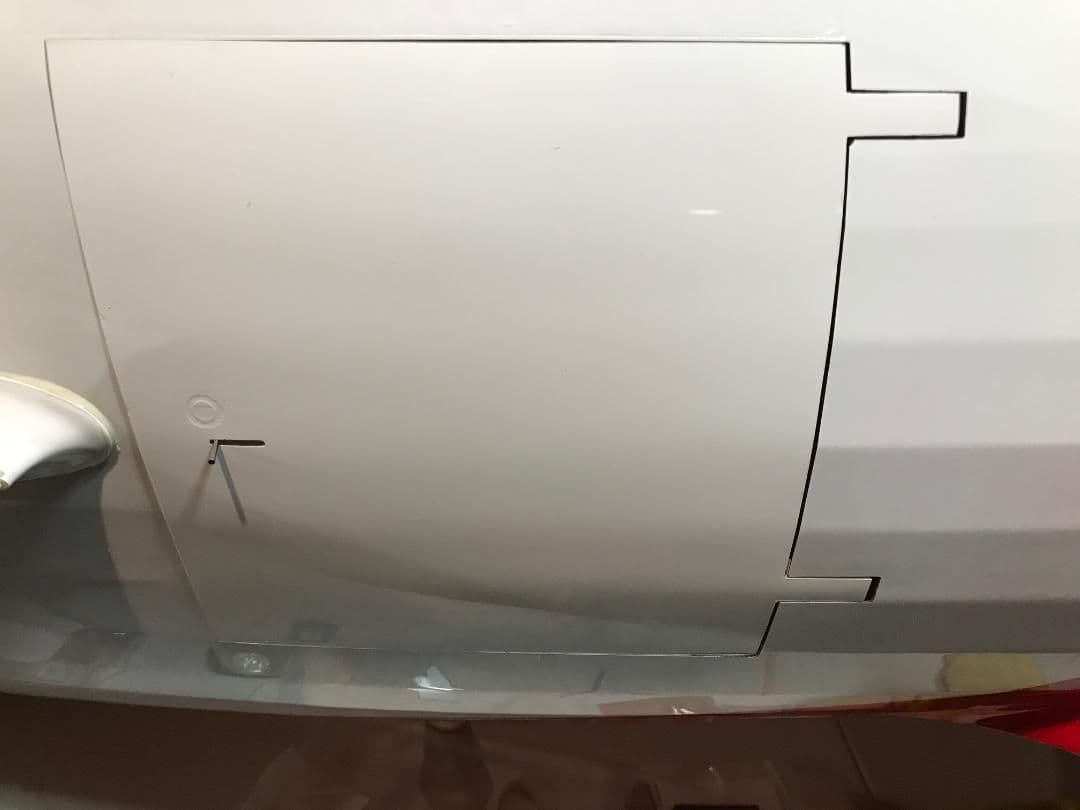
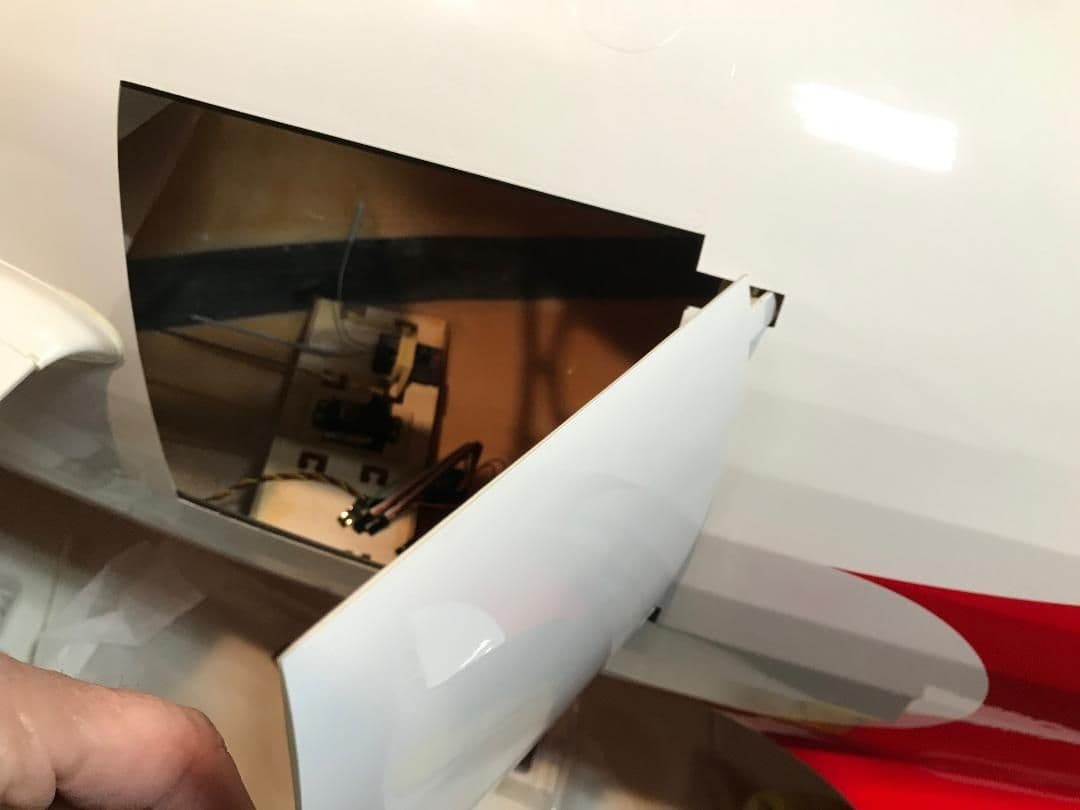
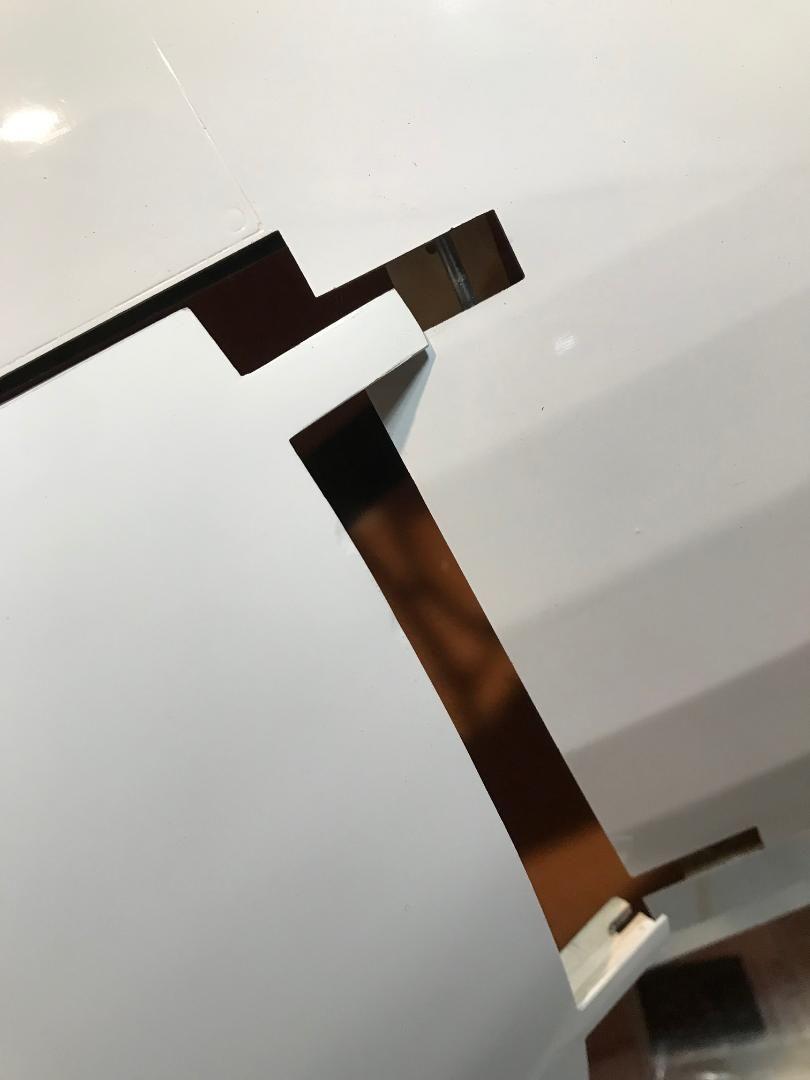
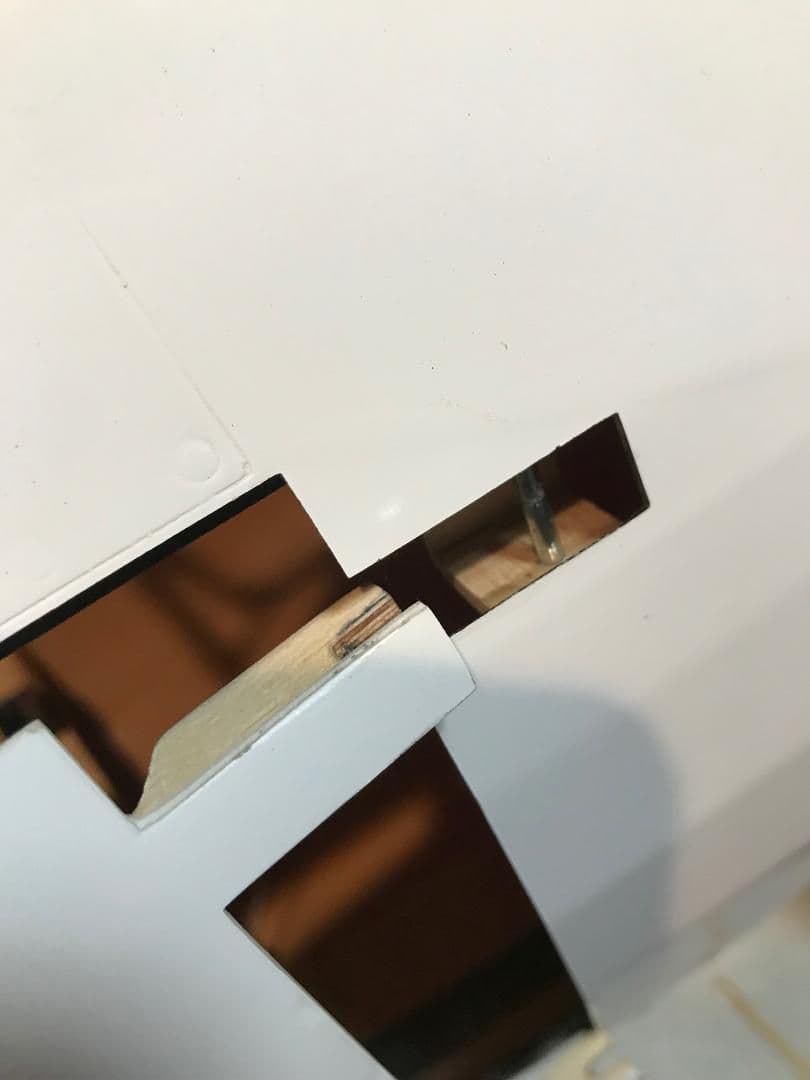
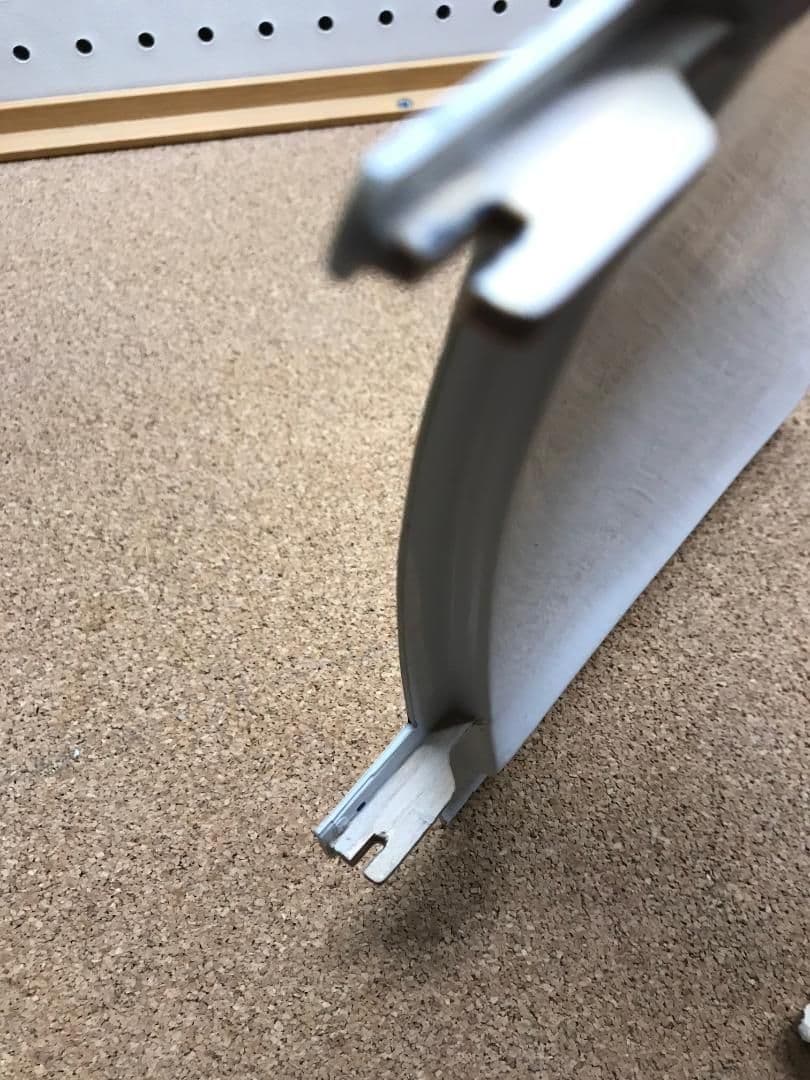
The pictures tell the story.
at which point, it becomes a liability.I had been puzzling with a good way to make the door removable, yet still 100% secure while in flight. Magnets? Several latches?
My solution is quite simple. Put it together via the instructions, then cut away a small portion to allow the door to slip on and off the hinge pins.
The pictures tell the story.