


Fly Model Green SBACH342 30cc Version 2 Build !!
 01-16-2015, 02:21 PM
#1
Member
Thread Starter
Join Date: Dec 2012
Location: Orlando, FL
Posts: 88
Likes: 0
Received 0 Likes
on
0 Posts
SBACH342 30cc Version 2
New Features:
Wing Span: 1860mm / 73in
Wing area:1014sq in / 65.4 sq dm
Flying weight: 4400g - 5000g
Fuselage length: 1700mm / 67 in
Engine Required: 30 cc Gas Engine
Radio Required: 4 Channels ; 5-6 Servos
So today I have received my new Fly Model green 30 cc Sbach 342 V2 from RC Jets World when it arrived there was slight damage to the outside box
as you can see in the picture the good thing is that it is double boxed and there was no damage to plane


New Features:
- Side-force generation (SFG) additon
- C/F reinforcement in wings and fuselage
- C/F wing tube
- C/F landing gear and tail gear
- PU rubber wheels
- C/F control horns
Wing Span: 1860mm / 73in
Wing area:1014sq in / 65.4 sq dm
Flying weight: 4400g - 5000g
Fuselage length: 1700mm / 67 in
Engine Required: 30 cc Gas Engine
Radio Required: 4 Channels ; 5-6 Servos
So today I have received my new Fly Model green 30 cc Sbach 342 V2 from RC Jets World when it arrived there was slight damage to the outside box
as you can see in the picture the good thing is that it is double boxed and there was no damage to plane
Last edited by Jerry woodrough; 01-16-2015 at 02:24 PM.
 01-16-2015, 05:03 PM
#2
Member
Thread Starter
Join Date: Dec 2012
Location: Orlando, FL
Posts: 88
Likes: 0
Received 0 Likes
on
0 Posts
One thing we like to do with any plane is go over the glue joint just to make sure the joints are glued well and it just
makes sure nothing will break loose in future.
.


The carbon landing gear looks super nice the holes where pre drilled for mounting and wheel pants . (Make sure to use loctite all machine screws and grub screws throughout the build)
.


The tail wheel is also carbon fiber and super nice one thing we did is after we drill the holes for the tail is
take the screws back out and put a drop of CA in the holes so the screw do not back out and this also hardens
the wood around the screws.


makes sure nothing will break loose in future.
.
The carbon landing gear looks super nice the holes where pre drilled for mounting and wheel pants . (Make sure to use loctite all machine screws and grub screws throughout the build)
.
The tail wheel is also carbon fiber and super nice one thing we did is after we drill the holes for the tail is
take the screws back out and put a drop of CA in the holes so the screw do not back out and this also hardens
the wood around the screws.
Last edited by Jerry woodrough; 01-16-2015 at 05:26 PM.
01-17-2015, 10:59 AM
#3
Senior Member
Join Date: Aug 2008
Location: Christchurch, NEW ZEALAND
Posts: 823
Likes: 0
Received 2 Likes
on
2 Posts
I have the same plane (but just the V1). From the photo's, yours looks to have the bits of the wings between the ailerons and the fuse made as part of the wing, and not separately like mine was (had to glue mine in place), which alone is a nice upgrade.
From my own experience, watch the very fine points on the lightning bolt covering, mine peeled off by just looking at them too hard. If you have access to one of those covering seam sealer pens/sticks I've seen somewhere, I'd use it!
Glad you got all your stickers too, I had to custom cut the large 'SBACH 342' sticker on the wing, and correct the 'thuderbolt' aileron stickers to read 'thunderbolt' post a trip to the local sign writers for some adhesive vinyl film.
Despite that, I still found it a very enjoyable and rather easy build that made for a VERY nice final product IMO - so much so, I showed the finished product to a guy at the club, and he went out and brought exactly the same thing!
Here is one I prepared earlier!
Last edited by kiwibob72; 01-17-2015 at 11:01 AM.
01-18-2015, 05:20 PM
#4
Member
Thread Starter
Join Date: Dec 2012
Location: Orlando, FL
Posts: 88
Likes: 0
Received 0 Likes
on
0 Posts
I have the same plane (but just the V1). From the photo's, yours looks to have the bits of the wings between the ailerons and the fuse made as part of the wing, and not separately like mine was (had to glue mine in place), which alone is a nice upgrade.
From my own experience, watch the very fine points on the lightning bolt covering, mine peeled off by just looking at them too hard. If you have access to one of those covering seam sealer pens/sticks I've seen somewhere, I'd use it!
Glad you got all your stickers too, I had to custom cut the large 'SBACH 342' sticker on the wing, and correct the 'thuderbolt' aileron stickers to read 'thunderbolt' post a trip to the local sign writers for some adhesive vinyl film.
Despite that, I still found it a very enjoyable and rather easy build that made for a VERY nice final product IMO - so much so, I showed the finished product to a guy at the club, and he went out and brought exactly the same thing!
Here is one I prepared earlier!
01-18-2015, 09:00 PM
#5
Senior Member
Join Date: Aug 2008
Location: Christchurch, NEW ZEALAND
Posts: 823
Likes: 0
Received 2 Likes
on
2 Posts
Also, if the bottom of the 'cockpit' is painted like mine, the paint my pilot figure was glued to fell off during the first run up of the motor. so if you put one in, take the time to remove the paint first - this is the outcome if you don't: https://www.youtube.com/watch?v=nIVp_F2FnQ4
Noticed that they are including enough servo arms (and hopefully horns) to run dual elevator servos, I had to buy servo arms and horns to run mine with twin servos!
Wondering if who ever packed mine at the factory did so on a Friday afternoon??
01-21-2015, 07:03 PM
#6
Member
Thread Starter
Join Date: Dec 2012
Location: Orlando, FL
Posts: 88
Likes: 0
Received 0 Likes
on
0 Posts
Next thing we did is notch out the elevators ruder and ailerons so it has little to none hing gap


then put together the carbon fiber control horns ( be sure to take of plastic covering on them as seen in the pic)


Measure the elevator on both side to get it lined up then mark lines down the fuse and cut out the covering and then measure to make sure it is square with fuse and then glue
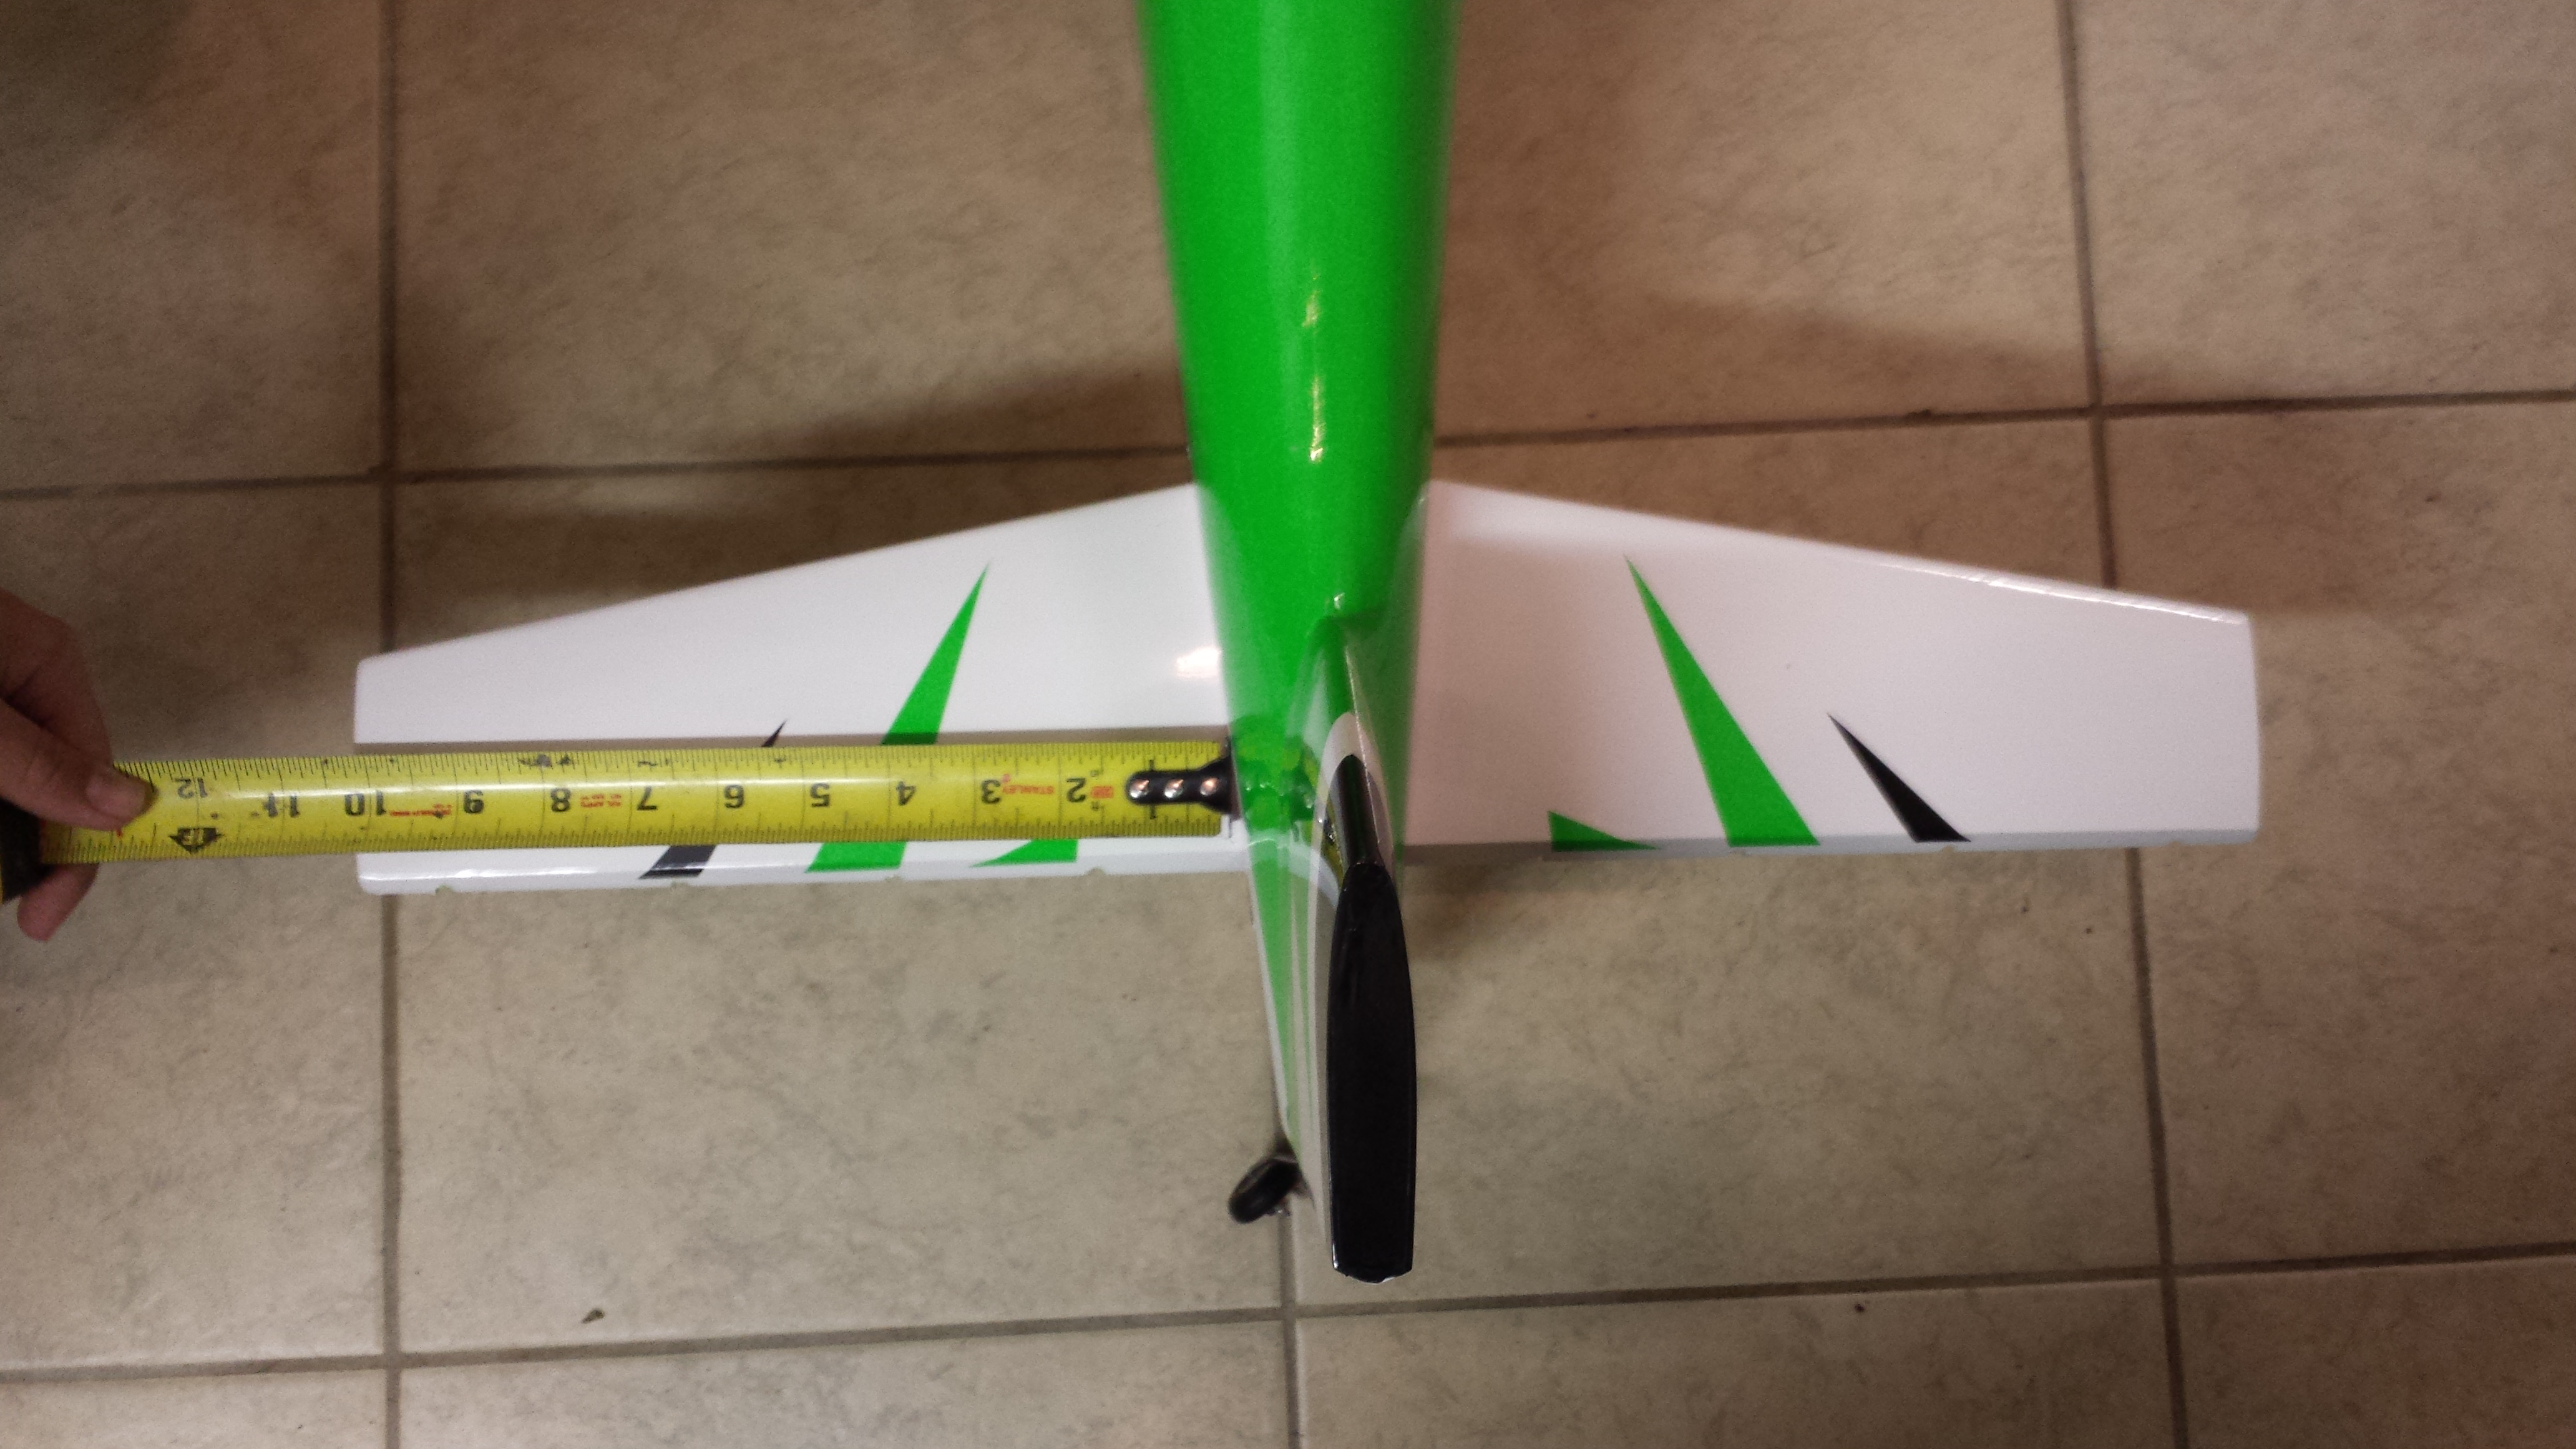


then we took some Vaseline and applied to middle of the hinges to prevent glue locking them up and the loctite 5 min squeeze tube works great to get the epoxy into the holes without a mess


tail wheel assemble


servo installation


gluing SFG

assembling the gas tank


drilling holes for the motor mounts and throttle linkage


then put together the carbon fiber control horns ( be sure to take of plastic covering on them as seen in the pic)
Measure the elevator on both side to get it lined up then mark lines down the fuse and cut out the covering and then measure to make sure it is square with fuse and then glue
then we took some Vaseline and applied to middle of the hinges to prevent glue locking them up and the loctite 5 min squeeze tube works great to get the epoxy into the holes without a mess
tail wheel assemble
servo installation
gluing SFG
assembling the gas tank
drilling holes for the motor mounts and throttle linkage


