


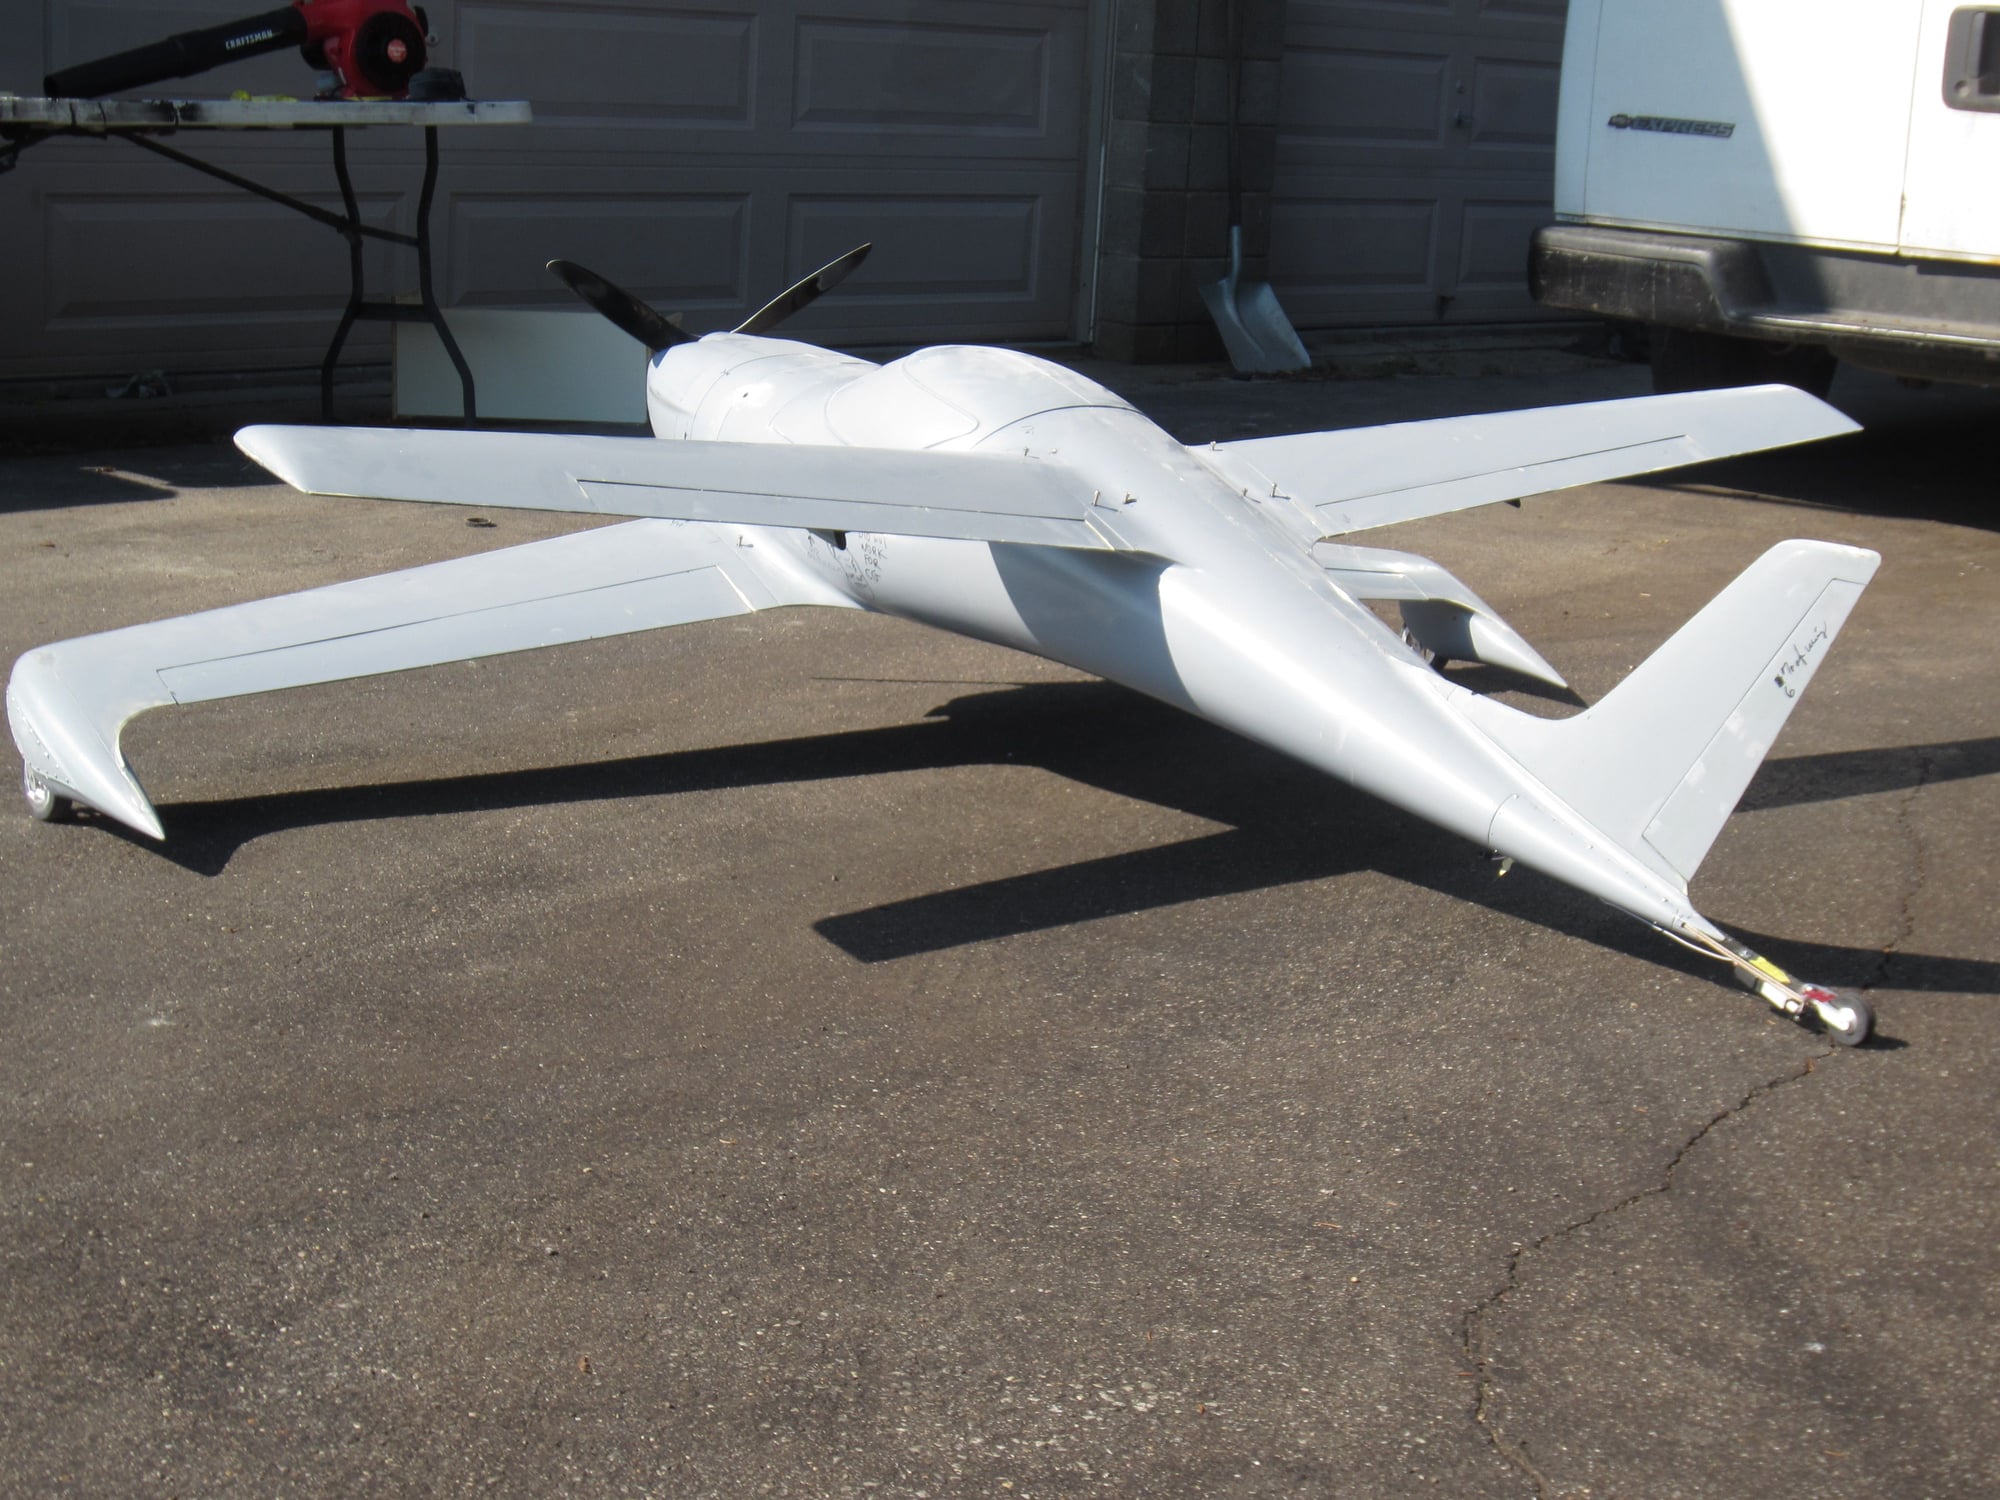
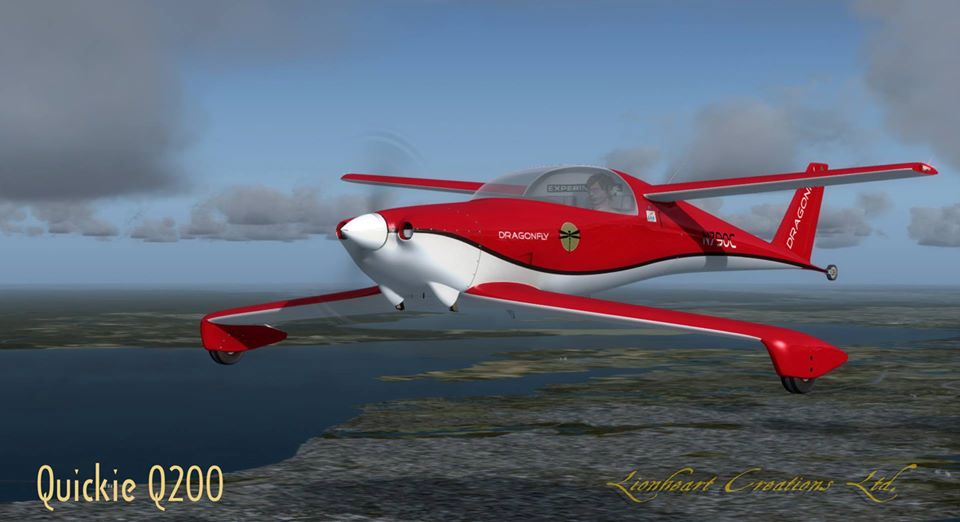
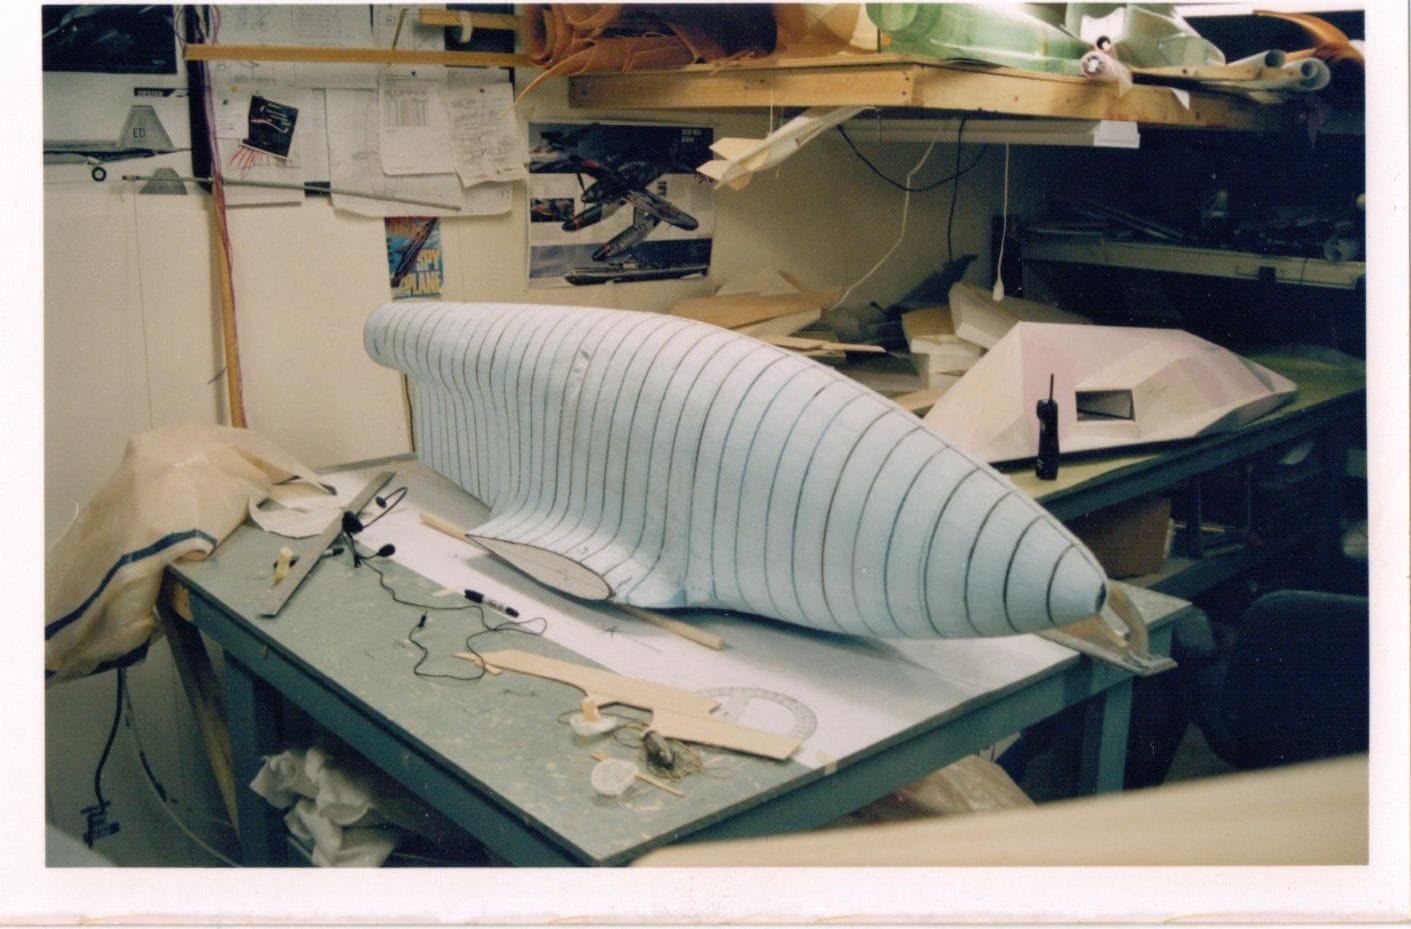
Final assembly pics of 35% Q200
 06-21-2020, 07:53 AM
#1
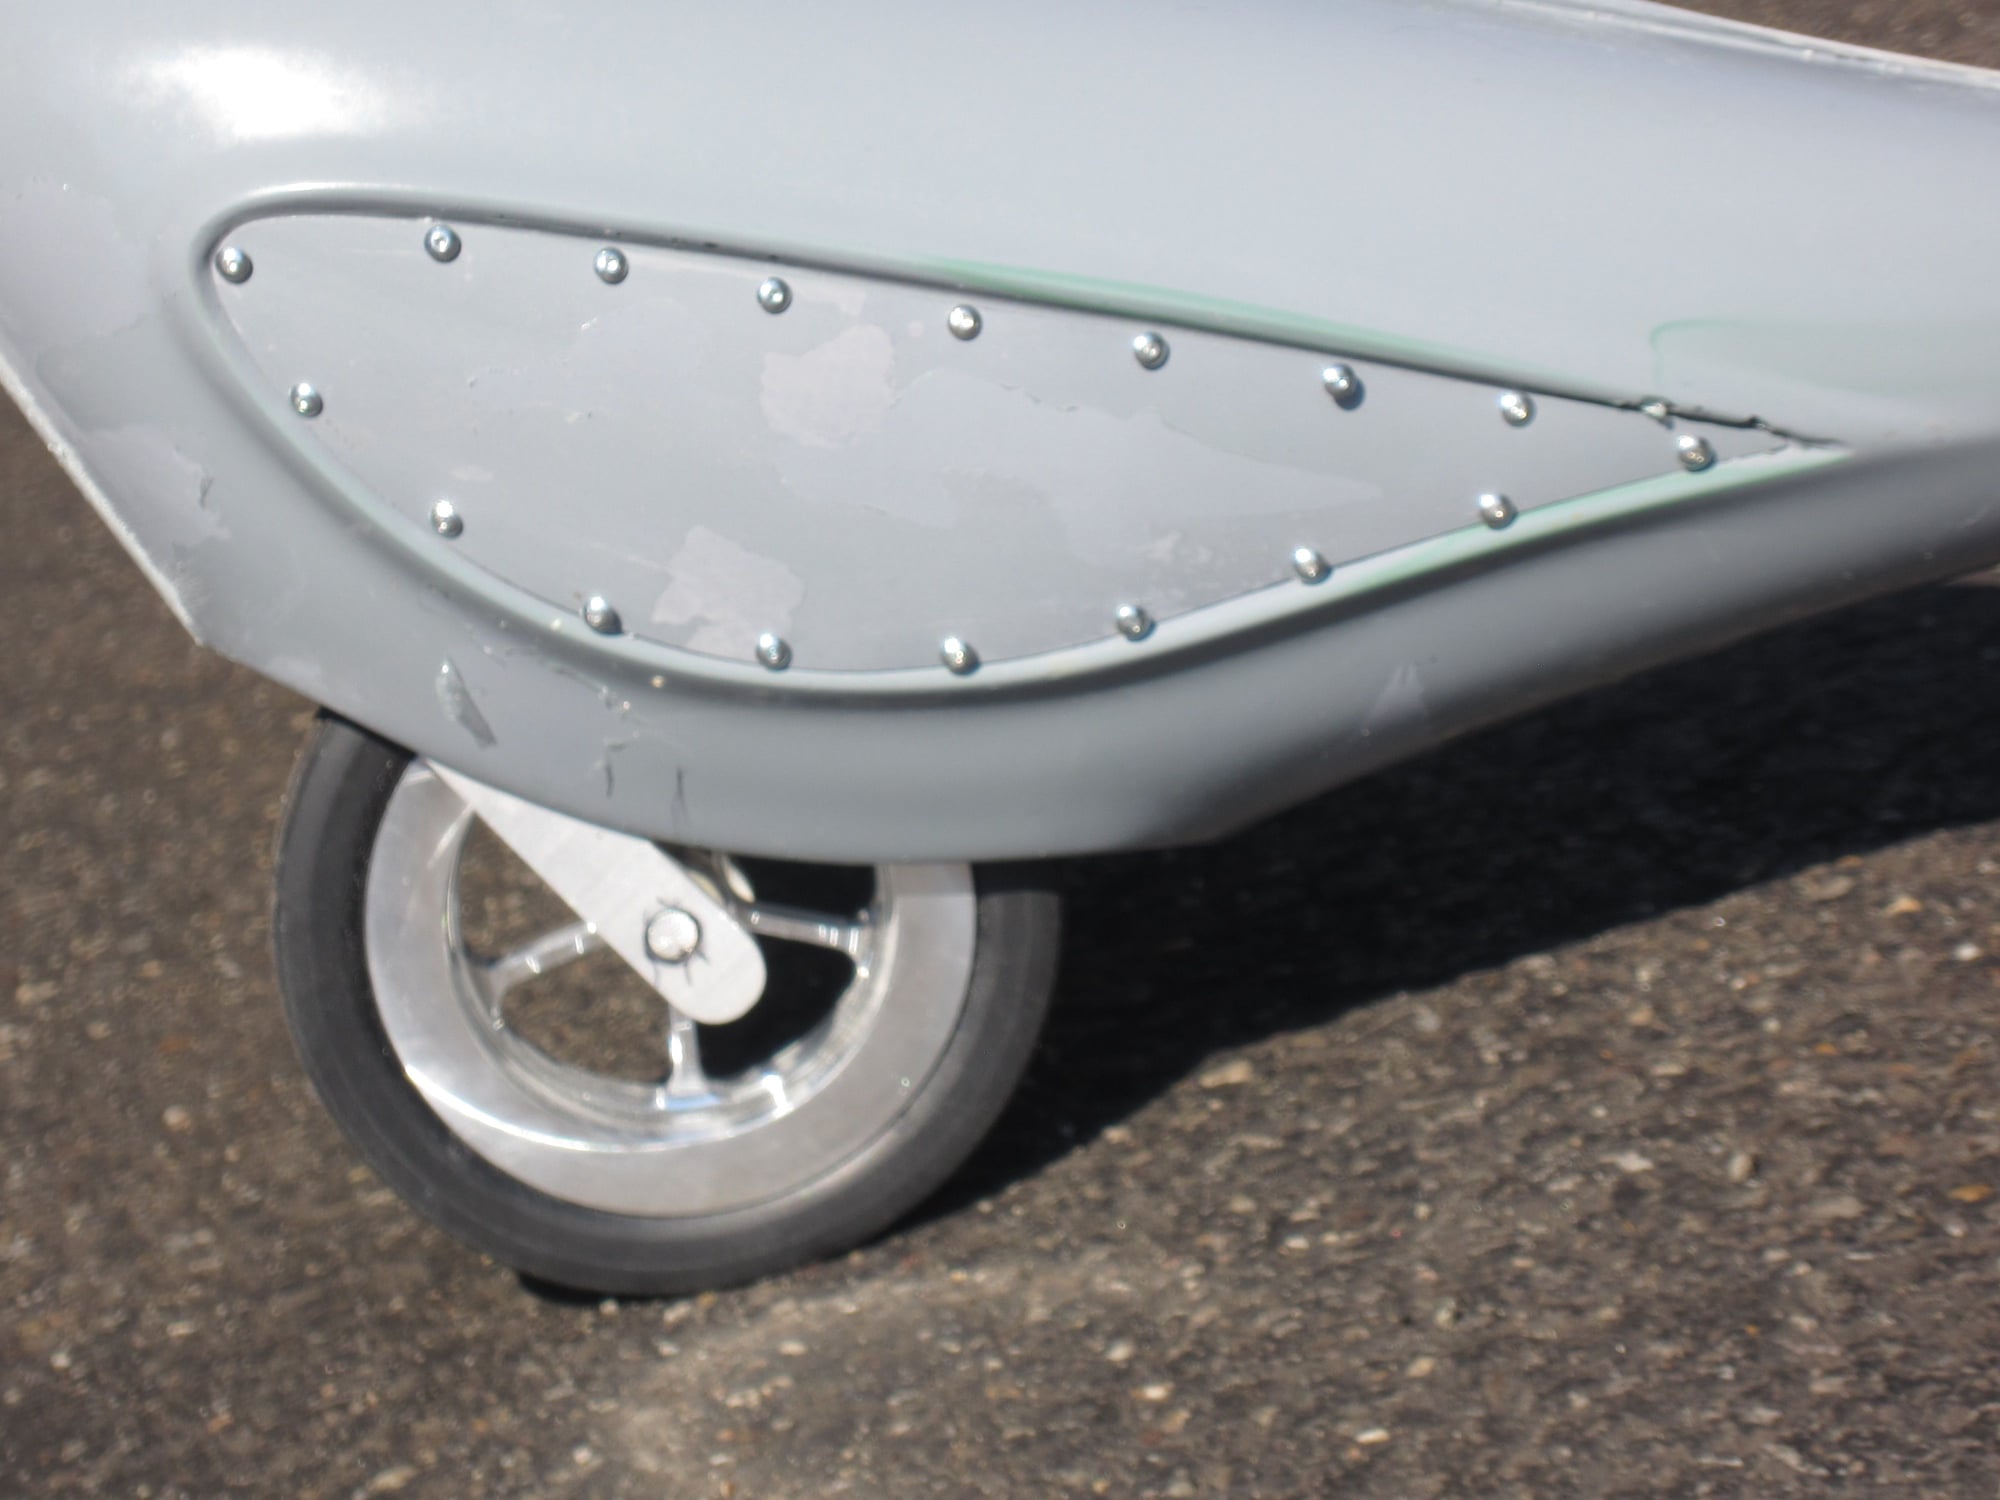
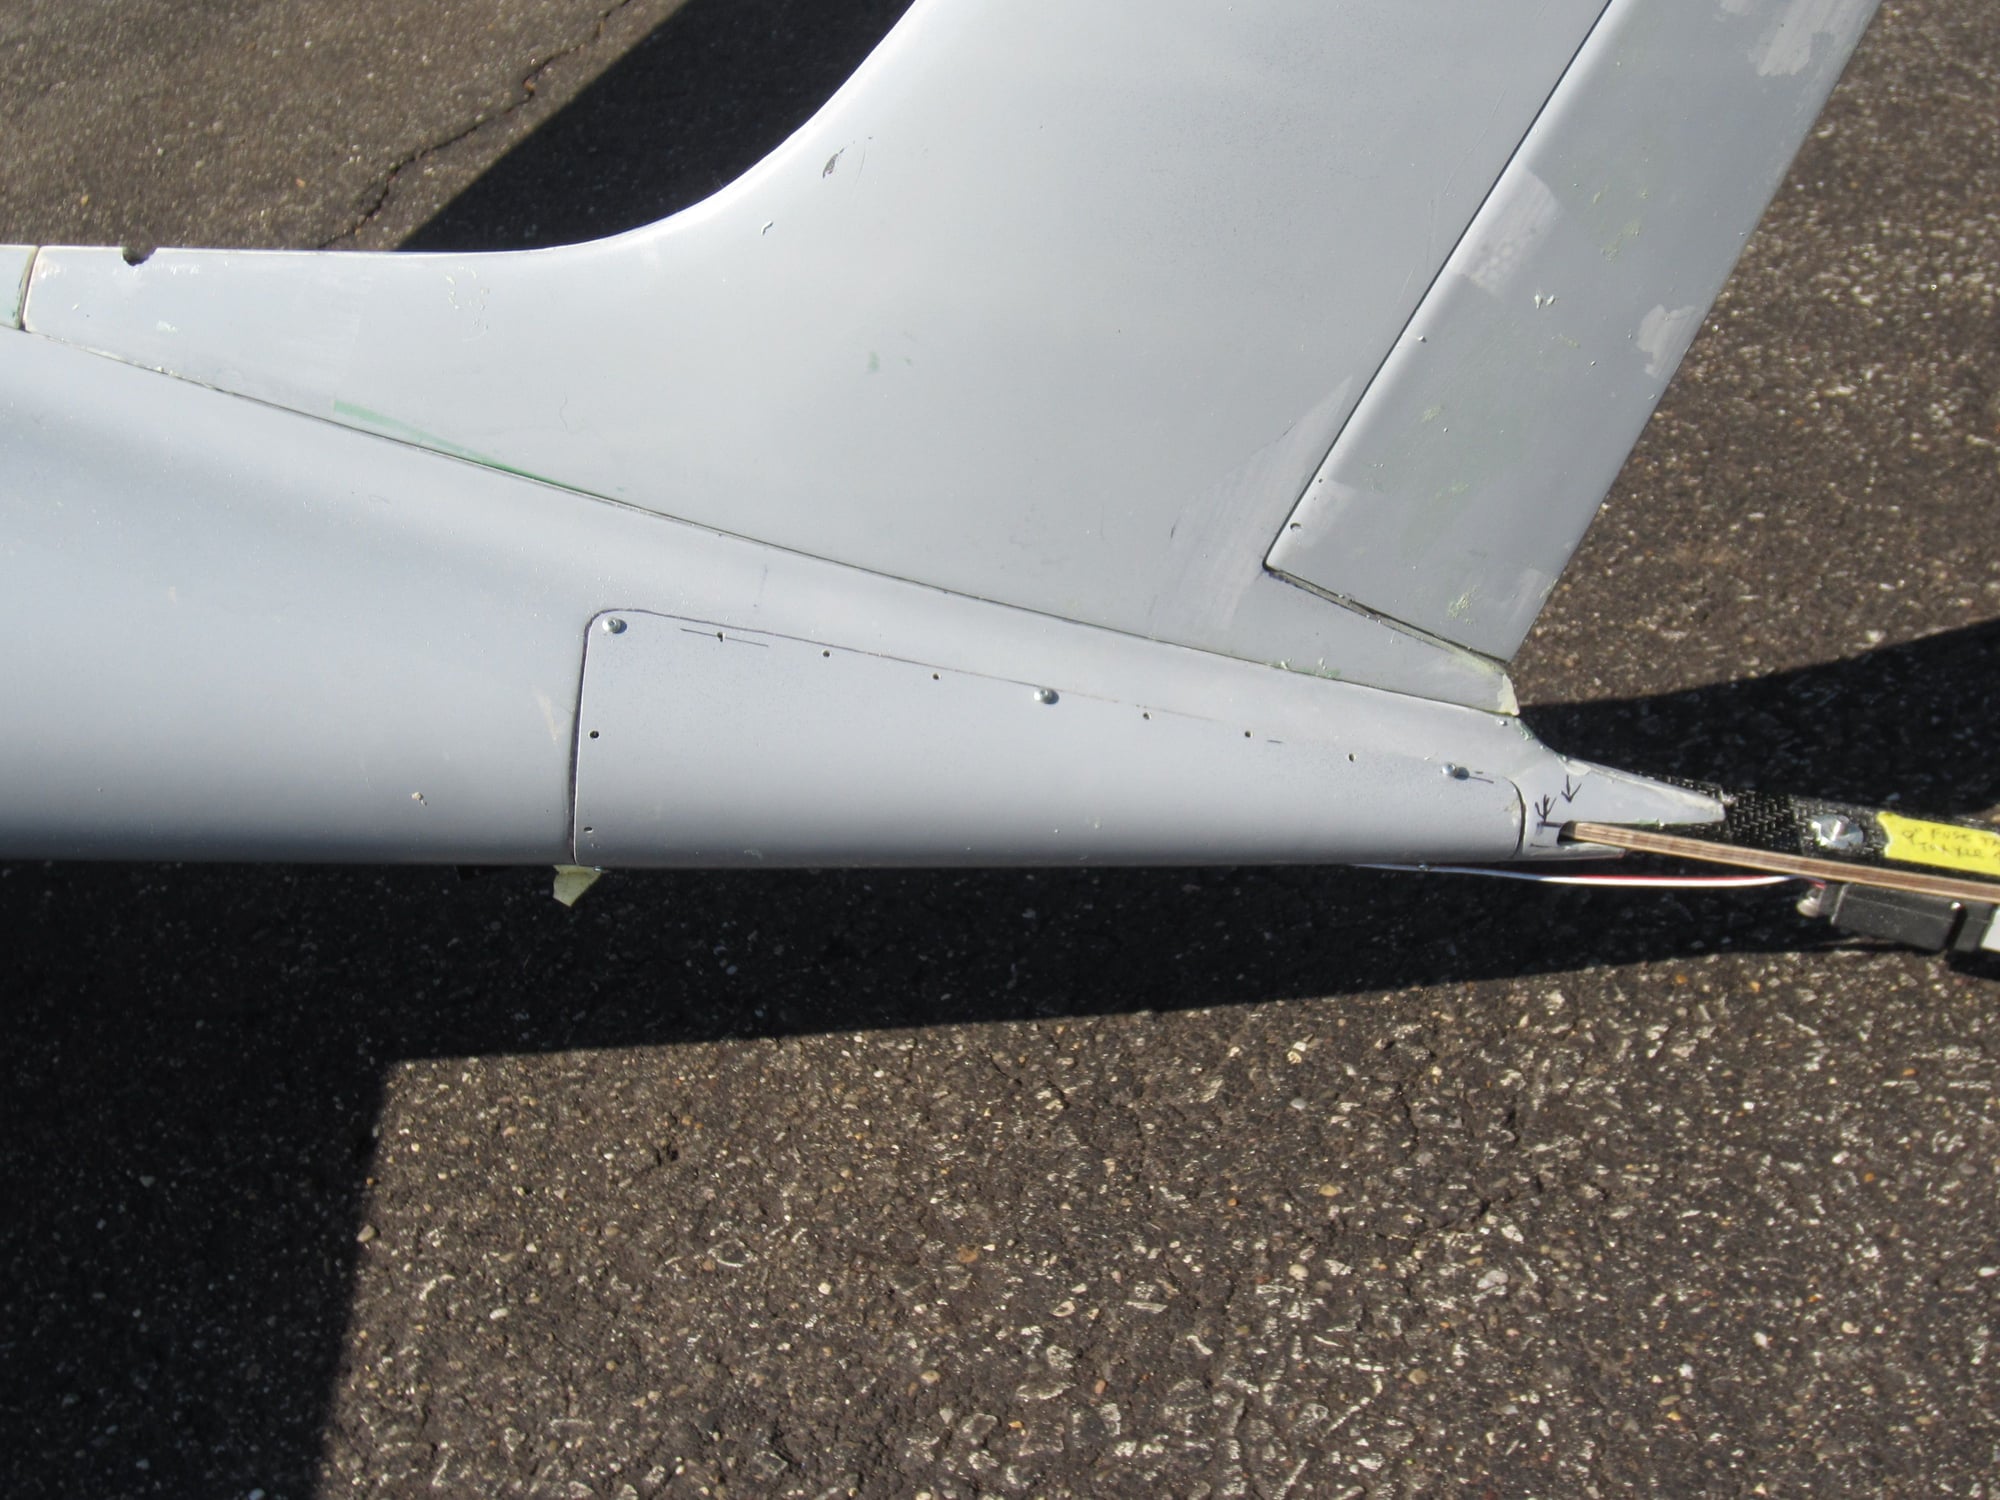
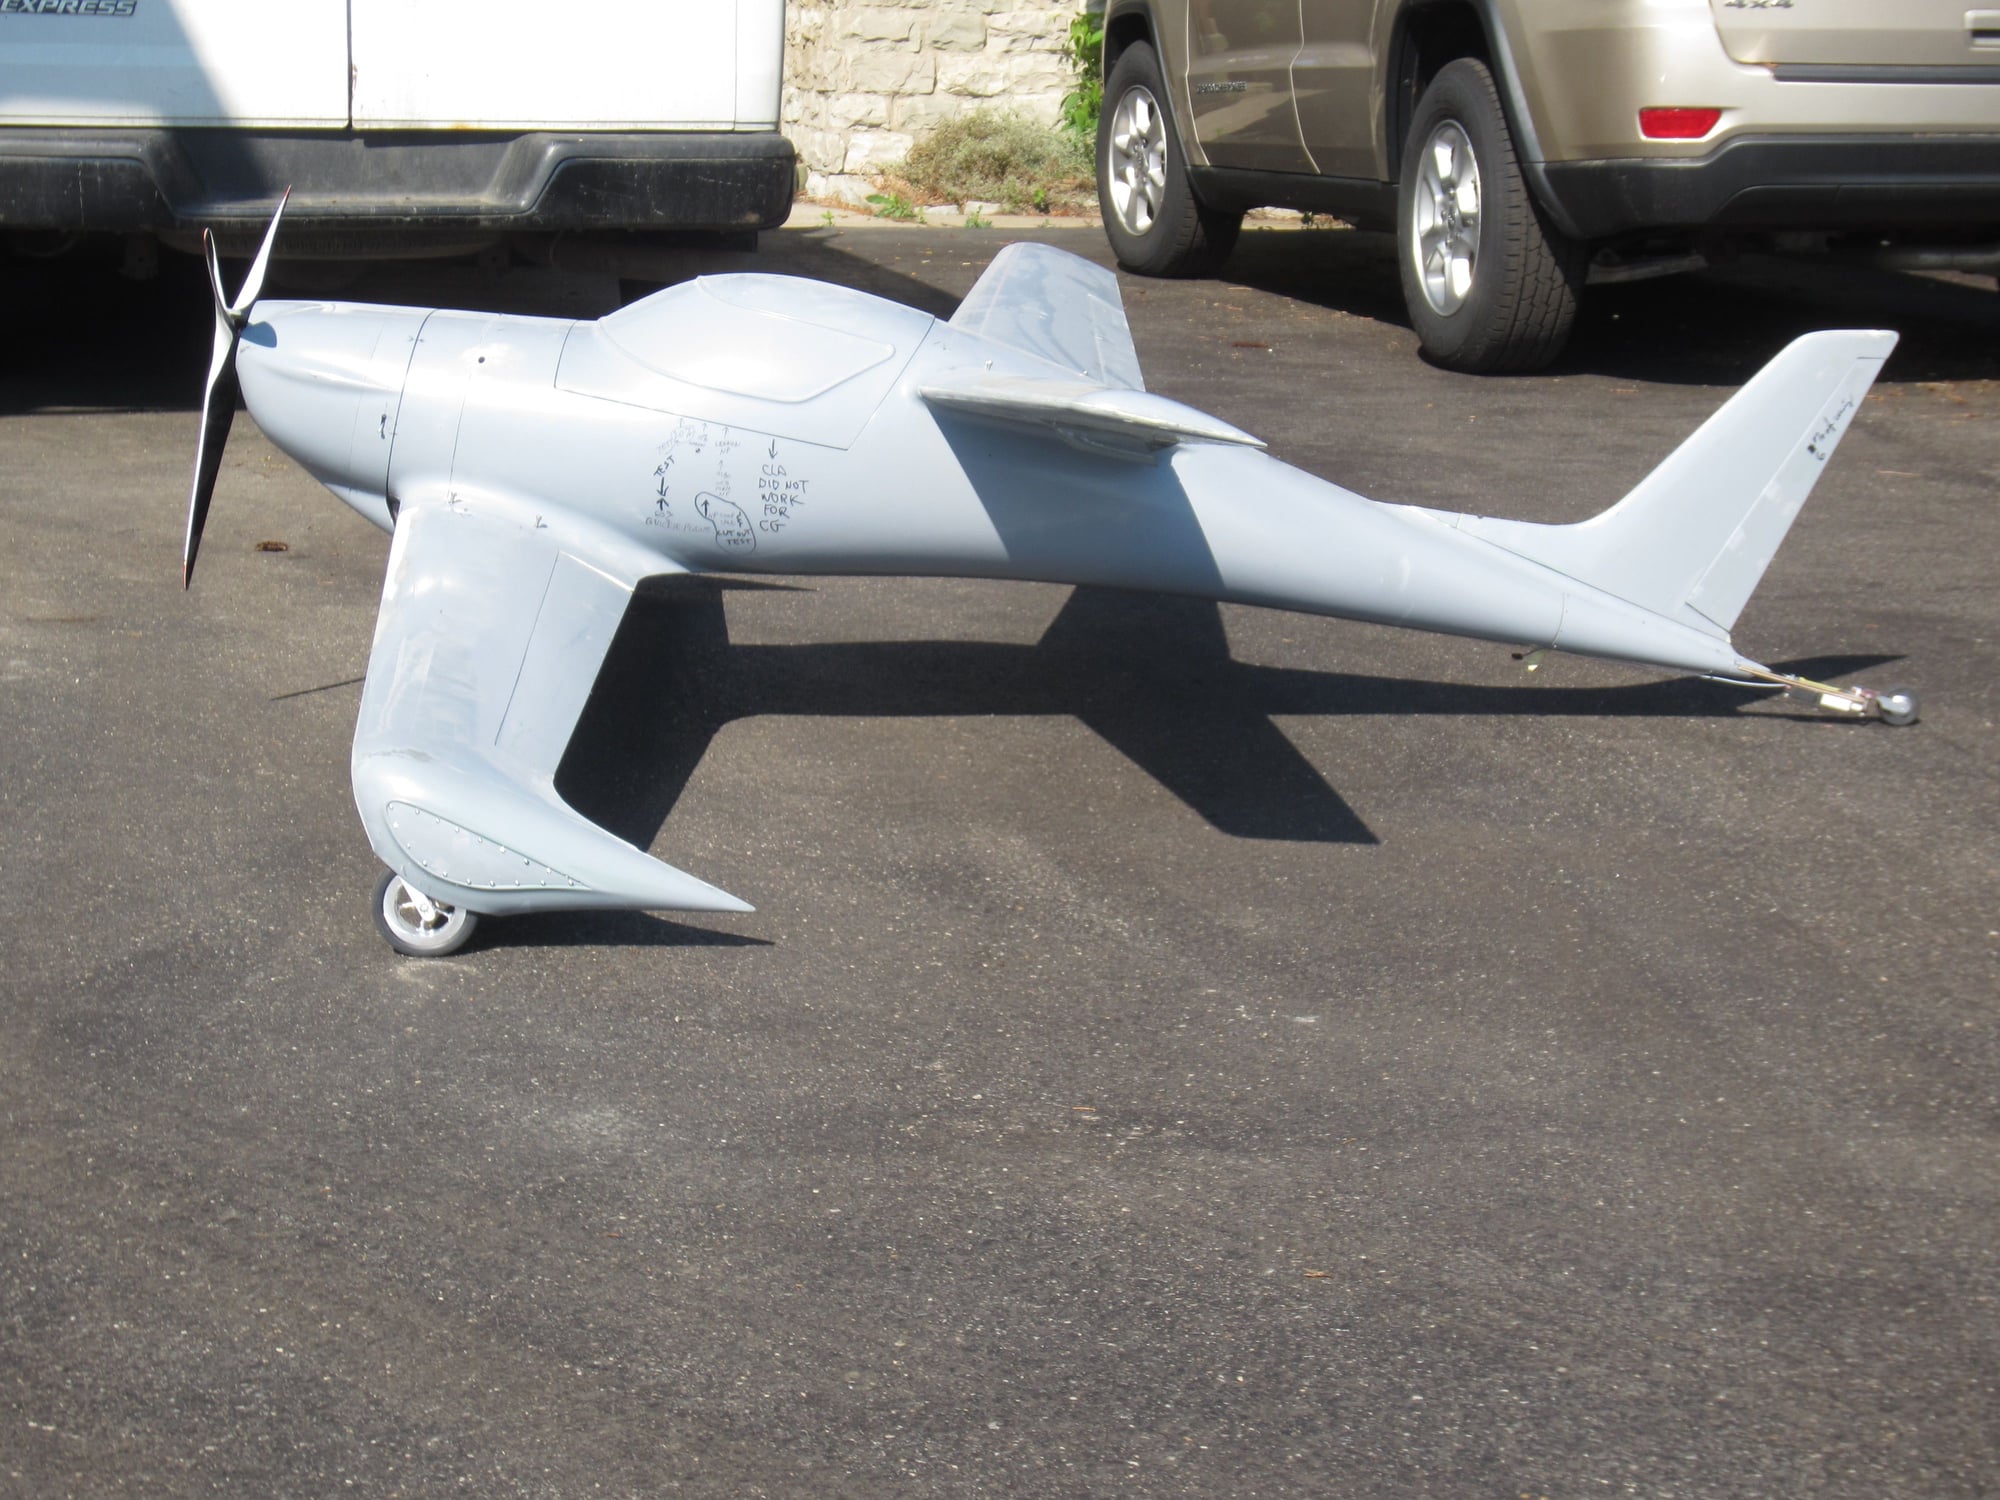
This has been a challenging project aside from the aerodynamics of the plane. I designed the structure around the DA 120. This is an all composite high temperature post cure epoxy with a Nomex core. The full scale used foam core wings covered in glass for the front wing to land on--mine are hollow with carbon and Kevlar laminated into the layup and then full length ply spars down to the wheel pants--The ply spars have aircraft grade aluminum spars for 30% out from the roots that engage the fuse wing strakes similar to the Byron receivers. The idea was to keep the front wing stiffer and I installed a machined aluminum suspension in the pant itself with composite springs. On the side of the wheel pant is an access panel that allows removal along with adjustments for toe in or out and camber--caster is fixed I hate control rods and servo arms hanging out the side of a vertical stab so this is a rotary drive-with a hatch on the tail for access. Since the front wing exceeds 50% it is not a canard but a tandem wing -still works the same however up to 60% of the machines weight is carried by it. The entire plane was generated from a 3 view drawing of the Q200 --right now it weights 26 lbs-still needs fuel tank-ignition-batts and receiver. Full scale plane uses a 3/4 fiberglass rod with pull pull cables for the tail wheel--I hate it--used dragon board as a flex plate with a linear actuator for steering--if broken the whole unit disconnects from tail access panel with 2 screws . Still working on the cooling air exhaust cover and the cover for the intake stack on the carb that faces forward underneath the cowling. Alignment on the wings and body plugs was an all day job with lasers--but it paid off on the glass model --pictures should give you an idea--parts still have flashings on them from layups---approx 8 ft span x 7 ft long


The following users liked this post:
Tony Hallo (06-22-2020)

The following users liked this post:
Tony Hallo (06-24-2020)

 07-06-2020, 02:31 PM
#15
I can't wait to make molds of the 117--you can see the wing strakes on the fuse are not standard curved air foils but faceted as is the full scale--verticals will be full flying -pivoting on 1/2"titanium rods--makes me nutz just talking about it!--can you post a pic here of your Prowler
07-09-2020, 06:15 PM
#16
I can't wait to make molds of the 117--you can see the wing strakes on the fuse are not standard curved air foils but faceted as is the full scale--verticals will be full flying -pivoting on 1/2"titanium rods--makes me nutz just talking about it!--can you post a pic here of your Prowler
no pics of the prowler, its only a somewhat cad design currently. I have to clear out to many other projects before i can get to that one ( 1/4.5 T38, 1/4 Beech Starship, 40% Cessna U3B, 1/5 Ho-229, 1/7 F14).
07-31-2020, 03:17 PM
#19

Very nice Rick, brings back memories I had a full scale kit back in the early eighties worked on it when I was a single guy. I got it 90% compete before I got married and the new wife was not into it or the space it was taking in in my garage. We were in the process of selling my house to buy "OUR" house and I had it outside when someone rode by saw it and offered her the right price. Since we were trying to buy a new house she saw that this would almost pay for the house and told the guy he had it.. Boy I think back now and wonder if I should have let him have her and kept the plane...LOL Anyway I would like to have finished it and flew it at least once... Well nice work and thanks for taking me back to a time when life was LIFE......
07-31-2020, 04:13 PM
#21
Yes I like the detail you put into it also wish I could find the photos I had during the build I'm sure they would be of use to you. I Also had a Pitts S1S and now that I'm nearing the retirement age I'm in the process of completing the purchase of a Pitts now I hope to have the deal done by end of next month. I have it going to a shop for full survey and inspection so I'm waiting for the outcome and then I'll know if I'm going to be the proud owner of a new to me Pitts again!
 08-01-2020, 09:01 PM
#25
Yeah right not miles per gallon gallons per mile...lol shes stays thirsty during the gas price drop we filled 55 gall drums took to storage site to fill up it was the first time ever a both tanks were full for under $500, My good friend has a 50 foot cat with twin turbines for power that thing is a beast!.....