


Wendell Hostetler 35% RV-4 Build
 11-02-2014, 05:04 PM
#1

Thread Starter
My Feedback: (25)
Join Date: Jul 2003
Location: HEBER CITY,
UT
Posts: 48
Likes: 0
Received 0 Likes
on
0 Posts
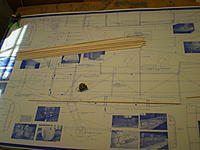
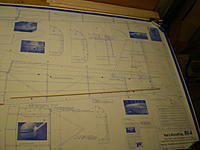
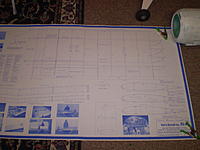
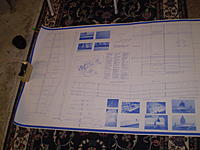
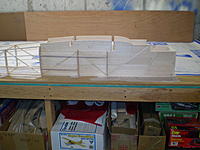
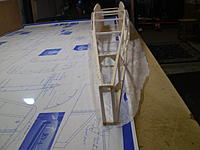
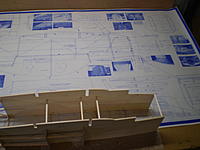
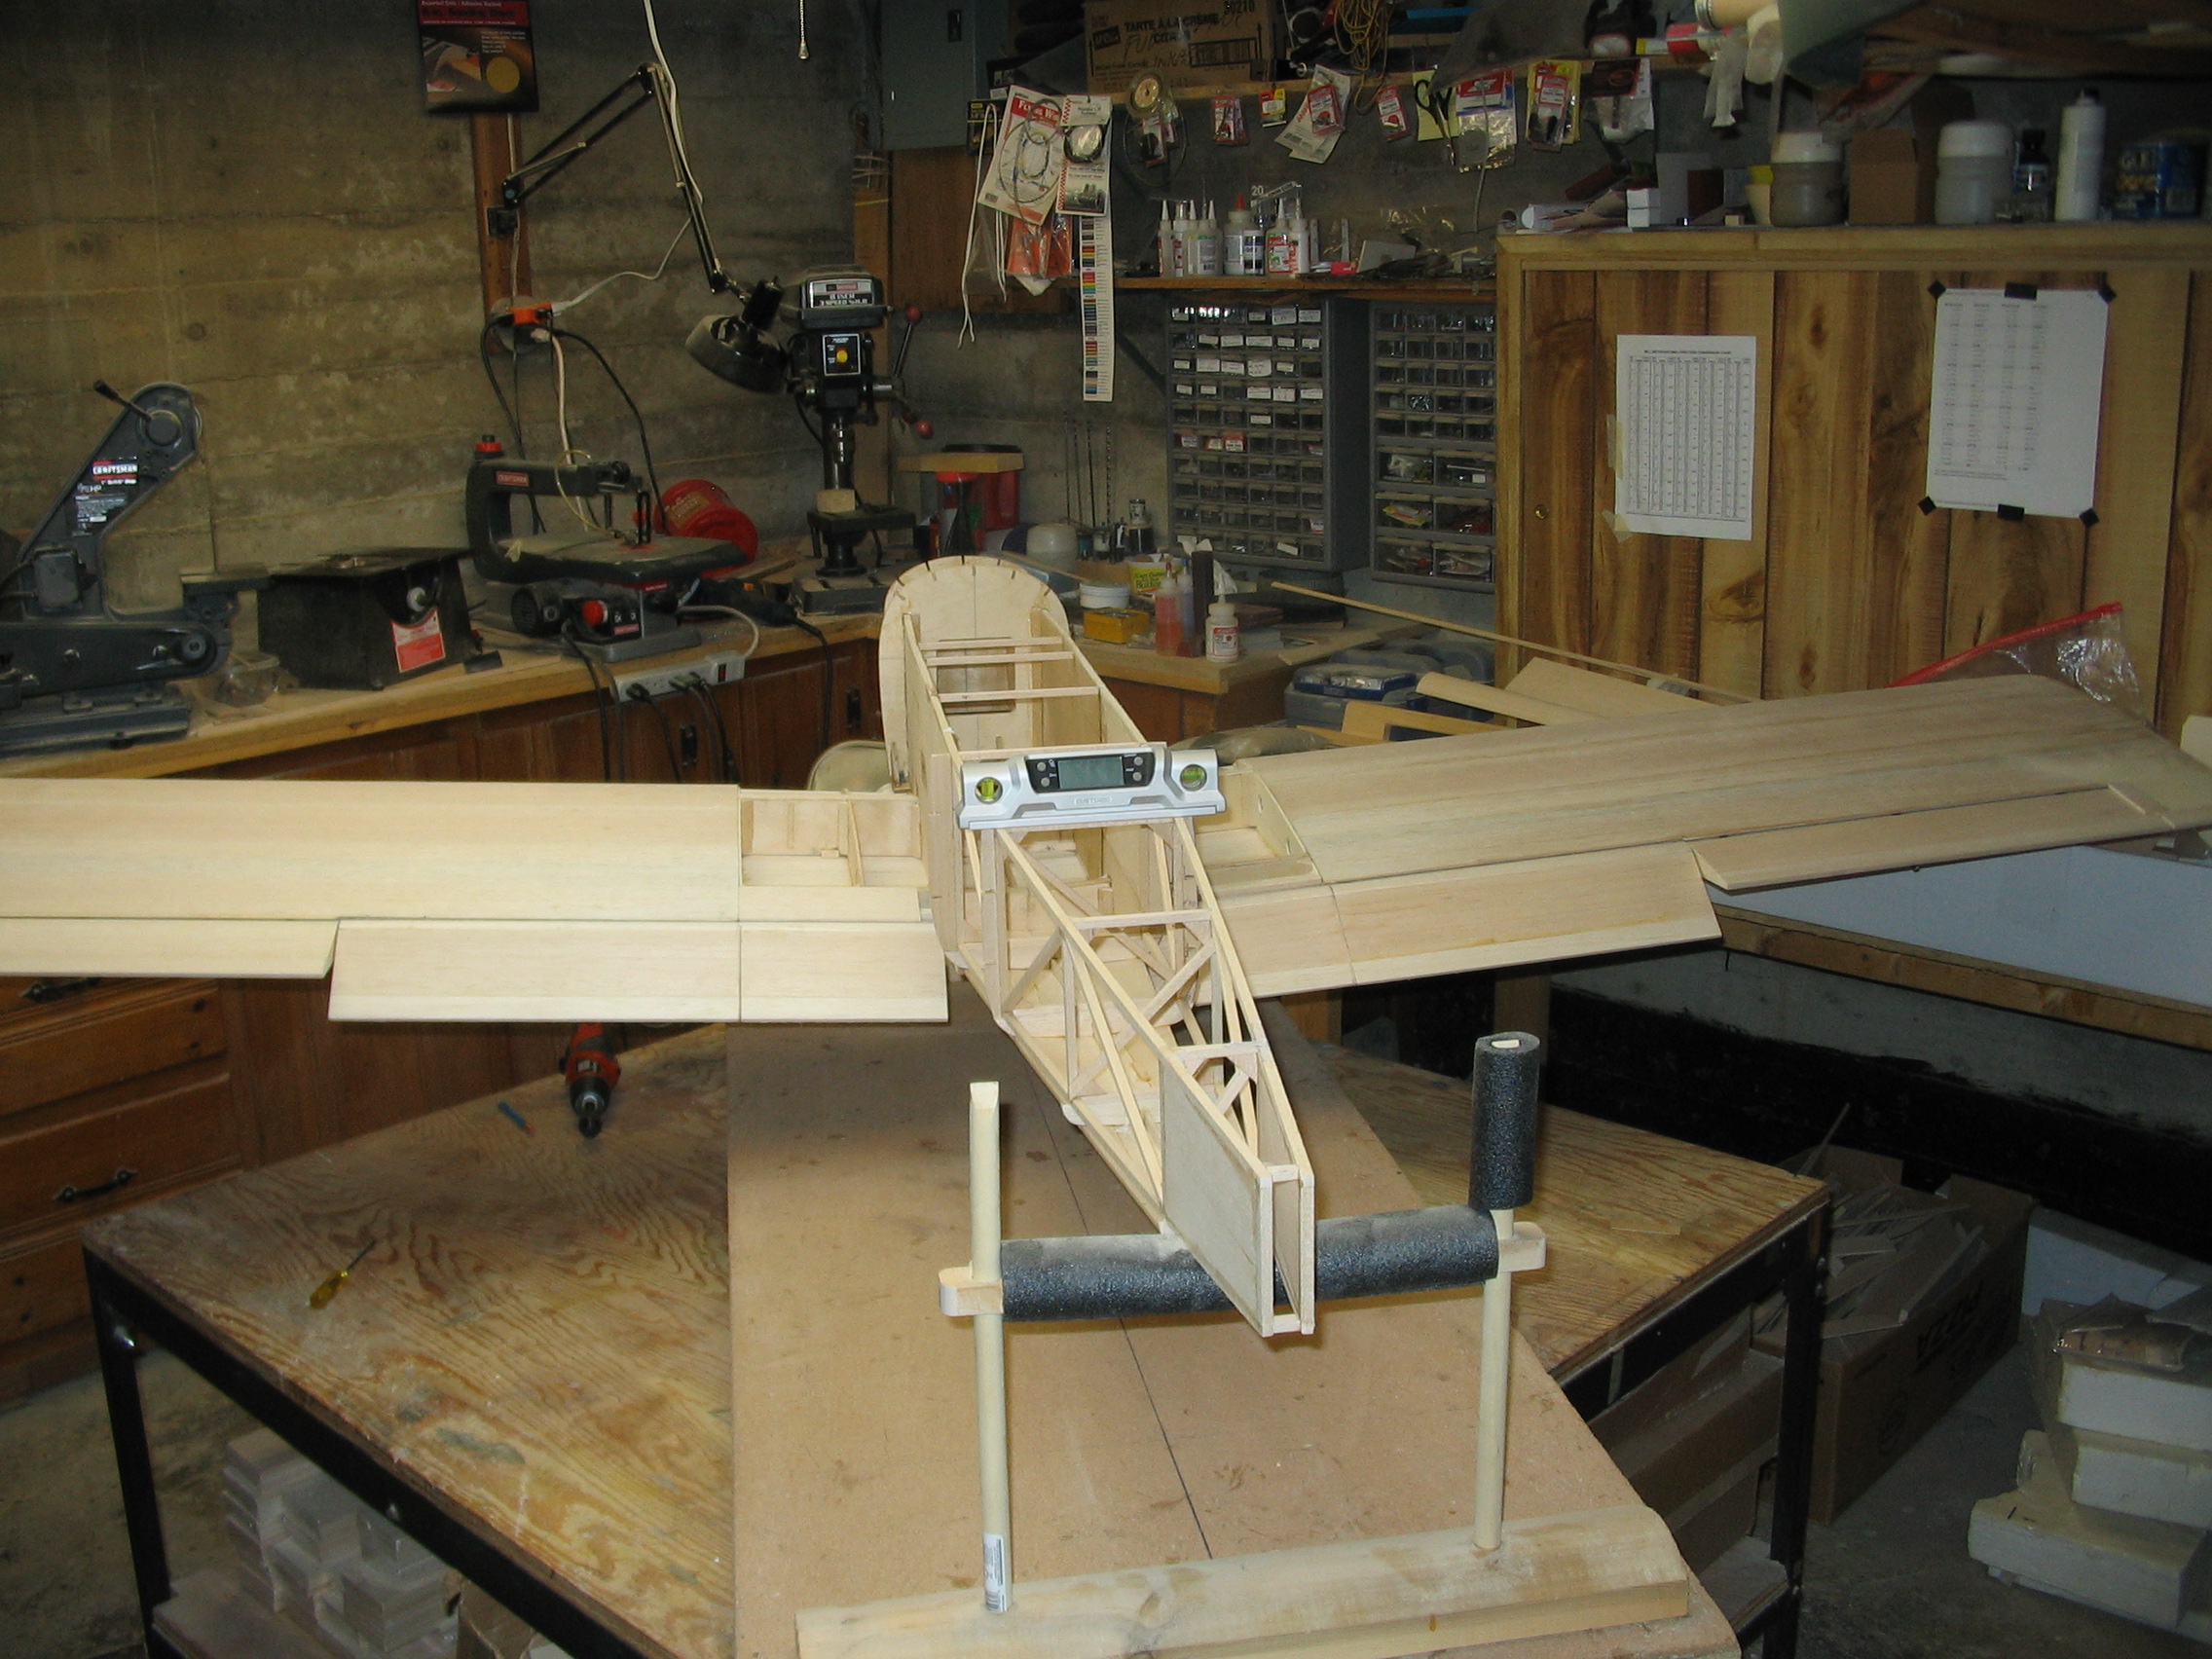
I started to build my Hostetler RV-4 this week and decided I would share my build with the rest of you who have questions. I ordered most of my balsa thru a company called Balsa Wood Inc. I am have never used them before but the prices are super cheap so I decided to give them a try. The little bit they did not have I ordered thru Balsa USA. The plans have a detailed materials list so ordering was easy. I decided to start with the fuselage. I use a product called SEE TEMP for making plastic templates for all the fuse formers. I started by making these templates and cutting my formers out of 1/8" balsa. The frame of the the fuse is made out of 1/4" x1/4" sticks and the center section is filled solid with 1/4" sheeting. I have completed one side and half of the other. More to come as the build continues.


Last edited by jperkinstrades; 11-05-2014 at 09:45 AM.


 11-17-2014, 04:05 PM
#5

Join Date: Aug 2002
Location: Washburn,
ME
Posts: 170
Likes: 0
Received 0 Likes
on
0 Posts
I just happen to be building the RV-4 myself and was looking over your fuselage. You do nice clean work but I see an error which is quite concerning, in my opinion. I see no plywood reinforcement between F-1 and F-5 as outlined on the plan by the dark triangles. This is one area where I think the extra strength is needed.  Look close at the sides coming thru the front bulkhead and you will see what I mean. Good luck on the build.
Frank
Frank
11-19-2014, 05:46 PM
#7
Thread Starter
My Feedback: (25)
Join Date: Jul 2003
Location: HEBER CITY,
UT
Posts: 48
Likes: 0
Received 0 Likes
on
0 Posts
Frank ,
You are correct about the plywood being absent. I took the photos before I had installed the plywood reinforcement but it is installed now and all is good. I would love to see more photos of your plane if you have a few more you would like to share. [email protected]
You are correct about the plywood being absent. I took the photos before I had installed the plywood reinforcement but it is installed now and all is good. I would love to see more photos of your plane if you have a few more you would like to share. [email protected]
11-28-2014, 11:02 AM
#8
Join Date: Aug 2002
Location: Washburn,
ME
Posts: 170
Likes: 0
Received 0 Likes
on
0 Posts
Jperkinstrades, I don't know if you got my emails or not so I'll post a couple pictures here of my bird. I'm in the covering stage right now and that's a long process for me. Love to build- hate to cover.


12-01-2014, 09:30 PM
#11
Thread Starter
My Feedback: (25)
Join Date: Jul 2003
Location: HEBER CITY,
UT
Posts: 48
Likes: 0
Received 0 Likes
on
0 Posts
smithfj I did receive your email, your plane looks great! Are you covering yours with an iron on film? I am thinking about lightly glassing mine and painting it. I would love to see a video of Wendells plane flying with the 60 twin. I like power and I am not sure the 60 will be enough for me, may have to do a single cylinder 80 mounted inverted.We will se when the time comes.
12-01-2014, 09:38 PM
#12
Thread Starter
My Feedback: (25)
Join Date: Jul 2003
Location: HEBER CITY,
UT
Posts: 48
Likes: 0
Received 0 Likes
on
0 Posts
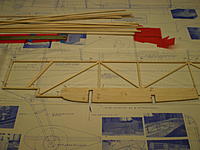
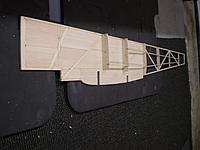
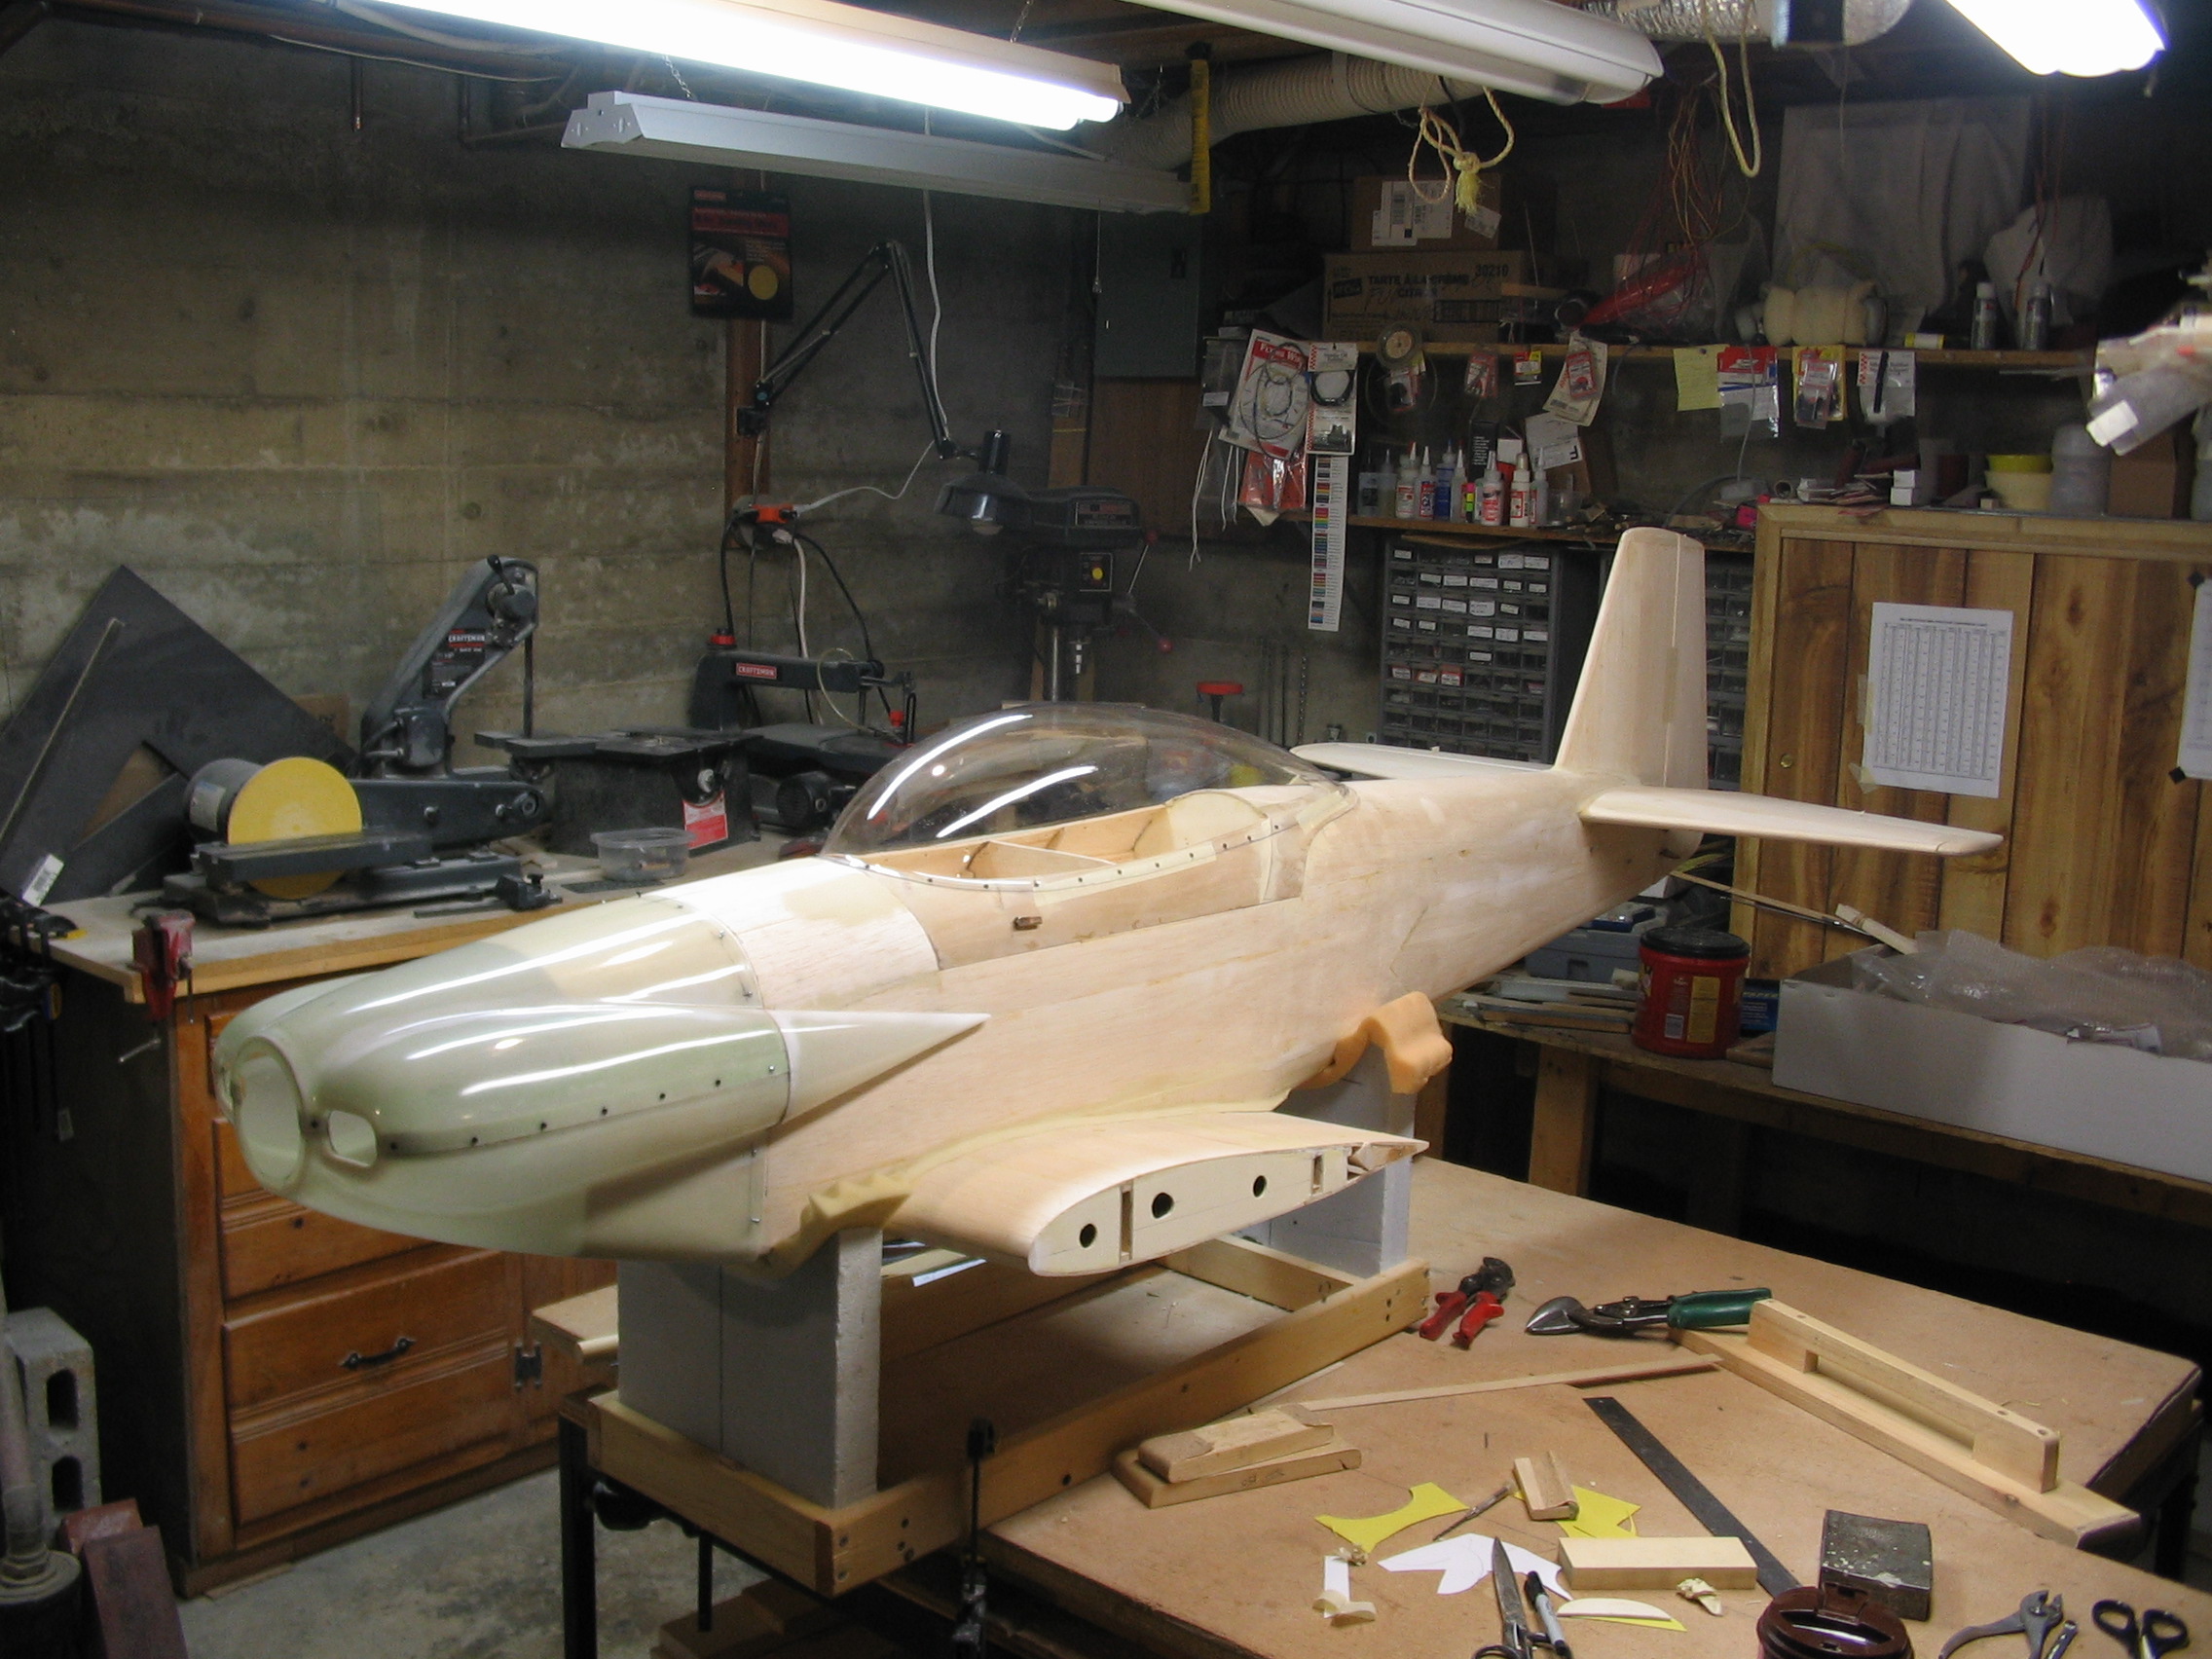
So it has been awhile since I posted progress. I have spent a lot of time cutting out parts but now I have a complete "kit" so things should move along nice. I have a majority of the fuselage framed and have moved on to the wing framing so that I can fit them with the fuselage. I also have ordered the cowl,wheel pants,canopy, and landing gear. It is starting to look like an airplane!
12-02-2014, 01:05 AM
#13
Join Date: Aug 2002
Location: Washburn,
ME
Posts: 170
Likes: 0
Received 0 Likes
on
0 Posts
Jperkinstrades, Send me an email and that way I'll have your correct address. Your RV-4 is coming right along and it looks really nice. I'm using monokote for mine and the ironing is going slow. I should have the control surfaces done today though. I need to get my building and repairing of other models done before spring as it looks like I will be doing some home remodeling this spring, summer and fall. I need to replace 8 windows and re-do my pellet stove chimney. May have to hire help to get it done though. Seems like every time I plan on having a summer for flying something else comes up. Here's a picture of MT Stan Lawrences RV-4 out in CA. It's the look I'm going for.
Frank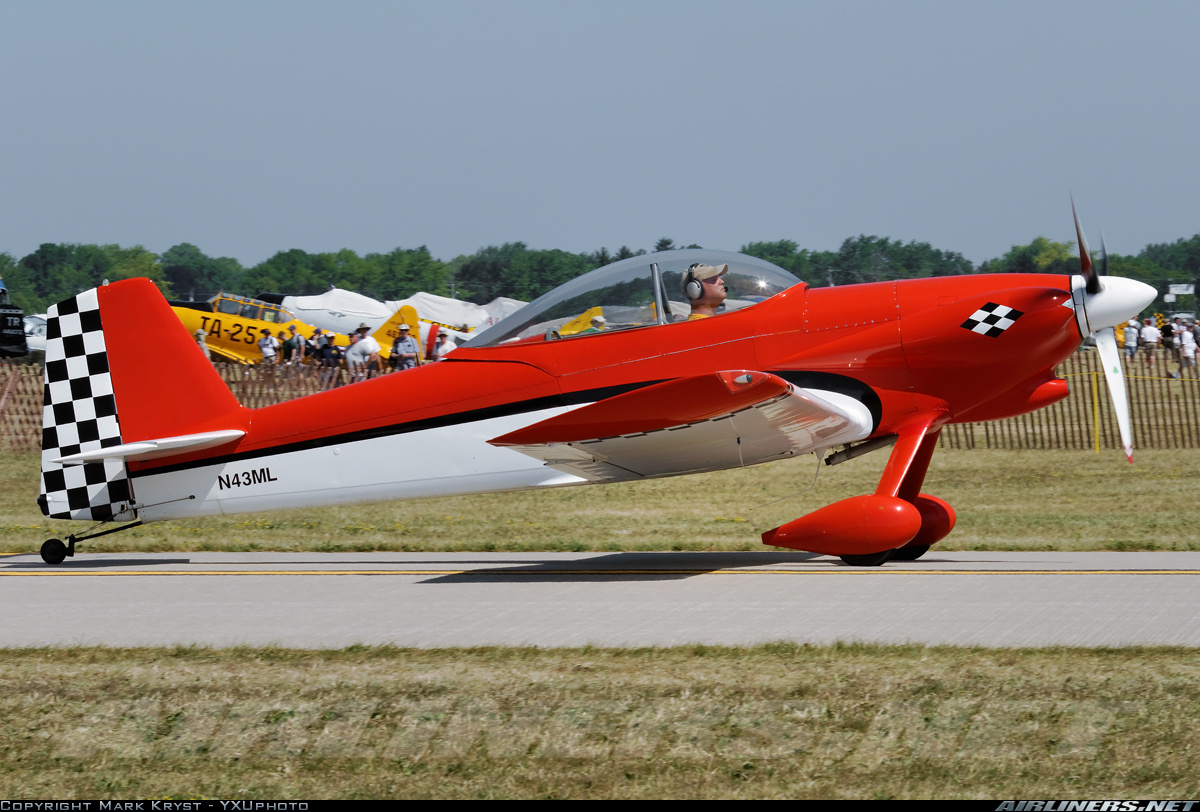
Frank
Last edited by smithfj; 12-02-2014 at 04:22 AM.
12-04-2014, 10:05 AM
#15
Join Date: Aug 2002
Location: Washburn,
ME
Posts: 170
Likes: 0
Received 0 Likes
on
0 Posts
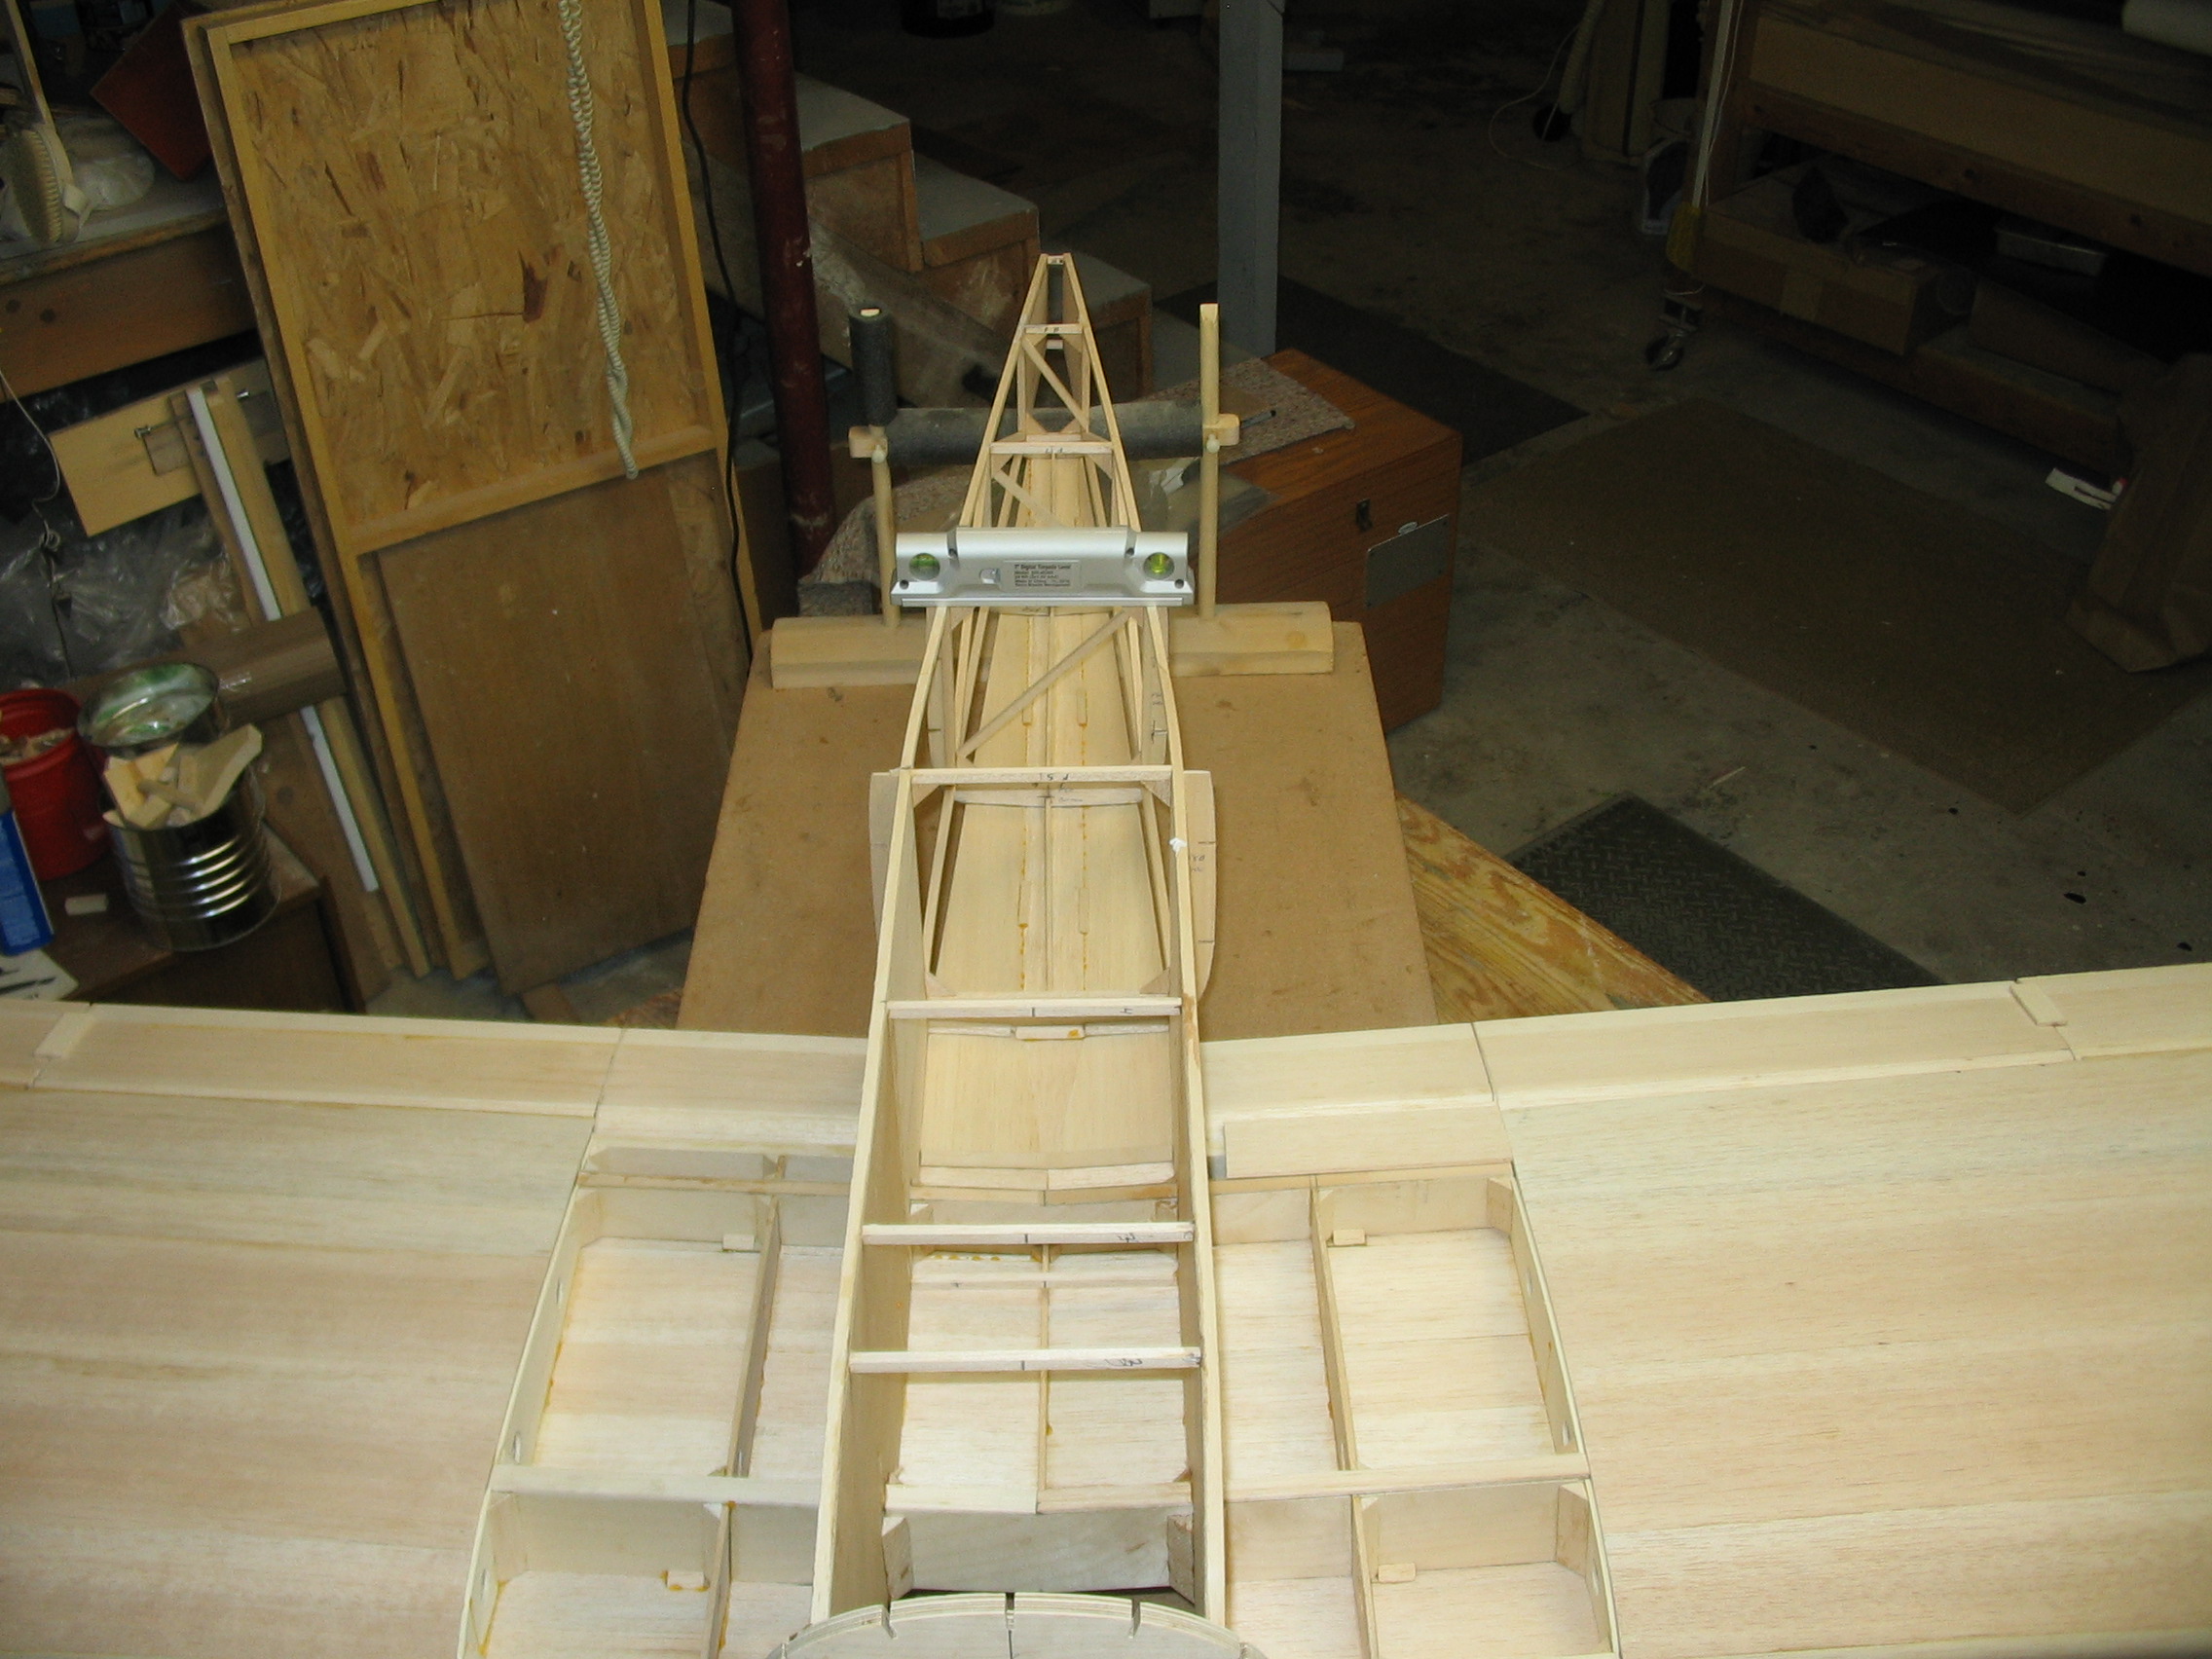
Lee, it's not a crazy question. It has two outer panel that plug in to the center section on the fuselage. Two 6-32 screws secure each panel from under the wing. It's a good and solid system as the Piper Pawnee, and the Cessna 150 have the same setup. Here's a couple pictures that should answer your question. Frank


12-04-2014, 02:19 PM
#17

Join Date: Sep 2006
Location: The Sunshine state, when it's not raining!
Posts: 8,131
Likes: 0
Received 2 Likes
on
2 Posts
See Temp is a type of plastic sheeting marketed for making templates. I use plastic picture frame covers, they can be picked up very cheap at Wally World especially when on sale, the poster frames yield a lot of plastic.
12-04-2014, 03:29 PM
#18

Join Date: Dec 2001
Location: Brooklyn, NY,
Posts: 122
Likes: 0
Received 0 Likes
on
0 Posts
Lee, it's not a crazy question. It has two outer panel that plug in to the center section on the fuselage. Two 6-32 screws secure each panel from under the wing. It's a good and solid system as the Piper Pawnee, and the Cessna 150 have the same setup. Here's a couple pictures that should answer your question. Frank
Lee
12-05-2014, 06:51 PM
#19
Thread Starter
My Feedback: (25)
Join Date: Jul 2003
Location: HEBER CITY,
UT
Posts: 48
Likes: 0
Received 0 Likes
on
0 Posts
Snoopy,
SEE TEMP is Available through Dynamic Balsa and Hobby Supply. www.dbalsa.com. This product is a transparent red plastic that is easily scored with a knife and then you just bend it once and it snaps free leaving you with a hard template to trace parts.I save all these templates for future repairs or builds. I have been using it for years on both models and for full scale aircraft. You can see a demo on how it works at www.seetemp.com
SEE TEMP is Available through Dynamic Balsa and Hobby Supply. www.dbalsa.com. This product is a transparent red plastic that is easily scored with a knife and then you just bend it once and it snaps free leaving you with a hard template to trace parts.I save all these templates for future repairs or builds. I have been using it for years on both models and for full scale aircraft. You can see a demo on how it works at www.seetemp.com
12-06-2014, 04:39 PM
#20
Junior Member
Join Date: Jul 2002
Location: Canada
Posts: 26
Likes: 0
Received 0 Likes
on
0 Posts
Thanks for your reply it will help me in the future. Very interested in the plane have liked the RV series. Looked at the plans at Toled but did not buy them st the time. Was looking at the time at the AMR RV8 they made a prototype but never went into production do not known why. One question, will a DA-70 fit into the cowl of the plane., that would clinch it for me to start thinking but building one for this winter.
Thanks for your help
Thanks for your help
12-09-2014, 09:48 AM
#21
Join Date: Aug 2002
Location: Washburn,
ME
Posts: 170
Likes: 0
Received 0 Likes
on
0 Posts
Snoopy, I just measured the cowl on the plan sheet and the engine center line is 4 inches above the bottom of the cowl at cylinder level on the DLE 60. I haven't a DA 70 to measure but I think the head will be out of the cowl . Hope this helps.
Frank
Frank
12-10-2014, 09:02 AM
#22
Junior Member
Join Date: Jul 2002
Location: Canada
Posts: 26
Likes: 0
Received 0 Likes
on
0 Posts
Hi Sithjy thanks but belive we have miss understood each other. The Da 70 is twin and I need inside dimension of the cowl across from one cheek to the other thanks for your help. This will not be the last question but will be for now can a cannester be installed into this plane.
Last edited by Snoopy; 12-10-2014 at 09:05 AM.
12-10-2014, 09:43 AM
#23
Join Date: Aug 2002
Location: Washburn,
ME
Posts: 170
Likes: 0
Received 0 Likes
on
0 Posts
Sorry about that Snoopy. The cowl is 11.5 inches wide where the cylinders are on the DLE 60 twin. It's all hidden except for the muffler pipes and Wendell modified his mufflers to fit in the cowl.
Frank
Frank
12-10-2014, 10:59 AM
#24
Junior Member
Join Date: Jul 2002
Location: Canada
Posts: 26
Likes: 0
Received 0 Likes
on
0 Posts
Thanks for the prompt reply at 11 1/2 inches wide the DA 70 will fit with a squeeze from what I can see on some of the pictures the cowl is split horizontal. That will make life a lot easier for a twin. Looks like the muffler will be a bit of a challenge.
Thanks again for the information.
Thanks again for the information.
12-10-2014, 12:21 PM
#25
Join Date: Aug 2002
Location: Washburn,
ME
Posts: 170
Likes: 0
Received 0 Likes
on
0 Posts
You are welcome Snoopy. Yes the split cowl is nice. Fibertech did a very nice job on it as it even has a splice piece of fiberglass tape inside. I just drilled my holes and screwed it together then I removed the screws and epoxied 1/4 inch ply doublers over the screw holes. Makes for a decent job . You will find the cowl, pants, canopy and small scoop from them is top quality.
Frank
Frank