


Bill Hempel 40% Super Cub ARF

 12-01-2014, 01:29 PM
#52
Member
My Feedback: (1)
Join Date: Dec 2008
Location: Wimberley, TX
Posts: 88
Likes: 0
Received 0 Likes
on
0 Posts
Another thing that I forgot. When you adjust your struts for your wings turn your fuse upside down to take the weight off. Otherwise you will have droopy wings.
I hate droopy wings.
I hate droopy wings.

") 12-02-2014, 04:11 AM
12-02-2014, 04:11 AM
#54
My comfort mounts for the canisters came along with my JR. match boxes. I will work on the muffler install next. This will finish up the fuselage major component install. I won't install the landing gear until I am all done detailing the fuselage as it is easier to roll it around the table this way.
Im getting ready for the wings. I am going with 4 JR servo match boxes. I could just use the smart fly but when I had 4 servos in my Sbach I used the 4 servo mix, each servo on there own channel. I still could never get all the servos centerd, I had to manually adjust the linkage. They would bind just enough to buzz a bit. I would adjust the end point almost every time I flew to reduce the buzz. I am hopping the match boxs will make this easier and with 8 servos in the wing I have to have two servos per channle.
The match boxes will be mounted next to the smart fly board with 12" leads. This is recommended when not using additional batteries for the match boxes. I will have two 2 servo Thunder RC servo plugs per surface per wing so only two connections per wing and 4 leads going down to the match boxes per side. There will be the nave lights, one wire per wing plus the two landing lights from the left wing. As big as the plane is this should not be to cluttered and field setup should be easy with the top hatch for access.
TB
12-02-2014, 08:09 AM
#55
I started to put the KS comfort mounts on the canisters this morning and one of the 4 clamps is to big, must be from the larger can set, so I can't do the install till they send me a new set 

Just got off the phone with Chief, there sending a new one today
TB
Just got off the phone with Chief, there sending a new one today
TB
Last edited by TonyBuilder; 12-02-2014 at 08:12 AM.
12-02-2014, 08:15 AM
#56

My Feedback: (2)

Join Date: Jun 2013
Location: Evansville, IN
Posts: 429
Likes: 0
Received 0 Likes
on
0 Posts
Tony - I am like you - I like Chief - they have a good selection plus good service. Being a Avionics house they have to have good service as I doubt they make all their money from RC.
K
K
 12-03-2014, 04:47 AM
#59
Left wing.The first thing I want to do is make the navigation wing tip light housing. I am laying up one layer of carbon fiber weave to create the form for the light casting. I will build off of this with balsa, resin, and easy sand to create the wing tip light.I may modify so I can have two LEDs one colored and one clear strobing. TB
Last edited by TonyBuilder; 12-03-2014 at 04:59 AM.
12-04-2014, 04:35 AM
#60
The next step on the wing tip nav light is to cut and glue the balsa block to the carbon fiber skin.
I am ripping my own balsa from some left over 3" block.
I riped it to 5/8" thick by 1-3/4" long.
Then I sanded a grove to match the LE of the wing tip?
The block is cut at a 45degree angle. I am not to concerned about the exact scale location and size, just winging it.
I glued it with 5min epoxy. Once it is dried I will shape it then glass it to the carbon fiber skin with .75oz cloth. Then I will finish it off with easy sand.
Last edited by TonyBuilder; 12-04-2014 at 04:38 AM.
12-04-2014, 11:17 AM
#62

My Feedback: (4)
Join Date: Feb 2004
Location: Wimberley, TX
Posts: 58
Likes: 0
Received 0 Likes
on
0 Posts
How have you kept this plane a secret from us ???.......I don't get on these forums much but I guess I need to so I can keep up, also congrats on your vice-president position at ARCA ..............by the way this is Randy Larsen
Last edited by racinbug53; 12-04-2014 at 11:20 AM.
12-04-2014, 12:05 PM
#64
My Feedback: (4)
Join Date: Feb 2004
Location: Wimberley, TX
Posts: 58
Likes: 0
Received 0 Likes
on
0 Posts
Let me know, I'd like to see the monster fly !!!......I have also been working on a new plane, I hope to have it ready sometime here in December, a Topflight ARF Giant P-51 to add to the fleet, is that giant cub gonna fit in your trailer ???
12-04-2014, 04:04 PM
#66
So I don't have much time to build during the week but I did get to cut the cap plate that will house the LEDs, the leans and will bolt to the light bracket assembly.
The plate is carbon fiber laminate, this will hold the LEDs, I will glue them in with silicone.


I hollowed out the balsa bracket and once I fine tune it I will glass it.
TB
The plate is carbon fiber laminate, this will hold the LEDs, I will glue them in with silicone.
I hollowed out the balsa bracket and once I fine tune it I will glass it.
TB
12-04-2014, 04:08 PM
#67
My Feedback: (4)
Join Date: Feb 2004
Location: Wimberley, TX
Posts: 58
Likes: 0
Received 0 Likes
on
0 Posts
Gonna put a G-62 in the mustang, robart retracts and retractable tail wheel, really cool you got one of these giant cubs, that's gonna be an awesome flier !!! Should be a vertical lander with any kind of wind !!!!!......Looking forward to seeing it in person .......Randy
12-05-2014, 06:04 AM
#69
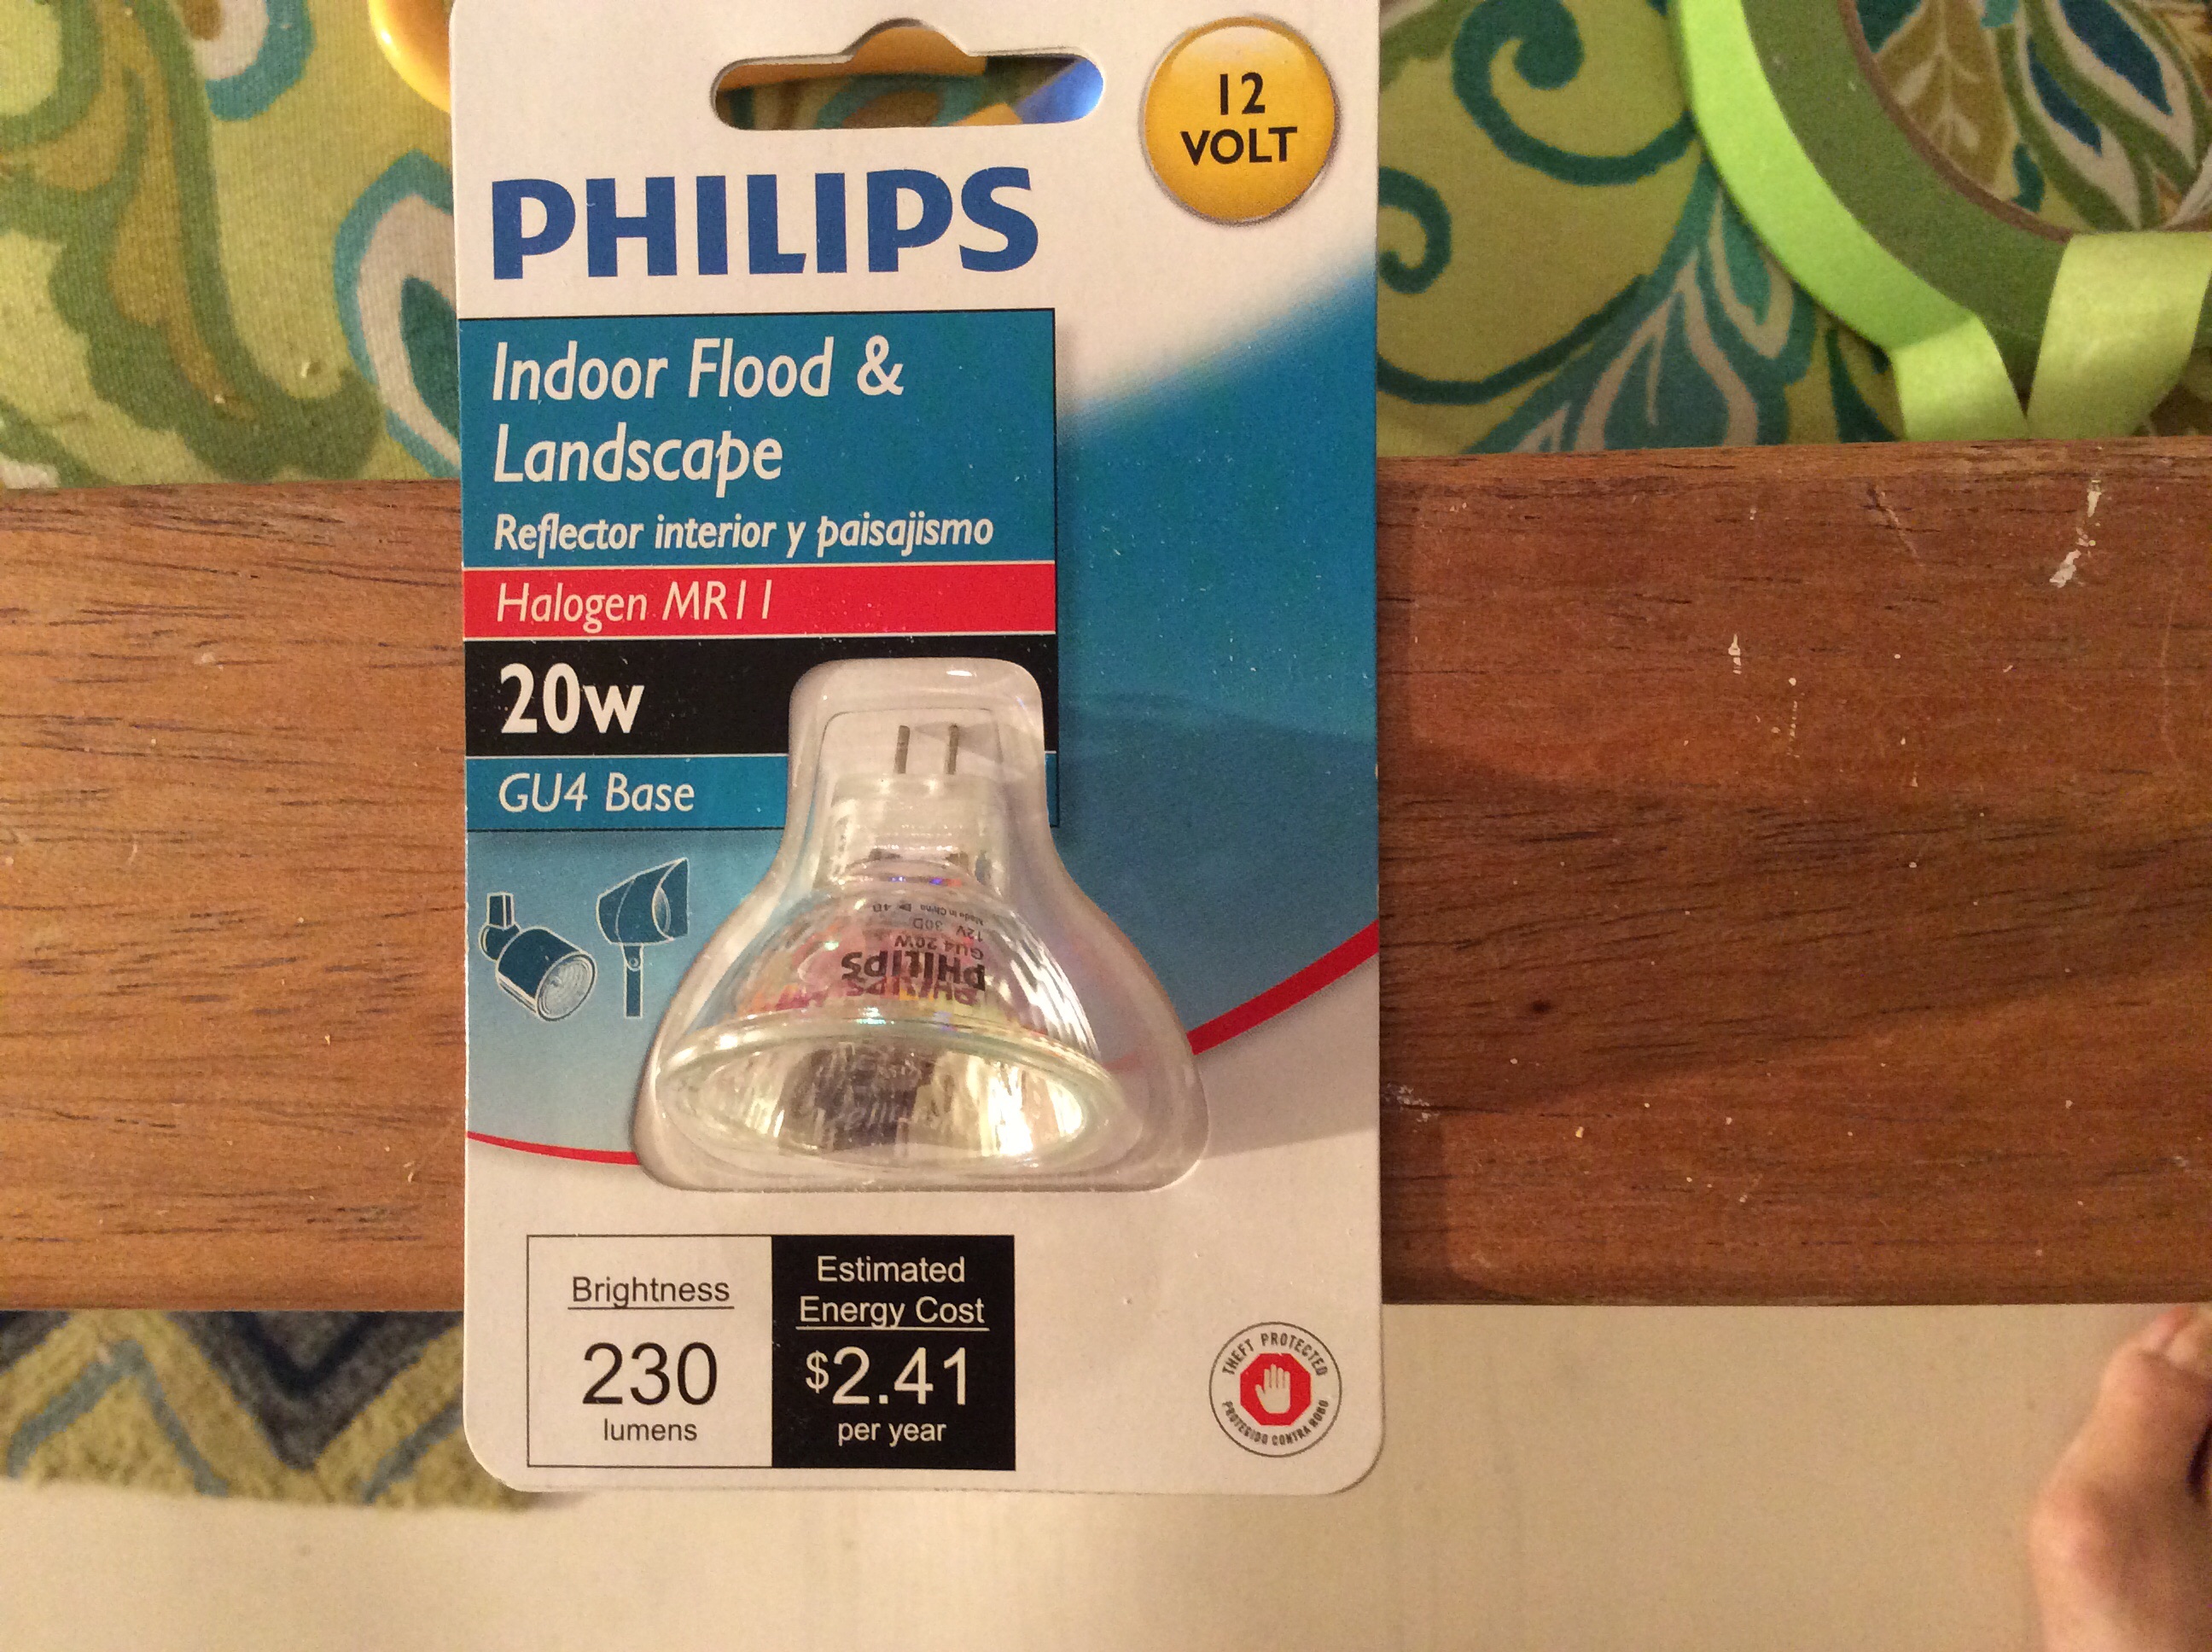
So I am using a glass light bulb I got from HD for my reflector light housing. This bulb is all glass. I cut the glass at the end to releas the bulb and create the hole for my landing light LED.


The diameter is 1-1/4" this should work out great. I need to cut the LE of the left wing and create the space for my lights.
TB
The diameter is 1-1/4" this should work out great. I need to cut the LE of the left wing and create the space for my lights.
TB
12-06-2014, 06:00 AM
#70
I am getting some good time today on the cub. I am shooting to get the nav lights done on the wings.
I cut the opening in the wing for the lights. I used 1/4" micro-lite ply for the back plate. This is glued into the wing with 30min epoxy.

I made the light front plate from a scrap piece of carbon fiber laminat that was glued to a piece of 1/8" balsa. This will bolt to the back plate with button head screws.

This is is the glass light bulb I used to make the reflector.
I formed the clear plastic over them wing with a heat gun, K&S .030 sheet.


The glass reflectors are glued into the front plate one once this dries I will install the side panels.
TB
I cut the opening in the wing for the lights. I used 1/4" micro-lite ply for the back plate. This is glued into the wing with 30min epoxy.
I made the light front plate from a scrap piece of carbon fiber laminat that was glued to a piece of 1/8" balsa. This will bolt to the back plate with button head screws.
This is is the glass light bulb I used to make the reflector.
I formed the clear plastic over them wing with a heat gun, K&S .030 sheet.
The glass reflectors are glued into the front plate one once this dries I will install the side panels.
TB
12-06-2014, 10:04 AM
#74
Progress
Landing light is all done and ready to be hooked up. I will run the wires when I do the wing tip and servos.


One thing I like about using the carbon fiber laminets is I don't have to paint. That's one of the main reasons I use it!


I only have screws at the top and bottom, I may put a few on the sides too.


At first look the light looks big but when I look at the plane I think it will be good.
Break time then then back to the wing tip lights.
TB
Landing light is all done and ready to be hooked up. I will run the wires when I do the wing tip and servos.
One thing I like about using the carbon fiber laminets is I don't have to paint. That's one of the main reasons I use it!
I only have screws at the top and bottom, I may put a few on the sides too.
At first look the light looks big but when I look at the plane I think it will be good.
Break time then then back to the wing tip lights.
TB
Last edited by TonyBuilder; 12-07-2014 at 03:05 AM.
12-06-2014, 10:36 AM
#75

Join Date: Sep 2006
Location: The Sunshine state, when it's not raining!
Posts: 8,131
Likes: 0
Received 2 Likes
on
2 Posts
Yea, my bad, you had already said that and it is visible in the pics. I'm doing yard work and come here to get a break, somehow overlooked that post. Sorry.
It is looking very good.
It is looking very good.