


Hostetler Cessna 206 w/G-62

 03-21-2018, 03:36 PM
#127

Thread Starter
Join Date: Jul 2007
Location: , NC
Posts: 106
Likes: 0
Received 0 Likes
on
0 Posts
Looks great Saul! Thanks for posting...can you tell me the dimensions of your struts? Those in the video are the 50cc cuffs?
Yes, planning on going to the Nall....you?
Yes, planning on going to the Nall....you?
03-22-2018, 07:20 AM
#128

My Feedback: (23)
The dimensions of the wing struts match those on the plans. However, the ones for the 50cc World Models Skylink are shorter than the ones shown on the plans. So I purchased 2 pairs of the 50cc struts from World Models and spliced them together so that they are the same length as the ones shown on the plans. I then epoxied 3/16 balsa to the top and bottom of the struts. This allowed the struts to have the same thickness as those on the plans. The really great thing about the World Models struts is that have the metal mounting bracket already sandwiched between the pieces of wood. I just had to straighten them out just a little to account for the decreased angle of the struts as compared to the 50cc Cessna Skylink. As for mounting the fairings, I mounted them before adding the 3/16 balsa as they are set up for the thinner strut. I then epoxied them in place WITH the struts mounted to the plane using 5 minute epoxy. This allowed me to make sure the fairings were flush with the fuse and wing. It worked perfectly!!
04-23-2018, 10:02 AM
#133
Thread Starter
Join Date: Jul 2007
Location: , NC
Posts: 106
Likes: 0
Received 0 Likes
on
0 Posts
For throws....I'm at 20 degrees on ailerons and elevators.
04-27-2018, 10:25 AM
#134
My Feedback: (7)
 04-27-2018, 12:45 PM
#135
Thread Starter
Join Date: Jul 2007
Location: , NC
Posts: 106
Likes: 0
Received 0 Likes
on
0 Posts
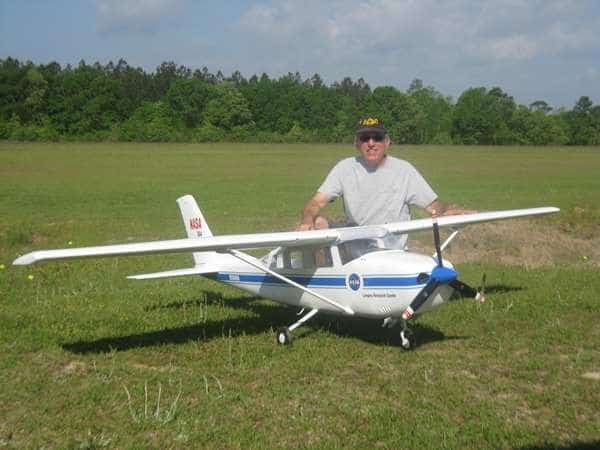
pkoury....Wow, your plane looks awesome! Looks like the real thing... Congrats on the maiden!
Mine is probably 35 lbs also with the added pilot and seats. Was the 5 3/16" the CG on the plans? Did you make or purchase your strut fairings? I'm still slowly adding some scale details myself.
Thanks for posting a pic....feel free to post more! Always fun to see other peoples creations...
Mine is probably 35 lbs also with the added pilot and seats. Was the 5 3/16" the CG on the plans? Did you make or purchase your strut fairings? I'm still slowly adding some scale details myself.
Thanks for posting a pic....feel free to post more! Always fun to see other peoples creations...
05-21-2018, 07:30 AM
#136
Thread Starter
Join Date: Jul 2007
Location: , NC
Posts: 106
Likes: 0
Received 0 Likes
on
0 Posts
05-21-2018, 08:50 AM
#137
My Feedback: (23)
Hi Brian,
I�m glad I was able to help. If the fairings I provided are too big then the 50cc versions which are smaller will fit. One friendly tip though: But TWO sets of the 50cc struts as they are not as long as the struts shown on the plans. You�ll actually have to splice the struts together to make them as long as the ones shown on the plans.
Saul
08-24-2018, 08:47 AM
#138
Thread Starter
Join Date: Jul 2007
Location: , NC
Posts: 106
Likes: 0
Received 0 Likes
on
0 Posts
Hi Brian,
I�m glad I was able to help. If the fairings I provided are too big then the 50cc versions which are smaller will fit. One friendly tip though: But TWO sets of the 50cc struts as they are not as long as the struts shown on the plans. You�ll actually have to splice the struts together to make them as long as the ones shown on the plans.
Saul
I�m glad I was able to help. If the fairings I provided are too big then the 50cc versions which are smaller will fit. One friendly tip though: But TWO sets of the 50cc struts as they are not as long as the struts shown on the plans. You�ll actually have to splice the struts together to make them as long as the ones shown on the plans.
Saul
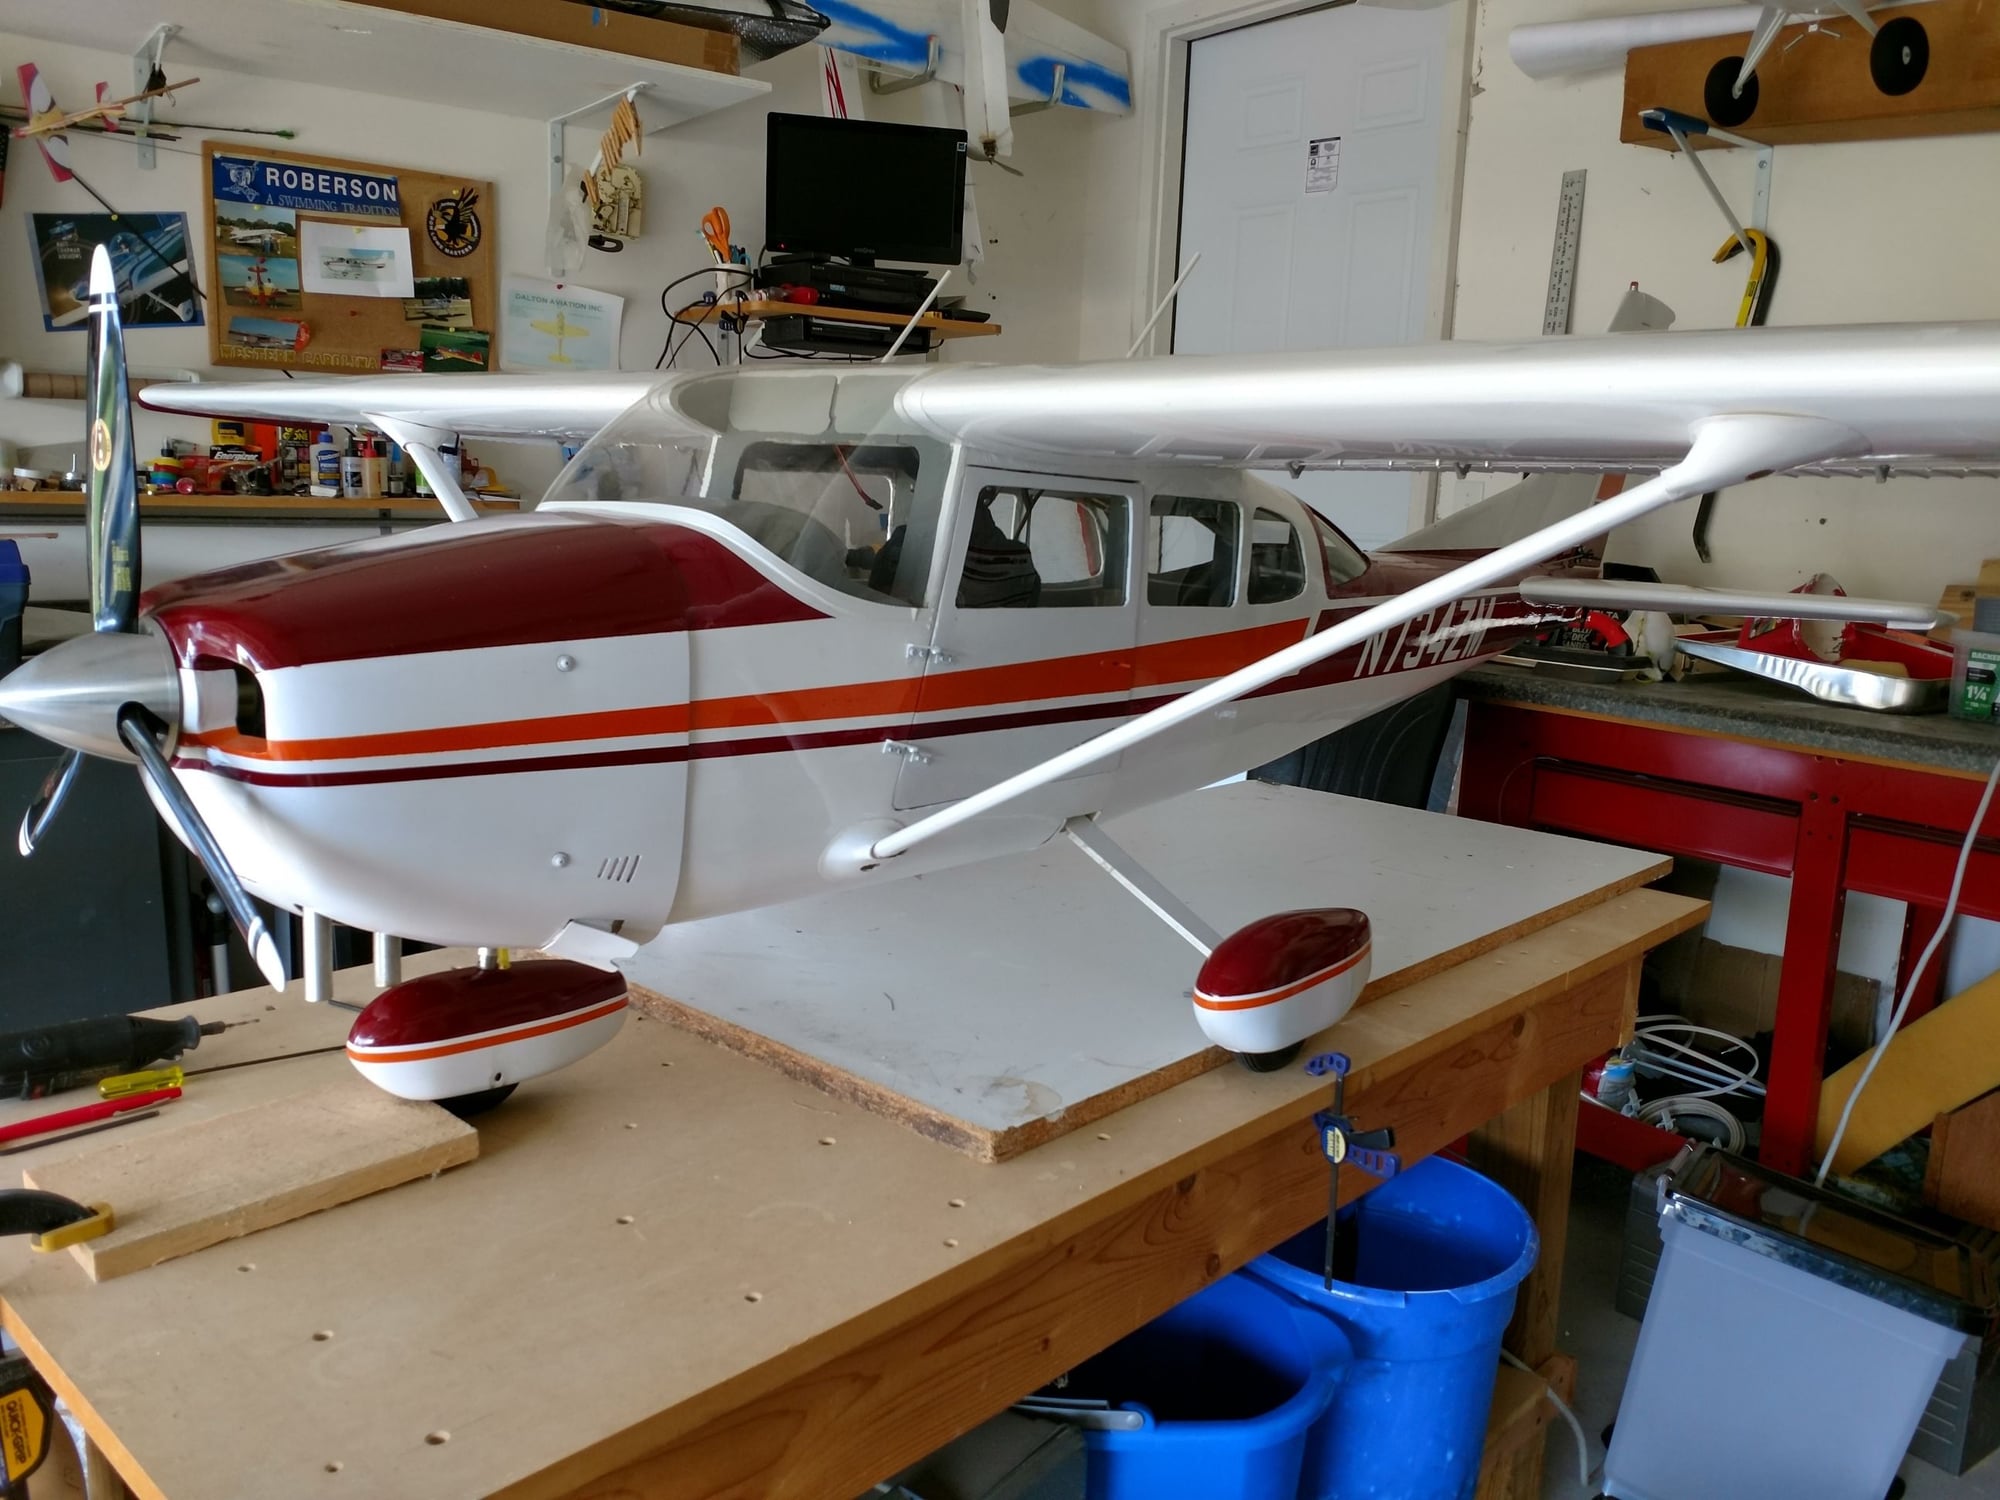
Finally getting around to fitting up the fairings....they will work out fine...thanks again! How's your Cessna coming along??
Brian
 08-24-2018, 09:55 AM
#139
My Feedback: (23)
Hi Brian. Great to hear from you. YOUR PLANE LOOKS AMAZING!! Those strut covers fit perfectly. Will you also be installing the landing gear fairings as well?
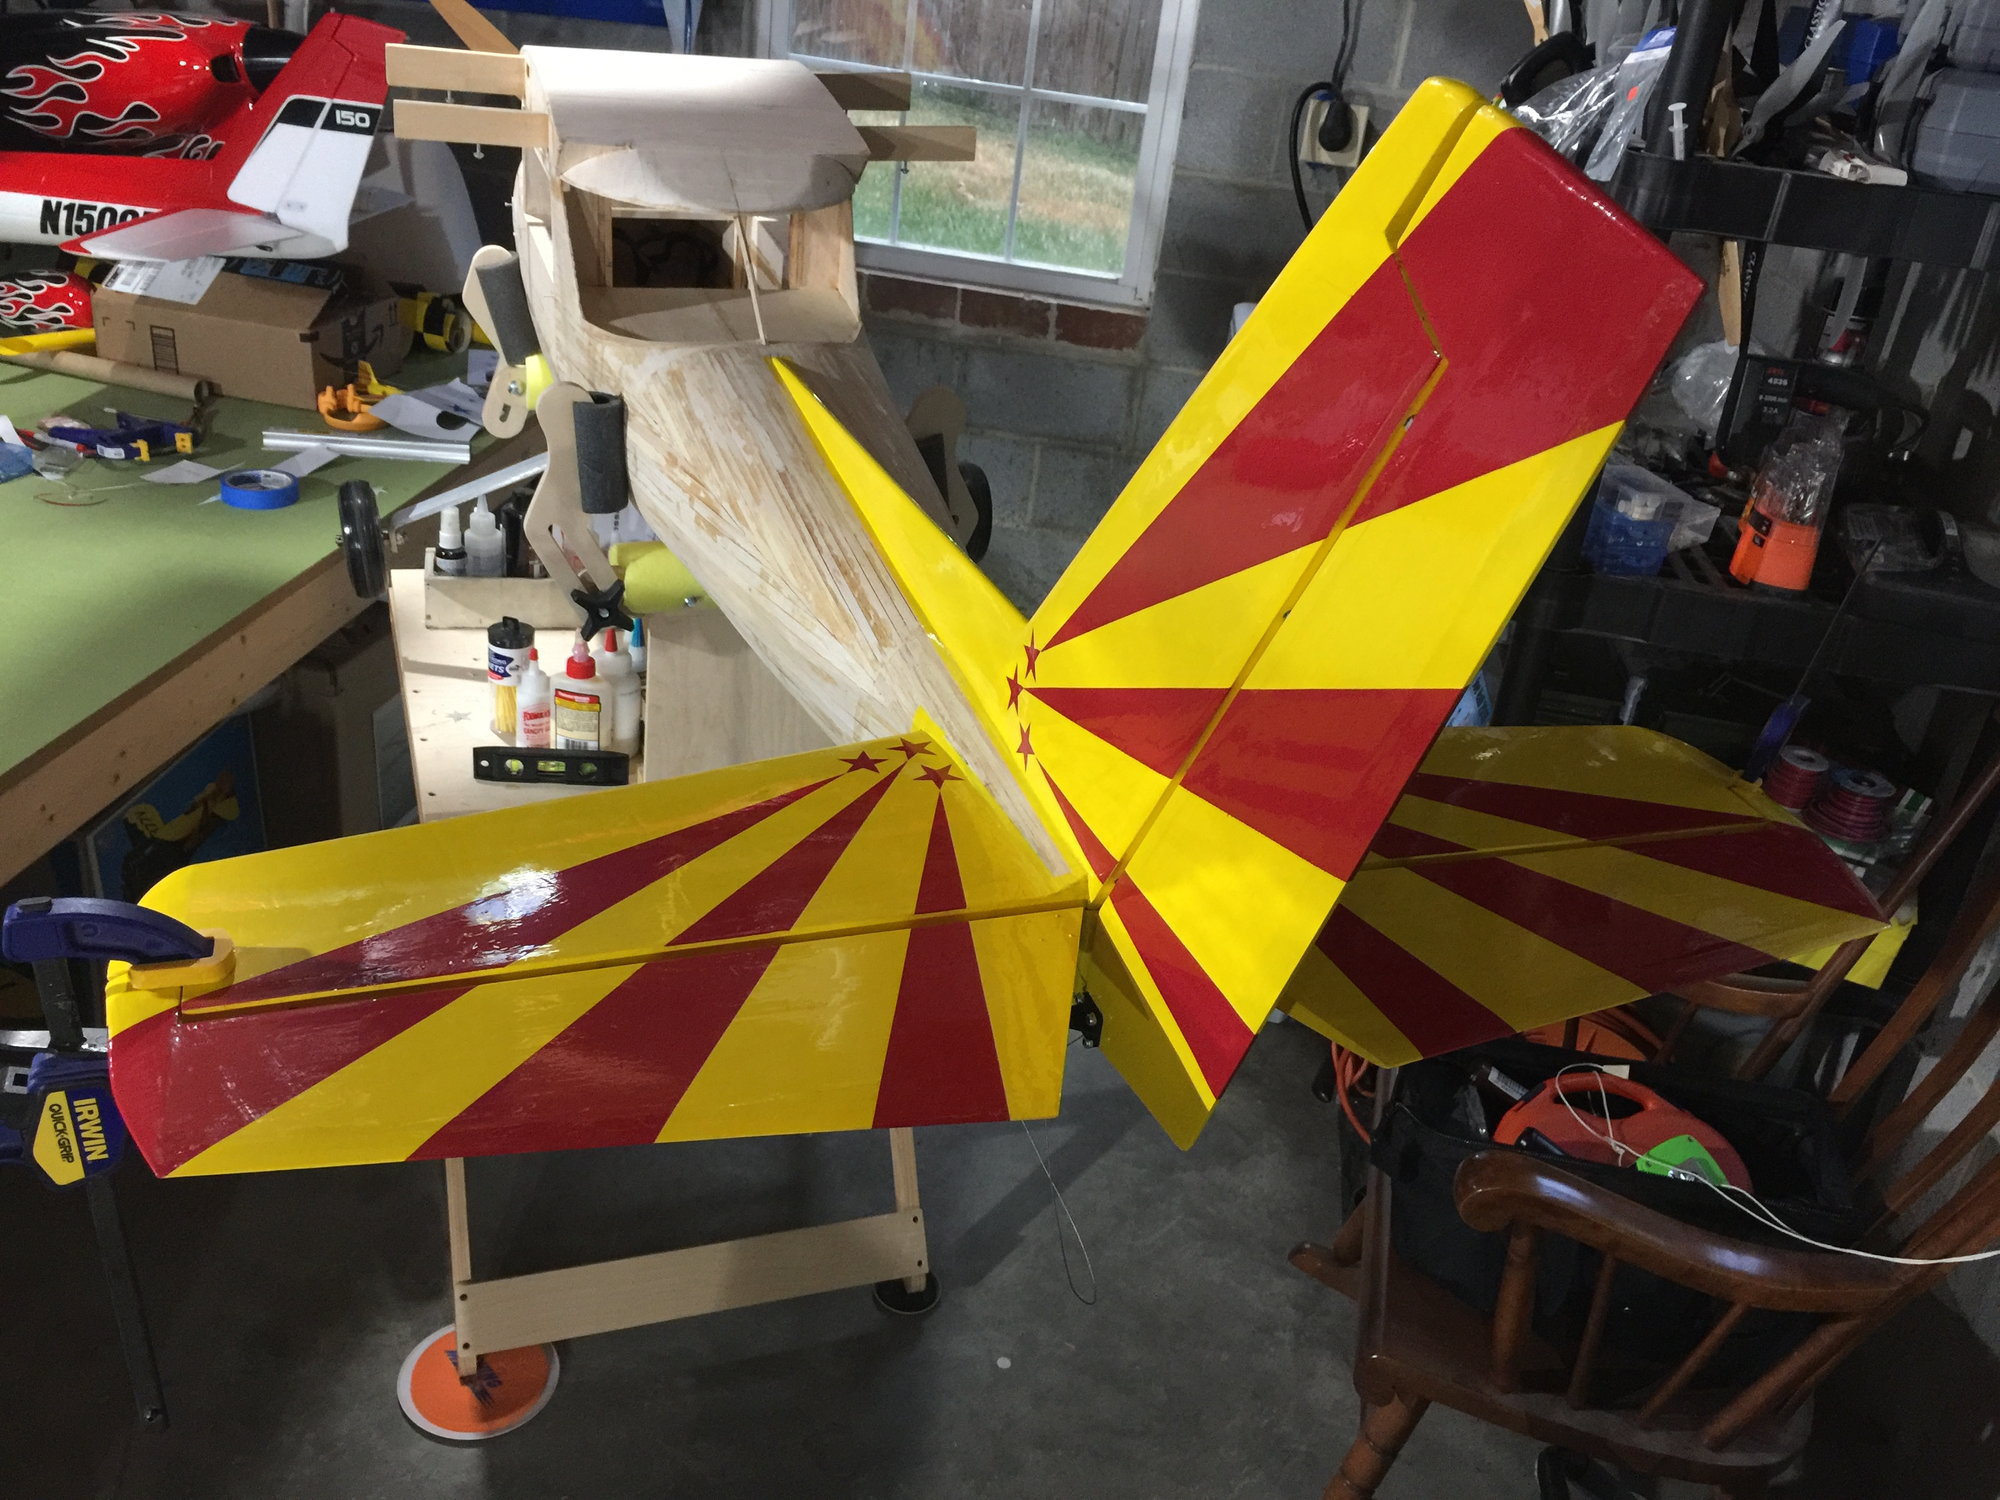
my plane is coming along really well. Here are some pics:
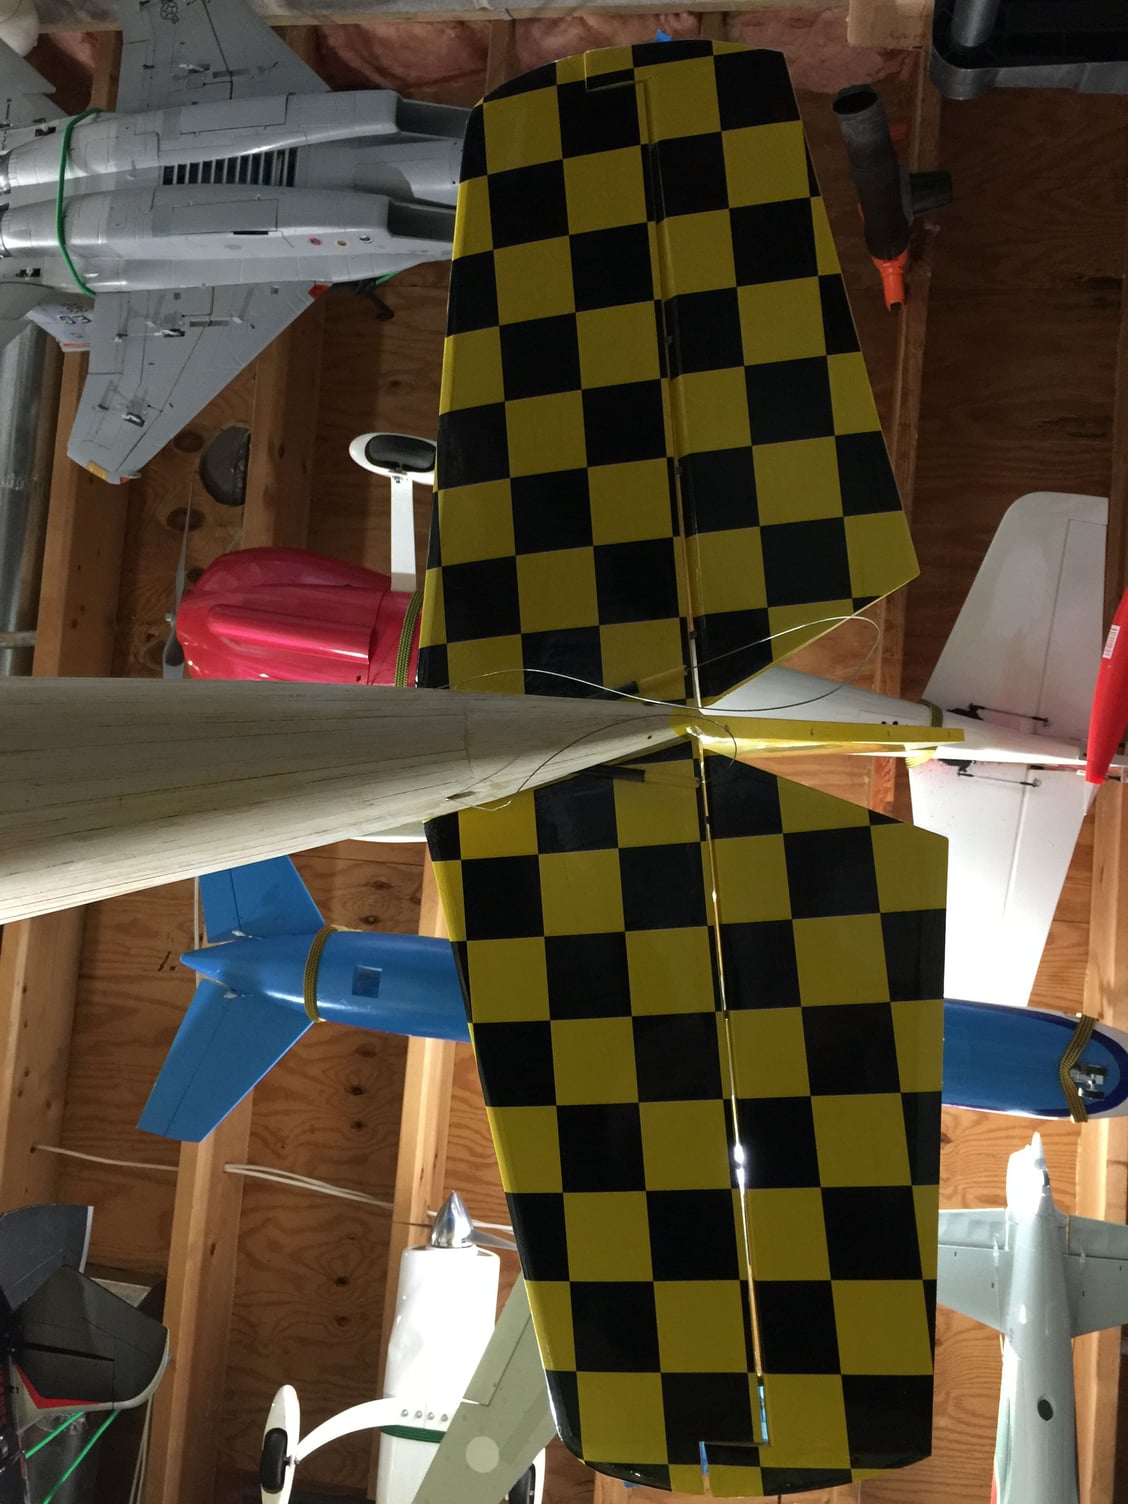
This is the bottom of the horizontal stabilizers.
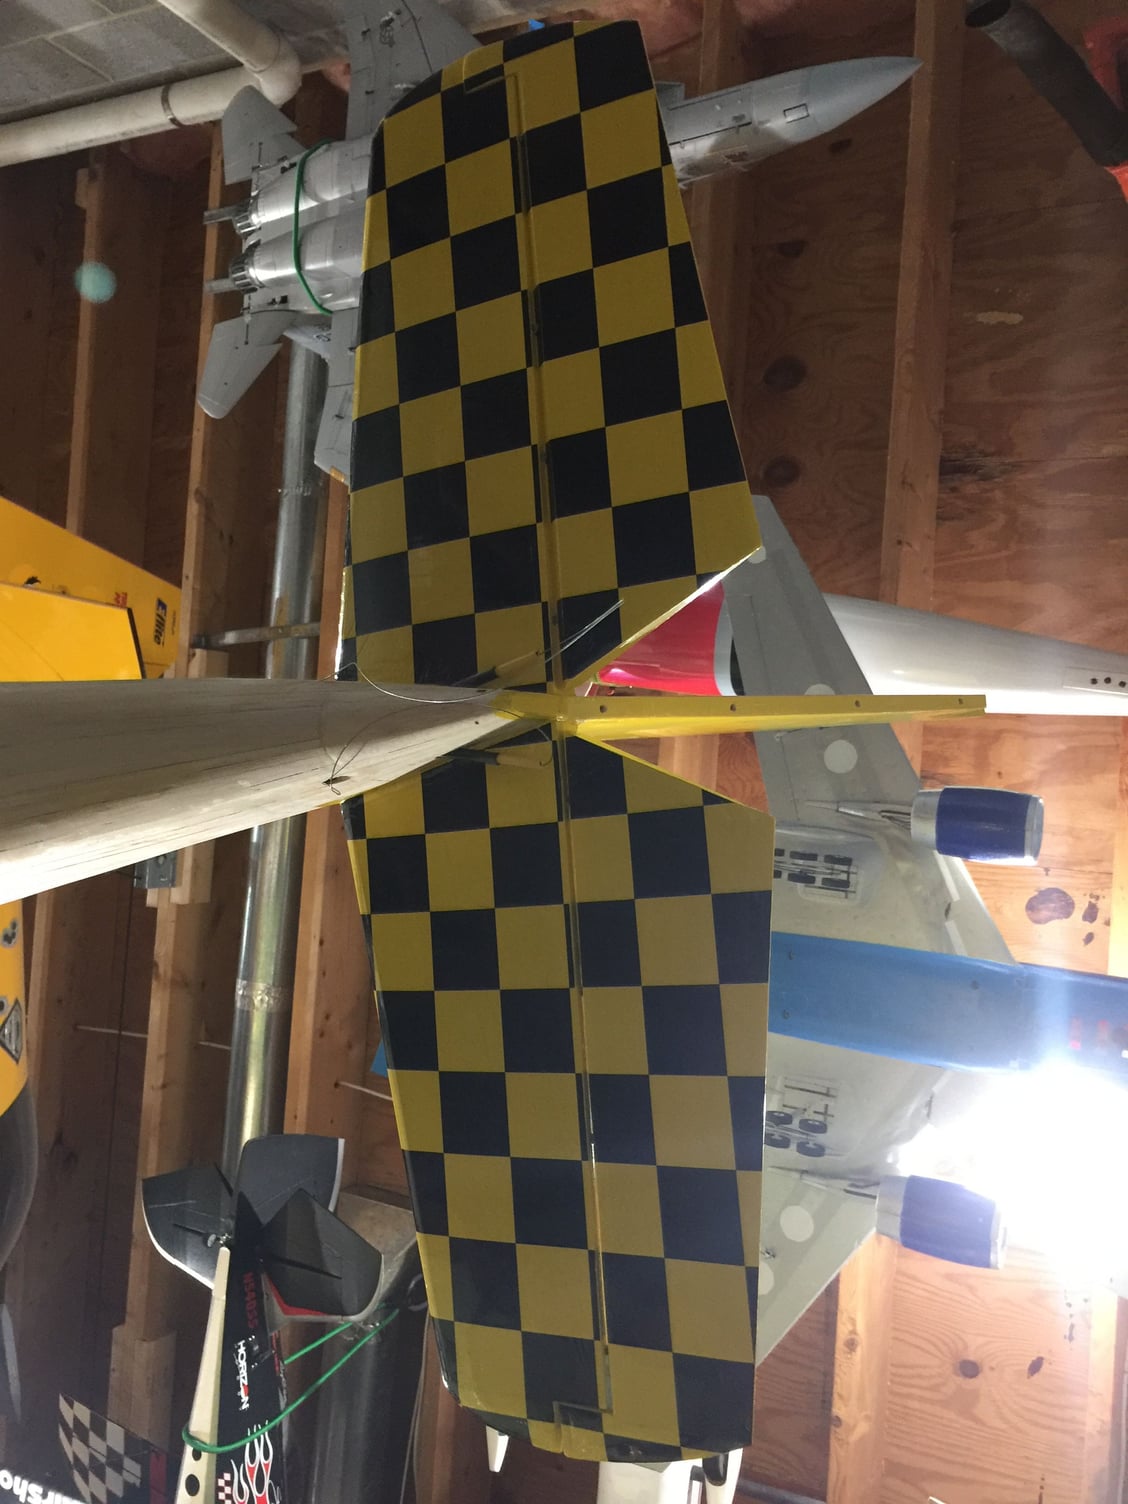
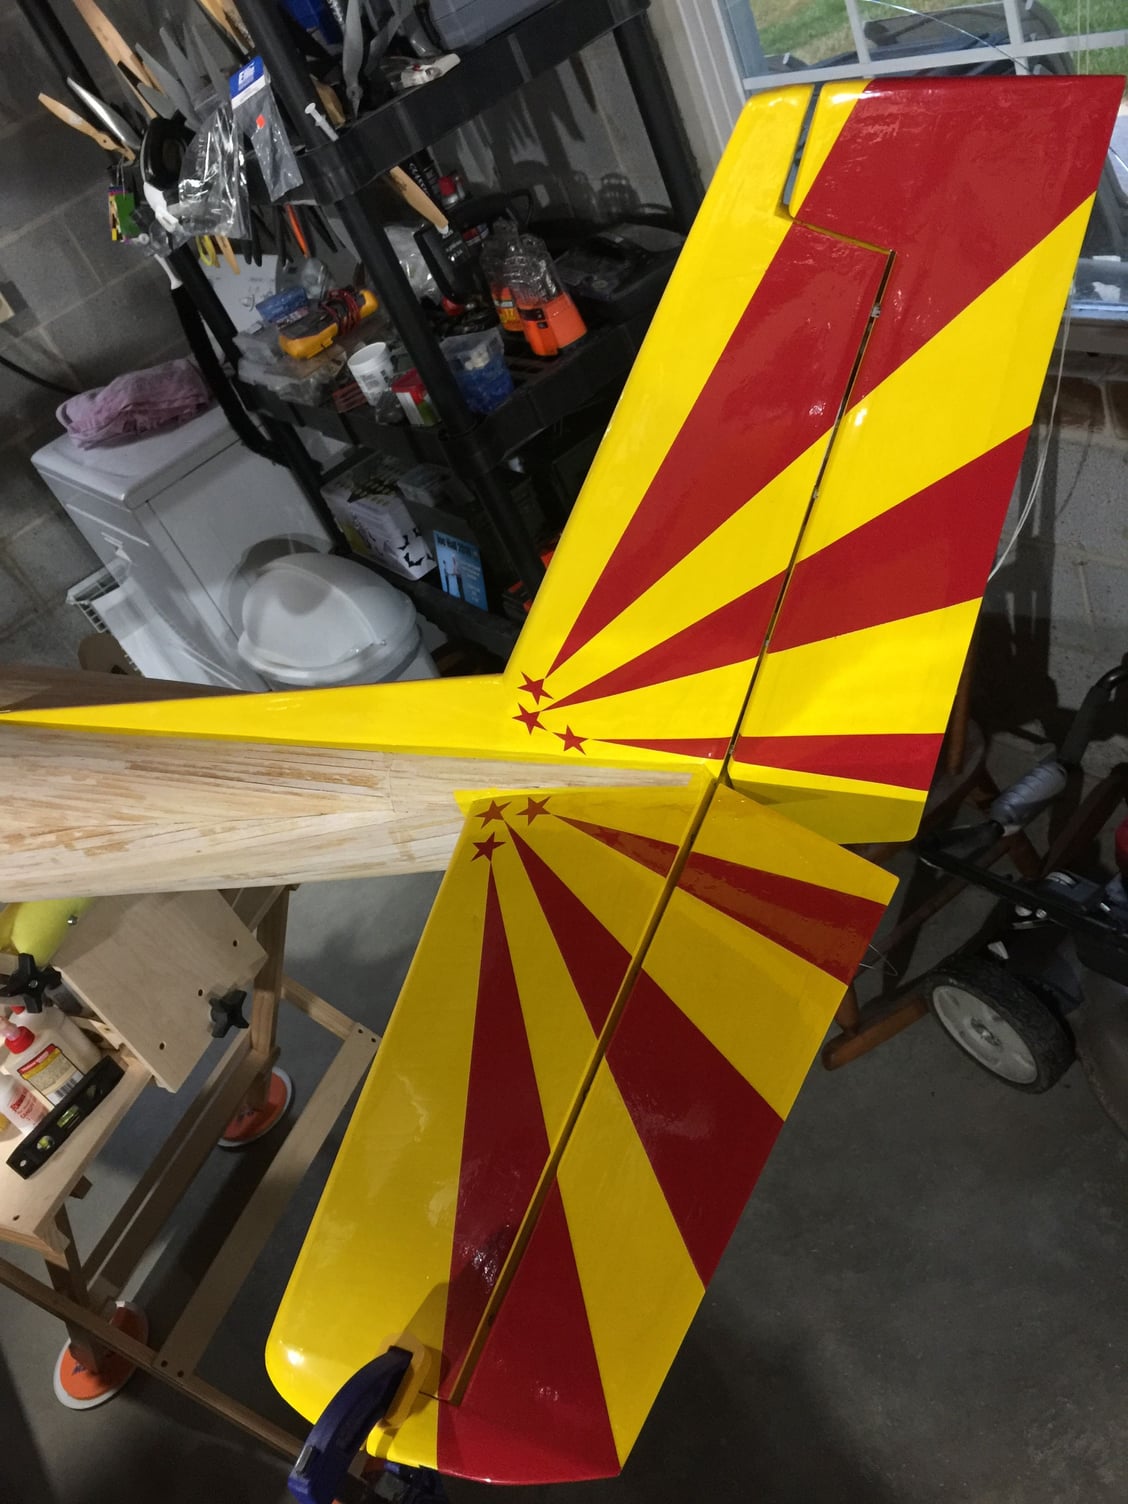
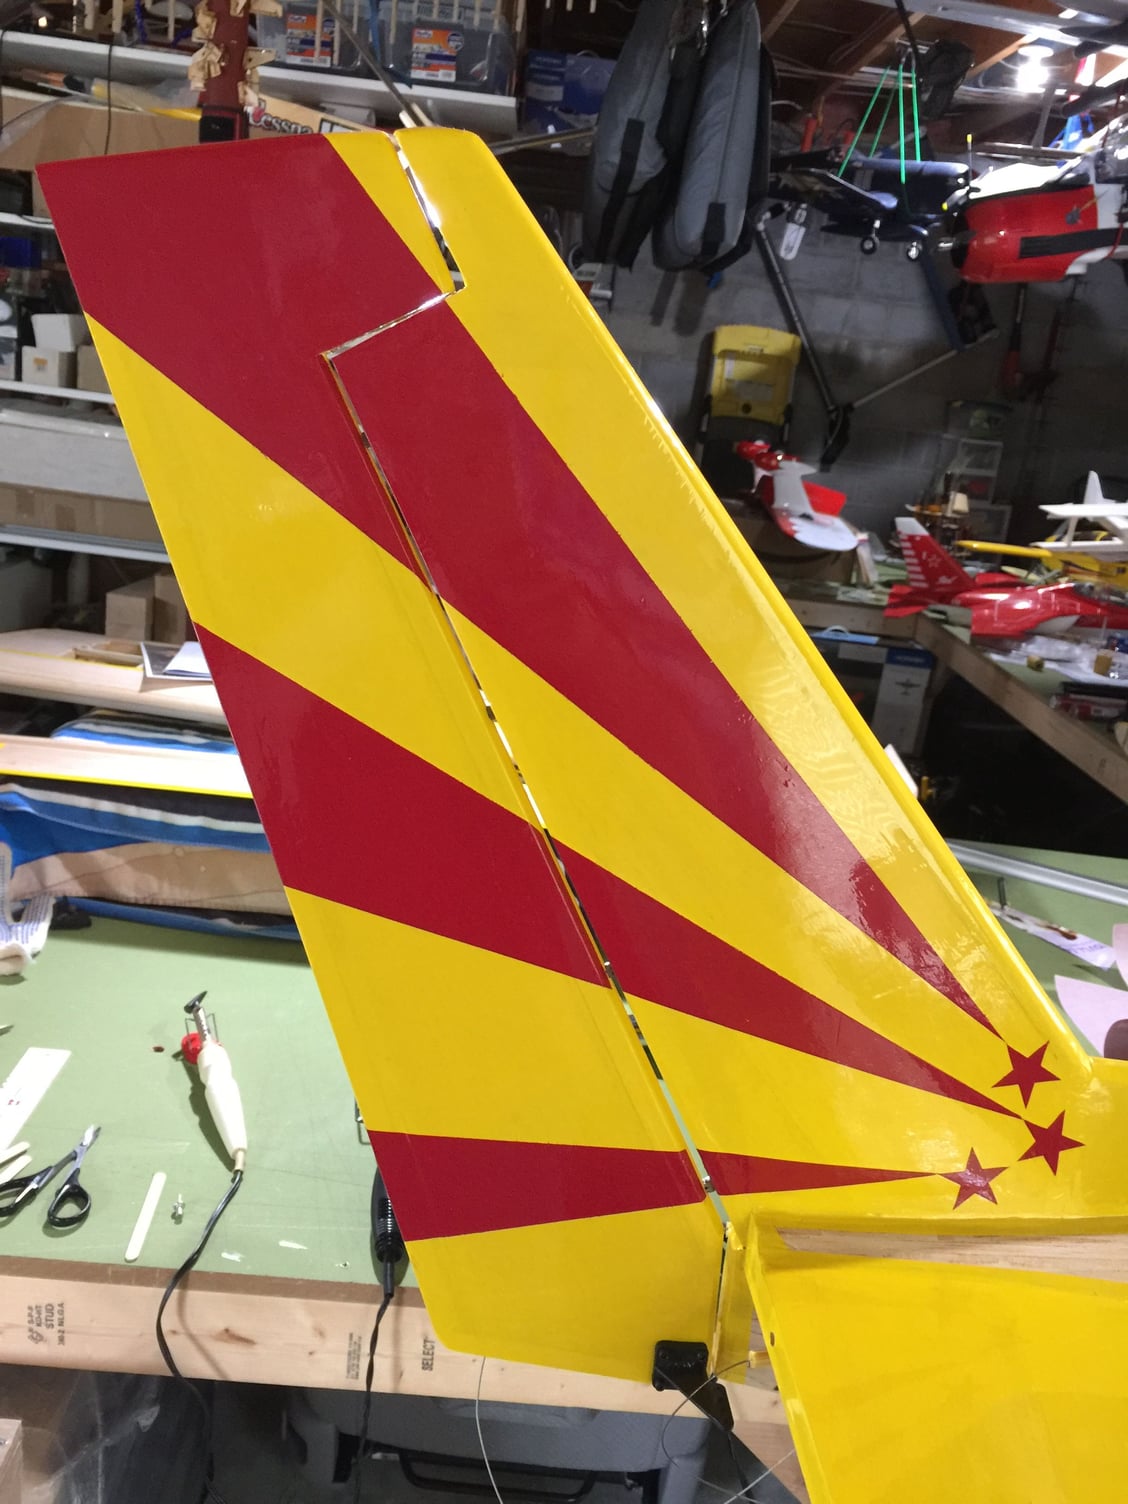
This is the bottom of the left wing.
my plane is coming along really well. Here are some pics:
This is the bottom of the horizontal stabilizers.
This is the bottom of the left wing.
 08-25-2018, 04:41 AM
#141
Thread Starter
Join Date: Jul 2007
Location: , NC
Posts: 106
Likes: 0
Received 0 Likes
on
0 Posts
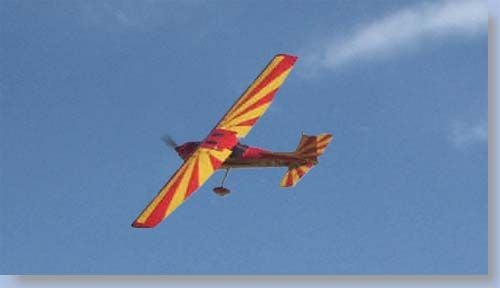
WOW Saul! Your plane looks AWESOME!! That is quite the scheme!
Looks like you are getting close.... Can't wait to see it done!
Yes, plane looks much better with the cuffs.....working on a few little things, then I'm calling this thing done....3 years later, LOL!
Looks like you are getting close.... Can't wait to see it done!
Yes, plane looks much better with the cuffs.....working on a few little things, then I'm calling this thing done....3 years later, LOL!
08-25-2018, 12:16 PM
#143
Thread Starter
Join Date: Jul 2007
Location: , NC
Posts: 106
Likes: 0
Received 0 Likes
on
0 Posts
Maybe yours?? You have scale documentation : ) That is a very cool and unexpected scheme....looking forward to seeing it go!!!
08-27-2018, 05:01 AM
#145
Thread Starter
Join Date: Jul 2007
Location: , NC
Posts: 106
Likes: 0
Received 0 Likes
on
0 Posts
Oh yeah, forgot to answer your question Saul about gear cuffs. I haven't come across any pics of older 206's with gear cuffs, so I'm not gonna mess with them.
What are you using for door hinges? The ones I have are ok, but if I came across something that looked better and was an easy swap out...I'd consider it.
What are you using for door hinges? The ones I have are ok, but if I came across something that looked better and was an easy swap out...I'd consider it.
08-27-2018, 05:34 AM
#146
My Feedback: (23)
Truth be told I�m not using any hinges on the doors. They�re held in place with spring loaded latches. Since the plane is electric I need both of the doors to be removable so that I could easily acces the batteries and battery tray.
As for the hinges for your doors I know the perfect hinges and they�re relatively scale looking. Let me see if I can find them.
Saul
As for the hinges for your doors I know the perfect hinges and they�re relatively scale looking. Let me see if I can find them.
Saul
08-27-2018, 06:07 AM
#148
Thread Starter
Join Date: Jul 2007
Location: , NC
Posts: 106
Likes: 0
Received 0 Likes
on
0 Posts
That's right....no vibration....that will be nice!!!
Yeah, those hinges look nice....except for the price tag (x6) lol... not worth that on this model. Thanks for the link!
Yeah, those hinges look nice....except for the price tag (x6) lol... not worth that on this model. Thanks for the link!
08-27-2018, 07:28 AM
#150
Thread Starter
Join Date: Jul 2007
Location: , NC
Posts: 106
Likes: 0
Received 0 Likes
on
0 Posts
Thank you for the offer, but you keep them....might need them someday.
I'll likely not change the ones I have unless they give me a problem.
Post some pics of your bad boy when you get it done!!!
Thanks again for your help,
Brian
I'll likely not change the ones I have unless they give me a problem.
Post some pics of your bad boy when you get it done!!!
Thanks again for your help,
Brian