


Hangar 9 1/4 scale Cub build thread...
 05-28-2008, 12:23 AM
#1
Senior Member
Thread Starter
My Feedback: (2)

Join Date: Feb 2008
Location: Cold Lake, AB, CANADA
Posts: 218
Likes: 0
Received 0 Likes
on
0 Posts
I just could'nt resist any longer. I finished building the 80" H9 version last month and it flies sooooo nice. I was in Edmonton Alberta on the weekend and stopped in at Wholesale Hobbies to pick up some fuel and saw the 1/4 scale ARF staring at me... I just cond'nt take it! So....I let it follow me home...
THe following is a list of parts I have ordered to complete the project;
Zenoah G26 (magneto) engine
Zenoah easy link carburator adaptor
Zenoah engine kill switch
JR RF chokes (2)
Nuclear Power 2700 mah receiver battery
Hitec HS645MG servos (6)
Zenoah gas engine starter kit
(2) 36" servo harness extensions with RF chokes
(2) 24" servo harness extensions with RF chokes
6" Y harness
What I have decided to do, is post pictures and descriptions as I build the model.
Please feel free to comment or make suggestions or ask questions!

THe box was in great shape with no visible damage...
THe following is a list of parts I have ordered to complete the project;
Zenoah G26 (magneto) engine
Zenoah easy link carburator adaptor
Zenoah engine kill switch
JR RF chokes (2)
Nuclear Power 2700 mah receiver battery
Hitec HS645MG servos (6)
Zenoah gas engine starter kit
(2) 36" servo harness extensions with RF chokes
(2) 24" servo harness extensions with RF chokes
6" Y harness
What I have decided to do, is post pictures and descriptions as I build the model.
Please feel free to comment or make suggestions or ask questions!
THe box was in great shape with no visible damage...
 05-28-2008, 12:28 AM
#2
Senior Member
Thread Starter
My Feedback: (2)
Join Date: Feb 2008
Location: Cold Lake, AB, CANADA
Posts: 218
Likes: 0
Received 0 Likes
on
0 Posts
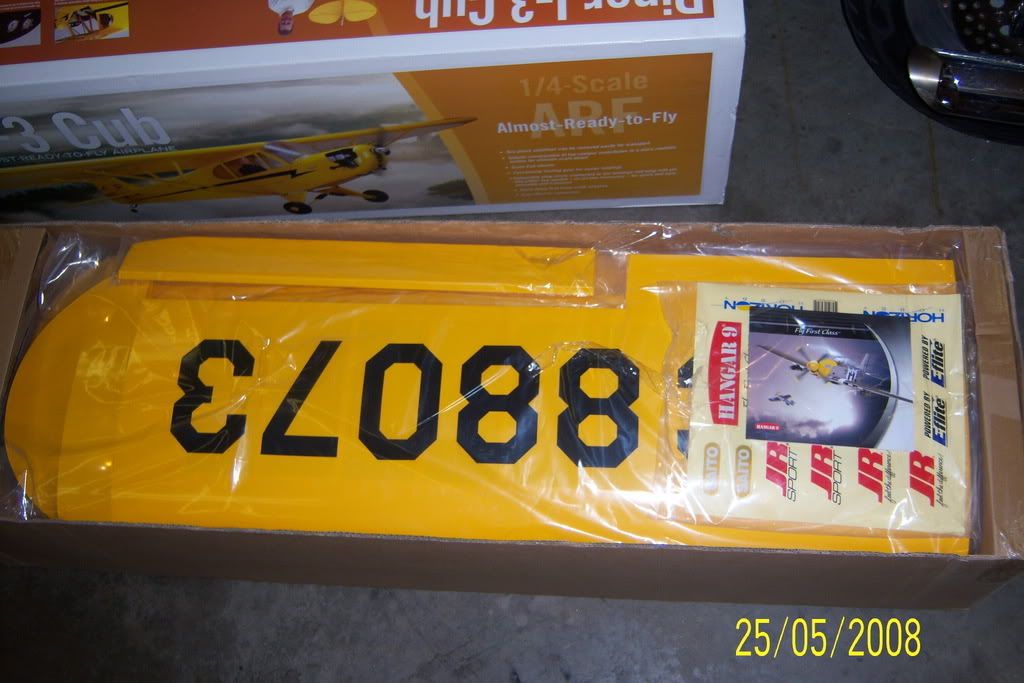
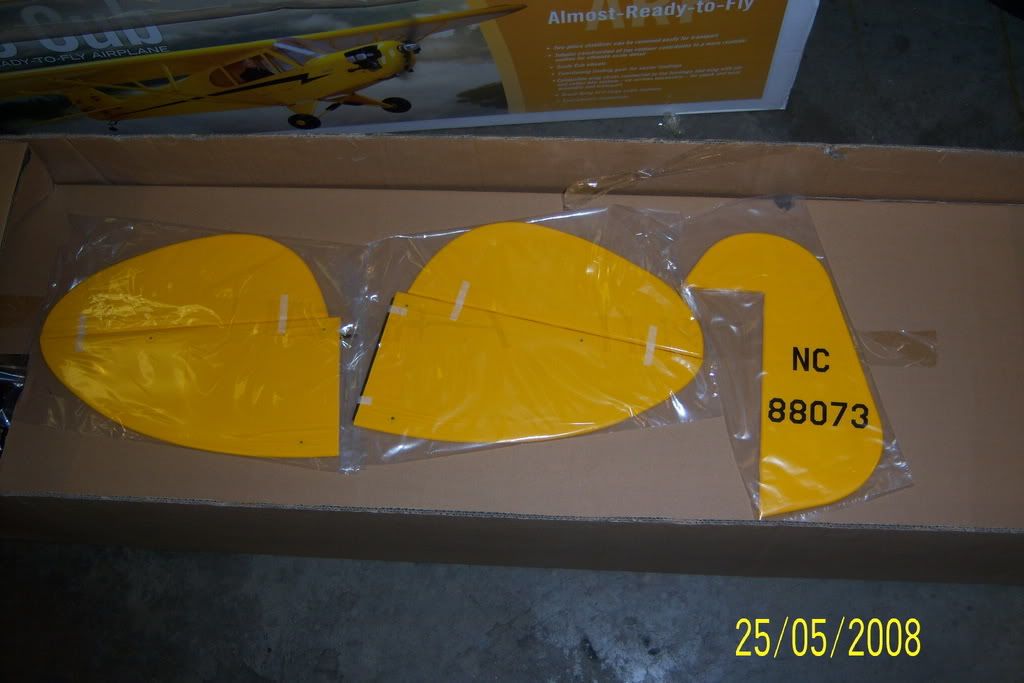
THe manual was right on top with additional advertising material and a sticker sheet. THe wings and tail sections were in sealed plastic bags and the covering was very good and wrinkle free on everything but the elevators.
THe fuselage was well packed too. It even had a foam wrapon the tail!
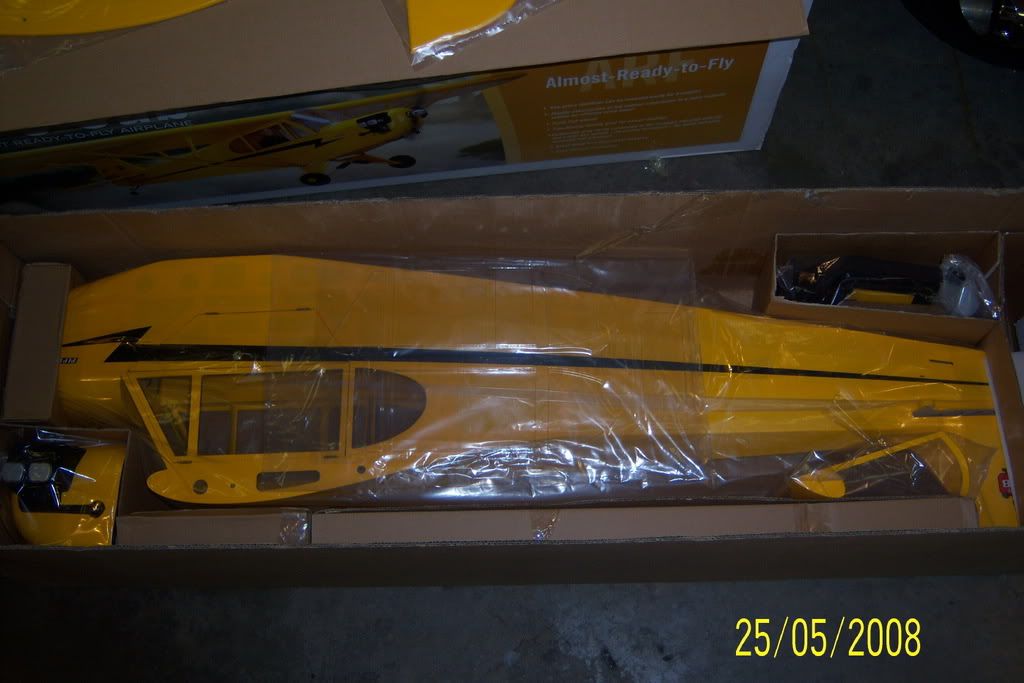
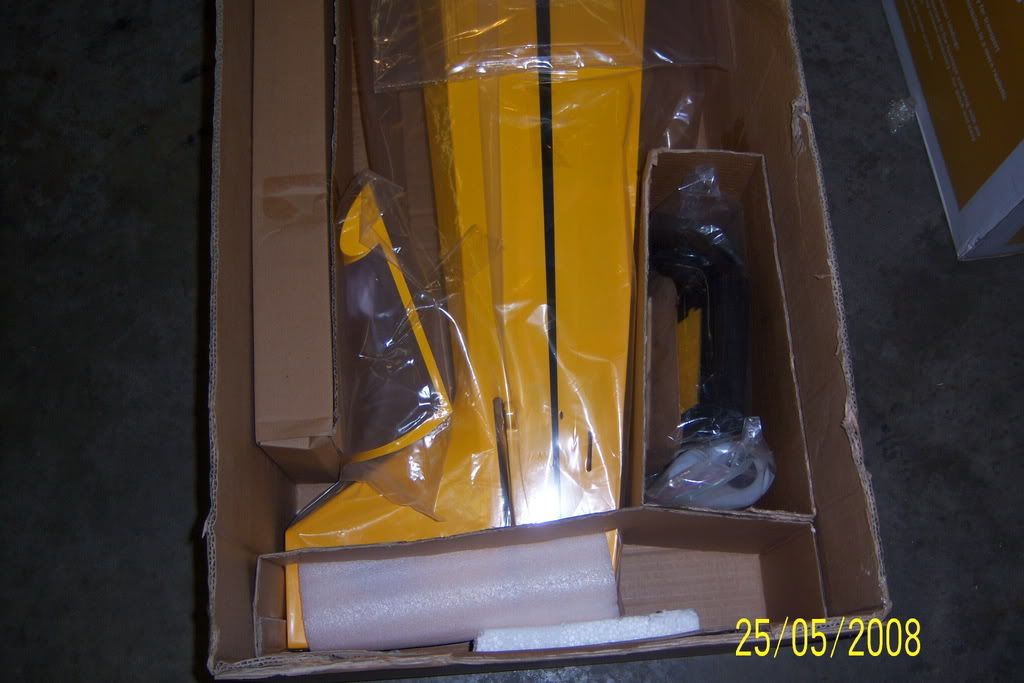
THe fuselage was well packed too. It even had a foam wrapon the tail!
05-28-2008, 12:33 AM
#3
Senior Member
Thread Starter
My Feedback: (2)
Join Date: Feb 2008
Location: Cold Lake, AB, CANADA
Posts: 218
Likes: 0
Received 0 Likes
on
0 Posts
I took the fuselage out and set it on my bench. This thing is going to be BIG!
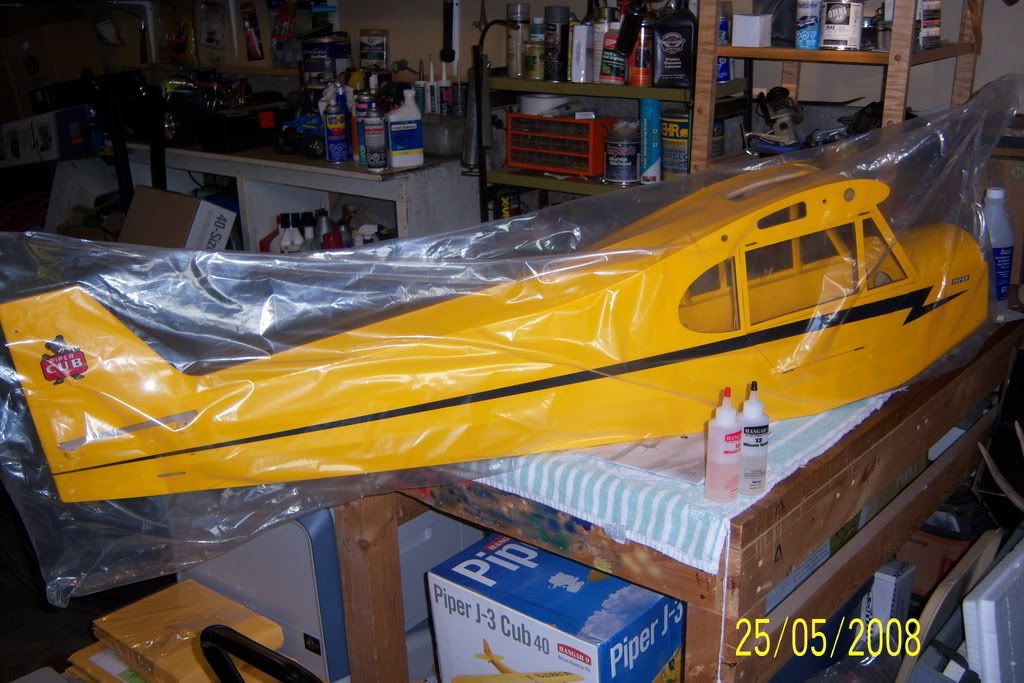
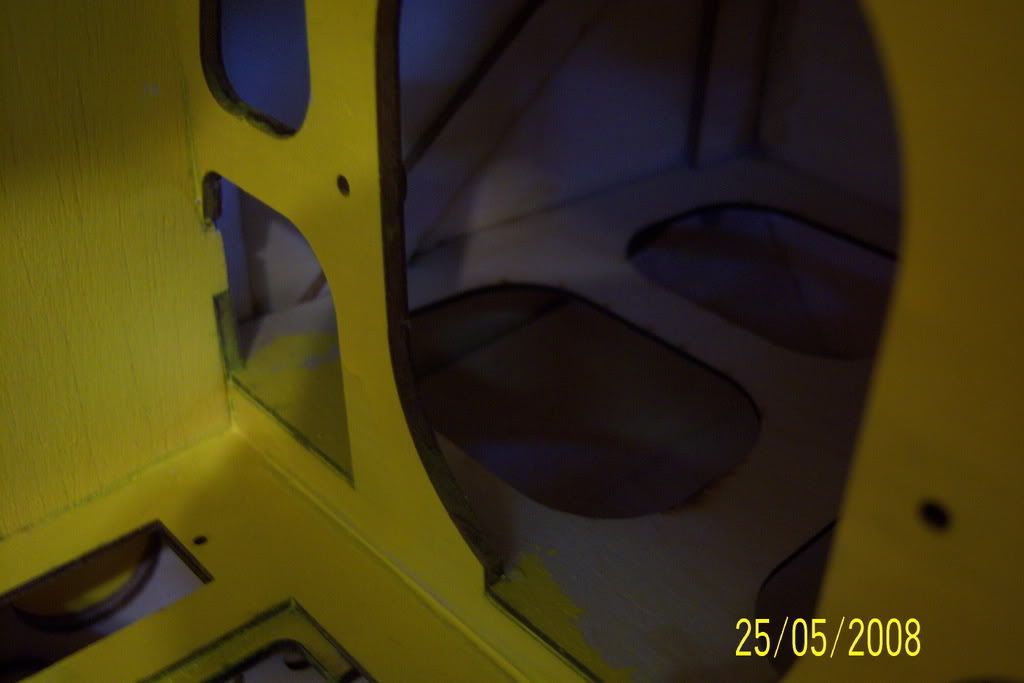
First thing on the agenda was to give the interior a really good coat of paint. More to follow with flat black on the dash and forward bulkheads.
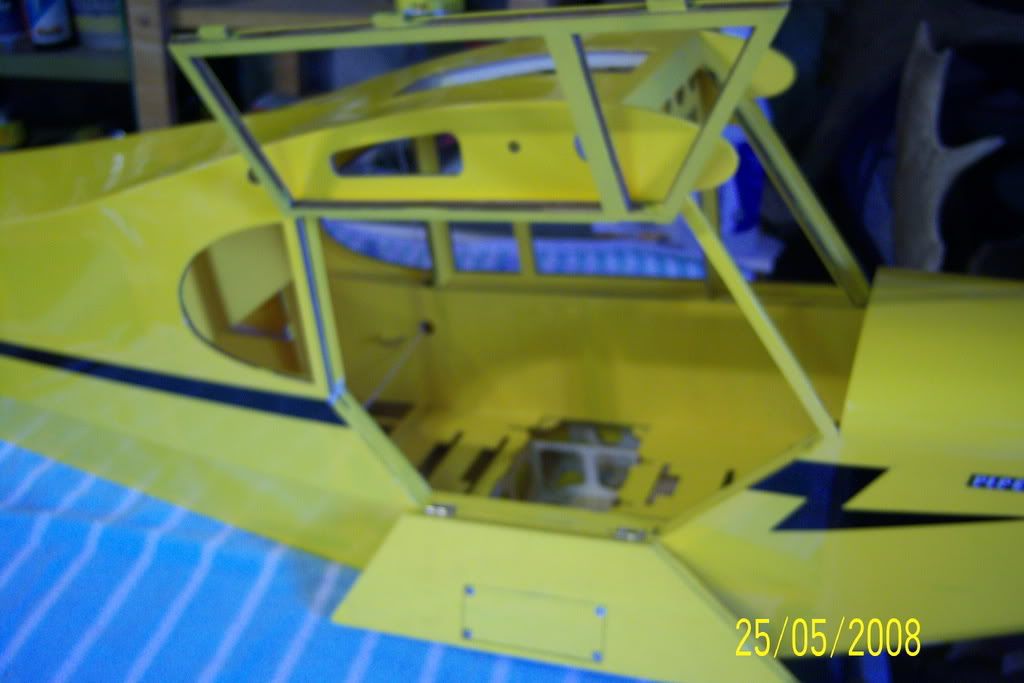
THe fuse looked well put together looking aft thru the front. Glue joints seemed to be pretty good, but I added CA and epoxy to areas that were not perfect.
First thing on the agenda was to give the interior a really good coat of paint. More to follow with flat black on the dash and forward bulkheads.
THe fuse looked well put together looking aft thru the front. Glue joints seemed to be pretty good, but I added CA and epoxy to areas that were not perfect.
05-28-2008, 12:41 AM
#4
Senior Member
Thread Starter
My Feedback: (2)
Join Date: Feb 2008
Location: Cold Lake, AB, CANADA
Posts: 218
Likes: 0
Received 0 Likes
on
0 Posts
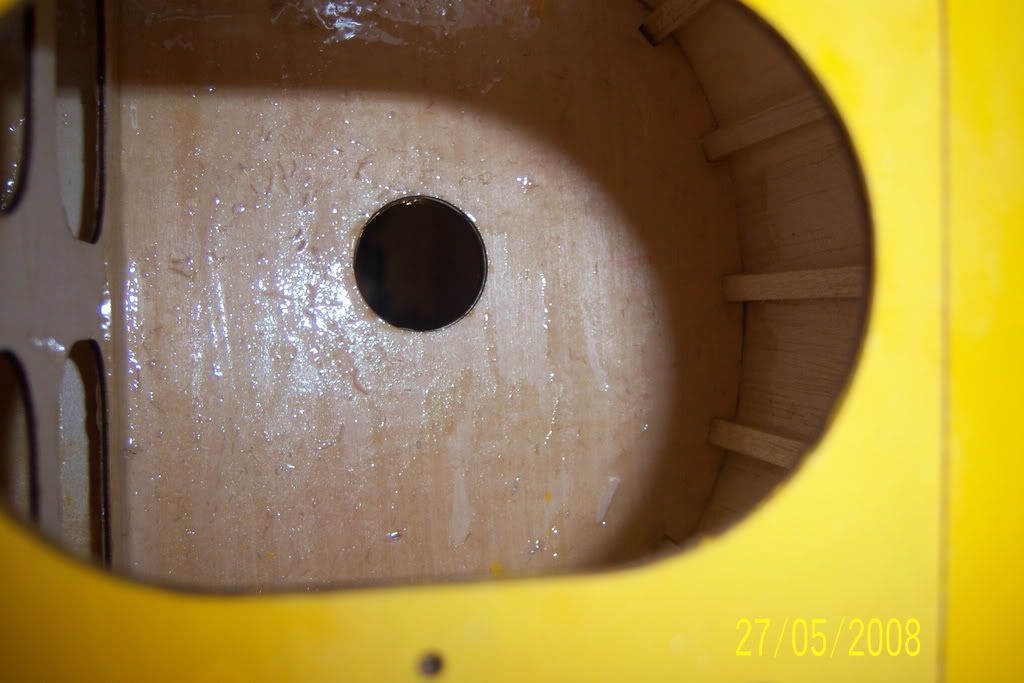
Like a number of others who have bought this model, I carefuly checked the layup of the firewall and forward fuselage structure. Yep, it was very shy of glue. Most notably, there was none visible on the top and bottom of the firewall. I applied some thin CA and then used 12 minute epoxy on top of these areas.
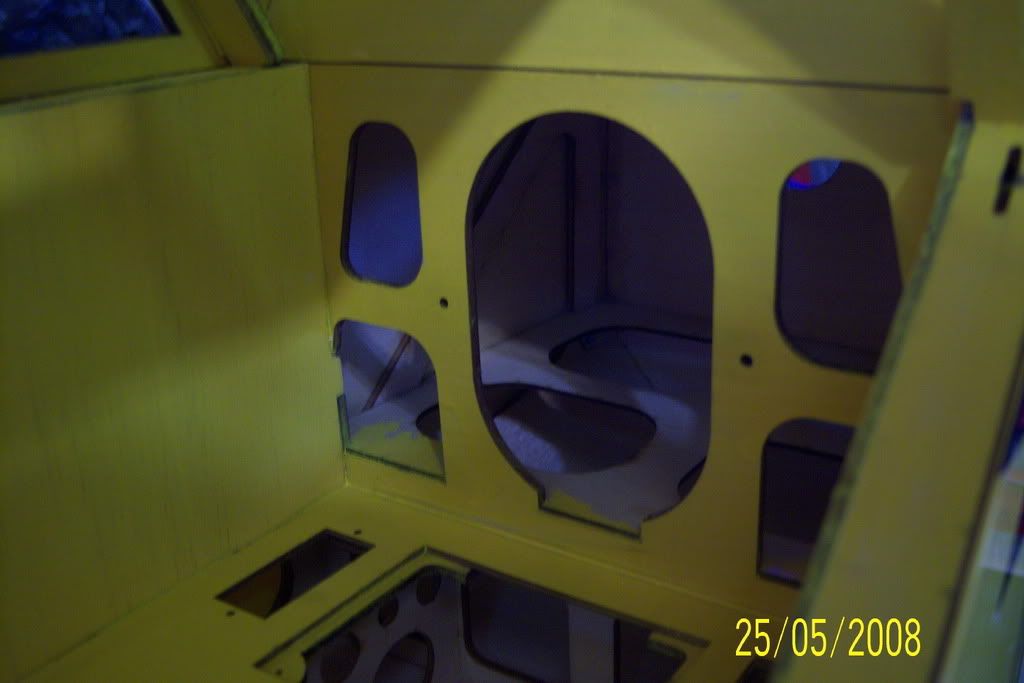
Since I am going to use a gas engine, I wanted to protect the liteply firewall from heat damage, so I applied some aircraft grade aluminum that is about .002" thick and epoxied over it.
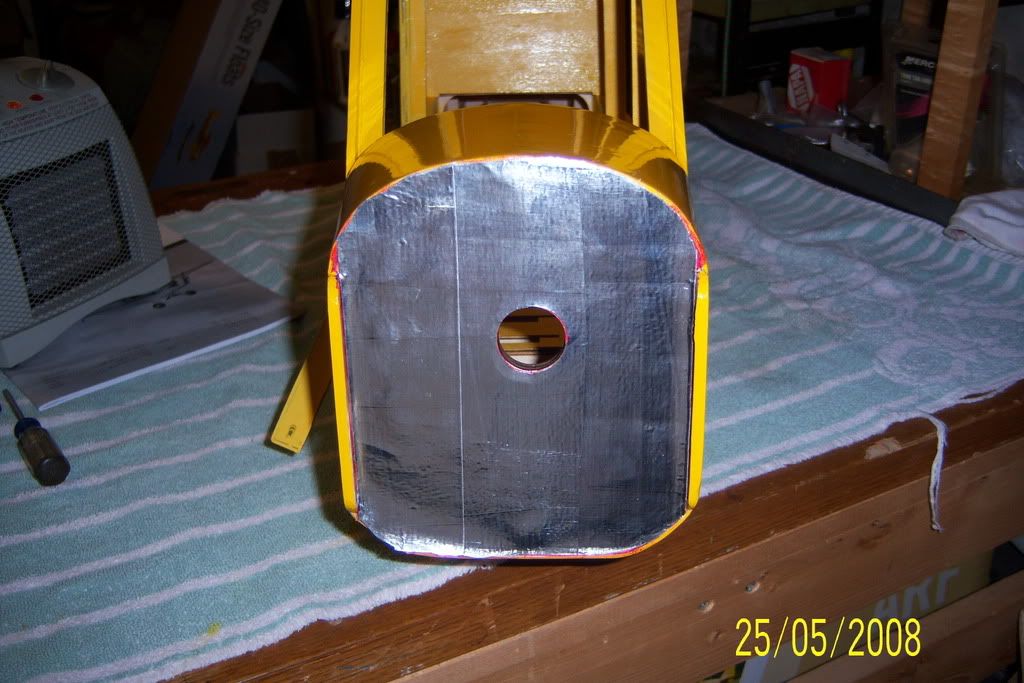
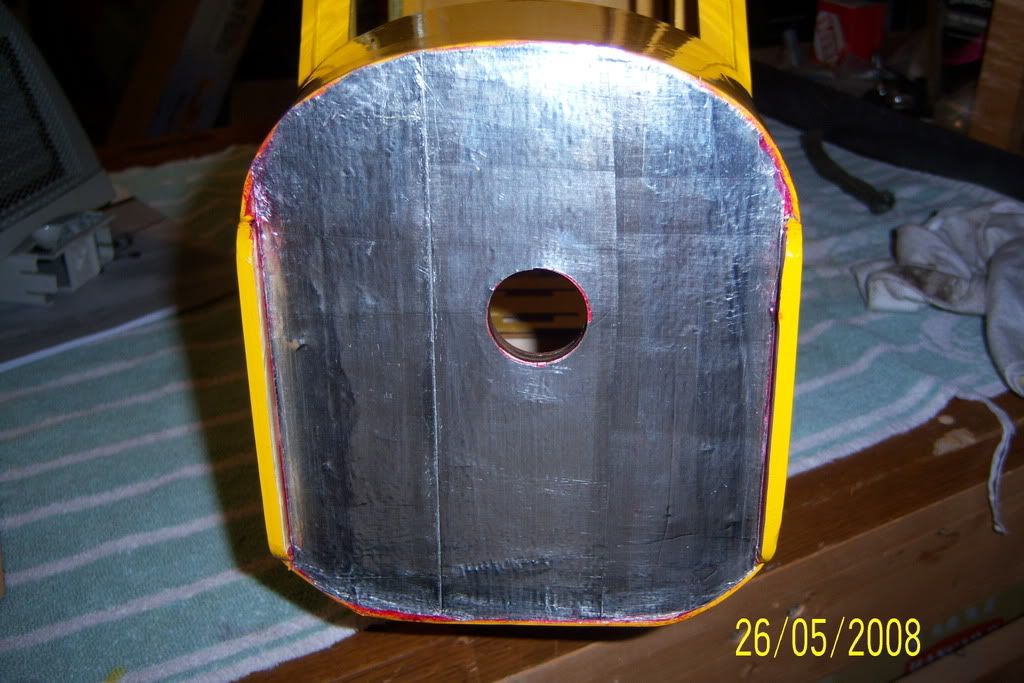
Since I am going to use a gas engine, I wanted to protect the liteply firewall from heat damage, so I applied some aircraft grade aluminum that is about .002" thick and epoxied over it.
05-28-2008, 09:46 AM
#6
Senior Member
Thread Starter
My Feedback: (2)
Join Date: Feb 2008
Location: Cold Lake, AB, CANADA
Posts: 218
Likes: 0
Received 0 Likes
on
0 Posts
I just signed in to the forum on a different computer and I can't see the photos I posted. Is anyone else having this problem?

 05-28-2008, 03:59 PM
#8
Senior Member
Thread Starter
My Feedback: (2)
Join Date: Feb 2008
Location: Cold Lake, AB, CANADA
Posts: 218
Likes: 0
Received 0 Likes
on
0 Posts
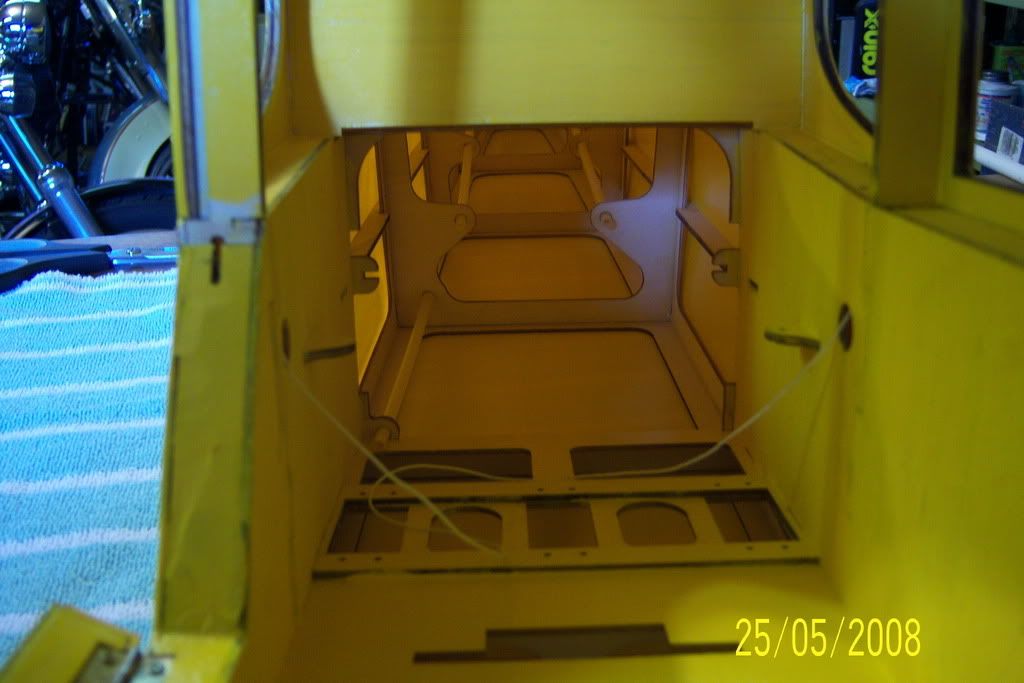
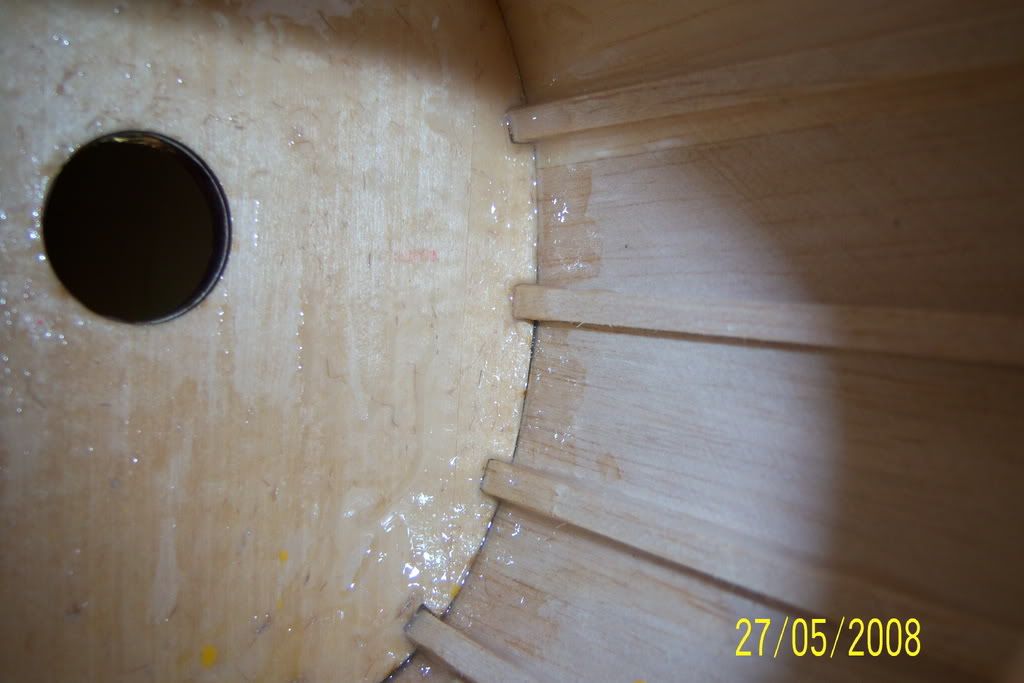
Here is the inside of the firewall after the ca and epoxy application. The entire perimeter of the firewall and the aft face was given a coat, as well as some of the formers in the cockpit. The epoxy job looks (and is) a wee bit messy, but it is just about impossible to see the back side of the firewall with a hand inside the cockpit too. On the positive side, there are triangular supports that run horizontally back on each side of the firewall and plywood doublers that run vertically.
05-28-2008, 05:49 PM
#9
Senior Member
Thread Starter
My Feedback: (2)
Join Date: Feb 2008
Location: Cold Lake, AB, CANADA
Posts: 218
Likes: 0
Received 0 Likes
on
0 Posts
LANDING GEAR
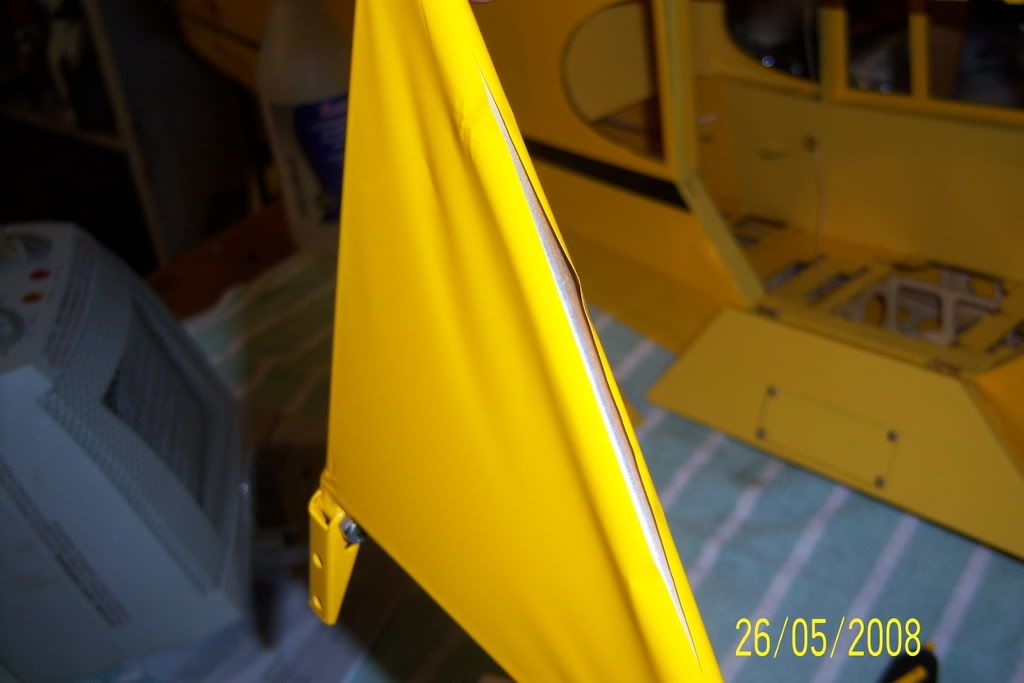
One of the landing gear structures had a poor covering job and the Ultracote was peeling off. A couple minutes with the covering iron had this all fixed up.
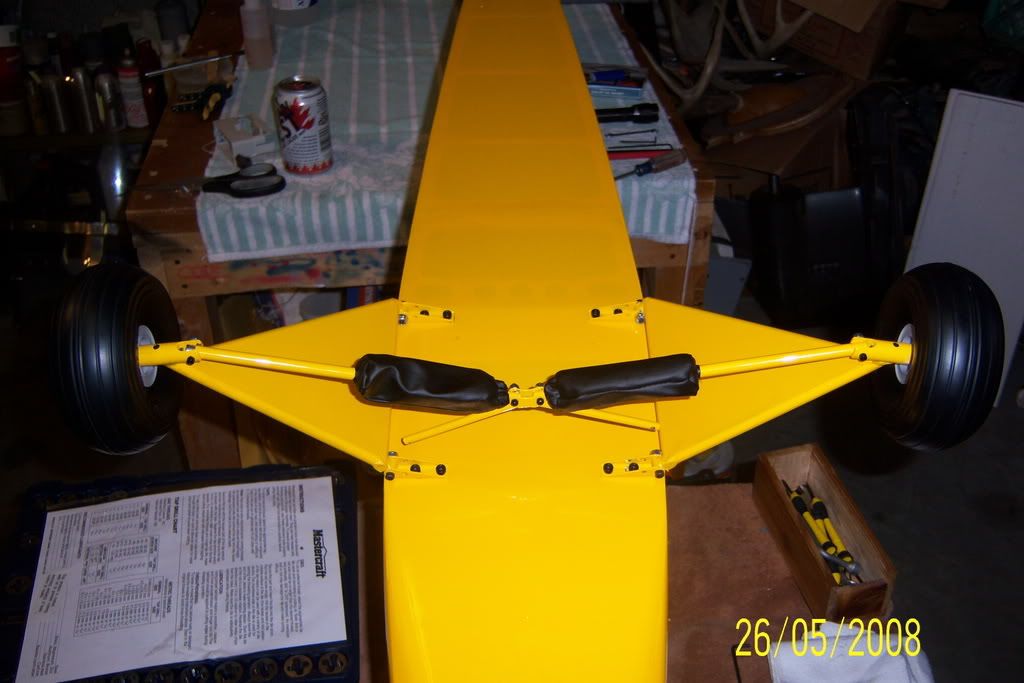
All the hardware was good quality and the package was complete. Take note that when you mount the gear to the airframe, you need to look in the flight control rigging bag for the 2 strut supports. Not too sure why they put them in there, but oh well. Be sure to put the strut supports under the rear landing gear attatch points. When mounting the wheels, put a dab of grease on the inside rim half that faces inboard, and on both inner faces of the rim halves. THat should keep them turning freely. I used white lithium grease, as it is not too thick and is also waterproof.
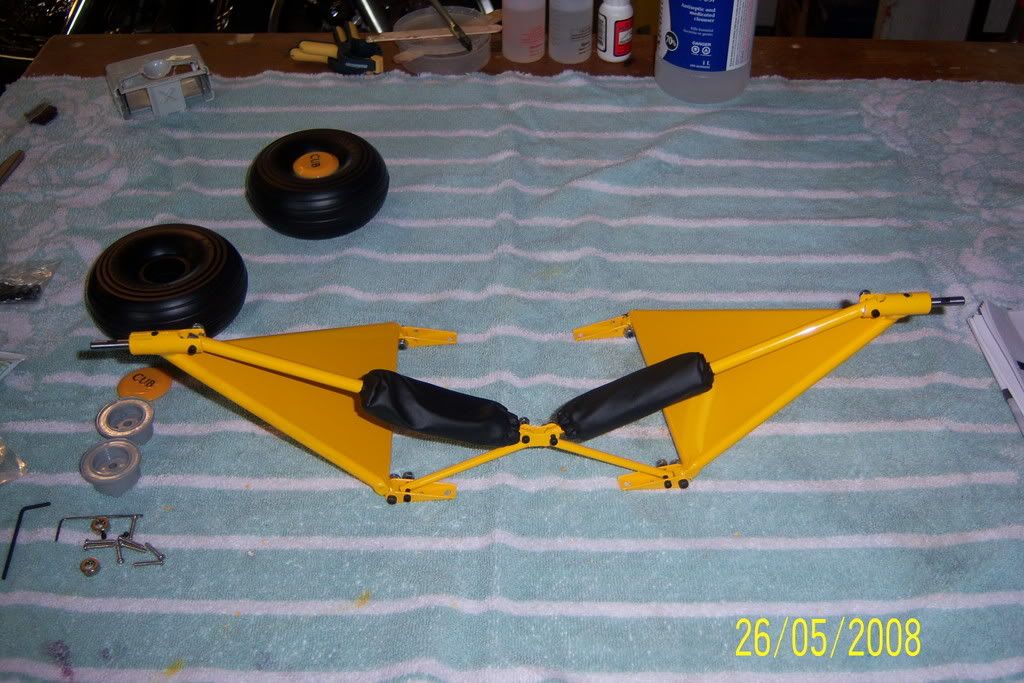
When I test fit the gear, I had to chase the threads on a couple of the blind nuts to clear them of glue that got slopped in during manufacture. Be sure to apply some blue Loctite to the blind nuts prior to final assembly.
One of the landing gear structures had a poor covering job and the Ultracote was peeling off. A couple minutes with the covering iron had this all fixed up.
All the hardware was good quality and the package was complete. Take note that when you mount the gear to the airframe, you need to look in the flight control rigging bag for the 2 strut supports. Not too sure why they put them in there, but oh well. Be sure to put the strut supports under the rear landing gear attatch points. When mounting the wheels, put a dab of grease on the inside rim half that faces inboard, and on both inner faces of the rim halves. THat should keep them turning freely. I used white lithium grease, as it is not too thick and is also waterproof.
When I test fit the gear, I had to chase the threads on a couple of the blind nuts to clear them of glue that got slopped in during manufacture. Be sure to apply some blue Loctite to the blind nuts prior to final assembly.
05-28-2008, 11:15 PM
#10
Senior Member
Thread Starter
My Feedback: (2)
Join Date: Feb 2008
Location: Cold Lake, AB, CANADA
Posts: 218
Likes: 0
Received 0 Likes
on
0 Posts
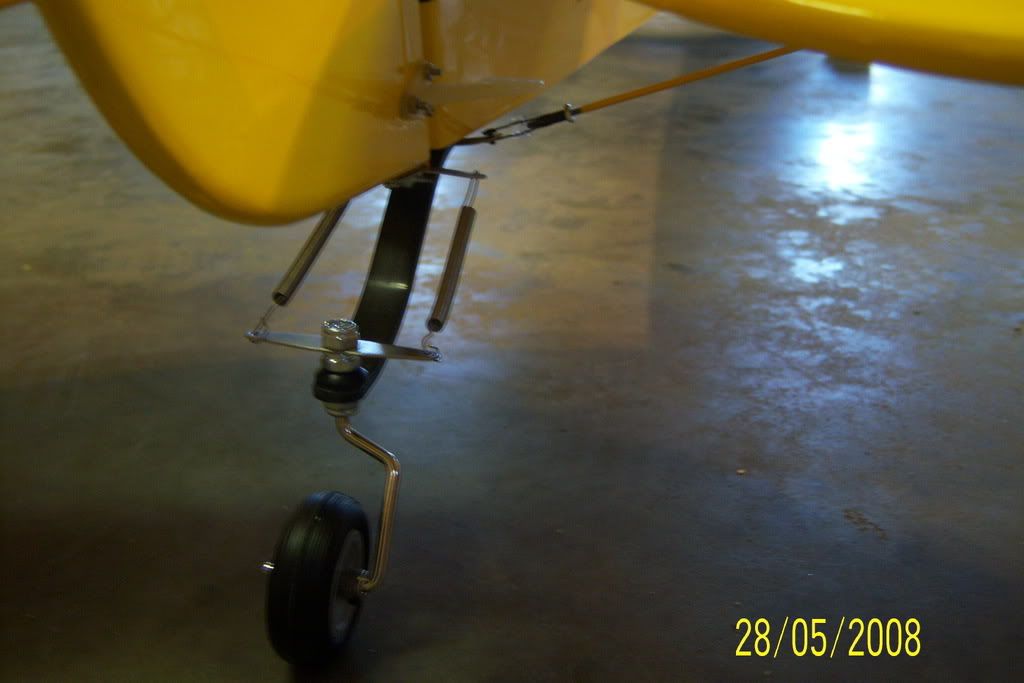
TAIL WHEEL ASSEMBLY
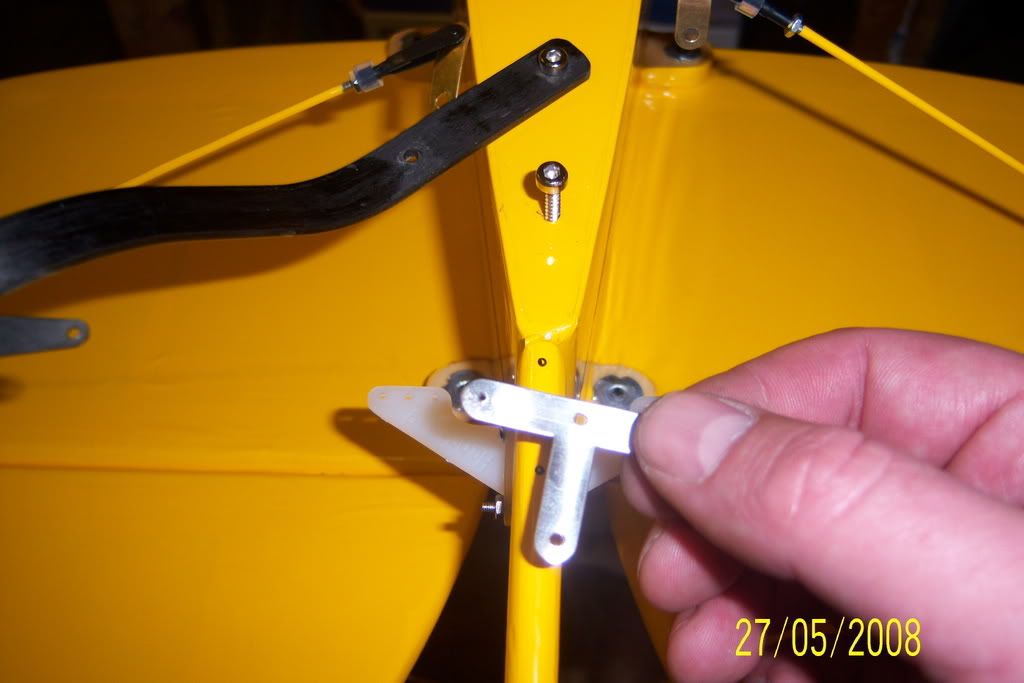
The tail wheel bracket that attaches to the bottom of the fuselage did not align with the pre-drilled holes and so I needed one of the holes to be re-drilled. I applied some thin CA glue to the empty hole to seal it, as well as some CA to harden the wood in the holes that were used. Not a big deal, but something else that sould be picked up by Quality Inspectors.
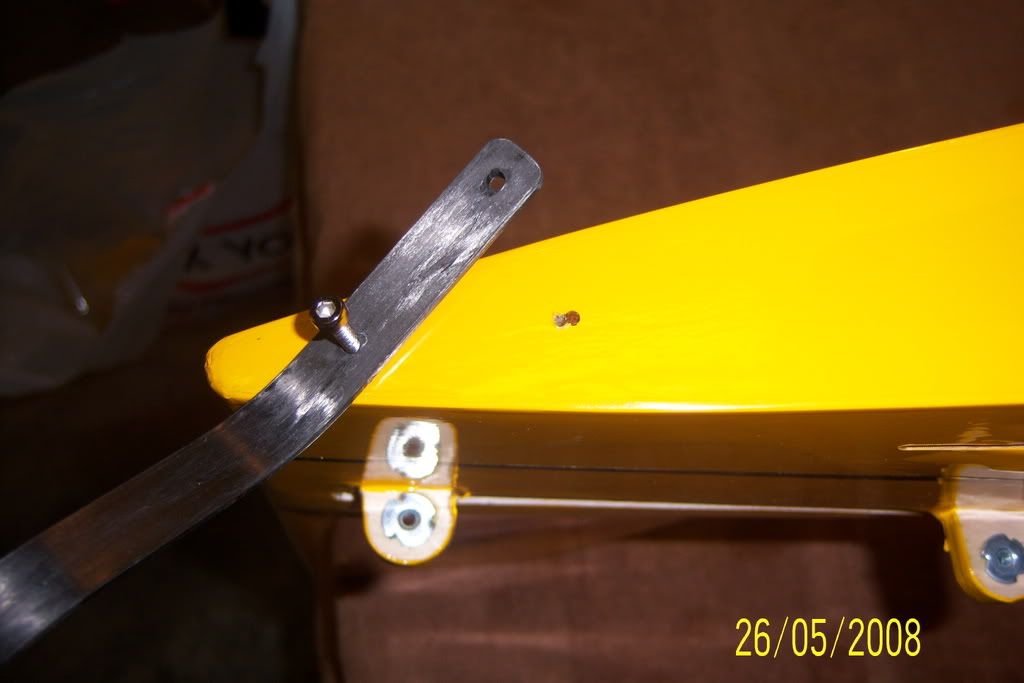
You will need to first mark out the holes with a felt tip pen and then dril pilot holes for the 2 screws that attach the T bracket to the rudder... THe 2 springs that are provided will need to be trimmed for proper length and the ends wil need to be rolled to make a neat installation
The tail wheel bracket that attaches to the bottom of the fuselage did not align with the pre-drilled holes and so I needed one of the holes to be re-drilled. I applied some thin CA glue to the empty hole to seal it, as well as some CA to harden the wood in the holes that were used. Not a big deal, but something else that sould be picked up by Quality Inspectors.
You will need to first mark out the holes with a felt tip pen and then dril pilot holes for the 2 screws that attach the T bracket to the rudder... THe 2 springs that are provided will need to be trimmed for proper length and the ends wil need to be rolled to make a neat installation
05-29-2008, 12:49 AM
#11
Senior Member
Thread Starter
My Feedback: (2)
Join Date: Feb 2008
Location: Cold Lake, AB, CANADA
Posts: 218
Likes: 0
Received 0 Likes
on
0 Posts
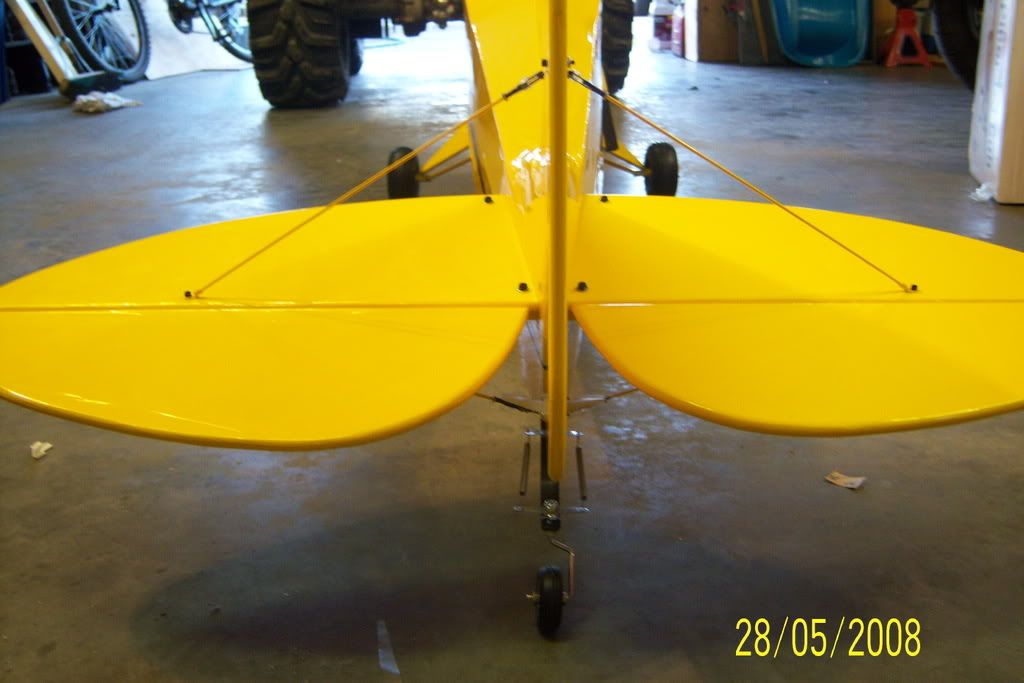
TAIL & RUDDER
THe tail feathers were assembled and installed next. Be sure to apply some Loctite to the 4-40 hex screws prior to installing them on the elevators.
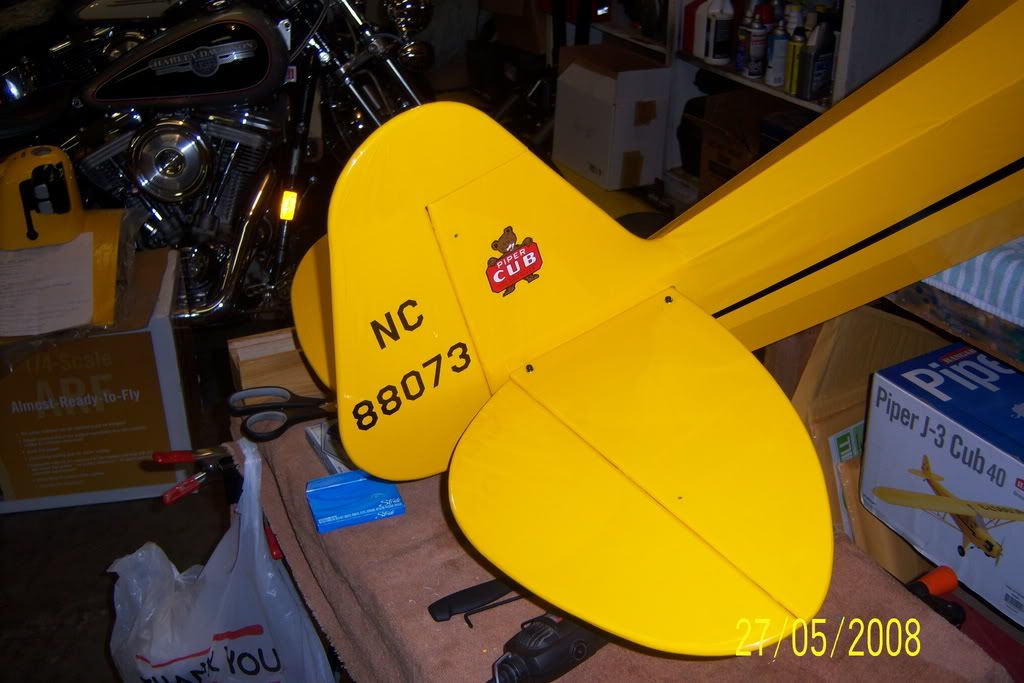
The holes for the tail support wires were soaked with CA prior to installing the hardware.
THe tail support wires were next. I was dissappointed to have one of them pull apart (the eye end came off) during installation. I will be contacting Horizon Hobby to get replacements and or I will build some that will not fail from 2-56 rod with soldered on eye ends.
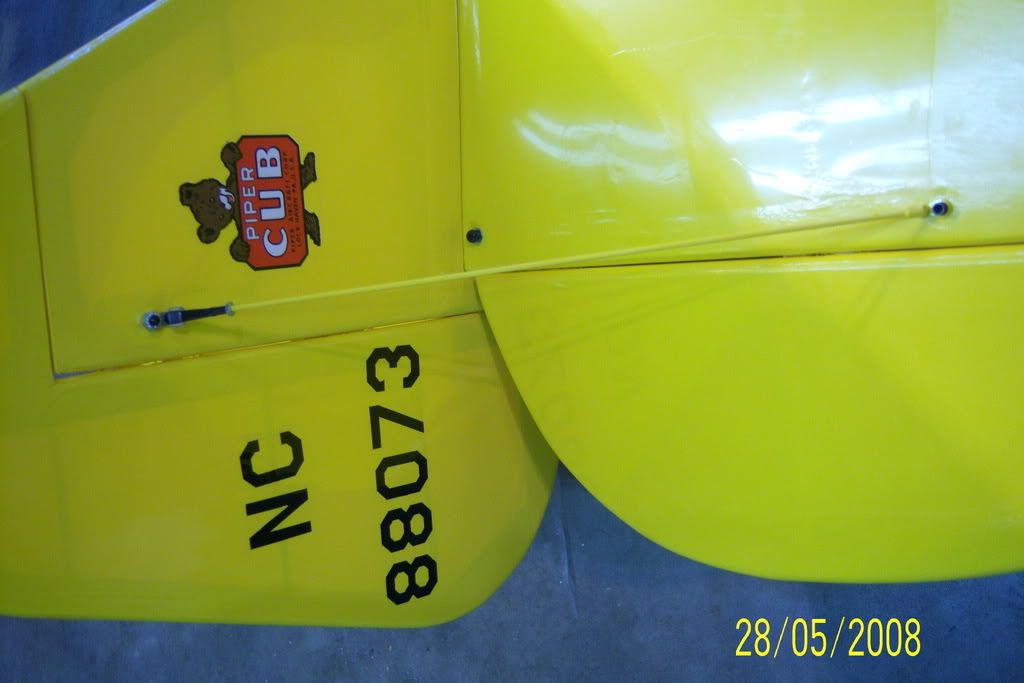
THe finished tail section....
THe tail feathers were assembled and installed next. Be sure to apply some Loctite to the 4-40 hex screws prior to installing them on the elevators.
The holes for the tail support wires were soaked with CA prior to installing the hardware.
THe tail support wires were next. I was dissappointed to have one of them pull apart (the eye end came off) during installation. I will be contacting Horizon Hobby to get replacements and or I will build some that will not fail from 2-56 rod with soldered on eye ends.
THe finished tail section....
05-29-2008, 12:57 AM
#12
Senior Member
Thread Starter
My Feedback: (2)
Join Date: Feb 2008
Location: Cold Lake, AB, CANADA
Posts: 218
Likes: 0
Received 0 Likes
on
0 Posts
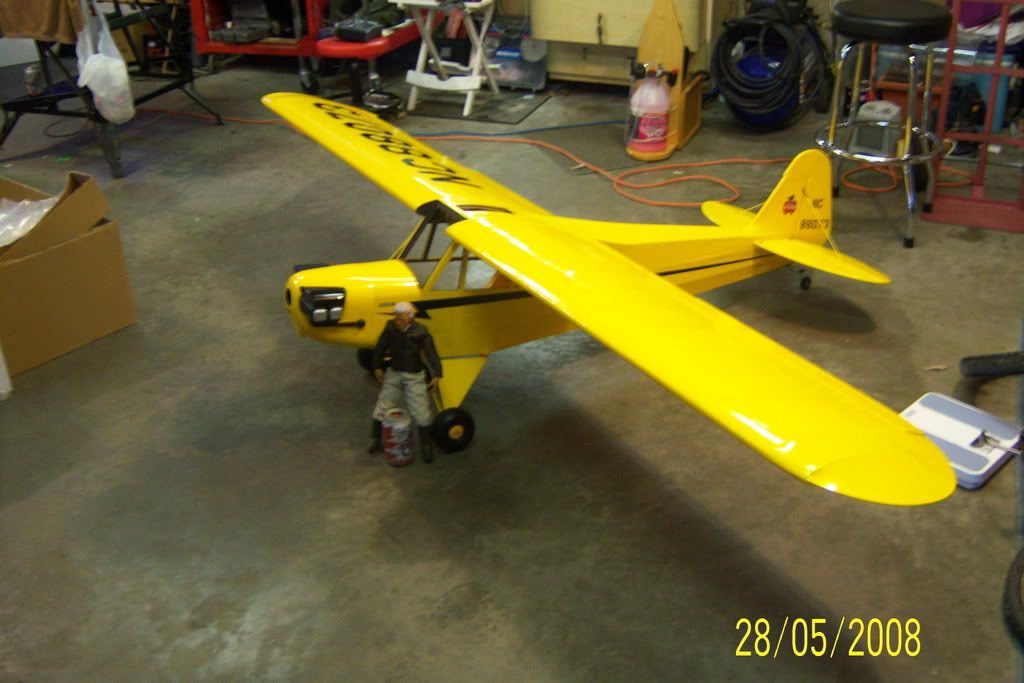
Jumping ahead a bit, I had to put the wings on to see how big this model will be. WOW! I was surpised! It is pretty much a monster sized airplane...

05-29-2008, 11:31 PM
#15
Senior Member
Thread Starter
My Feedback: (2)
Join Date: Feb 2008
Location: Cold Lake, AB, CANADA
Posts: 218
Likes: 0
Received 0 Likes
on
0 Posts
ARRGGGGHHHHHHHHHHHHHHH!!!!!!!!!!
I just spent 8 hours trying to get my Zenoah 26 to run..........
It will pop with the choke closed, but it will only fire for three flips once the choke is off, then nothing.
I took the carb apart and there is a deformity on one of the flapper valves on the fibre plate. I am thinking this could be it....
THoughts anyone?
05-30-2008, 08:34 AM
#16
Senior Member
Thread Starter
My Feedback: (2)
Join Date: Feb 2008
Location: Cold Lake, AB, CANADA
Posts: 218
Likes: 0
Received 0 Likes
on
0 Posts
I'm feeling a bit foolish right now...
Got the engine running at about midnight.
It turns out that it was operator induced.
When I configured the carb for the servo arm, I inadvertantly had the butterfly rotated to the opposite extreme (throttle return spring removed too); so the throttle blade was not in line with any of the venturi ports. This condition would allow the engine to fire when the choke was applied, but once it was opened, it would totally lean out to the point where it had no fuel.
Only 8 hours to sort this out, but I will always remember the cause and effect.
Back to work now....
CHeerz!
06-04-2008, 10:10 PM
#17
Senior Member

Join Date: Nov 2006
Location: Bath,
IL
Posts: 237
Likes: 0
Received 0 Likes
on
0 Posts
I have a friend in our club that is building one very nice ARF indeed he is remodeling it to accept a OS 320 4 cyl / 4 stroke so the jugs will stick out of cowl
MADDOG
MADDOG
06-05-2008, 10:47 PM
#18

My Feedback: (25)
Join Date: Aug 2002
Location: Dayton, NV
Posts: 649
Likes: 0
Received 0 Likes
on
0 Posts
How about some pics of the G-26 install.Looking to do the same was wondring how well it fit? Thanks.Your plane looks great.I got to fly my buddy's PNP with the 20 in her and it flew awsome.I am at 5000 ft elevation and want a little more power then the 20-even though the PNP is a nice deal.
06-05-2008, 11:05 PM
#19
Senior Member
Thread Starter
My Feedback: (2)
Join Date: Feb 2008
Location: Cold Lake, AB, CANADA
Posts: 218
Likes: 0
Received 0 Likes
on
0 Posts
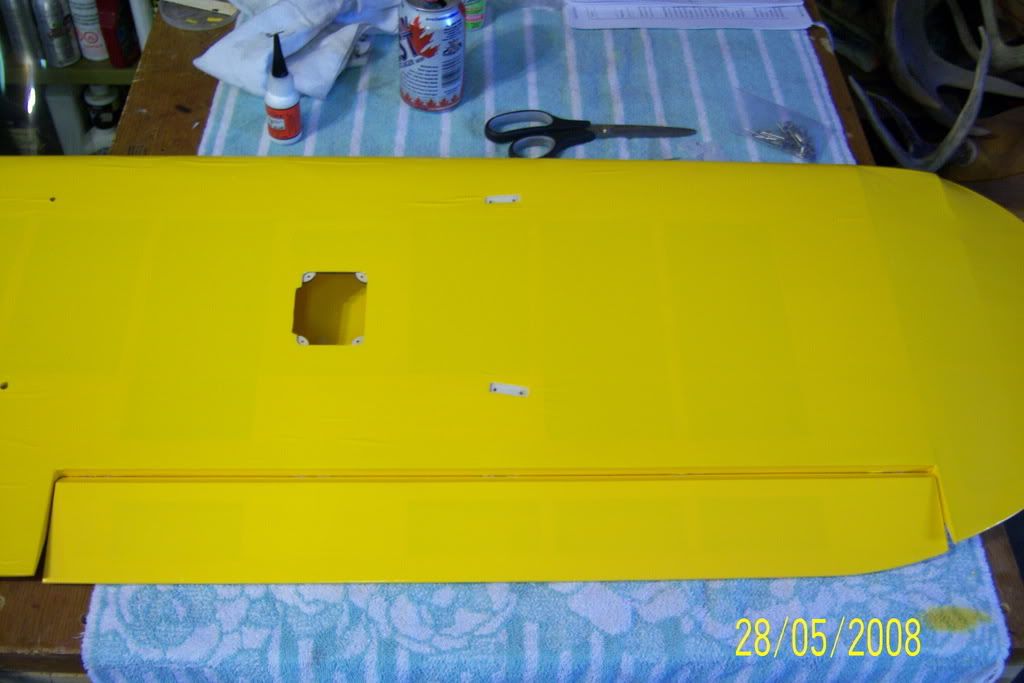
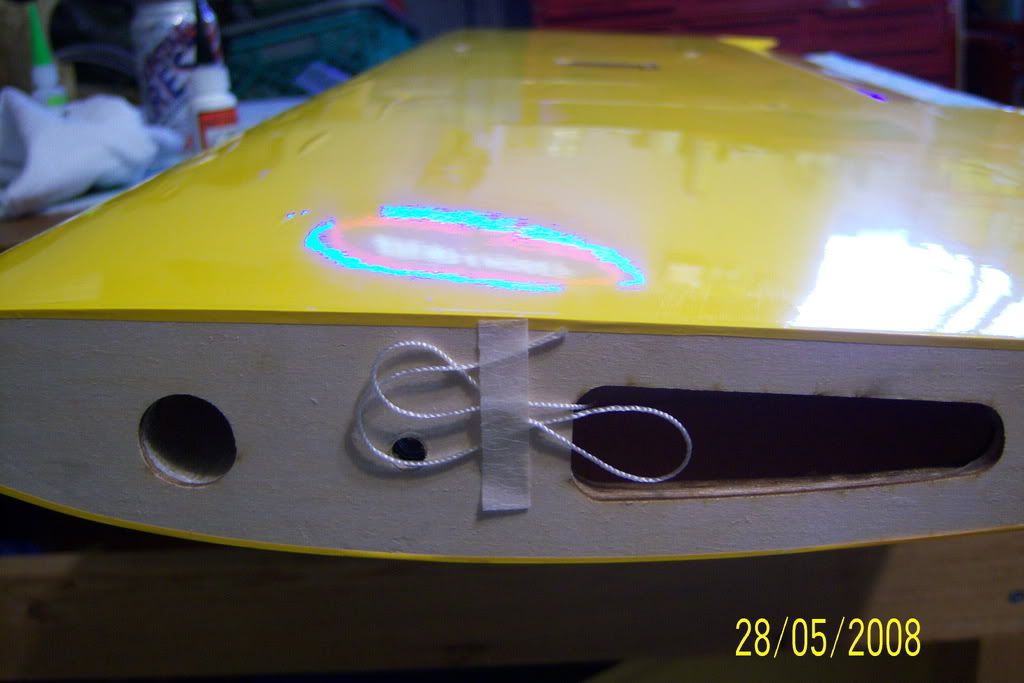
THe folks at Hangar9 were thoughtful enough to tape a string inside the wing at the aileron servo hole and on the wing root. You simply tie your servo extension recepticle to it and carefully pull it thru. I am using Hitek 645MG 107 oz./in. torque servos throughout the model. THe glue joints on the inside of the wing look good, with the exception of a slight gap on the doubler at the wing root on the r/h wing. I just applied some 12 minute epoxy to the joint.
06-05-2008, 11:16 PM
#20
Senior Member
Thread Starter
My Feedback: (2)
Join Date: Feb 2008
Location: Cold Lake, AB, CANADA
Posts: 218
Likes: 0
Received 0 Likes
on
0 Posts
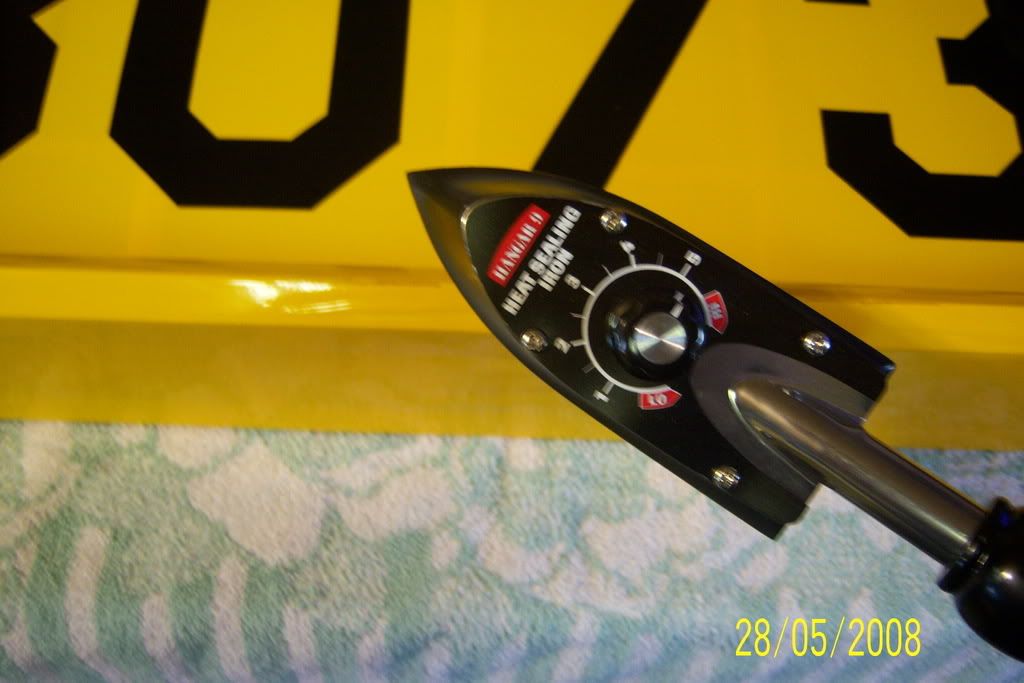
Prior to installing the Aileron CA hinges in the wing, a hobby knife was used to dig out the wood shavings that are left over from the notching process at the factory. I do the same to the aileron too. After this, the CA hinges just slide right in without a battle.
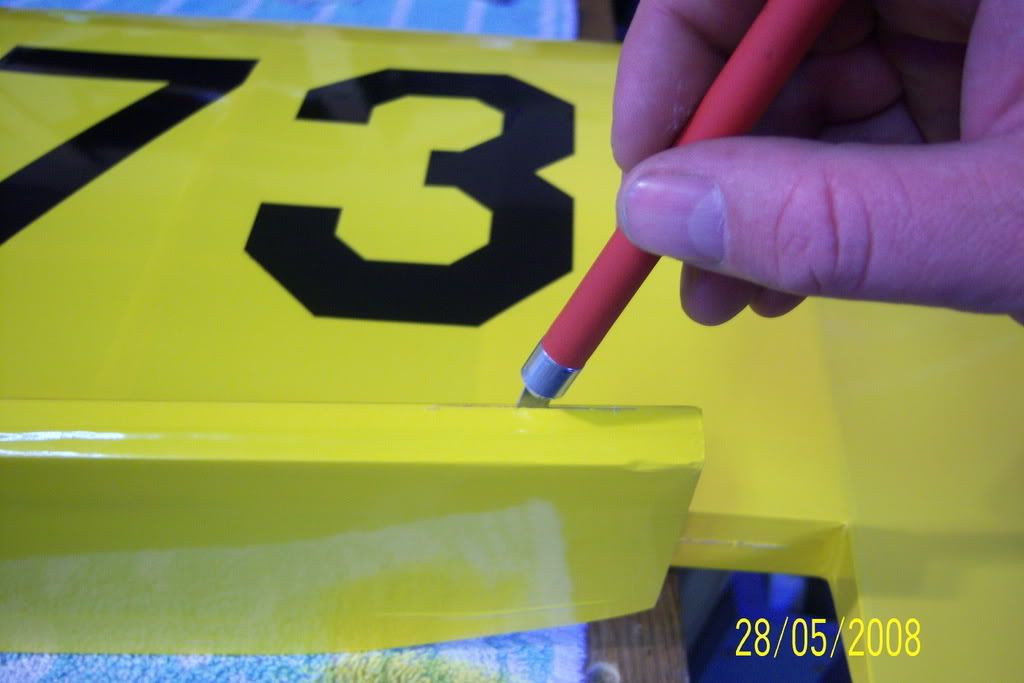
You can use a covering iron to ensure that the covering was free of wrinkles on the soon-to-be-inaccessable hinge area prior to installing the aileron.
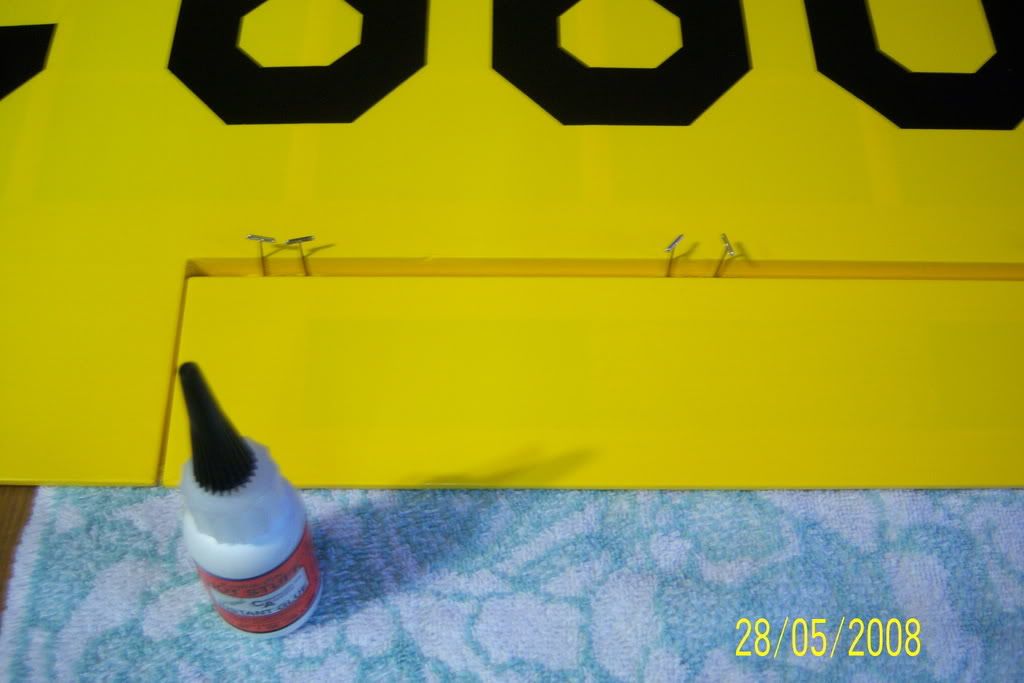
I also used some tee pins to align the hinges prior to gluing.
You can use a covering iron to ensure that the covering was free of wrinkles on the soon-to-be-inaccessable hinge area prior to installing the aileron.
I also used some tee pins to align the hinges prior to gluing.
06-05-2008, 11:43 PM
#21
Senior Member
Thread Starter
My Feedback: (2)
Join Date: Feb 2008
Location: Cold Lake, AB, CANADA
Posts: 218
Likes: 0
Received 0 Likes
on
0 Posts
ORIGINAL: edgeman55-RCU
How about some pics of the G-26 install.Looking to do the same was wondring how well it fit? Thanks.Your plane looks great.I got to fly my buddy's PNP with the 20 in her and it flew awsome.I am at 5000 ft elevation and want a little more power then the 20-even though the PNP is a nice deal.
How about some pics of the G-26 install.Looking to do the same was wondring how well it fit? Thanks.Your plane looks great.I got to fly my buddy's PNP with the 20 in her and it flew awsome.I am at 5000 ft elevation and want a little more power then the 20-even though the PNP is a nice deal.
THe H9 1/4 scale Cub engine is mounted with the crankshaft centerline about 3/4" above and slightly to the left (aft looking forward) of the factory cut hole for the fuel tank. On the positive side, the included template has holes for Saito 120-180 engines, E-Flite 110 and the Zenoah G20EI. For standoffs, I only need to move the engine forward by 1/2" to fit the G26.
I will be sure to post some info on that as well...
06-06-2008, 01:30 AM
#22

Cold Lake, cool my old home town. Lived there 24 years. Couple of questions for you. Do they still use the flying field east of Grand Center and is the old mobile tower we bummed off the base back in '85 still there? If it is I doubt there can be much left of it. I was thinking of the Hanger Nine Cub as well a few months ago, but ended up going a different route. Looks very nice. Looks like you're getting close to you maiden flight, good luck and if there are any guys around that were in the club back in the 80's tell them Doug says hi.
06-06-2008, 02:18 AM
#23
Senior Member
Thread Starter
My Feedback: (2)
Join Date: Feb 2008
Location: Cold Lake, AB, CANADA
Posts: 218
Likes: 0
Received 0 Likes
on
0 Posts
Hi Super08,
Nice to hear from a past resident of Cold Lake! Not too much has changed I suppose. The old tower you referred to is still there, but it is going to the dump when we can move it there. Like you say...Not too much left of it. Vandals broke out all the glass.
I understand there are about 20 some members right now. Dale, Frank... The old guard.
I just cut the field earlier this week and it looks just about like a golf green. I also extended the approach ends by about 30-40 feet. THere are alot more large and giant scale A/C using it now...
I will pass on your regards...
Cheerz,
Hornetfitter
06-08-2008, 05:09 PM
#25
Senior Member
Join Date: Nov 2006
Location: Bath,
IL
Posts: 237
Likes: 0
Received 0 Likes
on
0 Posts
Hornetfitter I hope you dont mind me putting a couple of pics in here Of my friends H-9 cub with a Pegasus 320 4 cylinder on it thaught u guys might want to take a look at it Here we go!
MADDOG
MADDOG