


Gilmore Red Lion Build
 03-11-2015, 11:43 AM
#226

You could always work a lot of overtime and say that's plane money, ha ha, you could always go plane Jane to eliminate those cost overruns , no, you wouldn't like the results. " naw", better stick with the way you have come accustom to, works great, looks great.
Leroy
Leroy
 03-11-2015, 04:27 PM
#227

Thread Starter

Join Date: Jul 2012
Location: Missouri
Posts: 1,127
Likes: 0
Received 0 Likes
on
0 Posts
Mike, I missed out on both also. My avatar is my high school graduation photo . 
Leroy, No plane Jane for me. Unique is the way for me.
Well, low level disgruntle has faded away but low level fatigue has become my new friend.
Disgruntle came from last week everything I touched became the hard way. Sometimes it just goes like that. I call this the reverse Midas touch. Everything turns to poo.
This week ,mojo good.
All of the infield (teacup) panels are on. All four returns have been mitered. Six of the 14 removable panels have been pressed and two of the six have been sized and taped.
Face of teacup has been sanded ( 6 hours with a DA sander). Bottom edge of teacup cut to size. And steel toe kick has been started.
First the mitered returns. The ends of the teacup were left long. Then they were cut to length with a router. The end of that panel was mitered with a tilt base router. The return panel was mitered with a permanently set up 45 degree router.


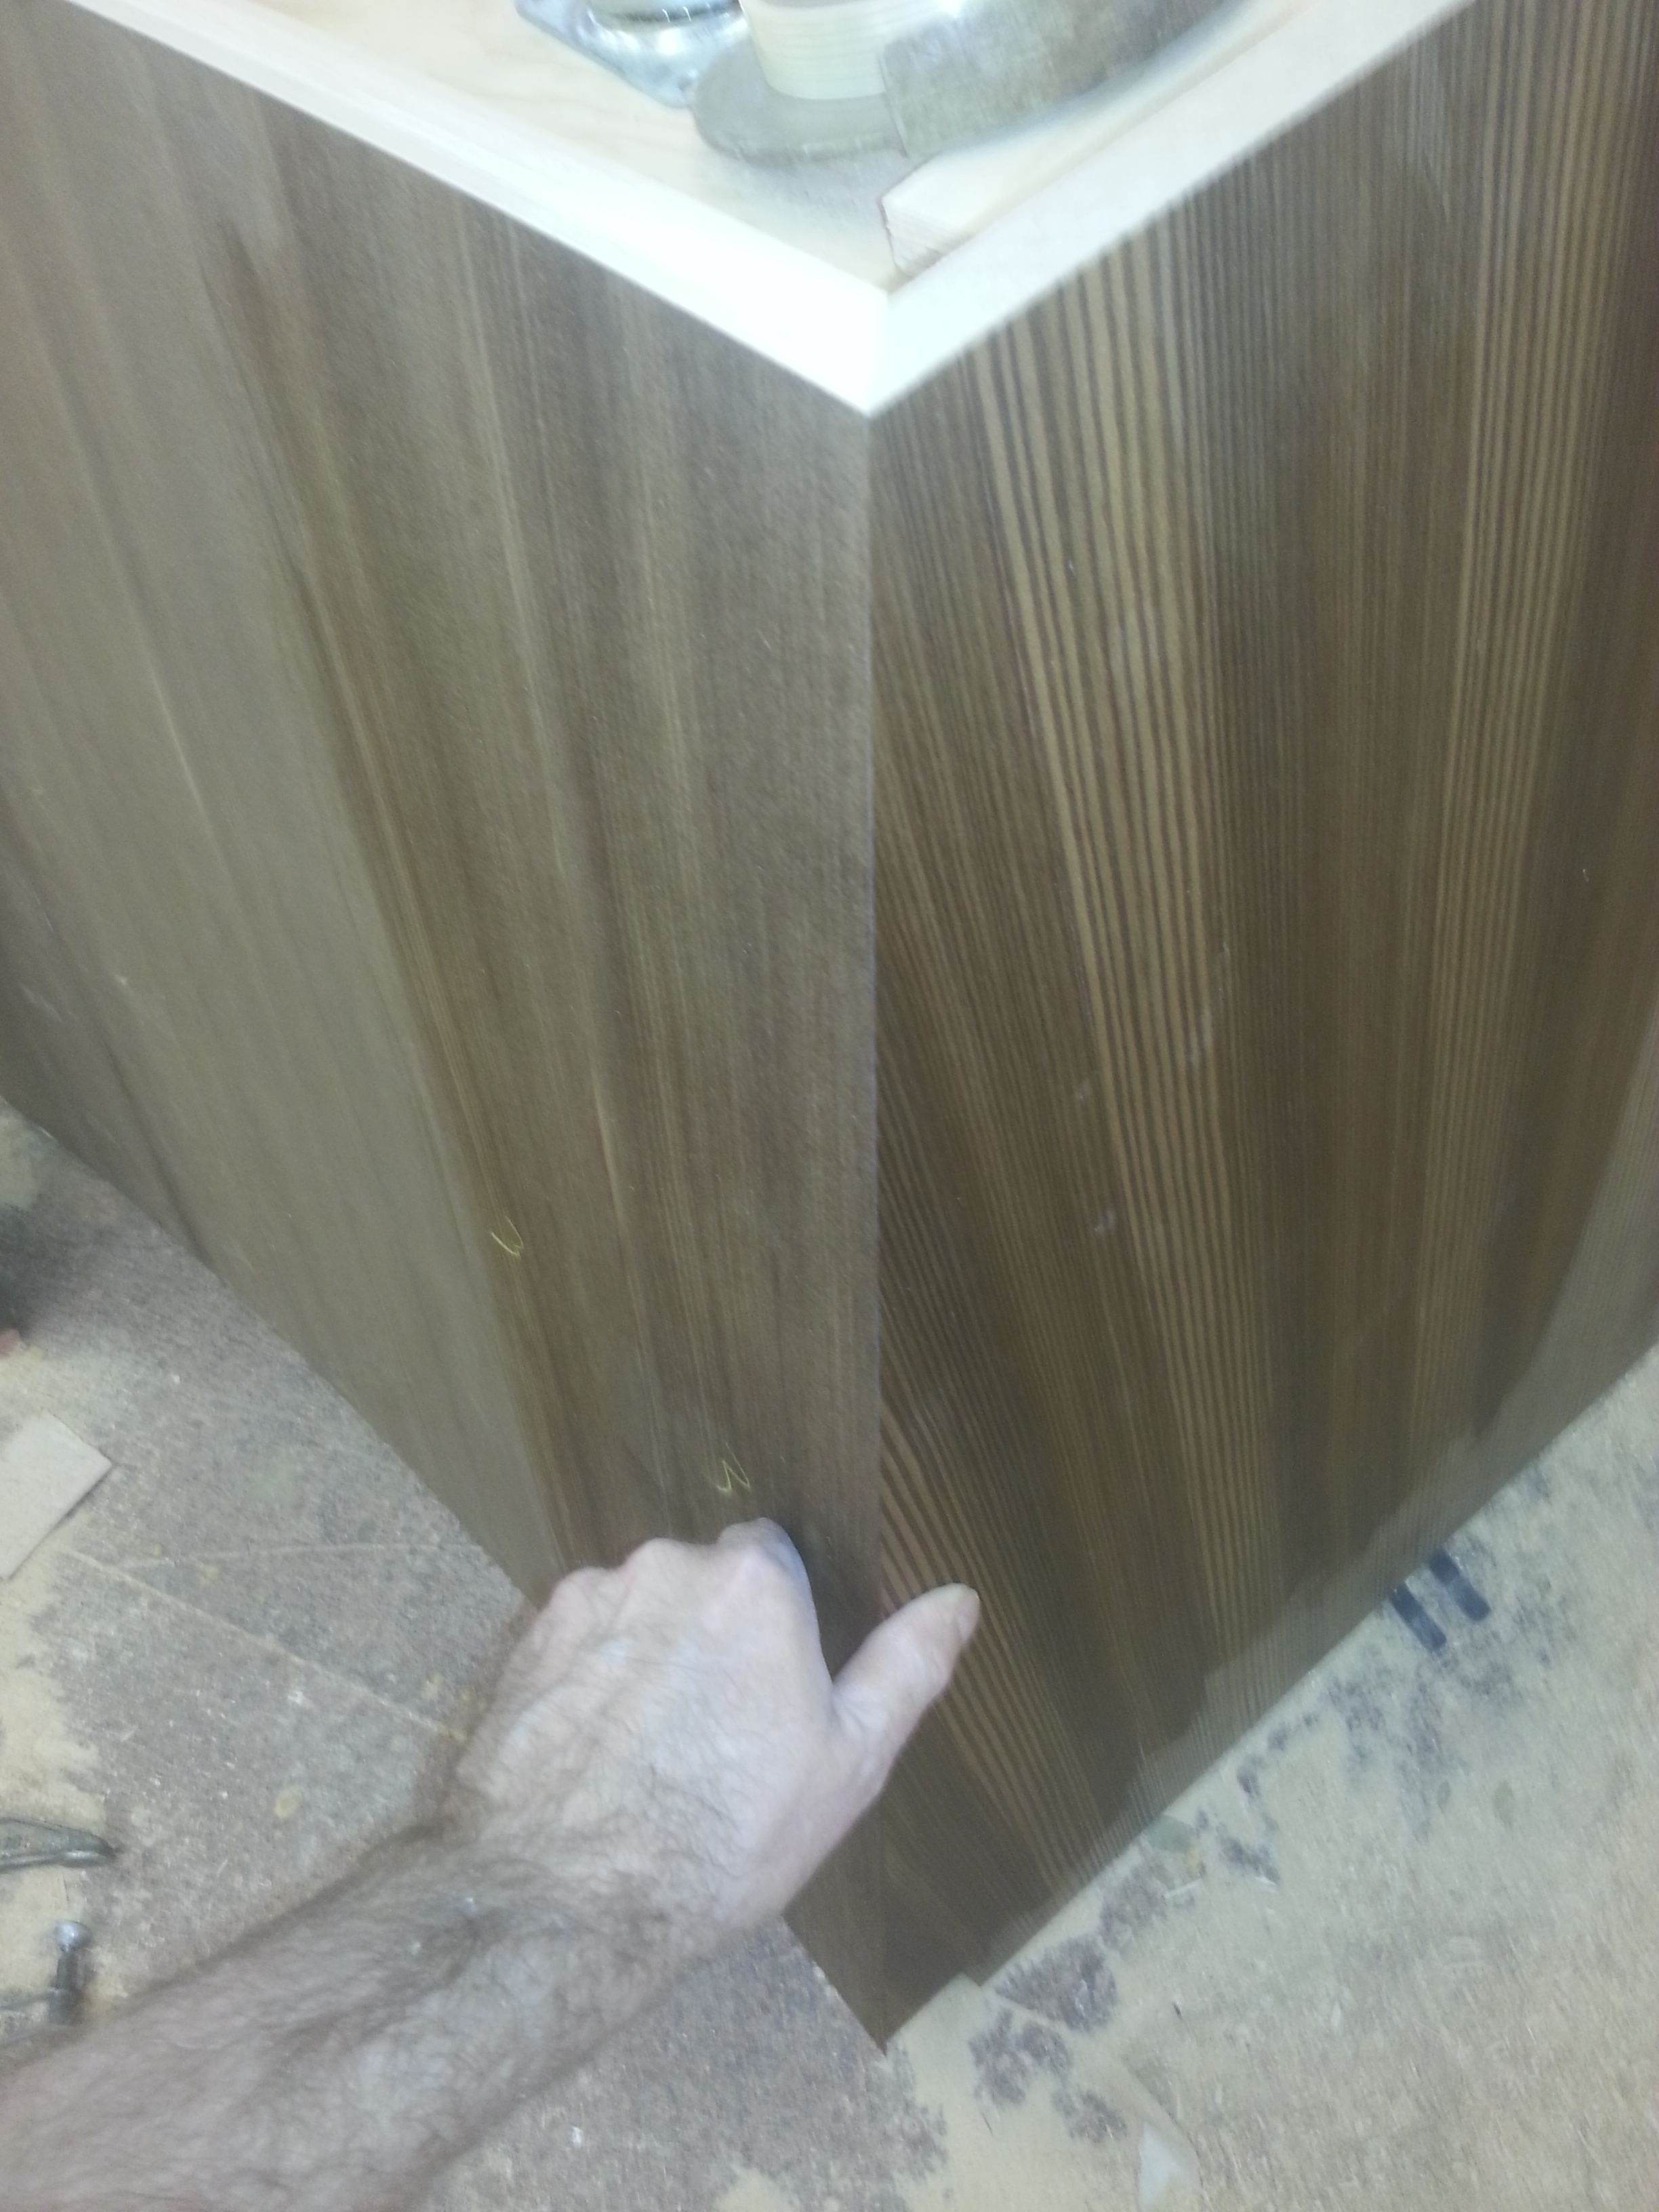


Next the removable panels. This is one of 14. It still has to be sized and edges taped with veneer.
Third picture below shows how it hugs the structure. Panel is just sitting against it, no fasteners.


The base (toe kick) snuggles up against the teacup on the infield side. It gets wrapped with stainless steel lam. So the kick needs to be fabricated then set in place.
To make sure the kick is dead on when set into place. The table base was used with indexing stand offs to set up the base. Once the base is fabricated and skinned. It will be taken off the stand offs and set into place. Standoffs then discarded.


With the table being so big as to get the completed infield panels in one shot. To get the breadth of it all, I thought a WalkAbout would be better than pictures.
Won't you please join me in a WalkAbout ?
This WalkAbout occurred at 3:30 am CST. Lights out at 3:30 pm.
http://youtu.be/GNGNMlsaVKk
I'm hoping on Friday to get this thing on it's feet. This will be a huge milestone.
Kevin
Leroy, No plane Jane for me. Unique is the way for me.
Well, low level disgruntle has faded away but low level fatigue has become my new friend.
Disgruntle came from last week everything I touched became the hard way. Sometimes it just goes like that. I call this the reverse Midas touch. Everything turns to poo.
This week ,mojo good.
All of the infield (teacup) panels are on. All four returns have been mitered. Six of the 14 removable panels have been pressed and two of the six have been sized and taped.
Face of teacup has been sanded ( 6 hours with a DA sander). Bottom edge of teacup cut to size. And steel toe kick has been started.
First the mitered returns. The ends of the teacup were left long. Then they were cut to length with a router. The end of that panel was mitered with a tilt base router. The return panel was mitered with a permanently set up 45 degree router.
Next the removable panels. This is one of 14. It still has to be sized and edges taped with veneer.
Third picture below shows how it hugs the structure. Panel is just sitting against it, no fasteners.
The base (toe kick) snuggles up against the teacup on the infield side. It gets wrapped with stainless steel lam. So the kick needs to be fabricated then set in place.
To make sure the kick is dead on when set into place. The table base was used with indexing stand offs to set up the base. Once the base is fabricated and skinned. It will be taken off the stand offs and set into place. Standoffs then discarded.
With the table being so big as to get the completed infield panels in one shot. To get the breadth of it all, I thought a WalkAbout would be better than pictures.
Won't you please join me in a WalkAbout ?
This WalkAbout occurred at 3:30 am CST. Lights out at 3:30 pm.
http://youtu.be/GNGNMlsaVKk
I'm hoping on Friday to get this thing on it's feet. This will be a huge milestone.
Kevin
Last edited by Melchizedek; 03-11-2015 at 04:29 PM.
 03-12-2015, 02:24 PM
#230
Thread Starter
Join Date: Jul 2012
Location: Missouri
Posts: 1,127
Likes: 0
Received 0 Likes
on
0 Posts
Mike,
This might sound redundant, but I will say it anyway.
I really appreciate your appreciation for this project.
It couldn't have been esteemed any higher. Thank you !
Blessed I am to be part of it.
Kevin
This might sound redundant, but I will say it anyway.
I really appreciate your appreciation for this project.
It couldn't have been esteemed any higher. Thank you !
Blessed I am to be part of it.
Kevin
03-12-2015, 02:38 PM
#231
Thread Starter
Join Date: Jul 2012
Location: Missouri
Posts: 1,127
Likes: 0
Received 0 Likes
on
0 Posts
A sweet sorrow it will be. Seven to eight weeks of striving for the goal of completion and then it's over.
I really am a joy in the journey kind of guy. Destinations are ok, but the adventure of getting there is my thing.
This kind of project makes me eager for the morning. Back to a lot of routine when its complete.
Kevin
03-15-2015, 11:25 AM
#232
Thread Starter
Join Date: Jul 2012
Location: Missouri
Posts: 1,127
Likes: 0
Received 0 Likes
on
0 Posts
Spent a little time on the cowl plug today. Also spent some time getting my planes ready for flying season. We have had some nice flying days of late but no time.
Sanded the taper in. The nice thing about the florist foam is also its disadvantage. It sands very easy but is also very soft.
When I glued it together I tried to keep the glue (yellow) away from all finished edges. I was successful mostly. But where I wasn't the glue scared the area as it sanded off. The next step was to glue the front cowl ring down. But before I did that I painted the tapper with epoxy resin. This should harden the surface from damage when the front cowl ring is sanded to shape. After the front cowl ring is sanded to shape it too will get a layer of epoxy. After that it will get a lather of drywall mud and sanded again then glassed, primed sanded until it looks true.


Going to relax the rest of the day.
Kevin
Sanded the taper in. The nice thing about the florist foam is also its disadvantage. It sands very easy but is also very soft.
When I glued it together I tried to keep the glue (yellow) away from all finished edges. I was successful mostly. But where I wasn't the glue scared the area as it sanded off. The next step was to glue the front cowl ring down. But before I did that I painted the tapper with epoxy resin. This should harden the surface from damage when the front cowl ring is sanded to shape. After the front cowl ring is sanded to shape it too will get a layer of epoxy. After that it will get a lather of drywall mud and sanded again then glassed, primed sanded until it looks true.
Going to relax the rest of the day.
Kevin
Last edited by Melchizedek; 03-15-2015 at 12:50 PM.

 03-17-2015, 01:51 PM
#236
Thread Starter
Join Date: Jul 2012
Location: Missouri
Posts: 1,127
Likes: 0
Received 0 Likes
on
0 Posts
Before the table base can be flipped. The base needs to be fabricated and then skids affixed.
The base is skinned with Stainless Steel laminate. It matches the Stainless Steel accents that will be part of the top.
The theoretical deminsion of the base is 1 inch exposed. A 1 1/4 inches was added to that for scribe.
The rolling section does not get a base. It needs floor clearance for wheels.


Once the base was complete it was time to skid it. Every project is different as far as skidding it is concerned.
With very large heavy table bases like this, I usually doe something similar.
First horses were pocket screwed to the bottom plate. These horses are 1/6 taller than the base itself. This way the weight of each section will not be on the base when it is slide across the floor, onto a dock, onto a fork lift, into the other building, the finish room, out to another dock, onto a truck, across town, to another dock, down a corridor, into a freight elevator up to its destination.
You can see there is all sorts of opportunity for damage. So I skid them stout.
Once the horses are on. A full plate is cut to cover the entirety of the base. These plates get beveled on the floor side and waxed heavily. Then screwed to the horses. When the project is complete. Only the field joints will need protected upon disassembly.


Once skidding was complete. We have flippage.
Bases were flipped then reassembled . Then the top plane of the teacup was cut flush with the plate.


Kevin
The base is skinned with Stainless Steel laminate. It matches the Stainless Steel accents that will be part of the top.
The theoretical deminsion of the base is 1 inch exposed. A 1 1/4 inches was added to that for scribe.
The rolling section does not get a base. It needs floor clearance for wheels.
Once the base was complete it was time to skid it. Every project is different as far as skidding it is concerned.
With very large heavy table bases like this, I usually doe something similar.
First horses were pocket screwed to the bottom plate. These horses are 1/6 taller than the base itself. This way the weight of each section will not be on the base when it is slide across the floor, onto a dock, onto a fork lift, into the other building, the finish room, out to another dock, onto a truck, across town, to another dock, down a corridor, into a freight elevator up to its destination.
You can see there is all sorts of opportunity for damage. So I skid them stout.
Once the horses are on. A full plate is cut to cover the entirety of the base. These plates get beveled on the floor side and waxed heavily. Then screwed to the horses. When the project is complete. Only the field joints will need protected upon disassembly.
Once skidding was complete. We have flippage.
Bases were flipped then reassembled . Then the top plane of the teacup was cut flush with the plate.
Kevin
03-17-2015, 02:31 PM
#238
Thread Starter
Join Date: Jul 2012
Location: Missouri
Posts: 1,127
Likes: 0
Received 0 Likes
on
0 Posts
Robert, Usually there are high gain mikes at every station, not necessarily on the table. That is pumped thru an audio system that fills the room.
You can talk lightly and those 30 ft away on the other side will hear you lightly.
The last board table we did had miles of wire in it and the gizmos cost more than our wood work. This one will be more modest in that respect.
Kevin
You can talk lightly and those 30 ft away on the other side will hear you lightly.
The last board table we did had miles of wire in it and the gizmos cost more than our wood work. This one will be more modest in that respect.
Kevin
03-18-2015, 09:22 AM
#240
Thread Starter
Join Date: Jul 2012
Location: Missouri
Posts: 1,127
Likes: 0
Received 0 Likes
on
0 Posts
What a nice sentiment Mike. Thank you.
65 hour weeks have been happening.
The next big mile stone is to get the tops worked up to make sure the glass templates are a go.
There is a 3 week time frame to get the glass. This cuts the deadline close so pressure is still on.
I will tell you I got myself a Sig 4 Star 64 ARF and an OS GT 15 to power it with.
Only got a knowing shrug from my Honey
Some readers of this thread may not know i have only flown a Kadet LT 40 and a glider to date.
Planning on the 4 star to bring me to the next level.
Kevin
Last edited by Melchizedek; 03-18-2015 at 02:06 PM.
03-19-2015, 05:07 PM
#242
I think that 4-Star should make a great low wing trainer. I fly mine all the time now... mainly because my "hot rods" are all in the shop awaiting repairs!
And as for your OT, as you already know, I feel your pain Bro. Although mine is slowing down to only 55 hours a week now, what a relief! Can't wait to get back to the 40 hour weeks getting off at 11:00 AM on Fridays. Gotta love that!
Oh, and that "other project" is looking mighty fine!
And as for your OT, as you already know, I feel your pain Bro. Although mine is slowing down to only 55 hours a week now, what a relief! Can't wait to get back to the 40 hour weeks getting off at 11:00 AM on Fridays. Gotta love that!
Oh, and that "other project" is looking mighty fine!
03-20-2015, 02:41 AM
#243

Join Date: Jun 2012
Location: Bristol, CT
Posts: 4,002
Likes: 0
Received 0 Likes
on
0 Posts
After seeing your build, I'm a bit surprised that's all you've flown. Kind of reminds me of a guy in my club. He got signed off to fly solo with a park zone T-28 Trojan, and went out and bought a 40% Yak with a DA 170. Now, that's one of his smaller planes. Lol. The 4*'s are a lot of fun. You'll like it.
 03-20-2015, 02:41 PM
#245
Thread Starter
Join Date: Jul 2012
Location: Missouri
Posts: 1,127
Likes: 0
Received 0 Likes
on
0 Posts
I think that 4-Star should make a great low wing trainer. I fly mine all the time now... mainly because my "hot rods" are all in the shop awaiting repairs!
And as for your OT, as you already know, I feel your pain Bro. Although mine is slowing down to only 55 hours a week now, what a relief! Can't wait to get back to the 40 hour weeks getting off at 11:00 AM on Fridays. Gotta love that!
Oh, and that "other project" is looking mighty fine!
And as for your OT, as you already know, I feel your pain Bro. Although mine is slowing down to only 55 hours a week now, what a relief! Can't wait to get back to the 40 hour weeks getting off at 11:00 AM on Fridays. Gotta love that!
Oh, and that "other project" is looking mighty fine!
Thanks, David
I have heard a lot of good things about the 4 star.
Planning on having a lot of fun with is. And if it goes down, well , at least it aint one of my babies

Cheep enough to get another and transfer the gutz.
")
After seeing your build, I'm a bit surprised that's all you've flown. Kind of reminds me of a guy in my club. He got signed off to fly solo with a park zone T-28 Trojan, and went out and bought a 40% Yak with a DA 170. Now, that's one of his smaller planes. Lol. The 4*'s are a lot of fun. You'll like it.
I'm the kinda guy who when he's in, is all in. Something tells me your club guy and I have some things in common.
I still have a bashed Sig Something Extra that needs maddened.
I didn't want to risk one of my babies just yet. When I get comfortable with the 4star then it will be time to fly the bashed Extra.
Kevin
03-20-2015, 02:53 PM
#246
Thread Starter
Join Date: Jul 2012
Location: Missouri
Posts: 1,127
Likes: 0
Received 0 Likes
on
0 Posts
Well, I have started it. The question is when will I be getting back into it ? When my crazy work schedule resumes to normal.
I am thinking probably 2 more weeks before that happens. If you have jumped in at the end, go back to page one thru seven and you will see where I am at. I have been dabbleing with it a little when I have the energy. Right now working on a plug for the cowl.
I am eager to get back to it.
I really have gotten fond of the Red Lion.
Kevin
03-21-2015, 03:46 AM
#247
Thread Starter
Join Date: Jul 2012
Location: Missouri
Posts: 1,127
Likes: 0
Received 0 Likes
on
0 Posts
Well, getting near the end of the marathon, maybe mile 21 or so. A world of tired I am. My hands are like a glove of cuts, bruises, abrasion's blisters, and dried and cracked. Raggedy hands come with the turf, but when you work 50% more time in a week for weeks on end. You get 50% more raggedy in the same amount of time. Not complaining, just giving you a picture of what is. If I was on the sideline of this job I would be longing to get in the game. I am in the game and count it a fabulous blessing  .
.
With all the extra hours on the front end it has bought a little breather. I have the weekend off. The tops have been started. The big pressure is making sure the templates for the glass are a go so they can be sent of the glass company (3 week lead time). With the tops underway. Thursday at the latest we will be ready to check the templates, this is ample breather for the time frame hence the weekend off. This is how I hoped it would go. Working ridiculous hours at the end of the job with timely completion in doubt is a grueling miserable energy zapping task. Far better to front load that time and cruse to the finish. Kinda like dinner first then desert
I think I will leisurely assemble my ARF this weekend.
Ok, without further ado.
One of the things that has been going on behind the pictures the last three weeks is the data troughs. Alex has been spending the last 3 weeks building these in preparation of installing them in the table base. A curved door can be a difficult thing to work out the geometry.
Mock ups was the first thing that happened with this table 5 weeks ago. In custom work, you are often presented with the probably cant work and your job is to make it work. There were 3 different mock ups on the troughs till the geometry of the curved doors were worked out. This was a big question mark on this project, hence it was the first problem solved.
There are 30 data hookups around this table, about 85 feet of trough. They are made from MDF and will be painted to match the stainless steel accents of the table. Doors and beauty dividers between each pit are not on. On top of each divider is a 1/4 by 1 1/2 ss accent bar flush with the top glass. On the infield side of troughs will be a 1/2 inch by 3/4 tall ss band that wraps the entire table flush with the top glass. Each edge of the trough is at a different elevation because of the ss accent band. There is a lot going on here to make sure that glass infield top, steel accent and glass doors and outfield top look like a still lake. Setting the troughs was time consuming. While that was being done. Alex was doing the painstaking task of setting the steel supports and z clips on the back of the die wall.
Monday the tops will begin fabrication.


In the last picture to the left you can see one of the removable back panels being banded with veneer. The table is a caul to press the veneer on with yellow glue. Clamp one up, go do something else come back and rotate. Multi tasking and time management is a huge thing on a project this size. If time is not managed well, the hours will balloon.
Also behind the pictures, each day a curved removable back panel was pressed up in the vacuum bag. When one came out one went in and the one that came out was sized. There are 14 total and the last one was pressed on Friday. WooHoooo ! Closing in
Kevin
.With all the extra hours on the front end it has bought a little breather. I have the weekend off. The tops have been started. The big pressure is making sure the templates for the glass are a go so they can be sent of the glass company (3 week lead time). With the tops underway. Thursday at the latest we will be ready to check the templates, this is ample breather for the time frame hence the weekend off. This is how I hoped it would go. Working ridiculous hours at the end of the job with timely completion in doubt is a grueling miserable energy zapping task. Far better to front load that time and cruse to the finish. Kinda like dinner first then desert
I think I will leisurely assemble my ARF this weekend.
Ok, without further ado.
One of the things that has been going on behind the pictures the last three weeks is the data troughs. Alex has been spending the last 3 weeks building these in preparation of installing them in the table base. A curved door can be a difficult thing to work out the geometry.
Mock ups was the first thing that happened with this table 5 weeks ago. In custom work, you are often presented with the probably cant work and your job is to make it work. There were 3 different mock ups on the troughs till the geometry of the curved doors were worked out. This was a big question mark on this project, hence it was the first problem solved.
There are 30 data hookups around this table, about 85 feet of trough. They are made from MDF and will be painted to match the stainless steel accents of the table. Doors and beauty dividers between each pit are not on. On top of each divider is a 1/4 by 1 1/2 ss accent bar flush with the top glass. On the infield side of troughs will be a 1/2 inch by 3/4 tall ss band that wraps the entire table flush with the top glass. Each edge of the trough is at a different elevation because of the ss accent band. There is a lot going on here to make sure that glass infield top, steel accent and glass doors and outfield top look like a still lake. Setting the troughs was time consuming. While that was being done. Alex was doing the painstaking task of setting the steel supports and z clips on the back of the die wall.
Monday the tops will begin fabrication.
In the last picture to the left you can see one of the removable back panels being banded with veneer. The table is a caul to press the veneer on with yellow glue. Clamp one up, go do something else come back and rotate. Multi tasking and time management is a huge thing on a project this size. If time is not managed well, the hours will balloon.
Also behind the pictures, each day a curved removable back panel was pressed up in the vacuum bag. When one came out one went in and the one that came out was sized. There are 14 total and the last one was pressed on Friday. WooHoooo ! Closing in
Kevin
Last edited by Melchizedek; 03-21-2015 at 04:06 AM.
03-21-2015, 05:44 AM
#248

Join Date: Sep 2006
Location: The Sunshine state, when it's not raining!
Posts: 8,131
Likes: 0
Received 2 Likes
on
2 Posts
Amazing, I have a good idea of the size of that thing by a couple items in the last pic such as the floor fan. But, just for the heck of it, how about giving the distance across.
03-21-2015, 06:09 AM
#249
Thread Starter
Join Date: Jul 2012
Location: Missouri
Posts: 1,127
Likes: 0
Received 0 Likes
on
0 Posts
Robert,
It is 30 ft cross or 90 ft and some change perimeter.
Largest table we did before this was horse shoe shaped with 78 ft perimeter.
35 ft legs and 8 foot connecting section. This was the prettiest table by far imho.
Will post a pic of that if interested.
Kevin
It is 30 ft cross or 90 ft and some change perimeter.
Largest table we did before this was horse shoe shaped with 78 ft perimeter.
35 ft legs and 8 foot connecting section. This was the prettiest table by far imho.
Will post a pic of that if interested.
Kevin
Last edited by Melchizedek; 03-21-2015 at 06:15 AM.