


Another TF P-47 Build
 10-23-2014, 07:10 AM
#101


Well where did the time go? Another year another season. I have started in on this project again determined to finish it this time around. I started glassing everything last week and will post some pics and detail the process soon. Perhaps some others will gain from it.
 11-21-2014, 05:18 PM
#102


O.k. well I am back, I have been busy working on the plane as well as all the other crap in life I now have it completely glassed and primed, and I will share some of the process without going blow by blow because it has been covered in countless threads. I use 3/4 oz glass which I picked up from a company called Thayer Craft but you can find it all over the web from different sources. I use Zpoxy as It is easy to find and it sands really well. I mix about 1oz at a time thinned with acetone about 25% or until the epoxy is about as thin as varnish. I like acetone over alcohol because it flashes off faster and leaves no moisture trapped in the epoxy and it is what epoxy manf recommend. I cut the glass on my cutting matt with a fabric wheel cutter which forks GREAT and beats scissors all to heck, about $7 at Walmart in the sewing section.
Laying the glass on the parts that I am covering I use a 3" paint brush to smooth it all out. Next I use a cheap chip brush to spread out the epoxy working from the center out and keeping it thin. It will go along way if you keep brushing it out from wet to dry and once the cloth go from white to shiny you have enough. The beauty of this is you are only going to put down 1 coat and it will sand very easy when dry. I have also used a small 4" low nap trim roller to spread it out on bigger flat sections but they are a bit of a pain to clean and more expensive the brush's which are cheap at harbor freight. The next step is where you will fill in the weave but not with more epoxy but instead a high fill primer I get at the local body shop. supply house.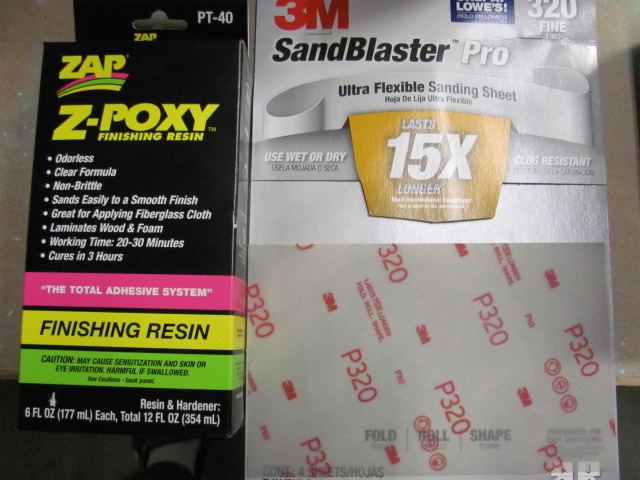
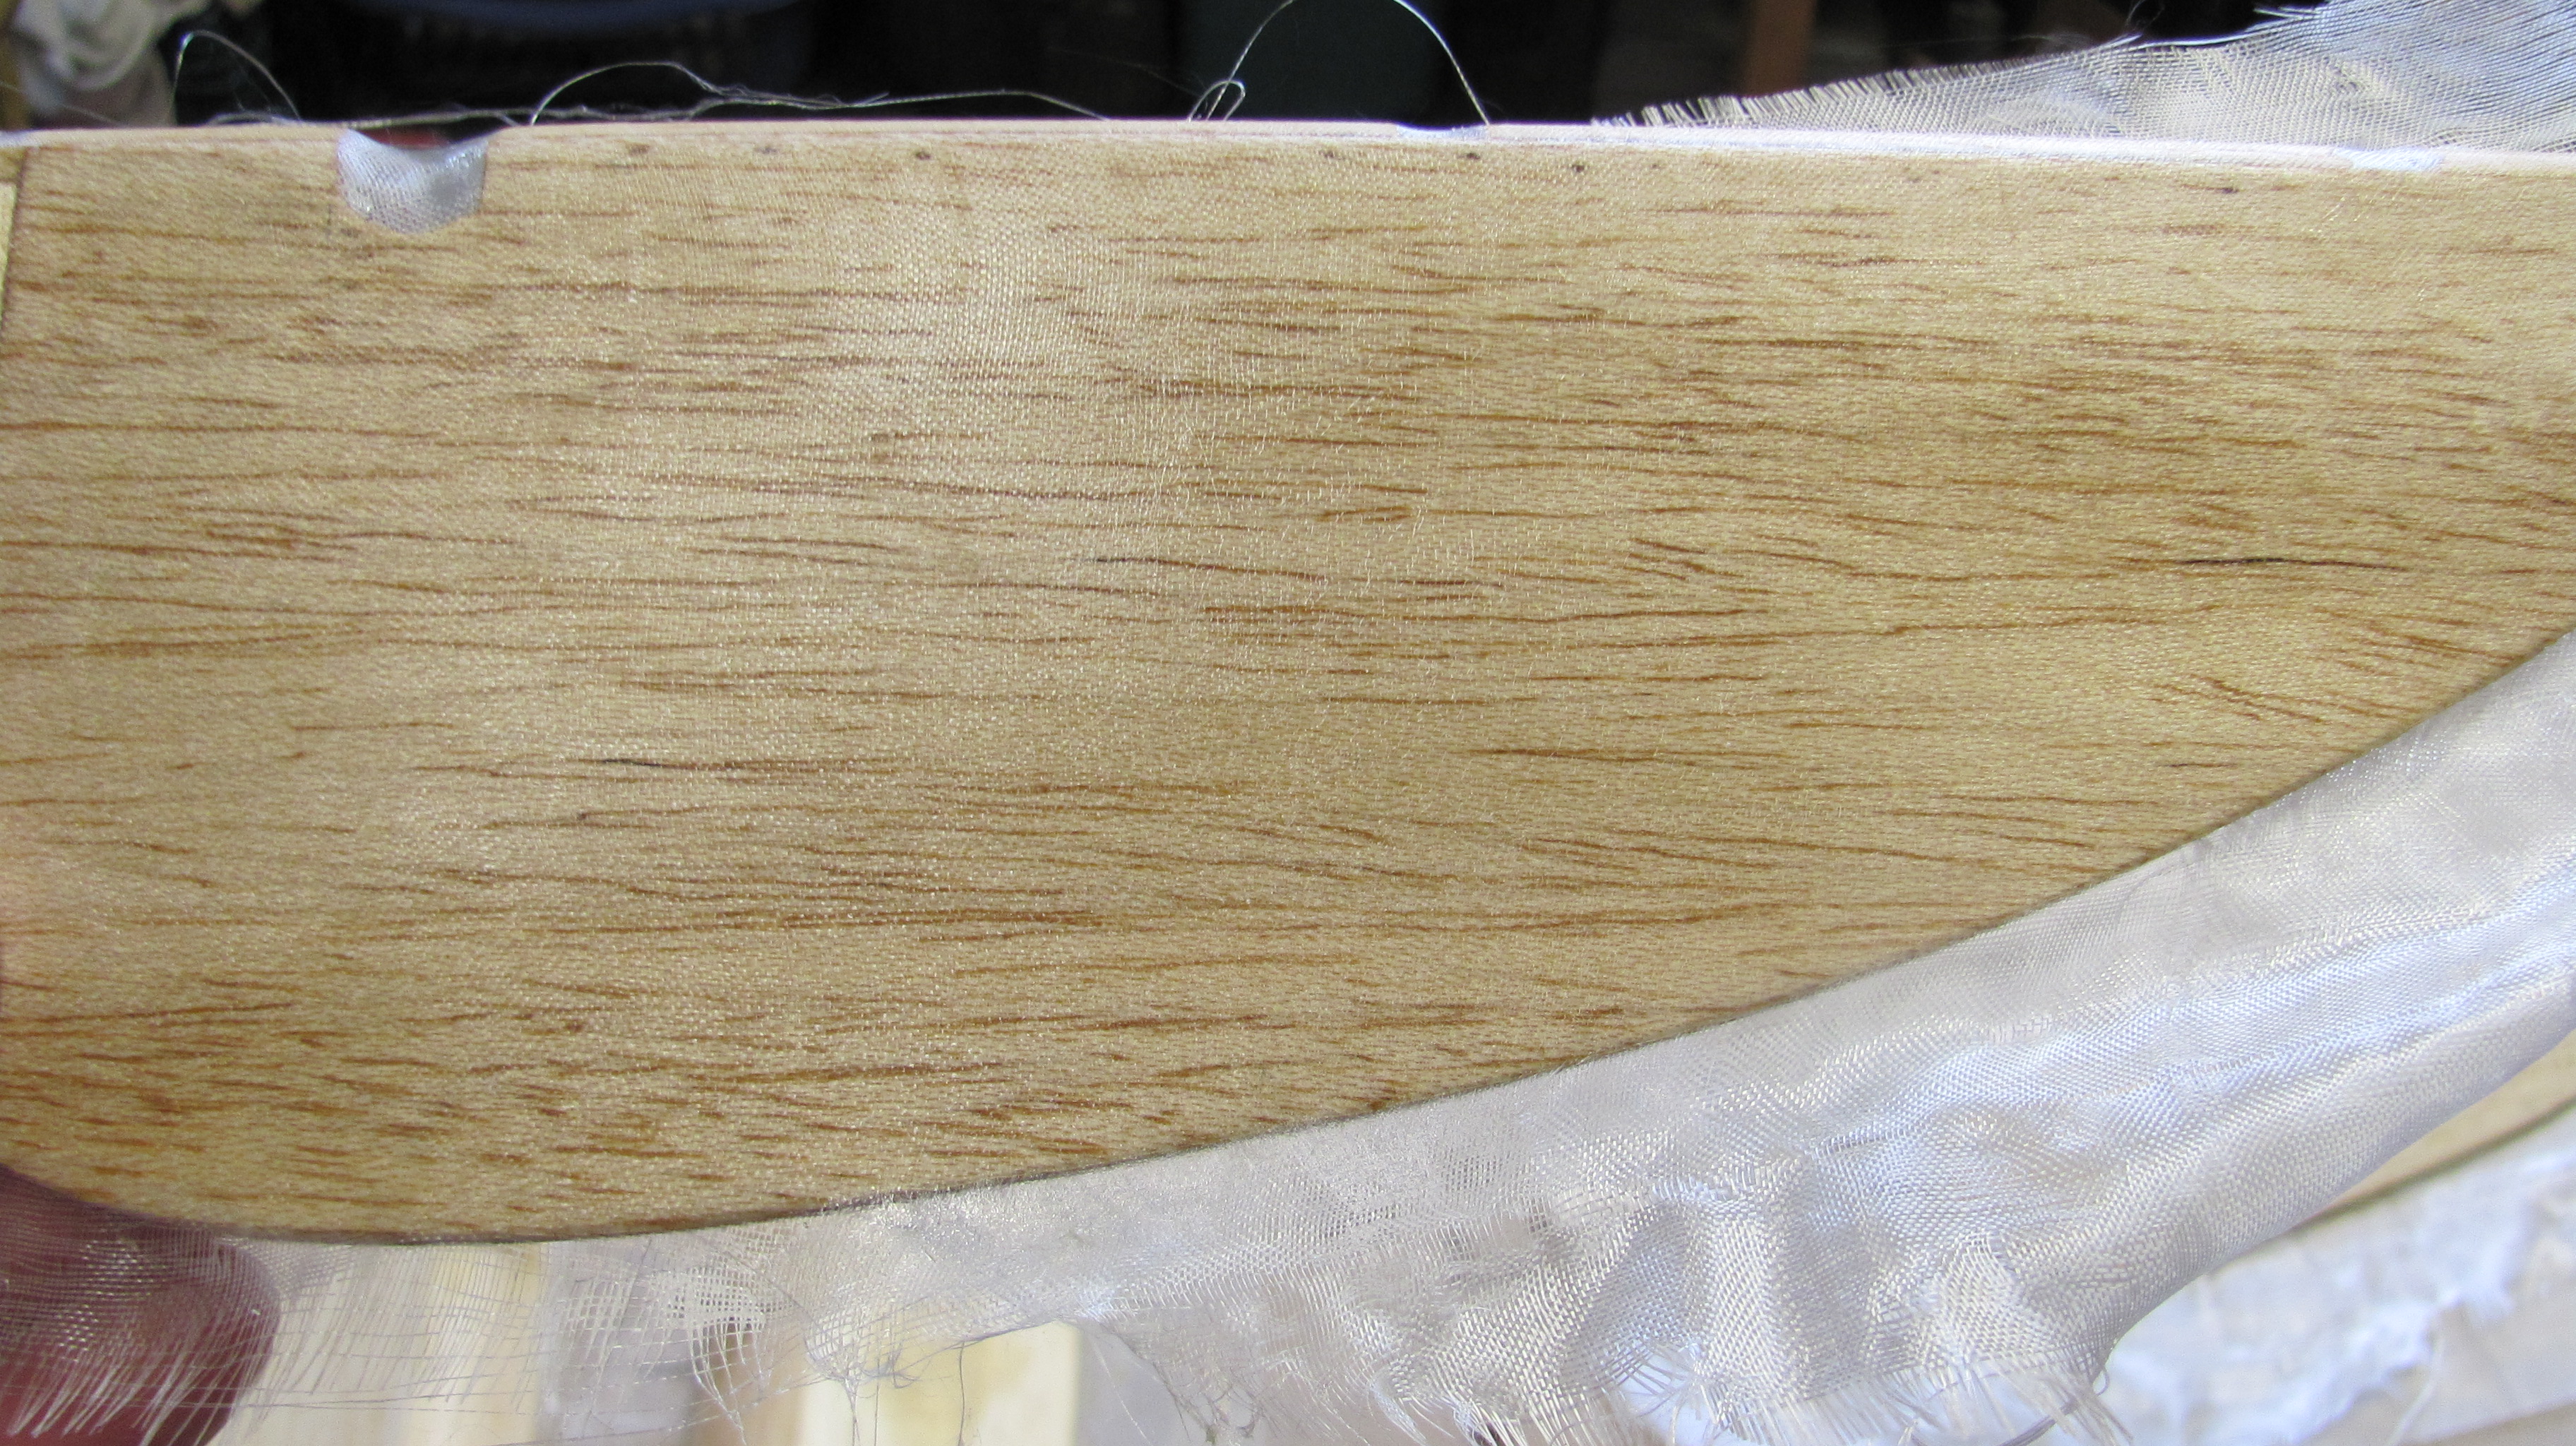
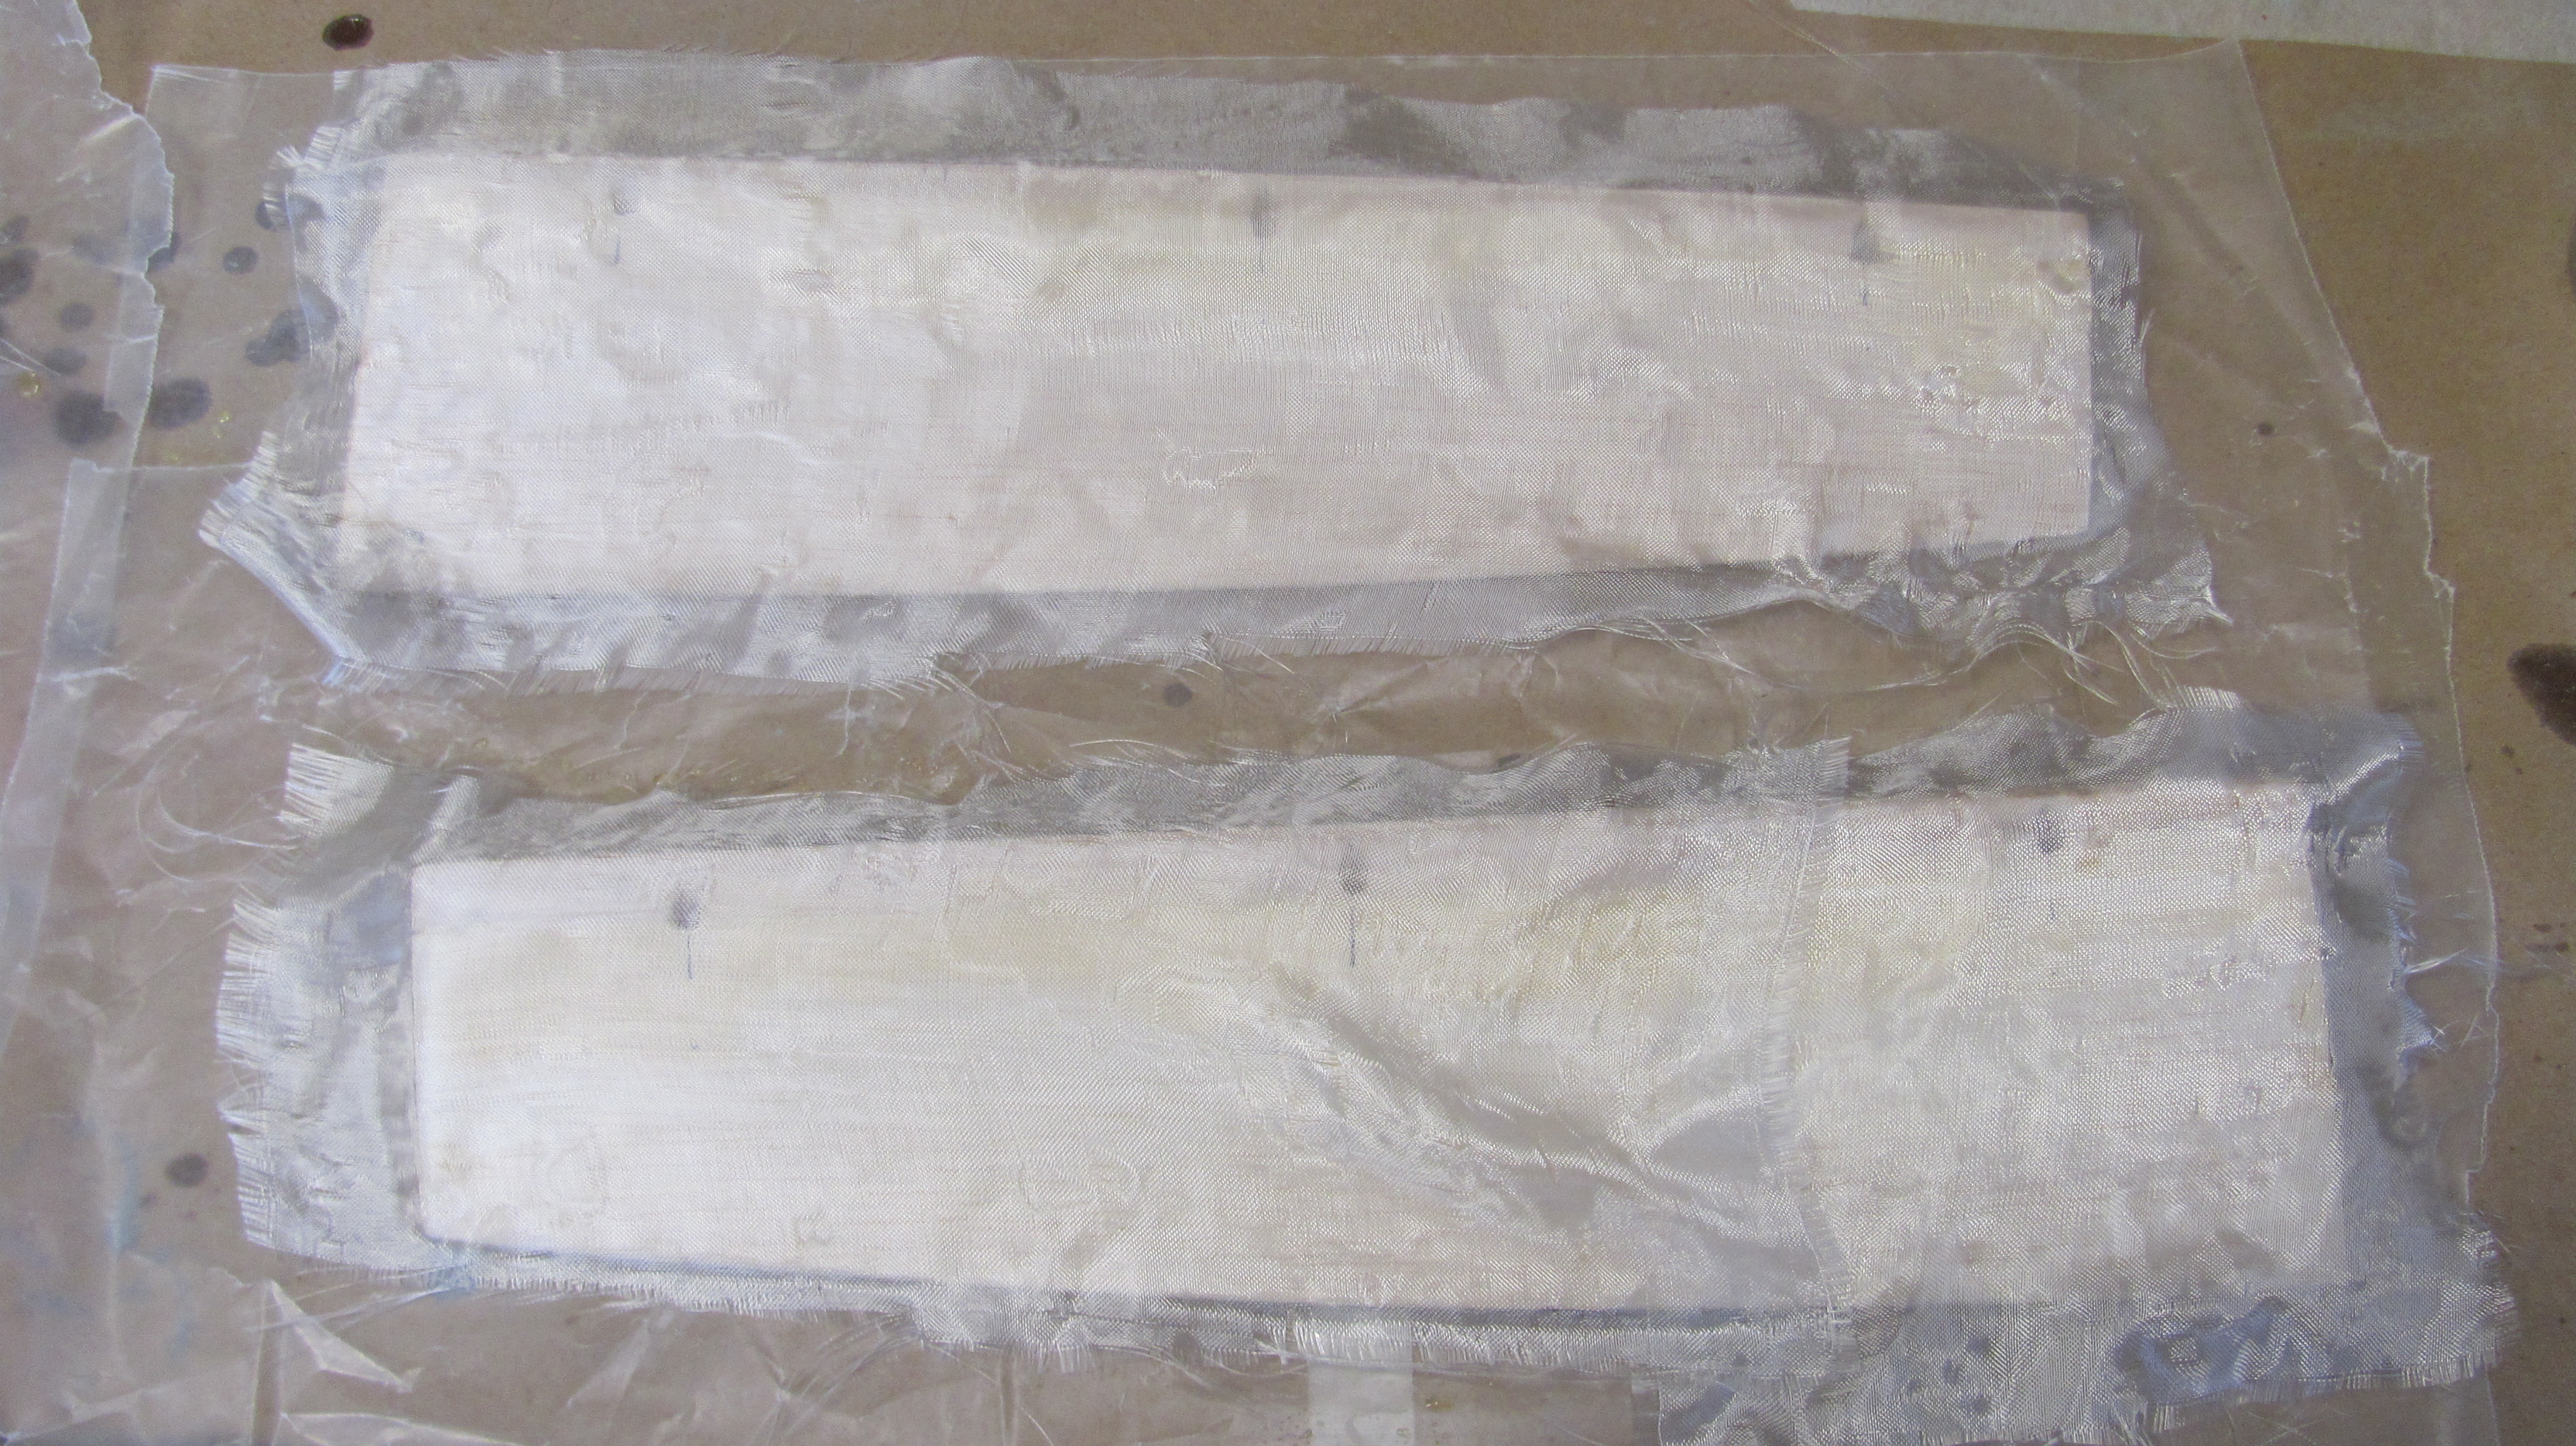
I now have it completely glassed and primed, and I will share some of the process without going blow by blow because it has been covered in countless threads. I use 3/4 oz glass which I picked up from a company called Thayer Craft but you can find it all over the web from different sources. I use Zpoxy as It is easy to find and it sands really well. I mix about 1oz at a time thinned with acetone about 25% or until the epoxy is about as thin as varnish. I like acetone over alcohol because it flashes off faster and leaves no moisture trapped in the epoxy and it is what epoxy manf recommend. I cut the glass on my cutting matt with a fabric wheel cutter which forks GREAT and beats scissors all to heck, about $7 at Walmart in the sewing section. Laying the glass on the parts that I am covering I use a 3" paint brush to smooth it all out. Next I use a cheap chip brush to spread out the epoxy working from the center out and keeping it thin. It will go along way if you keep brushing it out from wet to dry and once the cloth go from white to shiny you have enough. The beauty of this is you are only going to put down 1 coat and it will sand very easy when dry. I have also used a small 4" low nap trim roller to spread it out on bigger flat sections but they are a bit of a pain to clean and more expensive the brush's which are cheap at harbor freight. The next step is where you will fill in the weave but not with more epoxy but instead a high fill primer I get at the local body shop. supply house.
Last edited by raptureboy; 11-21-2014 at 05:57 PM.
 03-14-2018, 04:35 PM
#105
I shelved the project for a while but am back on it now. I plan to finish this spring with painting and then the maiden. It is all complete in primer right now but still needs all the radio and engine mounted. I will post some more info later this month. Our club lost its field back in 2015 and just got a new field in late 2016 so I was mostly flying park flyers for a while and wasn't sure I would even finish her.
