


***CUB BROTHERHOOD***
 11-10-2014, 03:45 PM
#2951
Senior Member
My Feedback: (2)
Join Date: Jan 2004
Location: Speedy Village,
SD
Posts: 147
Likes: 0
Received 0 Likes
on
0 Posts
Cub Man
I have been off the air for some time but I just made a madest donation and I hope all will do the same. We all need the web site up and running
Cheers MEANRC
I have been off the air for some time but I just made a madest donation and I hope all will do the same. We all need the web site up and running
Cheers MEANRC
 11-13-2014, 01:28 PM
#2953
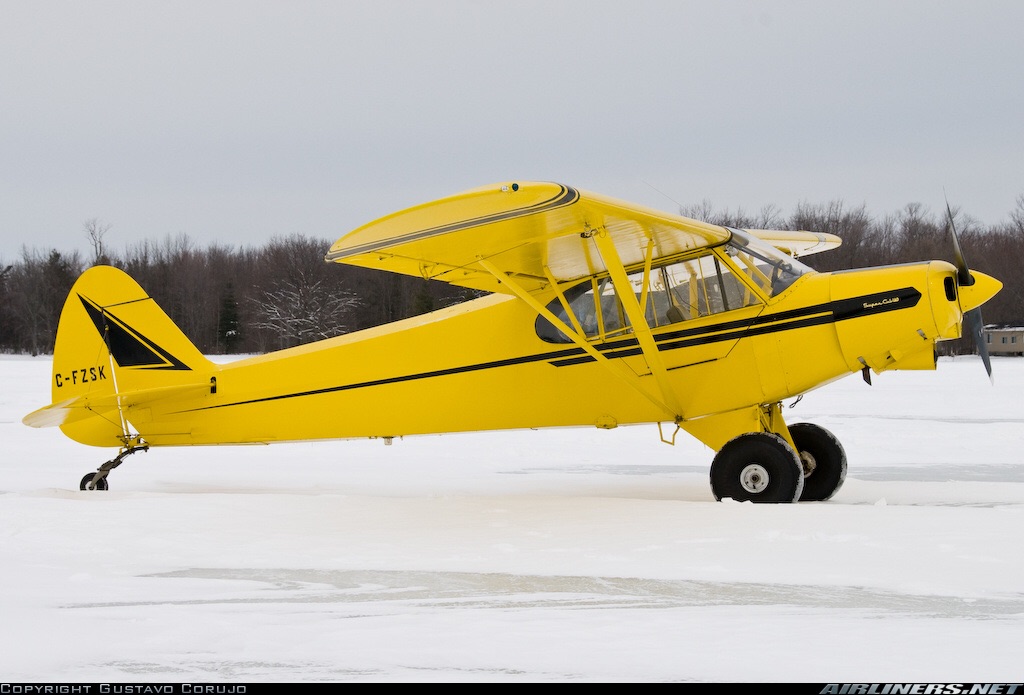
Per Piper Service Bulletin 910A, Service Memo No. 19, the procedure for rigging a
PA-18 and PA-19 is as follows:
Rigging Procedure: Raise the forward part of the airplane so that the wheels are just
clear of the ground, and support it by props under the front landing gear fittings. Raise
the tail to approximate level flight position and support it there.
Leveling:
Level the airplane as follows: Drop plumb bob from P. K. Screw in door
frame top channel to intersect punch mark in enclosure door rear hinge.
Dihedral Angle:
To check Dihedral angle at the front spar, proceed as follows:
Stretch a string along the top of the wings above the front spar, from wing tip to wing tip,
and draw it tight.
Check the dimension vertically from the string to top of fuselage front spar wing hinge
fitting. For correct dihedral this dimension should be 3 1/8 inches.
To check for equal Dihedral in each wing, proceed as follows:
Using the 30 inch level (without any spacer blocks), hold it spanwise against the bottom
of the wing under the front spar in the space between the jury struts and lift strut
attachments. Note the position of the bubble and do the same on the other wing. Readjust
the front struts until both wings show the same amount off level, being careful with
each adjustment to set the left strut out the same number of turns as the right one is set in,
and vice versa.
Wash out:
To adjust the wash out in the wings (dihedral of the rear spar), proceed as
follows:
Set a 3/8 inch spacer block on top of the 30 inch level at one end. Working on the rib
adjacent to the outer end of the aileron, hold the level fore and aft along the bottom of the
rib with the spacer block at the rear and the front end of the location of the front spar.
The correct wash out will exist when the bubble is centered. Adjust the rear struts in or
out to obtain this condition.
Tail Assembly
: With the airplane in level position, the stabilizers should be leveled at
their rear spars. The hinge line should be straight from tip to tip.
Plumb the fin at the rudder hinges."
Sincerely, Richard
Last edited by spaceworm; 11-14-2014 at 05:16 AM. Reason: delete "clock"

 11-14-2014, 05:40 PM
#2957
Senior Member
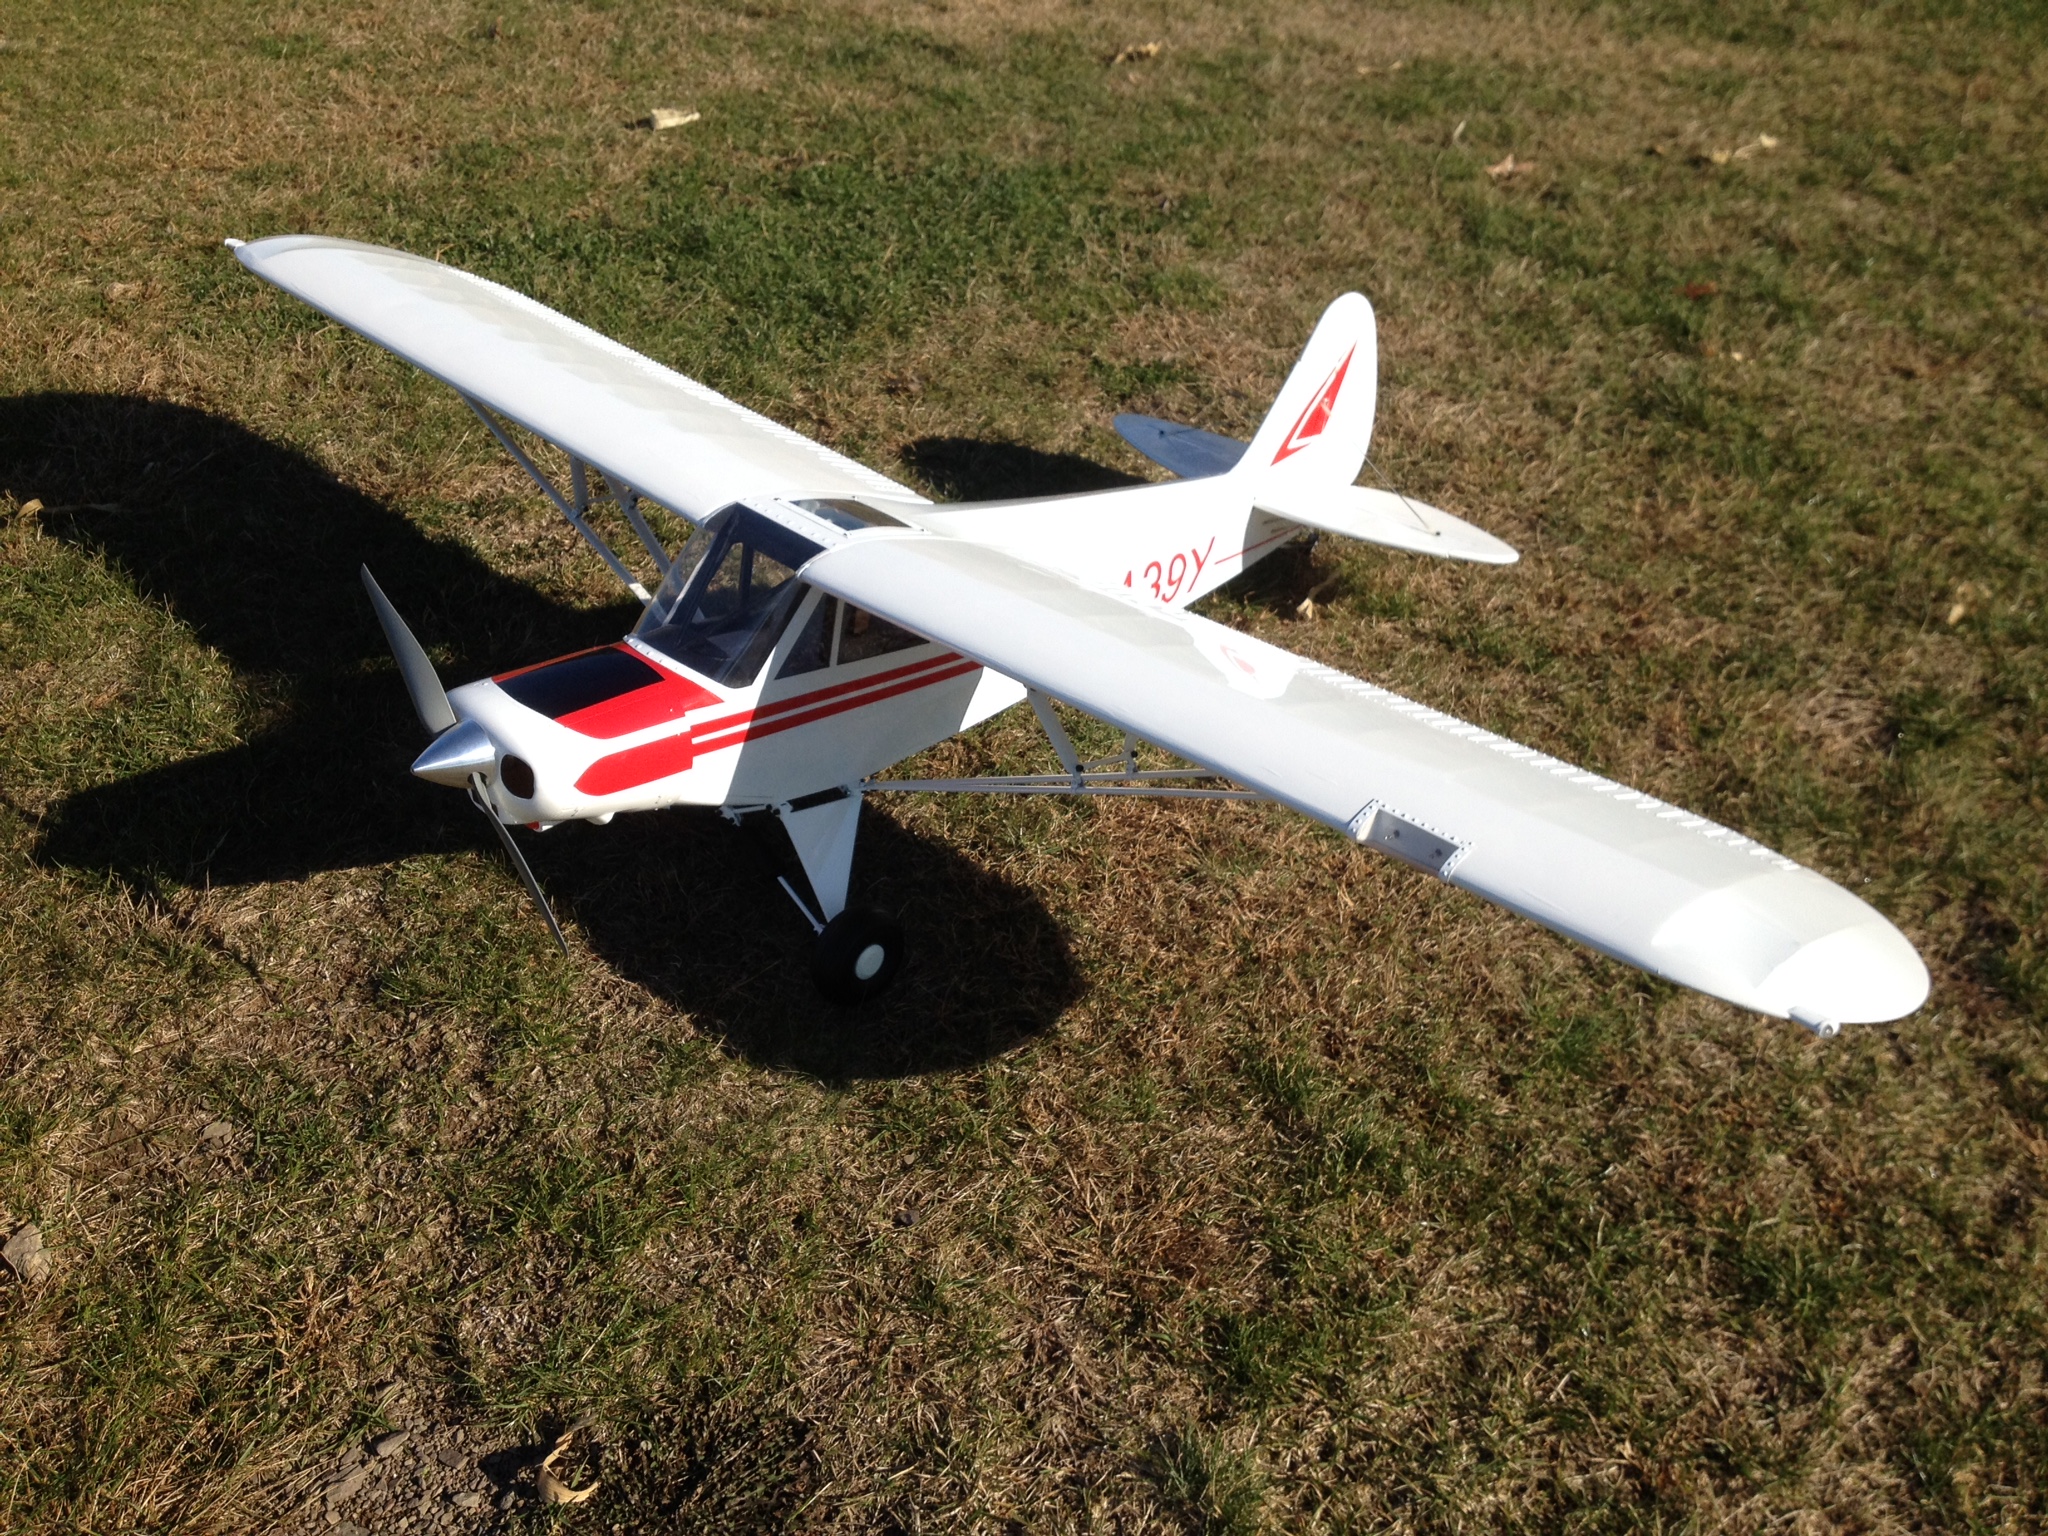
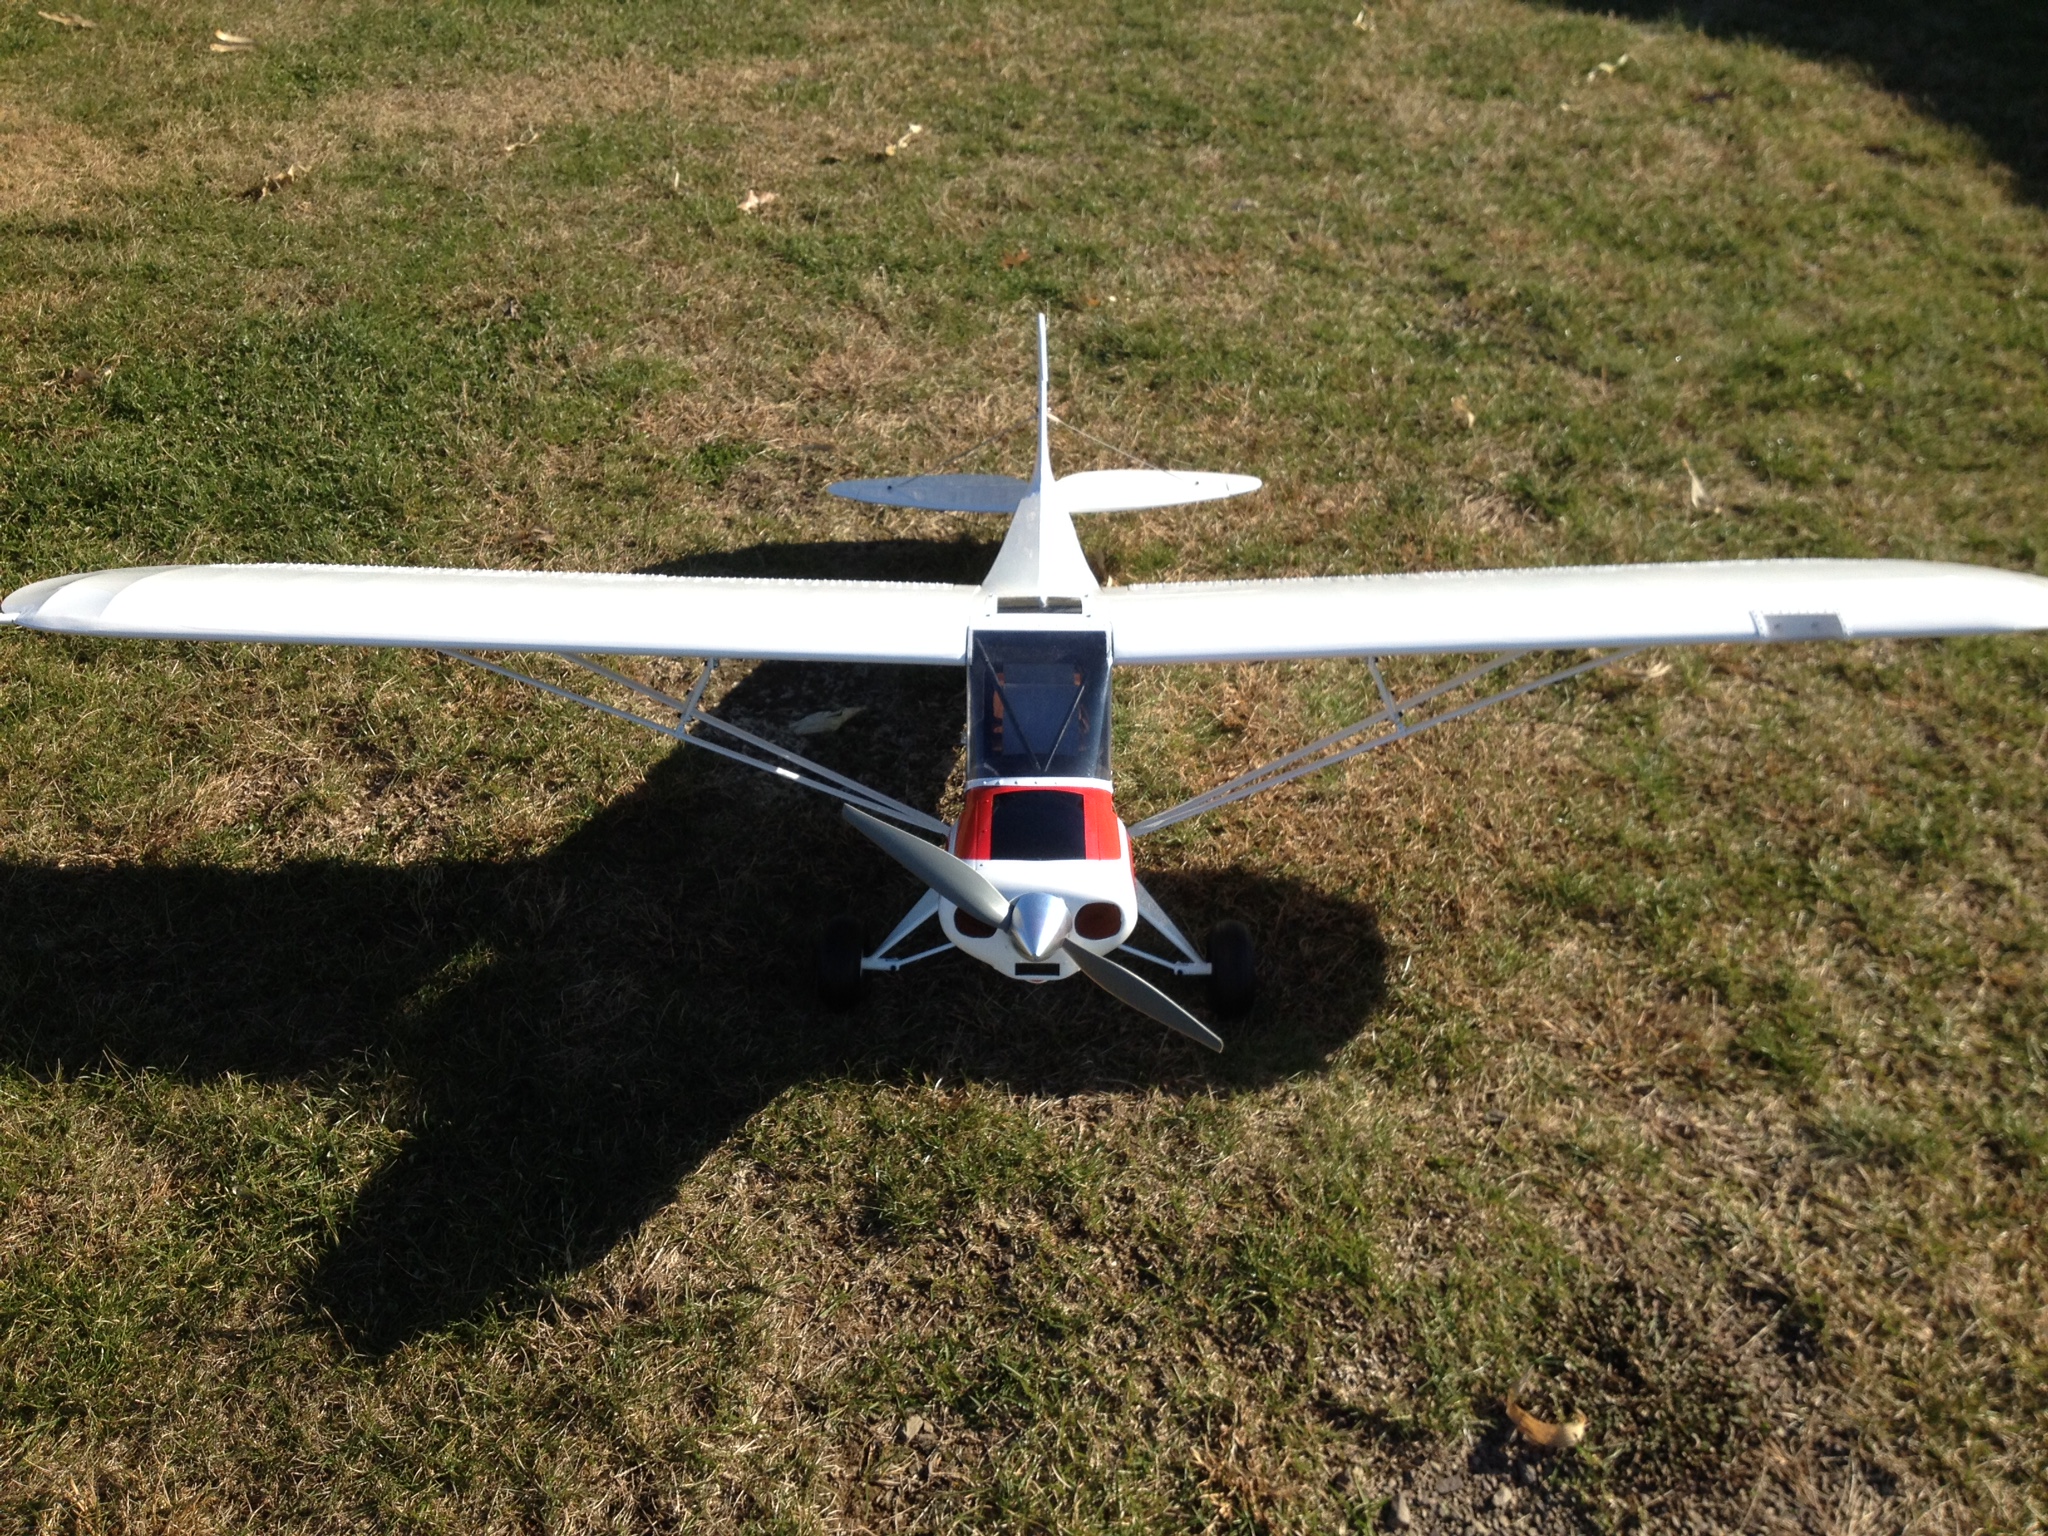
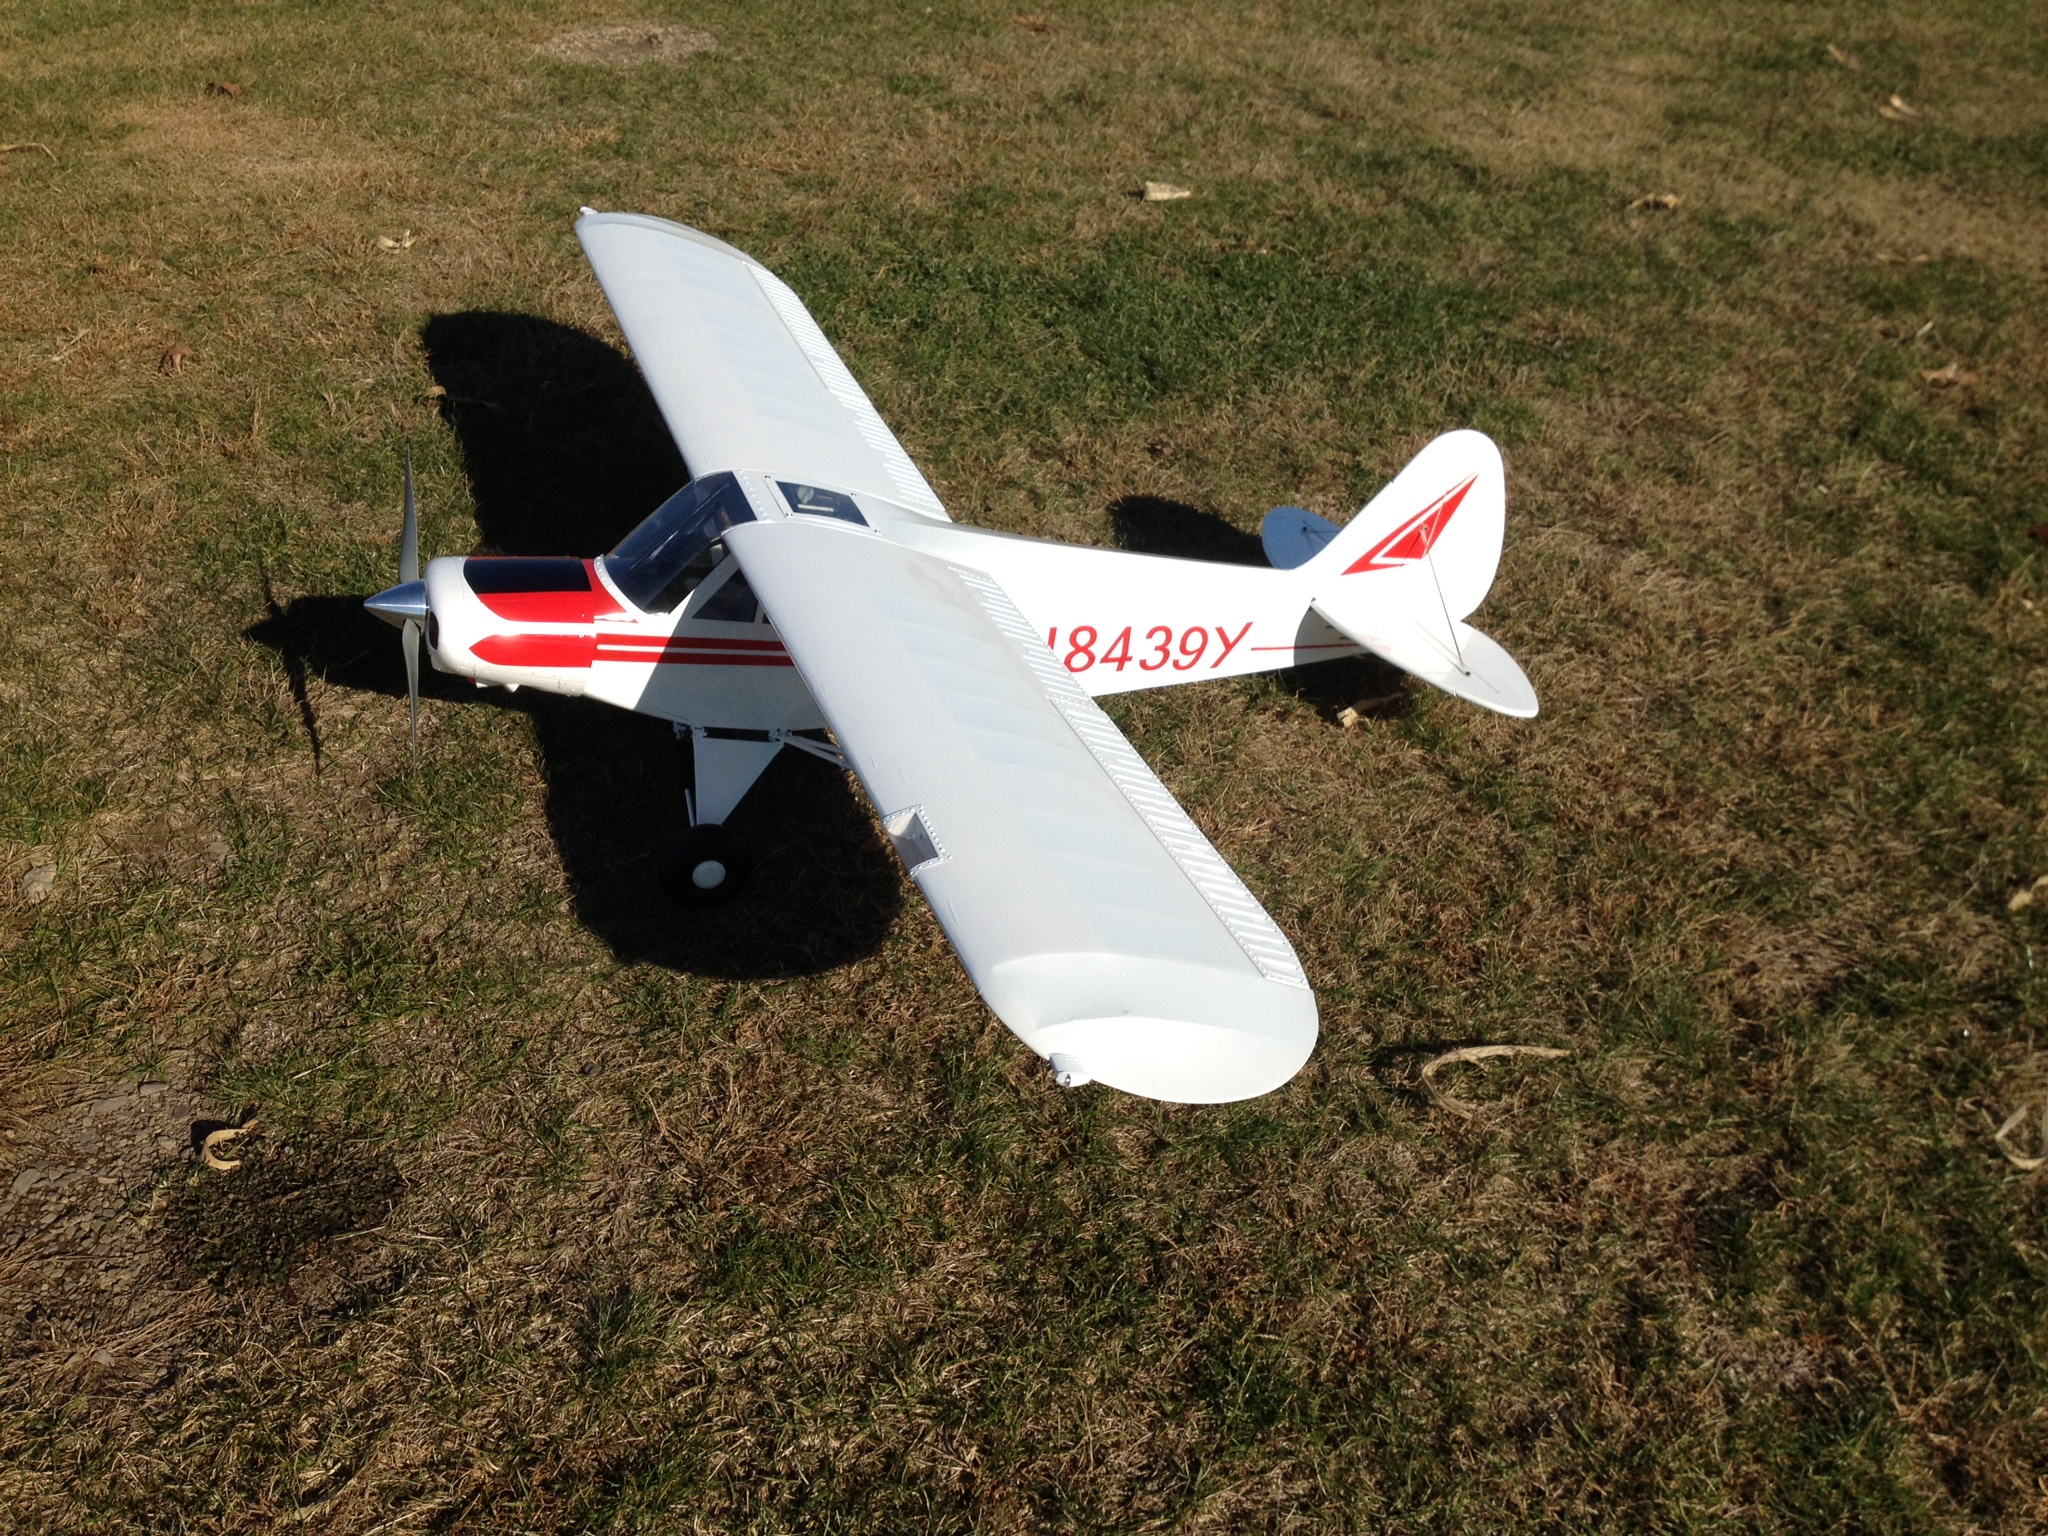
Thanks Guys! Yes... it is a highly modified Goldberg Cub. Like all Cubs it flies great! It still retains the one piece wing but the whole thing is built lighter. The OS40 four stroke is plenty of power. It'll take off grass and climb out at 1/2 throttle using an 11x6 prop and 10% fuel with added SIG castor.
11-15-2014, 02:30 PM
#2959
Senior Member
I always thought it would make a nice E-2 Cub! Just think... no fin-fuse fillet and nice 'square' tail feathers and wingtips! Pretty color schemes abound and you never, ever see them!
11-16-2014, 07:42 AM
#2961

I am assembling a Bill Hempel 40% super cub, I have been looking to build a giant cub but I don't have the space to do such a kit build so I chose the BH ARF. I will be detailing the ARF as much as I can (I have to do this to any ARF I fly). My plan is to fly it for a season then strip the covering, do my modifications and cover with a paintable fabric.
Count me in on the brotherhood.
here is the look I am going for.
TB
Count me in on the brotherhood.
here is the look I am going for.
TB

 11-22-2014, 10:09 AM
#2964


Join Date: Sep 2006
Location: Hamburg,
PA
Posts: 1,013
Likes: 0
Received 0 Likes
on
0 Posts
Flew my Eflite Super Cub today for the first time. Very nice plane no issues at all with the first flight. It got a bit windy so we only made the one flight. This plane has lots of scale details like flaps, functioning landing and fuse door that is split in two pieces. I used the power 25 with a 4S pack and it was good power for the plane does not need anymore. Flew it at 1/2 power most of the time. Landing was easy with no issues.
11-22-2014, 04:37 PM
#2965
Finally got the cowl opened for the Saito 100. Started painting it, then I can finish up the engine install. Then install the doors, and hook up the pushrod and rudder controls. The last step then are the windows.
I had to take a lot more out of the cowl than I had planned for, but it was the only way I could get the cowl over the motor.


I had to take a lot more out of the cowl than I had planned for, but it was the only way I could get the cowl over the motor.

 11-23-2014, 08:26 AM
#2969
Thanks
My biggest concern was having to cut the cowl at the fuse to make it work, which reduces its overall strength and shape. I have the first coat of dope on it and it looks pretty good, should have it done today.
My biggest concern was having to cut the cowl at the fuse to make it work, which reduces its overall strength and shape. I have the first coat of dope on it and it looks pretty good, should have it done today.
11-23-2014, 11:06 AM
#2970
Come on guys. We had a lot of you wanting brotherhood shirts. Now we have the design I'm looking to sale a few more. Total of 7 sold already. Was shooting for 20 total. Guys I have them for sale on the store front on my site. I'm not making anything on them.
 11-23-2014, 02:27 PM
#2973
OOOH my Cub is looking good. Winders are in, Cowl is painted, Engine fitted and plumbed except I forgot to set the throttle position to closed, so I dont know if its open or closed now without removing the cowl. I got the elevator pushrod in, now to attach the control arm to the elevator and set the throws. ALso have the tail braces to do and the pull pull. Once those and the throttle cable hooked up, and the windshield painted, the Fuse is done! Thine its just finishing the wings and struts.


11-23-2014, 04:01 PM
#2975
On the struts I am going to paint the front one blue, and the rear one red. Not sure about the brass part on what I want to paint that part as. I may try to polish it and clear it instead. I am really thrilled in how it came out. I fudged the cowl a little by not waiting long enough before pulling the tape off and took a little with it.