


Top Flite GS P-47 sports scale; diary of a build
 03-08-2015, 03:05 PM
#1876


http://www.acpsales.com/Carbon-Fiber...en-Sheets.html
TB

 03-09-2015, 06:51 AM
#1878
thanks OKC, no I don't fool around, got to get this bird done, but my progress pails compared to builders like Sam P., he will put in 18hr days and get a plane (kit) build done in a couple months!
Im trying to get the wing joined today so I can mate it to the fuselage and get the gear set, if I can get the wing done this week I can start finishing next week
TB
Im trying to get the wing joined today so I can mate it to the fuselage and get the gear set, if I can get the wing done this week I can start finishing next week
TB
03-09-2015, 11:31 AM
#1879
The wing is joined and gear is set. I am trying to overlook how out of scale and wrong the gear placement is on this kit or any of the TFGS P-47 kits, they reall got lazy here. But this is just a sports scale plane that I just have to deal with and accepts is flaws.


Hinge pockets done.
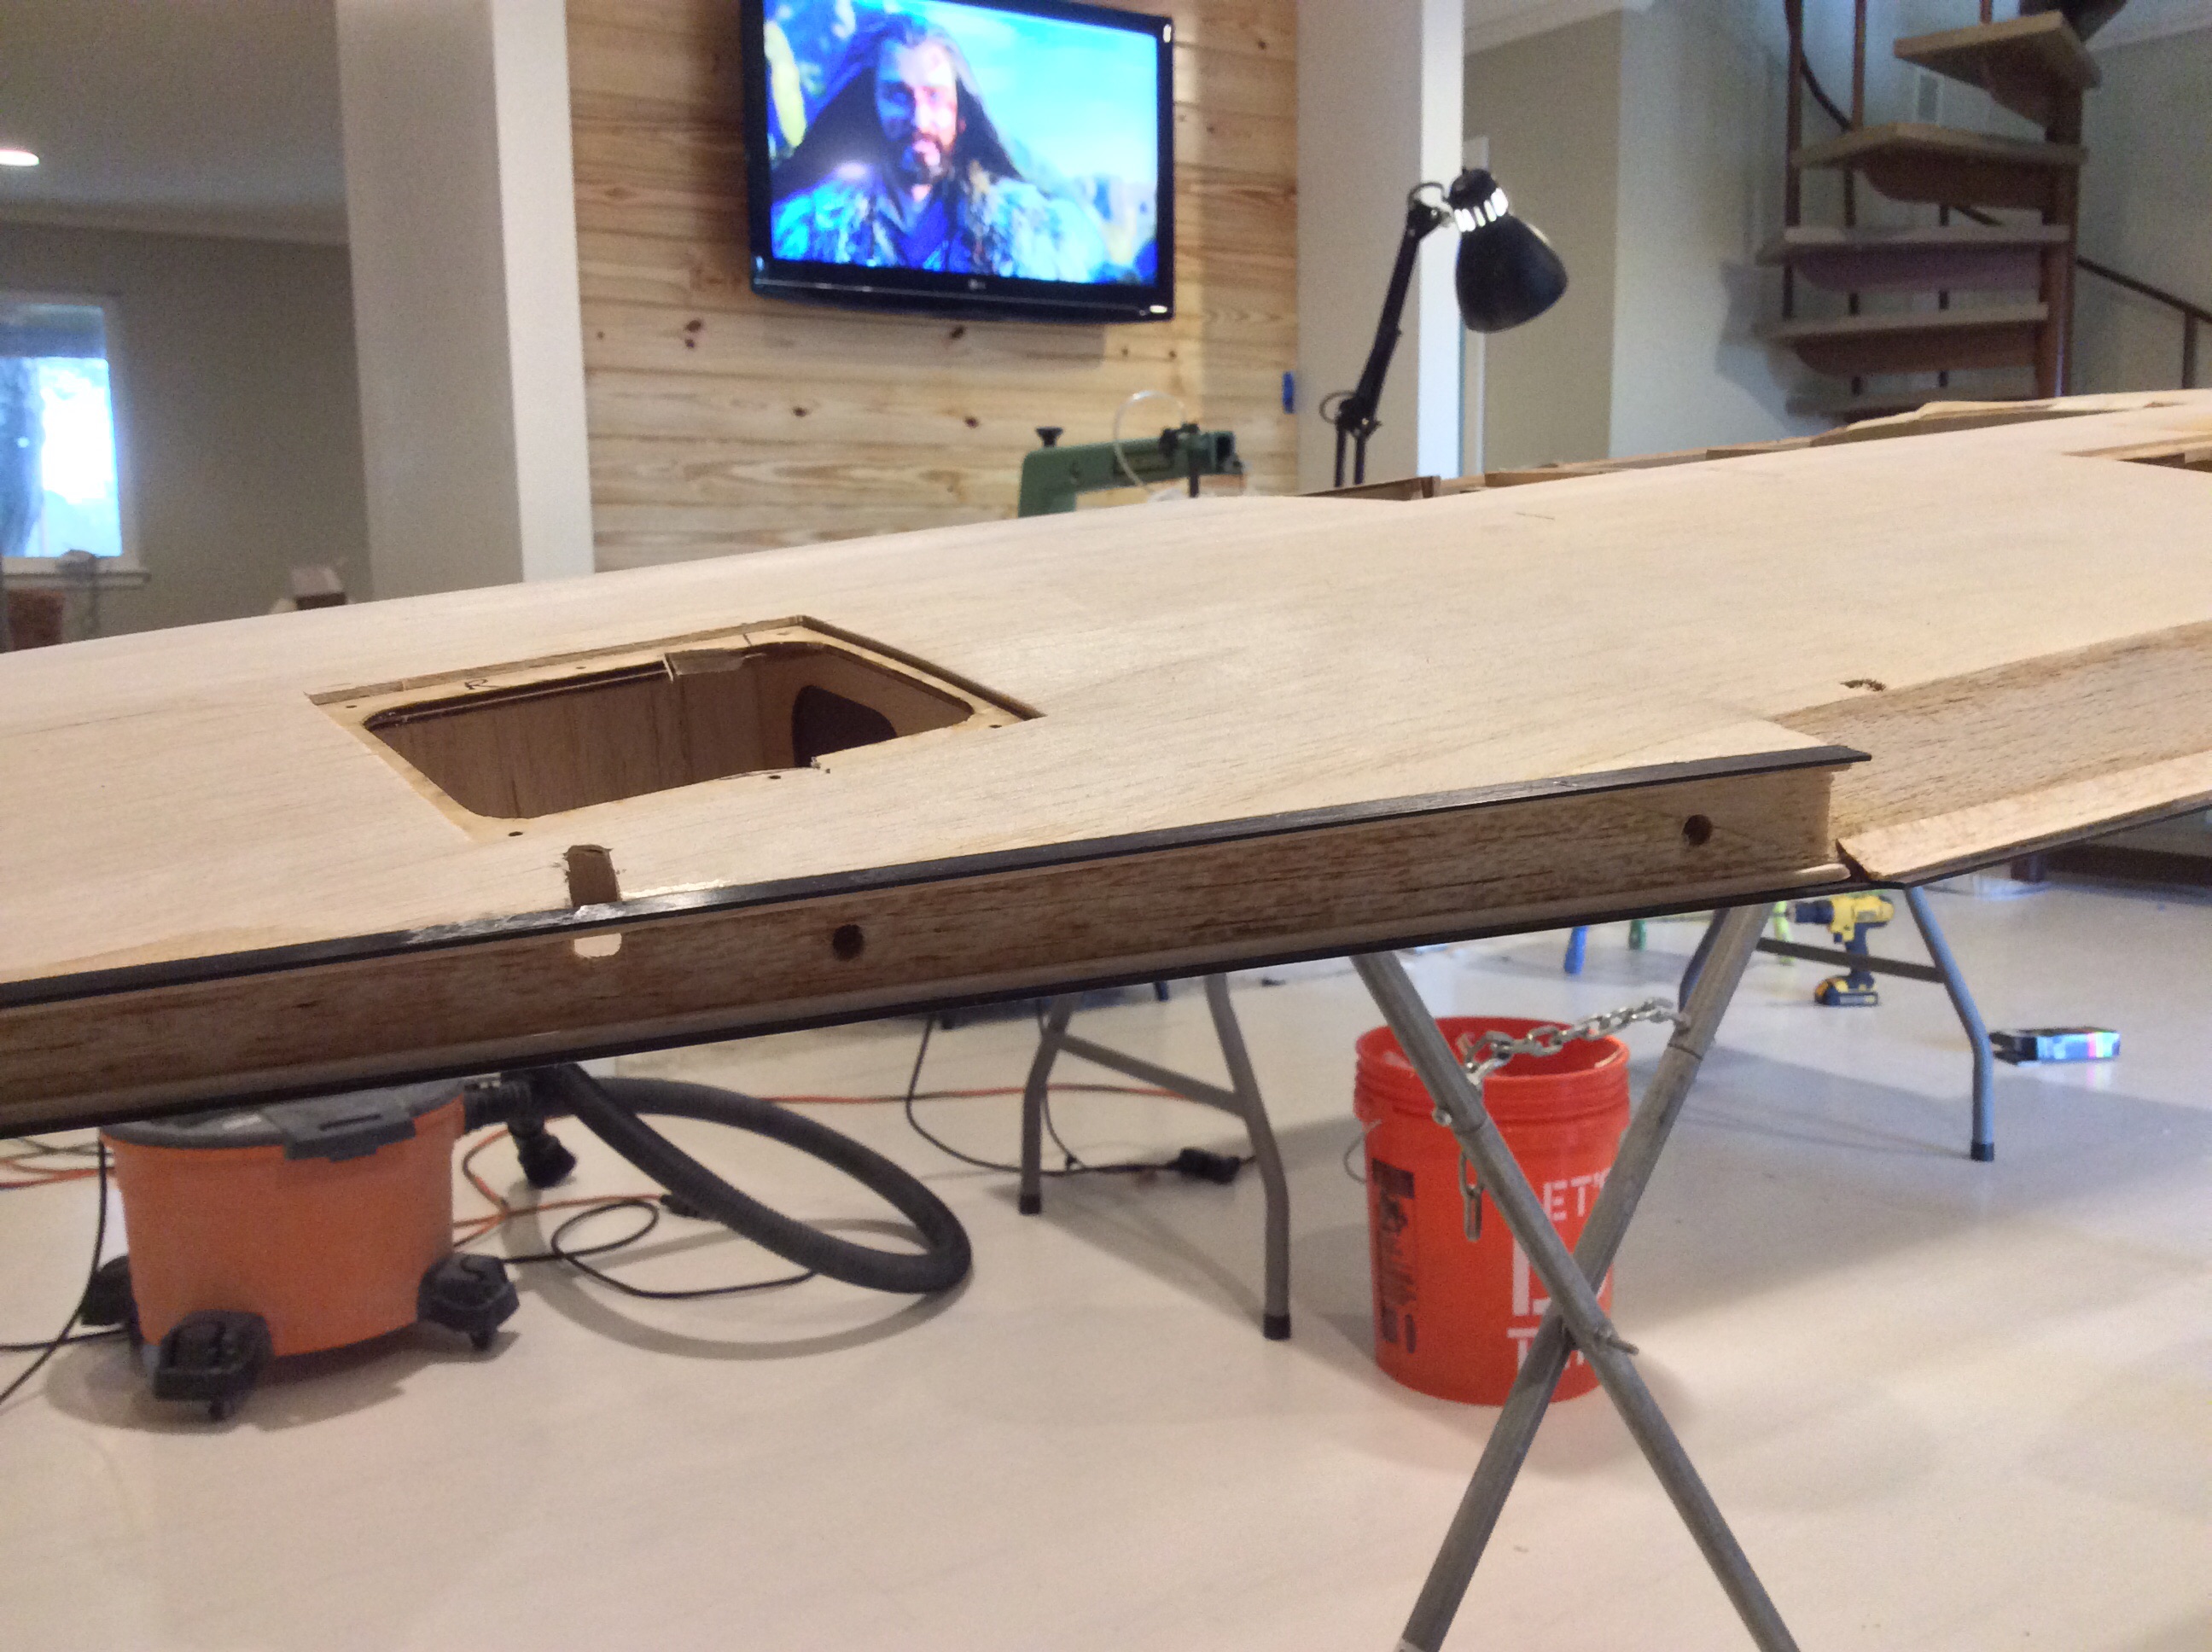
I dont one have what I deed to mate the wing to the fuselage so I will work on the wheel wells.


Progress has been made")


TB
Hinge pockets done.
I dont one have what I deed to mate the wing to the fuselage so I will work on the wheel wells.
Progress has been made
TB
03-09-2015, 12:45 PM
#1881

My Feedback: (2)

Join Date: Jun 2013
Location: Evansville, IN
Posts: 429
Likes: 0
Received 0 Likes
on
0 Posts
Tony, have a really serious question for you.......... did you like Lord of the Rings or The Hobbit better??? Saw the Hobbit on your Tv in the pic............ LOL
Plane is looking great and I would bet that 8 of 10 people wouldn't even know the gear weren't perfectly scale on the plane.... Look great to me........
Keith
Saw the Hobbit on your Tv in the pic............ LOLPlane is looking great and I would bet that 8 of 10 people wouldn't even know the gear weren't perfectly scale on the plane.... Look great to me........
Keith
03-09-2015, 02:05 PM
#1882
Tony, have a really serious question for you.......... did you like Lord of the Rings or The Hobbit better??? Saw the Hobbit on your Tv in the pic............ LOL
Plane is looking great and I would bet that 8 of 10 people wouldn't even know the gear weren't perfectly scale on the plane.... Look great to me........
Keith
Saw the Hobbit on your Tv in the pic............ LOLPlane is looking great and I would bet that 8 of 10 people wouldn't even know the gear weren't perfectly scale on the plane.... Look great to me........
Keith
The problemb with the gear is not as much as the look but the geometry of the gear. When the plane is level the axles center should be plumb to the LE of the wing. This is impossible without doing what I did on my kit builds. The way the gear is setup for the ARF/ RTC is set back a bit and is squar to the wing for eas of instalation and so the wheels will somewhat fit in the wing. This give this plane that acward forward lean on takeoff and can couse noes overs too.
TB
03-09-2015, 02:48 PM
#1883
My Feedback: (2)
Join Date: Jun 2013
Location: Evansville, IN
Posts: 429
Likes: 0
Received 0 Likes
on
0 Posts
I understand the issue now. I have seen some P-47 nose over on Youtube. I wonder if that might be the issue or just rough grass??
Still looks great to me.......
Keith
Still looks great to me.......
Keith
03-09-2015, 04:05 PM
#1884
My Feedback: (6)
One of the old books I have shows when the bird is on jack stands and leveled the plum line passes along the aft side of the axle, tried to copy the diagram ,but lines are so lite it's not reproducible, on the full size bird the gear when retracted angle back at about 13 deg's so the knuckle is set so when the gear is down and the weight off, is slightly angled in and fwd. I will try to see if my old hard drive will surrender some copies of republic dwgs pages that I managed to get that were blown up from micro film \.
Don't mean to muddy the water.
I like Tony's method better
Don't mean to muddy the water.
I like Tony's method better
03-09-2015, 04:24 PM
#1885
My Feedback: (13)
Join Date: Oct 2002
Location: GUELPH,
ON, CANADA
Posts: 830
Likes: 0
Received 0 Likes
on
0 Posts
Hey Tony,
Great build thread, I'm really enjoying following along.
Just a question for you, its a little off topic.
Which manufacturer is the Piper Pawnee in your trailer. I have been looking at getting one and
am considering the 25% BH Pawnee.
thx
Dave
Great build thread, I'm really enjoying following along.
Just a question for you, its a little off topic.
Which manufacturer is the Piper Pawnee in your trailer. I have been looking at getting one and
am considering the 25% BH Pawnee.
thx
Dave
03-09-2015, 05:47 PM
#1886
I thought I did not have what I needed to do the wing dowls, but I did. I am using aluminum dowls, I won't use wood!
So I drilled them into the forward mount ply block. The kit has these short 3/8" x 2" that just get glued into the LE and balsa block. I drilled threw the ply block and glued in 4" 3/8" aluminum dowls.
The wing sits perfectly on the saddle.


The fiberglass saddle is really nice, I was going to do this on my kit build.


The belly pan on the RTC Kit is ok but I have the carbon fiber belly pan from the prototype and I will use that.
One thing about a plane like this it will be 30lb and I like to lift them from the belly, the light one would not hold up, the CF one is 10x stronger and will.


I need to trim the back side and then it will be ready to go once I glass the wing joint.


Starting to look like a plane!


I am swaping out the heavy weak aluminum stab spar tubes with stronger lighter Carbon Fiber tubes. This should help in keeping the tail light.


TB
So I drilled them into the forward mount ply block. The kit has these short 3/8" x 2" that just get glued into the LE and balsa block. I drilled threw the ply block and glued in 4" 3/8" aluminum dowls.
The wing sits perfectly on the saddle.
The fiberglass saddle is really nice, I was going to do this on my kit build.
The belly pan on the RTC Kit is ok but I have the carbon fiber belly pan from the prototype and I will use that.
One thing about a plane like this it will be 30lb and I like to lift them from the belly, the light one would not hold up, the CF one is 10x stronger and will.
I need to trim the back side and then it will be ready to go once I glass the wing joint.
Starting to look like a plane!
I am swaping out the heavy weak aluminum stab spar tubes with stronger lighter Carbon Fiber tubes. This should help in keeping the tail light.
TB
Last edited by TonyBuilder; 03-09-2015 at 05:50 PM.
03-10-2015, 03:25 AM
#1889
I test fit the bomb shackles, they fit good and just some minor trimming to get them flush. I want to paint them so I will get them trimmed.


Here are the aluminum wing dowls.


Im waiting on some carbon fiber cloth so I can glass the center section of the wing then I can fit and install the belly pan.
I think I will order som 6" aluminum aerofoil from Meister scale to do the cowl and the belly, plus this will be a good test as how it works for when I do the Meister build.
TB
Here are the aluminum wing dowls.
Im waiting on some carbon fiber cloth so I can glass the center section of the wing then I can fit and install the belly pan.
I think I will order som 6" aluminum aerofoil from Meister scale to do the cowl and the belly, plus this will be a good test as how it works for when I do the Meister build.
TB
Last edited by TonyBuilder; 03-10-2015 at 03:28 AM.
03-10-2015, 04:56 AM
#1890
Hey TB, when using a small diameter Carbon fiber (.04 x 0.22 x 23.6") does a tube seem to be as effective as a solid rod or is there something to gain by using the solid rod? I am reinforcing the leading edge of a vertical stab because I had to remove a little over half the material in one spot. I plan on running the CF tube the entire length of the edge.
Last edited by FlyerInOKC; 03-10-2015 at 05:20 AM.
03-10-2015, 05:31 AM
#1891
Ok gang, Mr. Wishy washy here
I have come to the conclusion that there is no way I can get the gear/ wheels into the wing and have scale doors that will come close to closing. So I thought, why not use the wing from my kit build, it is mostly done and the wheels will fit and be a better look with the scale gear location. So I will look at that and with the yellow retracts.
The current wing will be better for the guy that is taking the kit as the Robarts will drop in and he can deal with it.
Anyways a little setback but the right choice.
TB
03-10-2015, 06:02 AM
#1892
Hey TB, when using a small diameter Carbon fiber (.04 x 0.22 x 23.6") does a tube seem to be as effective as a solid rod or is there something to gain by using the solid rod? I am reinforcing the leading edge of a vertical stab because I had to remove a little over half the material in one spot. I plan on running the CF tube the entire length of the edge.
[TABLE="width: 100%"]
[TR]
[TD="class: alt2"]The solid will always be stronger, the hollow will be lighter and it depends on the application. I can snap or bend the hollow much easyer then the solid, just use your intuition, if it feels like it will work or be best use what makes more sence.
[/TD]
[/TR]
[/TABLE]
Hope this helps coming frome Mr. Wishy Washy

TB
03-10-2015, 06:48 AM
#1893
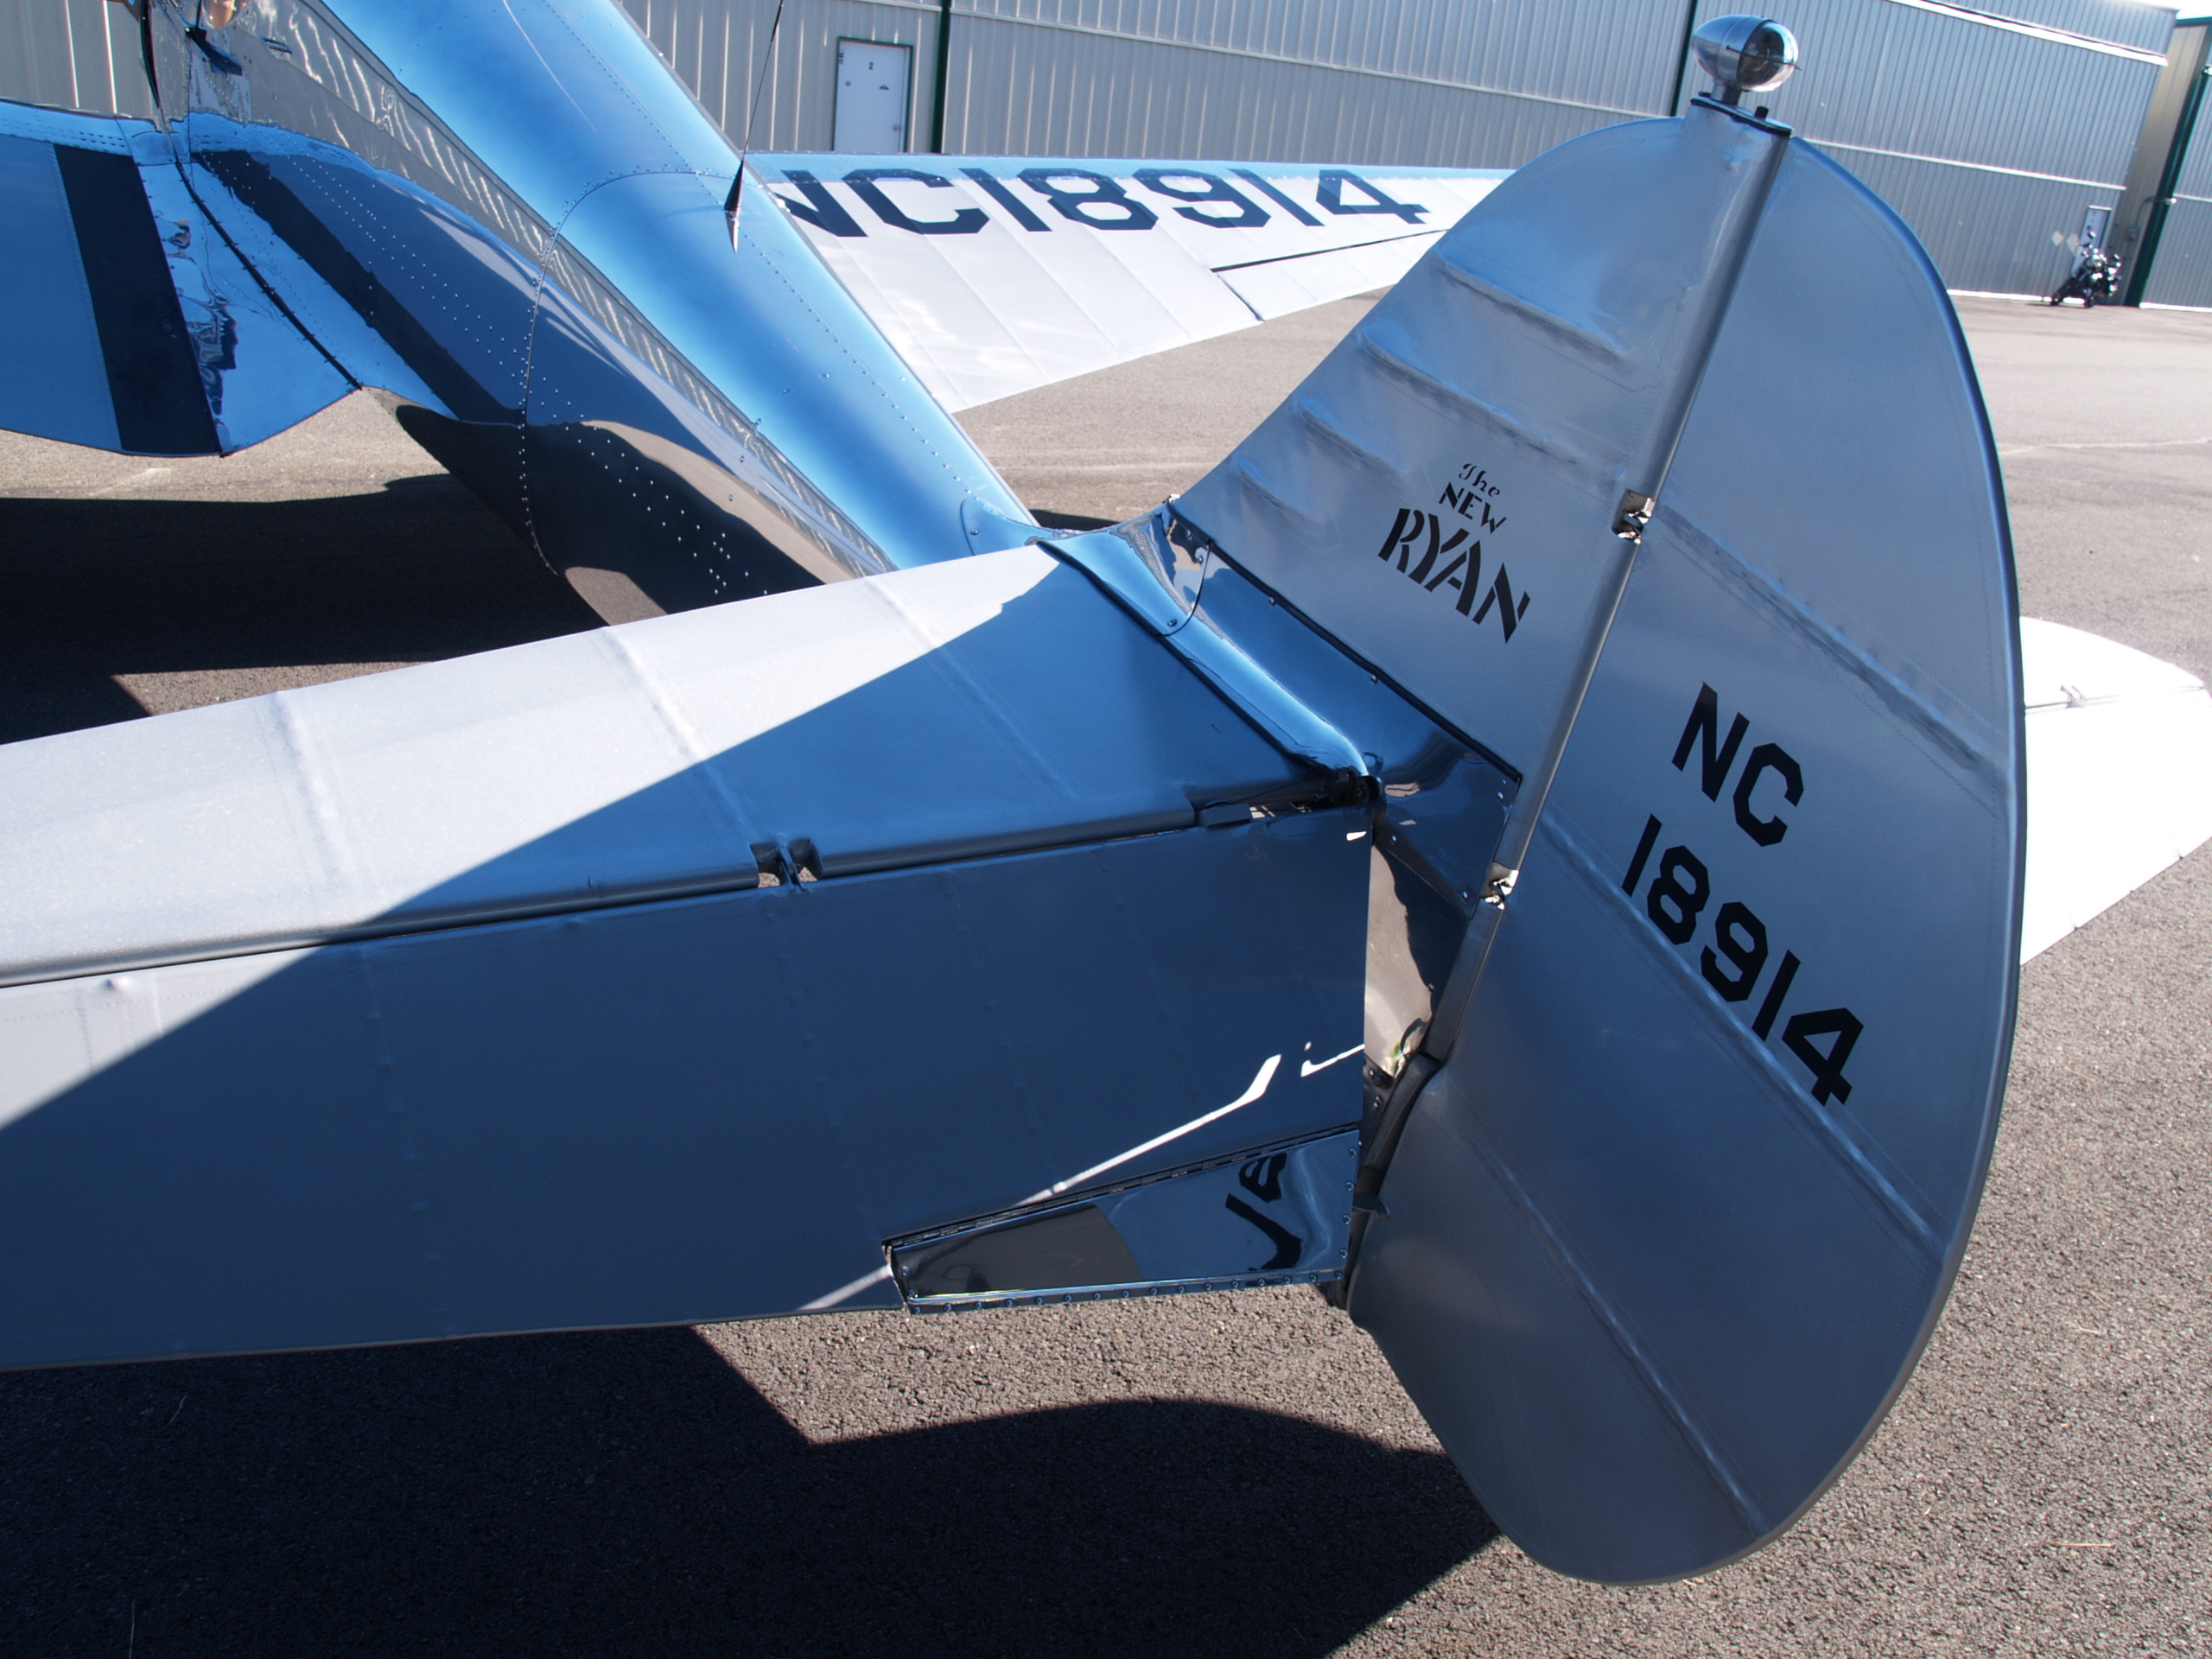
It helps, I think I'll be good with the hollow I want the area to be as strong as the balsa would be uncut and the tube would be as if not a little stronger when glued and a layer of fiberglass covering the area. I will be sheeting the area above and below where the vertical and horizontal stabs meet and then fiberglass the sheeting as a base to simulate the sheetmetal in this area of the full scale airplane. Here are a couple of photos to give you an idea.


Last edited by FlyerInOKC; 03-10-2015 at 07:11 AM.
03-10-2015, 12:49 PM
#1897
Ok so with another change of heart/ plans I will start finishing the fuselage as it is done. I sent my retracts back to Darrlle and he is going to swap them out for the ones I use to have the yellow gear, talke about taking the long way. I just sold them last week and now I need new ones
so while I am waiting on the gear and my wing, I need to go get them on Thursday, they are at home!
I will start to cover the tail feathers and the taile section so I can glue in the elevator, and the rudder, install the linkages and the pull pull for the stering and ruder. So lots to do. I should be able to cover everything up to the inner cooker doors.
Right now now some of you are thinking " why not just finish the kit build?" Well that would be a good question or thought. I have thought that a few times this year. It comes down to I just don't want to go threw all that work and time. Glassing, painting and all the detailing required. So that is the main reason. Secondly I don't want all the complications of the cowl, canopy, inner cooler doors, and the scale exhaust. I feel I can get a good simple modle with what I am ding. I will save all the other stuff for the Meister, so that's it in a nutshell.
I talked to Dino and asked him to send me 10' of the 6" aero foil, I want to practice on this plane as I will cover the Meister with the aluminum tape.
TB
Last edited by TonyBuilder; 03-10-2015 at 12:51 PM.
03-11-2015, 05:23 AM
#1898
I did a test run on the system I will be using for detailing. I applied 1/64" chart tape on the panle lines.
With the yellow it is more transparent then the darker colors so the lines show.


One good thing (the only good thing) about iron on covering is that it is instant finishing.
I will add the surface details next to see how that looks.
I installed the tail navigation light housing.


Surface details are cut from the same covering and will be applied with the vinyl rivets.


Next I will do one side of the stab with the aluminum to see how that goes.
TB
With the yellow it is more transparent then the darker colors so the lines show.
One good thing (the only good thing) about iron on covering is that it is instant finishing.
I will add the surface details next to see how that looks.
I installed the tail navigation light housing.
Surface details are cut from the same covering and will be applied with the vinyl rivets.
Next I will do one side of the stab with the aluminum to see how that goes.
TB
Last edited by TonyBuilder; 03-11-2015 at 05:50 AM.