


Royal Bearcat Build - Electric
 11-23-2023, 01:07 PM
#1

Thread Starter
Hello, I started this hobby back in the mid 90s, but have been out of for a long time. Decided to get back into it and was digging into my kits trying to decide on a project. I kept seeing the Bearcat kit and thought that was a cool looking airplane, but was concerned about coolng a nitro motor and came to the conclusion that electric power could simplify some of those issues. I'll admit that I have been anti electric for a long time, but I haven't given it a fair shake, and the technology is better than it used to be. This kit is good size for an electric motor, and thought others might like to see my attempt at this old kit. I would appreciate some recommendations for a strong power system for this model. I will make a few changes such as alignment tabs on the ribs, concealed linkages, and a hatch on the top of the fuse.
 11-23-2023, 01:14 PM
#2
Thread Starter
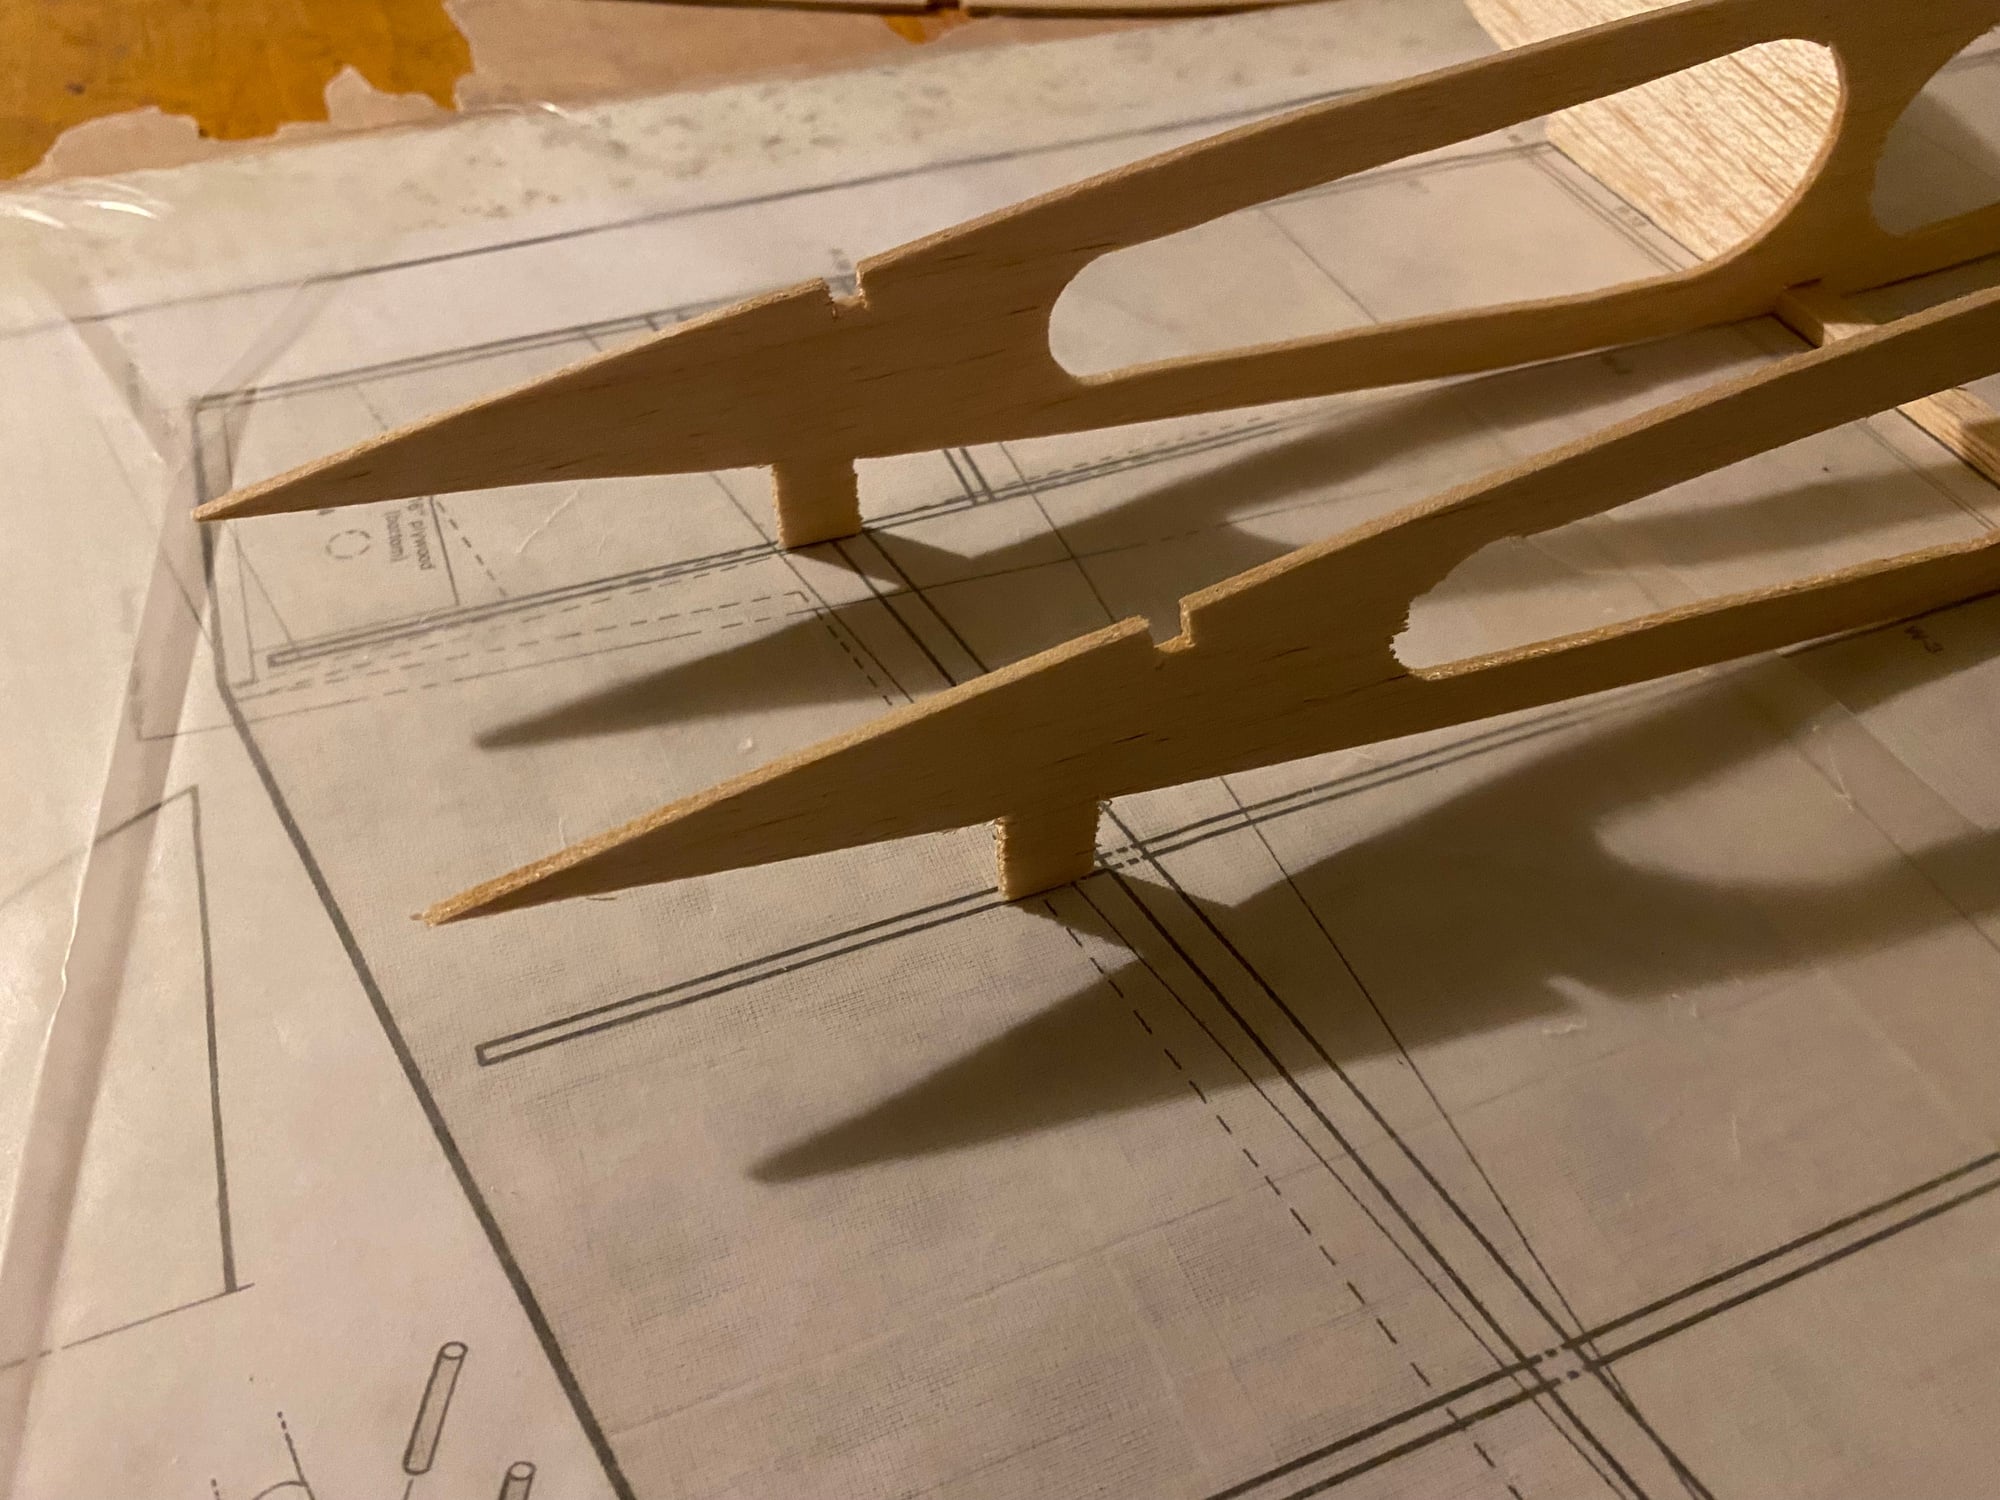
This drawing shows a rib from the kit and my changes to the rib. I am adding cutouts, and adding a tab that will self center. The instructions state to draw a center line on the rib and glue it to the spar while keeping the center level with the table. I added the tabs to make this part easy. They get cut off later
11-23-2023, 01:22 PM
#3
Thread Starter
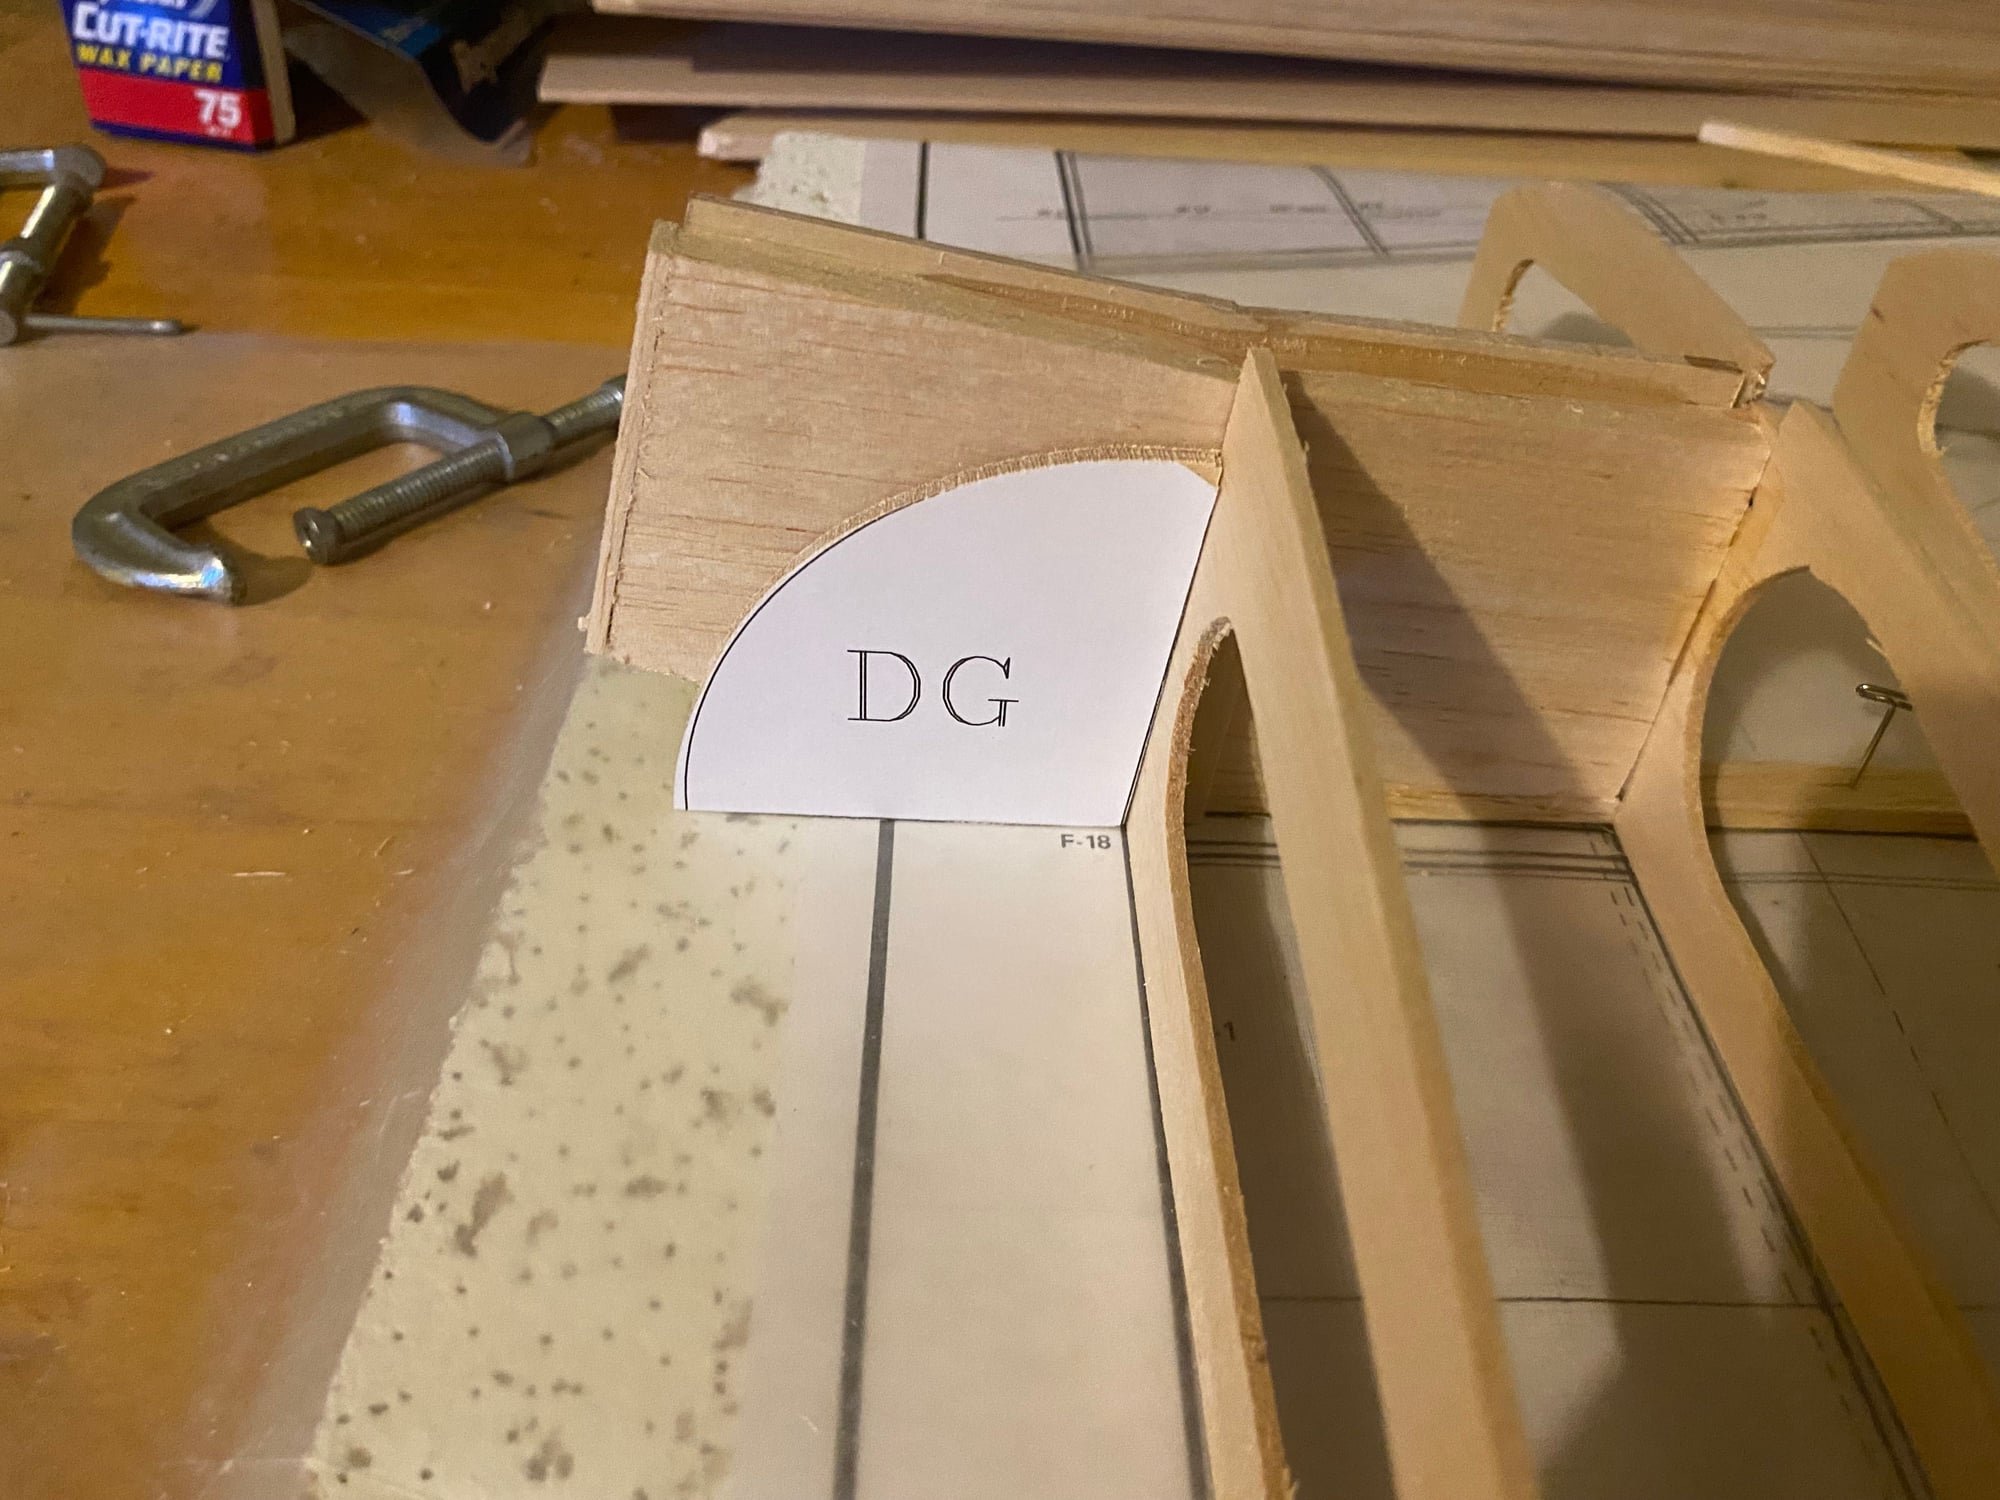
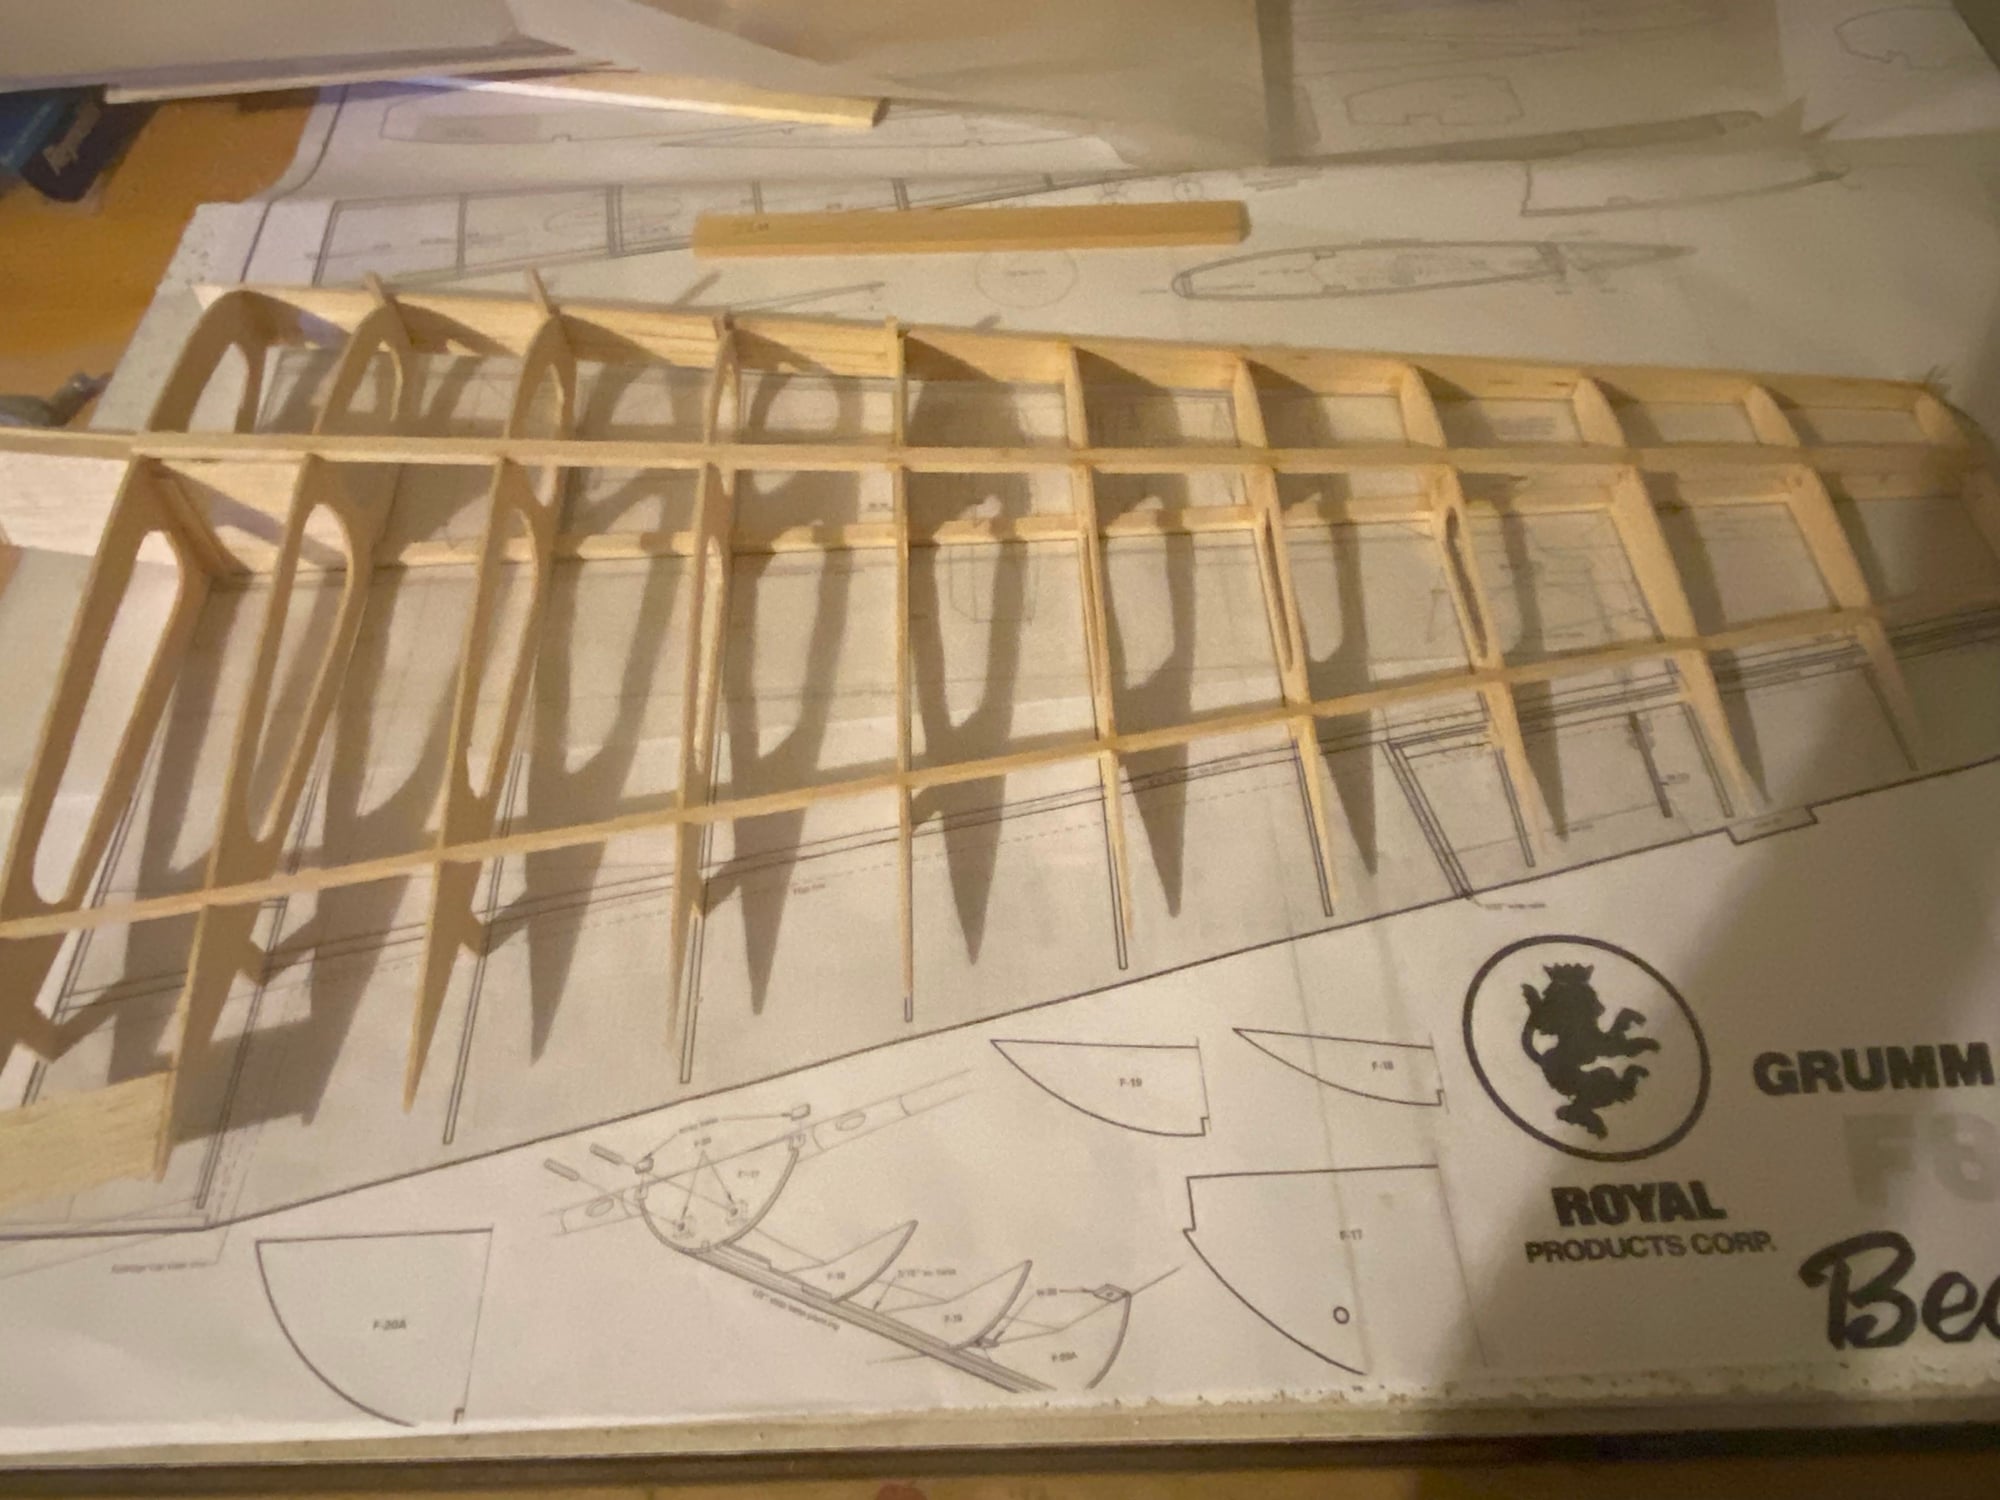
Like most kits, the wing is built on top of the plans. The bottom spar is pinned to the work surface and the ribs are glue in place. Step one was to glue a balsa center section to the spar, and glue ribs in place. I made a diehedral gage for the W1. It is made with a 5.5 degree angle as shown on the drawing. Sorry for the poor lighting on these

11-26-2023, 01:42 PM
#4
Thread Starter
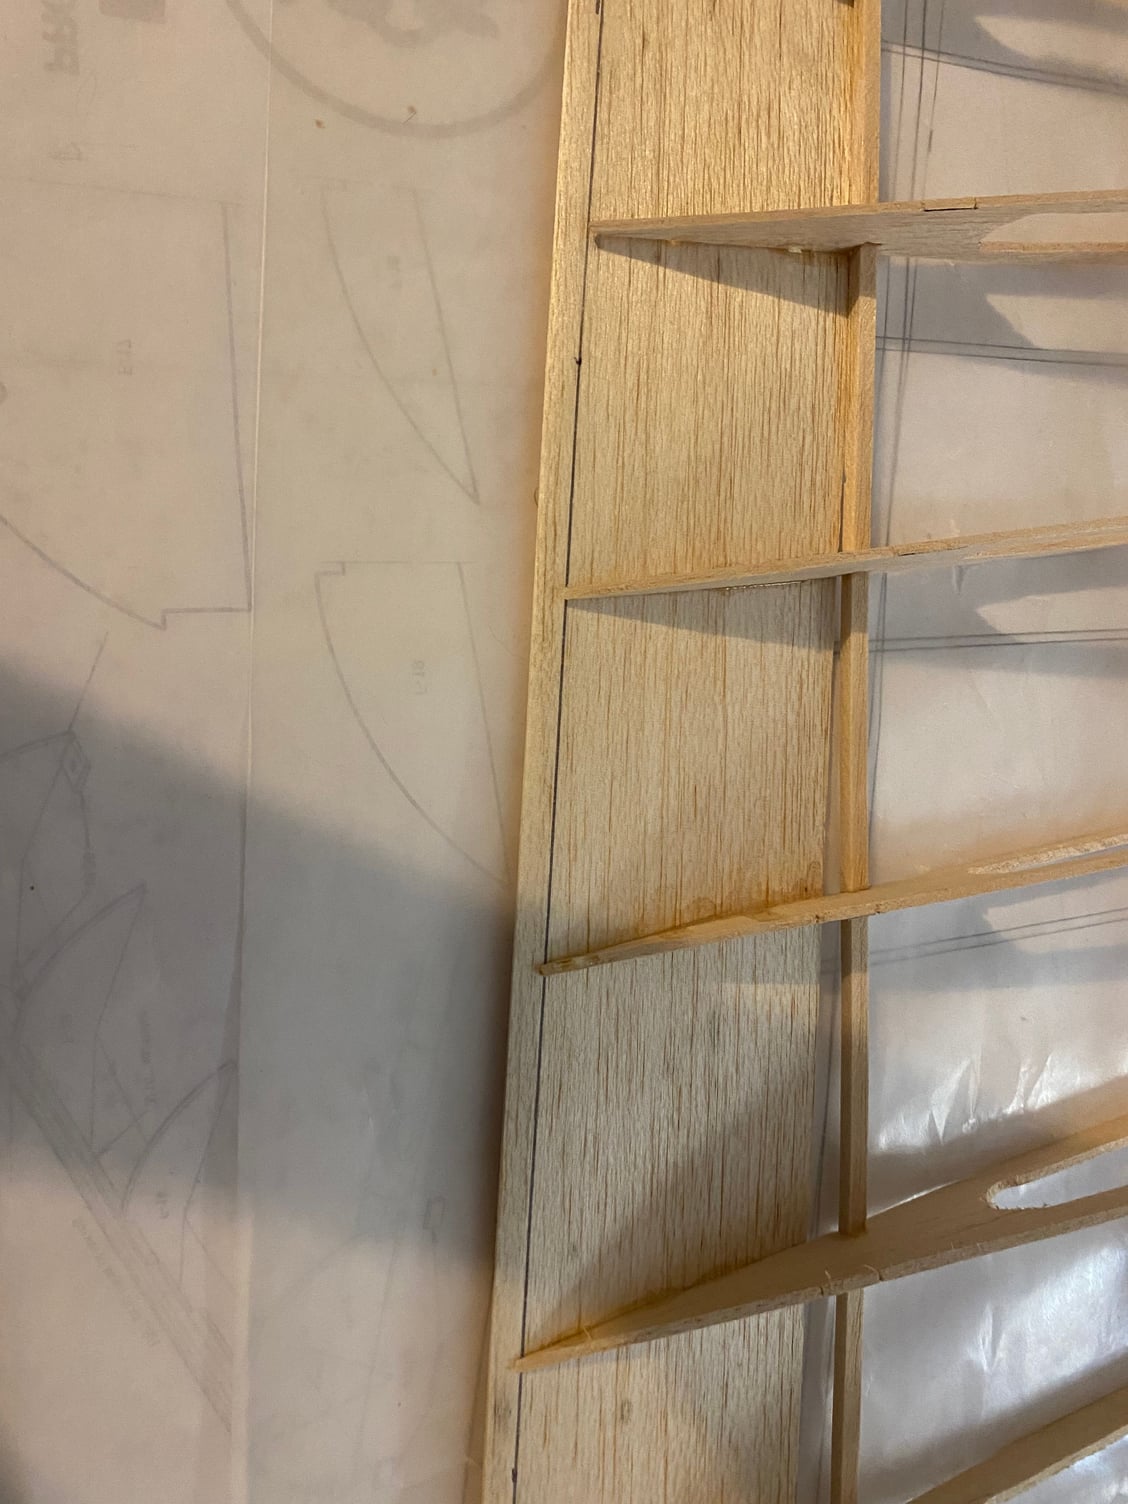
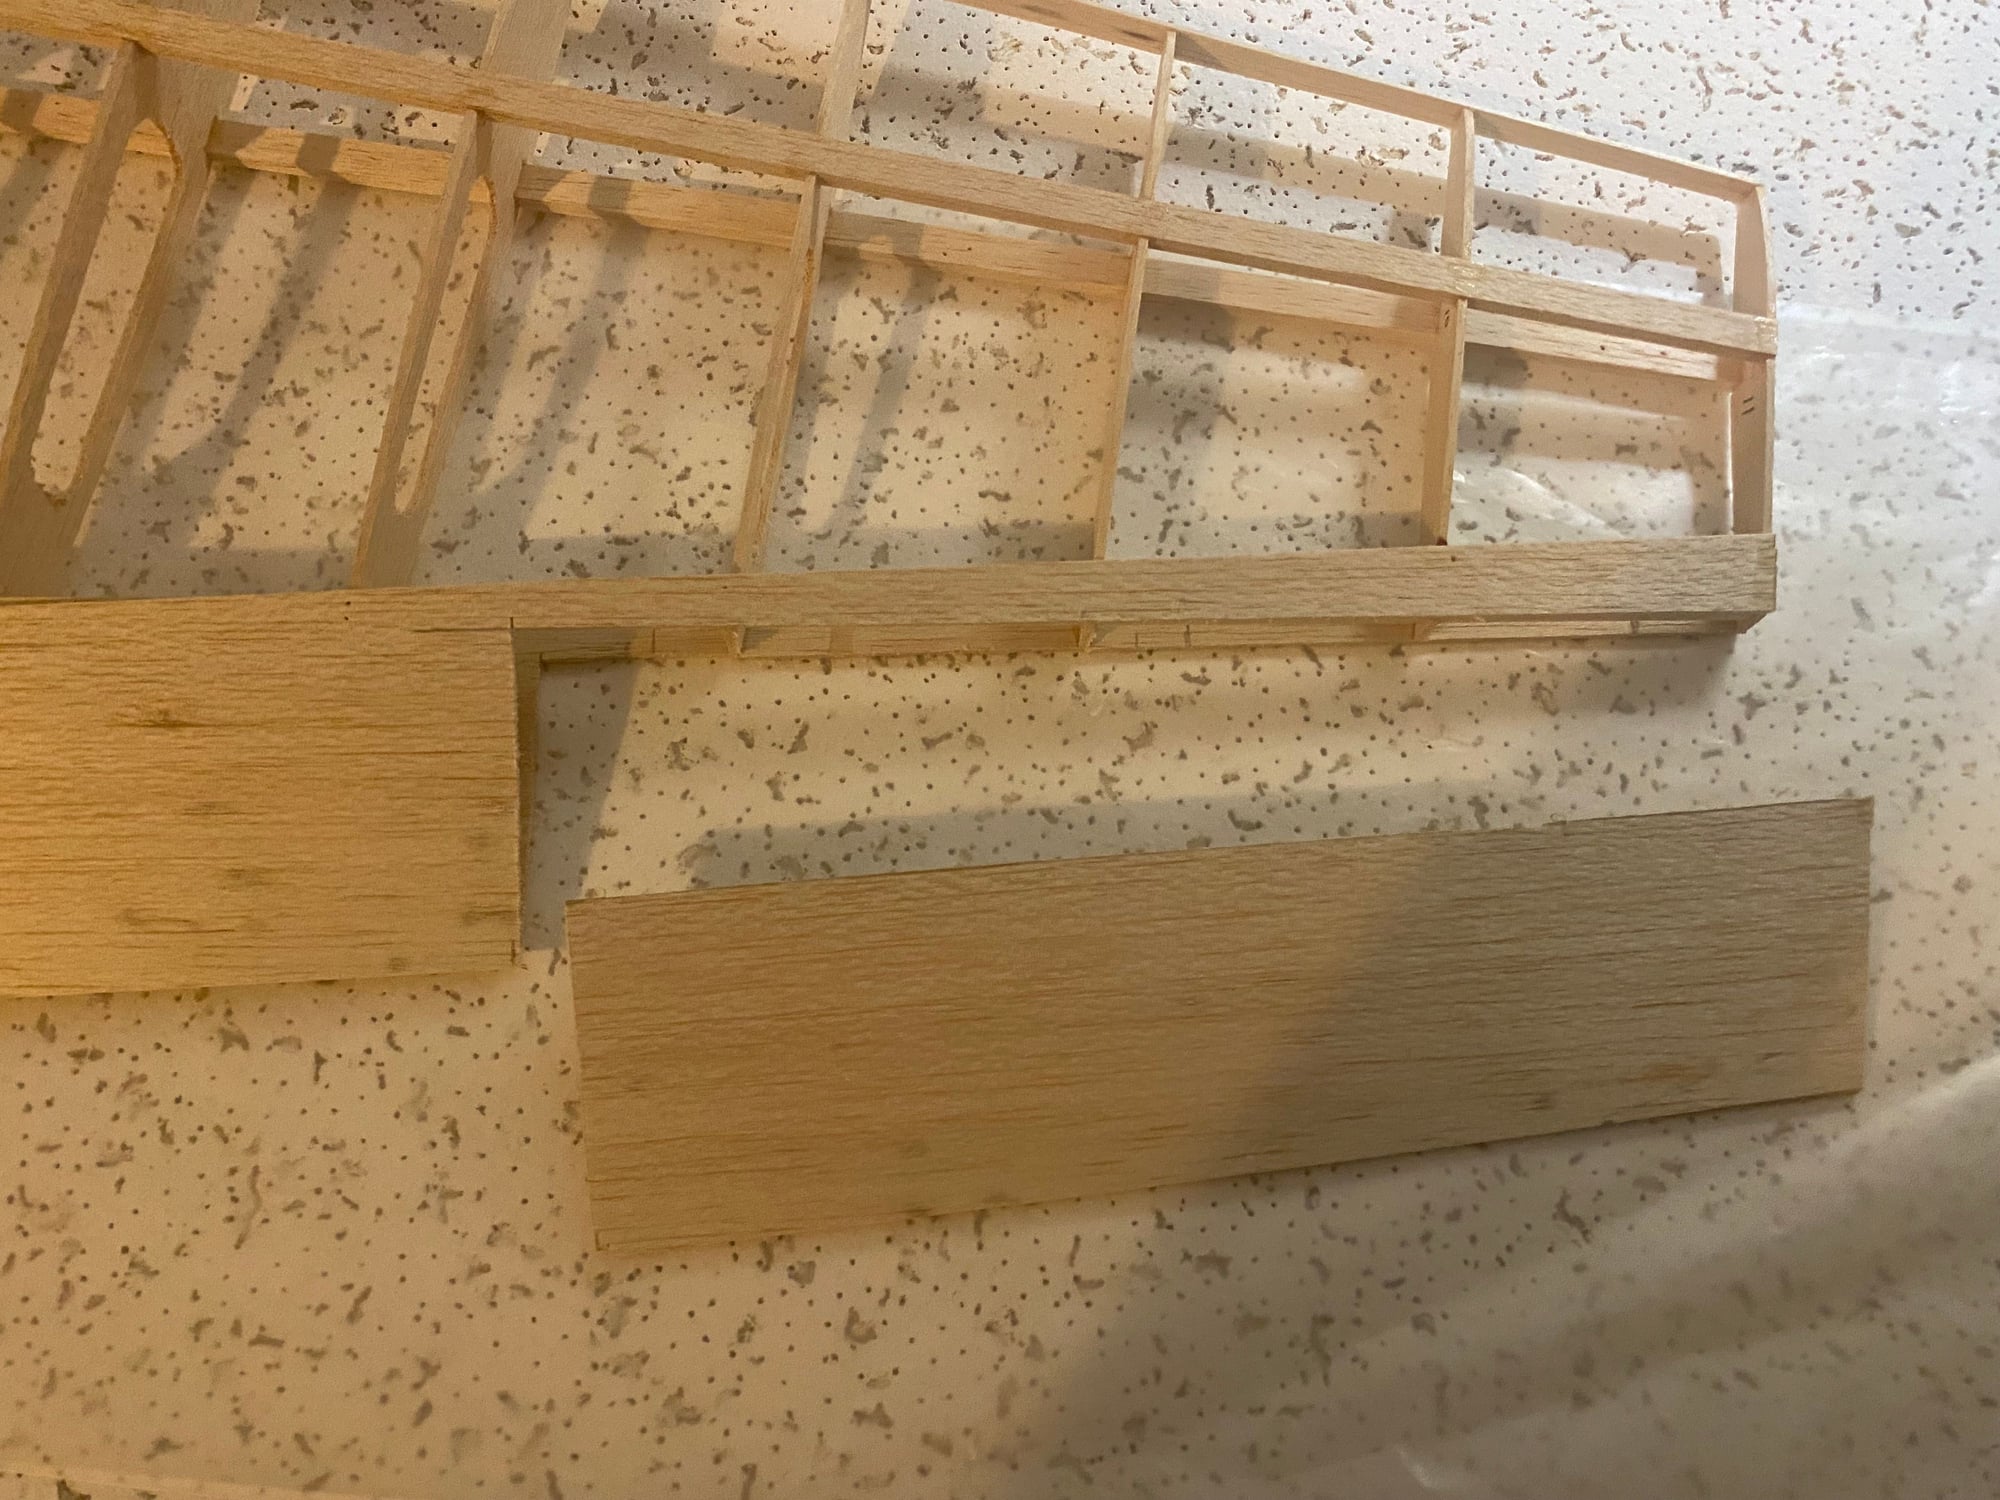
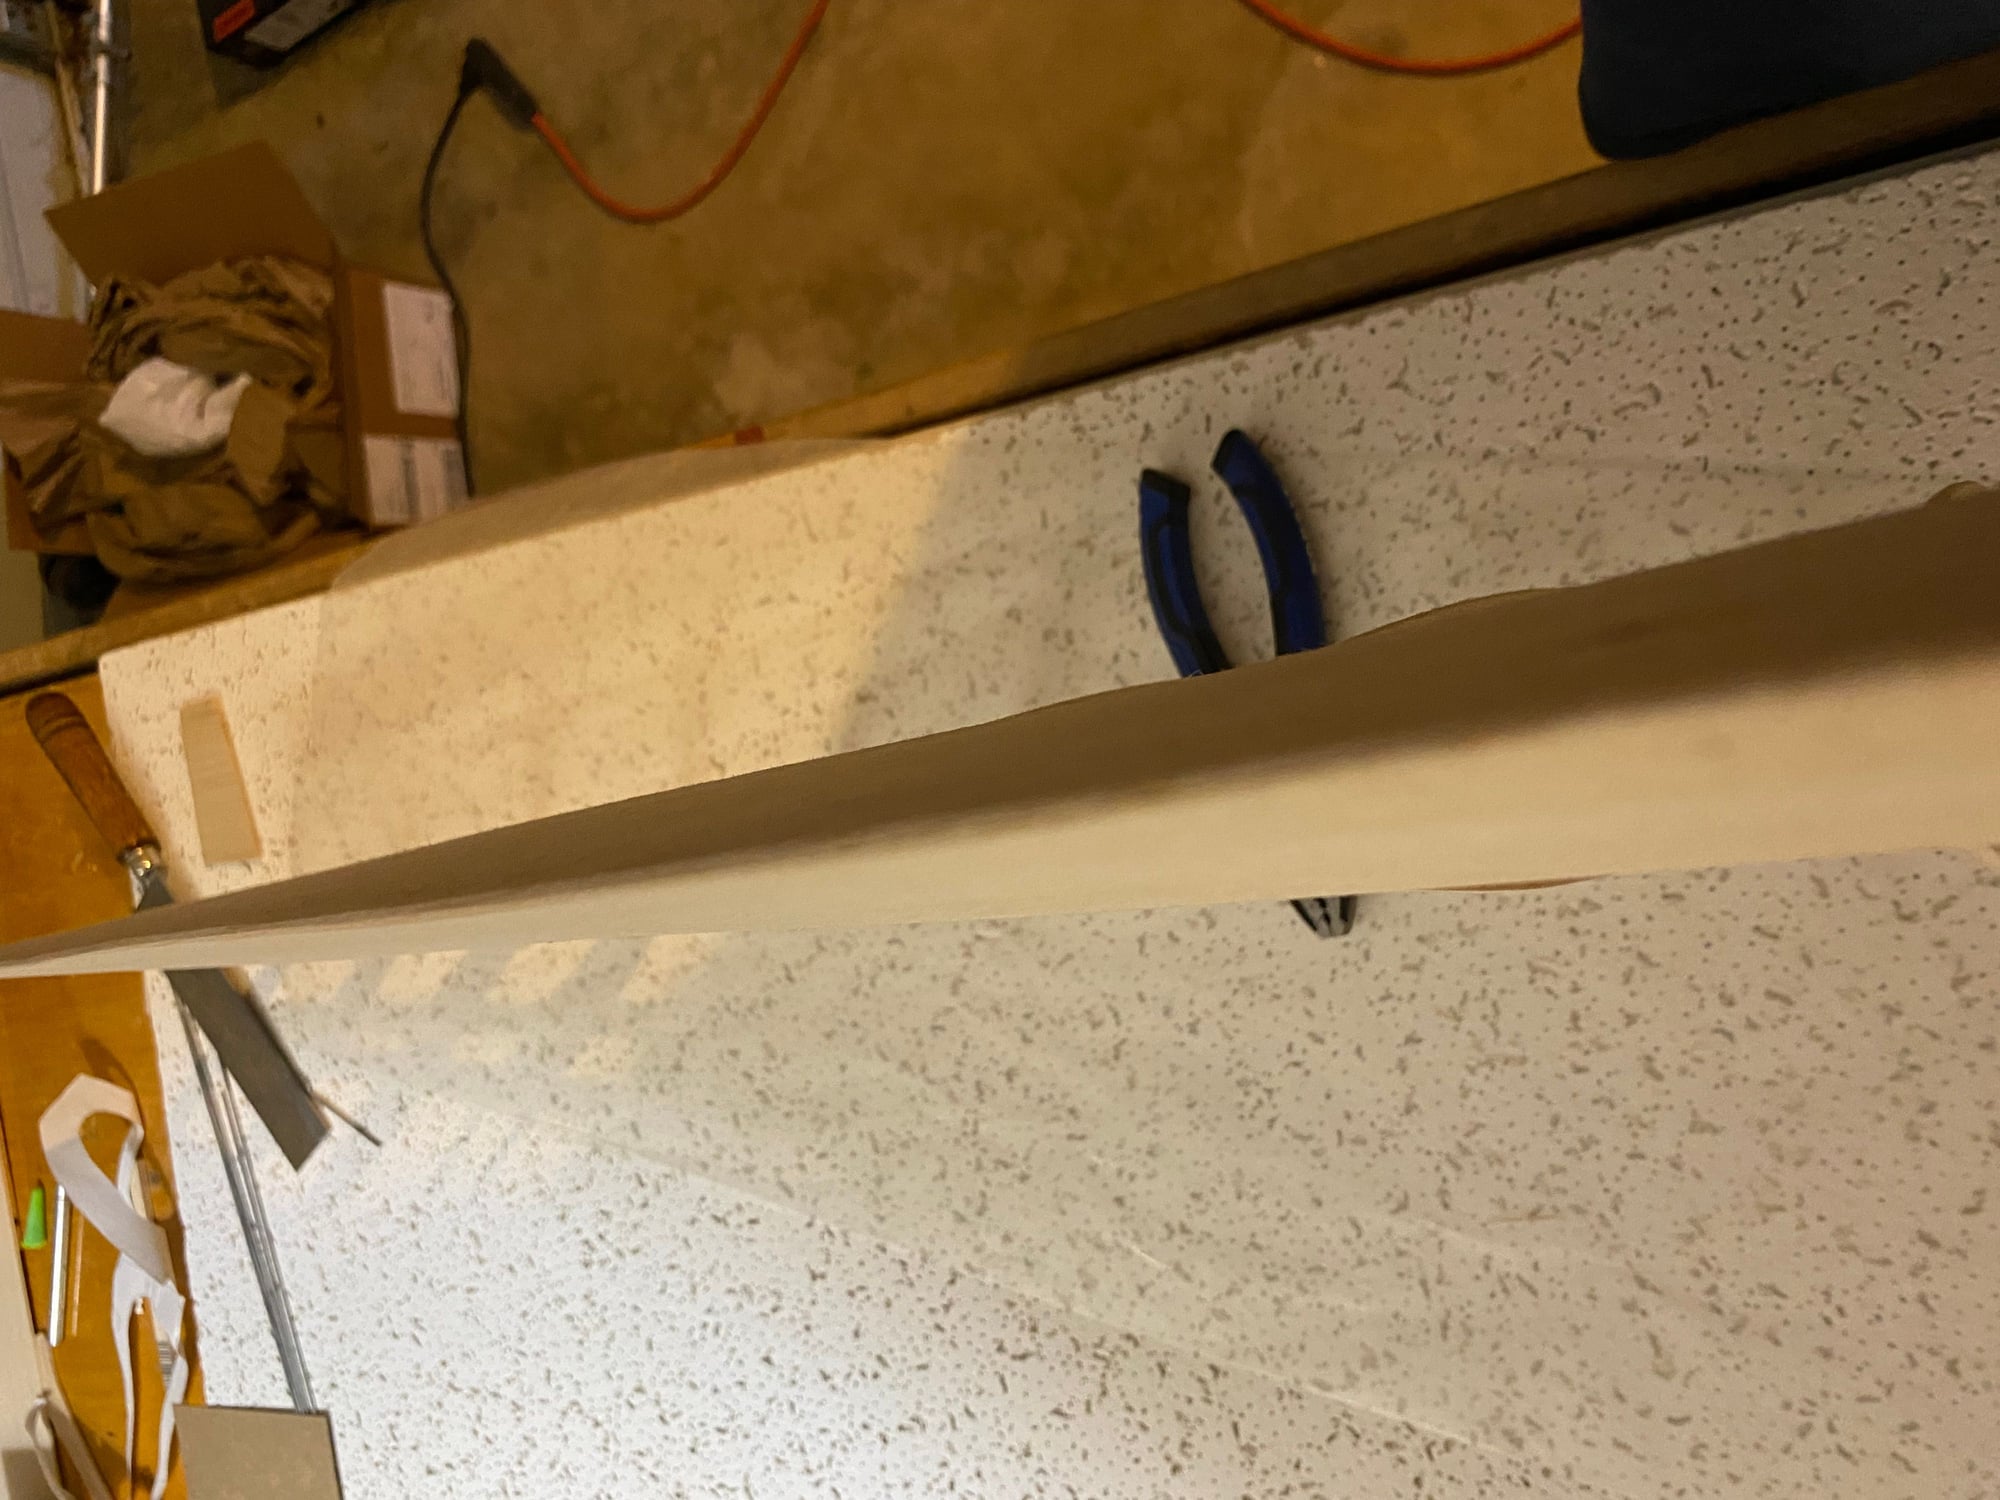
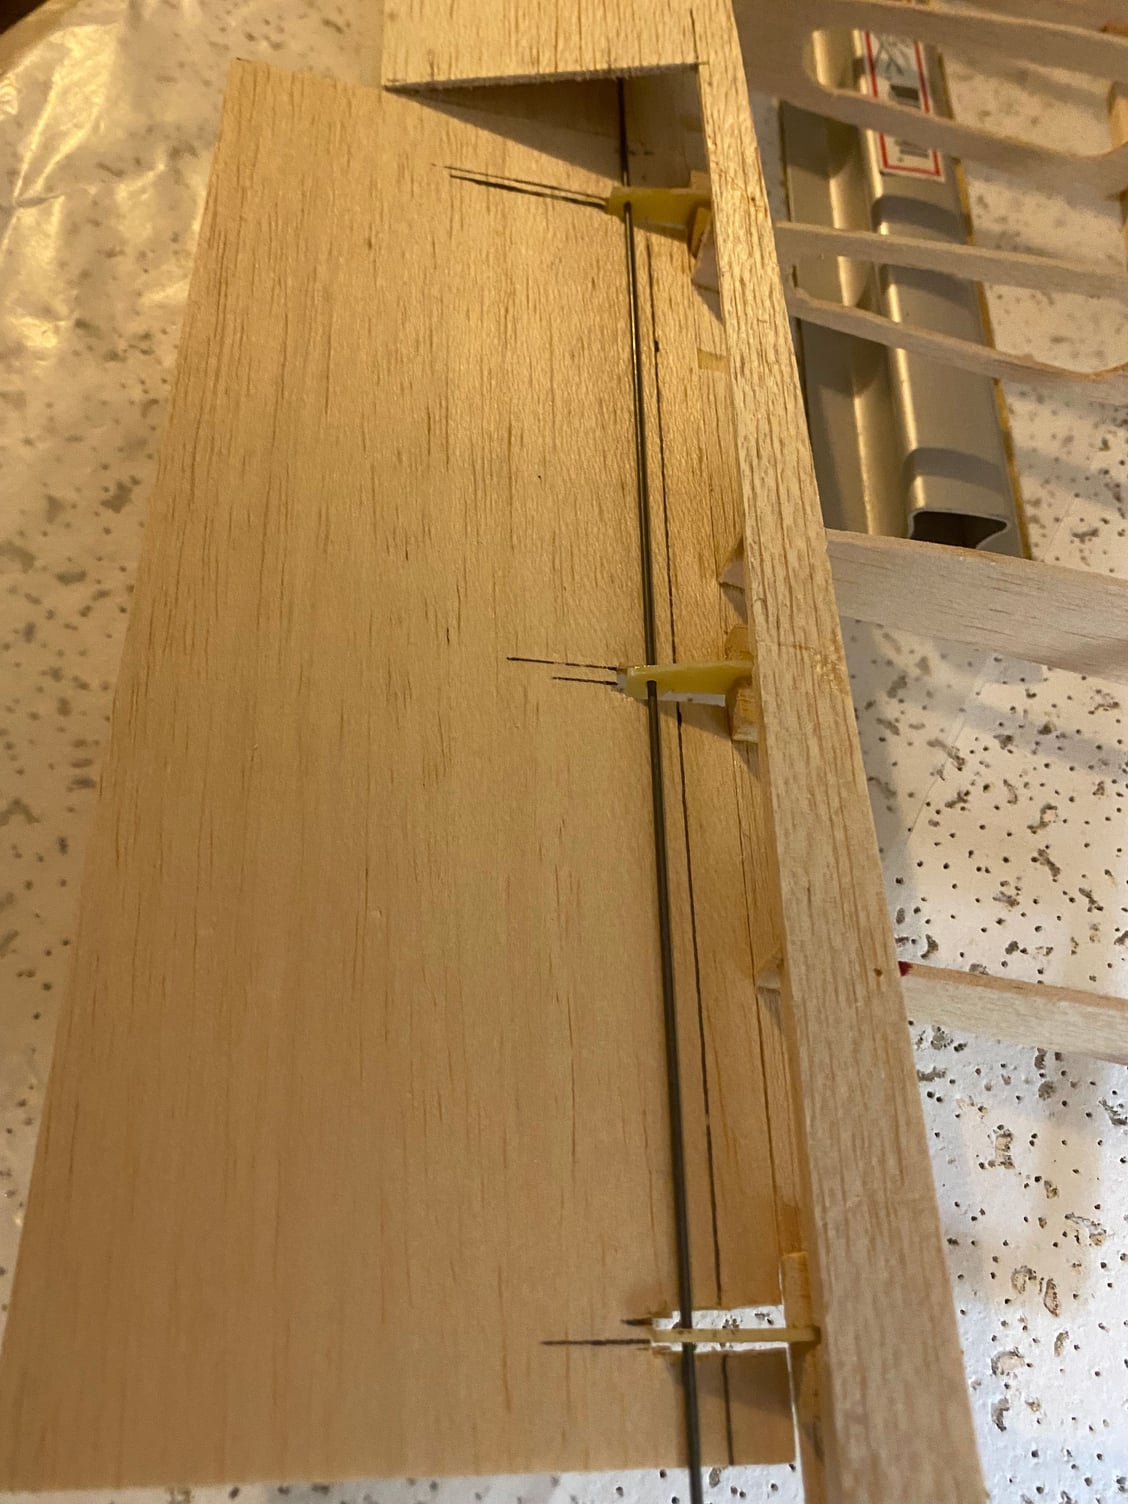
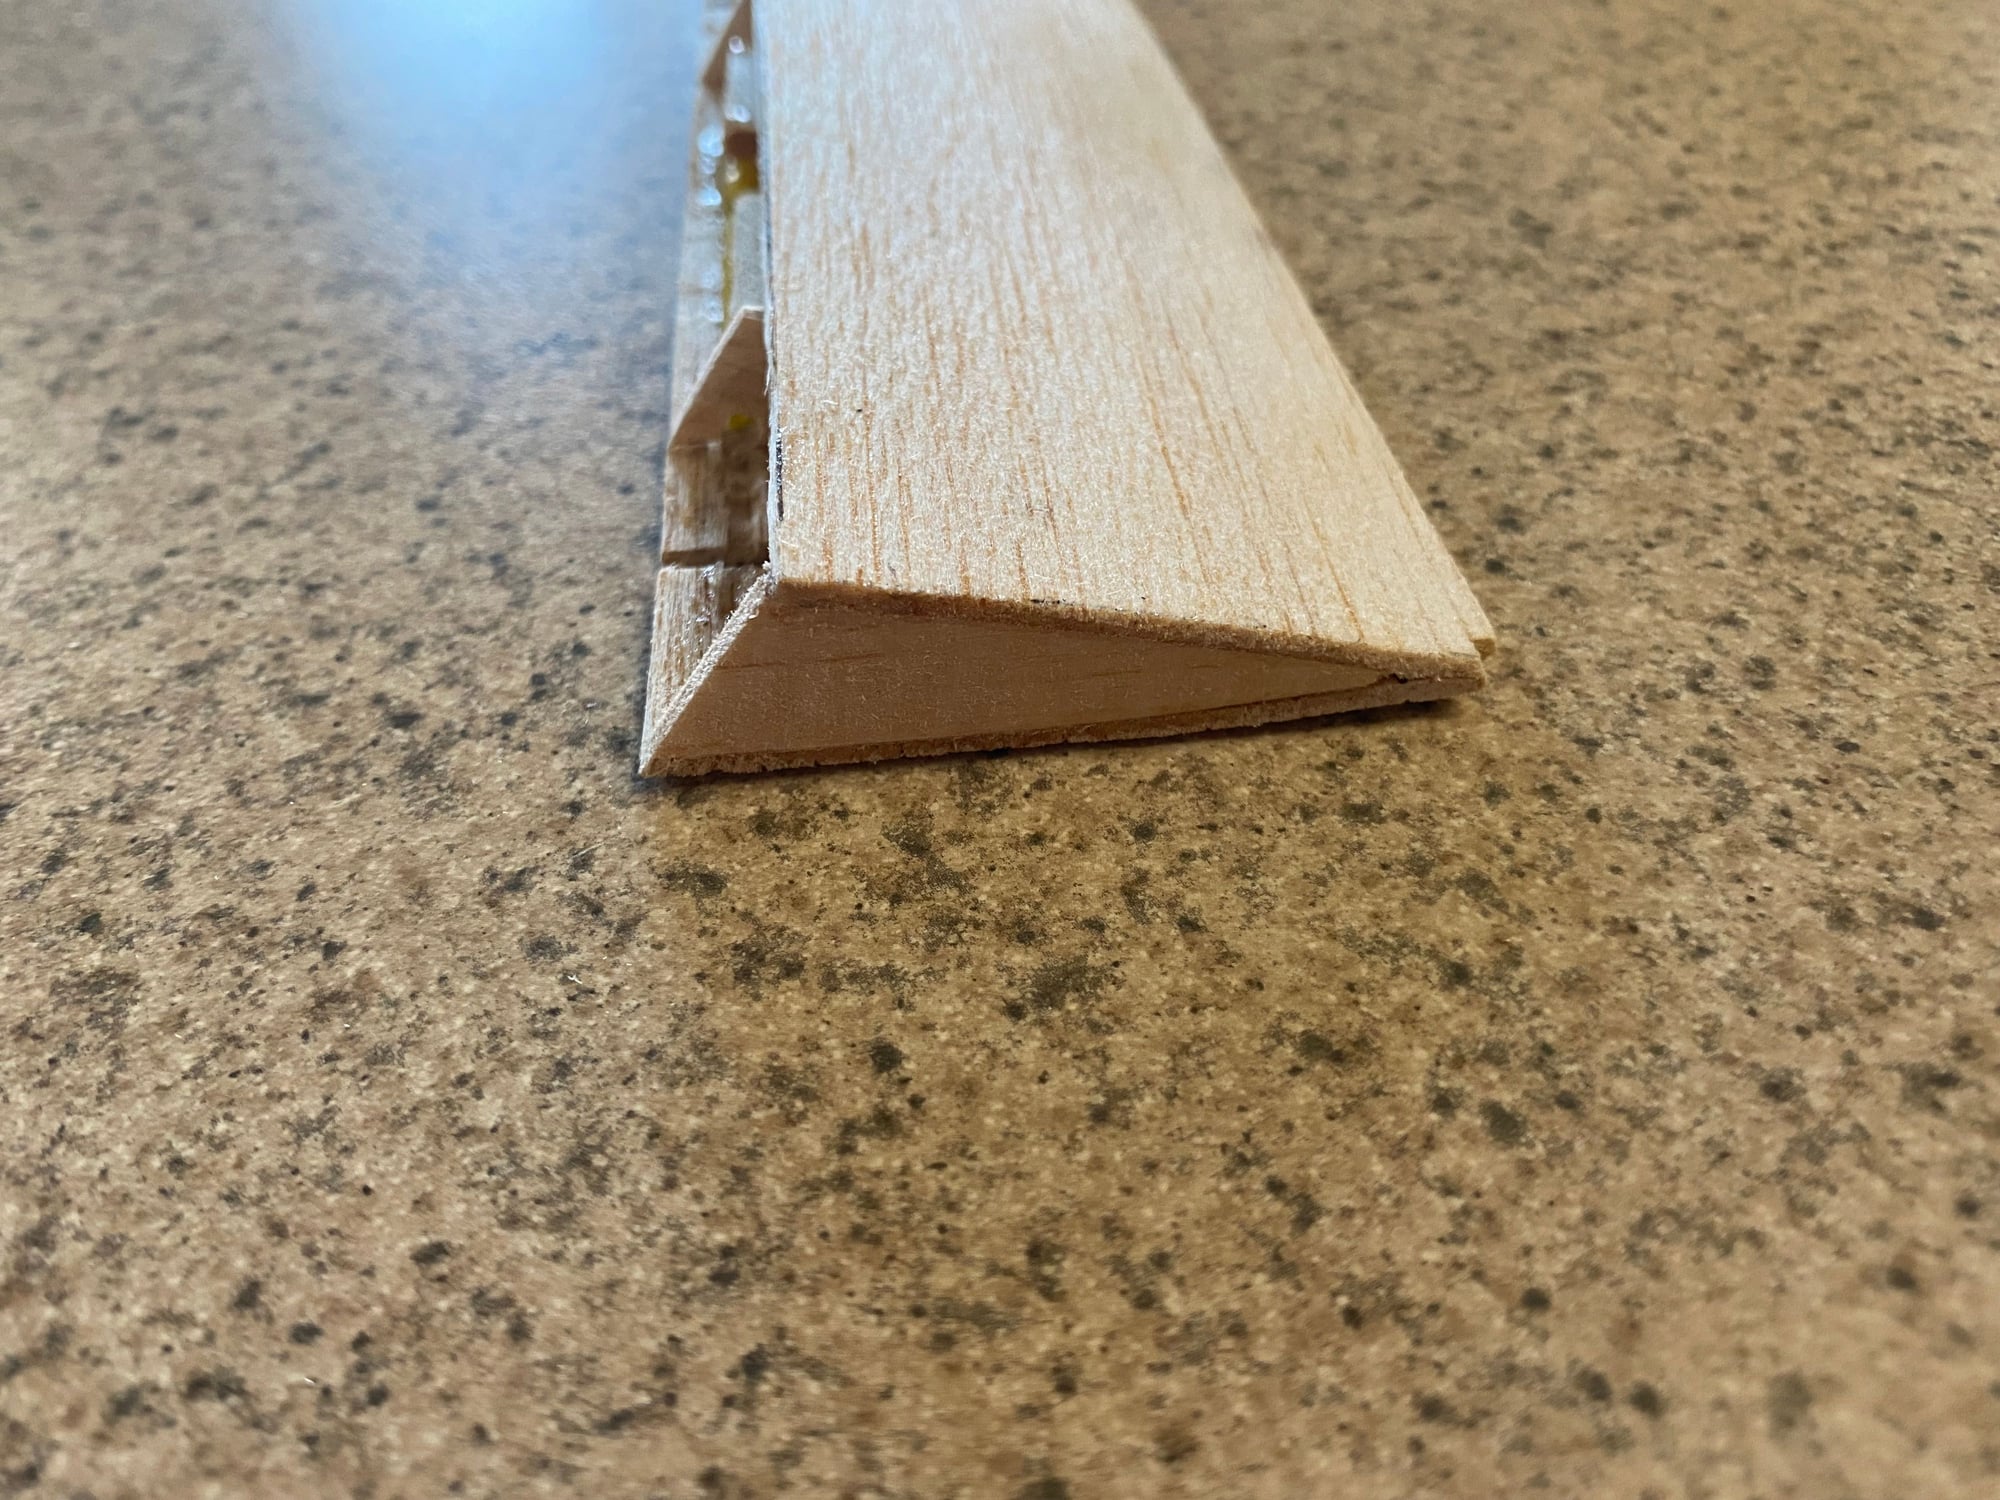
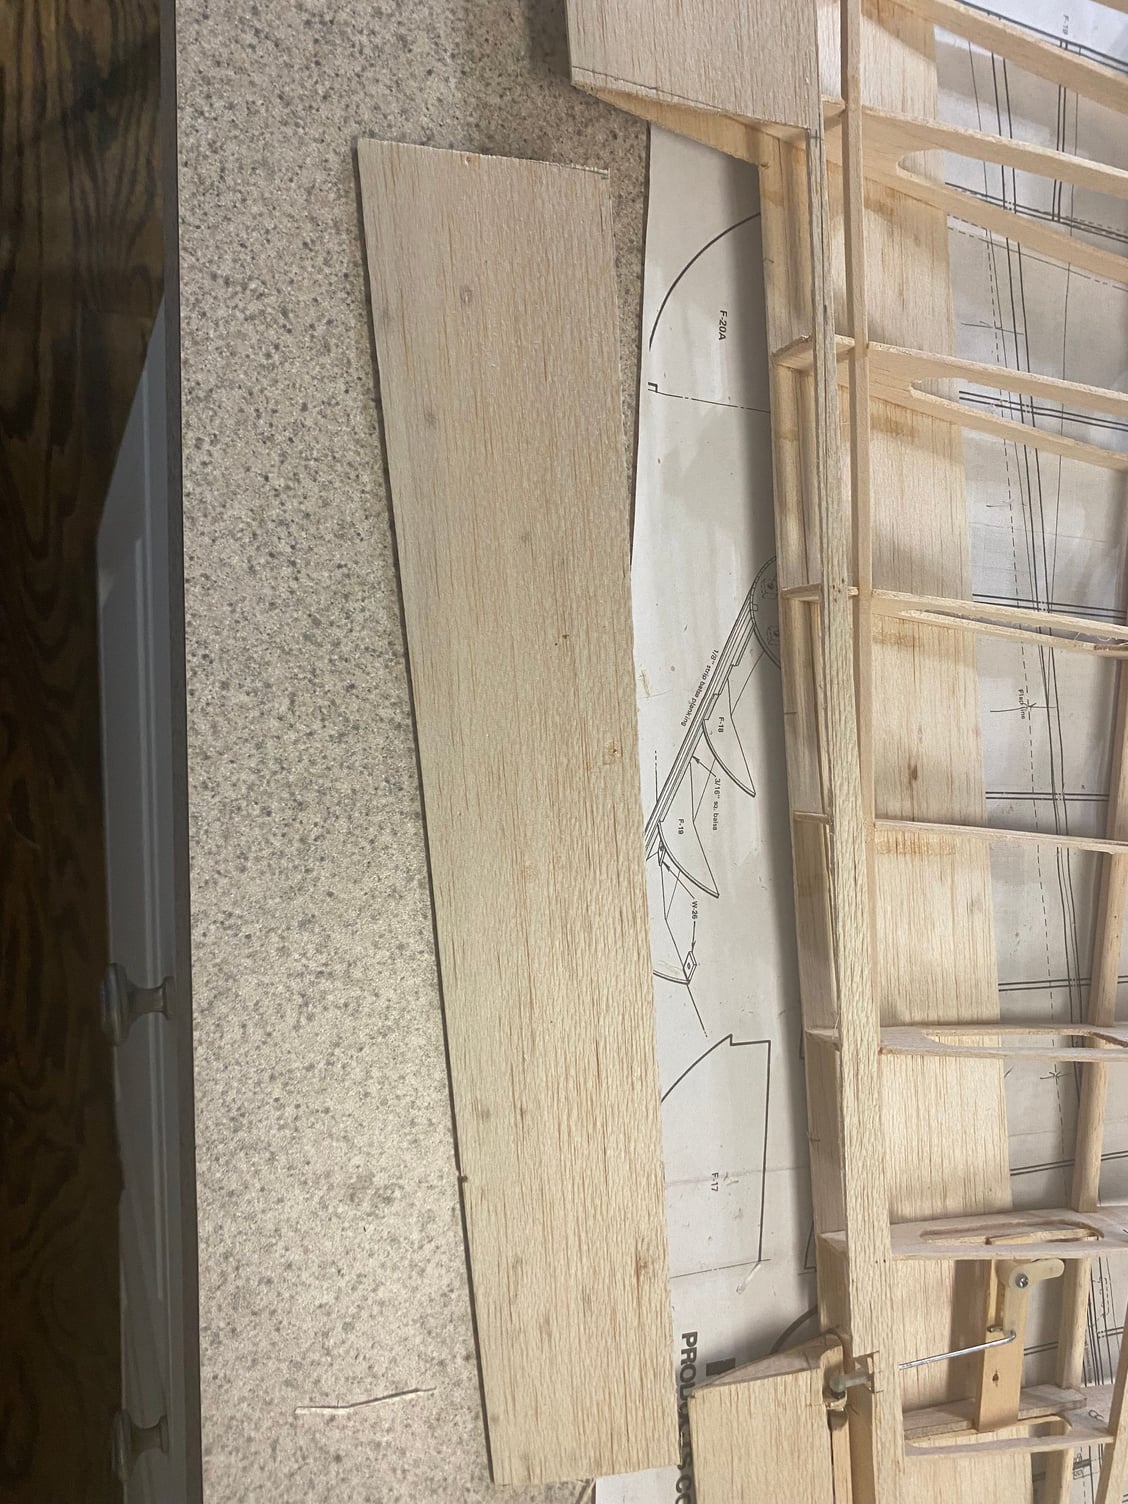
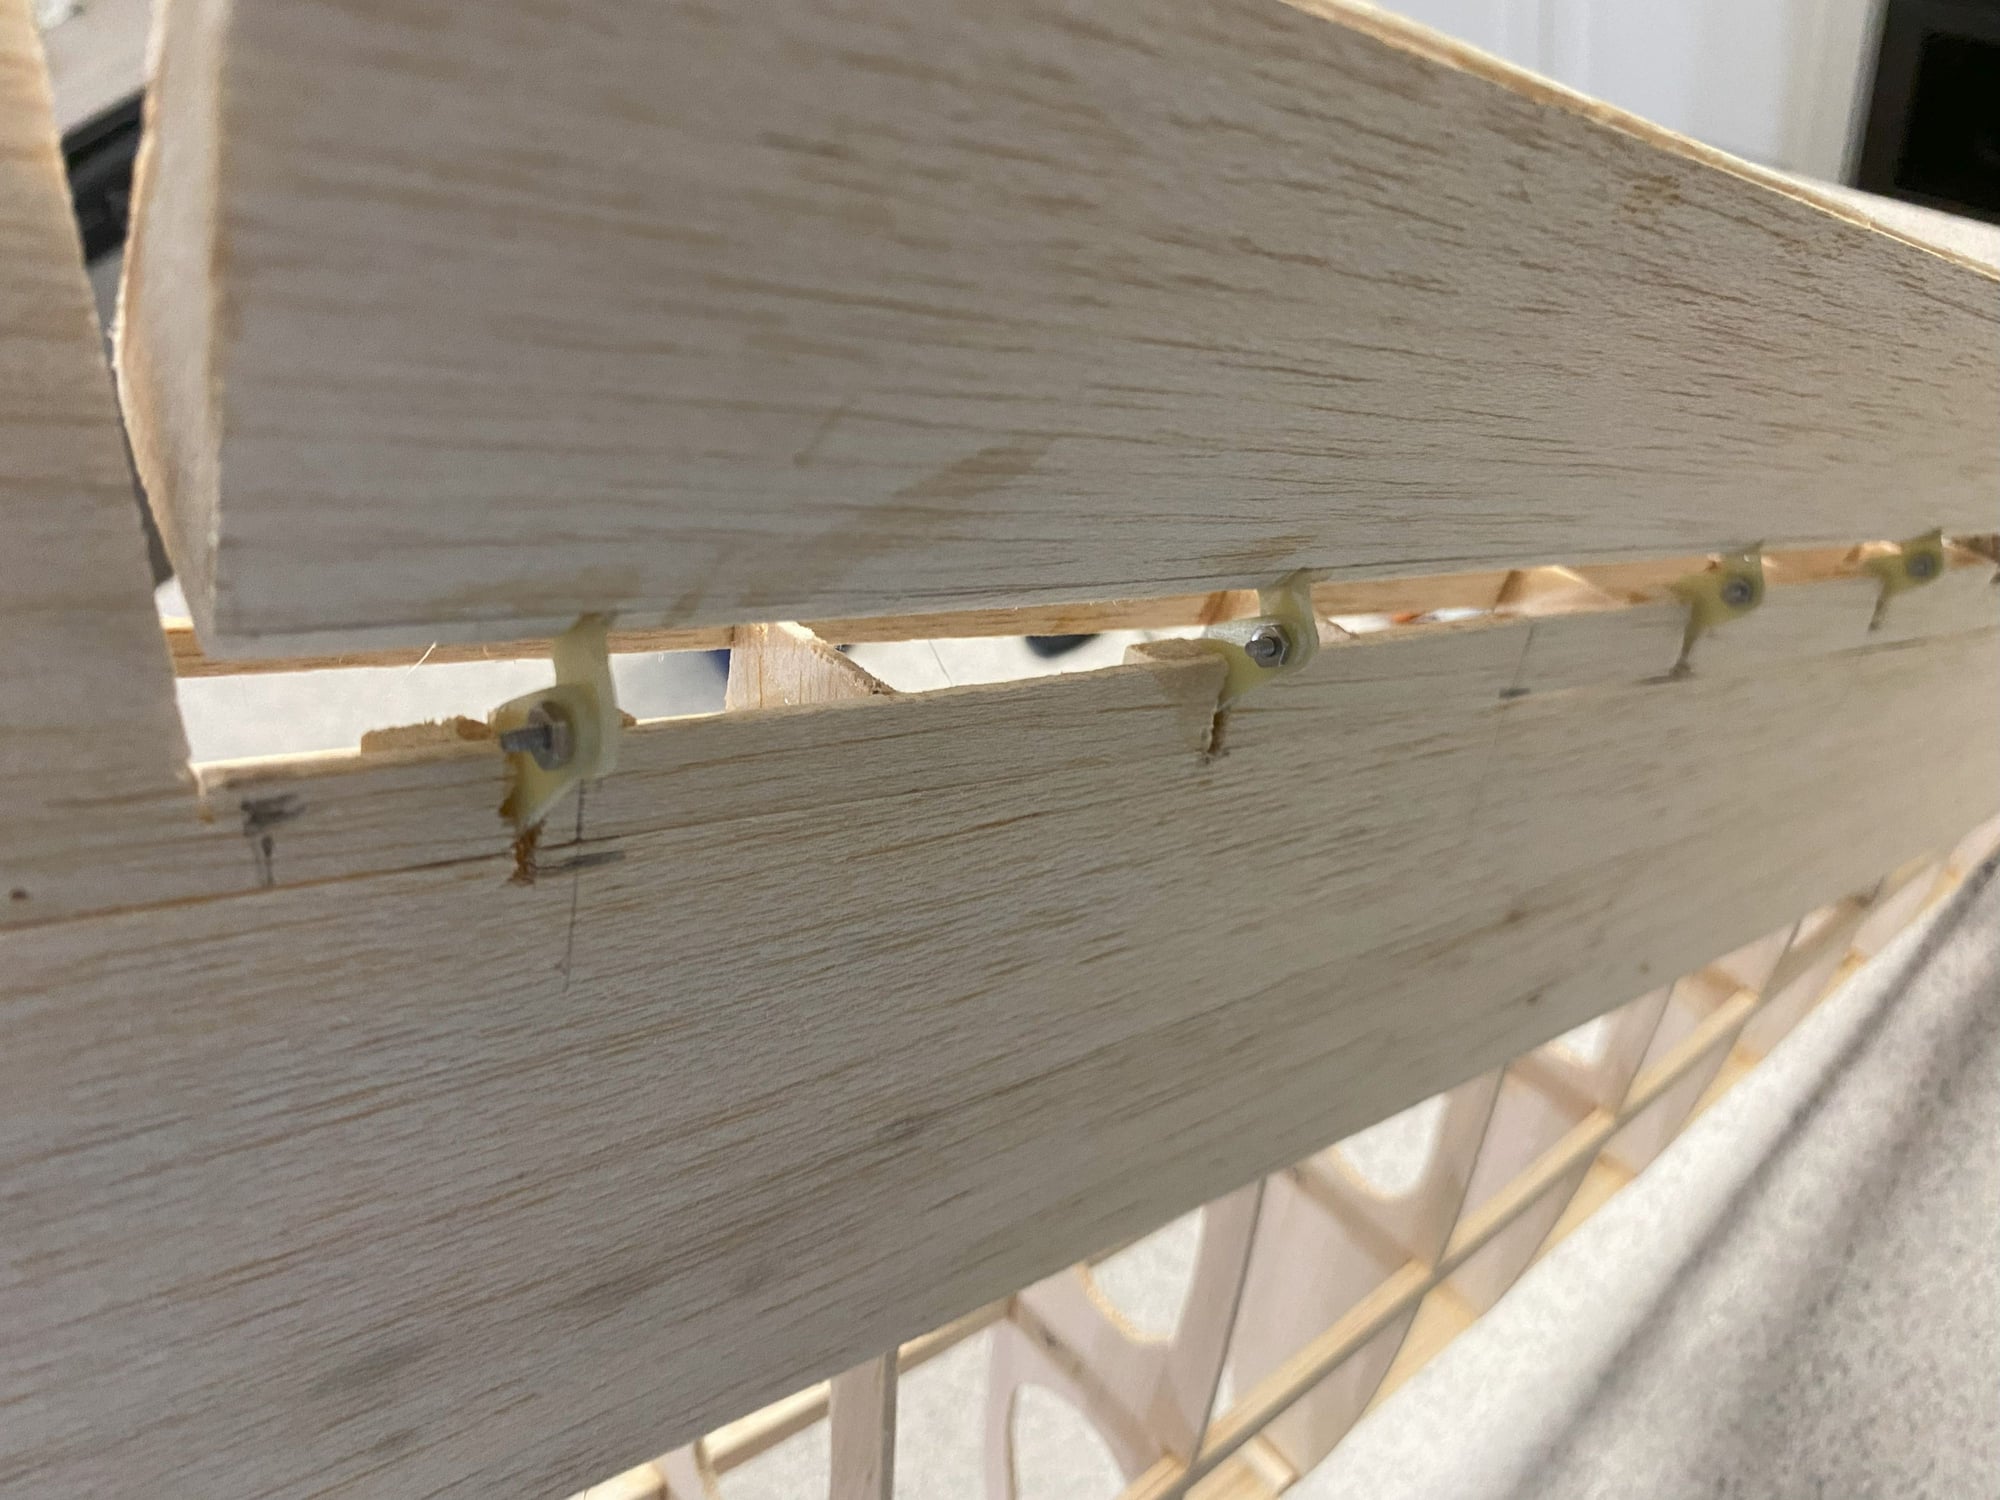
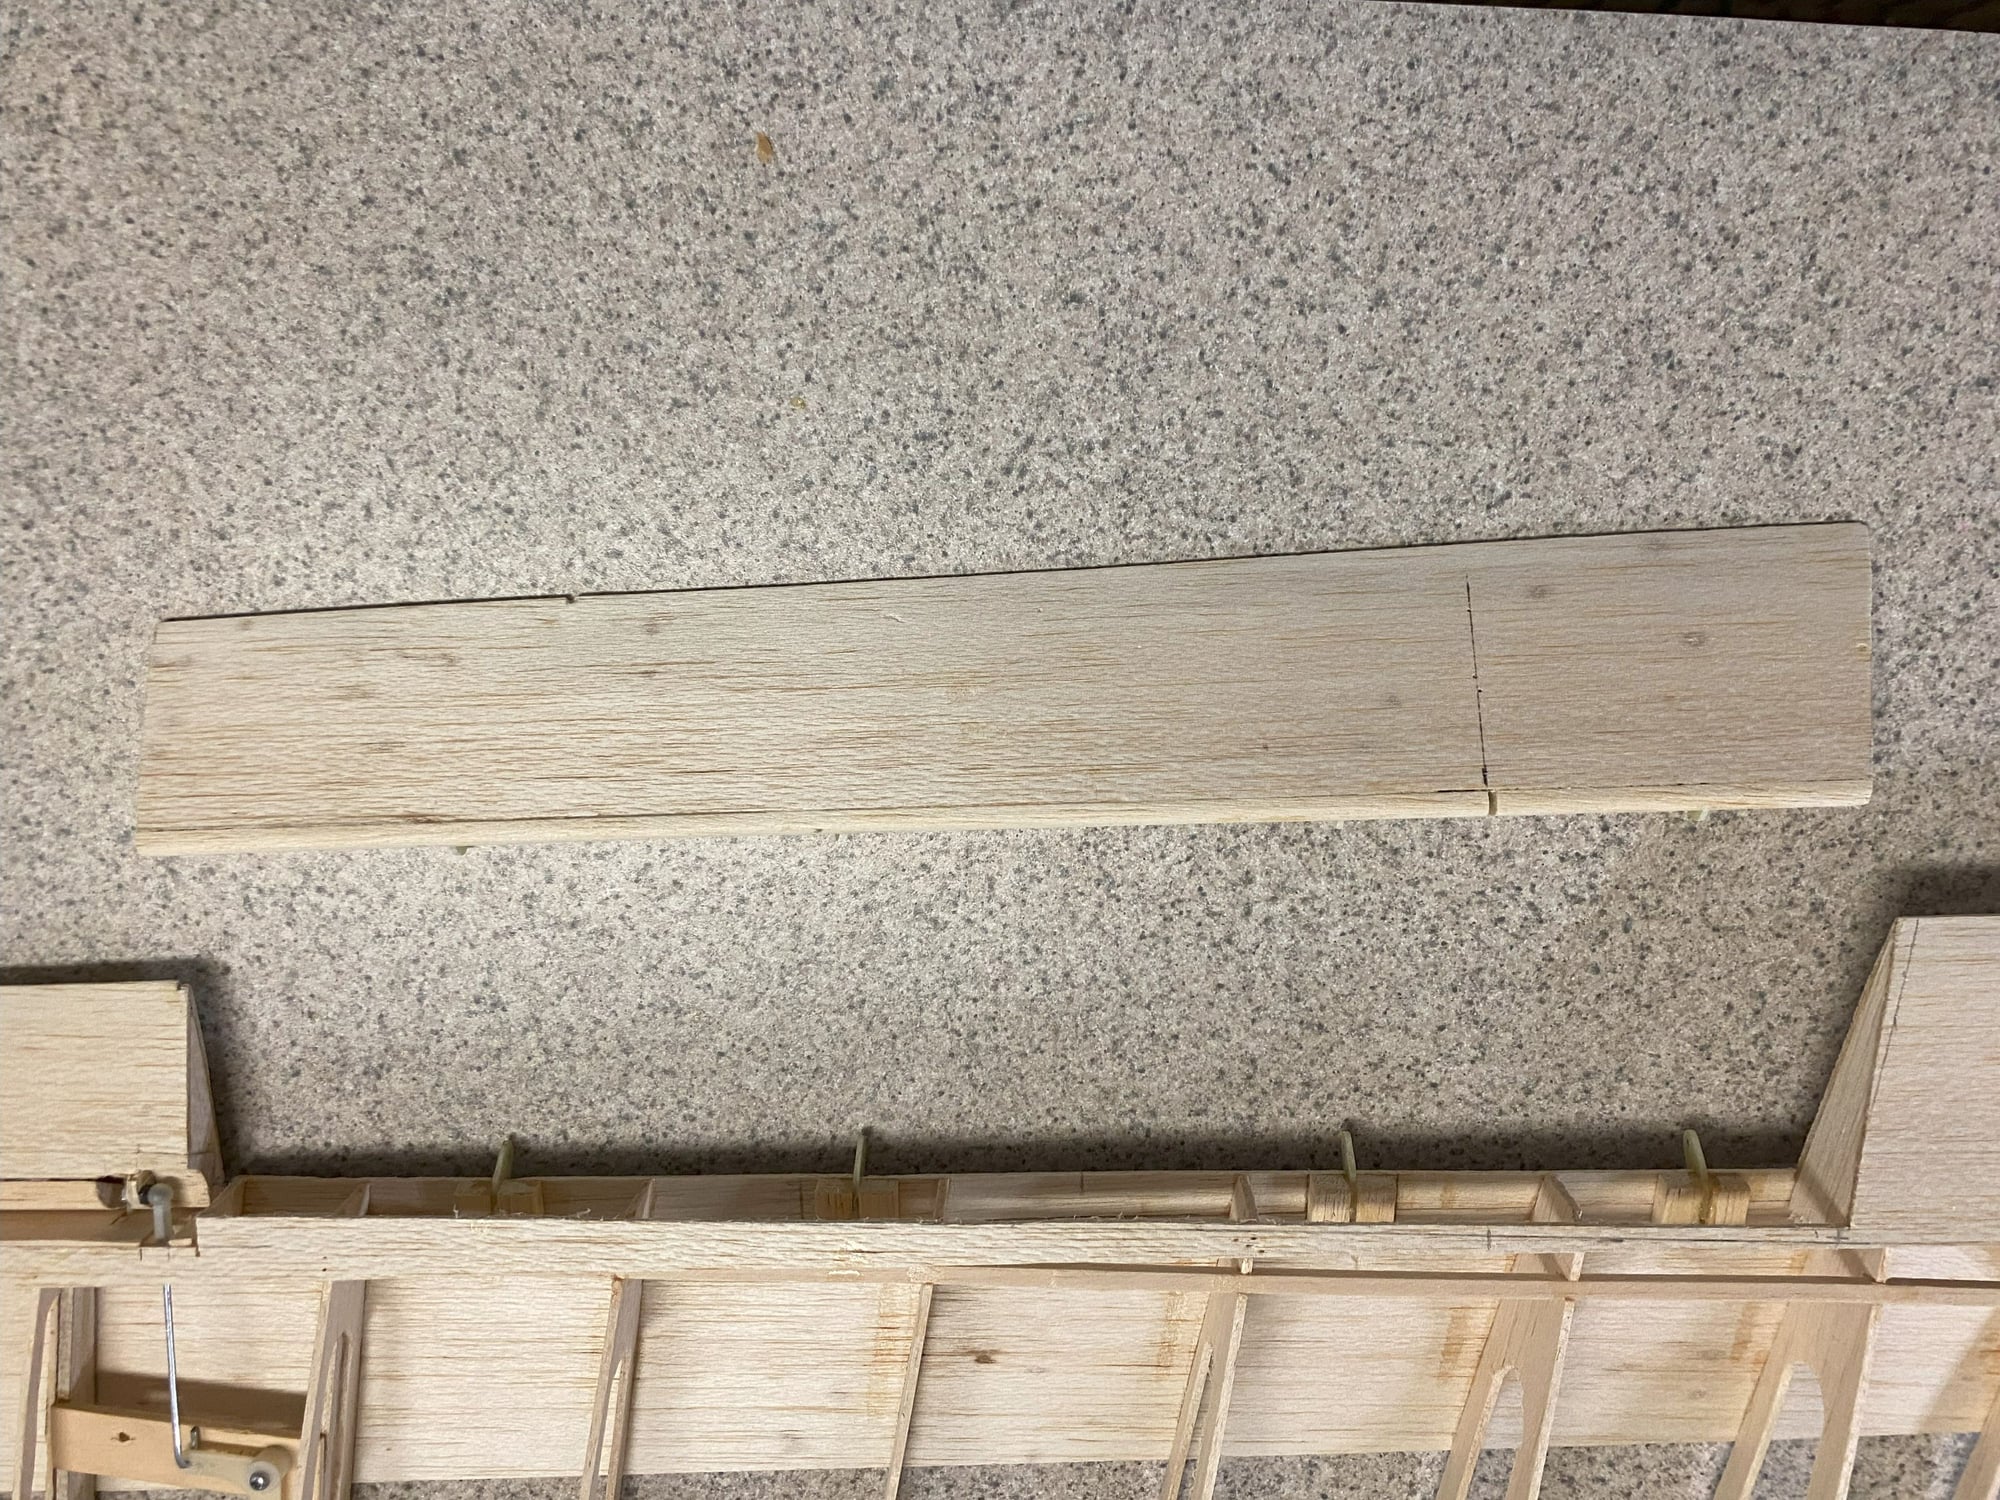
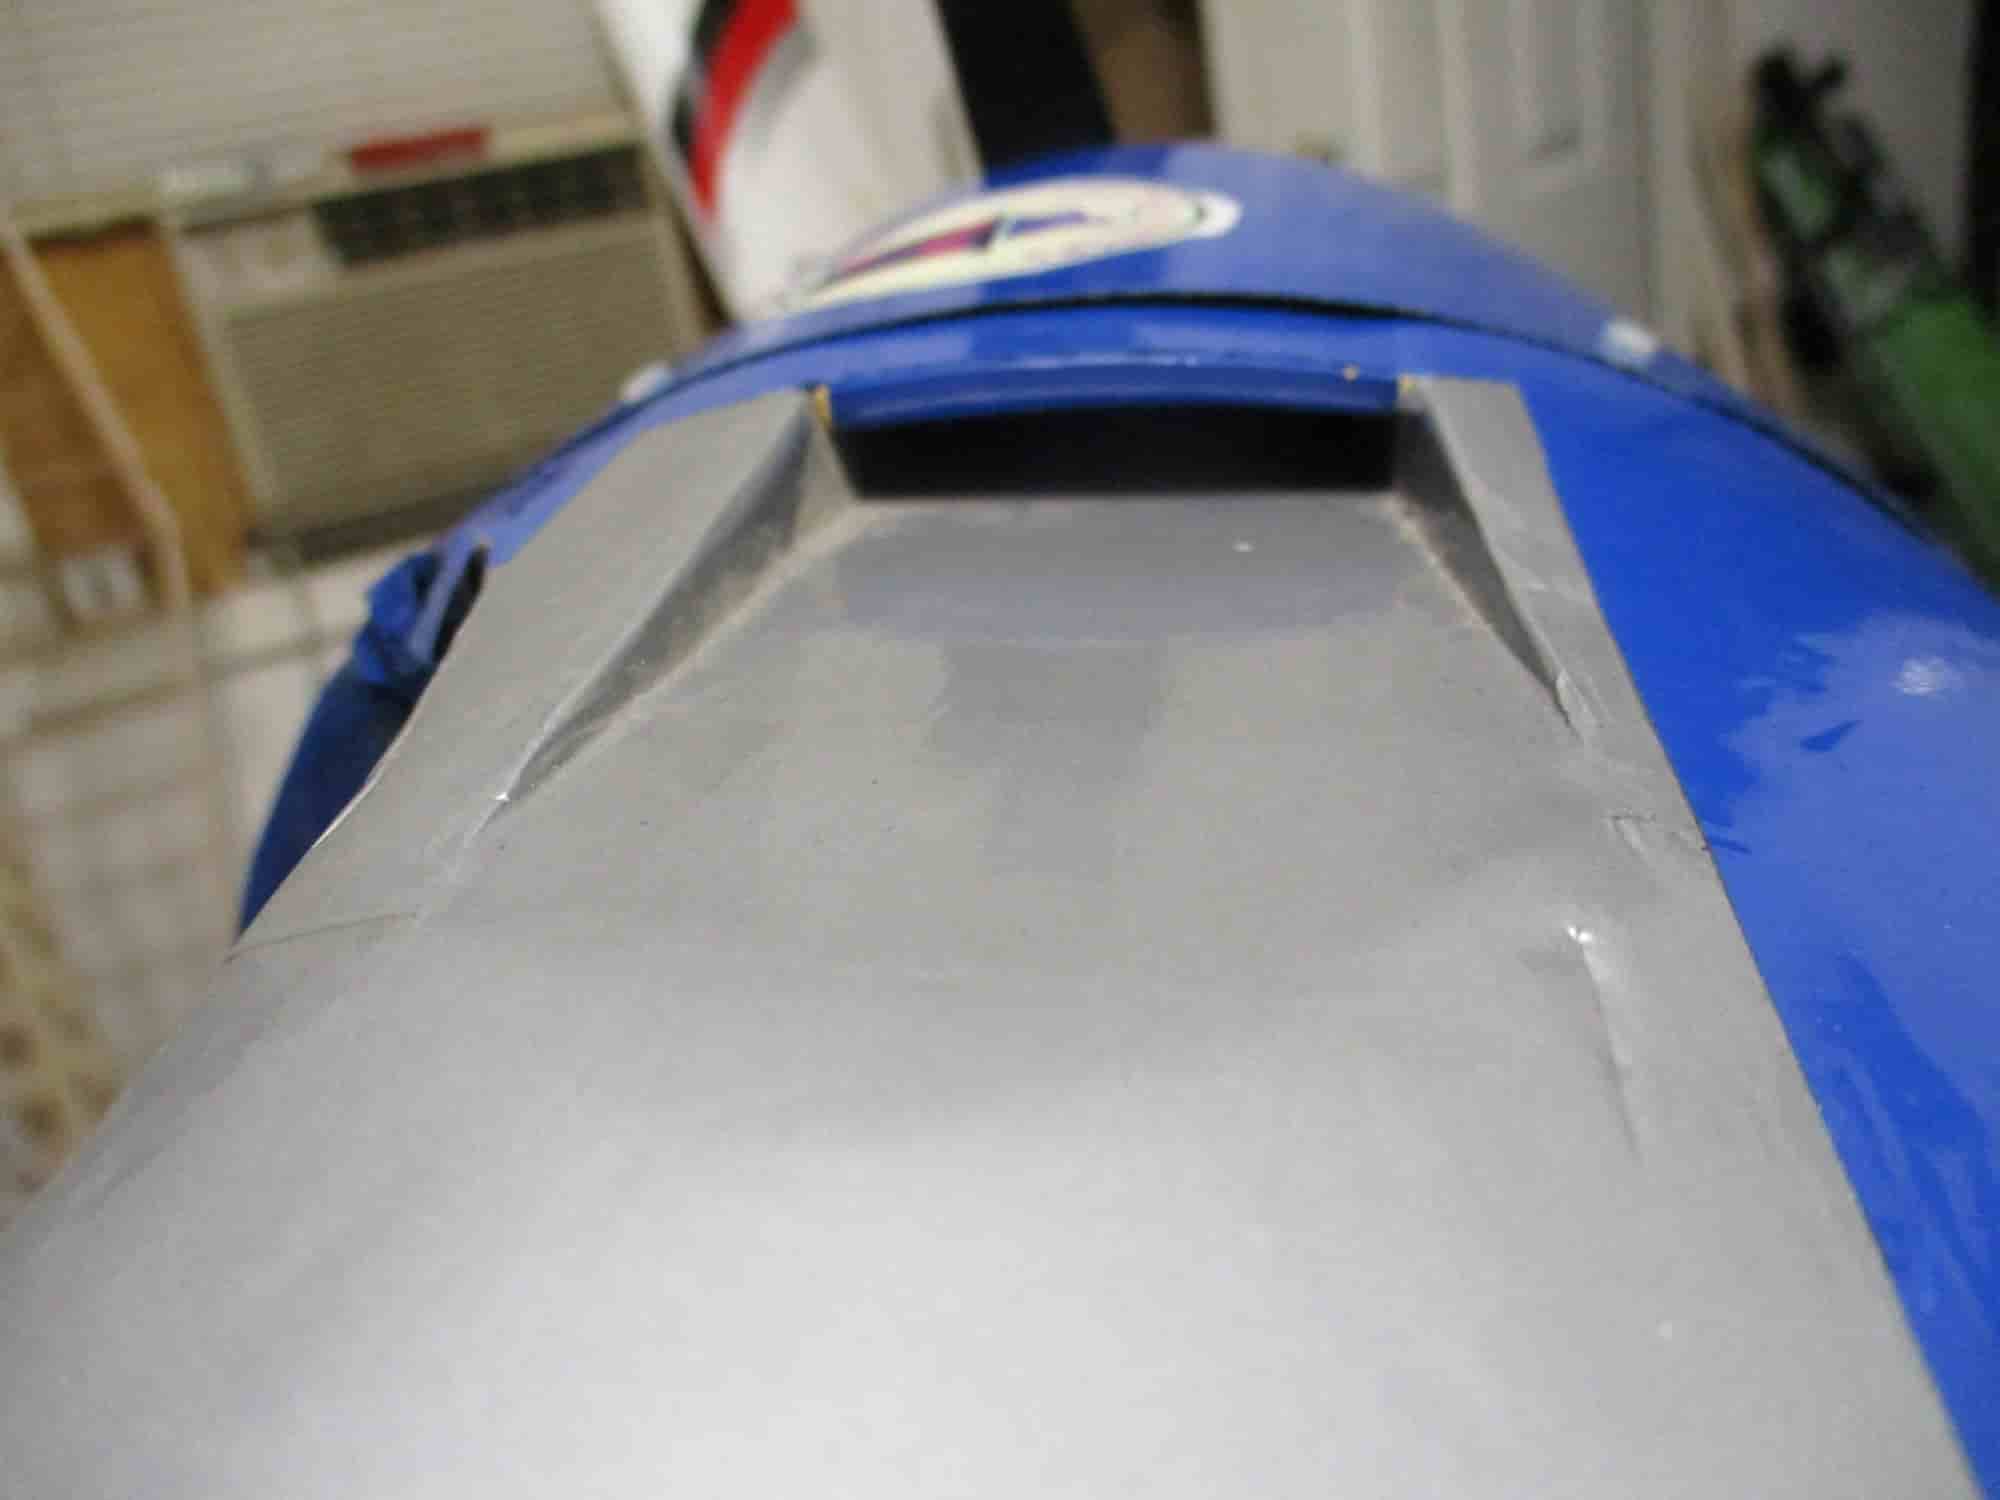
TE sheeting added to top and bottom of wing. A bevel was added to bottom and top sheeting to for a sharp edge. The result of using the tabs provided a straight wing. A pic looking down the TE of the wing is shown. The aileron was cut out next
 11-26-2023, 01:57 PM
#6
Thread Starter
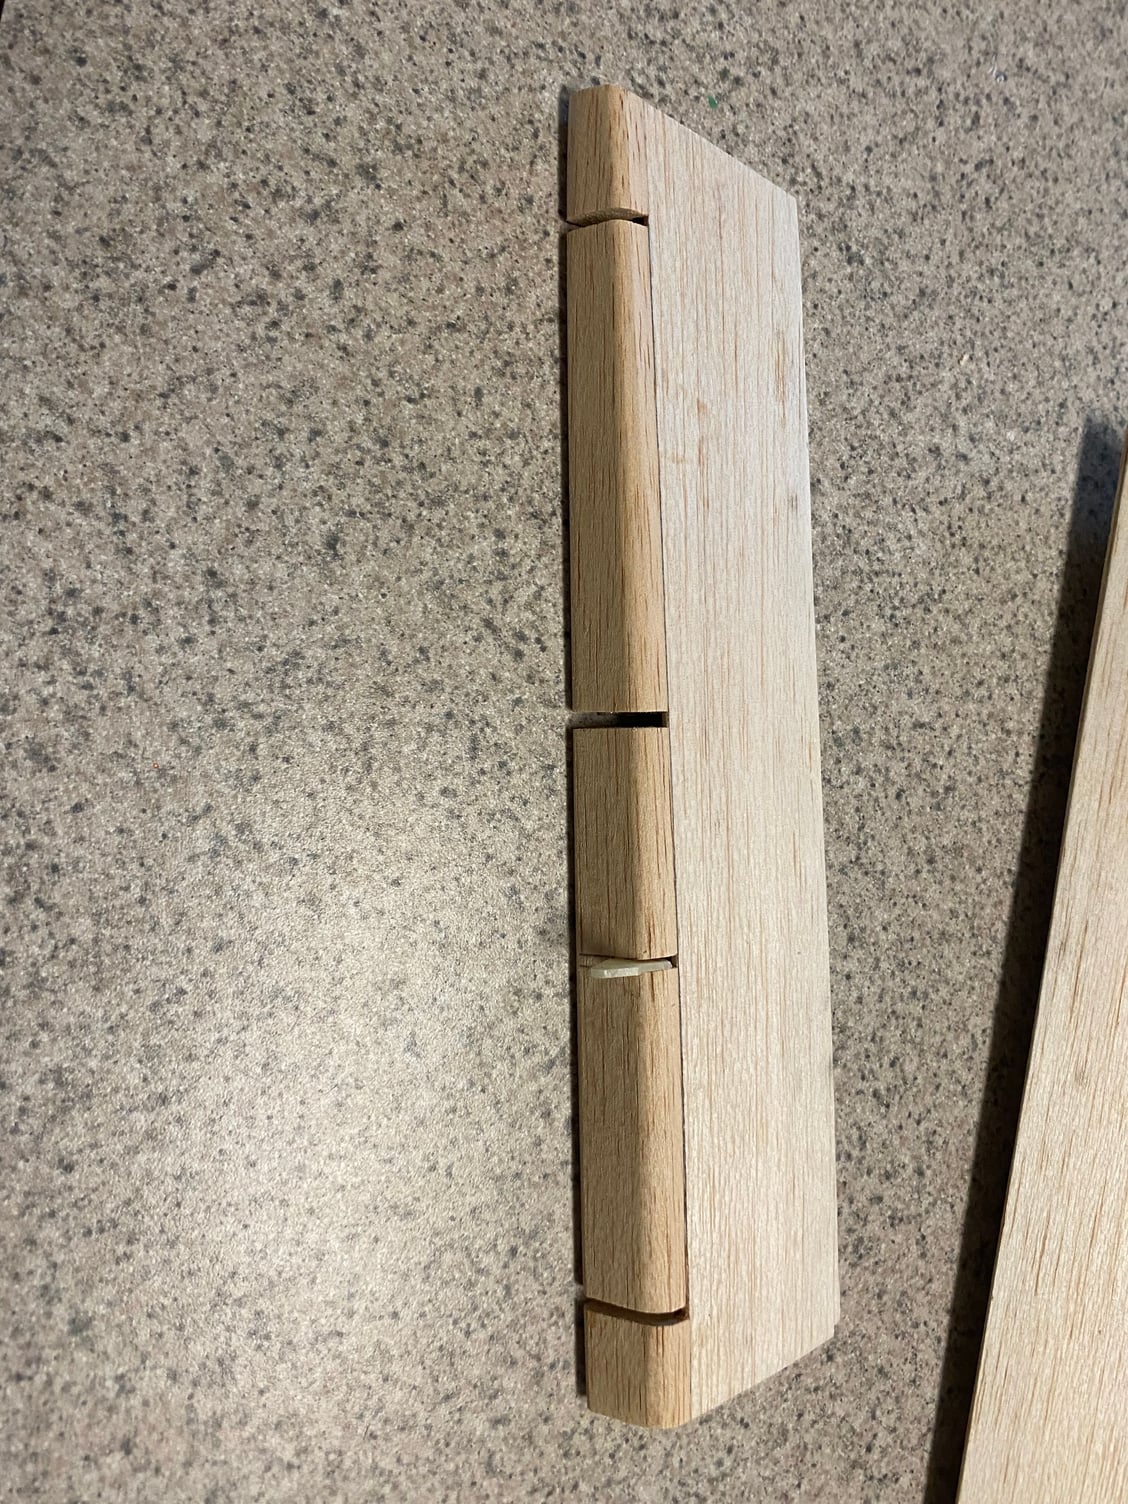
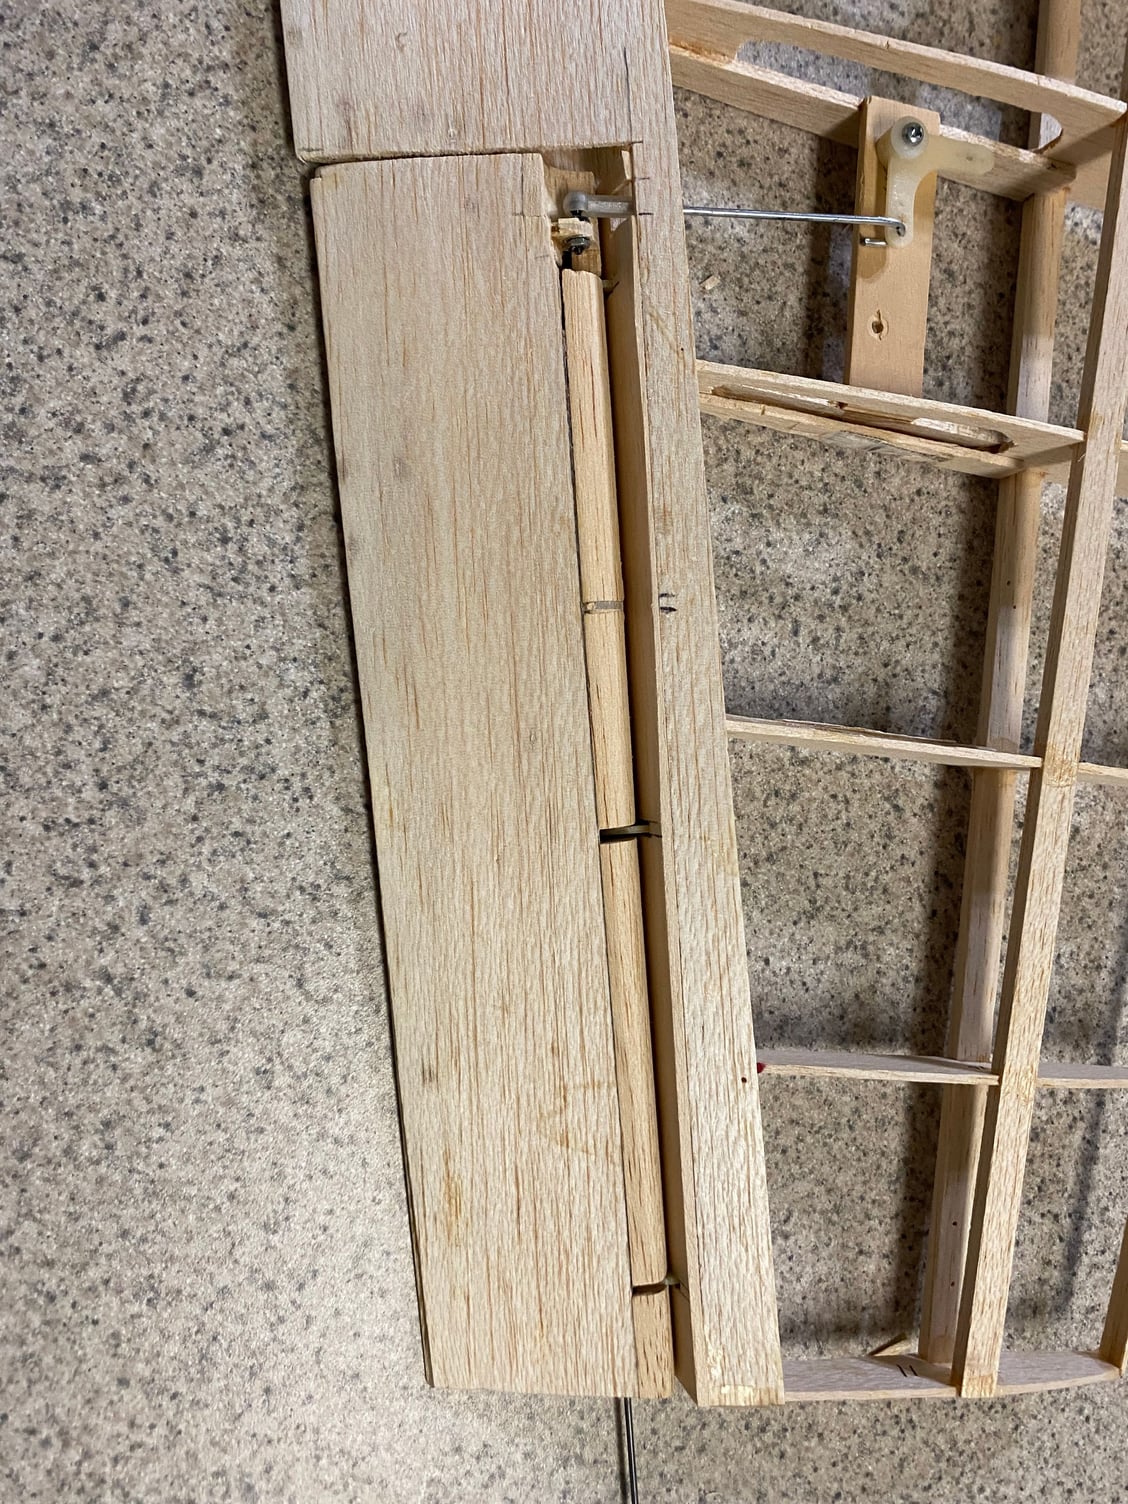
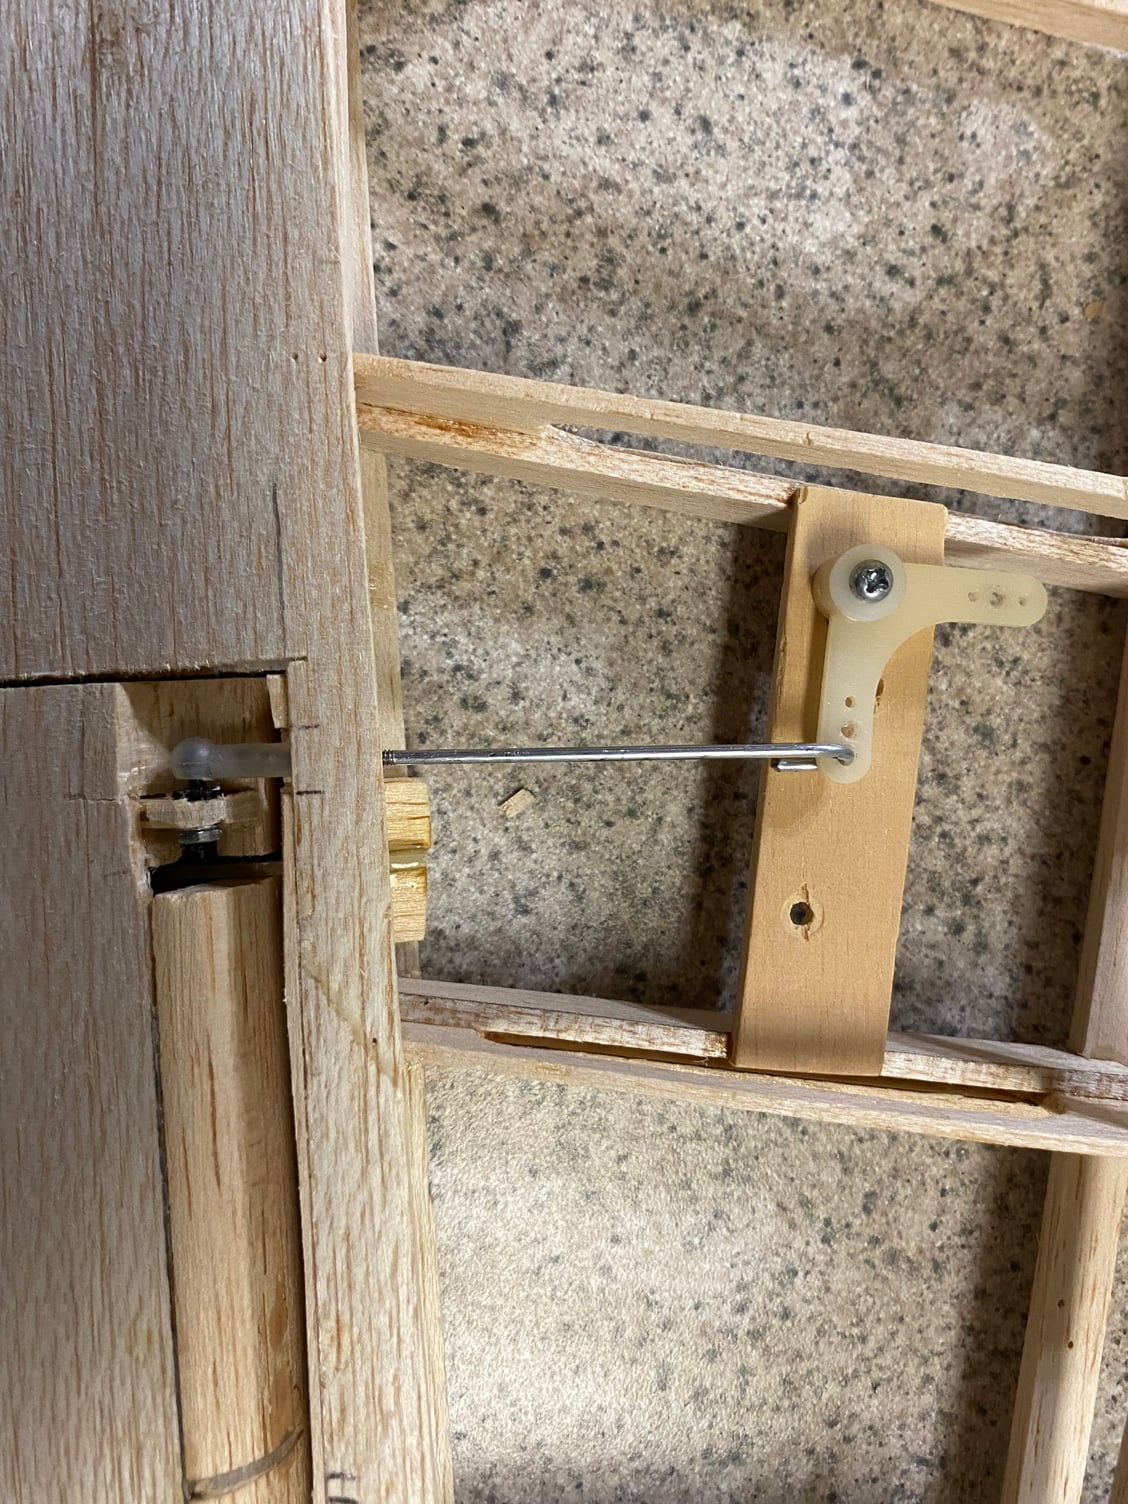
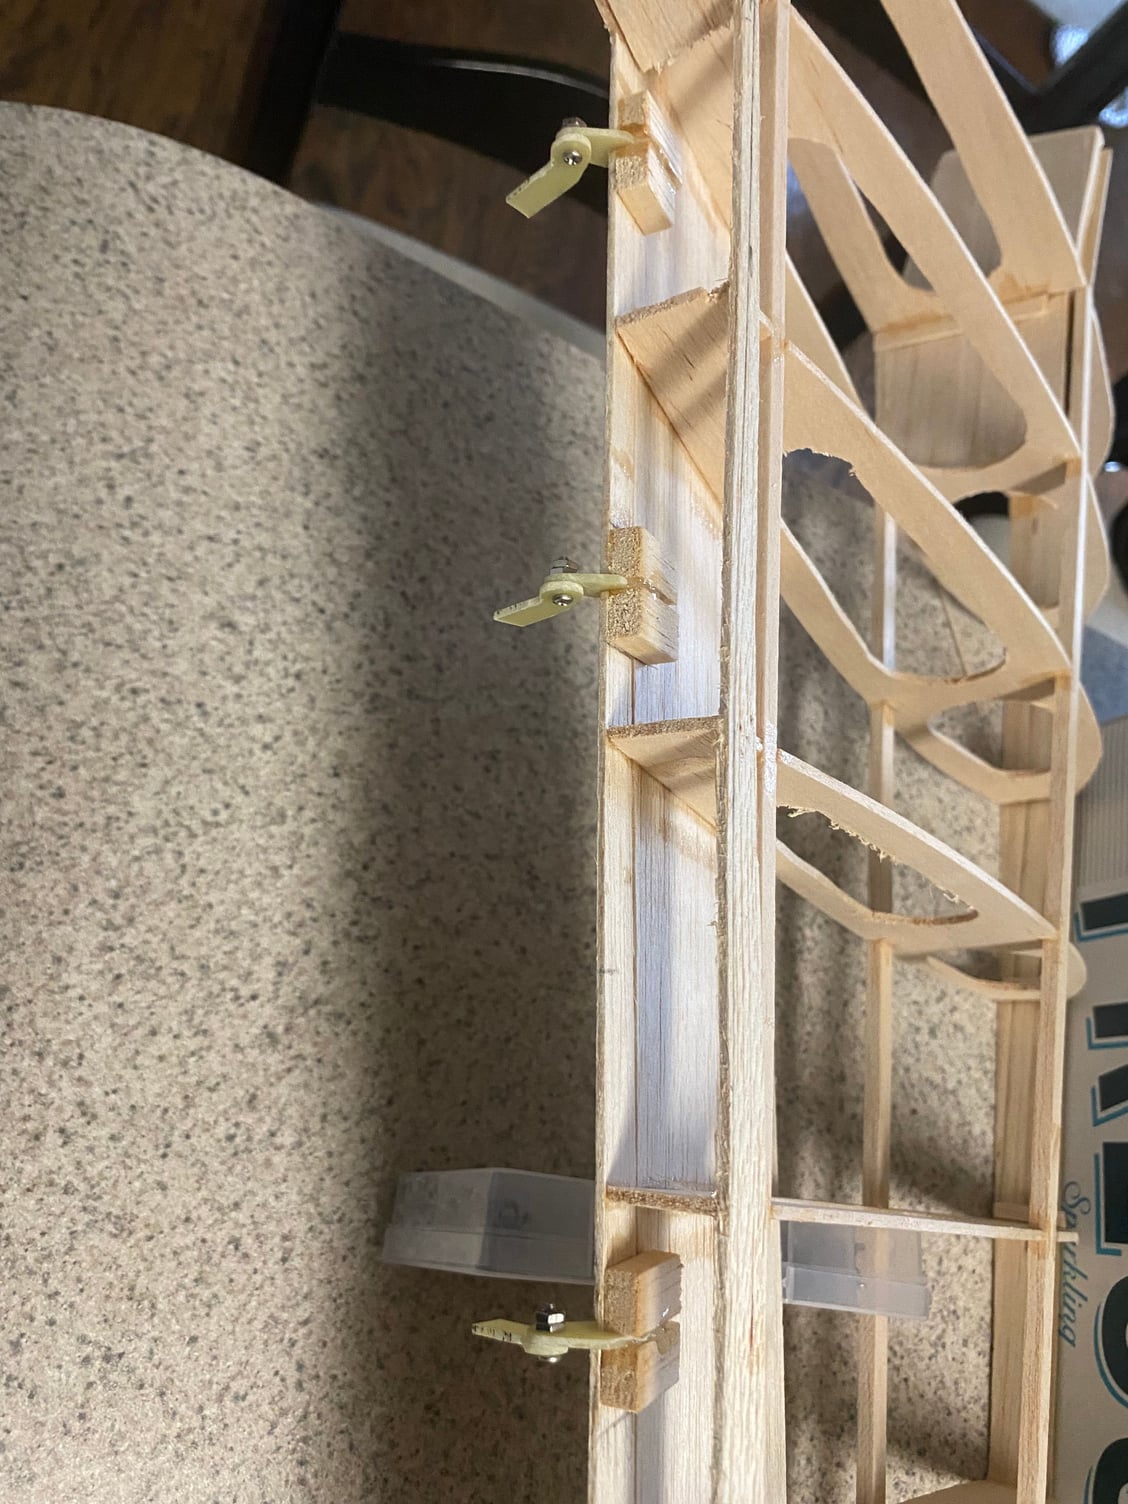
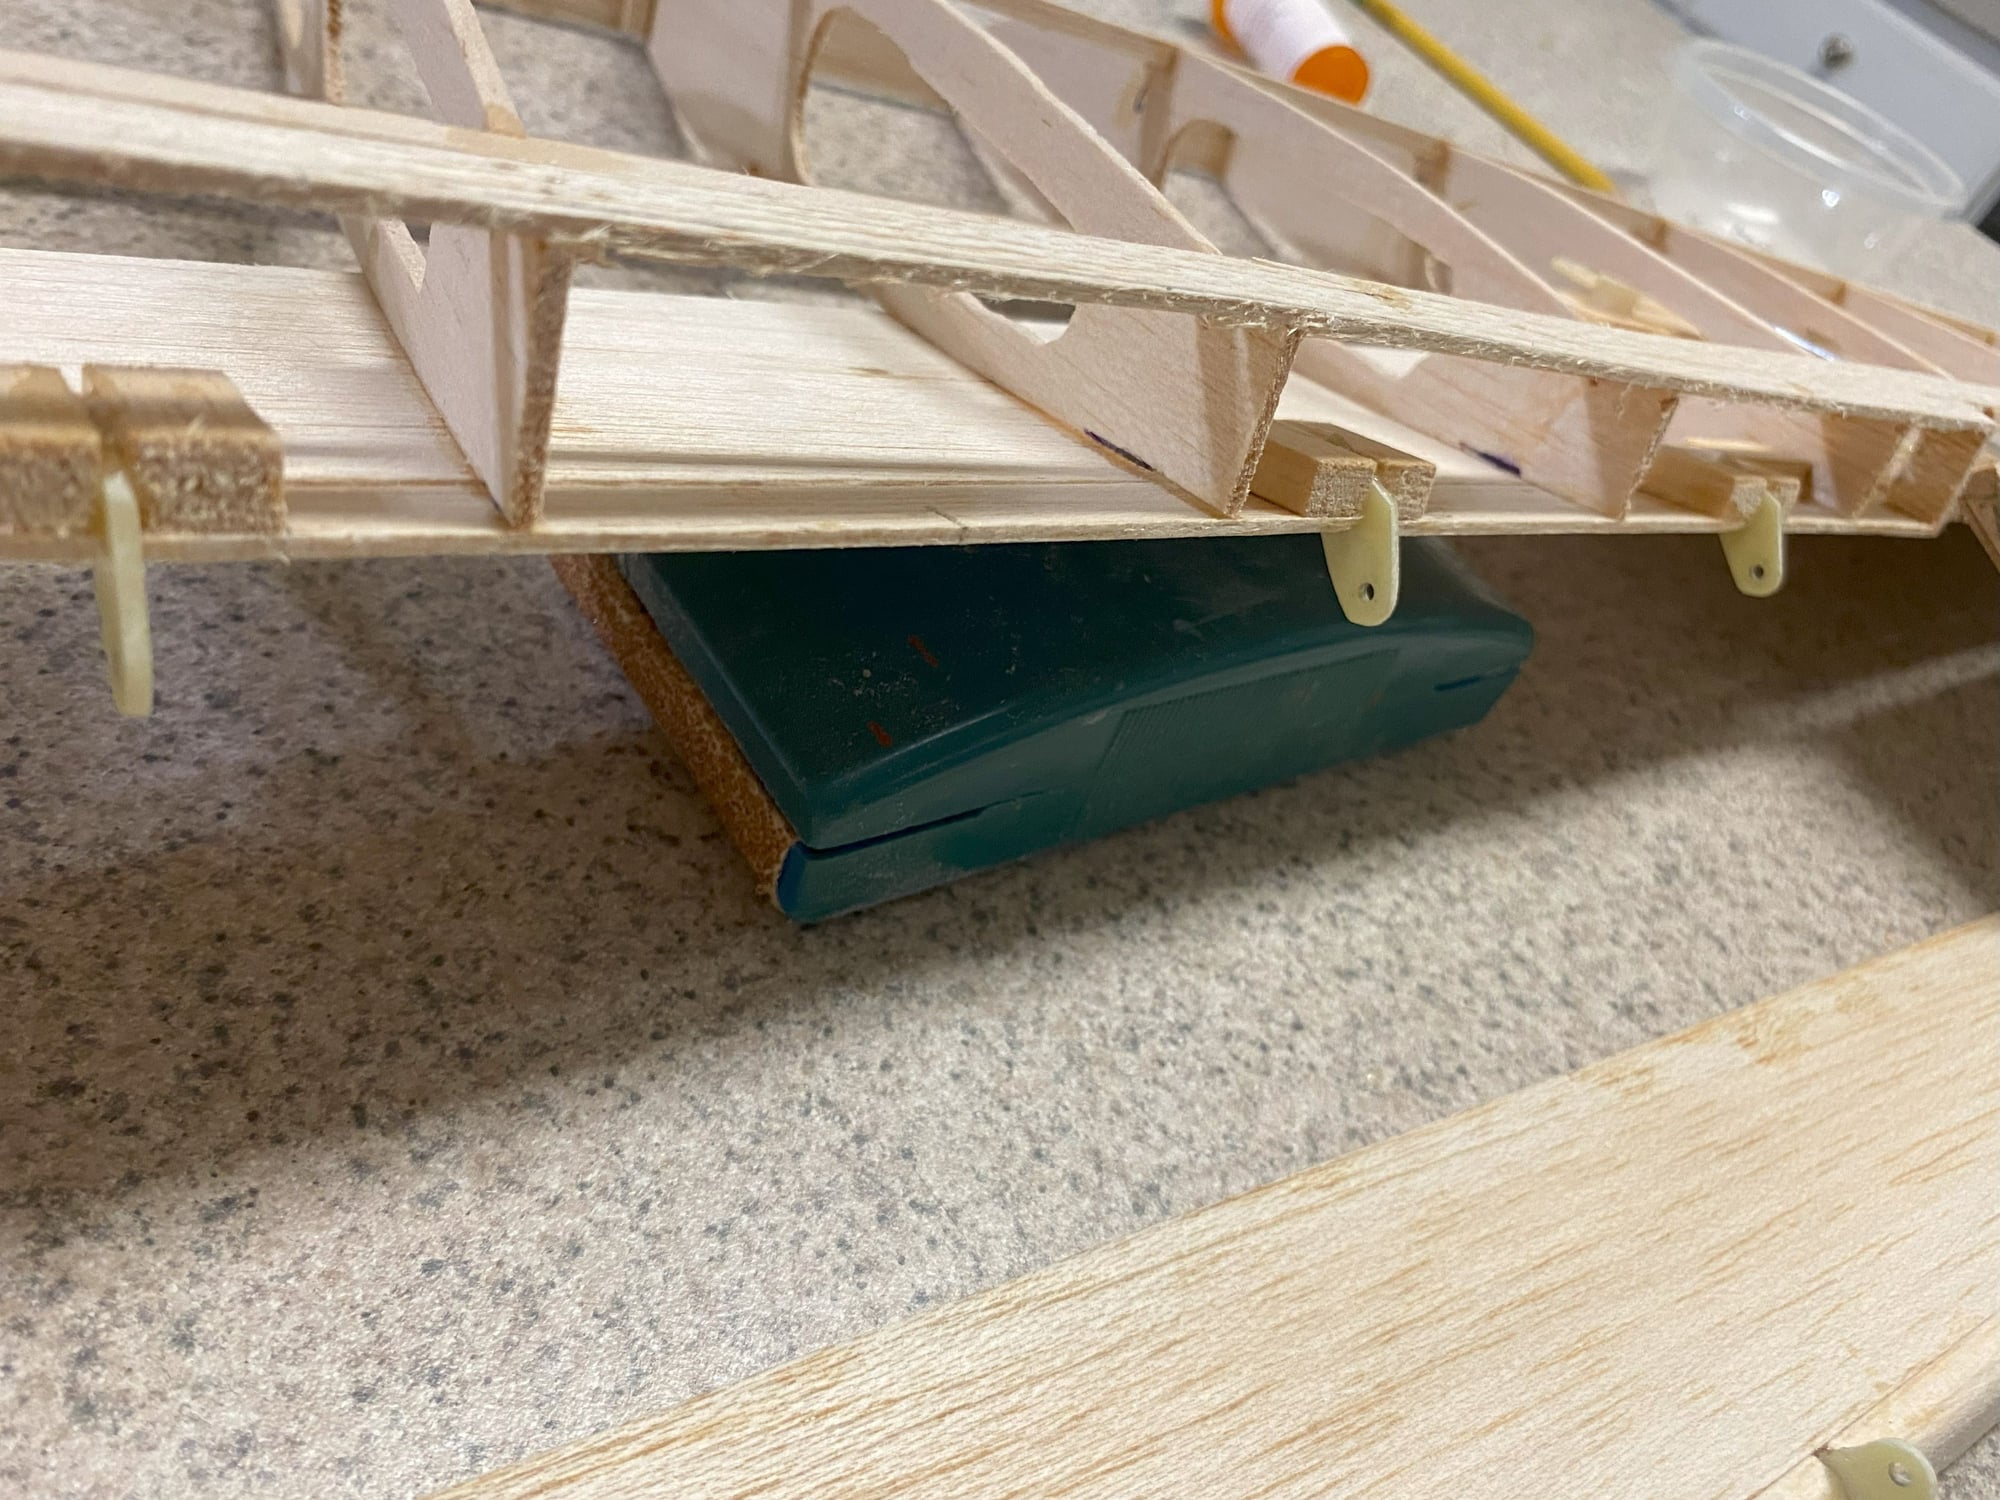
I cut the aileron back to accept a 1/4 balsa LE and a 30 degree angle. I made hinges from 1/16 G10. A 1/16 wire will be inserted thru the hinges. Inner yellow tubing from some Gold-N-Rod is glued to bottom skin of the aileron

Last edited by Kelsey_B; 11-26-2023 at 01:59 PM.
 11-30-2023, 04:23 PM
#8
Thread Starter
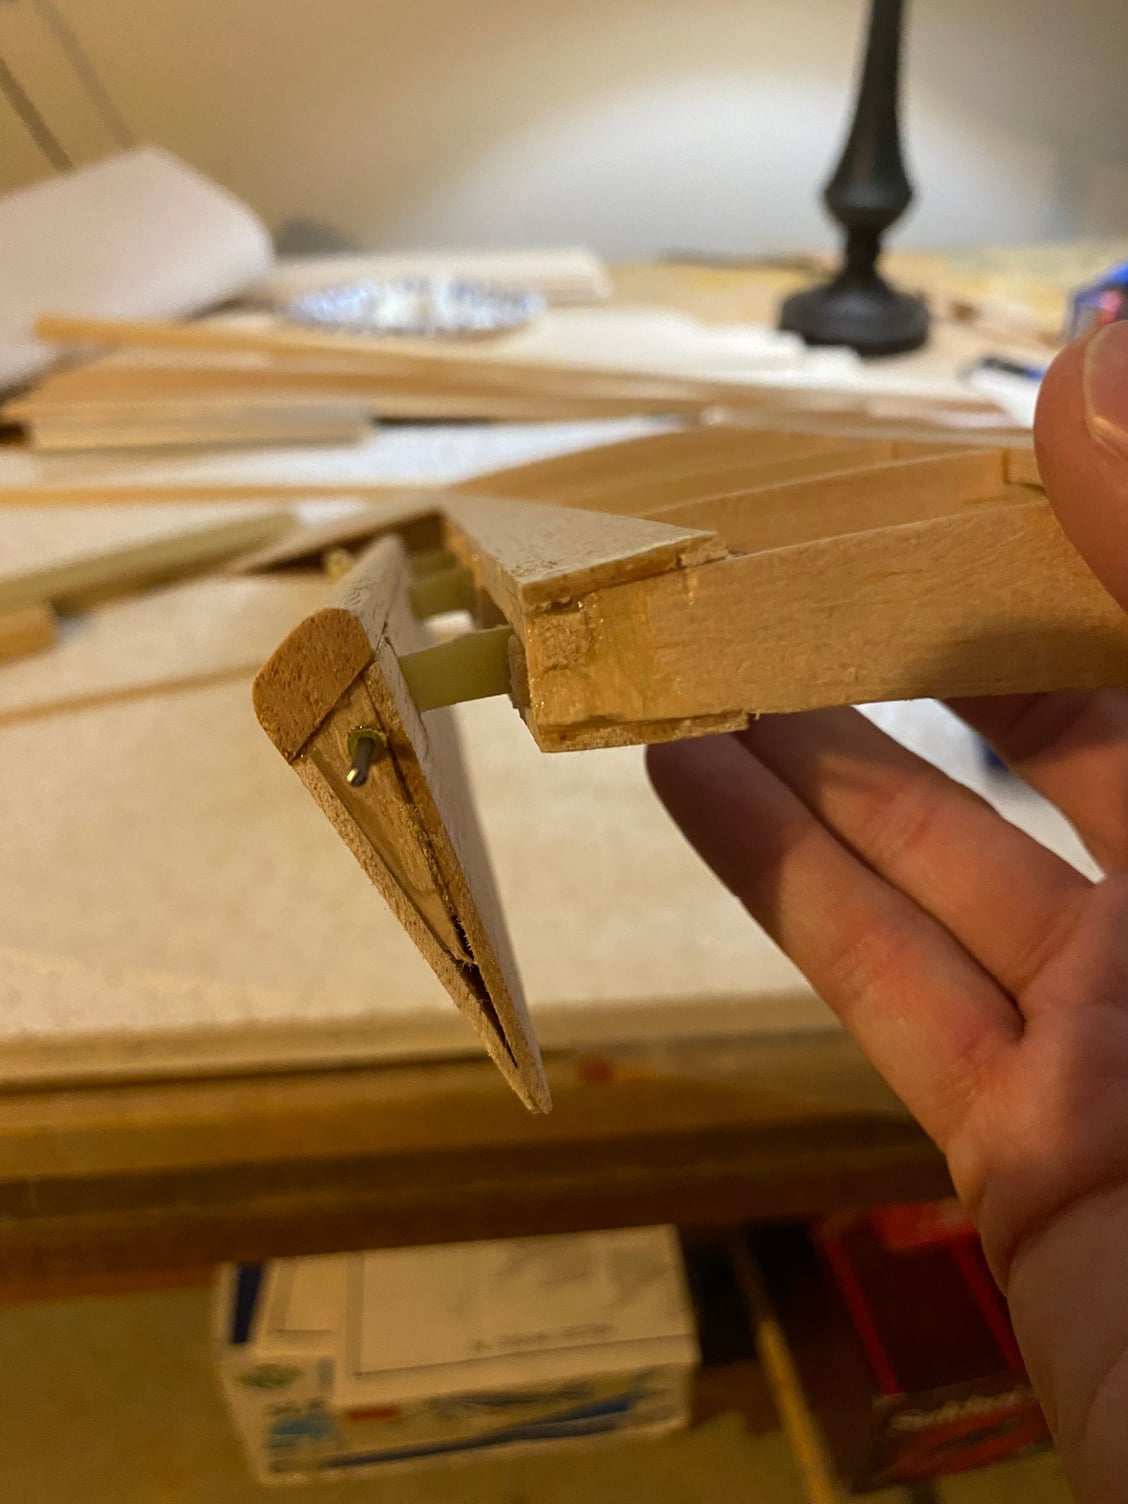
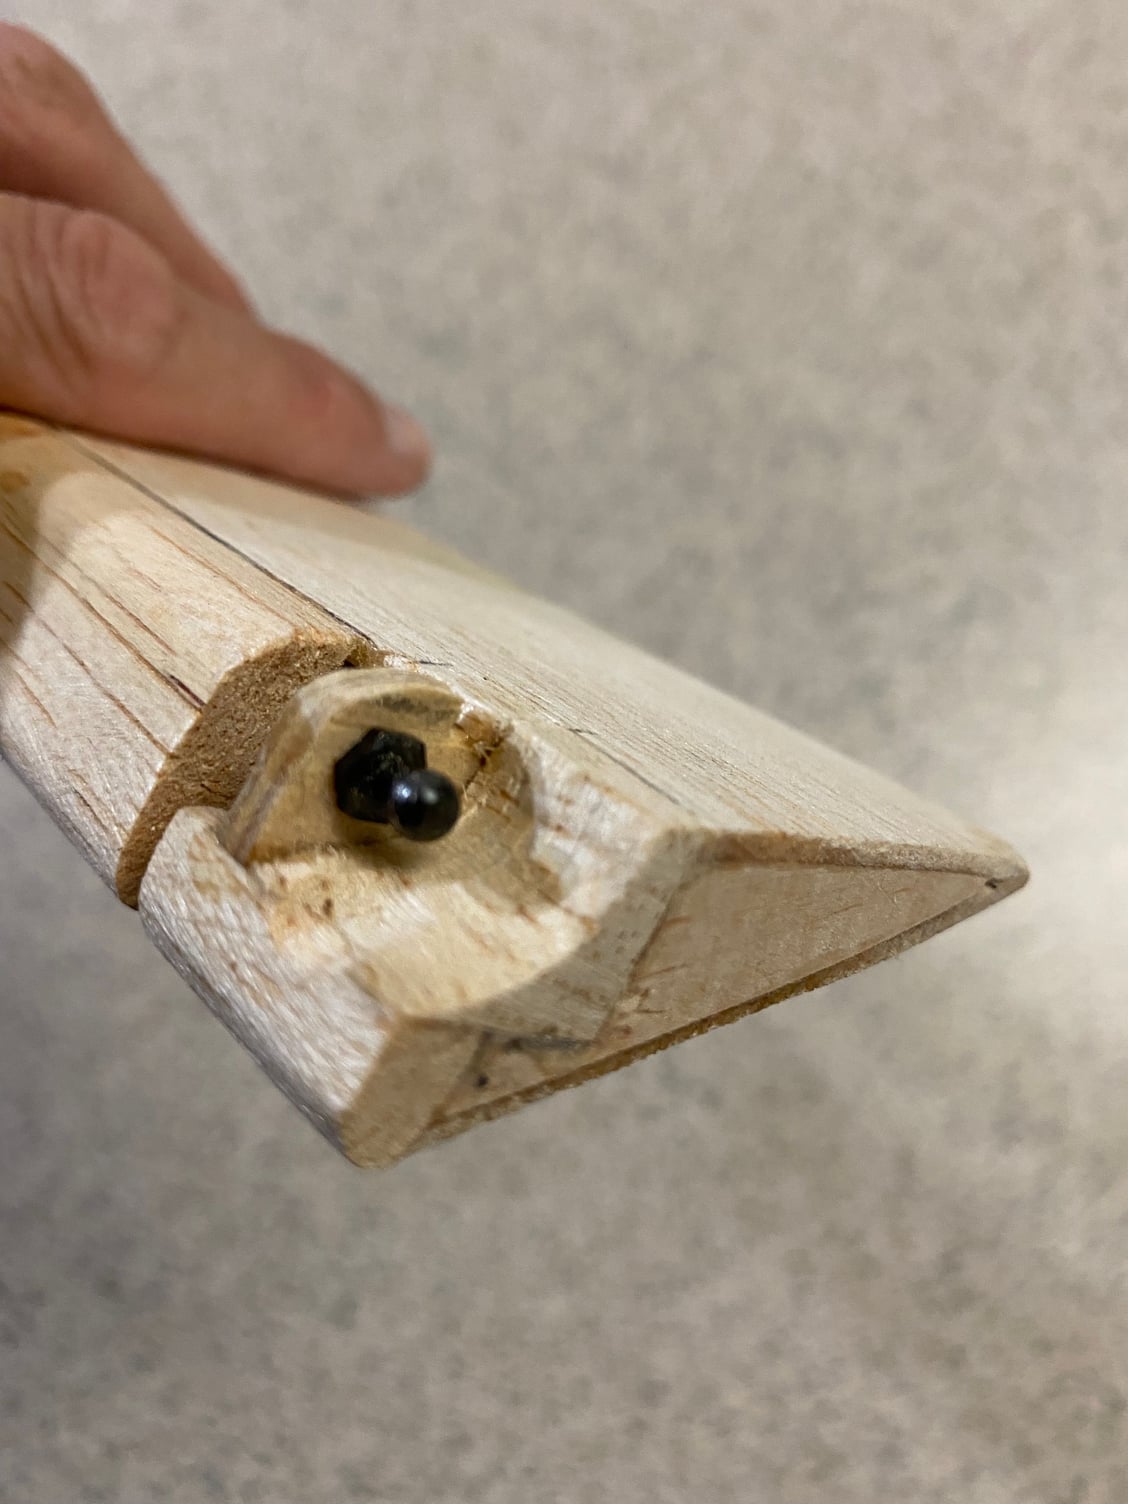
I originally had a plastic horn attched to the front of the aileron, but this provided limited up aileron movement. I modified if to use a ball link, and now I can get 45 degrees up and down aileron. I know that amount is not neeeded, but I wanted it to work well


 03-16-2024, 05:43 PM
#10

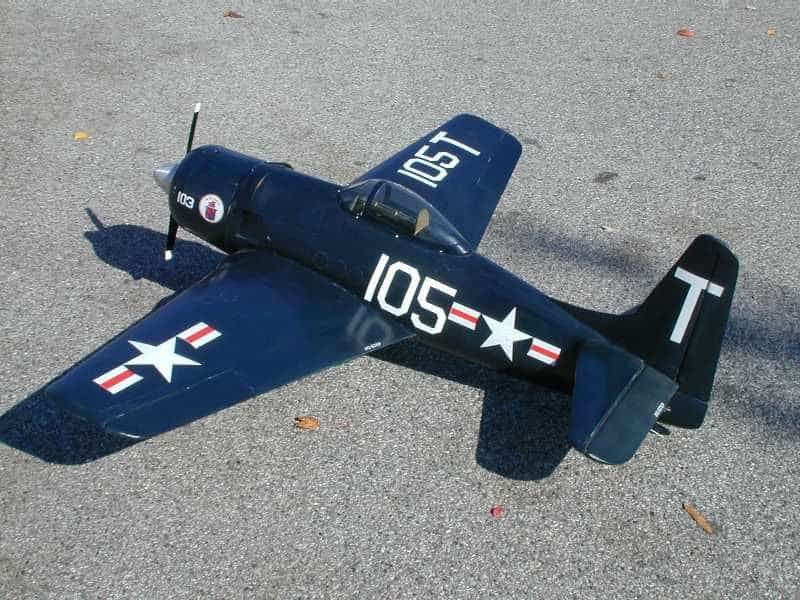
Curious, did you ever finish this conversion? I've always thought it would be an interesting subject to convert to electric. Here's mine powered by and ASP .91. It was a great flyer but I never got the engine cooling issues settled.
The fact that every flight ended in a dead stick with no flaps and it still exists after 20 years is evidence of it's good flying qualities.
The fact that every flight ended in a dead stick with no flaps and it still exists after 20 years is evidence of it's good flying qualities.
03-17-2024, 06:04 PM
#11
Thread Starter
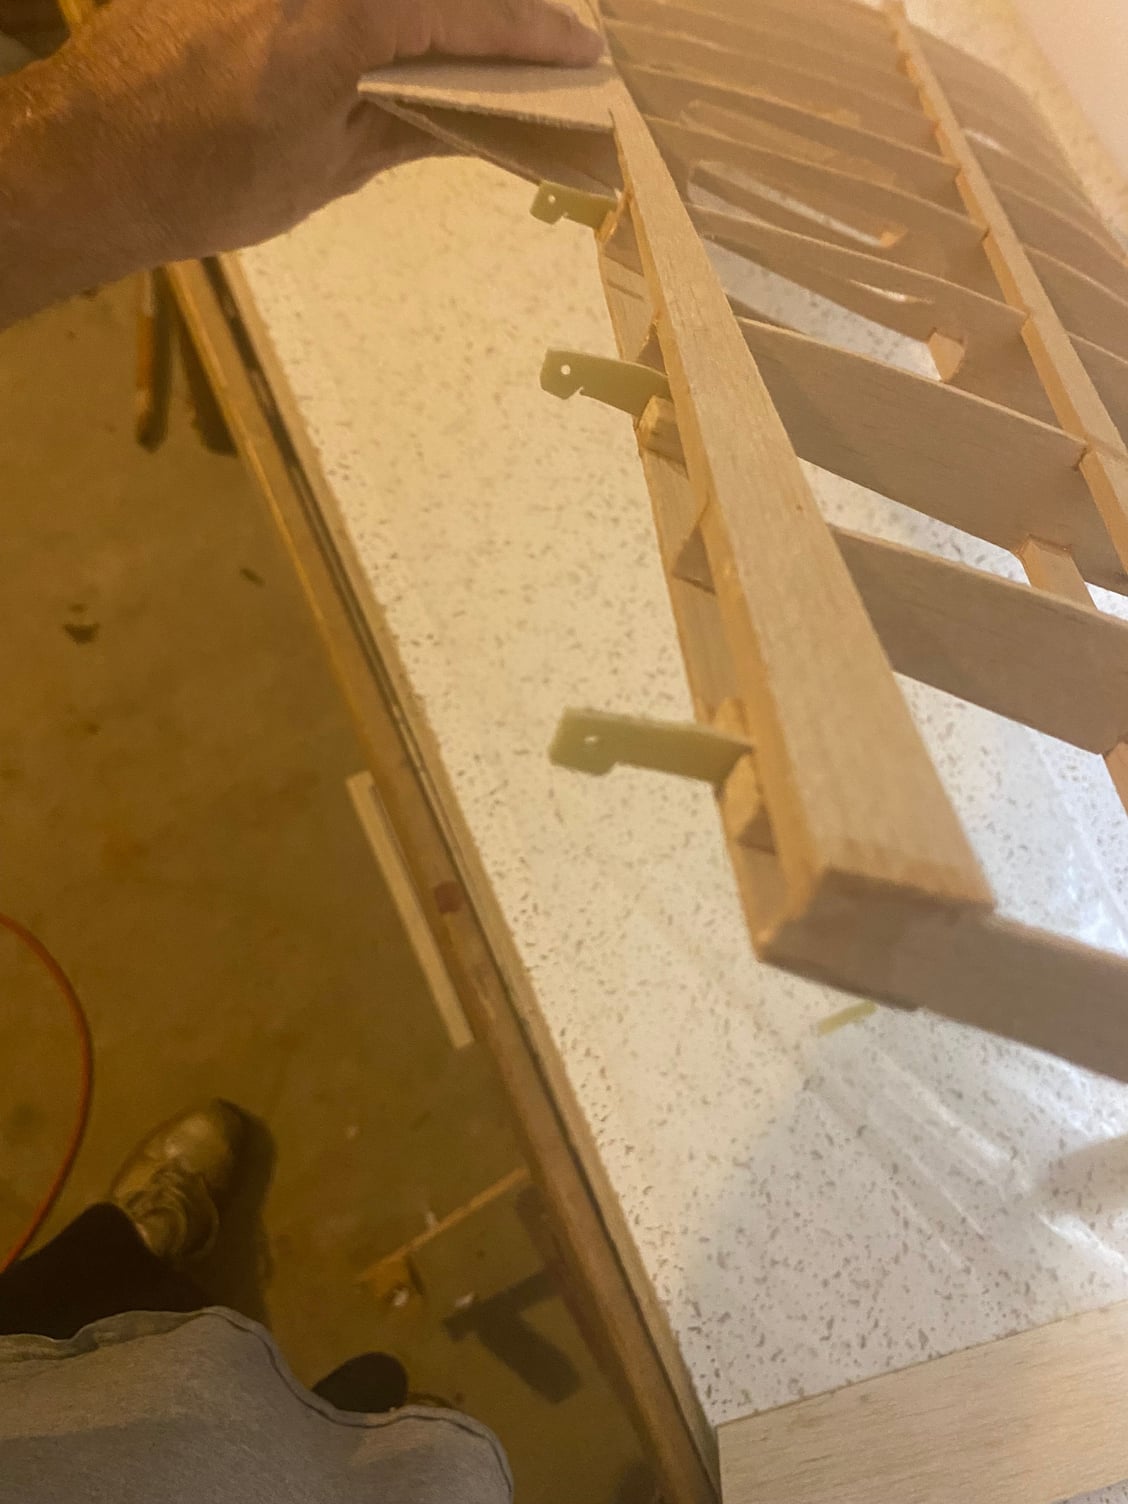
Thats a really nice plane. I actually started framing up another wing this weekend. I wasn't happy with my hinges, so I try something a little more conventional. I am surpirsed there is no interest in this thread. I thought it would be a nice subject for the kit building forum.
03-18-2024, 05:14 AM
#12

But you have only just begun... - If you keep posting step by step, surely more will comment...
The following users liked this post:
G.F. Reid (03-18-2024)
03-18-2024, 05:20 AM
#13
........................ Here's mine powered by and ASP .91. It was a great flyer but I never got the engine cooling issues settled.
The fact that every flight ended in a dead stick with no flaps and it still exists after 20 years is evidence of it's good flying qualities.
The fact that every flight ended in a dead stick with no flaps and it still exists after 20 years is evidence of it's good flying qualities.
Is the cowl just open or do you have a FAUX radial stuffed in there?
at the very least a thin flat balsa "plate" if you will, behind the faux radial if you have one, with only a cut out directly in front of the ASP 91 cylinder.
03-18-2024, 10:10 AM
#14
GF Reid, good looking airplane for sure.
Is the cowl just open or do you have a FAUX radial stuffed in there?
at the very least a thin flat balsa "plate" if you will, behind the faux radial if you have one, with only a cut out directly in front of the ASP 91 cylinder.
Is the cowl just open or do you have a FAUX radial stuffed in there?
at the very least a thin flat balsa "plate" if you will, behind the faux radial if you have one, with only a cut out directly in front of the ASP 91 cylinder.
The other thing I'd like to do with it is to build another wing with retracts and flaps.
Although I dropped out of the hobby years ago, the RC bug always bites again for me. Quitting RC has always been temporary for me.
03-19-2024, 02:53 PM
#15

My Feedback: (121)
Hi Kelsey,
Nice job on the first wing. Perhaps consider separate aileron servos on the 2nd one. Bellcranks work, but are a bit archaic, plus you can, if needed, do more programming with separate servos.
My dad served on a navy carrier just after WWII that was mostly Bearcats. They are massive and loud!
Will
Nice job on the first wing. Perhaps consider separate aileron servos on the 2nd one. Bellcranks work, but are a bit archaic, plus you can, if needed, do more programming with separate servos.
My dad served on a navy carrier just after WWII that was mostly Bearcats. They are massive and loud!
Will
03-19-2024, 04:27 PM
#16
Thread Starter
Thanks. I was trying to get cute with concealed linkages, but my ailerons were a little crooked. Going with separate servos this time. I'll post more pics when I start cutting out flaps/ail on the second wing
The following users liked this post:
G.F. Reid (03-24-2024)
04-03-2024, 12:56 PM
#17
I have a Royal Bearcat that I won Fun scale with at the Mint Julip in 2003. It is Still flying and I have never had a cooling problem with it. I only let air in the front the cylinder and out the exhaust ports in the fuse. It is powered with a Magnum .91 and flies fine. I probably have at least 250 flights on it. I will try to post some pics when I have more time .I don't think cooling a glow engine is a problem.
04-04-2024, 06:51 PM
#18
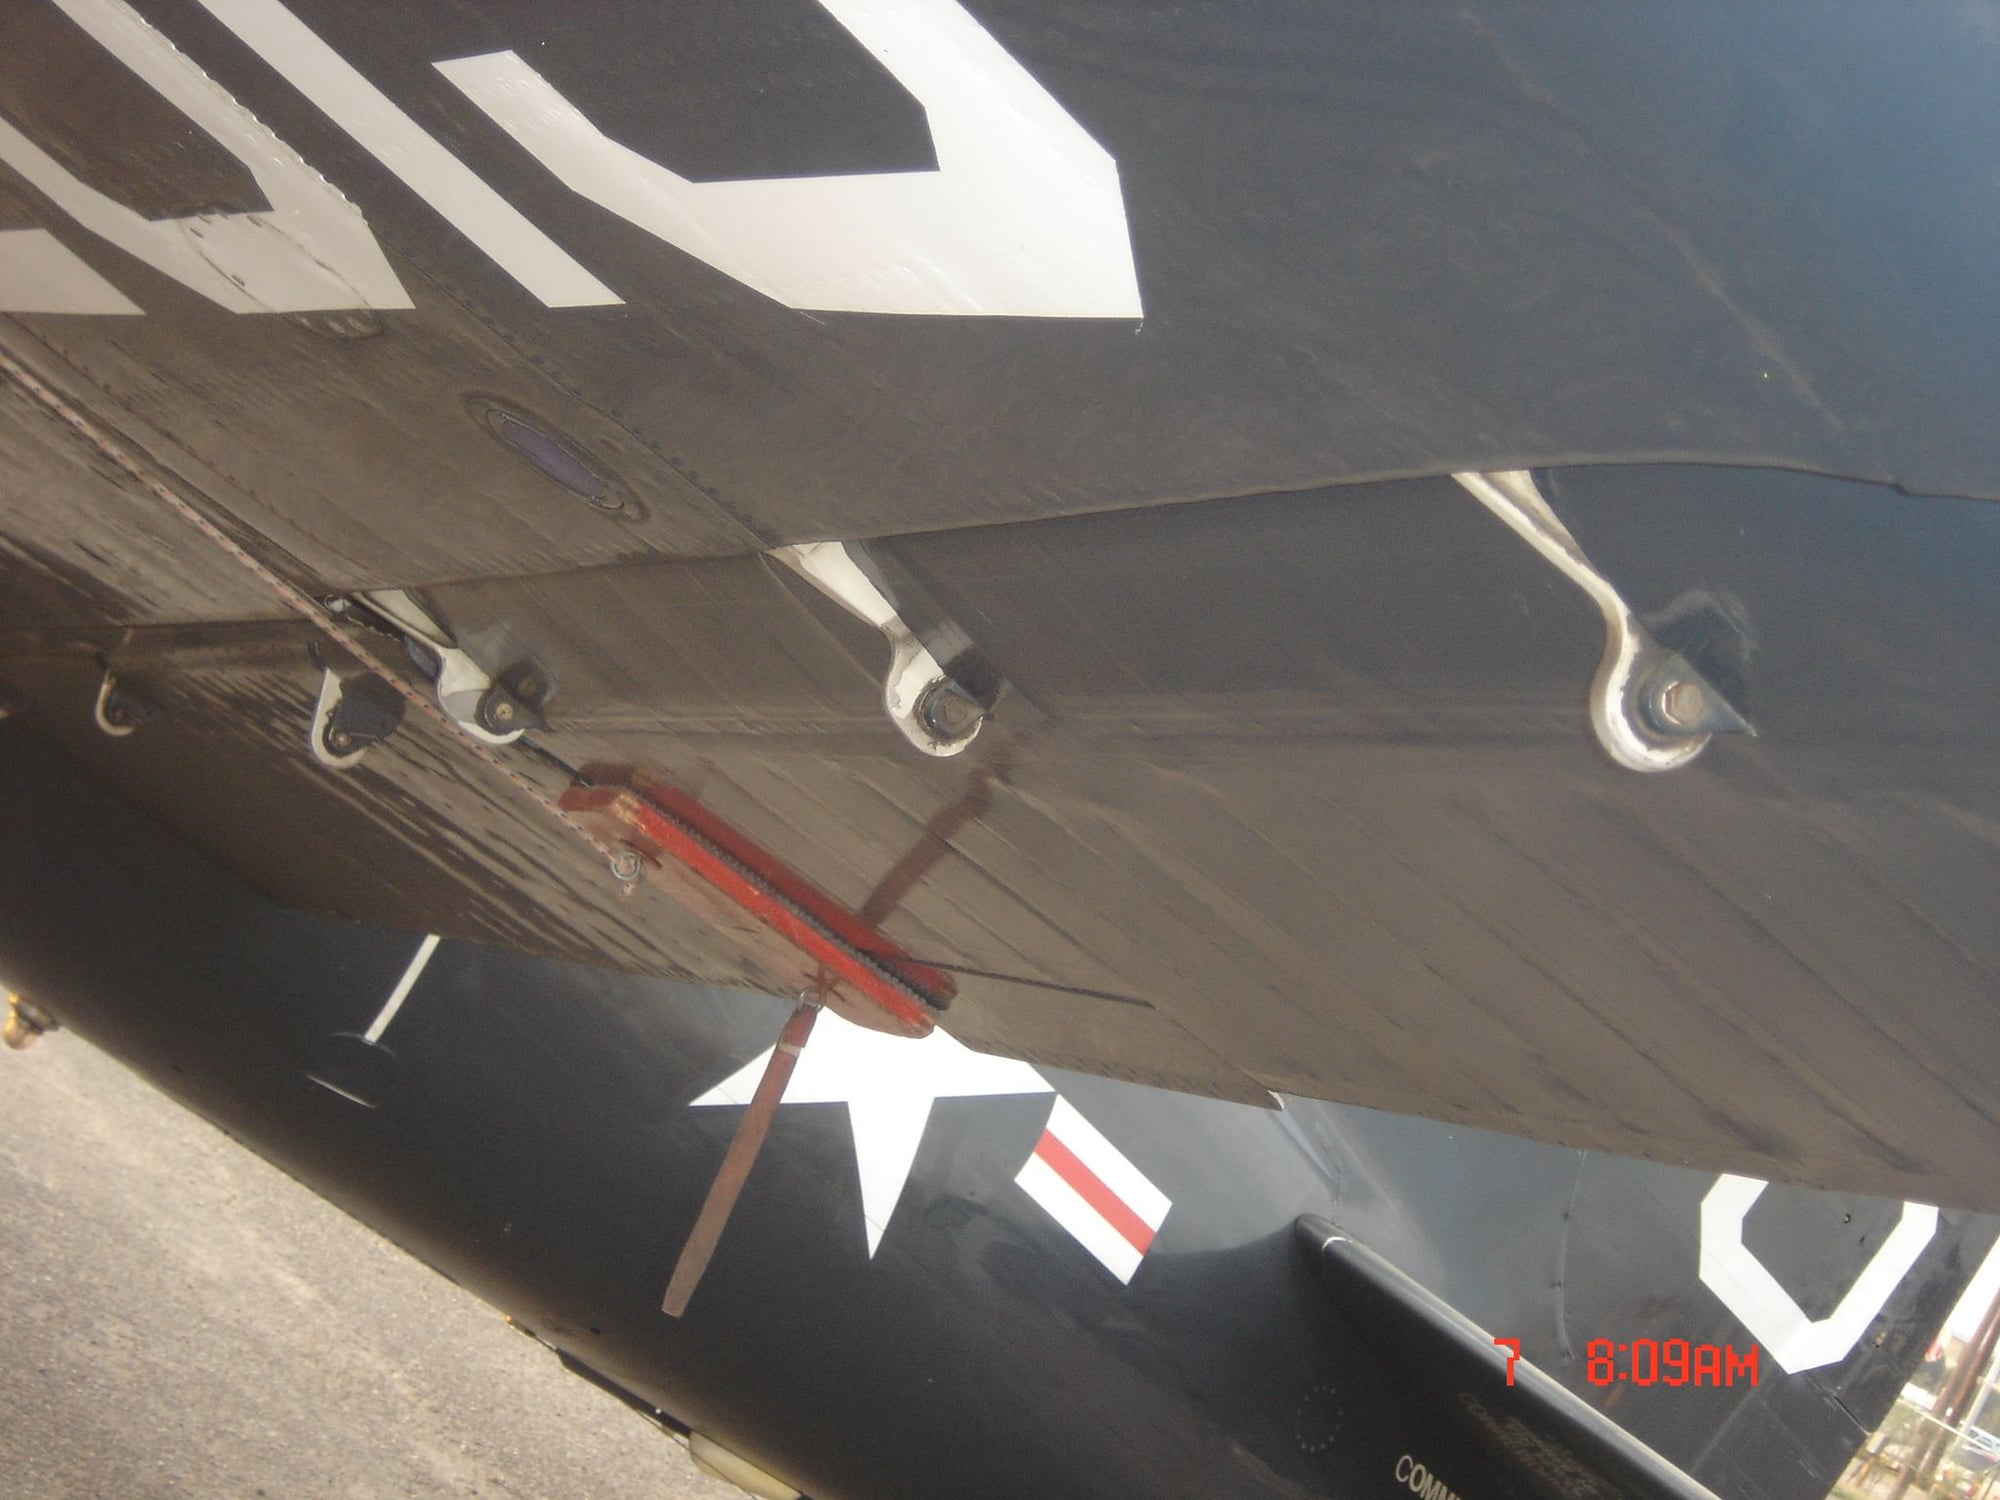
Here are some pictures of my bearcat. It has some age on it now. over 20 years
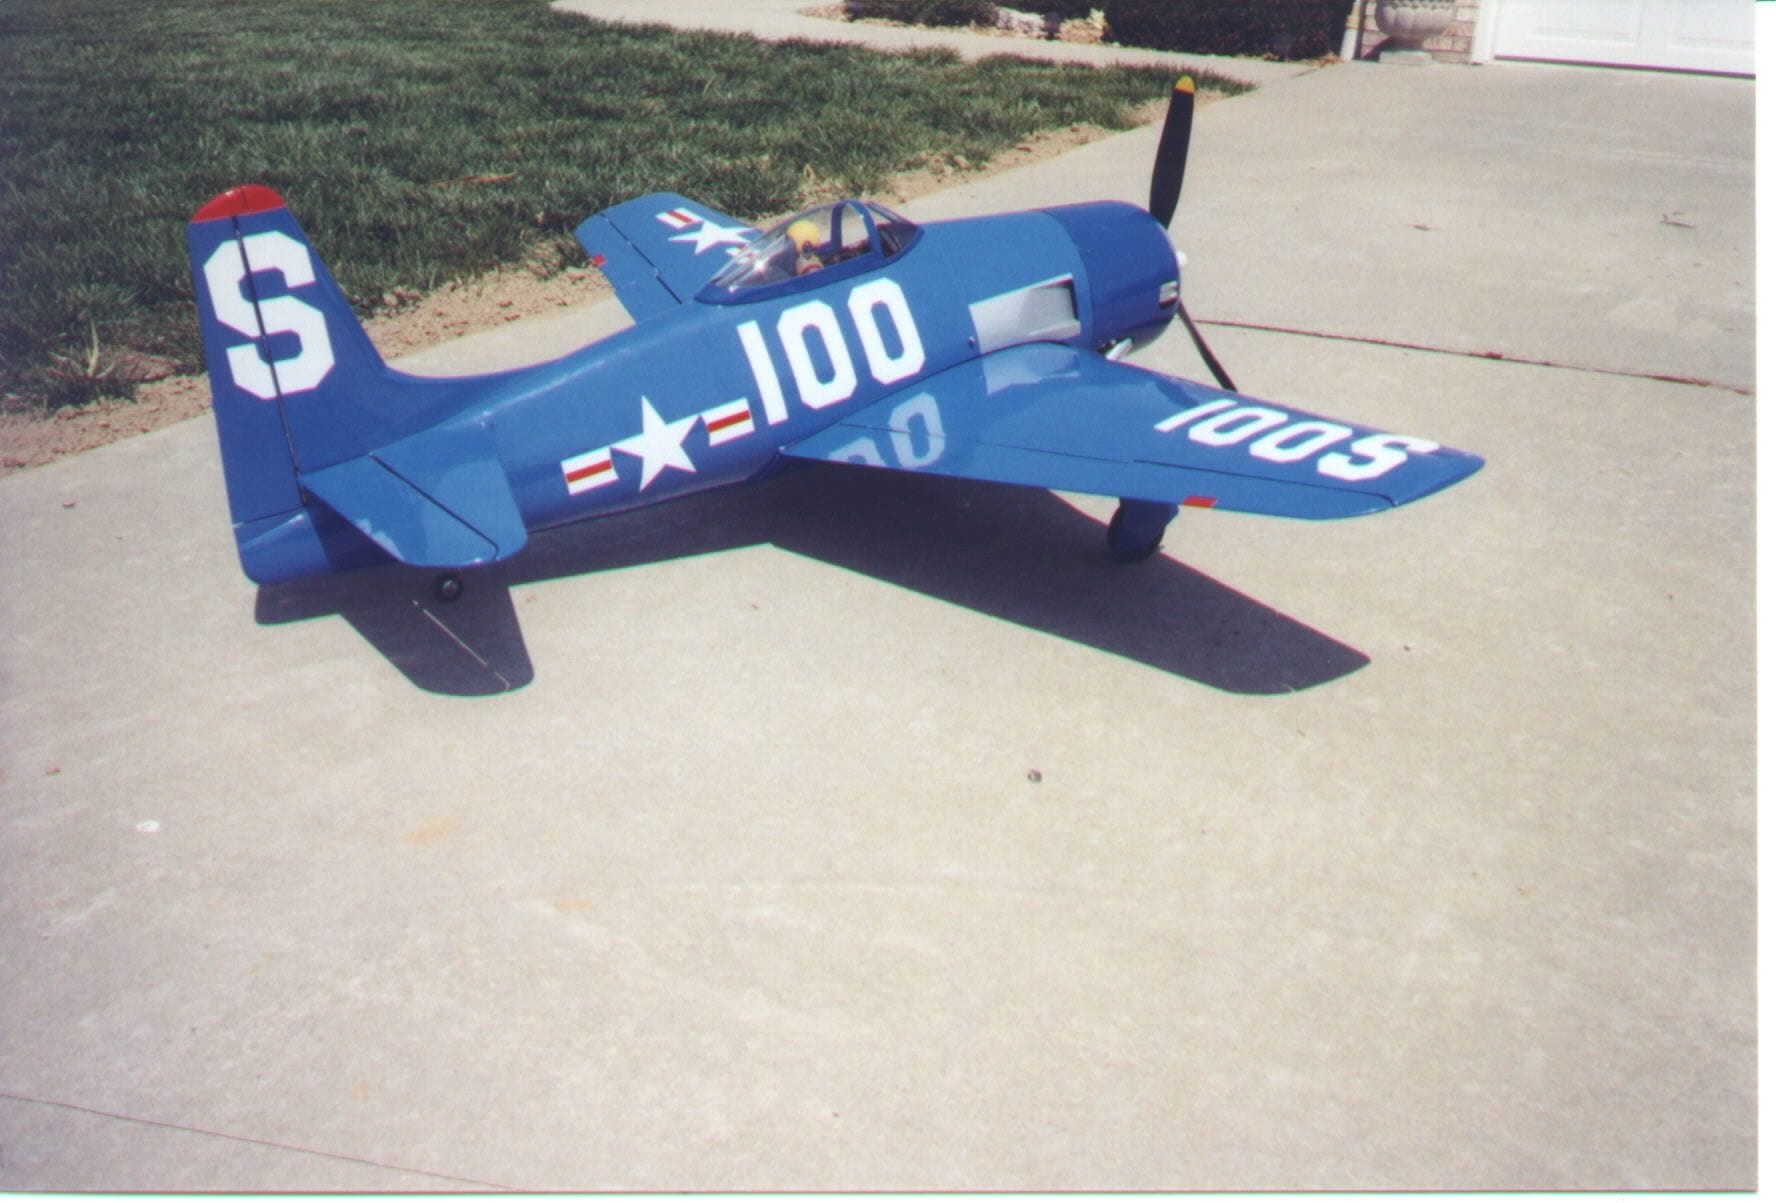
I didn't have the Red Rippers decal on yet.

Landing approach
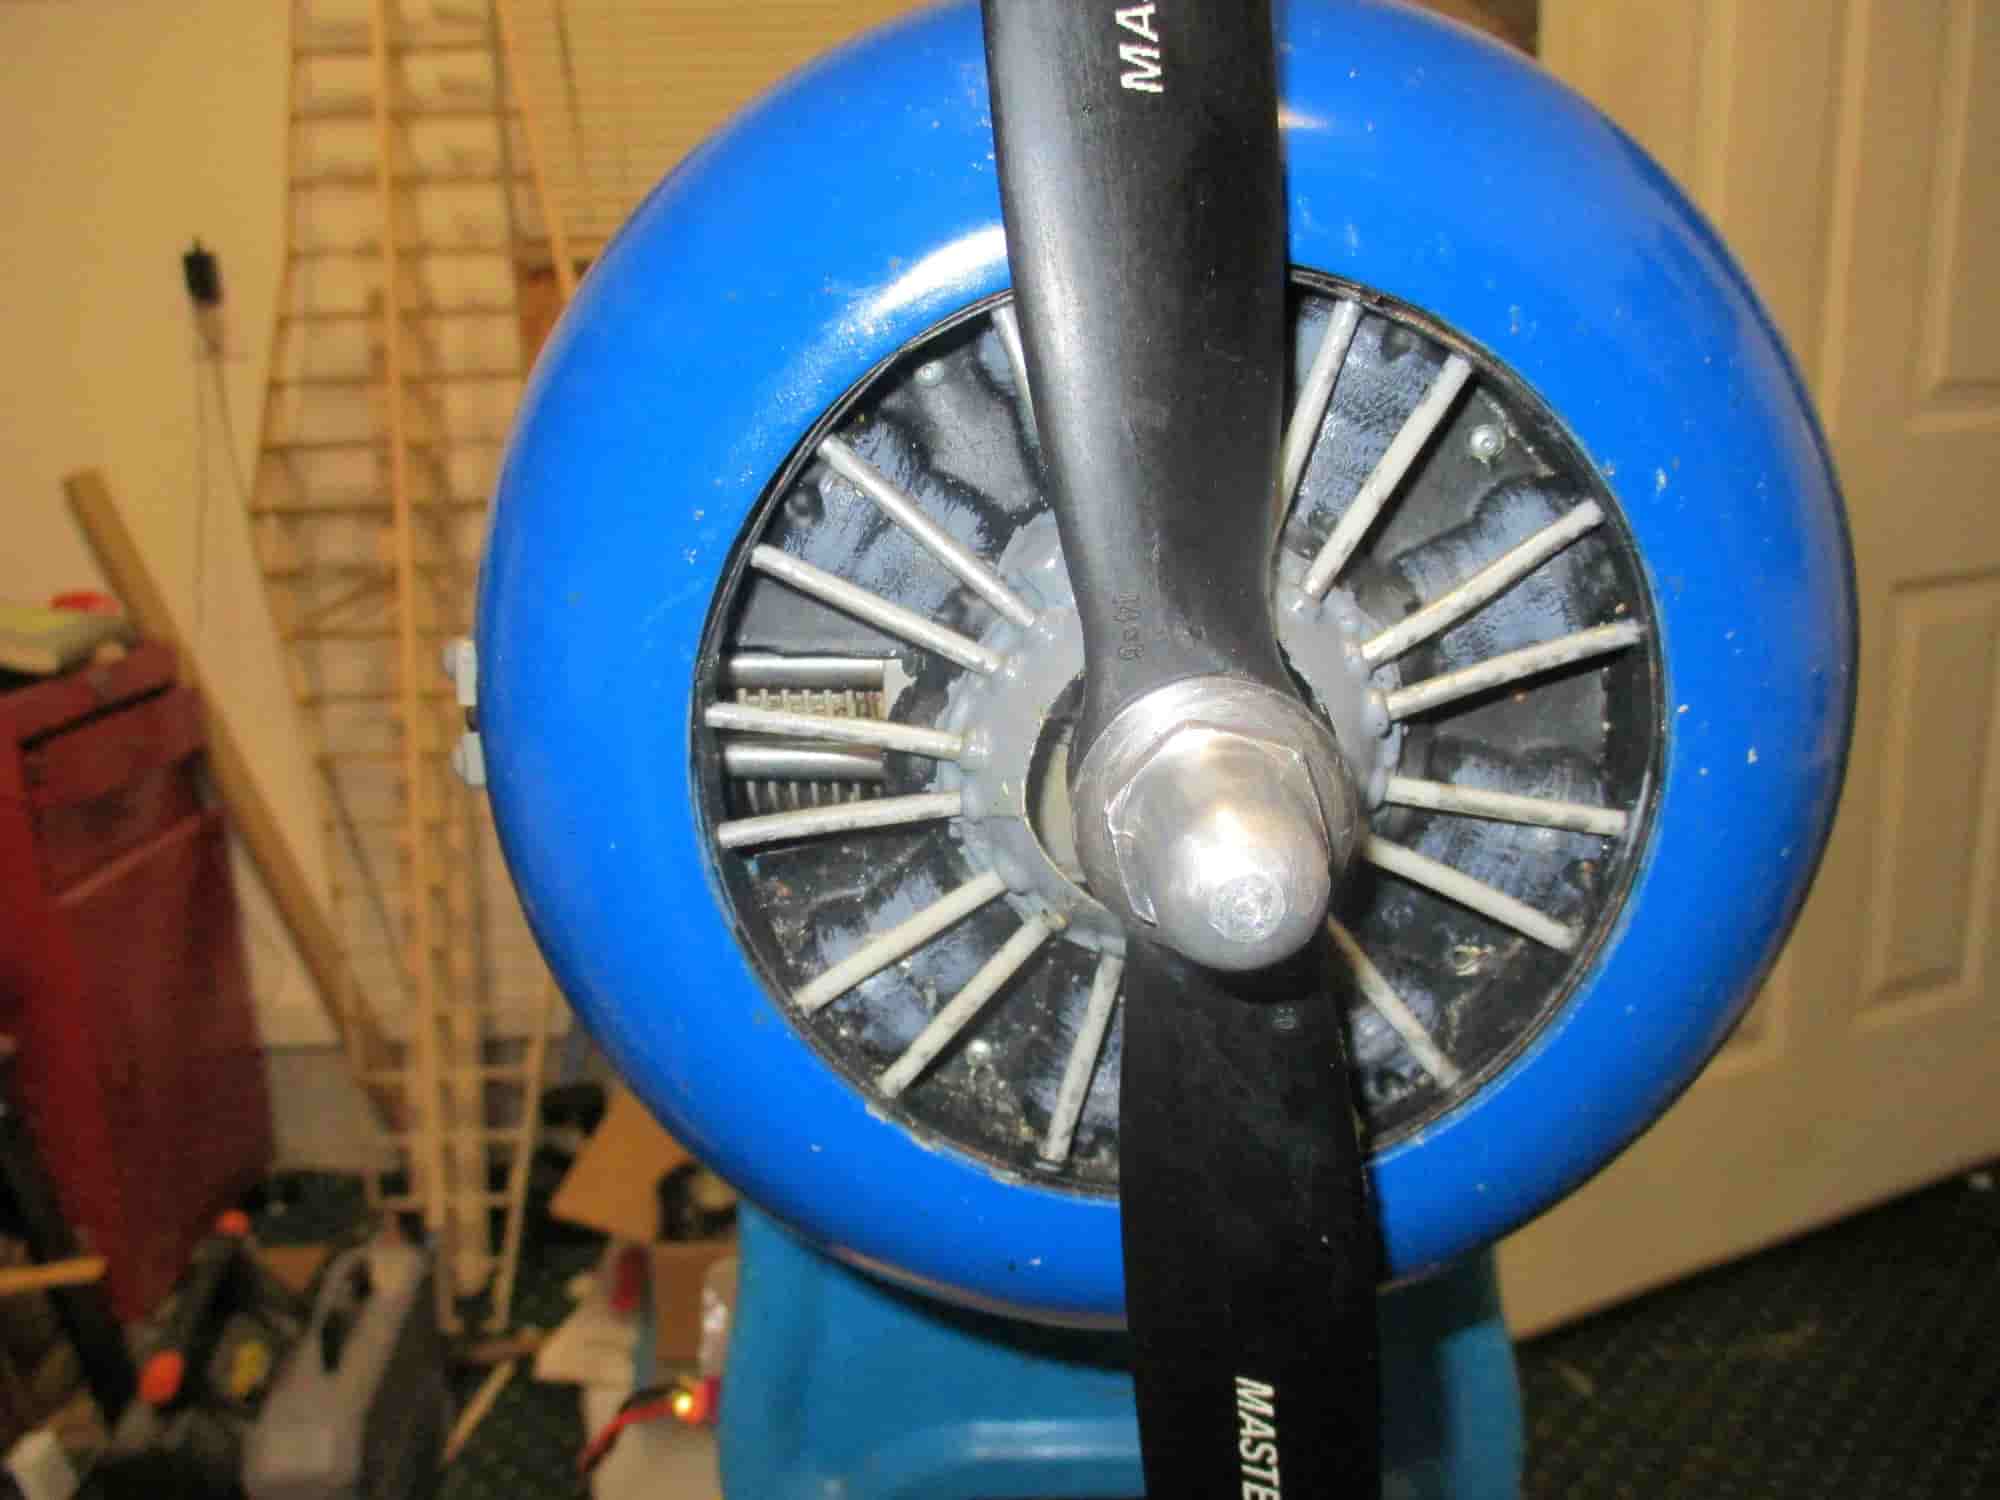
Only open in front of the cylinder

Cowl fits tight so this is the outlet on the right side
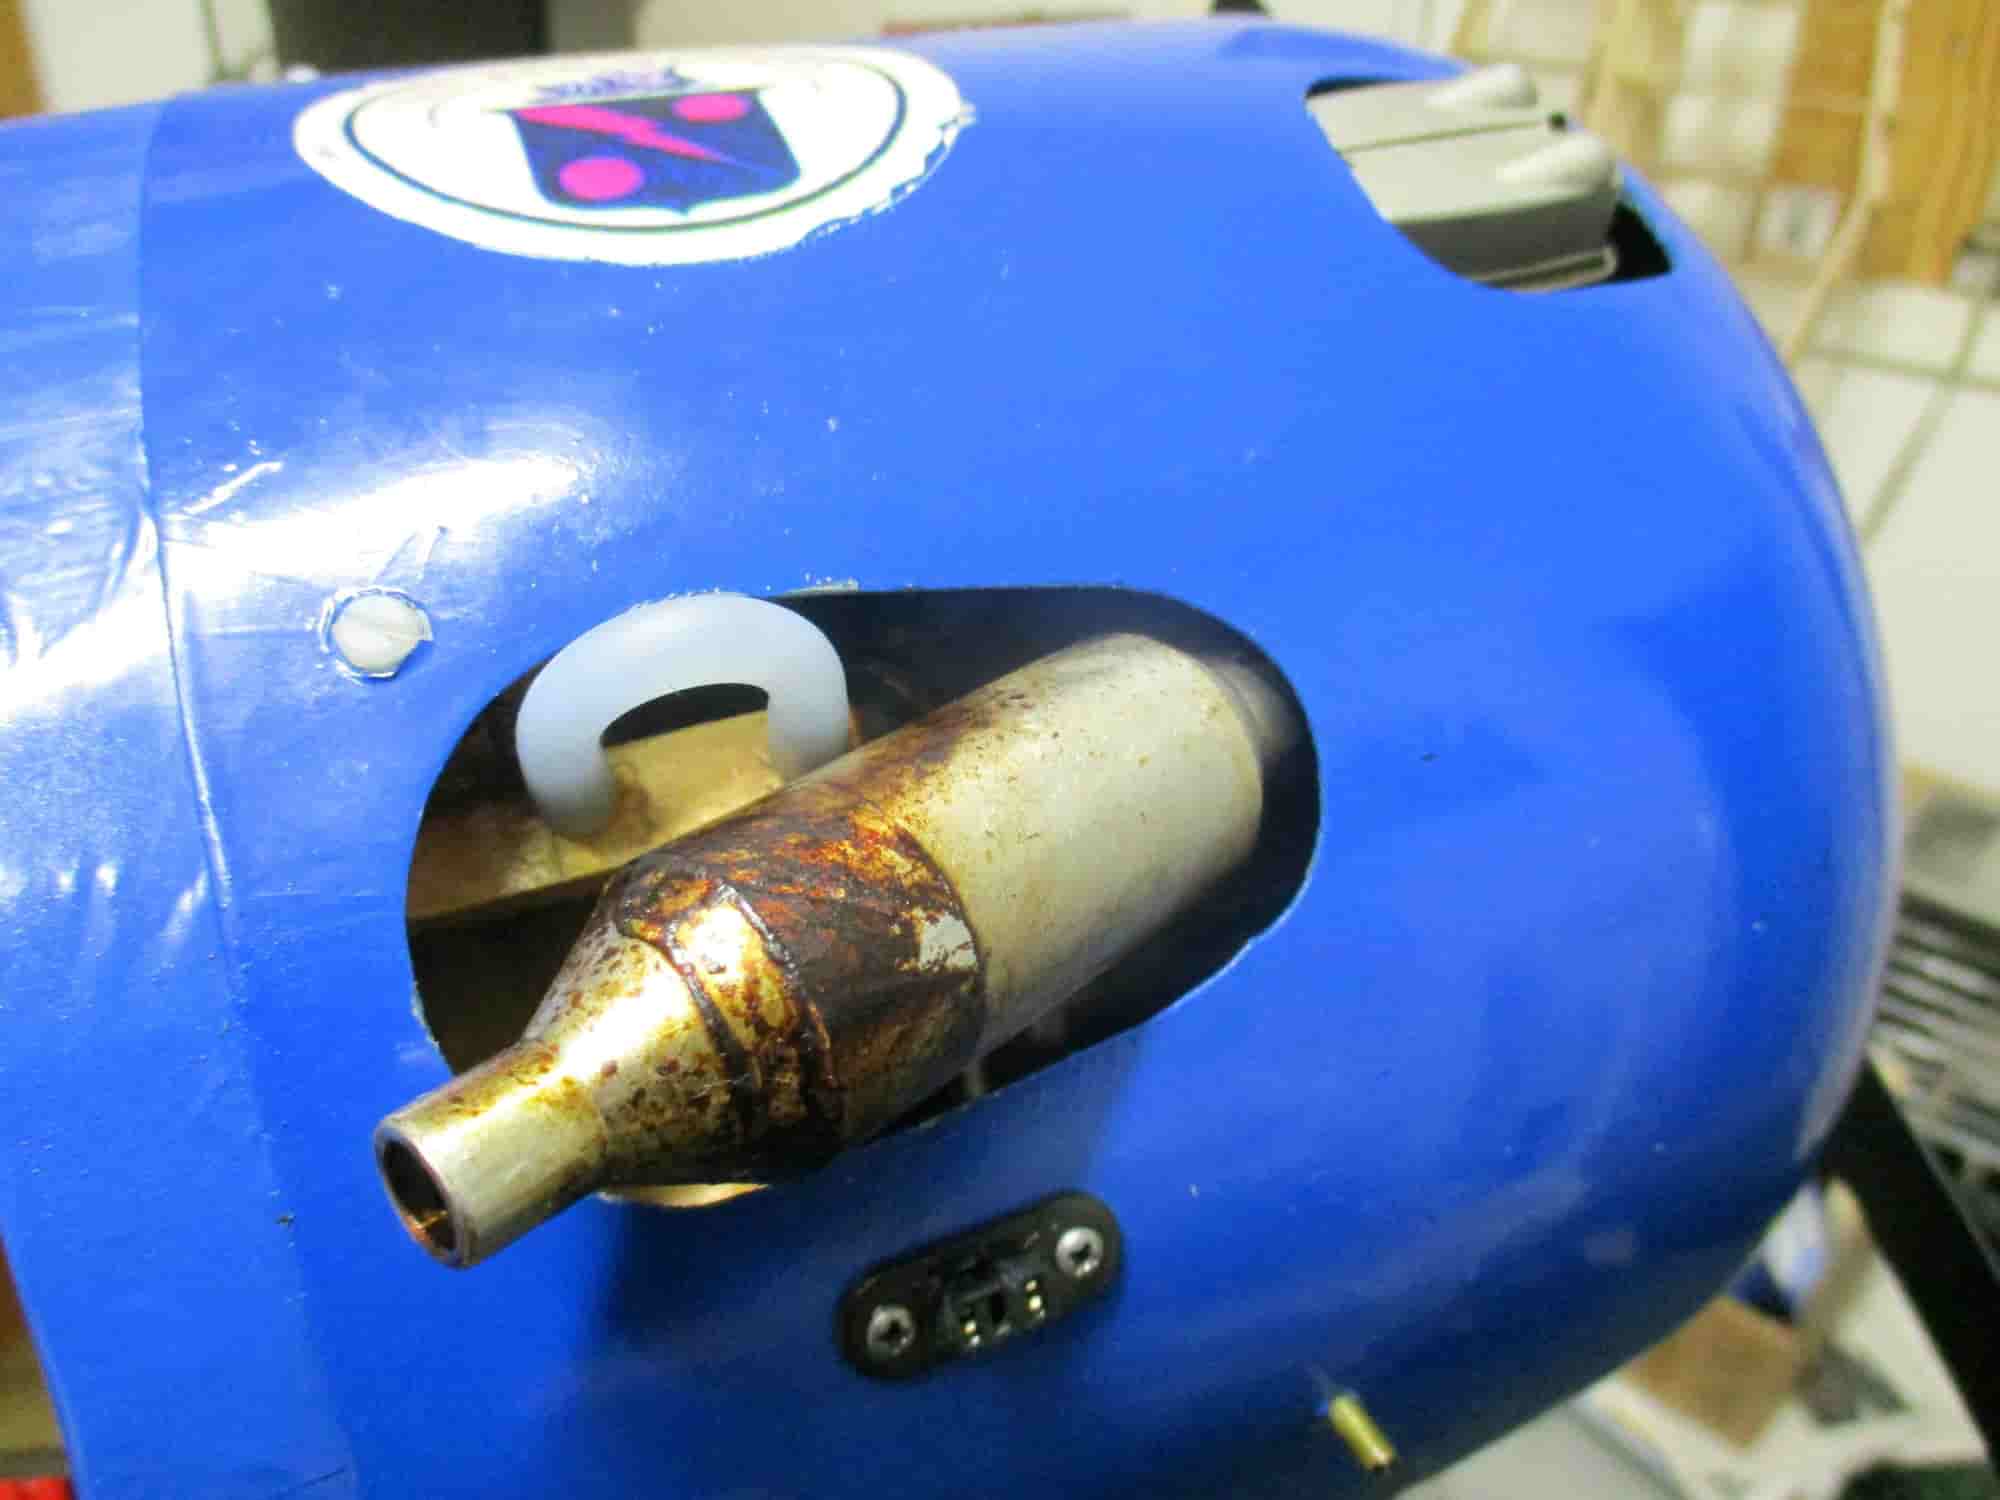
Some air can get out around the Muffler. The fuel line is how I fill it and the deans plug is for the glow igniter
The left side outlet
I just wanted to show you the opening on the front of the engine and the outlets. It has never gotten hot on me
I didn't have the Red Rippers decal on yet.
Landing approach
Only open in front of the cylinder
Cowl fits tight so this is the outlet on the right side
Some air can get out around the Muffler. The fuel line is how I fill it and the deans plug is for the glow igniter
The left side outlet
I just wanted to show you the opening on the front of the engine and the outlets. It has never gotten hot on me
04-05-2024, 09:10 AM
#19
04-05-2024, 11:56 AM
#20
Nice job on that one hellcat1.
I really think my cooling problems were more because of the engine than my cooling setup but I wanted to cure it without doing anything to the engine directly ...I like the power of the ASP .91.
At that time they had a bit of a reputation for running hot in some fully cowled applications.. they were designed to have high compression and as a matter of fact, they included a head gasket in the box with those engines for that very reason. They are real stump pullers and this one is no exception. I am using the scale exhaust locations as you are but I did not block the inlet and I am aware of the fact that you should have more outlet than inlet for cooling air. Just never got around to blocking the inlet off.
By the way, my Bearcat is over 20 years old too. If I had known what a good flyer it was going to be I would have done the flaps and retracts like you did. I have considered building a new wing for it just for that reason!!
Last edited by G.F. Reid; 04-05-2024 at 12:06 PM.
04-05-2024, 01:12 PM
#21
You really need to make sure that all the air coming in the front just flows over the cylinder. I once had a Top Flight Red Box P40 that would over heat just taxiing out to take off. I finally made a metal duct that channeled all the air directly over the head. It had a lot of exit area but the air coming in wasn't all going around the cylinder. It was just going where it wanted to. After that I never had any problem.
The following users liked this post:
G.F. Reid (04-05-2024)
