Go Back  RCU Forums > RC Airplanes > Kit Building
Reload this Page >

Balsa USA Stingray 120

Notices
Kit Building If you're building a kit and have questions or want to discuss kit building post it here.

Balsa USA Stingray 120

Old 03-22-2014, 09:42 PM
  #26  
bicyclemonkey
Thread Starter
My Feedback: (7)
 
bicyclemonkey's Avatar
 
Join Date: Mar 2010
Location: Fayetteville, AR
Posts: 120
Likes: 0
Received 0 Likes on 0 Posts
Default

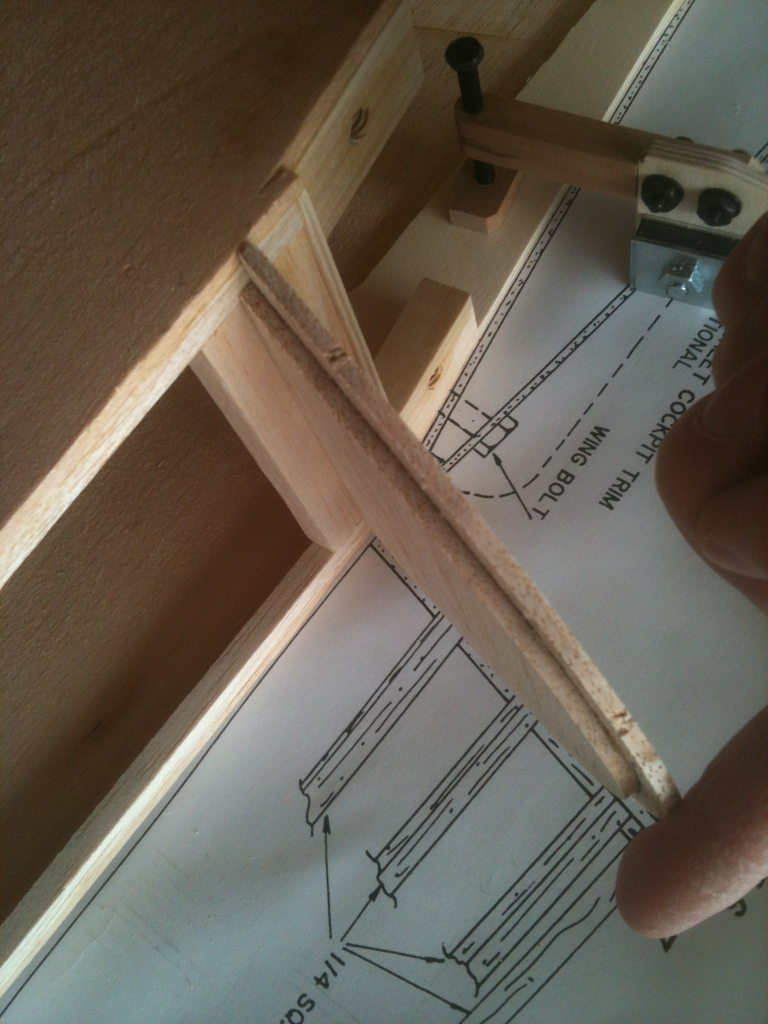
So, longerons (I think is what the manual called them) are now on the fuselage halves.


and the firewall.

Attached Thumbnails Click image for larger version

Name:	8SDKW8b.jpg
Views:	689
Size:	611.8 KB
ID:	1982270   Click image for larger version

Name:	Pf3HfLw.jpg
Views:	709
Size:	638.9 KB
ID:	1982271  

Last edited by bicyclemonkey; 03-28-2014 at 08:49 AM.
Old 03-23-2014, 03:23 PM
  #27  
bicyclemonkey
Thread Starter
My Feedback: (7)
 
bicyclemonkey's Avatar
 
Join Date: Mar 2010
Location: Fayetteville, AR
Posts: 120
Likes: 0
Received 0 Likes on 0 Posts
Default

The fuselage is starting to come together, finally!!!

Attached Thumbnails Click image for larger version

Name:	b6l2OZA.jpg
Views:	812
Size:	2.45 MB
ID:	1982272   Click image for larger version

Name:	IMRWopy.png
Views:	718
Size:	1.84 MB
ID:	1982273  

Last edited by bicyclemonkey; 03-28-2014 at 08:50 AM.
Old 03-24-2014, 11:34 AM
  #28  
Gray Beard
My Feedback: (-1)
 
Join Date: Apr 2003
Location: Hemderson, NV
Posts: 14,396
Likes: 0
Received 7 Likes on 7 Posts
Default

Very impressed with this build. Hard for me to think this is your first, it's that good. Good choice on your servo selection too. This is a plane I have never built but at one point in time there were a lot of them flying. Fantastic plane for people wanting to get into giant scale flying.
Old 03-24-2014, 12:53 PM
  #29  
bicyclemonkey
Thread Starter
My Feedback: (7)
 
bicyclemonkey's Avatar
 
Join Date: Mar 2010
Location: Fayetteville, AR
Posts: 120
Likes: 0
Received 0 Likes on 0 Posts
Default

Thanks for the awesome comment! It's been fun but I was a little intimidated to start with a BUSA kit but I'm glad I did and it's much easier than I expected. I've really enjoyed adding things not in the manual.

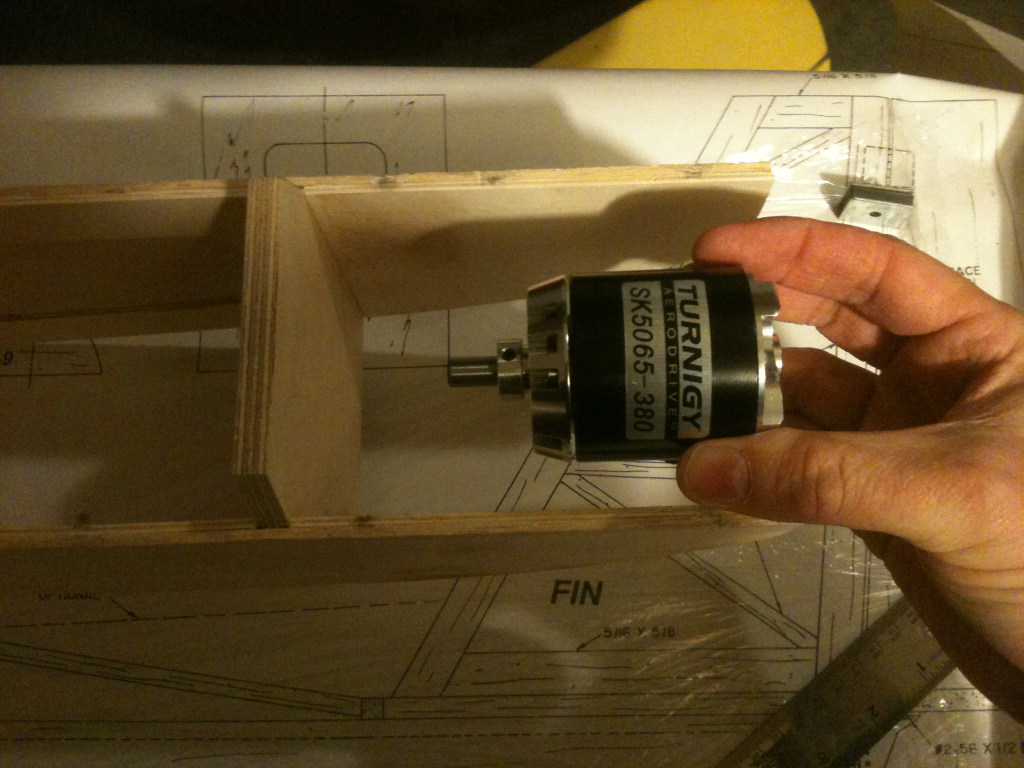
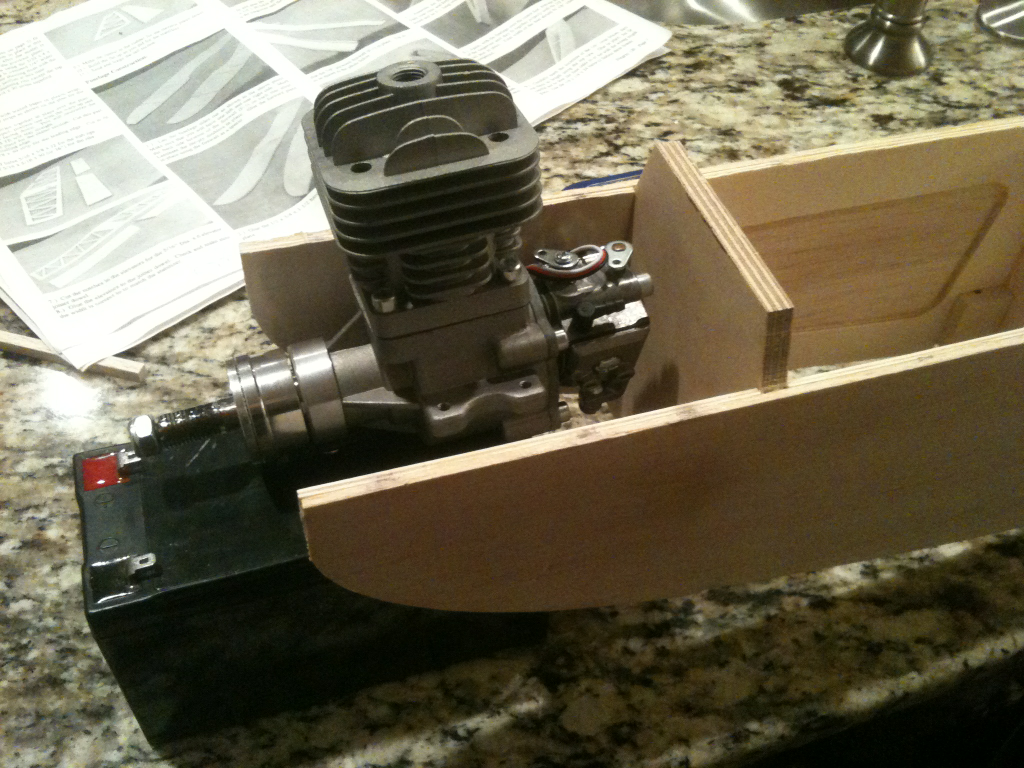
I think for now, I'm going to throw the electric motor on here just for the ease of setup. If it survives the maiden and looks to be a plane i won't get bored with after a half dozen flights, I may throw a four stroke on it.

Attached Thumbnails Click image for larger version

Name:	9NvIofk.png
Views:	709
Size:	1.21 MB
ID:	1982274   Click image for larger version

Name:	OJbFtYJ.png
Views:	719
Size:	1.68 MB
ID:	1982275   Click image for larger version

Name:	qsuqGDA.png
Views:	765
Size:	1.76 MB
ID:	1982276  

Last edited by bicyclemonkey; 03-28-2014 at 08:52 AM.
Old 03-24-2014, 01:01 PM
  #30  
bicyclemonkey
Thread Starter
My Feedback: (7)
 
bicyclemonkey's Avatar
 
Join Date: Mar 2010
Location: Fayetteville, AR
Posts: 120
Likes: 0
Received 0 Likes on 0 Posts
Default

EMPTY!!!!


I never thought emptying a bottle of old wood glue wood feel so satisfying.

Attached Thumbnails Click image for larger version

Name:	b8hbJcM.png
Views:	676
Size:	1.71 MB
ID:	1982277  

Last edited by bicyclemonkey; 03-28-2014 at 08:53 AM.
Old 03-25-2014, 06:39 PM
  #31  
bicyclemonkey
Thread Starter
My Feedback: (7)
 
bicyclemonkey's Avatar
 
Join Date: Mar 2010
Location: Fayetteville, AR
Posts: 120
Likes: 0
Received 0 Likes on 0 Posts
Default

It's starting to resemble a fuselage!

Attached Thumbnails Click image for larger version

Name:	IYAh42I.jpg
Views:	63
Size:	39.2 KB
ID:	1981623   Click image for larger version

Name:	lavStx6.png
Views:	683
Size:	1.67 MB
ID:	1982278  

Last edited by bicyclemonkey; 03-28-2014 at 08:54 AM.
Old 03-26-2014, 09:05 AM
  #32  
starbird2000
My Feedback: (14)
 
Join Date: Sep 2004
Location: Warner Robins, Ga. AL
Posts: 33
Likes: 0
Received 0 Likes on 0 Posts
Default

So how are you loading pictures of you're build? I do not have any problem seeing pictures on other threads, but on this thread, I can't see any of the pictures....Bummer....
Old 03-26-2014, 11:39 AM
  #33  
bicyclemonkey
Thread Starter
My Feedback: (7)
 
bicyclemonkey's Avatar
 
Join Date: Mar 2010
Location: Fayetteville, AR
Posts: 120
Likes: 0
Received 0 Likes on 0 Posts
Default

Originally Posted by starbird2000
So how are you loading pictures of you're build? I do not have any problem seeing pictures on other threads, but on this thread, I can't see any of the pictures....Bummer....
I have been linking the images from my imgur account. It's been showing up for me every time on three different computers...hmmm.
Old 03-26-2014, 12:29 PM
  #34  
bicyclemonkey
Thread Starter
My Feedback: (7)
 
bicyclemonkey's Avatar
 
Join Date: Mar 2010
Location: Fayetteville, AR
Posts: 120
Likes: 0
Received 0 Likes on 0 Posts
Default

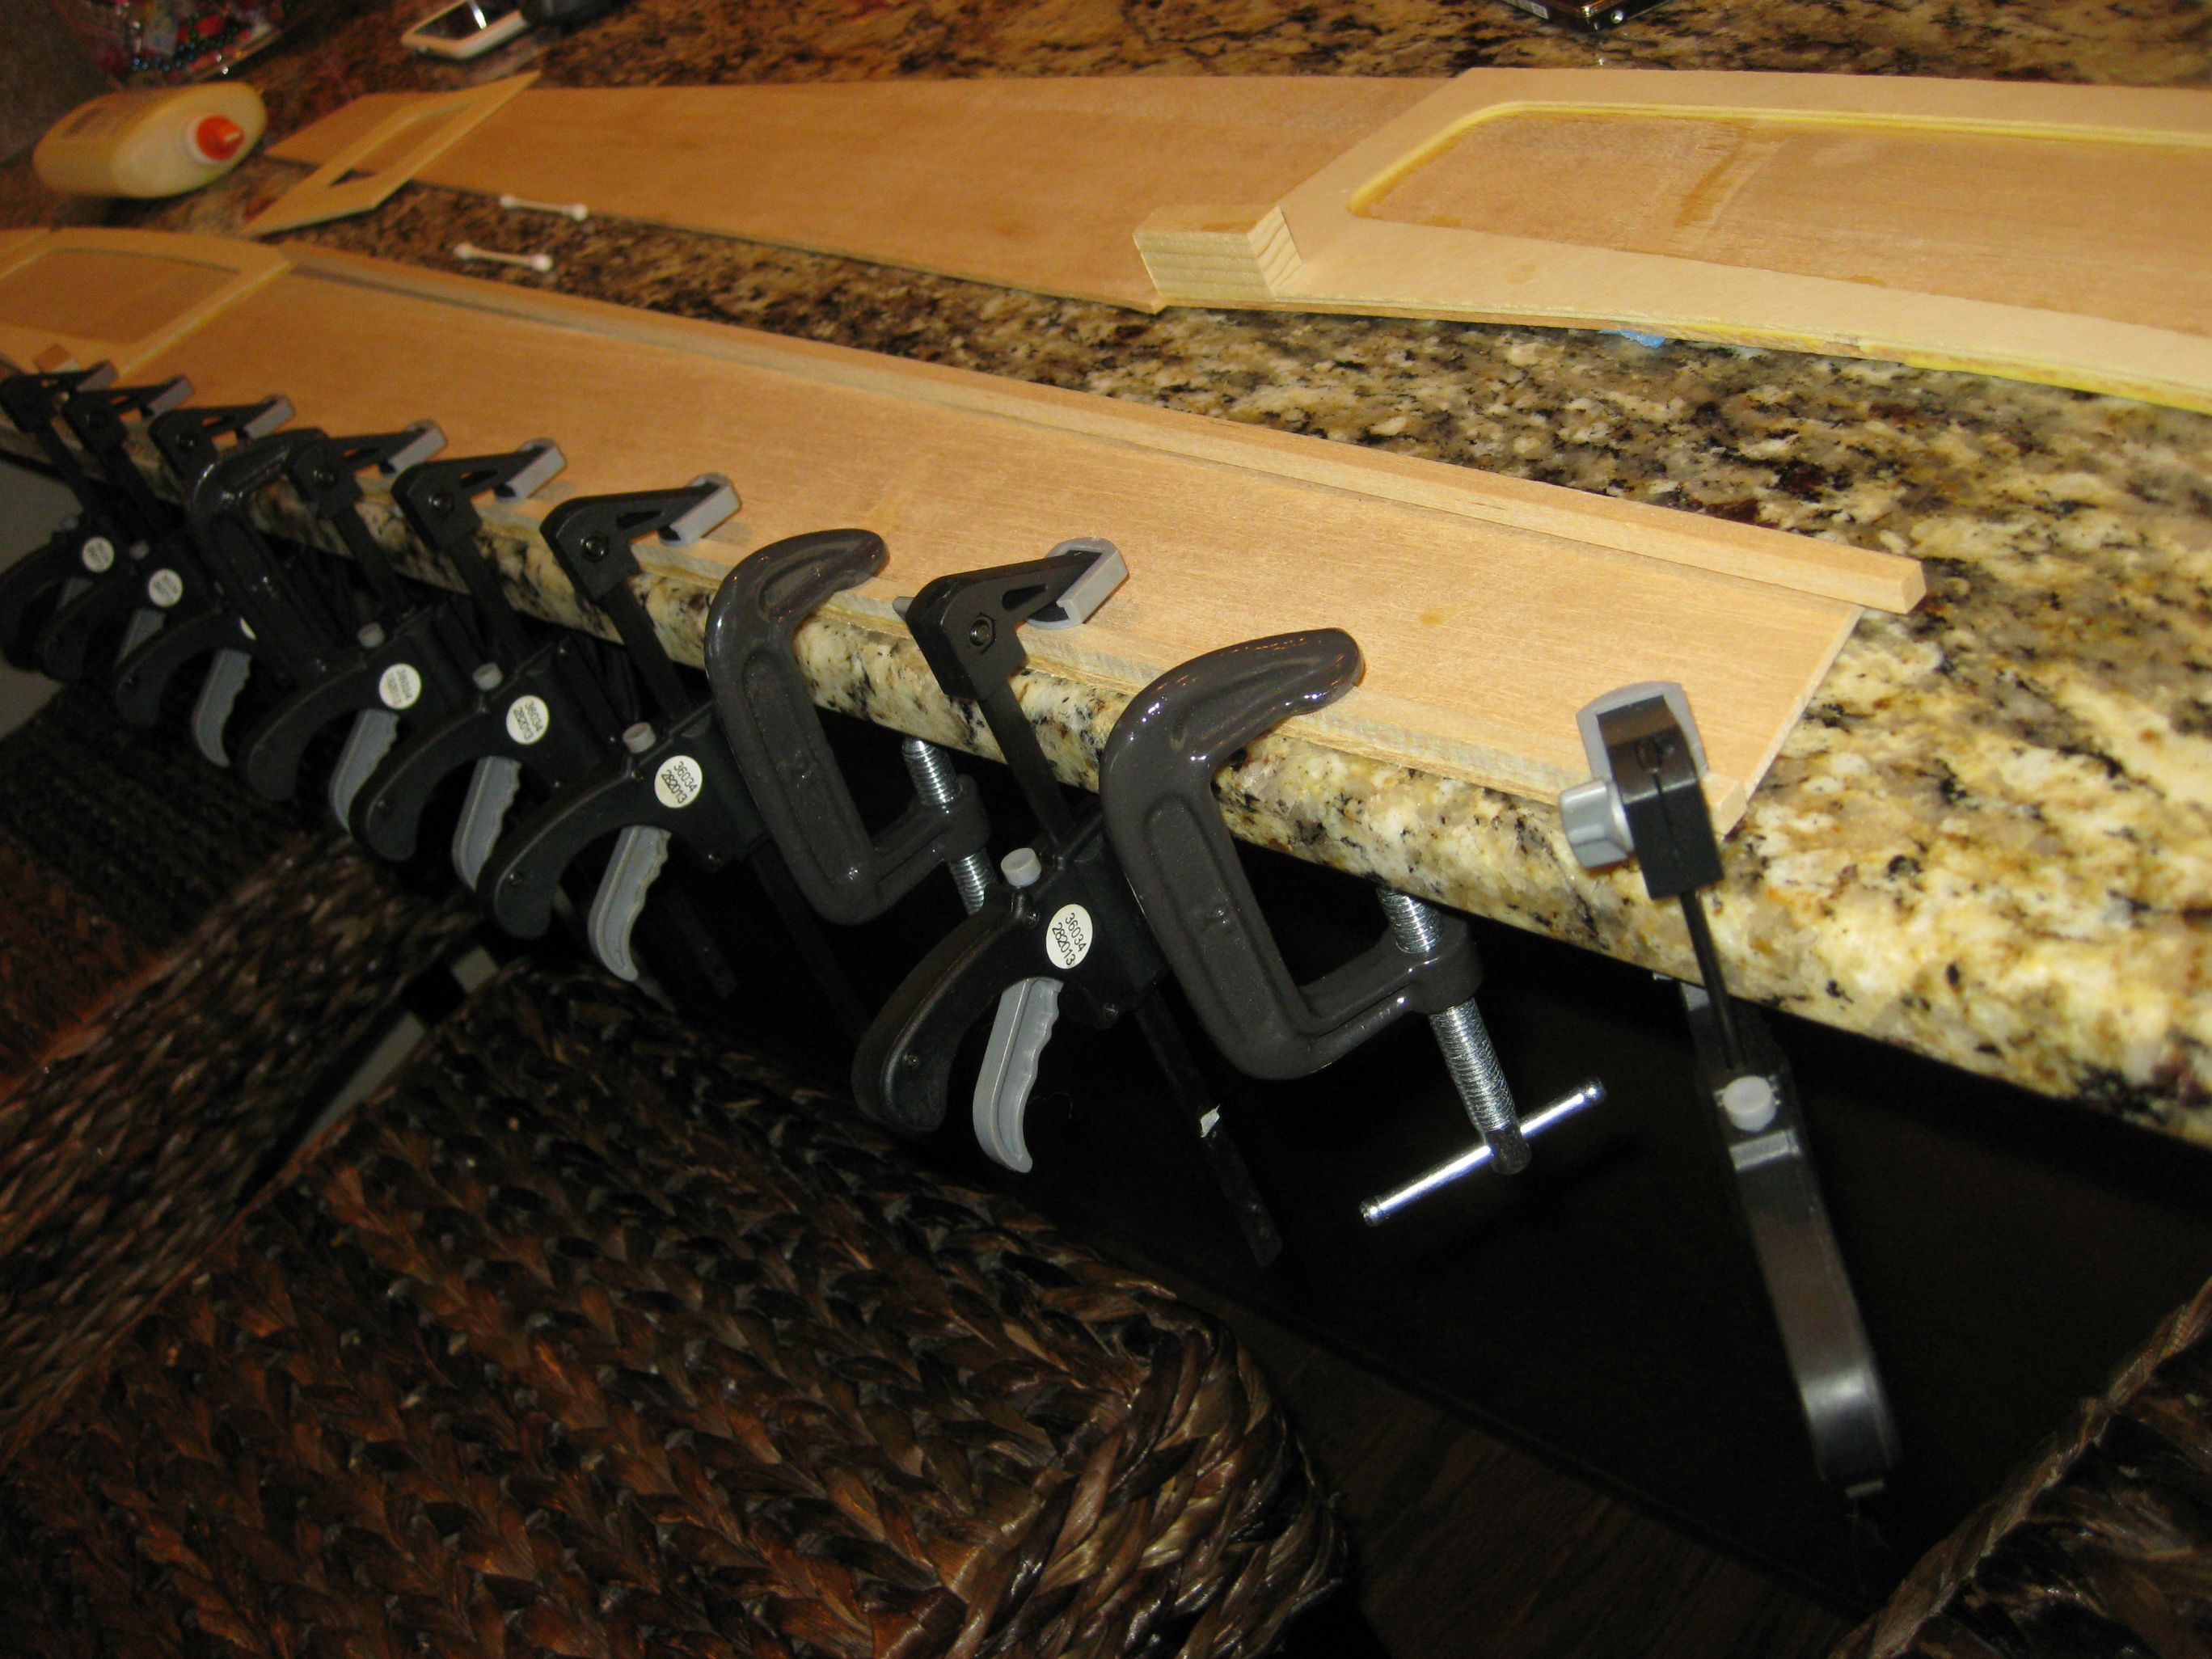
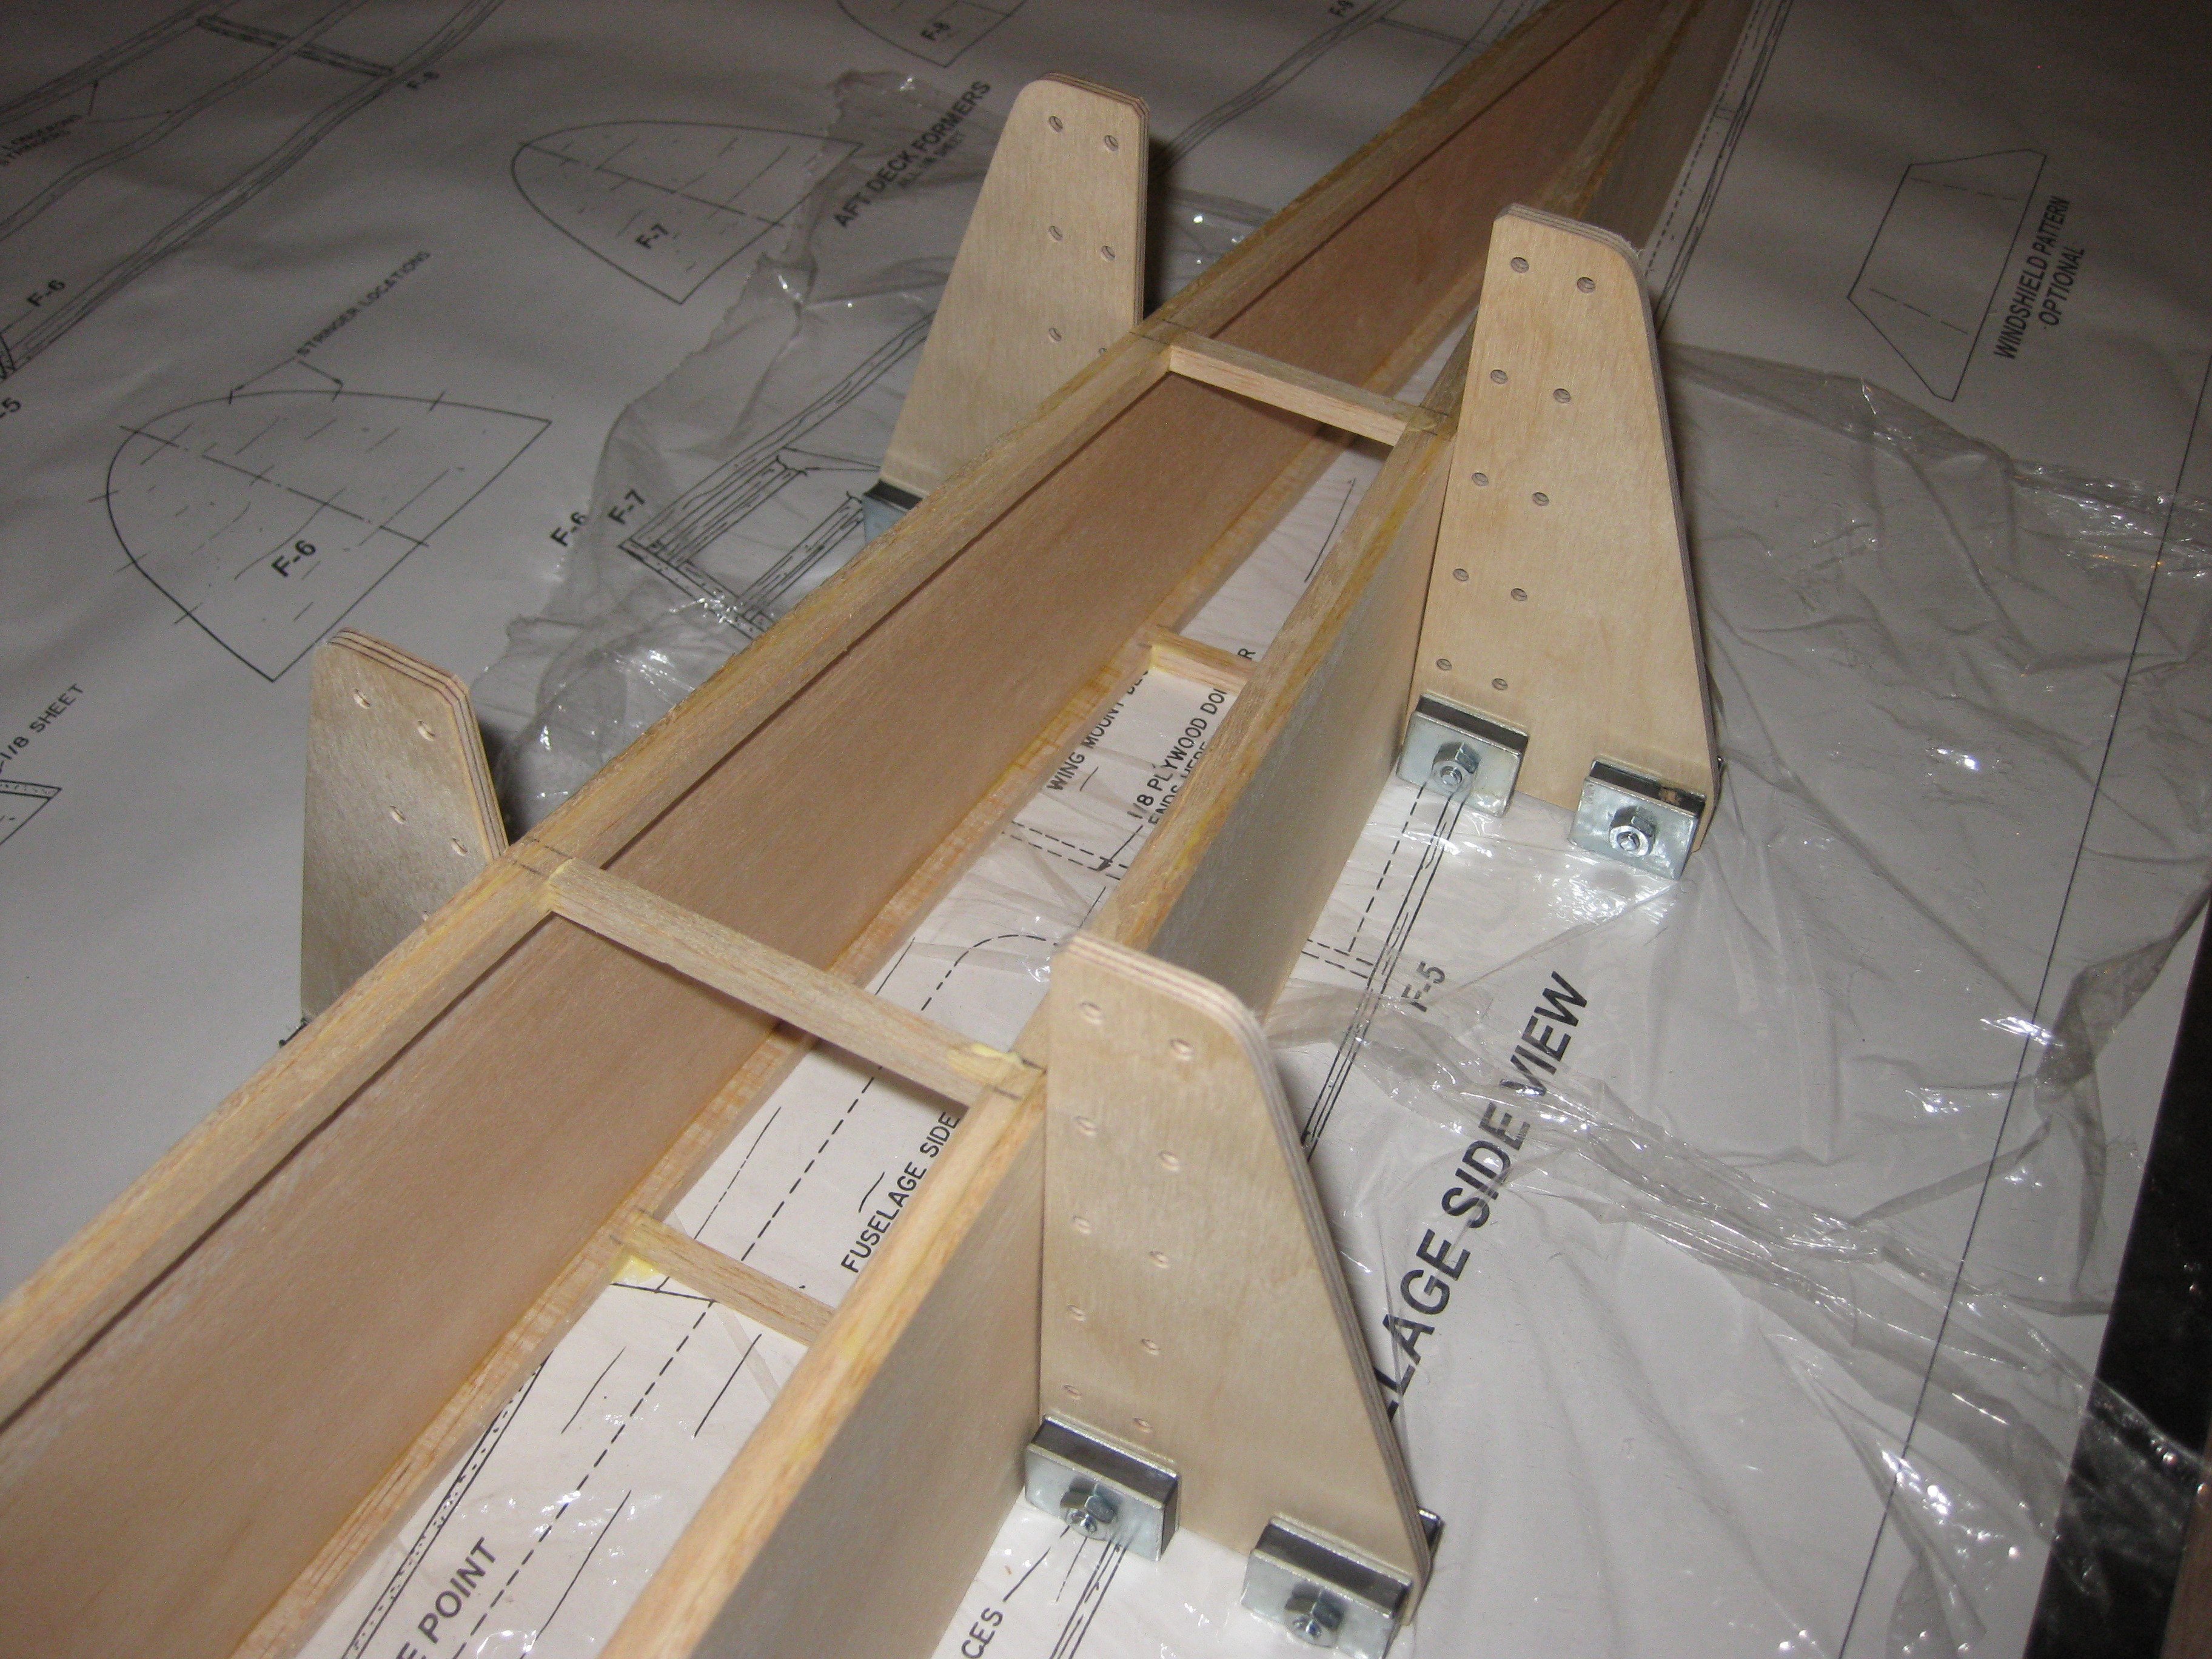
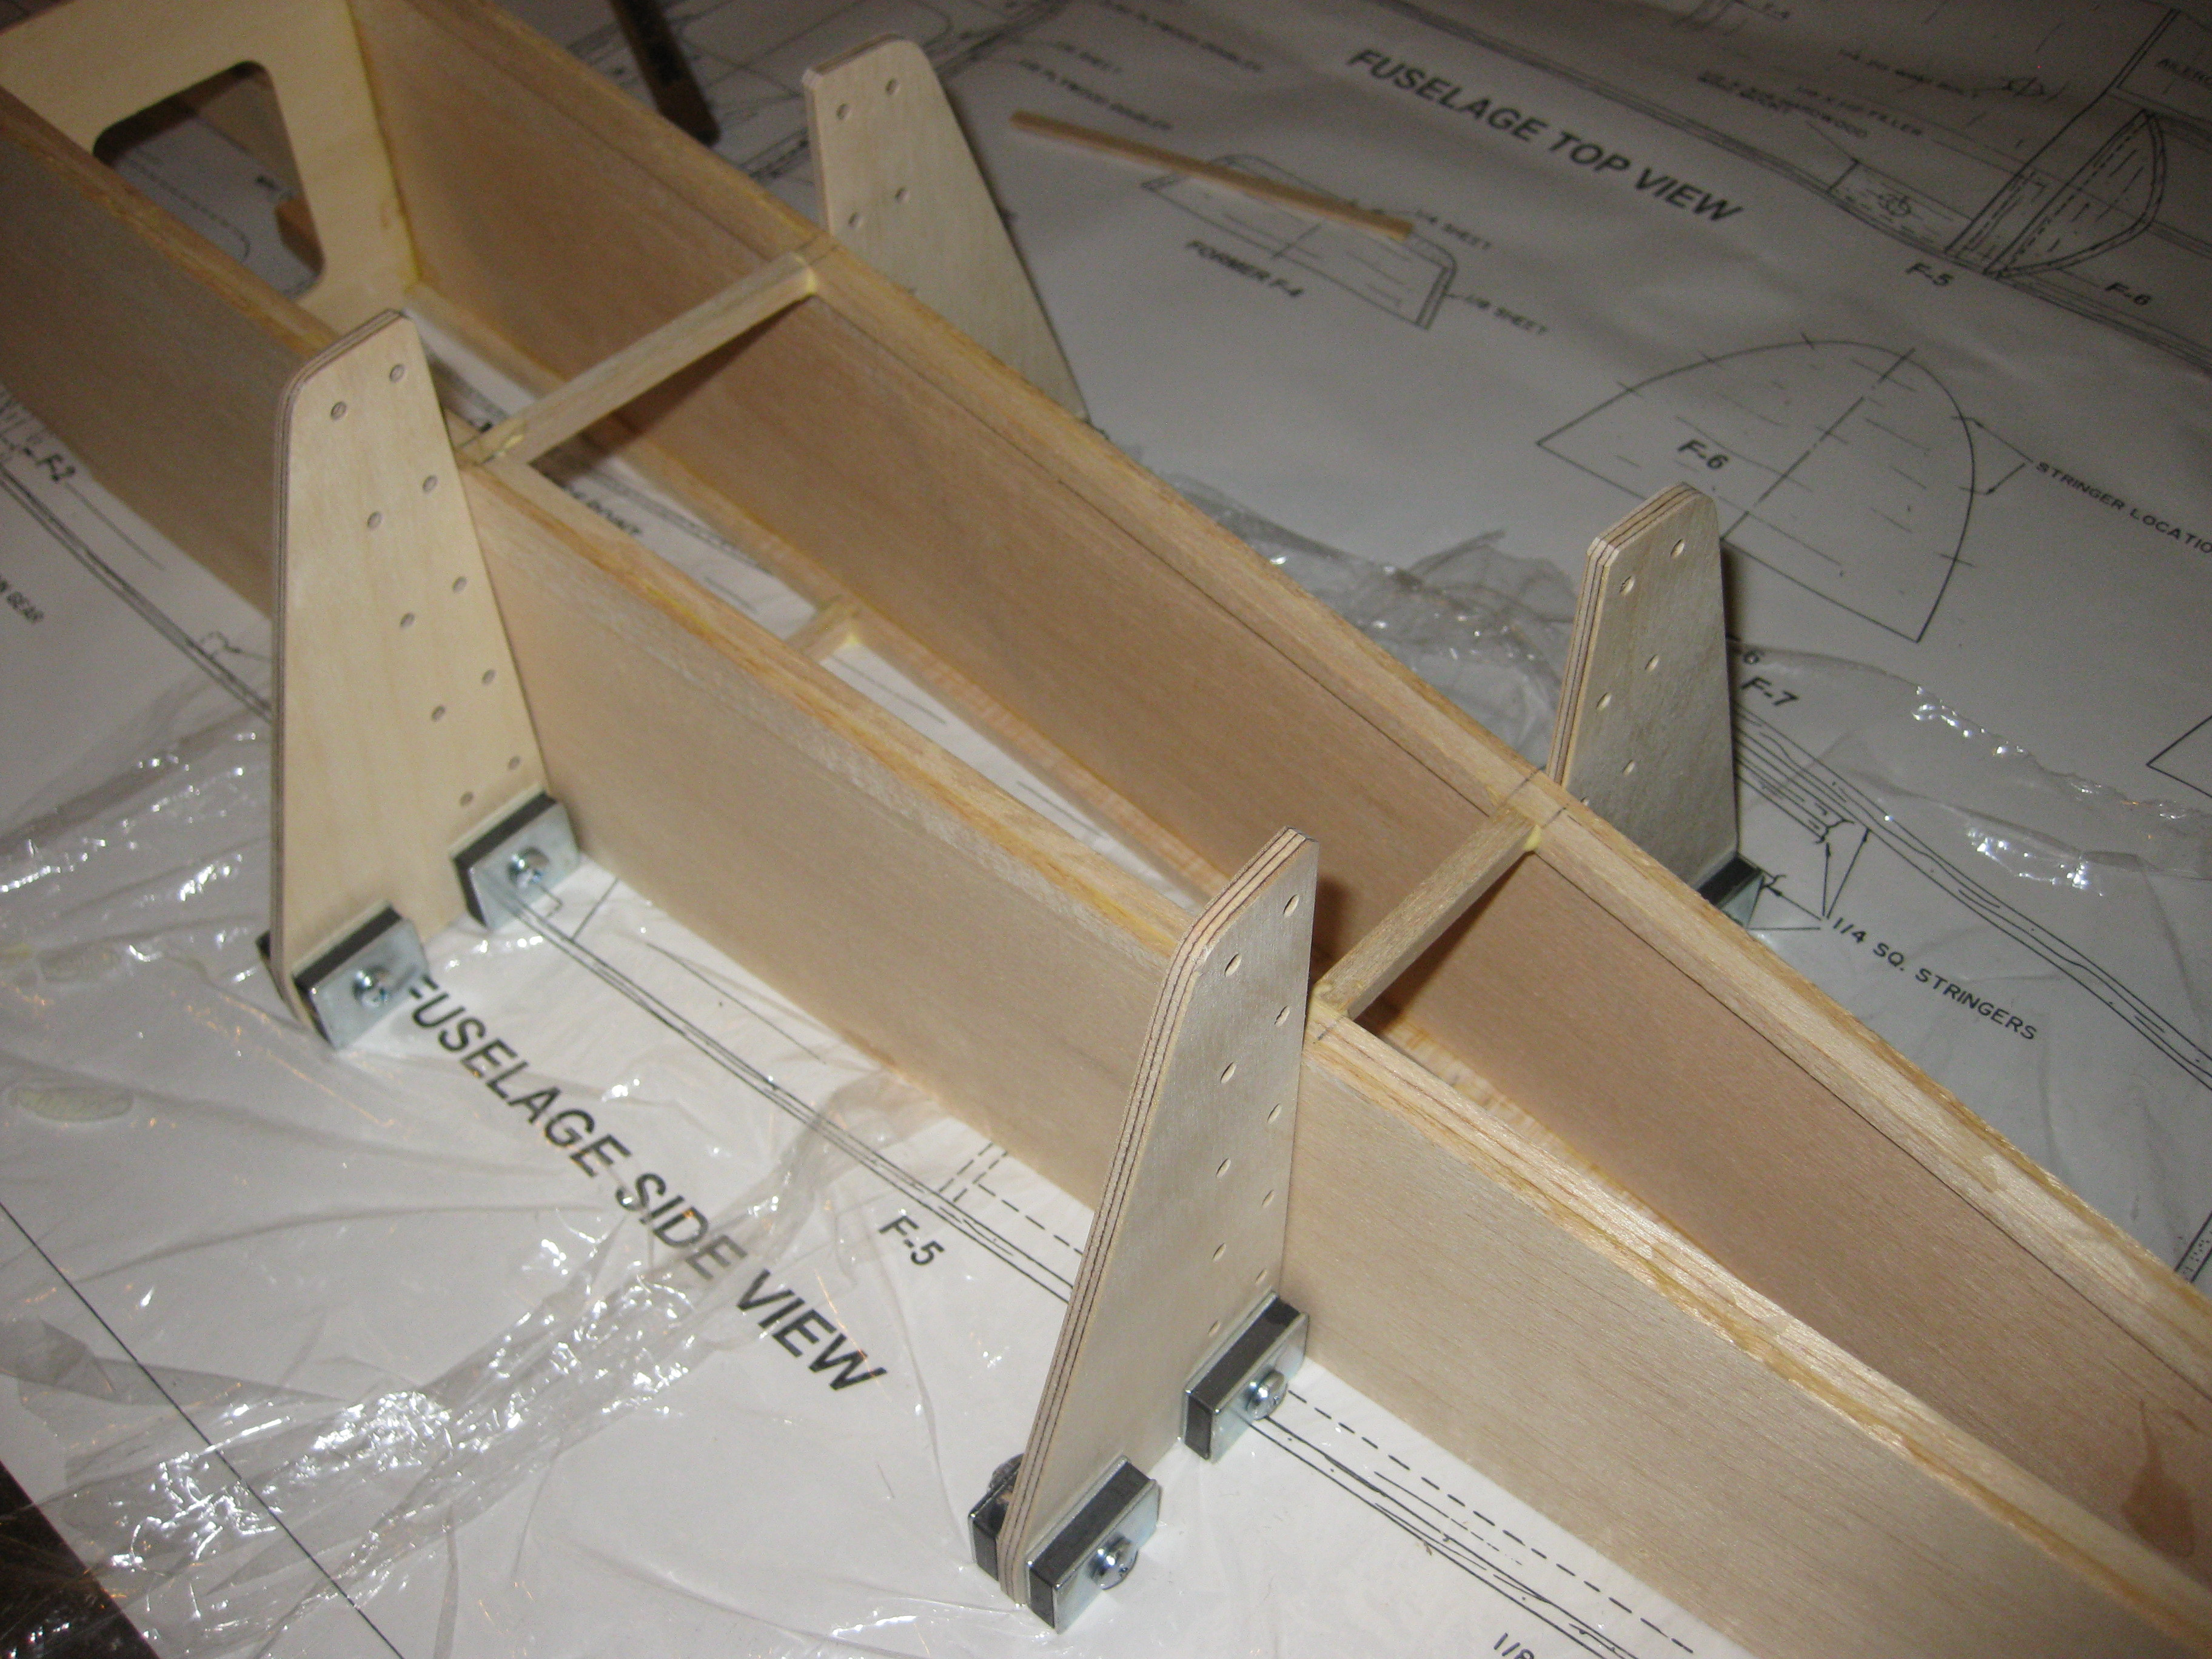
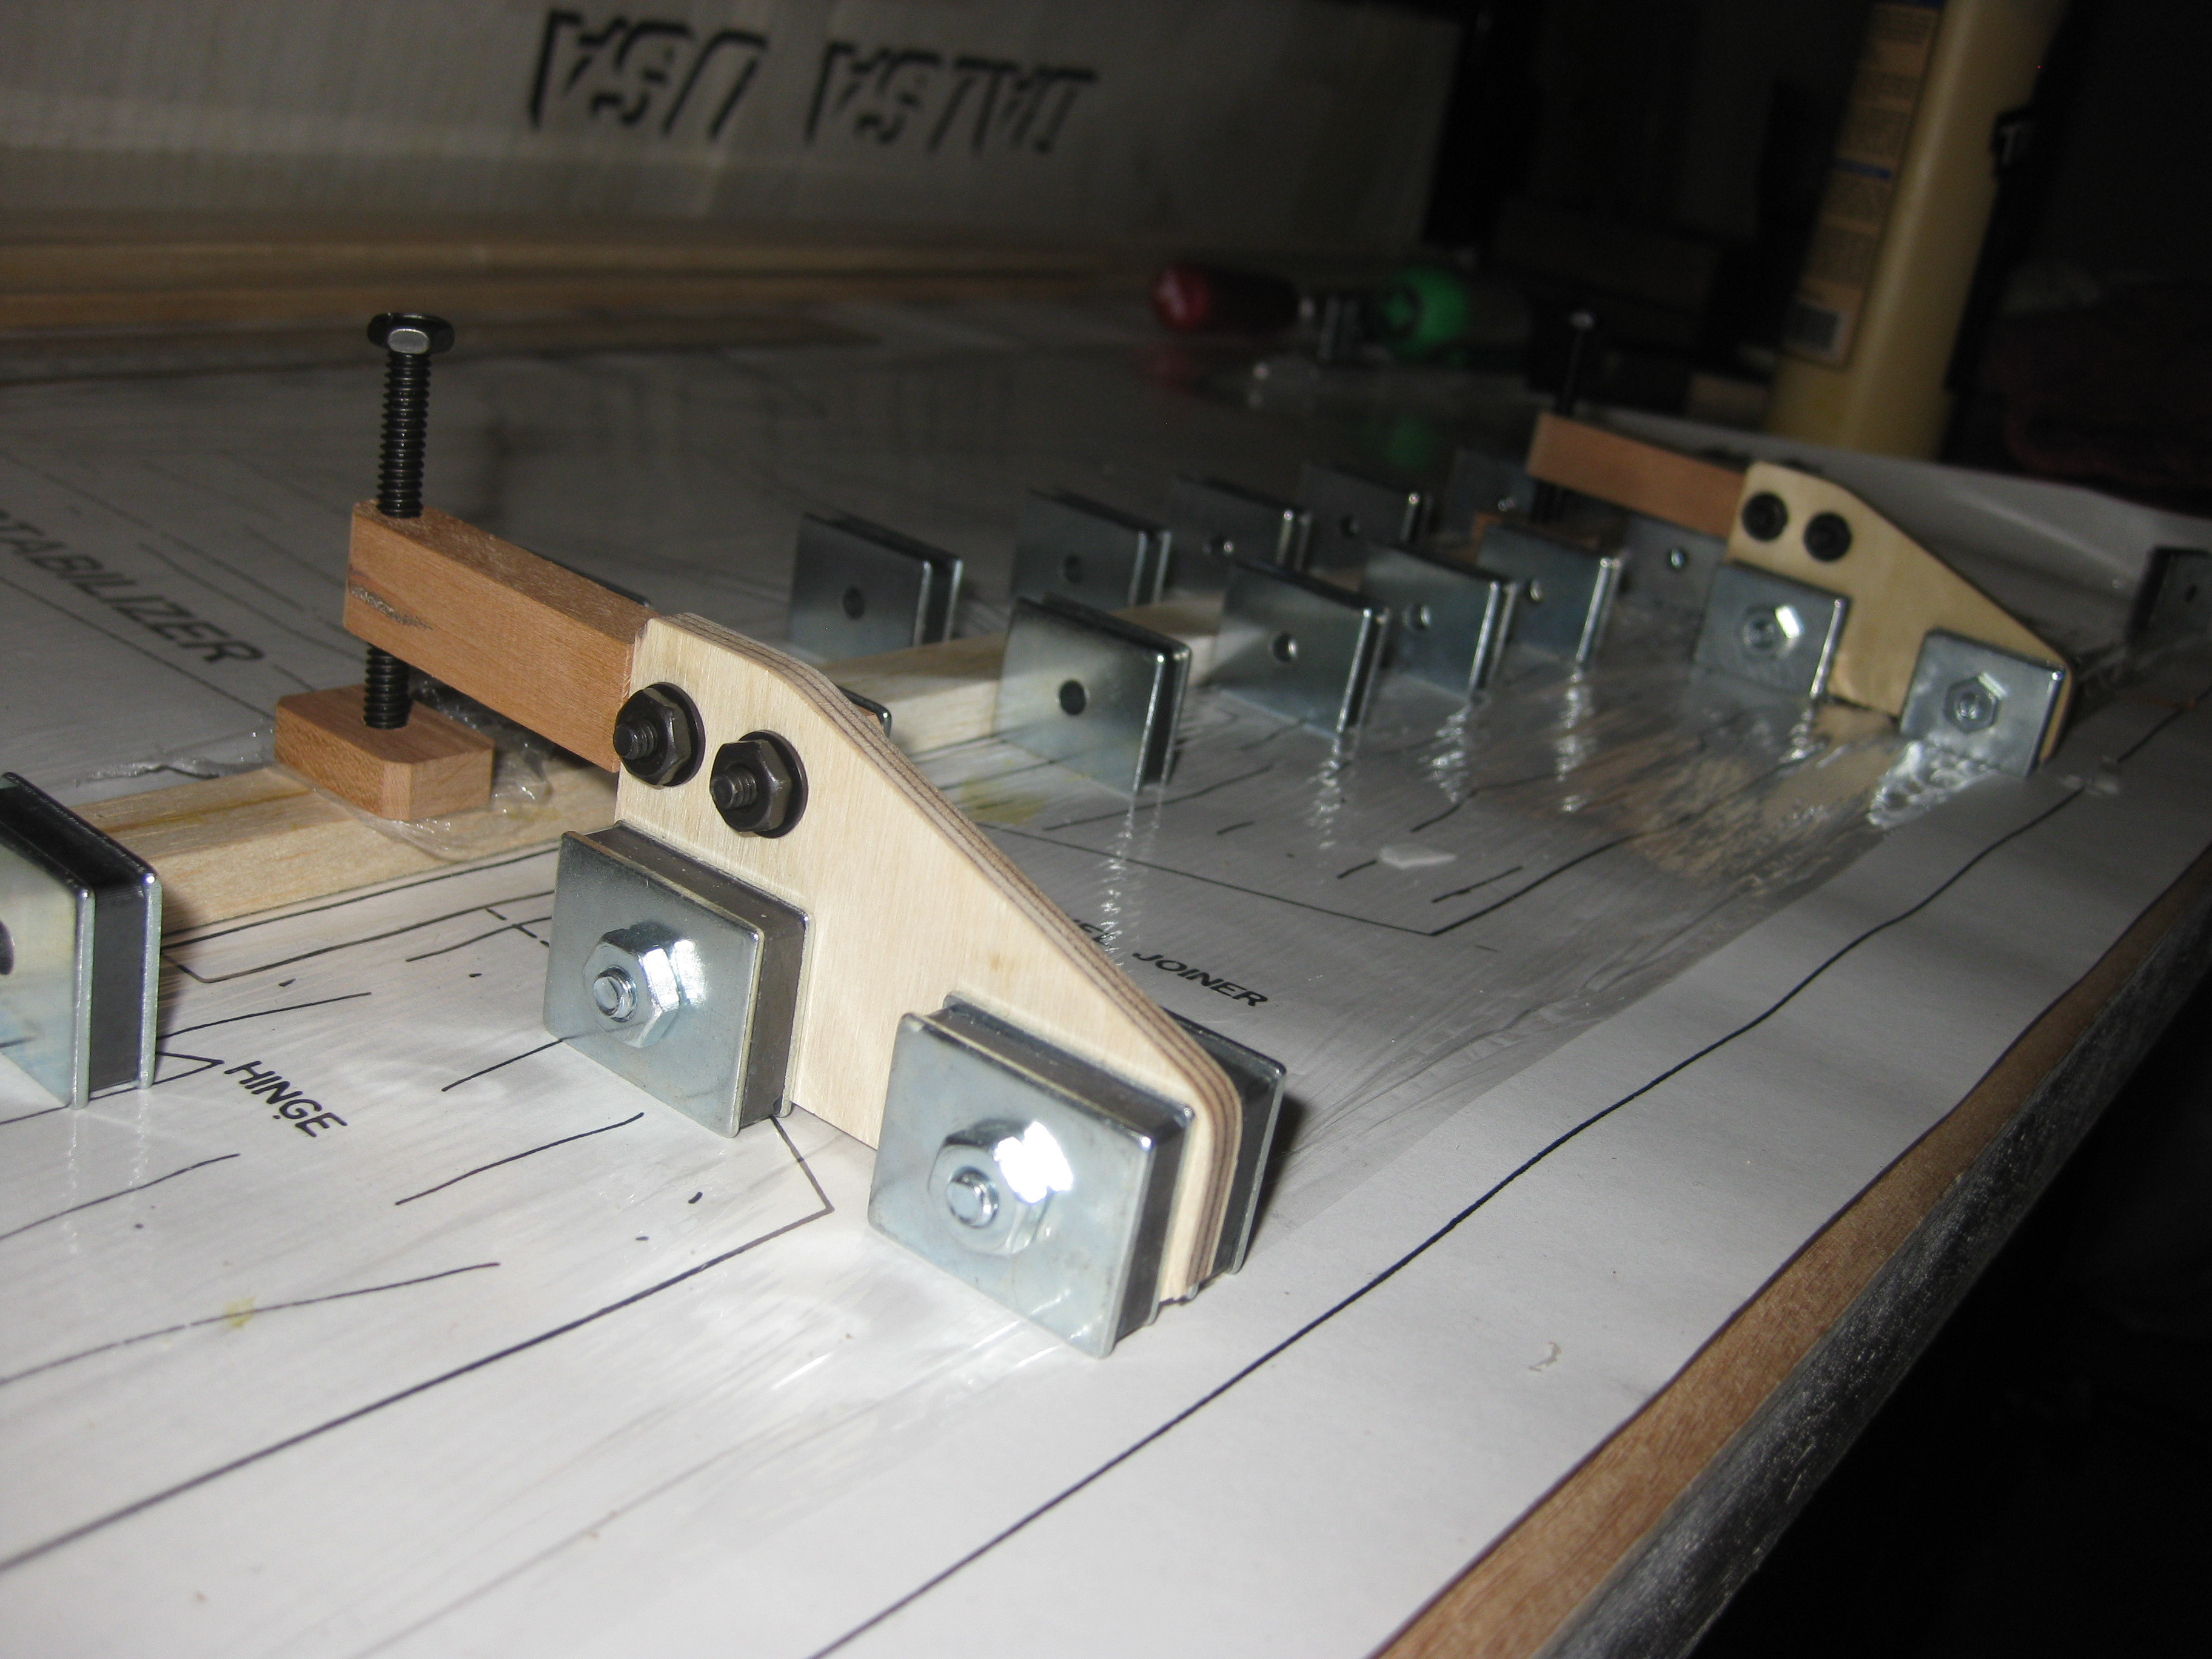
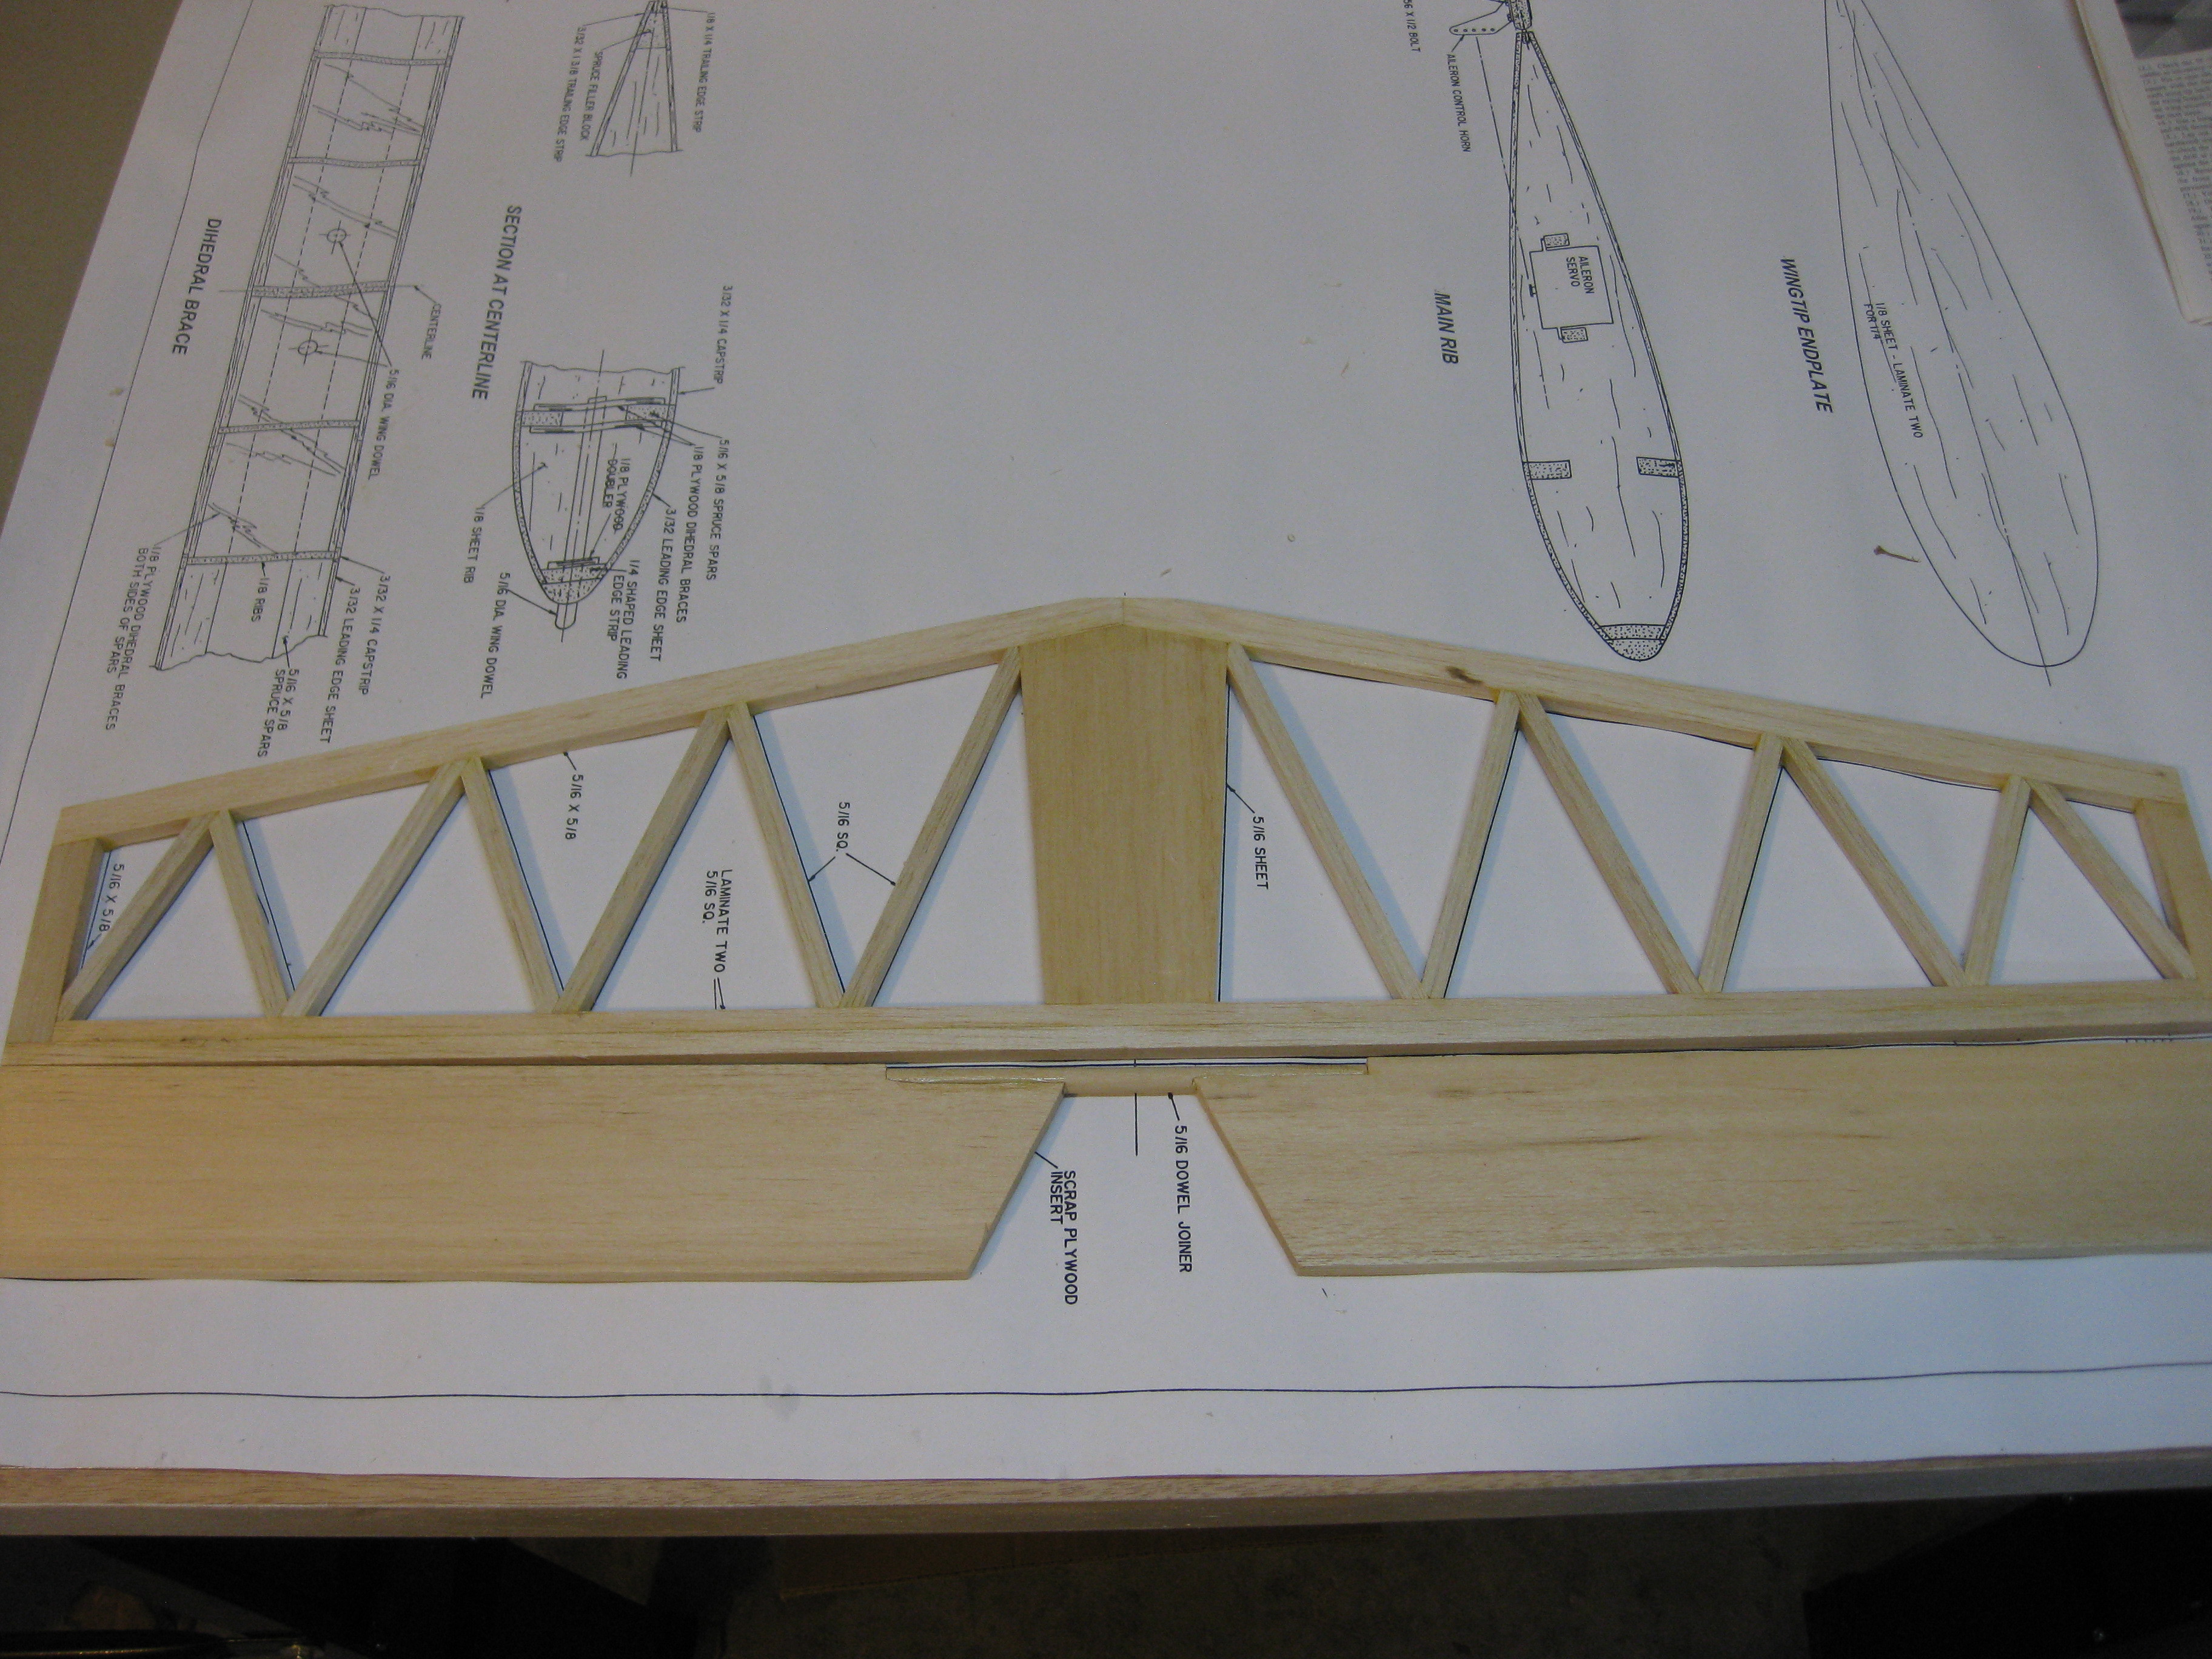
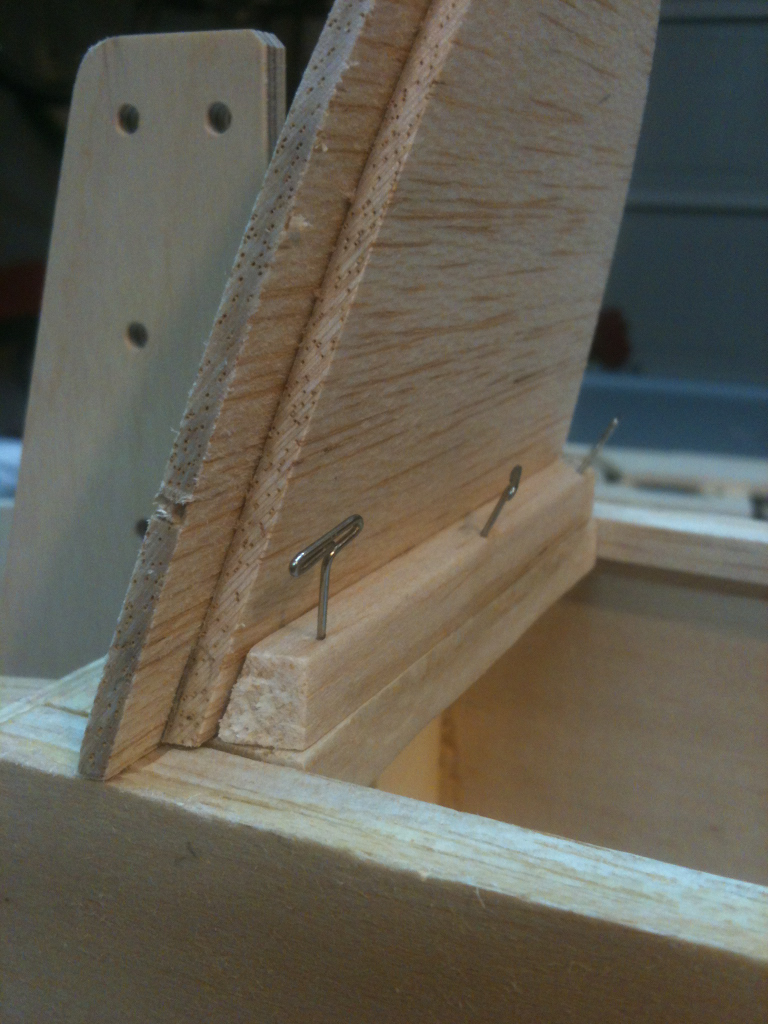
Finally getting to use some of the fixtures for my magnetic building board to glue cross braces.

Attached Thumbnails Click image for larger version

Name:	wsOauKA.jpg
Views:	754
Size:	2.43 MB
ID:	1982279   Click image for larger version

Name:	AnvXZ1U.jpg
Views:	734
Size:	2.39 MB
ID:	1982280   Click image for larger version

Name:	4rOc0kt.jpg
Views:	768
Size:	2.57 MB
ID:	1982281  

Last edited by bicyclemonkey; 03-28-2014 at 08:55 AM.
Old 03-27-2014, 03:04 AM
  #35  
starbird2000
My Feedback: (14)
 
Join Date: Sep 2004
Location: Warner Robins, Ga. AL
Posts: 33
Likes: 0
Received 0 Likes on 0 Posts
Default

I can view the picture with the fuse sitting on the table with the bowl of fruit in the backround, but so far that is the only one that is visible to me. I'm hoping the others will show up sometime soon...
Old 03-27-2014, 07:03 AM
  #36  
bicyclemonkey
Thread Starter
My Feedback: (7)
 
bicyclemonkey's Avatar
 
Join Date: Mar 2010
Location: Fayetteville, AR
Posts: 120
Likes: 0
Received 0 Likes on 0 Posts
Default

Originally Posted by starbird2000
I can view the picture with the fuse sitting on the table with the bowl of fruit in the backround, but so far that is the only one that is visible to me. I'm hoping the others will show up sometime soon...
Can you see this pic ok?


Attached Thumbnails Click image for larger version

Name:	PnFCZ20.png
Views:	698
Size:	1.75 MB
ID:	1981933   Click image for larger version

Name:	Da8l3nU.png
Views:	667
Size:	1.87 MB
ID:	1981934   Click image for larger version

Name:	GO4I4Ej.png
Views:	660
Size:	1.62 MB
ID:	1981935   Click image for larger version

Name:	h8CoCSn.png
Views:	674
Size:	1.90 MB
ID:	1981936  

Last edited by bicyclemonkey; 03-27-2014 at 07:11 AM.
Old 03-28-2014, 08:56 AM
  #37  
bicyclemonkey
Thread Starter
My Feedback: (7)
 
bicyclemonkey's Avatar
 
Join Date: Mar 2010
Location: Fayetteville, AR
Posts: 120
Likes: 0
Received 0 Likes on 0 Posts
Default

Originally Posted by starbird2000
I can view the picture with the fuse sitting on the table with the bowl of fruit in the backround, but so far that is the only one that is visible to me. I'm hoping the others will show up sometime soon...
Check and see if you can see all the other pics now. I used the insert image button this time. All the images should now be thumbnails you can click on to make larger.
Old 03-28-2014, 08:59 AM
  #38  
bicyclemonkey
Thread Starter
My Feedback: (7)
 
bicyclemonkey's Avatar
 
Join Date: Mar 2010
Location: Fayetteville, AR
Posts: 120
Likes: 0
Received 0 Likes on 0 Posts
Default

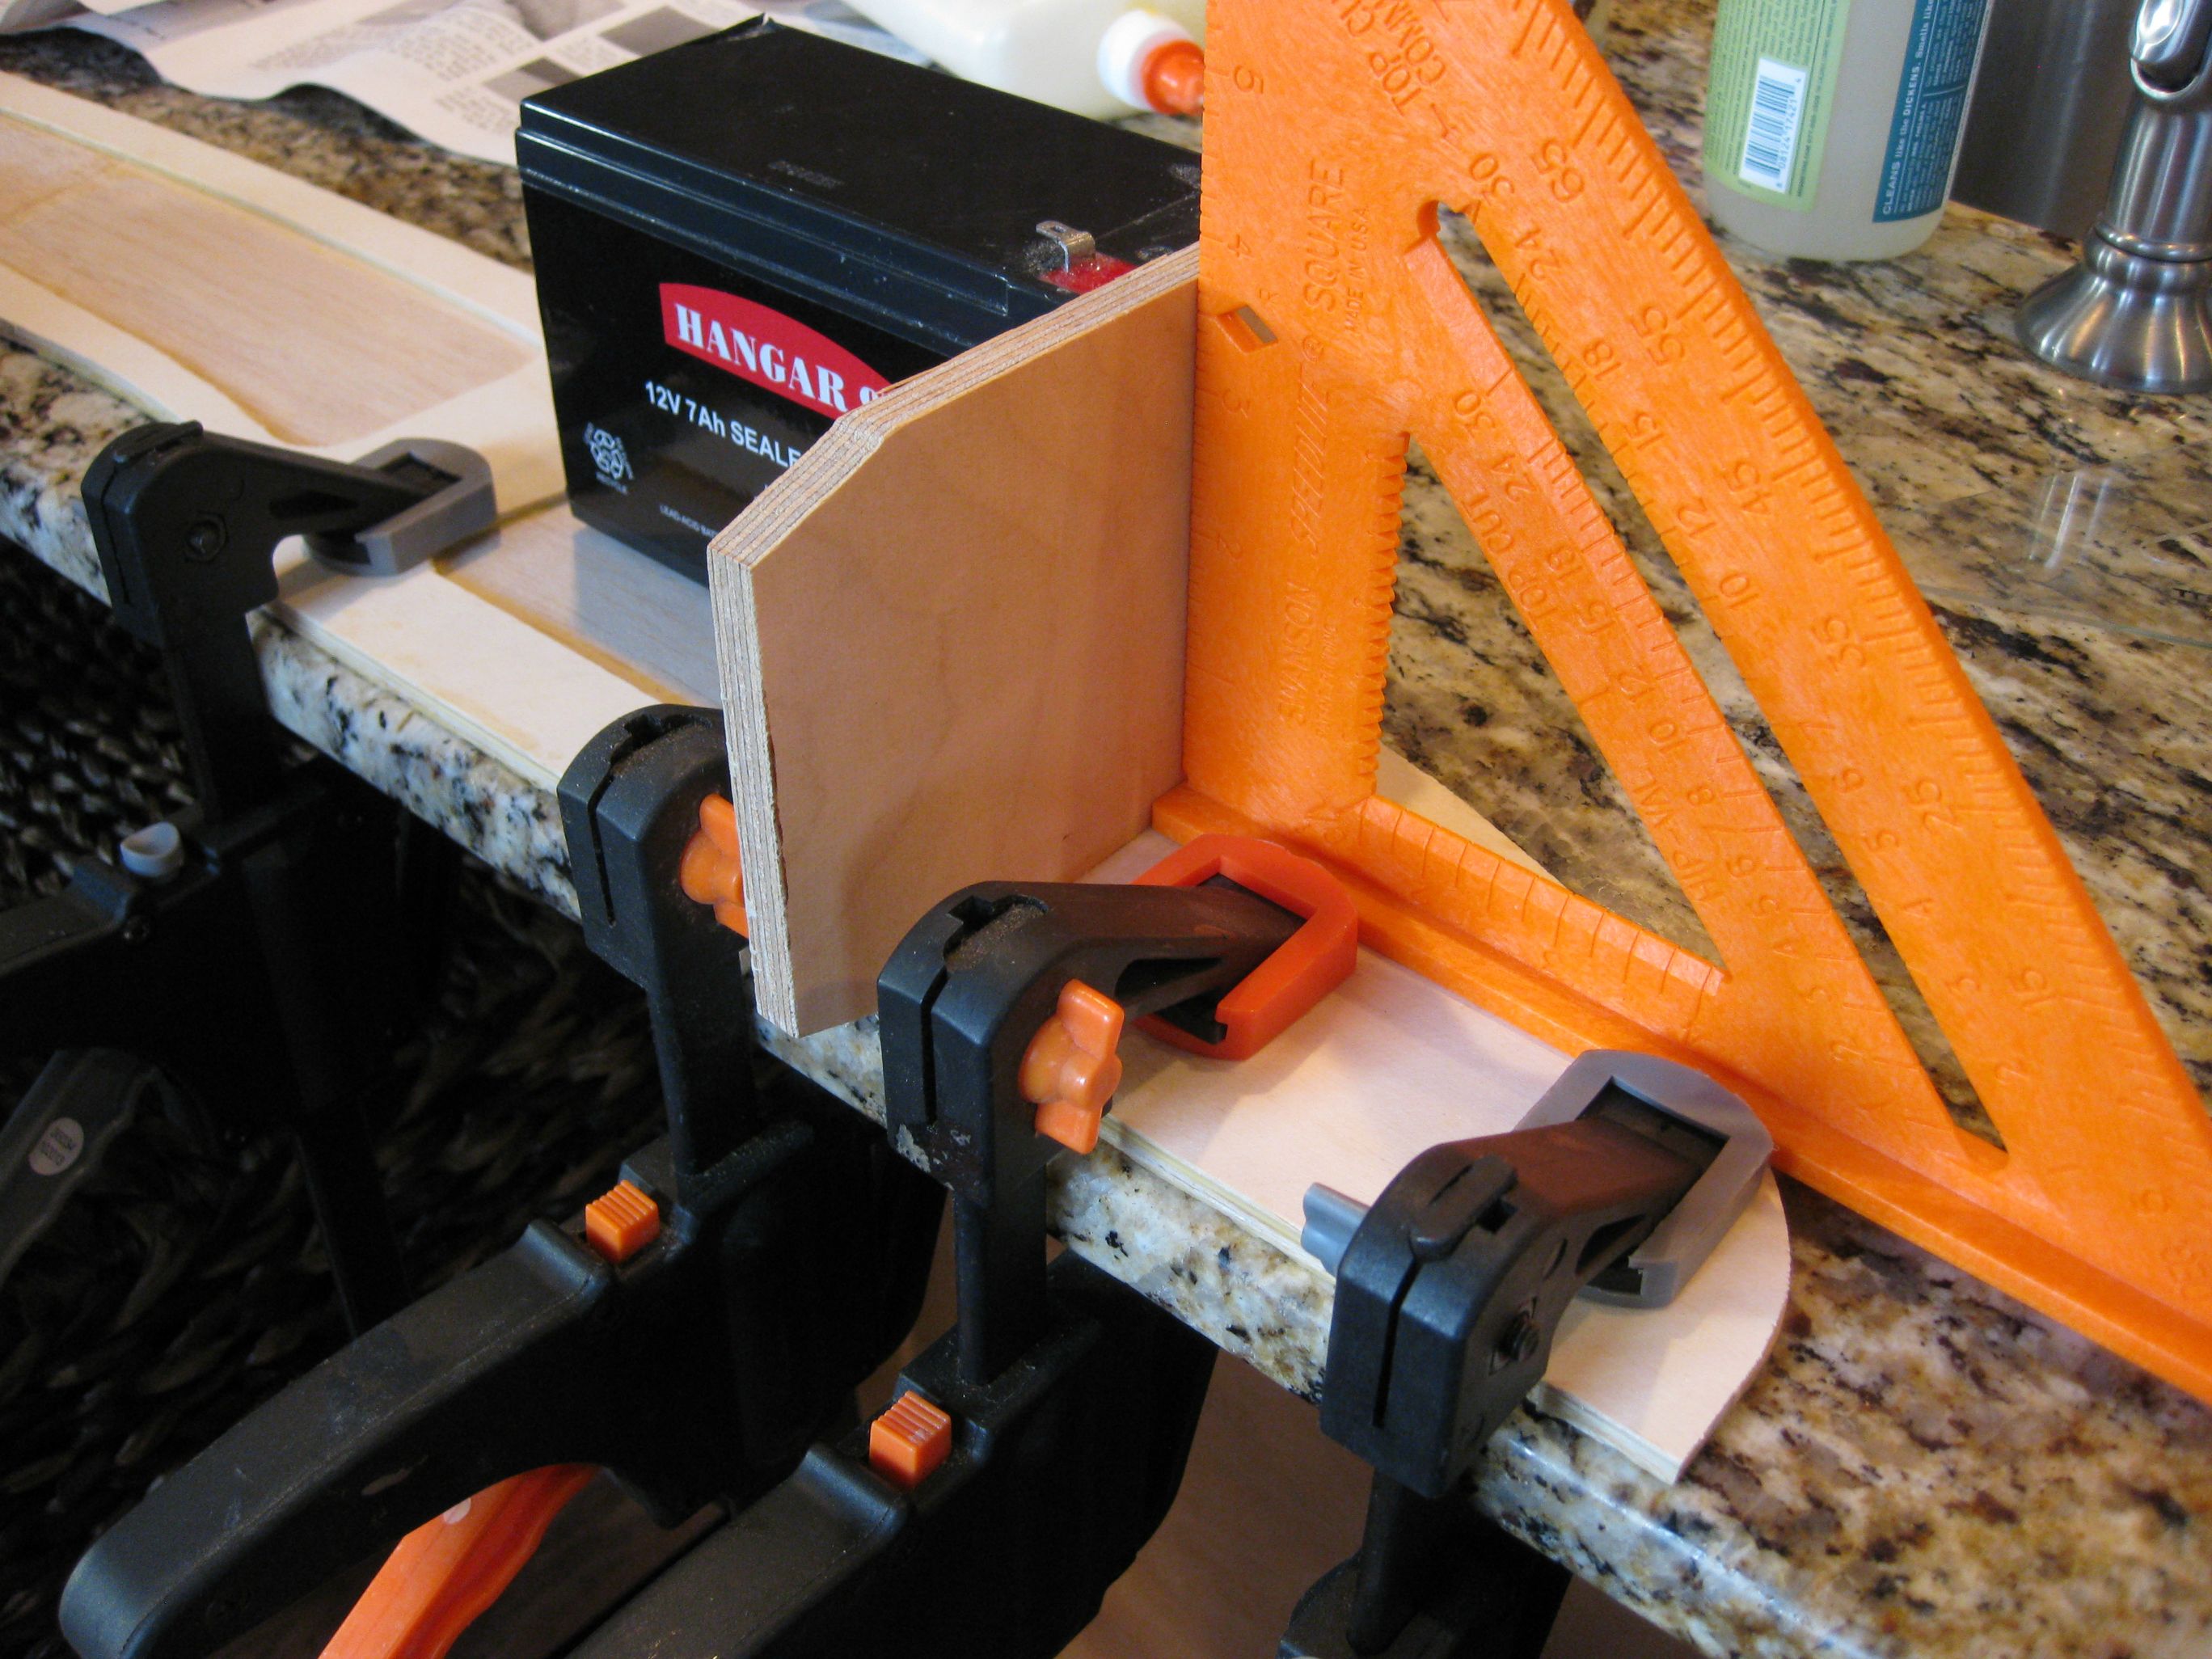
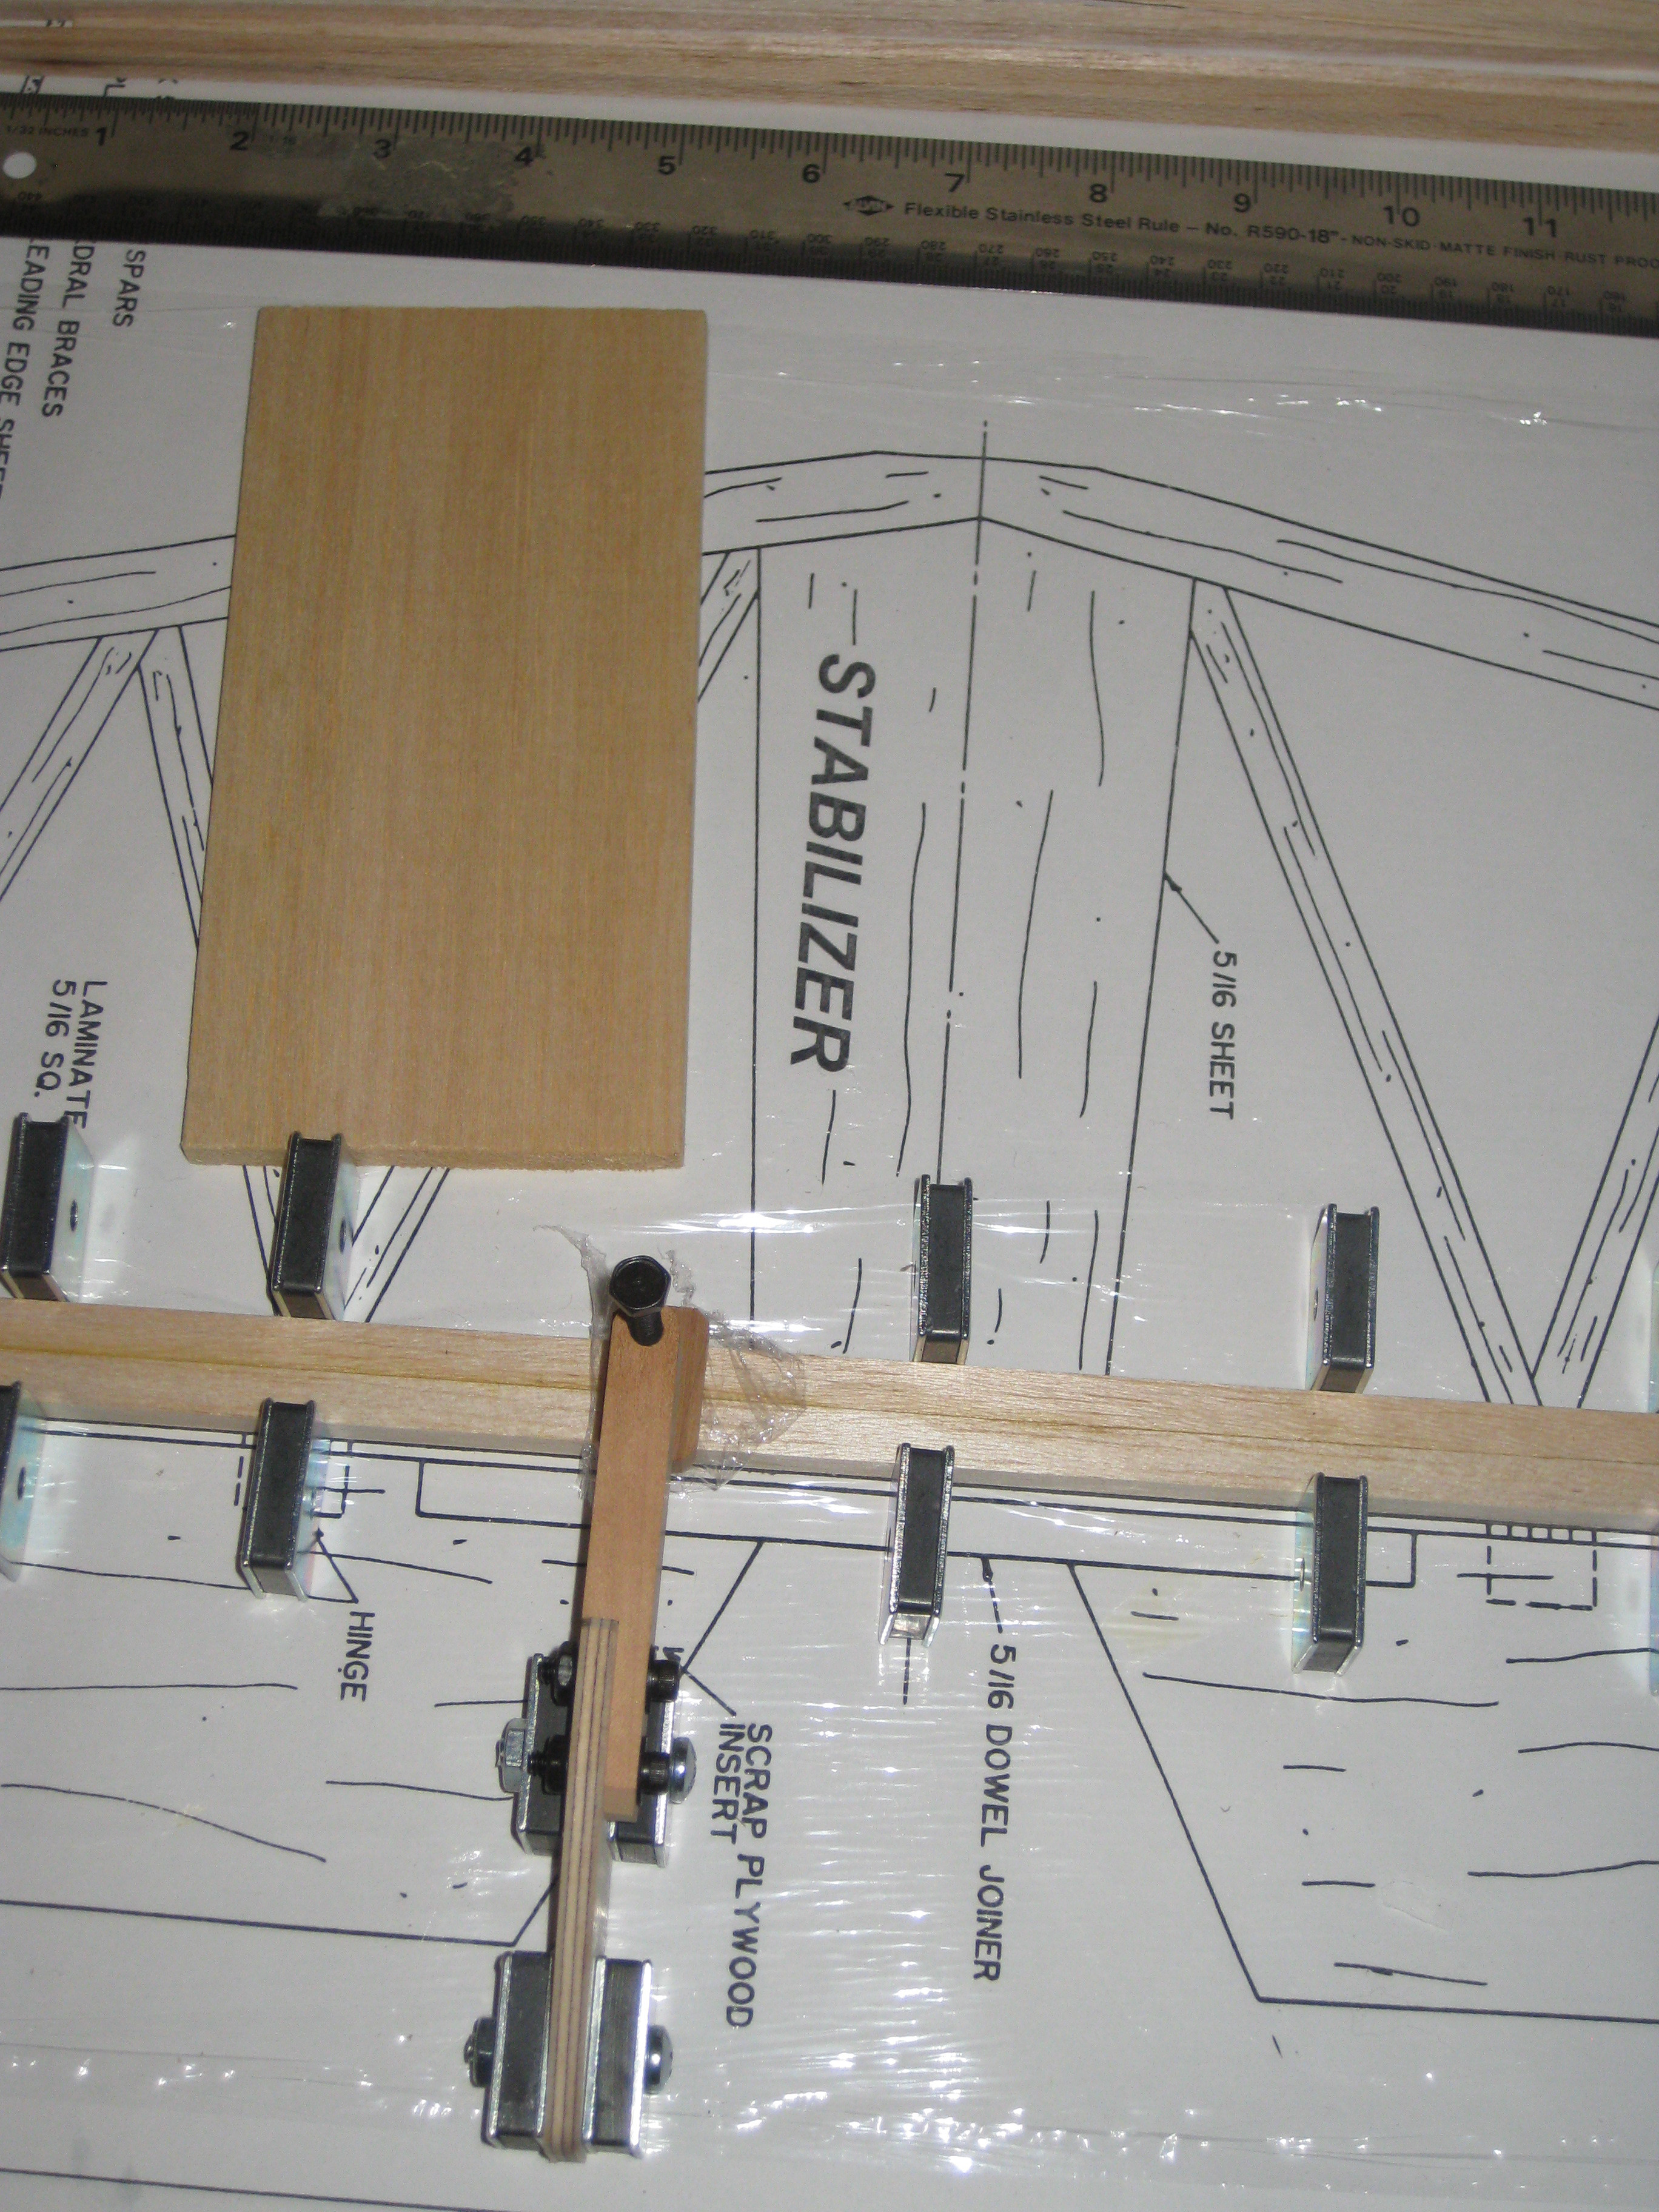
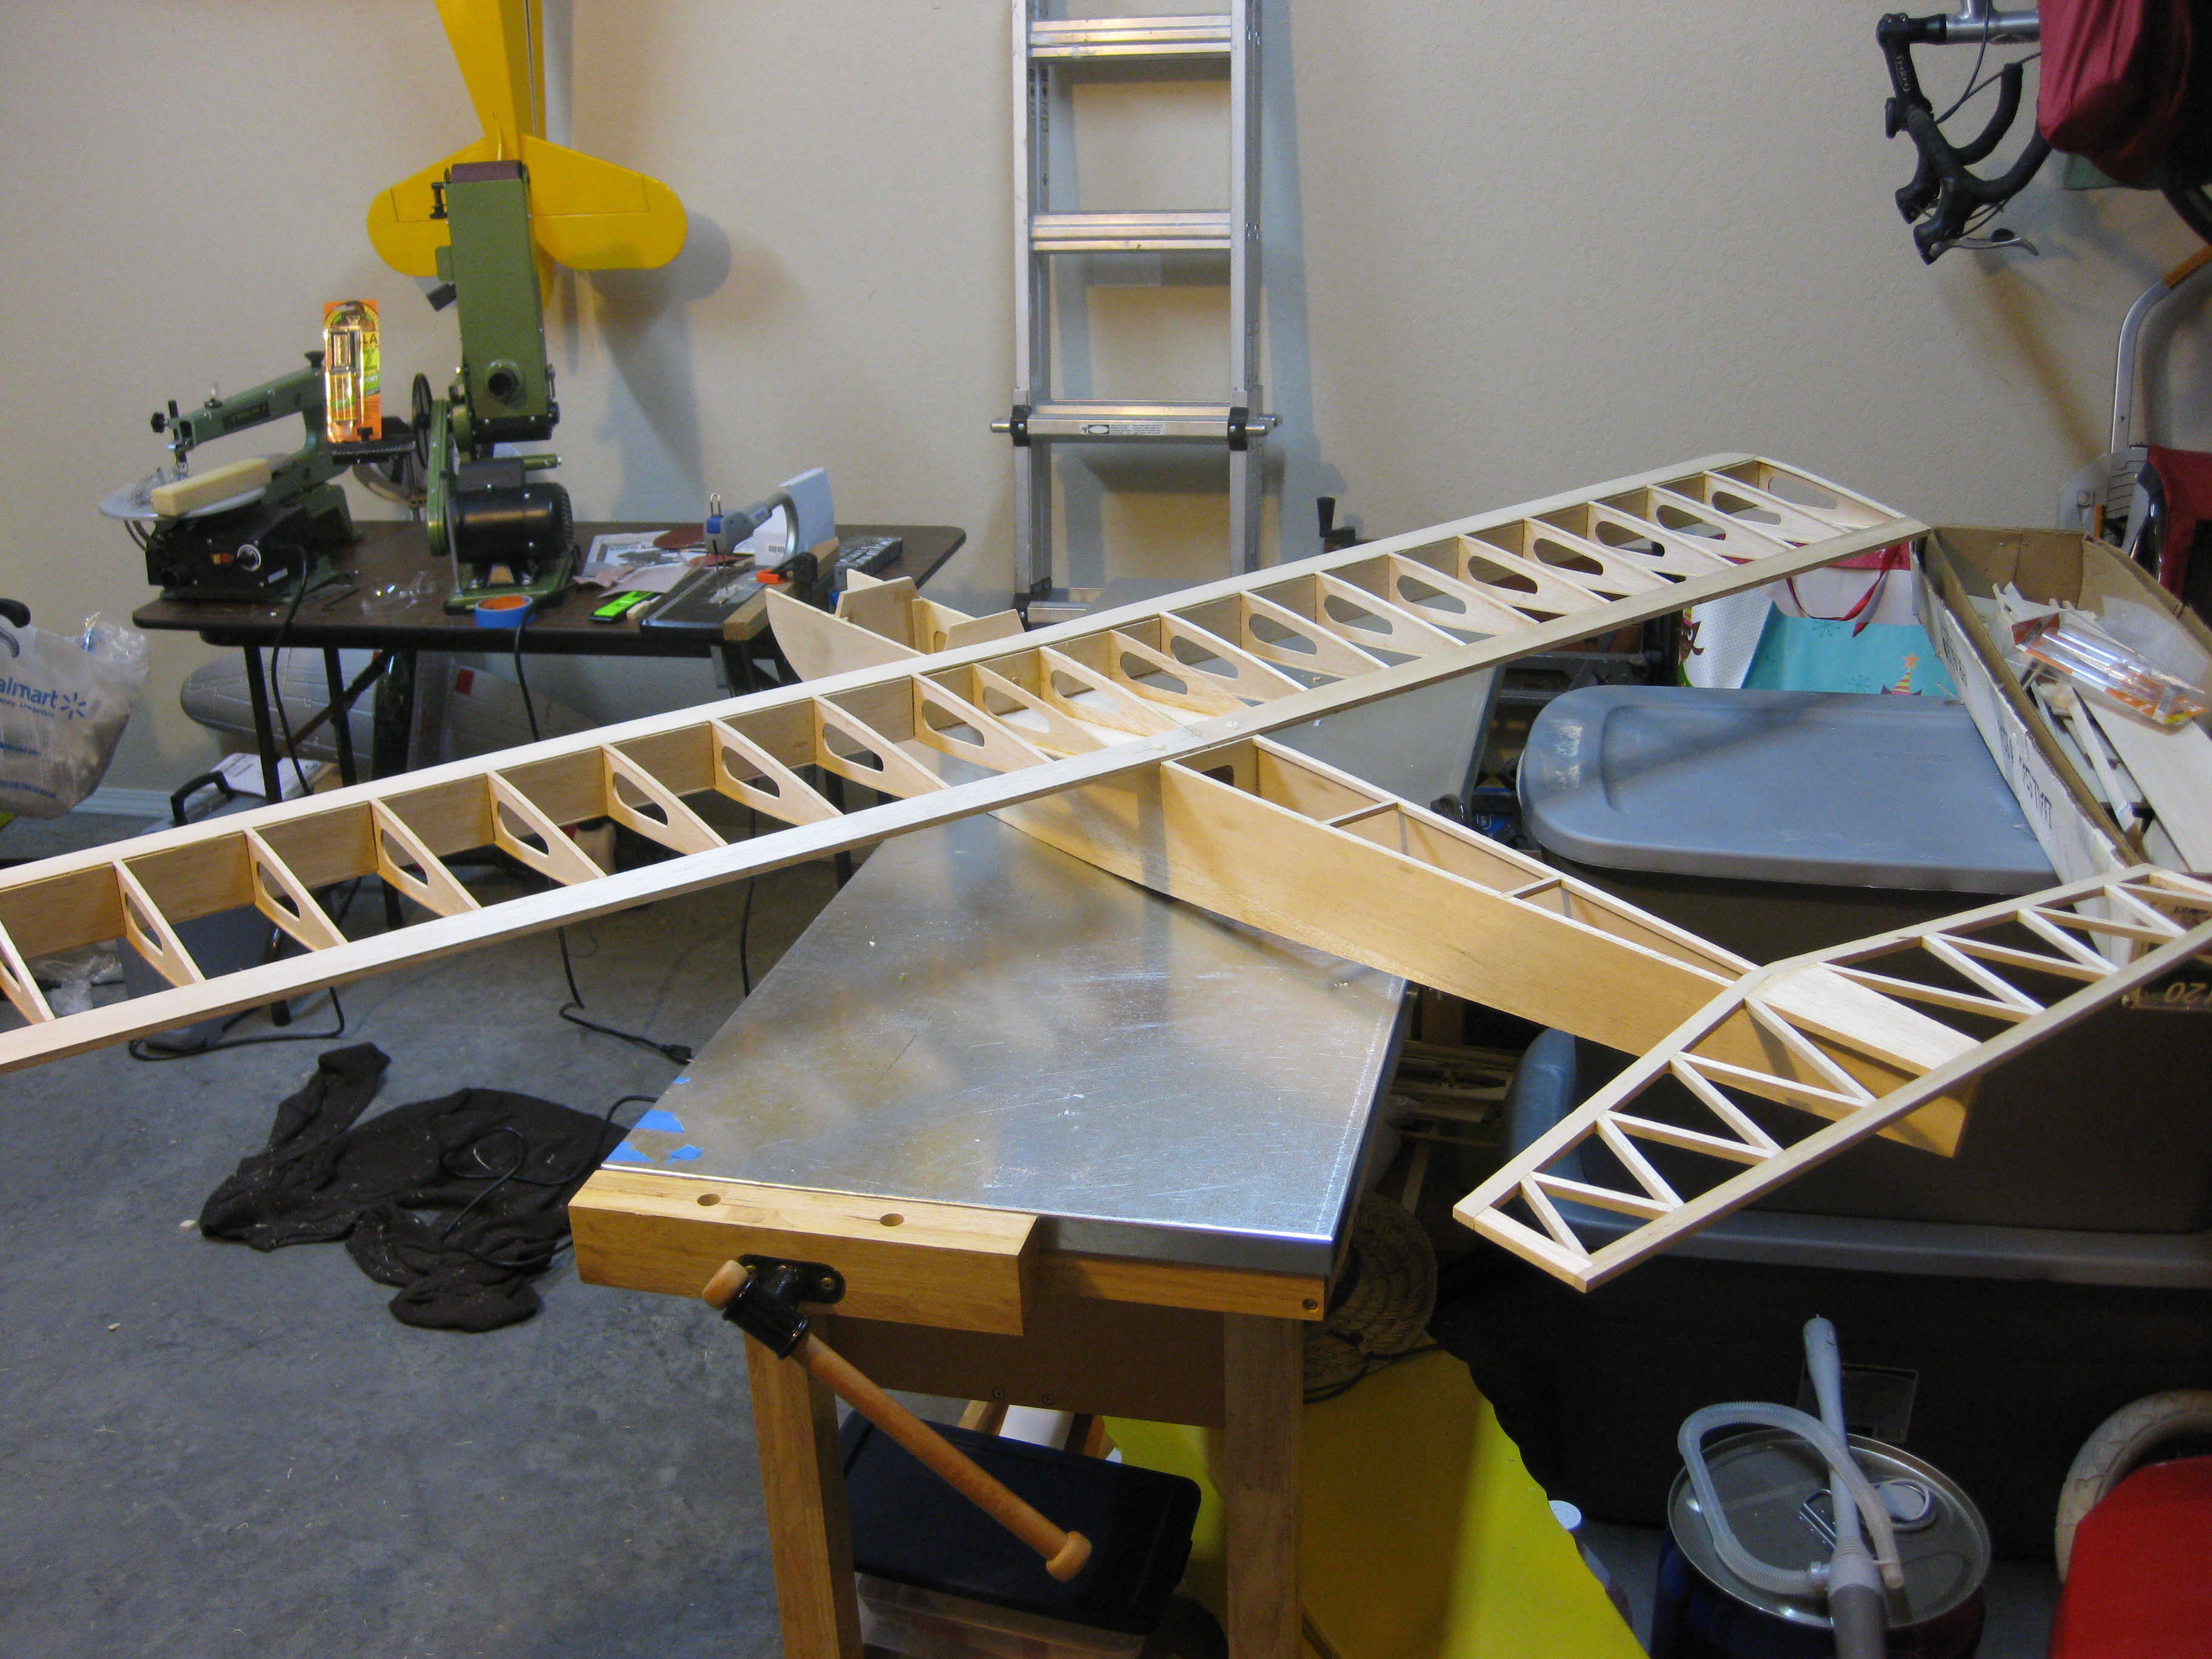
I've been waiting on a couple drill bits to arrive in the mail so I can drill out the wing dowels.


In the mean time I started on the tail.


Those magnets are AWESOME!!!


More whittling to do.

Attached Thumbnails Click image for larger version

Name:	UlSMOTA.jpg
Views:	785
Size:	2.30 MB
ID:	1982282   Click image for larger version

Name:	QuvQUi1.jpg
Views:	731
Size:	2.32 MB
ID:	1982283   Click image for larger version

Name:	IVaejQu.jpg
Views:	677
Size:	1.71 MB
ID:	1982284   Click image for larger version

Name:	2fAMGNg.jpg
Views:	752
Size:	2.31 MB
ID:	1982285  
Old 03-29-2014, 07:22 PM
  #39  
bicyclemonkey
Thread Starter
My Feedback: (7)
 
bicyclemonkey's Avatar
 
Join Date: Mar 2010
Location: Fayetteville, AR
Posts: 120
Likes: 0
Received 0 Likes on 0 Posts
Default

Got the wing dowel holes drilled!

Attached Thumbnails Click image for larger version

Name:	5p3CXJ9.png
Views:	680
Size:	1.86 MB
ID:	1982611   Click image for larger version

Name:	kymw10f.png
Views:	658
Size:	1.64 MB
ID:	1982612  
Old 03-29-2014, 07:29 PM
  #40  
bicyclemonkey
Thread Starter
My Feedback: (7)
 
bicyclemonkey's Avatar
 
Join Date: Mar 2010
Location: Fayetteville, AR
Posts: 120
Likes: 0
Received 0 Likes on 0 Posts
Default

Wing dowels in place.


Drilled the rear wing bolt blocks.


I tapped them for the nylon wing bolts then hardened with thin CA.

Attached Thumbnails Click image for larger version

Name:	zdaW2WM.png
Views:	646
Size:	1.68 MB
ID:	1982613   Click image for larger version

Name:	p6L7EMQ.jpg
Views:	728
Size:	2.38 MB
ID:	1982615   Click image for larger version

Name:	SuvfxlA.png
Views:	642
Size:	1.54 MB
ID:	1982616   Click image for larger version

Name:	4K2I2vI.png
Views:	651
Size:	1.74 MB
ID:	1982619   Click image for larger version

Name:	6pIcfS3.jpg
Views:	718
Size:	2.35 MB
ID:	1982621  
Old 04-01-2014, 08:23 AM
  #41  
starbird2000
My Feedback: (14)
 
Join Date: Sep 2004
Location: Warner Robins, Ga. AL
Posts: 33
Likes: 0
Received 0 Likes on 0 Posts
Default

I do not know what you did, but I can see the pictures now.... Thanks you. I have this kit wanted to see how it went together...great build thread!

Regards

SB
Old 04-01-2014, 09:54 AM
  #42  
bicyclemonkey
Thread Starter
My Feedback: (7)
 
bicyclemonkey's Avatar
 
Join Date: Mar 2010
Location: Fayetteville, AR
Posts: 120
Likes: 0
Received 0 Likes on 0 Posts
Default

Thanks, glad you can see the pics!

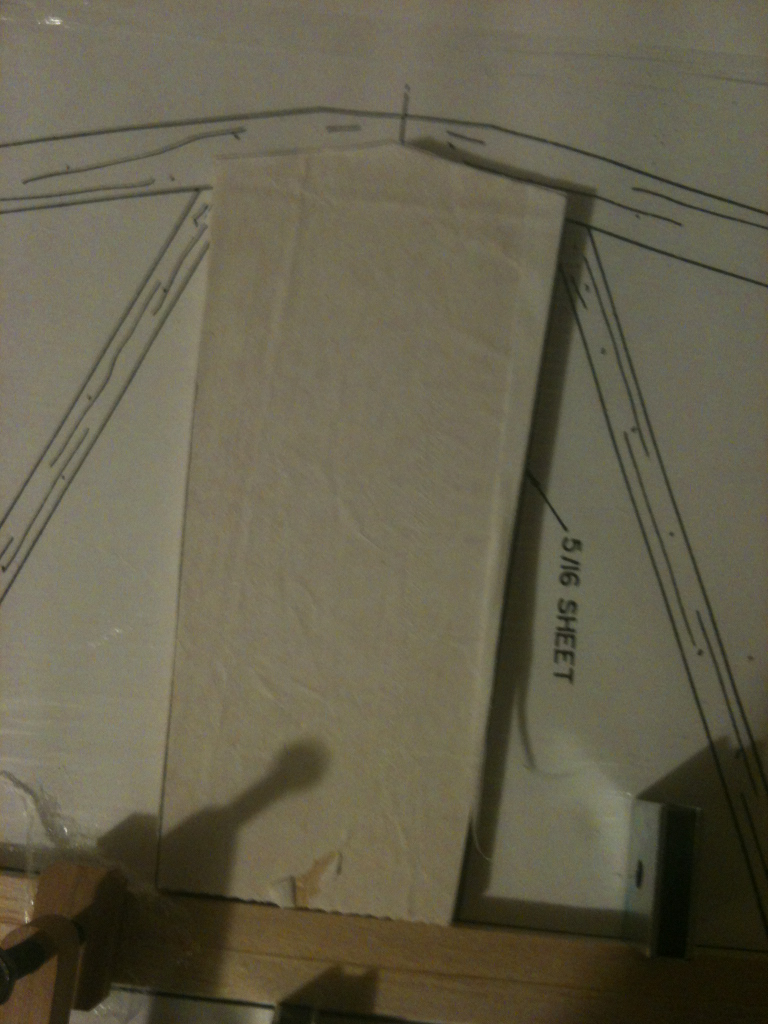
Back to the tail. I have to cut down this piece for the center section of the horizontal stab.


I found a piece of somewhat see through paper from my recycle bin.


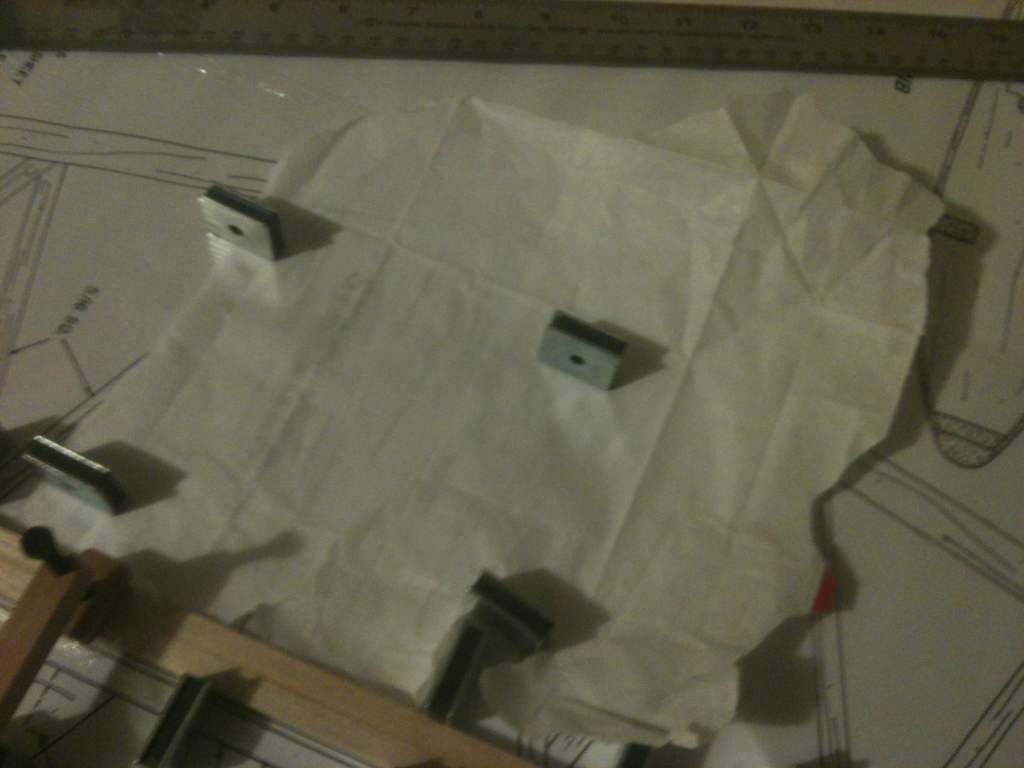
Trimmed it up a little and used spray adhesive to stick to the balsa.


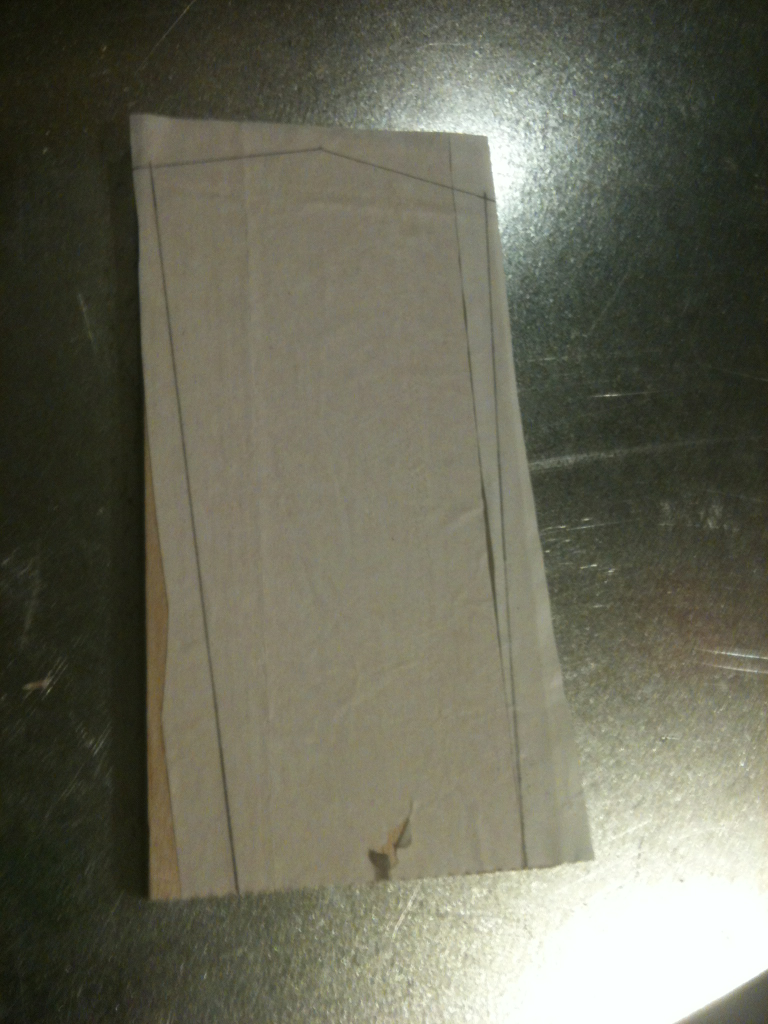
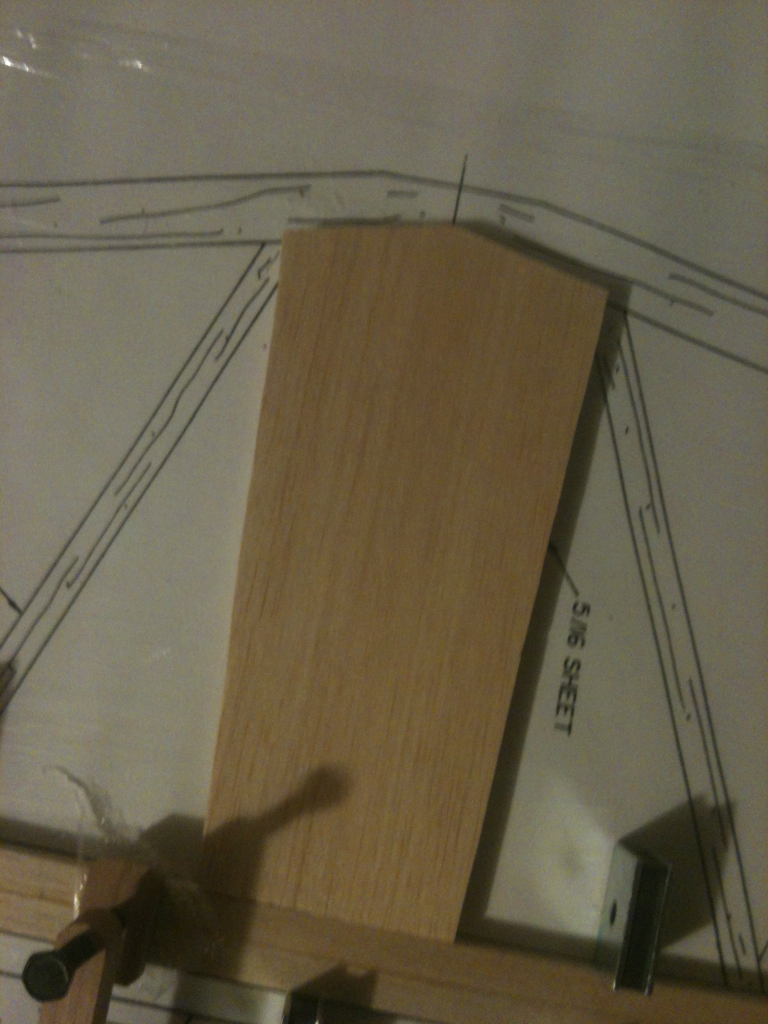
Ran it through the scroll saw.


done.

Attached Thumbnails Click image for larger version

Name:	2fAMGNg.jpg
Views:	736
Size:	2.31 MB
ID:	1983229   Click image for larger version

Name:	xA1pDlo.png
Views:	654
Size:	1.55 MB
ID:	1983230   Click image for larger version

Name:	PLc1JLK.png
Views:	624
Size:	1.51 MB
ID:	1983231   Click image for larger version

Name:	JLNu9n0.png
Views:	657
Size:	1.53 MB
ID:	1983232   Click image for larger version

Name:	y5GefBM.png
Views:	644
Size:	1.56 MB
ID:	1983233   Click image for larger version

Name:	xXFx9l3.png
Views:	636
Size:	1.61 MB
ID:	1983234  
Old 04-03-2014, 09:32 AM
  #43  
bicyclemonkey
Thread Starter
My Feedback: (7)
 
bicyclemonkey's Avatar
 
Join Date: Mar 2010
Location: Fayetteville, AR
Posts: 120
Likes: 0
Received 0 Likes on 0 Posts
Default

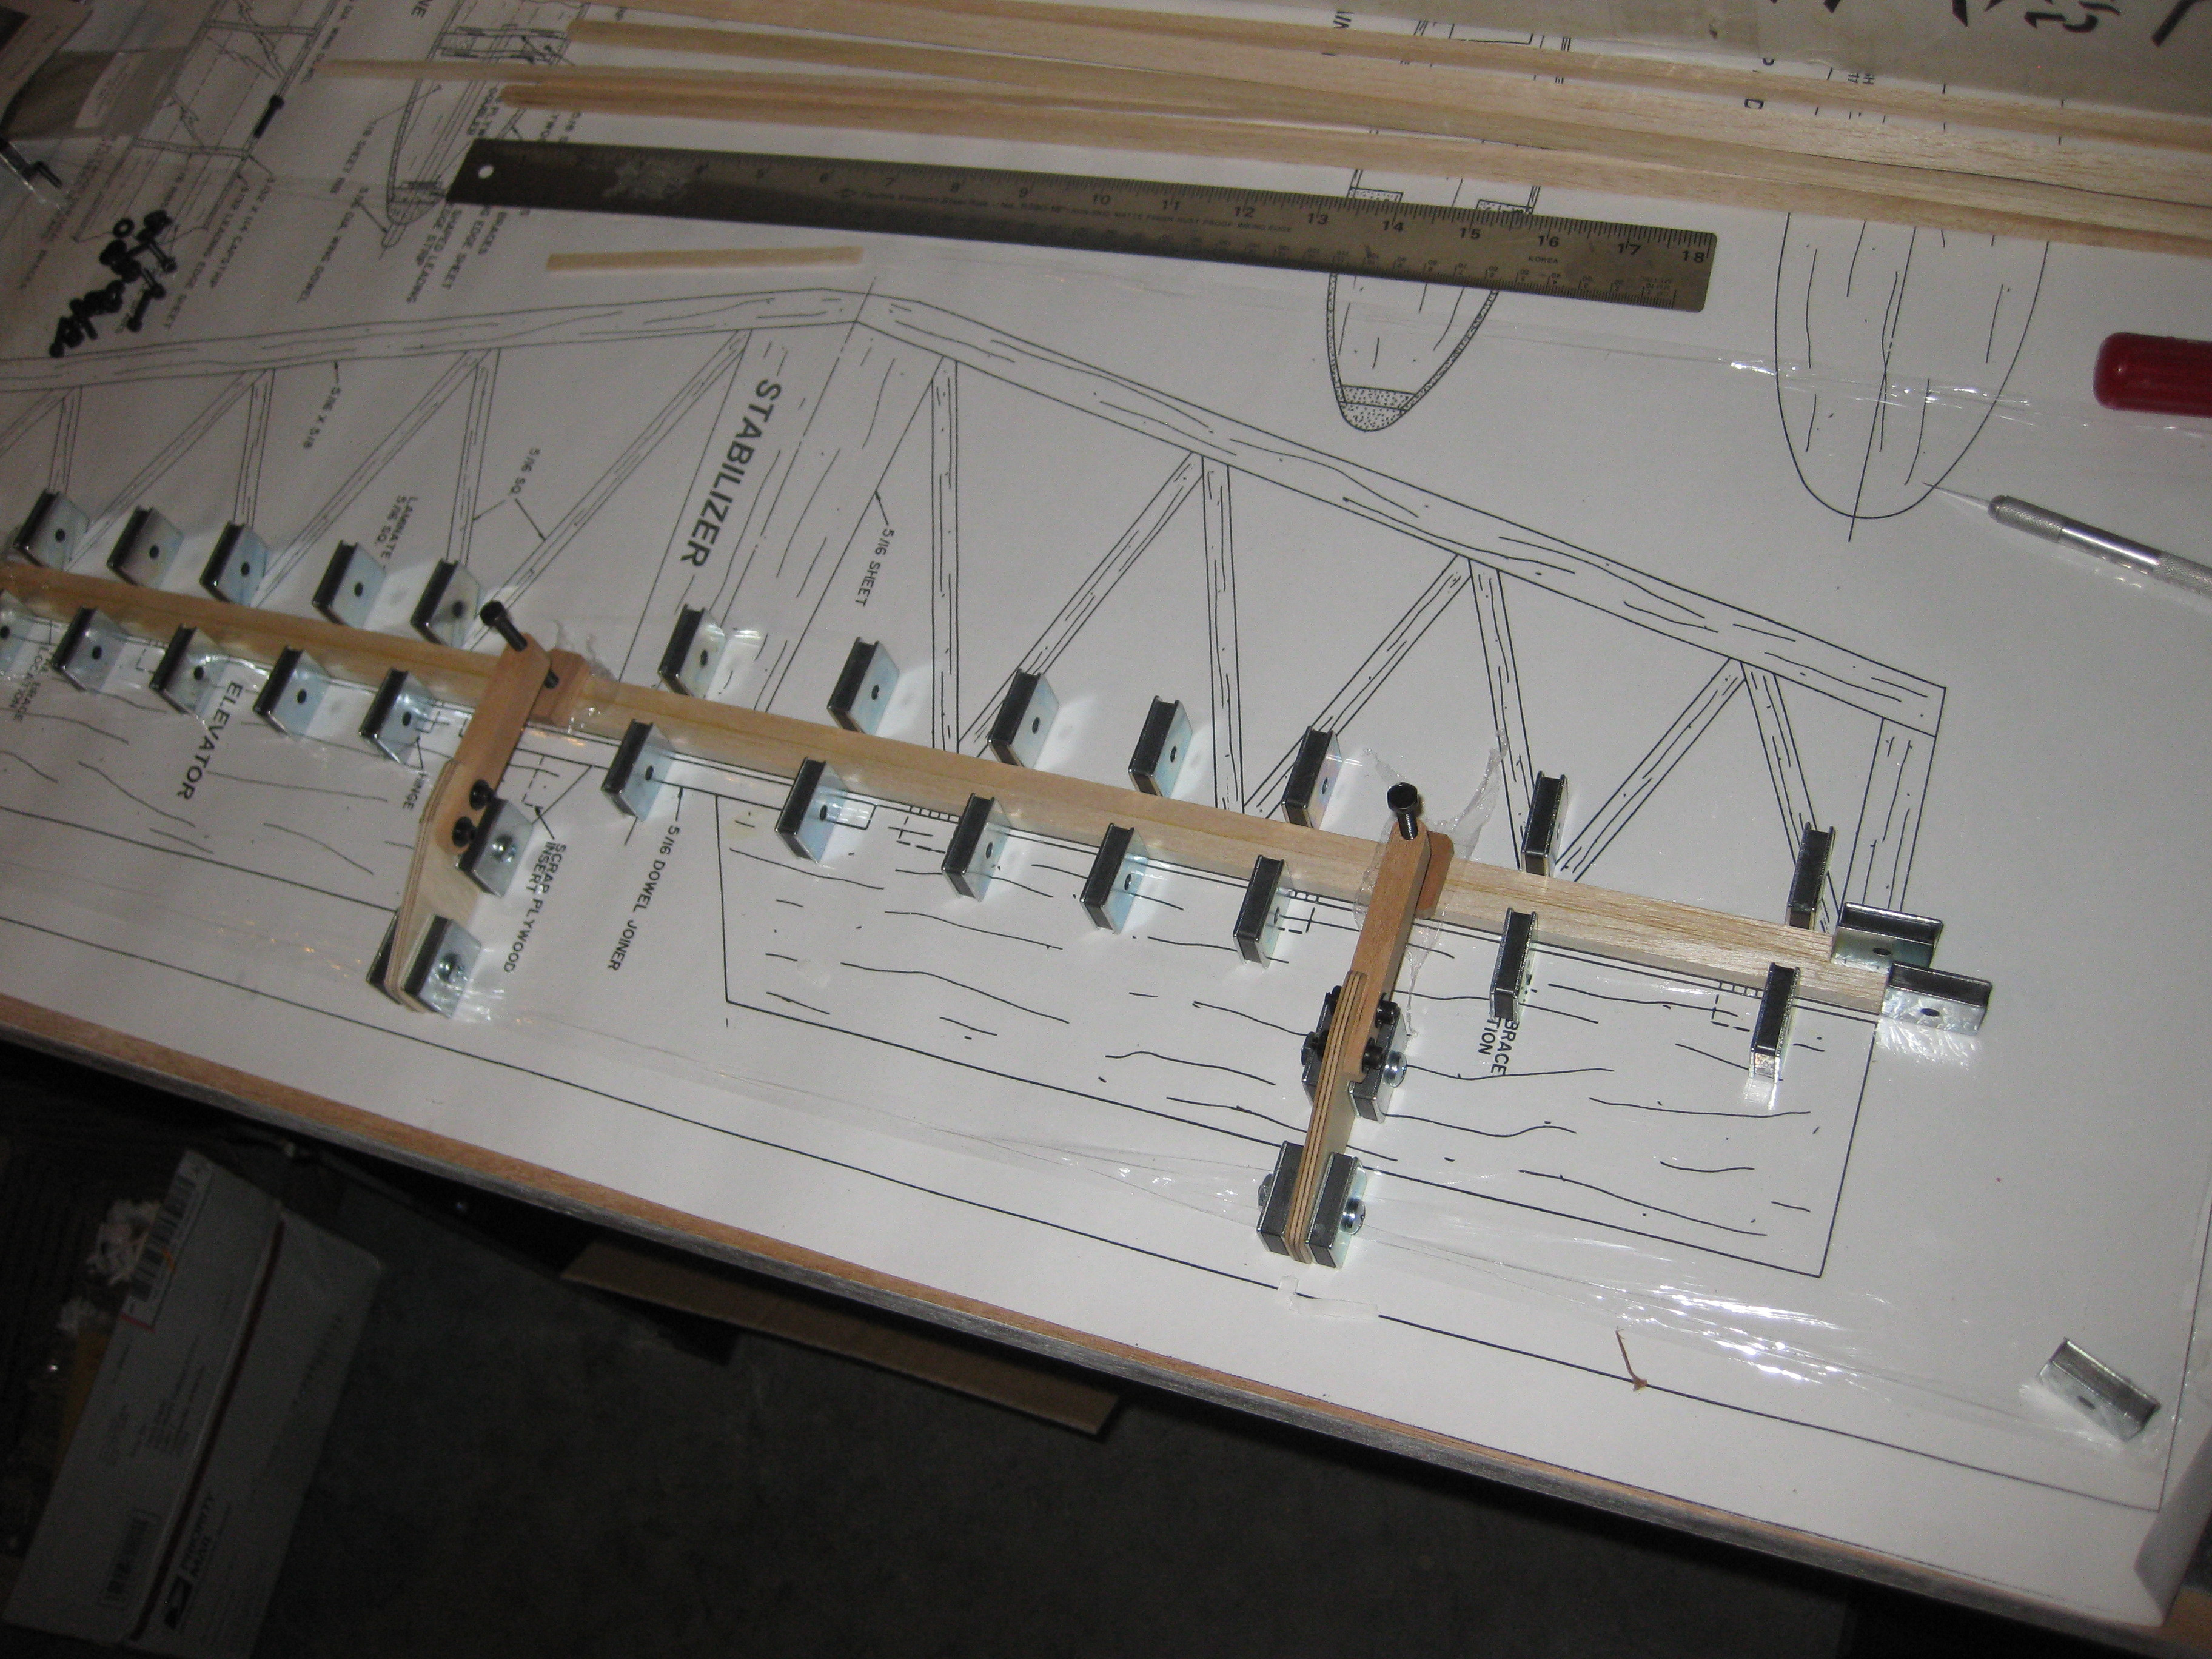
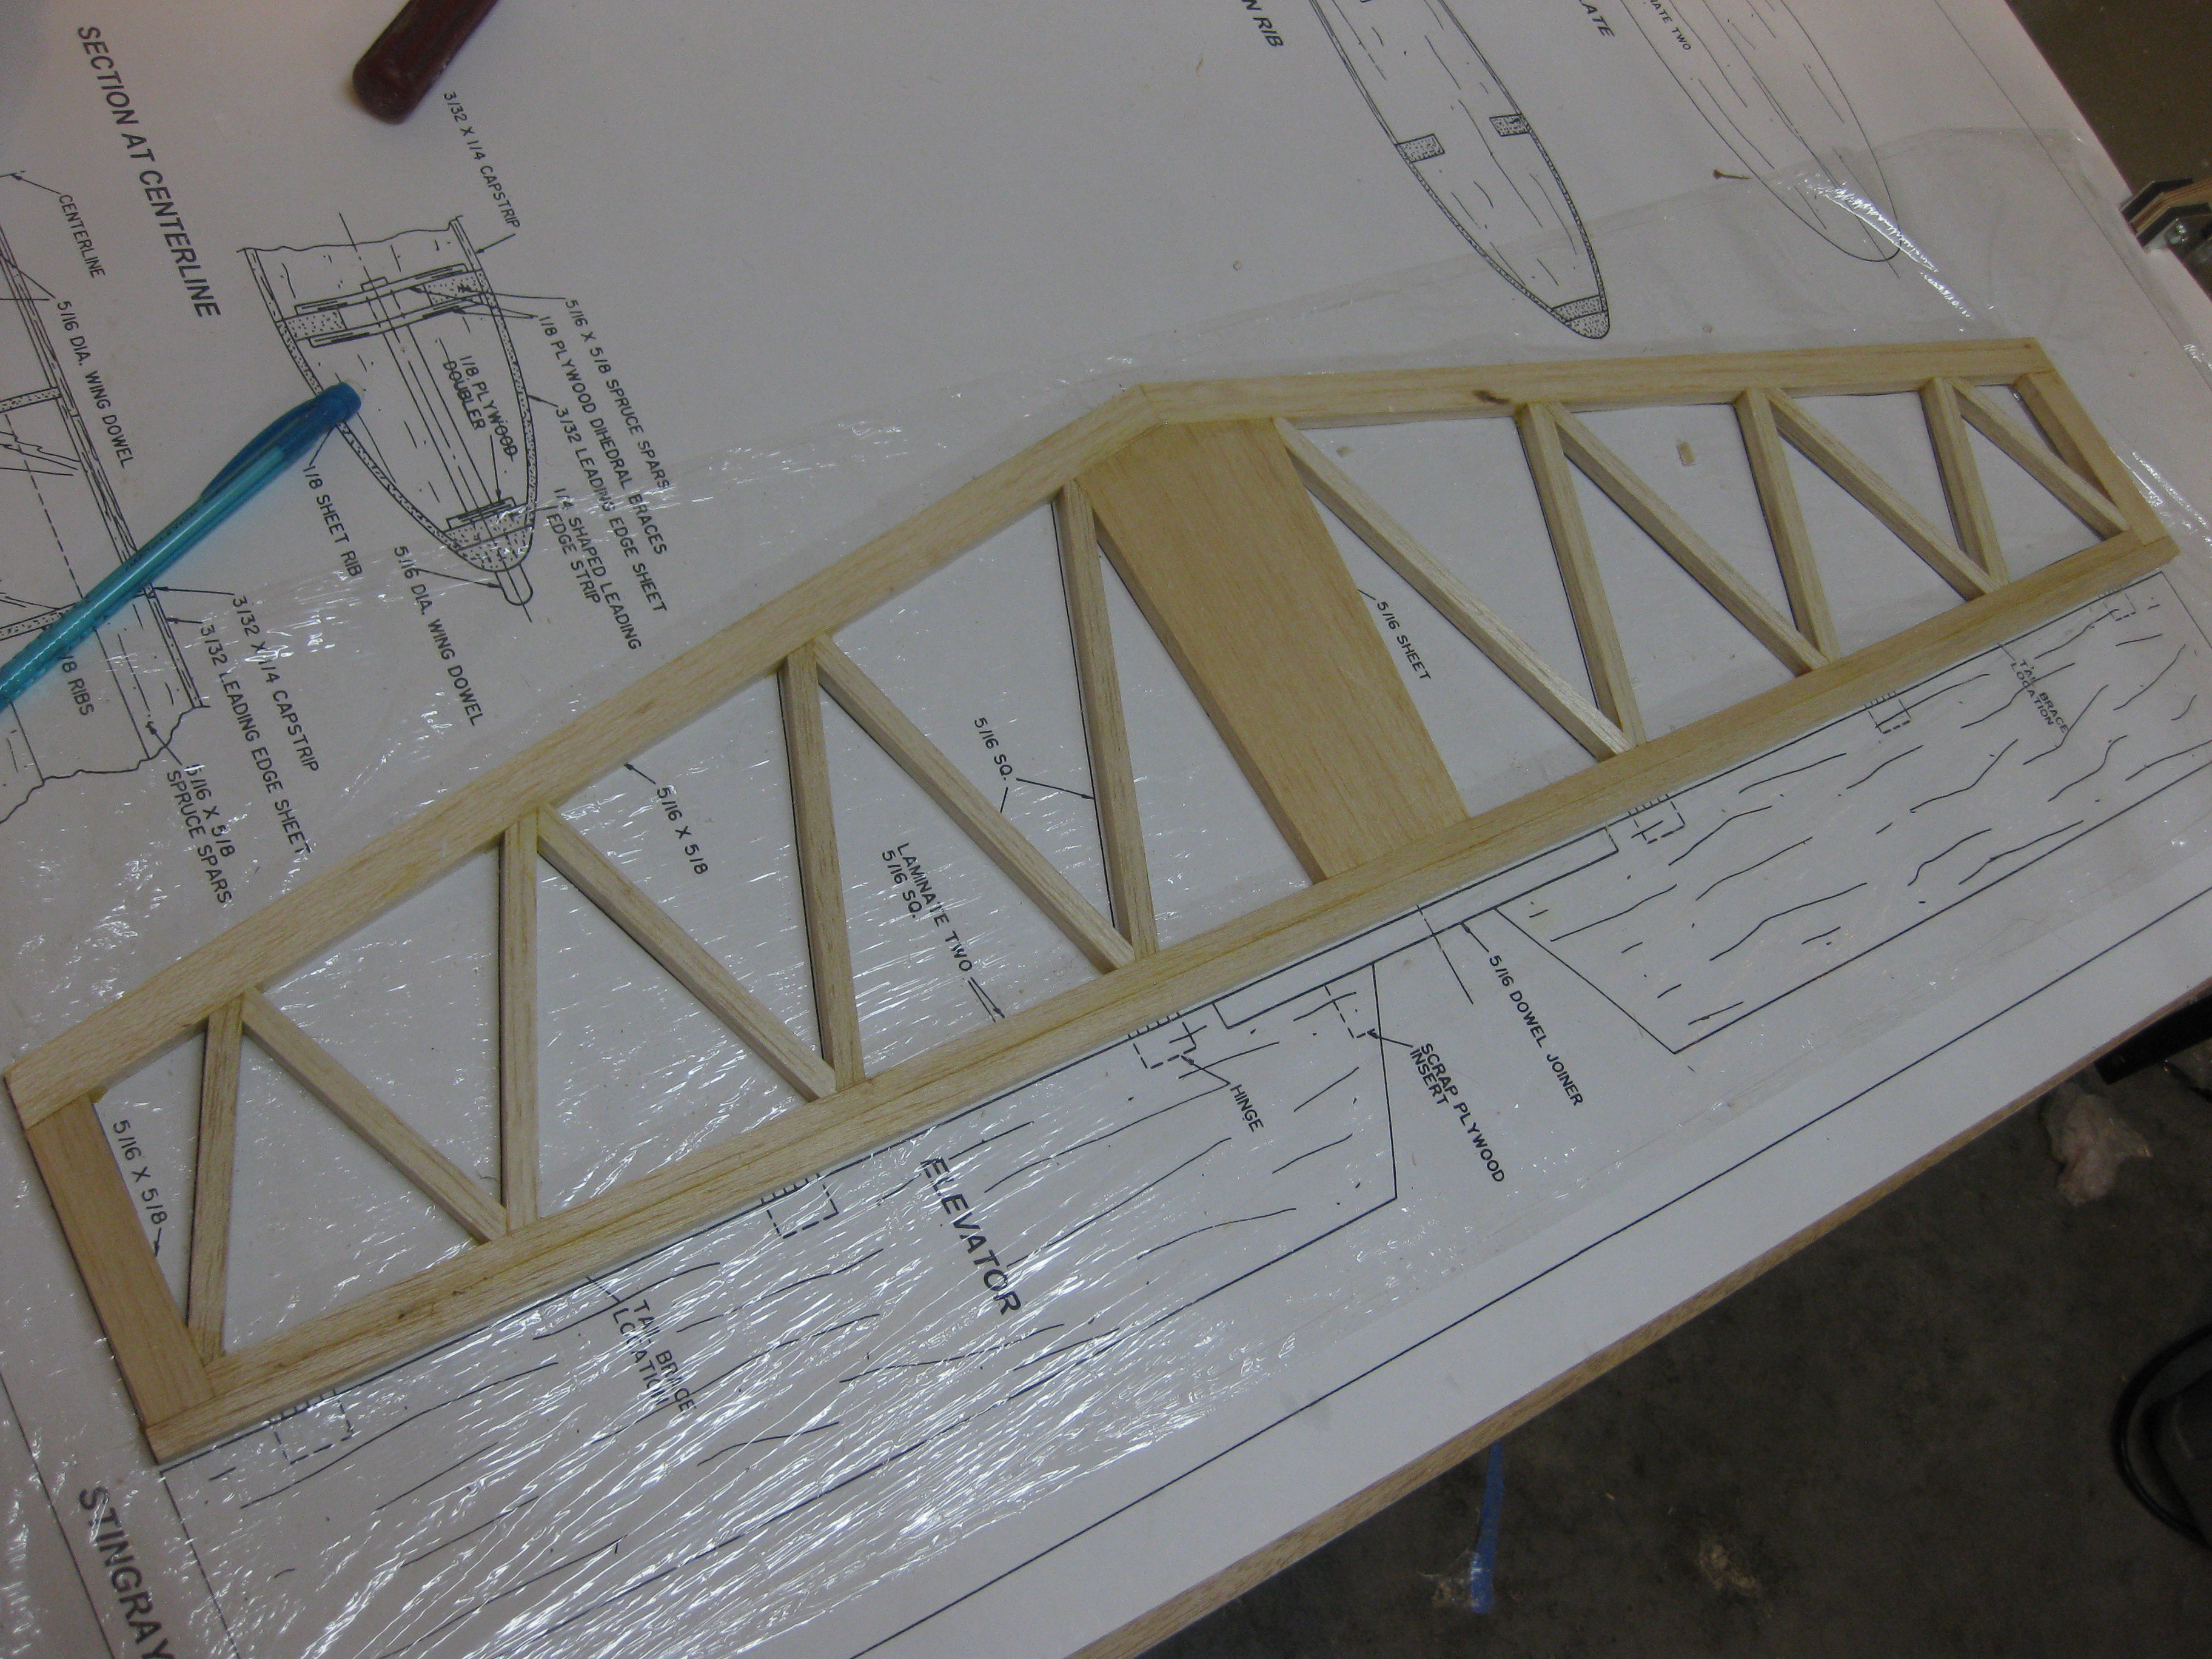
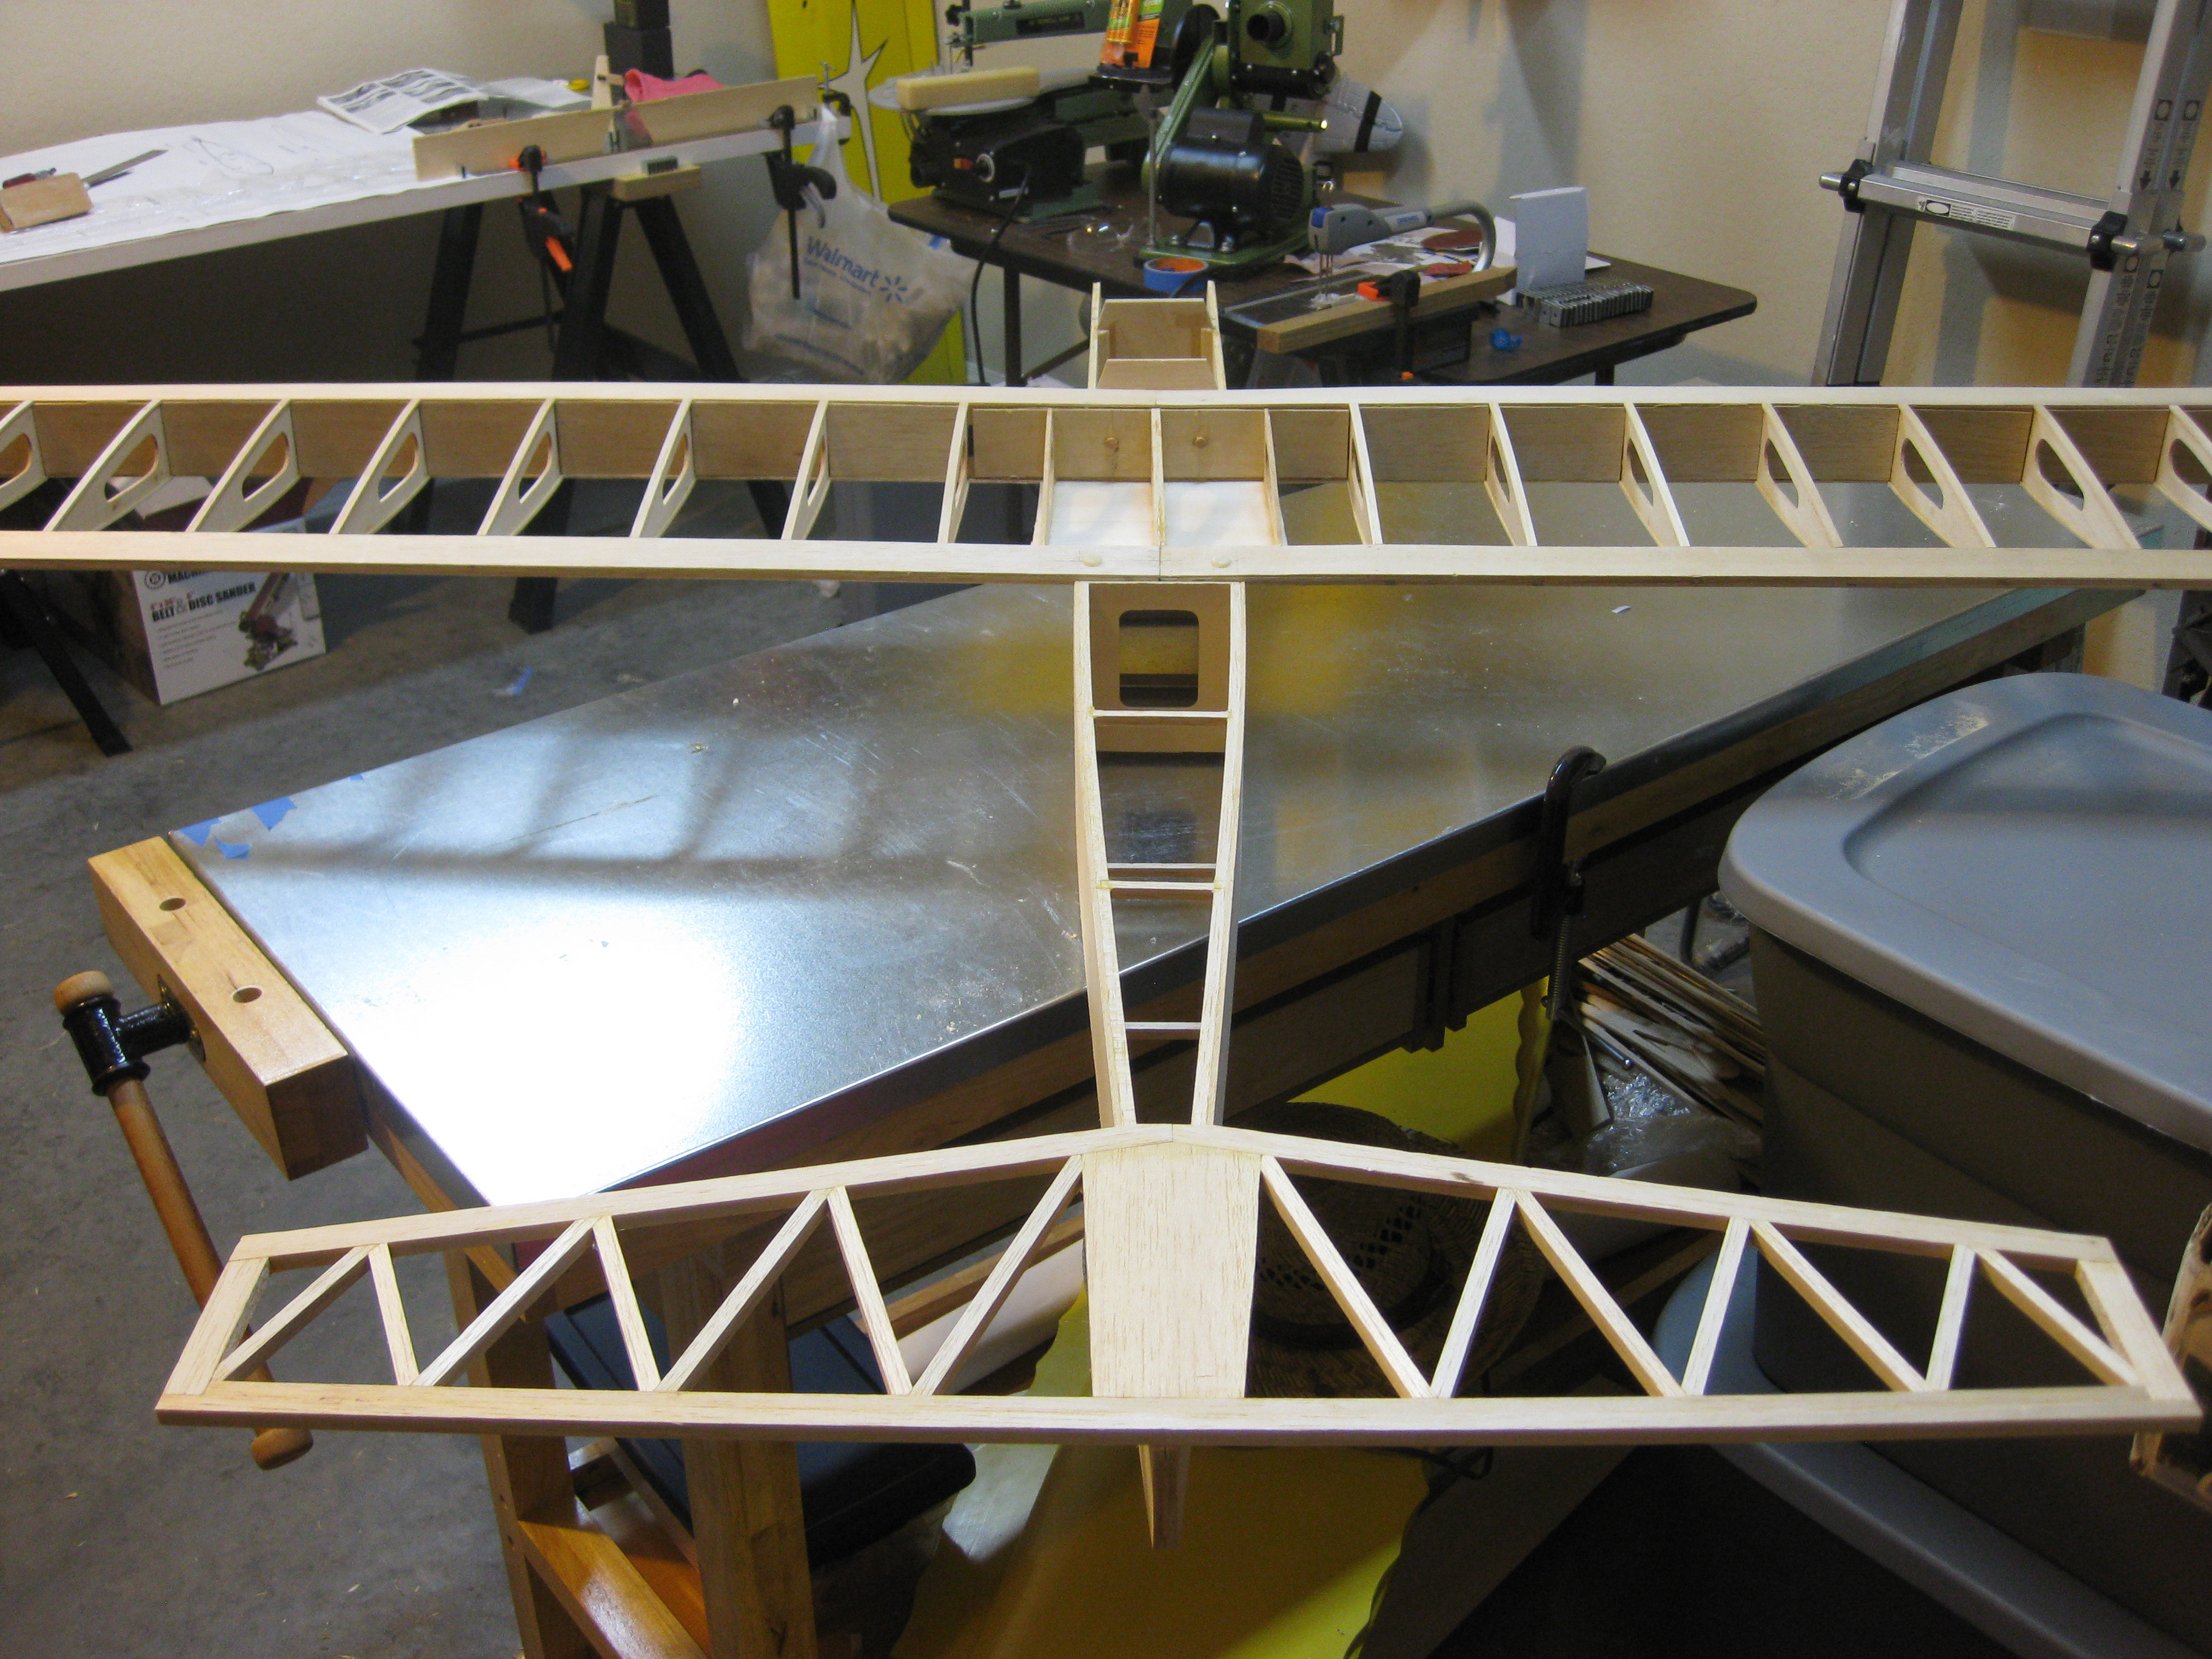
Finally finished framing the H-stab. (and added some extra lights in the garage).


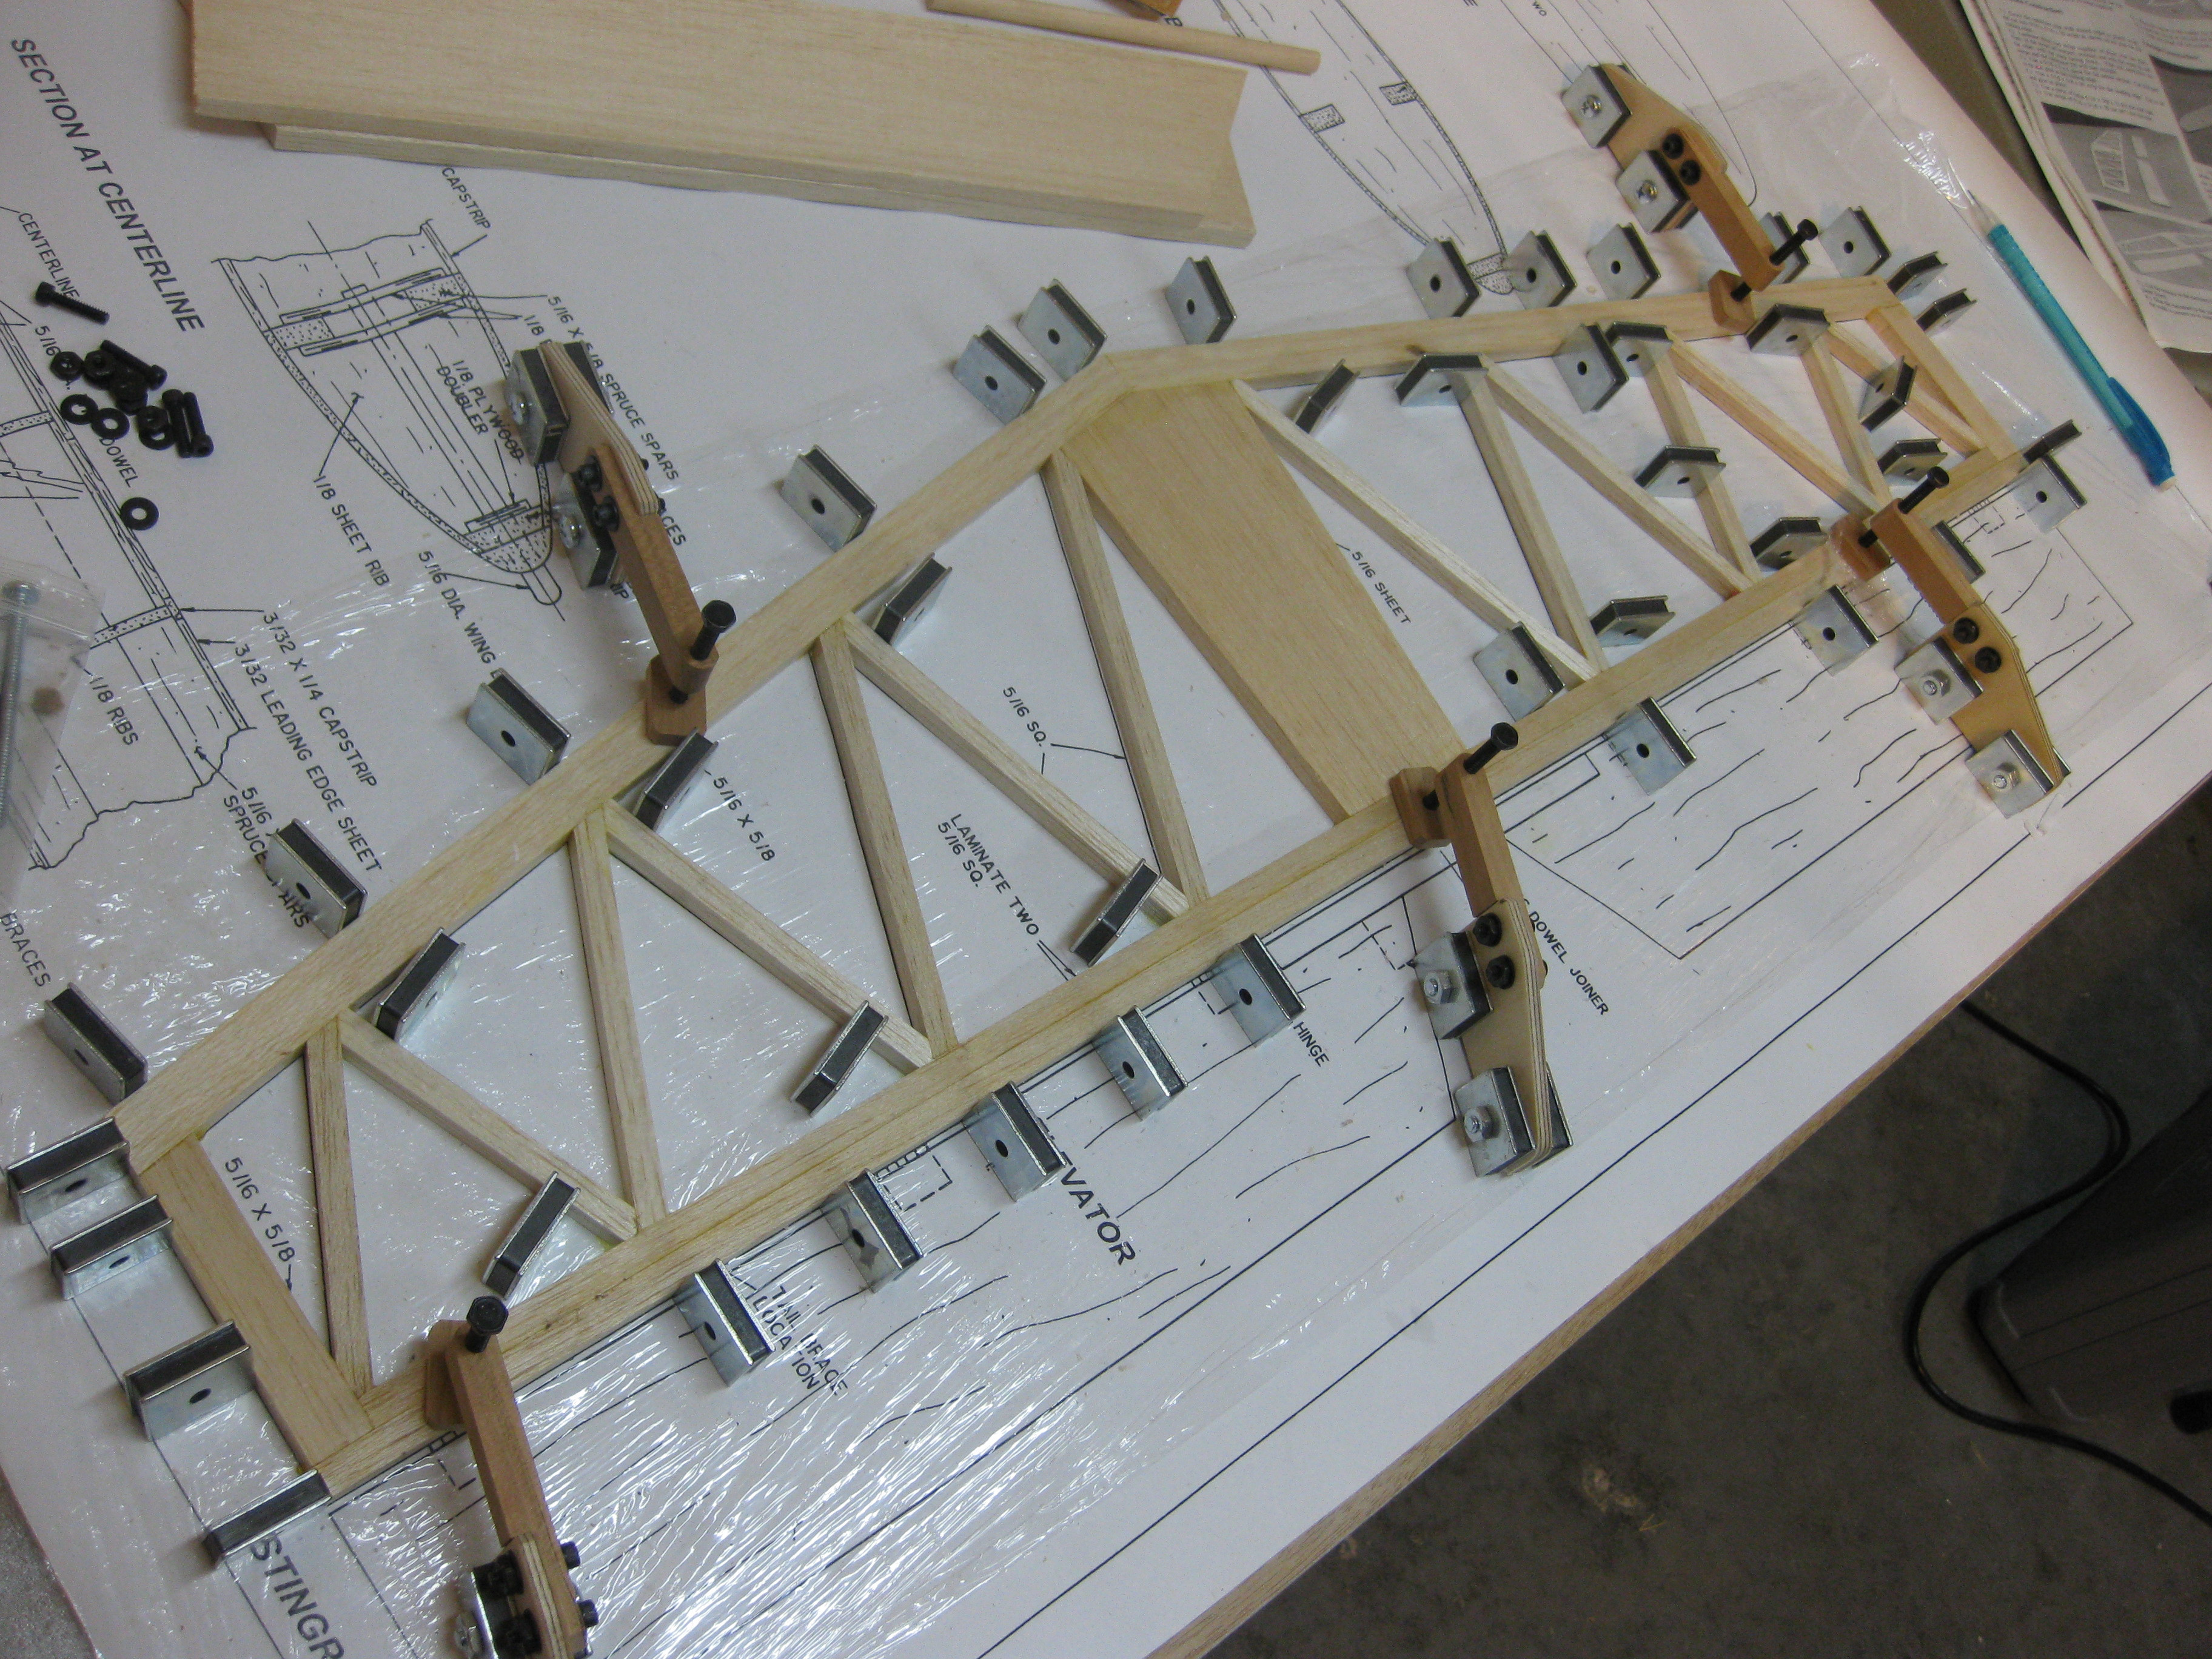
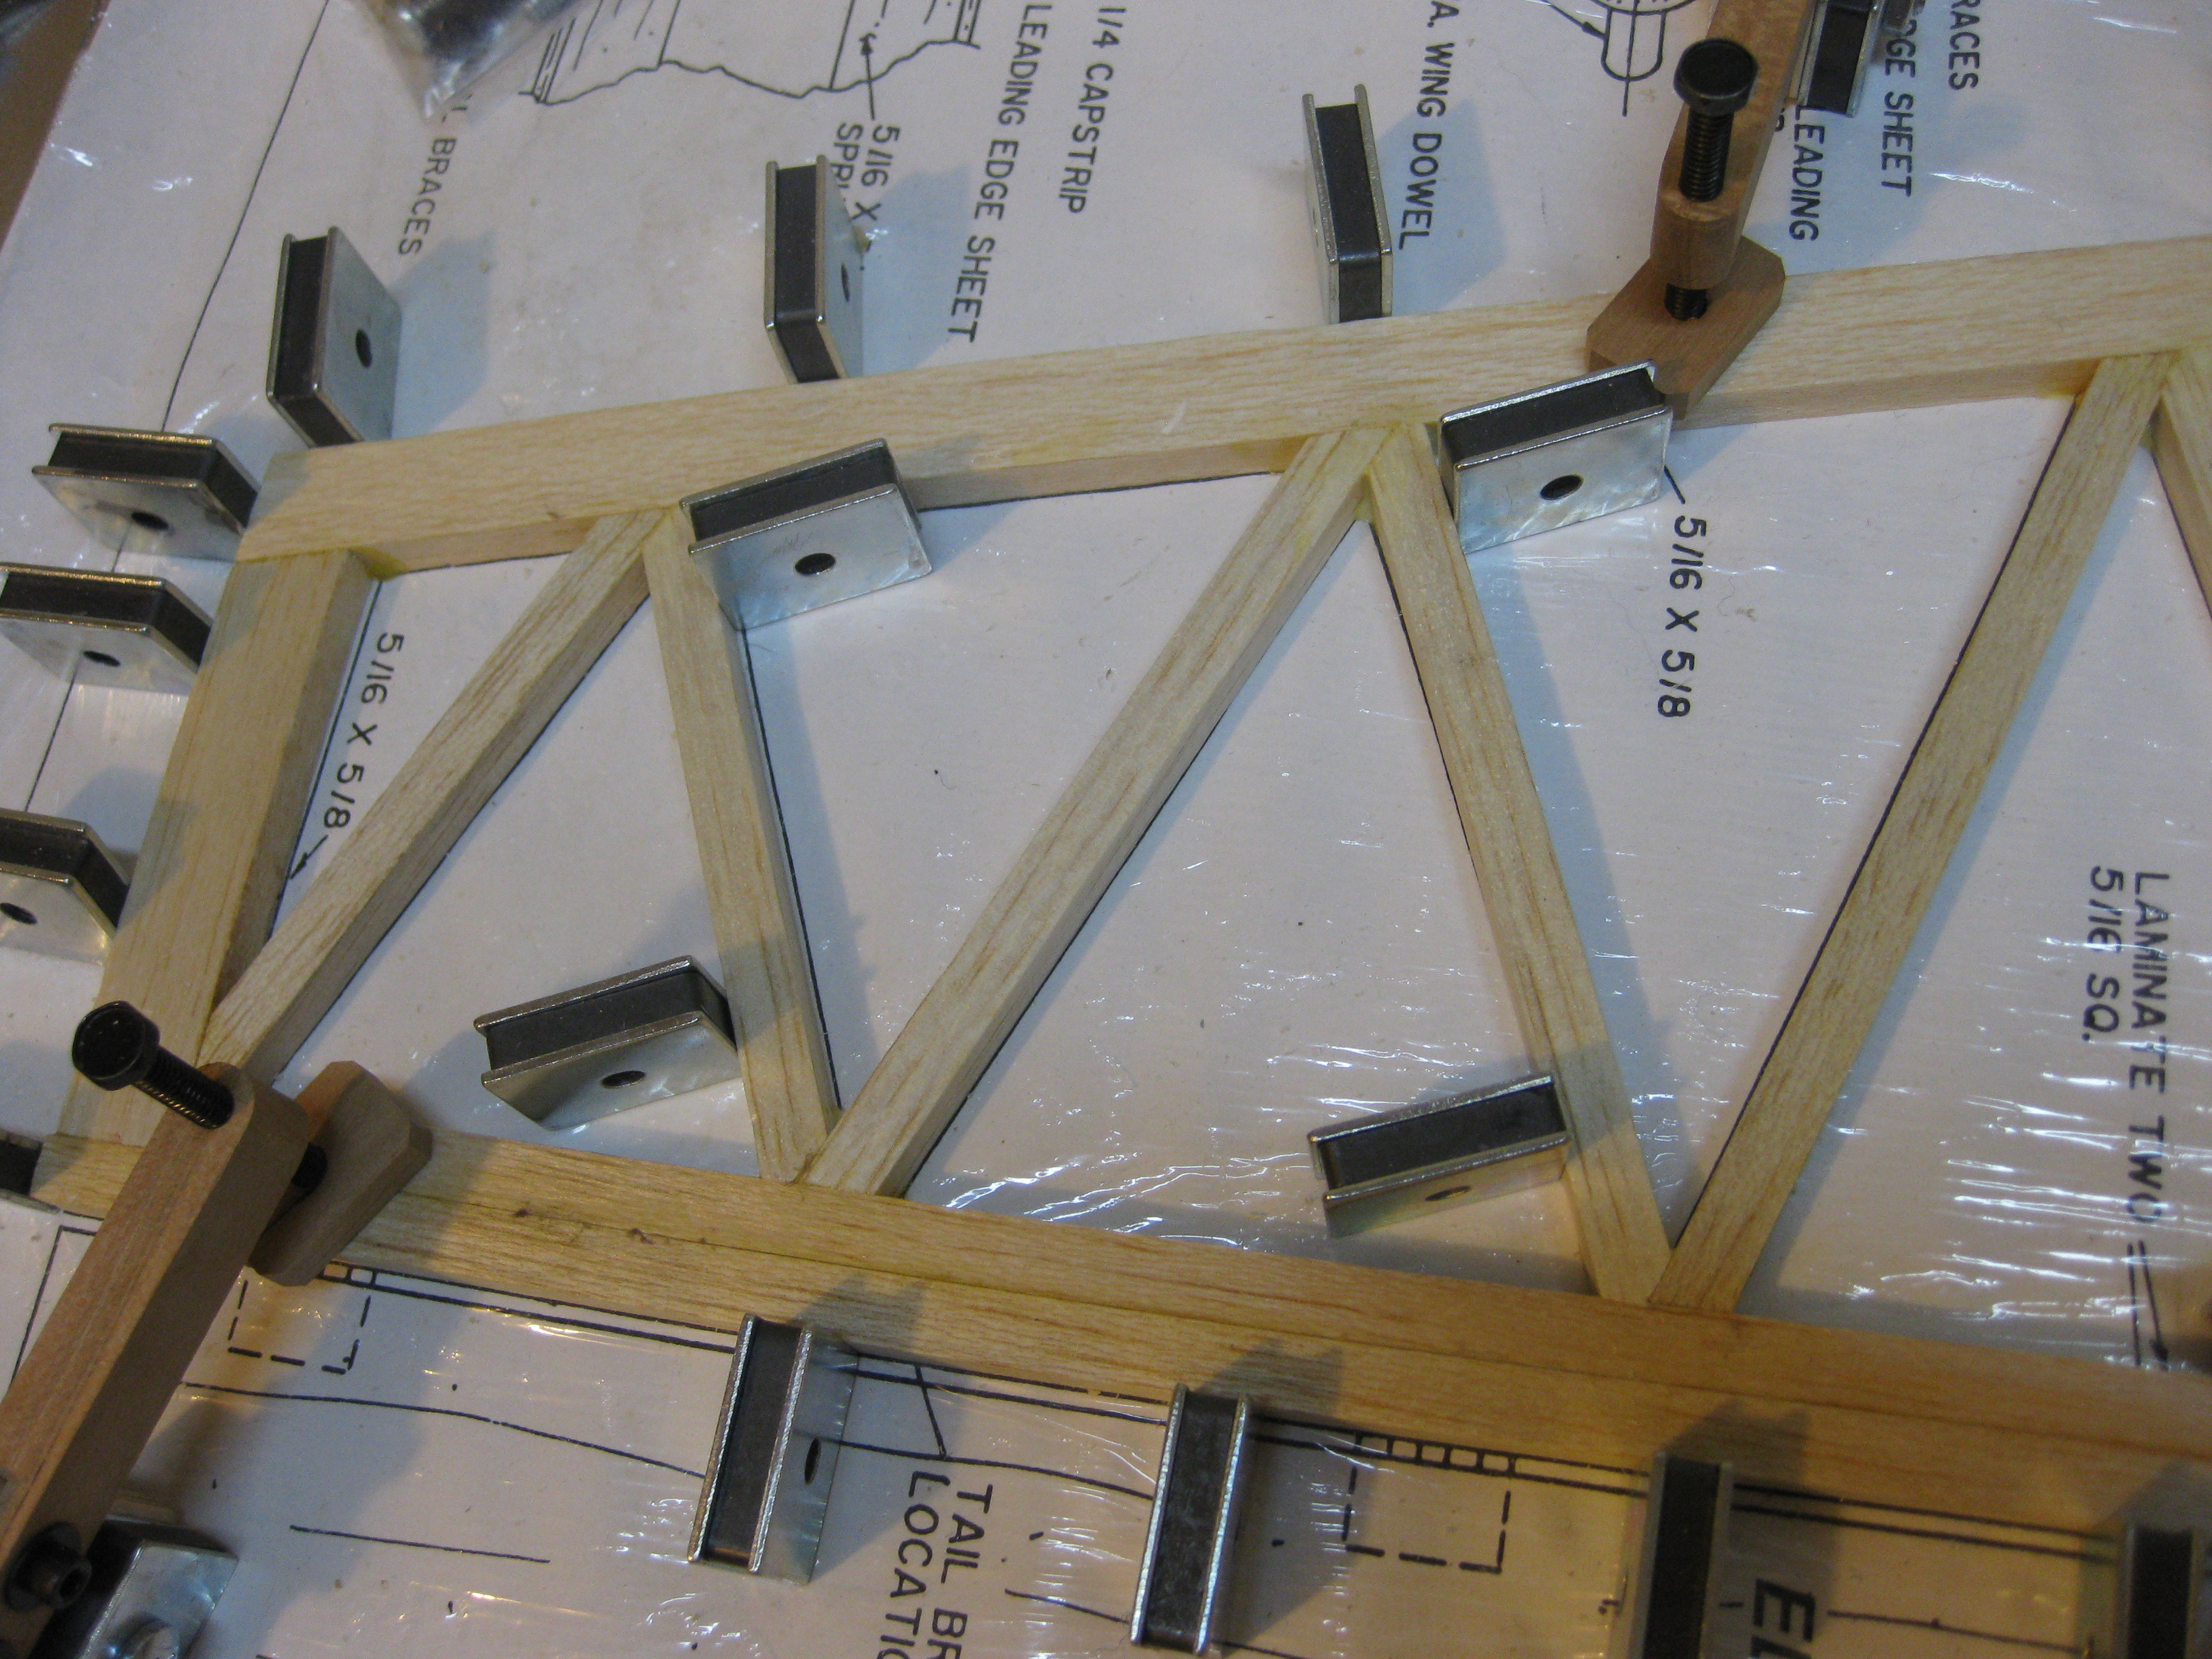
I think I'll go ahead and build the elevator joiner like the plans call for.

Attached Thumbnails Click image for larger version

Name:	tfbmitq.jpg
Views:	696
Size:	2.69 MB
ID:	1983683   Click image for larger version

Name:	C192yJu.jpg
Views:	706
Size:	2.51 MB
ID:	1983684   Click image for larger version

Name:	aayamvE.jpg
Views:	739
Size:	2.23 MB
ID:	1983685  
Old 04-04-2014, 08:10 AM
  #44  
bicyclemonkey
Thread Starter
My Feedback: (7)
 
bicyclemonkey's Avatar
 
Join Date: Mar 2010
Location: Fayetteville, AR
Posts: 120
Likes: 0
Received 0 Likes on 0 Posts
Default

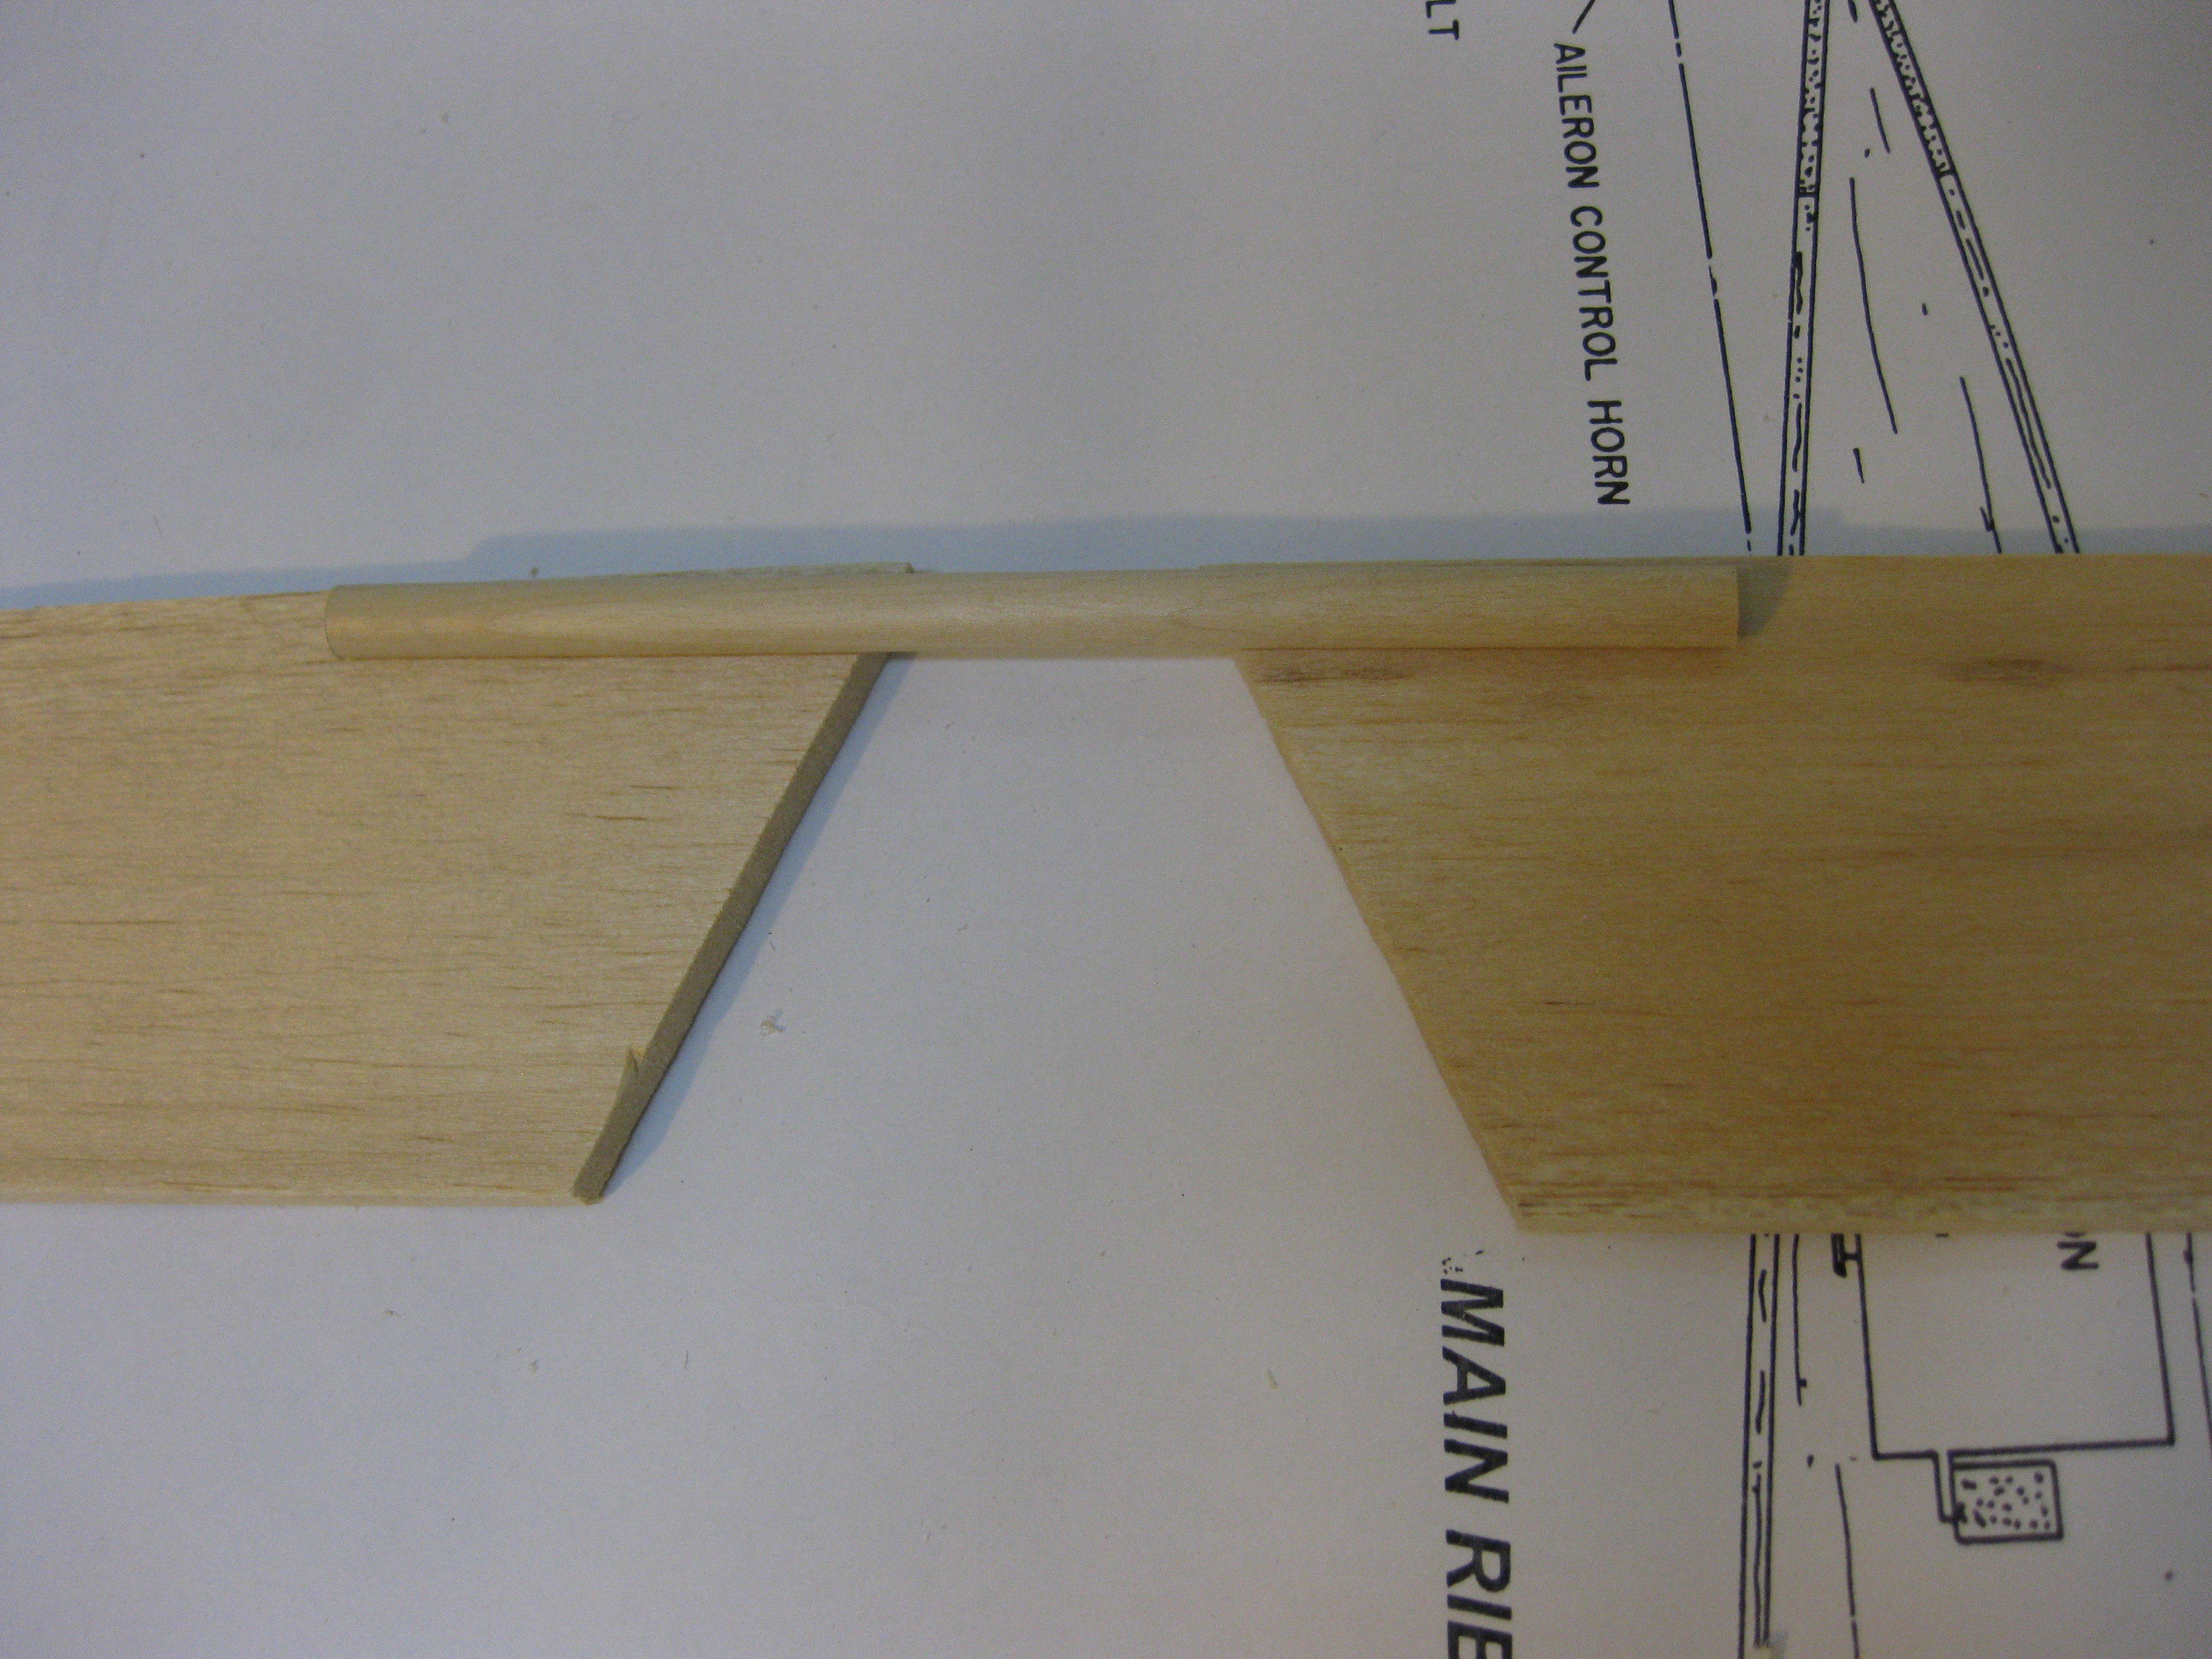
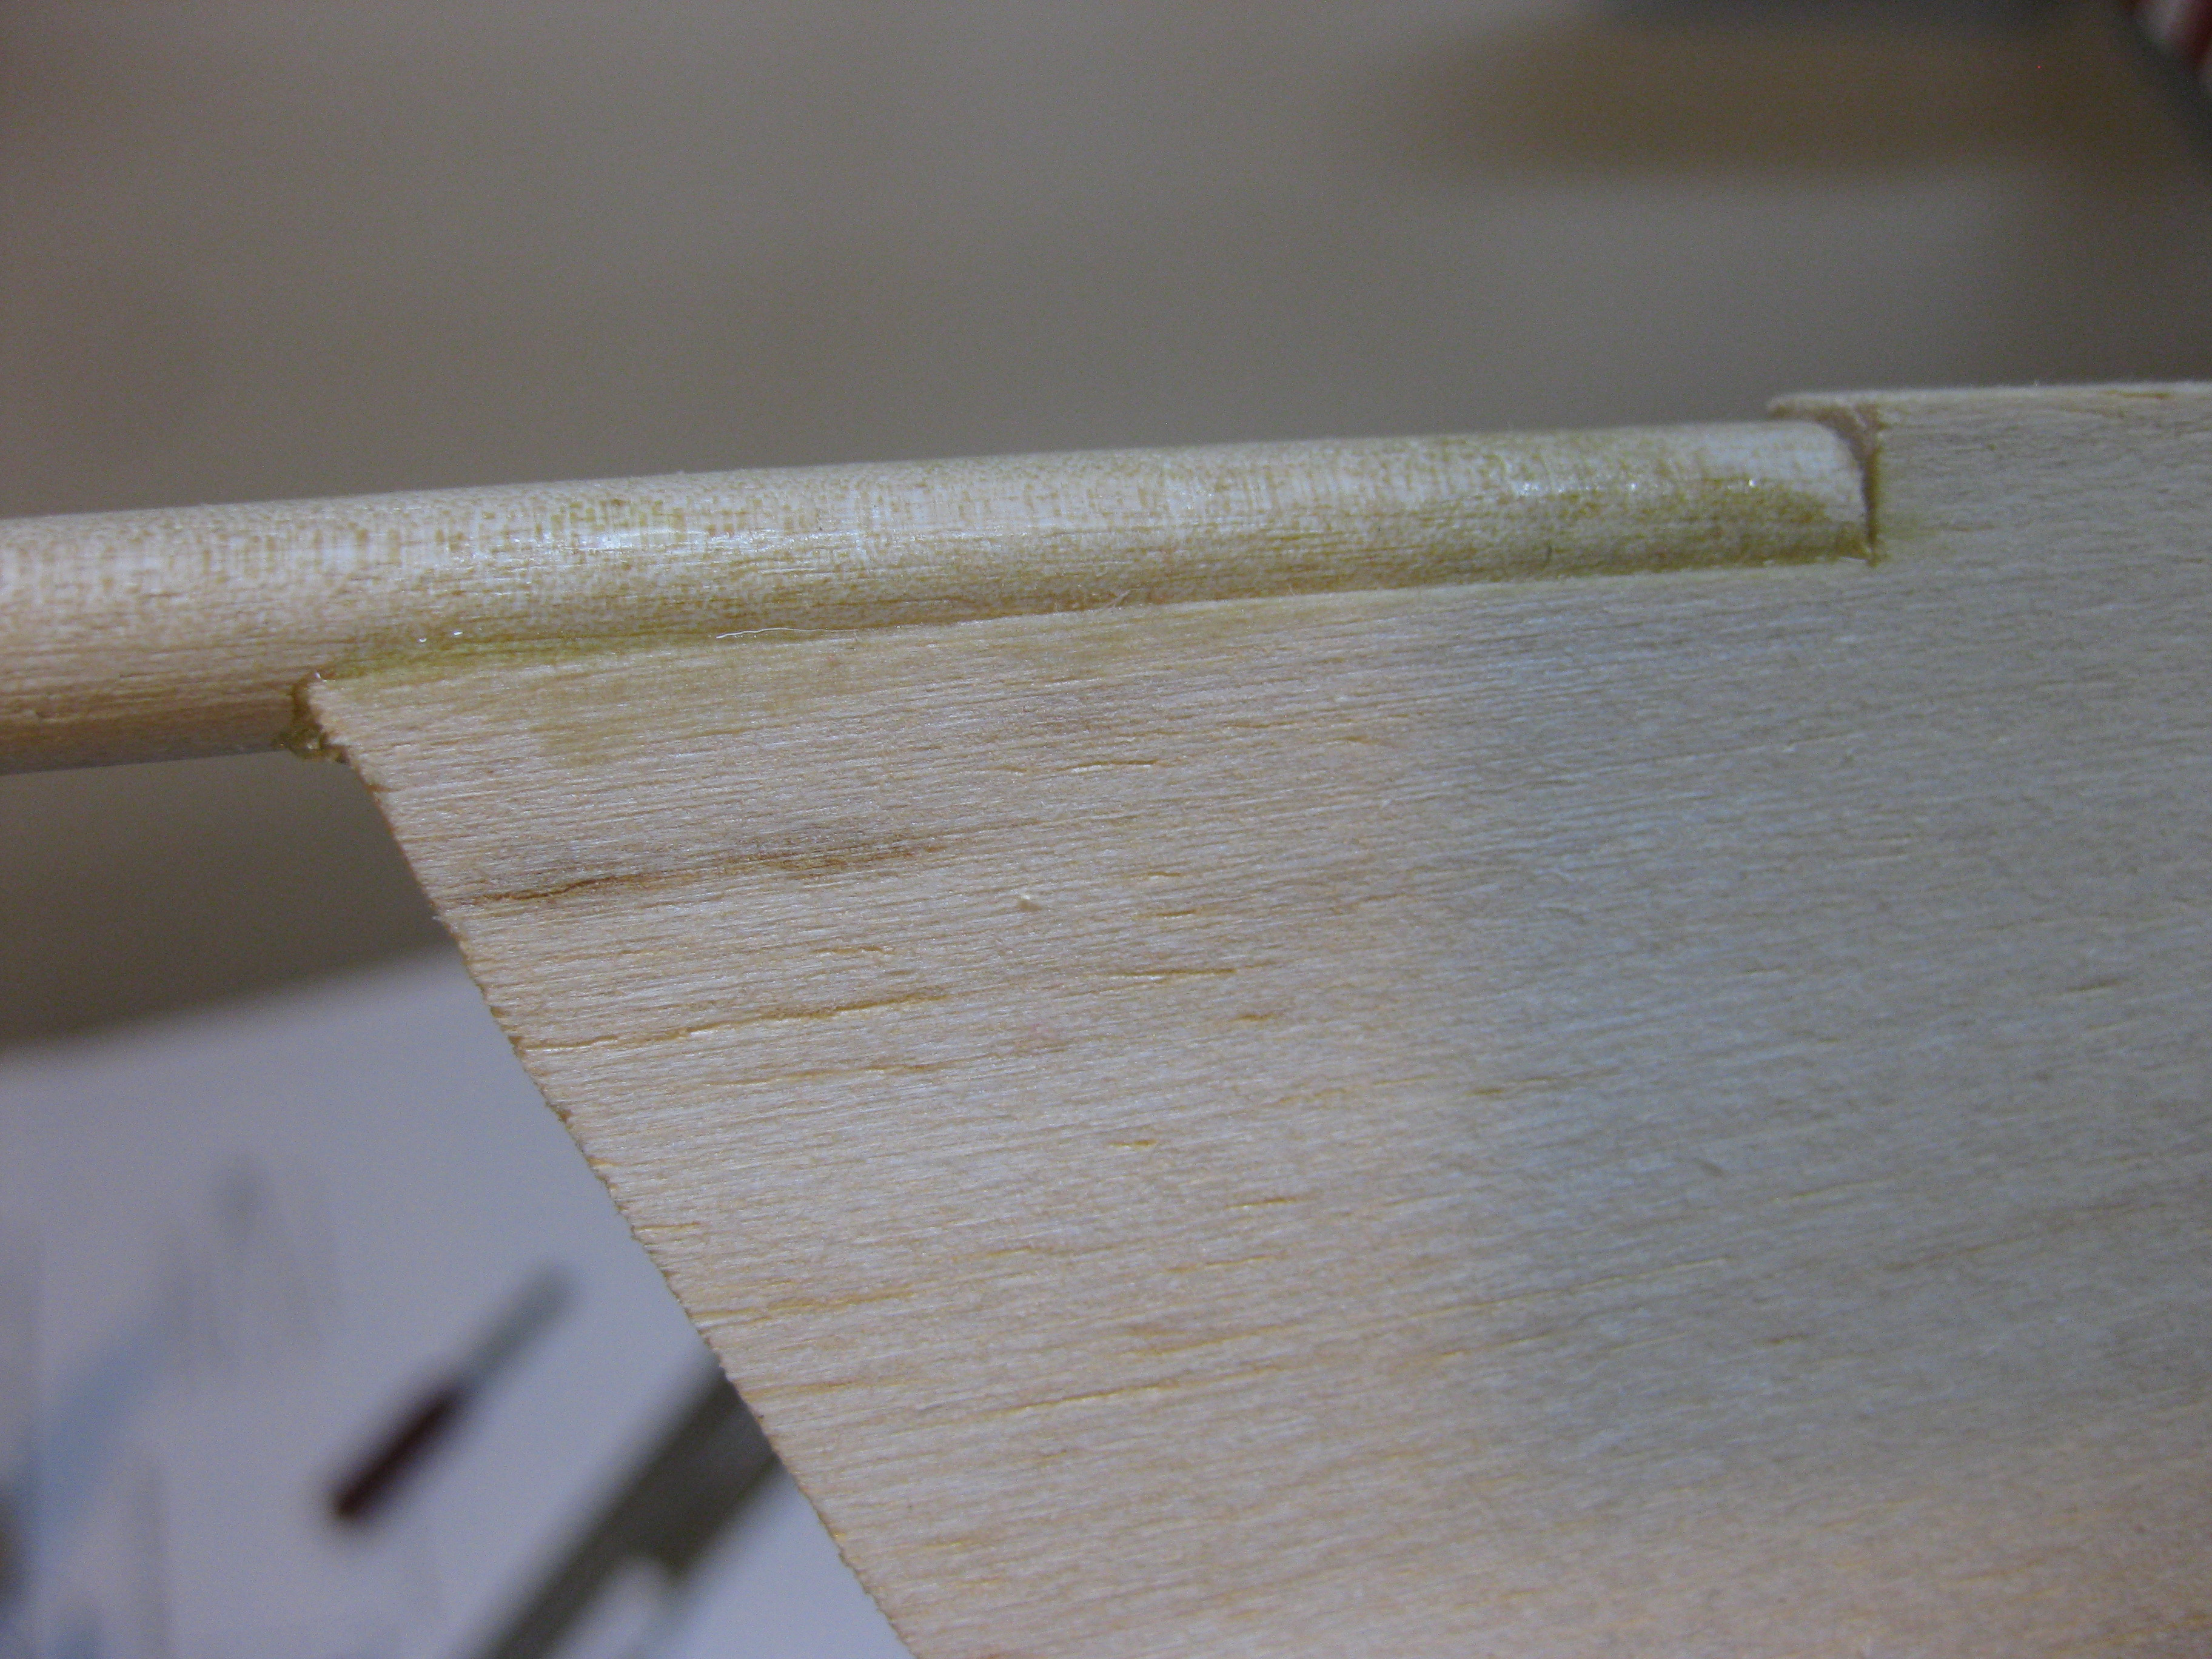
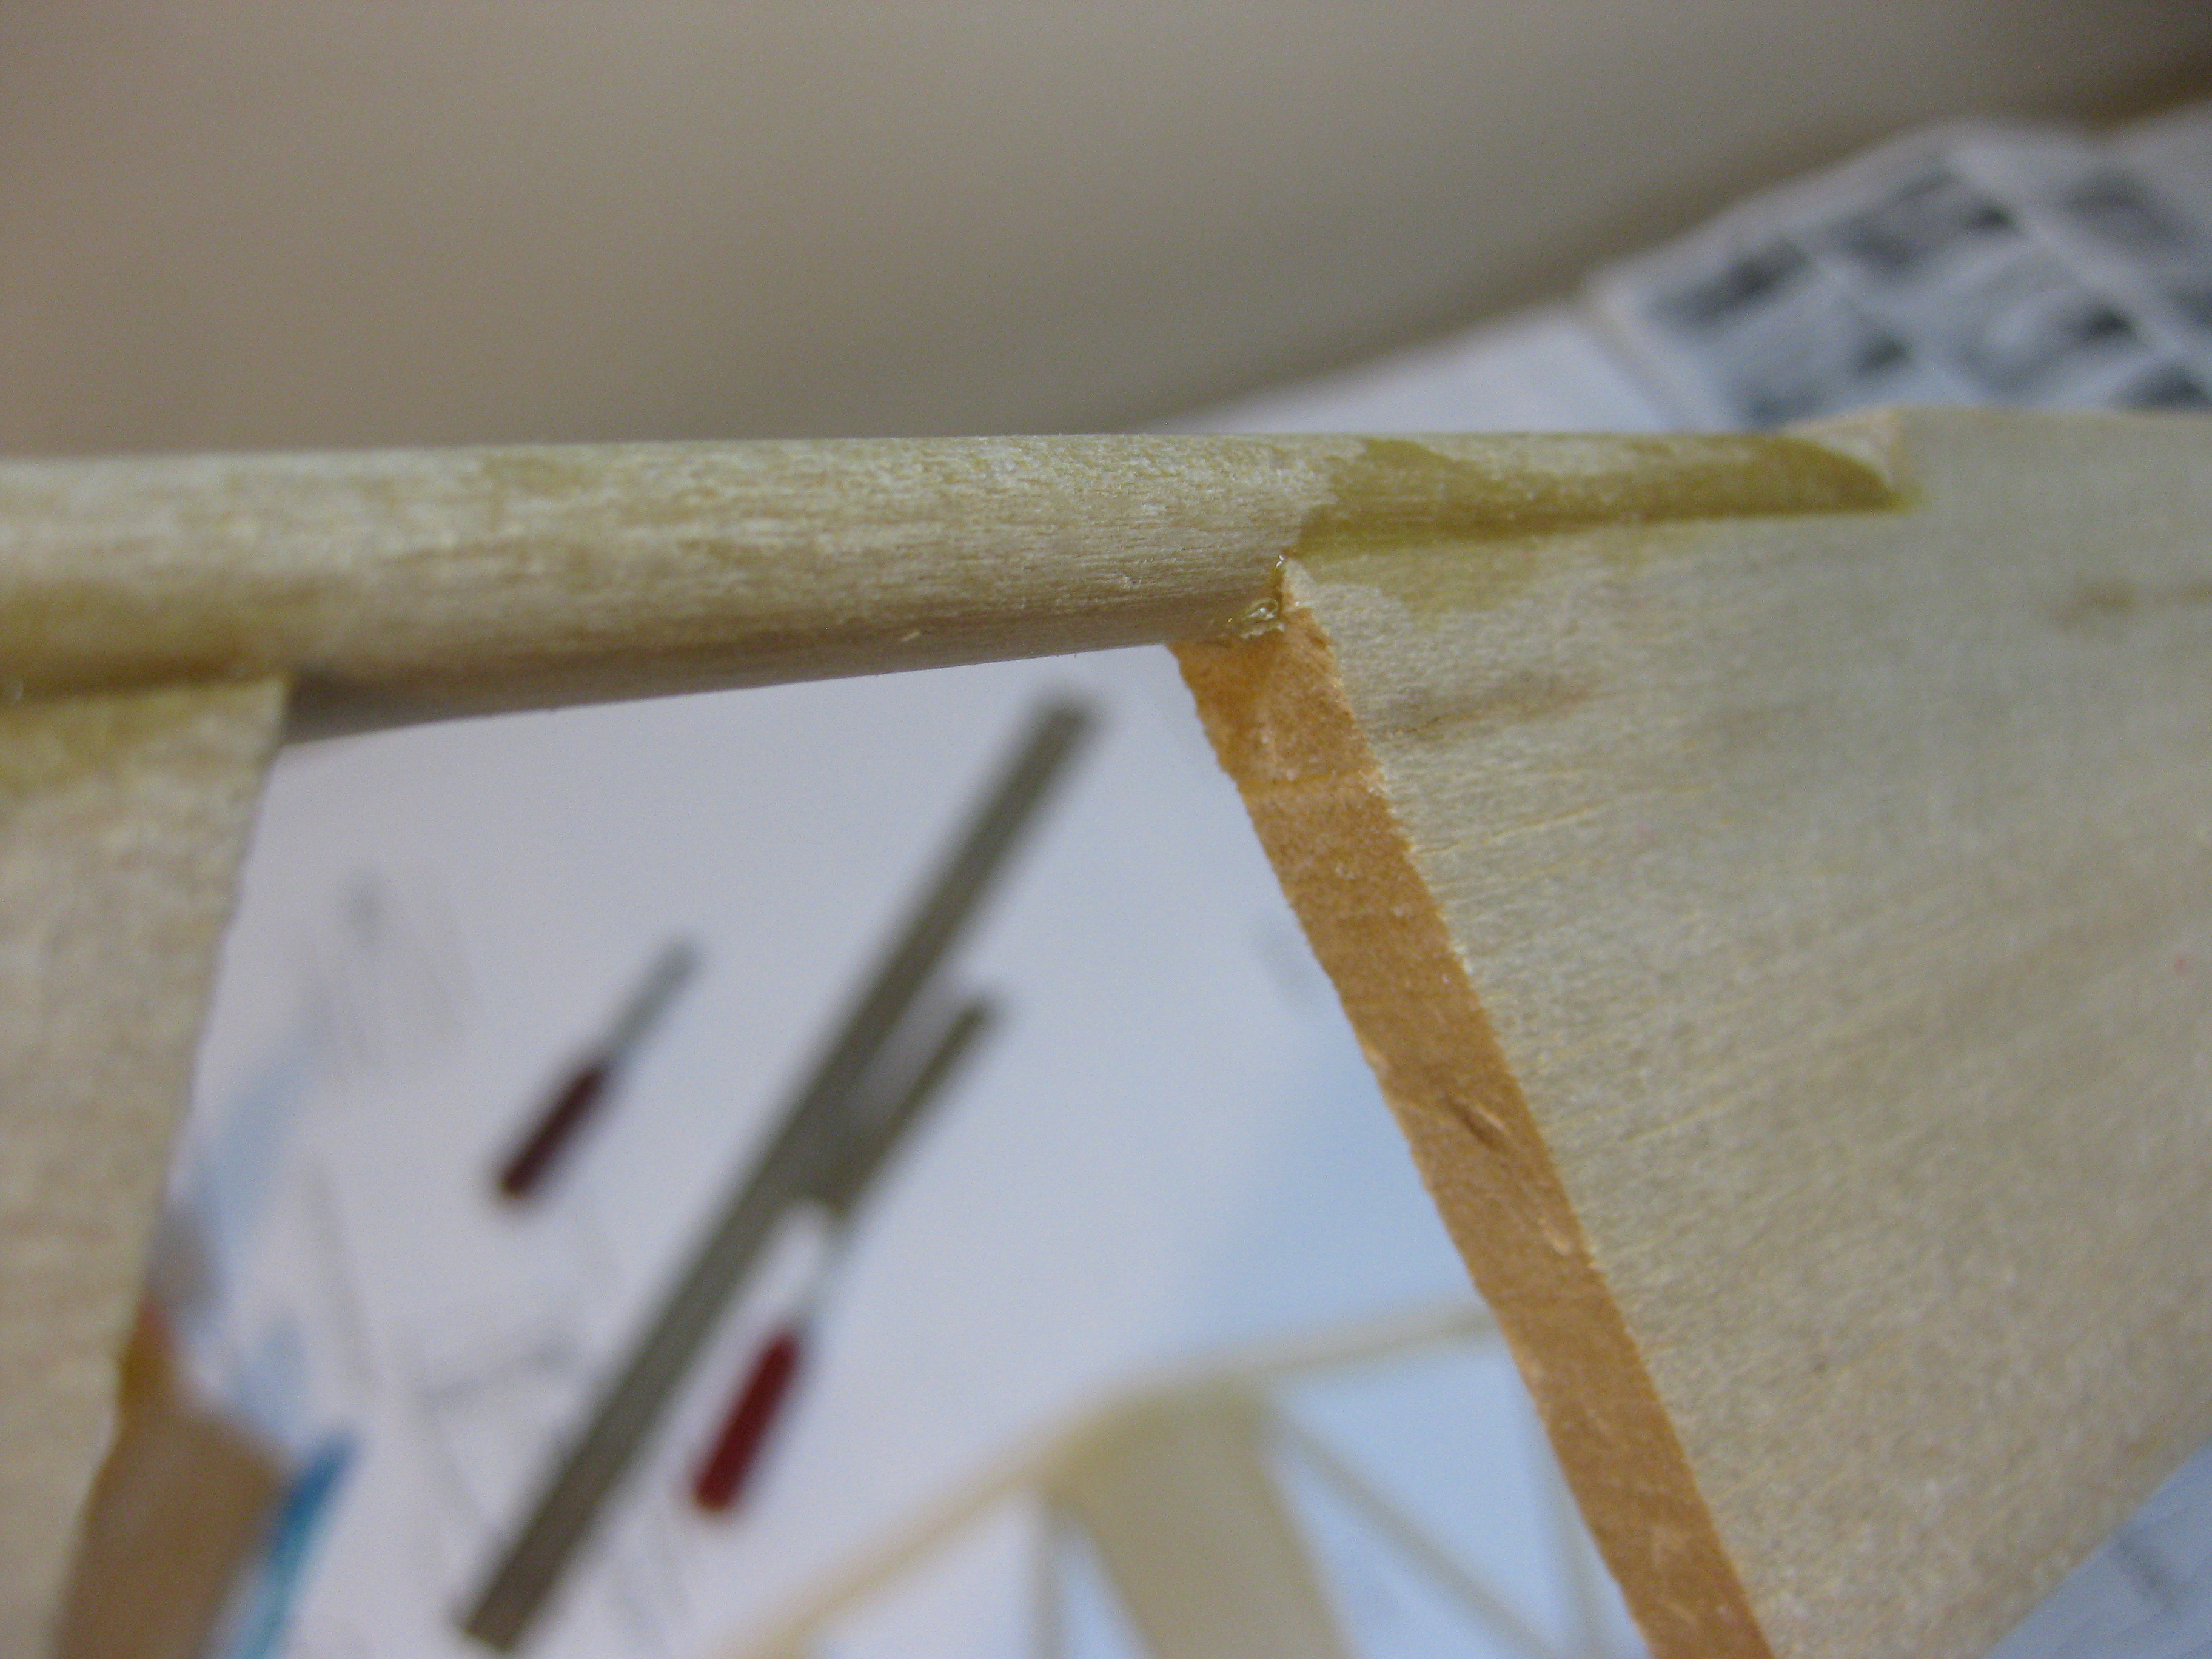
Got the epoxy applied. For the dowel rod, wrapped a round pencil, which was a bit smaller diameter than the dowel, in sanding paper and it sanded a perfect size curve.


Here it is without all the magnets in the way.

Attached Thumbnails Click image for larger version

Name:	oy2nVJp.jpg
Views:	737
Size:	2.42 MB
ID:	1984010   Click image for larger version

Name:	RUcaJtX.jpg
Views:	725
Size:	2.12 MB
ID:	1984011   Click image for larger version

Name:	hyOEEqN.jpg
Views:	750
Size:	2.59 MB
ID:	1984012   Click image for larger version

Name:	KC9Q51e.jpg
Views:	721
Size:	2.21 MB
ID:	1984013   Click image for larger version

Name:	bnOJGuW.jpg
Views:	751
Size:	2.59 MB
ID:	1984014   Click image for larger version

Name:	N4k1gNY.jpg
Views:	746
Size:	2.49 MB
ID:	1984015  
Old 04-04-2014, 07:41 PM
  #45  
JRgraham
Senior Member
My Feedback: (1)
 
Join Date: Jul 2010
Location: Eugene, OR
Posts: 457
Likes: 0
Received 0 Likes on 0 Posts
Default

Looking good man

btw; I was able to see the pictures before. It may have been some sort of anti-virus or adware of some kind blocking the images before.
Old 04-04-2014, 07:53 PM
  #46  
bicyclemonkey
Thread Starter
My Feedback: (7)
 
bicyclemonkey's Avatar
 
Join Date: Mar 2010
Location: Fayetteville, AR
Posts: 120
Likes: 0
Received 0 Likes on 0 Posts
Default

Originally Posted by JRgraham
Looking good man

btw; I was able to see the pictures before. It may have been some sort of anti-virus or adware of some kind blocking the images before.
I could see them on all my PC's, both at home and my office. This way they take up less space I guess and they can be clicked on to view larger.

The v-stab went together faster than I was expecting.

Attached Thumbnails Click image for larger version

Name:	ceALVuE.jpg
Views:	710
Size:	2.50 MB
ID:	1984157  
Old 04-04-2014, 09:18 PM
  #47  
bicyclemonkey
Thread Starter
My Feedback: (7)
 
bicyclemonkey's Avatar
 
Join Date: Mar 2010
Location: Fayetteville, AR
Posts: 120
Likes: 0
Received 0 Likes on 0 Posts
Default

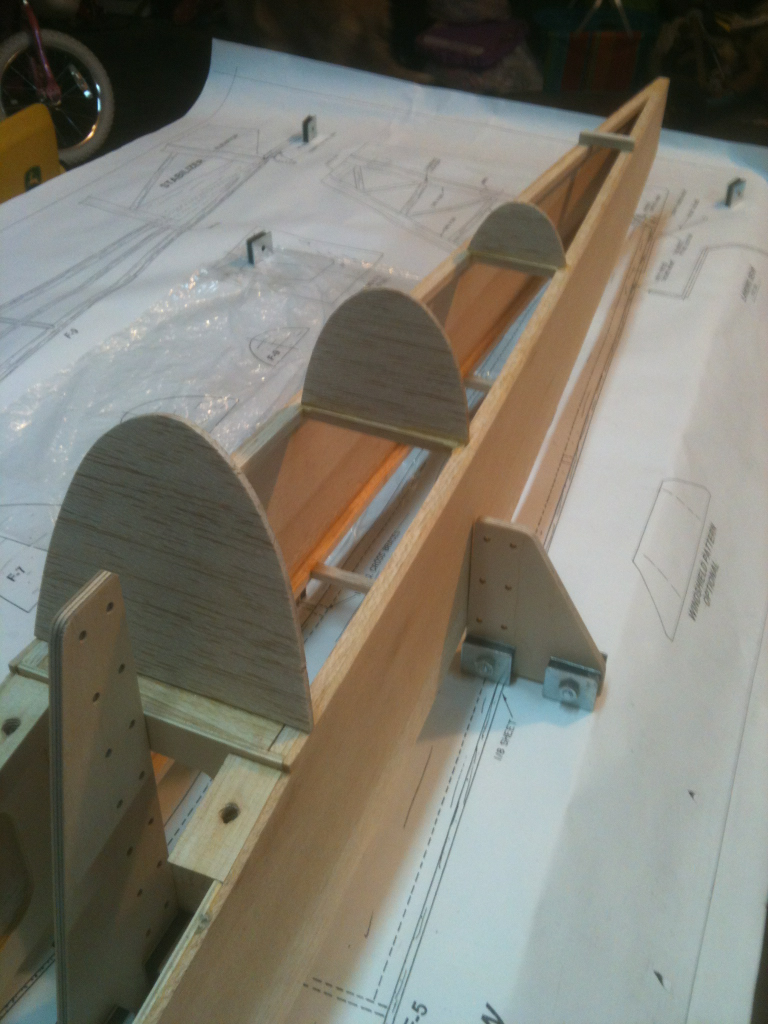
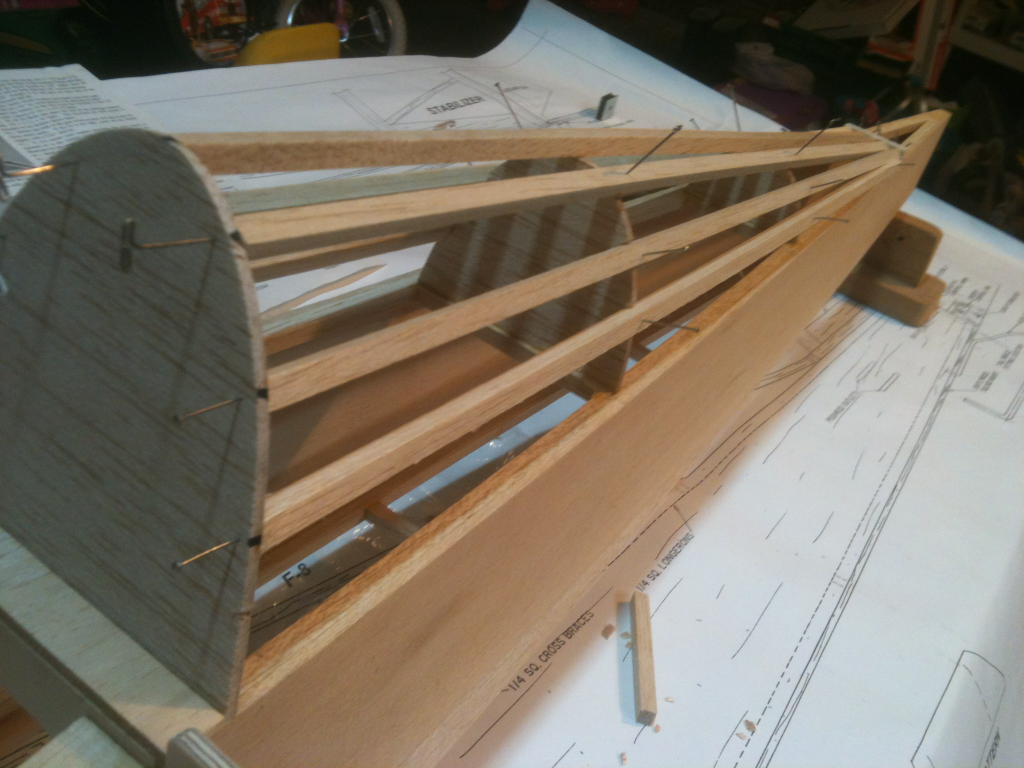
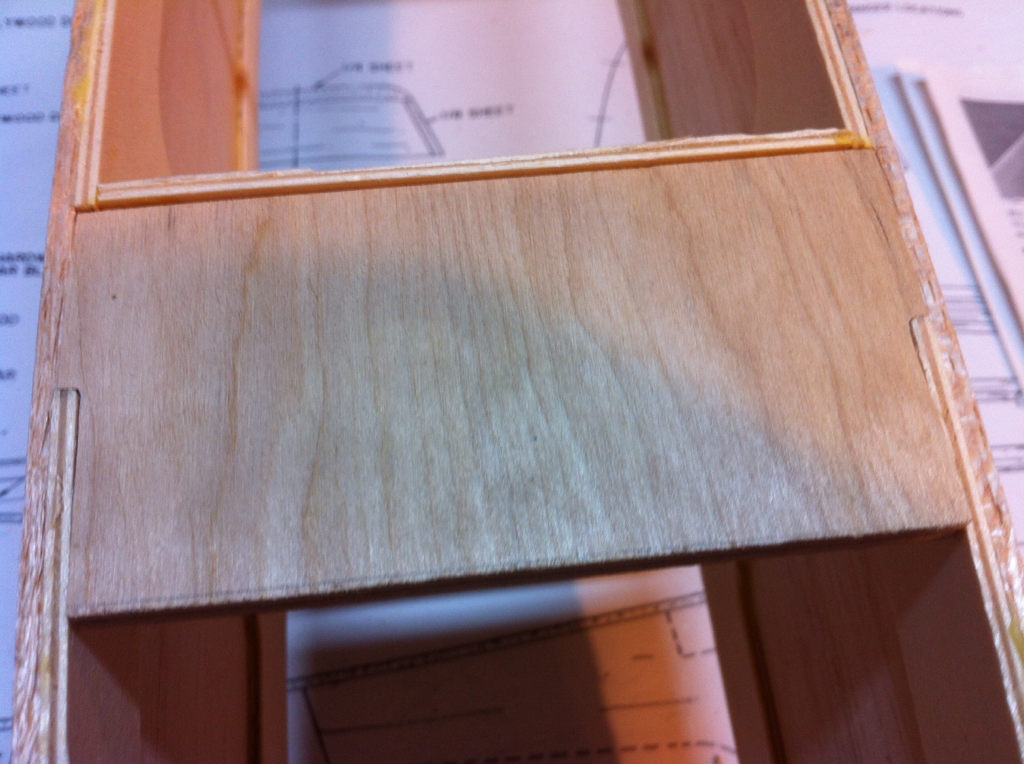
Started on the turtle deck. The instructions called for gluing this like so:


It seemed it would break off easy just being connected on each of those 1/4" balsa sticks so I added a wider balsa block underneath.

Attached Thumbnails Click image for larger version

Name:	Nnw1Ort.png
Views:	622
Size:	1.58 MB
ID:	1984158   Click image for larger version

Name:	g8x3gbL.png
Views:	631
Size:	1.58 MB
ID:	1984159  
Old 04-07-2014, 07:17 PM
  #48  
bicyclemonkey
Thread Starter
My Feedback: (7)
 
bicyclemonkey's Avatar
 
Join Date: Mar 2010
Location: Fayetteville, AR
Posts: 120
Likes: 0
Received 0 Likes on 0 Posts
Default

This is just a sport plane, not much more than an advanced trainer. If this is how Balsa USA designed it, it'll probably be just fine. Then again, like with the dowel rod, it's kinda twisty.


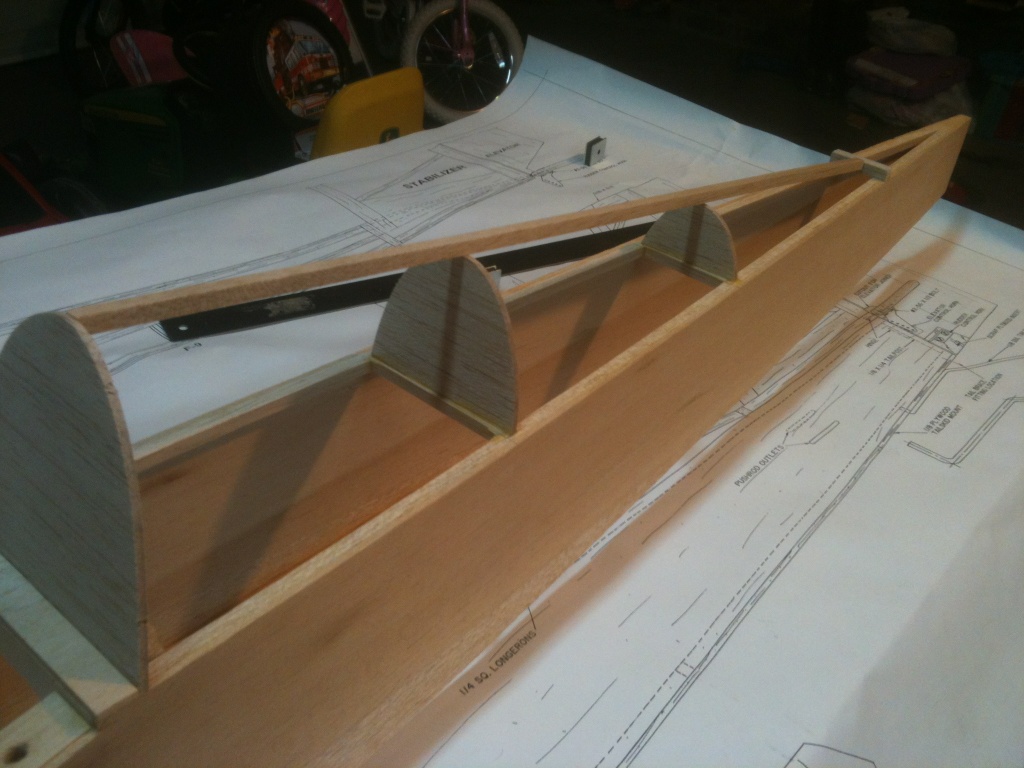
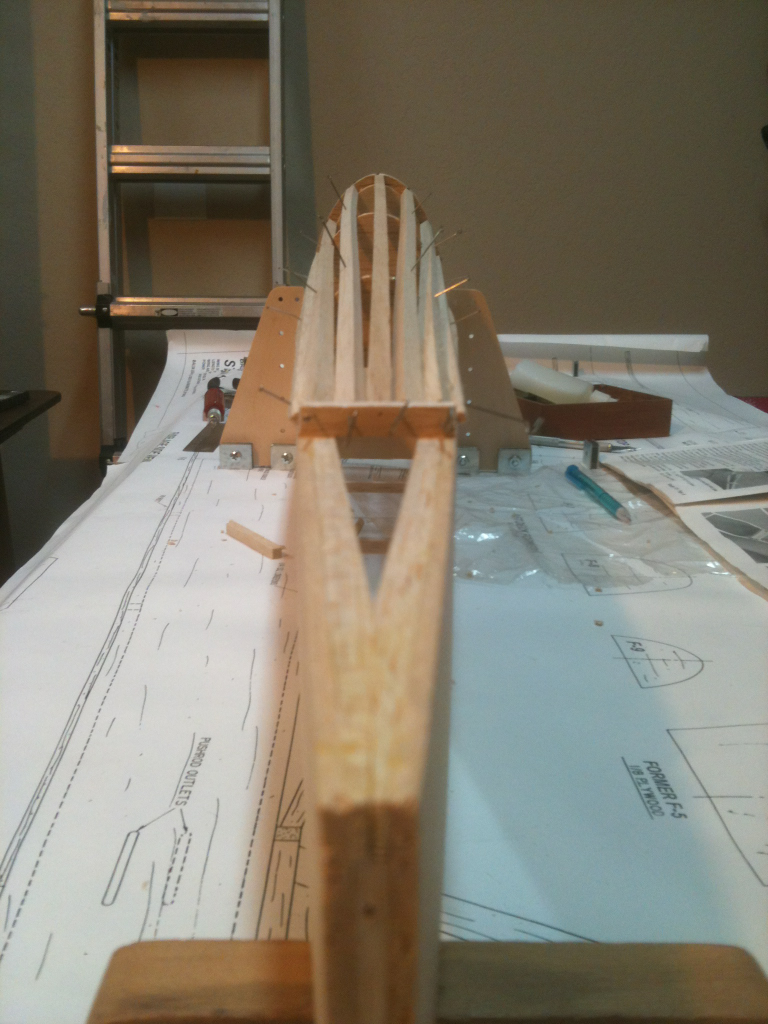
Old build threads here on RCU stated that the first former of the turtle deck is a weak spot and needs bracing if you use a 1.20 or larger engine. Since I'm not 100% sure of the power source I added extra material.

Attached Thumbnails Click image for larger version

Name:	QWFL5C3.png
Views:	615
Size:	1.67 MB
ID:	1985202   Click image for larger version

Name:	zv0Oi8b.png
Views:	631
Size:	1.57 MB
ID:	1985203   Click image for larger version

Name:	FpDZyAG.png
Views:	624
Size:	1.50 MB
ID:	1985204   Click image for larger version

Name:	JboWTtg.png
Views:	610
Size:	1.60 MB
ID:	1985205   Click image for larger version

Name:	1U3dCvT.png
Views:	616
Size:	1.53 MB
ID:	1985206  

Last edited by bicyclemonkey; 04-07-2014 at 07:20 PM.
Old 04-10-2014, 07:28 PM
  #49  
bicyclemonkey
Thread Starter
My Feedback: (7)
 
bicyclemonkey's Avatar
 
Join Date: Mar 2010
Location: Fayetteville, AR
Posts: 120
Likes: 0
Received 0 Likes on 0 Posts
Default

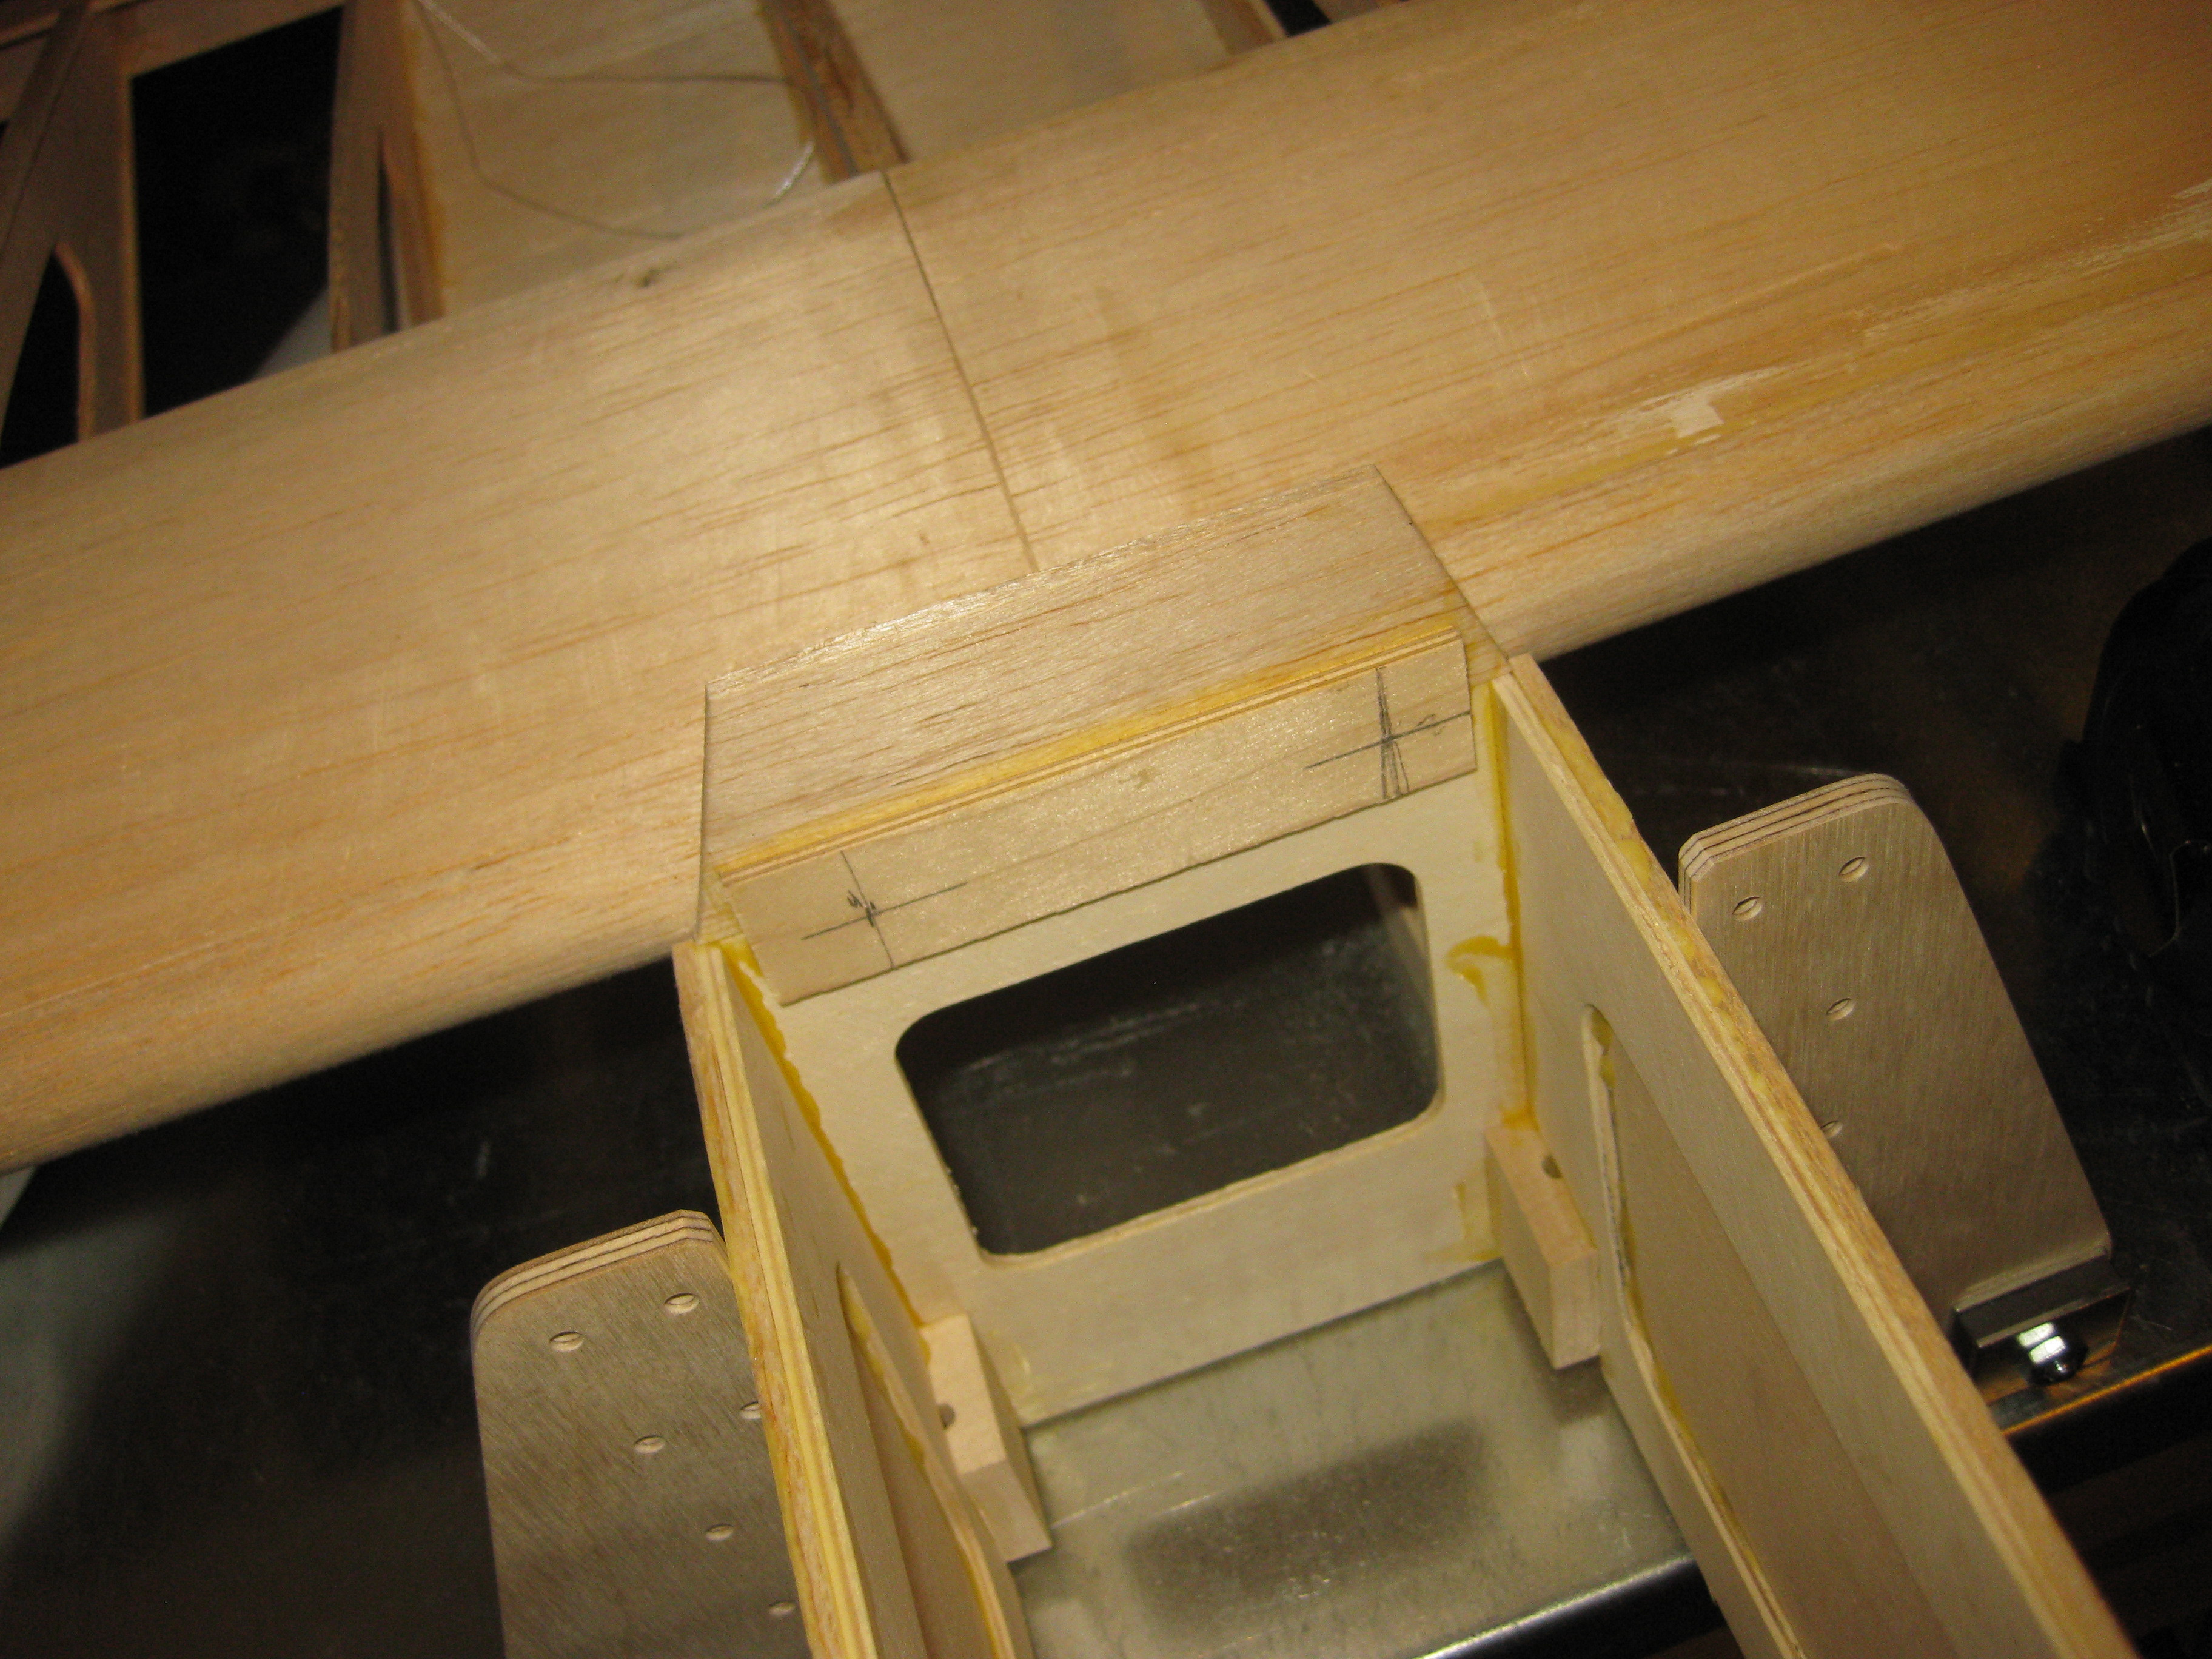
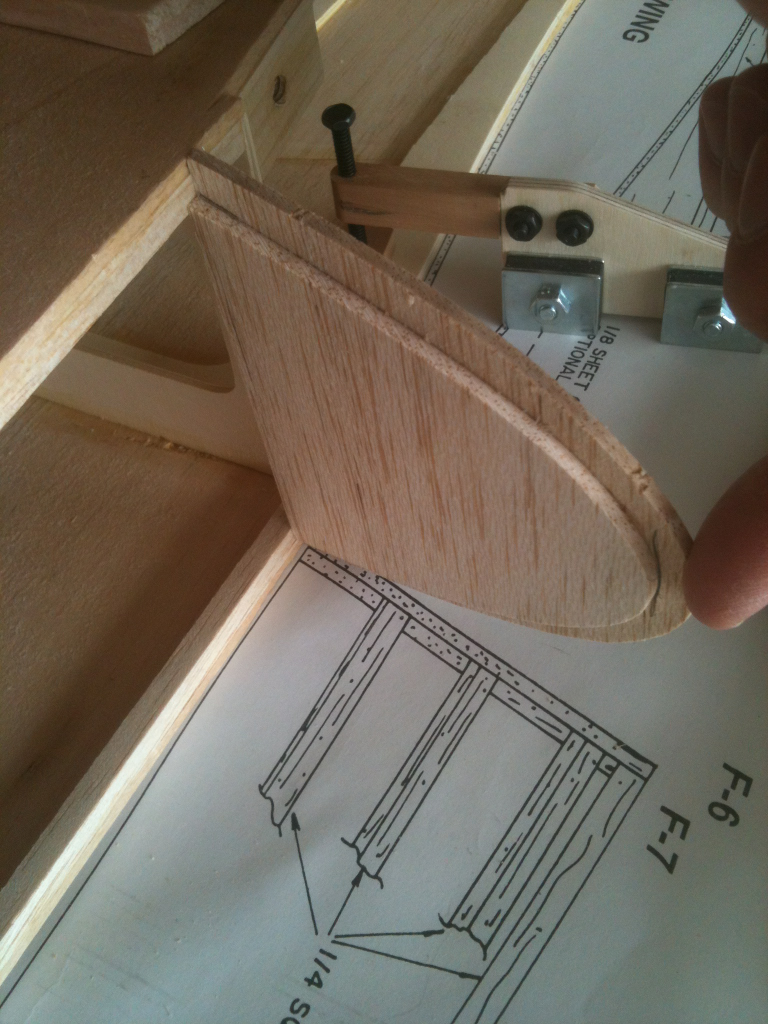
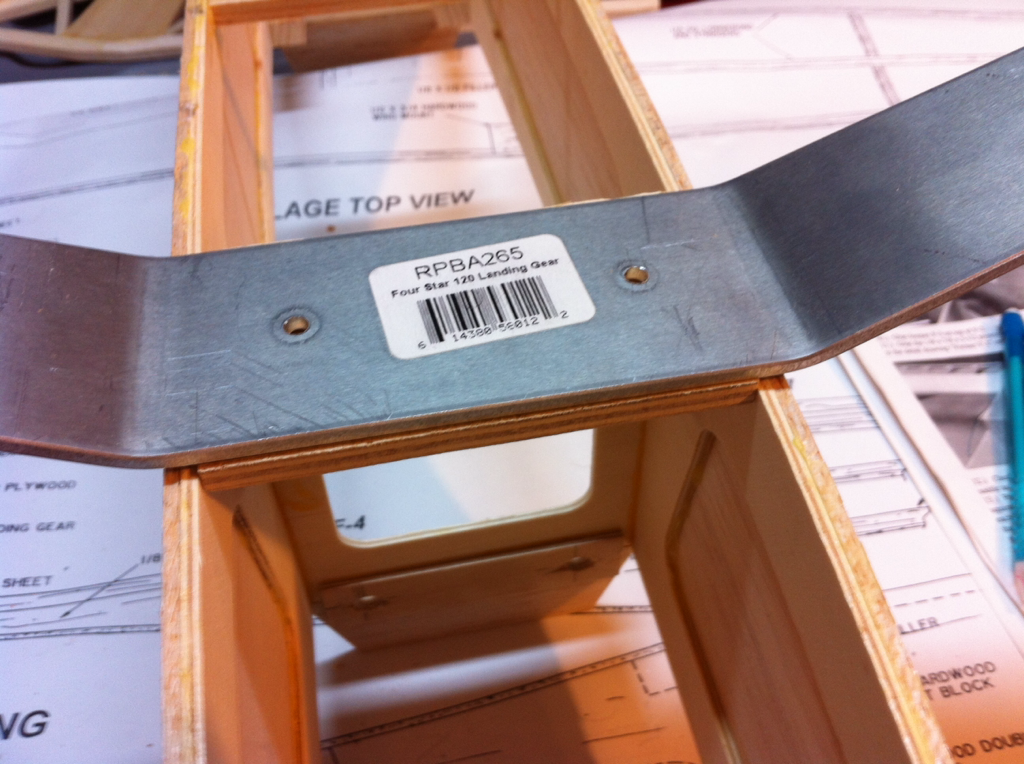
Got the landing gear block in place for the upgraded landing gear I'm going to use. This will look much better than the bent wire gear the kit came with.


I cut 1/4" ply to shape with my scroll saw.
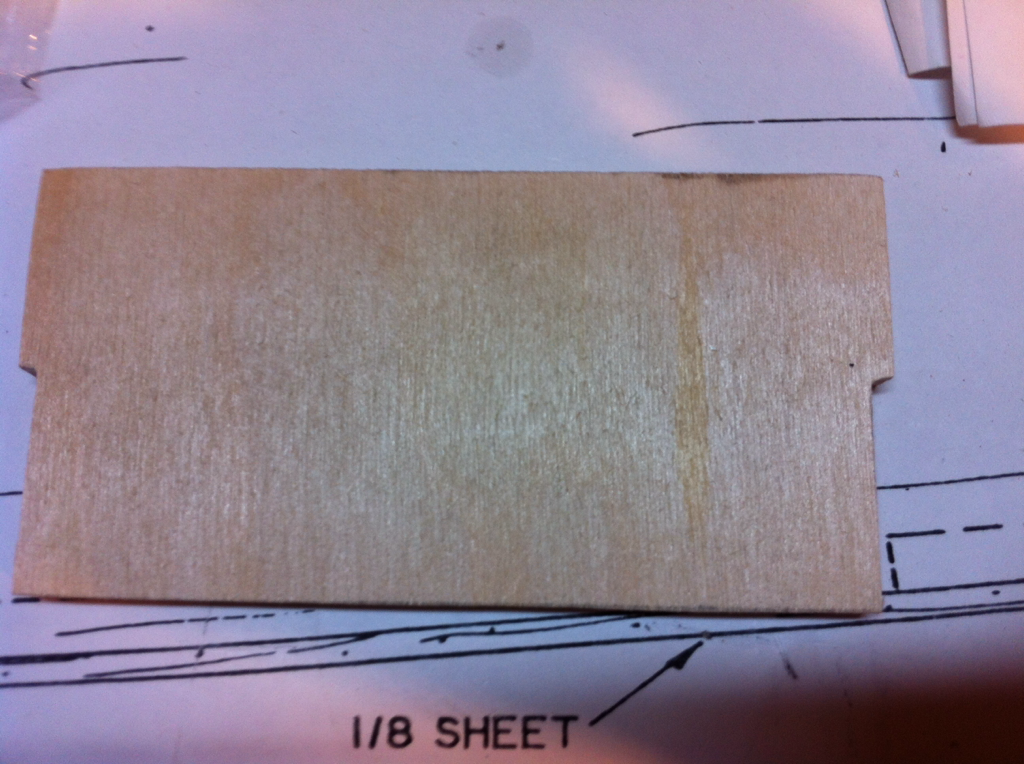


Good fit.


I added some square stock for added strength.
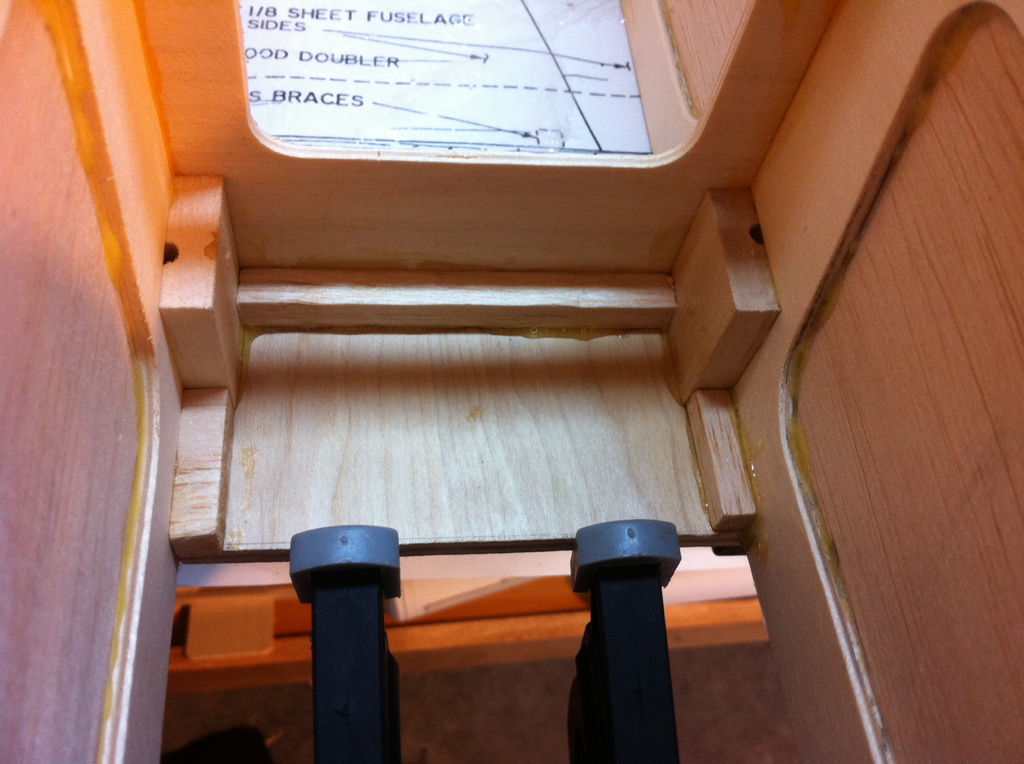
Attached Thumbnails Click image for larger version

Name:	0ISPidX.png
Views:	626
Size:	1.87 MB
ID:	1985877   Click image for larger version

Name:	3FFtvFs.png
Views:	607
Size:	1.77 MB
ID:	1985878   Click image for larger version

Name:	BjCXOAx.png
Views:	603
Size:	1.92 MB
ID:	1985879   Click image for larger version

Name:	hspGldt.png
Views:	601
Size:	1.85 MB
ID:	1985880  
Old 04-12-2014, 06:01 PM
  #50  
balsa brain
 
Join Date: Oct 2002
Location: Jacksonville, FL
Posts: 394
Received 0 Likes on 0 Posts
Default

Where did you get the landing gear from?

Thread Tools
Search this Thread

Contact Us - Archive - Advertising - Cookie Policy - Privacy Statement - Terms of Service -

Copyright © 2024 MH Sub I, LLC dba Internet Brands. All rights reserved. Use of this site indicates your consent to the Terms of Use.