


G&L 1/5 DHC chipmunk - diary of a build.


 08-25-2014, 06:45 AM
#552
Second coat
Wow this Klasskote paint is awesome.
I am sooooo glad I caned the rattle can. It cost me a good $250 with getting all set up and paint but well worth it.
The second coat went much bett as now I have more of a feel and idea as what to do.
I dialed the gun in to where I was more confident in laying a good wet coat.
Edwin this is a good gun for $70 I don't have a reference but it did me good as a total rookie.


I got good coverage and hit all the spots that needed it.
Conditions where very good this morning, under 80 degrees and very light wind, could not have asked for more.
Working with this paint is not as hard as some may say it is with cleanup and all.
Yes it is glossy and shines bright. I kind of like it and we will see. I need to get some clear so I may get the satin to dull it down a bit, we will see.
I am totally stoked


I will let this cure overnight and then do a closer inspection in the morning.
Off to the GYM to burn of some of this adrenalin")
TB
Wow this Klasskote paint is awesome.
I am sooooo glad I caned the rattle can. It cost me a good $250 with getting all set up and paint but well worth it.
The second coat went much bett as now I have more of a feel and idea as what to do.
I dialed the gun in to where I was more confident in laying a good wet coat.
Edwin this is a good gun for $70 I don't have a reference but it did me good as a total rookie.
I got good coverage and hit all the spots that needed it.
Conditions where very good this morning, under 80 degrees and very light wind, could not have asked for more.
Working with this paint is not as hard as some may say it is with cleanup and all.
Yes it is glossy and shines bright. I kind of like it and we will see. I need to get some clear so I may get the satin to dull it down a bit, we will see.
I am totally stoked
I will let this cure overnight and then do a closer inspection in the morning.
Off to the GYM to burn of some of this adrenalin
TB
Last edited by TonyBuilder; 08-25-2014 at 06:51 AM.


 08-25-2014, 11:43 AM
#555
Daily progress
Now that the fuselage is painted and curing I am getting to the cowl and canopy frame.
I striped the rattle can paint using a new 80 grit sanding foam block wet. This worked pretty good and did not scratch the surface all up.
I am getting 95% of the enamel off and will not worry about the rest. I will prime this with the white and sand it so I can detail it again.
Looks like the panel lines survived. I will put chart tape in the lines before I prime, then sand and remove it.

The plan is to get all the small parts ready for the next painting shot.
Ailerons, flaps, ruder, elevator, cowl, canopy, and hatches are all on for the next shoot, then I will do the wing last.
Onward.
TB
Now that the fuselage is painted and curing I am getting to the cowl and canopy frame.
I striped the rattle can paint using a new 80 grit sanding foam block wet. This worked pretty good and did not scratch the surface all up.
I am getting 95% of the enamel off and will not worry about the rest. I will prime this with the white and sand it so I can detail it again.
Looks like the panel lines survived. I will put chart tape in the lines before I prime, then sand and remove it.
The plan is to get all the small parts ready for the next painting shot.
Ailerons, flaps, ruder, elevator, cowl, canopy, and hatches are all on for the next shoot, then I will do the wing last.
Onward.
TB
08-26-2014, 02:36 AM
#557
I gave the fuselage a quick look over while I removed the tape mask.
There are only a few very minor blemishes that will add in the weathering and imperfection of the full scale plane.
I could only find one lone run. It is in a place that wont be seen much so I can wets and it out.

I buried some detail as I put the paint on a little thick.


This side was ok.

When I was painting the first coat I saw this blemish, it looked like bubbles on the left side by the cockpit.
Maybe some water or something got on the fuselage while it was out side. I did keep it covered with plastic until I painted but being under a tree who knows.
The blemish was covered with the second coat so it really is hard to see unless you are counting rivets

Overall it came out much better then I was expecting and looks great.
All the tape masking came off nice and clean.
I wont do the black on the top front until I do the black stenciled littering on the fuselage and bottom of the wing.
This KlassKote paint is precious and I don't want to waist any if I can avoid it.


TB
There are only a few very minor blemishes that will add in the weathering and imperfection of the full scale plane.
I could only find one lone run. It is in a place that wont be seen much so I can wets and it out.
I buried some detail as I put the paint on a little thick.
This side was ok.
When I was painting the first coat I saw this blemish, it looked like bubbles on the left side by the cockpit.
Maybe some water or something got on the fuselage while it was out side. I did keep it covered with plastic until I painted but being under a tree who knows.
The blemish was covered with the second coat so it really is hard to see unless you are counting rivets
Overall it came out much better then I was expecting and looks great.
All the tape masking came off nice and clean.
I wont do the black on the top front until I do the black stenciled littering on the fuselage and bottom of the wing.
This KlassKote paint is precious and I don't want to waist any if I can avoid it.
TB
08-26-2014, 07:46 AM
#559
Daily progress.
Some glazing to fill pinholes.

I laid up the air scoops for the cowl doors last night.
One layer of 5.6oz carbon fiber weave.
I then hit them with easy sand.
They came out great.


I epoxied them down and drilled some small holes on the inside so that the epoxy would pine them to the door.
The scoop on the right side has a sizable hole to let air into the cowl.
The one on the left is far back and does nothing. I did drill a small hole to relive the air in the scoop.


I also got the small scoop at the chine of the cowl glued in. I forgot it the first time around.
It is all primed and ready. I put new chart tape in the old lines to freshen them up.


The doors and scoop are all primed and ready for detailing.


I will wet sand later today then start rivets again.


Can't wait to see some KK paint on these doors.


The elevator, canopy frame, cowl, ruder and cowl doors are all on for detailing this afternoon.
TB
Some glazing to fill pinholes.
I laid up the air scoops for the cowl doors last night.
One layer of 5.6oz carbon fiber weave.
I then hit them with easy sand.
They came out great.
I epoxied them down and drilled some small holes on the inside so that the epoxy would pine them to the door.
The scoop on the right side has a sizable hole to let air into the cowl.
The one on the left is far back and does nothing. I did drill a small hole to relive the air in the scoop.
I also got the small scoop at the chine of the cowl glued in. I forgot it the first time around.
It is all primed and ready. I put new chart tape in the old lines to freshen them up.
The doors and scoop are all primed and ready for detailing.
I will wet sand later today then start rivets again.
Can't wait to see some KK paint on these doors.
The elevator, canopy frame, cowl, ruder and cowl doors are all on for detailing this afternoon.
TB
Last edited by TonyBuilder; 08-26-2014 at 07:49 AM.
 08-26-2014, 01:06 PM
#564
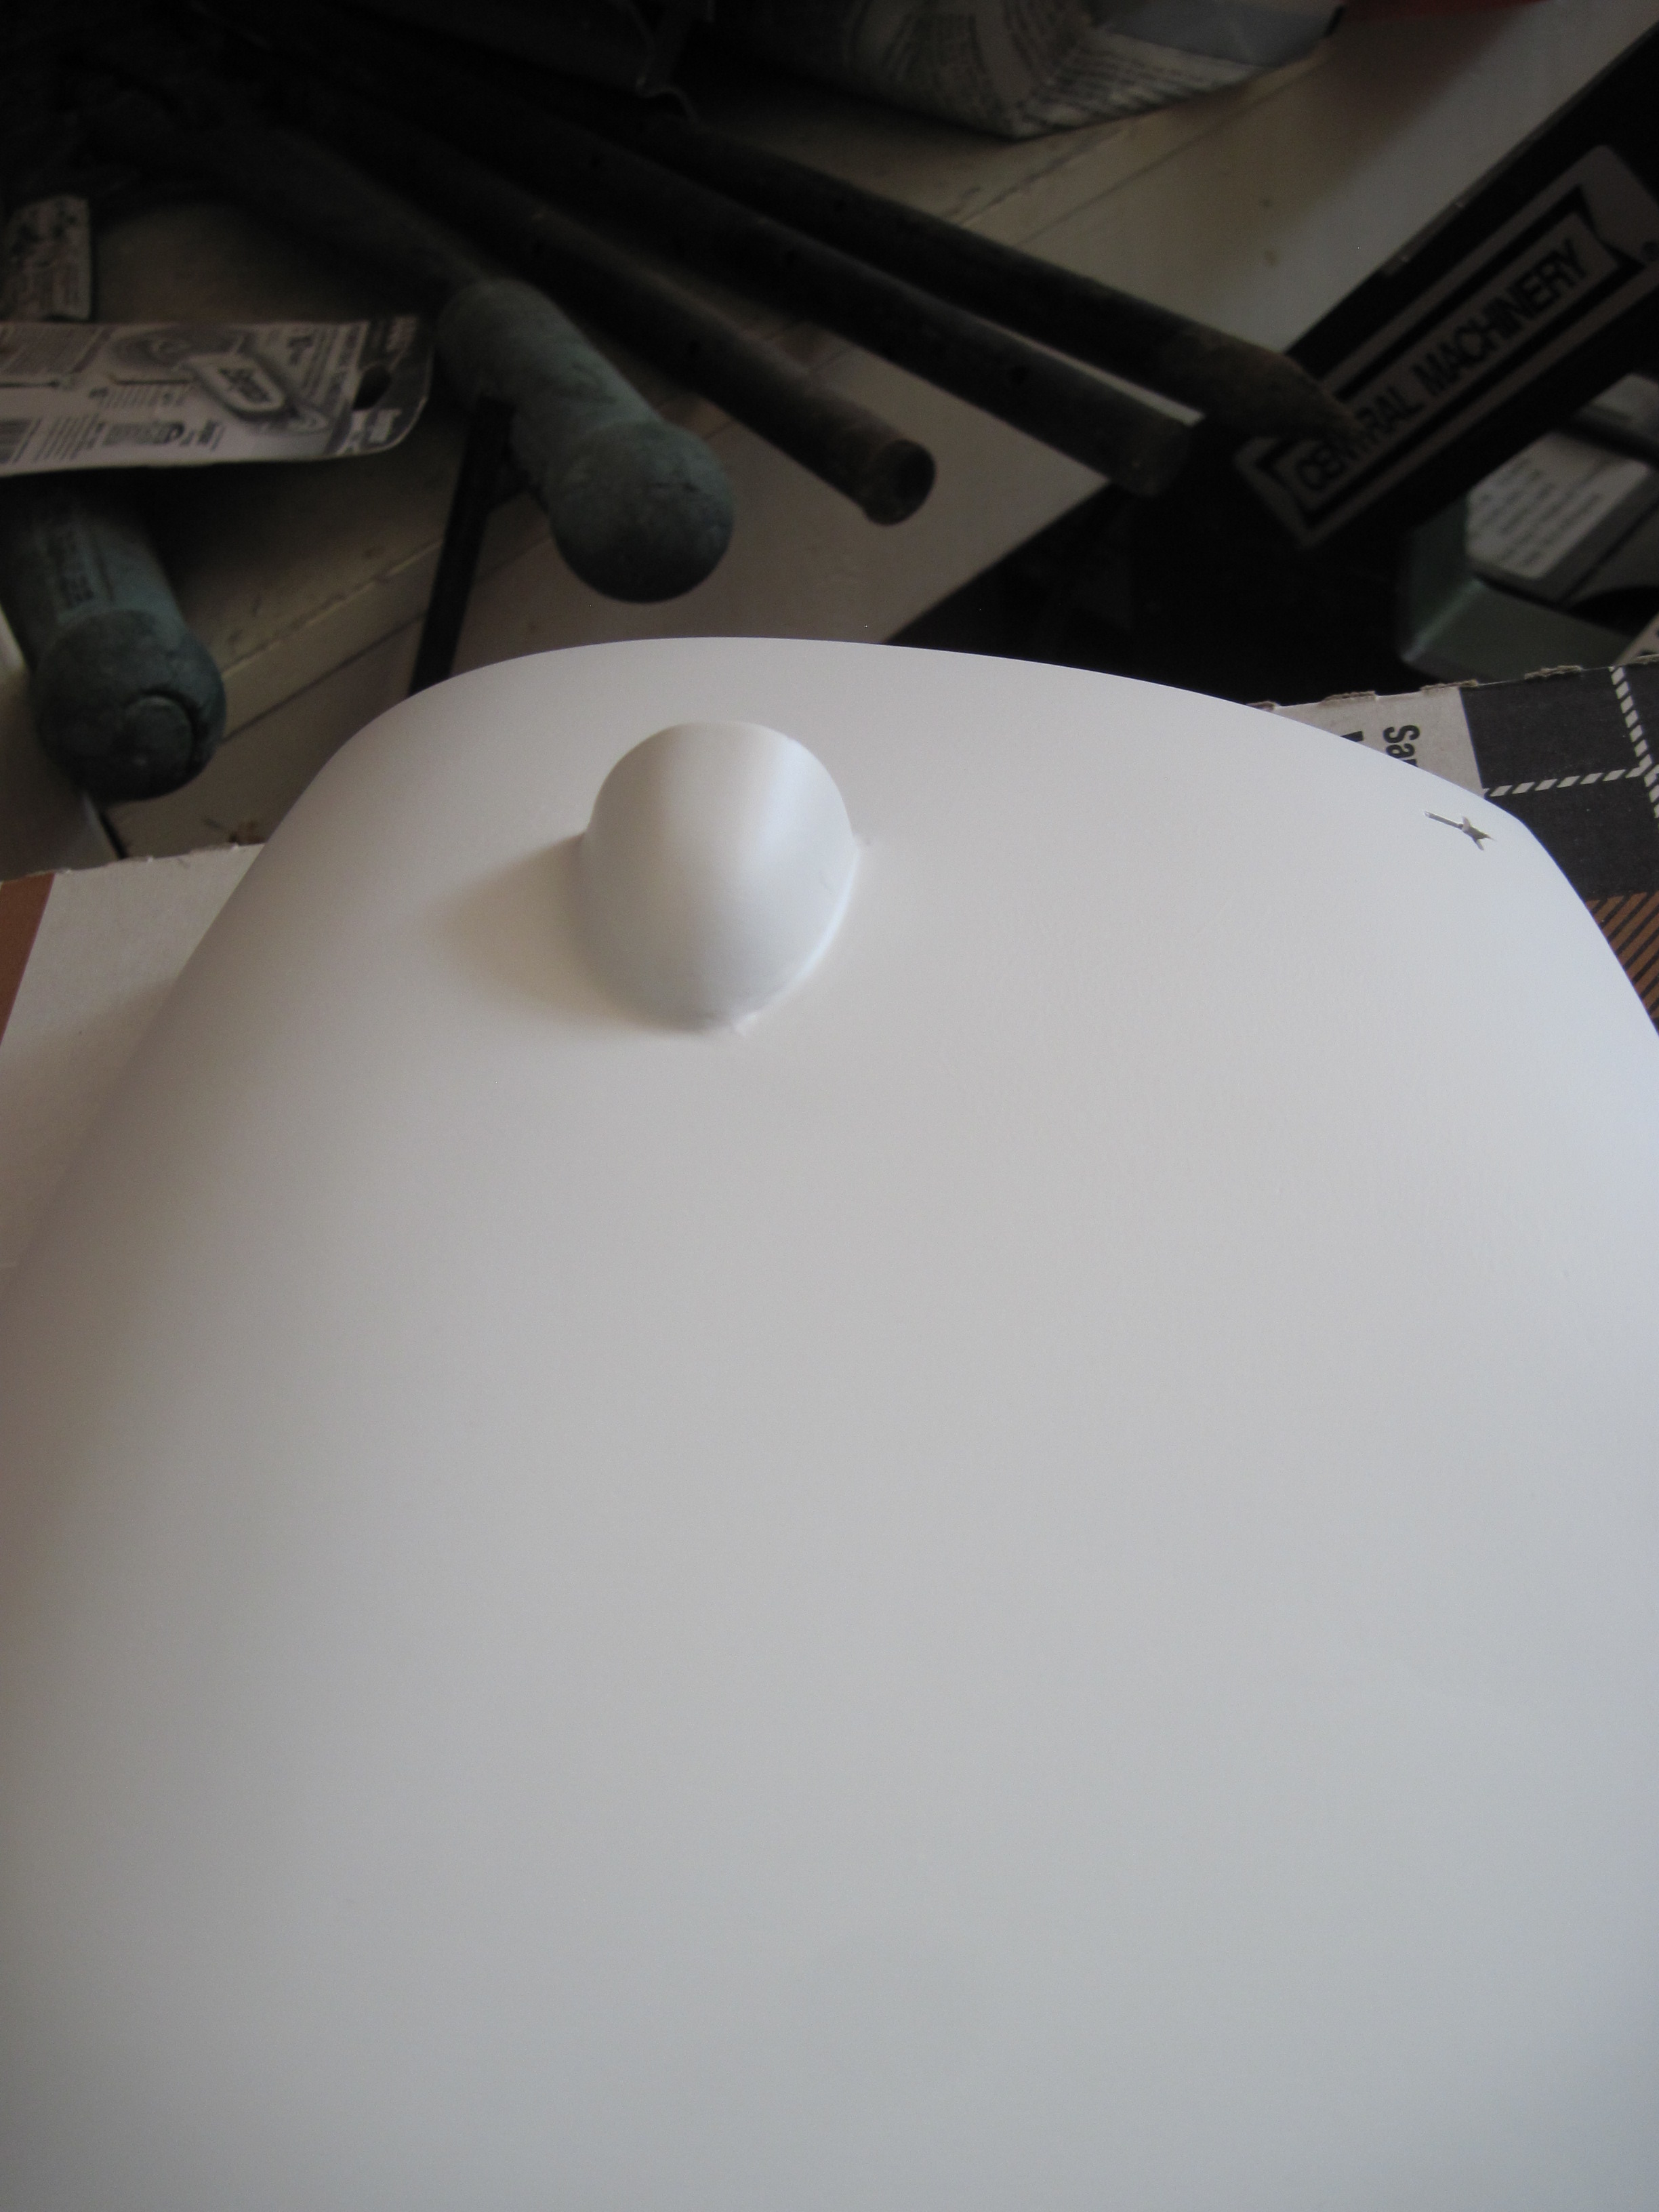
Elevator.
So I am working on the elevator.
Got it all primed and I wet sanded and then hit it dry with 400 grit, cleaned it and it is ready for detailing.
On the right elevator there is a long trim tab. I used chart tape to line this out.


Next is an experiment on the stitching.
The elevator, ruder, aileron and flaps are all fabric covered, as is most of the wing short of the LE to the spar and the tips, those are all aluminum covered.
So I was playing around with the throw away strips from Chads vinyl rivets. I did some test with glue drops and liked the results.
So I talked to Chad and he made me up some vinyl stitching strips. The holes are spaced farther apart then the rivets, and they are oblong.
The idea is to mimic the stitching strips on the full scale.
Chad asked if I wanted serrated edges, but they would be so small and would not be seen once the paint went on so no serrated edges.


The strip on the LE is the throw away vinyl strips from the rivets, the gray ones are the stitching strips.
This will get glue drops in each hole.

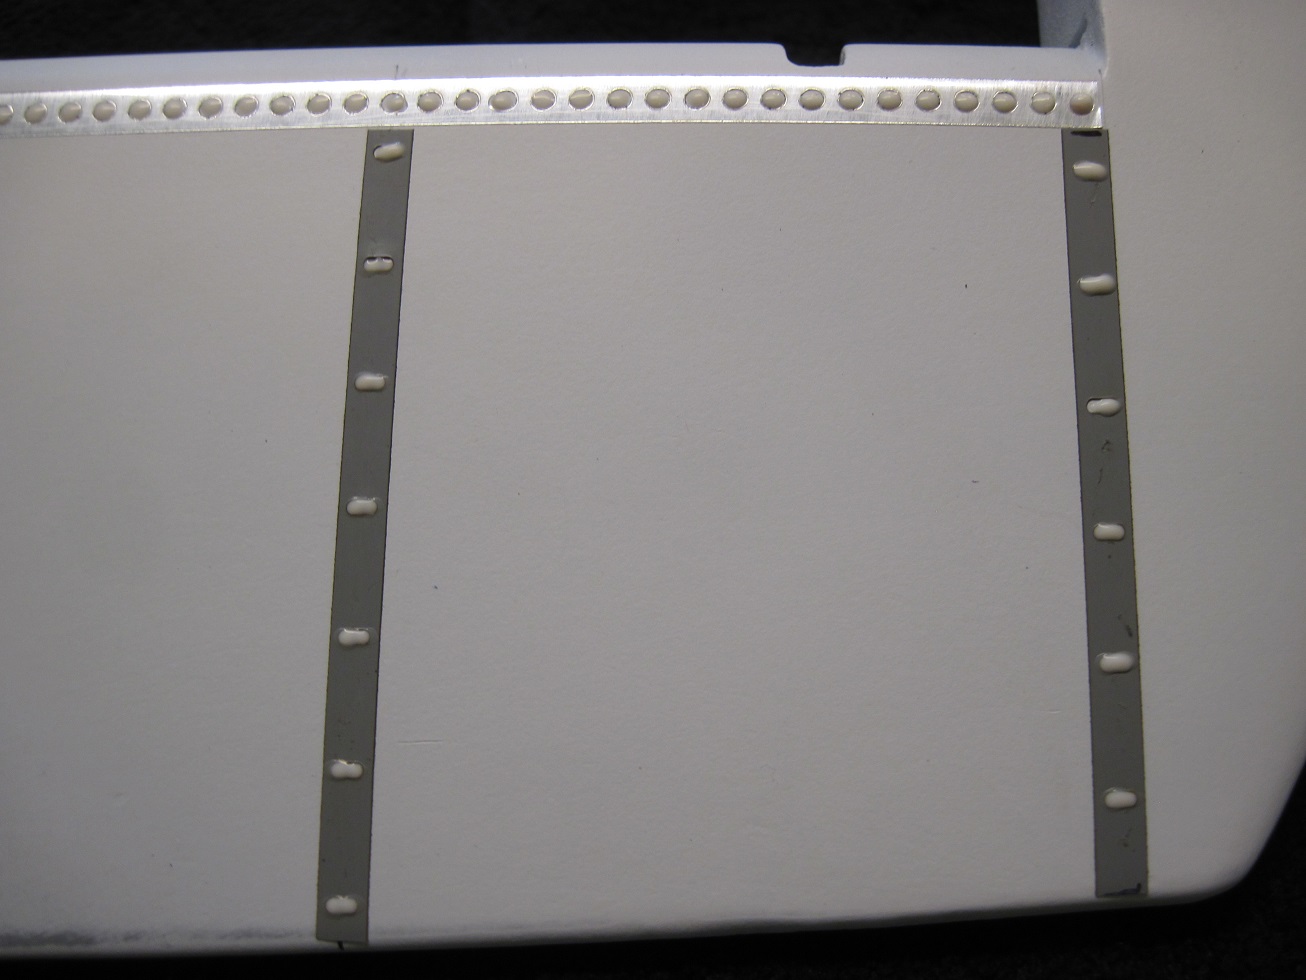


So this is a test to see what it will look like. I can prime this and then wet sand to soften it a bit or just paint it a little heavy to cover it good.
Being this is fabric it can be uneven and the glue can be uneven as is the full scale.
Here is the look I am going for.


I hit the holes with glue and on the stitching strips I hit it twice to build it up to the desired bump.
I will have to see how this looks once the glue dries.


TB
So I am working on the elevator.
Got it all primed and I wet sanded and then hit it dry with 400 grit, cleaned it and it is ready for detailing.
On the right elevator there is a long trim tab. I used chart tape to line this out.
Next is an experiment on the stitching.
The elevator, ruder, aileron and flaps are all fabric covered, as is most of the wing short of the LE to the spar and the tips, those are all aluminum covered.
So I was playing around with the throw away strips from Chads vinyl rivets. I did some test with glue drops and liked the results.
So I talked to Chad and he made me up some vinyl stitching strips. The holes are spaced farther apart then the rivets, and they are oblong.
The idea is to mimic the stitching strips on the full scale.
Chad asked if I wanted serrated edges, but they would be so small and would not be seen once the paint went on so no serrated edges.
The strip on the LE is the throw away vinyl strips from the rivets, the gray ones are the stitching strips.
This will get glue drops in each hole.
So this is a test to see what it will look like. I can prime this and then wet sand to soften it a bit or just paint it a little heavy to cover it good.
Being this is fabric it can be uneven and the glue can be uneven as is the full scale.
Here is the look I am going for.
I hit the holes with glue and on the stitching strips I hit it twice to build it up to the desired bump.
I will have to see how this looks once the glue dries.
TB
Last edited by TonyBuilder; 08-26-2014 at 01:09 PM.
08-26-2014, 02:59 PM
#565
Ruder
Ruder gets the stitching to see how that looks.
I am liking this more and more. I think once it gets some paint on it, it will look really good.


The glue drops dry clear so it is hard to see what they look like until they get painted.
I have some water base yellow paint I may drop a few drops into the glue dispenser bottle to give it some contrast.
Installation is pretty fast but I can only do one side at a time until the glue dries.


TB
Ruder gets the stitching to see how that looks.
I am liking this more and more. I think once it gets some paint on it, it will look really good.
The glue drops dry clear so it is hard to see what they look like until they get painted.
I have some water base yellow paint I may drop a few drops into the glue dispenser bottle to give it some contrast.
Installation is pretty fast but I can only do one side at a time until the glue dries.
TB
08-27-2014, 01:46 AM
#567
On the bench for today.
Get the elevator, ruder, cowl, canopy, and cowl doors ready to paint.
I realized I cant detail the ailerons and flaps until I do the wing so I will paint them with the wing.
I am planning to paint tomorrow weather permitting.
TB
Get the elevator, ruder, cowl, canopy, and cowl doors ready to paint.
I realized I cant detail the ailerons and flaps until I do the wing so I will paint them with the wing.
I am planning to paint tomorrow weather permitting.
TB
08-27-2014, 03:03 AM
#568
The mornings progress.
I got the elevator and ruder finished this morning.
I added yellow pigment to the glue and that makes installation so much easier.
I can see what I have done and when it dries I can see that I did not miss one. The clear it is very hard to see.


I like the way the stitching is coming out and once I paint this I can see how it will look on the wing.
Chad is making me some white vinyl strips for the wing, this was just a trial run.


TB
I got the elevator and ruder finished this morning.
I added yellow pigment to the glue and that makes installation so much easier.
I can see what I have done and when it dries I can see that I did not miss one. The clear it is very hard to see.
I like the way the stitching is coming out and once I paint this I can see how it will look on the wing.
Chad is making me some white vinyl strips for the wing, this was just a trial run.
TB
 08-27-2014, 04:29 PM
#573
Daily progress.
The cowl is ready to paint.


I made a cowl detailing and painting jig so I can work on the cowl as a whole.
It rotates 360 degrees.


I am so glad I redid the cowl rivets and will be painting it with the KK epoxy paint.


It came out really nice.


I will go over it in the morning to check if I missed any rivets


I am planning on painting tomorrow, I cant wait to see what it looks like all painted....nice and glossy
TB
The cowl is ready to paint.
I made a cowl detailing and painting jig so I can work on the cowl as a whole.
It rotates 360 degrees.
I am so glad I redid the cowl rivets and will be painting it with the KK epoxy paint.
It came out really nice.
I will go over it in the morning to check if I missed any rivets
I am planning on painting tomorrow, I cant wait to see what it looks like all painted....nice and glossy
TB