


AMR Trainer 26 - (my) official build thread
 03-25-2015, 05:32 PM
#376
Senior Member
Thread Starter

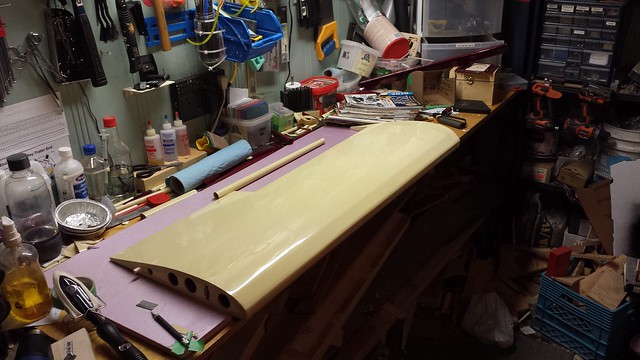
The moment has arrived... time to cover the wings.
I started with the bottom - most of a roll for lots of overlap.
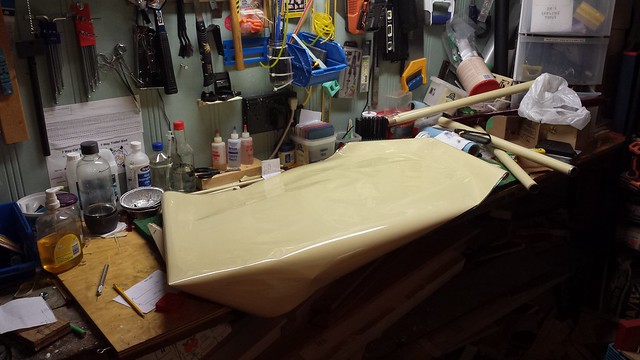
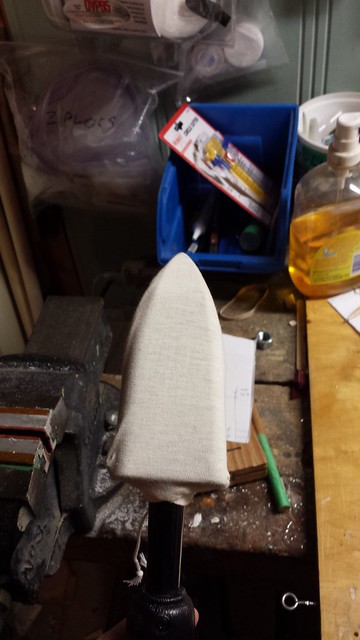
Fresh sock for the iron.
Wing root weighted, tacking down edges.
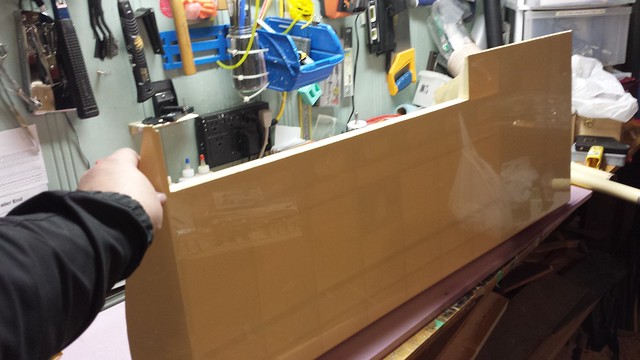
Pulling the wingtip tight. The overlap gives me something to hang on to while I'm heating and stretching the covering.

I started with the bottom - most of a roll for lots of overlap.
Fresh sock for the iron.
Wing root weighted, tacking down edges.
Pulling the wingtip tight. The overlap gives me something to hang on to while I'm heating and stretching the covering.
 03-25-2015, 05:36 PM
#378
Senior Member
Thread Starter
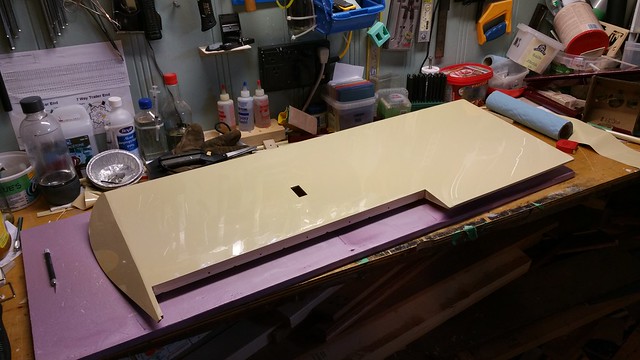
This foam insulation is a clean and relatively gentle surface as a base for wing covering... just don't get too close with the heat gun.
Bottom done.
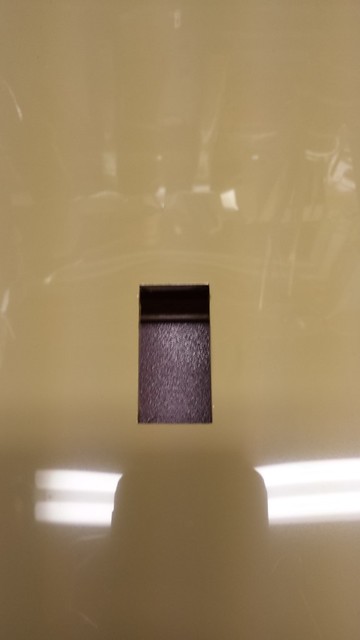
Cutting the servo opening.
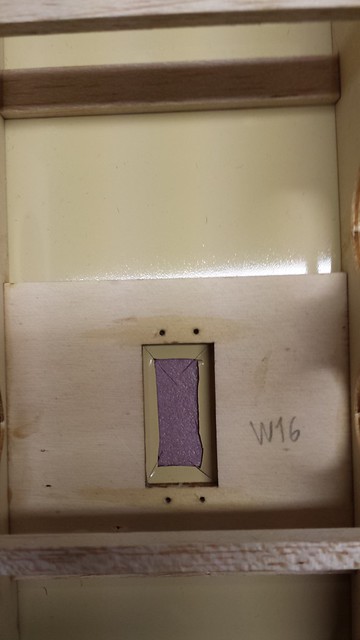
Servo opening complete.
Bottom done.
Cutting the servo opening.
Servo opening complete.
03-25-2015, 05:42 PM
#379
Senior Member
Thread Starter
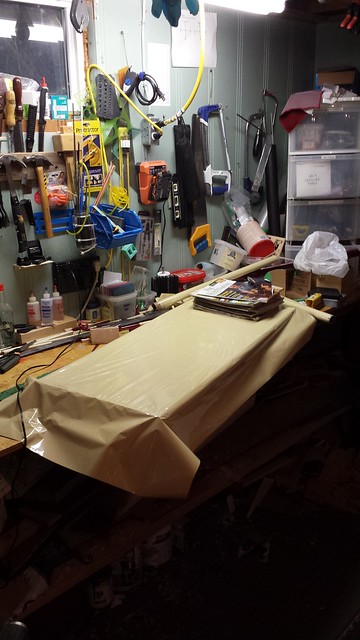
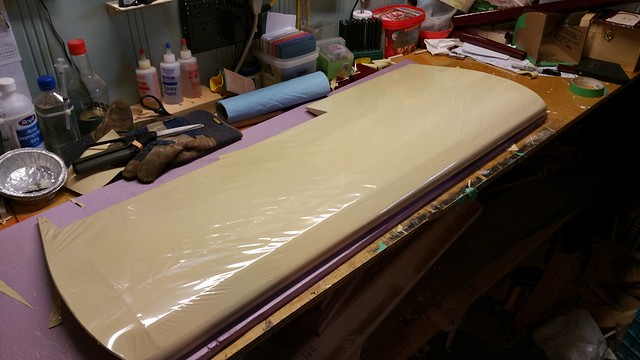
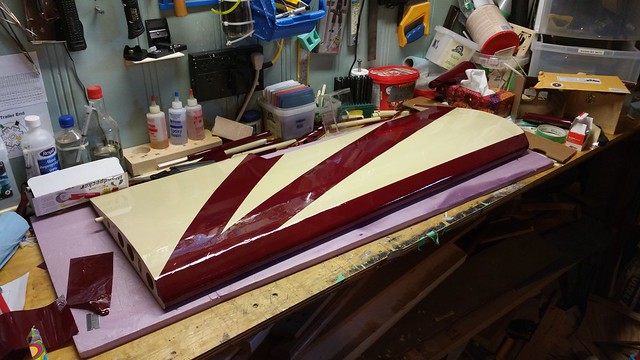
It was much easier to lie the covering on the bench adhesive up, placing the wing on top.
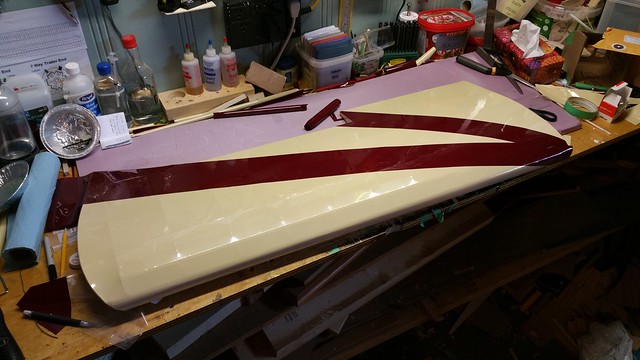
For the top I used a slightly different approach... instead of tacking down the edges I folded the overlap underneath, put the magazines on the root and anchored the tip with the heat gun and some pulling. Then I sealed the root and used the heat gun with more pulling for the leading and the trailing edges. Here's the base covering complete.
One thing I'm struggling with is trimming the edges flush. I have a Top Flight Smart Cut trimming tool but I'm getting mixed results. Any tips?
03-25-2015, 06:20 PM
#380

My Feedback: (1)
I too have the Top Flight trim tool and find that it doesn't always give the clean joint line that I want. In some situations it works and others not so well. I have taken to using an assortment of different size and thickness metal rulers as a cut guide. Hold the metal ruler tight to the airplane part with the covering to be trimmed overlapping the edge of the ruler and then carefully cutting the covering down the ruler edge. Different thickness rulers give different amounts of covering left to be tacked down to make the joint. A sharp exacto blade is, of course, important. Keep replacing them as needed. The rulers I use go from a thin 6" machinist scale to a 12" thicker ruler that is a removable part of carpenter's a square, and also if needed I have a 24" steel square and couple of 48" metal rulers. The big guys get used mostly on the workbench to cut the covering to size before installation (and hold it flat so it wont roll back up as I cut it) but on big jobs I have used them for a cut line guide. In some situations I also use a good sharp pair of scissors like on curves (rounded wing tips) or tight spots. For me, no one tool or method works in all applications. BTY, nice plane!
03-26-2015, 05:49 AM
#381
Senior Member
Thread Starter
I too have the Top Flight trim tool and find that it doesn't always give the clean joint line that I want. In some situations it works and others not so well. I have taken to using an assortment of different size and thickness metal rulers as a cut guide. Hold the metal ruler tight to the airplane part with the covering to be trimmed overlapping the edge of the ruler and then carefully cutting the covering down the ruler edge. Different thickness rulers give different amounts of covering left to be tacked down to make the joint. A sharp exacto blade is, of course, important. Keep replacing them as needed. The rulers I use go from a thin 6" machinist scale to a 12" thicker ruler that is a removable part of carpenter's a square, and also if needed I have a 24" steel square and couple of 48" metal rulers. The big guys get used mostly on the workbench to cut the covering to size before installation (and hold it flat so it wont roll back up as I cut it) but on big jobs I have used them for a cut line guide. In some situations I also use a good sharp pair of scissors like on curves (rounded wing tips) or tight spots. For me, no one tool or method works in all applications. BTY, nice plane!

 03-28-2015, 07:35 PM
#385
My Feedback: (1)
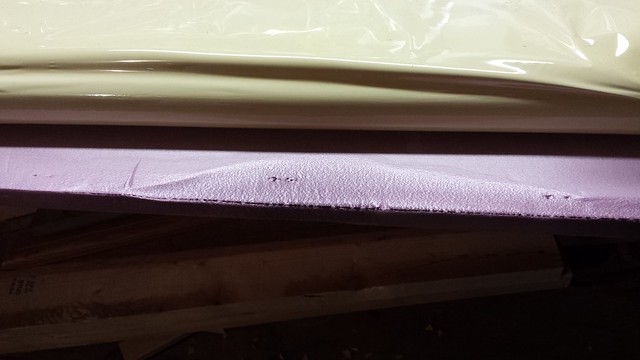
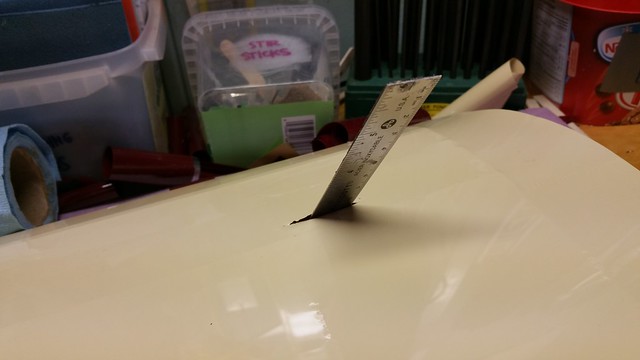
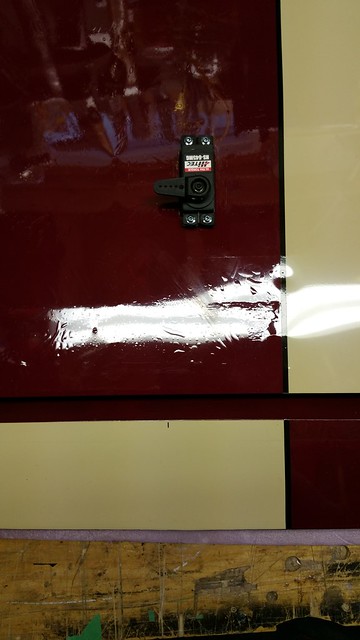
Oh grosbeak, what's the matter with you? Can't you follow instructions? Nowhere in my tutorial on using metal rulers while covering did I mention using them as a missile! ..............Boy, don't you hate when that kind of thing happens, and it happens to all of us. When it happens at my shop, there are some "bad words" floating around. I have dropped my exacto knife and a small screwdriver through the covering on very close to completed models and I know the feeling (not both tools through the same plane's covering, different times, different planes). Looks like you took it stride and just posted the photo with a funny caption. So are you going to show us how you patched it?
..............Boy, don't you hate when that kind of thing happens, and it happens to all of us. When it happens at my shop, there are some "bad words" floating around. I have dropped my exacto knife and a small screwdriver through the covering on very close to completed models and I know the feeling (not both tools through the same plane's covering, different times, different planes). Looks like you took it stride and just posted the photo with a funny caption. So are you going to show us how you patched it?
03-29-2015, 05:13 PM
#386
Senior Member
Thread Starter
Oh grosbeak, what's the matter with you? Can't you follow instructions? Nowhere in my tutorial on using metal rulers while covering did I mention using them as a missile! ..............Boy, don't you hate when that kind of thing happens, and it happens to all of us. When it happens at my shop, there are some "bad words" floating around. I have dropped my exacto knife and a small screwdriver through the covering on very close to completed models and I know the feeling (not both tools through the same plane's covering, different times, different planes). Looks like you took it stride and just posted the photo with a funny caption. So are you going to show us how you patched it?
..............Boy, don't you hate when that kind of thing happens, and it happens to all of us. When it happens at my shop, there are some "bad words" floating around. I have dropped my exacto knife and a small screwdriver through the covering on very close to completed models and I know the feeling (not both tools through the same plane's covering, different times, different planes). Looks like you took it stride and just posted the photo with a funny caption. So are you going to show us how you patched it?
03-29-2015, 05:35 PM
#387
Senior Member
Thread Starter
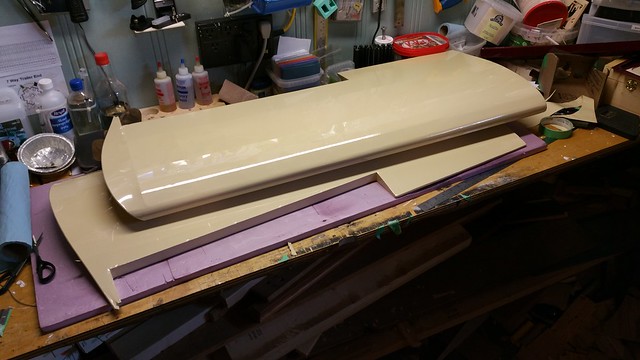
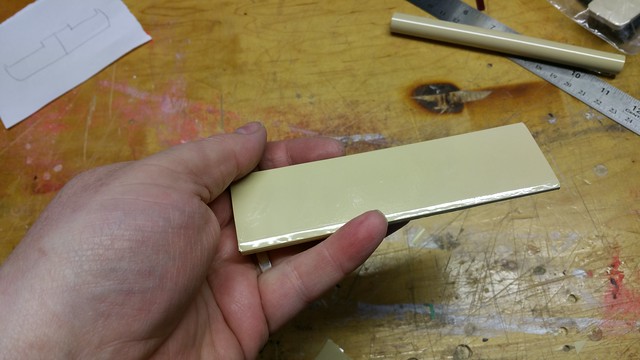
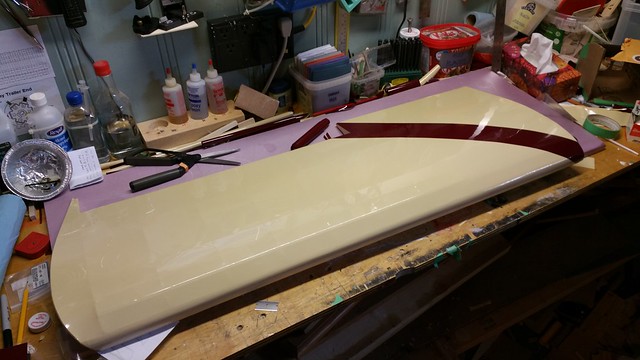
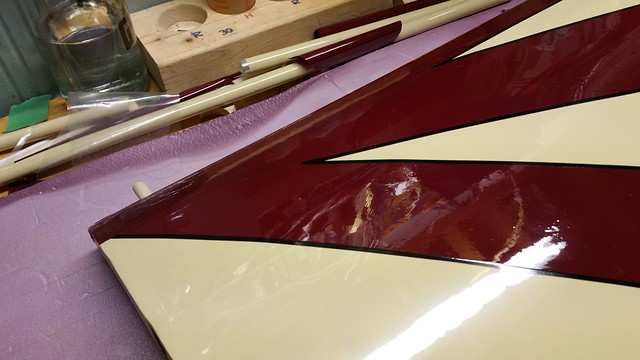
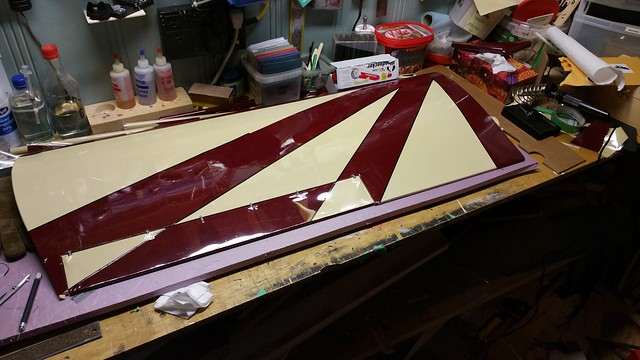
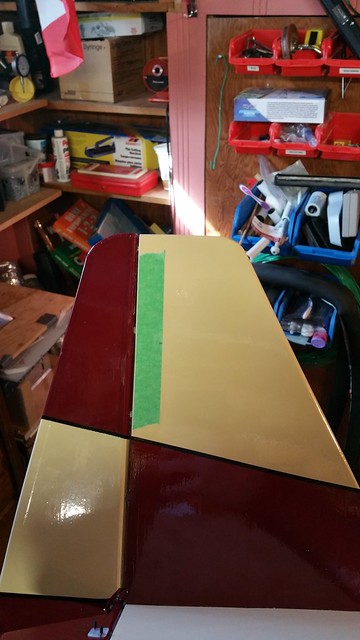
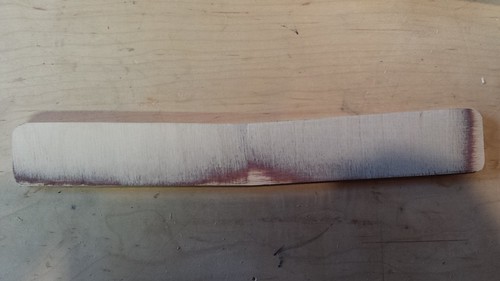
Like the rudder, I'm using contrast on the control surfaces for the stripes. I start by ironing one a larger piece of scrap...
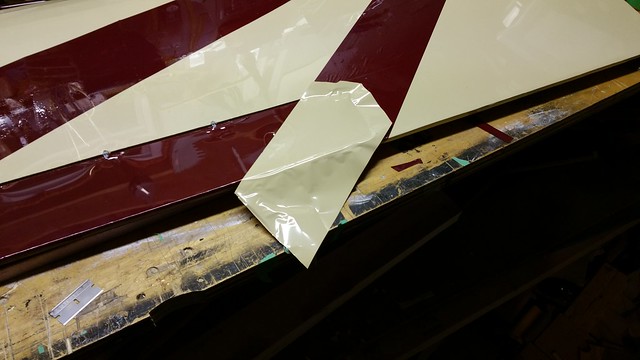
... then trim the edges flush with a razor blade.
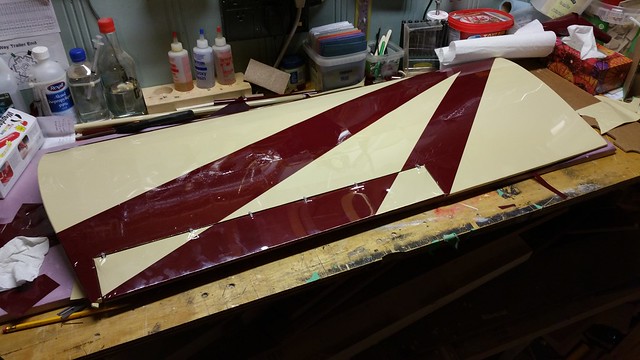
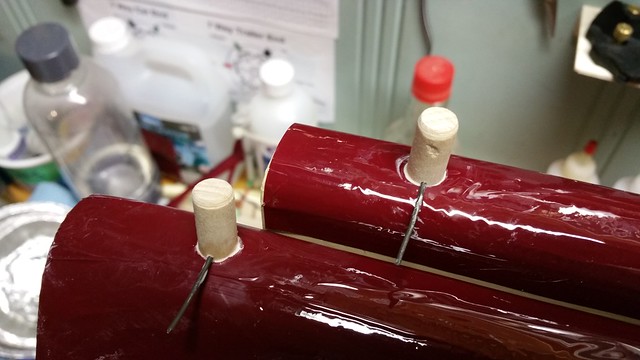
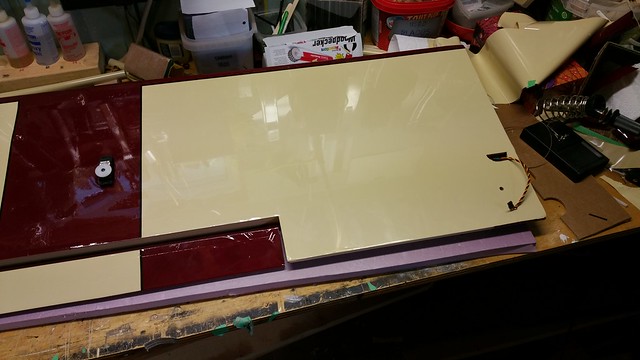
Time to glue the wing dowels in.
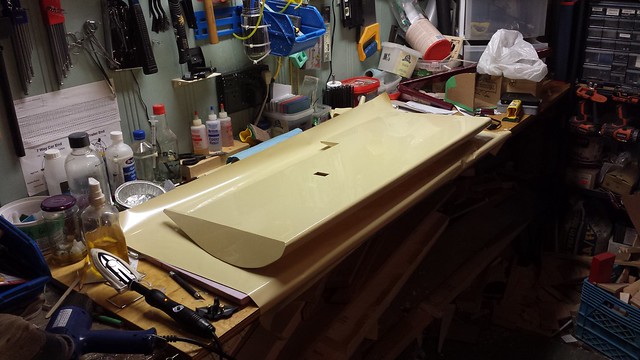
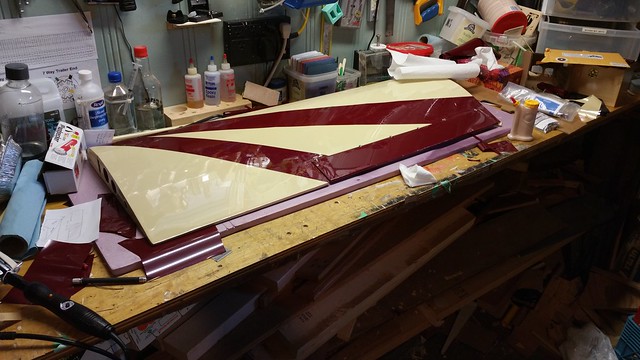
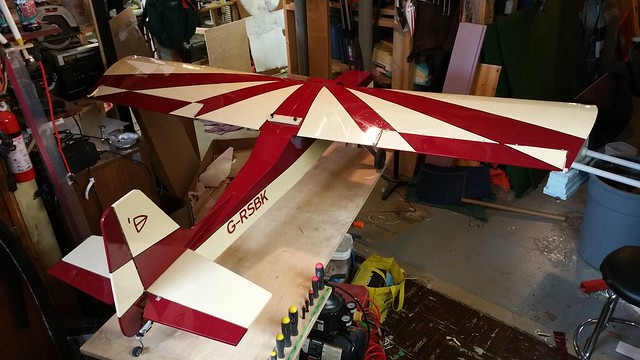
Wing on. Looks good... but something is missing.

... then trim the edges flush with a razor blade.
Time to glue the wing dowels in.
Wing on. Looks good... but something is missing.
 03-29-2015, 05:48 PM
#389
Senior Member
Thread Starter
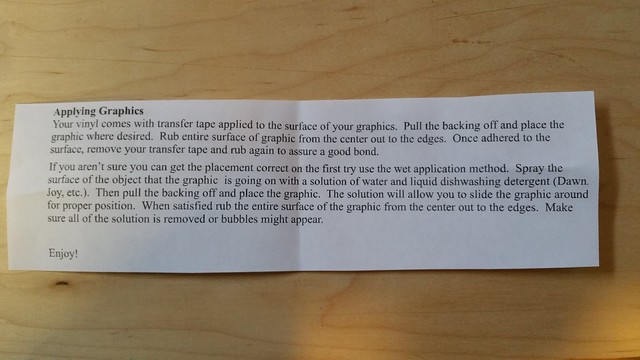
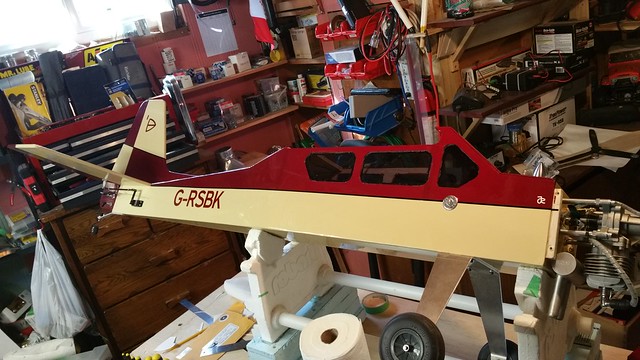
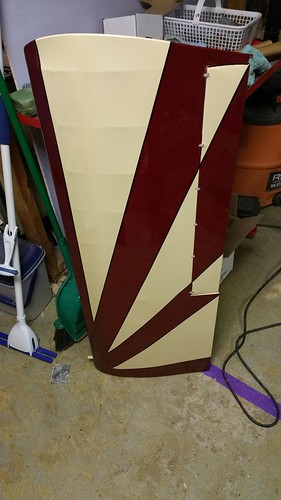
Time for some graphics. These are the ones I ordered from callie-graphic.com. The instructions:
The registration letters are individually cut but the transfer paper on top holds them together. I opted for the wet method. Here they're positioned; the tape at the top forms the margin.
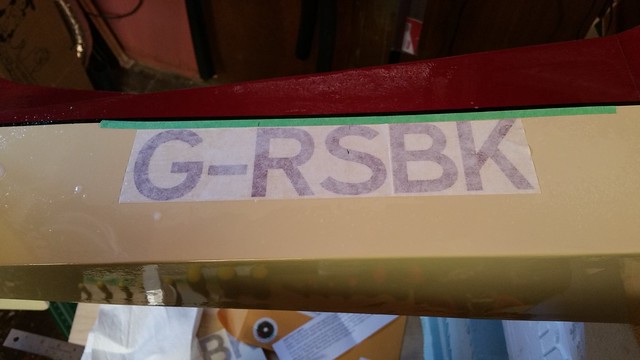
I used a rubber sanding form wrapped in paper towel to squeegee out the excess soap. You have to get most of it out before lifting the transfer paper, otherwise the decal sticks to the paper.
Margin for the tail logo.
I used the dry method this time.
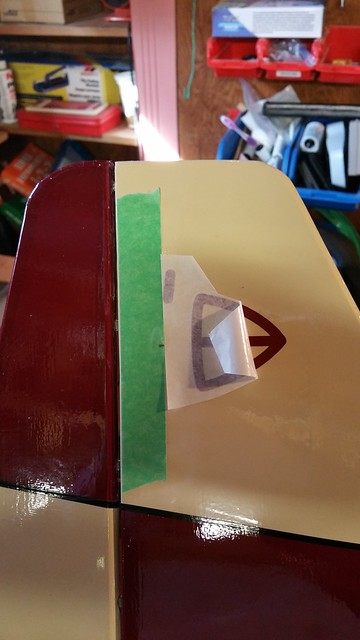
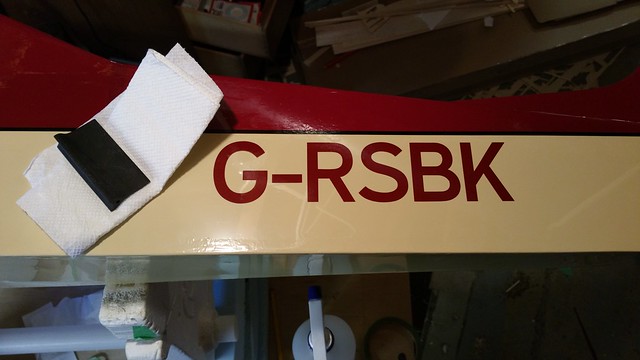
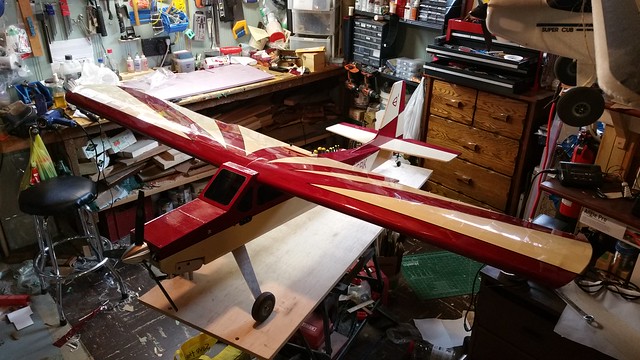
The result.
I was already impressed with the service and the price... now I can add quality for a supplier trifecta! Well done, Callie!
The registration letters are individually cut but the transfer paper on top holds them together. I opted for the wet method. Here they're positioned; the tape at the top forms the margin.
I used a rubber sanding form wrapped in paper towel to squeegee out the excess soap. You have to get most of it out before lifting the transfer paper, otherwise the decal sticks to the paper.
Margin for the tail logo.
I used the dry method this time.
The result.
I was already impressed with the service and the price... now I can add quality for a supplier trifecta! Well done, Callie!
 03-29-2015, 05:58 PM
#392
Senior Member
Thread Starter
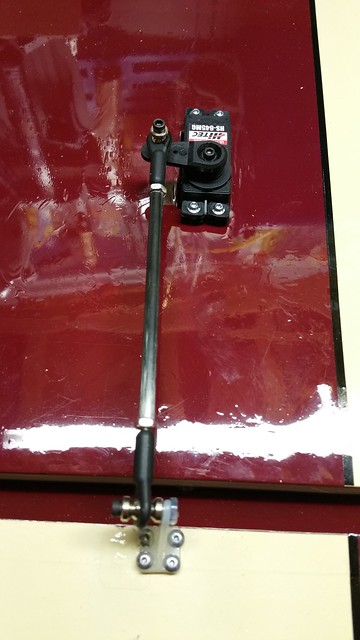
Measurements for the push rod. My new phone - Samsung Galaxy Note 4 - comes with the S-pen, which allows you to write on photos. Very handy.
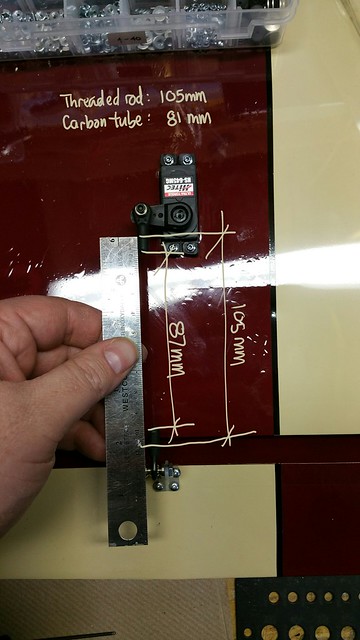
Note that the carbon tube is 6mm shorter than the span between the ball links... that's two allow for 2 nuts (2mm each) and 2mm of wiggle room.
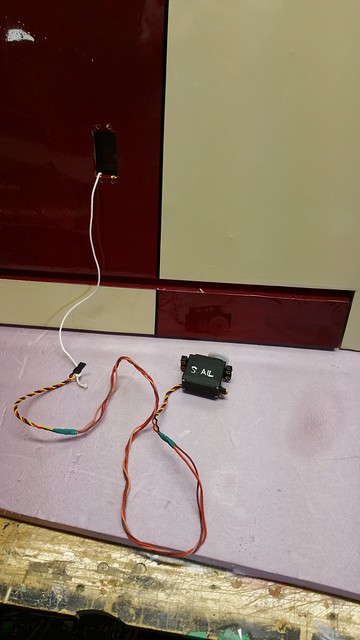
Push rod installed.
Note that the carbon tube is 6mm shorter than the span between the ball links... that's two allow for 2 nuts (2mm each) and 2mm of wiggle room.
Push rod installed.
03-29-2015, 07:15 PM
#393
My Feedback: (1)
OK, I give up. Where's Waldo.....errrrr ...I mean where's the patch? I can't spot it. Is the hole from the ruler on the top of the right wing, near the tip, between the LE and the main spar? Can't spot it in any subsequent photos. In any case, the plane looks nice and the color/trim scheme should make for easy orientation identification in the air. What's the wingspan again?
03-30-2015, 03:34 AM
#394
Senior Member
Thread Starter
OK, I give up. Where's Waldo.....errrrr ...I mean where's the patch? I can't spot it. Is the hole from the ruler on the top of the right wing, near the tip, between the LE and the main spar? Can't spot it in any subsequent photos. In any case, the plane looks nice and the color/trim scheme should make for easy orientation identification in the air. What's the wingspan again?
I had to enlarge the photo to see it but it's there on, forward of the spar and over the third rib from the tip.
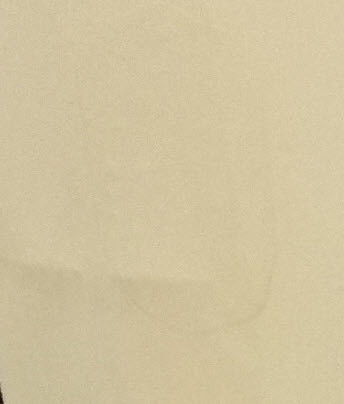
And the wingspan is 84.5".
03-30-2015, 10:49 AM
#396
Senior Member
Thread Starter
[QUOTE=52larry52;12013169]Well, I would now refer to the patch as a "simulated wing inspection hole cover" ! It's a scale detail. [quote]
Works for me!
That is the hope. I don't get out to the field as often as I'd like to so I'm looking forward to a big, gentle flier to burn holes in the sky and shoot touch-and-gos. My sport plane and 50cc aerobat will probably not get a lot of use this year.
[quote]Works for me!
That's going to be a big 'ol sweetie to fly. Enjoy
 03-31-2015, 05:48 AM
#398
Senior Member
Thread Starter
 04-01-2015, 05:40 PM
#399
Senior Member
Thread Starter
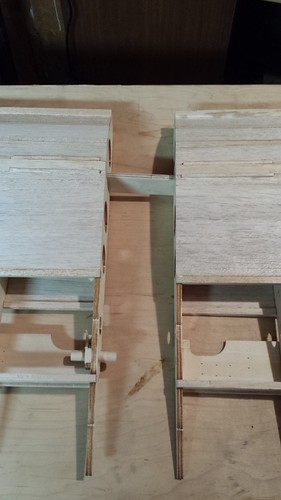
Checked the CG today. I figured it was a little tail heavy, but I didn't figure it was THIS tail heavy...

That's with both batteries and the ballast up front in the fuse behind the firewall. I'll find a way to best add the minimum amount of ballast possible. Unfortunately, there's not much else I can move forward - I don't know if I'd save any weight with the elevator servo forward and a long push rod, but perhaps it's worth a try.
And YES, my shameful secret is out. Those are socks in (mock) crocs.
04-03-2015, 05:23 PM
#400
Senior Member
Thread Starter
Weight attached.

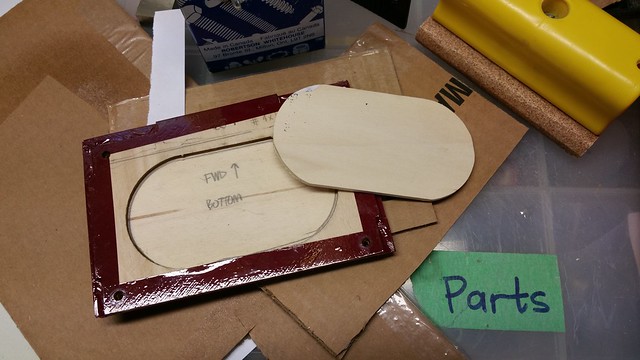
The batteries have to be as close to the front as possible. This was my first plan, but even though I think 2.4 GHz is a lot less susceptible to interference than 72 MHz, I figured having the plug wire tight to the battery was not a perfect solution...

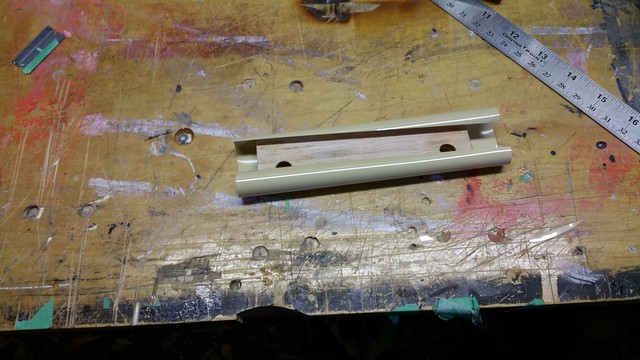
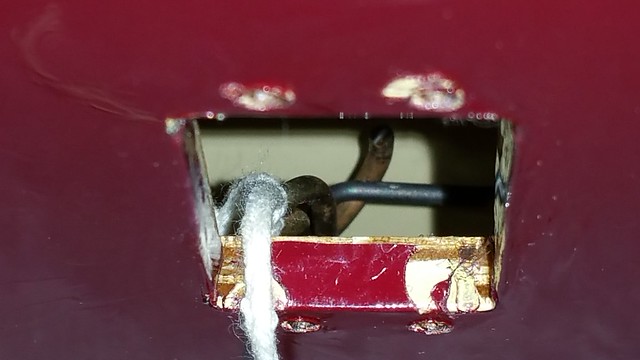
... so it's going on the underside of the hatch. First thing I had to do was fill the lightening hole, and that started by cutting out the patch.
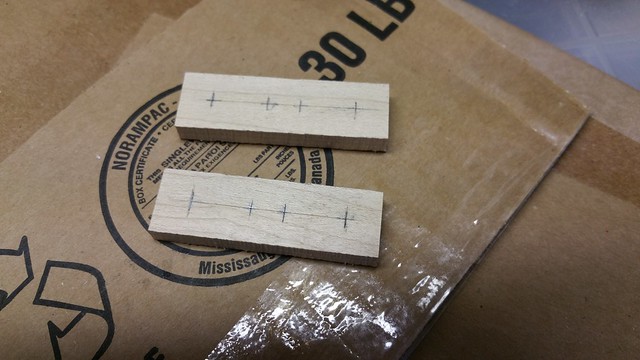
While the glue cured on the patch, I made a couple of anchors for the battery.
The batteries have to be as close to the front as possible. This was my first plan, but even though I think 2.4 GHz is a lot less susceptible to interference than 72 MHz, I figured having the plug wire tight to the battery was not a perfect solution...
... so it's going on the underside of the hatch. First thing I had to do was fill the lightening hole, and that started by cutting out the patch.
While the glue cured on the patch, I made a couple of anchors for the battery.