


AMR Trainer 26 - (my) official build thread
 11-01-2014, 09:18 AM
#26

My Feedback: (13)
Hay Grosbeak,
Yes...one must be careful with the glue overage on assembling the bits and pieces to the model. I used Titebond III on my airframe and I needed to keep a damp rag near me to wipe off all excess glue. When I assembled the fuselage, I had to use glue that was slower drying then even 30 minute epoxy, to get everything together properly. The booklet will ask you to use epoxy in some places and I did as much as I was instructed to do, but due to living in the tropics, the warmer air caused the epoxy to dry up twice as fast...some times even faster then I could properly assemble the parts, before the epoxy set up.
Great pictures...
Soft Landings Always,
Bobby of Maui
 11-02-2014, 01:55 PM
#28
Senior Member
Thread Starter

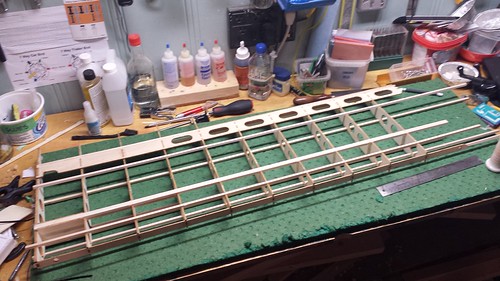
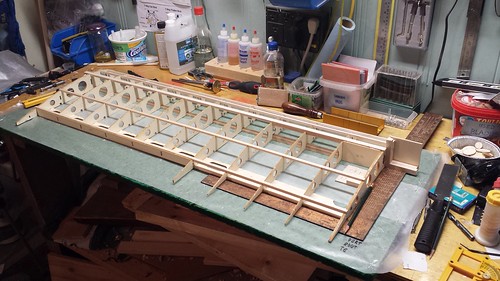
Gluing up the starboard wing today. I got started this morning and took a break in the afternoon to go to the field. It was sunny, cold and too windy to be any fun but I did end my one and only flight with the plane in one piece. Back to the warmth of the shop!
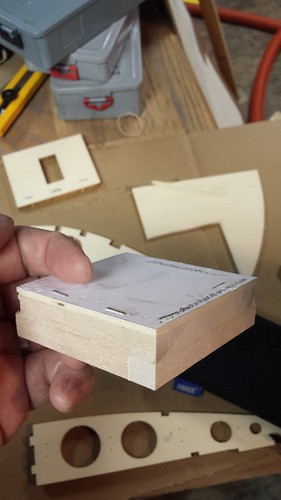
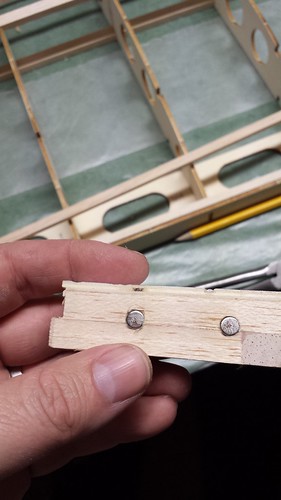
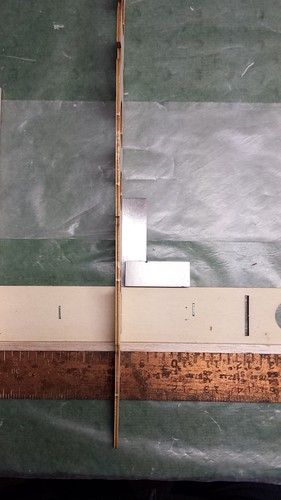
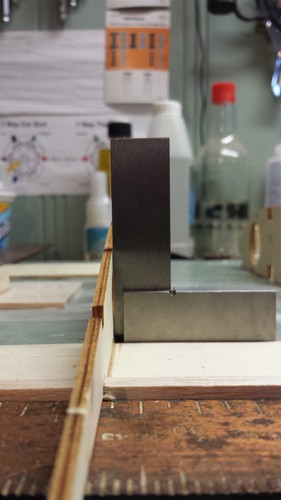
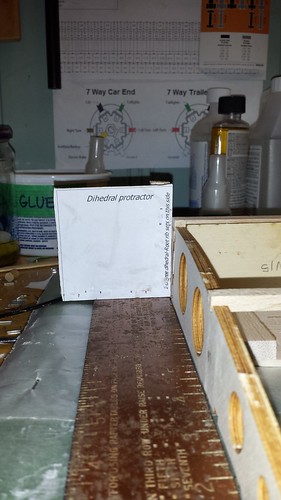
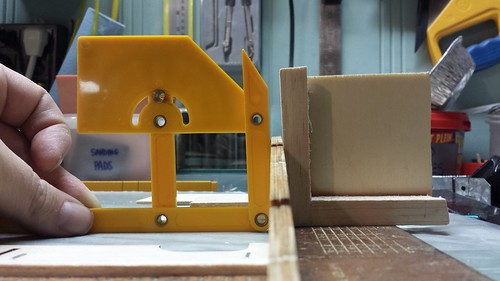
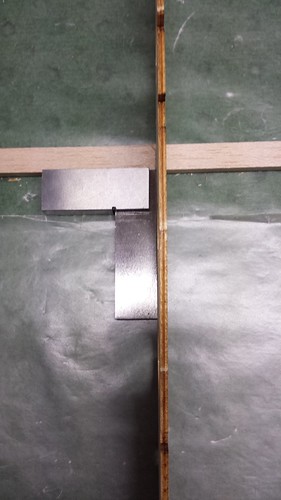
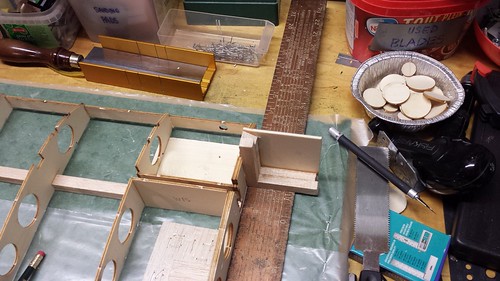
Dihedral protractor v2.0: template glued onto 1/8" ply this time instead of balsa, two layers of 3/8" balsa sticks on the bottom and right edges and a couple of rare earth magnets on the bottom to hold it to the framing square.
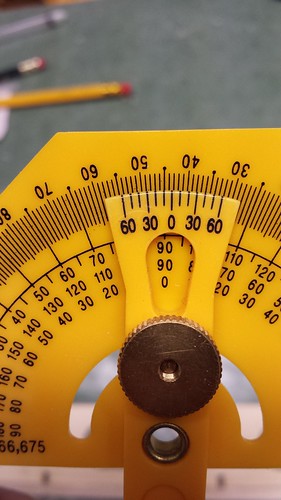
This time I used a second protractor as backup. Because the dihedral is 2�, the dihedral protractor and outside of the wing root rib is 92�, and the inside of the rib is 88�... so that's how I set the second protractor.
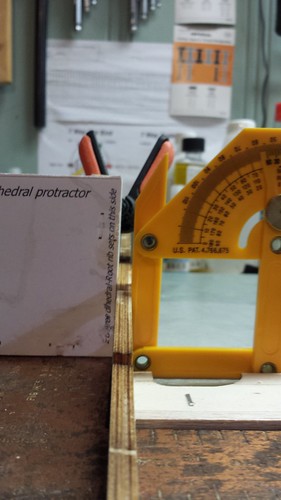
Here the are in place. Looking good.
Dihedral protractor v2.0: template glued onto 1/8" ply this time instead of balsa, two layers of 3/8" balsa sticks on the bottom and right edges and a couple of rare earth magnets on the bottom to hold it to the framing square.
This time I used a second protractor as backup. Because the dihedral is 2�, the dihedral protractor and outside of the wing root rib is 92�, and the inside of the rib is 88�... so that's how I set the second protractor.
Here the are in place. Looking good.
11-02-2014, 02:02 PM
#29
Senior Member
Thread Starter
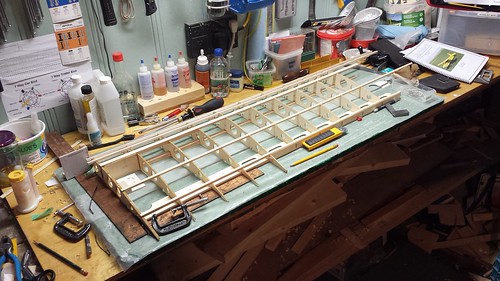
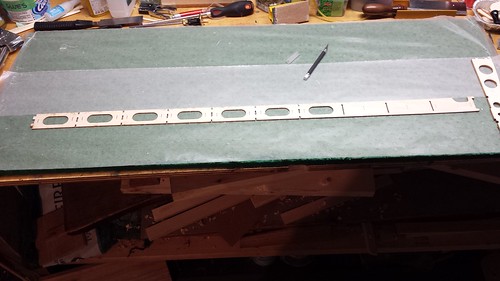
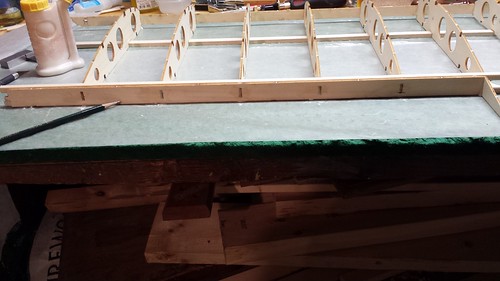
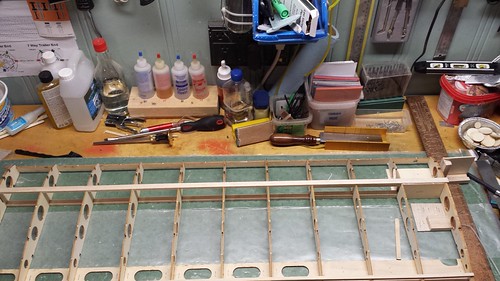
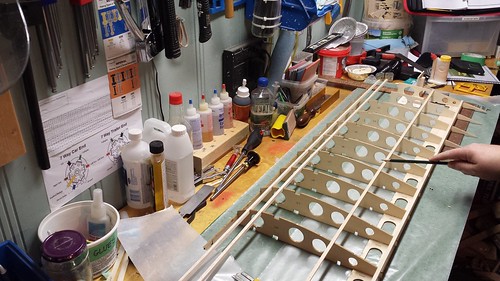
Gluing the ribs to the rib support plate. I checked each for square.
All of the ribs in place.
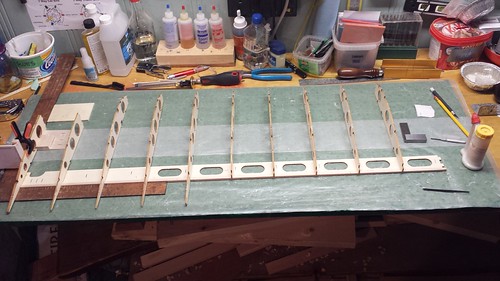
Both rear upper longerons in place.
All of the ribs in place.
Both rear upper longerons in place.
Last edited by grosbeak; 11-03-2014 at 06:16 AM.
11-02-2014, 02:05 PM
#30
Senior Member
Thread Starter
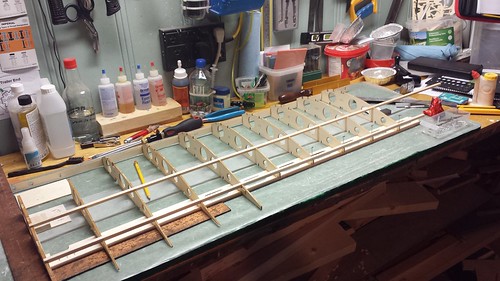
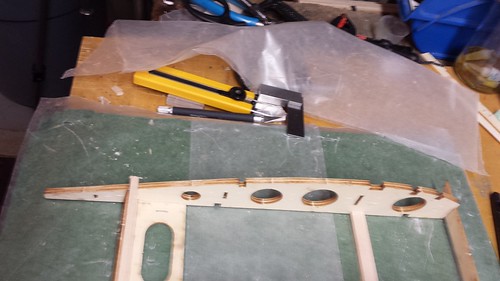
The rearmost longeron wanted to wander a bit so pinned it to the the ribs for the cure.
Next step - preliminary leading edge glued in.

Aileron hinge plate.
Next step - preliminary leading edge glued in.
Aileron hinge plate.
Last edited by grosbeak; 11-03-2014 at 06:17 AM.
 11-02-2014, 04:46 PM
#32
Senior Member
Thread Starter
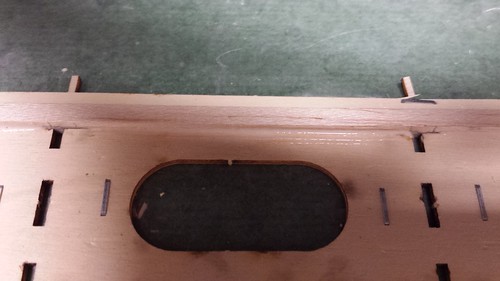
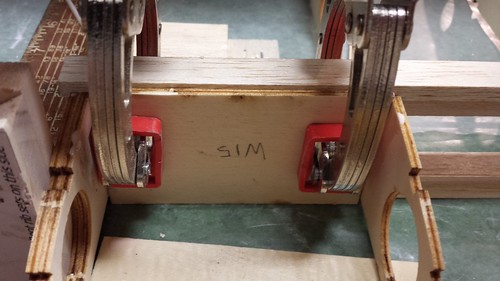
Small front webbing plate W26 glued in place between the upper and lower main spars.
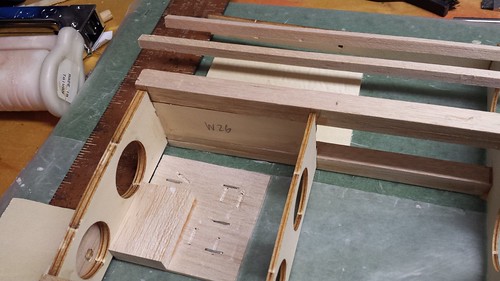
Front root rib dihedral check with large webbing plate W15 visible to the right.
Once this has cured I'll lift it off from the board and start on the bottom.
Front root rib dihedral check with large webbing plate W15 visible to the right.
Once this has cured I'll lift it off from the board and start on the bottom.
Last edited by grosbeak; 11-03-2014 at 06:18 AM.

 11-03-2014, 06:20 AM
#34
Senior Member
Thread Starter
 11-04-2014, 09:05 AM
#38
Senior Member
Thread Starter
Yes it is - it seemed daunting when I read through the instructions but it's fairly intuitive and the fit of the parts is excellent. And thanks!
11-04-2014, 09:06 AM
#39
Senior Member
Thread Starter
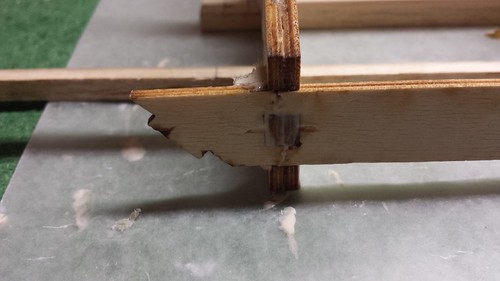
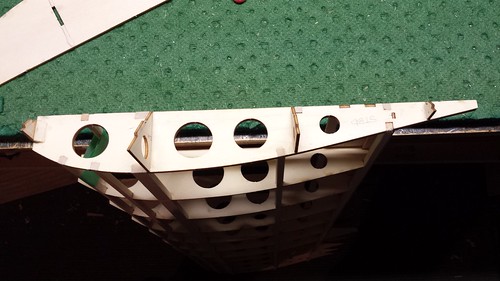
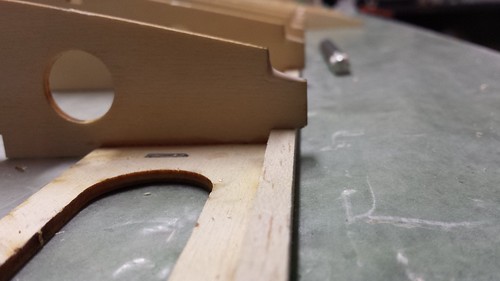
W11 tip rib is in place. The manual never specifies when to install this part; step 31 tells you to (a) install ribs W5 through W10 and (b) laminate the two halves of W11 and set the piece aside to be fitted at the same time as the wing tip. Then, in step 44, W11 is shown already in place. Sliding W11 into place at step 44 with the two spars and six longerons already installed was a pain in the keister; I can see no reason not to install it in step 31 and will do so for the port wing.
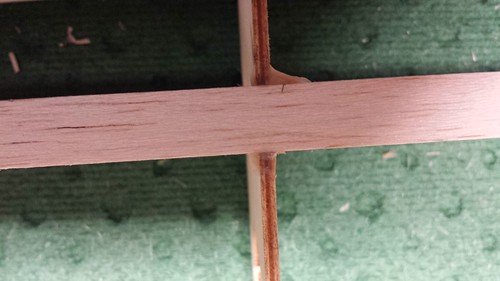
This photo was taken before I cleaned up the glue.
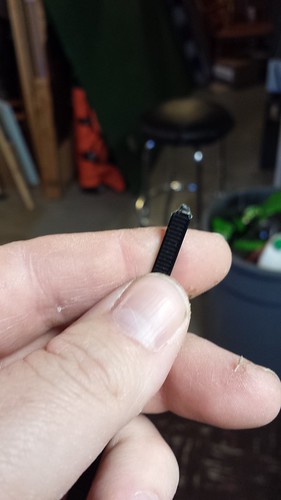
While installing W11 into the preliminary leading edge slot the wingtip tab broke off again... it first happened when I was dry fitting the wing.

This time I backed up the repair with a small piece of tri stock.

Glued back in place (pre-cleanup).
This photo was taken before I cleaned up the glue.
While installing W11 into the preliminary leading edge slot the wingtip tab broke off again... it first happened when I was dry fitting the wing.
This time I backed up the repair with a small piece of tri stock.
Glued back in place (pre-cleanup).
11-04-2014, 09:11 AM
#40
Senior Member
Thread Starter
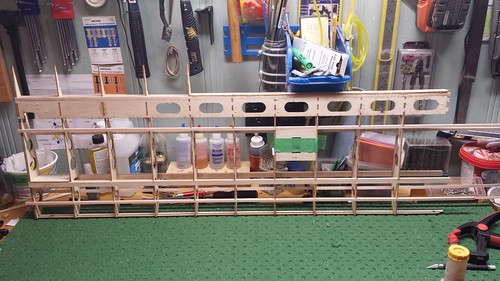
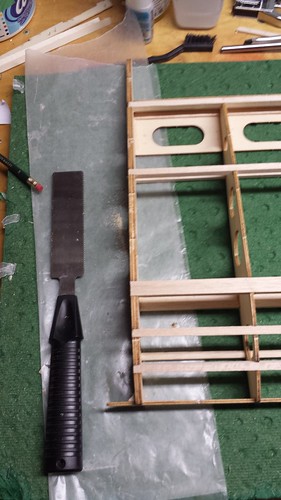
With all the ribs in place I took the time to cut off the protruding spars and longerons at the root.
Before...
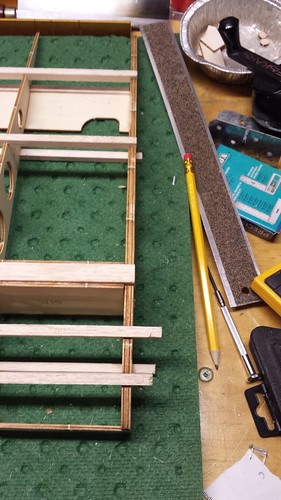
During (love that flush cut saw):
After (they will get the final sanding later):
Before...
During (love that flush cut saw):
After (they will get the final sanding later):
11-04-2014, 09:22 AM
#41
Senior Member
Thread Starter
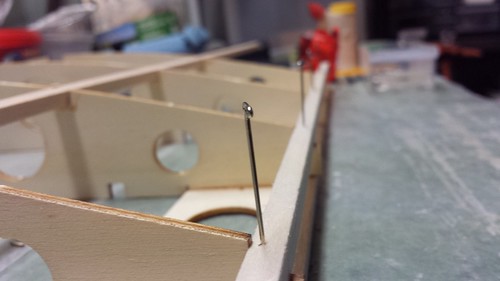
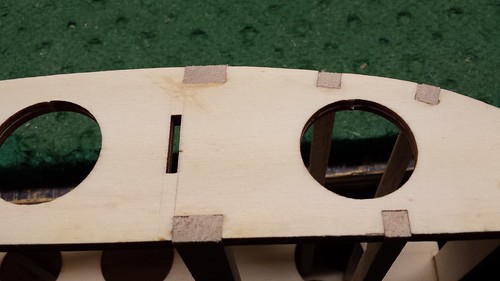
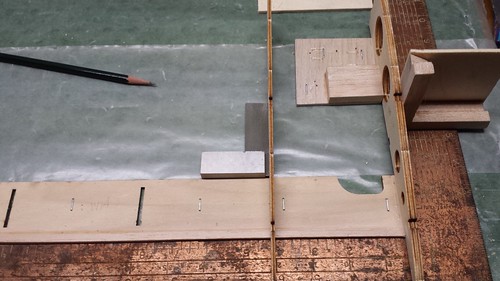
The leading edge of the wing is secured the fuselage with dowels and there are reinforcing plates that go behind the preliminary leading edge between ribs W1 and W2. The manual does not specify the part number (W24); two sets of two plates must be laminated. Prior to installation, remove any squeeze out.

Although the manual doesn't mention it the 2� dihedral is cut into W24, so it must be inserted from the bottom of the wing.
Glued in.
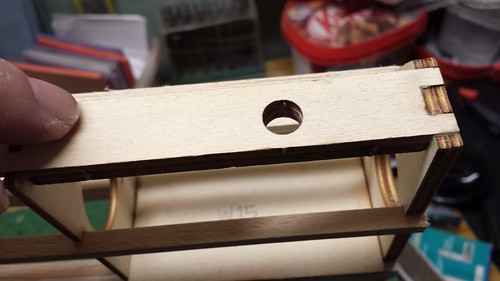
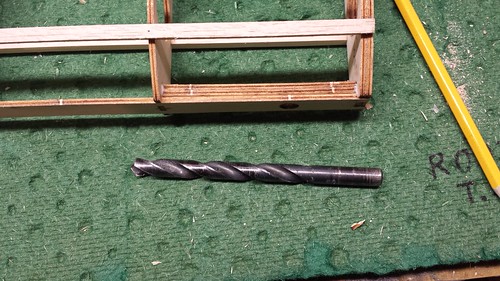
A 3/8" drill bit can be used for alignment.
Although the manual doesn't mention it the 2� dihedral is cut into W24, so it must be inserted from the bottom of the wing.
Glued in.
A 3/8" drill bit can be used for alignment.
11-04-2014, 09:25 AM
#42
Senior Member
Thread Starter
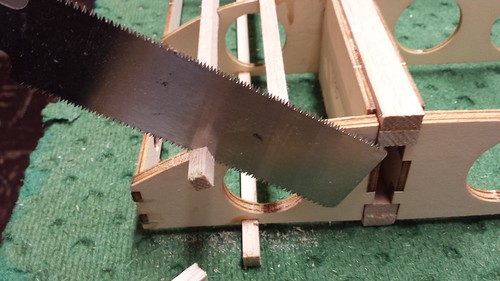
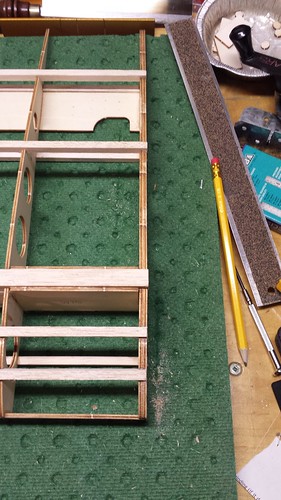
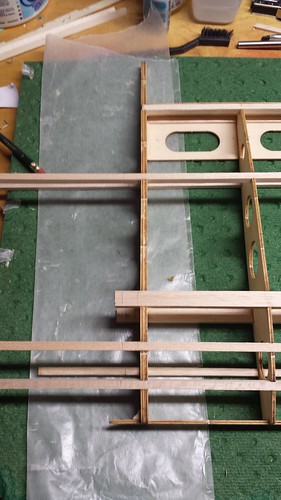
Time to cut the protruding spars and longerons from the tip. Before:
During...
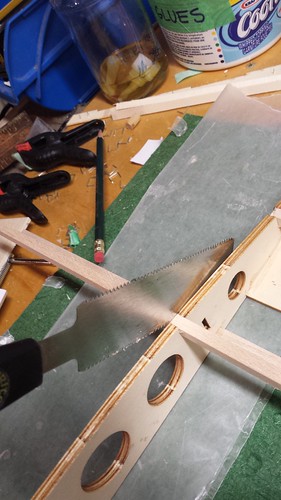
After (I had to keep reminding myself NOT to cut off the tip tab on the preliminary leading edge).
During...
After (I had to keep reminding myself NOT to cut off the tip tab on the preliminary leading edge).
11-04-2014, 09:32 AM
#43
Senior Member
Thread Starter
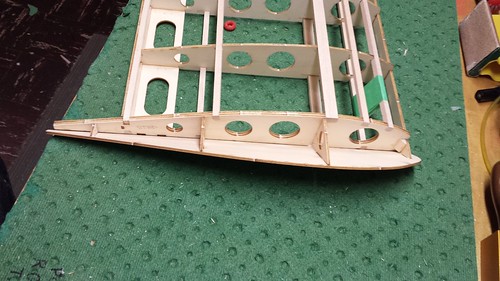
Time for a dry fit of the wingtip. It's angled and supported in four places by the preliminary leading edge tip tab and parts WT2, WT3 and WT4. I'm thinking a bead of glue along the joint might not be a bad idea.
From above...
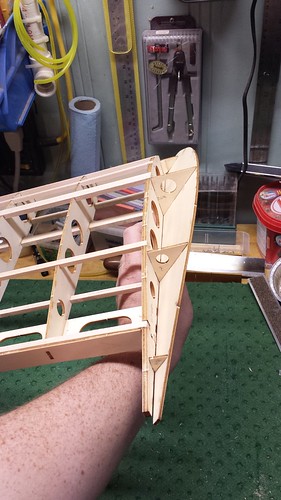
And below.
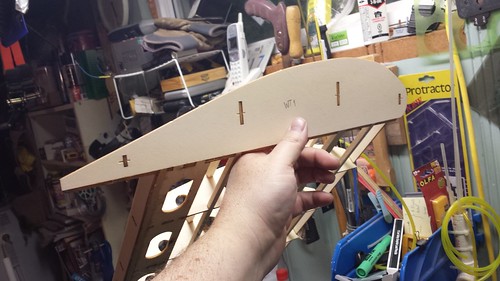
Before the glue up I will sand flush any last bits of protruding spar and longeron at the tip rib (W11).
From above...
And below.
Before the glue up I will sand flush any last bits of protruding spar and longeron at the tip rib (W11).
 11-04-2014, 04:57 PM
#45
Senior Member
Thread Starter
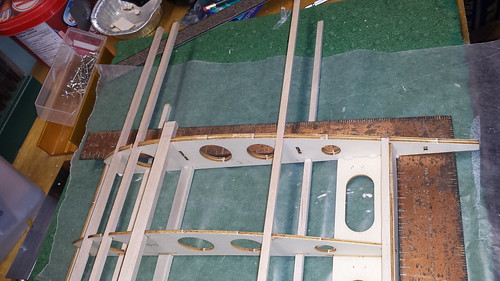
On to the port wing. I got the rib support plate stapled down in the right orientation so that's a good start.
The lower rear longeron is glued and braced for curing.

Nice clean beads.
The lower rear longeron is glued and braced for curing.
Nice clean beads.
11-05-2014, 06:27 PM
#46
Senior Member
Thread Starter
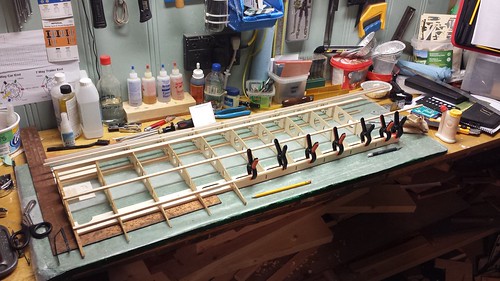
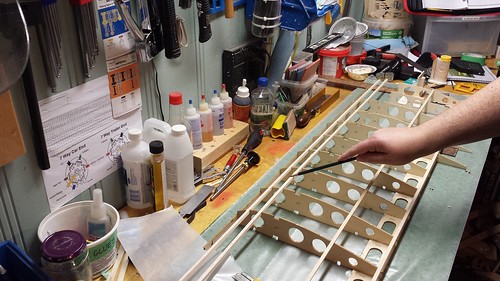
Got a good start on the port wing tonight.
Dry fitted.
Dihedral set and verified at root rib.
Root rib W1 glued in. Checking square at rib W2.
Ribs 1 to 5 glued in.
Dry fitted.
Dihedral set and verified at root rib.
Root rib W1 glued in. Checking square at rib W2.
Ribs 1 to 5 glued in.
 11-06-2014, 11:56 AM
#48
Senior Member
Thread Starter
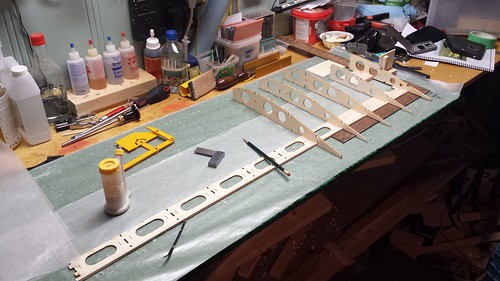
Preliminary leading edge W13 glued in.

Glue on the rear rib notches for the rear 5/16" x 1/4" longeron.
Rear longeron and aileron hinge plate glued in.
Tip rib W11 glued in ahead of schedule. Its installation is never specified in the manual but it magically appears in the photos for step 44. By that time the upper spar and longerons (step 34) have been installed, making installation of W11 rather difficult (as I learned with the starboard wing). This time I postponed step 34 until the after step 41, and I installed W11 at the end of step 35, which is when the aileron hinge plate is installed.
Clear? Good.
11-06-2014, 11:57 AM
#49
Senior Member
Thread Starter
Postponing steps 34 (3 x 1/4" x 1/4" upper longeron installation) and 37 (upper spar installation) made it much easier to get (a) the shear web plates W26 and the rear plate W15 installed on the front of ribs W1 and W2, (b) the shear web plate W26 installed on the rear of short ribs WF and (c) short ribs WF connected to the preliminary leading edge W13.
The upper spar came immediately afterwards...
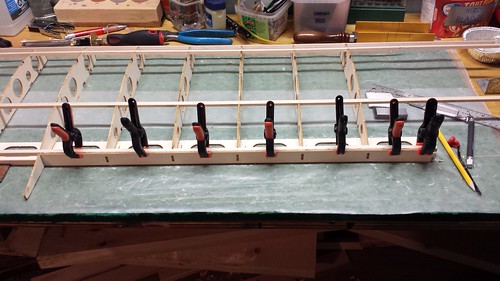
... followed by forward shear web plate W15. Both W15s are glued to the smaller plates W26 and to the upper and lower spars; they were clamped in place for the glue to cure.
Rear W15 clamped.

Front W15 clamped.
The upper spar came immediately afterwards...
... followed by forward shear web plate W15. Both W15s are glued to the smaller plates W26 and to the upper and lower spars; they were clamped in place for the glue to cure.
Rear W15 clamped.
Front W15 clamped.
11-06-2014, 11:57 AM
#50
Senior Member
Thread Starter
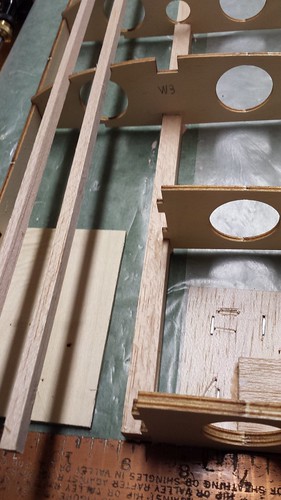
Another correction to the manual: Step 34 reads, "Slide two �’’ x �’’ balsa longerons into the ribs." There are three...
One...

Two...
Three.
One...
Two...
Three.