


BUSA QS Sopwith Camel
 11-09-2014, 10:52 AM
#1

Thread Starter
Join Date: Apr 2006
Location: Philadelphia,
PA
Posts: 263
Likes: 0
Received 0 Likes
on
0 Posts
It's been a long time since I've built a kit from start to finish so I've decided to build BUSA's newest QS model; the Sopwith Camel. I've been working on this kit for a week and I've just finished the top wing. It's typical BUSA and once I got my bearings everything started falling into place. There were some issues with the die cutting and BUSA said they would replace the parts but I told them I would muddle through. It's a good kit but in their efforts to make the instructions easier to understand I think they may have made things more confusing. Anyway, I'll start on the bottom wing tomorrow. I plan on flying this plane on New Years Day which I think is not unrealistic. It will be covered in Solartex, use all metal gear servos, and be powered by an NGH 38cc FSG. I'm now flying my QS DR-1 with one of these engines and I have to say; I'm in love! They run and look like an OS FS, sound very realistic, and pull the plane around with scale authority. For $300 and shipping from HK, they're a great value. Check them out. Here's my Camel's top wing already sanded and ready for the next step.


 11-09-2014, 08:14 PM
#4
My Feedback: (2)

Join Date: Jun 2013
Location: Evansville, IN
Posts: 429
Likes: 0
Received 0 Likes
on
0 Posts
Subscribed - I really am liking all the great looking WWI planes on here and think my next kit will be a German plane. The only problem is that everyone on here seems to have a Work of Art and I would be so scared to fly it.
They all look great and I am sure this one will also.
Keith
They all look great and I am sure this one will also.
Keith
11-10-2014, 06:36 AM
#5
Thread Starter
Join Date: Apr 2006
Location: Philadelphia,
PA
Posts: 263
Likes: 0
Received 0 Likes
on
0 Posts
Subscribed - I really am liking all the great looking WWI planes on here and think my next kit will be a German plane. The only problem is that everyone on here seems to have a Work of Art and I would be so scared to fly it.
They all look great and I am sure this one will also.
Keith
They all look great and I am sure this one will also.
Keith
11-11-2014, 02:51 PM
#6
Thread Starter
Join Date: Apr 2006
Location: Philadelphia,
PA
Posts: 263
Likes: 0
Received 0 Likes
on
0 Posts
Happy Veterans Day to all my fellow veterans. Today's progress on the Camel has me building the right lower wing panel. I had the usual problems of not thinking or paying attention but debonder got me out of trouble and I'm back on track which is no easy feat as I'm suffering from an upper respiratory infection and am on high powered drugs. The steroids and the puffer taste terrible. Todays photos show the root of the lower right wing panel where it will meet up with the center section. Dave Lewis of BUSA is now on speed dial and he now answers his phone "Hi Ken" as he's expecting his daily call from me about 5pm EST. On page 30 of the instructions on the left upper corner it talks about installing the #8 trailing rib but there is three of them. After talking with Dave, I now understand it's the one closest to the tip and not the fuselage. BTW, this rib and its corresponding fake tip must be angled with the dihethral gauge as that's where it joins the center section. The #6 and #7 ribs go in after everything is joined up. The photos below show where I stopped today because it's 5pm (quitting time) and I'm tired (I'm sick, remember?). 9am tomorrow and I'll be ready to go.
I was an asst. director of dist. 3 for the late and great IMAA and I used to write review articles and such for High Flight magazine. My style and demeanor was somewhat that of Tim "The Toolman" Taylor where I made the mistakes and ran into problems so the reader didn't have to. I hope you enjoy reading this building thread and take it in the spirit it is offered. I'm not an expert. I'm just an average slob who is trying to build his airplane with the hopes that one day it might actually fly. BTW, I think I'm getting better as today I only glued myself to the model once and didn't cut or poke myself. Hey, try going to the emergency room sometime with a stab wound to your stomach and trying to make them really believe you did this while building a model airplane! They wanted to know about the other guy. I didn't have the nerve to tell them I did it before talking to my girfriend for 15 minutes, poked my finger in the hole to control the bleeding, and drove to the hospital that way. On our first (and last) date the next night, she knew nothing of the incident. You must take this story to your graves.


I was an asst. director of dist. 3 for the late and great IMAA and I used to write review articles and such for High Flight magazine. My style and demeanor was somewhat that of Tim "The Toolman" Taylor where I made the mistakes and ran into problems so the reader didn't have to. I hope you enjoy reading this building thread and take it in the spirit it is offered. I'm not an expert. I'm just an average slob who is trying to build his airplane with the hopes that one day it might actually fly. BTW, I think I'm getting better as today I only glued myself to the model once and didn't cut or poke myself. Hey, try going to the emergency room sometime with a stab wound to your stomach and trying to make them really believe you did this while building a model airplane! They wanted to know about the other guy. I didn't have the nerve to tell them I did it before talking to my girfriend for 15 minutes, poked my finger in the hole to control the bleeding, and drove to the hospital that way. On our first (and last) date the next night, she knew nothing of the incident. You must take this story to your graves.
 11-11-2014, 07:31 PM
#8

Join Date: Mar 2006
Location: Peculiar, MO, AMERICAN SAMOA (USA)
Posts: 87
Likes: 0
Received 0 Likes
on
0 Posts
Subscribed  Glad to see someone doing a build thread on one of these. I have really been considering one. Of course,my mind keeps writing checks that my time and energy simply can't cash
Fred
Glad to see someone doing a build thread on one of these. I have really been considering one. Of course,my mind keeps writing checks that my time and energy simply can't cash Fred
11-12-2014, 08:51 AM
#9
My Feedback: (2)
Join Date: Jun 2013
Location: Evansville, IN
Posts: 429
Likes: 0
Received 0 Likes
on
0 Posts
K
11-12-2014, 09:52 AM
#10
Thread Starter
Join Date: Apr 2006
Location: Philadelphia,
PA
Posts: 263
Likes: 0
Received 0 Likes
on
0 Posts
My biggest problem is the bull in the china shop (my wife) who walks thru the basement and garage without watching where she's going. I make sure she has a wide berth. But, in all fainess, she has a serious vision problem so she does her best.
 11-12-2014, 12:58 PM
#12
Thread Starter
Join Date: Apr 2006
Location: Philadelphia,
PA
Posts: 263
Likes: 0
Received 0 Likes
on
0 Posts
I ran out of glue but BUSA will be delivered tomorrow so I'll pick up after the UPS man gets here. I need to finish installing the shear webs, flip the wing over and install the aileron servo mount, cap strip the bottom, finish the aileron, shape the wing tip, and I'll be ready to move on to the other panel. Here's a question to be pondered. If this is a 1/4 scale airplane then why doesn't the hardware package include 1/4 scale hinges?
On a sadder note, Mrs. Wolowitz passed away today. RIP Mrs. Wolowizt and to Howard and Bernadette; I'm sorry for your loss.

On a sadder note, Mrs. Wolowitz passed away today. RIP Mrs. Wolowizt and to Howard and Bernadette; I'm sorry for your loss.
11-14-2014, 03:03 PM
#14
Thread Starter
Join Date: Apr 2006
Location: Philadelphia,
PA
Posts: 263
Likes: 0
Received 0 Likes
on
0 Posts
Today I got about three hours of work done as I had to go to the bank with the wife and then take her to lunch. The right lower wing panel is built and sanded. I haven't installed the aileron servo mounting stuff yet as I'm still pondering how I'm going to do it. I like to make things easily accessible in case I need to work on them later. Also pictured with the wing panel is my new Great Planes multi sander. Like the T sander, you stick sand paper on it and go to town. However, this has grooves for LE, TE, and corner rounding. It made fast work of a usually tedious job and it's only $7.99. BTW, if you're serious about building, look at the hand tools Tower and BUSA sells. They're worth buying. See you next week.

11-14-2014, 05:14 PM
#15
Join Date: Mar 2006
Location: Peculiar, MO, AMERICAN SAMOA (USA)
Posts: 87
Likes: 0
Received 0 Likes
on
0 Posts
I have one of those multi sanders. They do come in handy,beats the heck out of a block of wood.
A tool I never realized how much I needed was this miter sander.
http://www.advantagehobby.com/63069/FOR154/
You can make nice square edges,or get out a protractor and measure angles on plans and make parts fit perfectly.
Fred
A tool I never realized how much I needed was this miter sander.
http://www.advantagehobby.com/63069/FOR154/
You can make nice square edges,or get out a protractor and measure angles on plans and make parts fit perfectly.
Fred
11-18-2014, 01:05 PM
#16
Thread Starter
Join Date: Apr 2006
Location: Philadelphia,
PA
Posts: 263
Likes: 0
Received 0 Likes
on
0 Posts
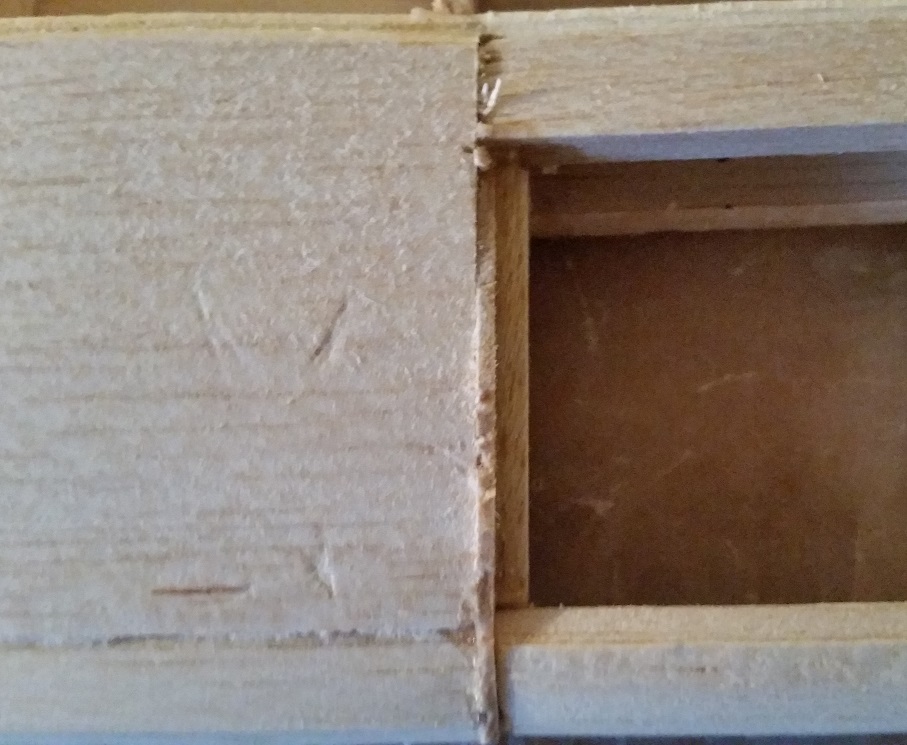
Todays progress was finishing up the wing panels, hinging the ailerons, rough sanding the wings, building the center section, and rough sanding it. Tomorrow I'll install the aileron servo mounts, all the aileron hardware, and perhaps join the lower wing panels. As you can see by todays photo, the upper sheeting hasn't been installed. This will be done after the wings are joined and the aileron servo wires are in place. When I join the lower wing panels with the center section, I'll be using 5 minute epoxy and clamps. This will give me time to adjust things if need be and will insure the wings won't break apart. The wings will be finished by the end of this week and the fuselage will probably be started. The kit box is starting to look empty.
As I said when I started this thread, I'm writing this to show the new builders what's involved and how it's done (or shouldn't be done). So please be patient if I seem to be very basic. It's been my experience that the "experts" opinions hing around the unstated statement "perhaps one day you might be able to do what I do but I doubt it". This is far from the truth. Most of the popular kits can be built by almost anyone so long as they take their time and get help when they get stuck. Do you want to build your first giant scale WWI warbird? Good, buy yourself a BUSA Eindecker 90. It's easy to build and a good first kit, can be powered either electric, glow, or gasoline, and is a very very easy and fun to fly airplane. You've now consulted The Plane Doctor and received your prescription so go glue something together. The sermon is ended; glue in peace.

As I said when I started this thread, I'm writing this to show the new builders what's involved and how it's done (or shouldn't be done). So please be patient if I seem to be very basic. It's been my experience that the "experts" opinions hing around the unstated statement "perhaps one day you might be able to do what I do but I doubt it". This is far from the truth. Most of the popular kits can be built by almost anyone so long as they take their time and get help when they get stuck. Do you want to build your first giant scale WWI warbird? Good, buy yourself a BUSA Eindecker 90. It's easy to build and a good first kit, can be powered either electric, glow, or gasoline, and is a very very easy and fun to fly airplane. You've now consulted The Plane Doctor and received your prescription so go glue something together. The sermon is ended; glue in peace.
11-19-2014, 07:53 AM
#17
My Feedback: (2)
Join Date: Jun 2013
Location: Evansville, IN
Posts: 429
Likes: 0
Received 0 Likes
on
0 Posts
Karp - have you found that Epoxy works better than a good quality wood glue when working with wood? I would think wood glue would penetrate the wood better for a good joint. I guess it has to do with shear strength or something like that??
Keith
Keith
11-19-2014, 08:09 AM
#18
Thread Starter
Join Date: Apr 2006
Location: Philadelphia,
PA
Posts: 263
Likes: 0
Received 0 Likes
on
0 Posts
Keith, perhaps it's just me but I do like the short curing time for epoxy. Also, I used white glue for hinging once and found it melts in the sun and loses grip. Thankfully I didn't learn the hard way. I realize you're not talking about white glue but once I get gun shy I stay gun shy. BTW, when the giant B-29 crashed at Warbirds Over Delaware this year, guess who was sitting under his tent 10 feet away from the crash site? Talk about gun shy!
11-19-2014, 12:20 PM
#19
Senior Member
I started my Camel 2 weeks ago Have the top wing and half bottom wing built I built the Albatros last winter this will be nothing compared to that Dave's instructions are super detailed but I think he could leave out the stuff about a small workbench
11-19-2014, 03:50 PM
#20
Thread Starter
Join Date: Apr 2006
Location: Philadelphia,
PA
Posts: 263
Likes: 0
Received 0 Likes
on
0 Posts
Before I go into the airplane stuff I want to announce that my younger son Andrew and his lovely wife, Heather, are expecting a baby in April of 2015 and it's already been confirmed it's a boy. His name will be Logan Xavier Karpinski so I got an airplane buddy on tap. Yay.
Albert, congrats on building that Albatros. I think I would have lost my mind on that project. After building the Morane- Salnier 1/3 scale this year, I've sworn off anything bigger than an 80-90" wing. I do have a customer who wants me to build a Top Flite P-51 but that won't start until after Christmas. Now to the building.
I finished building the bottom wing today with the exception of installing the locator dowels and some of the sheeting. I'll do that tomorrow. I built the mounts and installed the aileron servos, their horns, and their wires today. The wires will stay in place for when the wing is covered and the servos are re-installed. The mounts were made of hard wood and built right onto the ribs with the servos parallel to the spar. That way the wires have a direct shot to the center. The servos are HD Power 1201mg's which are metal gear, 187 ounces of torque at 6.0 volts, and only $12.00 from Hobby King. They are my servo of choice now. The extensions also came from HK. As you can see, the extension ends are taped in place so I can get to them after I sheet the center section which has now been done. There was a little space where the wing panels met the center section at the LE and TE so I glued in some scrap balsa and matched everything up real nice. For you new guys, If you have things lined up nice but you have gaps, fill it with scrap wood and not glue. I almost forgot to install a couple of ribs but they're in place now so I'll finish up the sheeting tomorrow and sand everything to shape. It'll look good. While working today, I glued myself to the wing wing about a half dozen times so I decided it was time to quit for the day. I'll peel the CA off my fingers while watching the Flyers lose. The sermon has ended. Glue in peace.
11-19-2014, 05:08 PM
#21
My Feedback: (2)
Join Date: Jun 2013
Location: Evansville, IN
Posts: 429
Likes: 0
Received 0 Likes
on
0 Posts
Keith, perhaps it's just me but I do like the short curing time for epoxy. Also, I used white glue for hinging once and found it melts in the sun and loses grip. Thankfully I didn't learn the hard way. I realize you're not talking about white glue but once I get gun shy I stay gun shy. BTW, when the giant B-29 crashed at Warbirds Over Delaware this year, guess who was sitting under his tent 10 feet away from the crash site? Talk about gun shy!
Karp - congrats on the new grandson - hopefully he will get the fever for flying when he gets older.
On the glue, I was just talking about wood to wood. I always use either epoxy or expanding glue for hinges or other surfaces other than wood. For main joints I use wood glue and for ribs I use CA and/or wood glue depending on the need and structure.
Great build............!!
Keith
11-20-2014, 07:47 AM
#22
Senior Member
Yes the Albatros was a "All winter / project" I just got it finished in time for our April builders show Won first place The fuse is the big part Round and covered with 1/8 balsa and the tail is also covered lots of cutting and piecing Can't really recomend it It flew great my flying buddy is still talking about how well it handled
11-20-2014, 08:19 AM
#23
Thread Starter
Join Date: Apr 2006
Location: Philadelphia,
PA
Posts: 263
Likes: 0
Received 0 Likes
on
0 Posts
Todays massive dose du joir is that the bottom wing is complete and ready for sanding. Then it's time to move onto the next part: The Tail Section! Oh what new hell this will be!

11-20-2014, 08:31 AM
#24
Thread Starter
Join Date: Apr 2006
Location: Philadelphia,
PA
Posts: 263
Likes: 0
Received 0 Likes
on
0 Posts
Here's my 1/4 scale Tiger Moth ARF. At 105", it's huge. It takes great ingenuity to load this monster into my mini van and that's why it's sold awaiting delivery. It flys great but the transporting, set up, and break down is murder on my back. I had a 1/3 scale DR-1 and DV-III that I sold without ever outfitting or flying because of logistics. QS is my thing from now on.


11-20-2014, 01:35 PM
#25
Thread Starter
Join Date: Apr 2006
Location: Philadelphia,
PA
Posts: 263
Likes: 0
Received 0 Likes
on
0 Posts
The wings are sanded and have balsa filler applied. I'll sand them down tomorrow and start working on the tail feathers. Let's talk about glue. Glue cost is one of those incidentals you really don't think about when building a model but can become substantial when a giant scale project is involved. So far I think I've used (4) 2 ounce bottles of med CA to get the wings done. I'm projecting I'll use at least four more to finish the project and at $7.50 plus shipping, glue cost could reach $100. The only place I can get a substantial quantity discount is Tower at $5.99 a bottle and you save .40 if you buy 3. I bought 15 and a 20-6 prop so I got $15 off and $3 for priority shipping. Ya gotta get the most bang for the buck.