


SIG Biper Cub (Kit Bash)
 02-24-2015, 06:17 AM
#51

Thread Starter
On my first Cub I set them up as per the manual and they appear to hold up well. The bottom door doesn't go all the way down, and thats the part I dont like. I also covered the window frame and door with Koverall to make them stronger, and that helped a lot.
 02-24-2015, 11:45 AM
#52

Ok, so does it bind at the hinges as it opens, or is it binding at the lower door seam as the door swings down... to get it to swing flat down the fuse side ( without the struts fouling, or the door handle holding it off ) the hinge pivot points need to be away from the fuse side, in other words the hinges need to protrude a bit past the seam so the gap doesn't close up and bind when the door is opened fully.
You can see how the hinge pivot pin stick out past the door seam.

John M,
You can see how the hinge pivot pin stick out past the door seam.
John M,
02-24-2015, 12:35 PM
#53
Thread Starter
Yeah, the way the manual puts them, the hinge is inside the door, so the pin does not stick out, so it binds about 3/4 open. I figured out what to do with the doors, and instead of using hinges between the bottom door and window frame, going to use fabric for the hinges. Going to have it swing up, and will put a lock up on the wing to hold it open using the same lock that is used to hold it closed. I might move the lock down to the bottom of the door so it latches at the bottom instead of the top.


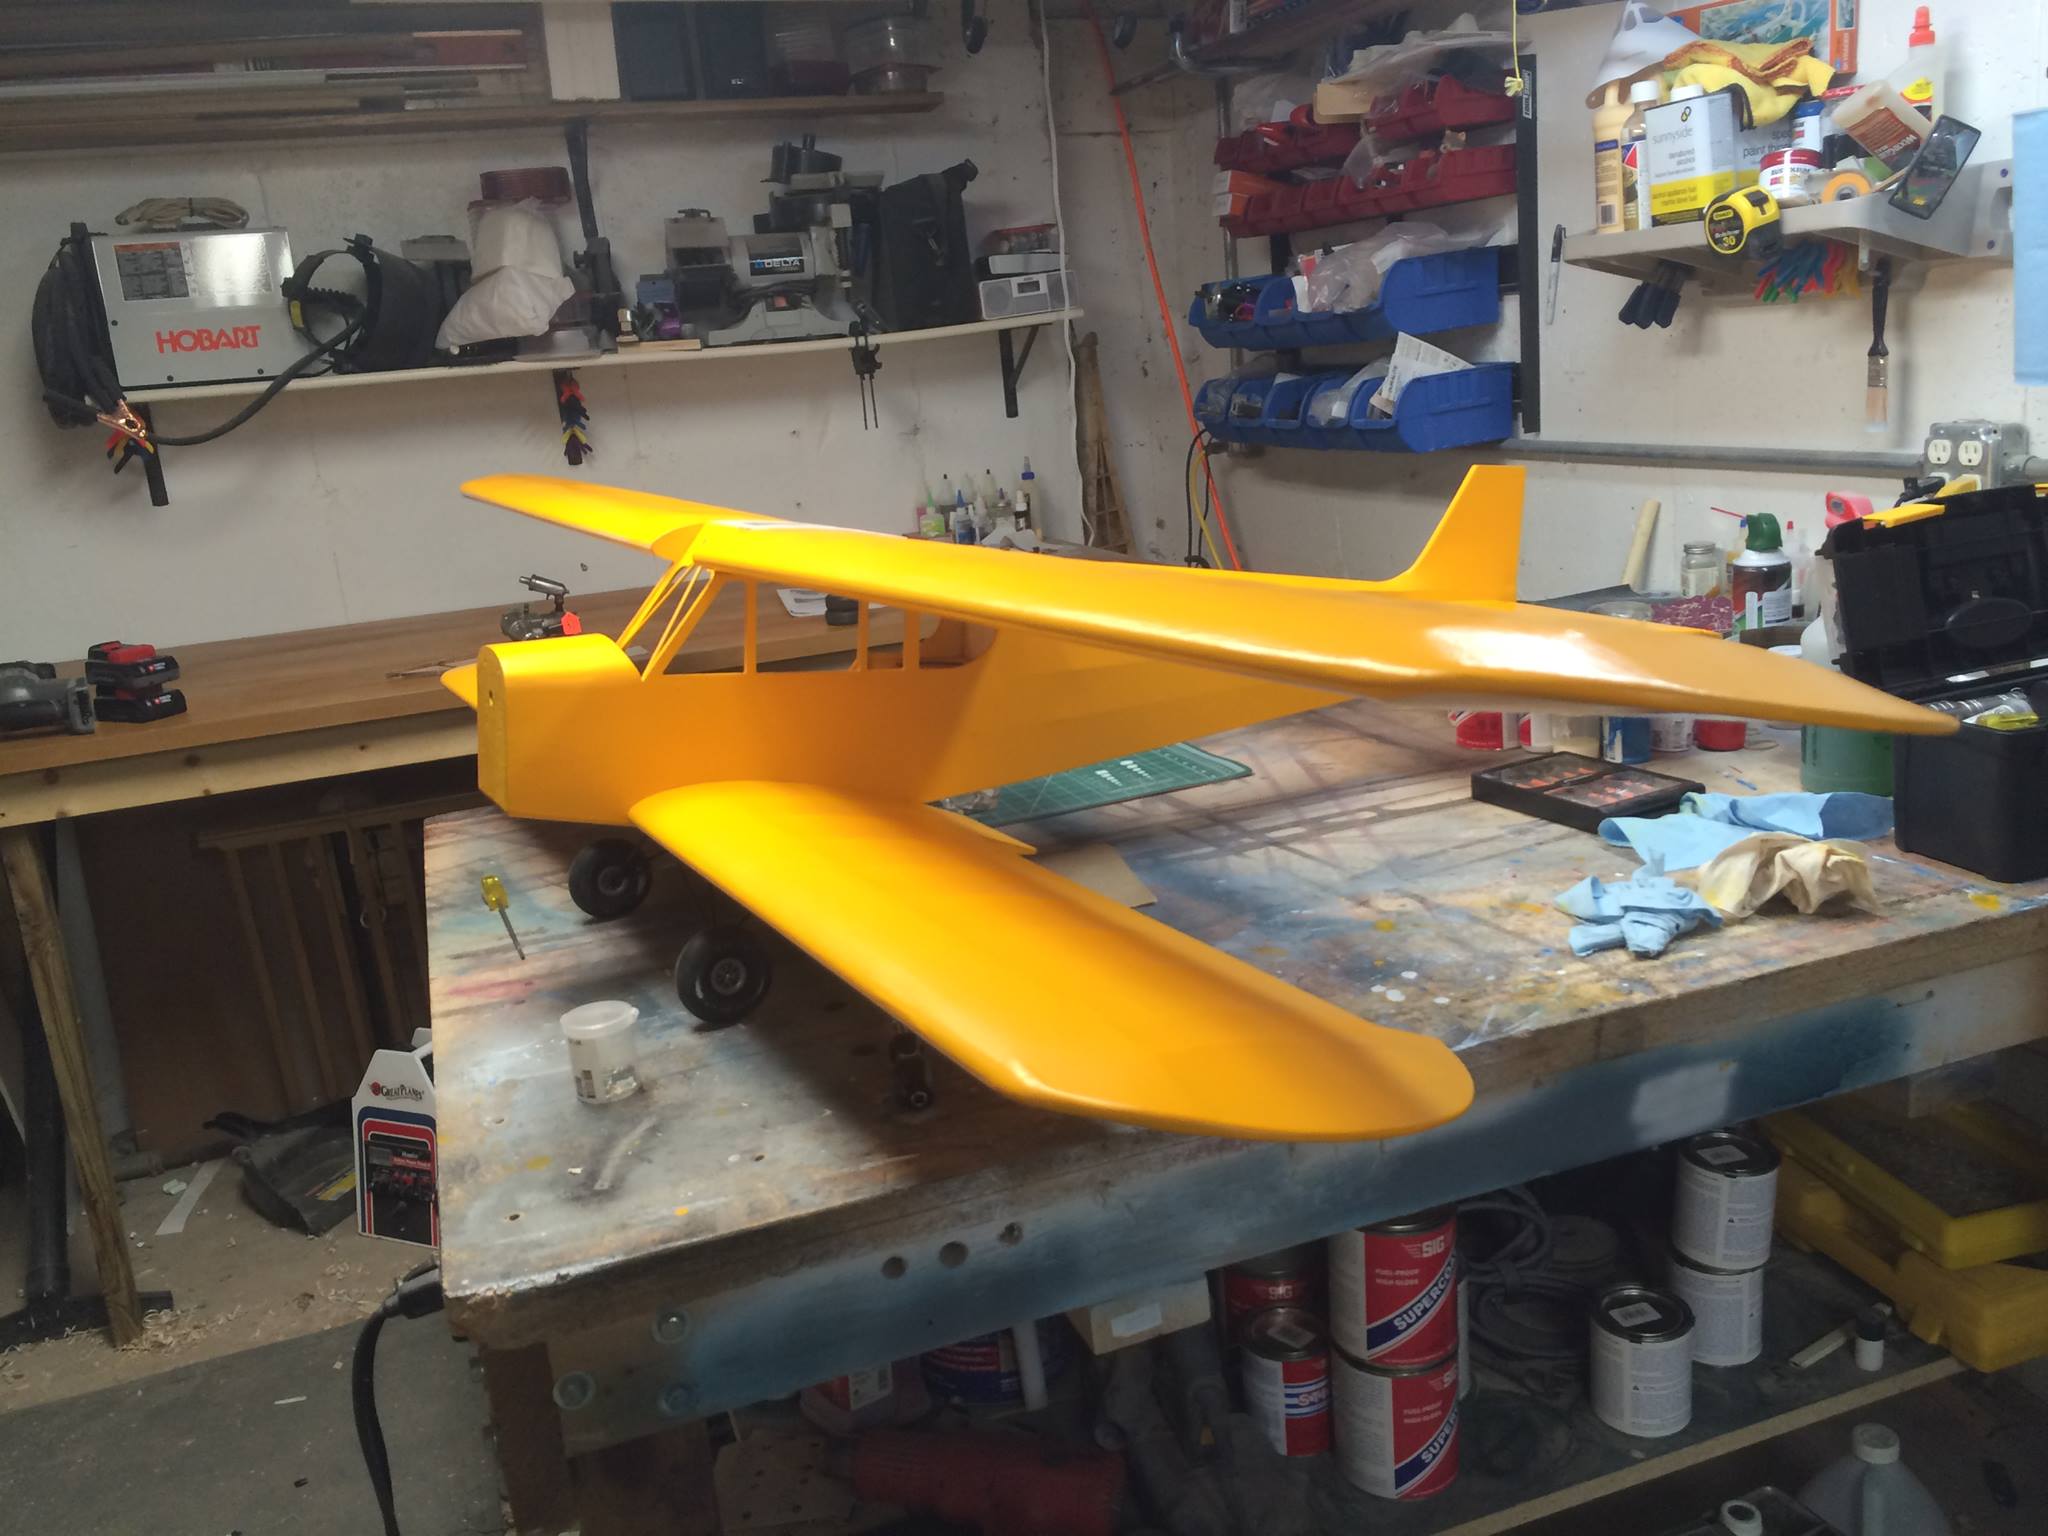
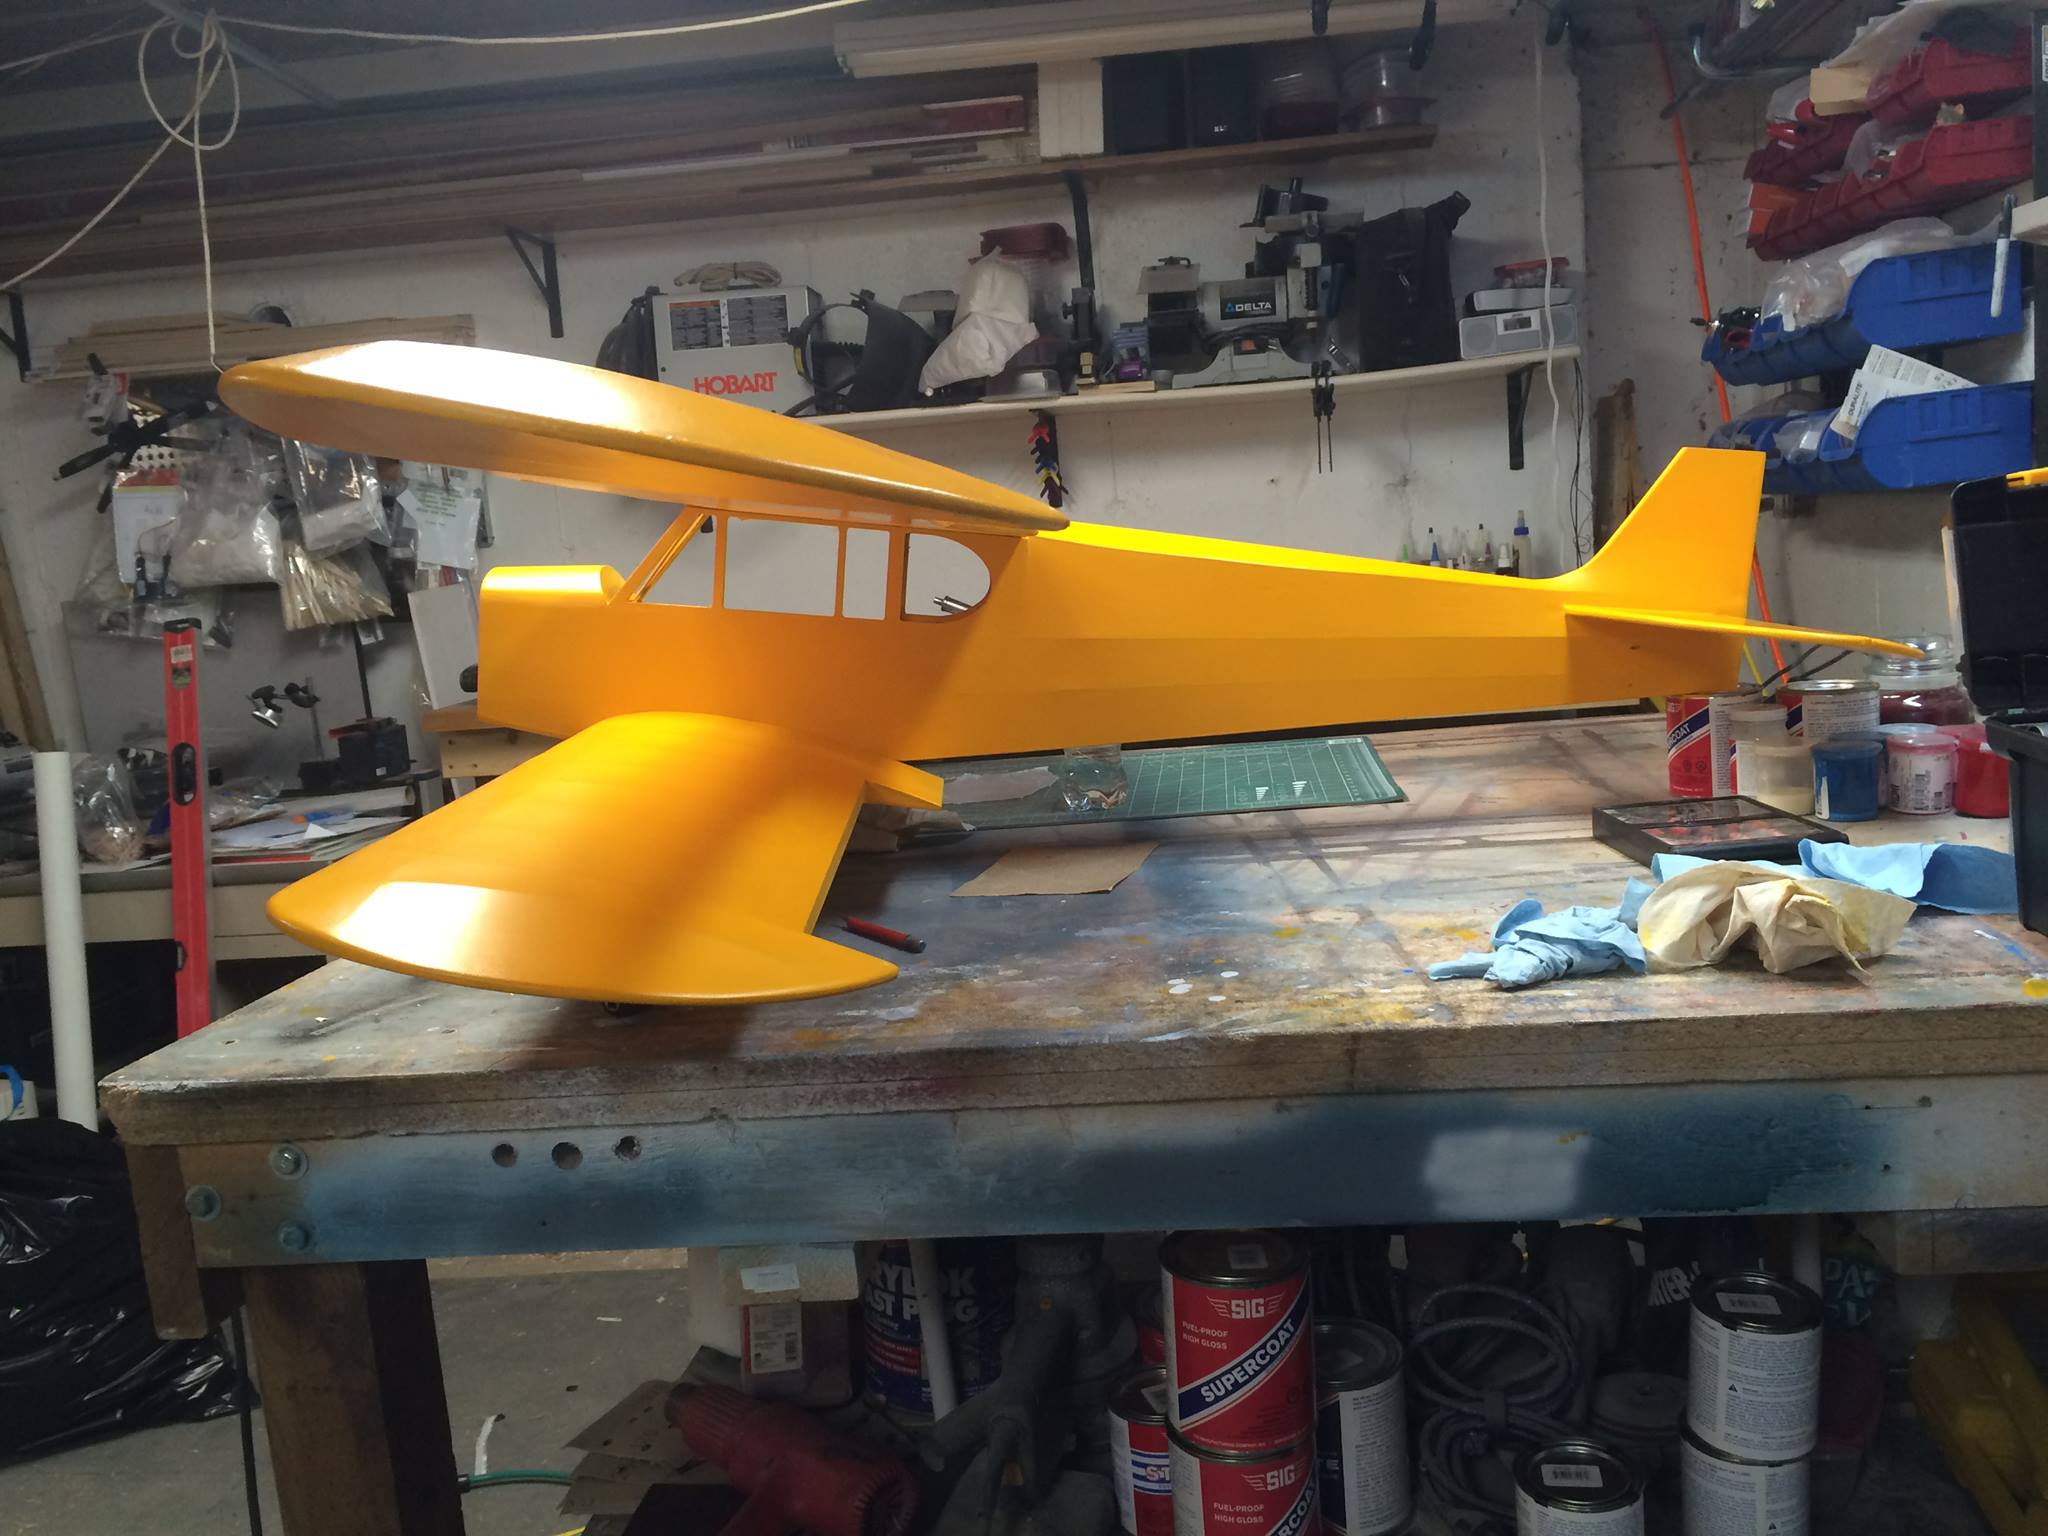
The Stab and fin are done, just waiting on the epoxy to set then put the fairings on, and sand the tail, then it is ready to cover. The wings need some shims done, then they are ready to cover too. Really liking how this came out, and should be quite an eyeful at the field.
The Stab and fin are done, just waiting on the epoxy to set then put the fairings on, and sand the tail, then it is ready to cover. The wings need some shims done, then they are ready to cover too. Really liking how this came out, and should be quite an eyeful at the field.
02-24-2015, 01:46 PM
#55
That looks very nice acdii... the fabric hinge seems to work just fine, but you'll have to make sure not to get any dope in the weave where it flexes... small magnets would work as well to hold the door open... on my H9 super cub there's a magnet imbedded in the wing sheeting, and another in the actual door / window frame... very strong, and it holds it open while flying with no problems... its a clean and invisible way to hold the door / window open.
John M,
John M,
02-25-2015, 03:37 PM
#56
Thread Starter
That looks very nice acdii... the fabric hinge seems to work just fine, but you'll have to make sure not to get any dope in the weave where it flexes... small magnets would work as well to hold the door open... on my H9 super cub there's a magnet imbedded in the wing sheeting, and another in the actual door / window frame... very strong, and it holds it open while flying with no problems... its a clean and invisible way to hold the door / window open.
John M,
John M,
I started the covering, and found I have just enough Koverall for the wings, and small parts like the fin, rudder and Ailerons, but not enough for the fuse, so placed an order for another 5 yards and Cub Yellow Dope.
03-06-2015, 01:17 PM
#57
Thread Starter
Well, magnets work well. Used two of them to secure the door in the open position. The one on the wing is on the outside, so will have to put some fabric over it so it blends in.


As for the rest, all but the door, rudder and ailerons are covered and being finished.

As for the rest, all but the door, rudder and ailerons are covered and being finished.
03-07-2015, 08:55 AM
#59
Thread Starter
I ran out of MEK substitute for thinning, so had my wife stop and get some on her way home, and they didn't have any substitute, so she got the real stuff. One look at the label, and looks like I need to return it and find the substitute. It says extremely flammable and sinks, so not going to use it. Have to put this on hold until I can find the stuff I have been using as it is not nearly as bad.
04-25-2015, 11:46 AM
#60
Thread Starter
Well, I got a job so work slowed to a crawl, and I ran out of dope so had to get some more. It came the other day so all set to finish. Wings need a final coat, need to put a coat of white down on 2 panels and then the top coat, learned too late that yellow does not cover well. Once the wings have the last coat on, then I fit the rudder, door and ailerons and get them covered and painted, paint the struts, make the end wing joining struts and paint them, then its on to the gear and have it ready for its maiden. My goal is to have the maiden done by June 1st so I can fly it at the SIG flyin this year. I was going to run an OS-70FS, but found a fairly new Saito 100, so have to redo the mount, but since my other Cub has the same engine, I just have to mirror that setup, which means the cowl will be Easy!
09-06-2015, 03:34 PM
#63
Thread Starter
Got some work done on it today, it was too hot out to fly, so spent time in my nice cool workshop and built the wing struts. Once the glue sets I have to trim the aluminum brackets, shape the wood, and wrap the joints with glass, then dope all the struts. After that put the rudder and ailerons on. I decided to fix the bottom wing ailerons by covering them with fabric across the wing. If I decide later on that they would help with controls, then I just have to trim around the aileron to make them functional.


04-24-2016, 05:15 PM
#65
Thread Starter
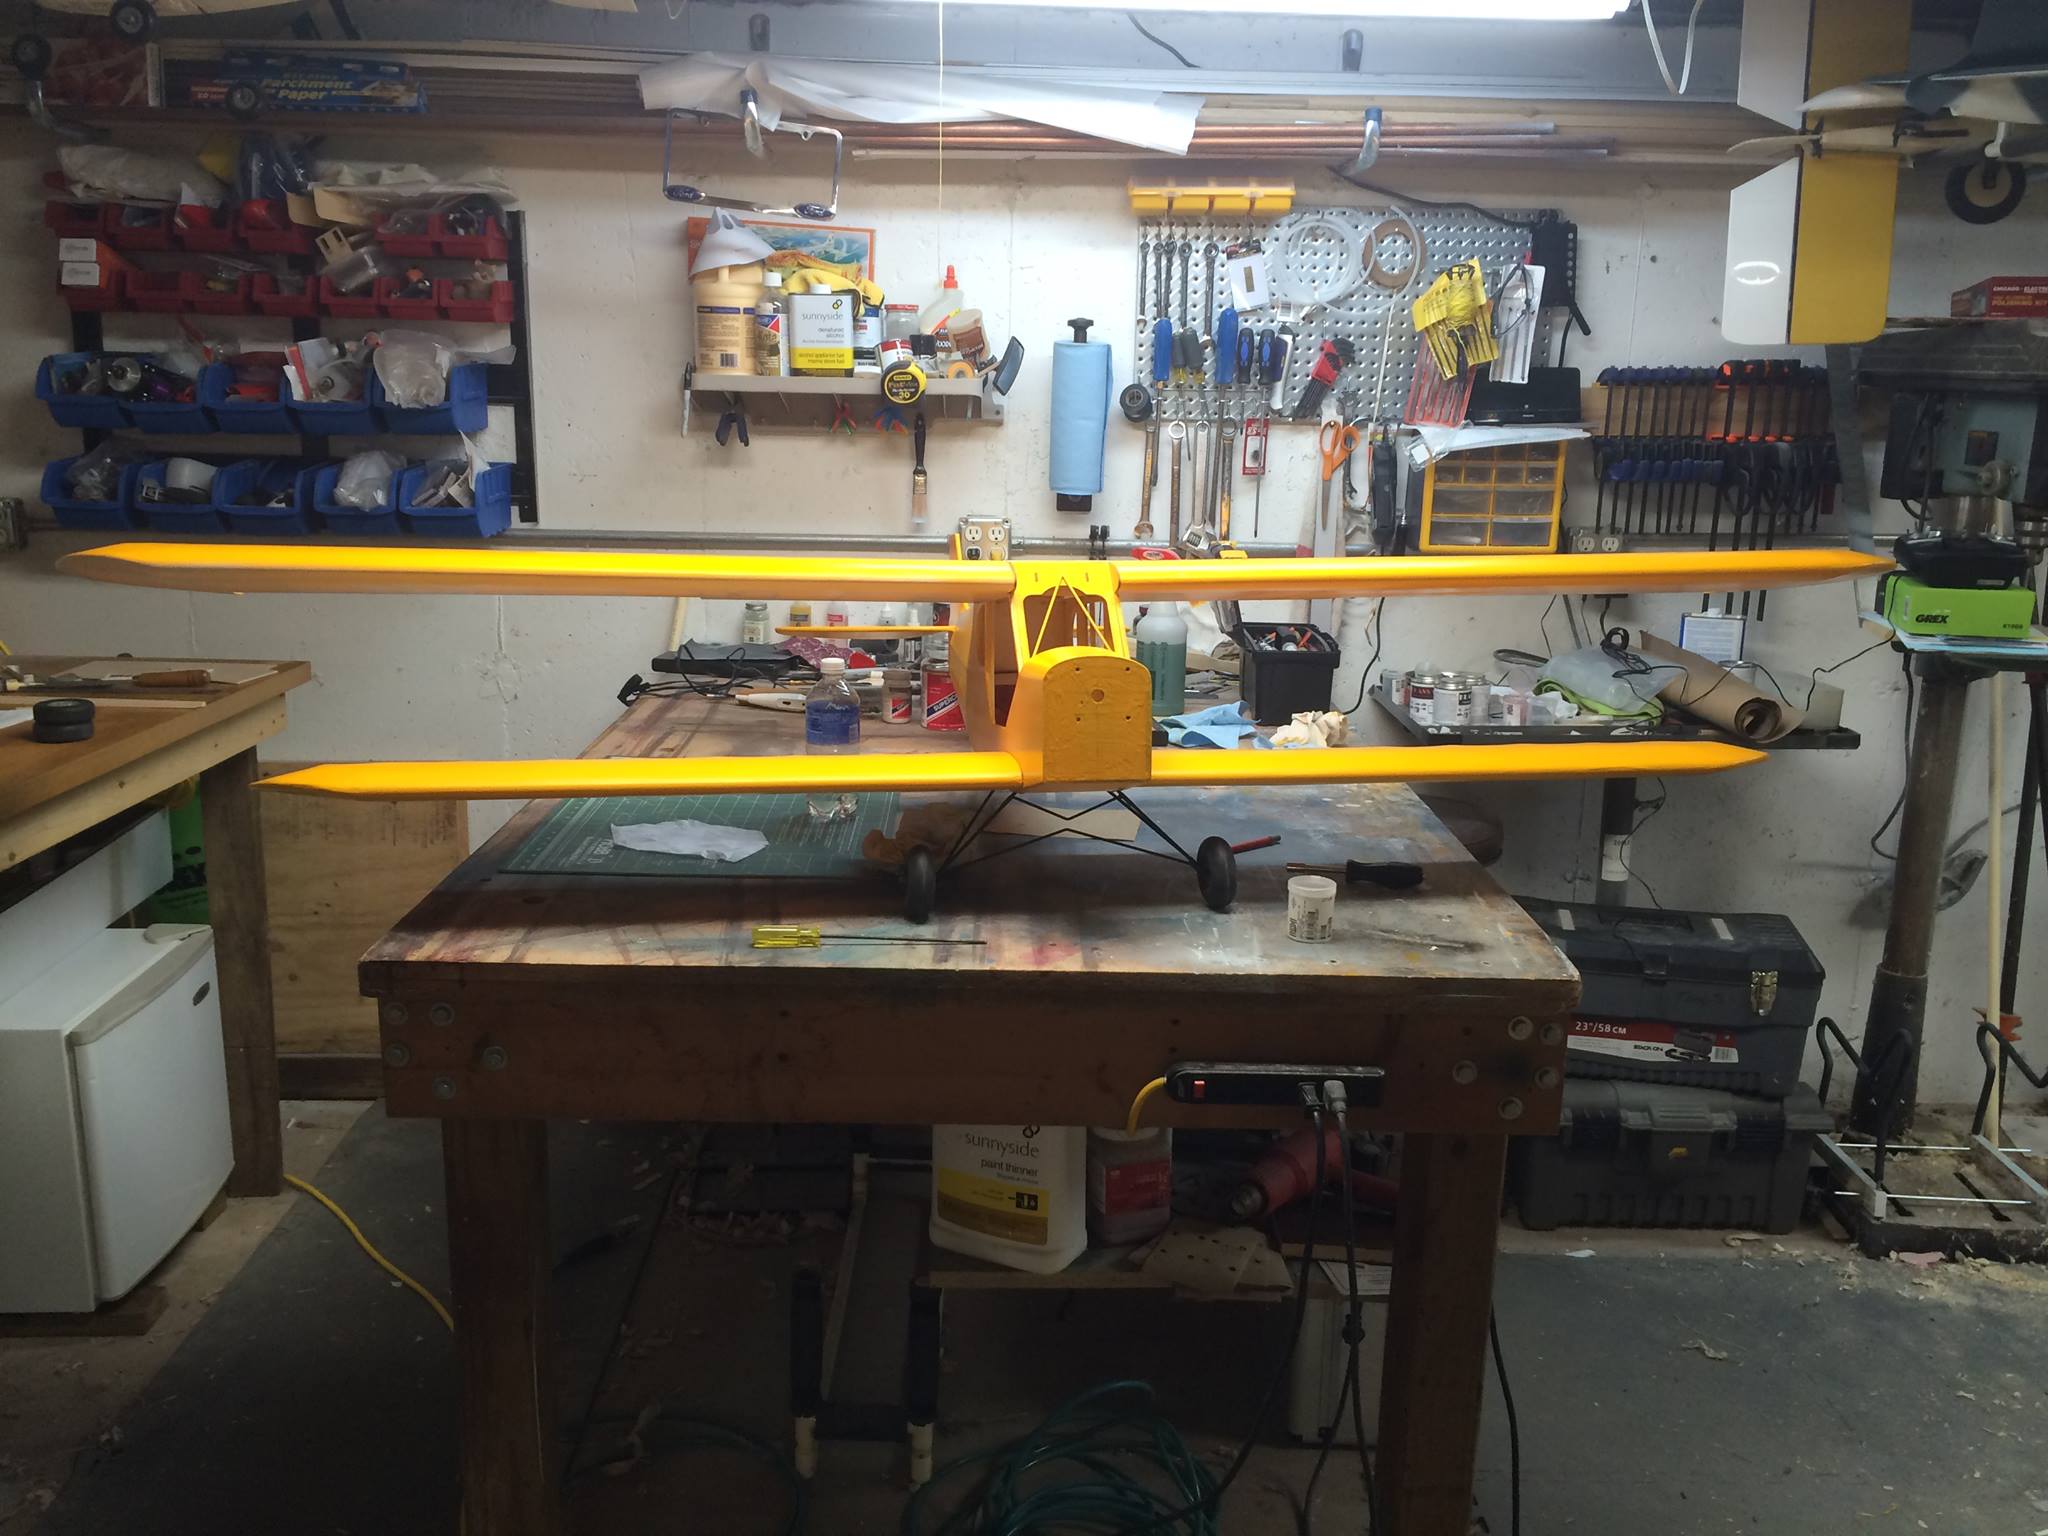
Well finally got some time to work on it today. Tail is all hooked up and working well, Engine is mounted, and all I have left it to hook up the throttle, place the tank and hook up the lines, and mount the RX and switch. Battery placement will come after I balance. Then put the windows in and the fuse is finished. Wing braces are done, struts need doping, and all that is left are ailerons. Going to leave the cowl as it is for now until after I get some flights in with the used engine. If it flies well then I will open the cowl up and put it on. If it doesnt work, then I will look around for a twin for it.
Other than the rudder and the braces painted, it looks like the picture above, so no new pics yet.
Other than the rudder and the braces painted, it looks like the picture above, so no new pics yet.
05-15-2016, 04:51 PM
#66
Thread Starter
Three wings done, one to go. Cowl painted, dummy engine on, just have to open it up for the engine. Since I am using the same engine that is on my other Cub I can copy it exactly. Hopefully another full day of work on it and it will be ready to fly. Experimenting with LustreKote on the cowl, and strut. Will see how dope reacts to it, can always sand off the lustrekote on the strut if needed. The color isn't an exact match to the dope, so the cowl is a bit lighter in color.
So two or three more clear coats, then a couple white coats, and a few color coats and the lower wing is done, then I can assemble them and balance it.
So two or three more clear coats, then a couple white coats, and a few color coats and the lower wing is done, then I can assemble them and balance it.
 06-27-2016, 05:11 AM
#68
Thread Starter
Sadly the balance point was way off. Looks like it should have been 23% MAC, not 30% MAC. That bugger was too tail heavy. I nearly got it down safely until some mf idiot drove a bobcat across the runway as I was on final, then I had something fail in one of the wings and it kept rolling left. I eventually got it low enough for a forced landing. Damaged the lower wings, and upper fuse. I have to rebuild both bottom wings from rib 3 to the fuse, and repair the upper cabin where the right wing attaches. Upper wings are fine, but need new wing braces.
06-30-2016, 08:34 AM
#69
Not sure where your CG figures came from, but all else equal if you increase wing area you need more stab area to get the same stability at the same CG. Even then, it's hard to tell with bipes because you don't know how much of the load is carried by which wing. I have been surprised by two of my bipes now. I did my usual calculations to get a balance point, but they both were very neutral in pitch, and a little unnerving to fly until I moved the CG forward, more than I expected. I my case a heavy hub was all I needed. Nice looking plane, sorry to hear of the damage.
Jim
Jim
07-02-2016, 07:09 PM
#70
Thread Starter
Well, unless I happen upon a lot of unexpected free time, it will be at least a year before it will be ready to fly again. I have too many other projects to finish at the moment. My current one I want to finish is a giant scale P-47. I just flew my 60 size P-51, and it was a blast.
