


SIG Stratus (#RC4) - the long slow plans build


 02-28-2015, 03:24 PM
#27

Thread Starter
The progression is definitely progressing. Both wings are framed, landing gear mounts are tacked in but nowhere close to being called "installed".
For those who might think about building from plans: Rib #1 is 1/8" short in front. It also has the spar cuts about 1/16" too far forward.
Rib #7 spar cutouts need to be enlarged by about 1/16" in the rear. Rib #8 is about 1/16" too short in front.
And that's the sum total of adjustments so far.


Lovin' it!!!
For those who might think about building from plans: Rib #1 is 1/8" short in front. It also has the spar cuts about 1/16" too far forward.
Rib #7 spar cutouts need to be enlarged by about 1/16" in the rear. Rib #8 is about 1/16" too short in front.
And that's the sum total of adjustments so far.
Lovin' it!!!
03-03-2015, 12:38 PM
#28
Thread Starter
So! Wing's one piece and I've just barely started sheeting. You can see the lengthened spar joiner in the pics. The original was supposed to be in the center section only - I went out to Rib#3, which is probably overkill but I know me and landings, they're not always so smooth. The joiner is made from sheet aluminum (center) laminated with a layer of 3/32" ply (each side) and 3/32" balsa (each side). Should hold things together.
Original has full sheeting but I'm planning to go with open ribs (capped) between the spar and TE sheet to try to drop the weight a bit - plus, I like the effect of seeing ribs under cover. Idunnowhy-justdo. After this pic was taken I decided I really didn't need ALL that bracing (the dark cherry) for the landing gear so I used my trusty, dusty dremel and shaved the top square piece down to 1/3 the height shown in the pics. Should be quite enough.

 Gotta tell ya, this is a lotta wing.
Hey guys, next question. I've never bent wire for landing gear. This critter takes 5/32" - should I heat it for bending or just go it cold?
Original has full sheeting but I'm planning to go with open ribs (capped) between the spar and TE sheet to try to drop the weight a bit - plus, I like the effect of seeing ribs under cover. Idunnowhy-justdo. After this pic was taken I decided I really didn't need ALL that bracing (the dark cherry) for the landing gear so I used my trusty, dusty dremel and shaved the top square piece down to 1/3 the height shown in the pics. Should be quite enough.
Hey guys, next question. I've never bent wire for landing gear. This critter takes 5/32" - should I heat it for bending or just go it cold?
03-03-2015, 01:31 PM
#29
My Feedback: (98)

Join Date: Feb 2002
Location: The Villages, Florida NJ
Posts: 4,677
Likes: 0
Received 0 Likes
on
0 Posts
If you have a wire bender do it cold, if not heat it cherry red, then bend. You want to quench it in water, then reheat it, it will start out blueish, you want to bring it up to a straw color then let it cool slowly. The quench makes it like glass, reheating it releases some of the stresses.
 03-03-2015, 08:21 PM
#31

Join Date: Oct 2004
Location: Wyoming,
MN
Posts: 233
Likes: 0
Received 0 Likes
on
0 Posts
Looking good, Dave. Keep up the good work. The issues you described are the ones I am now reminded of when I built mine. They were nothing insurmountable, just an inconvenience. Remember this was a kit from nearly 50 years ago - no CNC production.
Regarding the landing gear, I have always clamped the 5/32 wire in a vise whose jaws have a slight rounded edge. I pull the wire down in the direction of the bend while coaxing it over with a ball peen hammer to the angle that I want. Never had a problem with breakage.
I am excited to see the progress. Keep the pictures coming.
03-04-2015, 07:38 AM
#32
Thread Starter
Thanks guys, notes have been taken and they'll be with me when I go to work on the LG. It'll be a hot bend. I only have a "wood vise" which isn't at all suitable for this but I've also got my saw table (very old - very heavy steel) and a huge supply of c-clamps so I'll be just fine, I'm sure.
The issues with this plane are actually something of a joy to face - it's so much like it was when I built my Sr. Falcon, it's almost like doing it again. That's an issue in itself - I keep comparing the 2 planes, sometimes too closely. But their designs are only a year or so apart, they're nearly the same size & weight - it's hard NOT to compare them.
My son-in-law headed out this morning and he'll be passing by my LHS in his travels so I asked him to get me several more 3/32" balsa sheets - I ran out half-way through the sheeting on the wing. I'm really rather surprised at my own progress on this thing - still haven't been able to get plans copies and the wing is really beyond where I'd need them anyway. Last night I traced the wingtip and started gluing up 1/4" pieces for carving. Instead of going with a balsa block I thought I'd laminate pieces and make them hollow, but I'm not sure whether I'll really save any weight in the process. I'm actually looking forward to the challenge of just doing it.
Today I'm tracing the H-stab & rudders - maybe get a start on them by the weekend. Tower order should be here by that time.
03-05-2015, 07:16 AM
#33

Join Date: Oct 2013
Location: OKC
Posts: 198
Likes: 0
Received 0 Likes
on
0 Posts
The wing is looking good Dave. You are coming right along on the build. I think you can't help but save a little weight by hollowing out the wing tips. Even though it may not be a lot their location is a long moment arm laterally from the CG, so I think the plane will be better for it. All the little things add up.
03-05-2015, 07:07 PM
#34
Thread Starter
Hey Don, 100% agreement. I'm also wondering whether the planned sheer webbing on the entire wing is really necessary. Plans say to sheet the whole wing which would give the wing outstanding strength, but I'm doing the old 1960s C/L method of "D"-tube, capped ribs - partly as a bit of a weight-saving measure but also because I just like wings that are done that way. I WAS going to do sheer webbing for the whole wing but I gotta tell ya, this is one BUILT structure. I'm kinda thinking she doesn't really need it, maybe just go out to the 4th (outside landing gear mount rib) or 5th rib (where doubled spars end).
Thoughts, guys?
Still working on the sheeting too. Top is finished, bottom got the forward sheets glued/pinned to the LE. Tomorrow they get bent & glued to the ribs.
Thoughts, guys?
Still working on the sheeting too. Top is finished, bottom got the forward sheets glued/pinned to the LE. Tomorrow they get bent & glued to the ribs.
03-05-2015, 09:32 PM
#35
Join Date: Oct 2004
Location: Wyoming,
MN
Posts: 233
Likes: 0
Received 0 Likes
on
0 Posts
Hey, Dave. Shear web weight is negligible and takes very little time to do, but it adds a tremendous amount of strength to the wing. One great benefit of shear webs is it gives torsional strength. A wing without shear webs can easily be twisted. Without full sheeting, I suggest installing shear webs between the spars and between the ribs at the leading edge of the aft sheeting. It only needs to be 1/16" sheet with the grain running vertical.
By the way, what is this long, slow plans build? At the rate you are going, you will be flying your Stratus by May 1. But, that's great! Keep up the excitement of the build. It is interesting to see things happening. I am really looking forward to see the finished product.
By the way, what is this long, slow plans build? At the rate you are going, you will be flying your Stratus by May 1. But, that's great! Keep up the excitement of the build. It is interesting to see things happening. I am really looking forward to see the finished product.
03-06-2015, 06:13 AM
#36
I have an old Sterling F-51 that was covered with Coverite. After I stripped all of it off, I noticed the wing was easy to twist by hand (as shocking as a Sterling kit can be!). I added shear webbing to the rear spar and can sleep at night knowing that the wings will not shed or twist. ;o)
Just do it.
Just do it.
03-06-2015, 12:54 PM
#37
Thread Starter
Yeah, I know you guys are right. Dunno what I was thinking. Actually, I just popped up from the shop for a bit of lunch - IT'S COLD DOWN THERE - the webbing on the spars is already done. Came to my senses (more or less, mostly less) overnight and just did what I knew I should do all along.
Once I thaw a bit I'll take on the rear webbing. BTW, yup, 1/16" is what I'm using.
Sherwood, no way it'll be ready that soon - things are about to slow down a fair amount. I'm using wood that I've got in stock - it's gonna run out sooner or later. I'm on a budget, payday to payday, so once I have to start buying new stock it'll definitely slow down a bit.
And finishing -- there's another whole ball game. I know I'm going with koverall & dope - monokote simply wouldn't be right on this lady. I have no idea of the colors or pattern though. As much as I like your colors & scheme, there's no way I could see your plane in the air anymore - too much white. I've had to add dark stripes to a couple of my white/whitish planes over the past couple years. Along those lines - I'm a born Redskins fan (yeah, isn't it sad?) - kinda considering something in that color/pattern scheme.
03-08-2015, 10:37 AM
#39
Thread Starter
NOW it feels like I'm getting somewhere. Wing is together and rough sanded (100-grit). I amazed myself, wingtips & LE are near perfect. I normally have a bear of a time with the LE, seems like I never get it sanded how I really want it - this one's straight and perfectly formed. Probably my first ever. Of course, after better than 2 hours of sanding (hand AND machine) my black sweatpants are a very light tan now. Eyebrows too. Oh well, that's why I have a compressor.

 Sure am glad it's not longer than it is - there's only 4 inches clearance to the ceiling. Plans say 70" ws, tape measure says 70.125" - as close as I could ever hope for. Still have to take 1/8" off the TE but that shouldn't take long. Also still have the ailerons to build, glassing of the center splice, all that good stuff - but she definitely looks like a wing.
For those who've noticed - yes, bottom sheeting goes one bay farther out than top sheeting. I fly off gravel 95% of the time and, in addition to the sheeting that's there now I'll be adding a sheet of 1/64" ply to that particular bay from the spars to the TE. Weight is negligible and the saving in lack of holes in the covering over time is appreciated.
Tomorrow's gonna be a trip to the LHS - got a whole shopping list made up for what I don't already have in stock, balsa-wise.
Lovin' it!!
 03-08-2015, 07:05 PM
#42
Thread Starter
Alright!! Nice bipe Tom. Lookin' good.
Alan, I'm doing the tail feathers first actually, then the fuse. I want that tail ready to go when I get the fuse to the point of attachment. Along those lines - Rich, I got that envelope with the sheet. Thanks HUGELY!! A question though - do I use it as is or double the thickness?
Tomorrow is a shopping day for me too. Hitting the LHS for my 5/32" landing gear wire, some 1/4" hard balsa for the rudders and a bit more balsa for the tail & fuse. I've got a dozen or so sheets of 1/8"x4" and enough 1/16" for now, but I'm running low on the 3/32 & 3/16 stuff.
PLUS, gotta stop by the county offices to check on that copier. Gonna need a bunch of plans copies to send out, along with a couple of the fuse sheet for myself.
Last edited by skylark-flier; 03-08-2015 at 07:08 PM.

 03-10-2015, 08:35 AM
#45
Thread Starter
Geez, I'd have to cut 10" off that spar to stand it in the shop. Actually, for those kind of things I usually end up outside. Kinda like this:
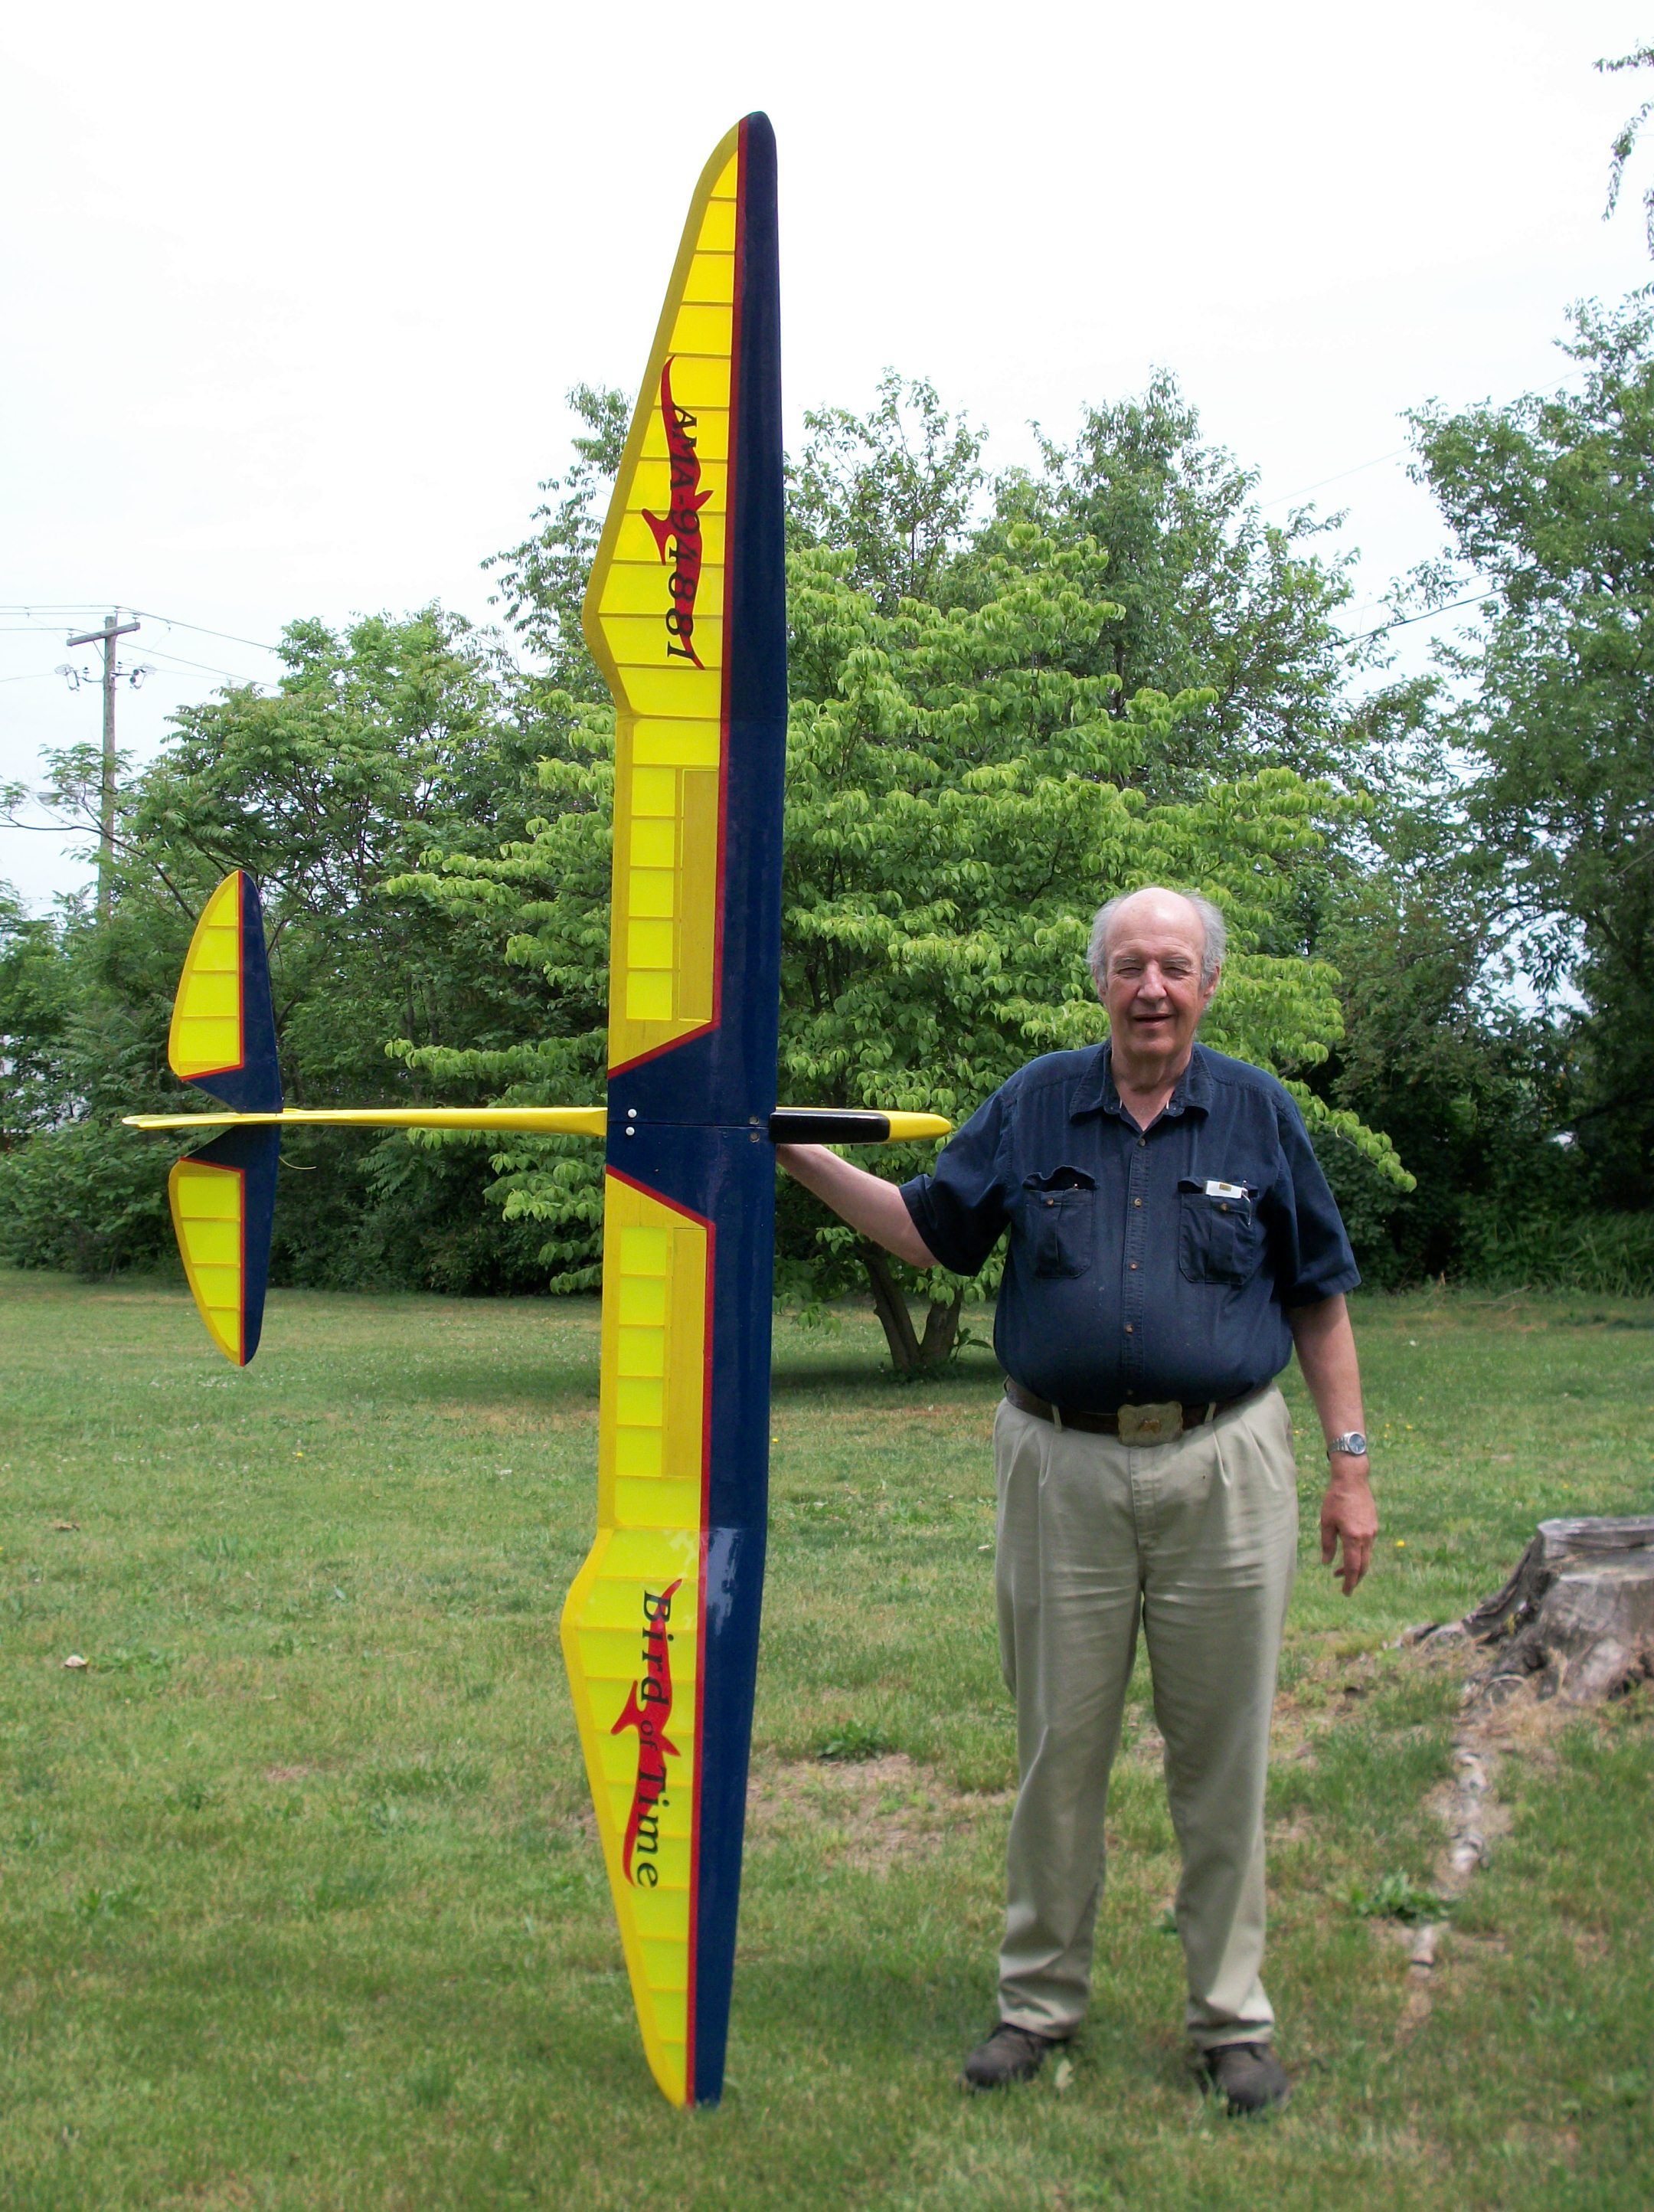 118" total. The good thing is that the wings are actually 2 halves.
Still....
Still....
03-10-2015, 07:02 PM
#48
Thread Starter
Mike, for the wing that you're building I can't see any way of making it a 2-piece. There's just too much mechanism there toward the center. Sometimes you can get away with 2 or even 3 pieces, sometimes not. Shoot, I've got 2 old planes that I don't fly anymore that are single piece - the whole plane - C/L style.
Did some work on the tailfeathers today - H-stab is totally framed and drilled for the rudder rods. I changed Maxey's method of drilling - just packed all the inside "ribs" together and predrilled the lot of them all at once, and larger too. He apparently drilled 1/16" with a long "piano wire" once the framing was done, I drilled 1/8" to give the whole thing a bit more play. Rods will go through a couple of short nylon guide tubes on each side as they go out from center to kinda restabilize them. My idea is to have as little contact anywhere as I possibly can but not allow a lot of vibration potential either. One minor issue I came up with is that my control rods (Dubro 2x56 12" threaded) are just barely long enough to come together and overlap by about 1/2" at center - which is nowhere close to enough to solder & bend for the belcrank. Sooooo, I cut them off at center to the point that they meet at the right length. Tomorrow I'll insert them into a piece of fuel tube (brass) and solder the whole thing into one rod. Then I'll take another short rod with 90-degree bend and solder it to the long rod. Should be just fine that way.
Gotta tell ya, this stuff is fun!!!! Should have done this 'plans building' thing decades ago. I learned plenty over the winter with the restorations, but this is totally unique.
Last edited by skylark-flier; 03-11-2015 at 02:38 AM.
03-11-2015, 07:22 AM
#49
Thanks for agreeing with me Dave! It's not the first single piece wing airplane and it won't be the last. I drive a 2001Acura MDX so I can haul it iwithout a problem. I can live with a single wing, at least I won't have to worry about one side coming loose in flight. 
03-13-2015, 12:49 PM
#50
Thread Starter
Just a quickie update on progress so far. Tail feathers are together but only rough sanded - got a lotta hand-sanding to go on this one.
Here's the framework as it was on the 9th:
and what's sitting in the shop now:


RICH! That phenolic sheet is FABULOUS!!!!!!!!!!! Huge strength, and it still works so easily. Took all of 5 minutes to drill out the holes and cut the tabs on the scrollsaw, and both rudder tabs were ready to insert in the slots.
Anyway, hinges are holding everything together by simple friction right now - nothing's glued (nor will it be until all is covered & doped).
Note - got one of the plans sheets copied today (many copies of it). The 2nd one is oversize and the ladies didn't know how to re-set their brand new copier for a larger sheet than 36x48". They've got formal training on the copier Tuesday and they promised that I'd be able to get copies of the 2nd sheet Tuesday afternoon. It's 36x56" and the one sheet I DID manage to get copied cuts about 3" off the nose. Not gonna stop me though, I can work around that to start the fuse.
Here's the framework as it was on the 9th:
and what's sitting in the shop now:
RICH! That phenolic sheet is FABULOUS!!!!!!!!!!!
Huge strength, and it still works so easily. Took all of 5 minutes to drill out the holes and cut the tabs on the scrollsaw, and both rudder tabs were ready to insert in the slots.Anyway, hinges are holding everything together by simple friction right now - nothing's glued (nor will it be until all is covered & doped).
Note - got one of the plans sheets copied today (many copies of it). The 2nd one is oversize and the ladies didn't know how to re-set their brand new copier for a larger sheet than 36x48". They've got formal training on the copier Tuesday and they promised that I'd be able to get copies of the 2nd sheet Tuesday afternoon. It's 36x56" and the one sheet I DID manage to get copied cuts about 3" off the nose. Not gonna stop me though, I can work around that to start the fuse.