


Simplified Sig 1/4 scale Clipped Wing Cub build
 11-27-2015, 07:53 AM
#51
Senior Member
Thread Starter
I have covered the outside of the cowl, applied Titebond to tie it together, and filled in the angle at the bottom of the firewall. Next part will be to sand and fill.


") 11-28-2015, 10:18 AM
11-28-2015, 10:18 AM
#55

Pretty impressive skills making that balsa cowl! I have one on a Fleet Biplane that was given to me... I need to replace the engine and am too afraid to mess with the cowl. Old Quadra 35 that came with the plane is in pretty sorry shape.
Can wait to see this model finished.. looking really nice so far.
SunDevilPilot
Can wait to see this model finished.. looking really nice so far.
SunDevilPilot
11-29-2015, 02:44 AM
#57
My son showed little interest when he was that age. . As a young adult he began building plastic models, though.
Be patient. Your son may develop an interest , later on.
As SDP said, your cowl looks good !
Be patient. Your son may develop an interest , later on.
As SDP said, your cowl looks good !
11-29-2015, 04:27 AM
#58
Senior Member
Thread Starter
TomCrump: thanks, We are getting him his first real RC car this Christmas. The cowl is coming along after another round of sand and fill with 150 grit sand paper.

11-29-2015, 04:39 AM
#59
Senior Member
Thread Starter
I'm starting the second half of the wing as well, This should go faster then the first half. I'm going to join them together and then put on the wing tips. This will save me from having to move my work bench. This 4 day holiday weekend with bad weather has allowed me to get a bunch done.

04-02-2016, 04:24 AM
#61
Senior Member
Thread Starter
I ended up with a warped wing; some how, but was able to correct it by slicing the upper sheeting lengthwise and reglueing it. I did a minor mod to the main spar and glued it in place. I mounted the wing to the airplane; did the wing tips, with it mounted on the plane. The wing tips are actually easier to do then they look. I installed the mounts for the wing struts. I will only be using the main struts though, I'm skipping the interplane struts to save time and weight. This is a very light low powered airplane so it should not be an issue. I cut the holes for the wiring. I'm using a two Hitec 425 servos, dubro hardware on the ailerons.


04-02-2016, 04:35 AM
#62
Senior Member
Thread Starter
I really like the Hazel Sig Paint scheme, but could not bring myself to duplicate it. So i'm doing a one color standard Cub scheme except in Orange. Easy to see, easy to do.

04-02-2016, 04:53 AM
#63
Senior Member
Thread Starter
I rough sanded the tail surfaces and started the job of hinging them. I'm using the hinges supplied in the kit which allow you to take the surfaces apart for covering. I dipped the hinge tips in Vaseline, installed them in the surfaces. When I had everything aligned, I put two drops of CA on the back side of each hinge.Pulled the hinge pins out and reseparated the surfaces for final sanding, install and covering. 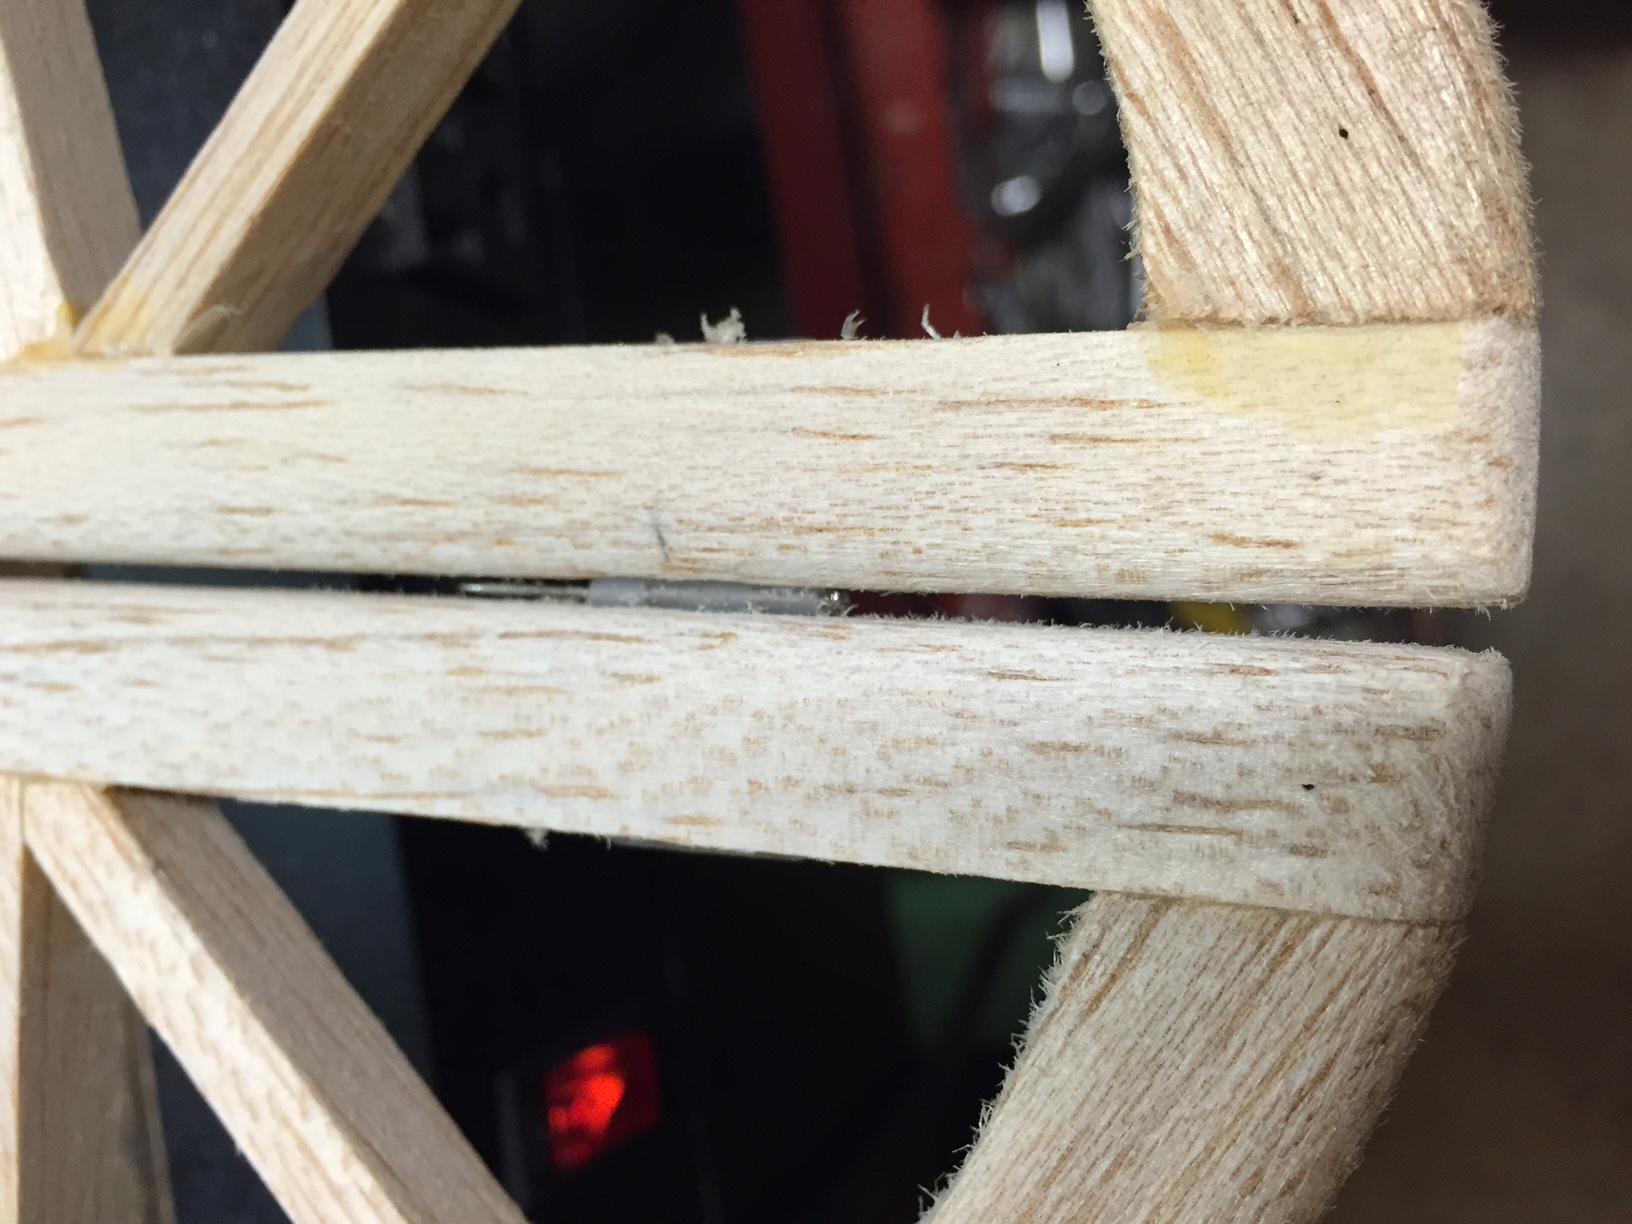


04-11-2016, 05:46 AM
#68
Senior Member
Thread Starter
I discarded the pushrods that came with the kit, and used 4-40 rods instead with Dubro hardware. The throttle is plumbed with 2-56 rod with a ball link at the throttle arm. The radio is a Futaba 6K with Hitec servos (a mix of 485's and 425's). The main thing here is to keep the rods as straight as possible.


04-11-2016, 06:19 AM
#69

My Feedback: (31)
Join Date: Jan 2002
Location: The Woodlands,
TX
Posts: 187
Likes: 0
Received 0 Likes
on
0 Posts
P-40 Driver
build is looking great. Glad to see a Sig 1/4 scale being built. I remember my first one, I was shocked that I had to cut printed parts. Well, I have built at least 3 full length wings in some variation as well as one clipped. In the end, the kit builds a really nice flying plane. Yours should be a real floater in you come in your target weight.
Here's a couple pics(for motivation) of a build I did for a friend a few years back. We did not chase weight. It was 21st Century fabric with glass cowl and pants. The engine was a webra 120. Flew great.
keep up the nice build
04-11-2016, 06:29 AM
#70
I discarded the pushrods that came with the kit, and used 4-40 rods instead with Dubro hardware. The throttle is plumbed with 2-56 rod with a ball link at the throttle arm. The radio is a Futaba 6K with Hitec servos (a mix of 485's and 425's). The main thing here is to keep the rods as straight as possible.
I would suggest that you swap out the :clevices", on your servos . Yours are easy to adjust, but they don't necessarily stay adjusted.
A friend used them in his Kadet Senior and they came loose. He lost the model.
I use them, but on throttle, only.
04-11-2016, 06:45 AM
#71

I agree with Tom; I haven't had a failure with that kind of link, but others have. All it takes is one failure to destroy a plane, or worse.
Some make Z bends, which is fine, but I've become a fan of these:
http://www3.towerhobbies.com/cgi-bin...?&I=LXK086&P=0
Dubro makes an equivalent too. One 90 degree bend and you have an easy, secure connection. Do the adjusting at the clevis end.
Jim
Some make Z bends, which is fine, but I've become a fan of these:
http://www3.towerhobbies.com/cgi-bin...?&I=LXK086&P=0
Dubro makes an equivalent too. One 90 degree bend and you have an easy, secure connection. Do the adjusting at the clevis end.
Jim
04-11-2016, 06:55 AM
#72
Senior Member
Thread Starter
Ragwing Fan: That's a real nice plane, Thanks for the compliment, My plane is coming along well, but i'm a bit behind on my posts.
Tom: I have never had a failure with these, but I agree that clevises maybe the way to go after I get everything set up. I use the spring clip backs and Locktite on EZ connectors. Your friend may have been using the plastic backs and no Locktite which may have lead to a failure, I still agree with you that clevises are a better solution though.
Tom: I have never had a failure with these, but I agree that clevises maybe the way to go after I get everything set up. I use the spring clip backs and Locktite on EZ connectors. Your friend may have been using the plastic backs and no Locktite which may have lead to a failure, I still agree with you that clevises are a better solution though.
04-11-2016, 07:03 AM
#73
Senior Member
Thread Starter
Buzzard Bait: I used Z bends for awhile but did not like them, I don't know if those clips are available for 4-40 rods or not, maybe something I need to look into.