Goldberg Cub Build - back at the table
 10-27-2015, 08:58 AM
#1

Thread Starter
My Feedback: (31)
Join Date: Jan 2002
Location: The Woodlands,
TX
Posts: 187
Likes: 0
Received 0 Likes
on
0 Posts
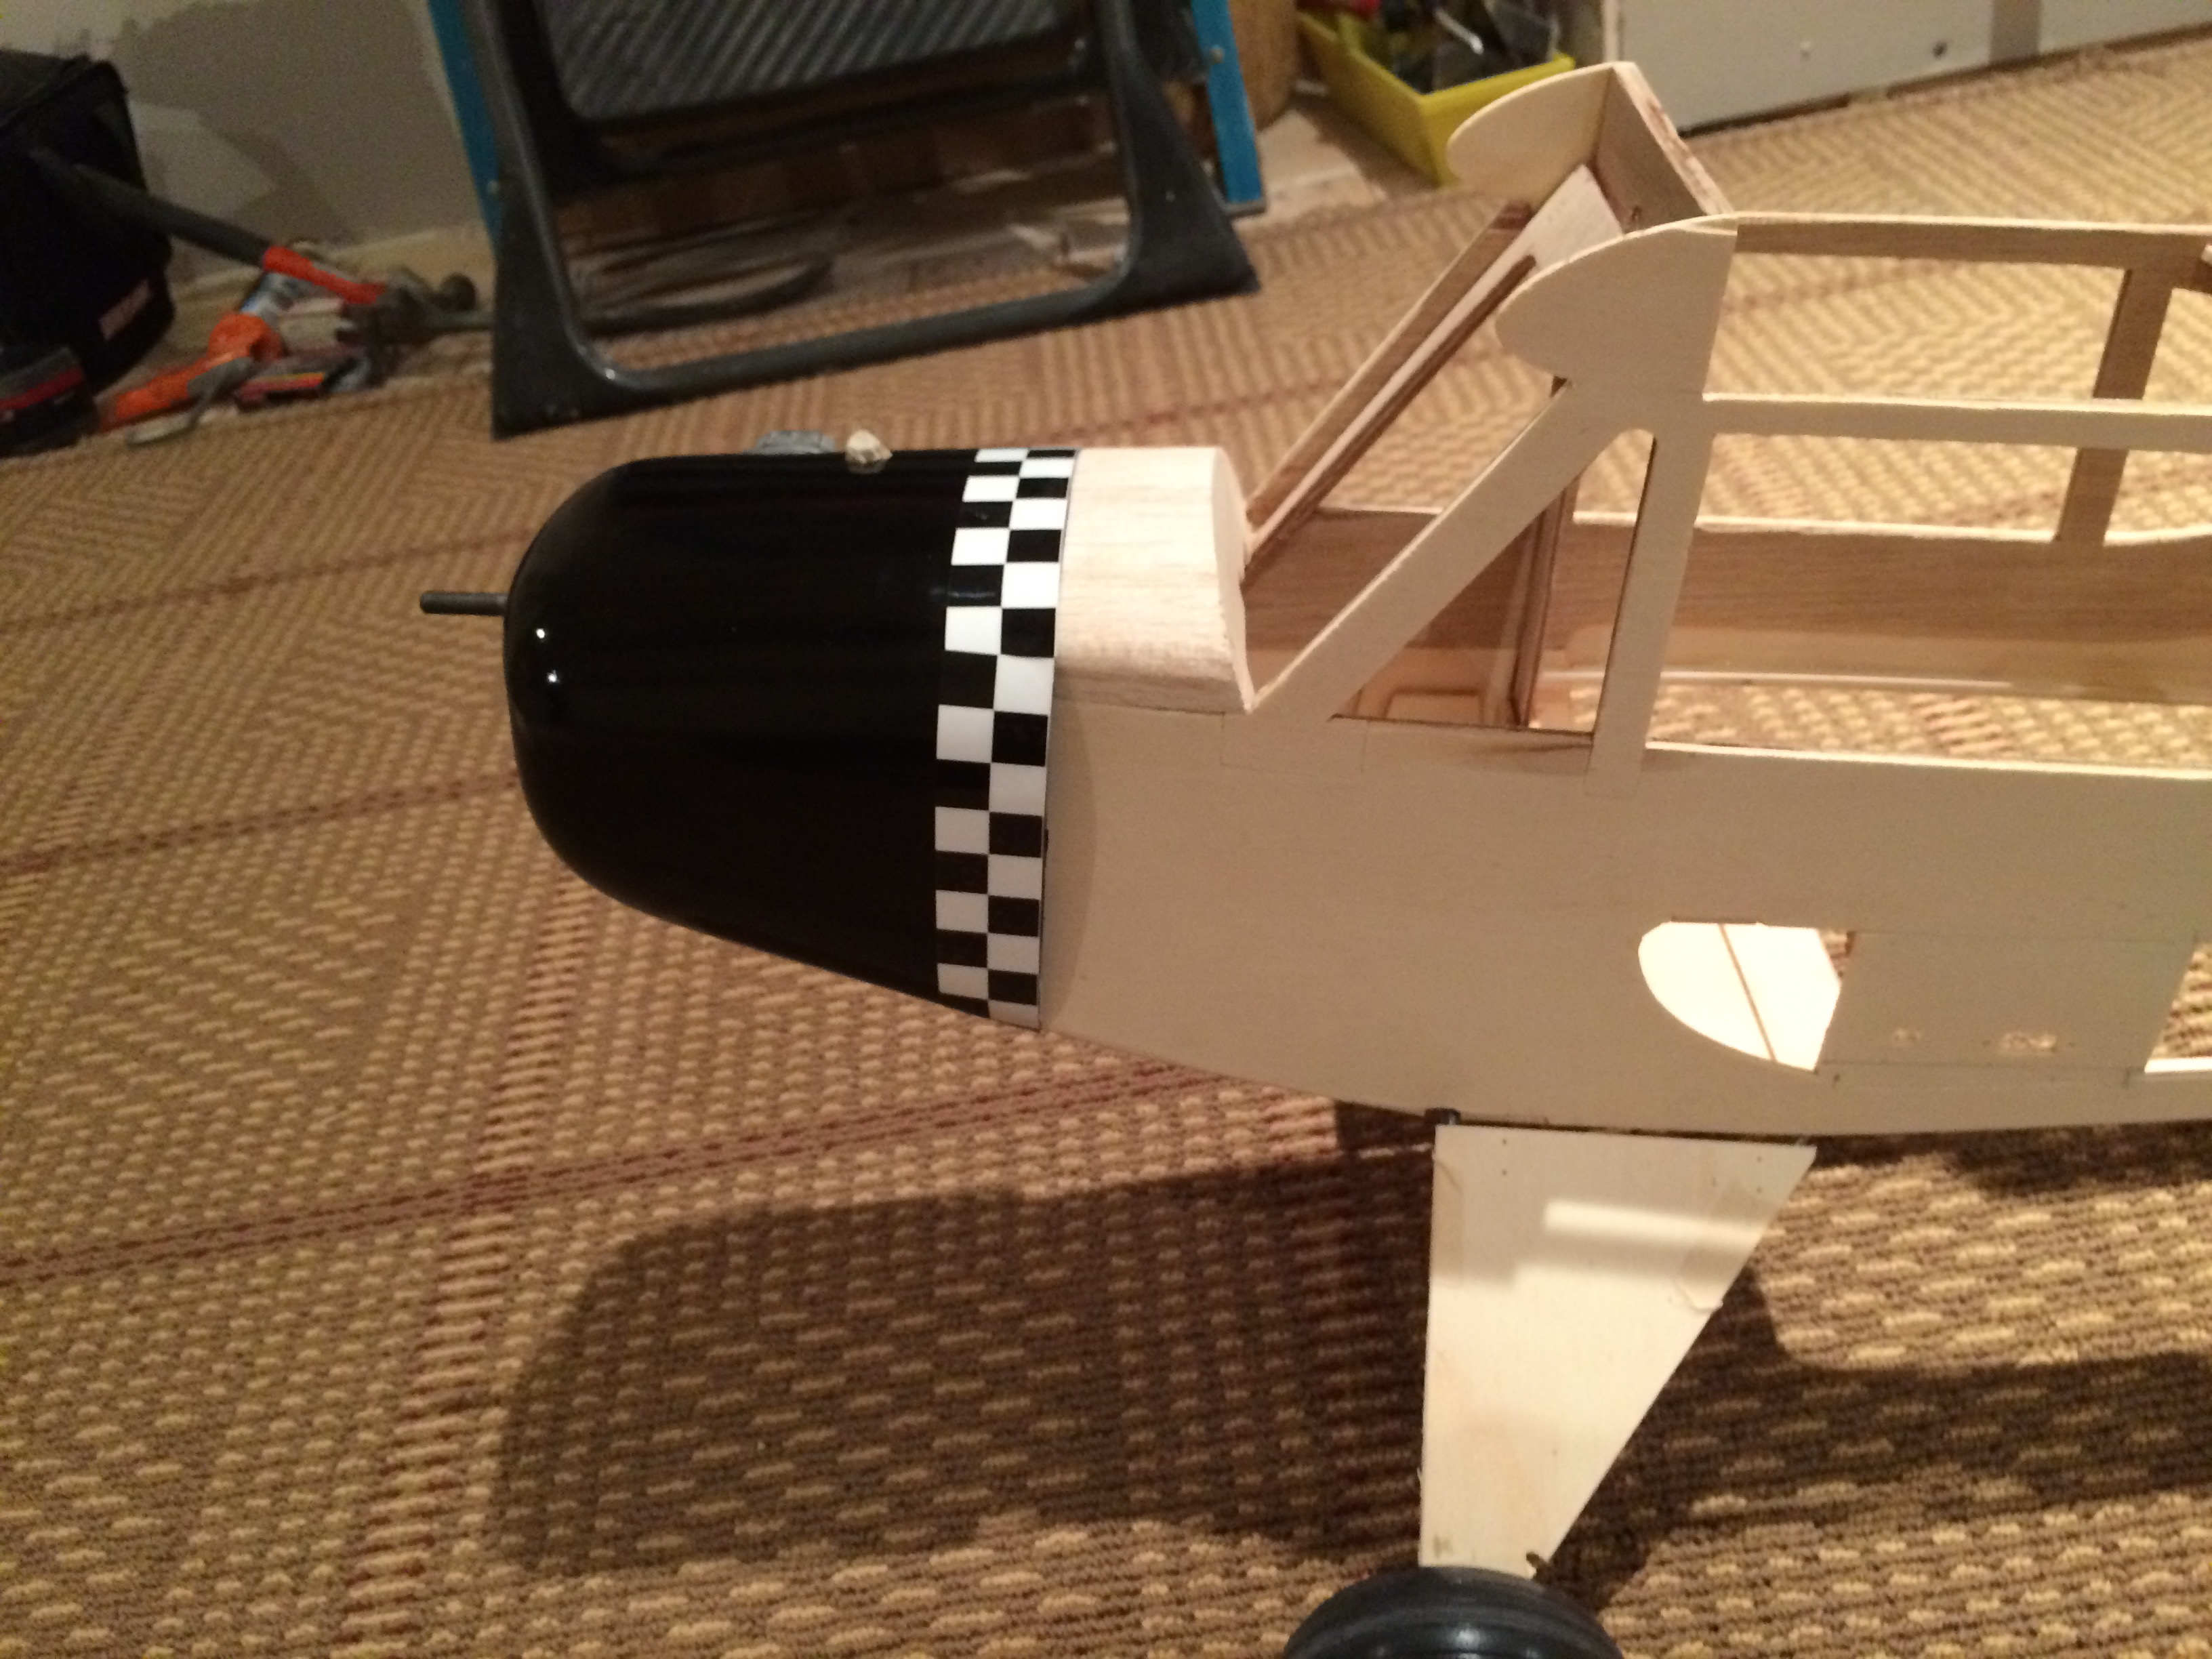
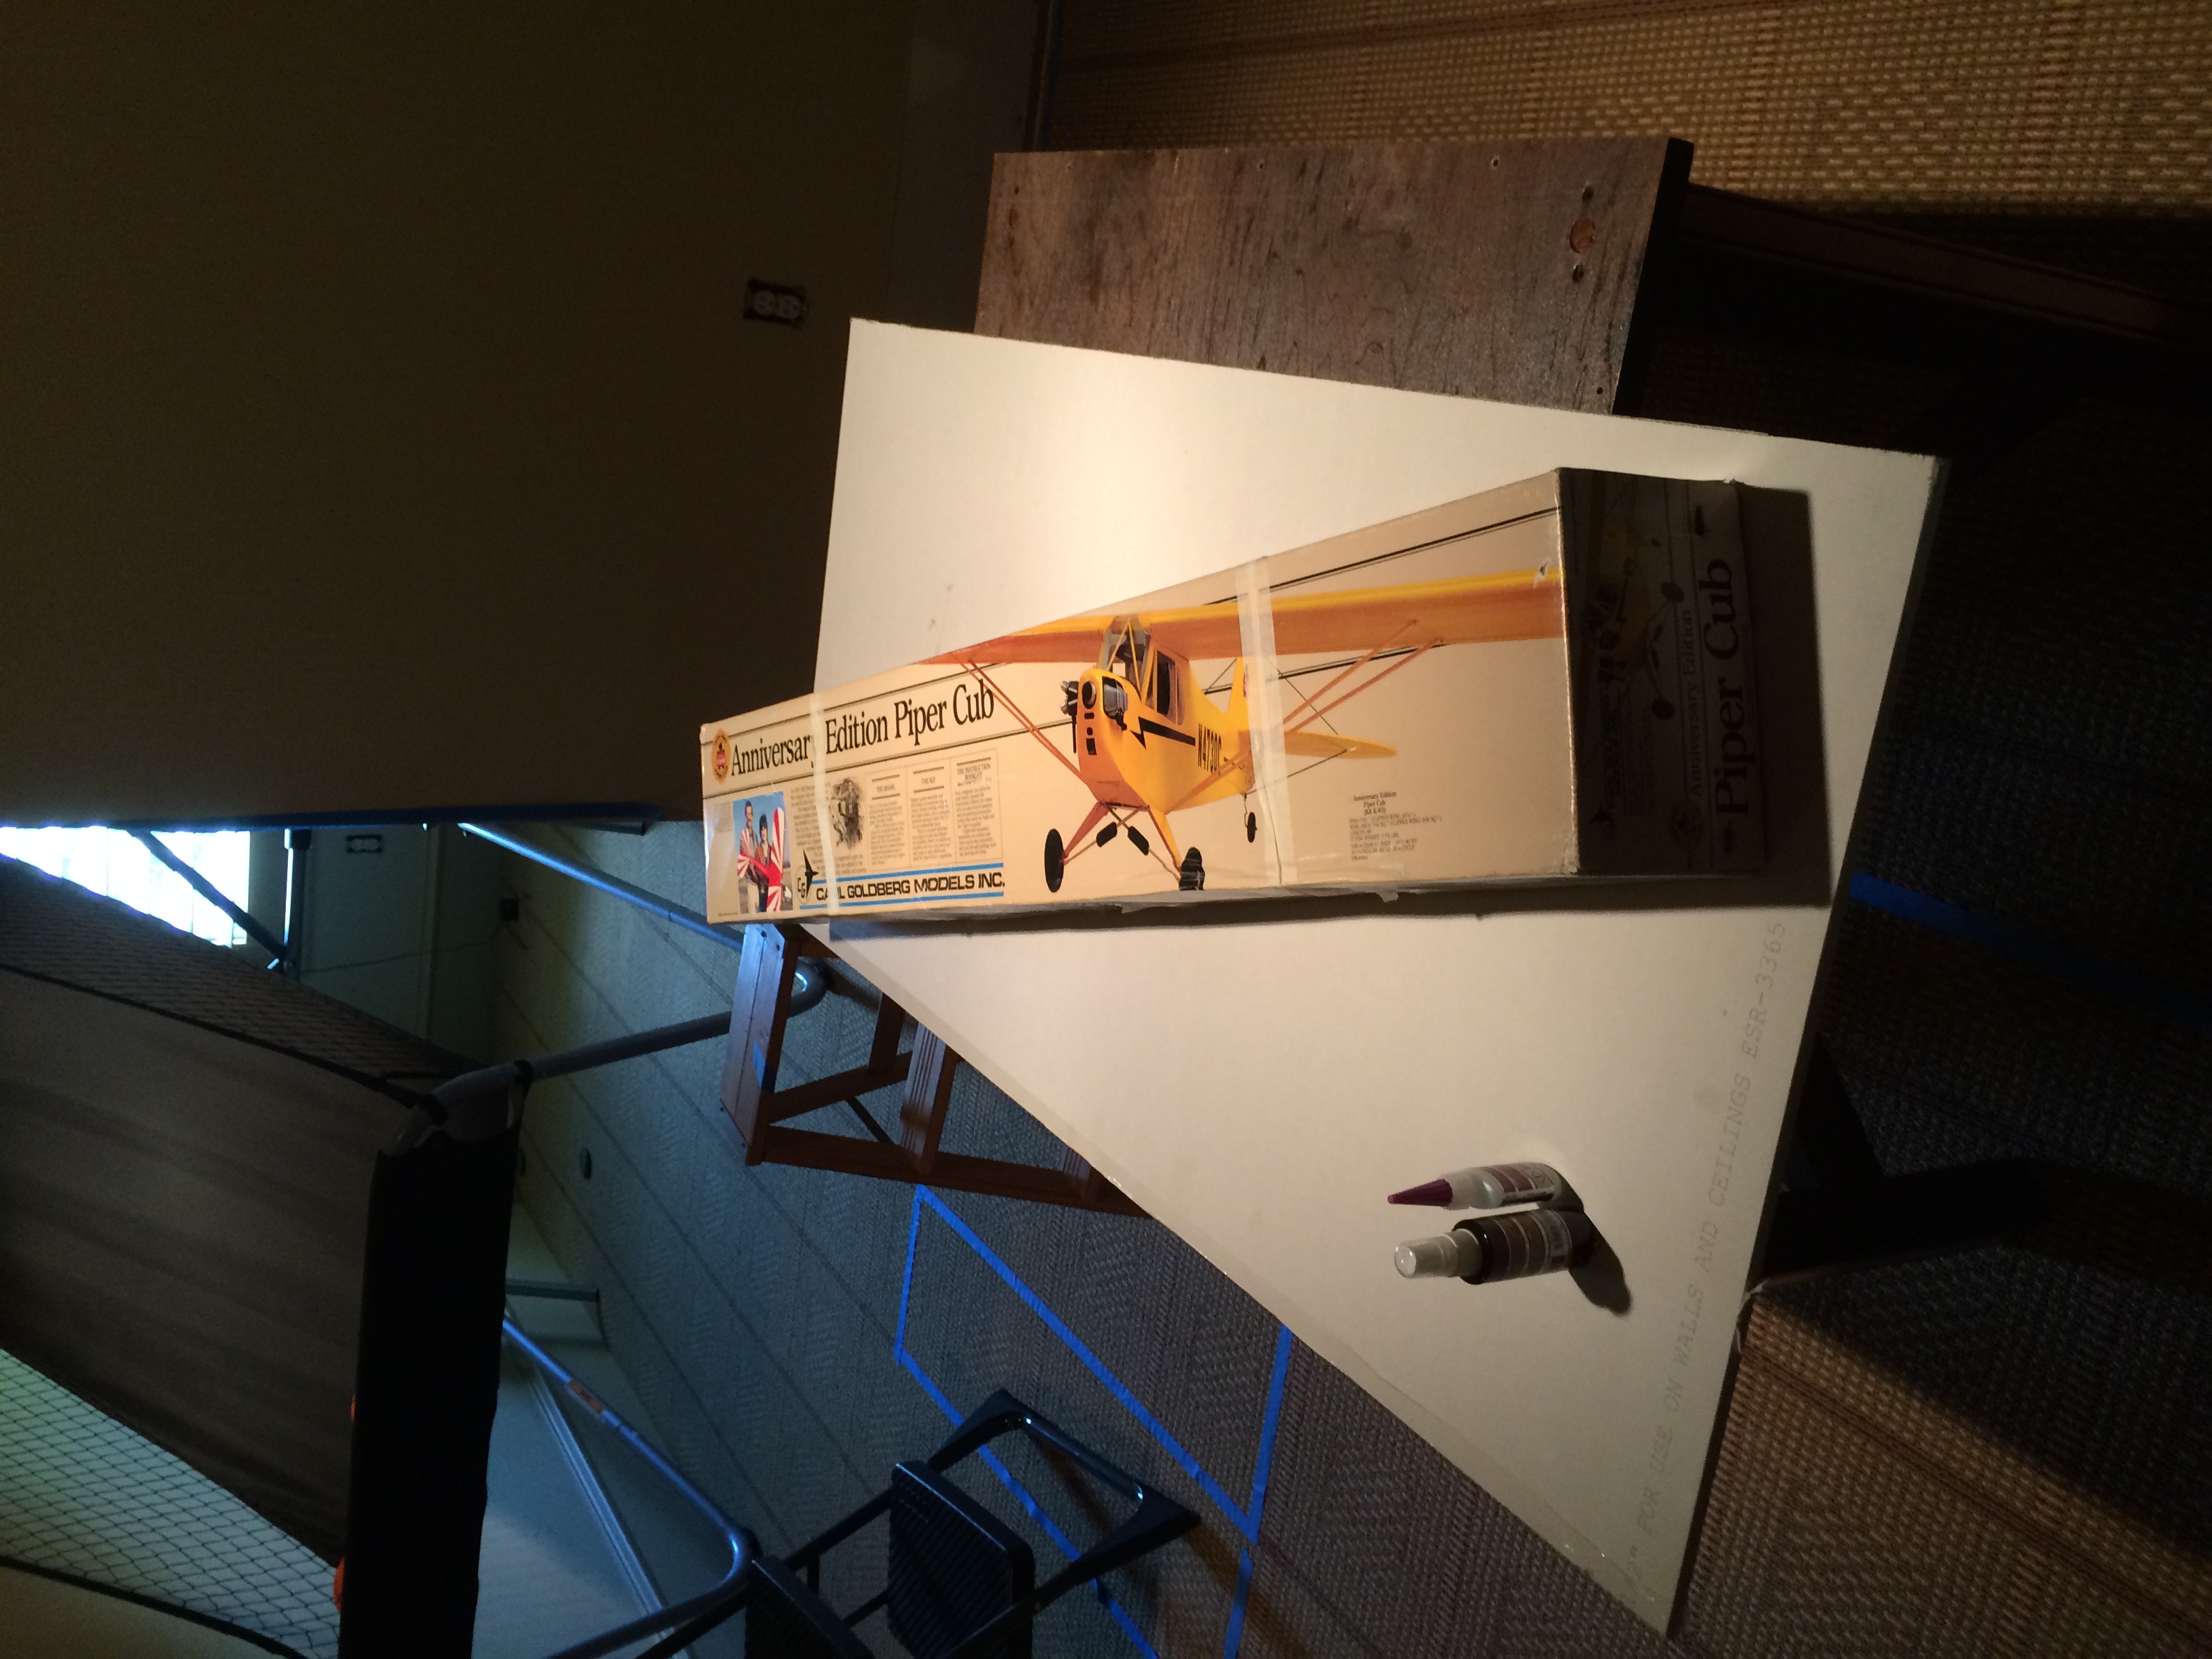
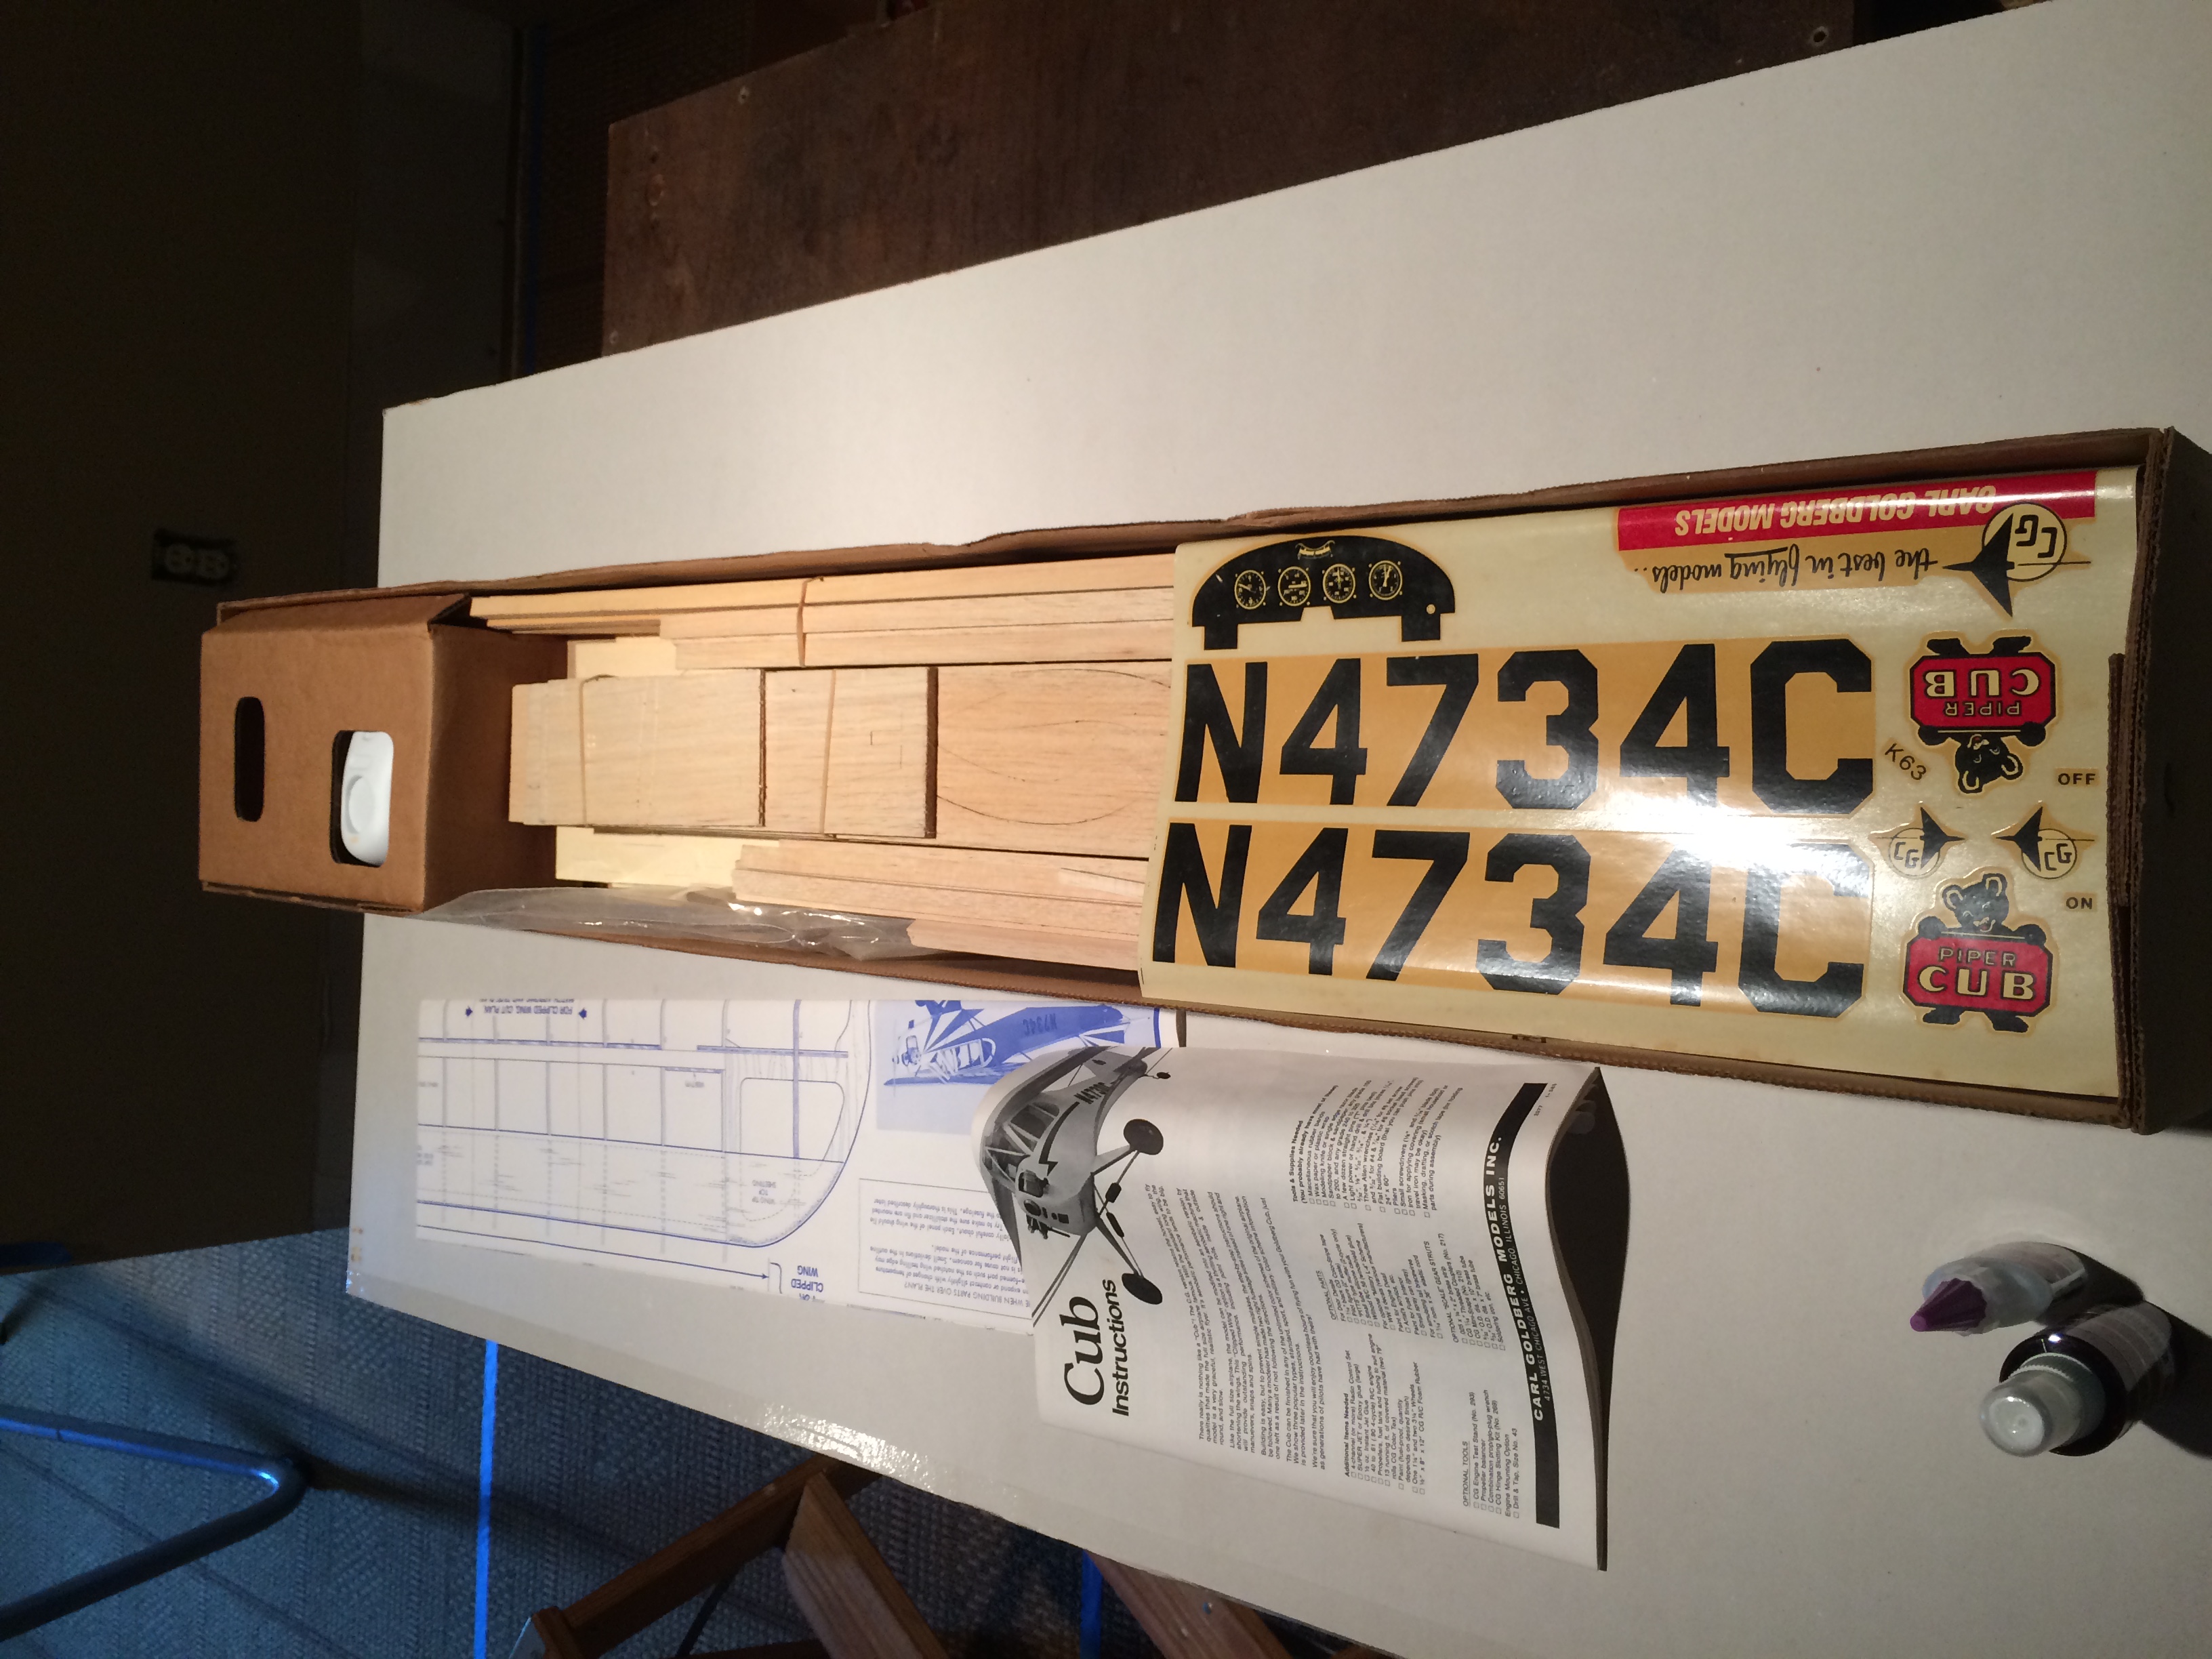
This will be a catch up post as construction has been underway. So not the most complex plane to build. Actually built several over the years. Even framed one on a hotel dresser during an extended work out of town trip. I have been out of hobby for 12+ years. My youngest has expressed interest. I thought I would at least show him the foundation of RC flying before he falls into the world of ARFSs. Which have come a long ways since my departure from hobby. I still love building from sticks. Hoping to get onto bigger and better like Nosen Citabria or Precedent Champ 1/4 scales. I have done several Sig 1/4 Cubs in past and bashed to various forms such as L-4 with greenhouse to E-2 Taylor Cub and typically clipped as well as full length. Enough rambling, onto build. The Goldberg Cub kit is a great kit IMO and assembles quickly. I picked this one up off local Craigslist. Appears to have been an older design as the engine mounts were aluminum vs resin. Excuse the iphone pictures and poor lighting.
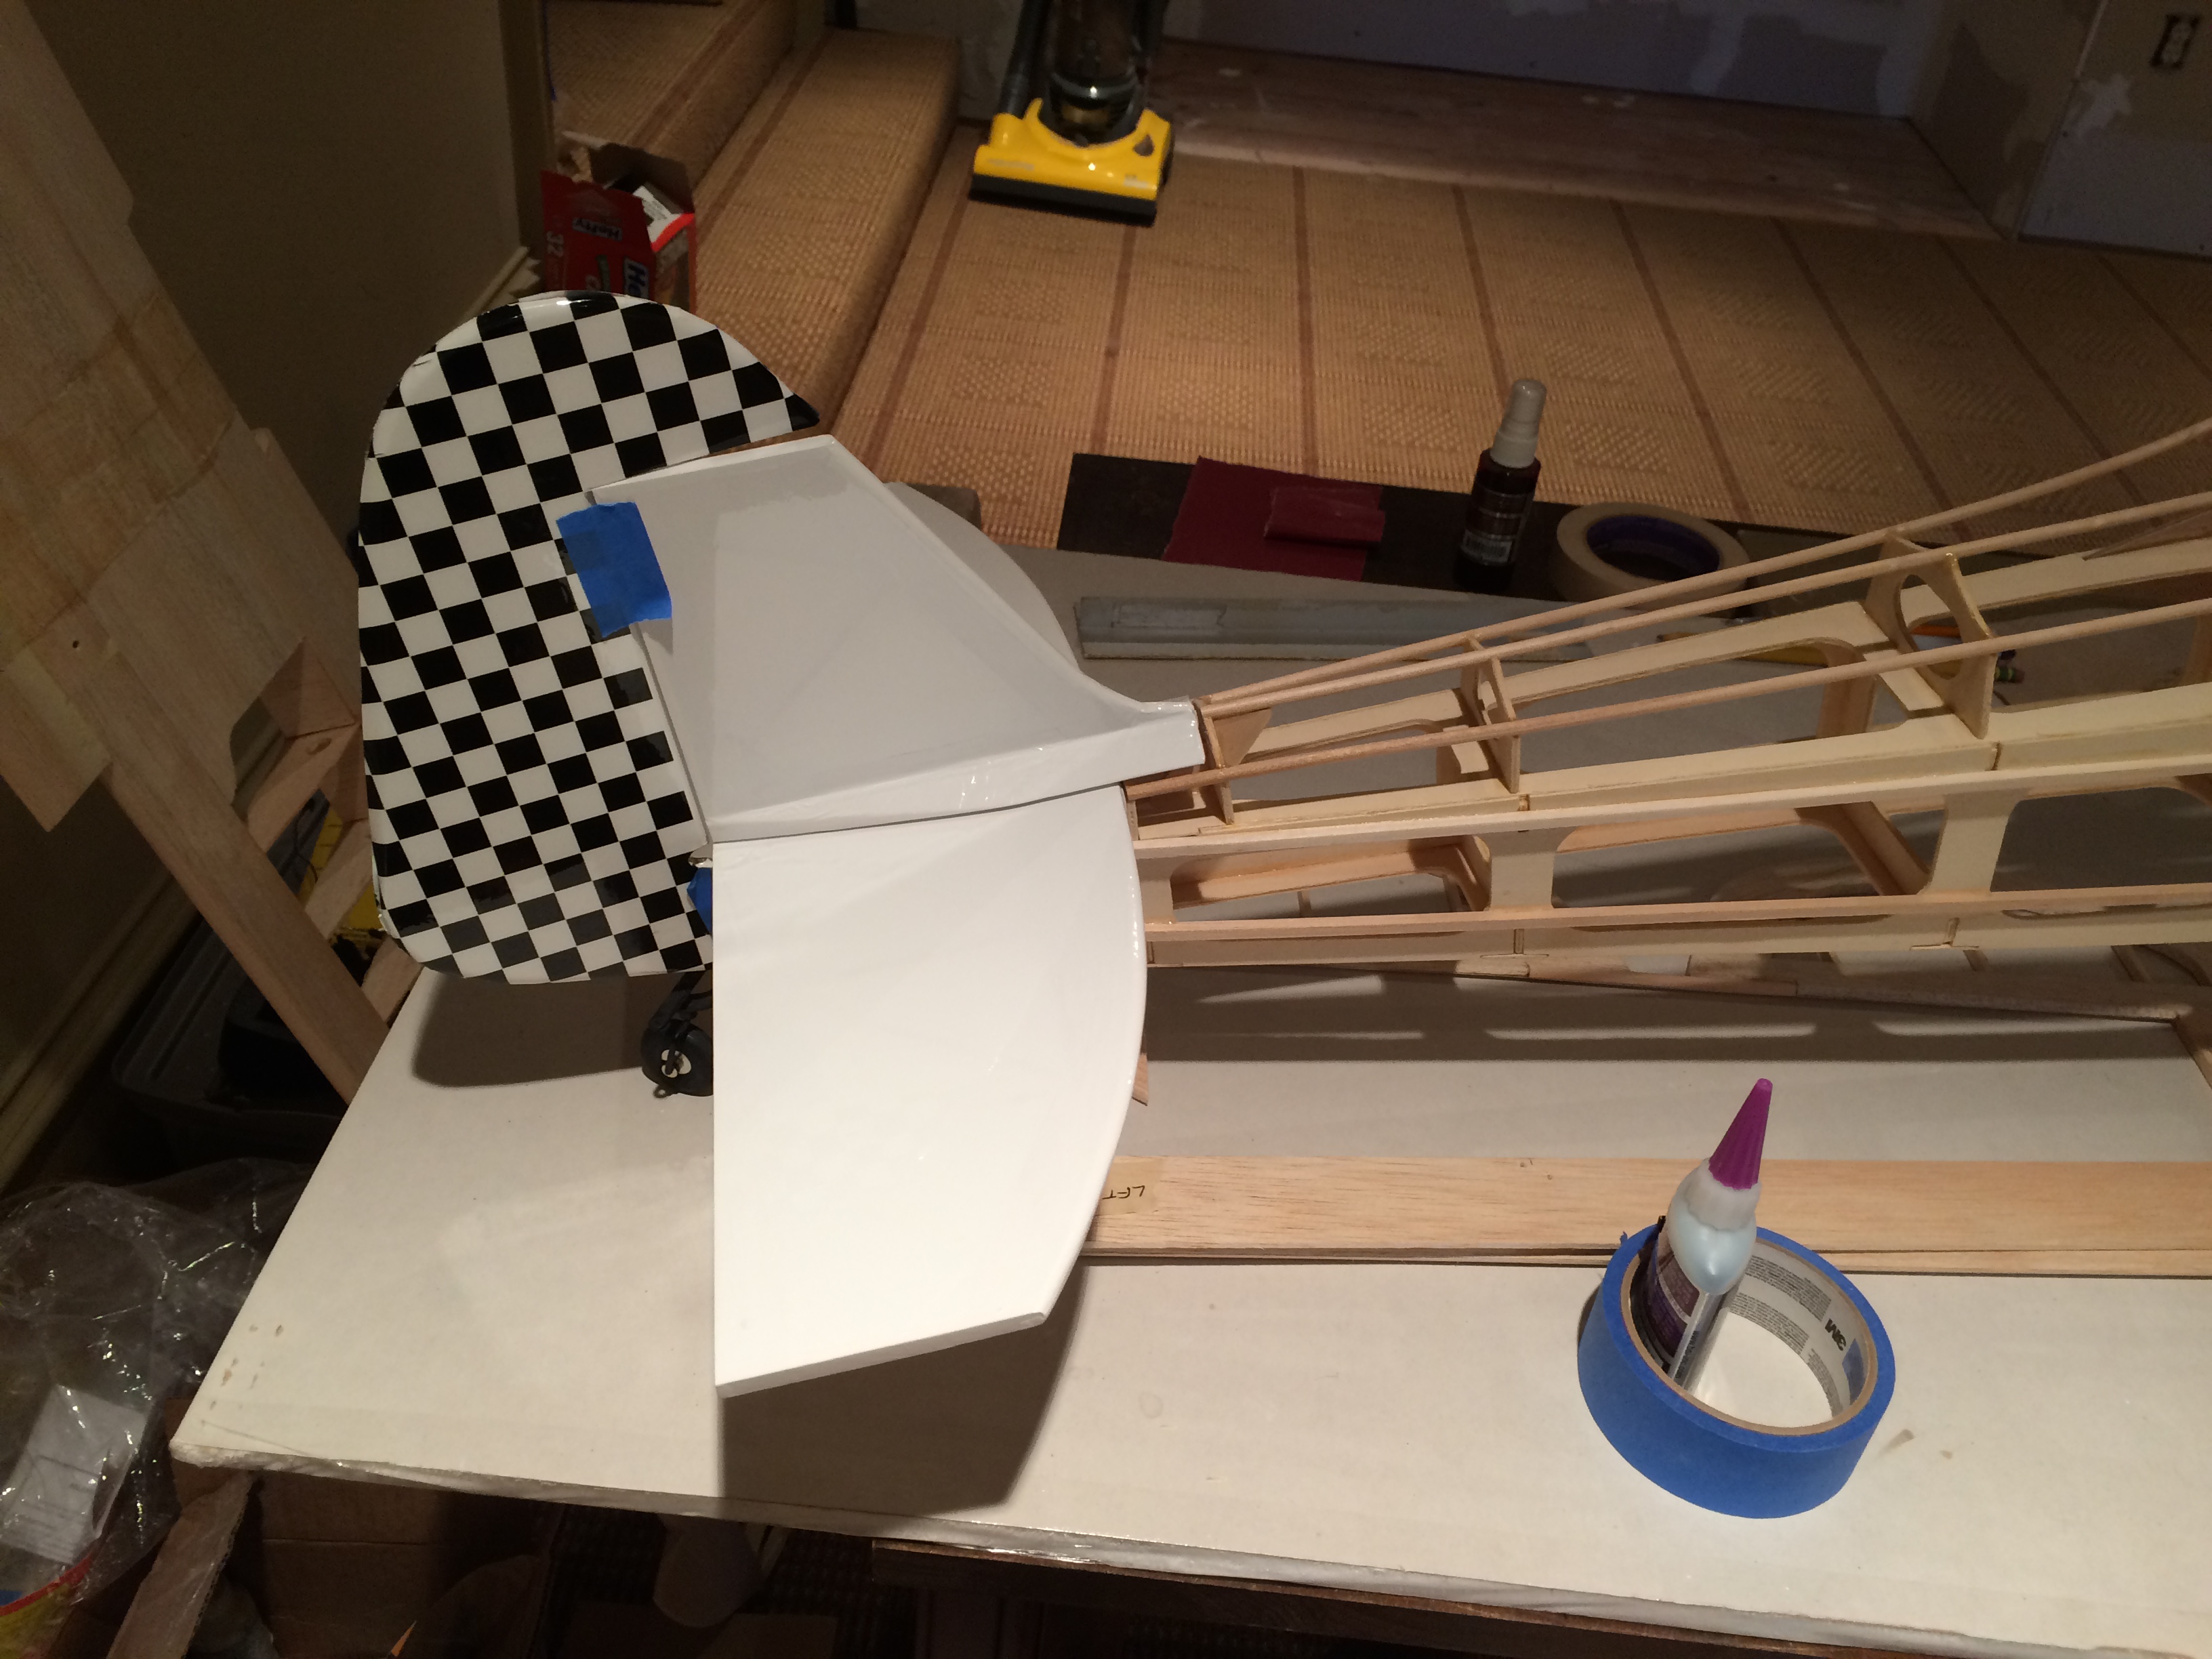
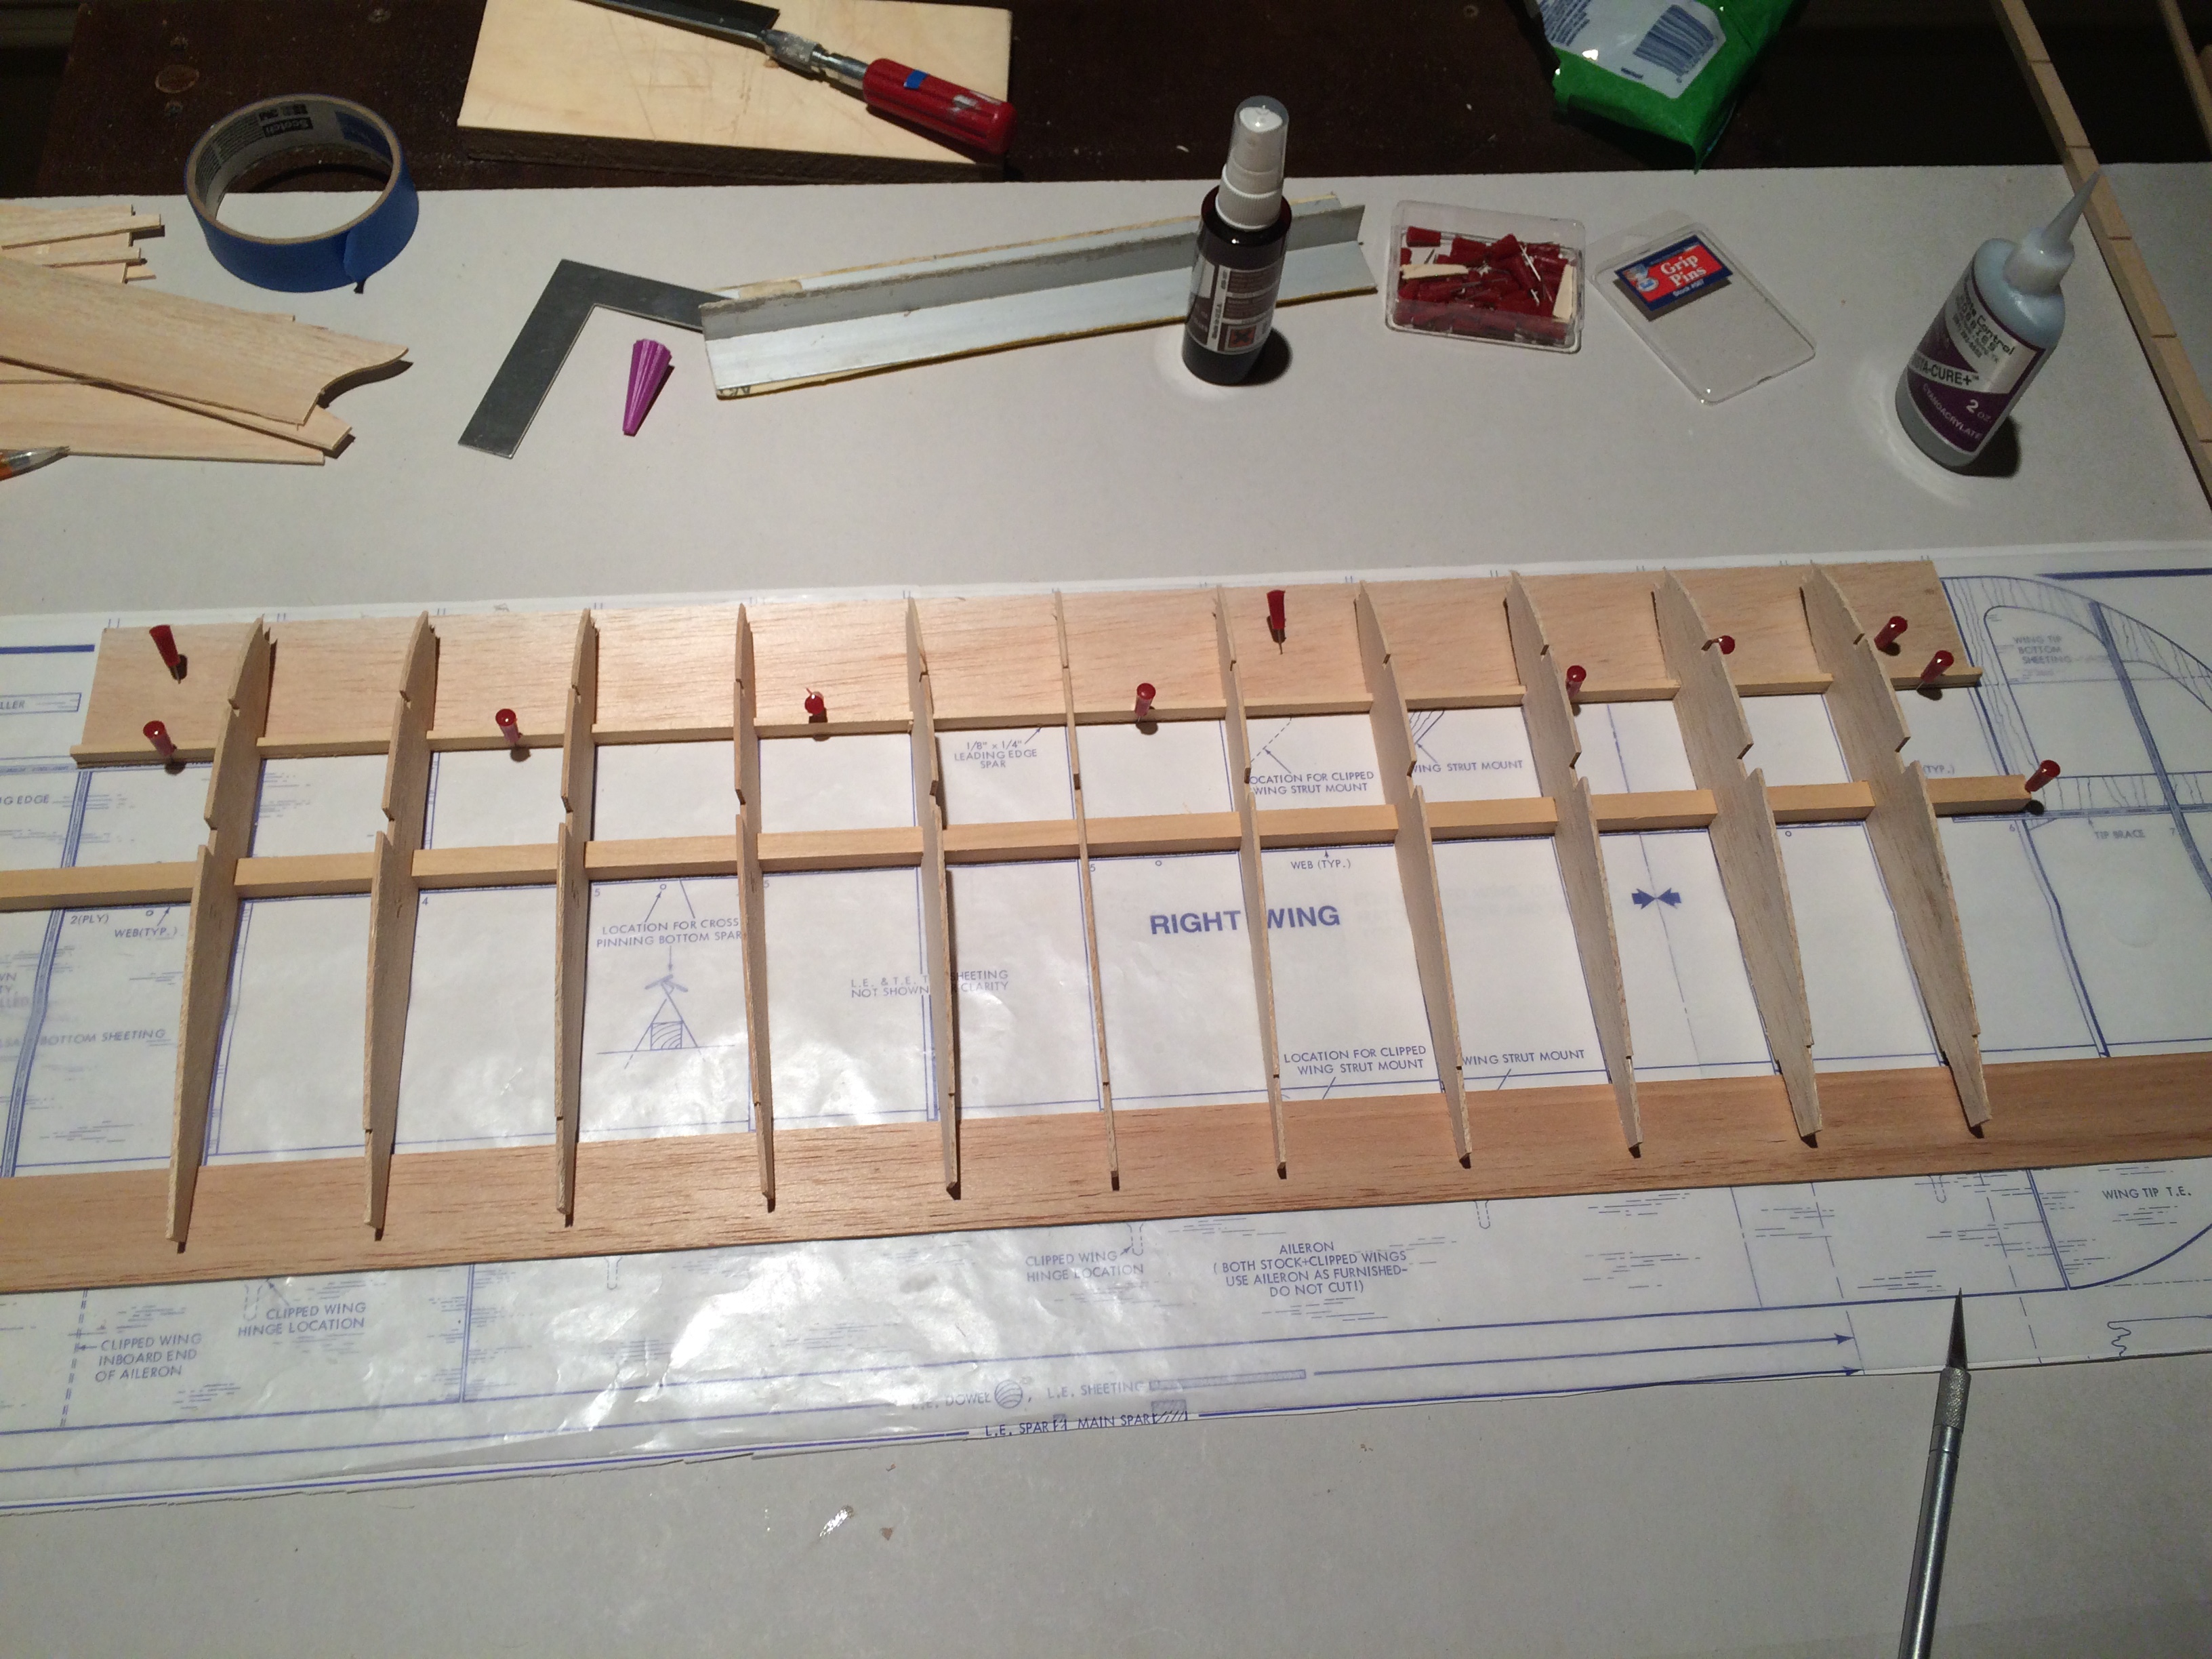
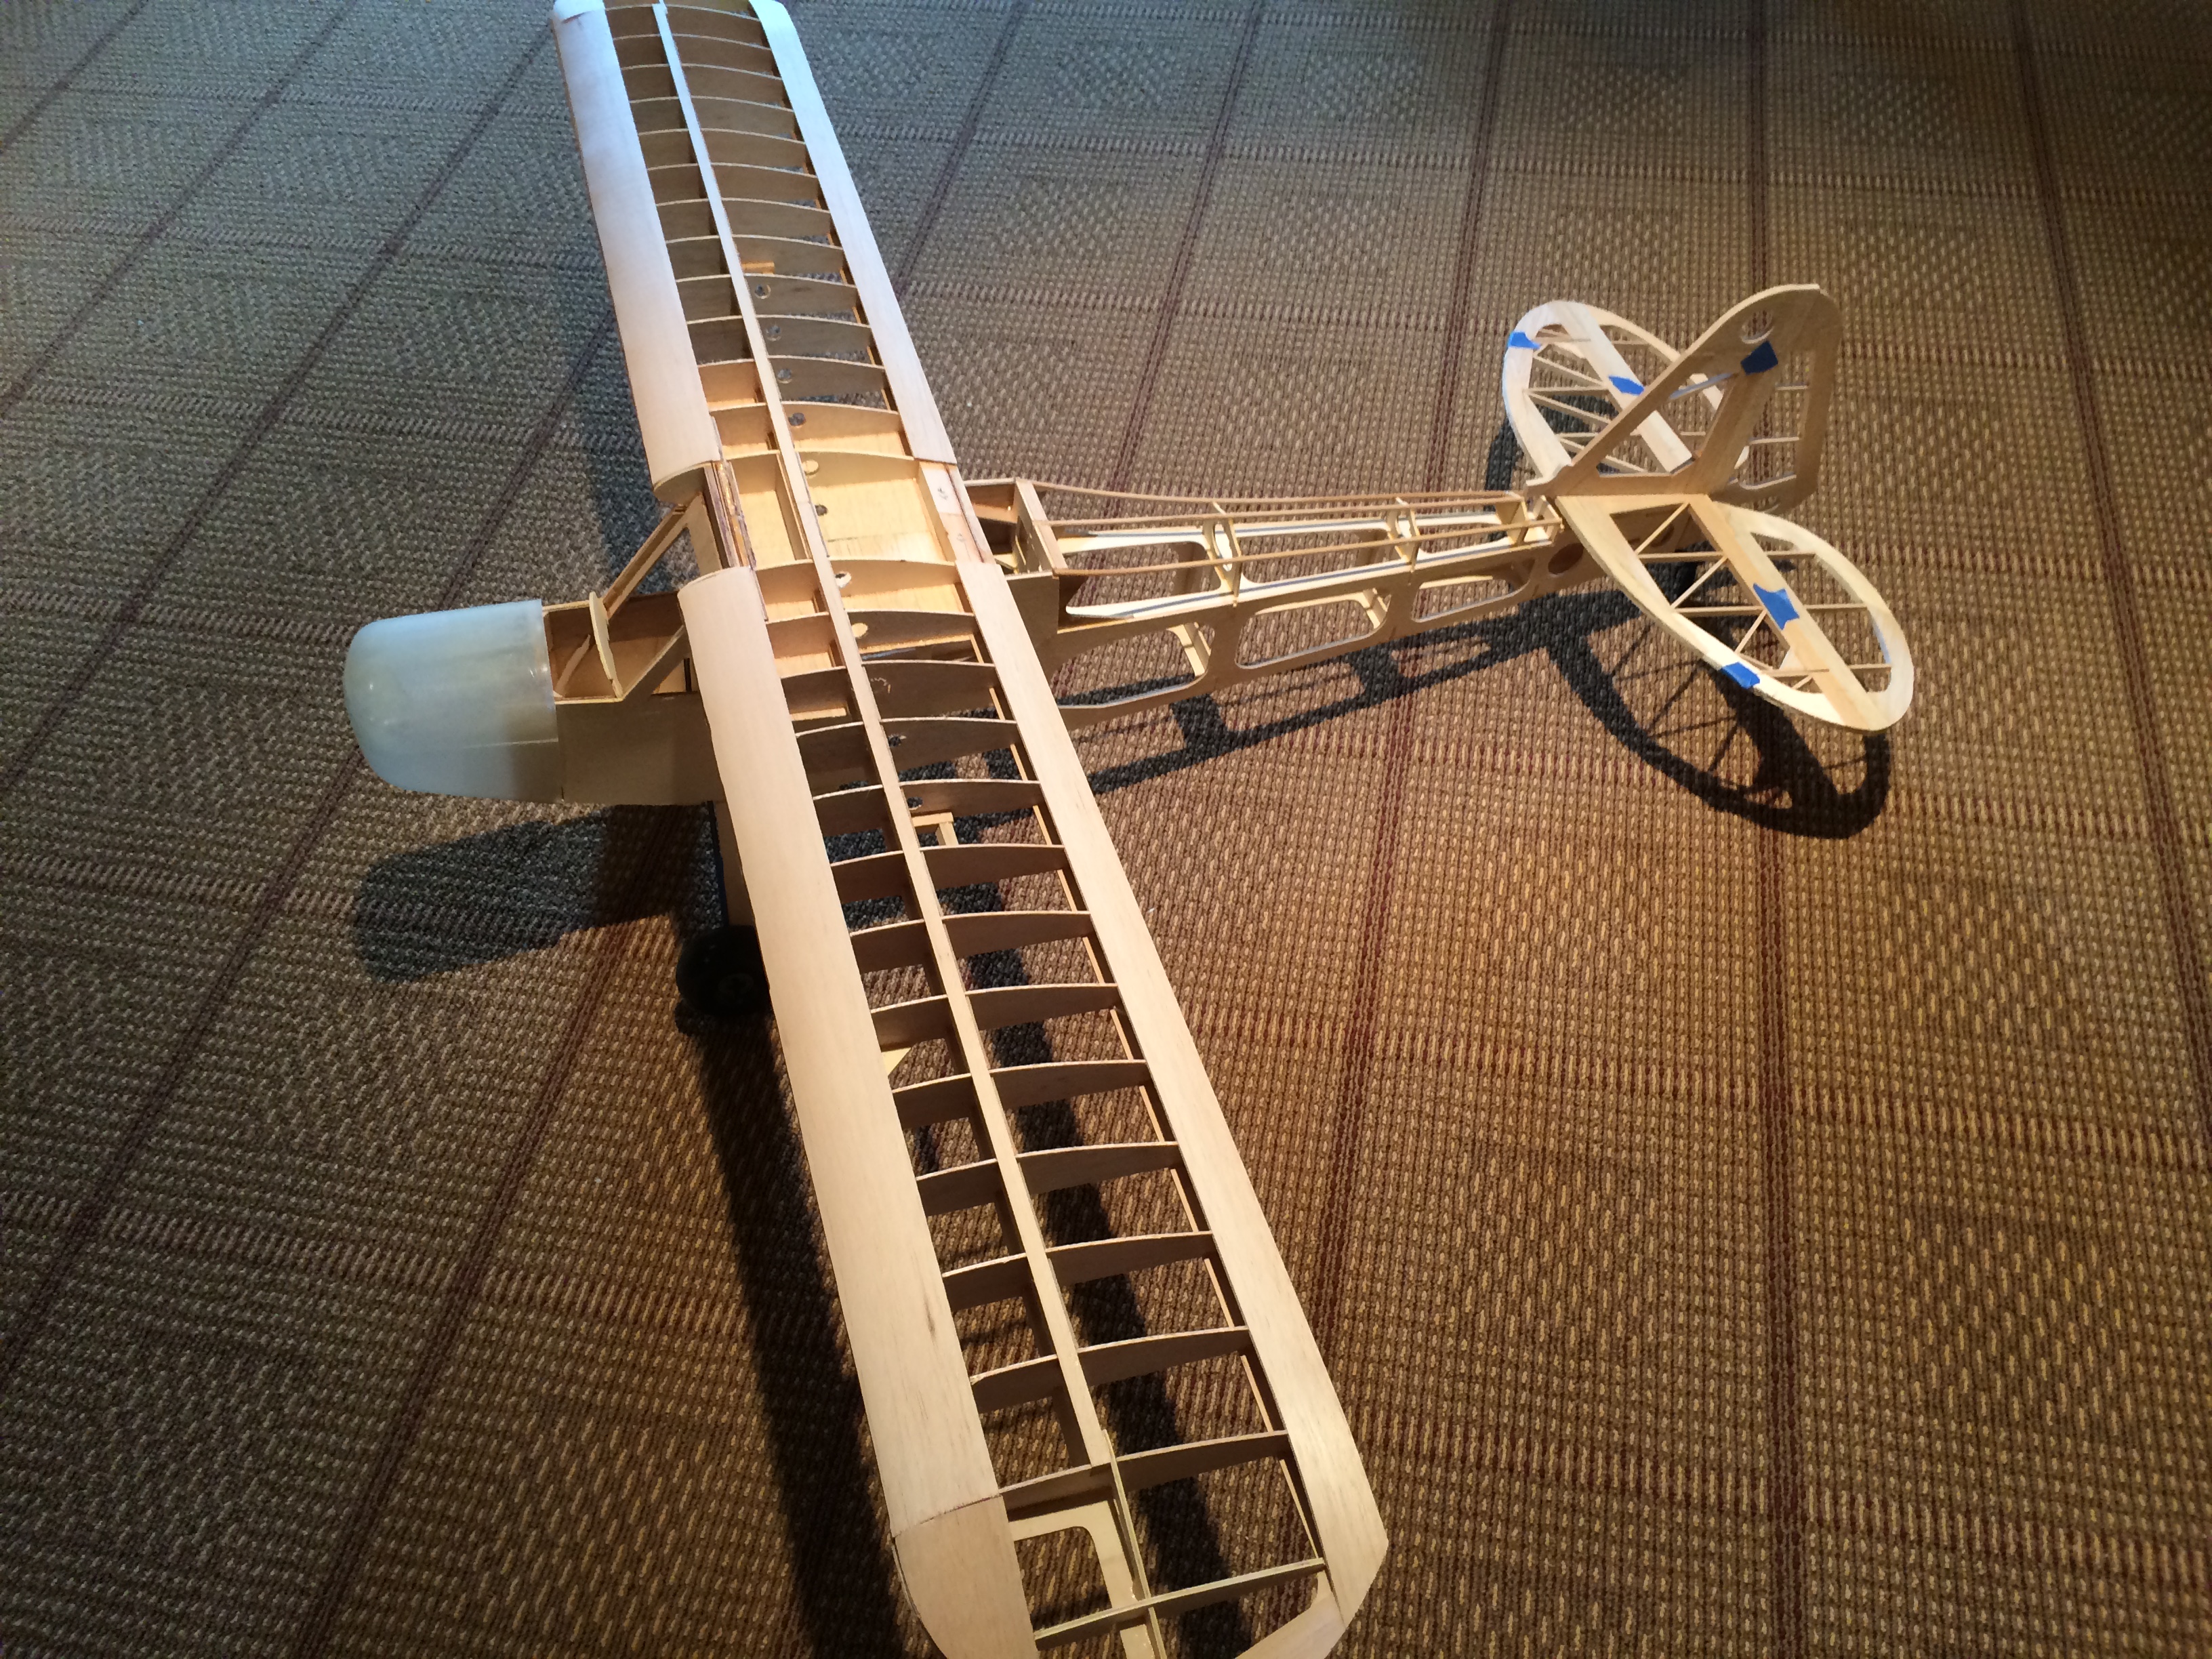
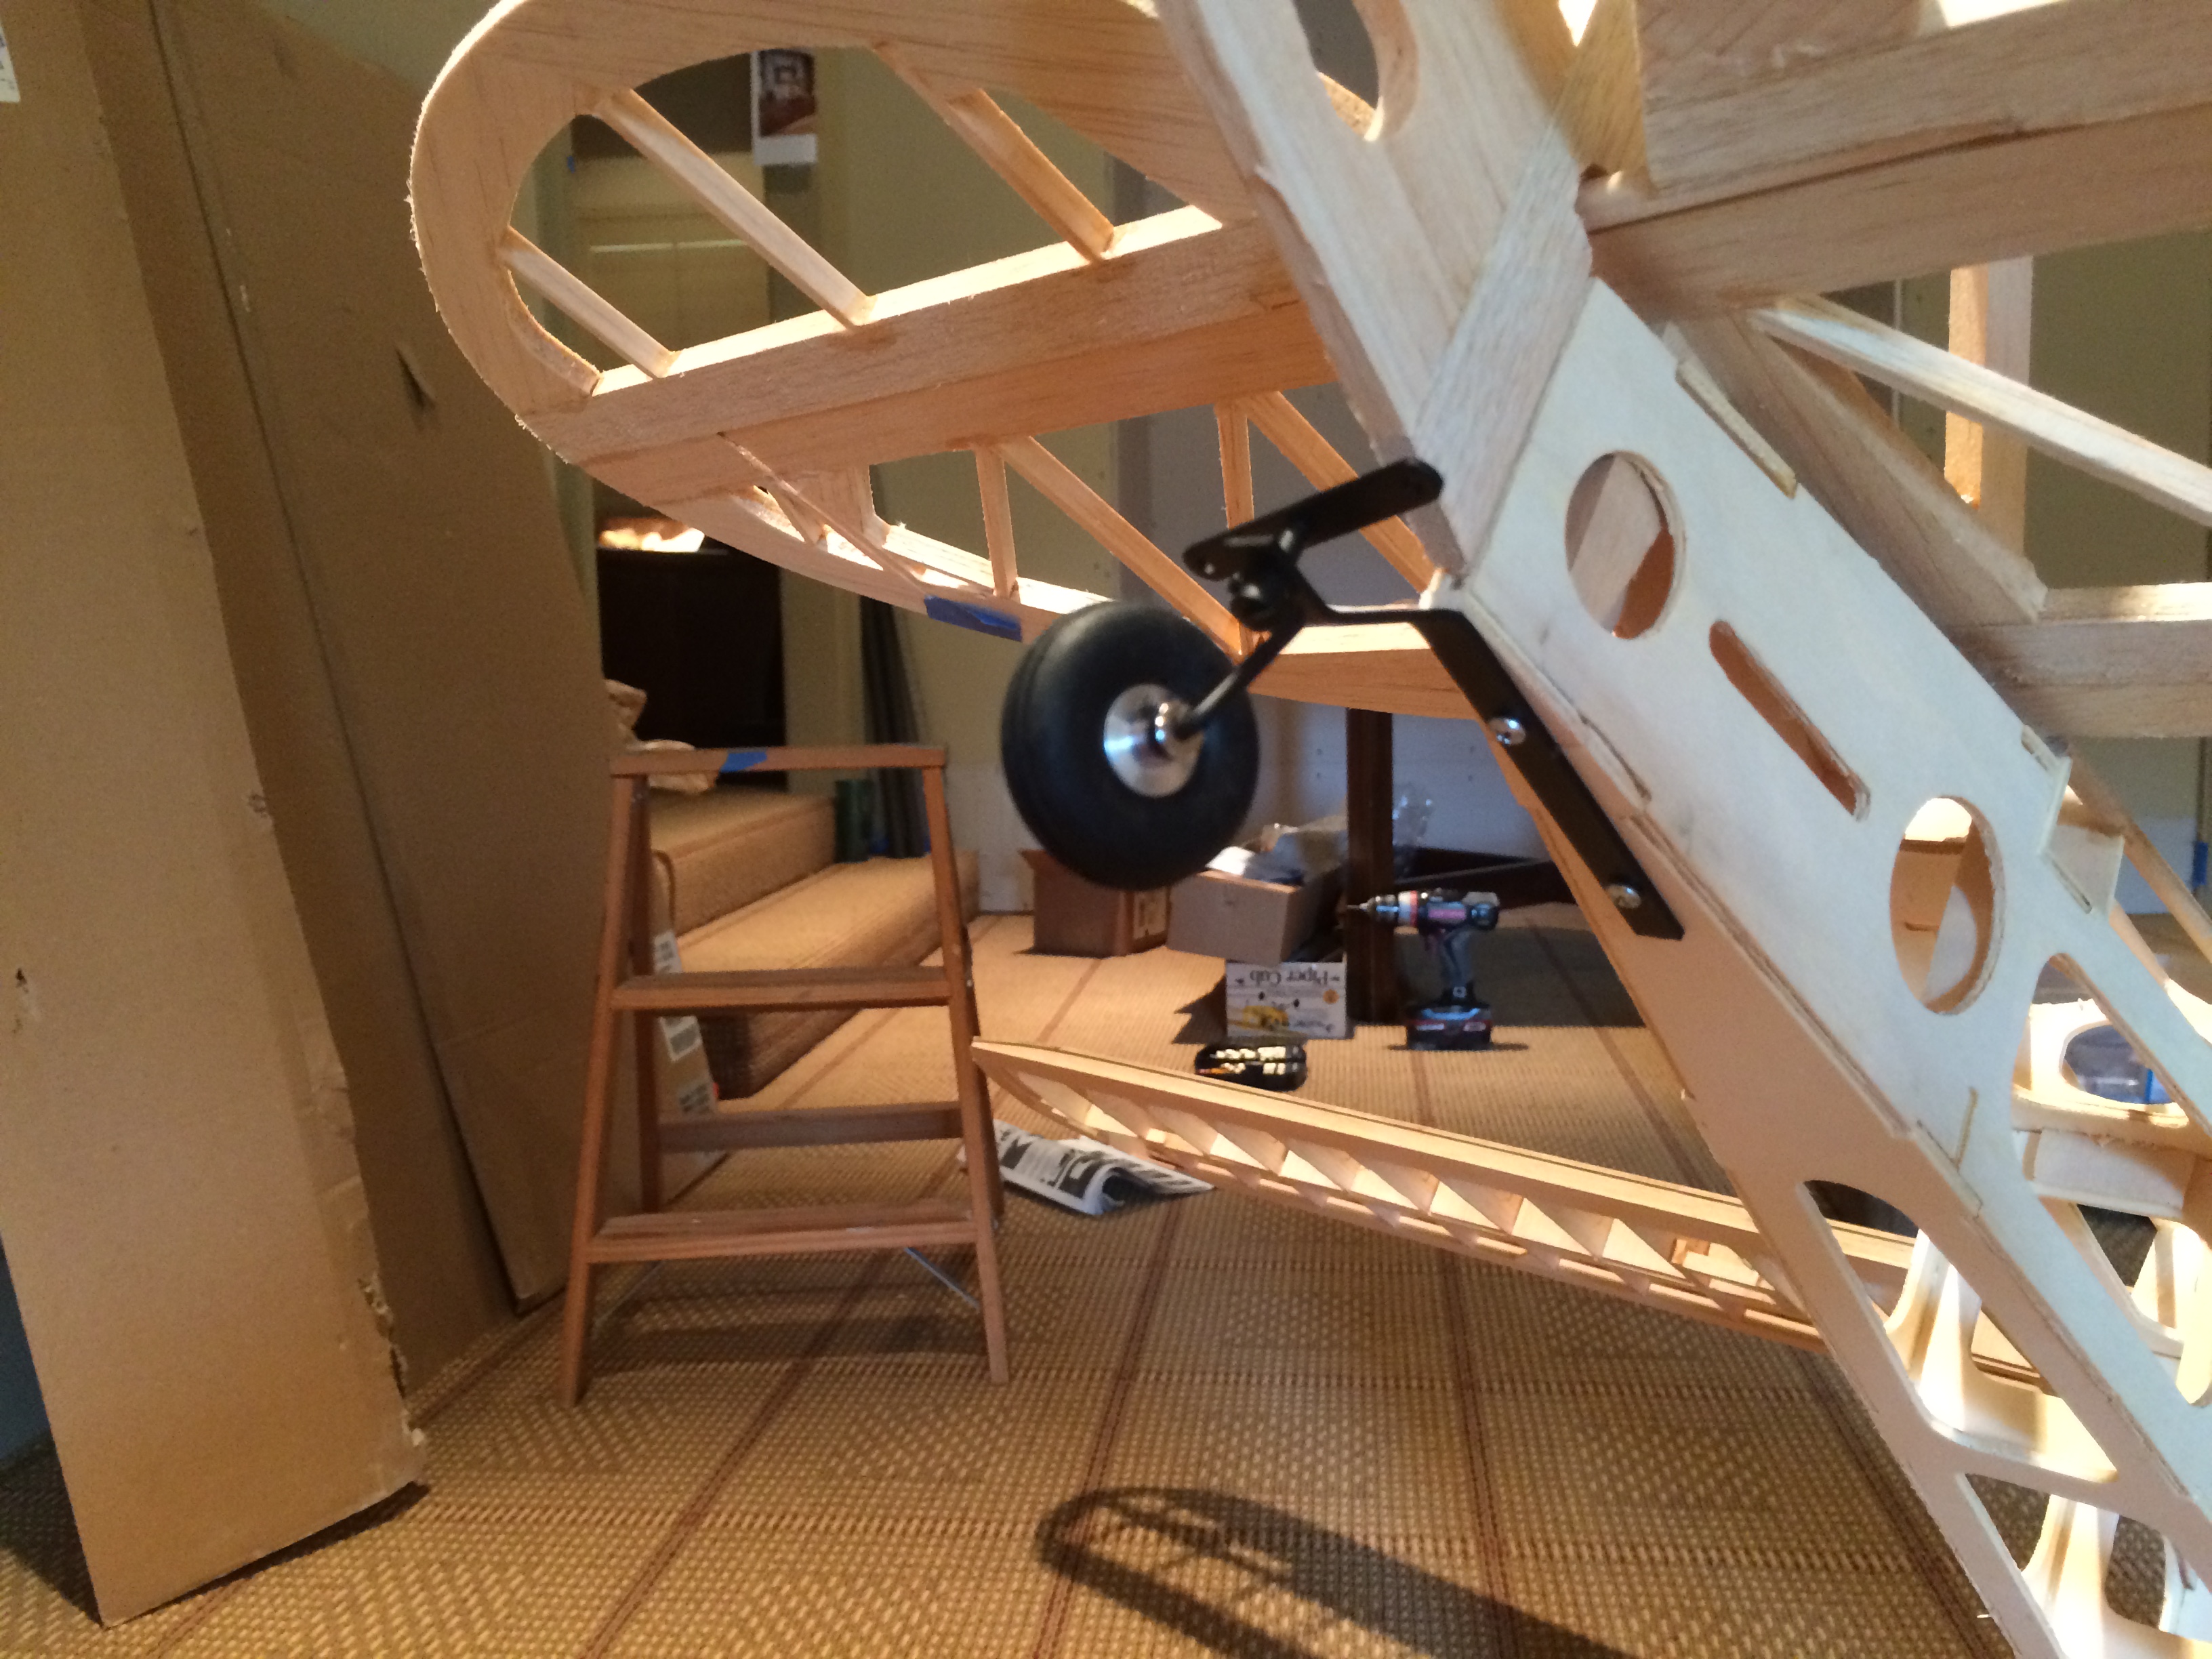
early framing. elevators redesigned to resemble Supercub. kiddo getting shot at assembly.
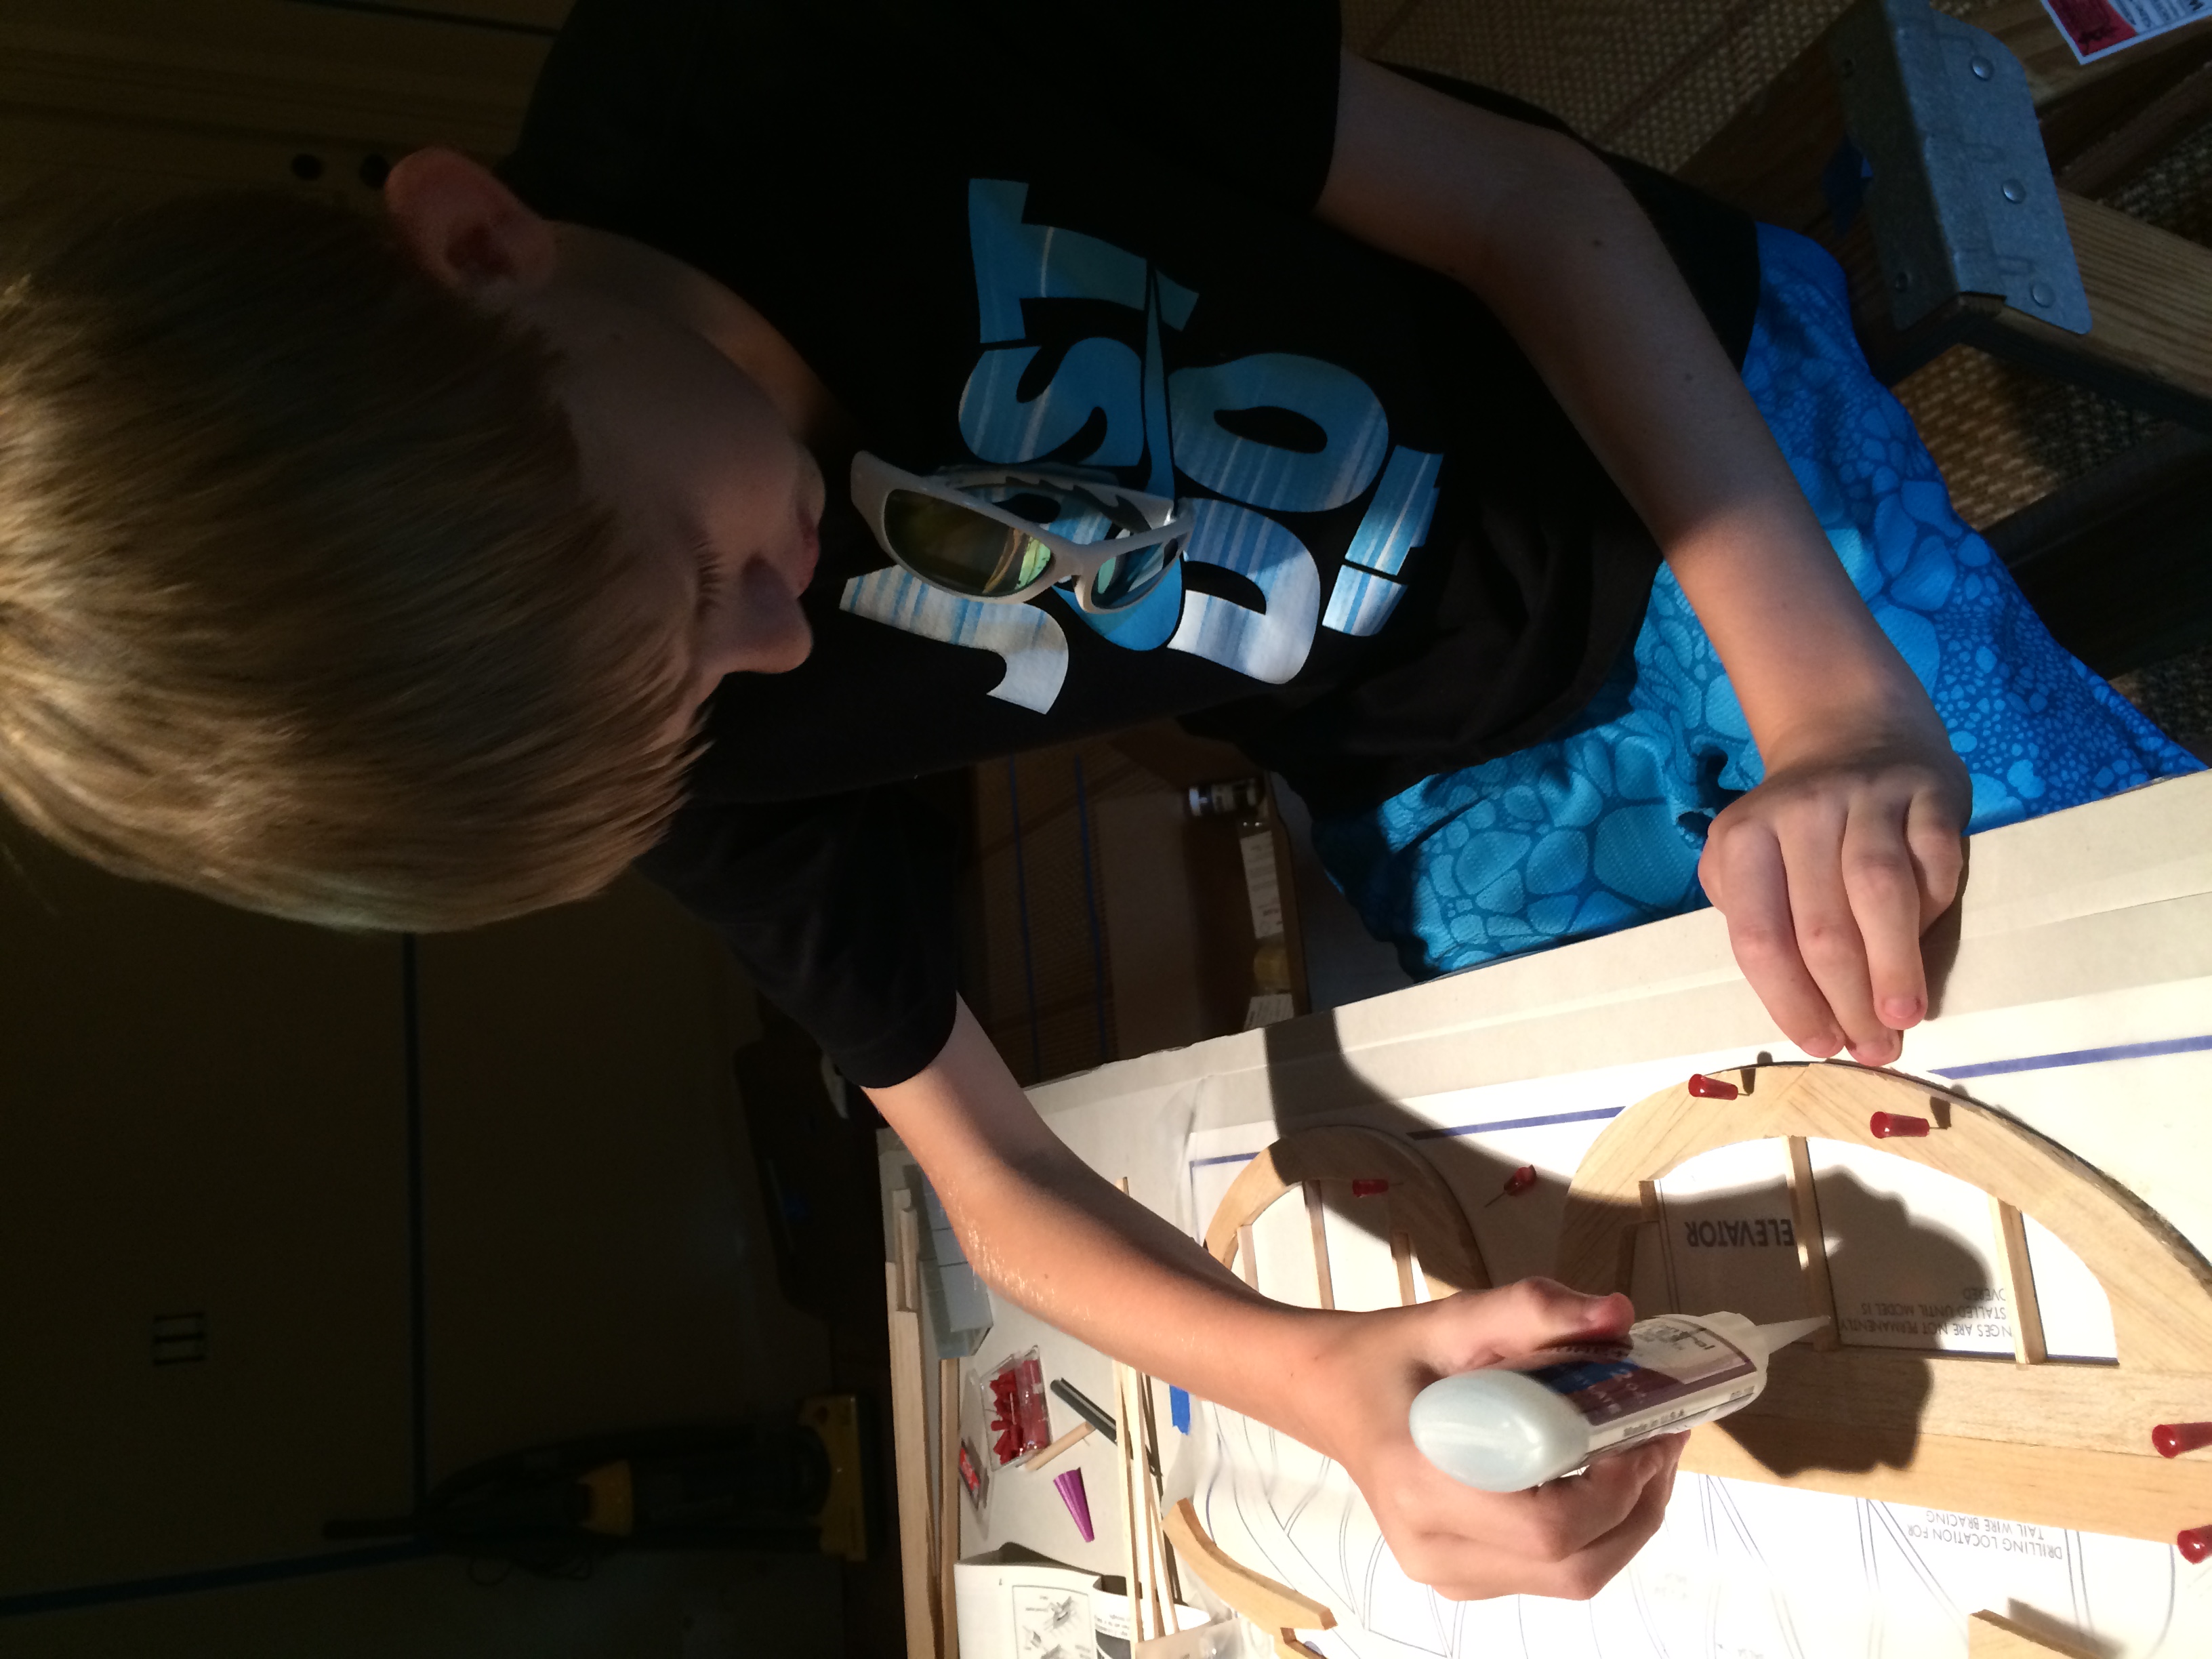
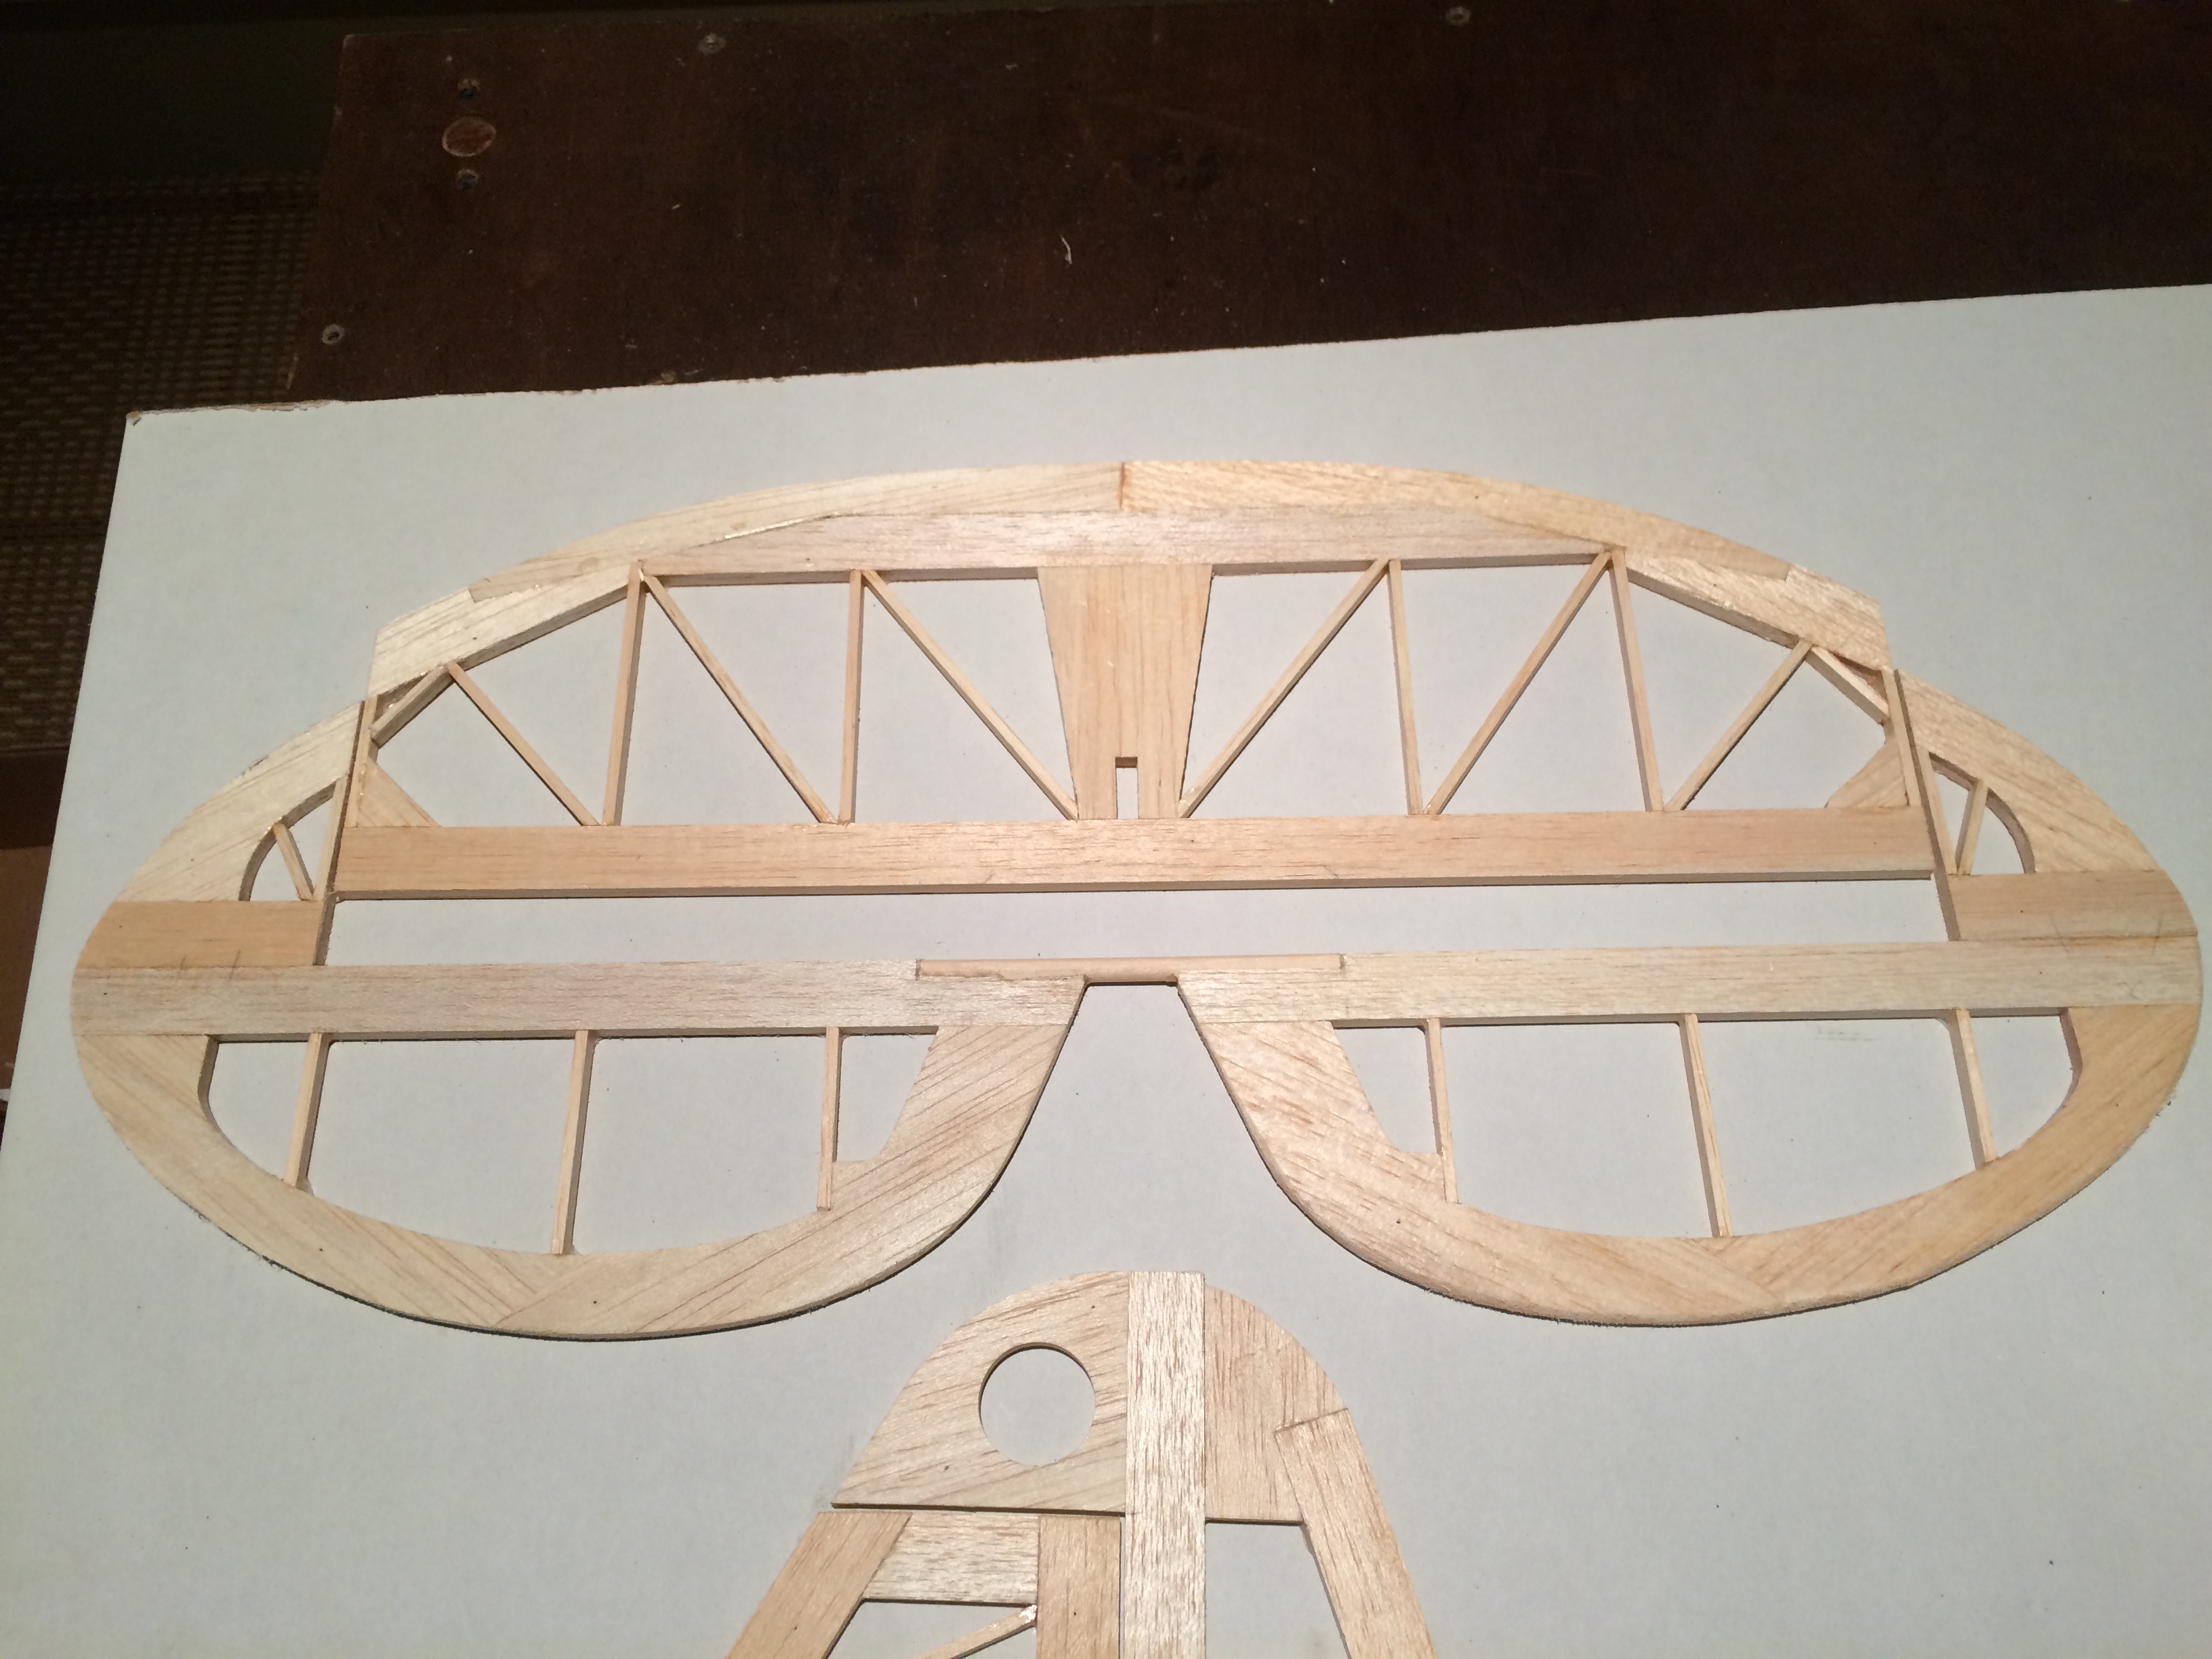
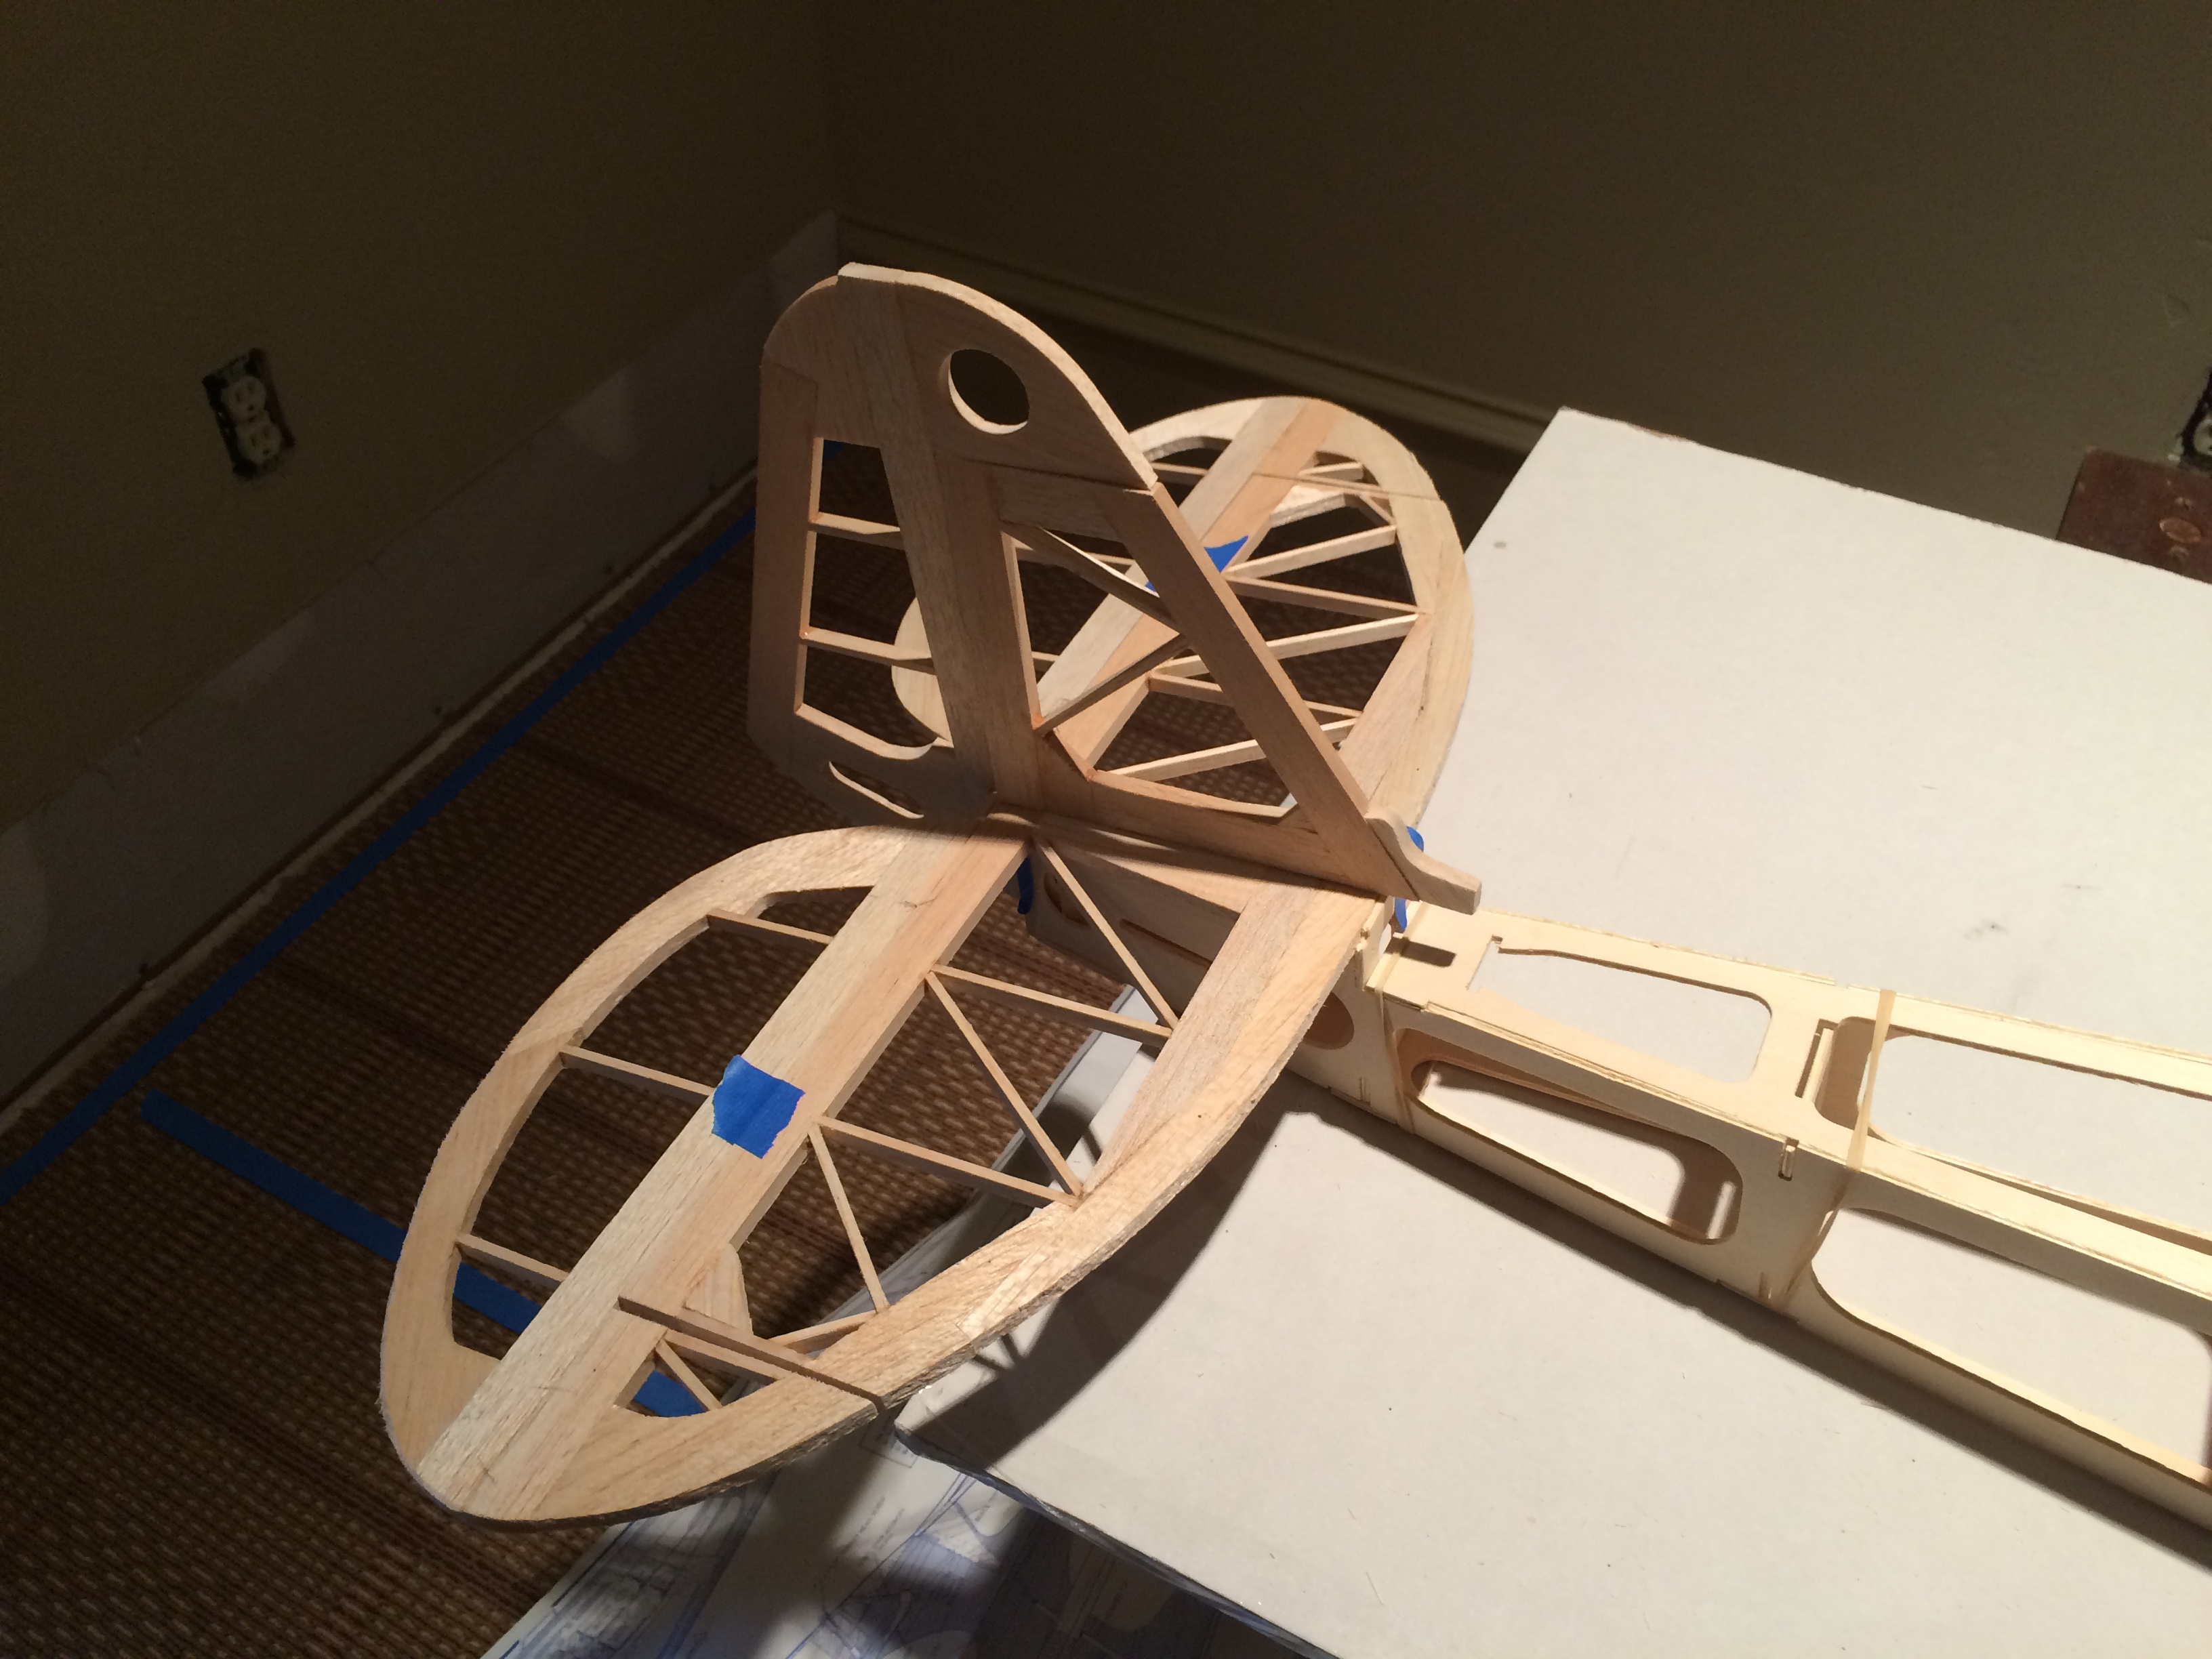
early framing. elevators redesigned to resemble Supercub. kiddo getting shot at assembly.
 10-27-2015, 09:08 AM
#2
Thread Starter
My Feedback: (31)
Join Date: Jan 2002
Location: The Woodlands,
TX
Posts: 187
Likes: 0
Received 0 Likes
on
0 Posts
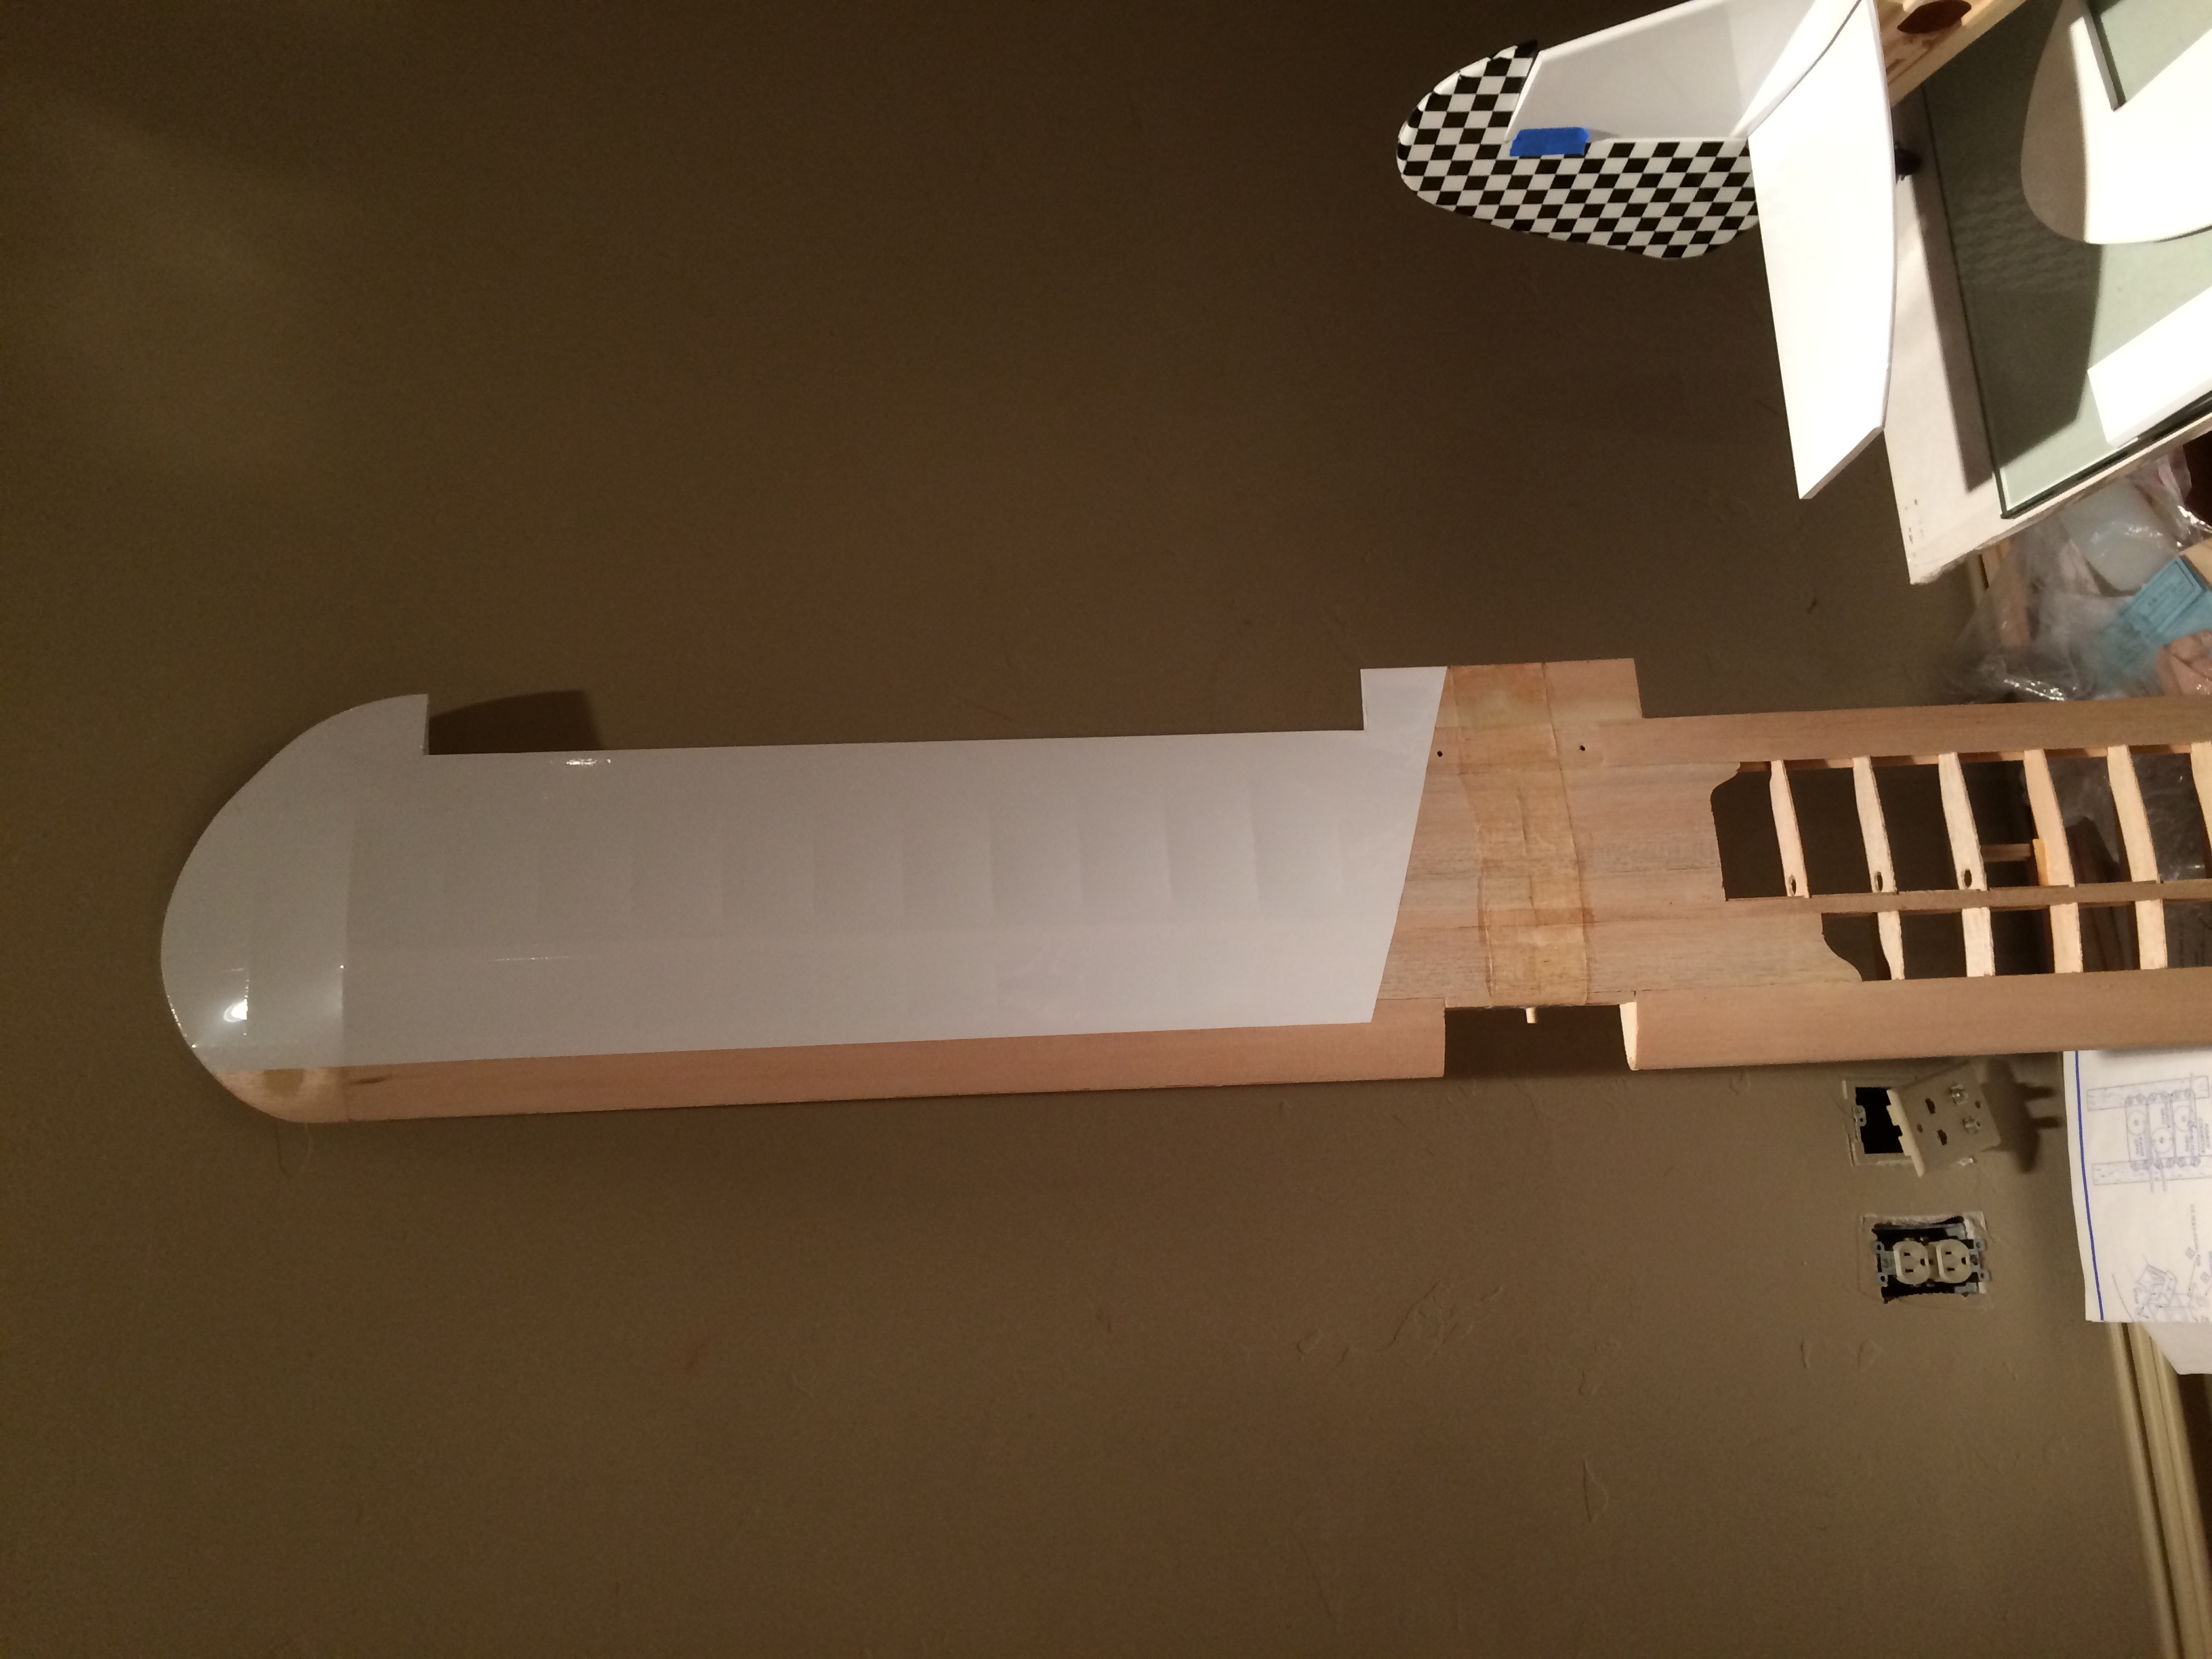
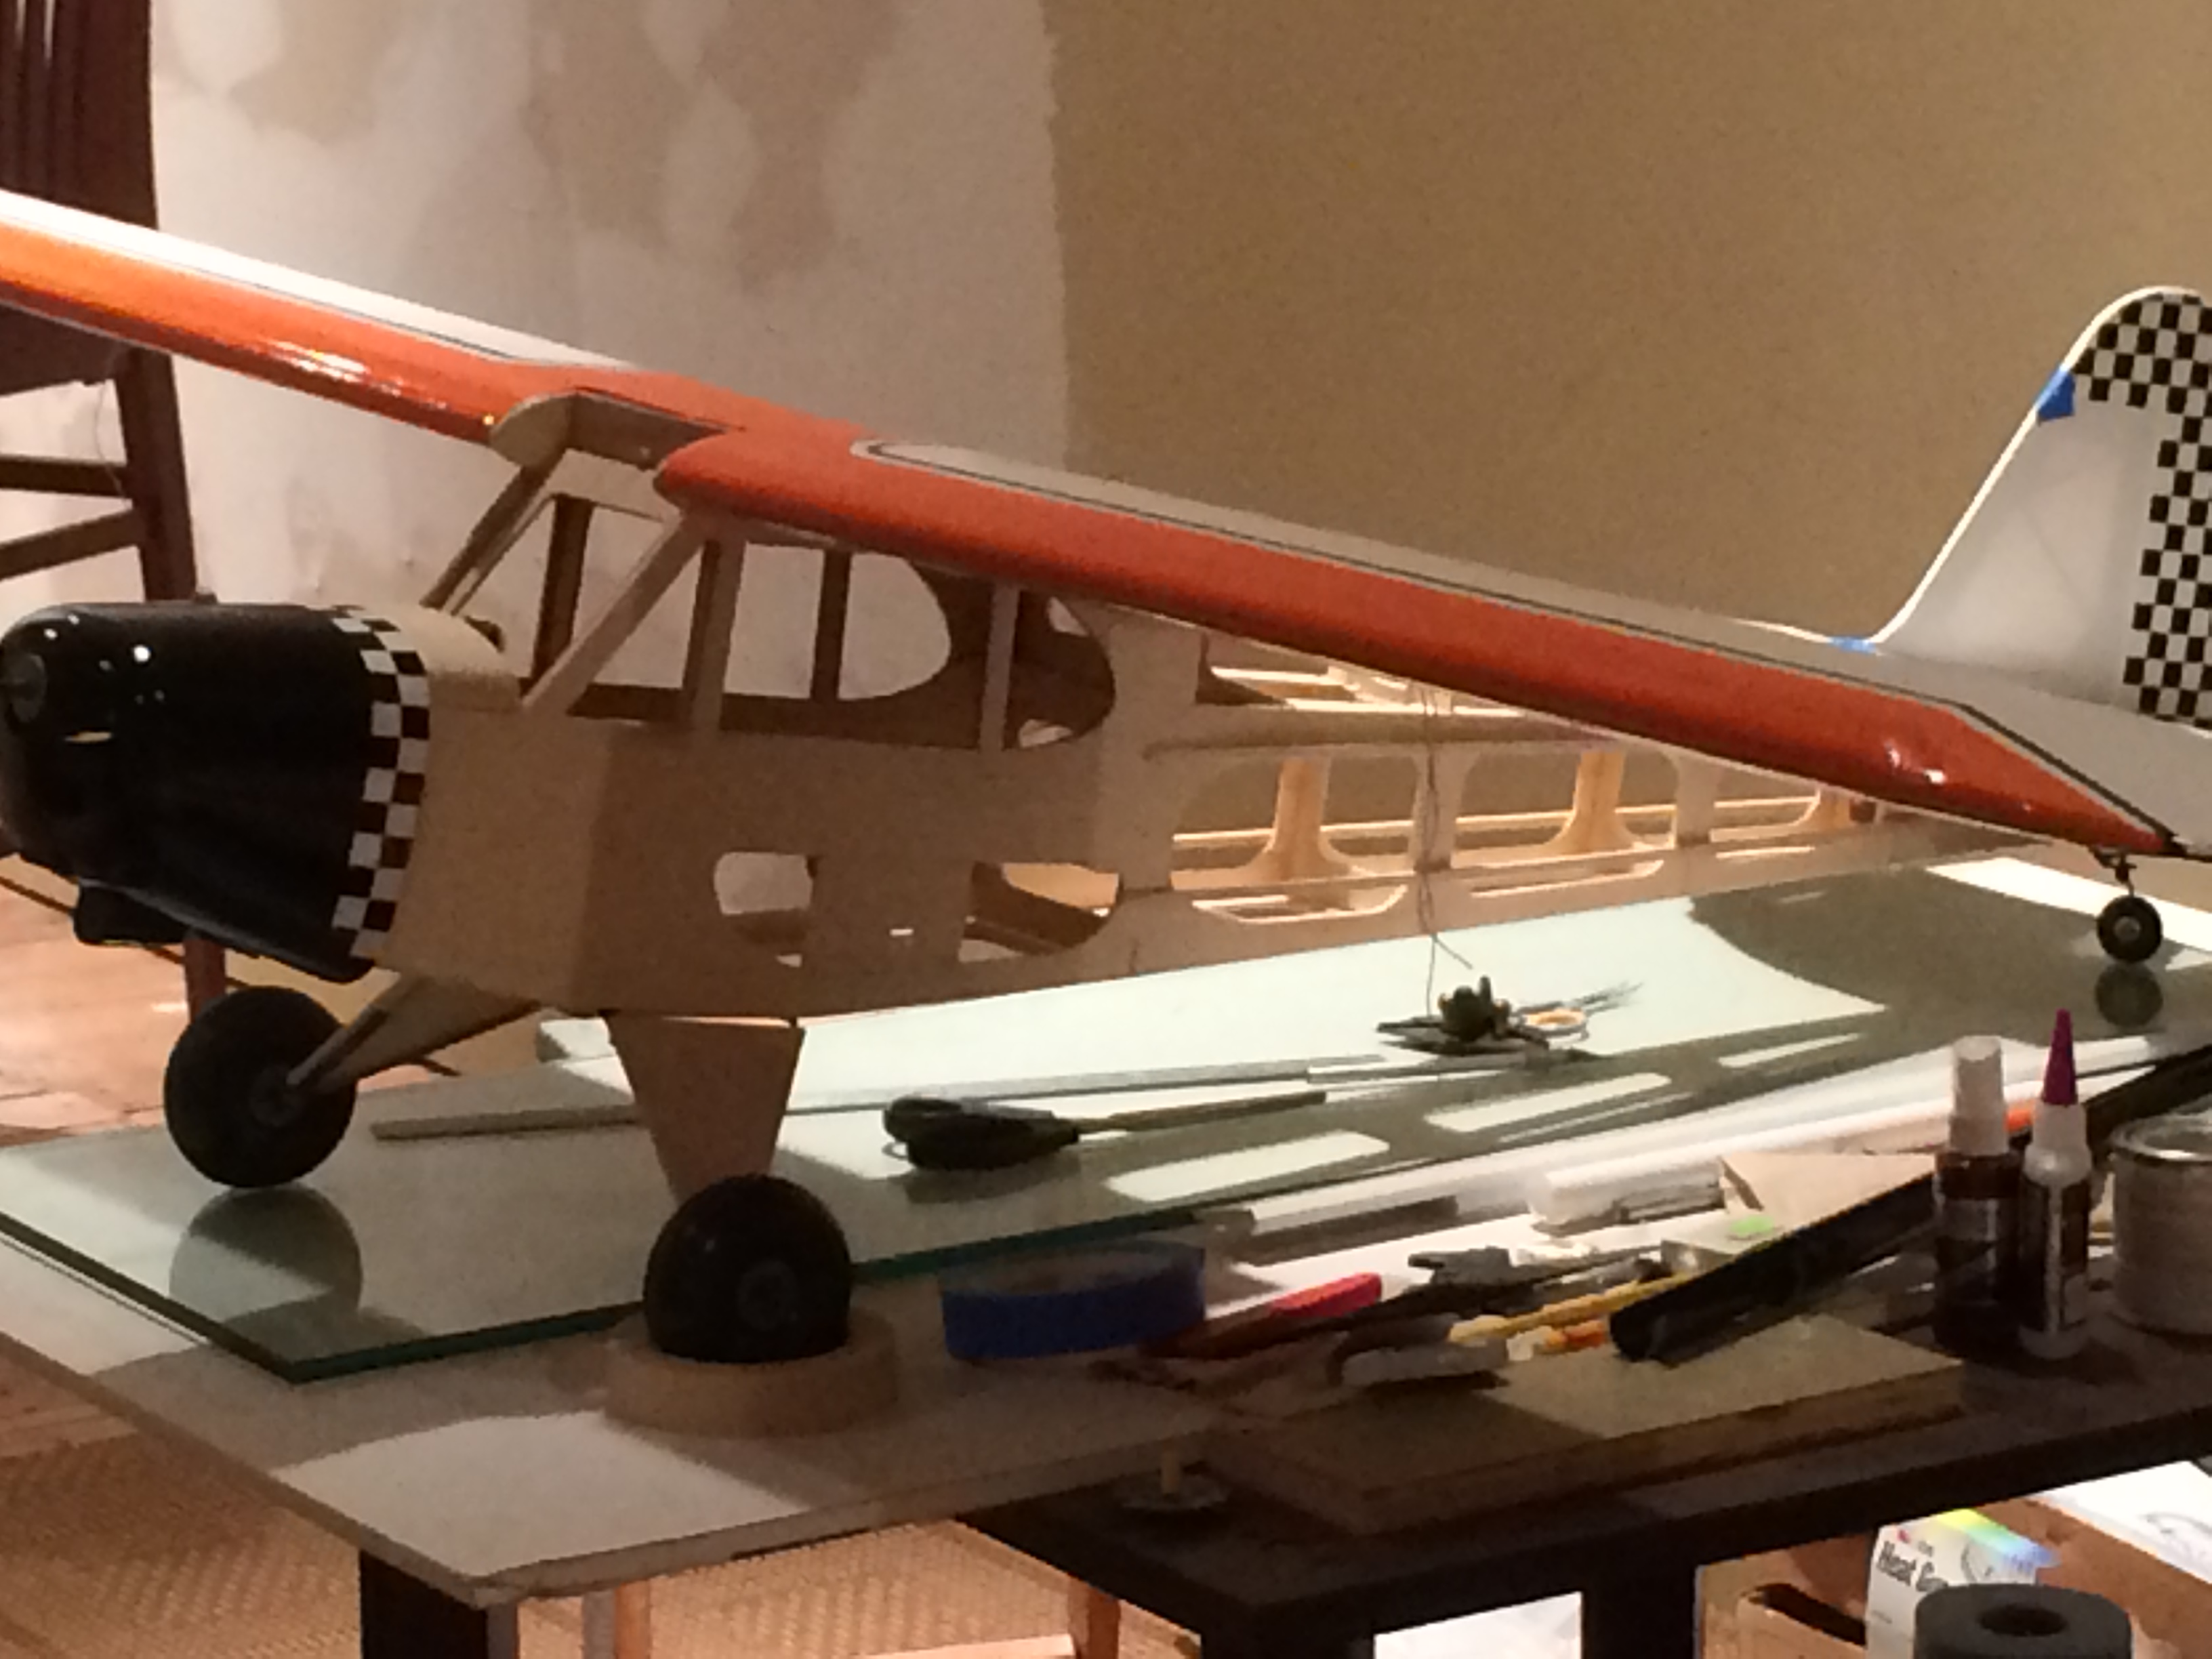
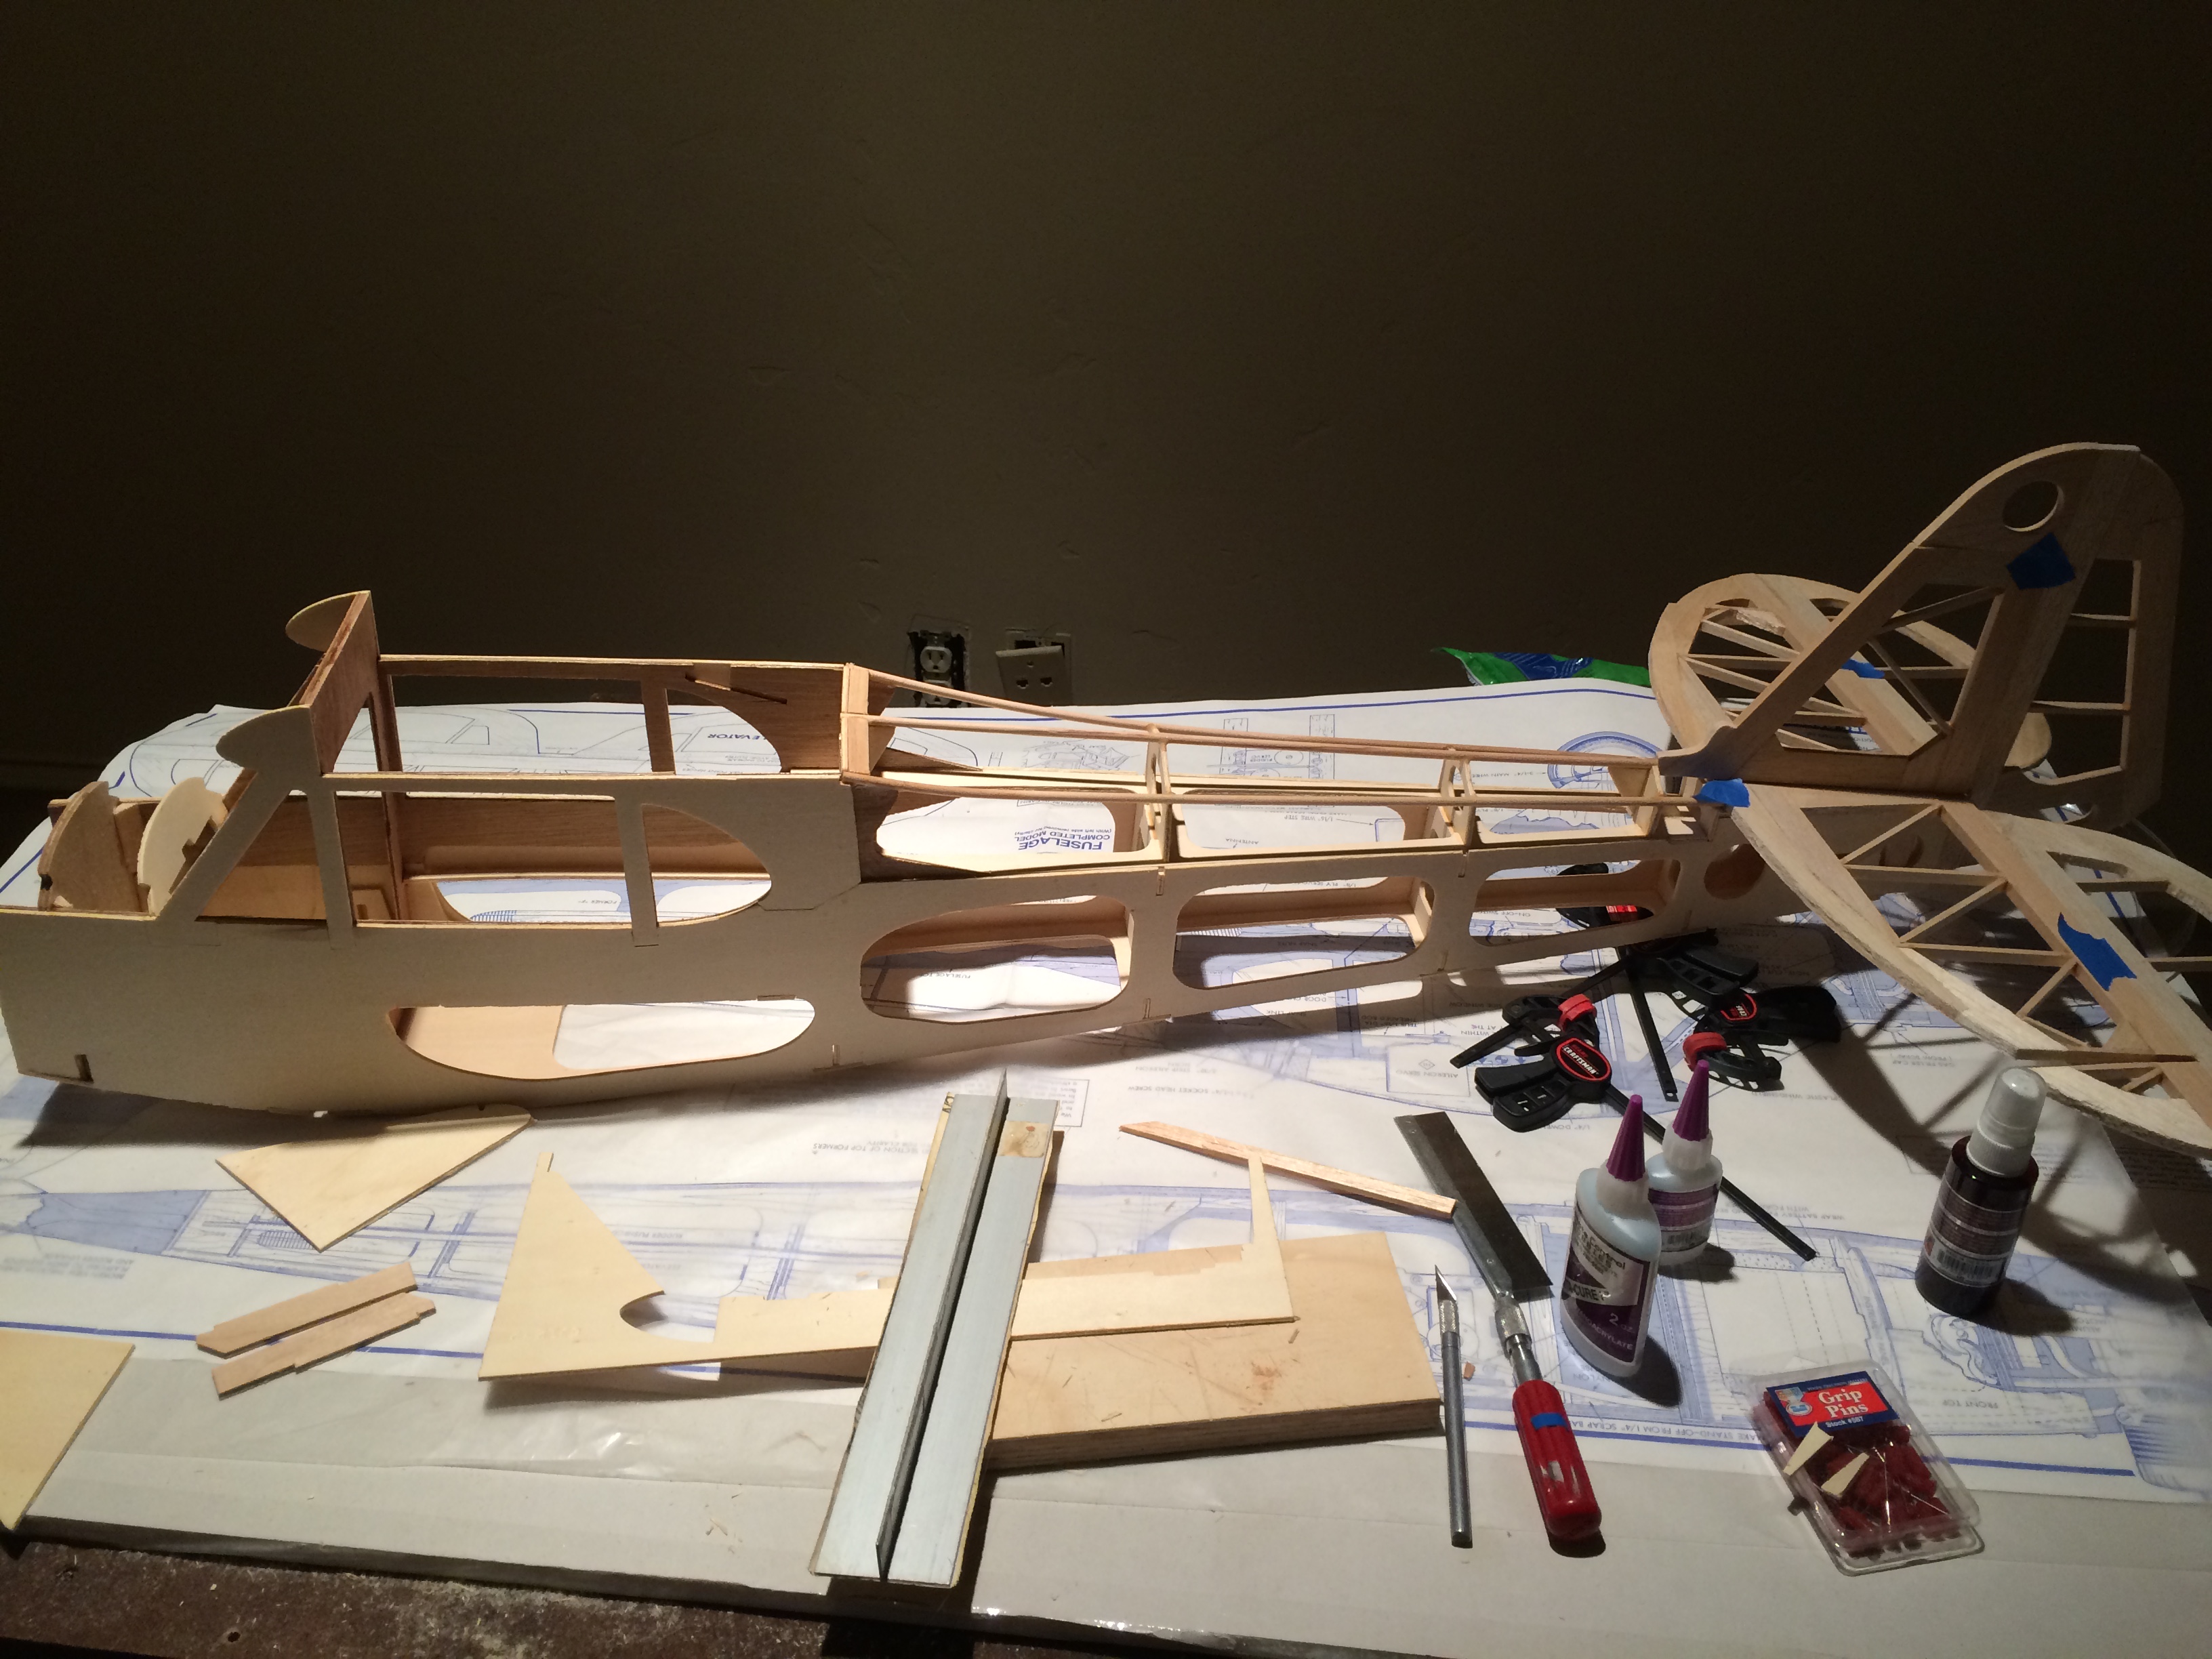
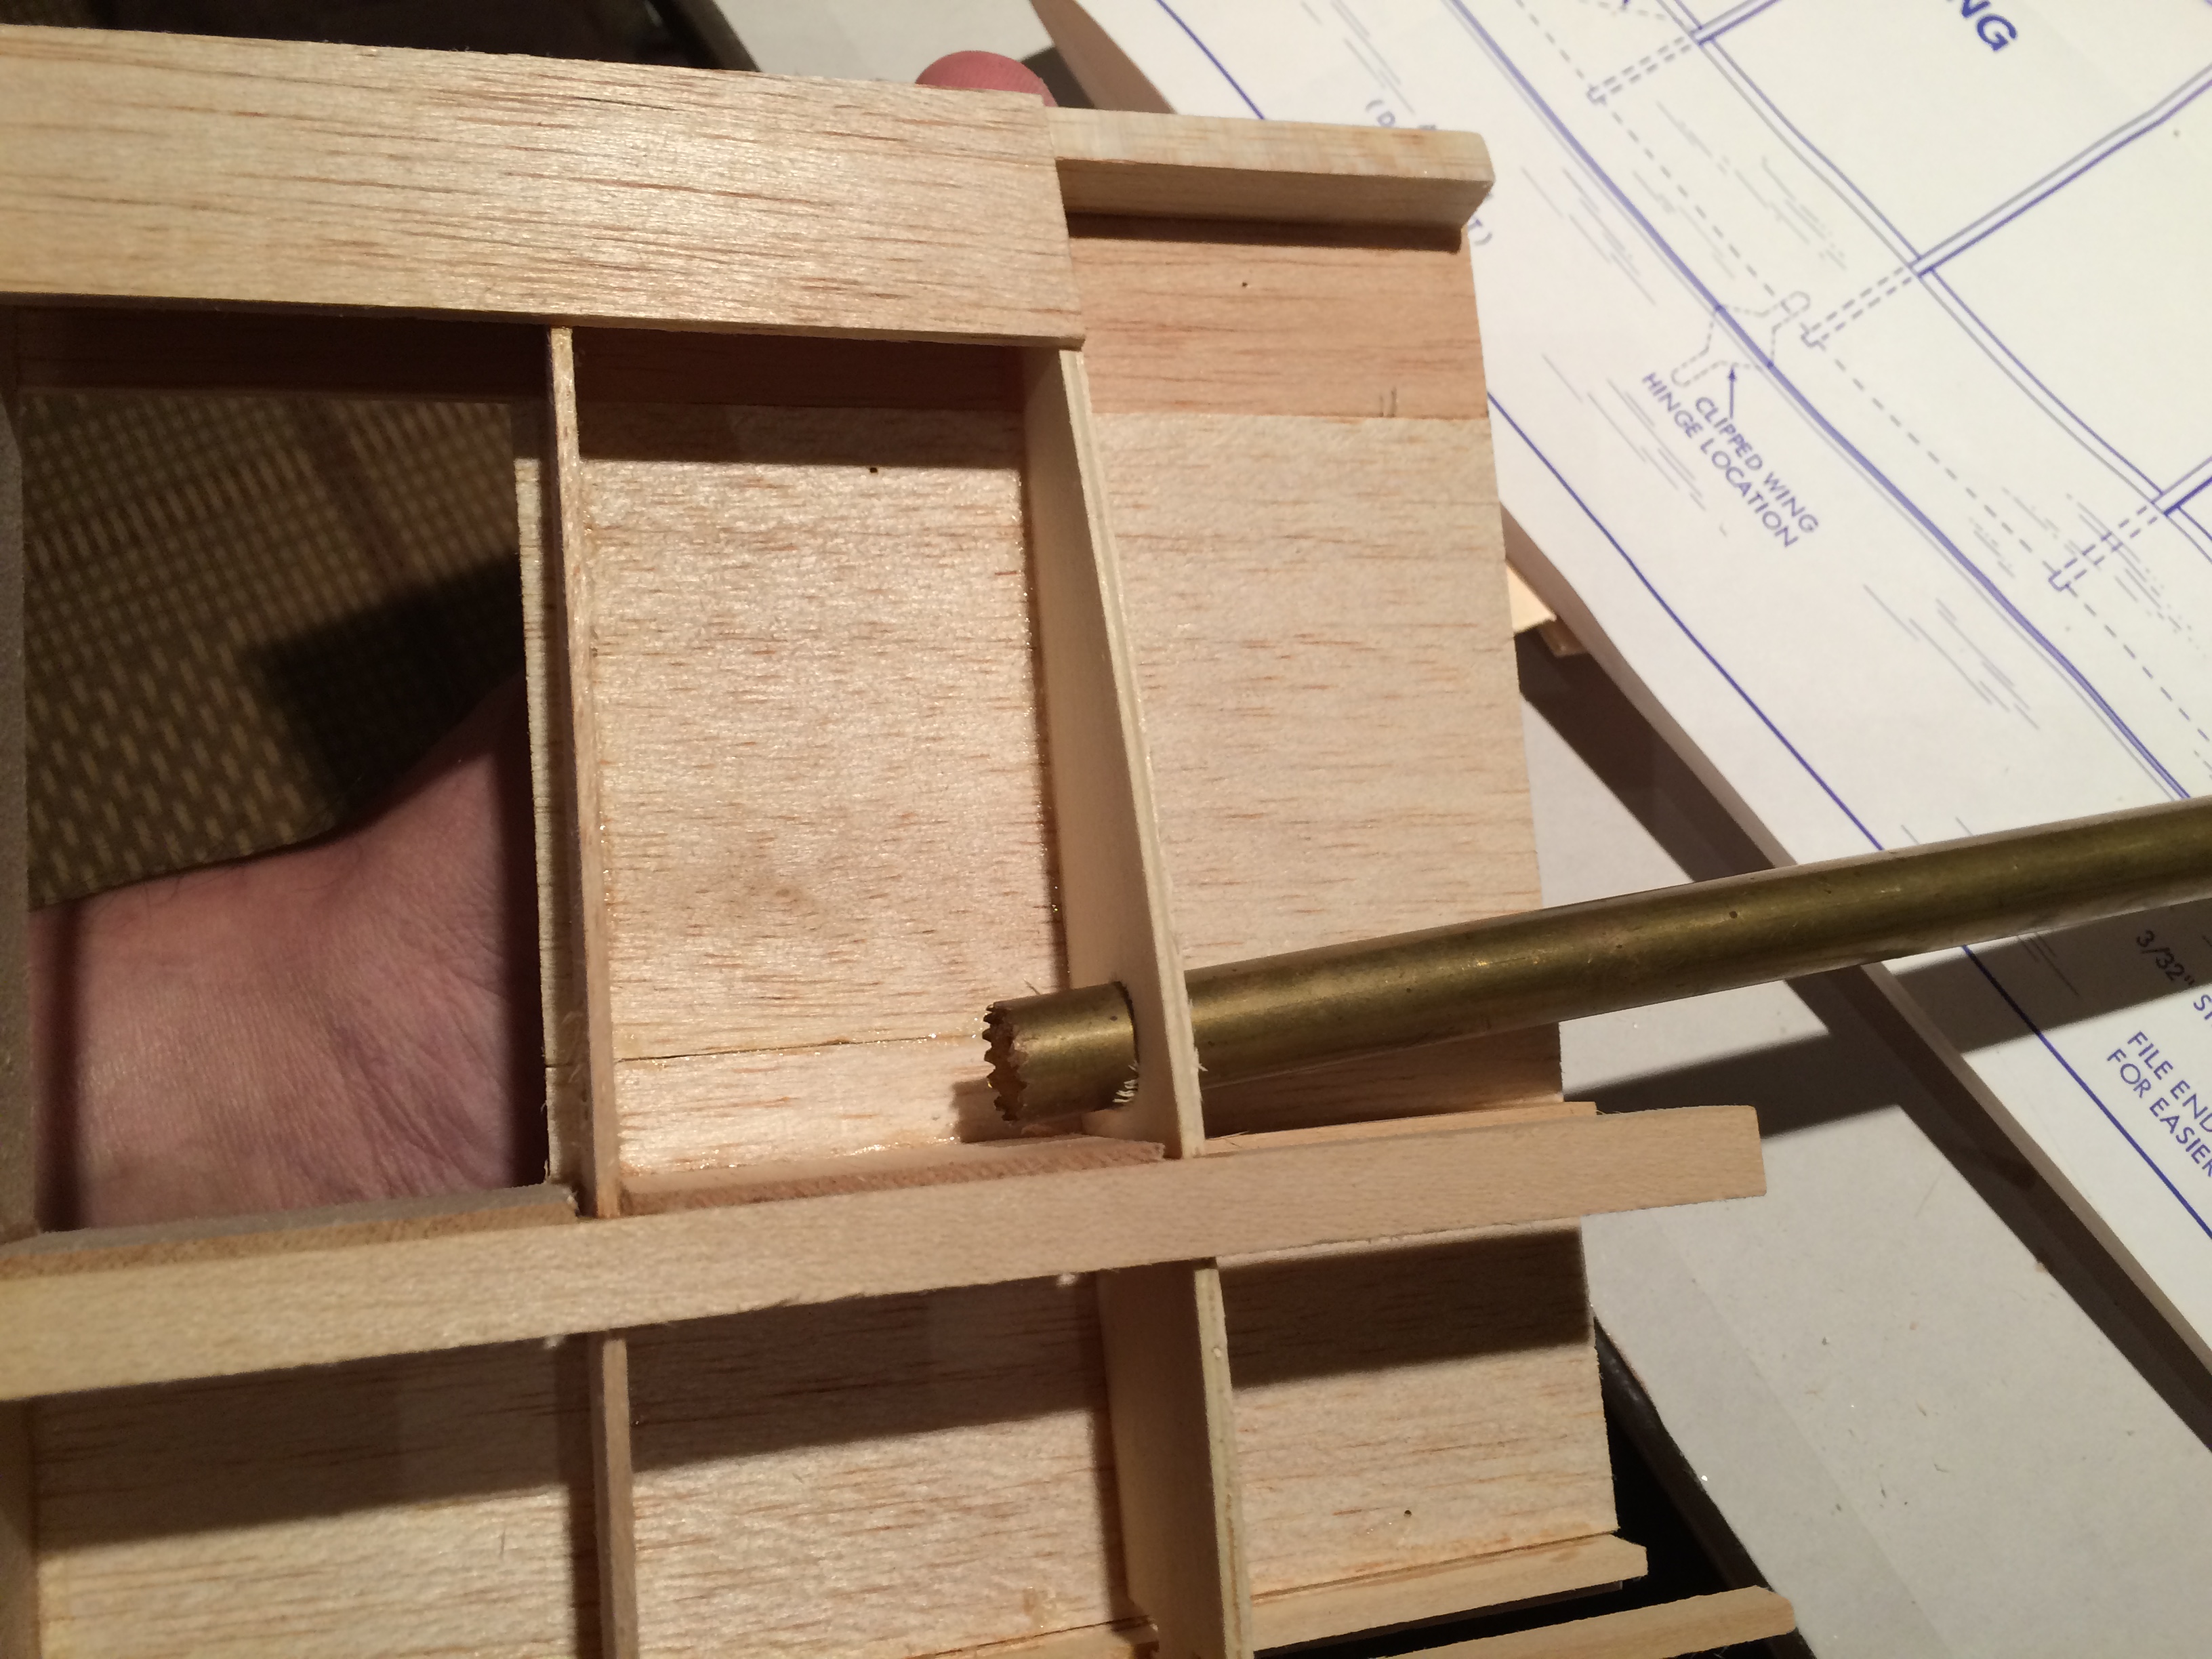
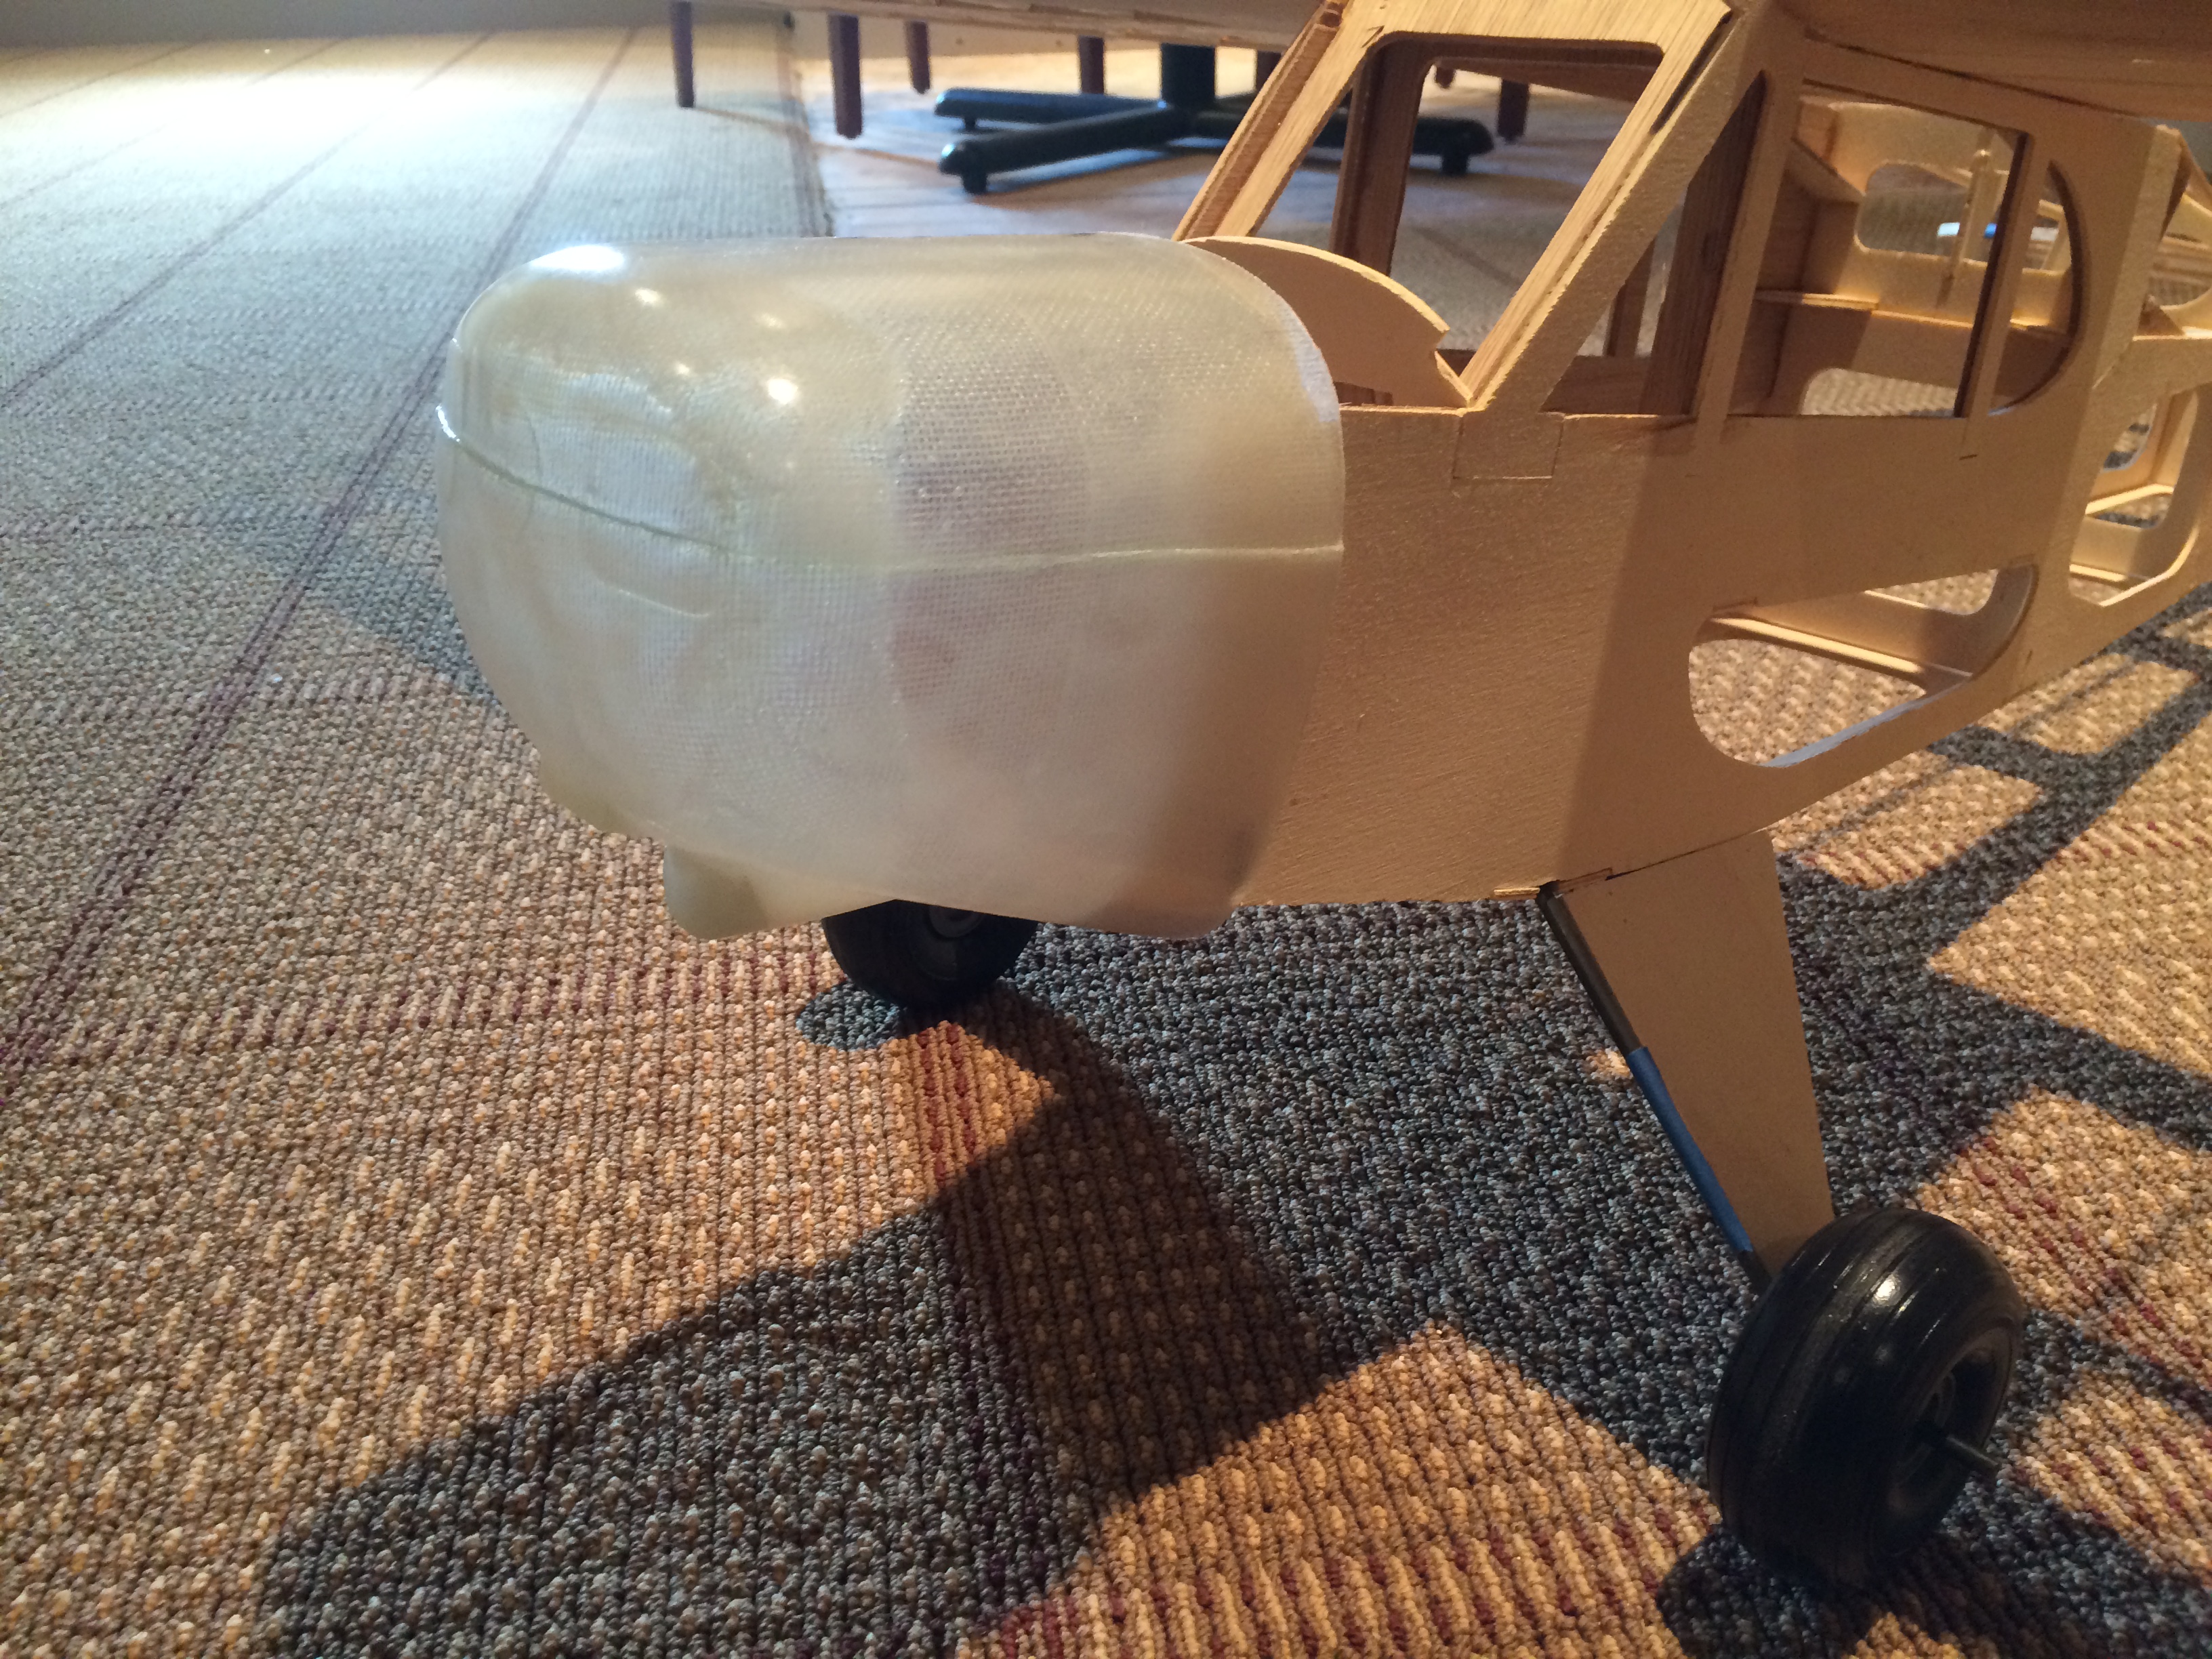
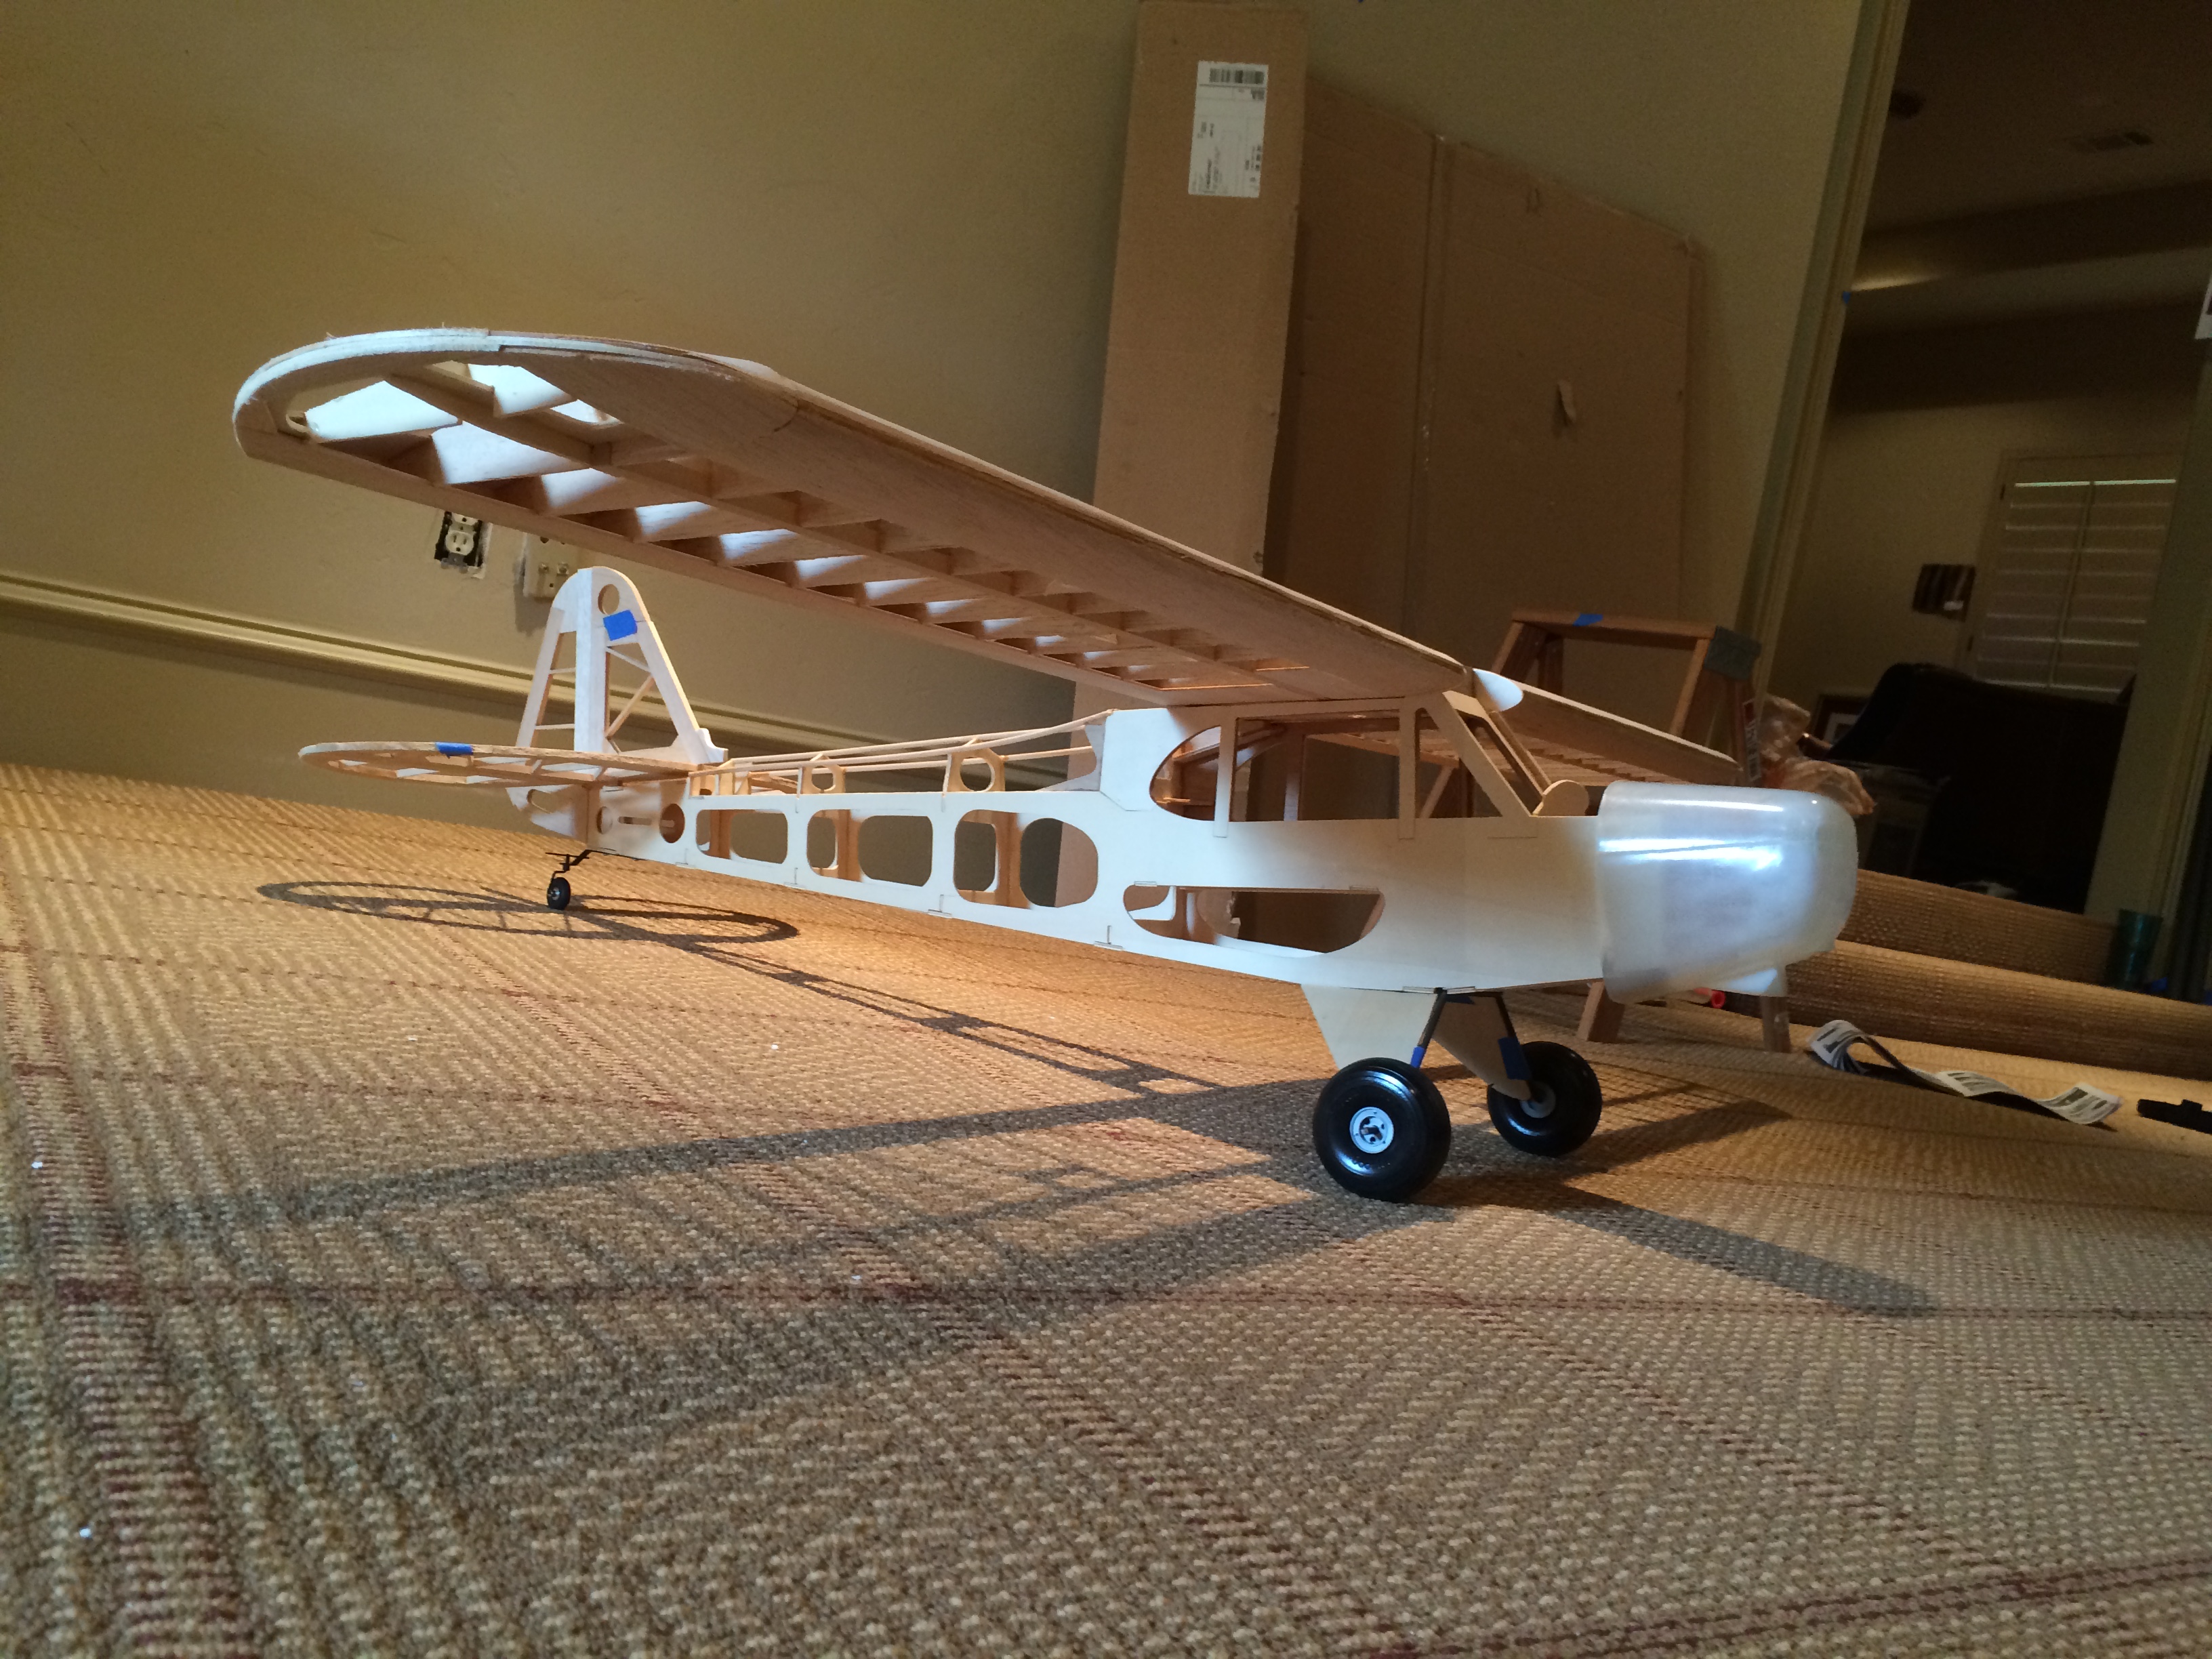
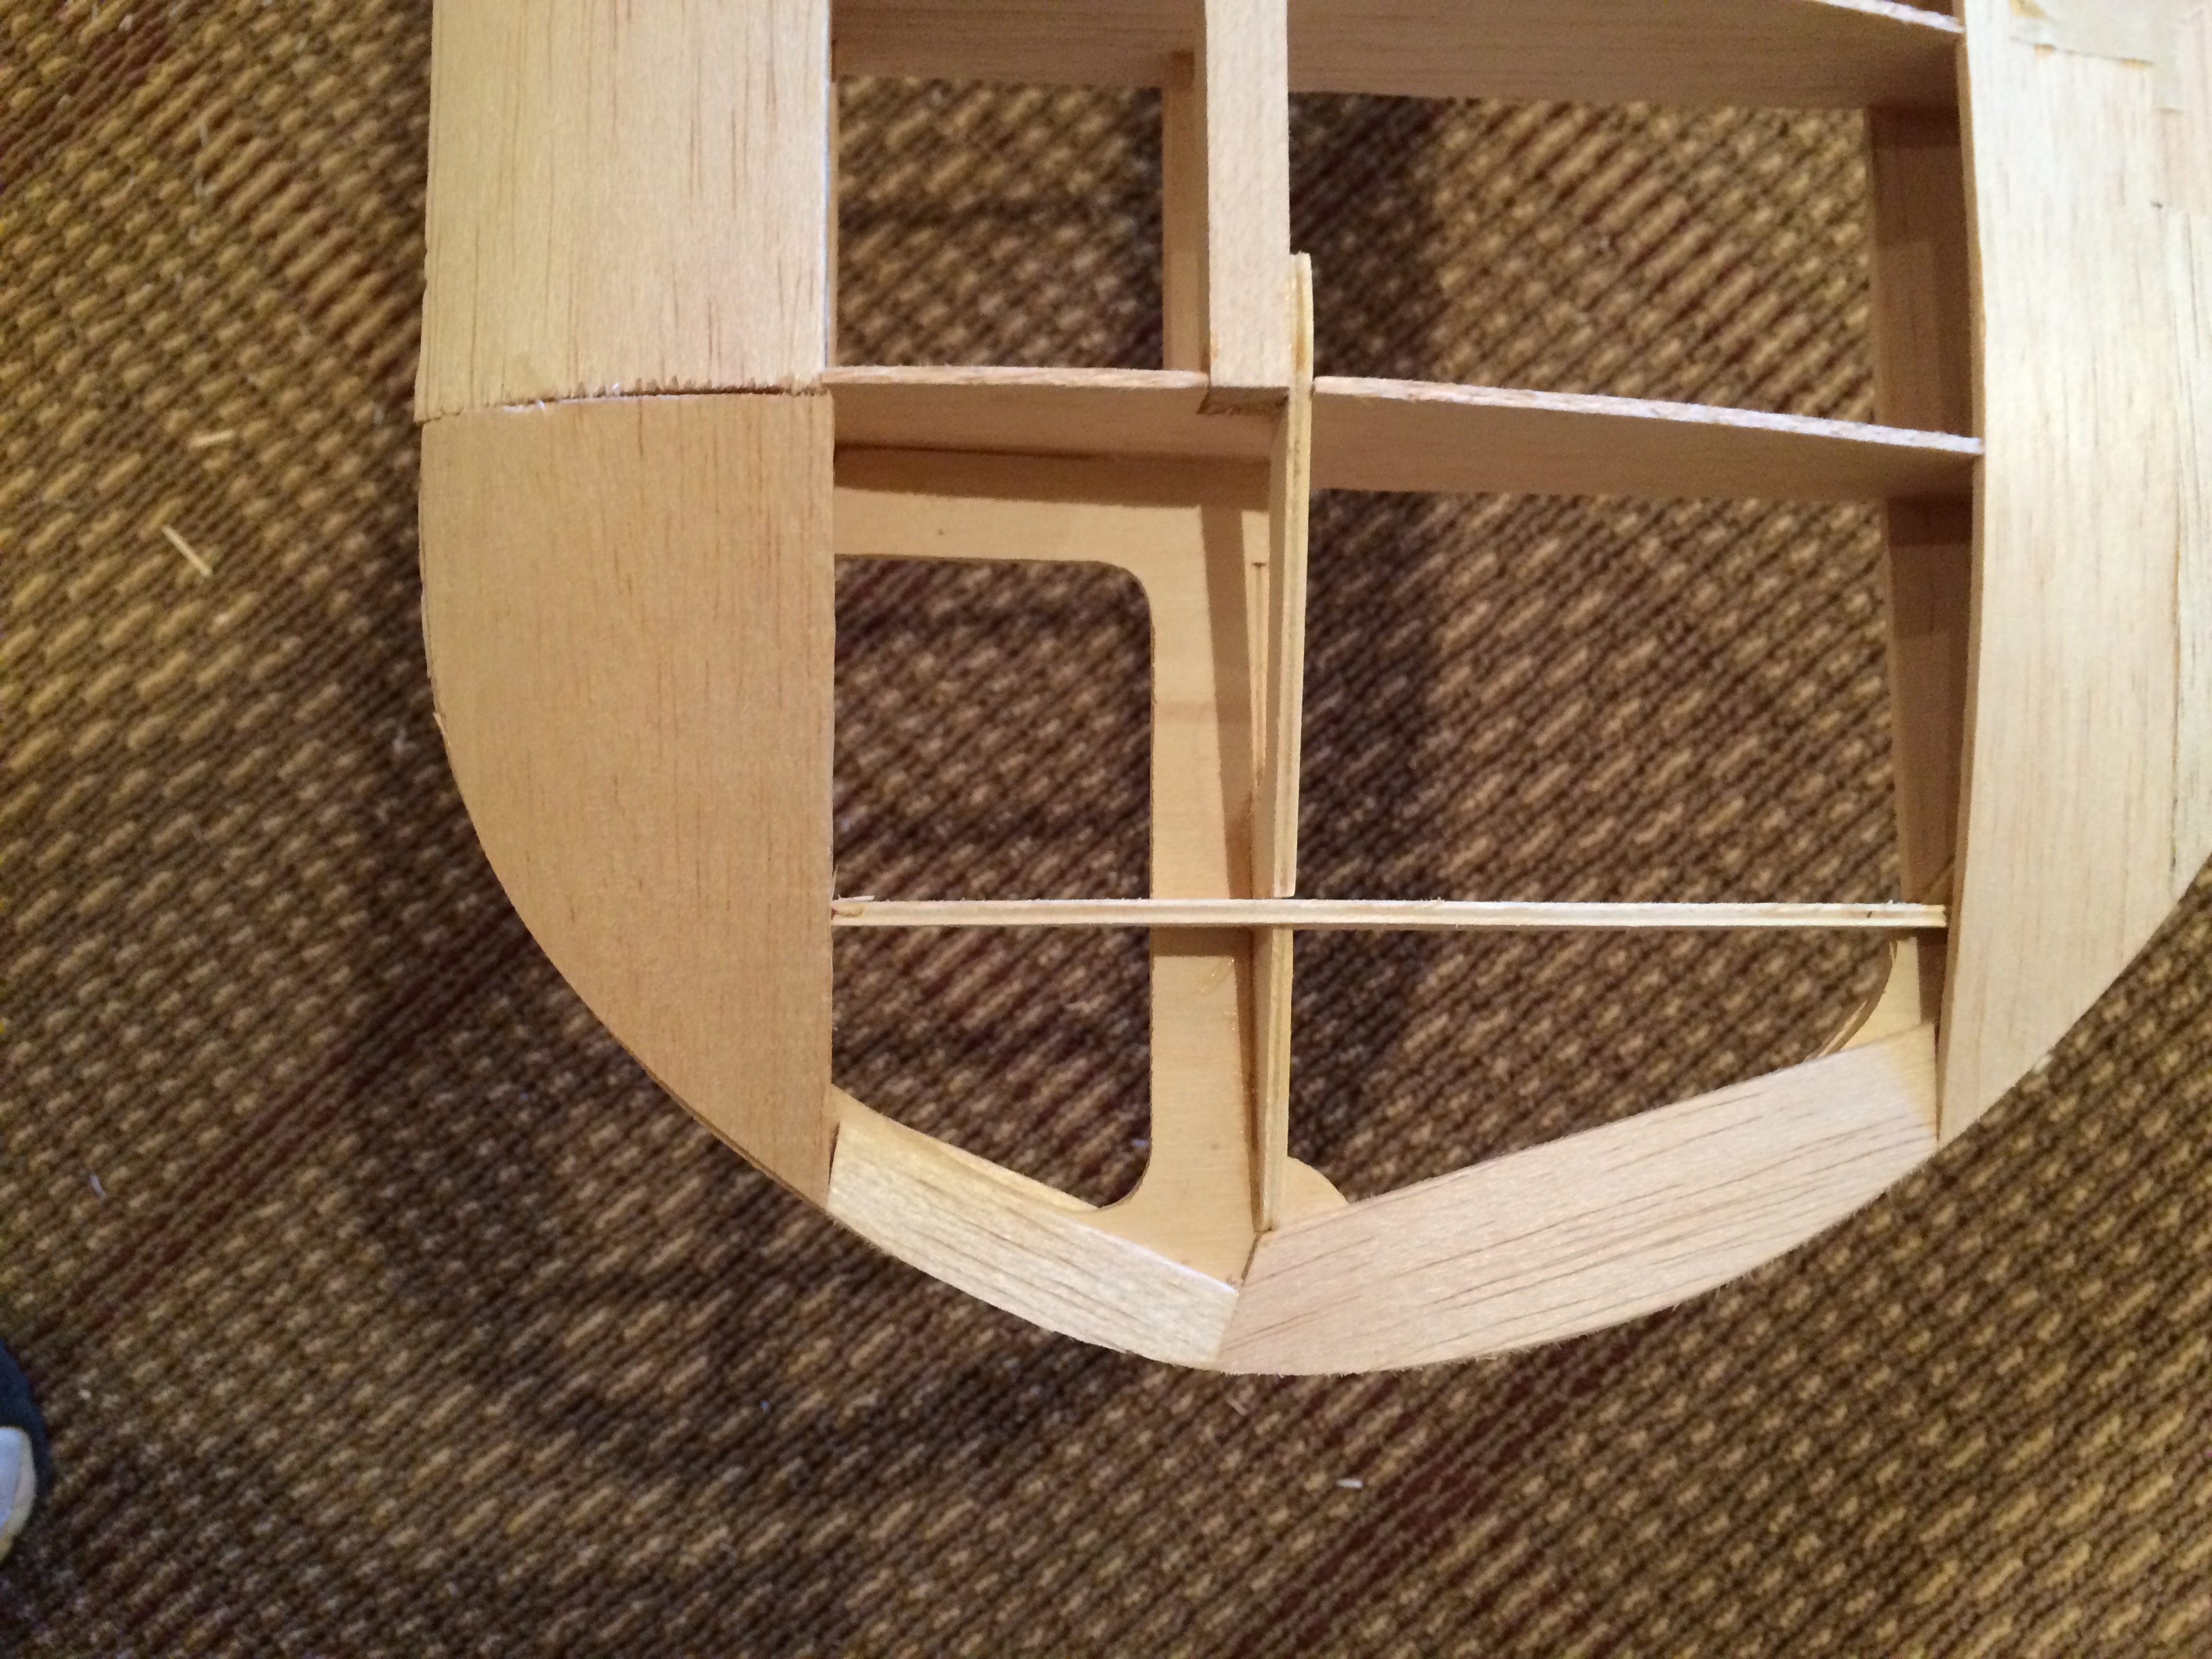
Here's some fuselage construction along with wing panels. we are going clipped version. She will have independent aileron servos. I would rather not mess with torque tubes etc. Using brass tube with serrated end to make servo lead holes in ribs. added Fiberglass Specialities SuperCub cowl. Added Ohio Superstar tail wheel assembly vs kit. last touch, added additional balsa sheeting on wing tips. anyone who has built one knows the kit just leaves exposed lite ply tip. little hard and harsh on covering. added balsa helps shape as well.
10-27-2015, 09:12 AM
#3
Thread Starter
My Feedback: (31)
Join Date: Jan 2002
Location: The Woodlands,
TX
Posts: 187
Likes: 0
Received 0 Likes
on
0 Posts
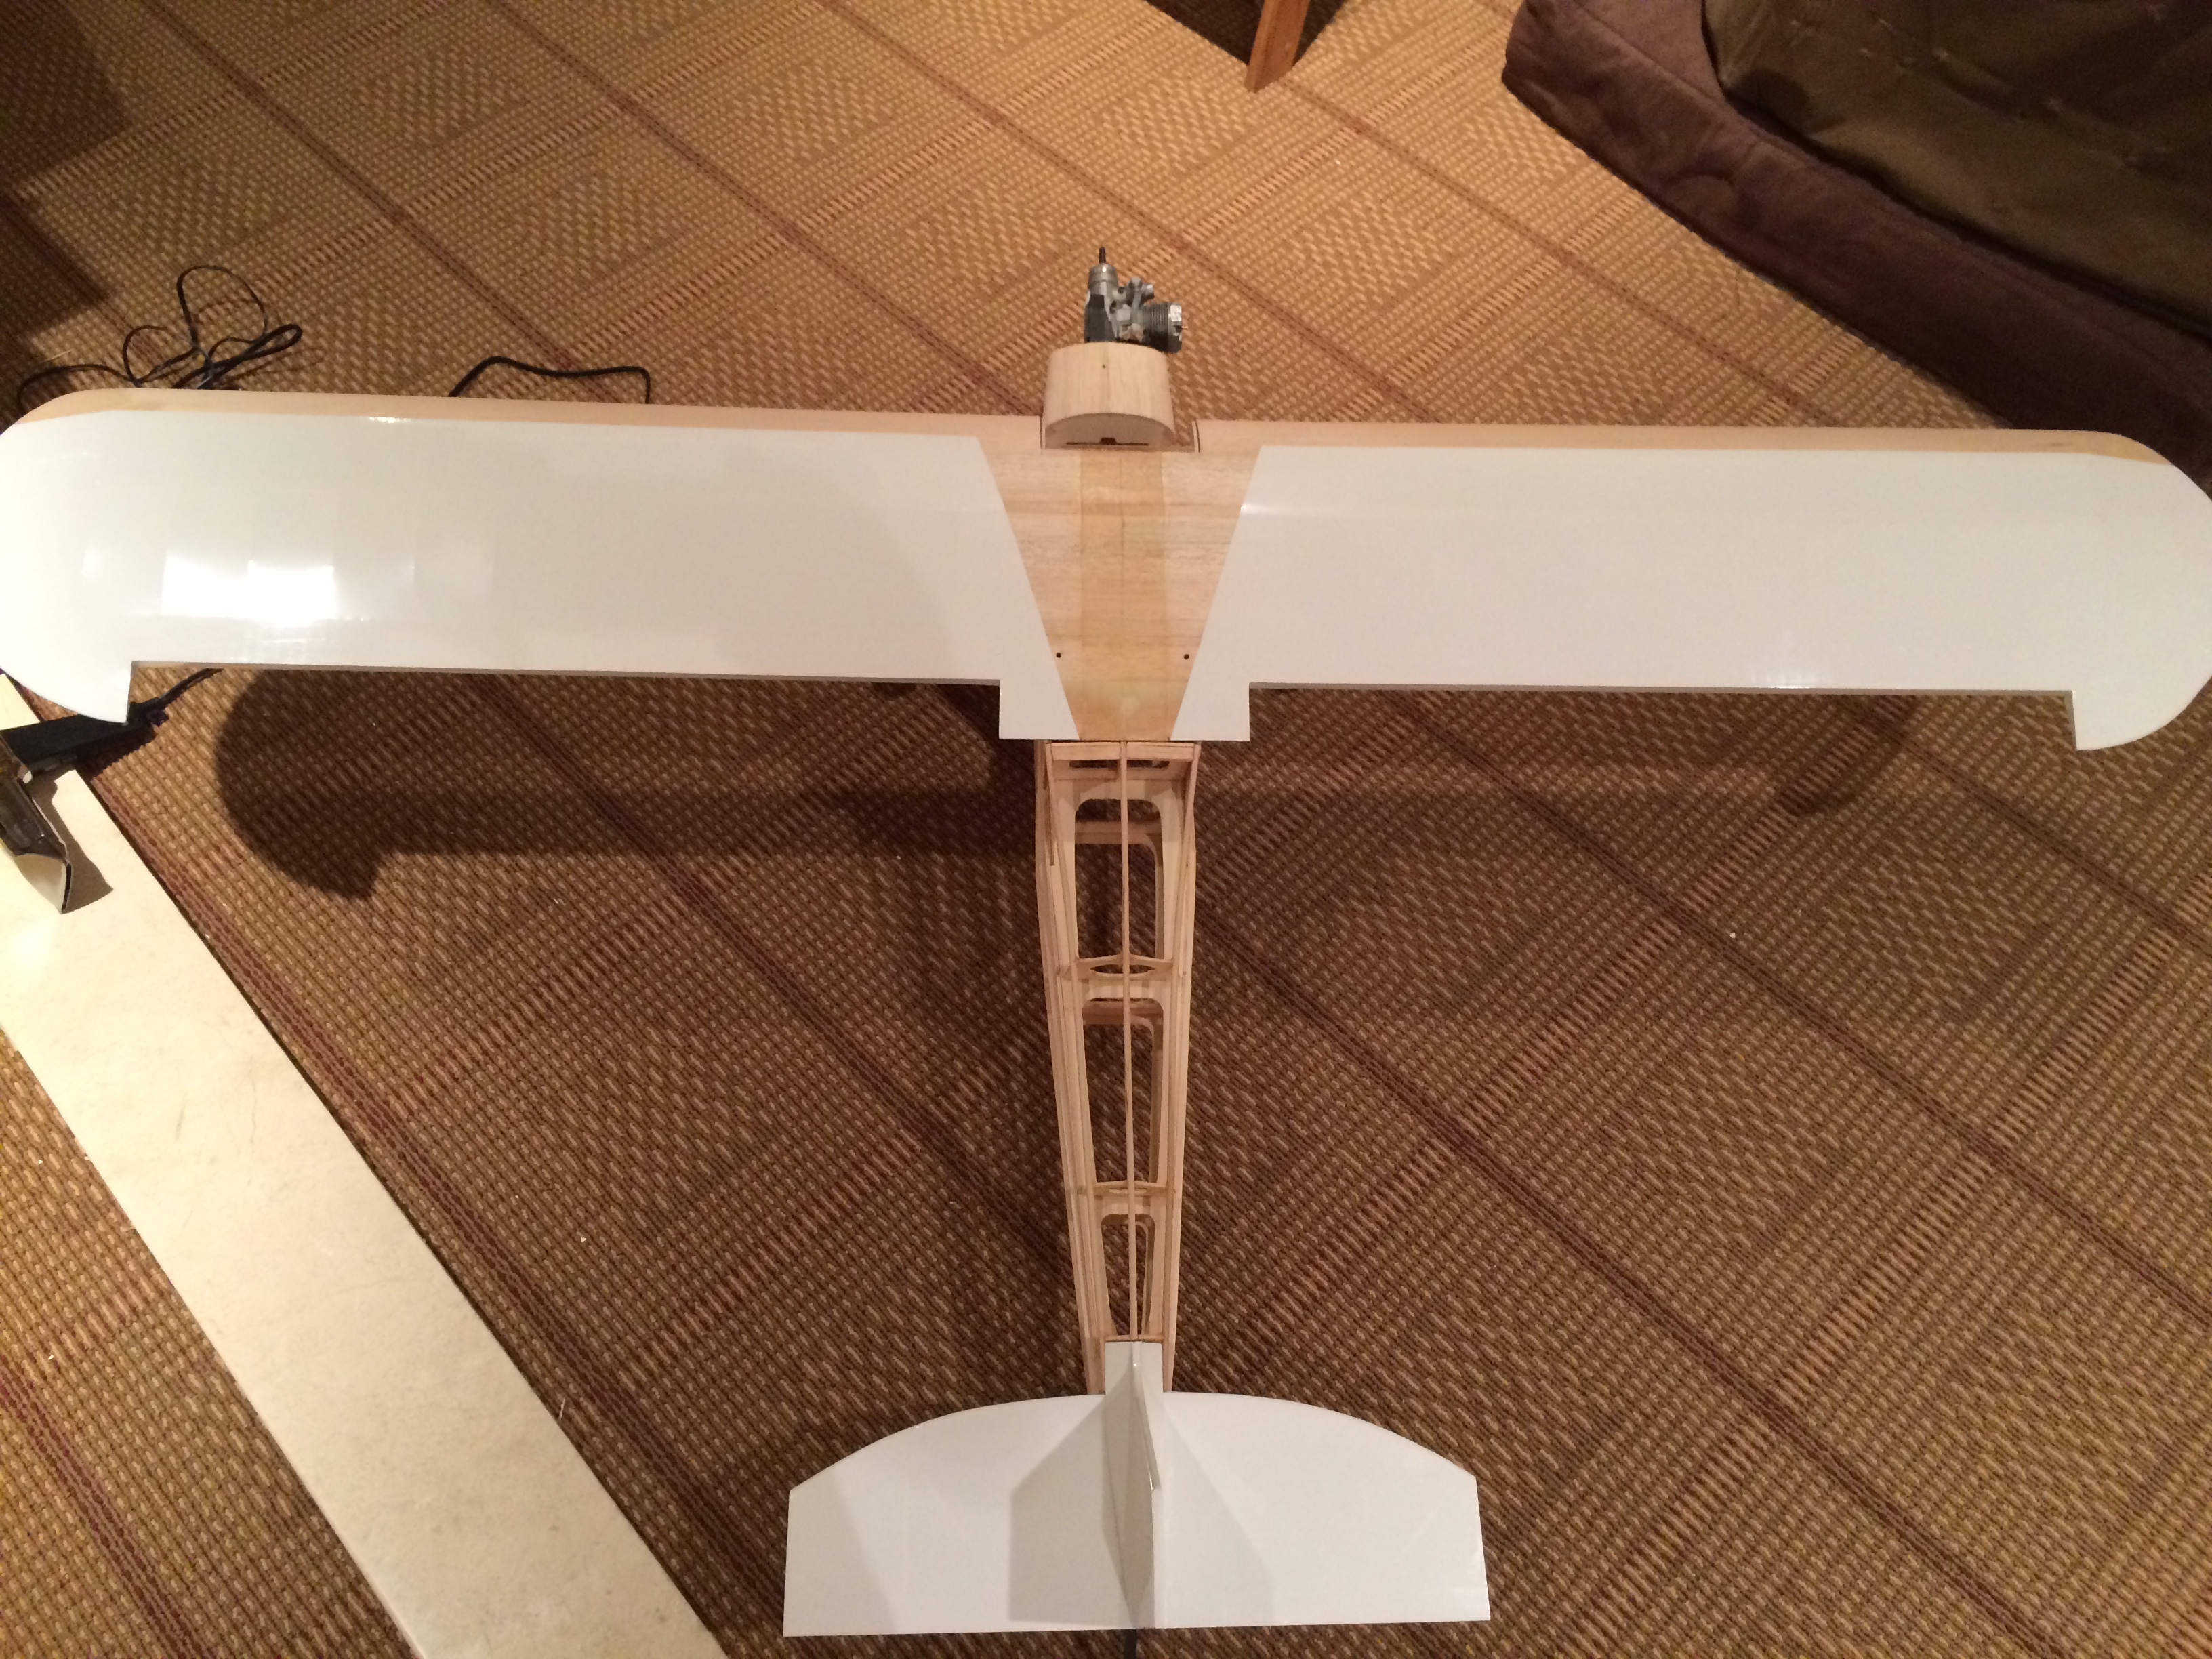
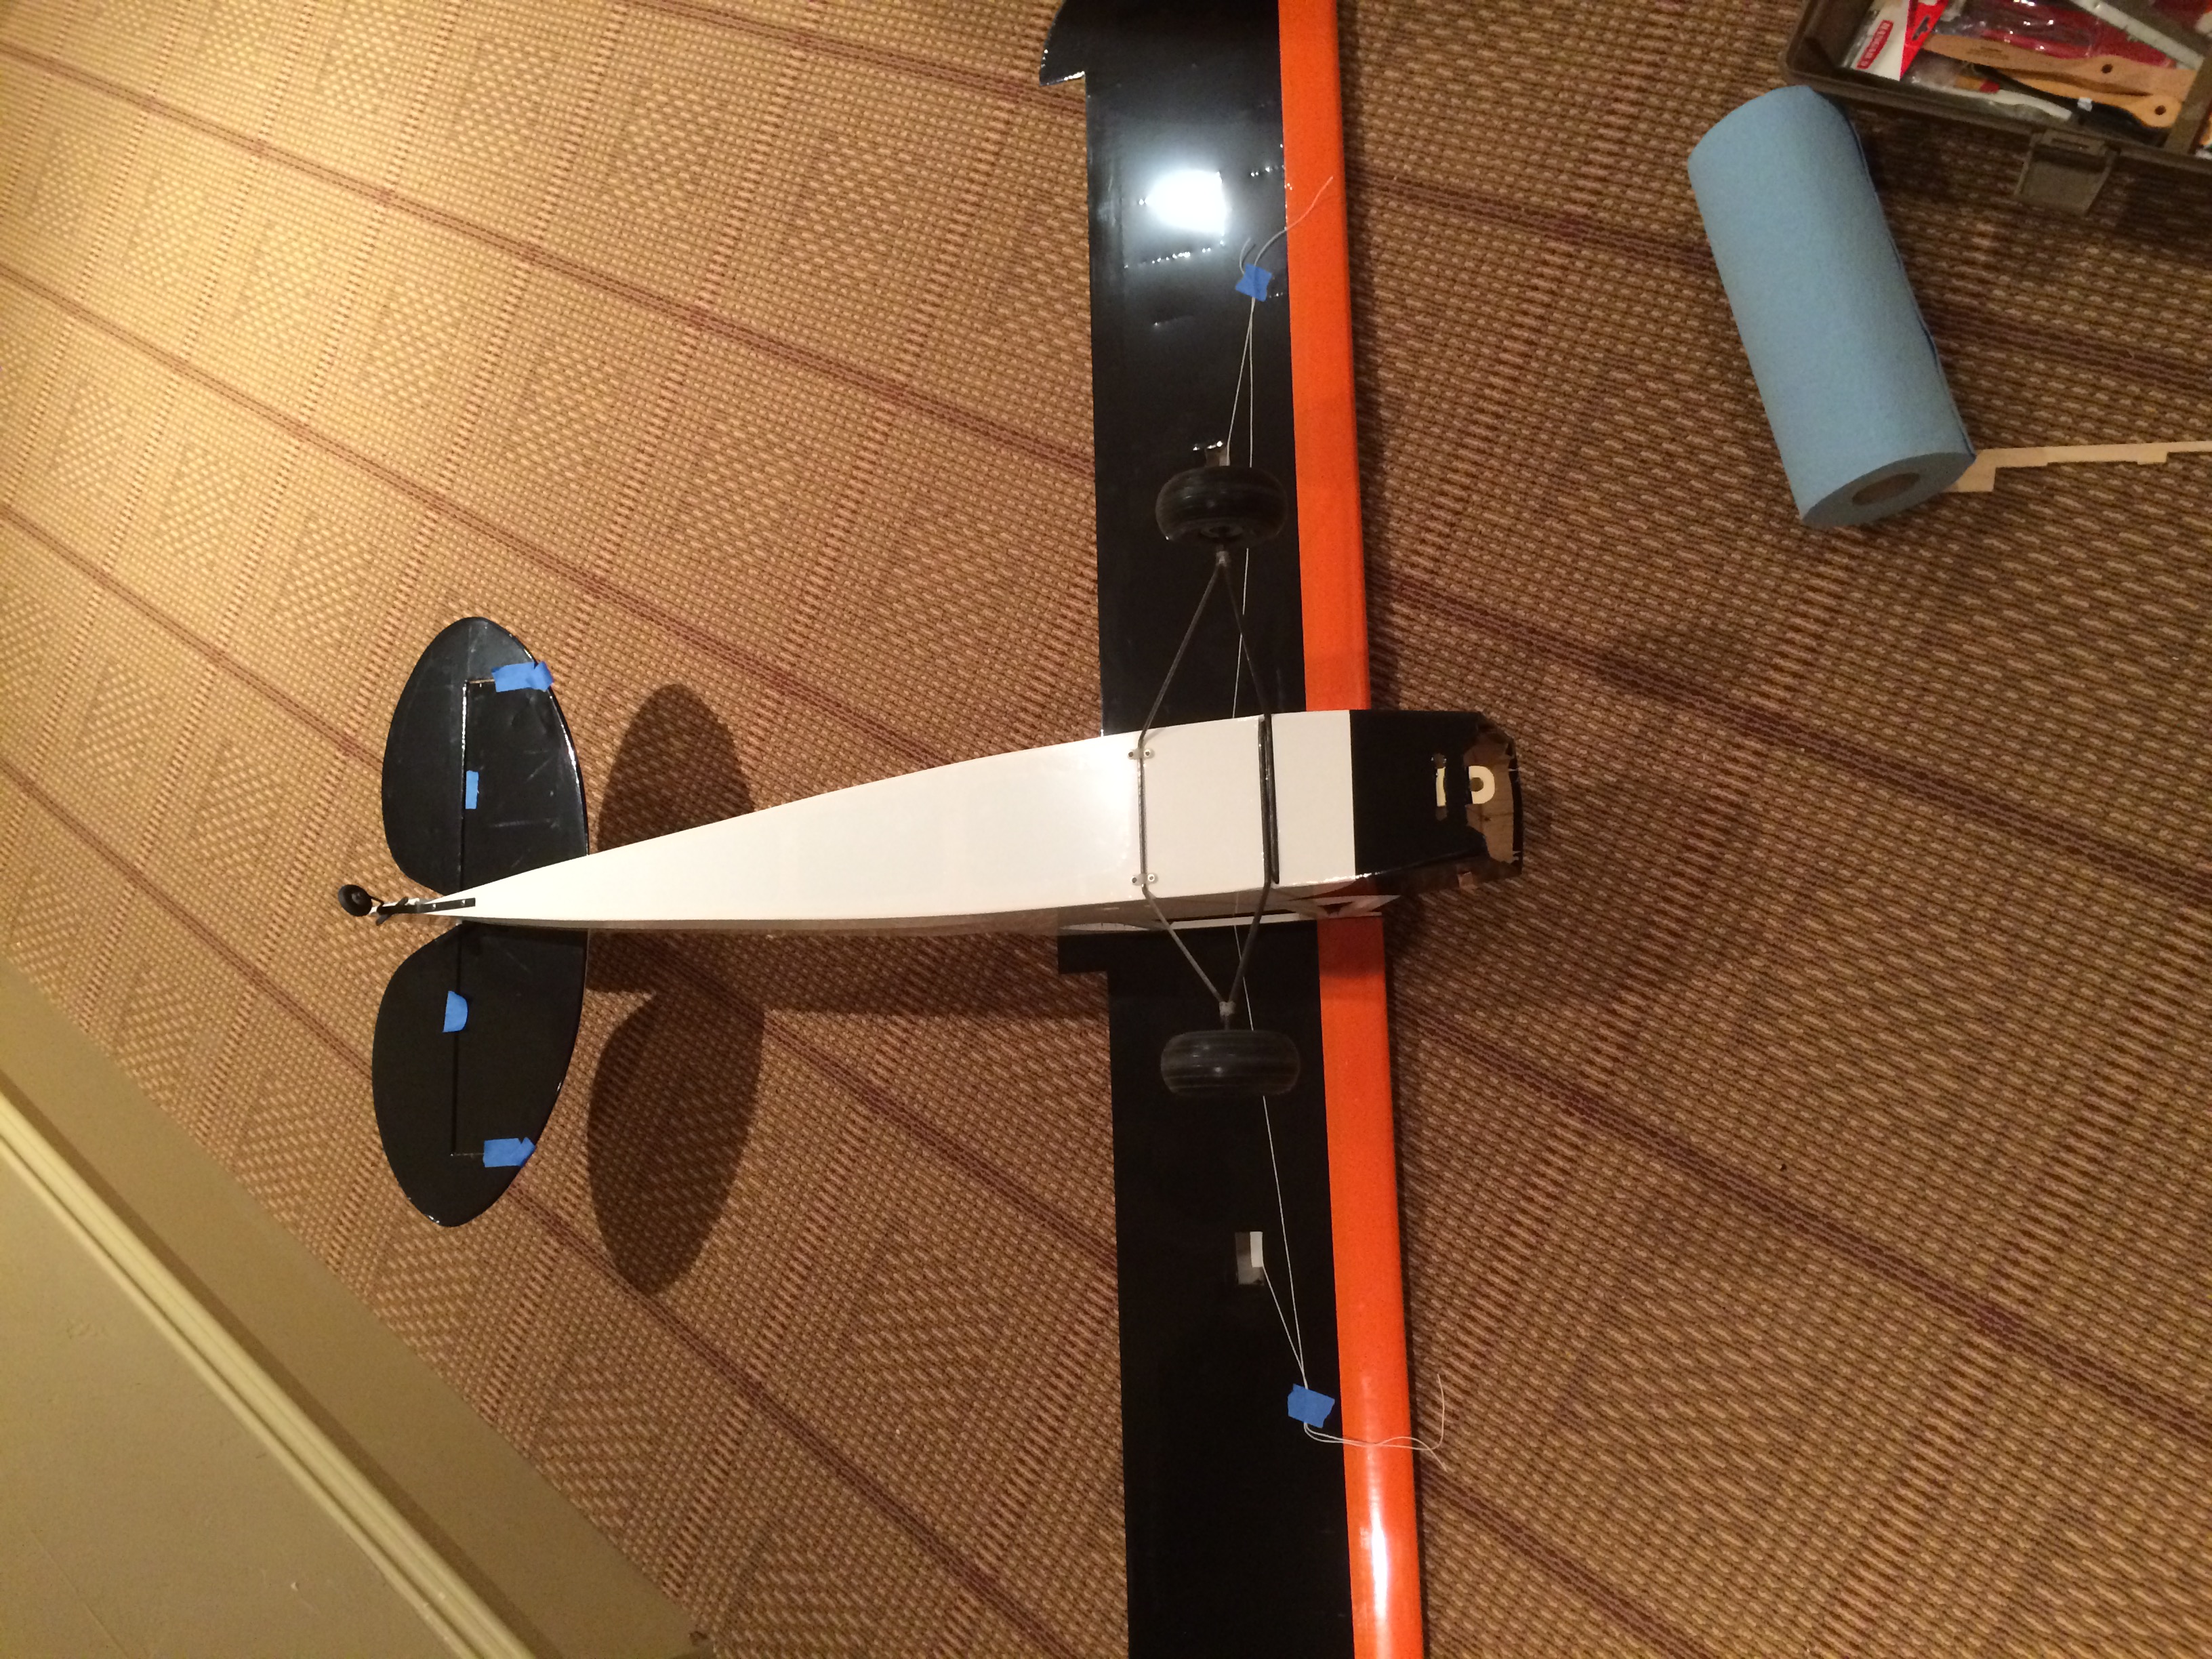
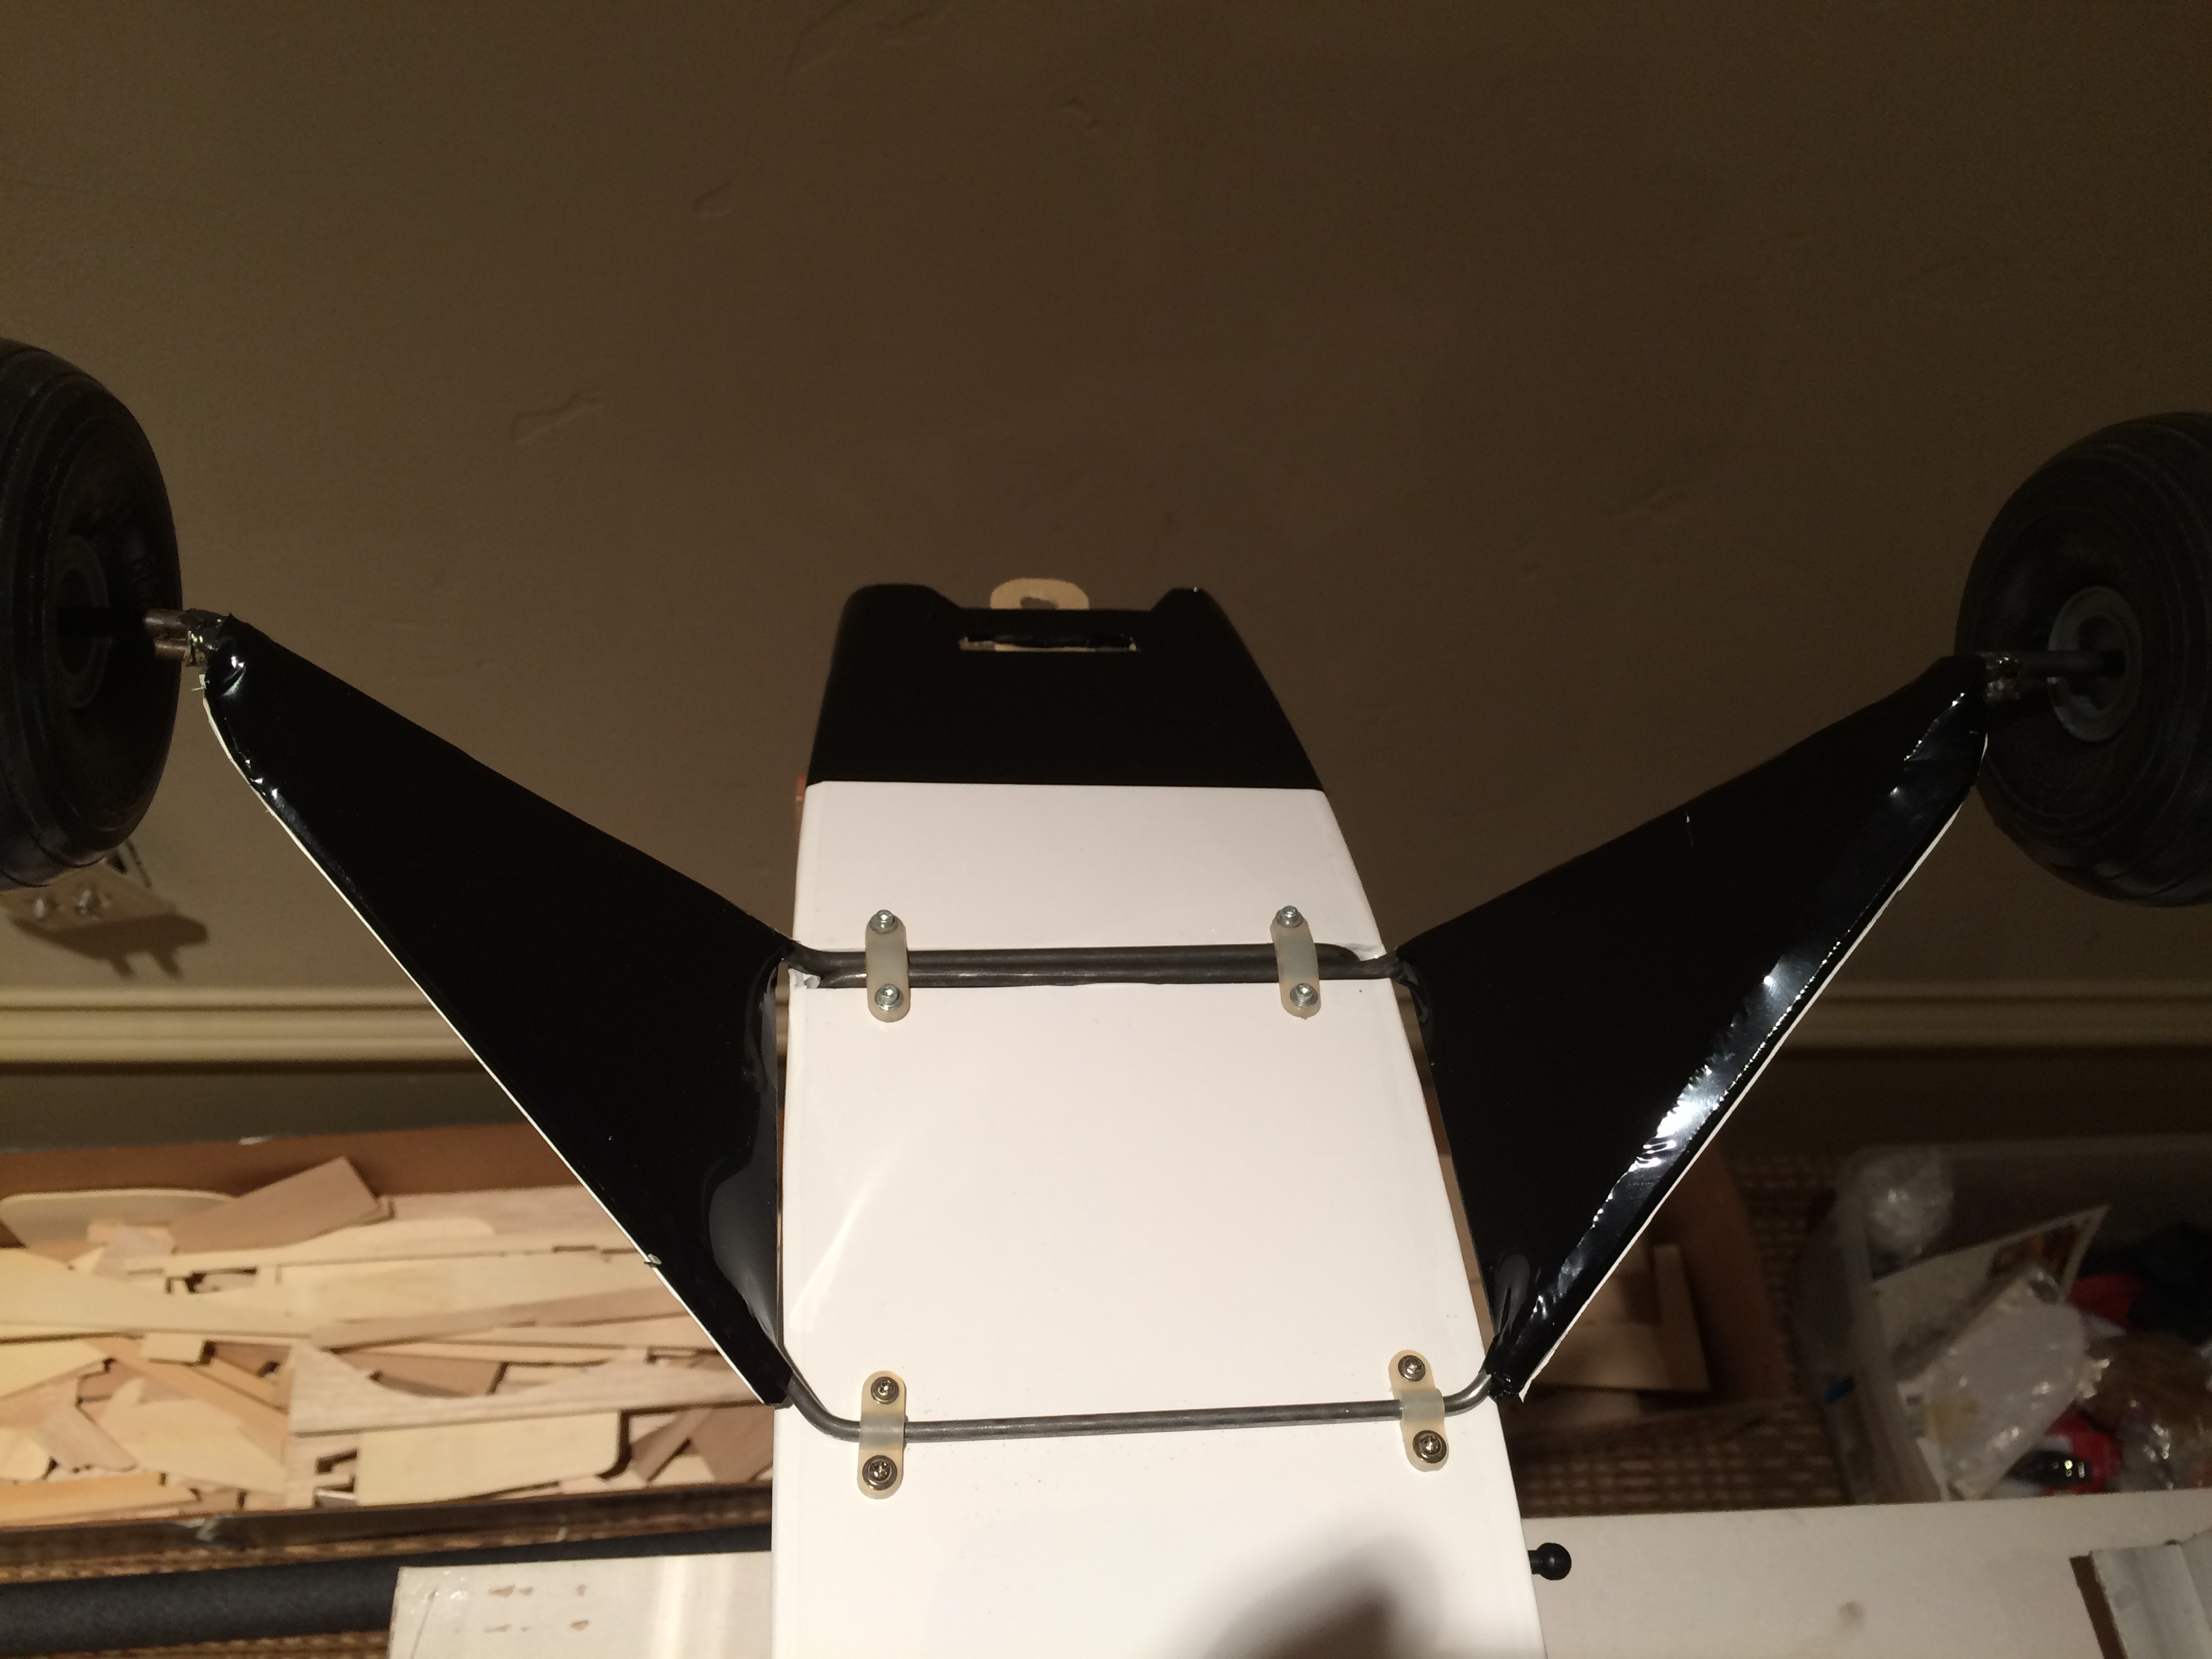
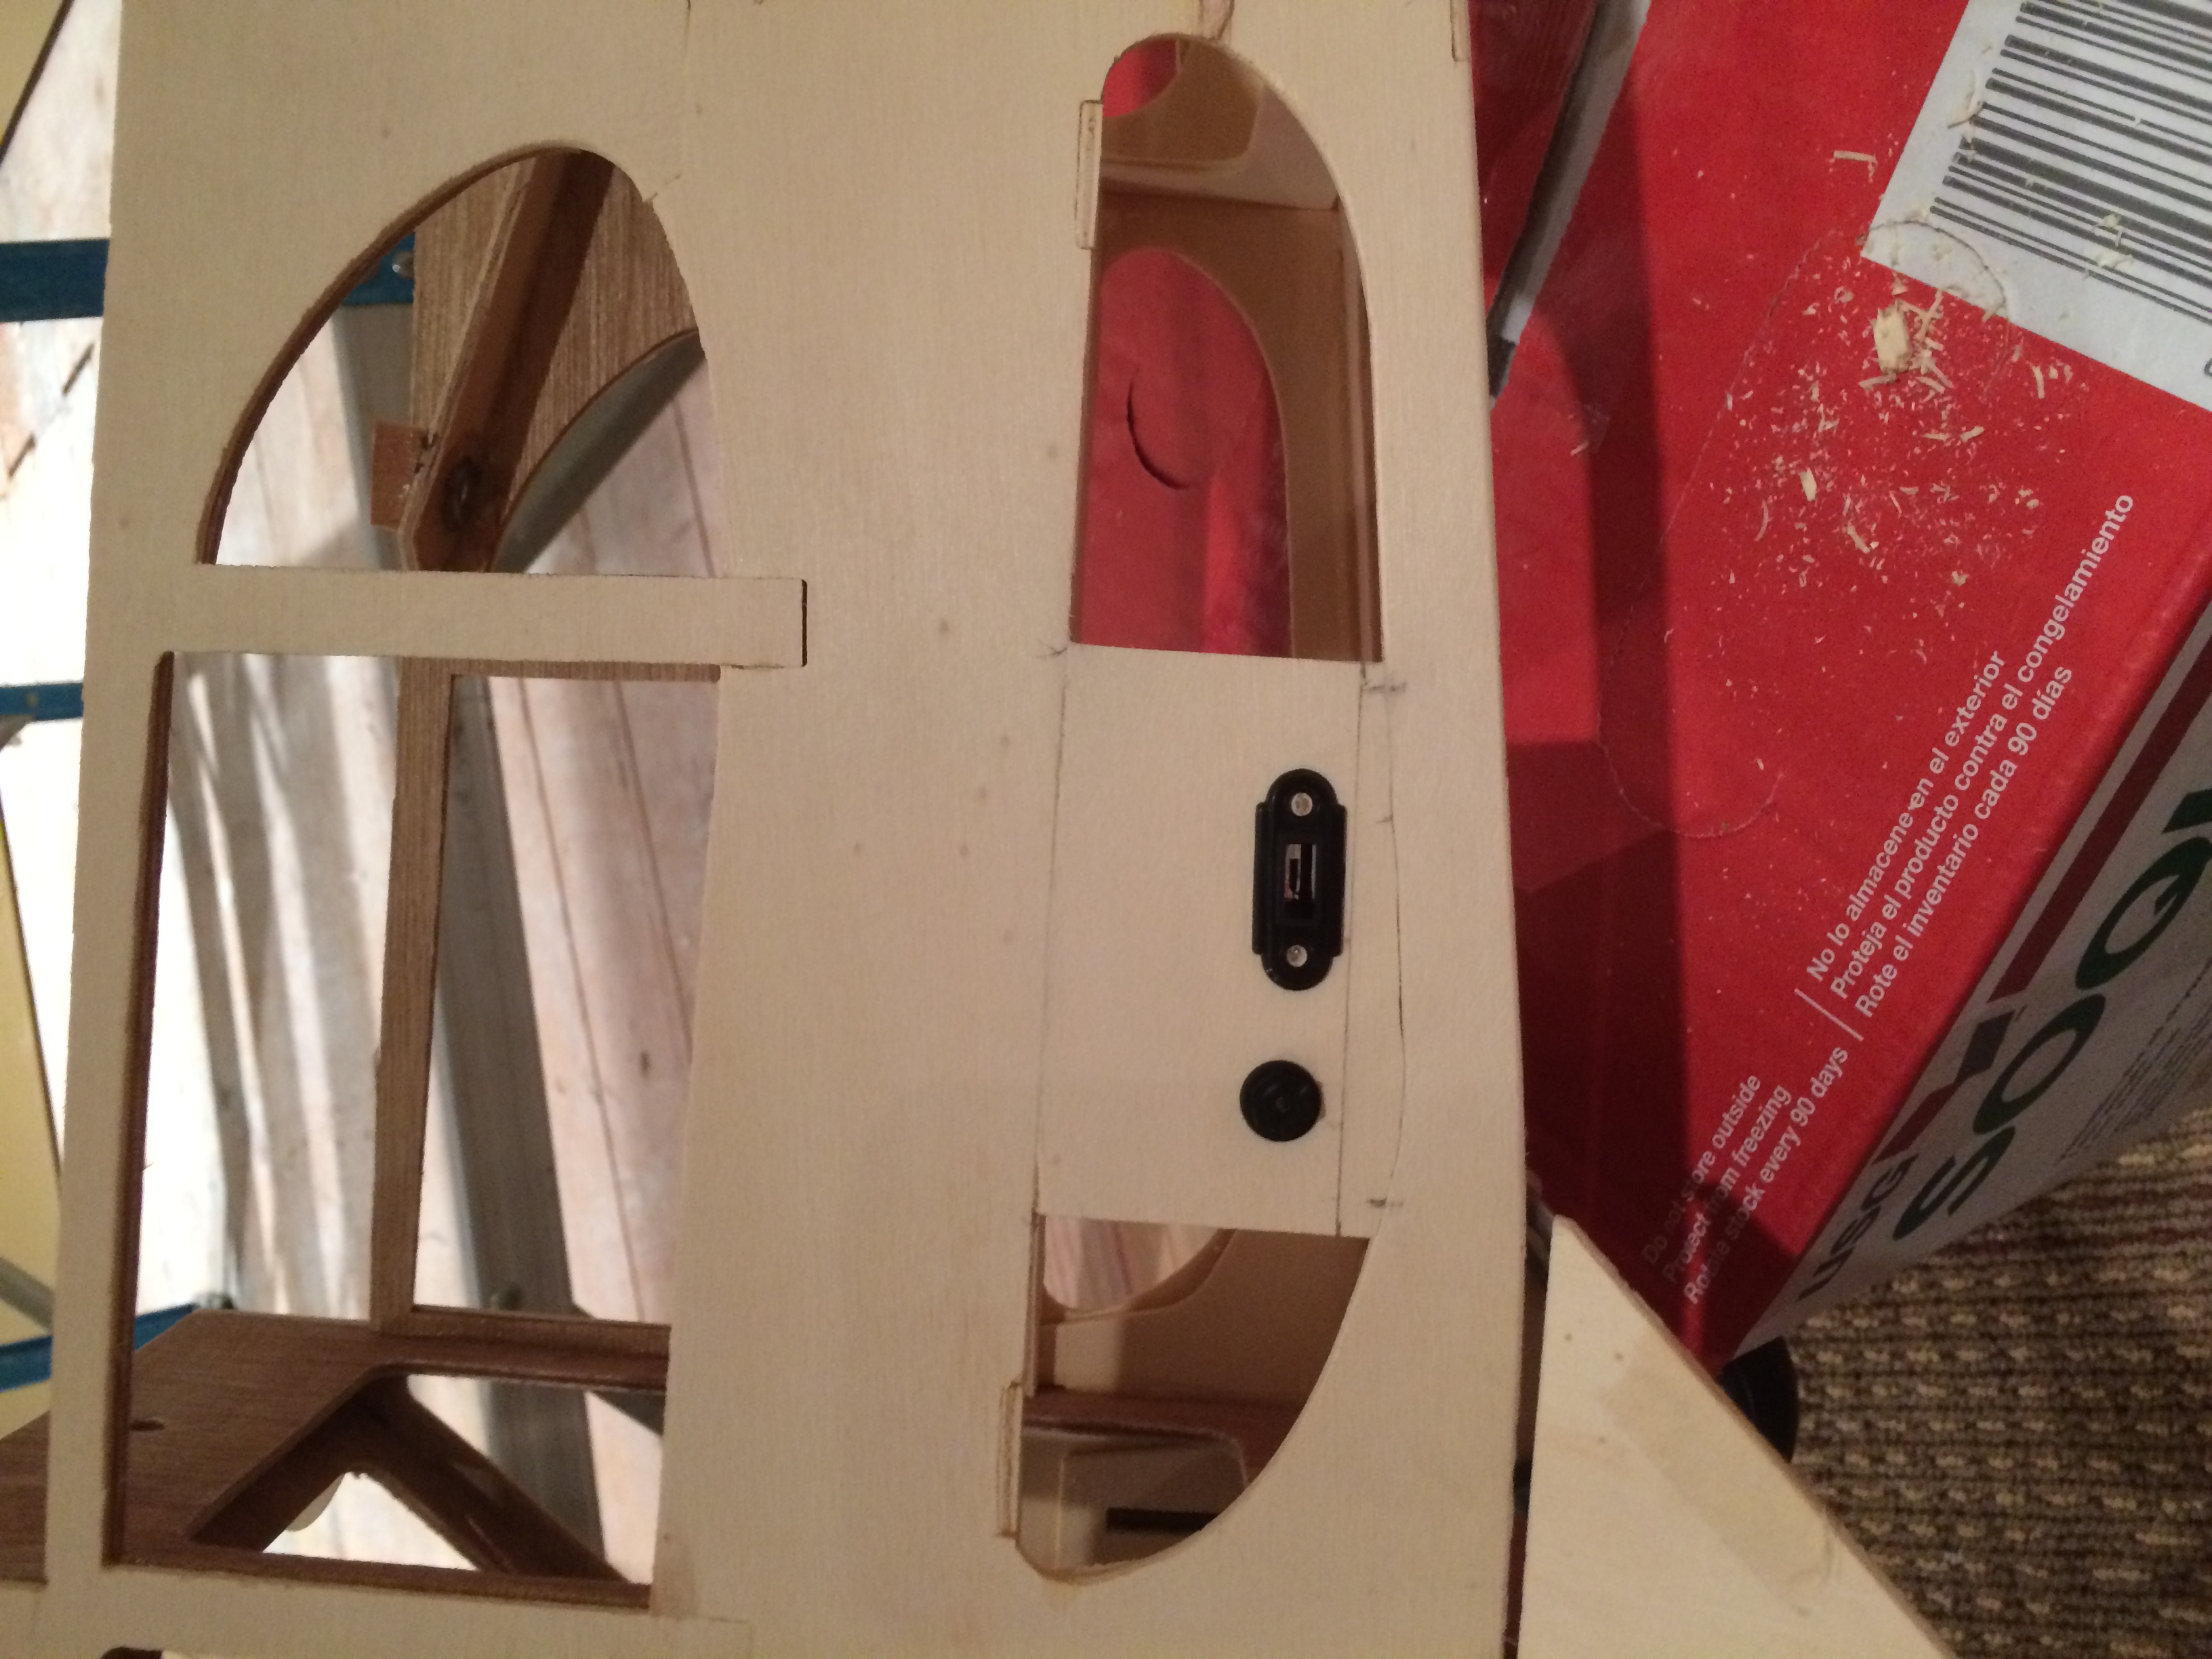
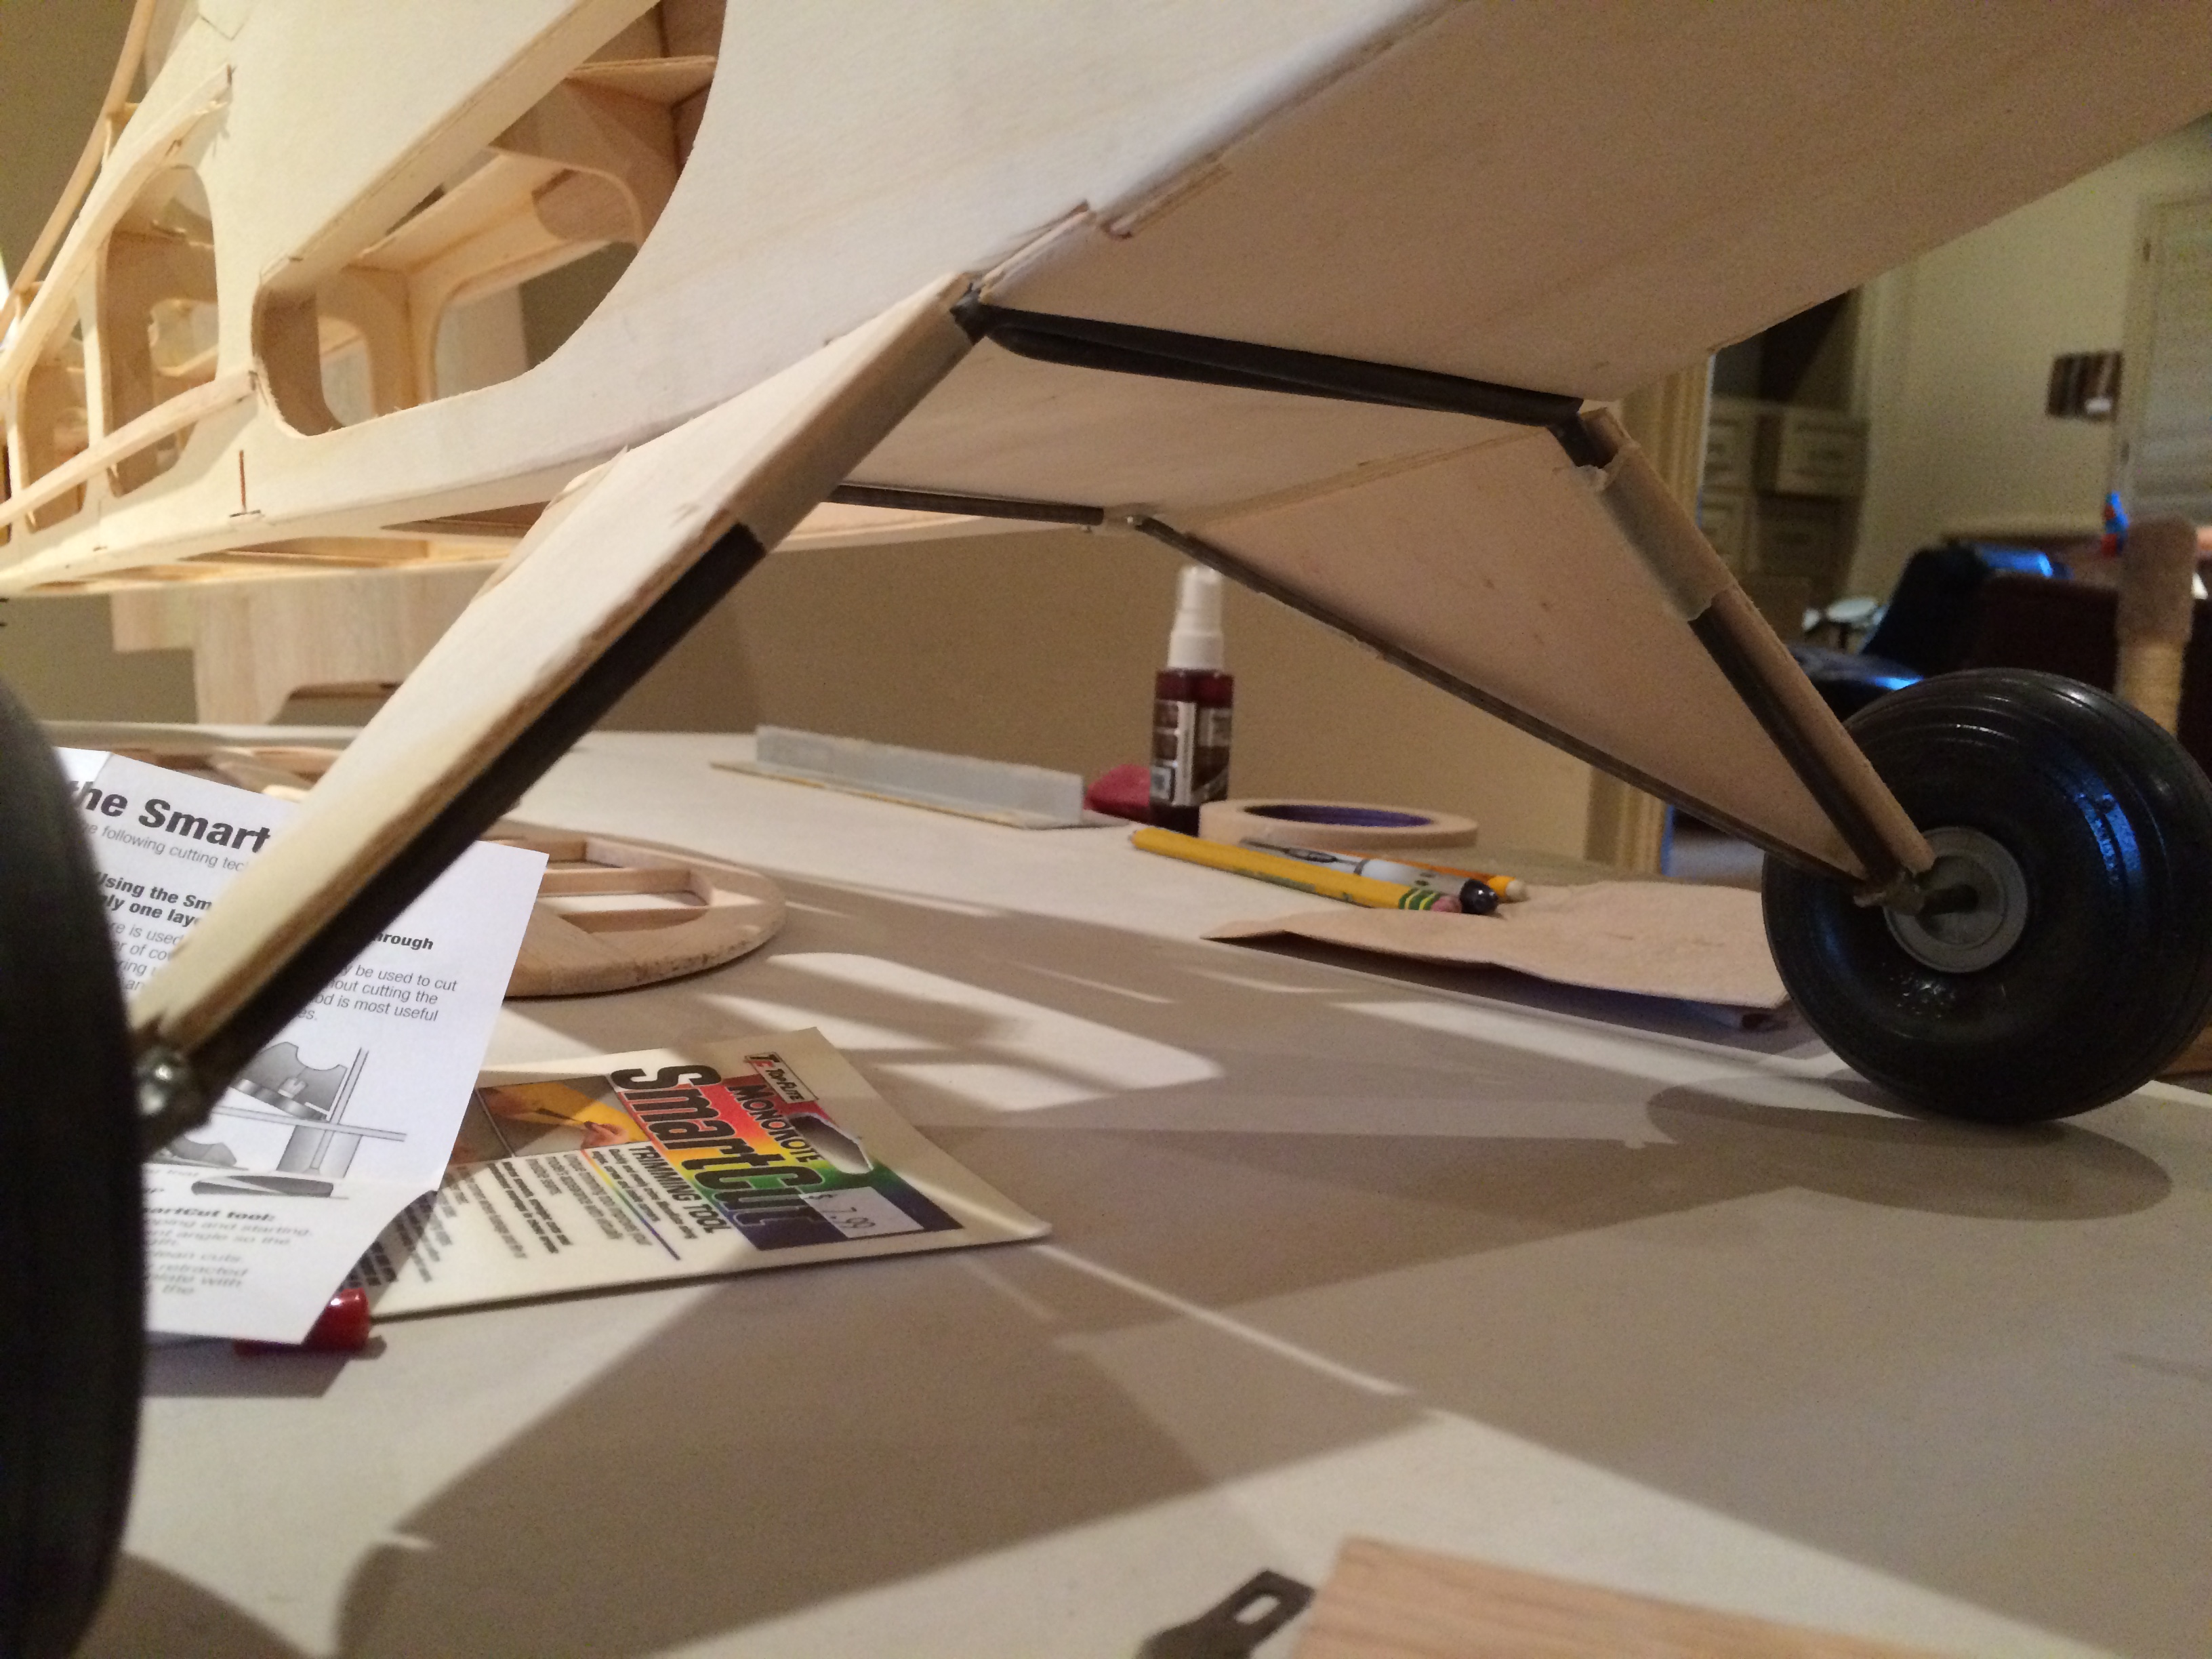
borrowed an idea from another builder. if you are familiar, the kit has slab lit ply sides. added 3/16 square stringers on fuse to give more realistic shape. also added rear leg support for landing gear vs spindly legs. added plate for switch and charge jack on side of fuse
10-27-2015, 09:17 AM
#4
Thread Starter
My Feedback: (31)
Join Date: Jan 2002
Location: The Woodlands,
TX
Posts: 187
Likes: 0
Received 0 Likes
on
0 Posts
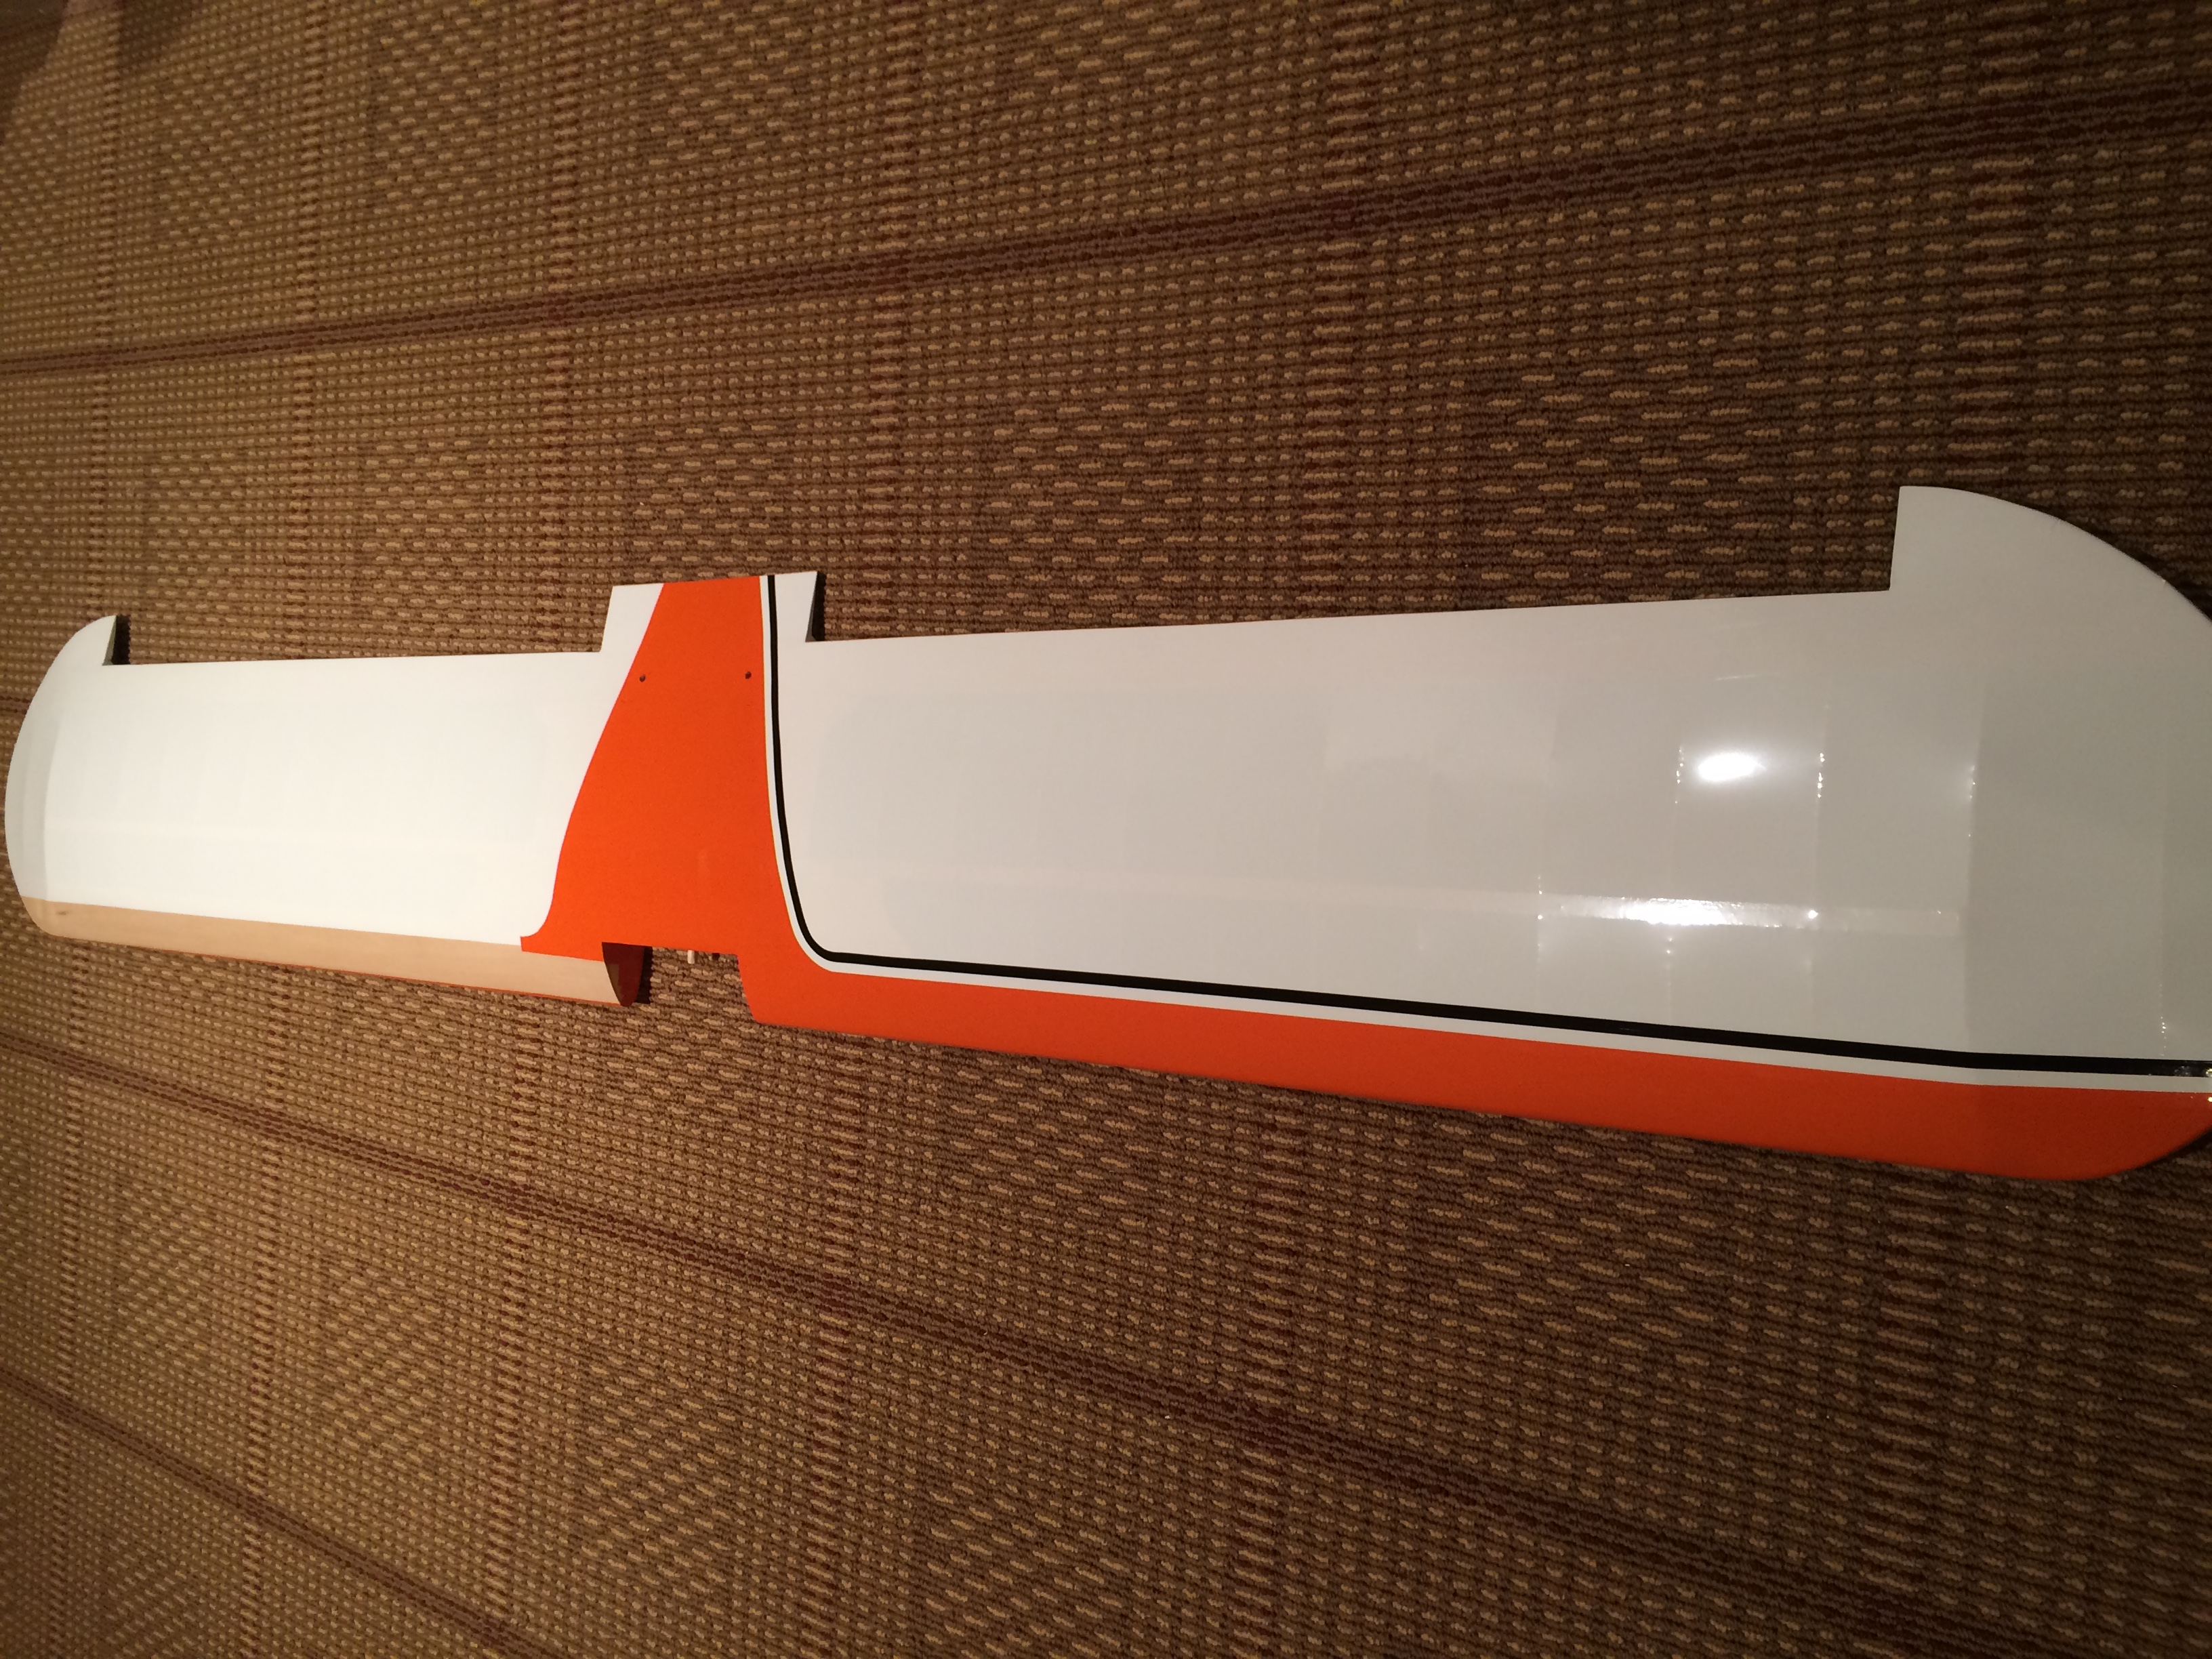
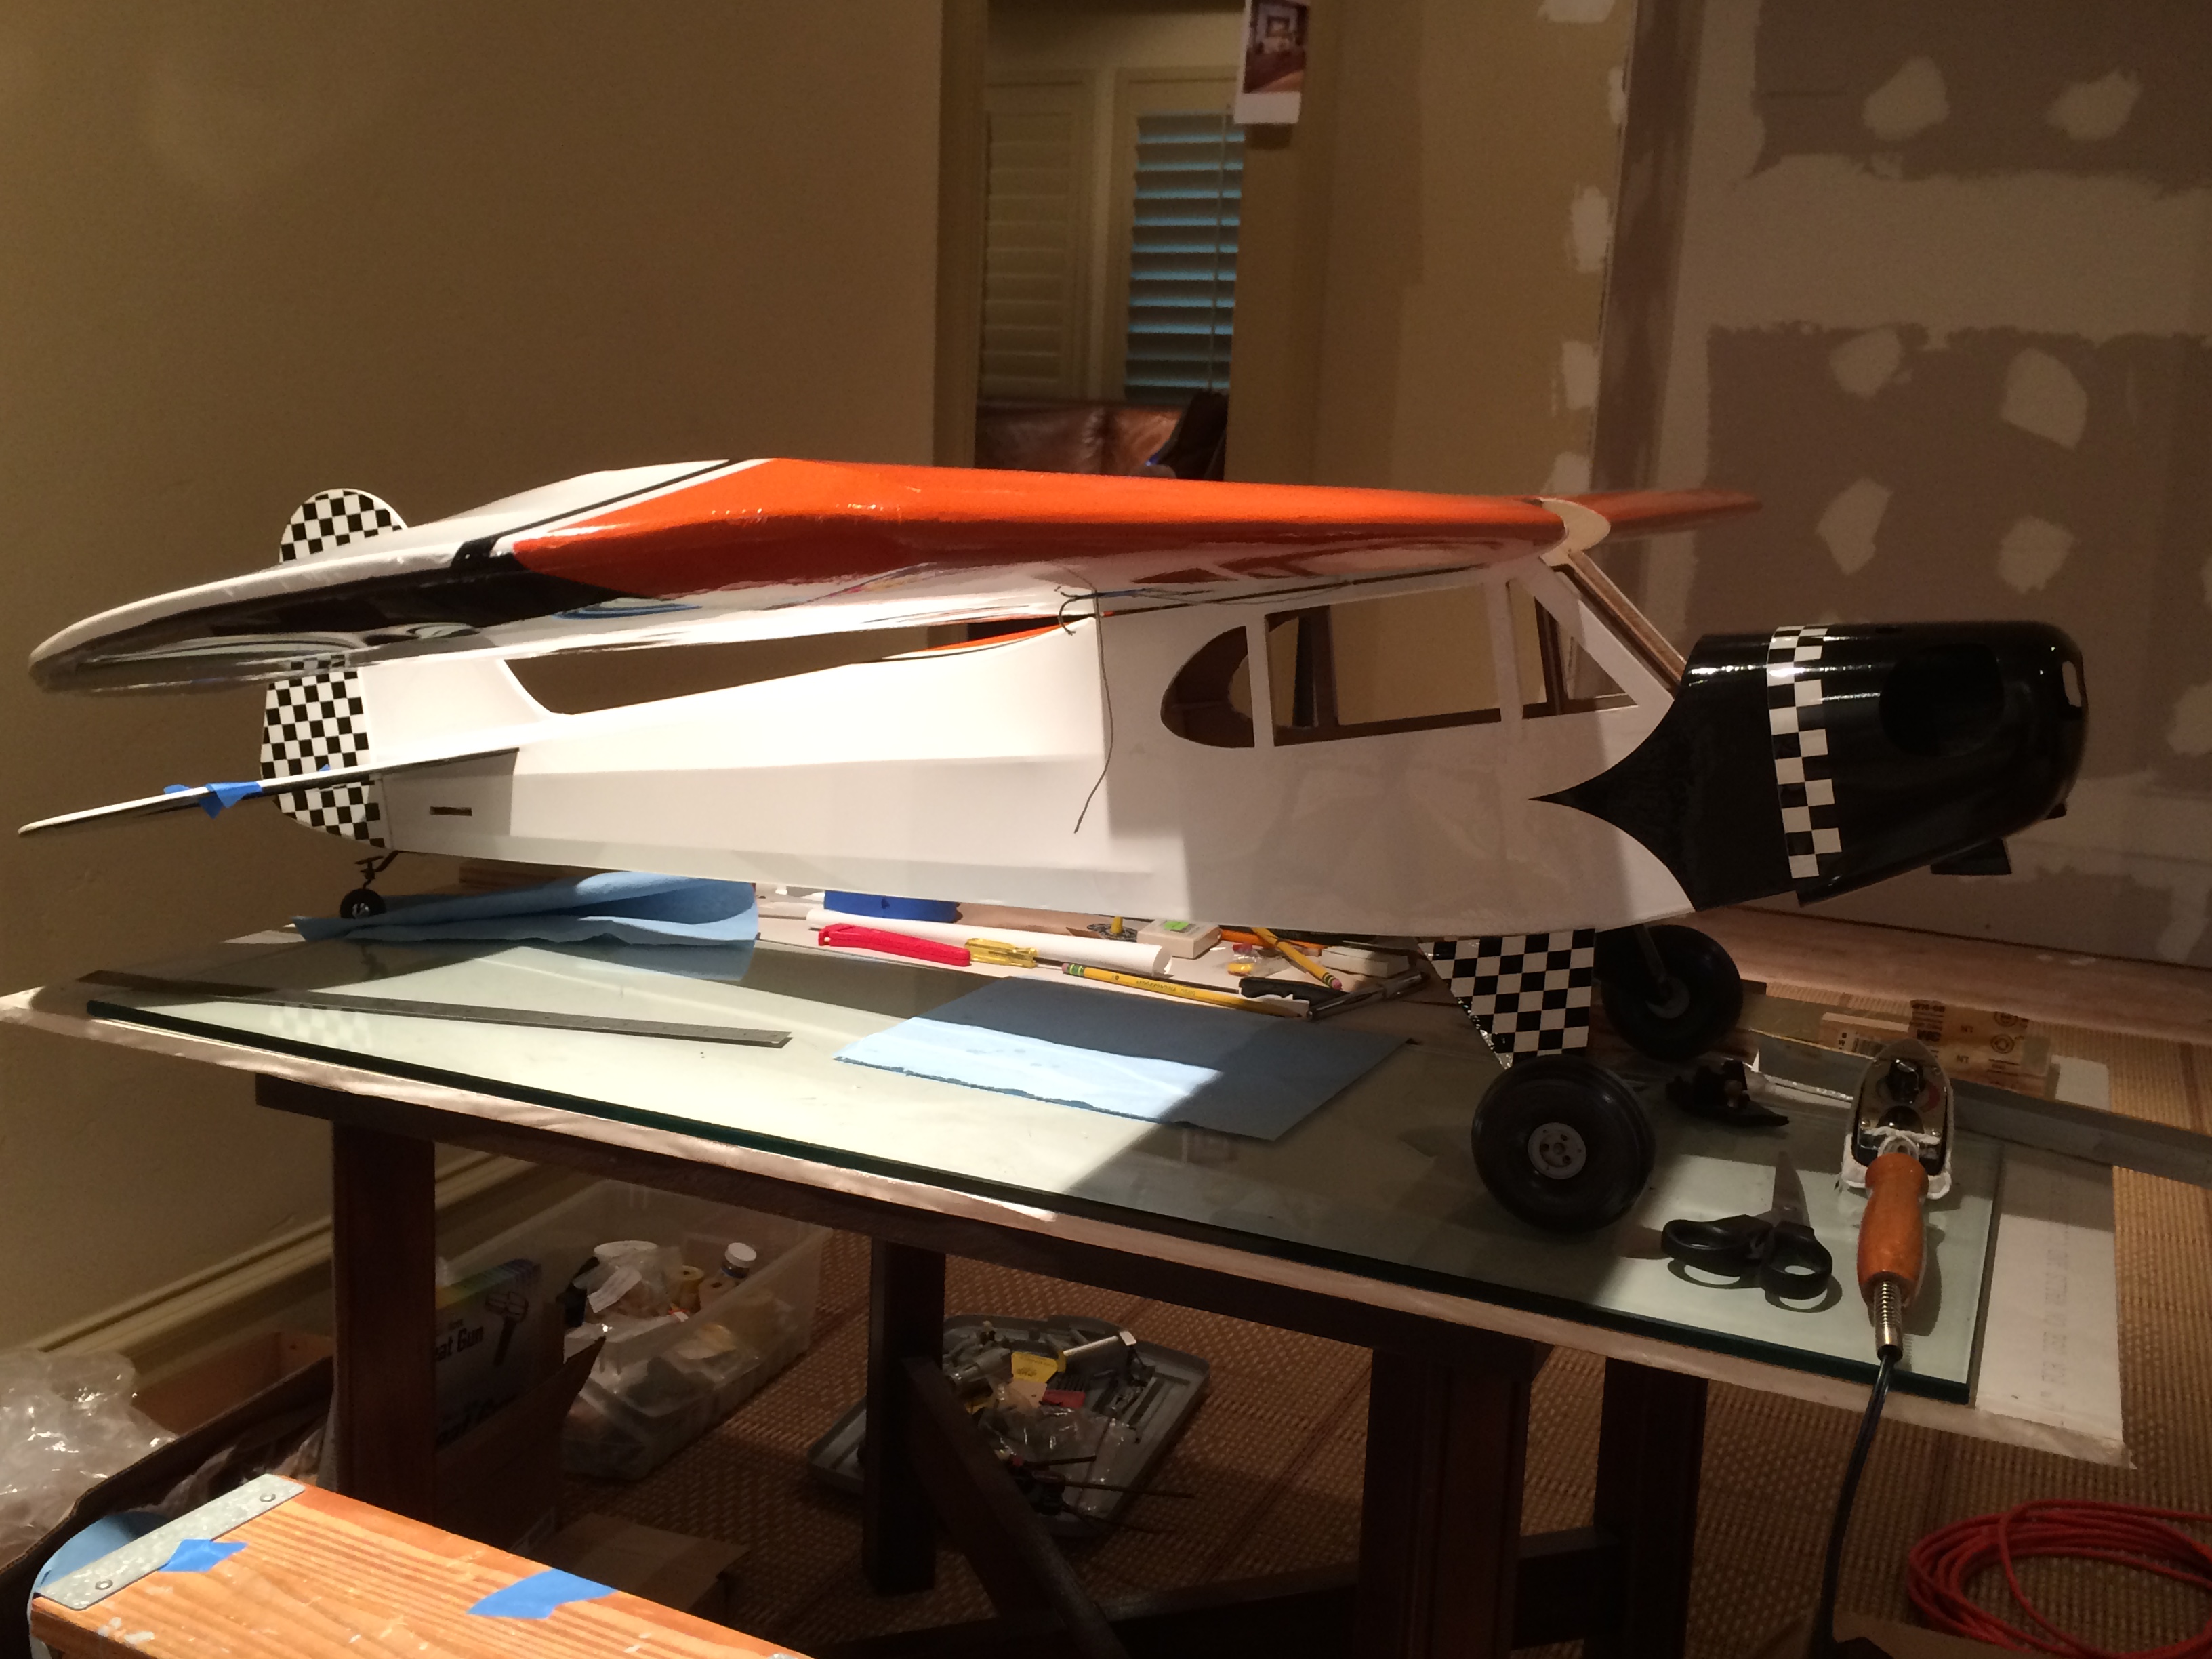
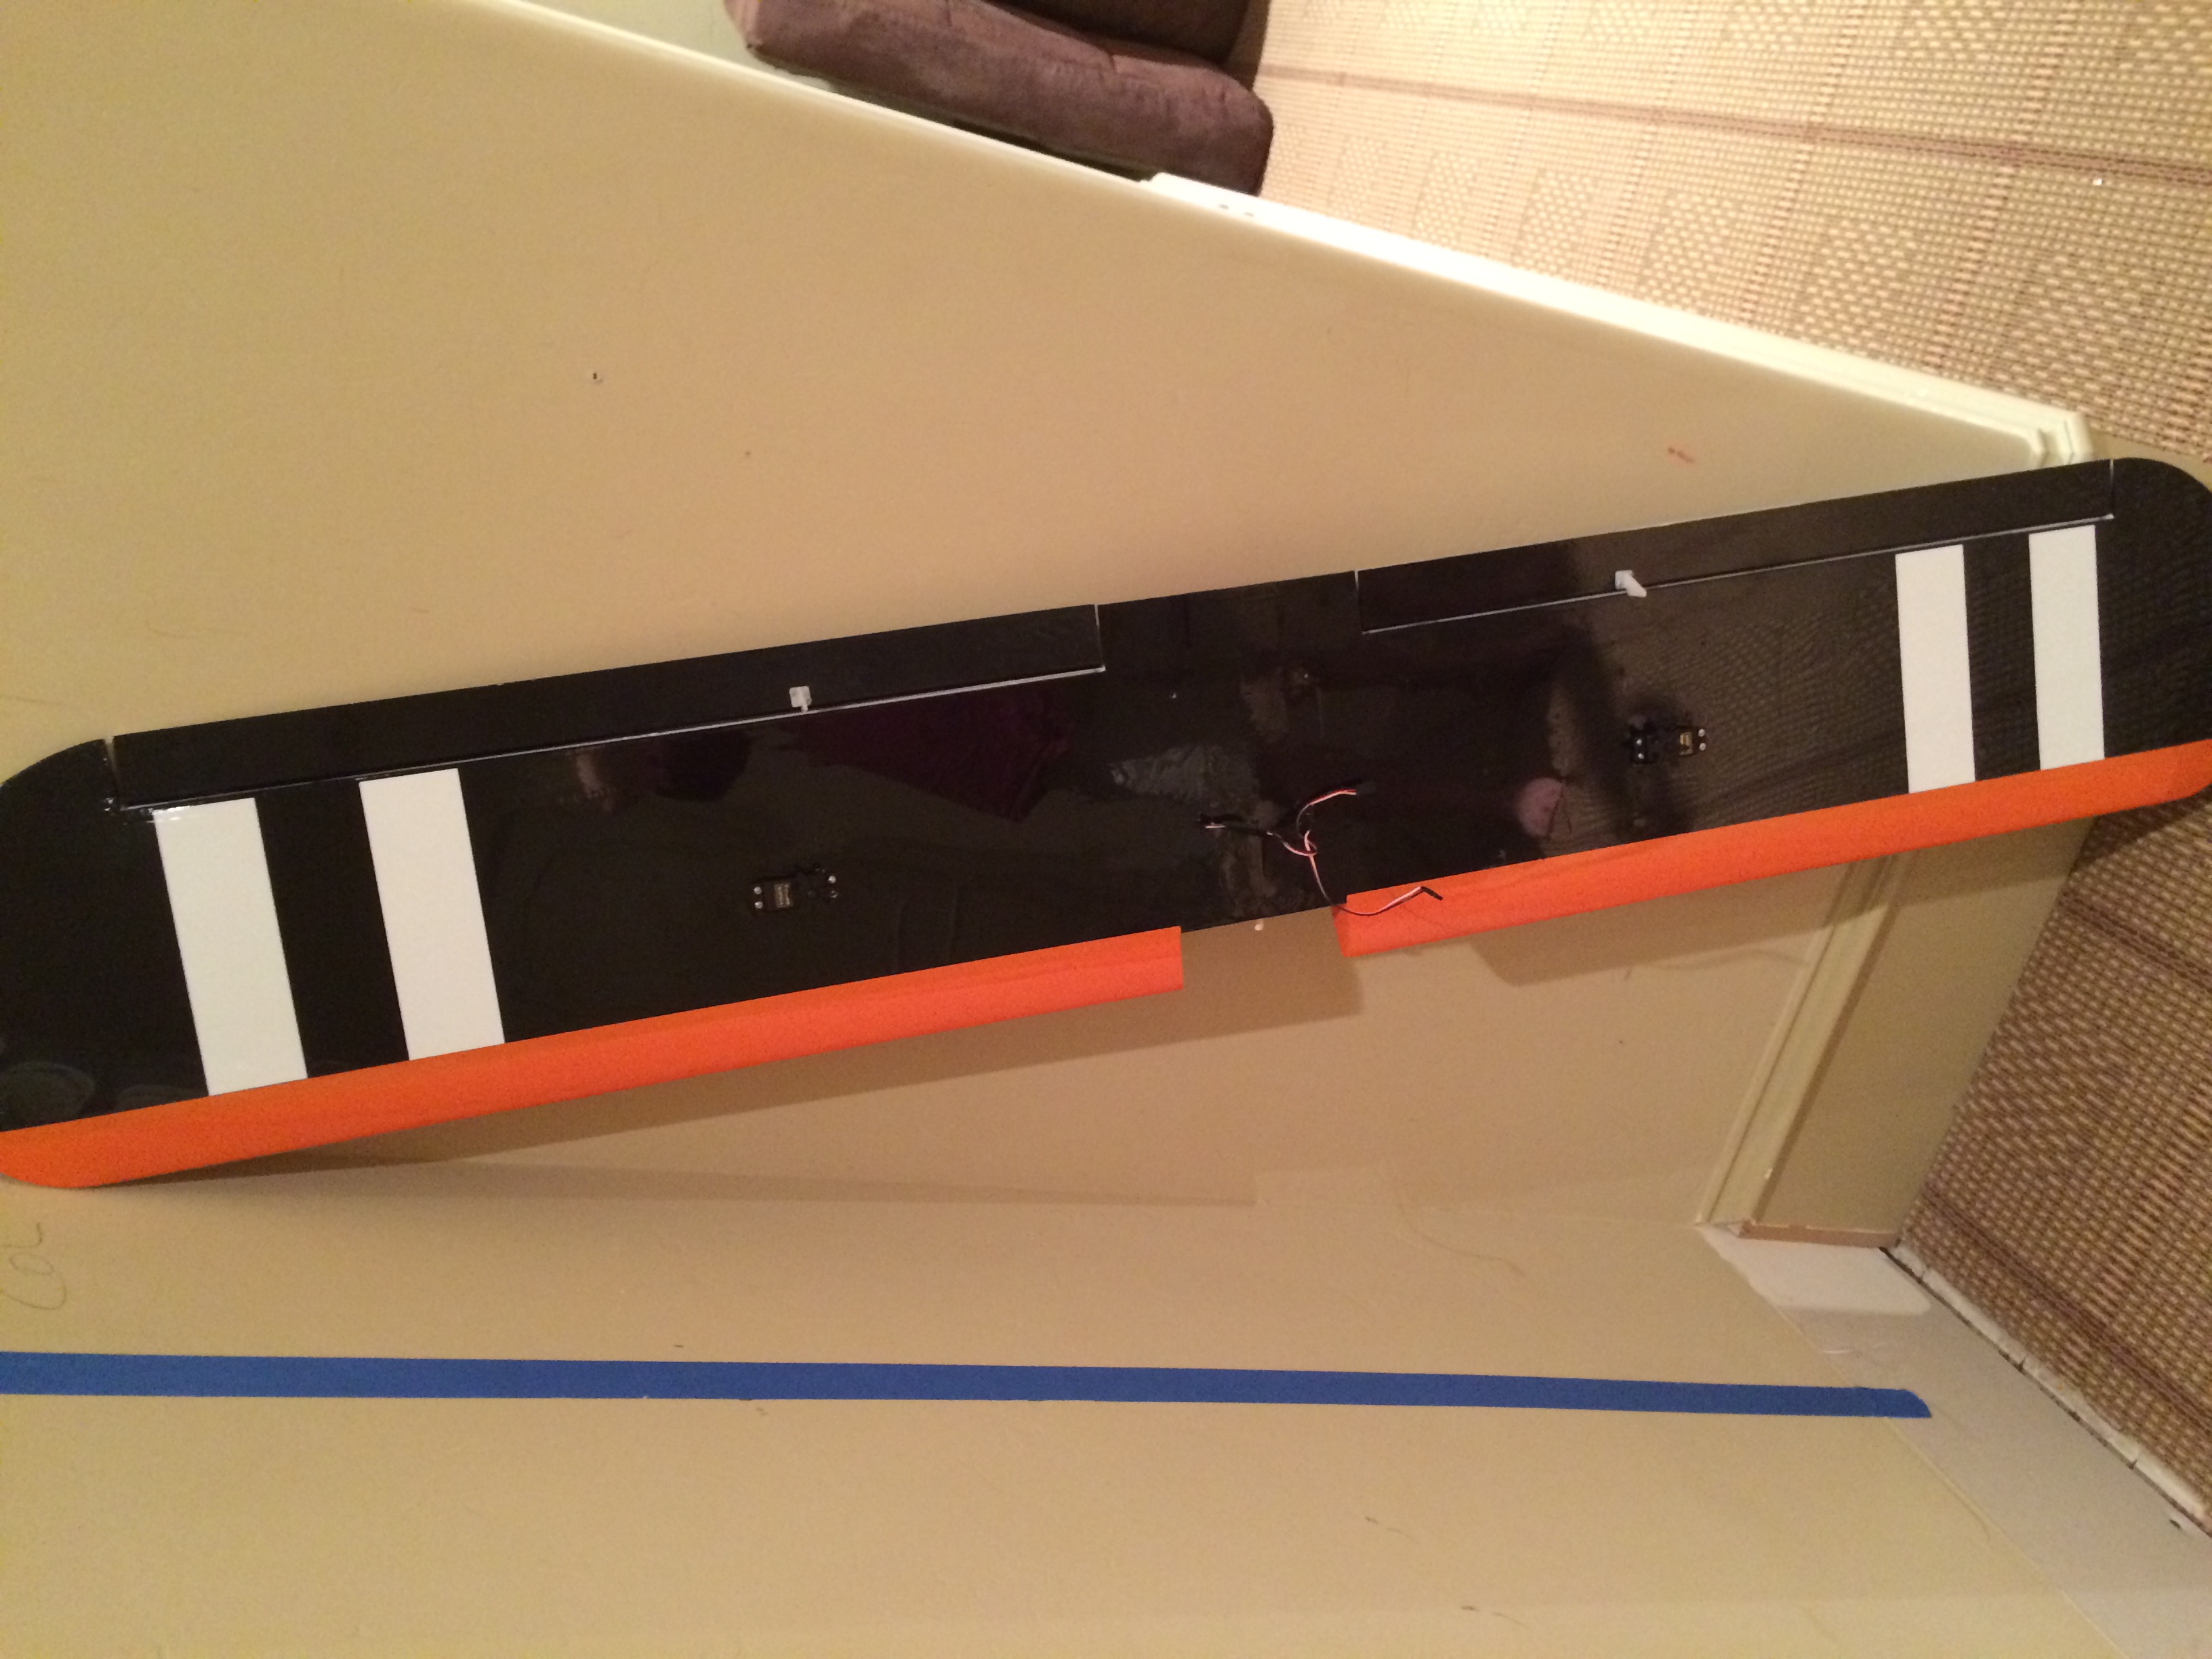
OK, starting covering. son helped design scheme. for ease, using monokote. I like to break seams on sheeted areas so my overlap is minimal to avoid bubbling between layers of monokote. we still need to tie in some additional orange into tail area. I epoxied and wrapped landing gear fairings in monokote vs the kit using rubber bands to hold in place.