Balsa USA 1/4 Sopwith Camel rebuild , or.... what I have been doing this winter.
 03-11-2017, 03:21 PM
#51

Thread Starter

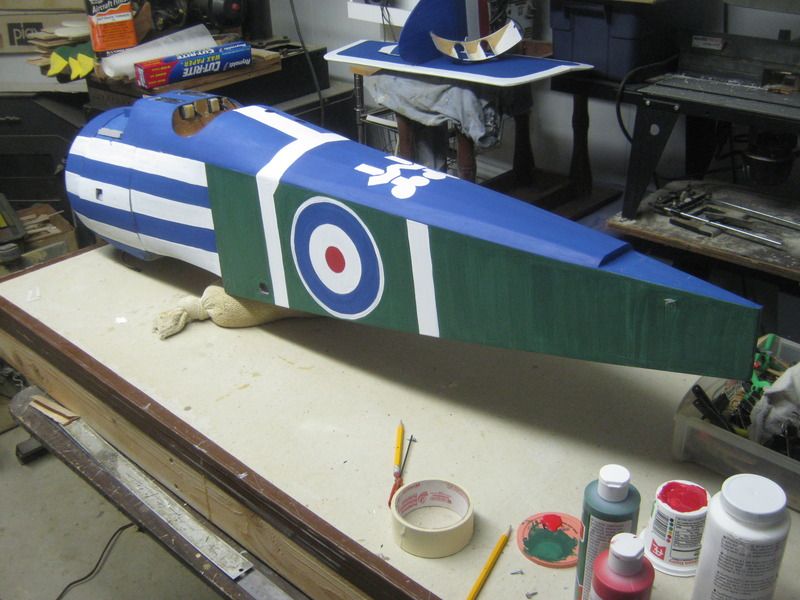
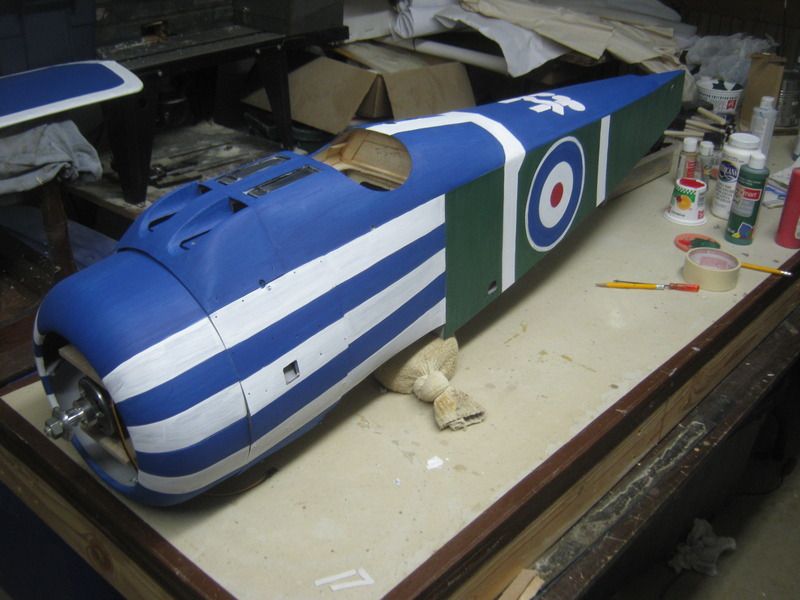
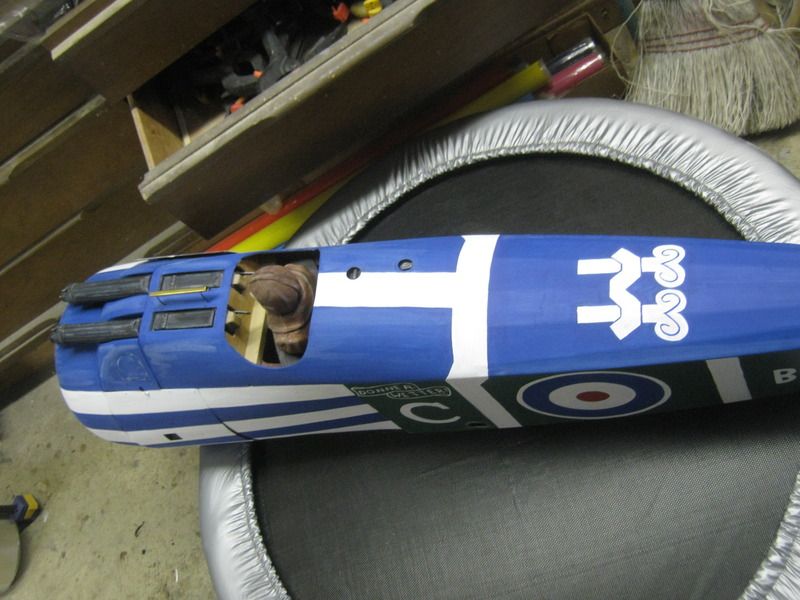
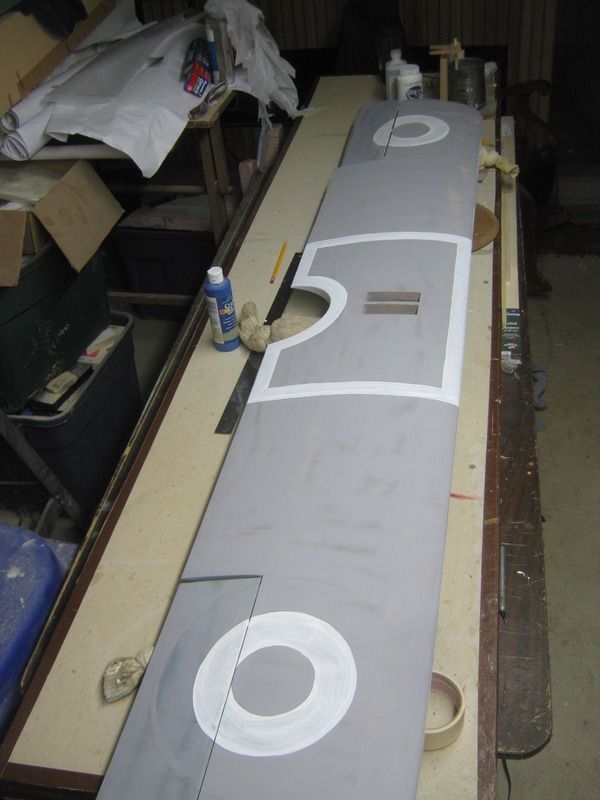
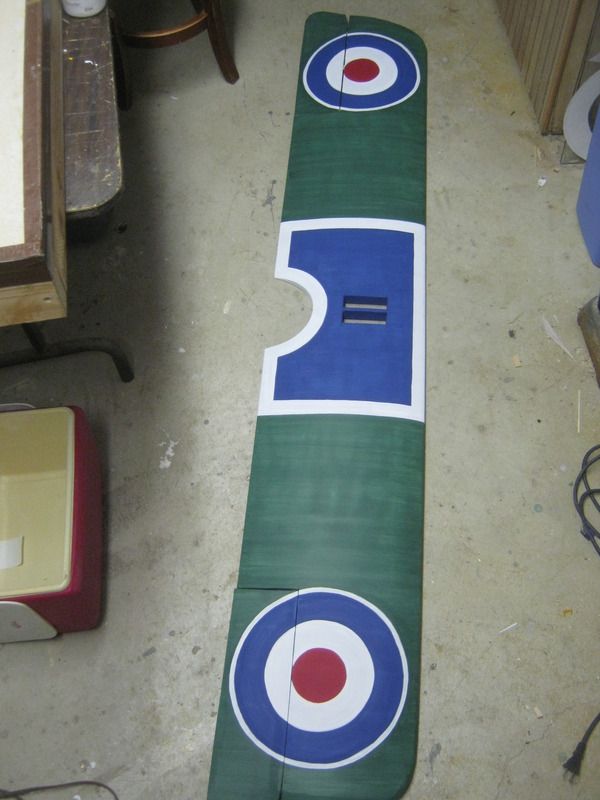
It is coming along. I am still base coating. I have to do the outer white section of the roundel 1 coat more on one side, and two coats on the other. I decided it would be easier to paint in the green and put the Donner Wetter , the C, and the tail numbers on afterwards.. But all in all I am crossing stuff off the list !
 03-15-2017, 11:58 AM
#52
Thread Starter
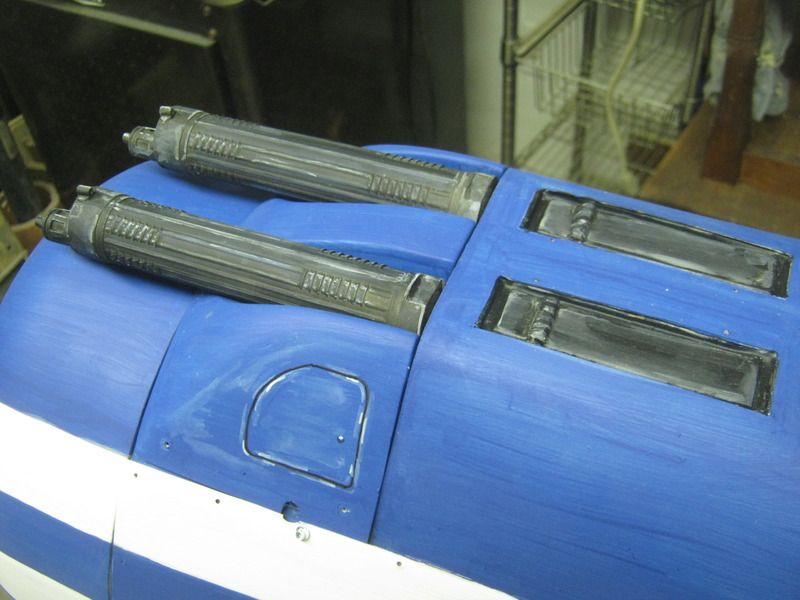
I decided to weather up the guns a bit, and paint side hatchs on the Camel hump today.
I also finally got the Donner Wetter banners painted on.. Maybe not perfect replicas from the real plane.. but it should look OK.
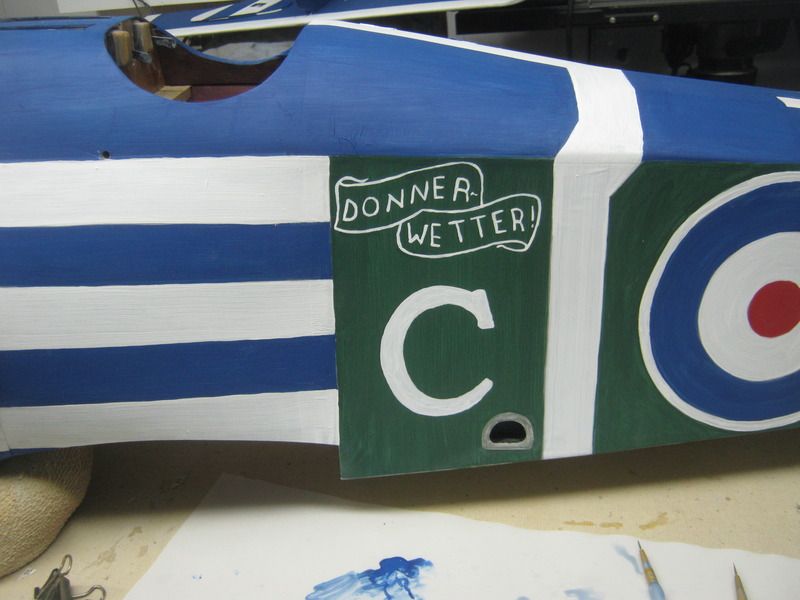
Also I think I put my footstep about an inch to far forward as the actual plane had the white strip centered on the step.. At least it was on some of my references pics. I am not sure I have ever seen a actual old B/W pic of this paint job
I also finally got the Donner Wetter banners painted on.. Maybe not perfect replicas from the real plane.. but it should look OK.
Also I think I put my footstep about an inch to far forward as the actual plane had the white strip centered on the step.. At least it was on some of my references pics. I am not sure I have ever seen a actual old B/W pic of this paint job

 03-22-2017, 10:26 AM
#55
Thread Starter
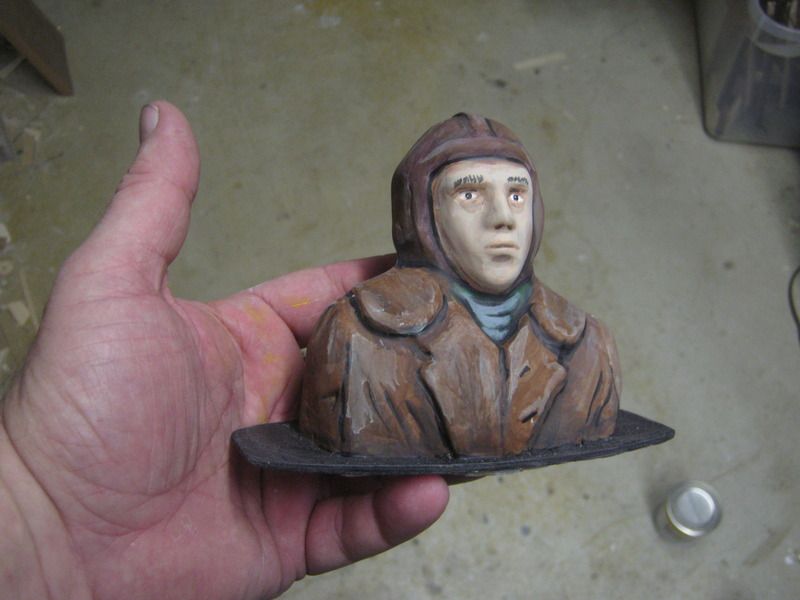
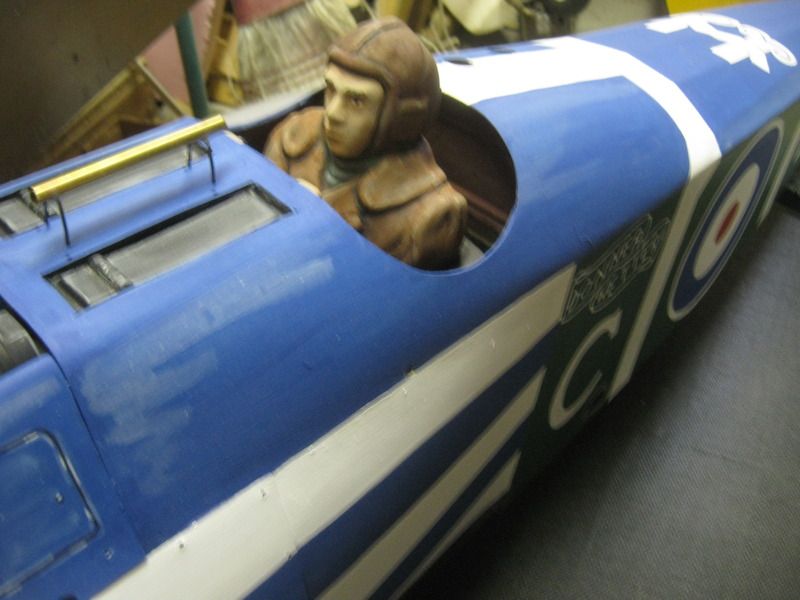
Well, I finally got my pilot painted and ready to clear, then mount in the cockpit. This pilot is one I sculpted from clay, made a mold off of,. Not the best maybe.. but good enough for me..and kind of enjoyable to see in my plane.
I also finally forced myself to cut a bunch of 1/64 ply to glue on the top wing as another layer of cap strips. This is to hide the fact that my top wing now has a sheeted in D box type leading edge.
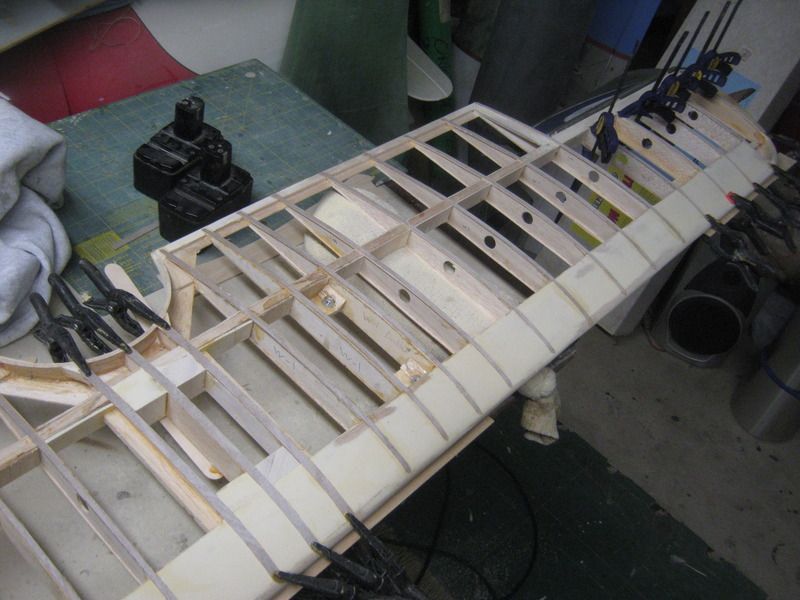
I also finally forced myself to cut a bunch of 1/64 ply to glue on the top wing as another layer of cap strips. This is to hide the fact that my top wing now has a sheeted in D box type leading edge.
") 03-22-2017, 03:33 PM
03-22-2017, 03:33 PM
#59

Hey Lance
An interesting resurrection for sure. I'm a fabric kind of guy and prefer the basic fabric covering to be the correct (or at least close) color so that the painting is kept to a minimum. Looks like you are learning your vacuum machine - pretty good so far.
Cheers,
Art
An interesting resurrection for sure. I'm a fabric kind of guy and prefer the basic fabric covering to be the correct (or at least close) color so that the painting is kept to a minimum. Looks like you are learning your vacuum machine - pretty good so far.
Cheers,
Art
03-27-2017, 06:21 PM
#61
Thread Starter
Ok progress !
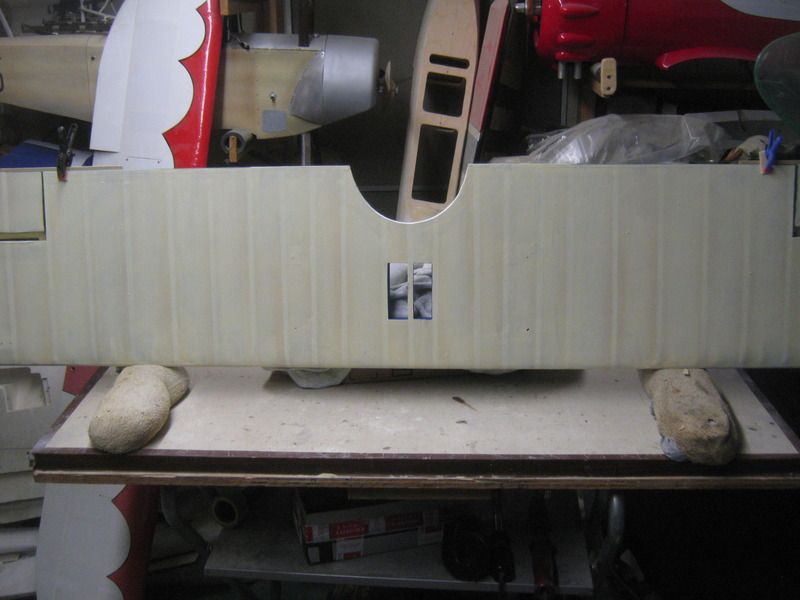
I finally sat down and forced myself to cover the top wing. Of course the second I had everything ready I found a missing piece of cap stripping on one rib,and had to do a quick patch and sand, ARGH...
However I was off and covering after that. I did the bottom of the wing one night, and the top the next morning.
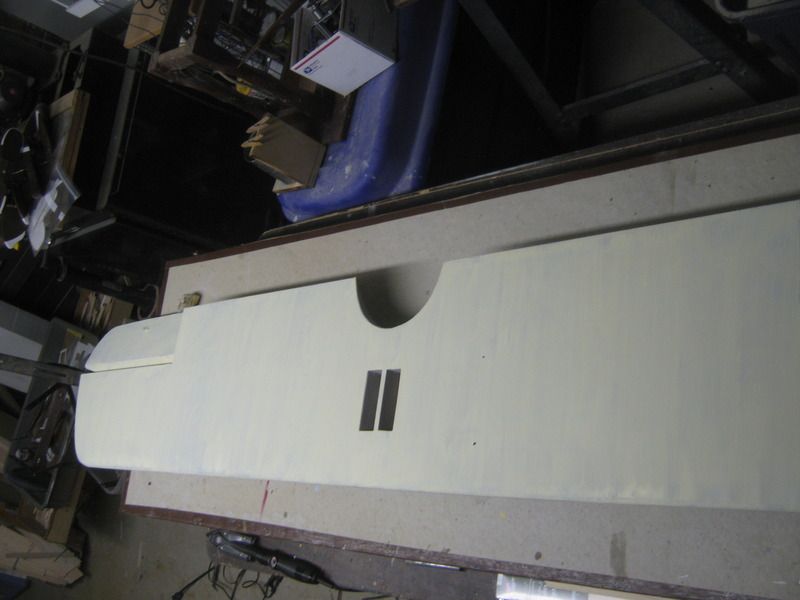
Today after a trip to Moms to keep things caught up.. I got the thing primed with the ole Rustoleum grey .. I barely, and I mean BARELY had enough paint left in the can to get it done.. Oh and I also realized I forgot to glue partial rib cap strips on over the sheeting? Wow, I will fake that with paint later.. It never ends with thrills and chills on the building board I guess?
I did a bit better getting it on tight before shrinking this time..this stuff takes a bunch of heat to shrink..but as it turns from misty opaque to clear it tells you that its hot enough.
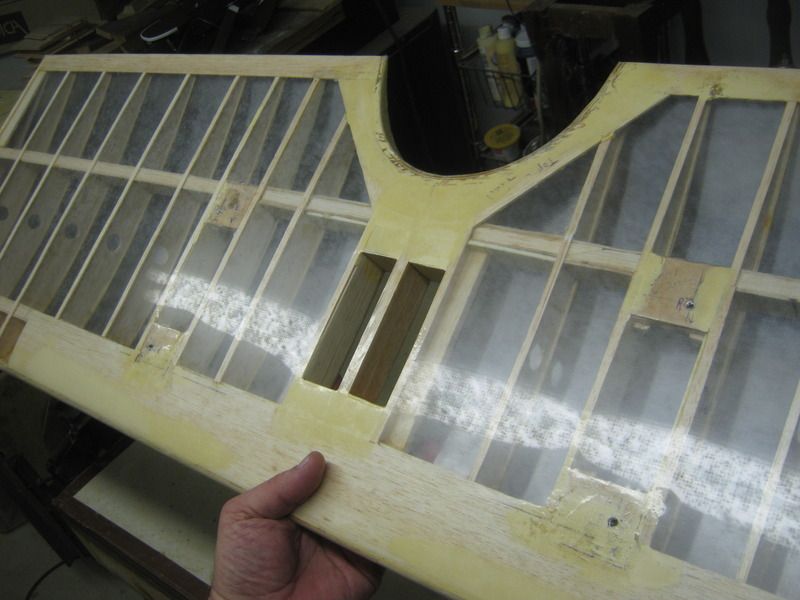
I finally sat down and forced myself to cover the top wing. Of course the second I had everything ready I found a missing piece of cap stripping on one rib,and had to do a quick patch and sand, ARGH...
However I was off and covering after that. I did the bottom of the wing one night, and the top the next morning.
Today after a trip to Moms to keep things caught up.. I got the thing primed with the ole Rustoleum grey .. I barely, and I mean BARELY had enough paint left in the can to get it done.. Oh and I also realized I forgot to glue partial rib cap strips on over the sheeting? Wow, I will fake that with paint later.. It never ends with thrills and chills on the building board I guess?
I did a bit better getting it on tight before shrinking this time..this stuff takes a bunch of heat to shrink..but as it turns from misty opaque to clear it tells you that its hot enough.
 03-28-2017, 07:53 PM
#65
Thread Starter
No on the second coat, I always do it thin on the paint and streaky like that .. gives it a nice weathered look... I used to paint on perfect even coats of paint and then weather it back to looking old. Then I finally started using acrylics and just figured out I could make the base coats imperfections look like intentional weathering... Easier and lighter this way.
Its so funny because all the WW1 guys in my club were striving for perfect paint jobs years ago.. I have corrupted them all ! Now some of them seem to add more dirt to their planes every year. hahahahhah
Its so funny because all the WW1 guys in my club were striving for perfect paint jobs years ago.. I have corrupted them all ! Now some of them seem to add more dirt to their planes every year. hahahahhah
03-29-2017, 01:35 AM
#66
03-29-2017, 07:44 AM
#67
No on the second coat, I always do it thin on the paint and streaky like that .. gives it a nice weathered look... I used to paint on perfect even coats of paint and then weather it back to looking old. Then I finally started using acrylics and just figured out I could make the base coats imperfections look like intentional weathering... Easier and lighter this way.
Its so funny because all the WW1 guys in my club were striving for perfect paint jobs years ago.. I have corrupted them all ! Now some of them seem to add more dirt to their planes every year. hahahahhah
Its so funny because all the WW1 guys in my club were striving for perfect paint jobs years ago.. I have corrupted them all ! Now some of them seem to add more dirt to their planes every year. hahahahhah
03-29-2017, 05:12 PM
#68
Thread Starter
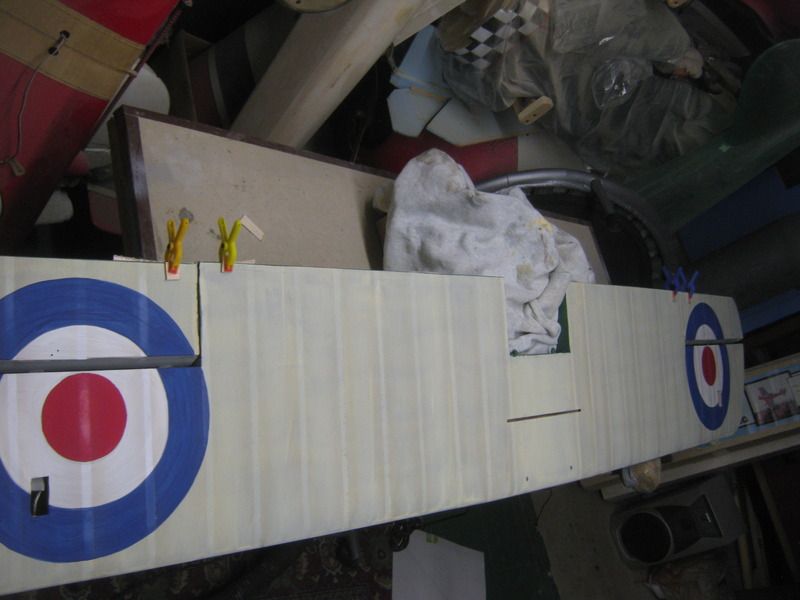
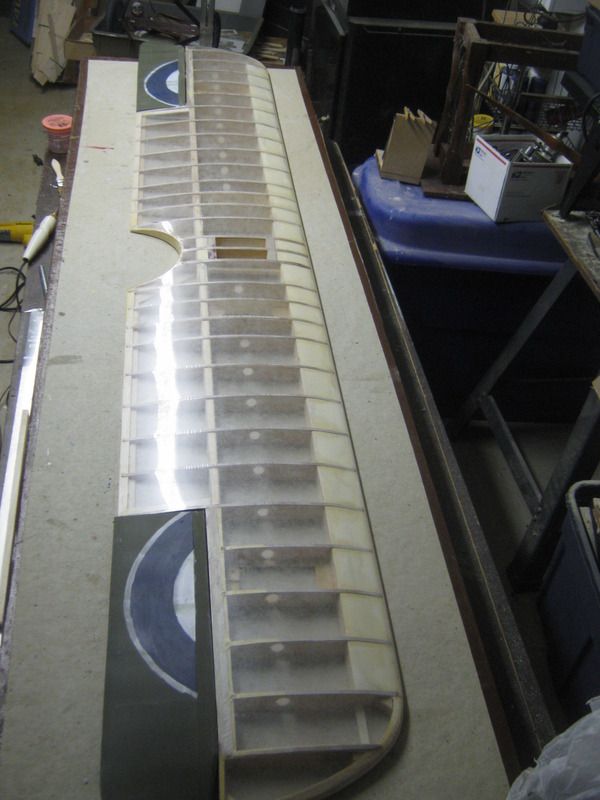
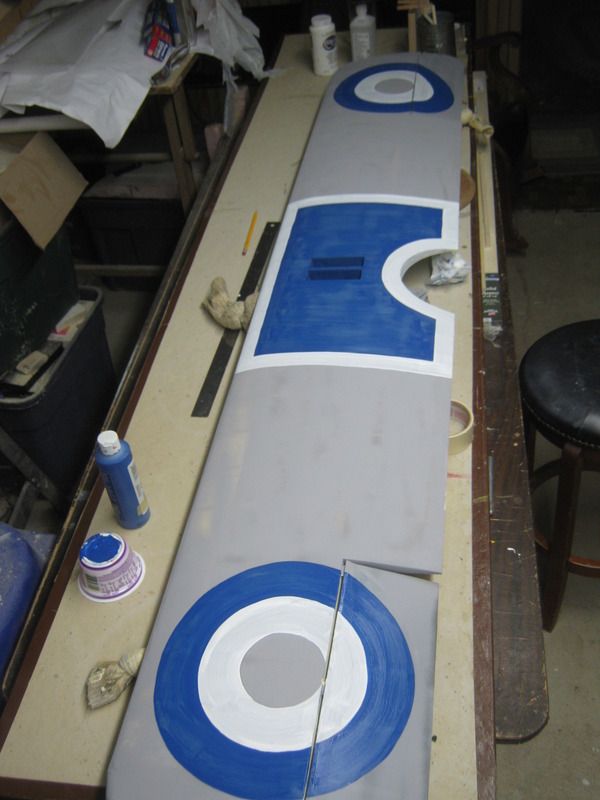
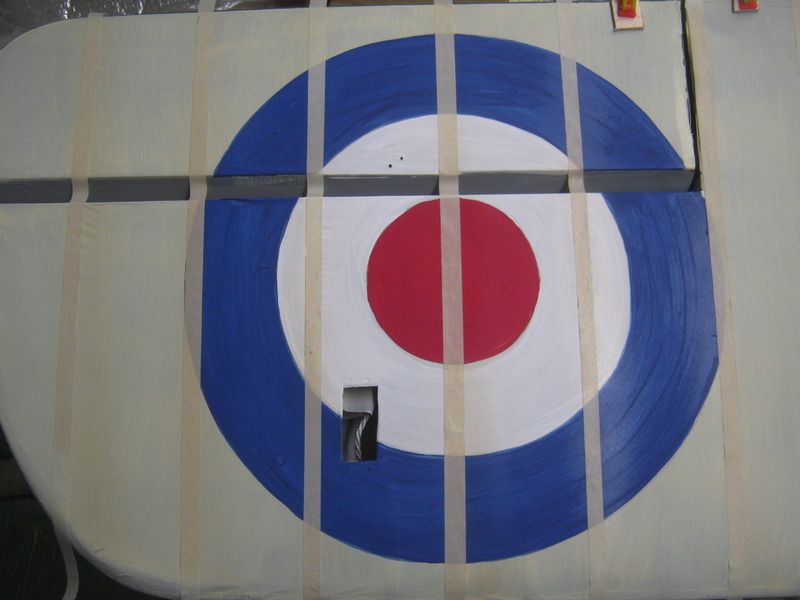
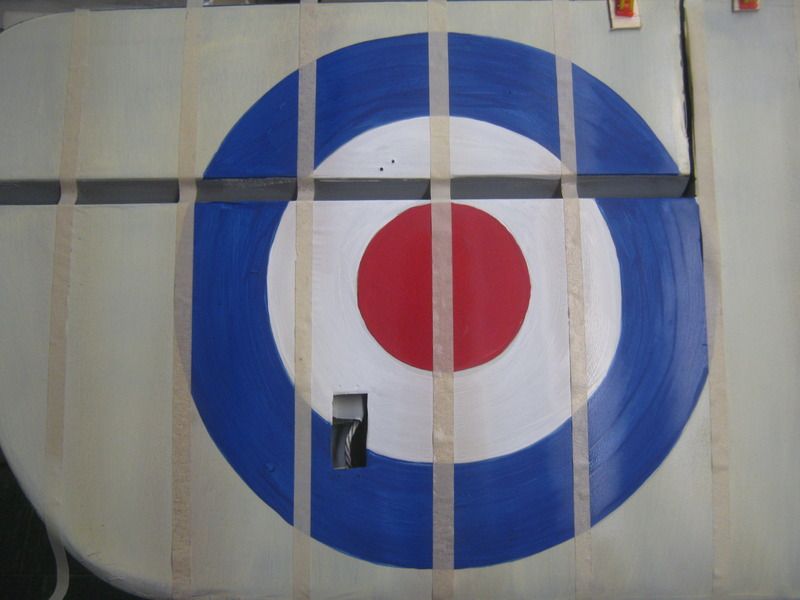
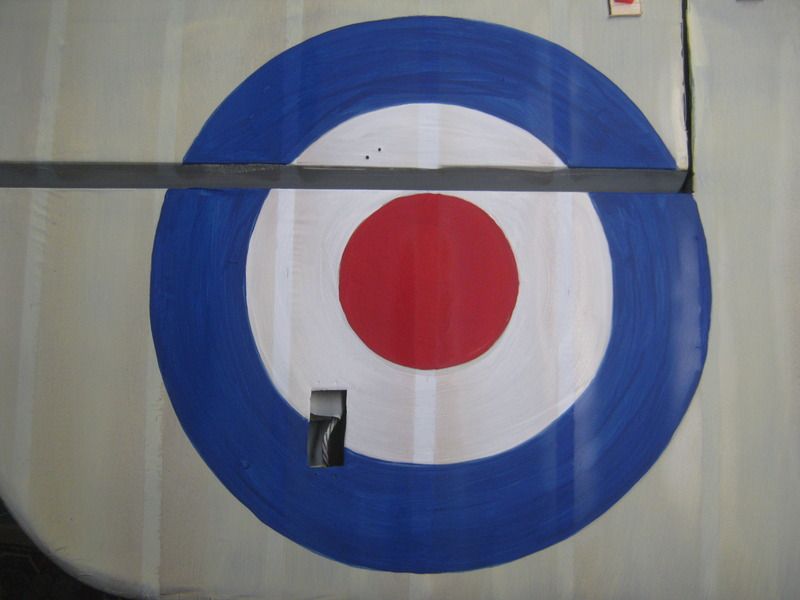
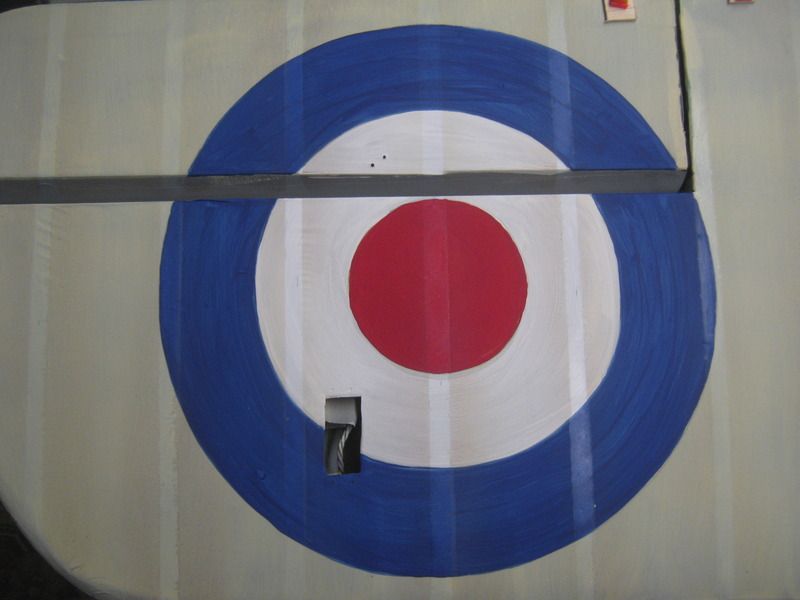
Started in on the top of the wing,unfortunately the roundels and the center section will need double coated. I actually don't mind painting the roundels EXCEPT the outer thin white ring. I will save that for after the green is added.
Slowly getting there....
Slowly getting there....
04-01-2017, 05:56 AM
#70
Thread Starter
Paint paint paint, I had to knuckle down down ... and force myself to paint those thin outer white rings. Its not that hard to do, but with older eyes and les steady hands its like pulling teeth ! hahahhhahahahahaha
04-04-2017, 10:40 AM
#73
Thread Starter
Simulating easy rib strips with paint...
First the tape over the rib locations , and a light coat of a middle darkness brown over the streaky base coat and roundel.
A slightly darker thin brown paint down the tape...
then the tape is removed, this shows the dark on light effect, but does not highlight the areas with dark paint.
and finally I run tape down the outside of the shading (forgot to take pic) so that I can use a thin white paint to make the rib stitching pop up between the outer shading.
I did not simulate the short half ribs on the bottom of the plane, I probably will on top. Also for added detail I can wait a day and use chalk to make short lines over the painted rib tape to simulate thred underneath the rib tape... Then clear it for the final step.