


Northeast Aerodynamics Sport-Air Build

 08-25-2018, 03:00 PM
#102

Thread Starter

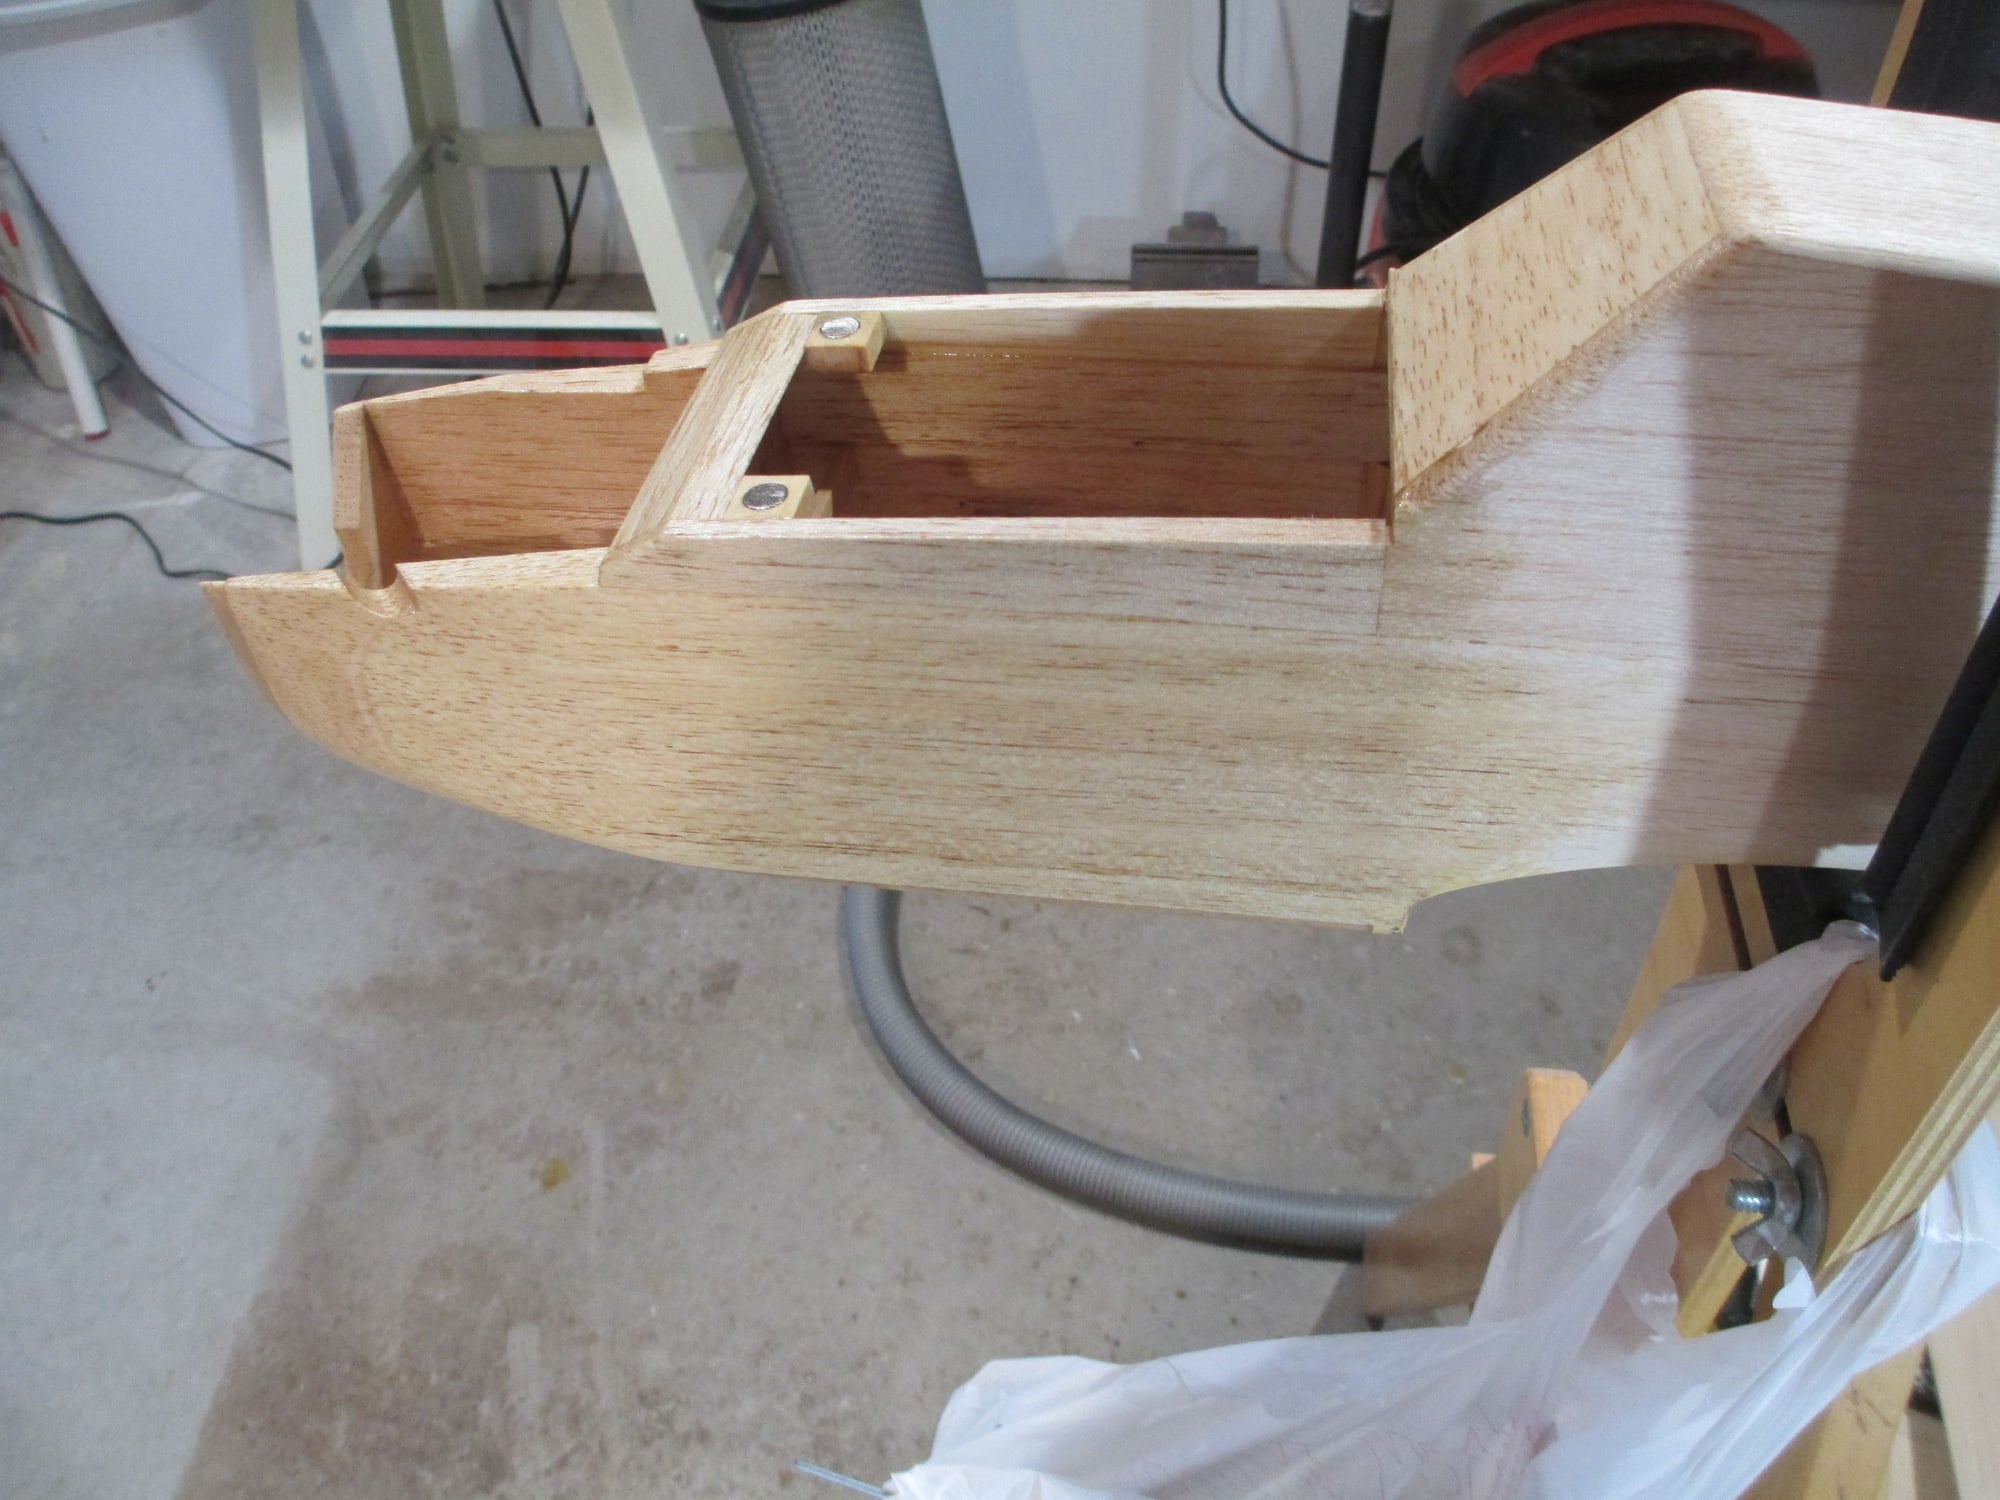
Made the battery/tank hatch cover. I could have taken the easier route and secured it with screws, but I chose to use magnets to hold the hatch in place...a much cleaner look. I recessed the magnets in two basswood blocks which were epoxied in place. Steel washers were let into the underside of the balsa hatch.

I picked up these magnets at my local hardware store.
A few views of the hatch in place.

I'm happy to report that all of the building has been completed. Now comes the tedious task of sanding, fitting, rounding over the edges of the fuse as well as doing a few odds and ends before I get ready to fuel proof the forward section of the fuselage both inside and out.

I also made a hatch cover out of Lite Ply to gain access to the rudder servo.
Last edited by VincentJ; 08-25-2018 at 03:04 PM.
08-26-2018, 02:36 AM
#103
Thread Starter
Here's one of those small items that needed to get done, hard points for the tail flying wires. Again, not specified on the plans just some much needed support for the tail fin.
08-26-2018, 01:17 PM
#104
Thread Starter
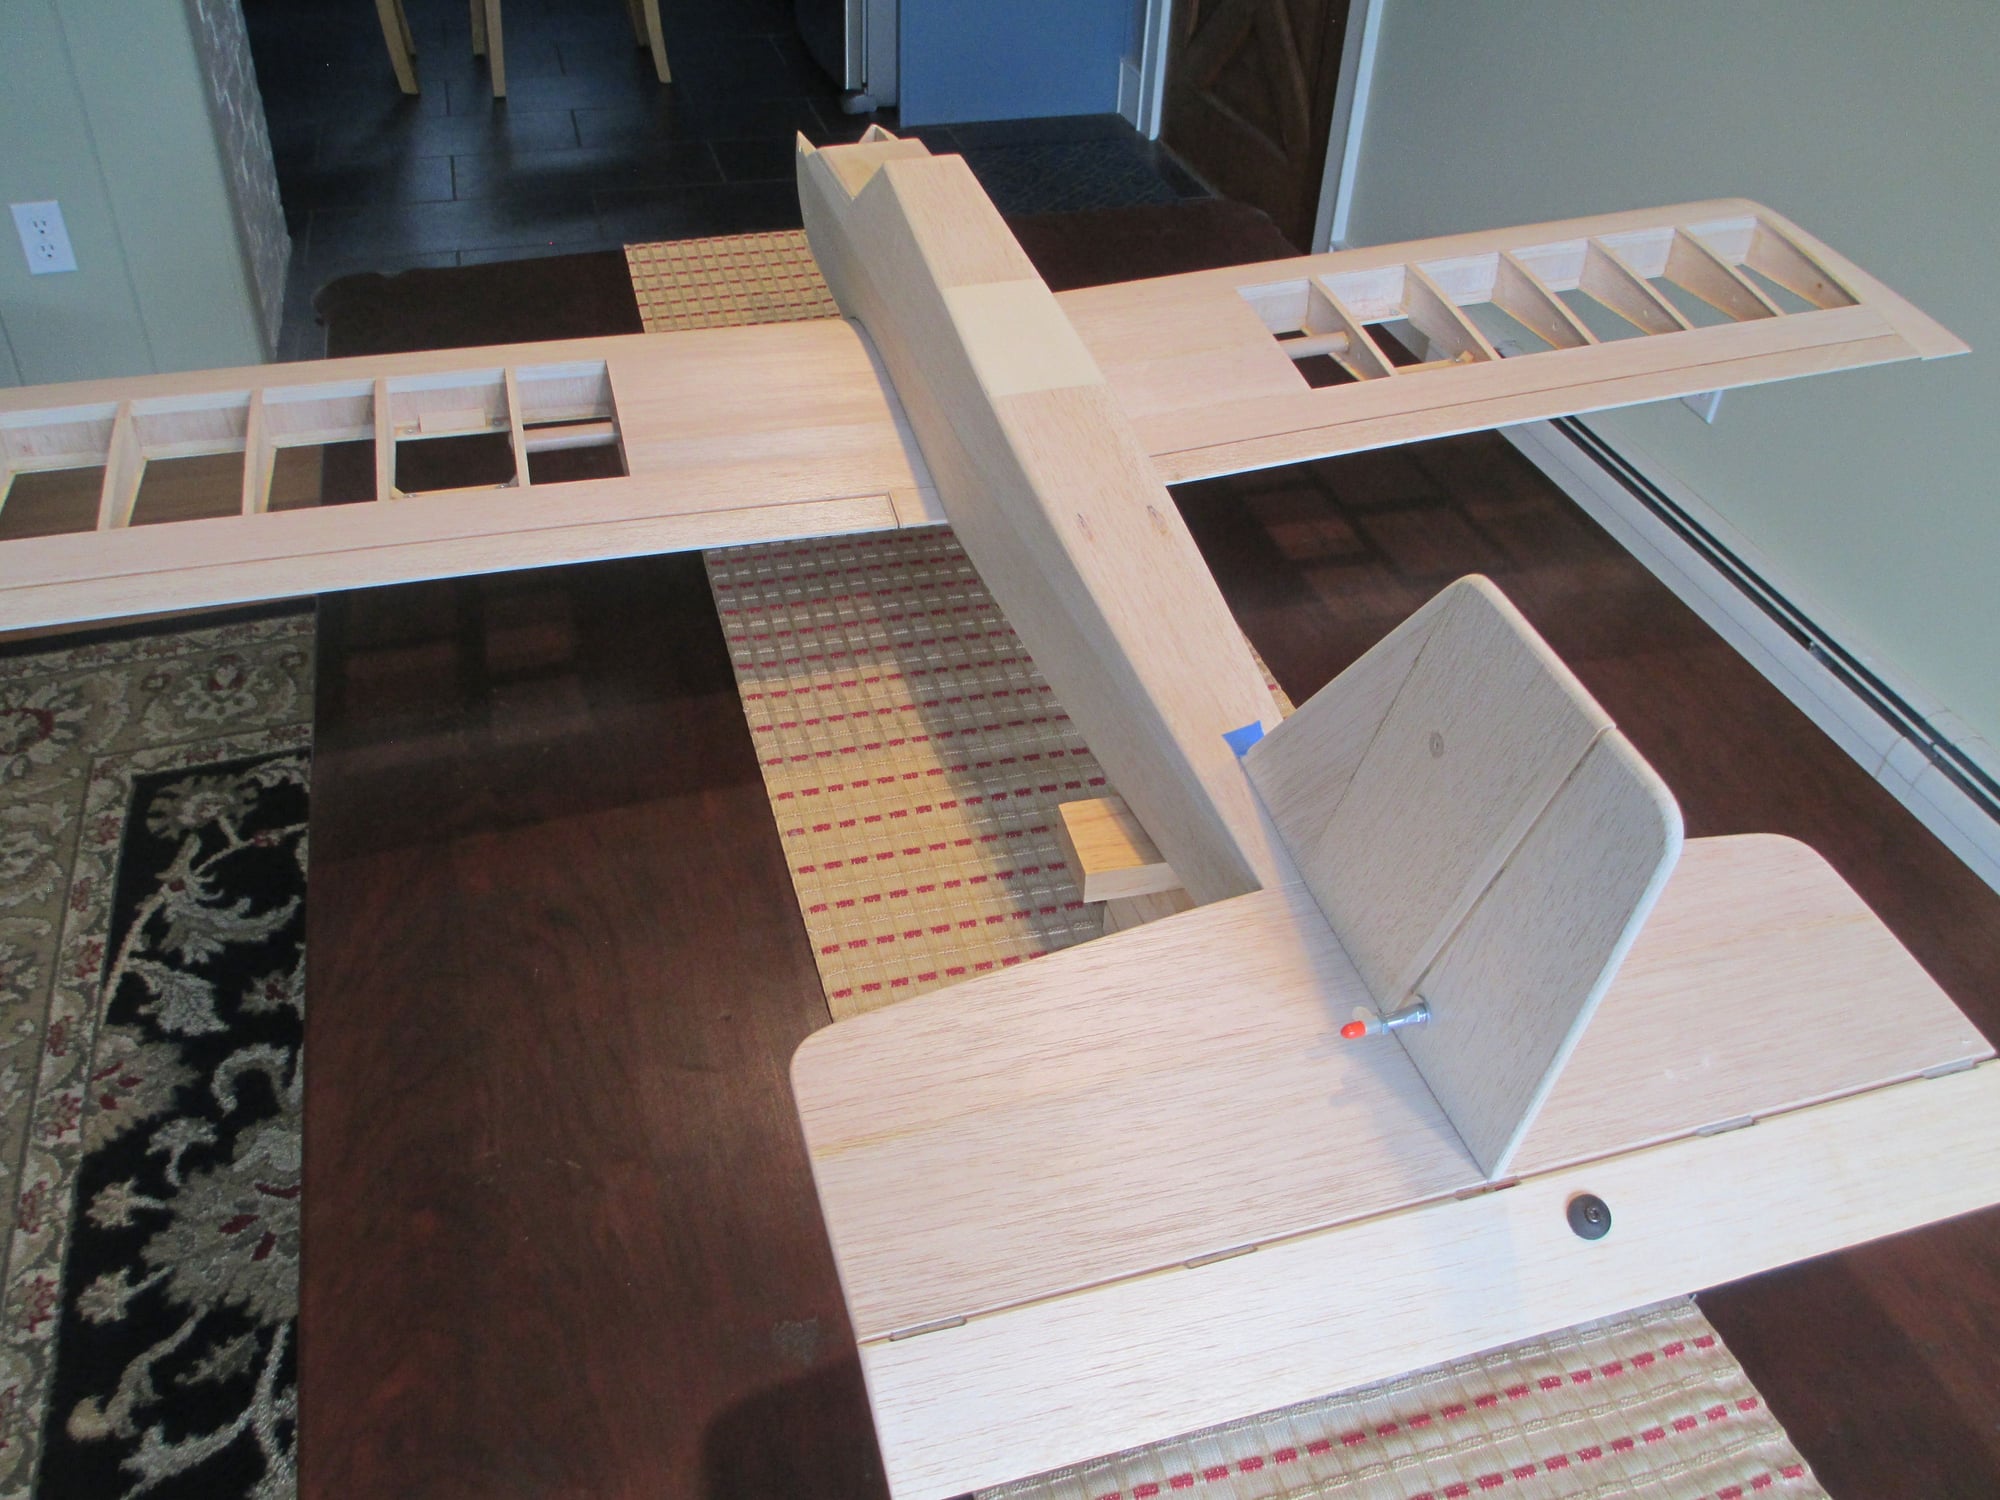
While I still have quite a bit of sanding still left to do, I thought I would take the time to bring Bob's Sport-Air upstairs for a photo shoot... In less than one month time this was just a box of sticks!


Last edited by VincentJ; 08-27-2018 at 02:55 AM.
 08-27-2018, 12:05 AM
#107
Thread Starter
Thank you both Tom and Mike!
Soon part of the build will begin that I don't really enjoy doing, covering...
Soon part of the build will begin that I don't really enjoy doing, covering...
Last edited by VincentJ; 08-27-2018 at 03:00 AM.
08-29-2018, 01:06 AM
#108
Thread Starter
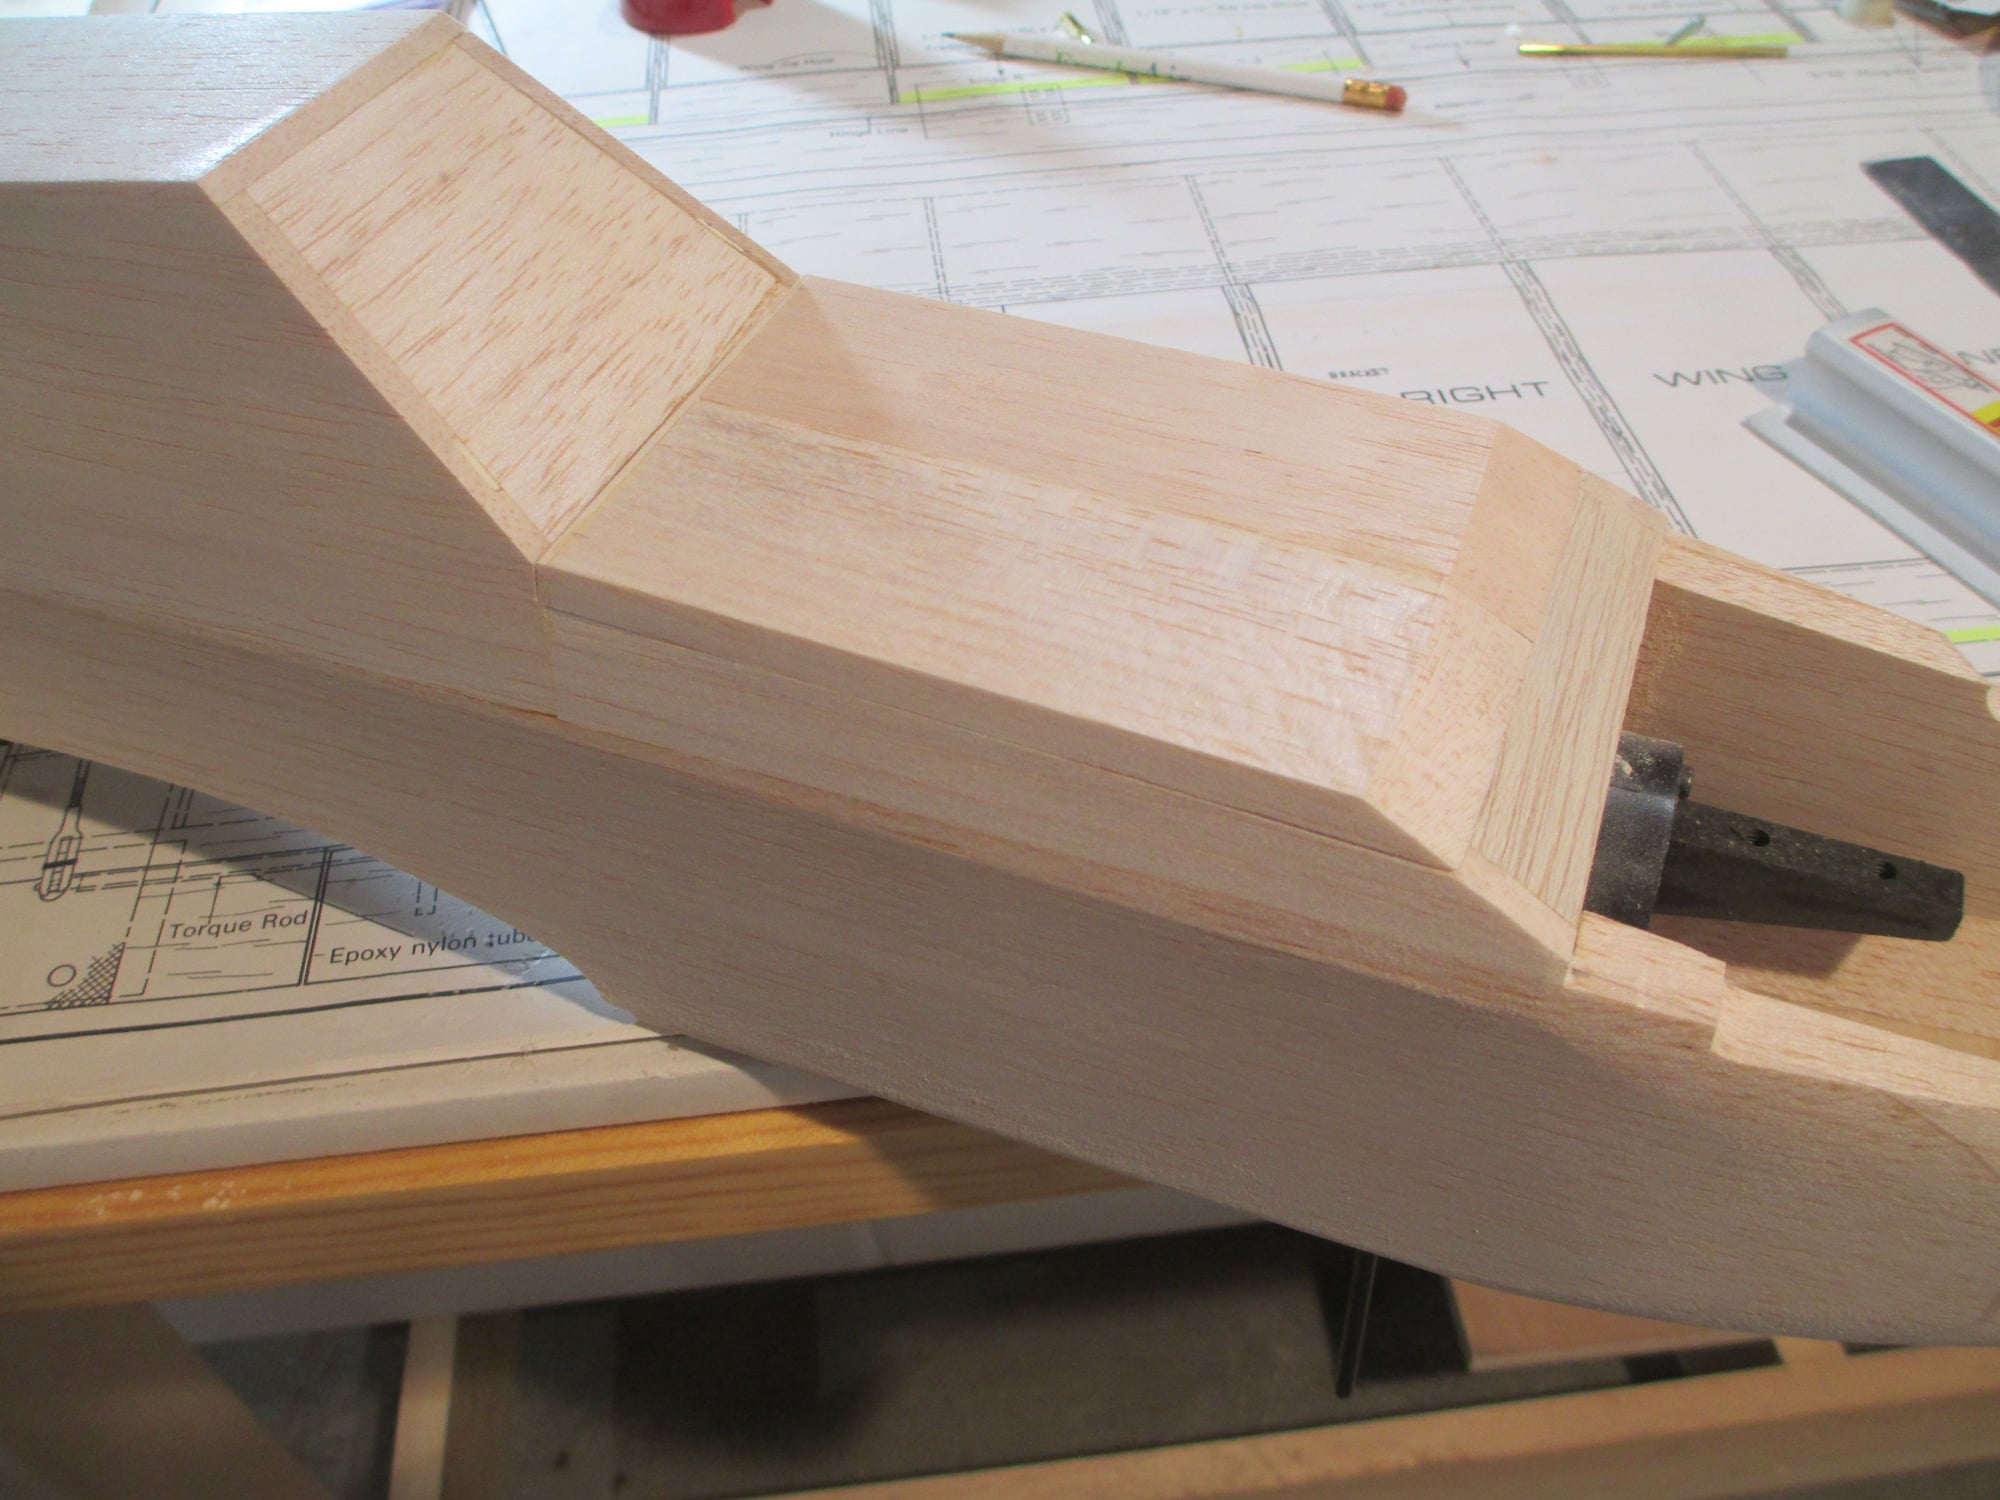
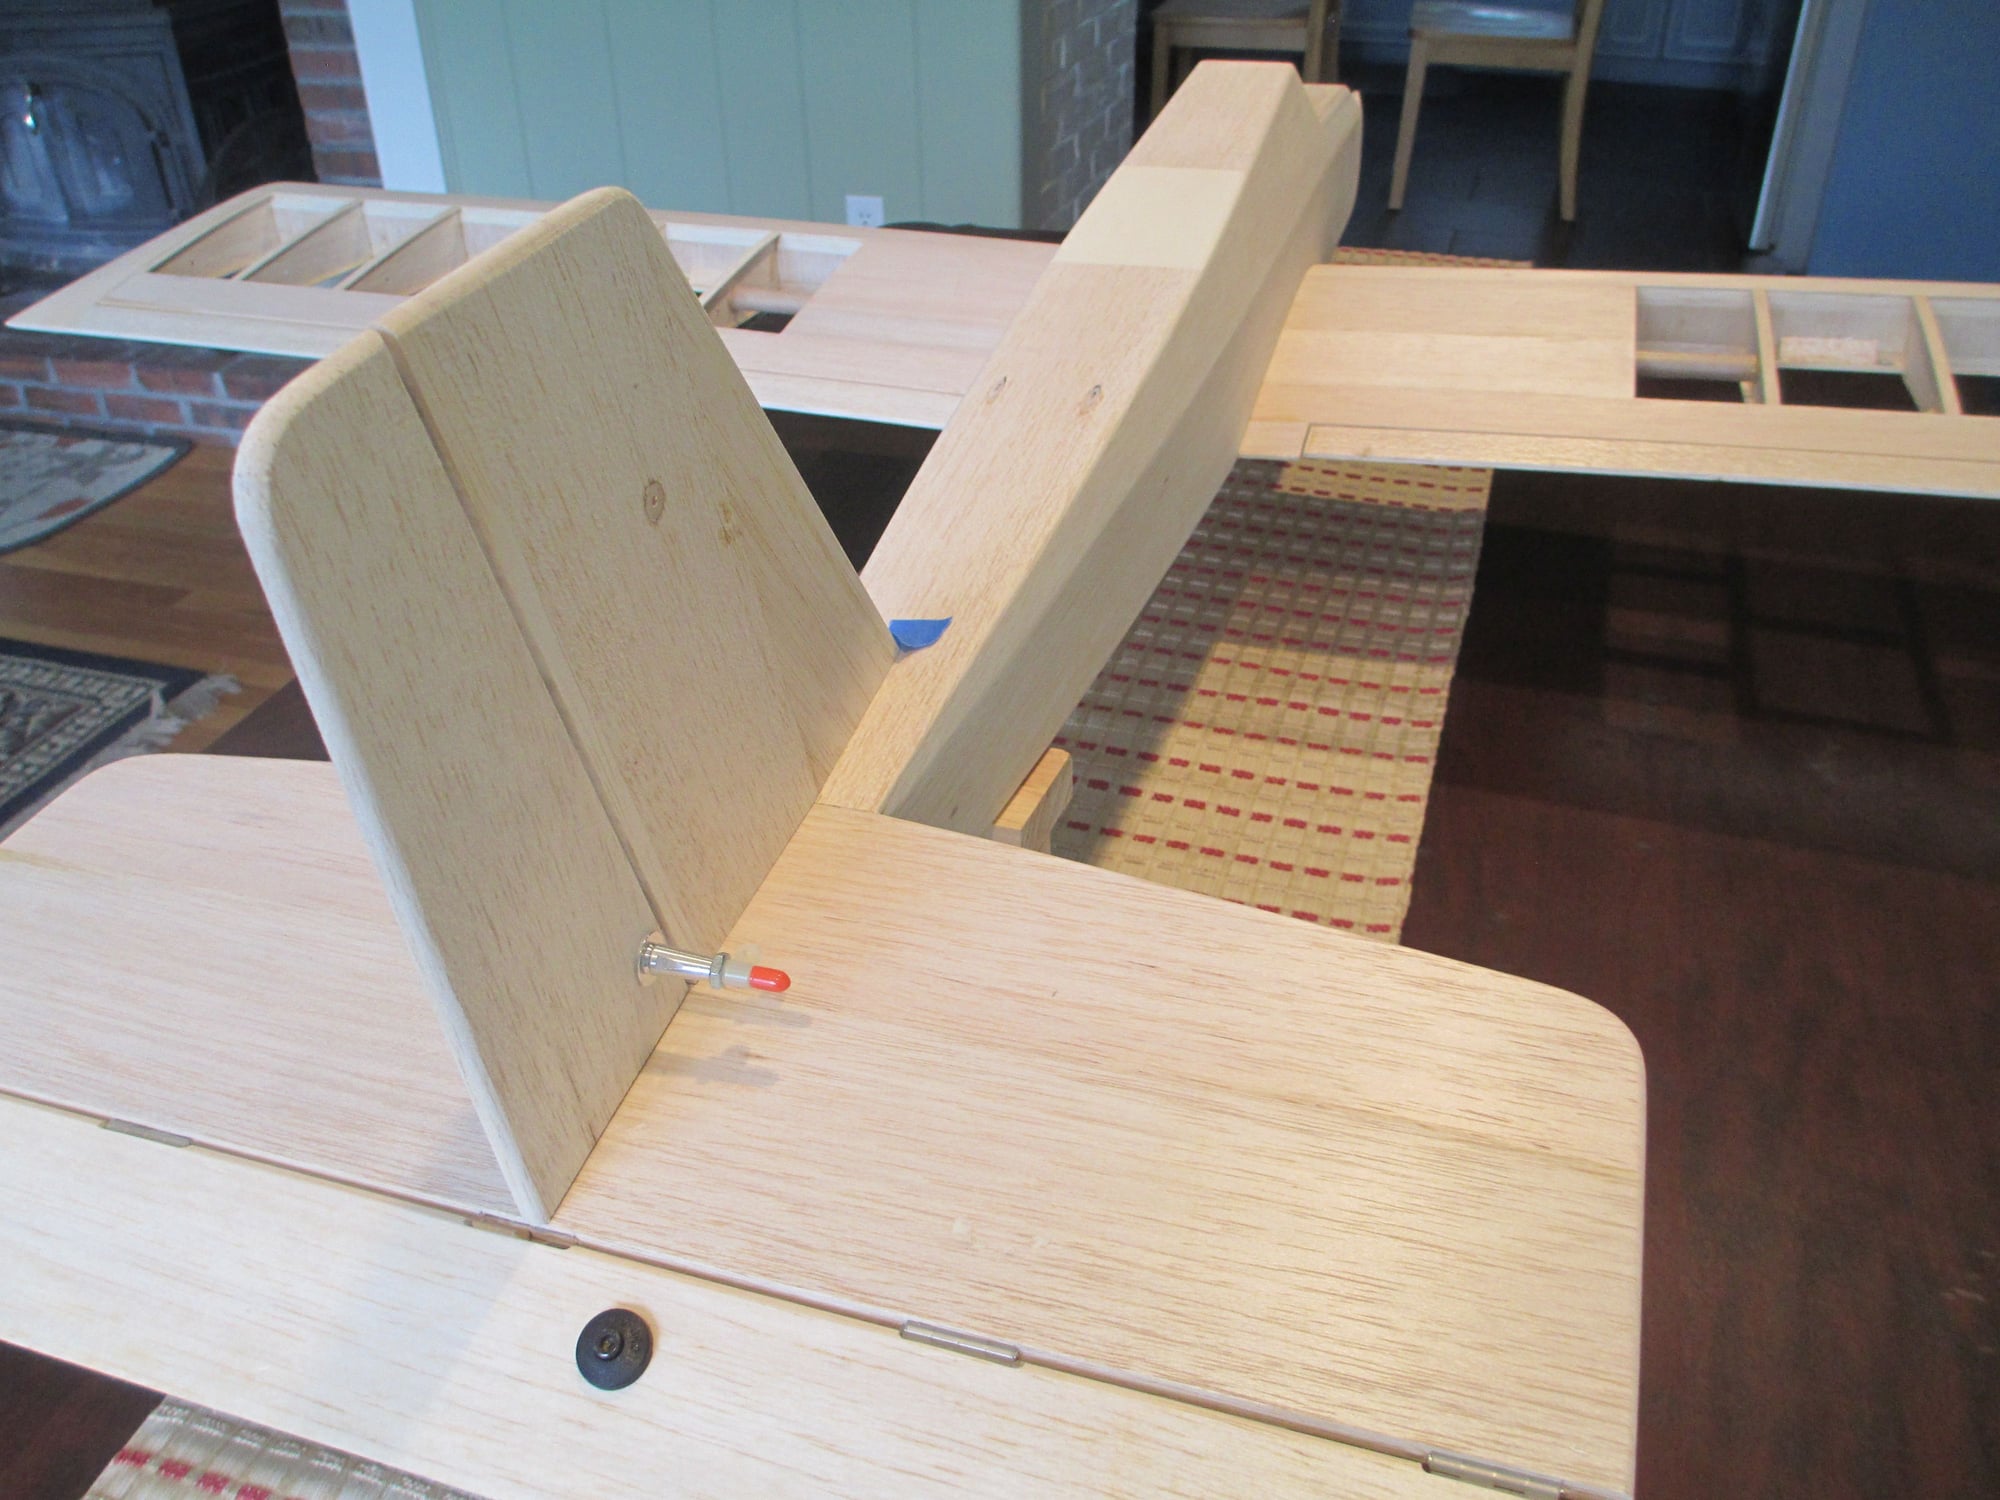
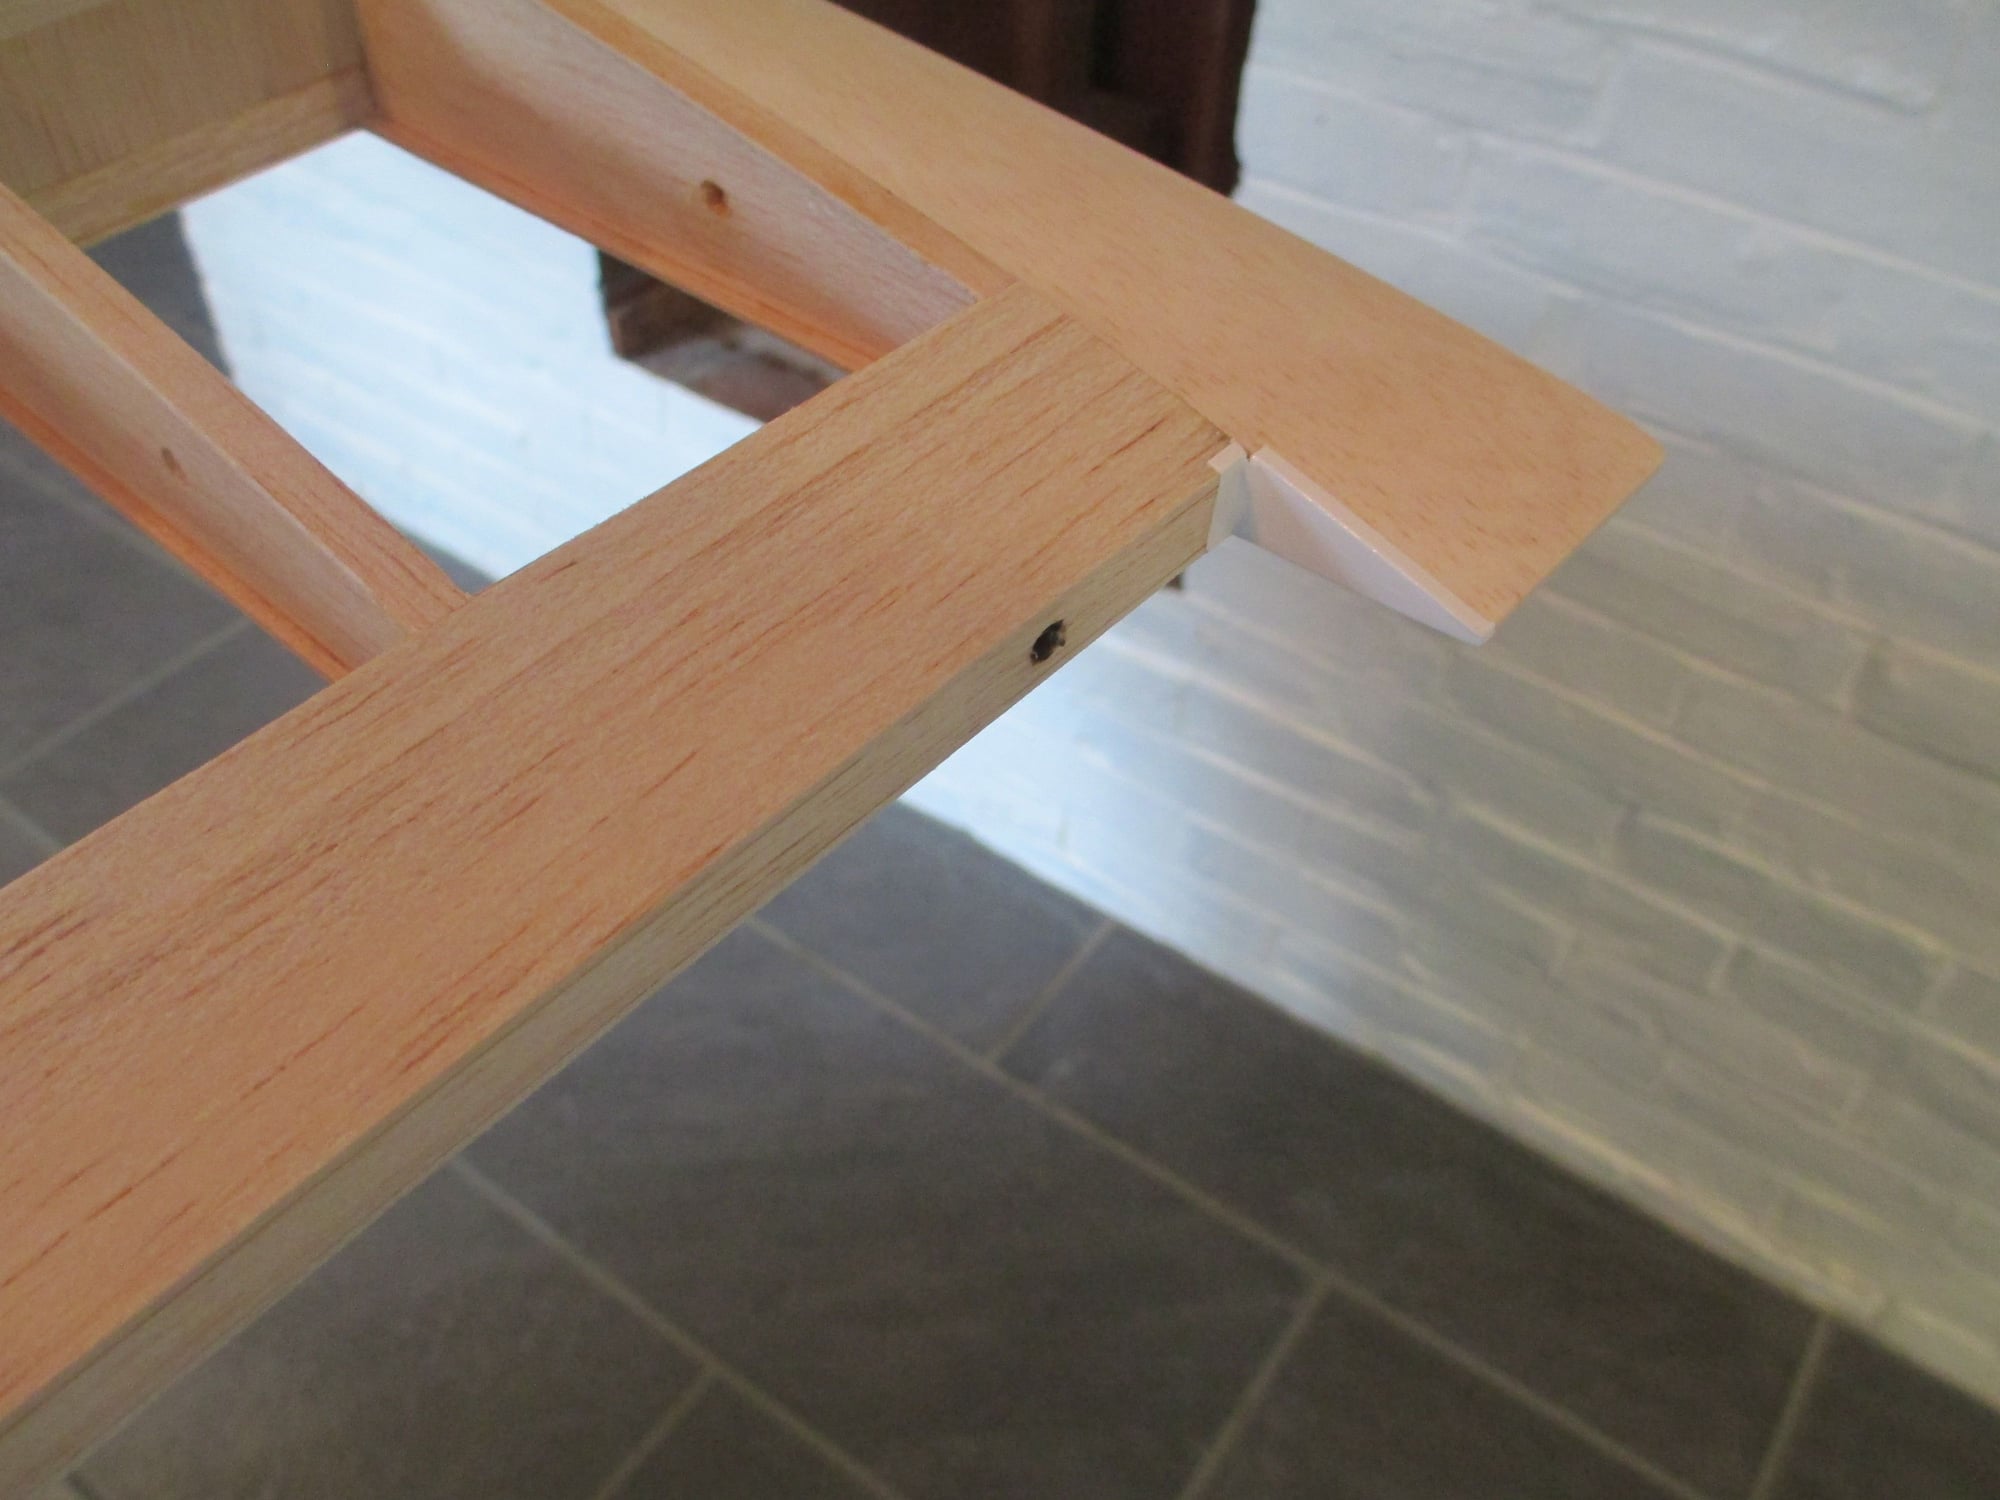
The fit of the wing saddle needed a bit of fine tuning so I decided to get a little better fit.

I can live with the fit now...

Built as per the plans, this is how the leading edge of the wing transitions into the fuselage. I think I can make it look better, more work to do...
Last edited by VincentJ; 08-29-2018 at 07:54 AM.
08-30-2018, 03:20 AM
#109
Thread Starter
It's been brutally hot and humid here the past few days. I was looking forward getting into my cool workshop after work and making some progress on the Sport-Air. So as soon as I got home I headed downstairs, and it was at that point that the power went out! So much for making progress... My power didn't get restored until 9:00 PM that evening, needless to say it was hot and no progress was made!
My power didn't get restored until 9:00 PM that evening, needless to say it was hot and no progress was made!
Last edited by VincentJ; 08-30-2018 at 07:04 AM.
08-30-2018, 07:33 AM
#110

I gotta say; I'm admiring your level of fit and finish.
08-31-2018, 12:42 AM
#112
Thread Starter
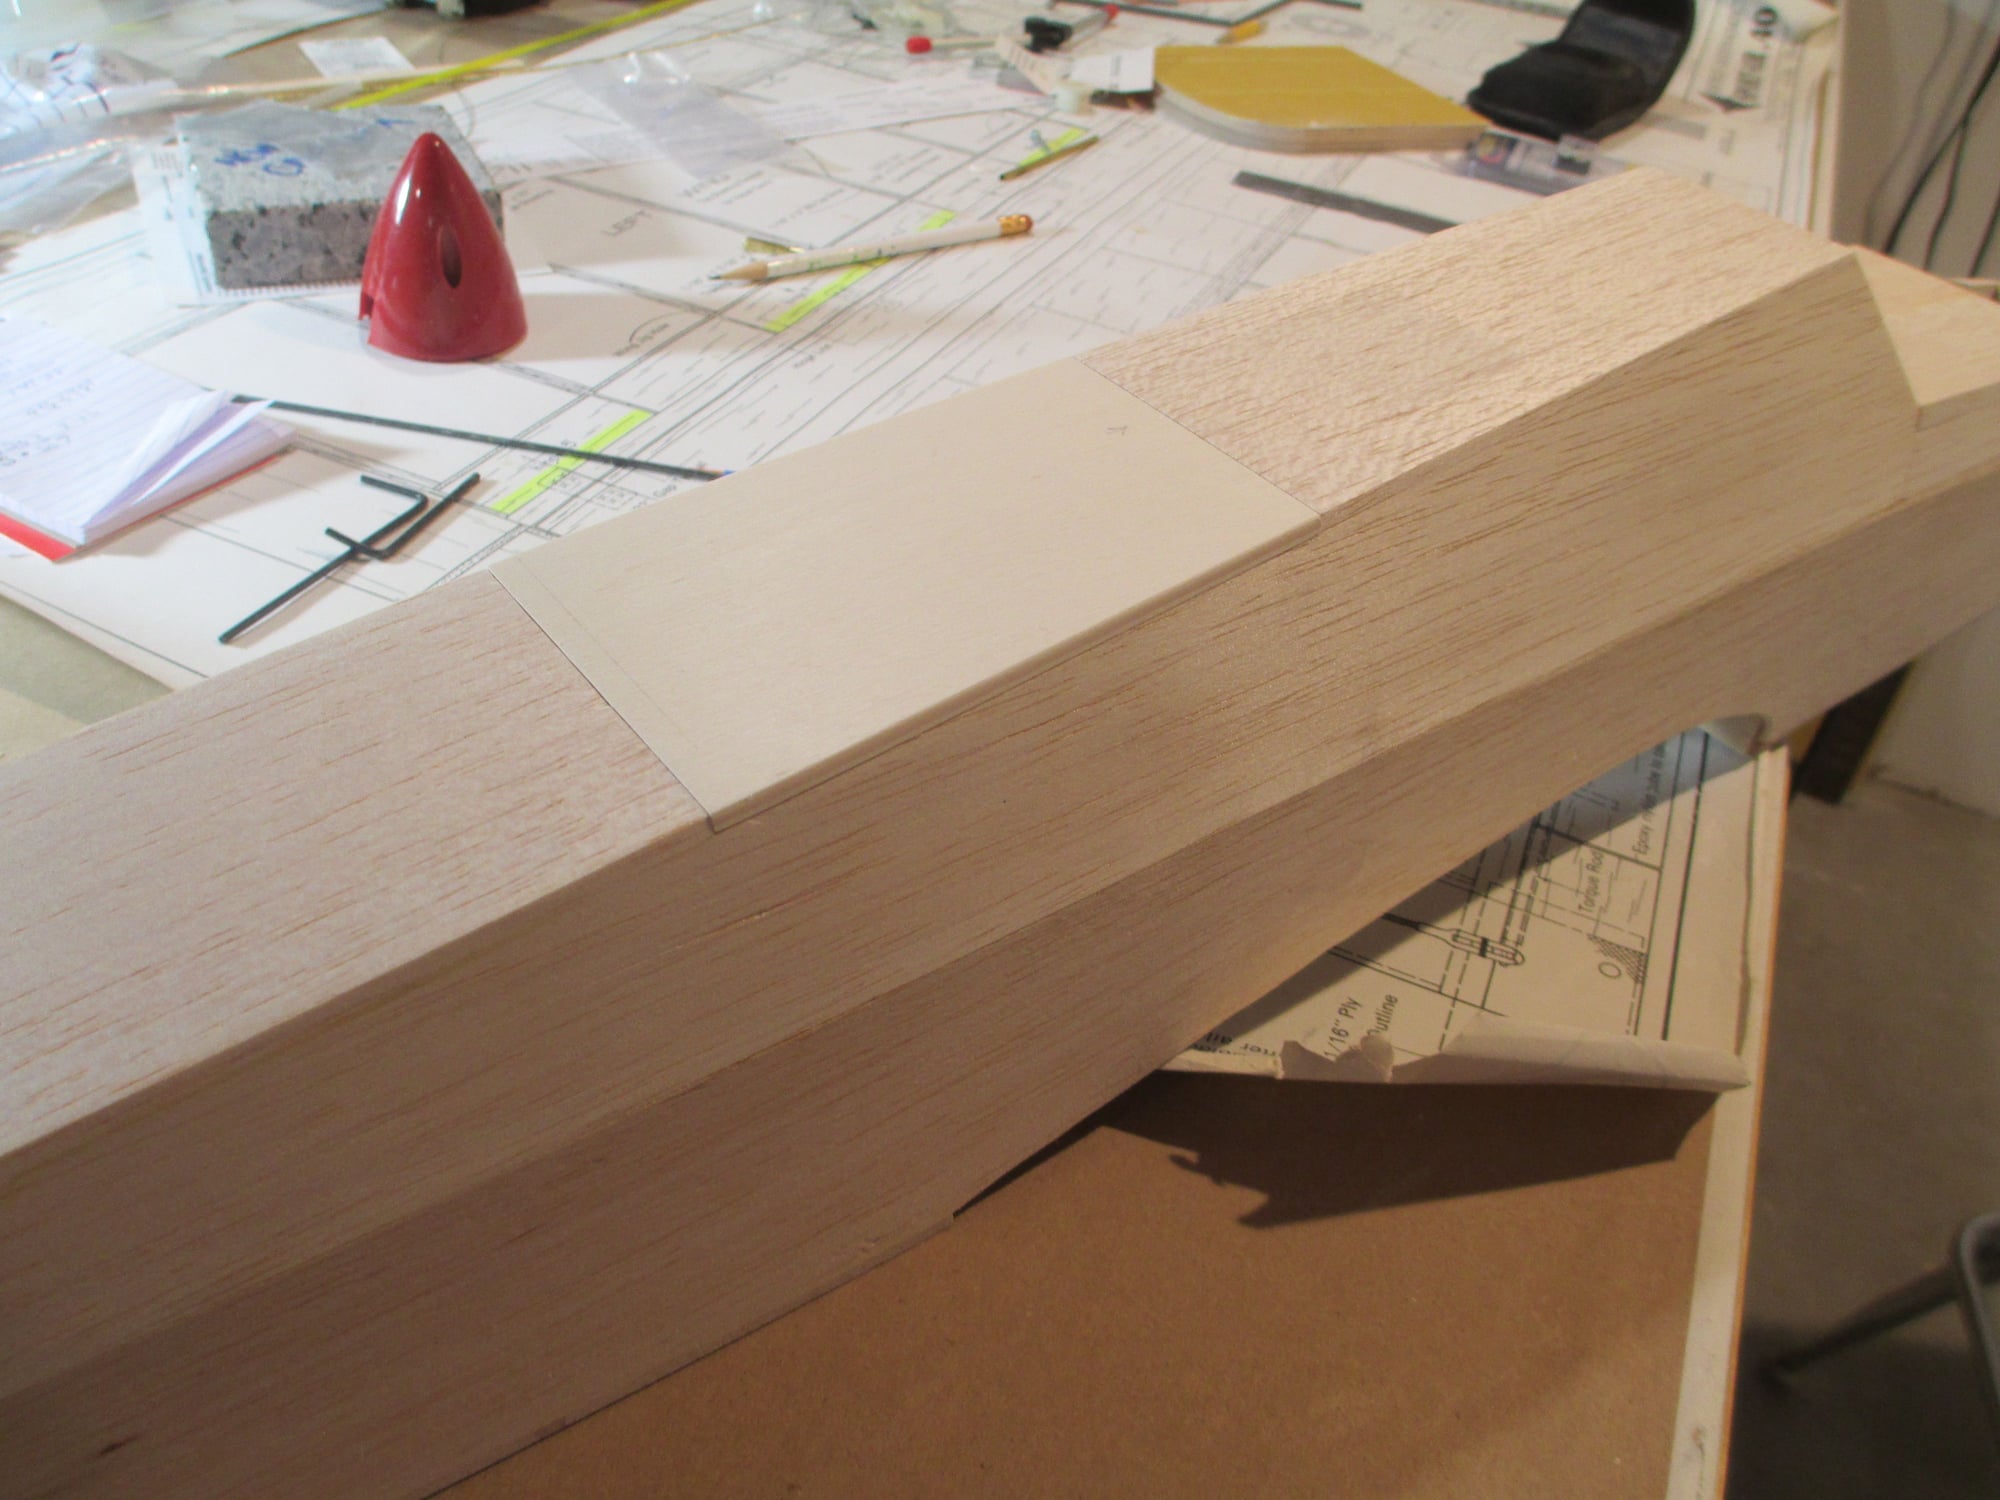
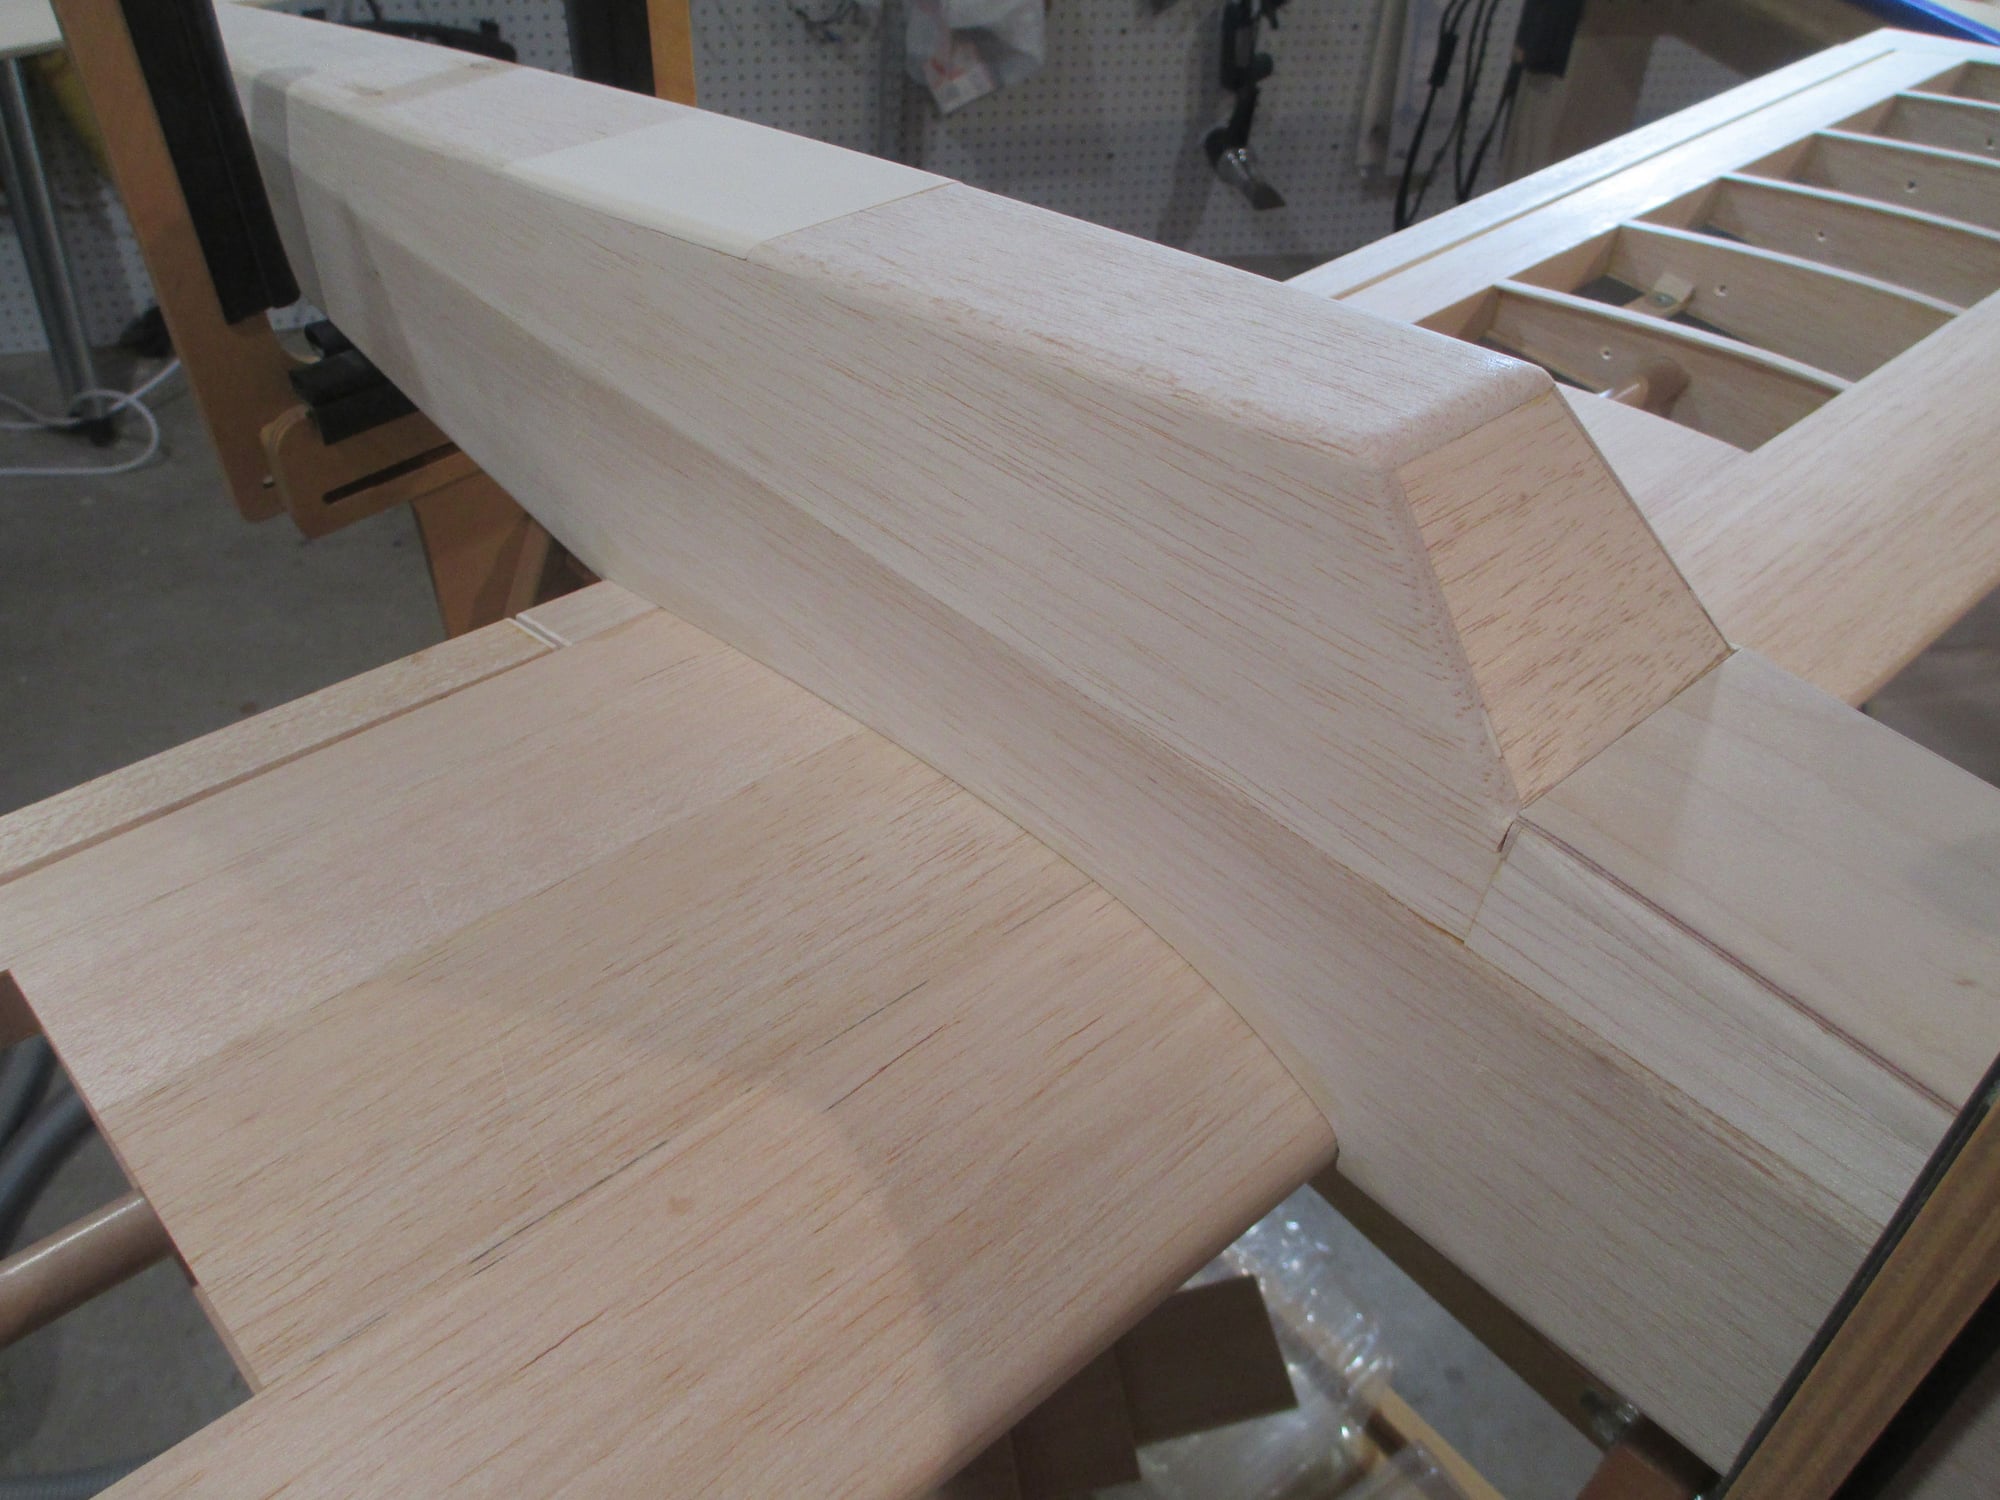
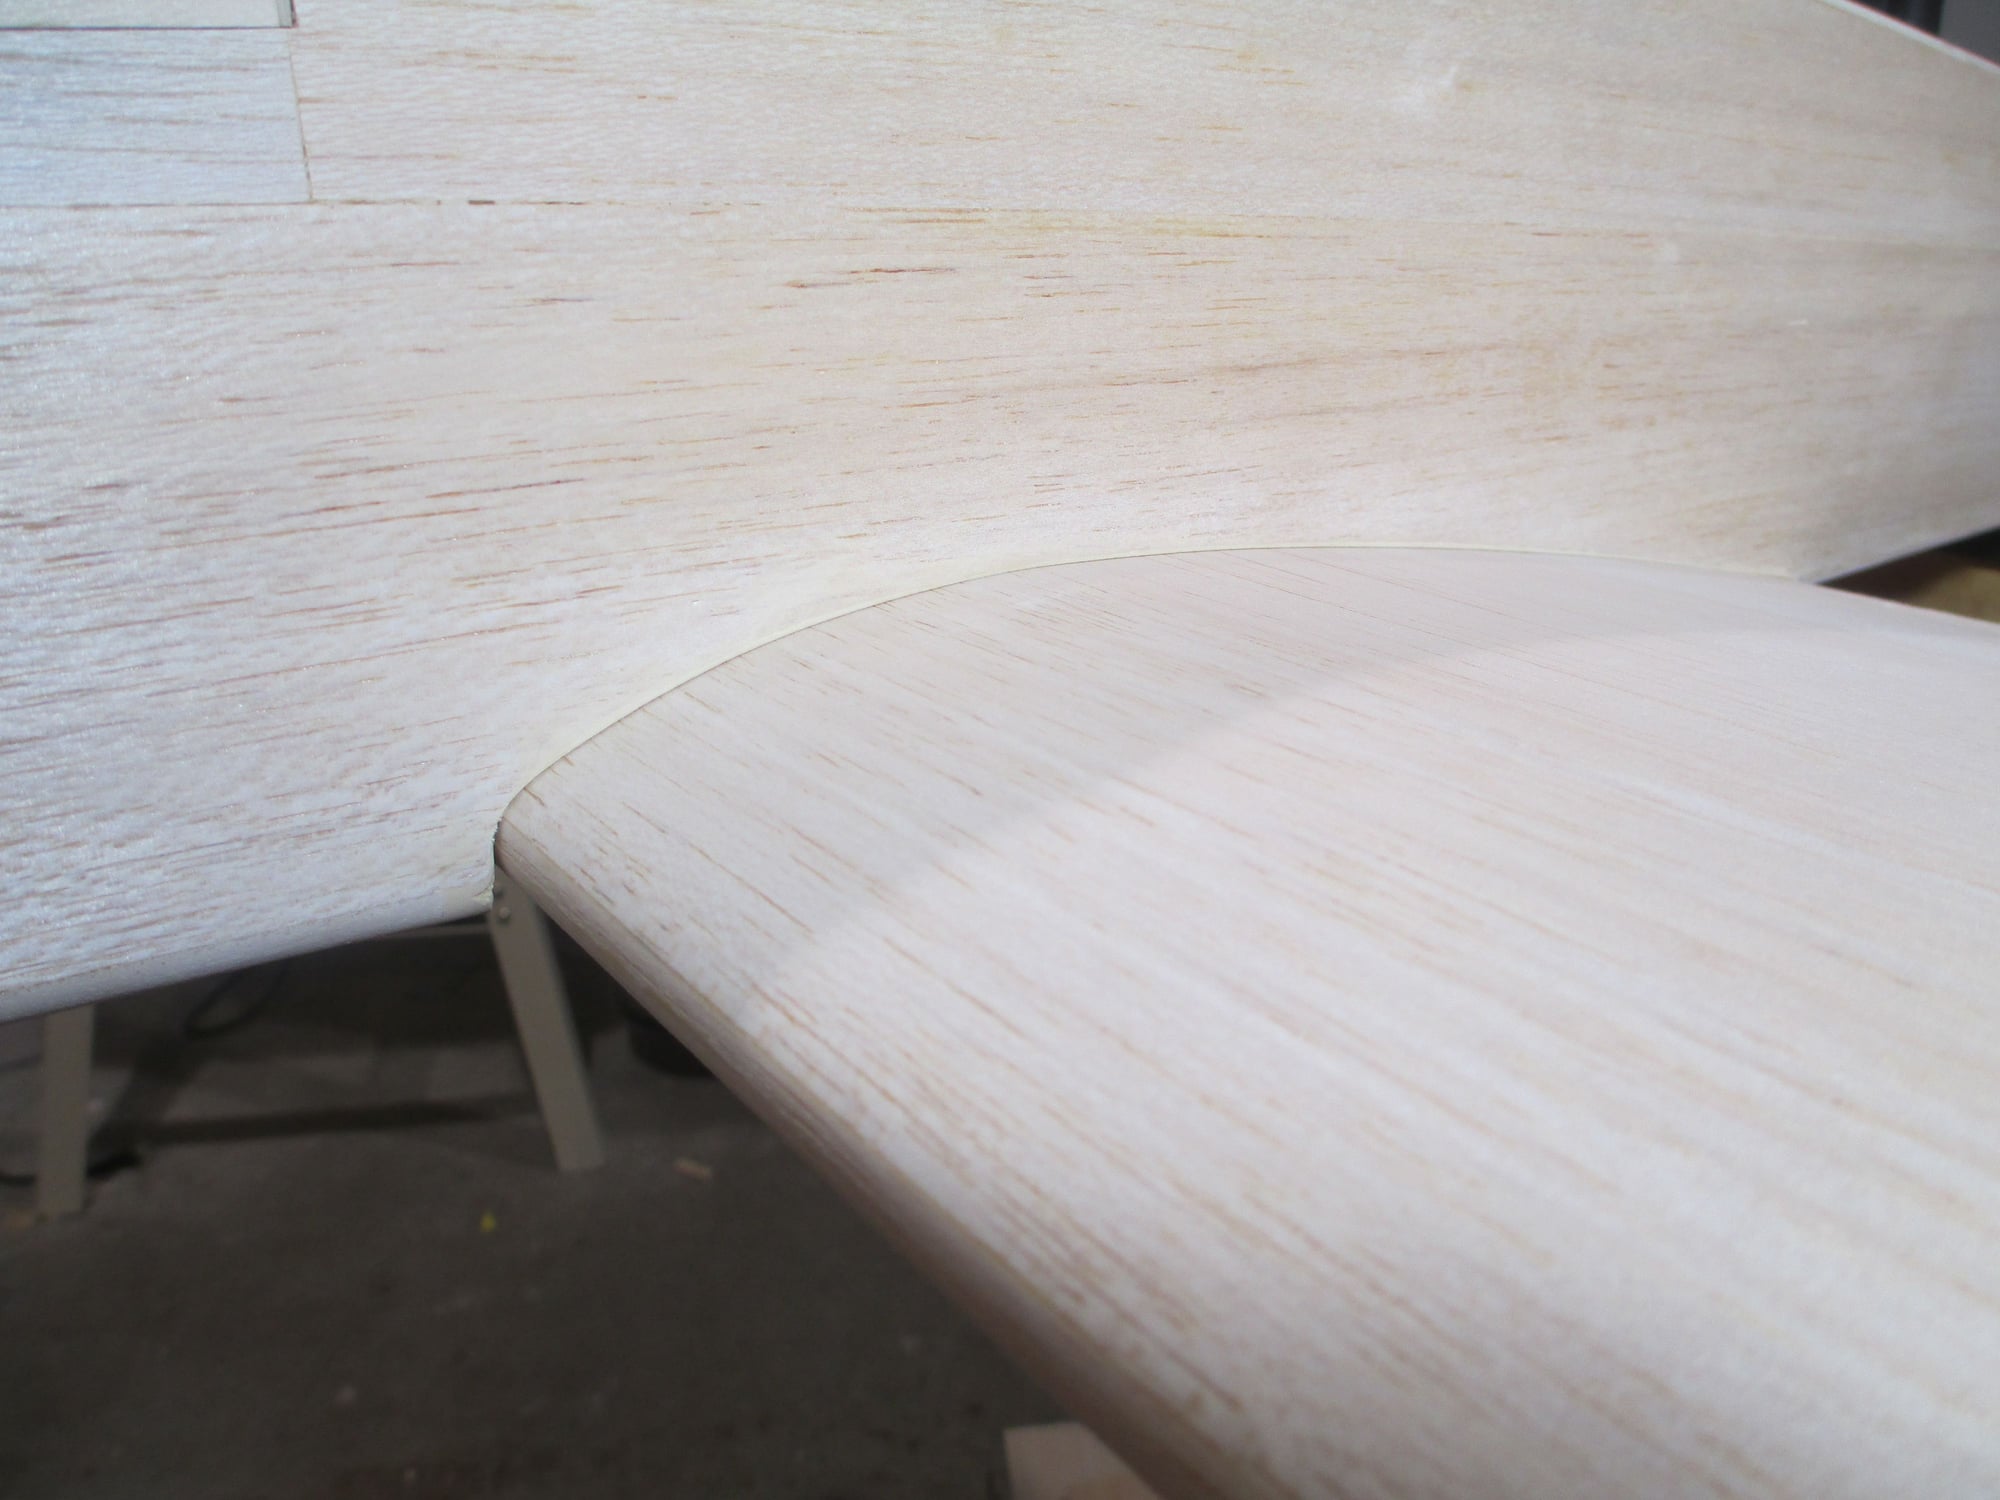
Before...

and after.
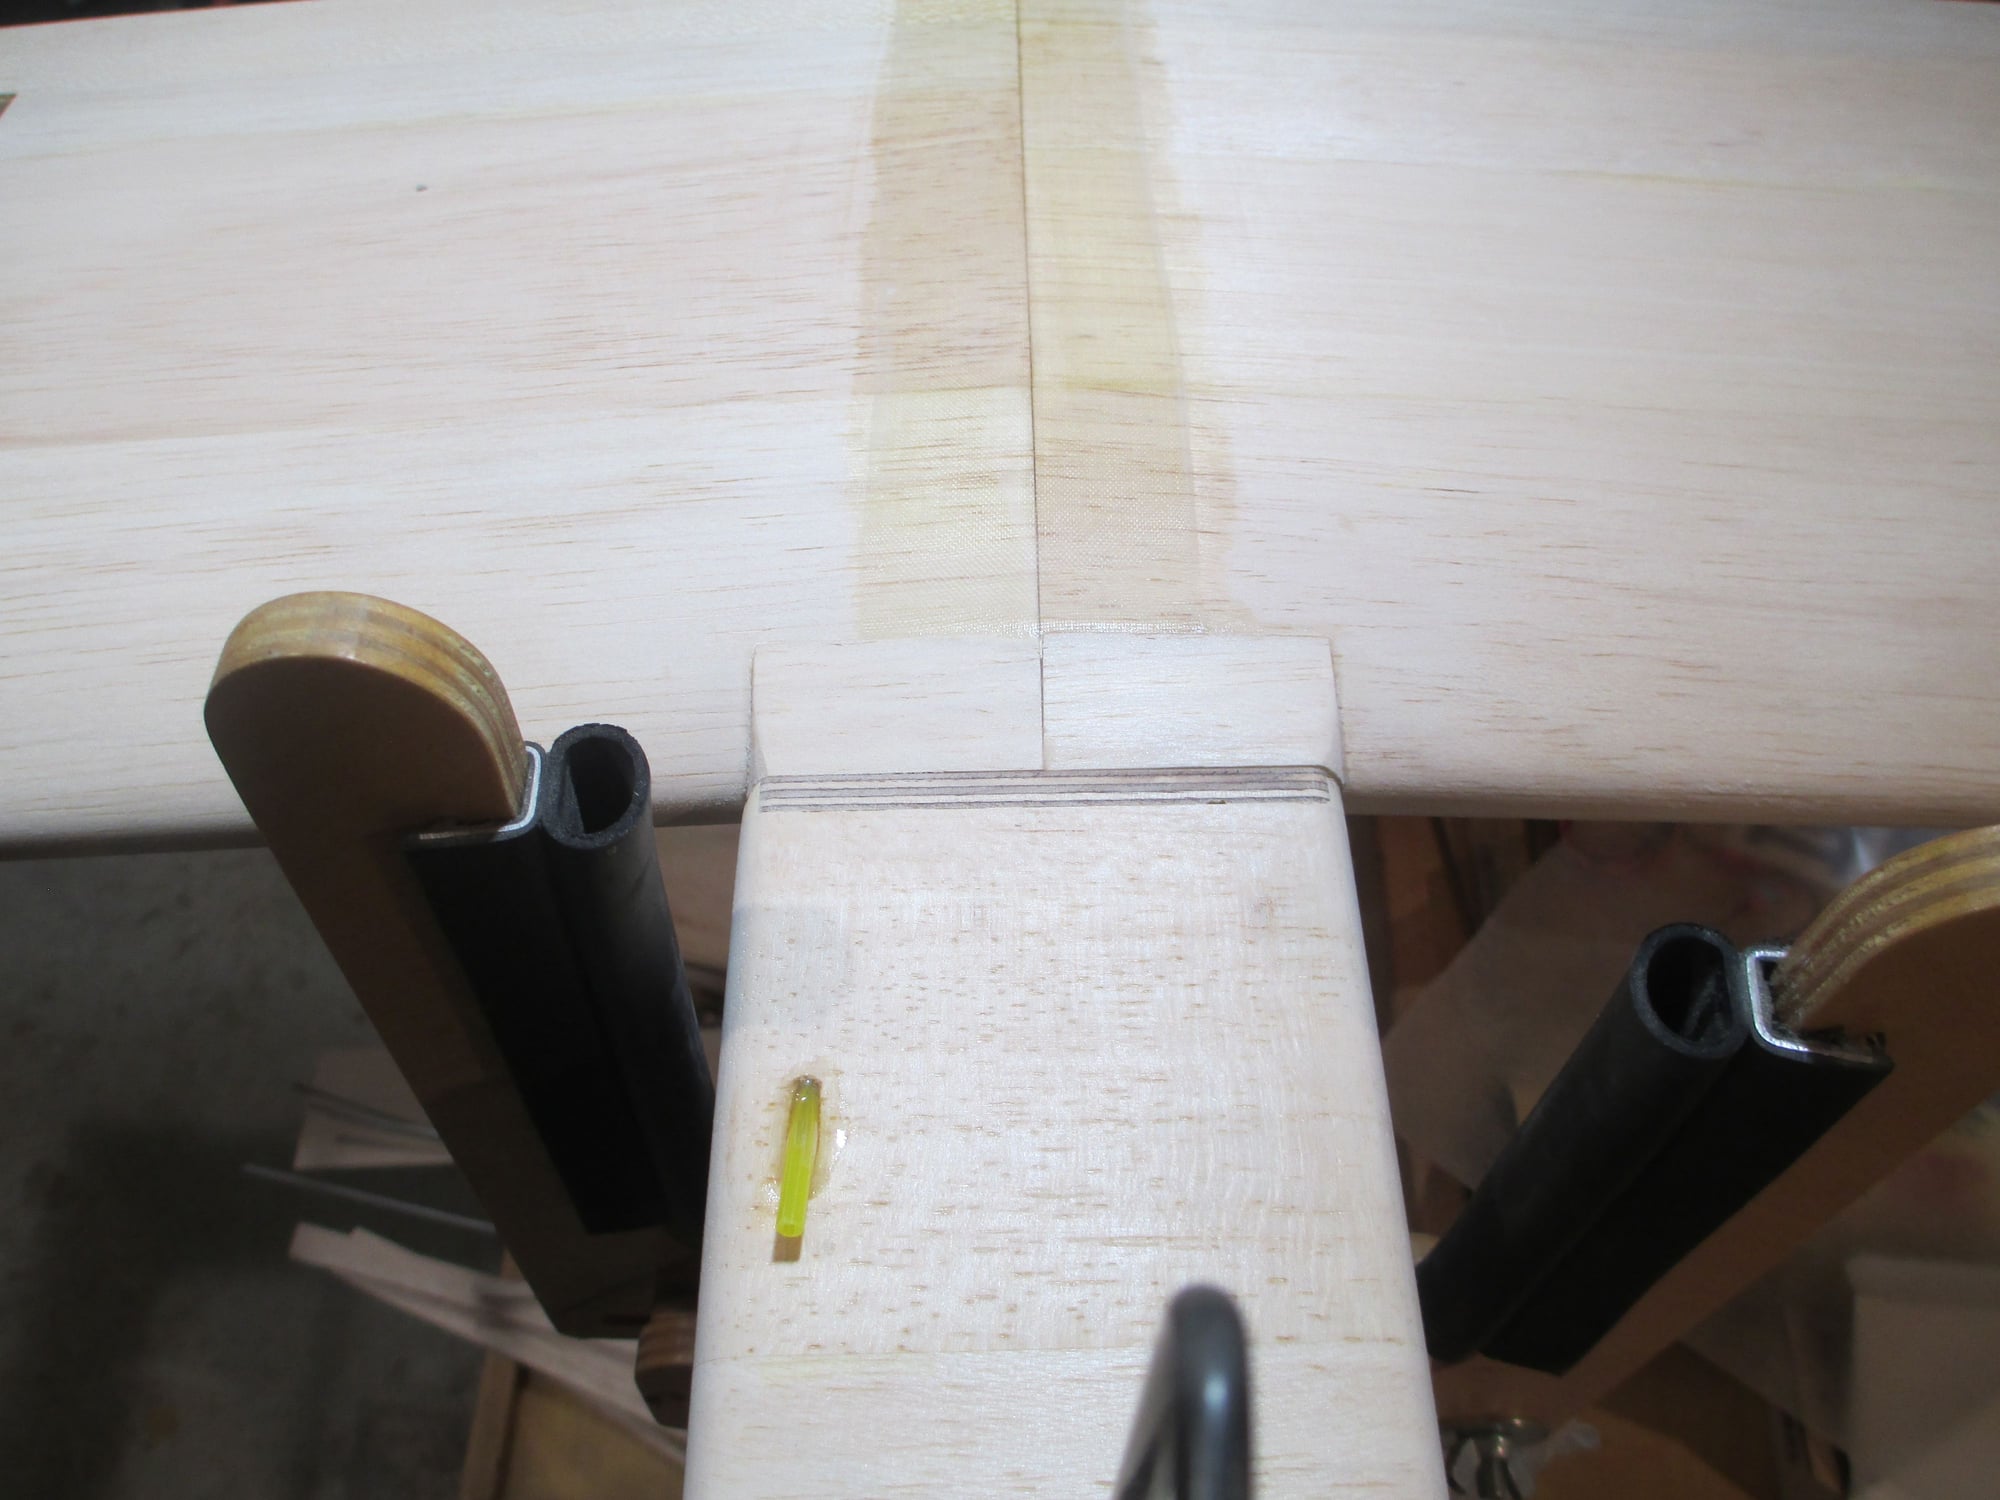
Shaped and fit two balsa wood blocks for a better transition between the wing and fuselage. With a bit of filler it should be seamless.
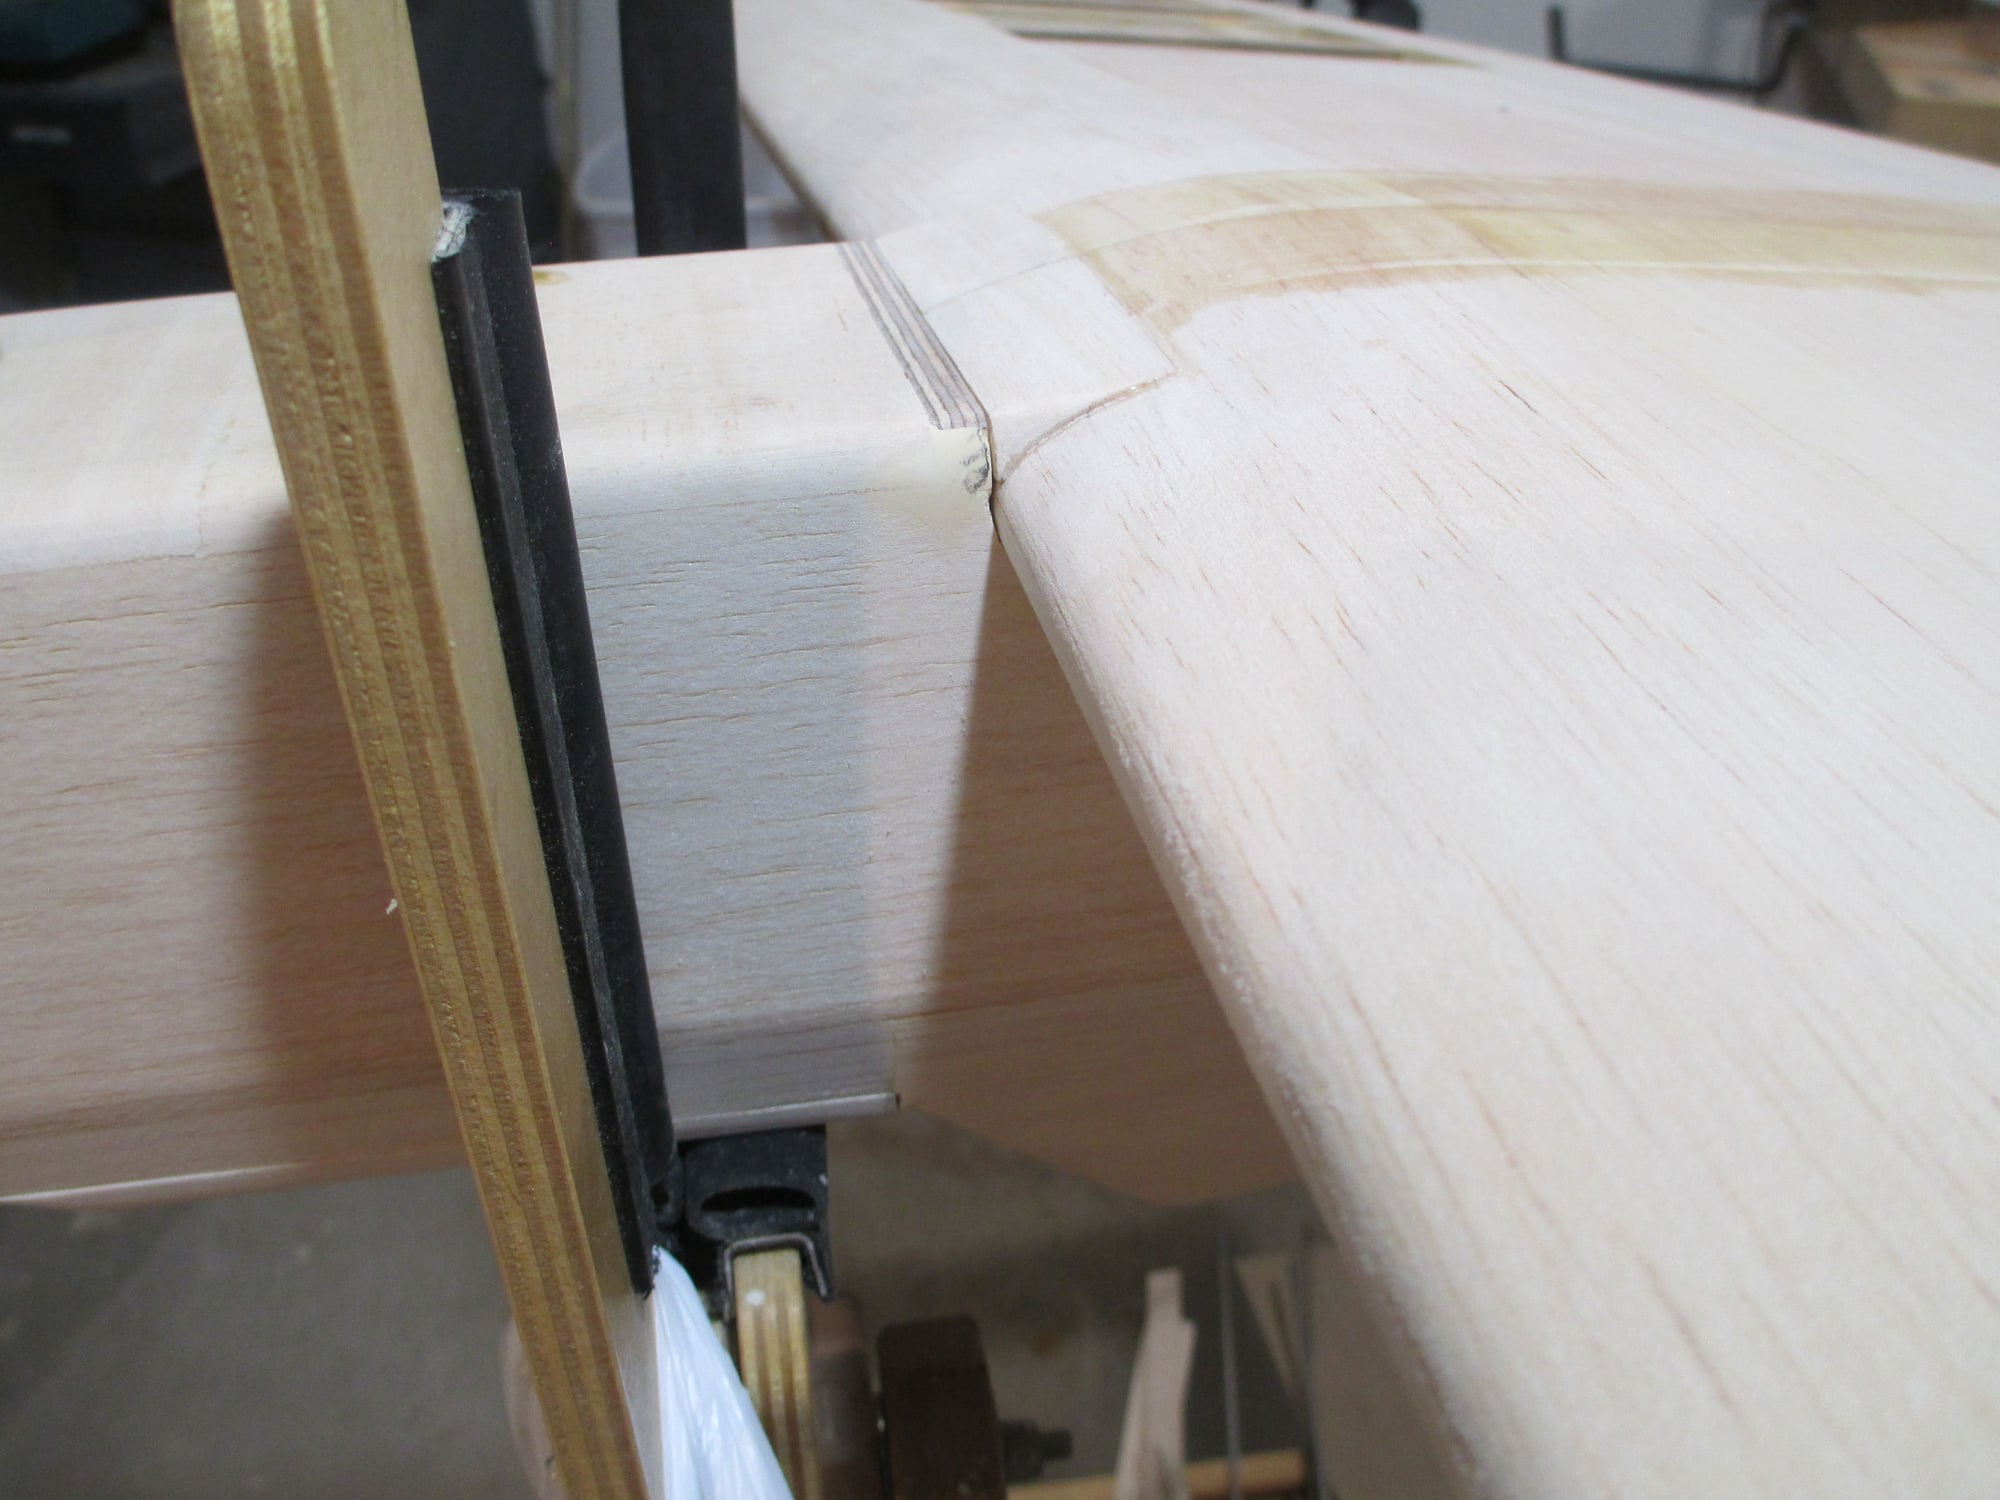
Side view.
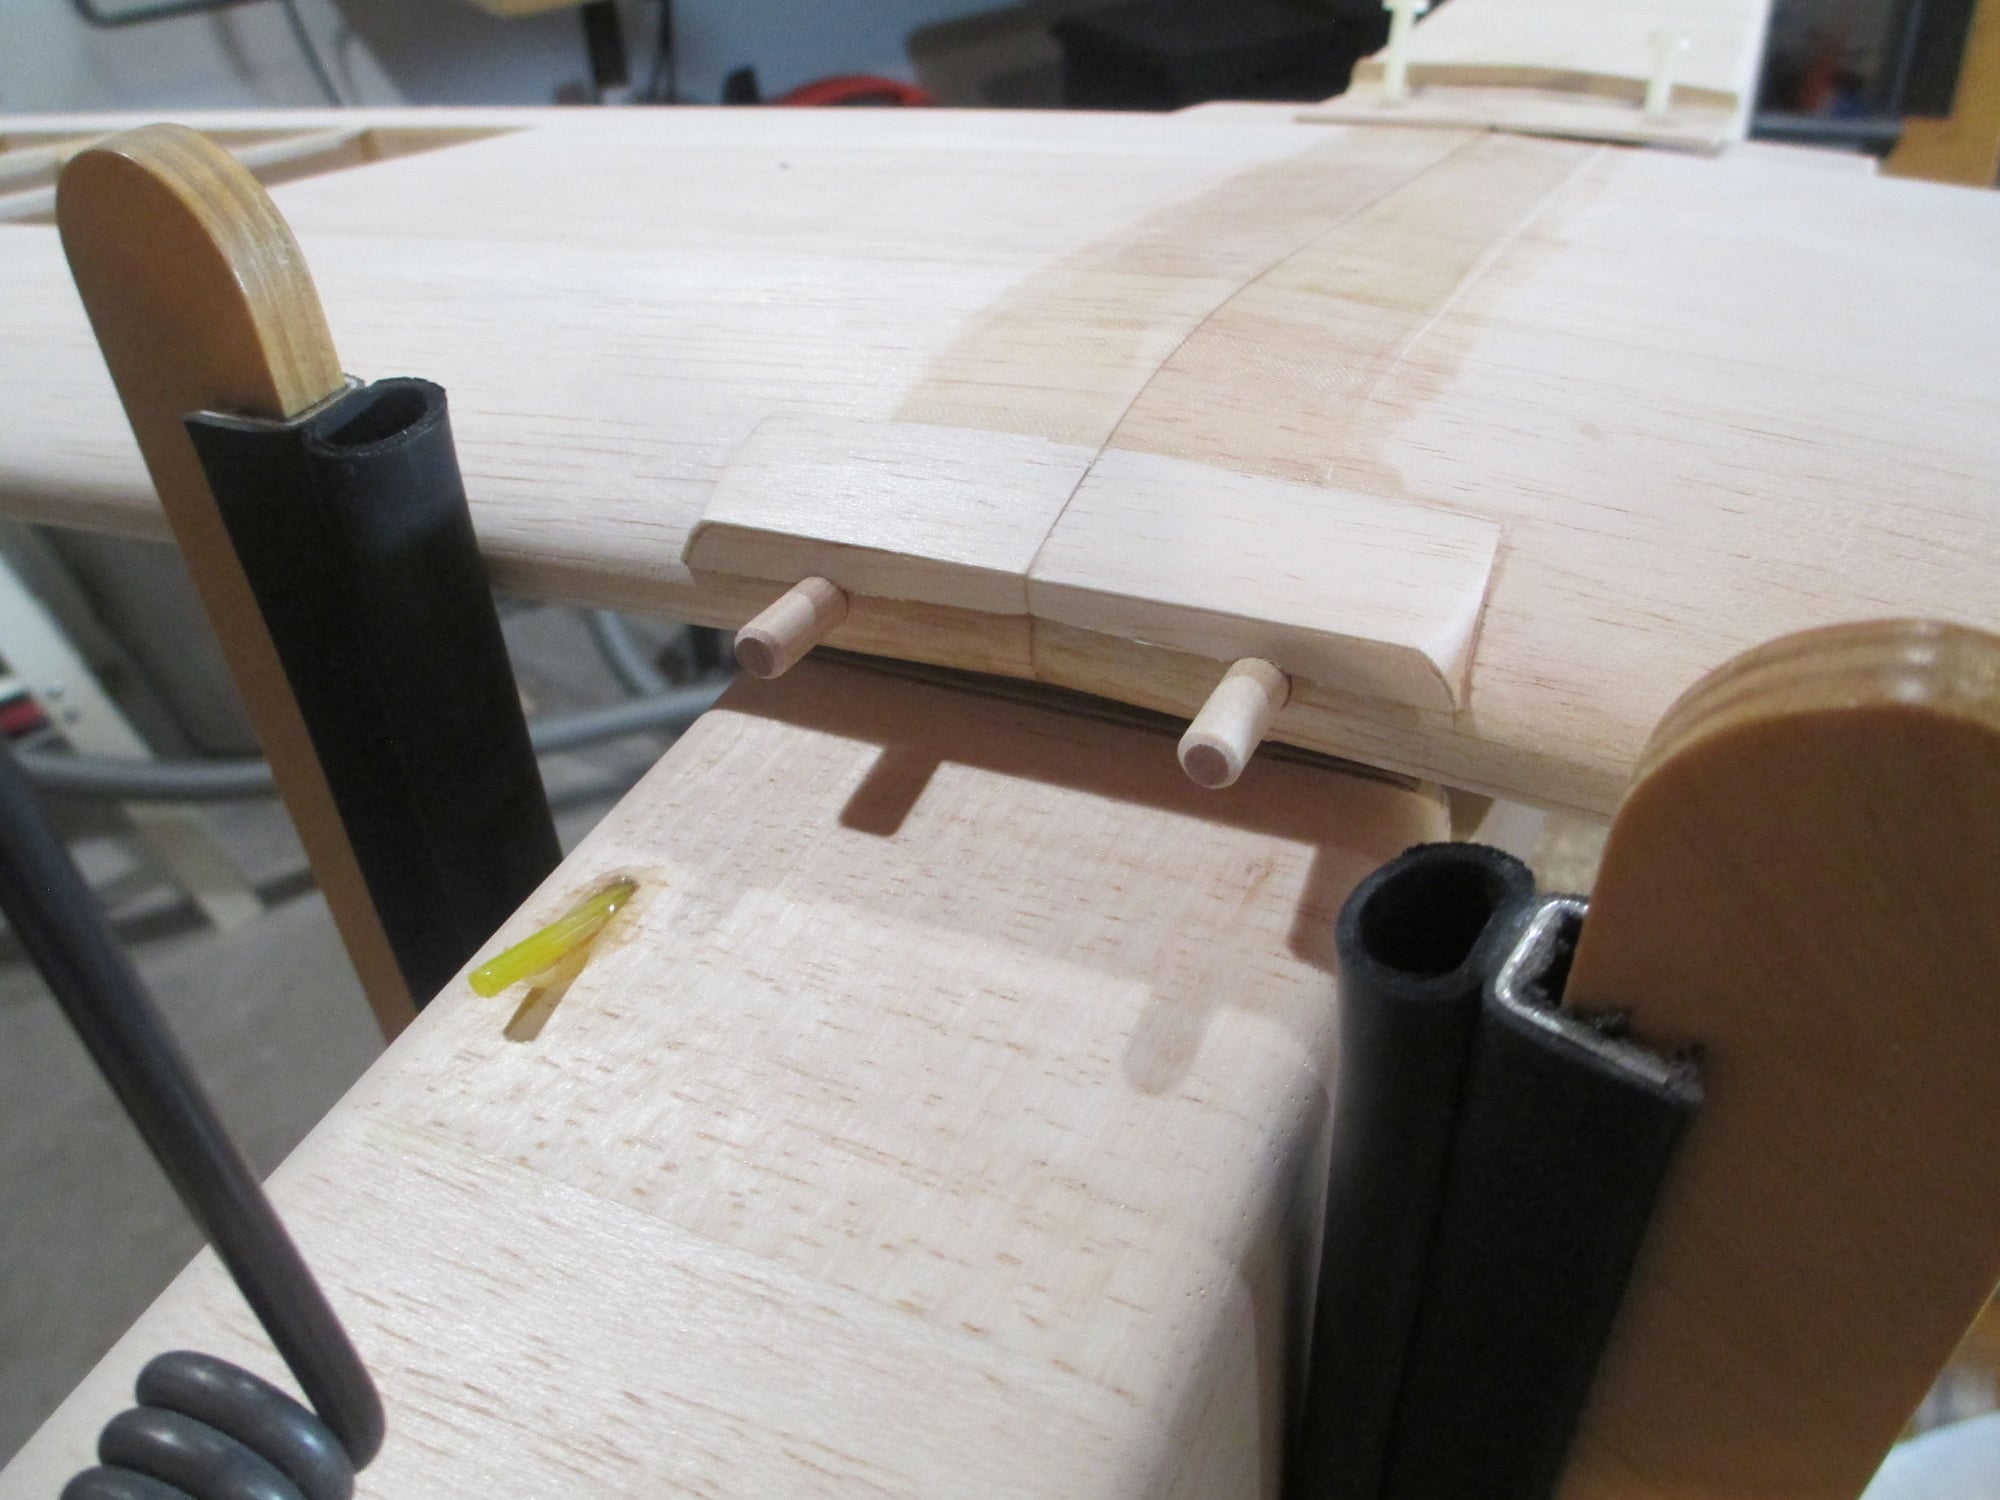
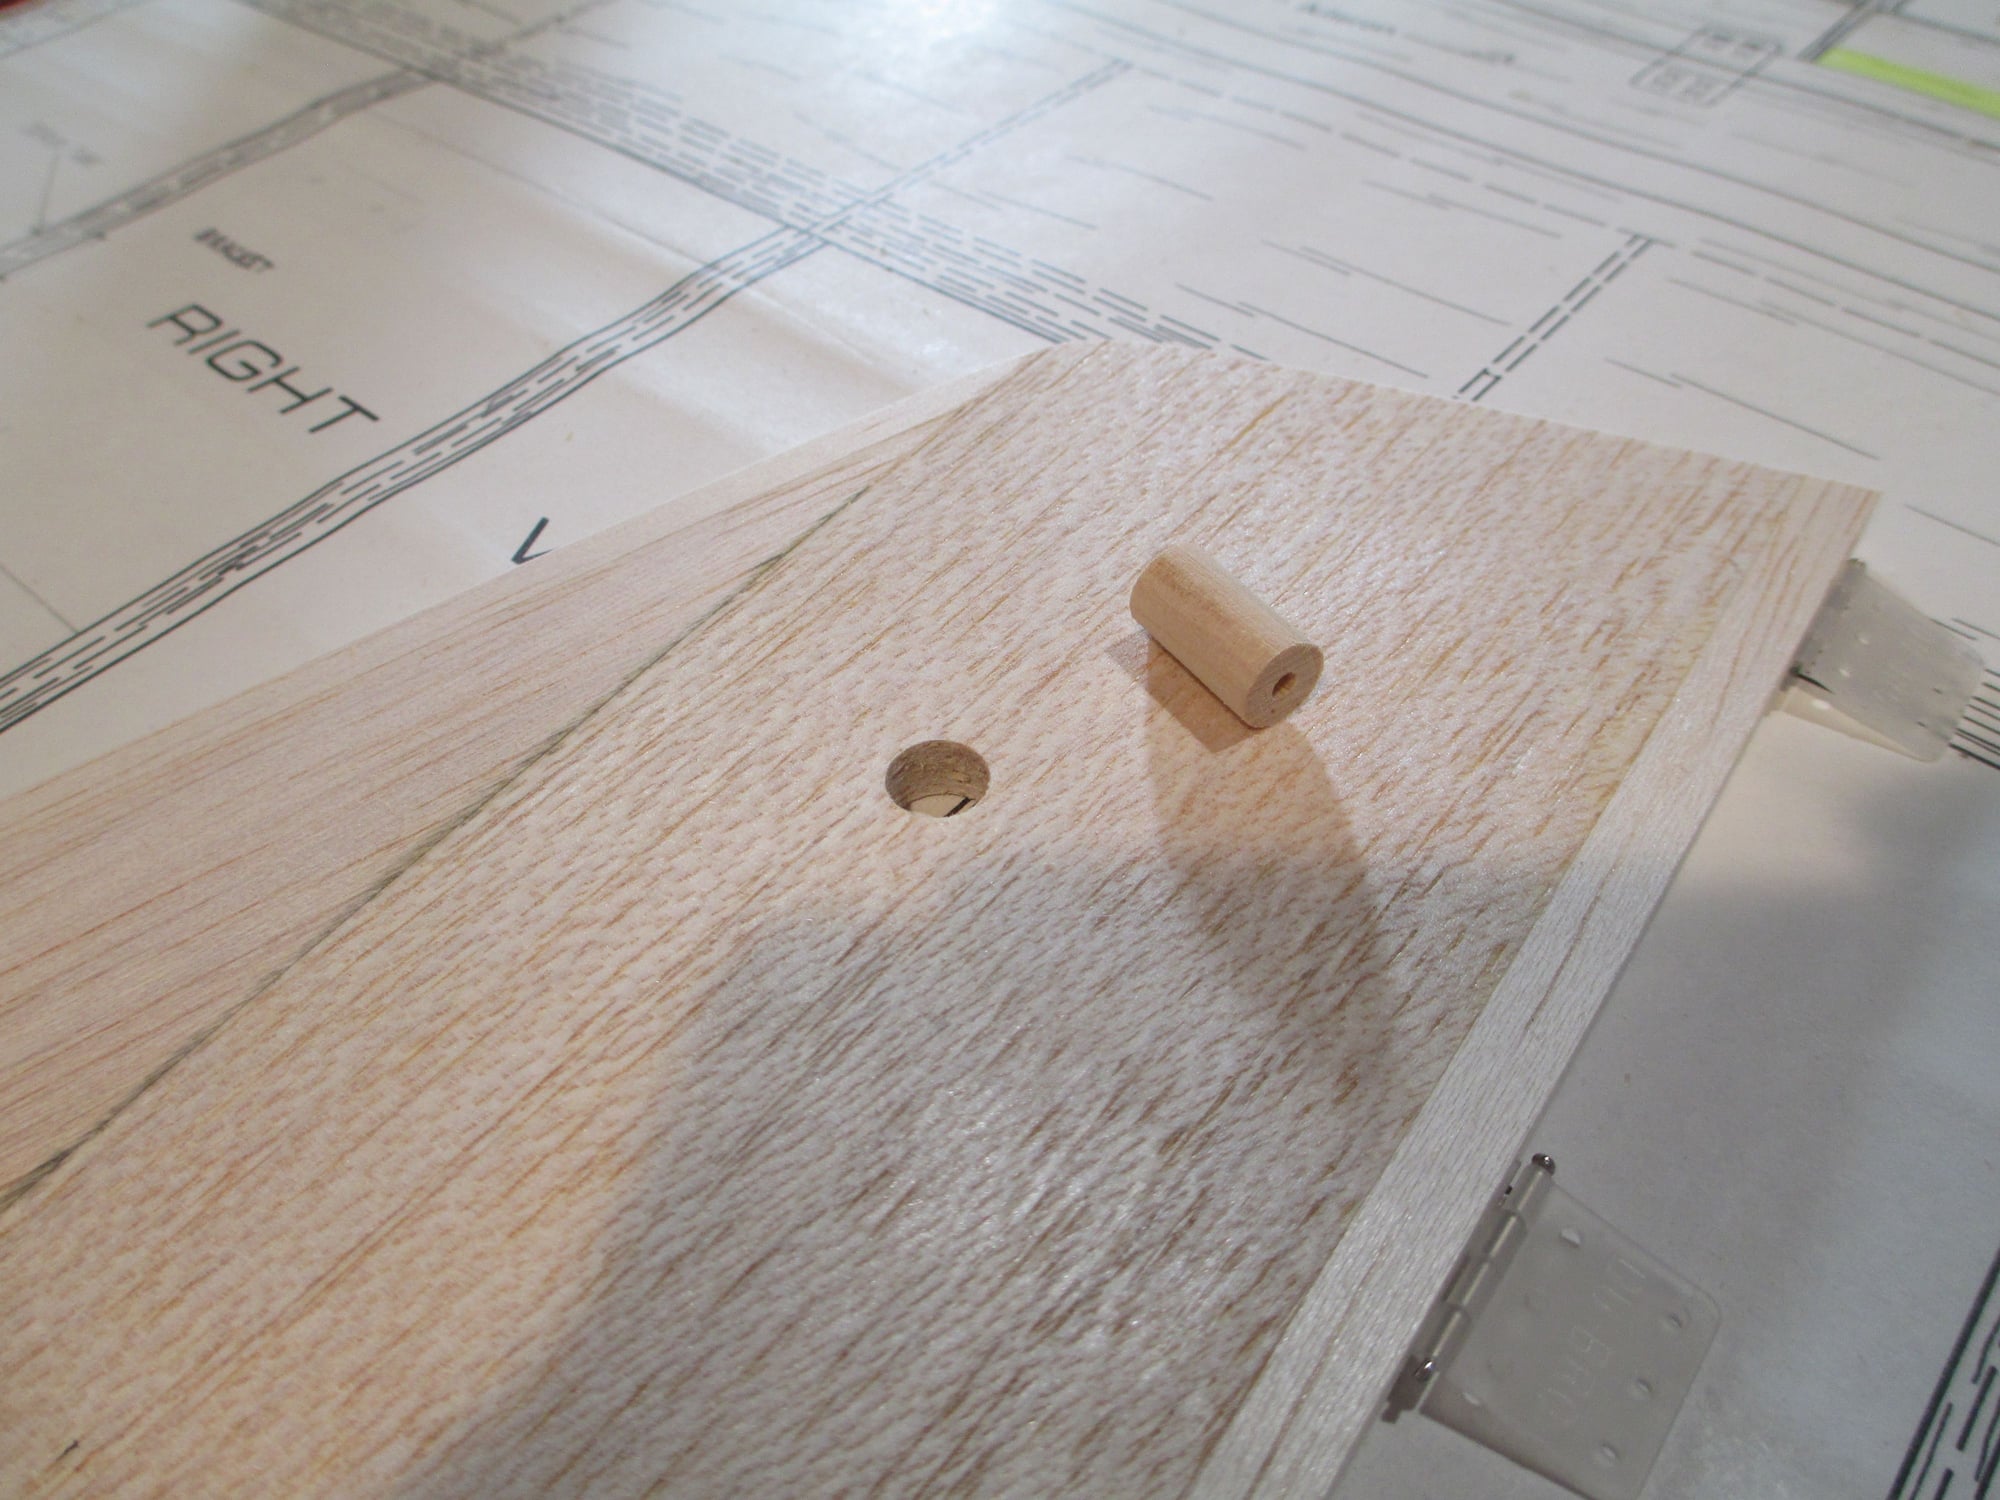
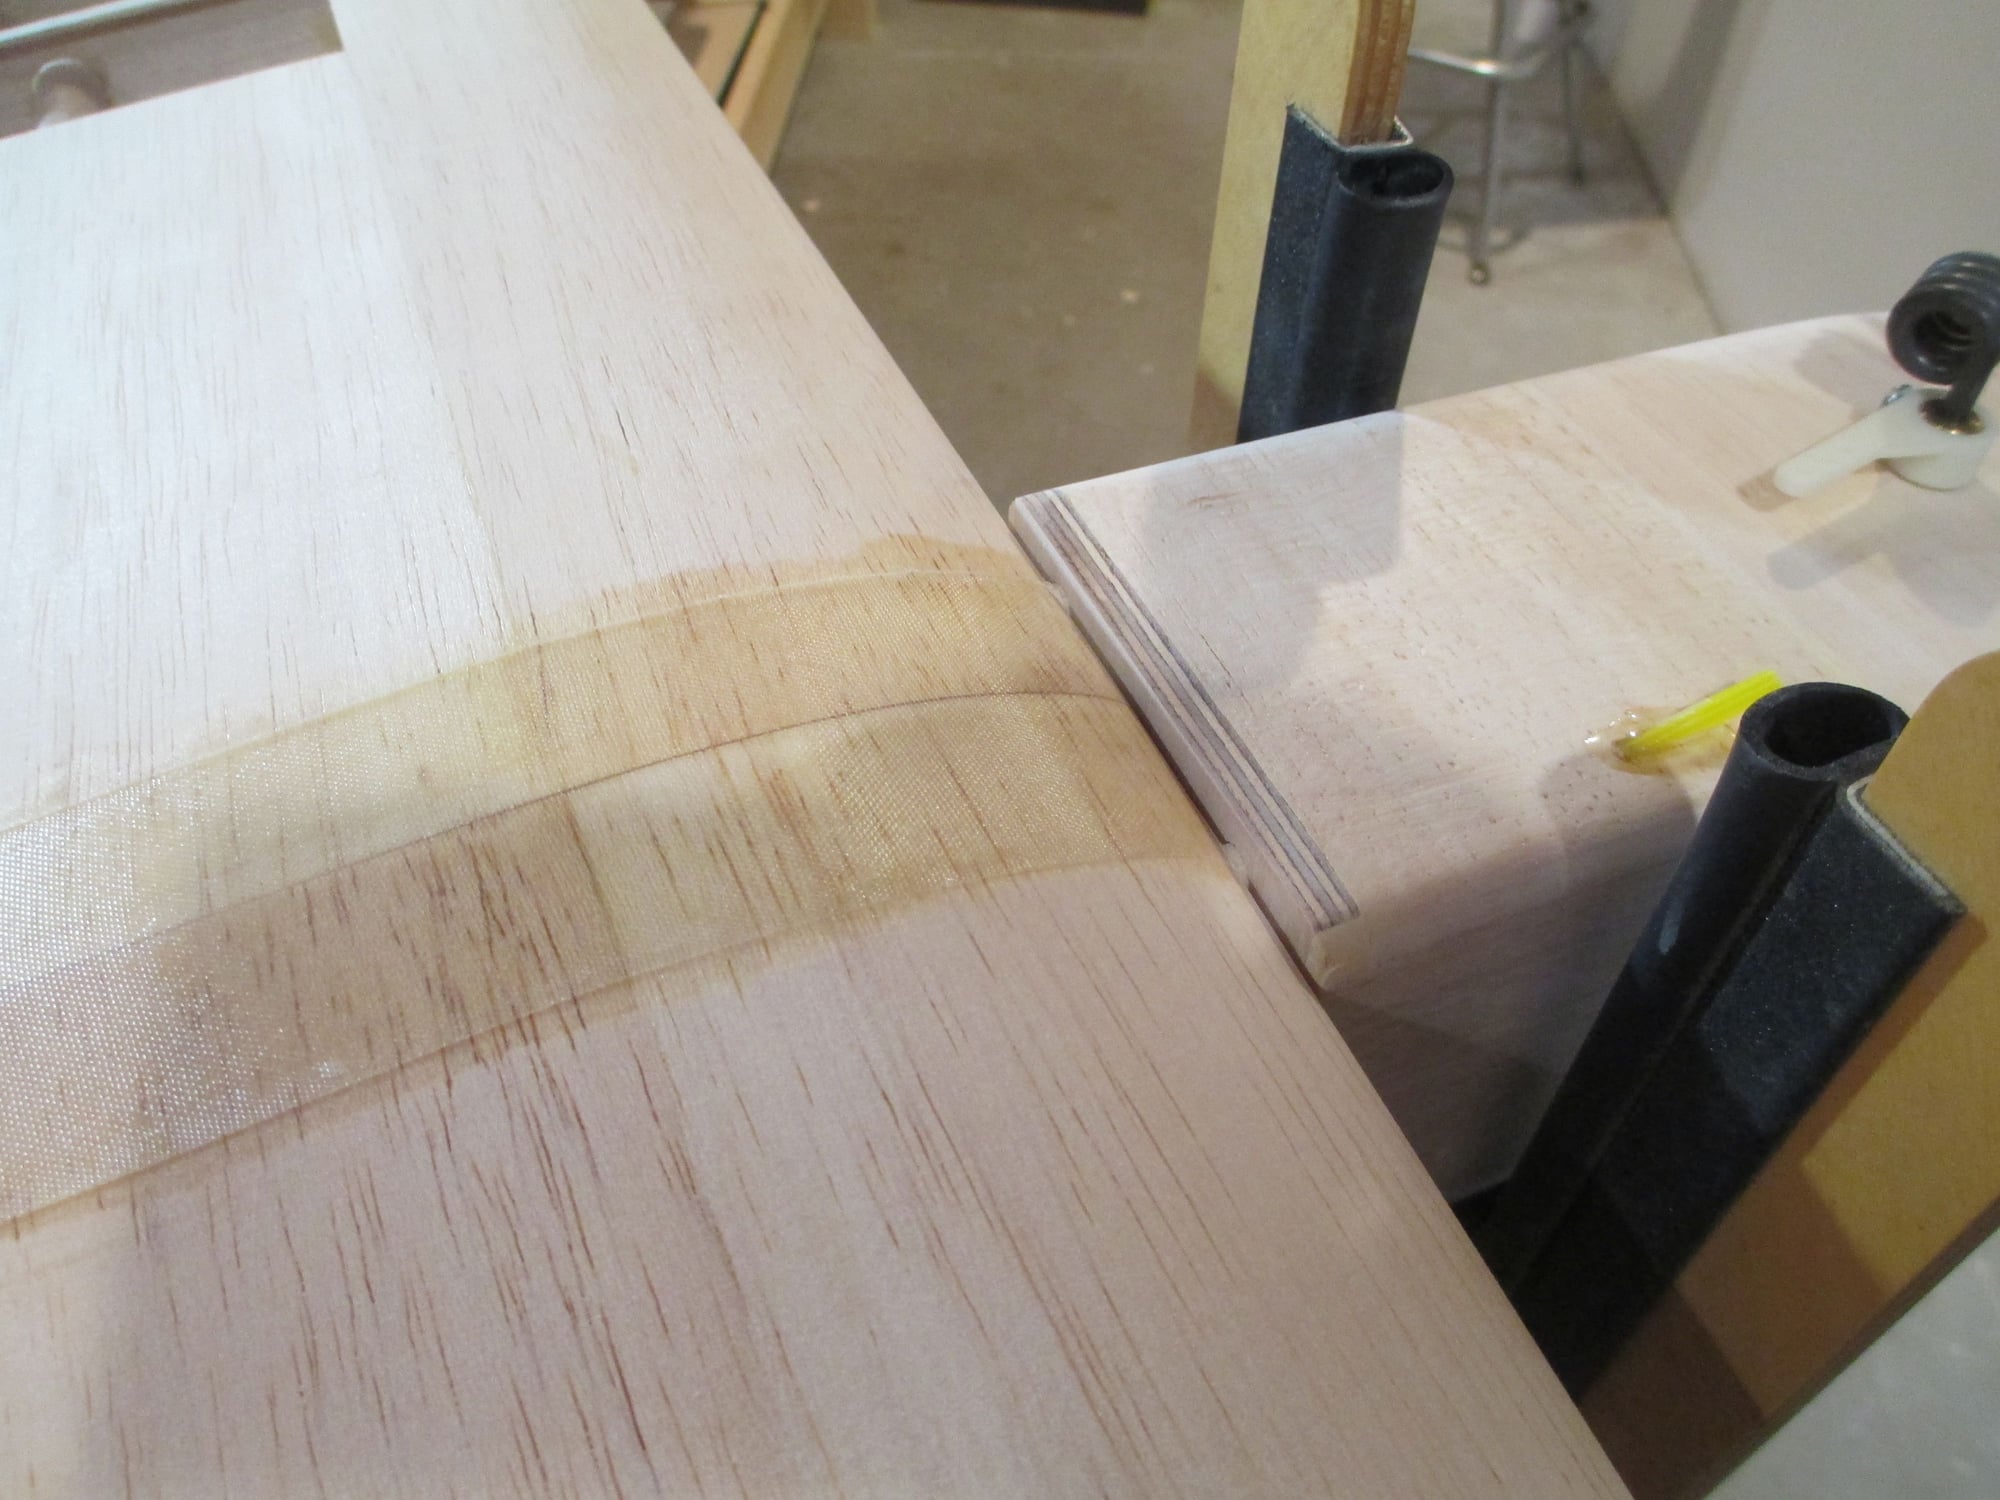
If you remember I stated before not to epoxy those wing alignment dowels into place, wait until after you finish covering the wing. In this photo, they are still removable, they will also be shortened to an appropriate length.
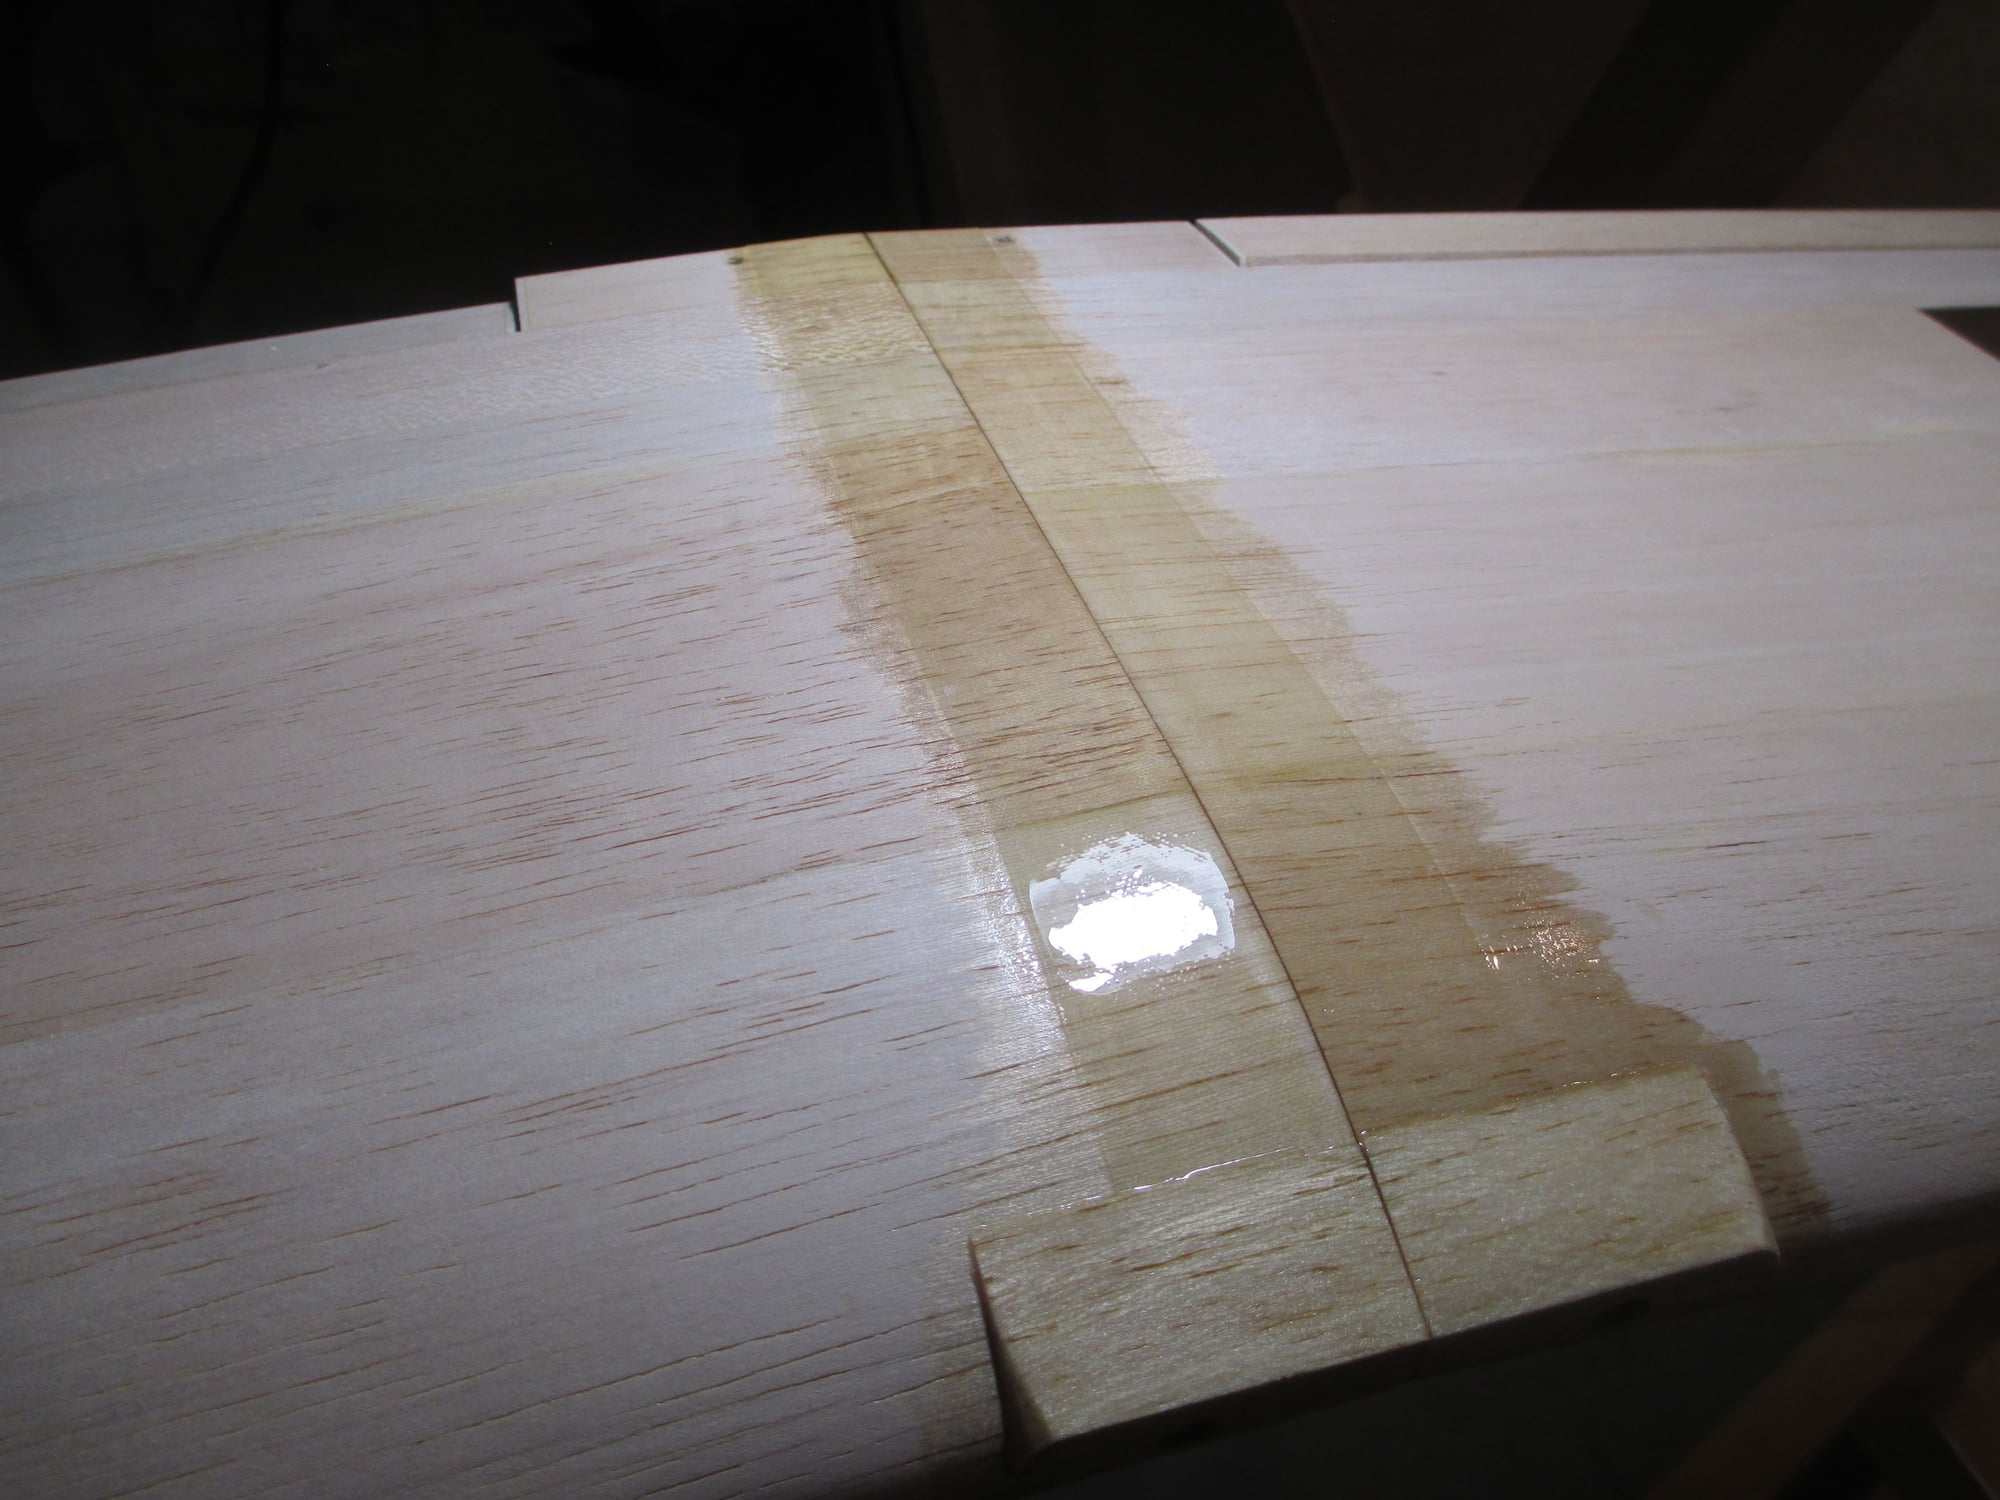
Second (and final) coat of Finishing Resin applied to the wing's center section.
08-31-2018, 01:16 PM
#113
Thread Starter
Fuel proofed the front part of the fuselage both inside and out. I normally don't do the outside, but since this is a Glow (Nitro) motor, I wanted to be on the safe side.

One heavy coat of thinned out Finishing resin was used. I like to use Denatured Alcohol to thin out the resin. With the mixture viscosity about the same as water, it wicks into the wood well. Here's my ratio: 5 cc's of Part A, another 5 cc's of Part B, give a good stir then add 10 cc's of the Denatured Alcohol stirring again. A total of 20 cc's was mixed and brushed on with very little left in the cup.

Time to let it dry, then I will give the outside a final sanding using 400 grit paper. Almost time to cover...
Last edited by VincentJ; 08-31-2018 at 01:19 PM.
09-01-2018, 05:01 AM
#114
Thread Starter

Last task before I start on the covering. I am opening up slots at the bottom of the wing for the landing gear wire which was sheeted over. One down, one more to go!
Last edited by VincentJ; 09-01-2018 at 06:39 AM.
09-01-2018, 11:35 AM
#115
Thread Starter

I am happy to report that I am officially done and can begin on the covering! It's amazing how long it takes to button up all those little details that you put off saying "I'll do that later". As an example, all of the servo hatch covers had to be resized to accommodate for the thickness of the covering, not to mention final sizing all the servo horn openings.
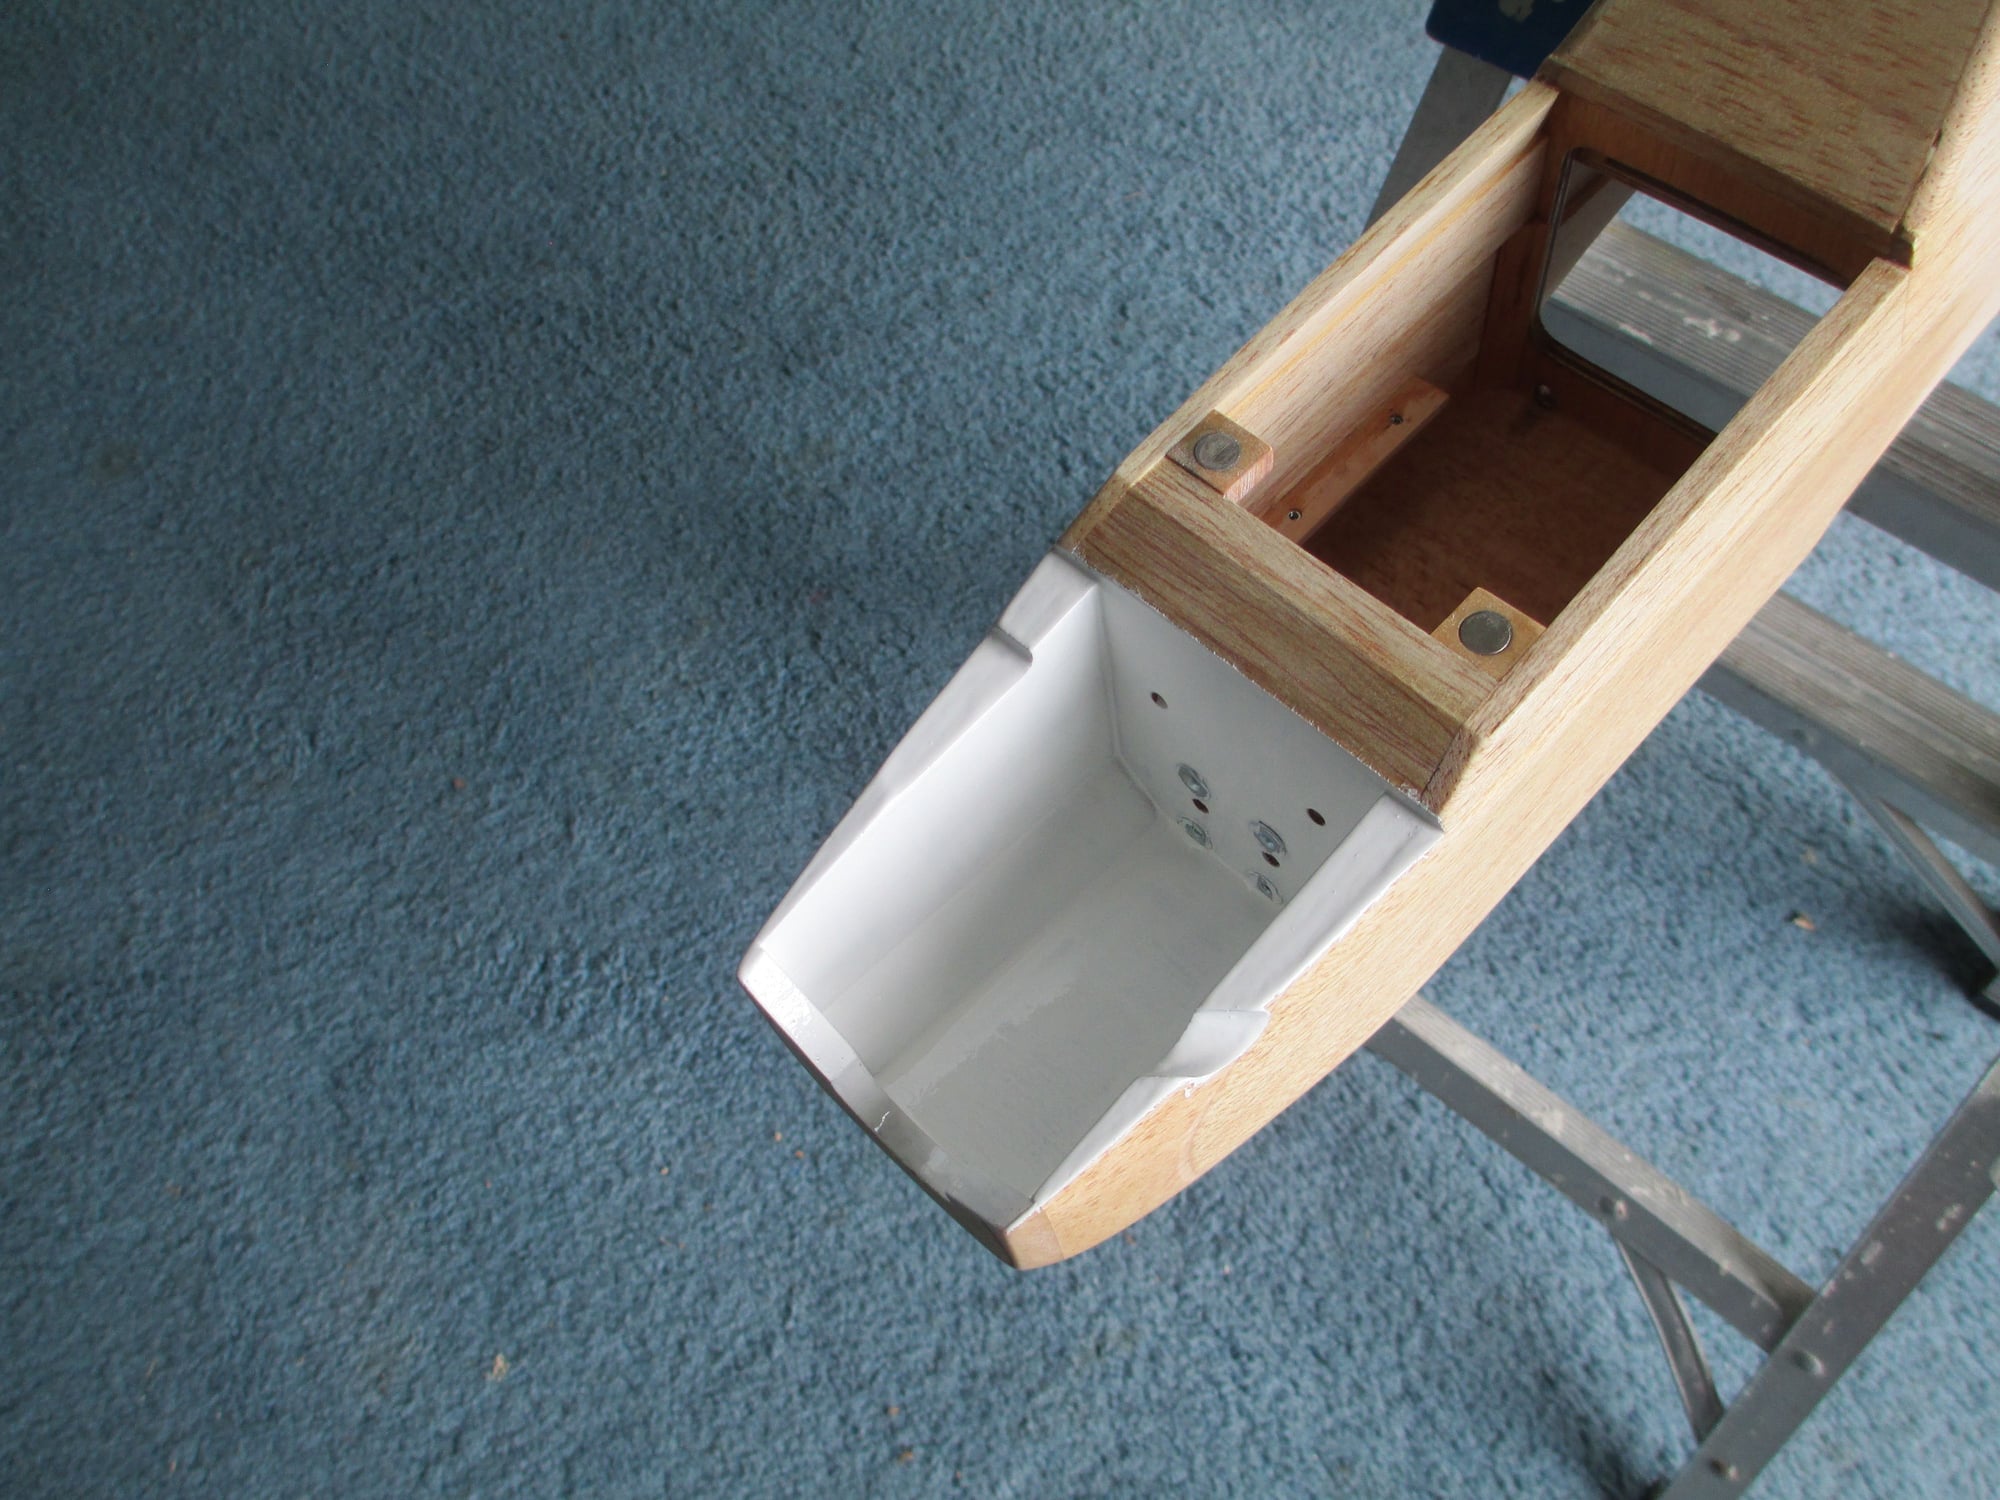
I brushed on epoxy paint in the engine compartment. I had some left over Klass Kote paint that I used on my Morrisey Bravo build. In this instance I wasn't particularity fussy, which is why I decided to brush rather than spray. If you have never sprayed Klass Kote paint you really should try it. it's not cheap, but it's well worth the money...
Last edited by VincentJ; 09-01-2018 at 12:22 PM.
09-02-2018, 02:06 PM
#116
Thread Starter
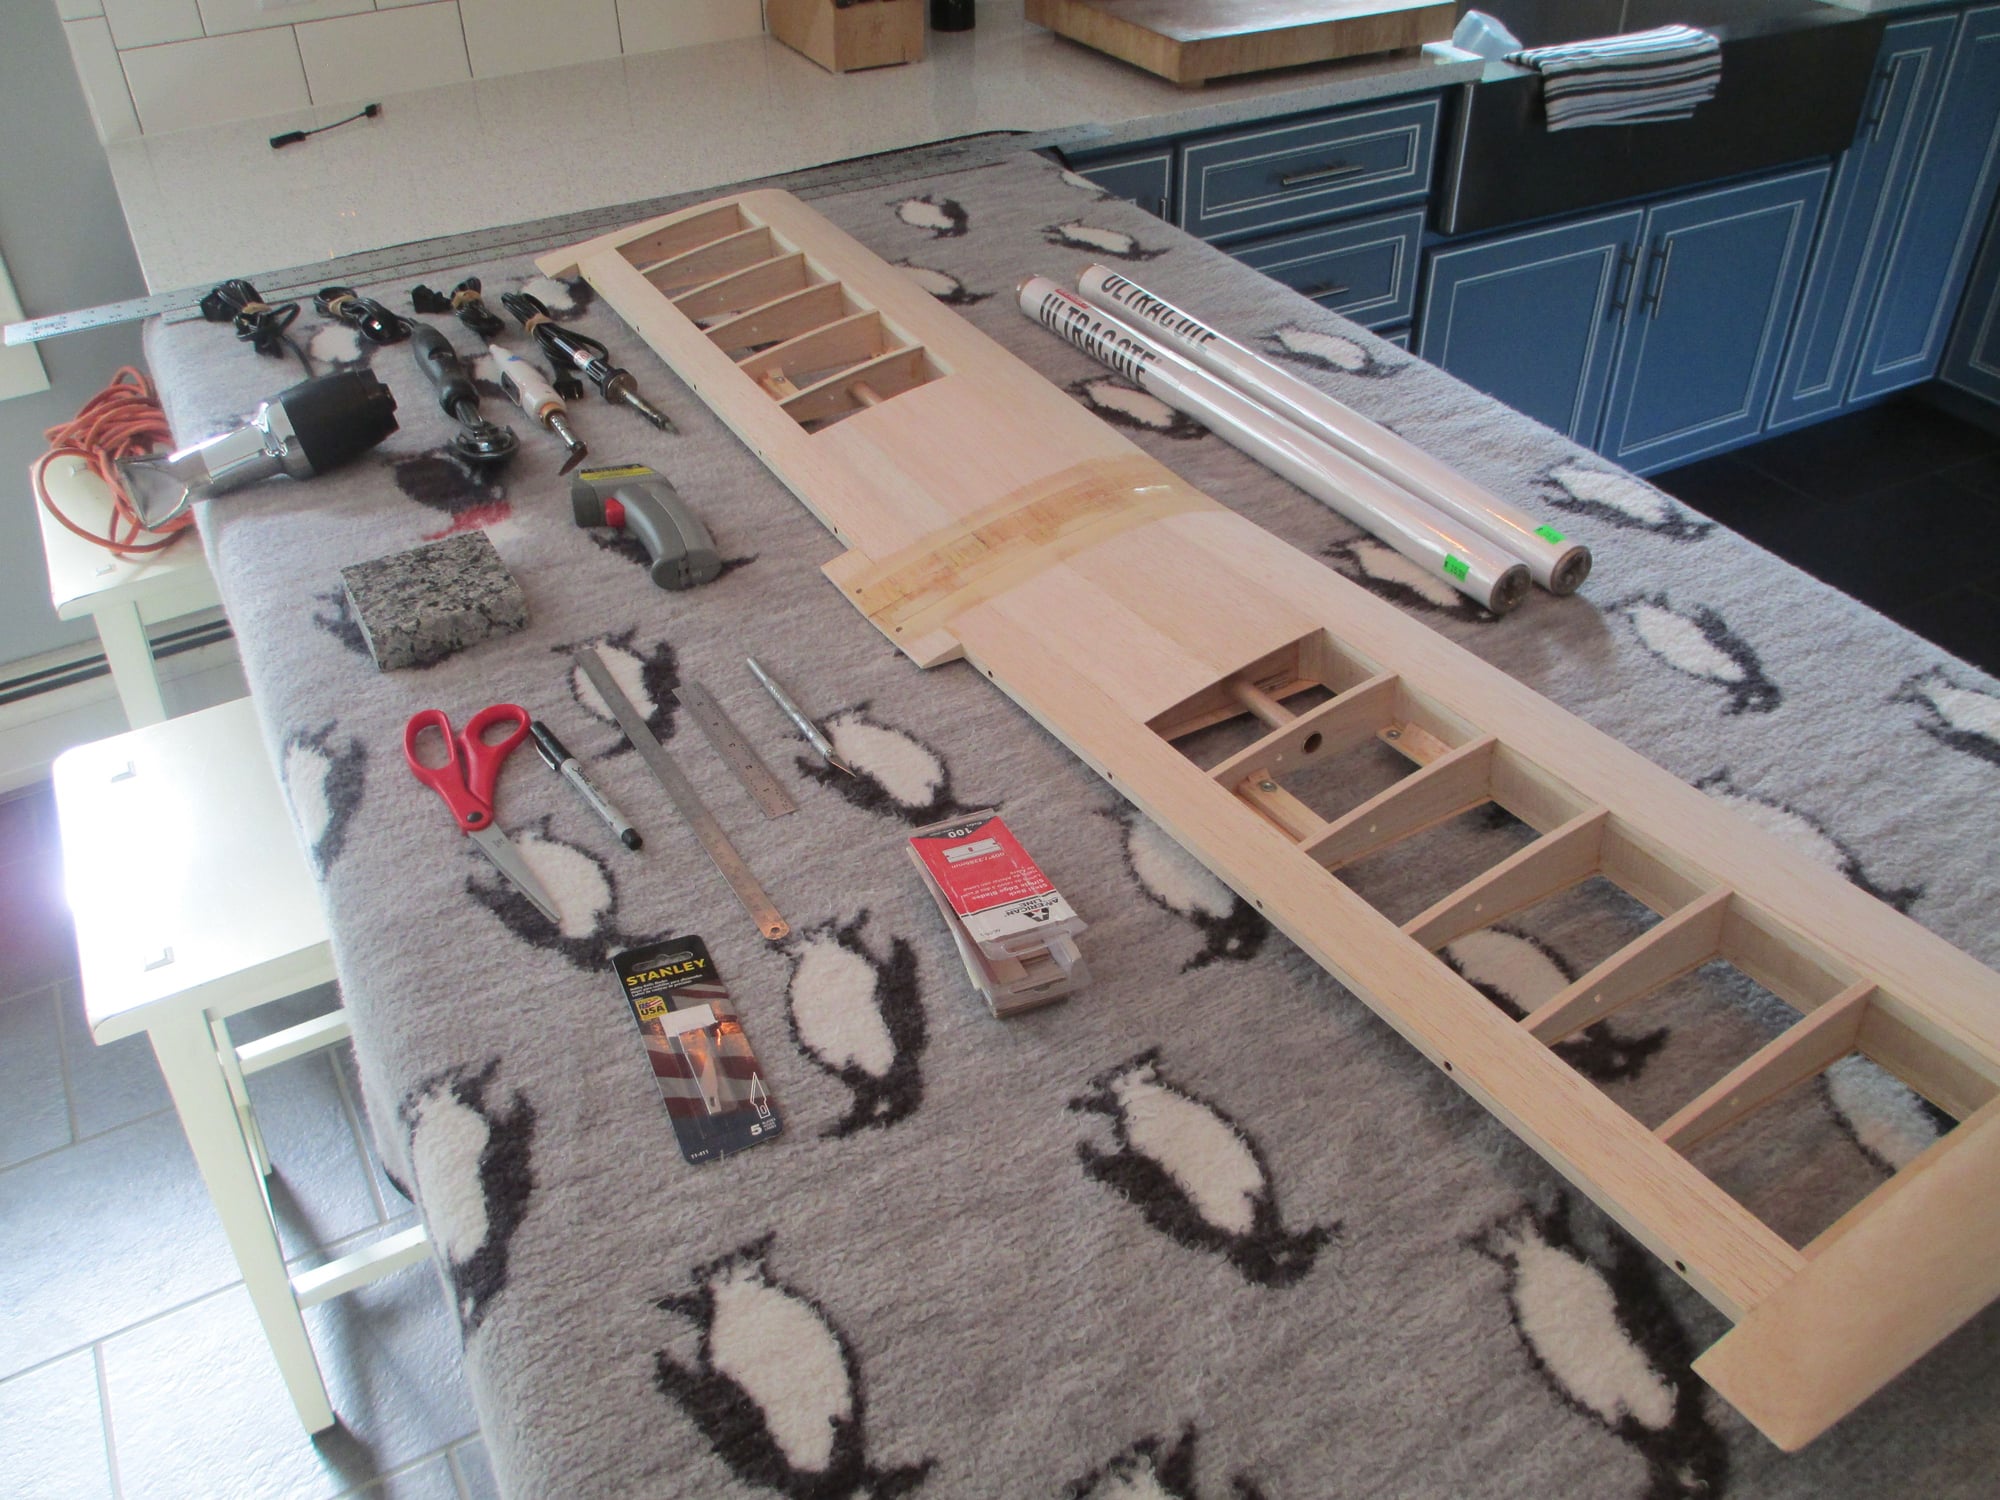
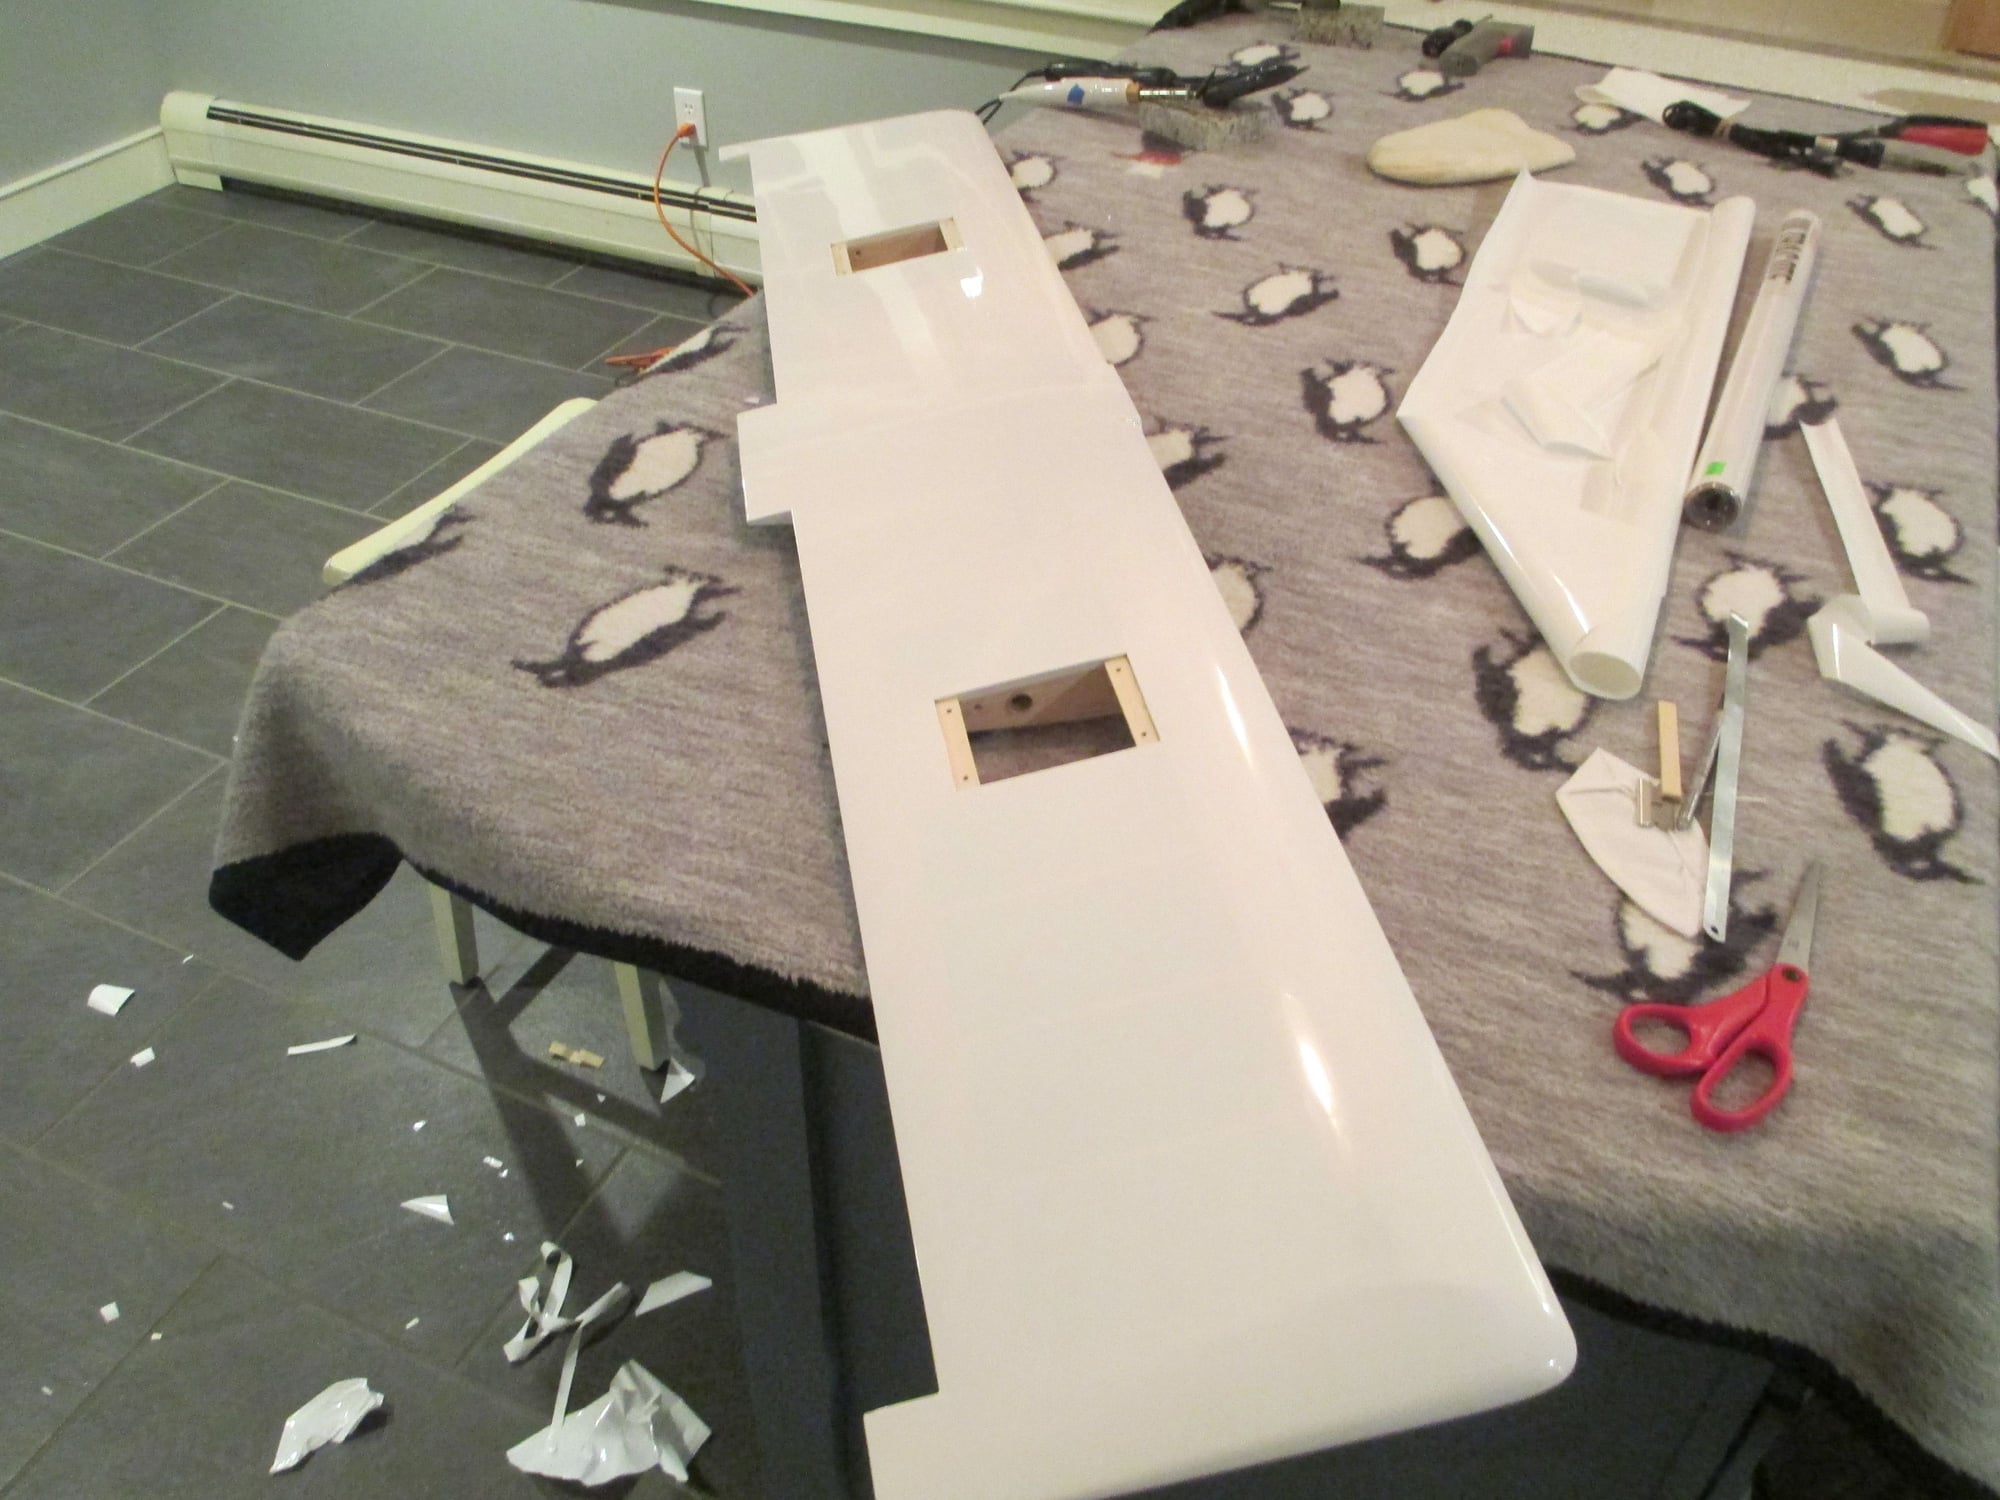
With construction of the Sport-Air now behind me, it's time to start covering all that I worked so hard to make look pretty... These are most of the tools and materials needed to do a proper covering job.
Covering Tip - Before starting, make sure that what your covering is impeccably clean for the adhesive to do its job. Vacuuming is a good start but it shouldn't end there, blowing off the part with compressed air will help rid any dust from your work piece that the vacuum didn't get.

All of the "little bits" need to be covered first such as this...

Last edited by VincentJ; 09-02-2018 at 02:11 PM.
09-02-2018, 04:10 PM
#117
Thread Starter

After a Sunday morning of flying, Bob and I had a nice lunch together, then he came over to check on the progress of his Sport-Air, I think he left happy...
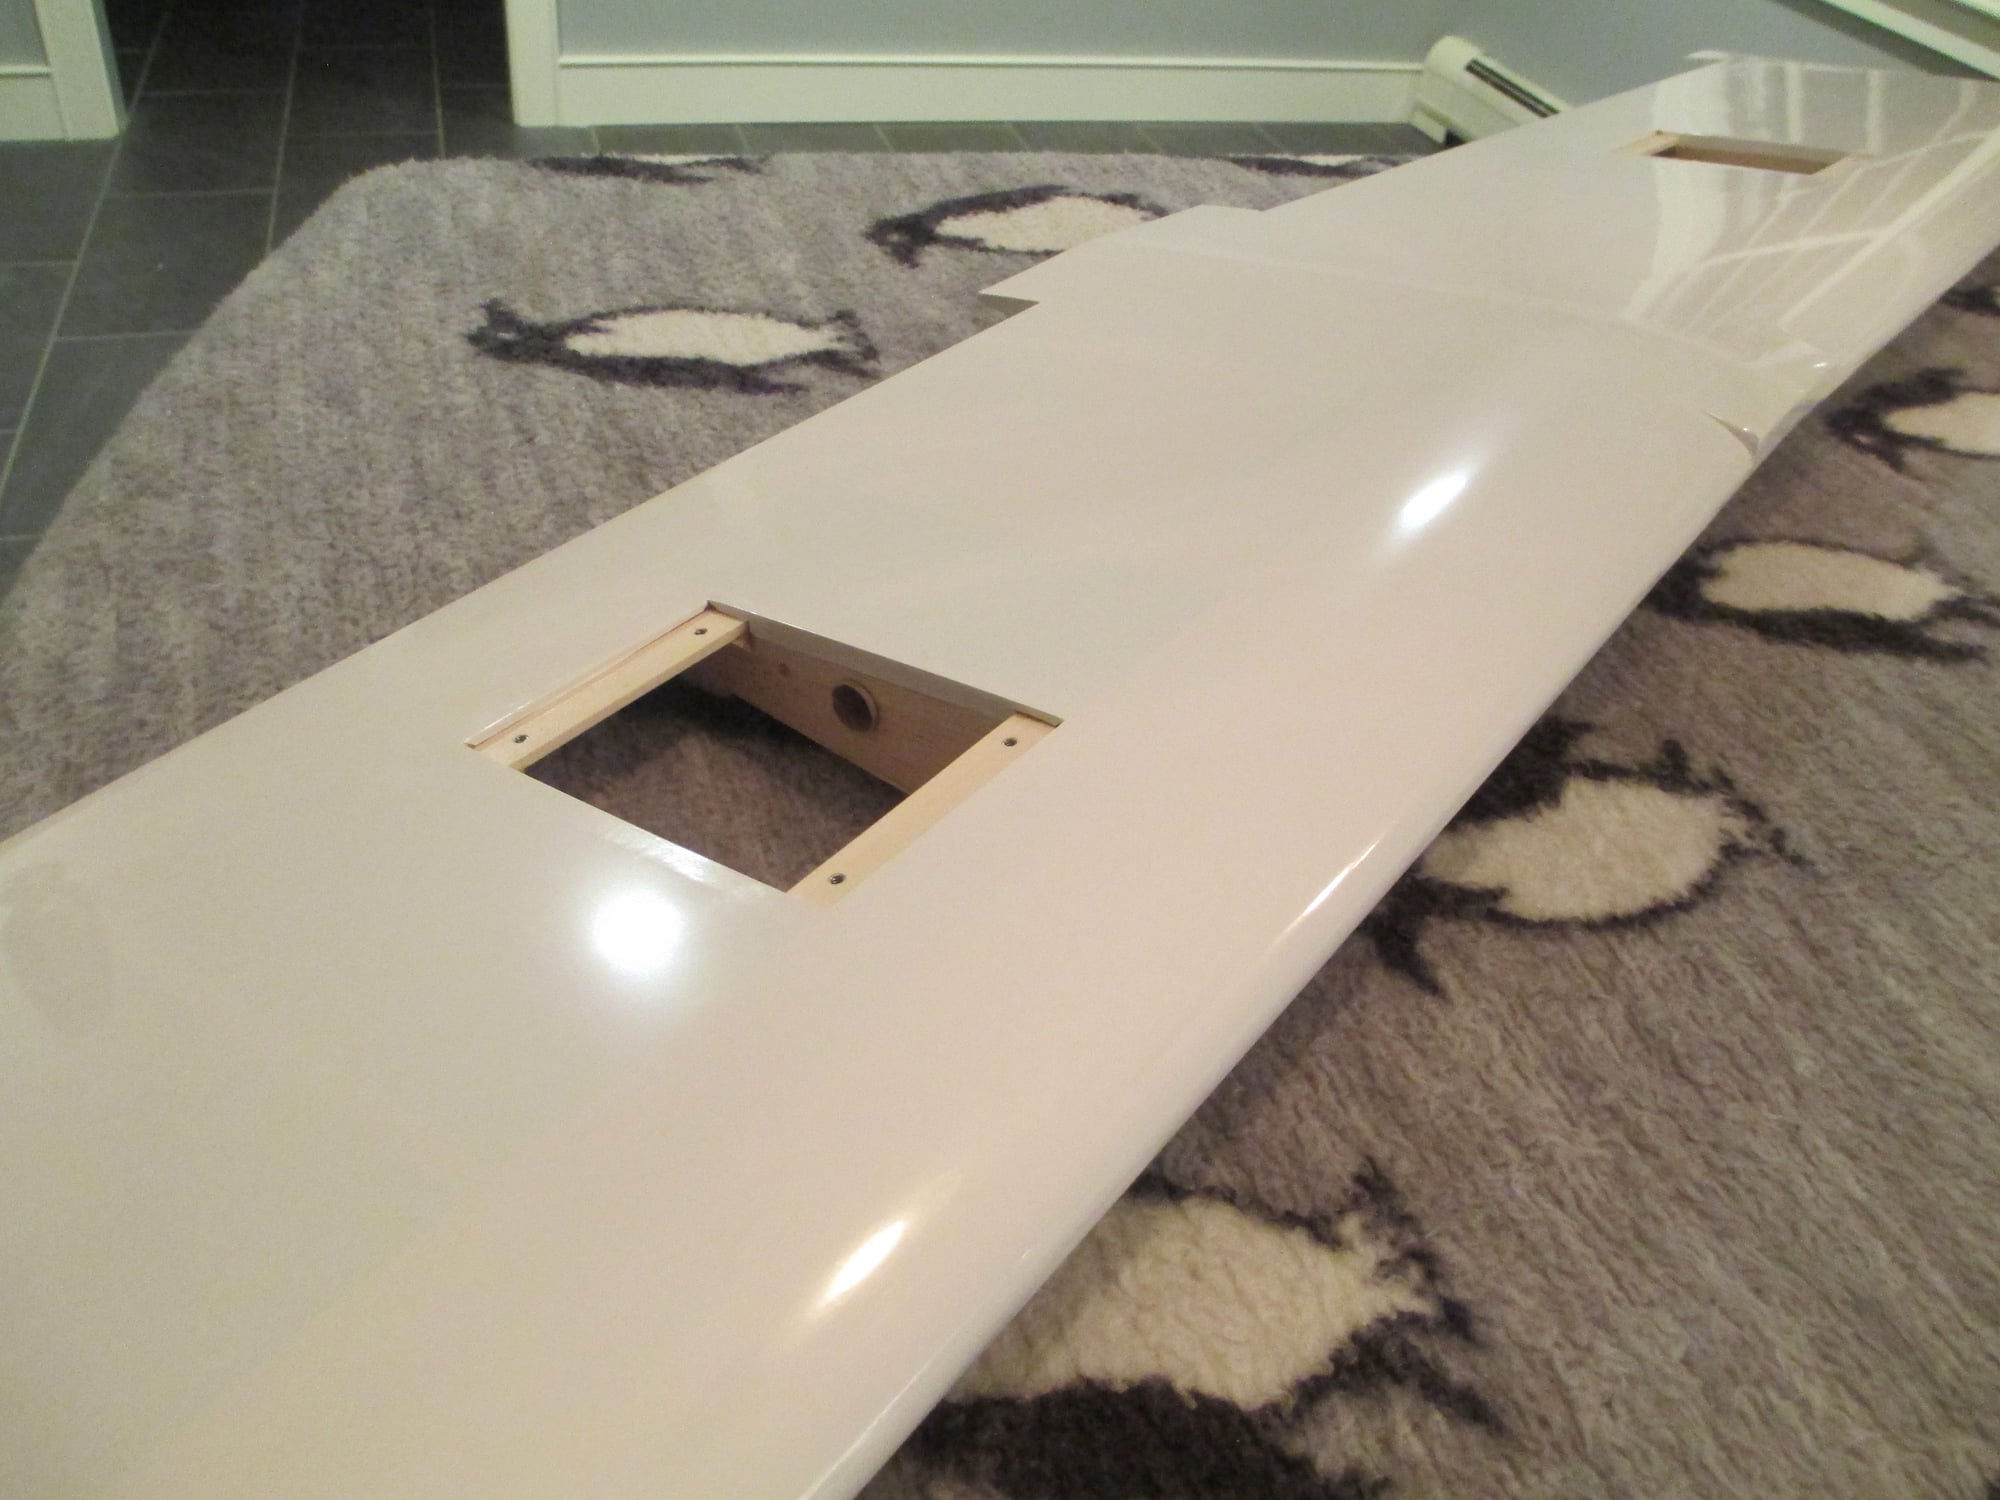
Here are a few shots of the progress I made this evening. Note that removing the wing dowels makes covering a bit easier. I think I'll call it quits for the night...


Last edited by VincentJ; 09-02-2018 at 04:17 PM.


 09-03-2018, 07:18 AM
#119
Thread Starter
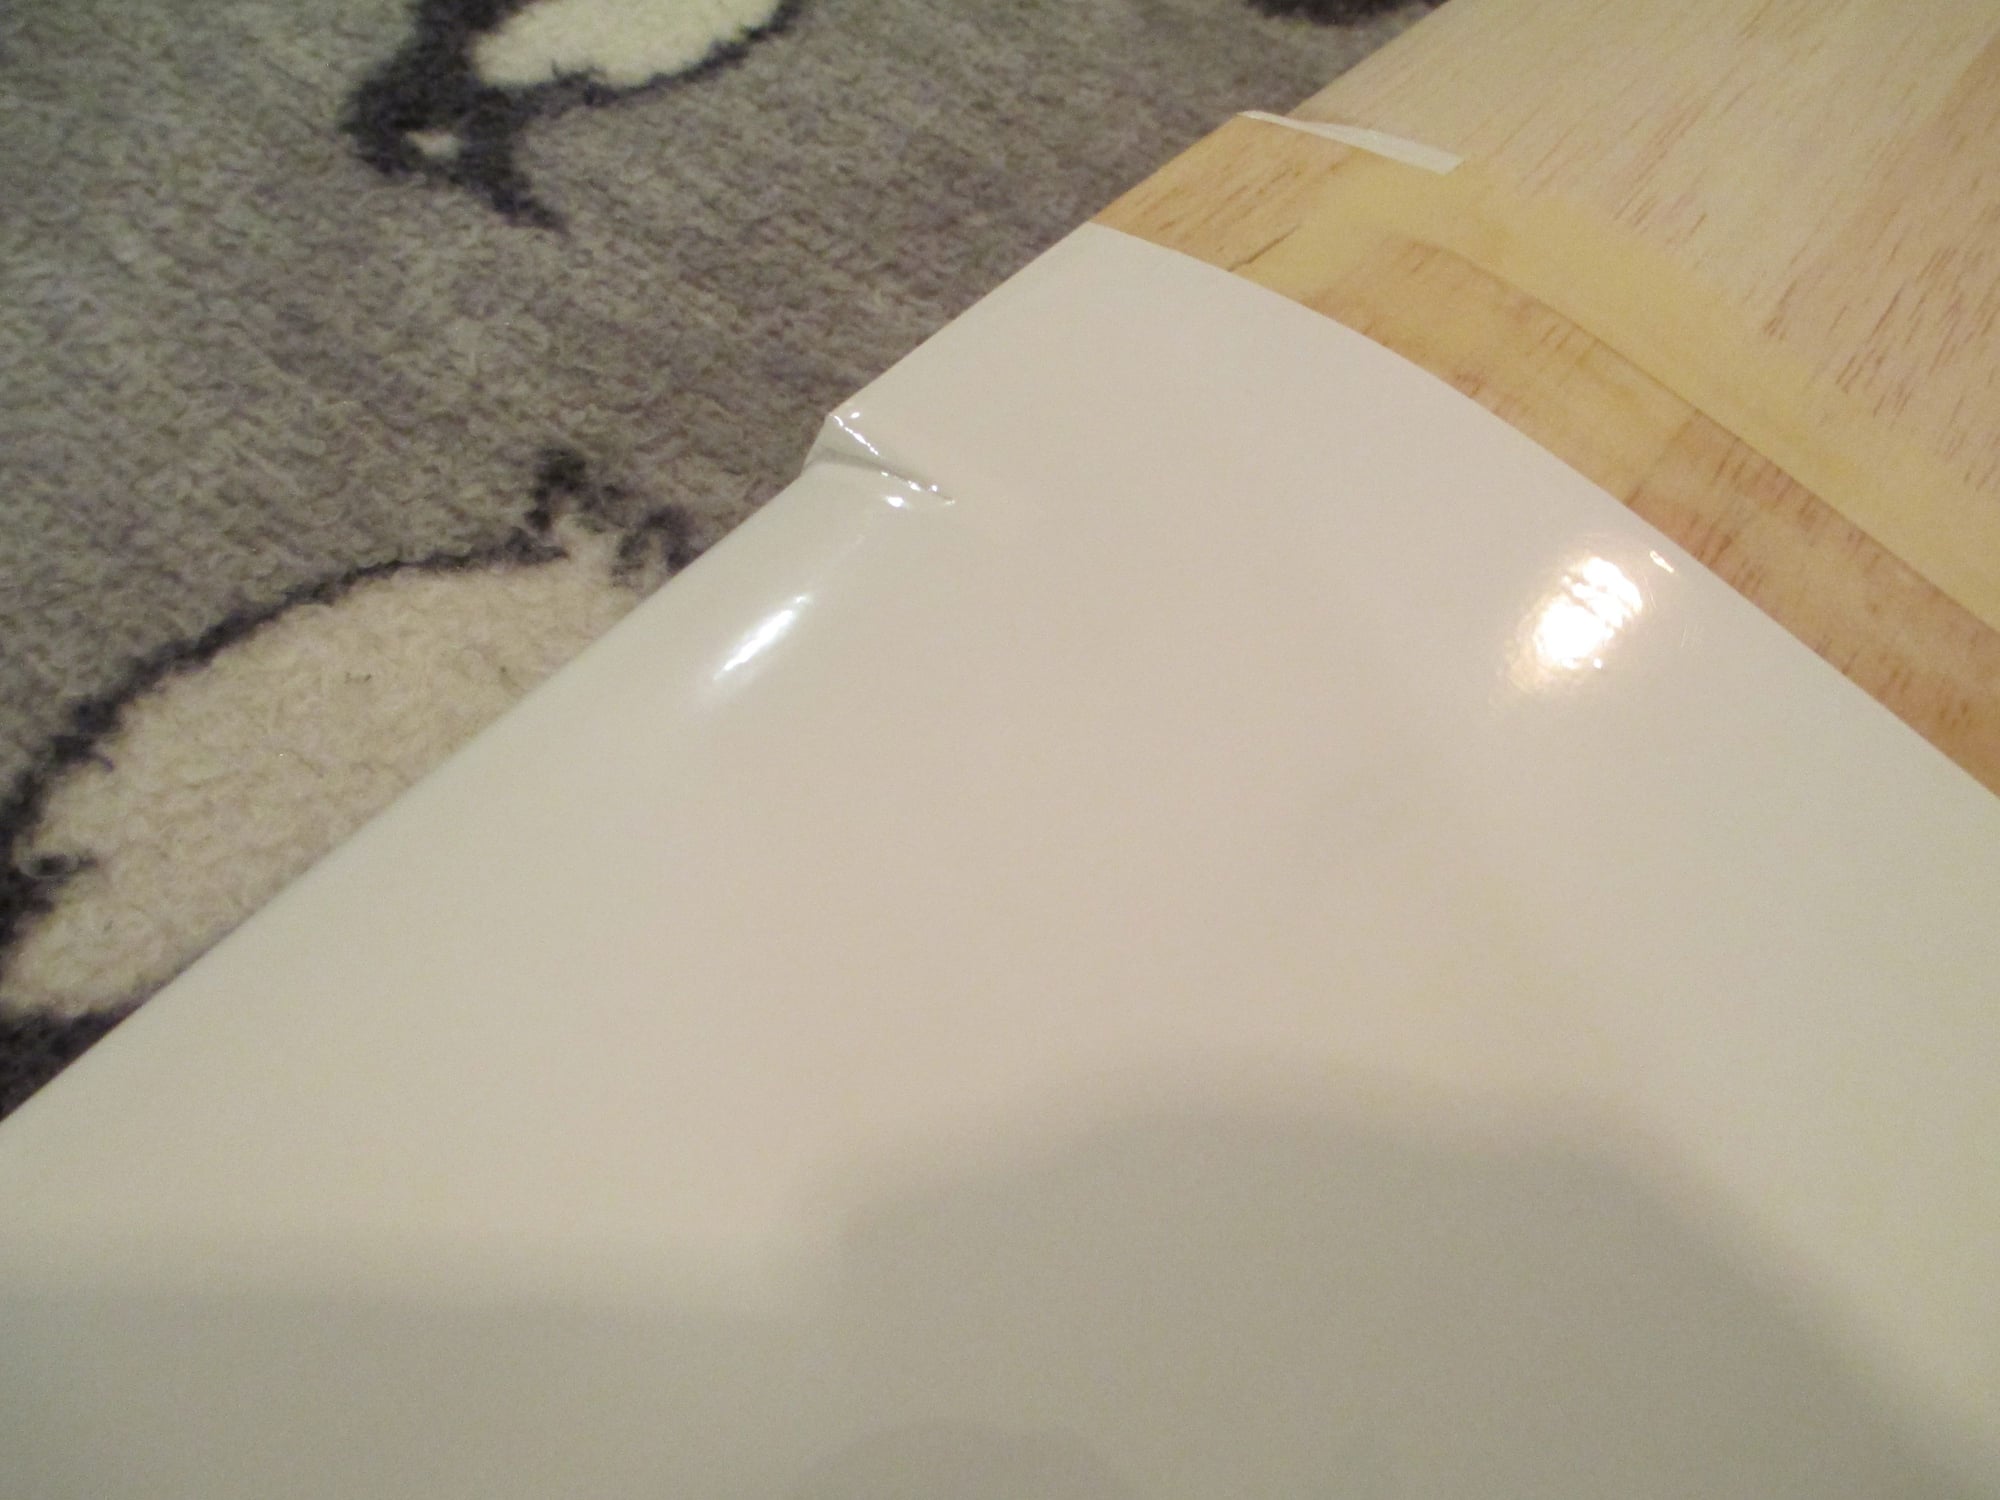
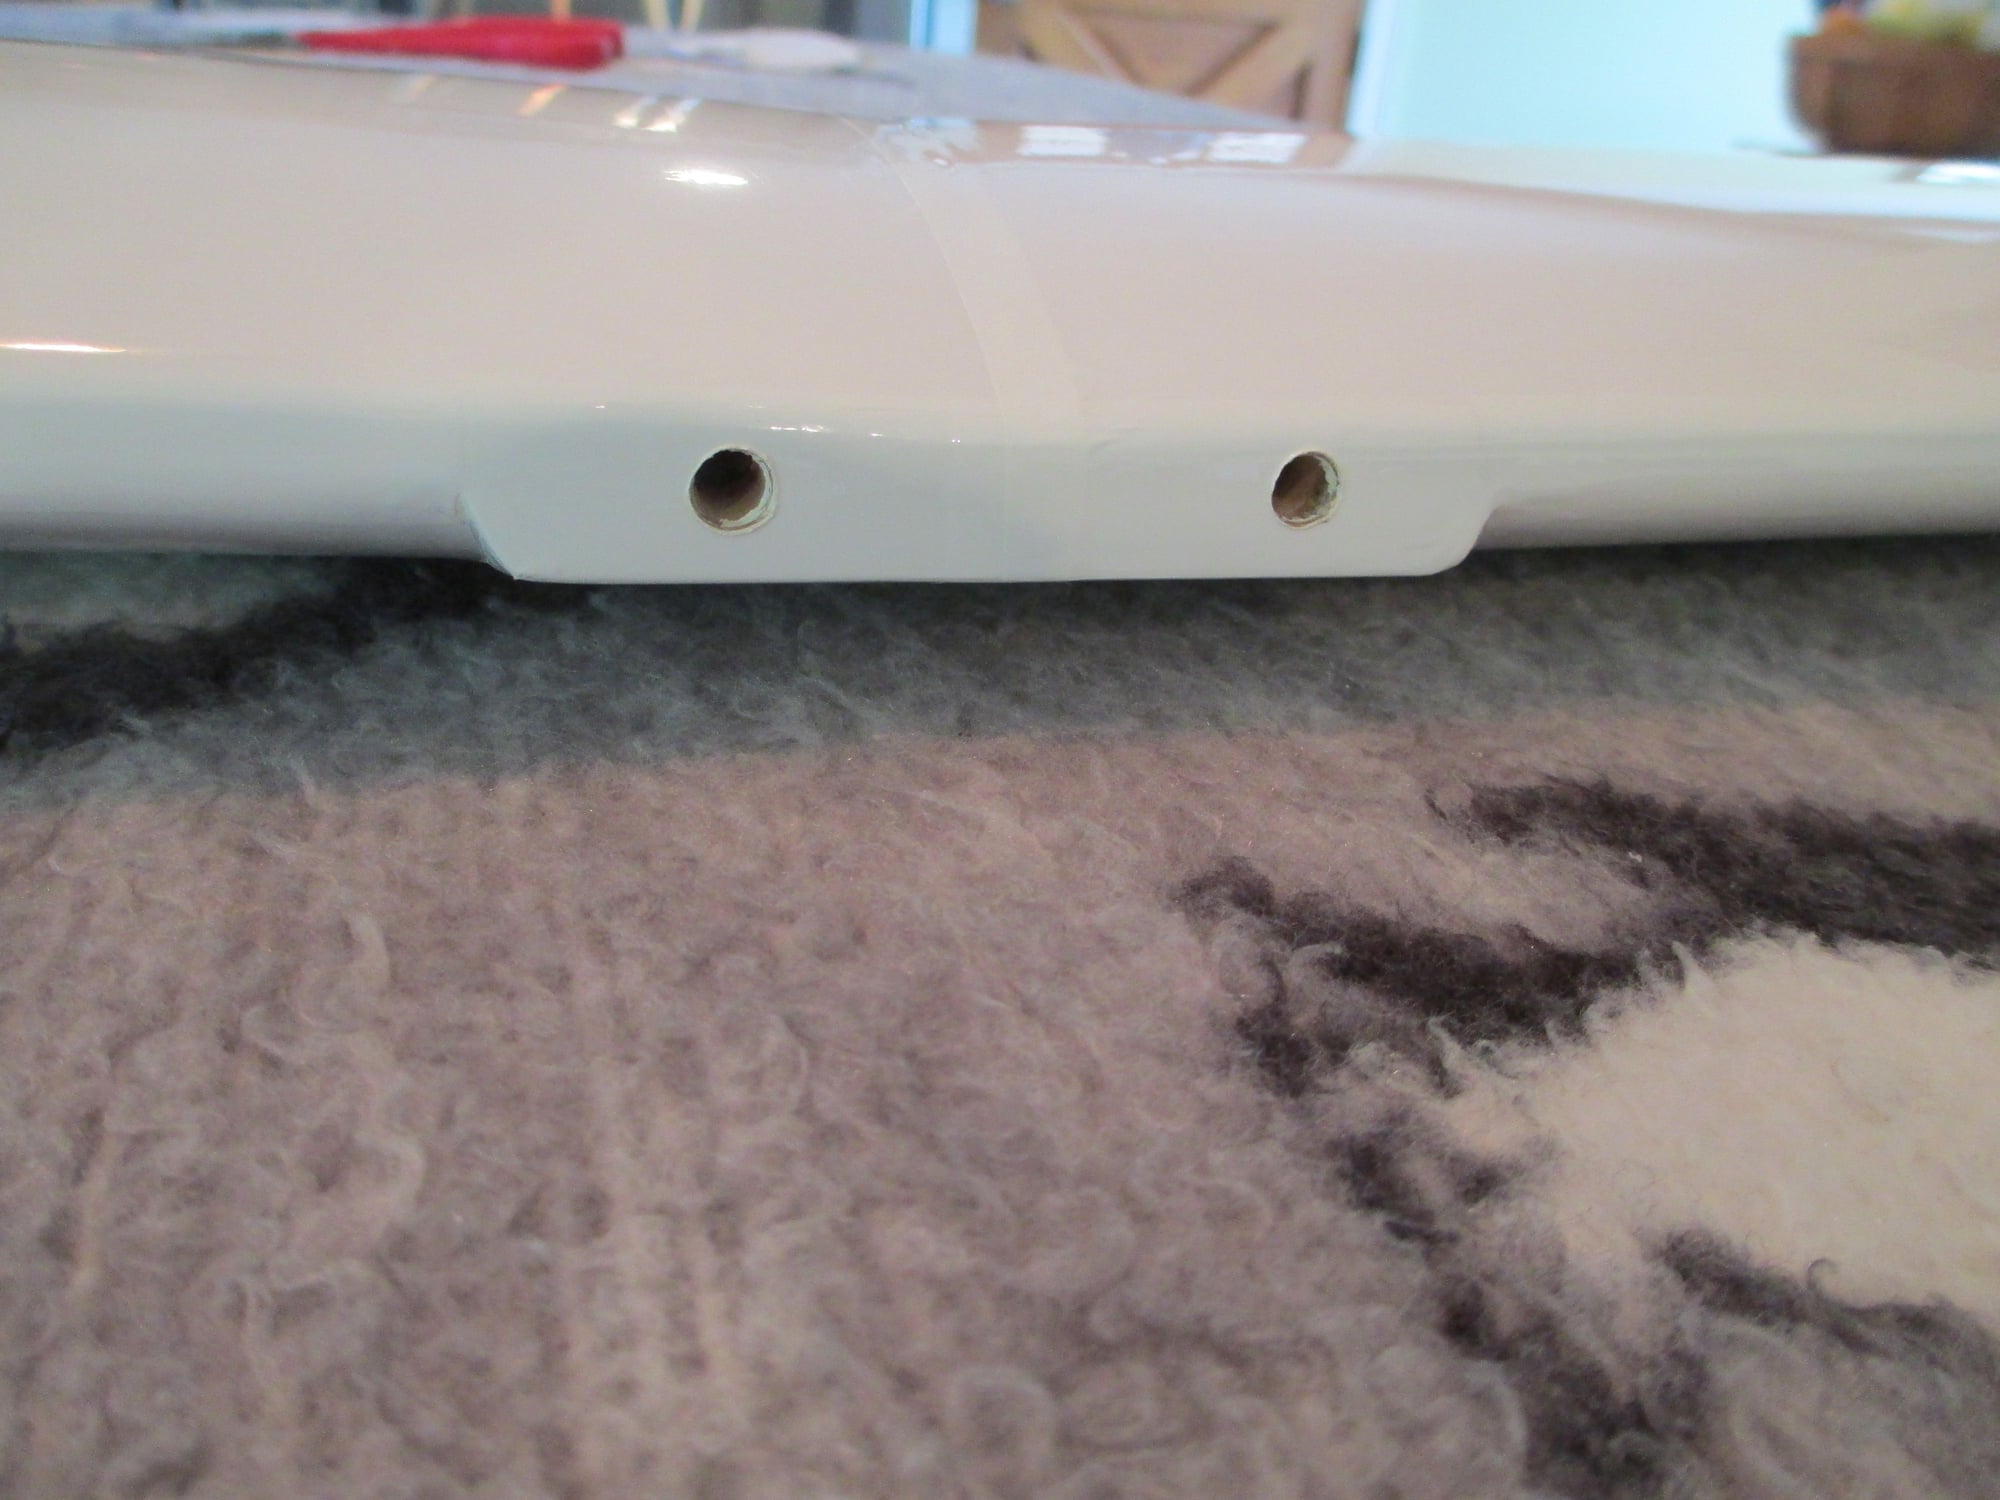
Top and bottom of the wing have been covered in the base (white) color. Now I need to cut out the contrasting colors and iron it over the top of the white.
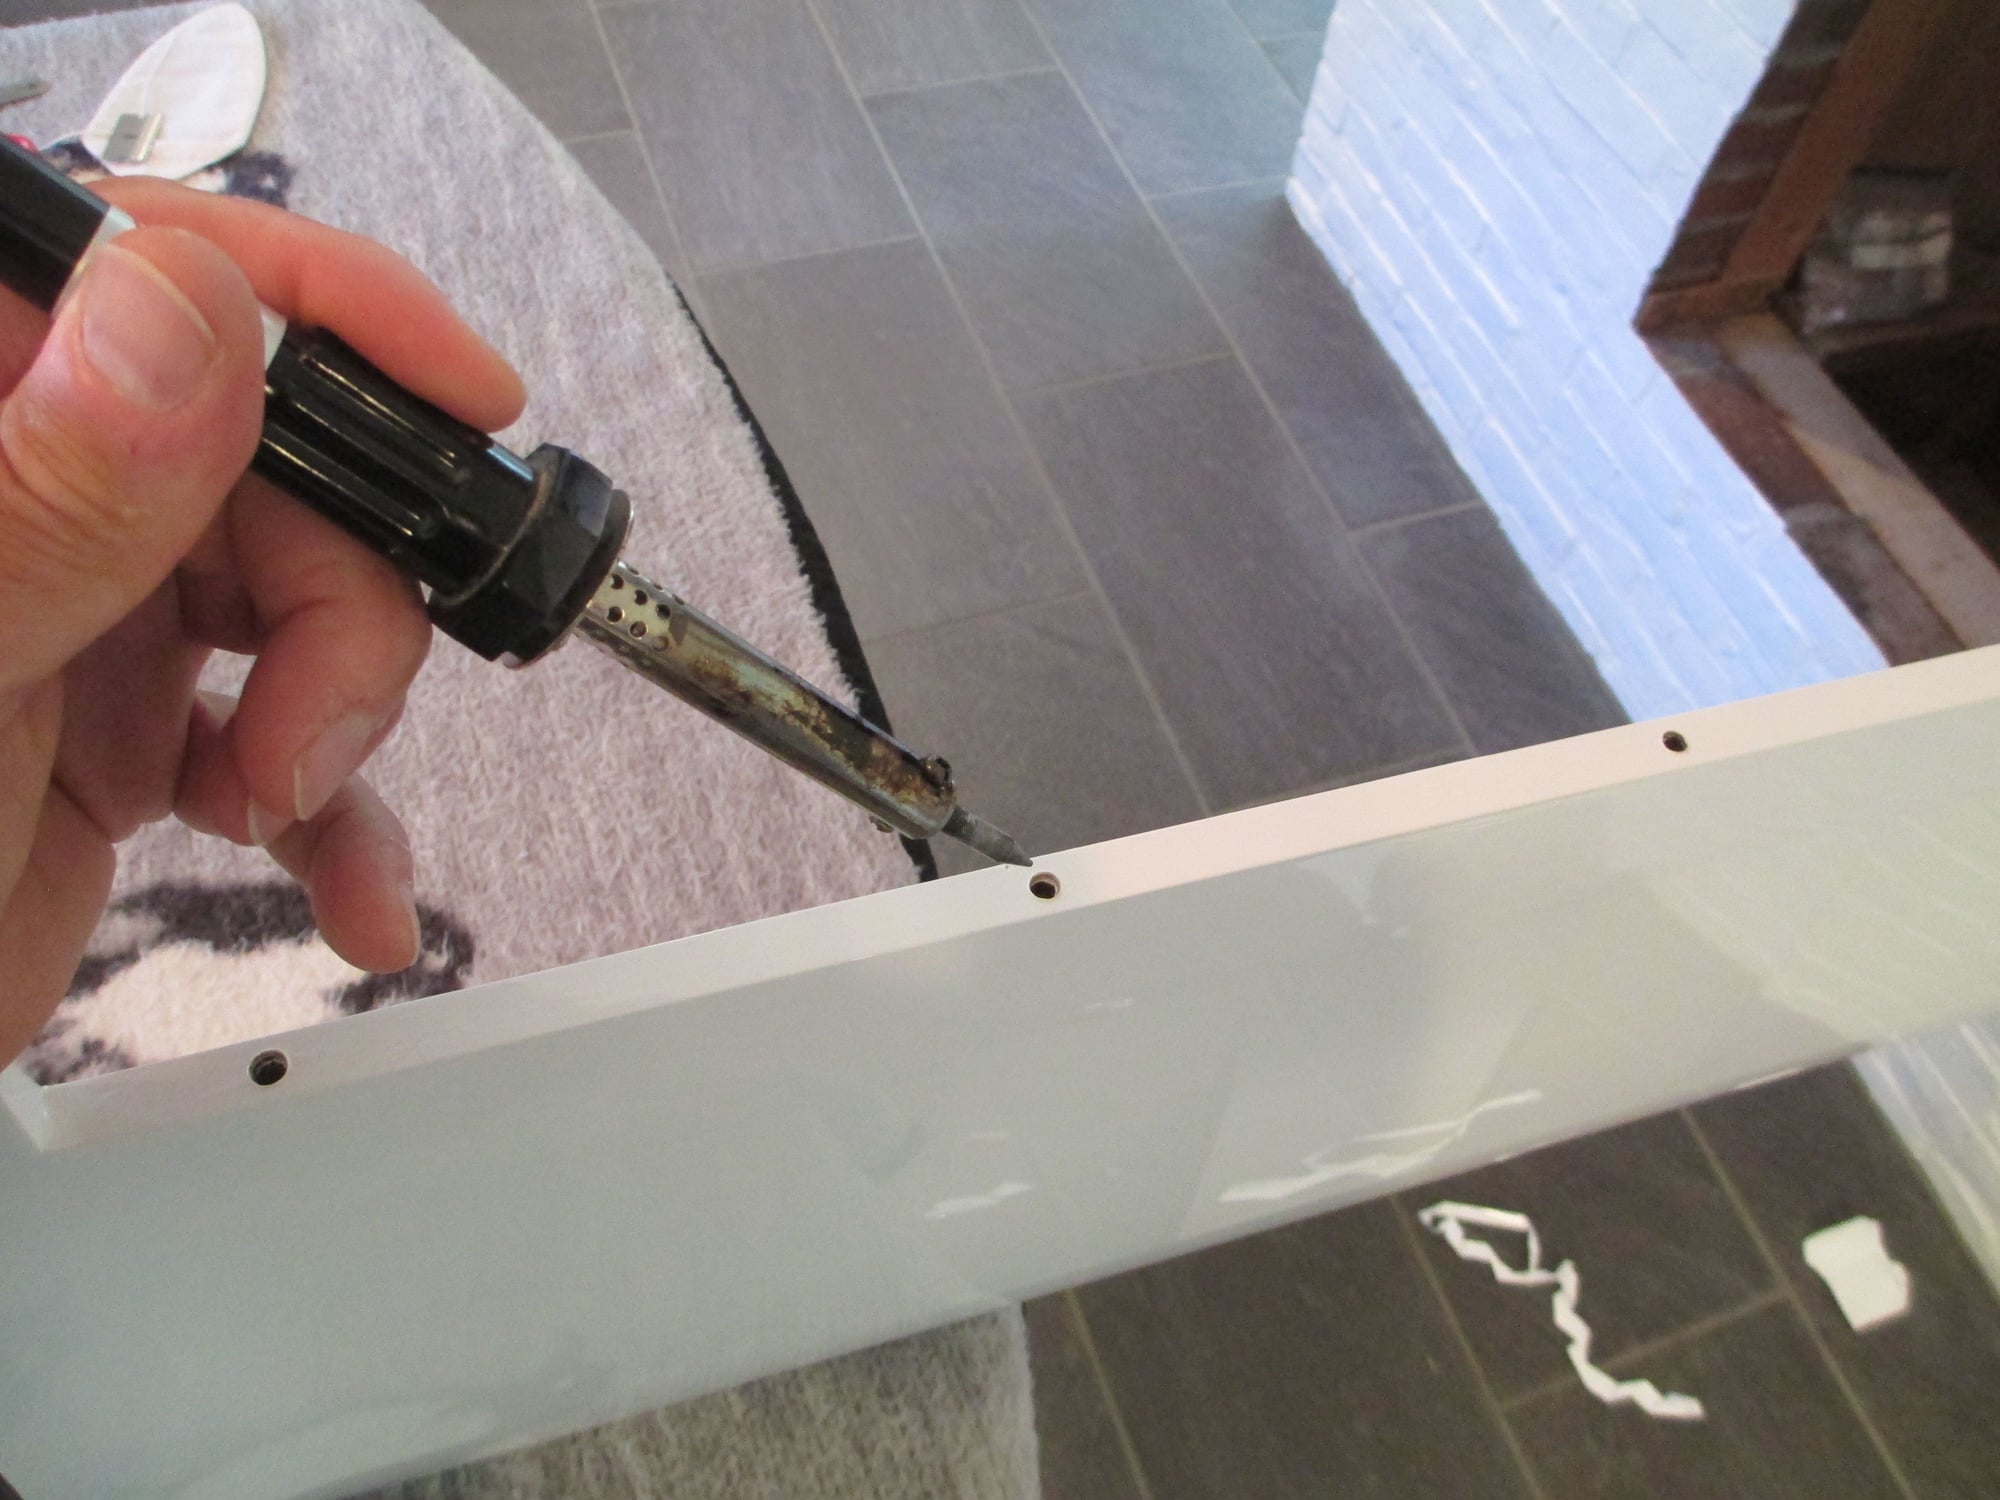
Don't know how you guys open up holes after covering, but if you want nice neat openings, try using a soldering iron with a pencil point tip. It works great!
 09-04-2018, 02:40 AM
#121
Thread Starter
Well yes I do, I like the size of this plane so much that I got myself a Train-Air kit made by this same company which I'm going to equip with floats. I'm planning on a OS GT-15 gas engine in it as well...Should be fun!
Last edited by VincentJ; 09-04-2018 at 02:58 AM.
09-04-2018, 07:34 AM
#122
That is some smooth covering. Well done!
09-04-2018, 01:38 PM
#124


Join Date: Sep 2009
Location: North Port, FL
Posts: 1,647
Likes: 0
Received 0 Likes
on
0 Posts
Oh wow! Can't miss that build! I always learn when I read your threads.
09-06-2018, 06:58 AM
#125
Thread Starter
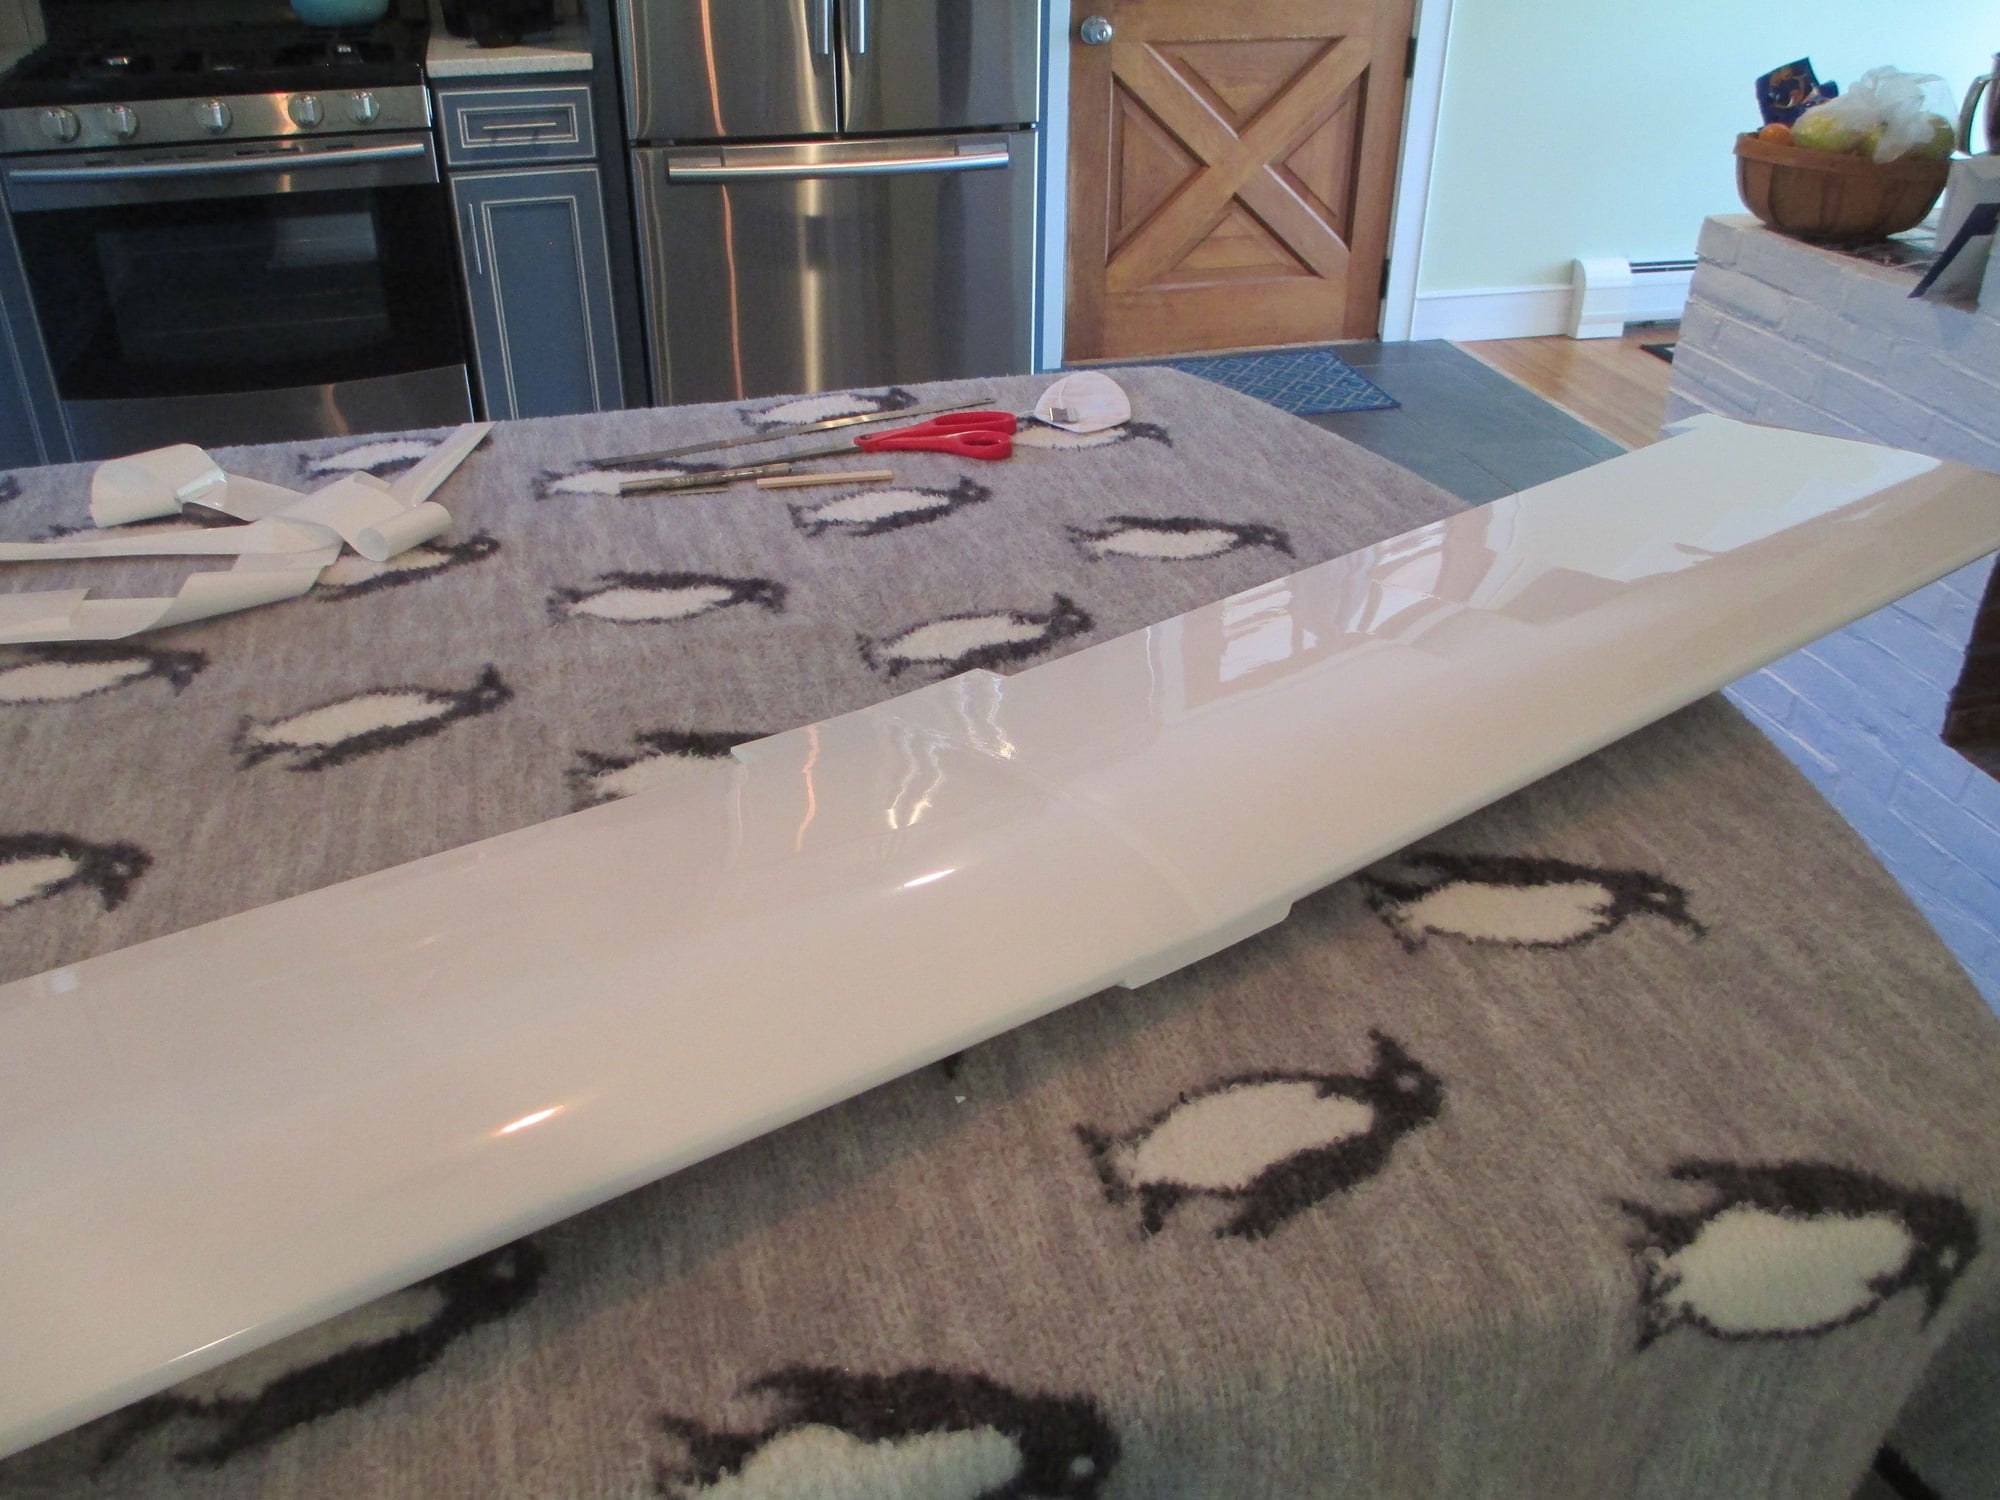
Just to update everyone on the progress, the wing is nearly completed. Tonight I plan on covering the ailerons. I will post photos when the wing is fully completed and assembled. Since returning to work, I don't have the time that I once had to make significant headway. The heat and humidity here in the Northeast has been relentless, some cooler temps are expected on Friday. Without any AC in my house it makes it difficult to have the energy to work late...
Last edited by VincentJ; 09-06-2018 at 07:01 AM.