Northeast Aerodynamics Sport-Air Build


 09-09-2018, 12:54 PM
#128

Thread Starter
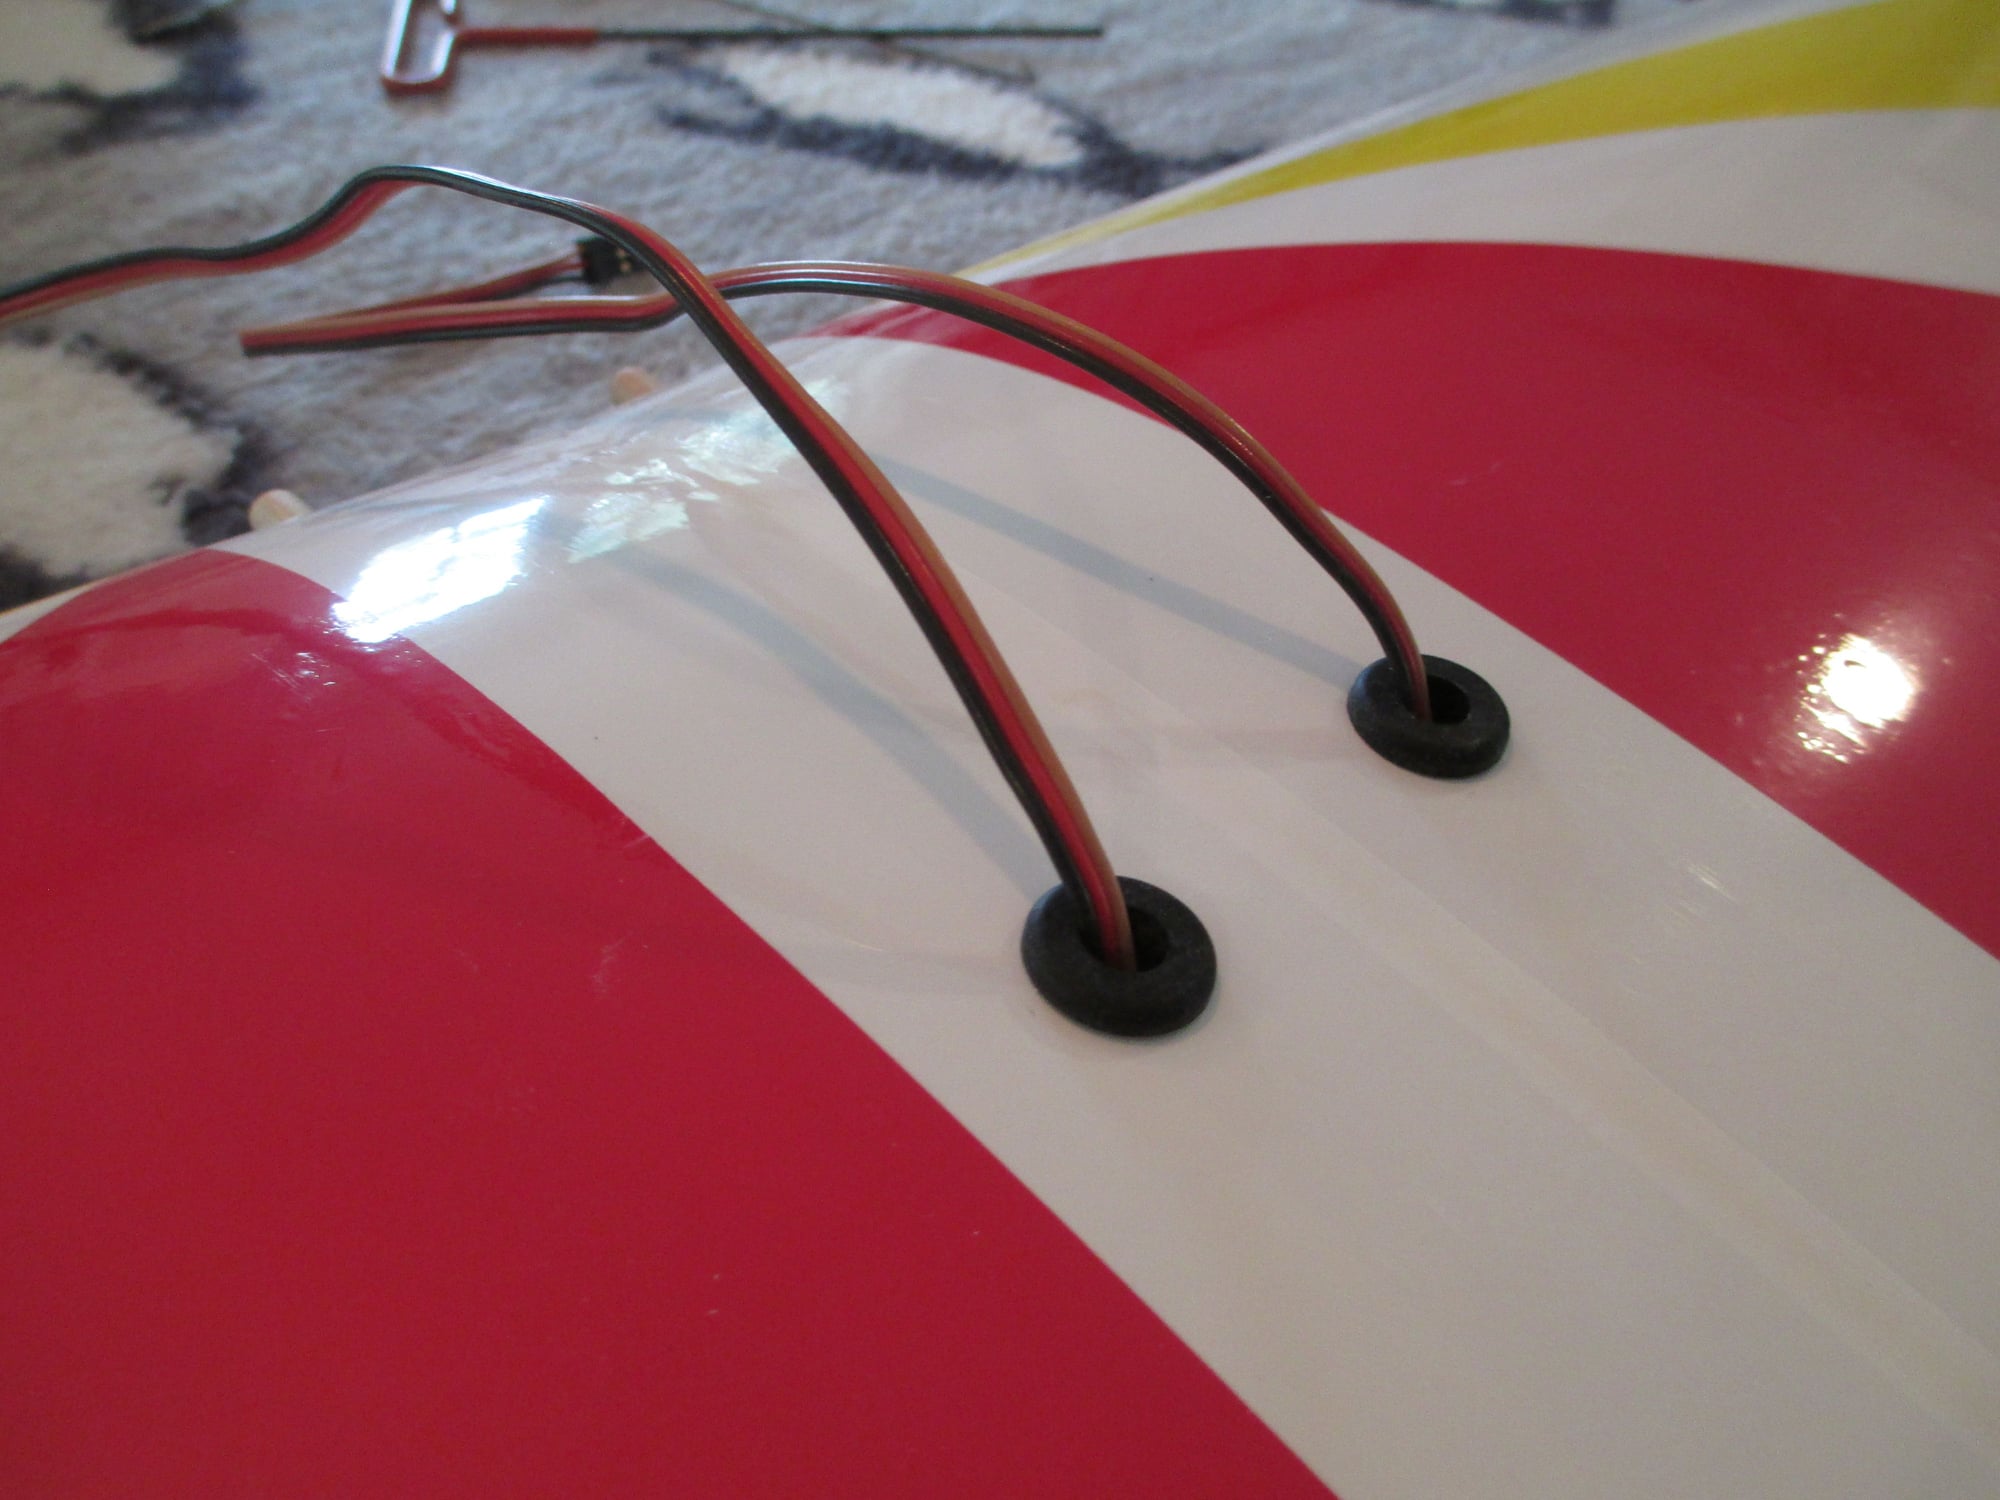
I used rubber grommets on the aileron servo wires that exit the top of the wing. Not only does it look nicer than wires passing through cut out holes, it prevents any future chafing of the wires.
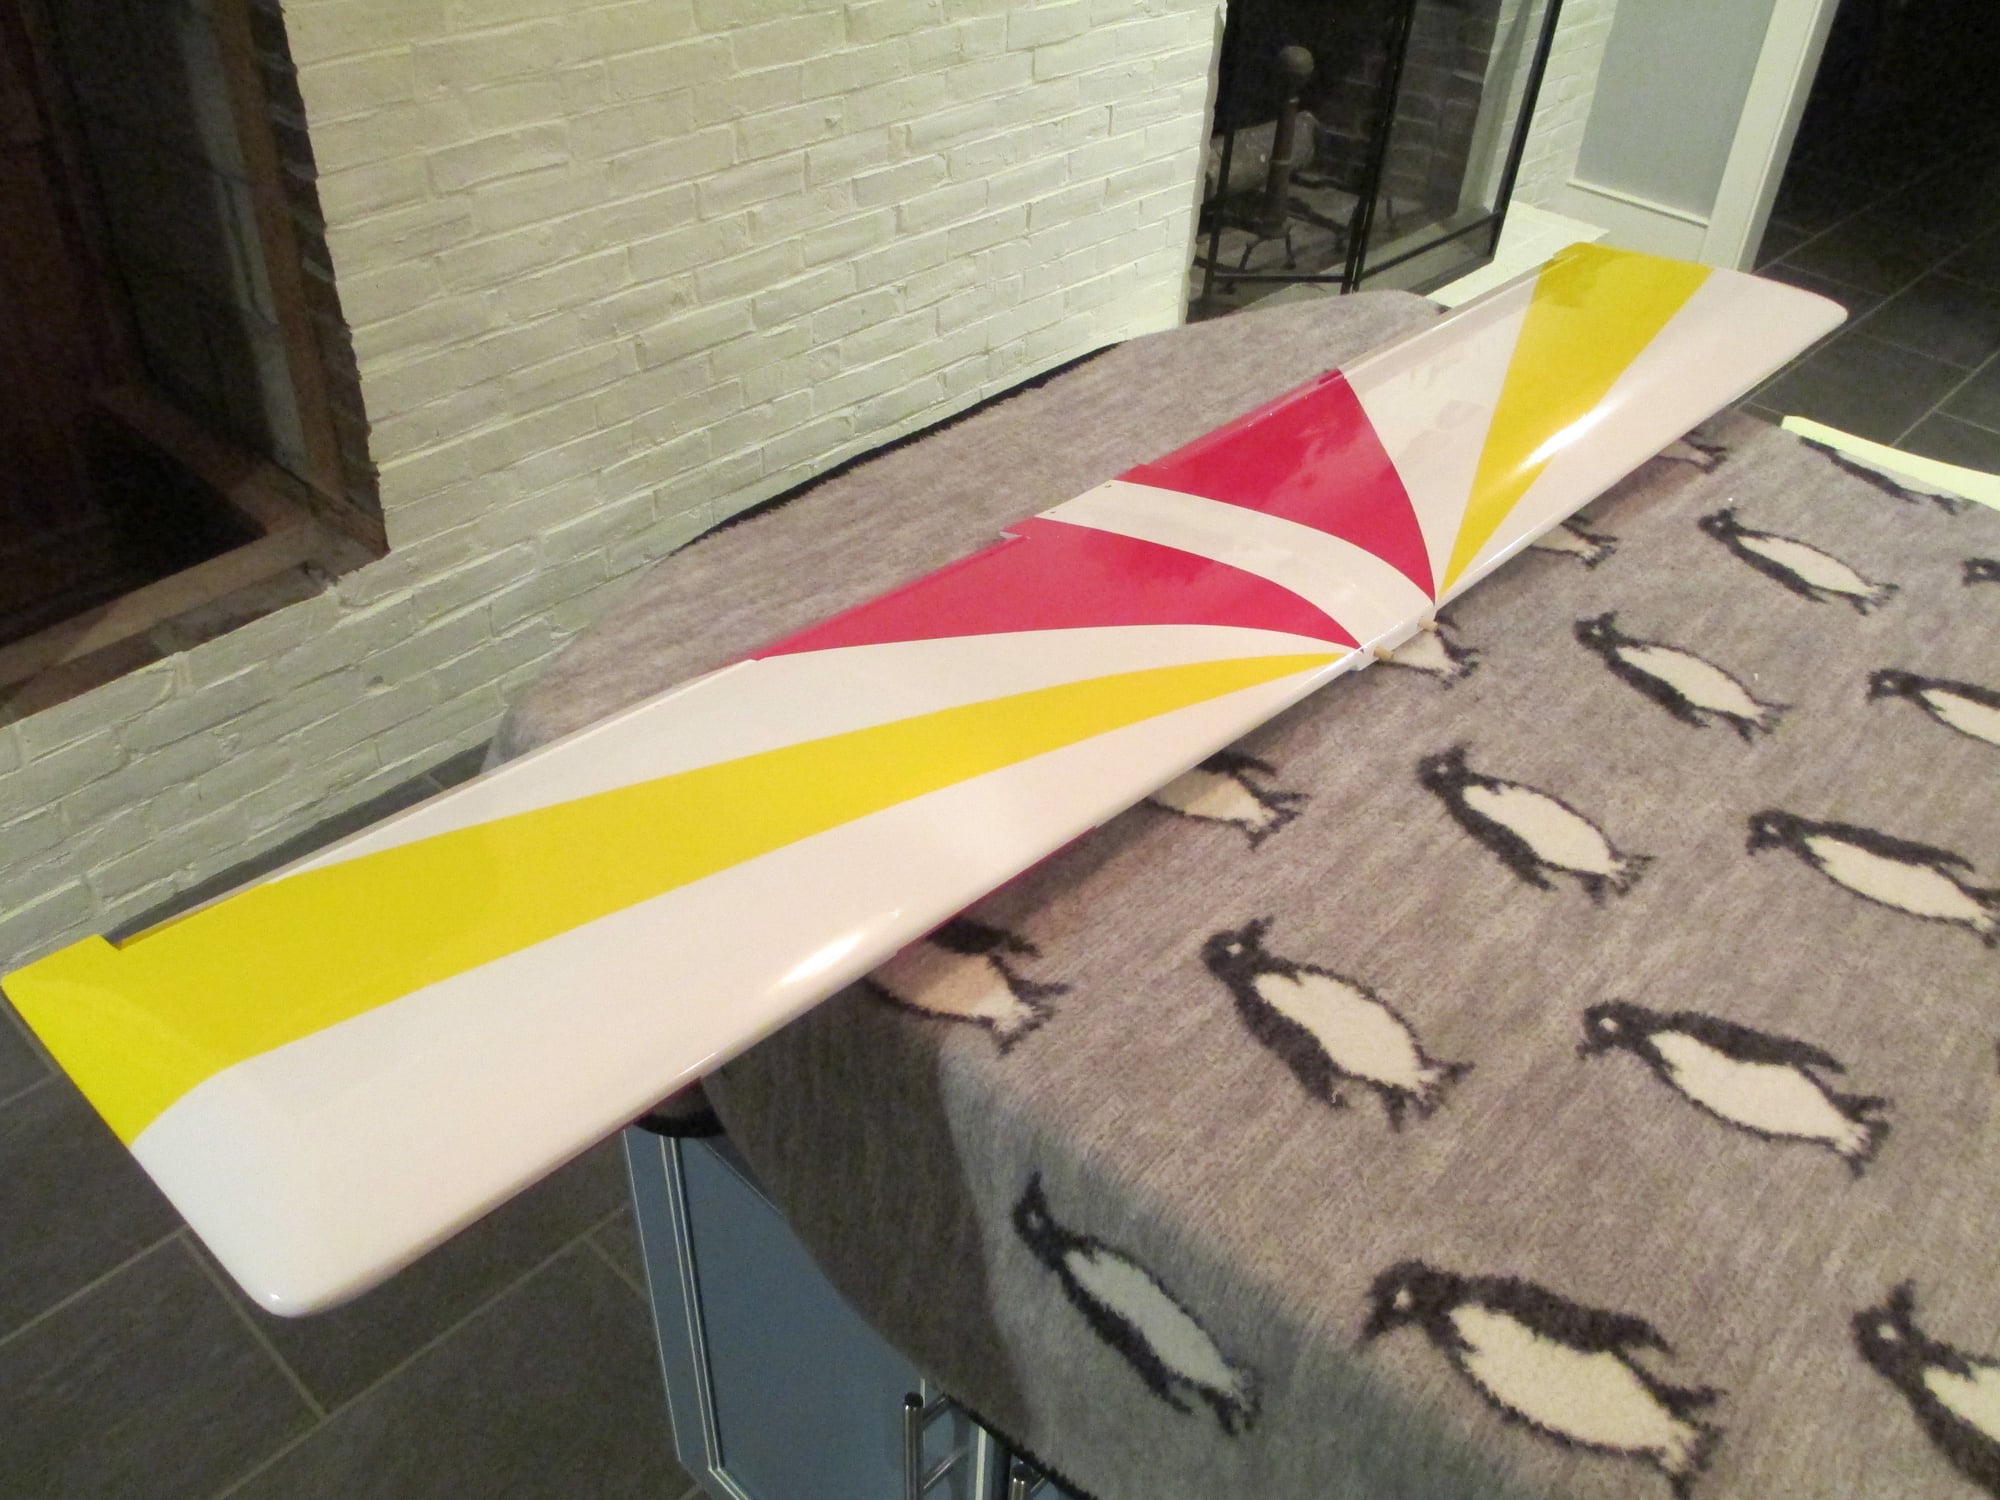
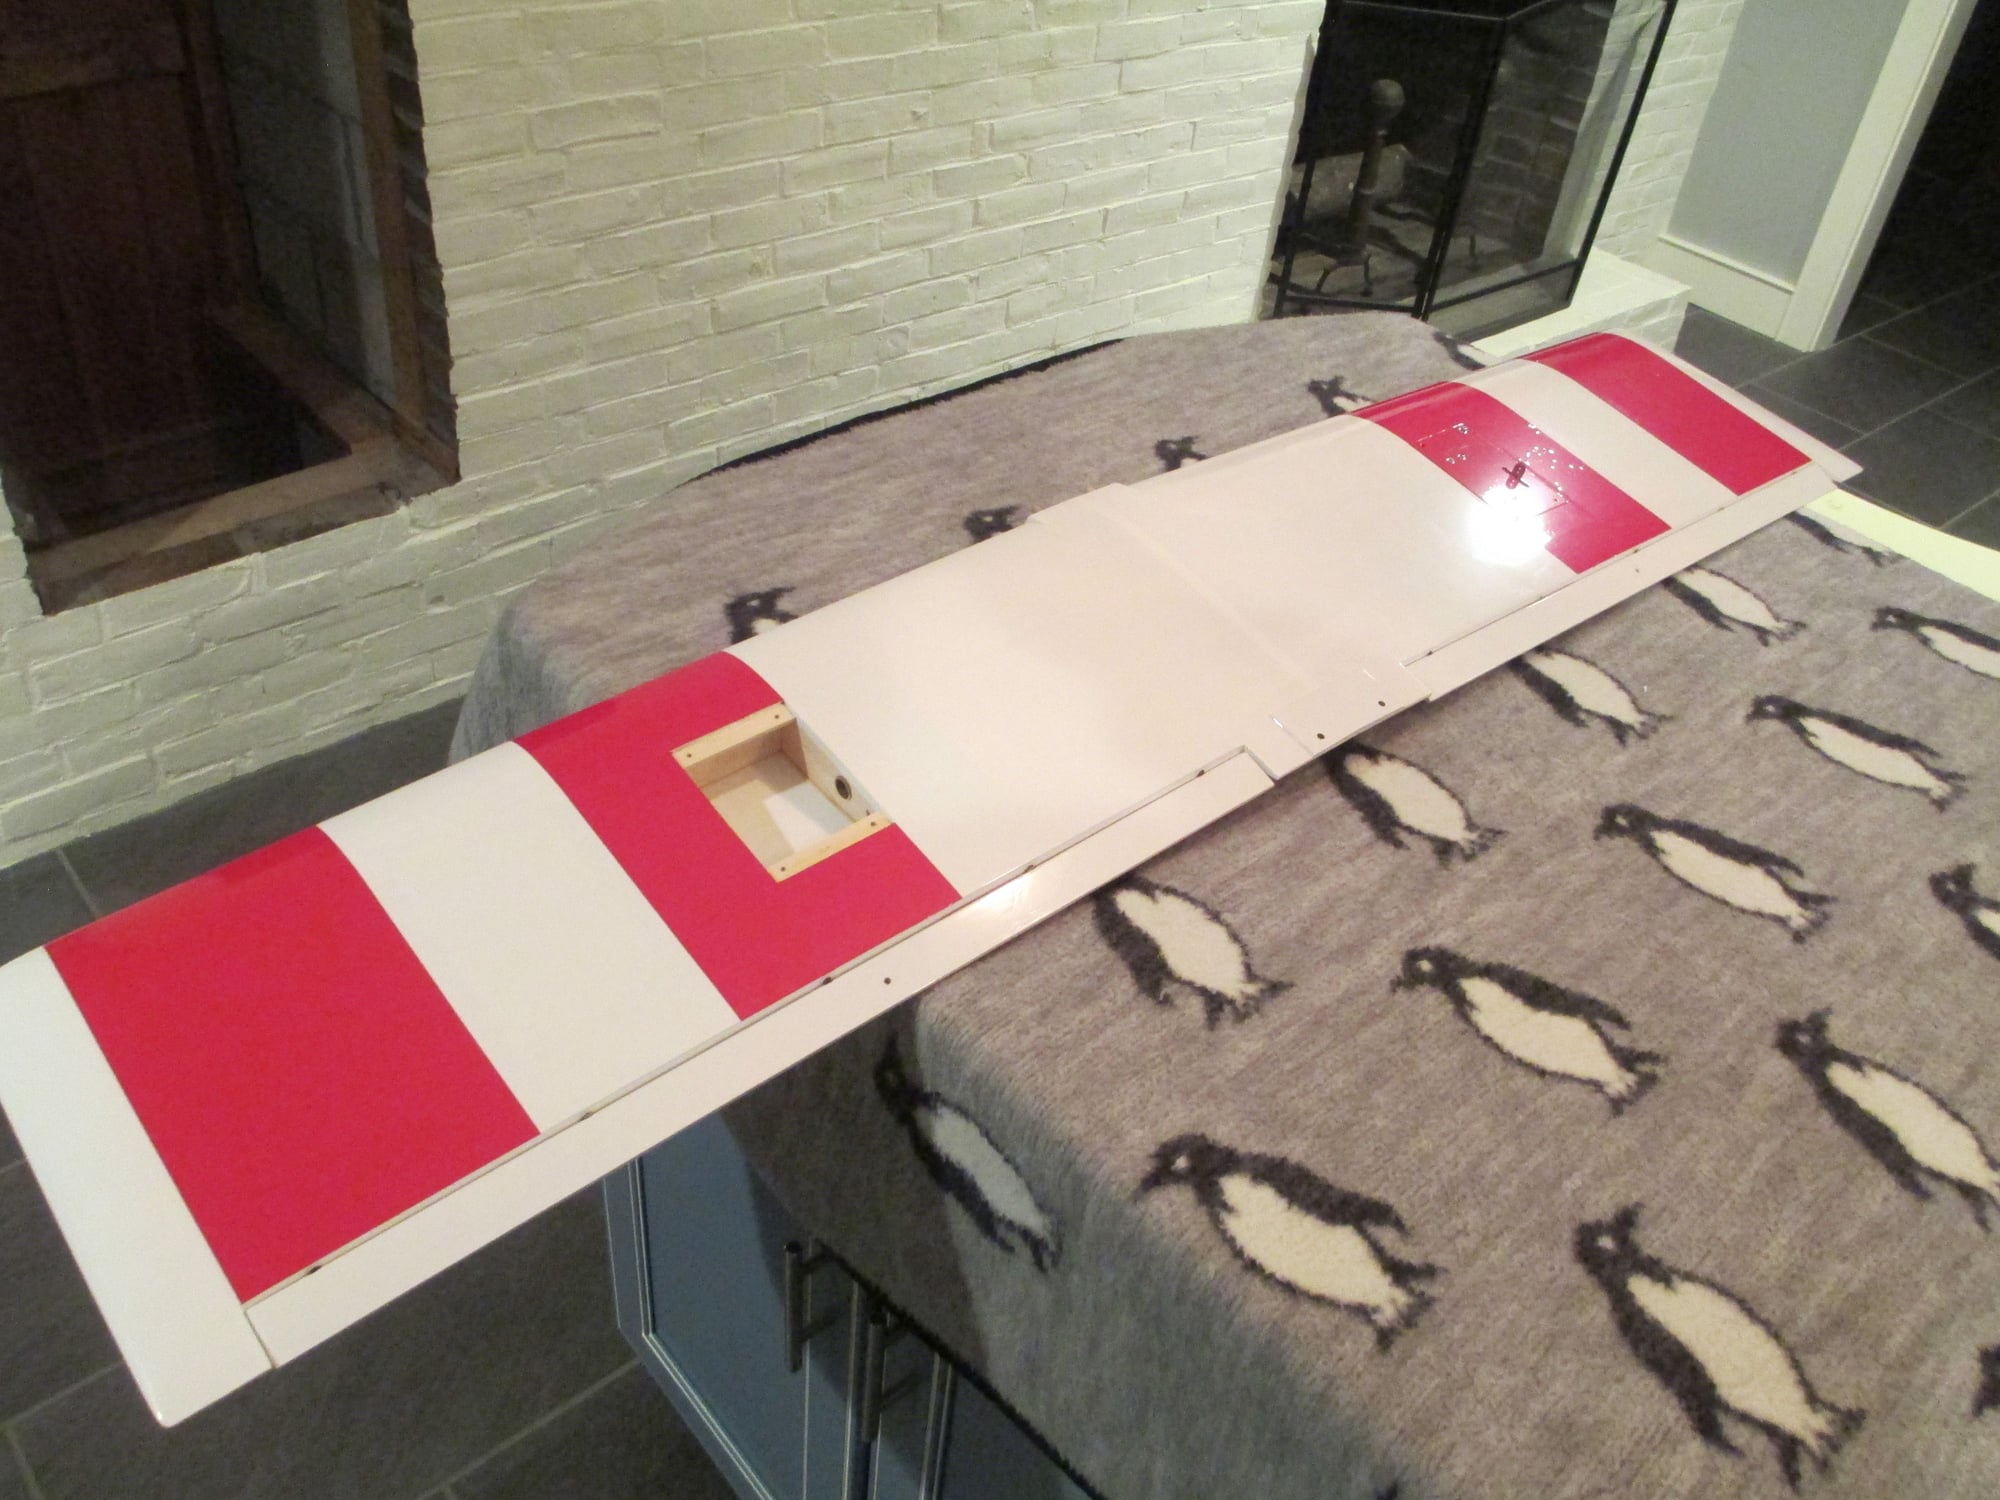
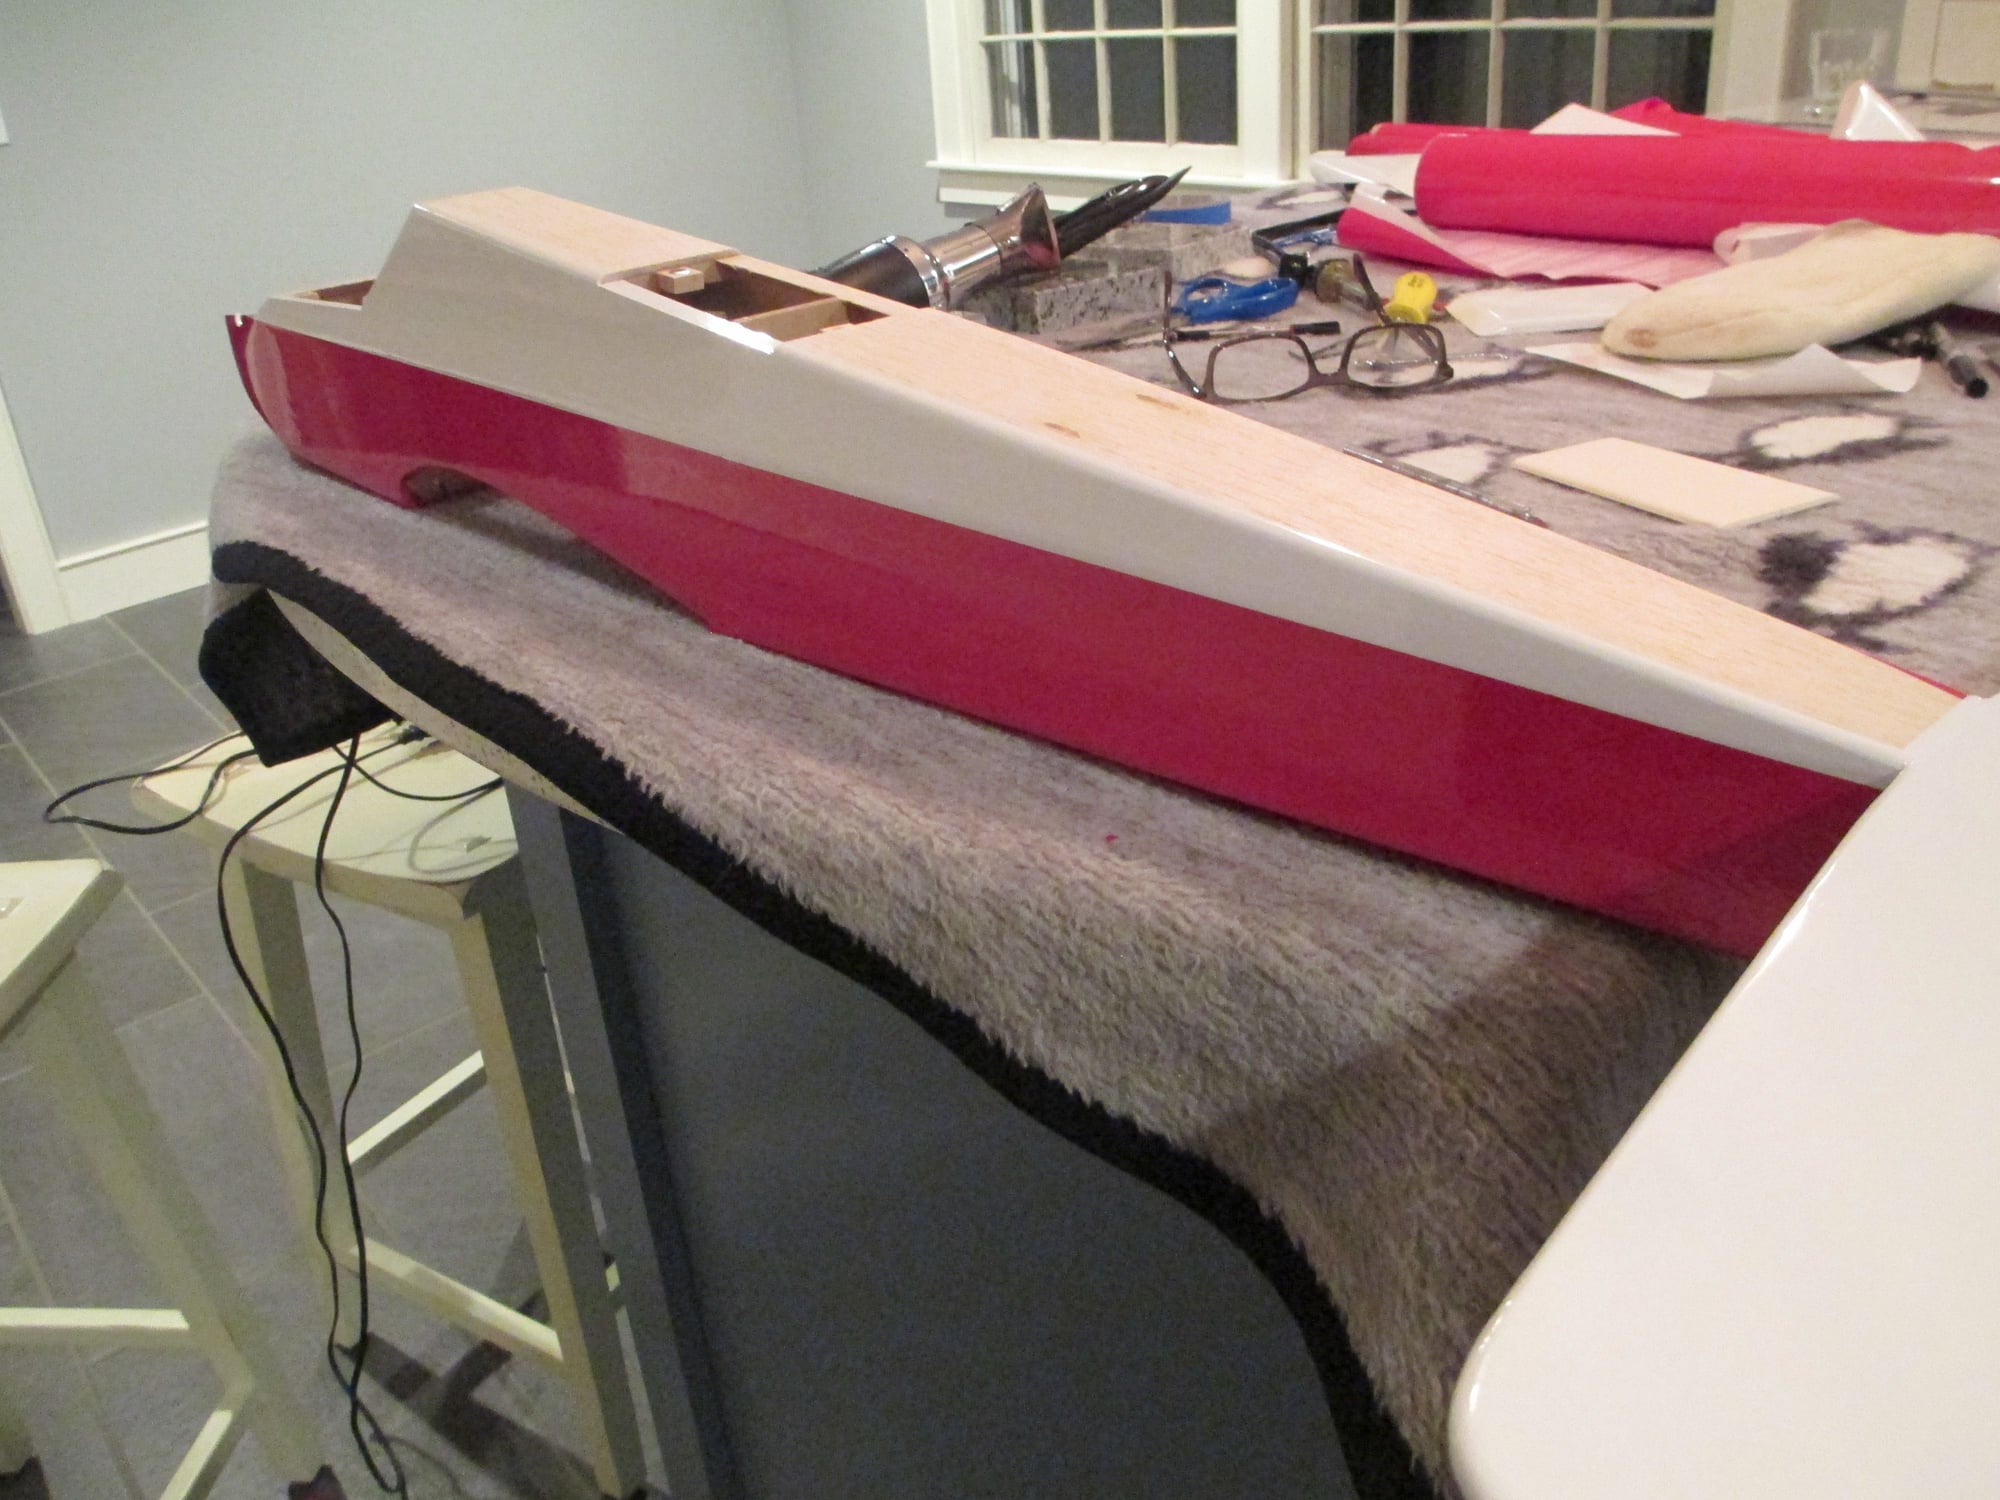
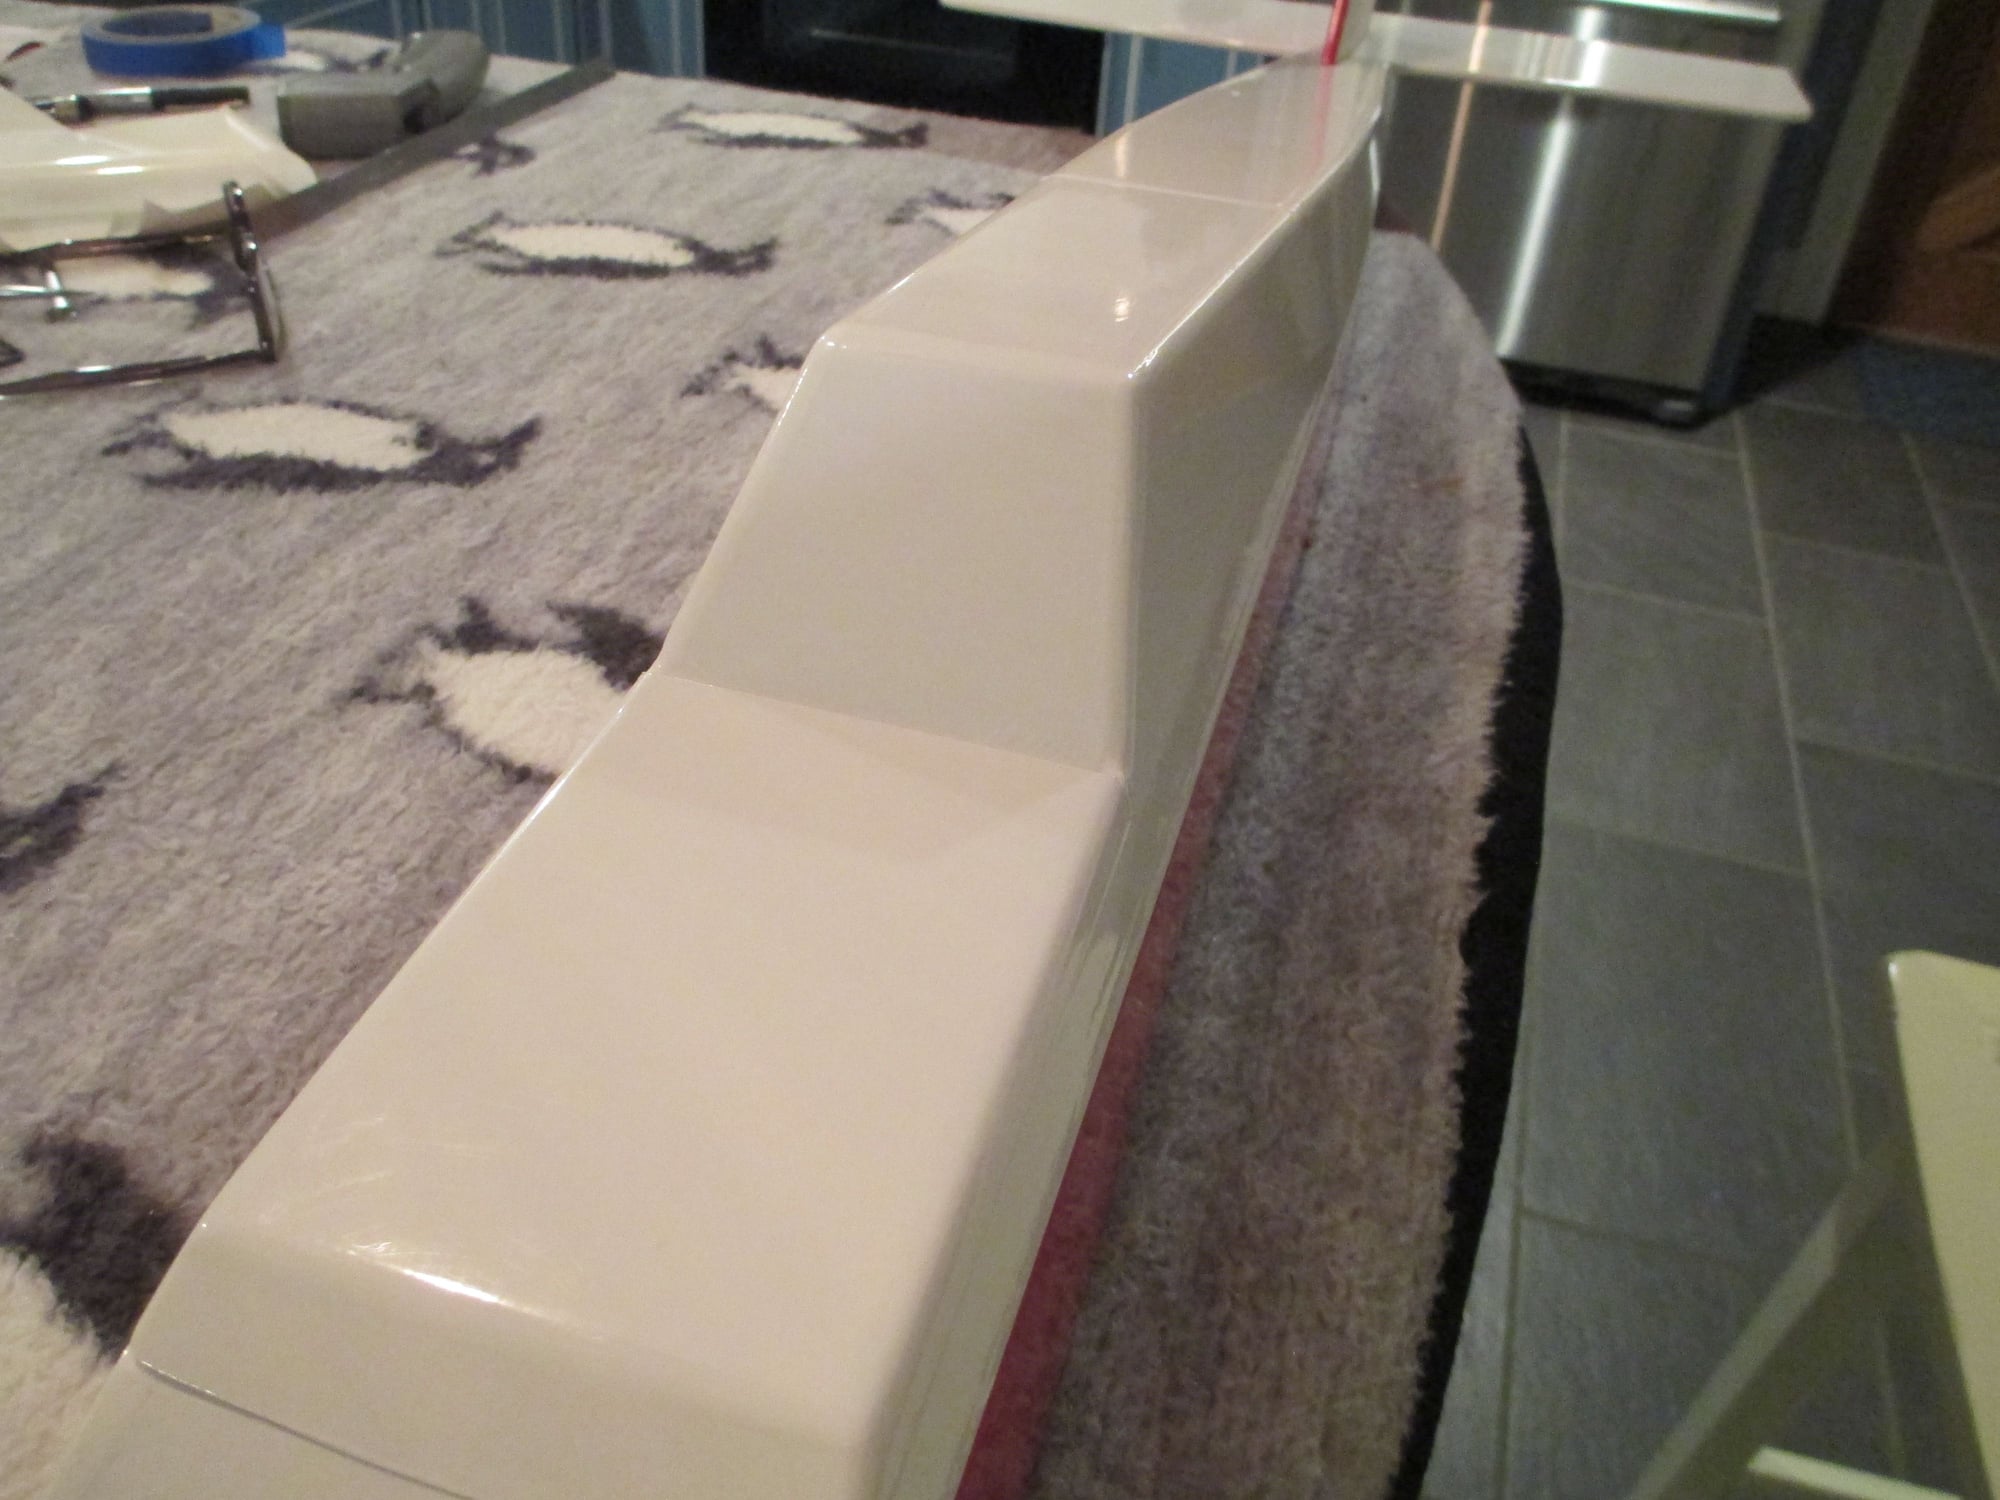
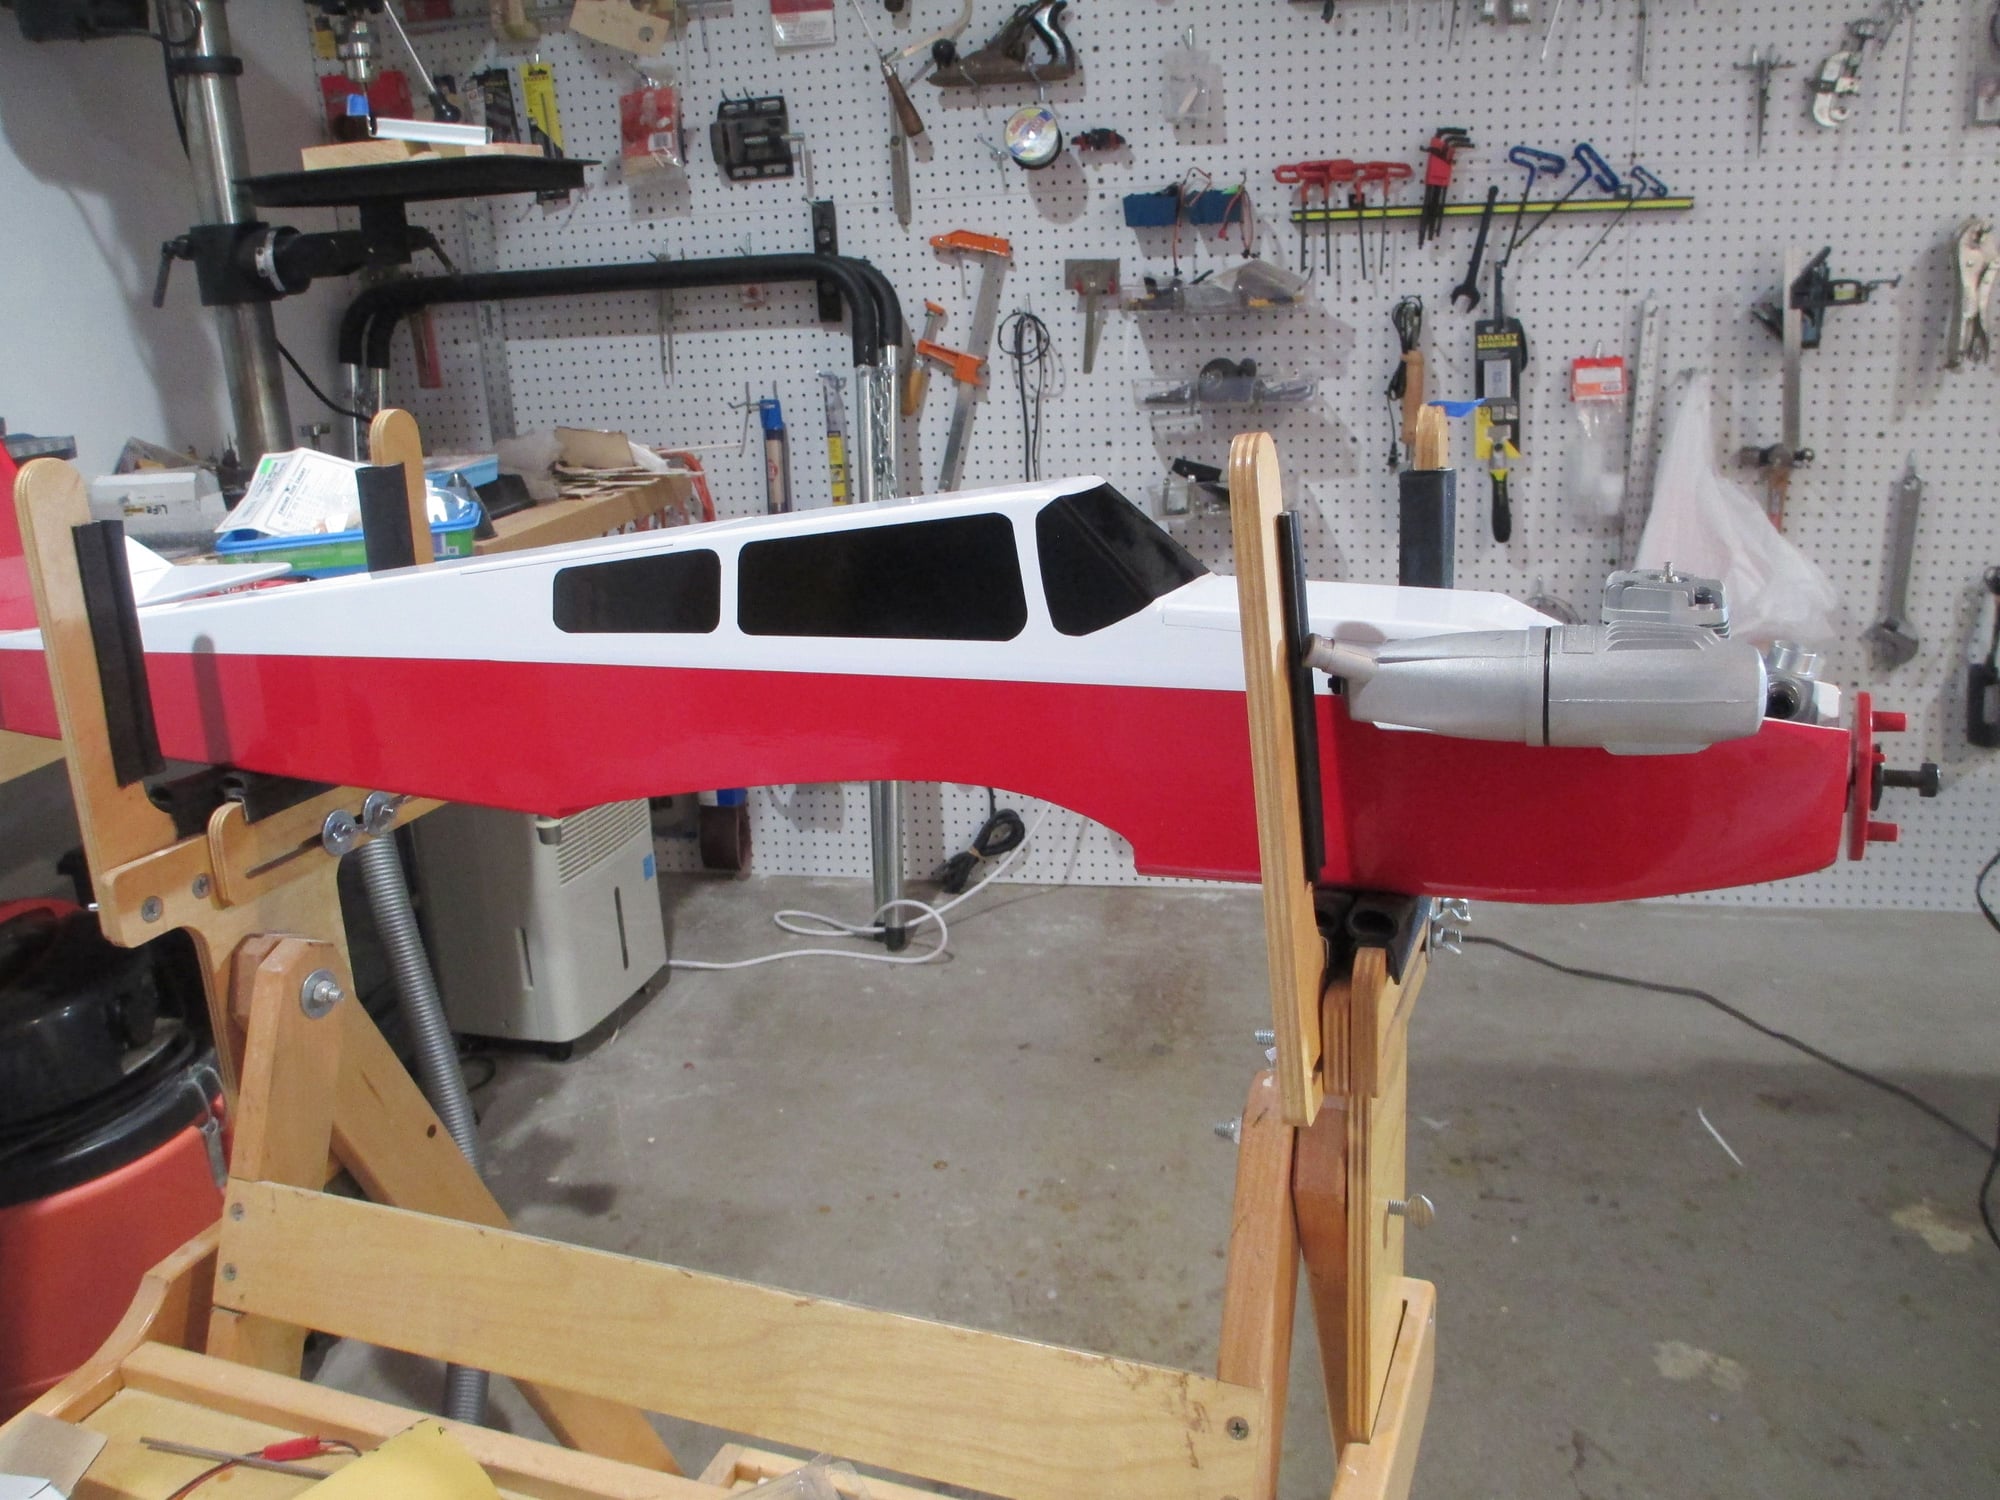
With the wing now complete it's time to get to work on the fuselage.
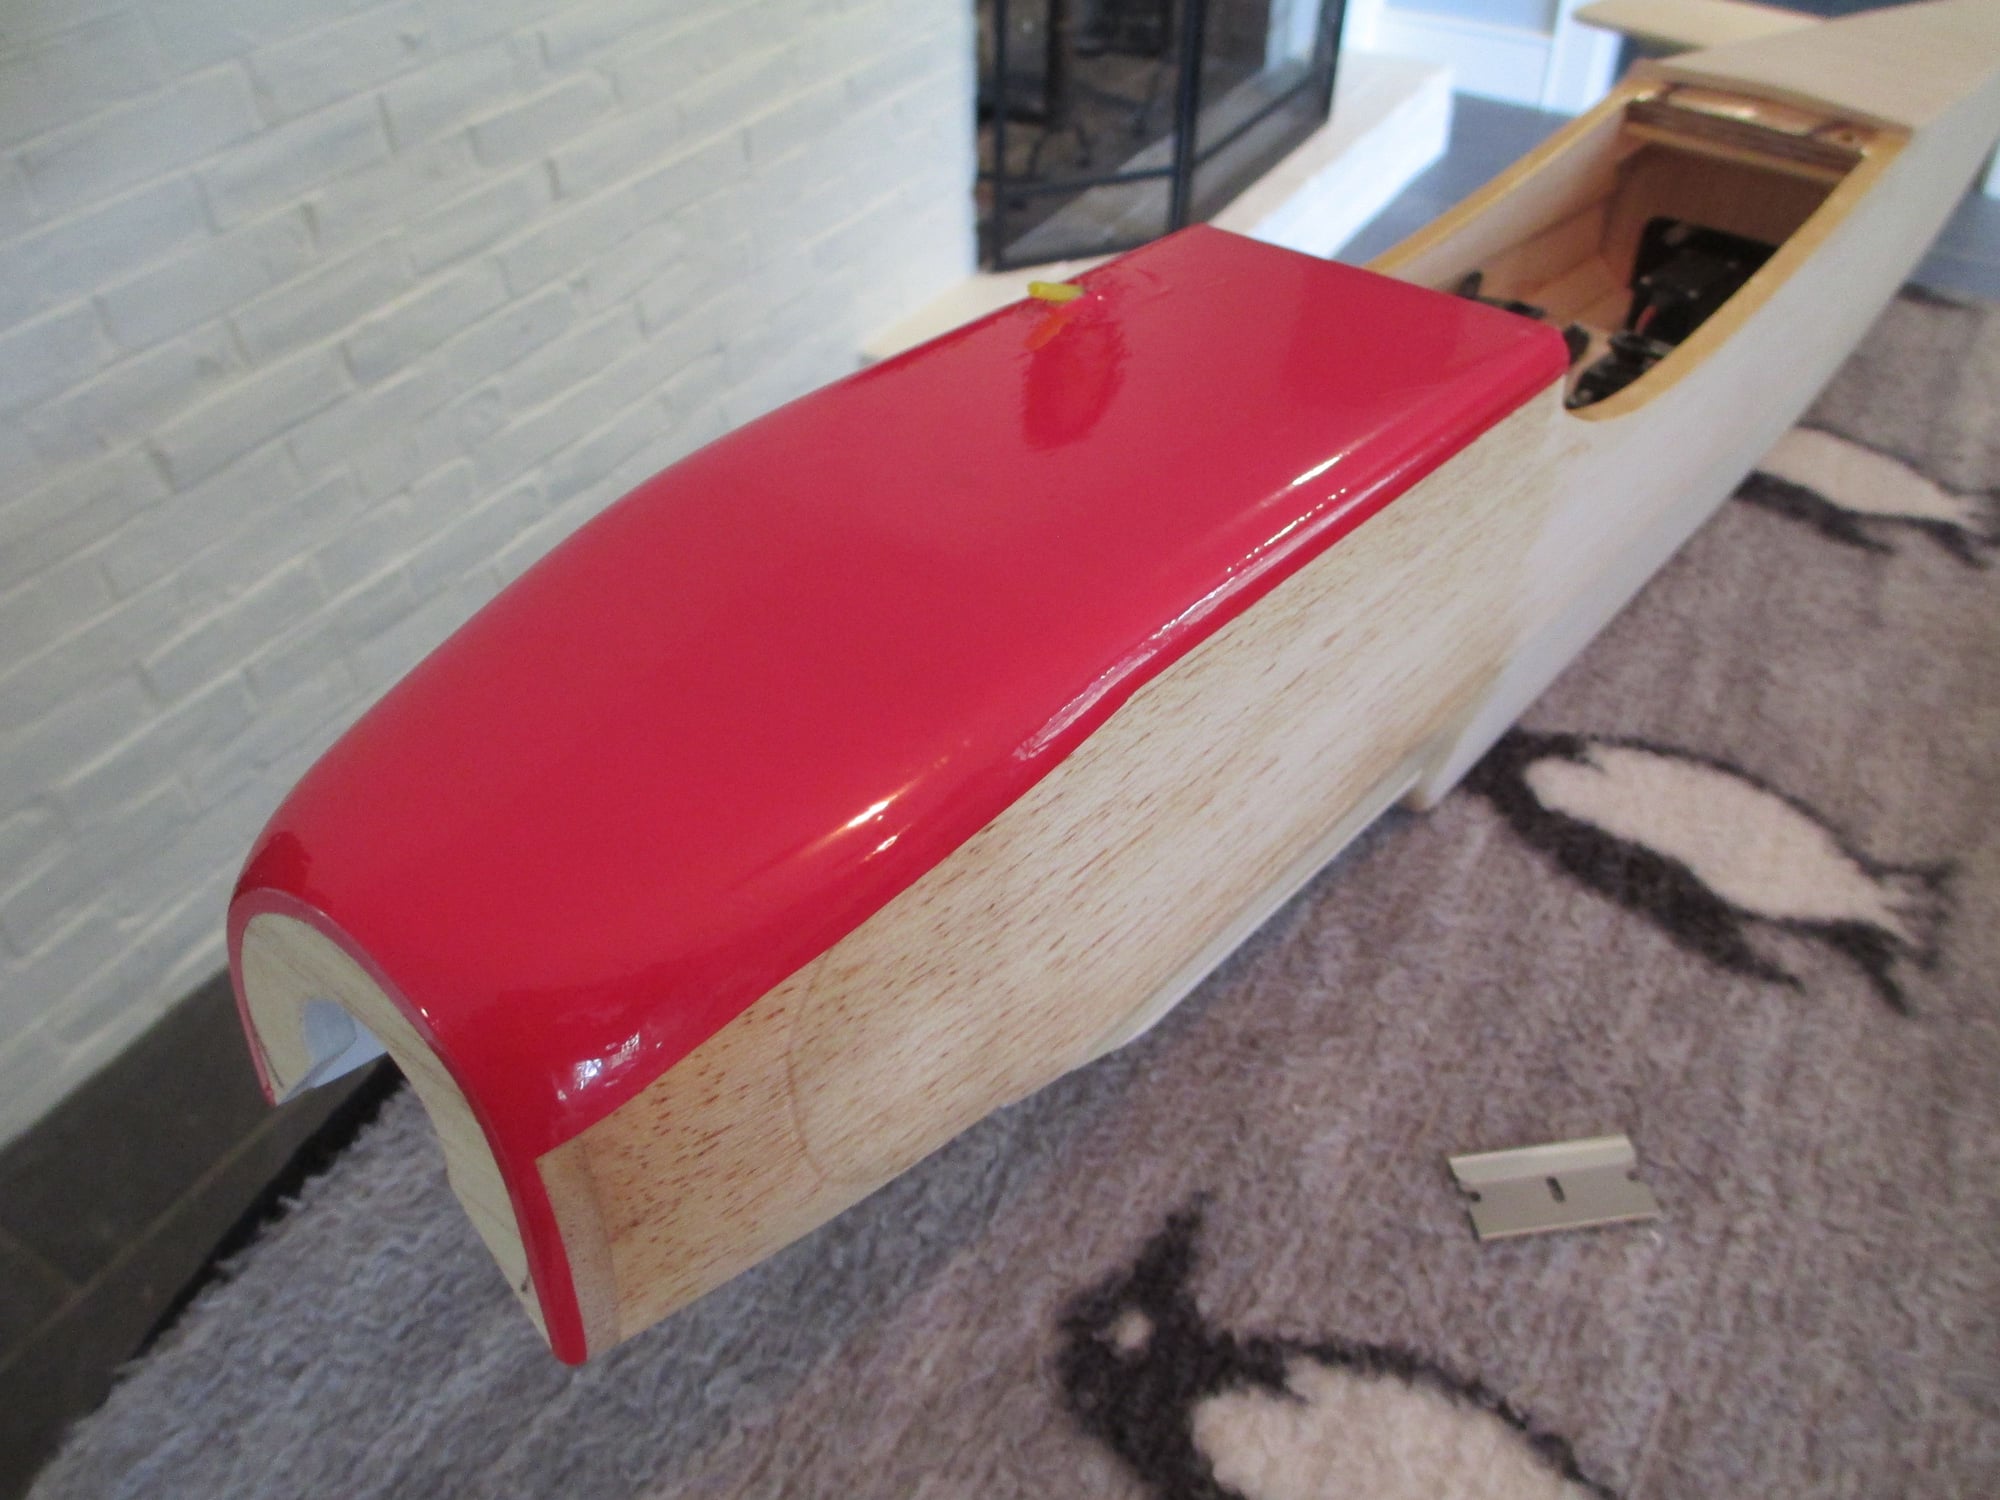
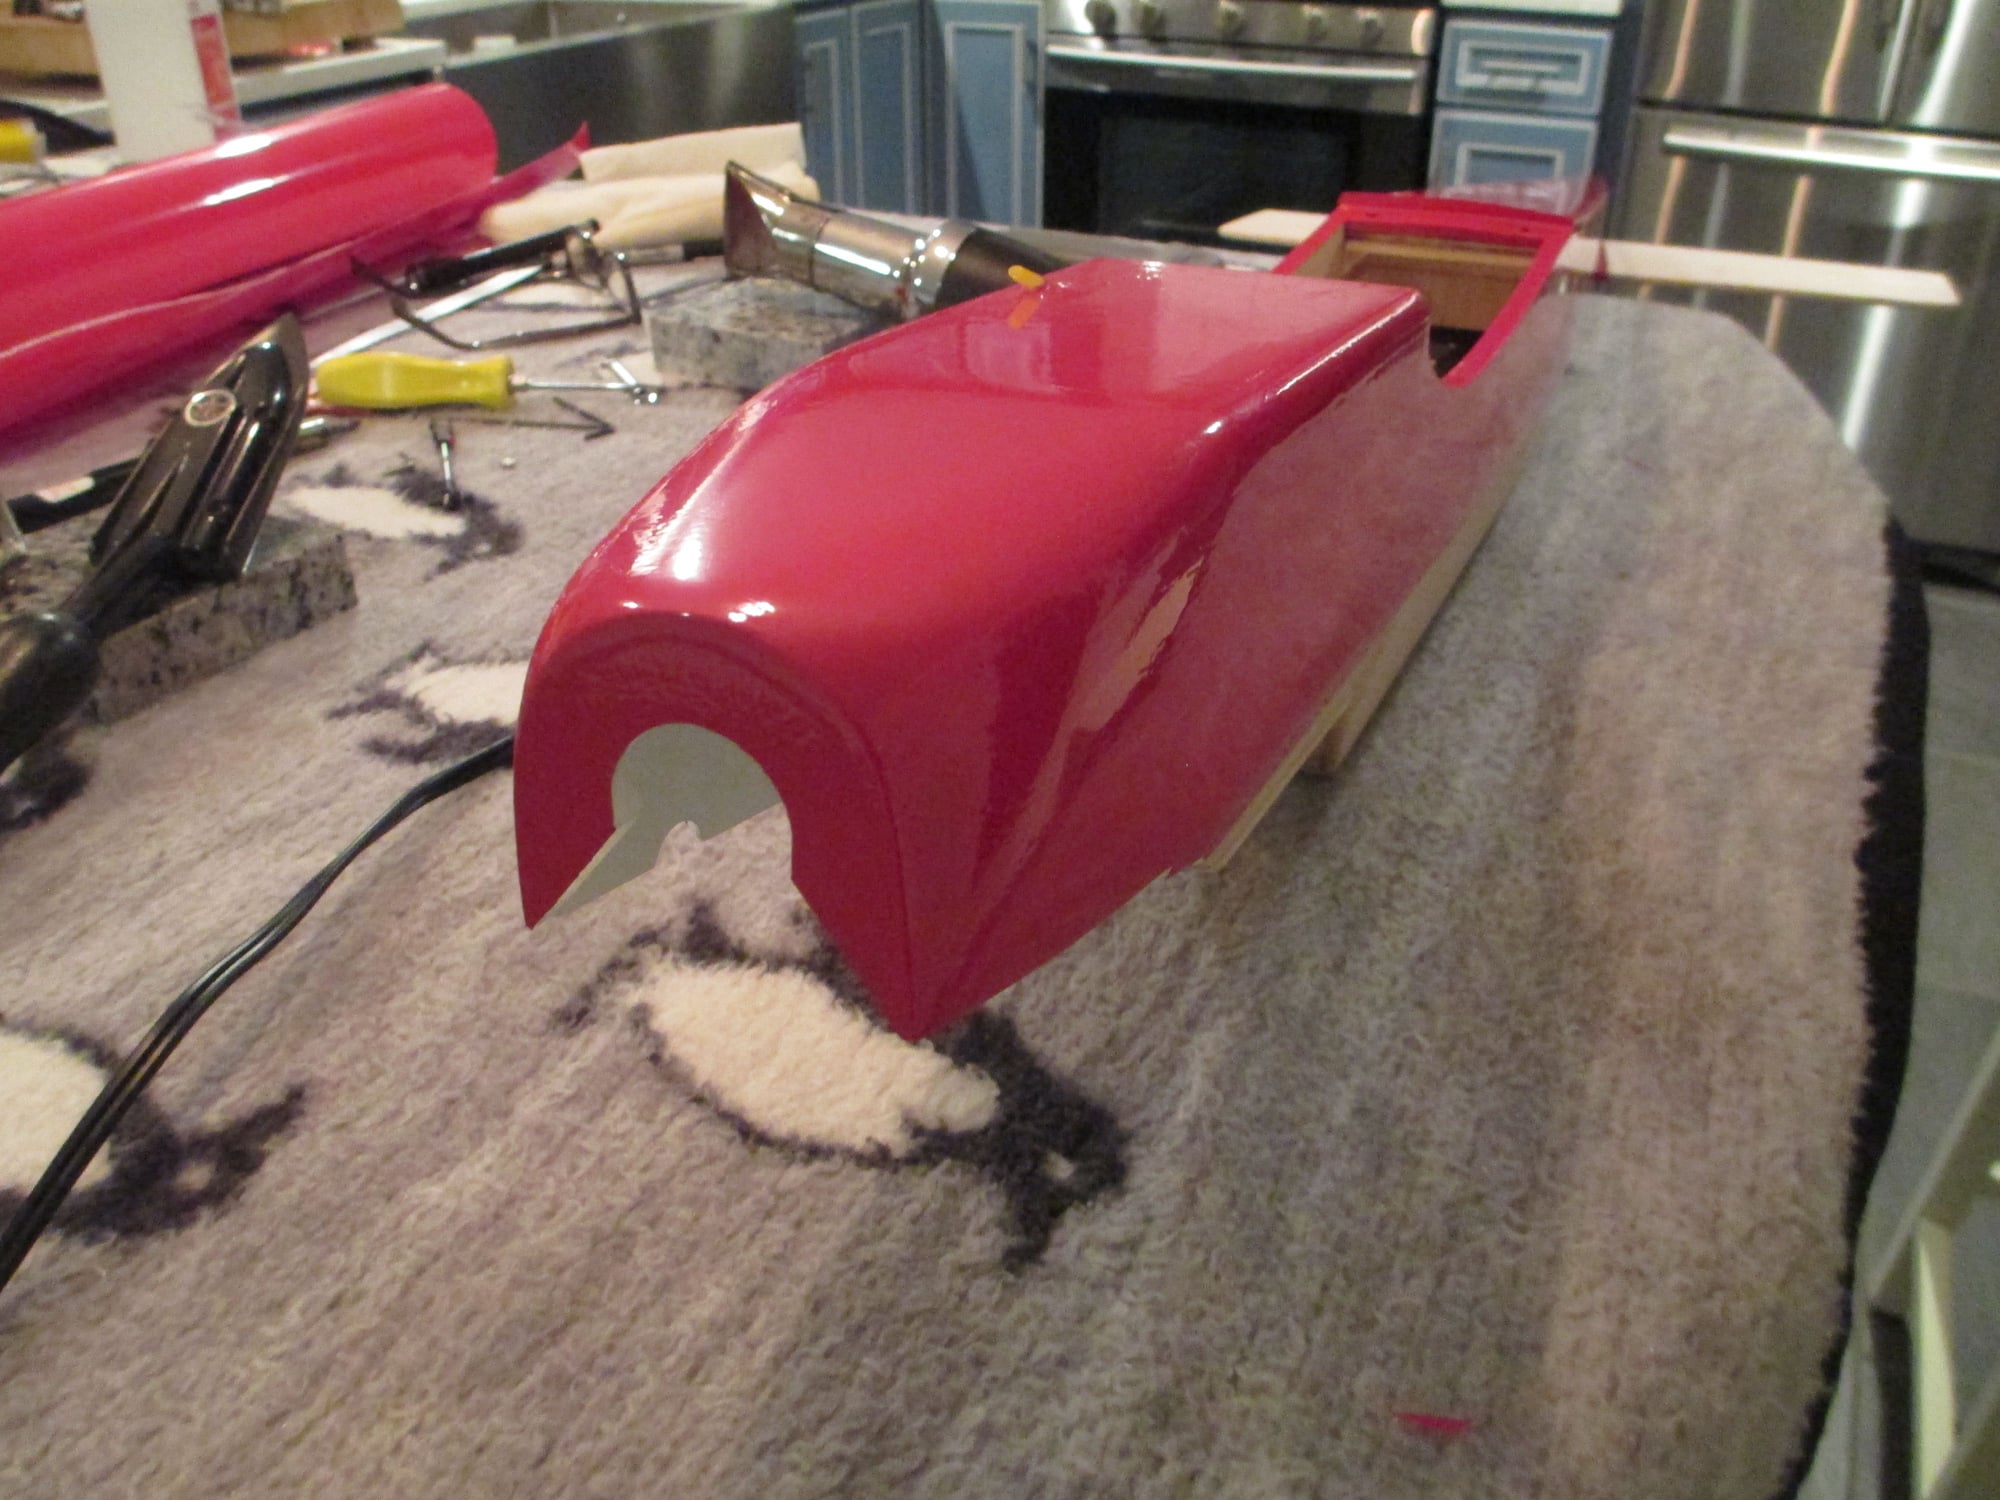
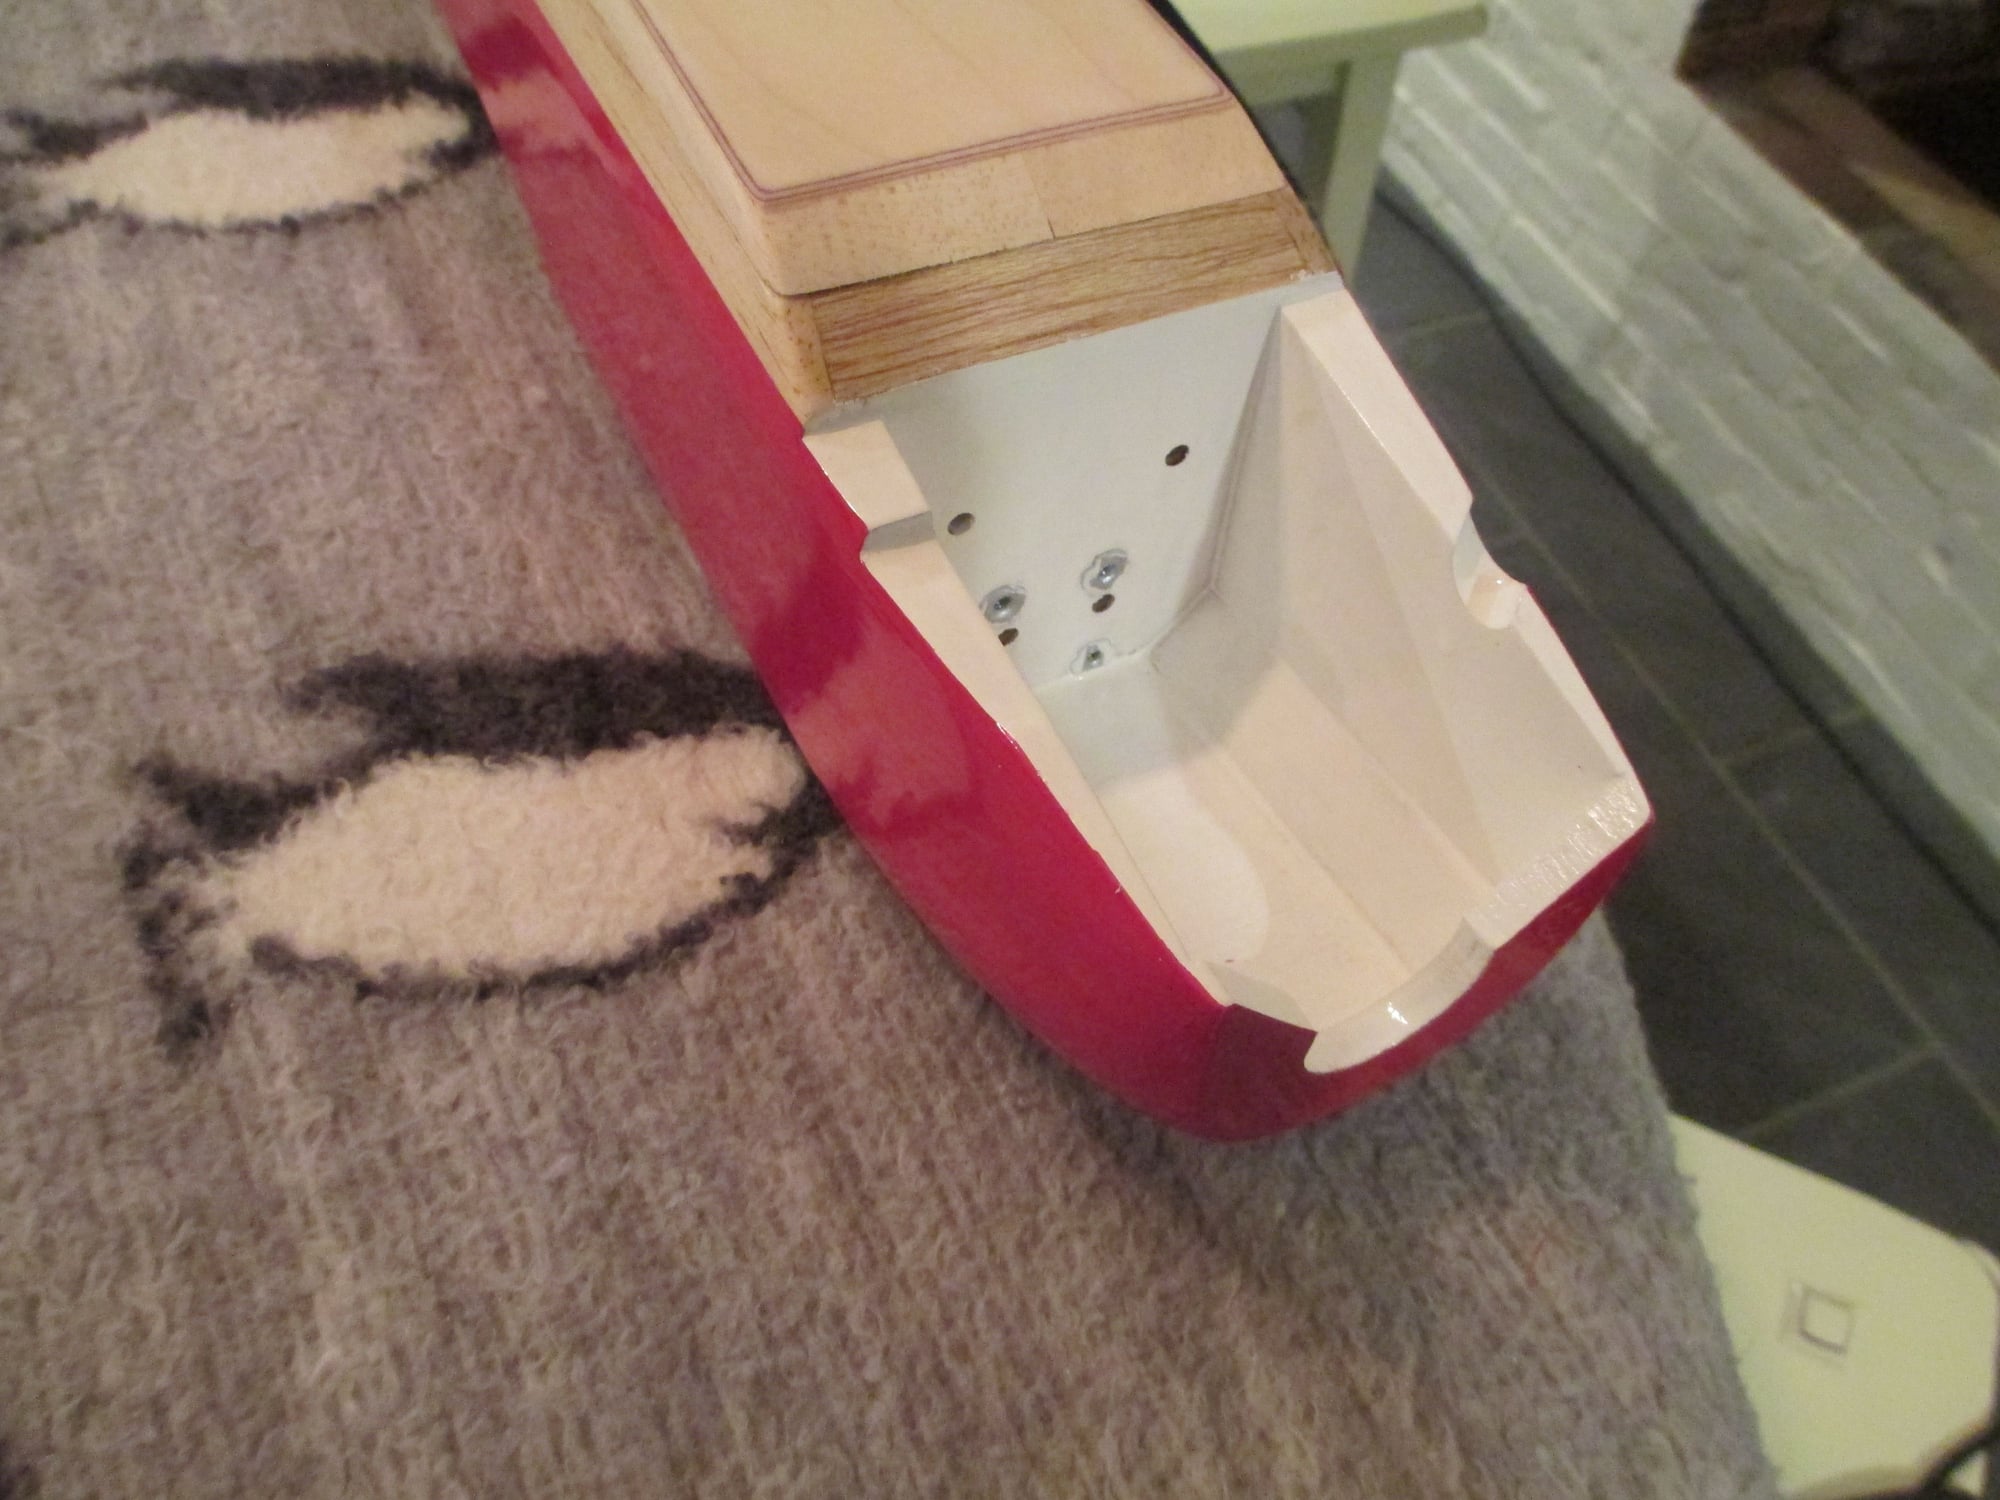
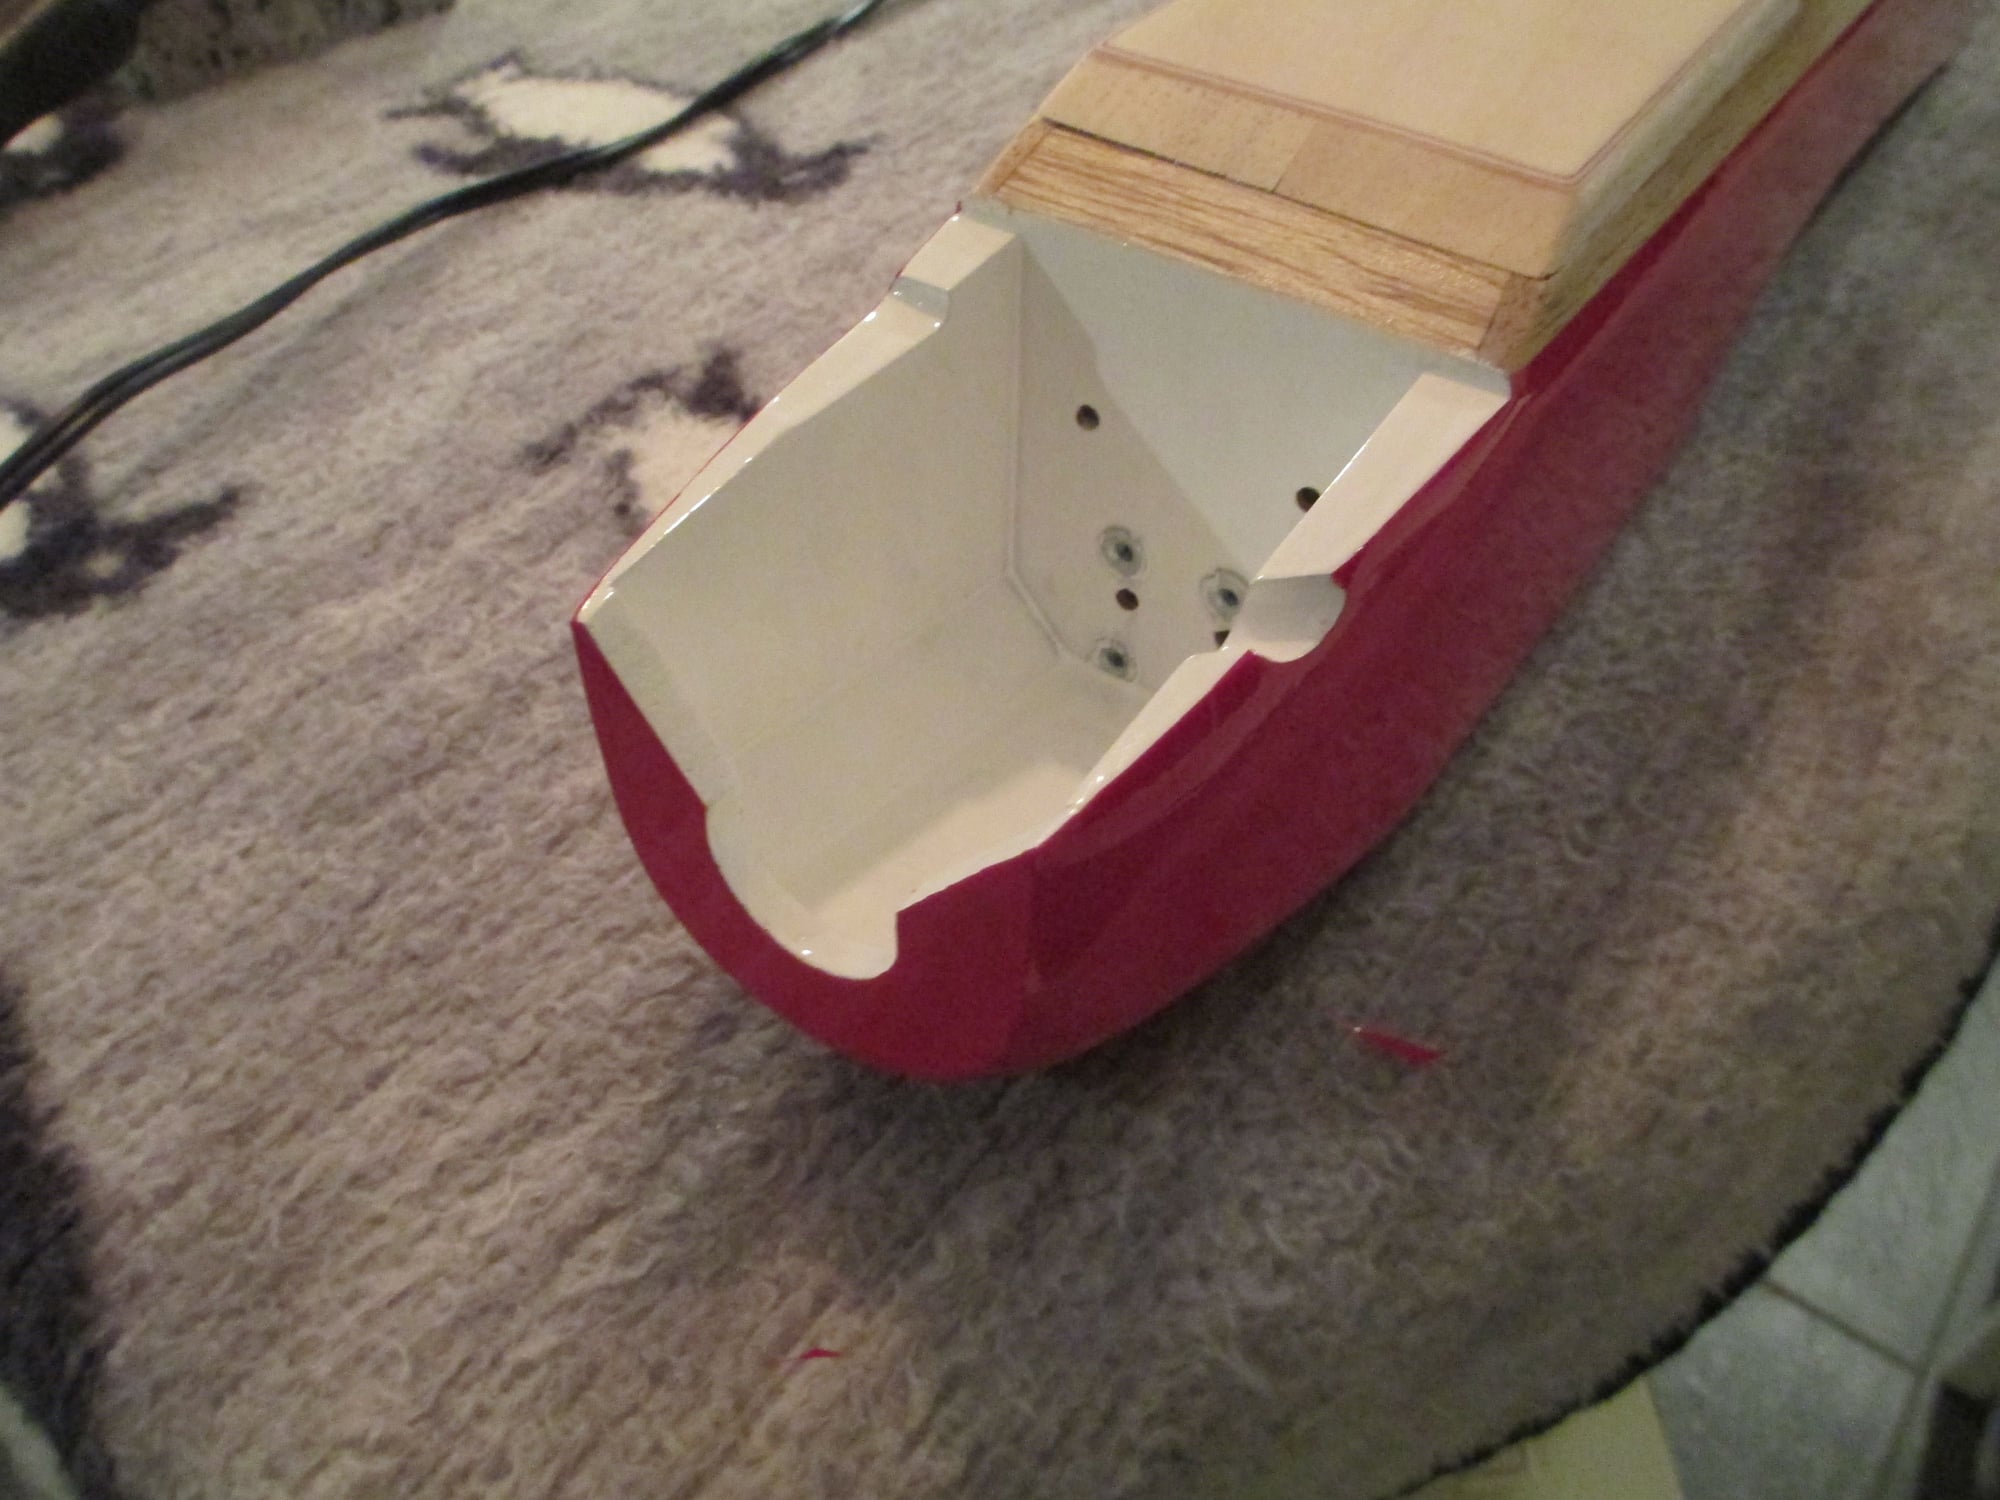
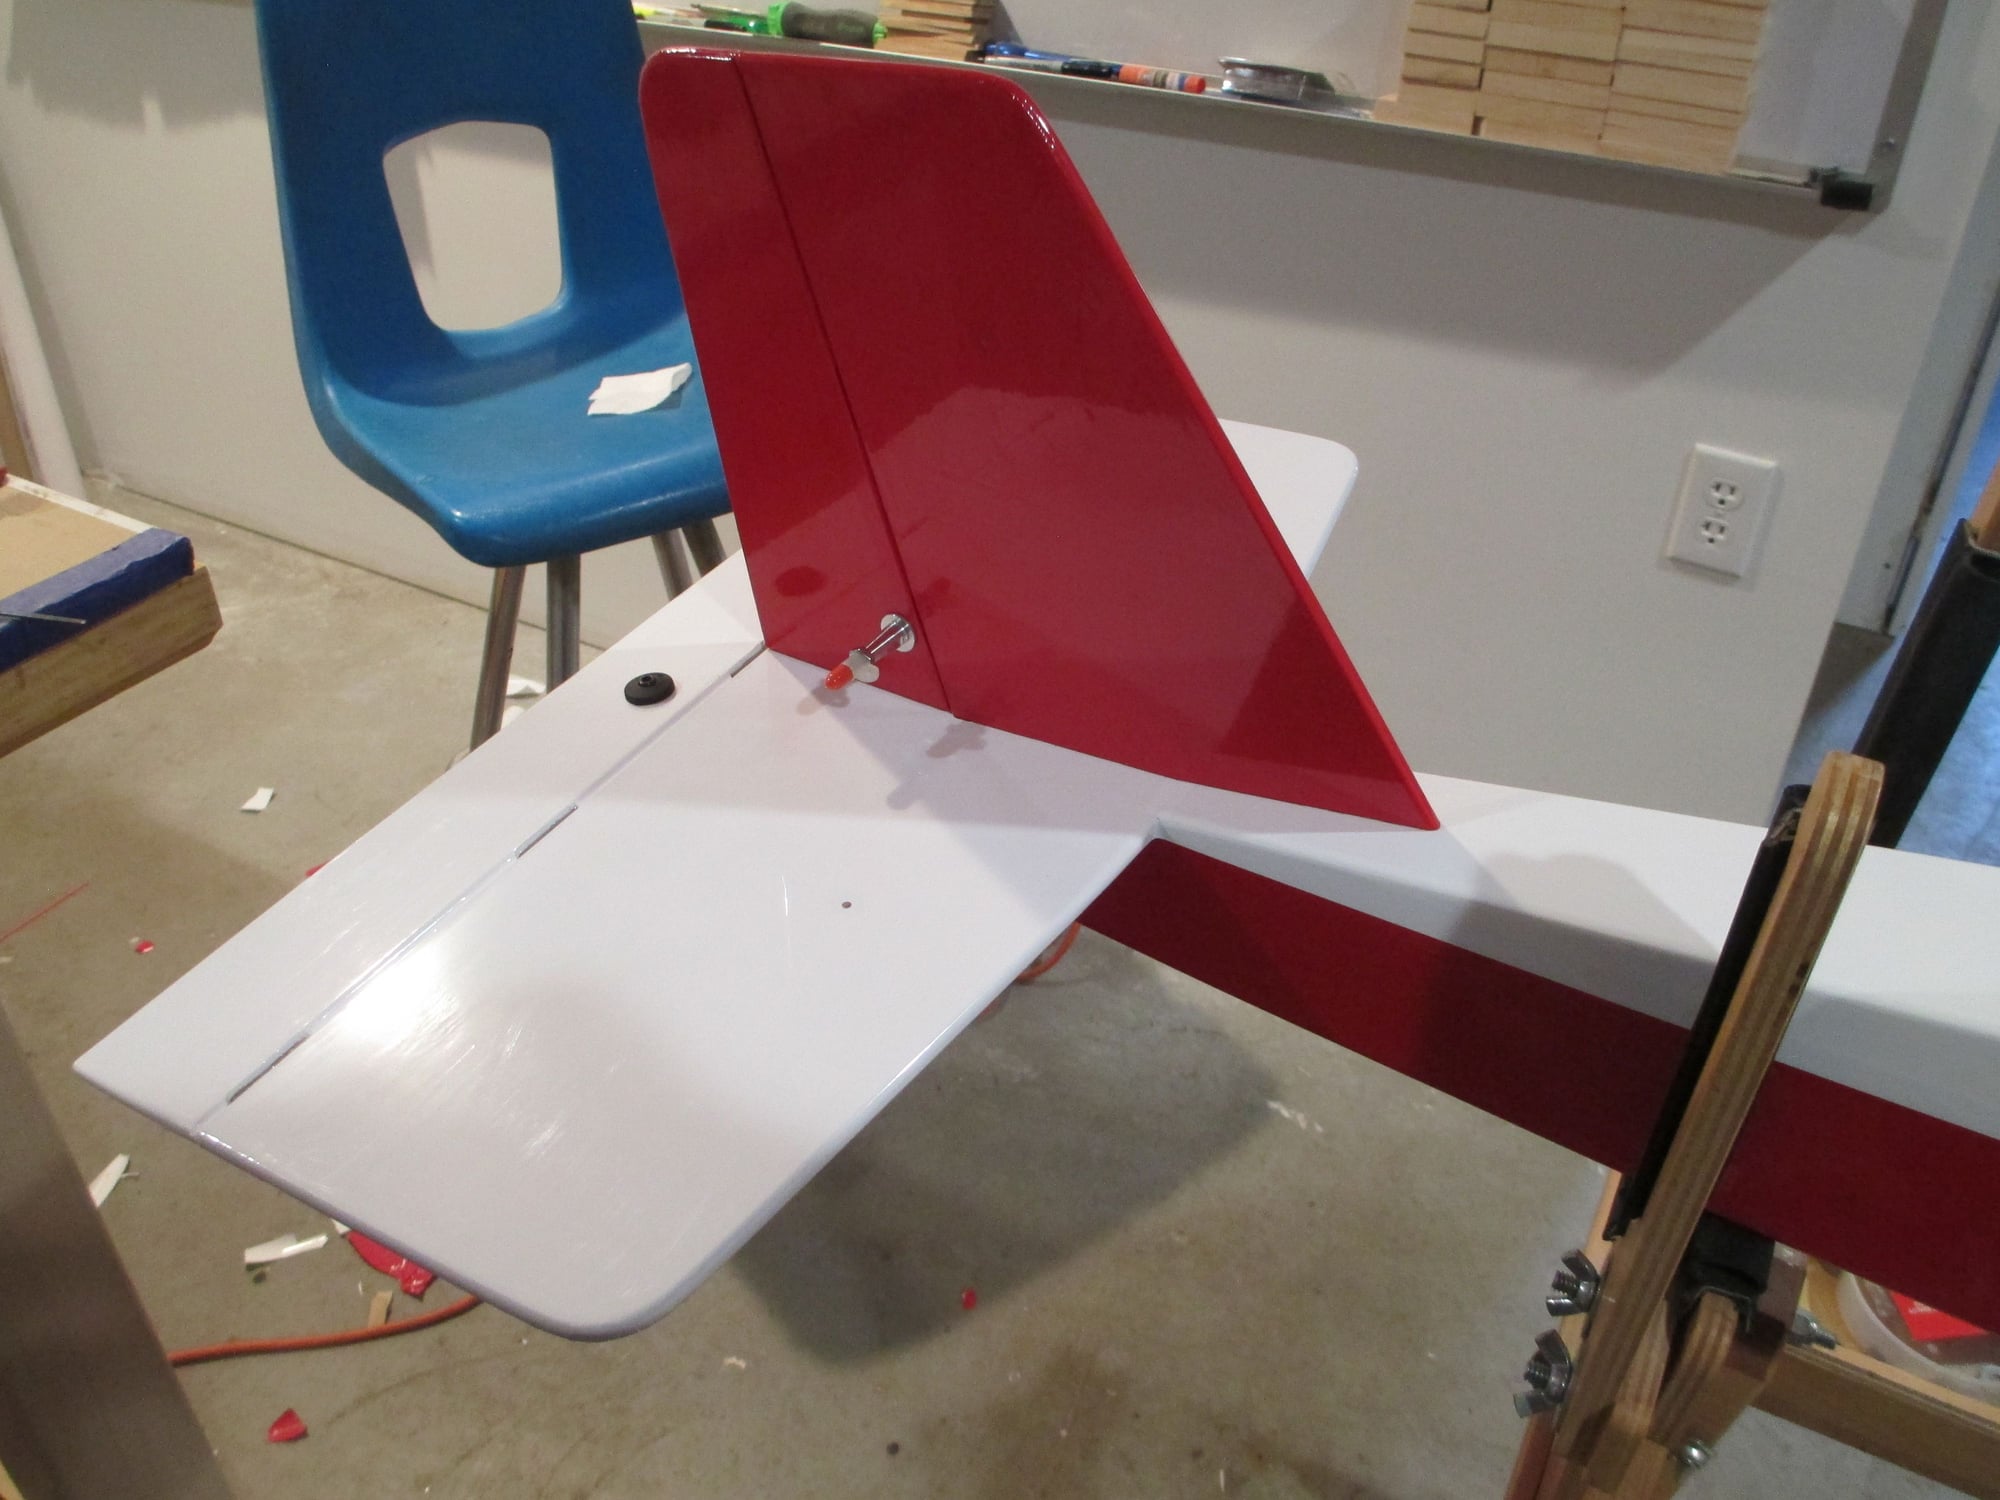
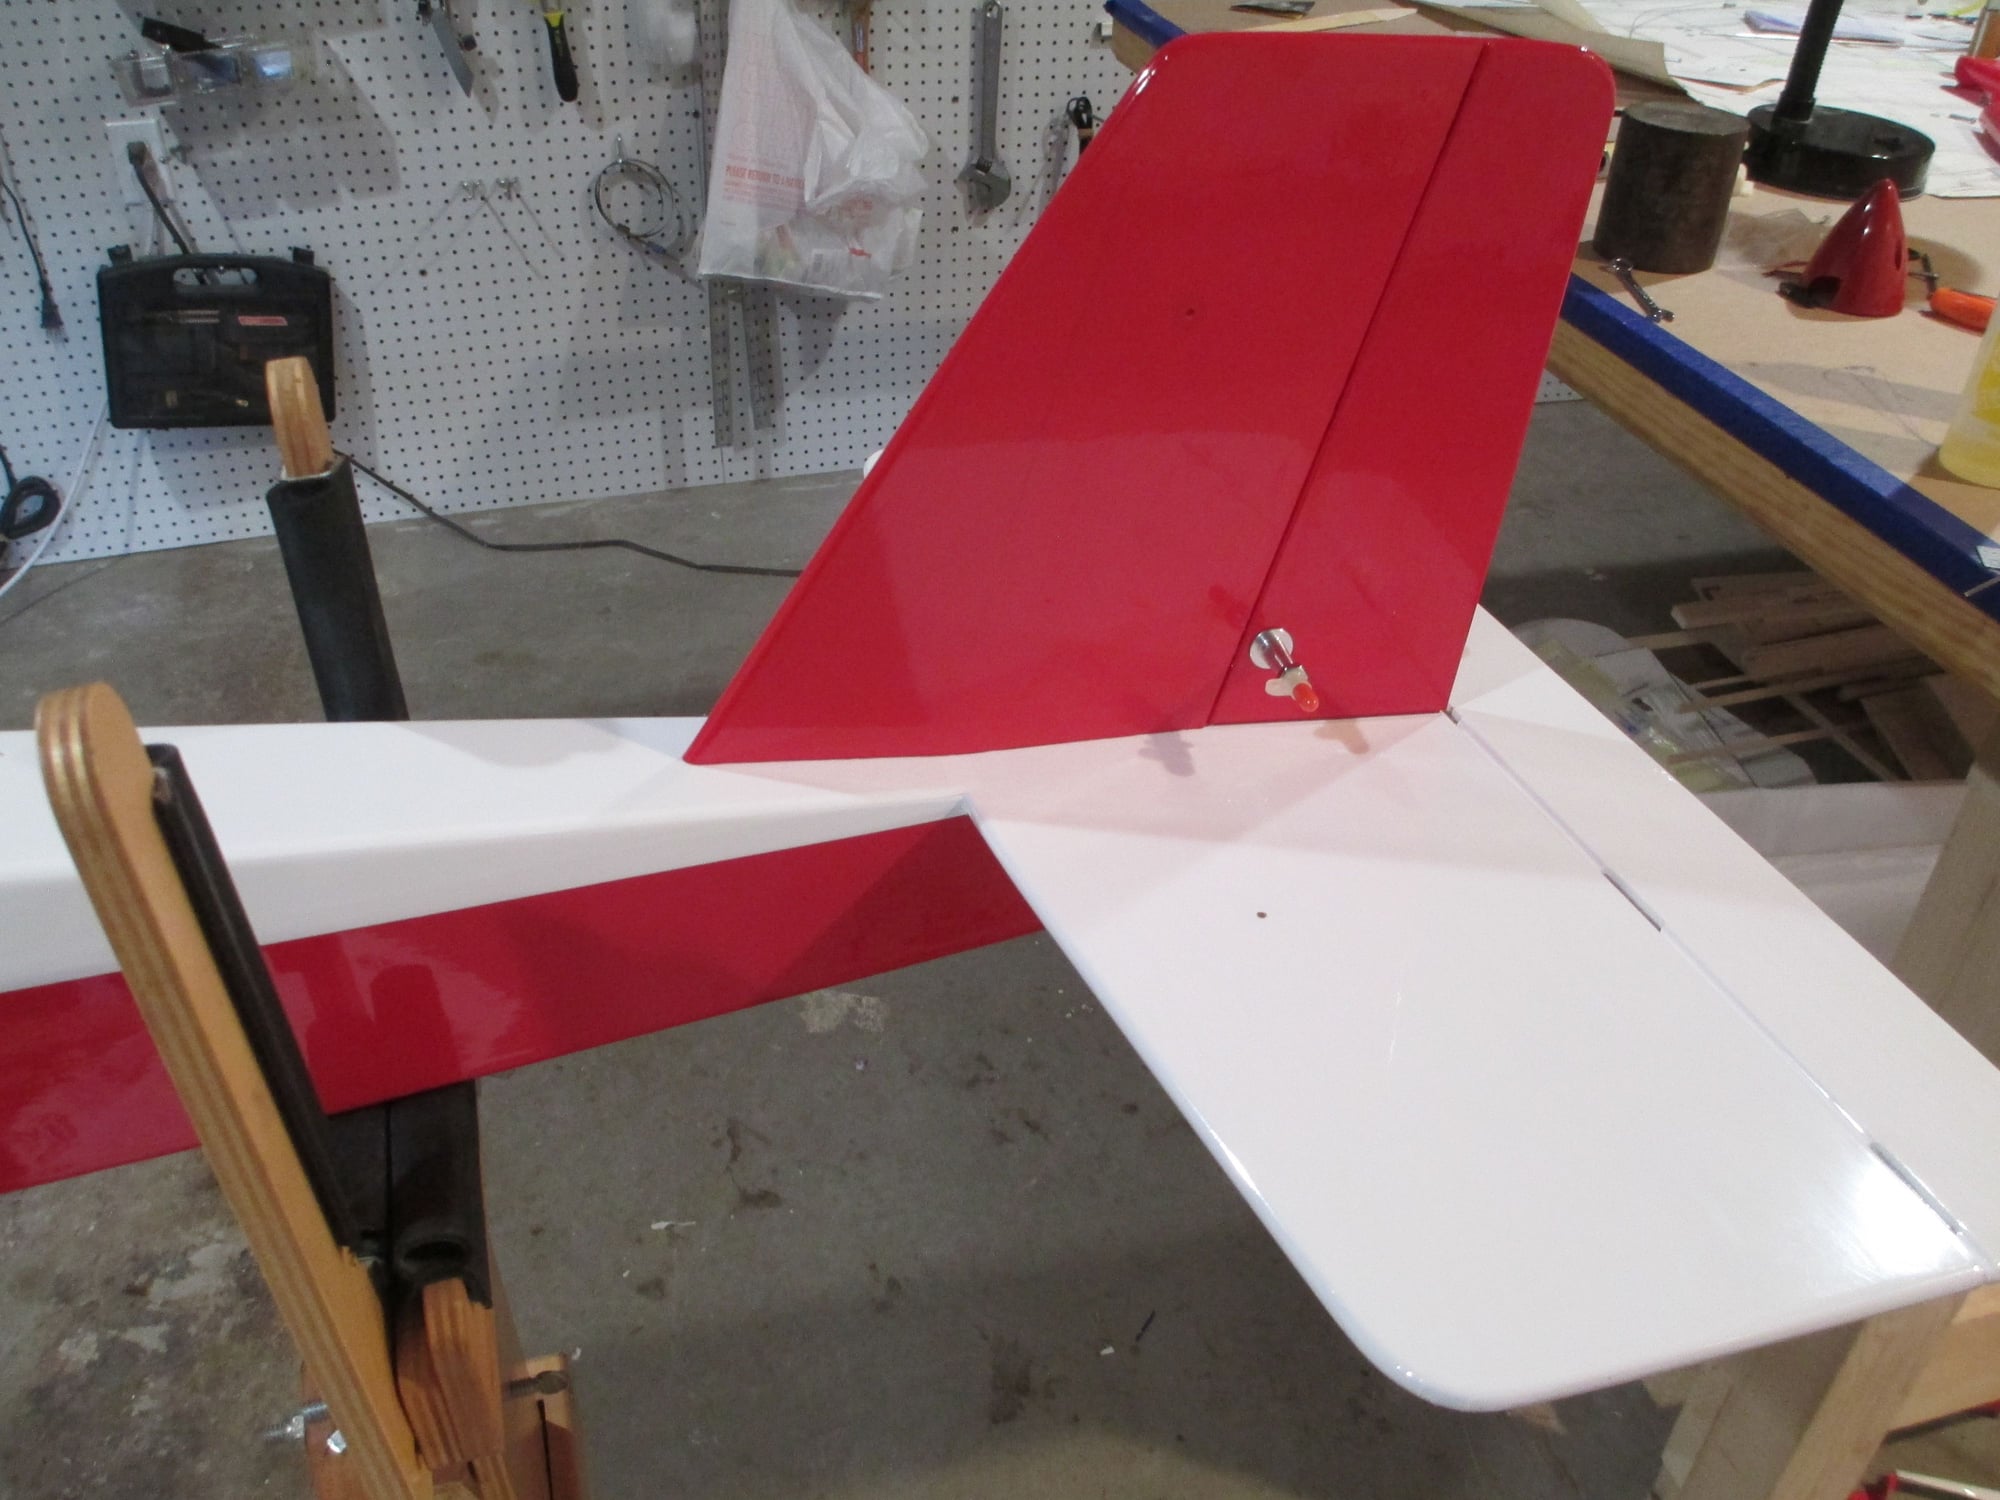
I decided to cover the bottom first then move onto the sides. The front of the nose was a bit troublesome to cover, but I got it done. (This bottom section was done in one piece.)
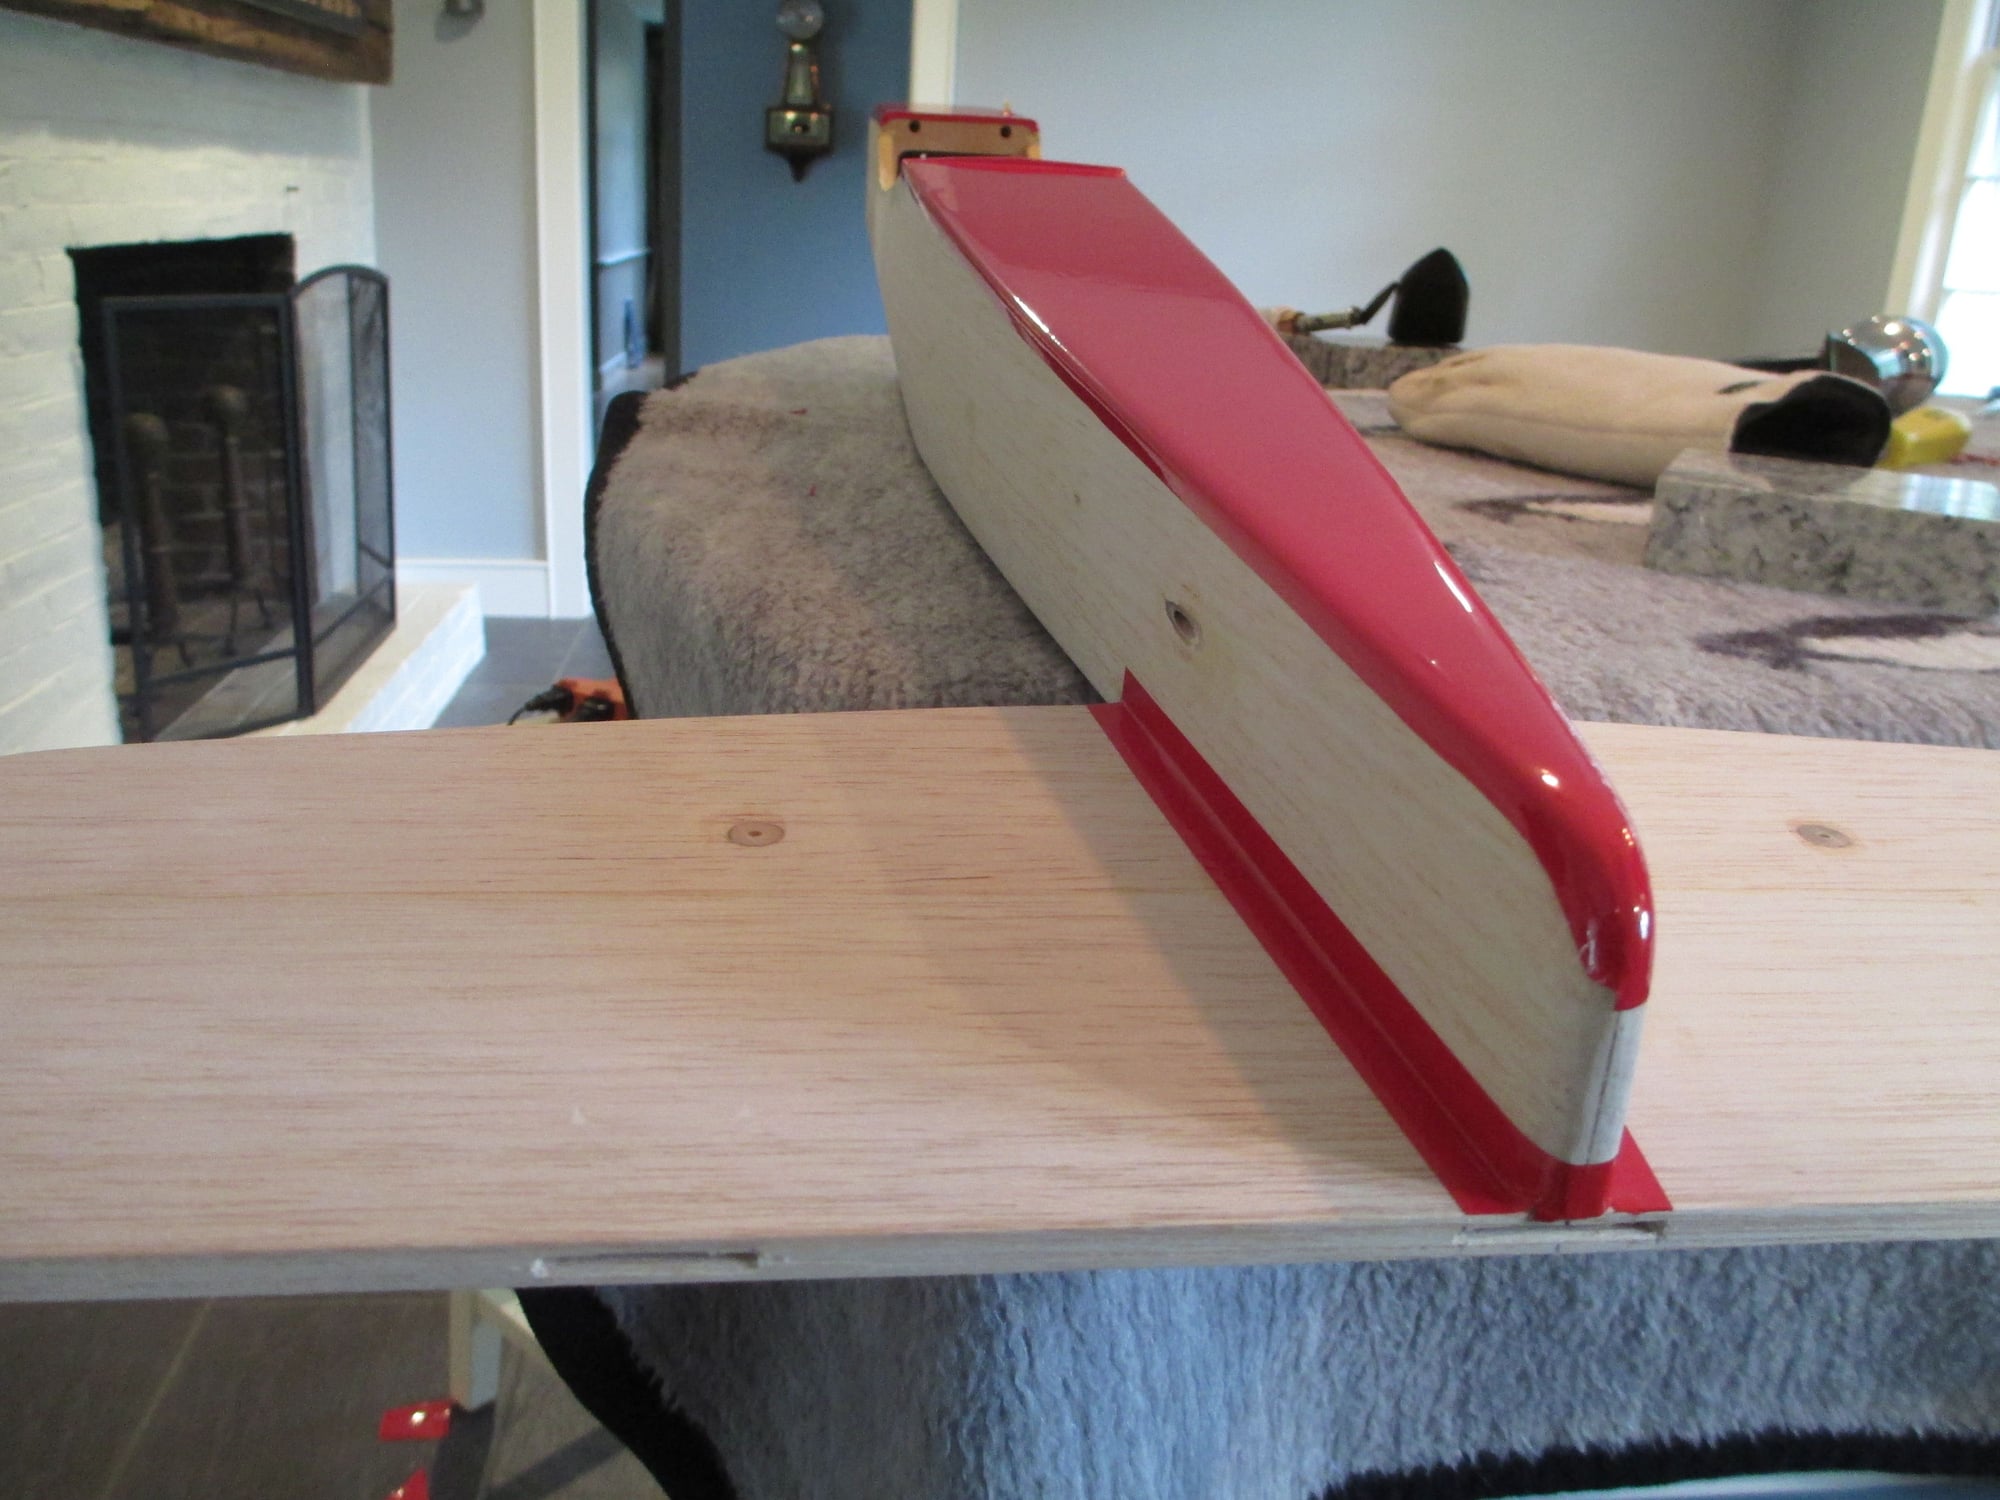
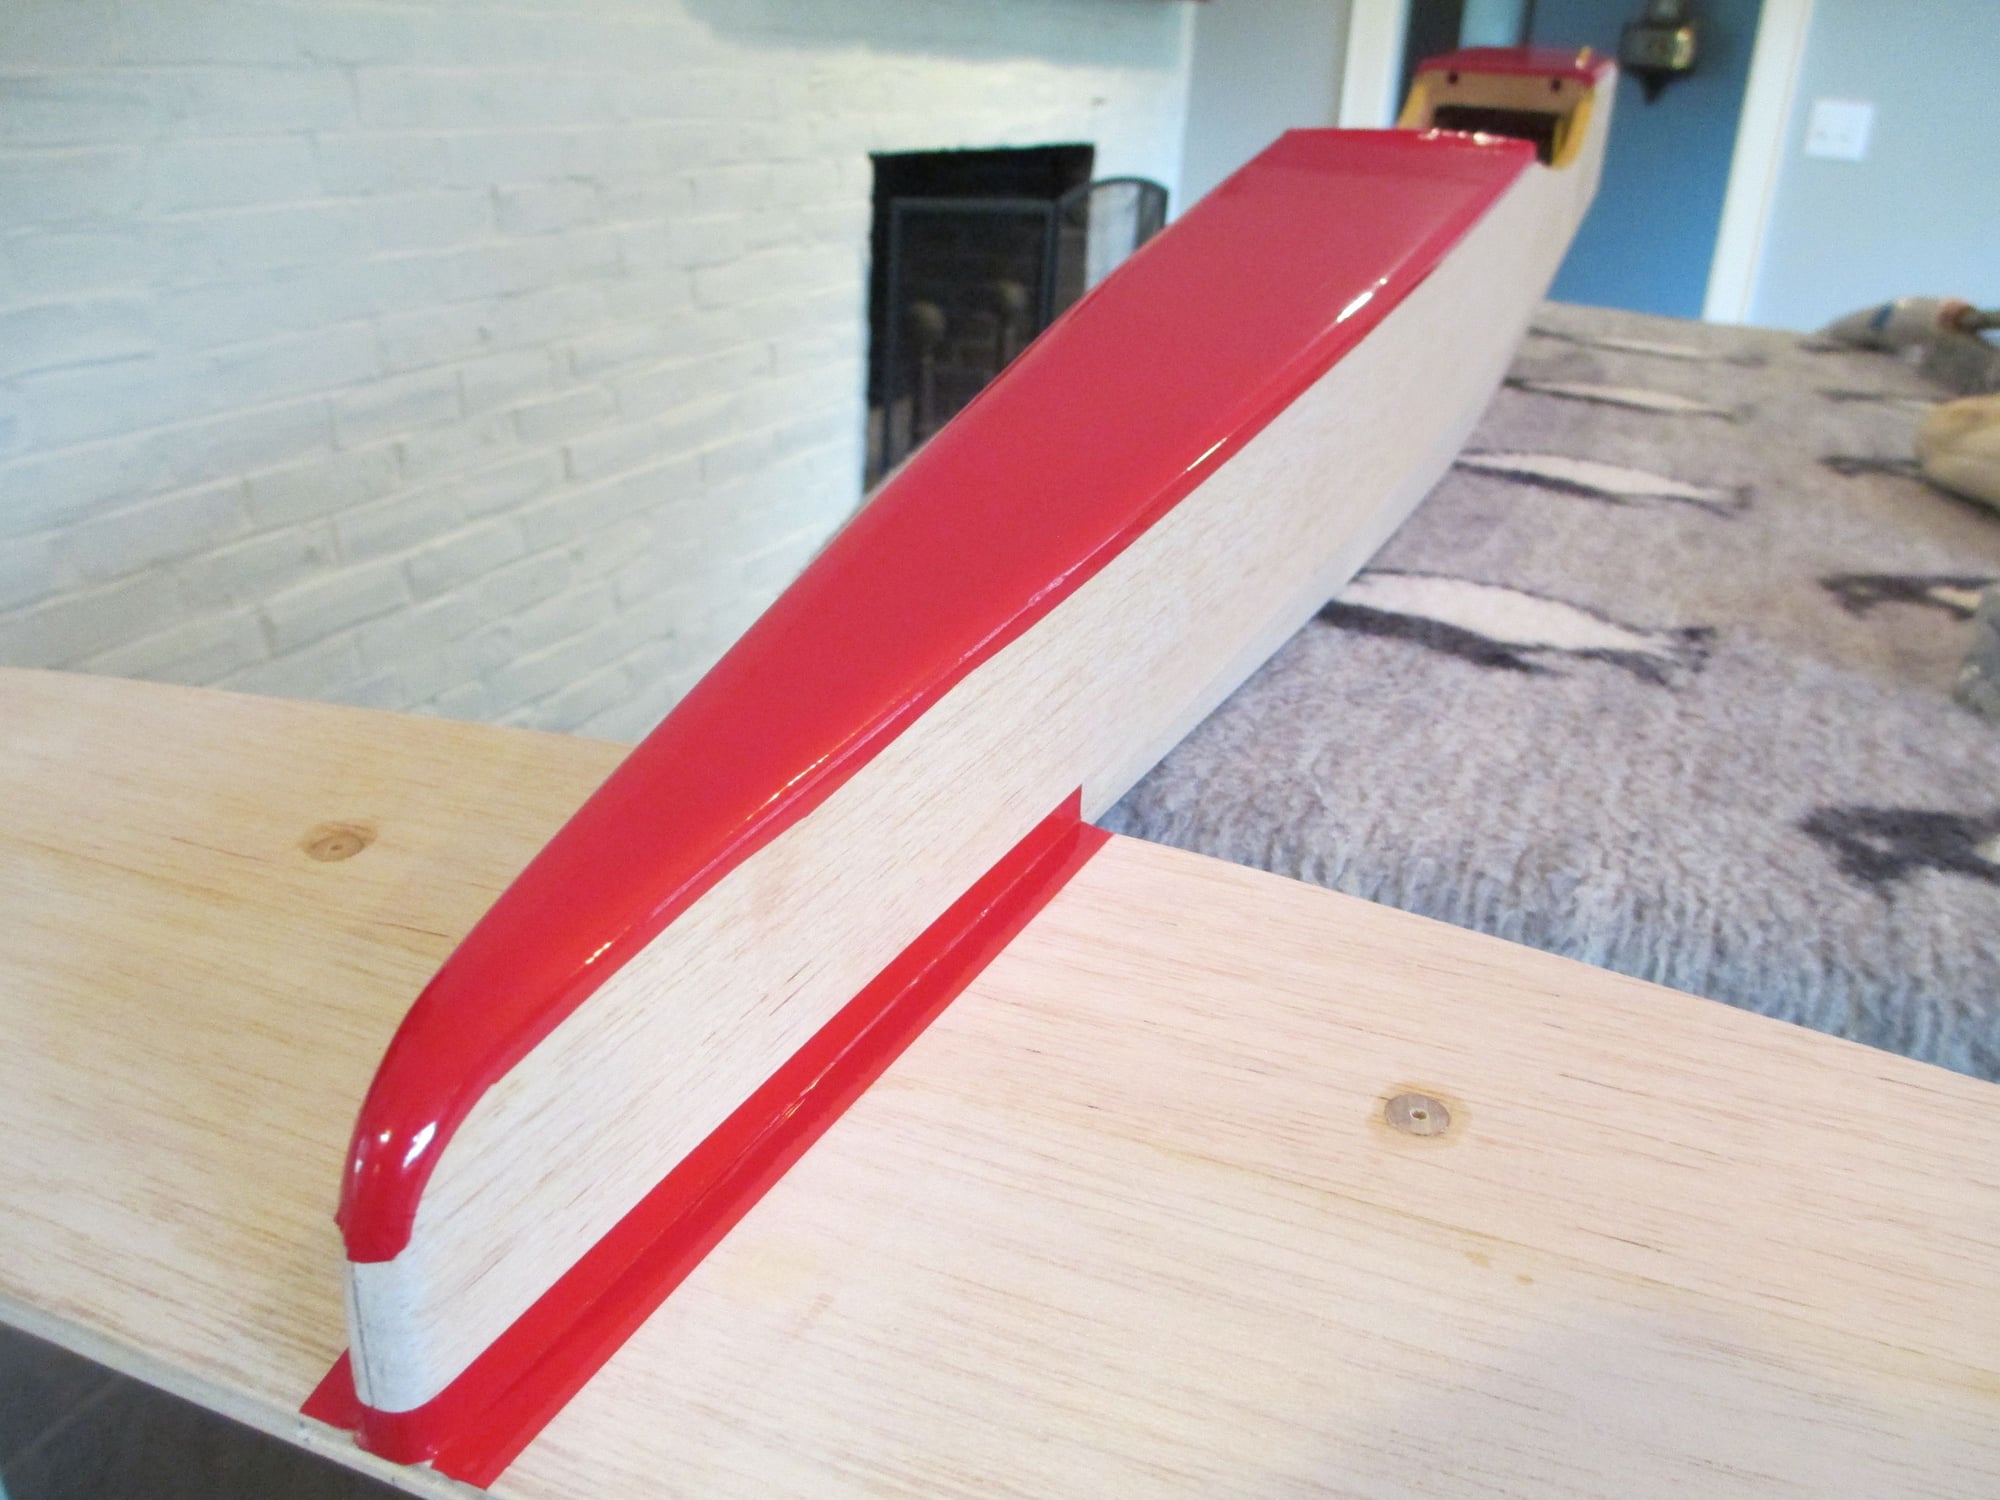
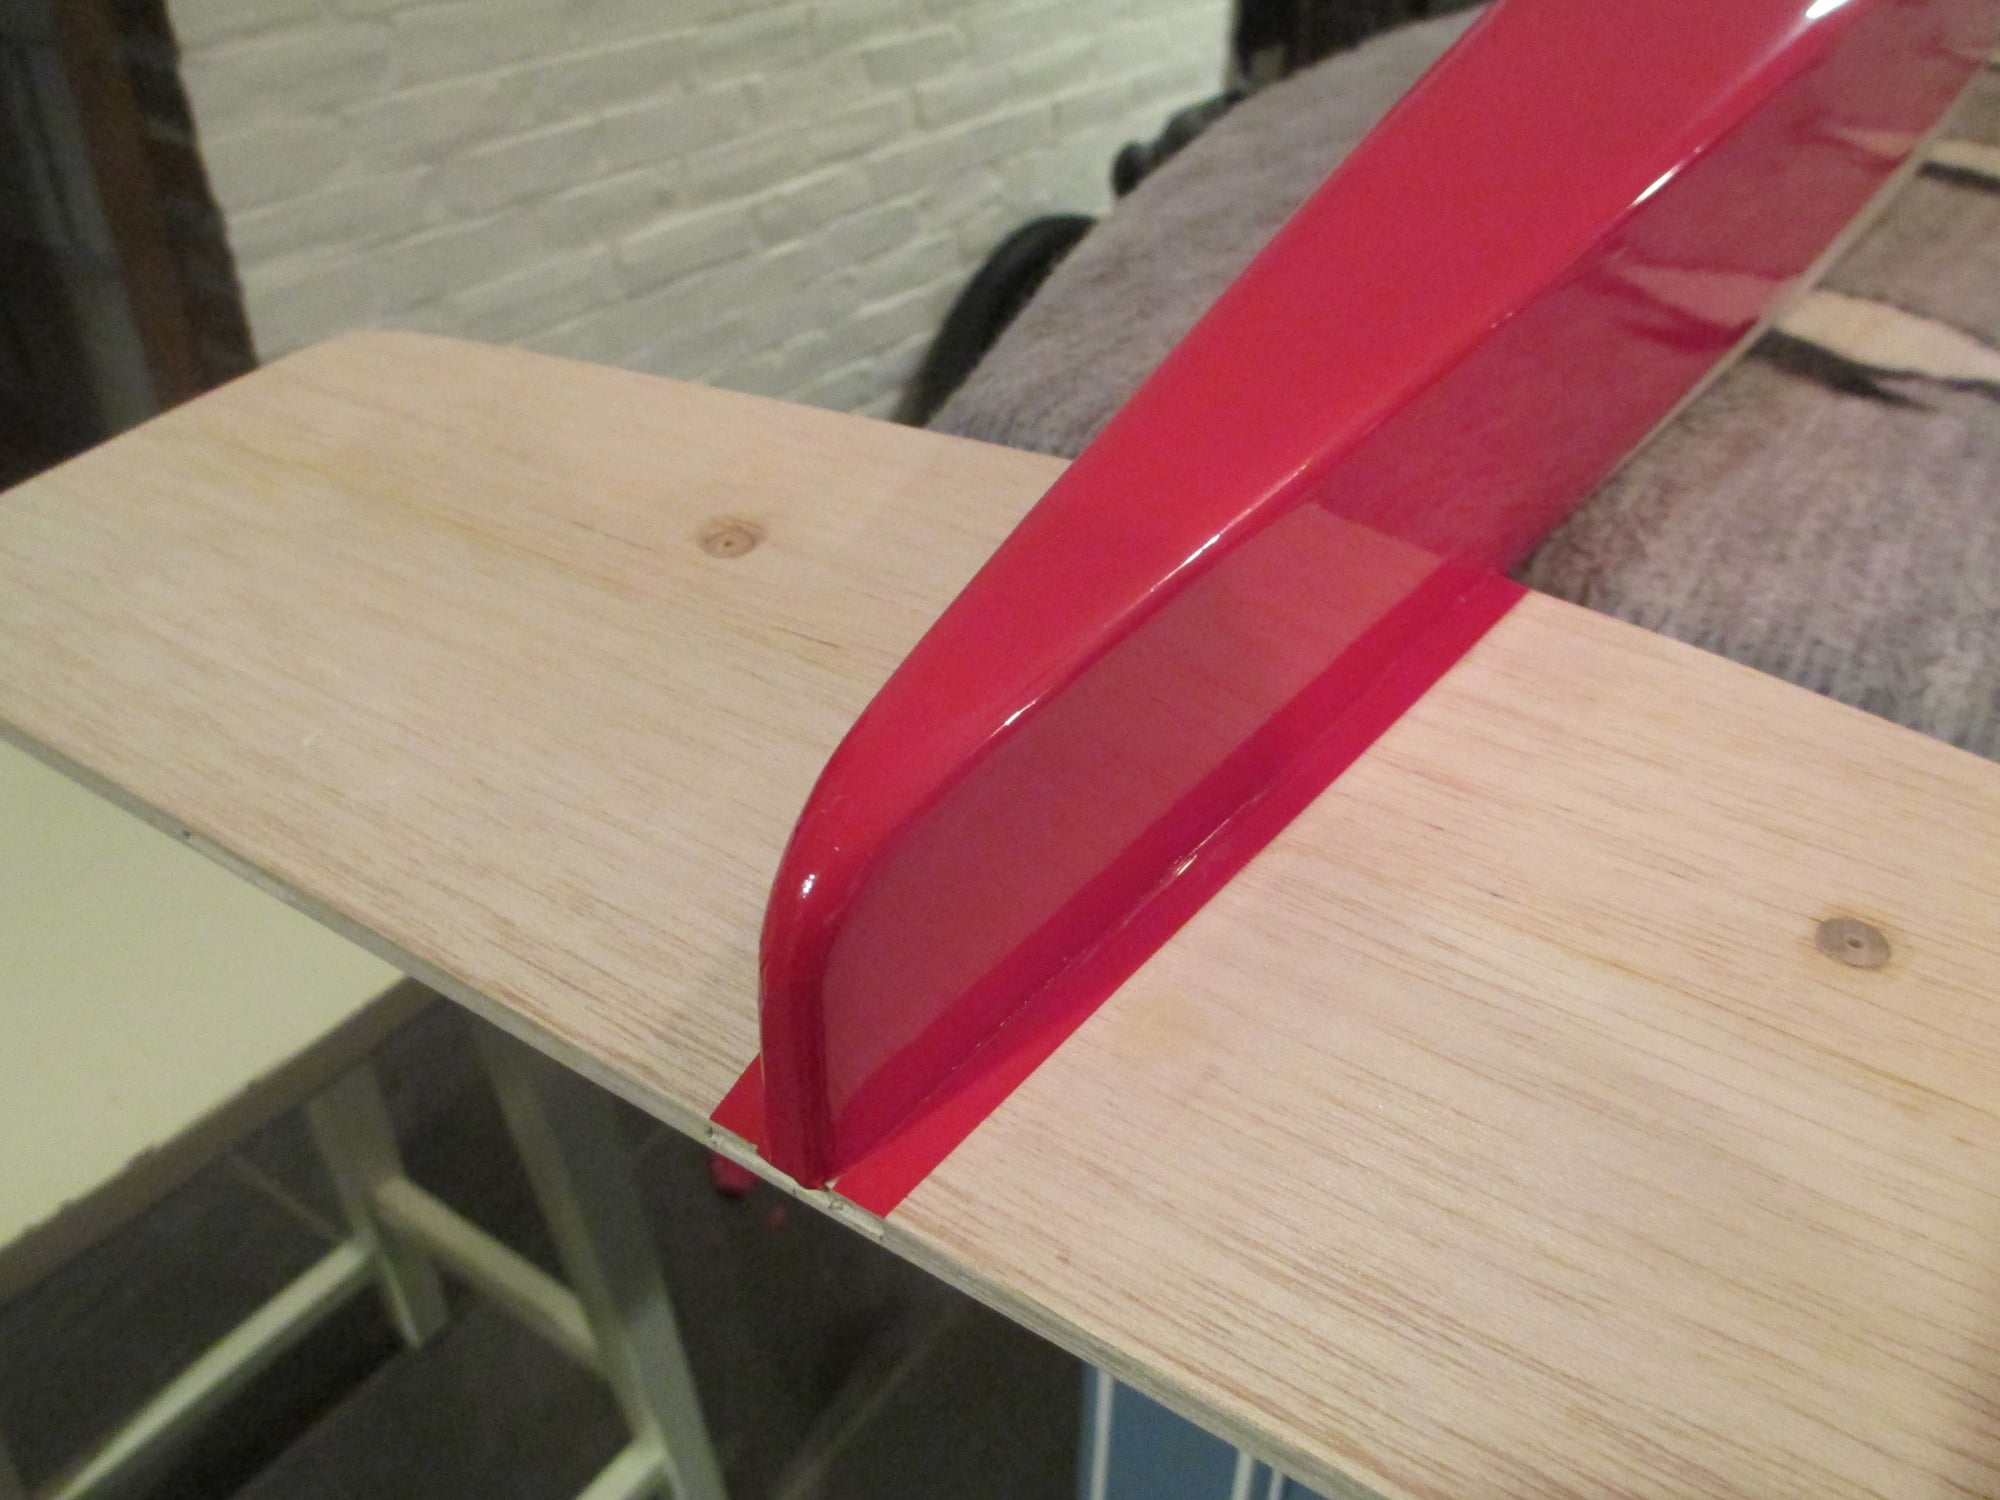
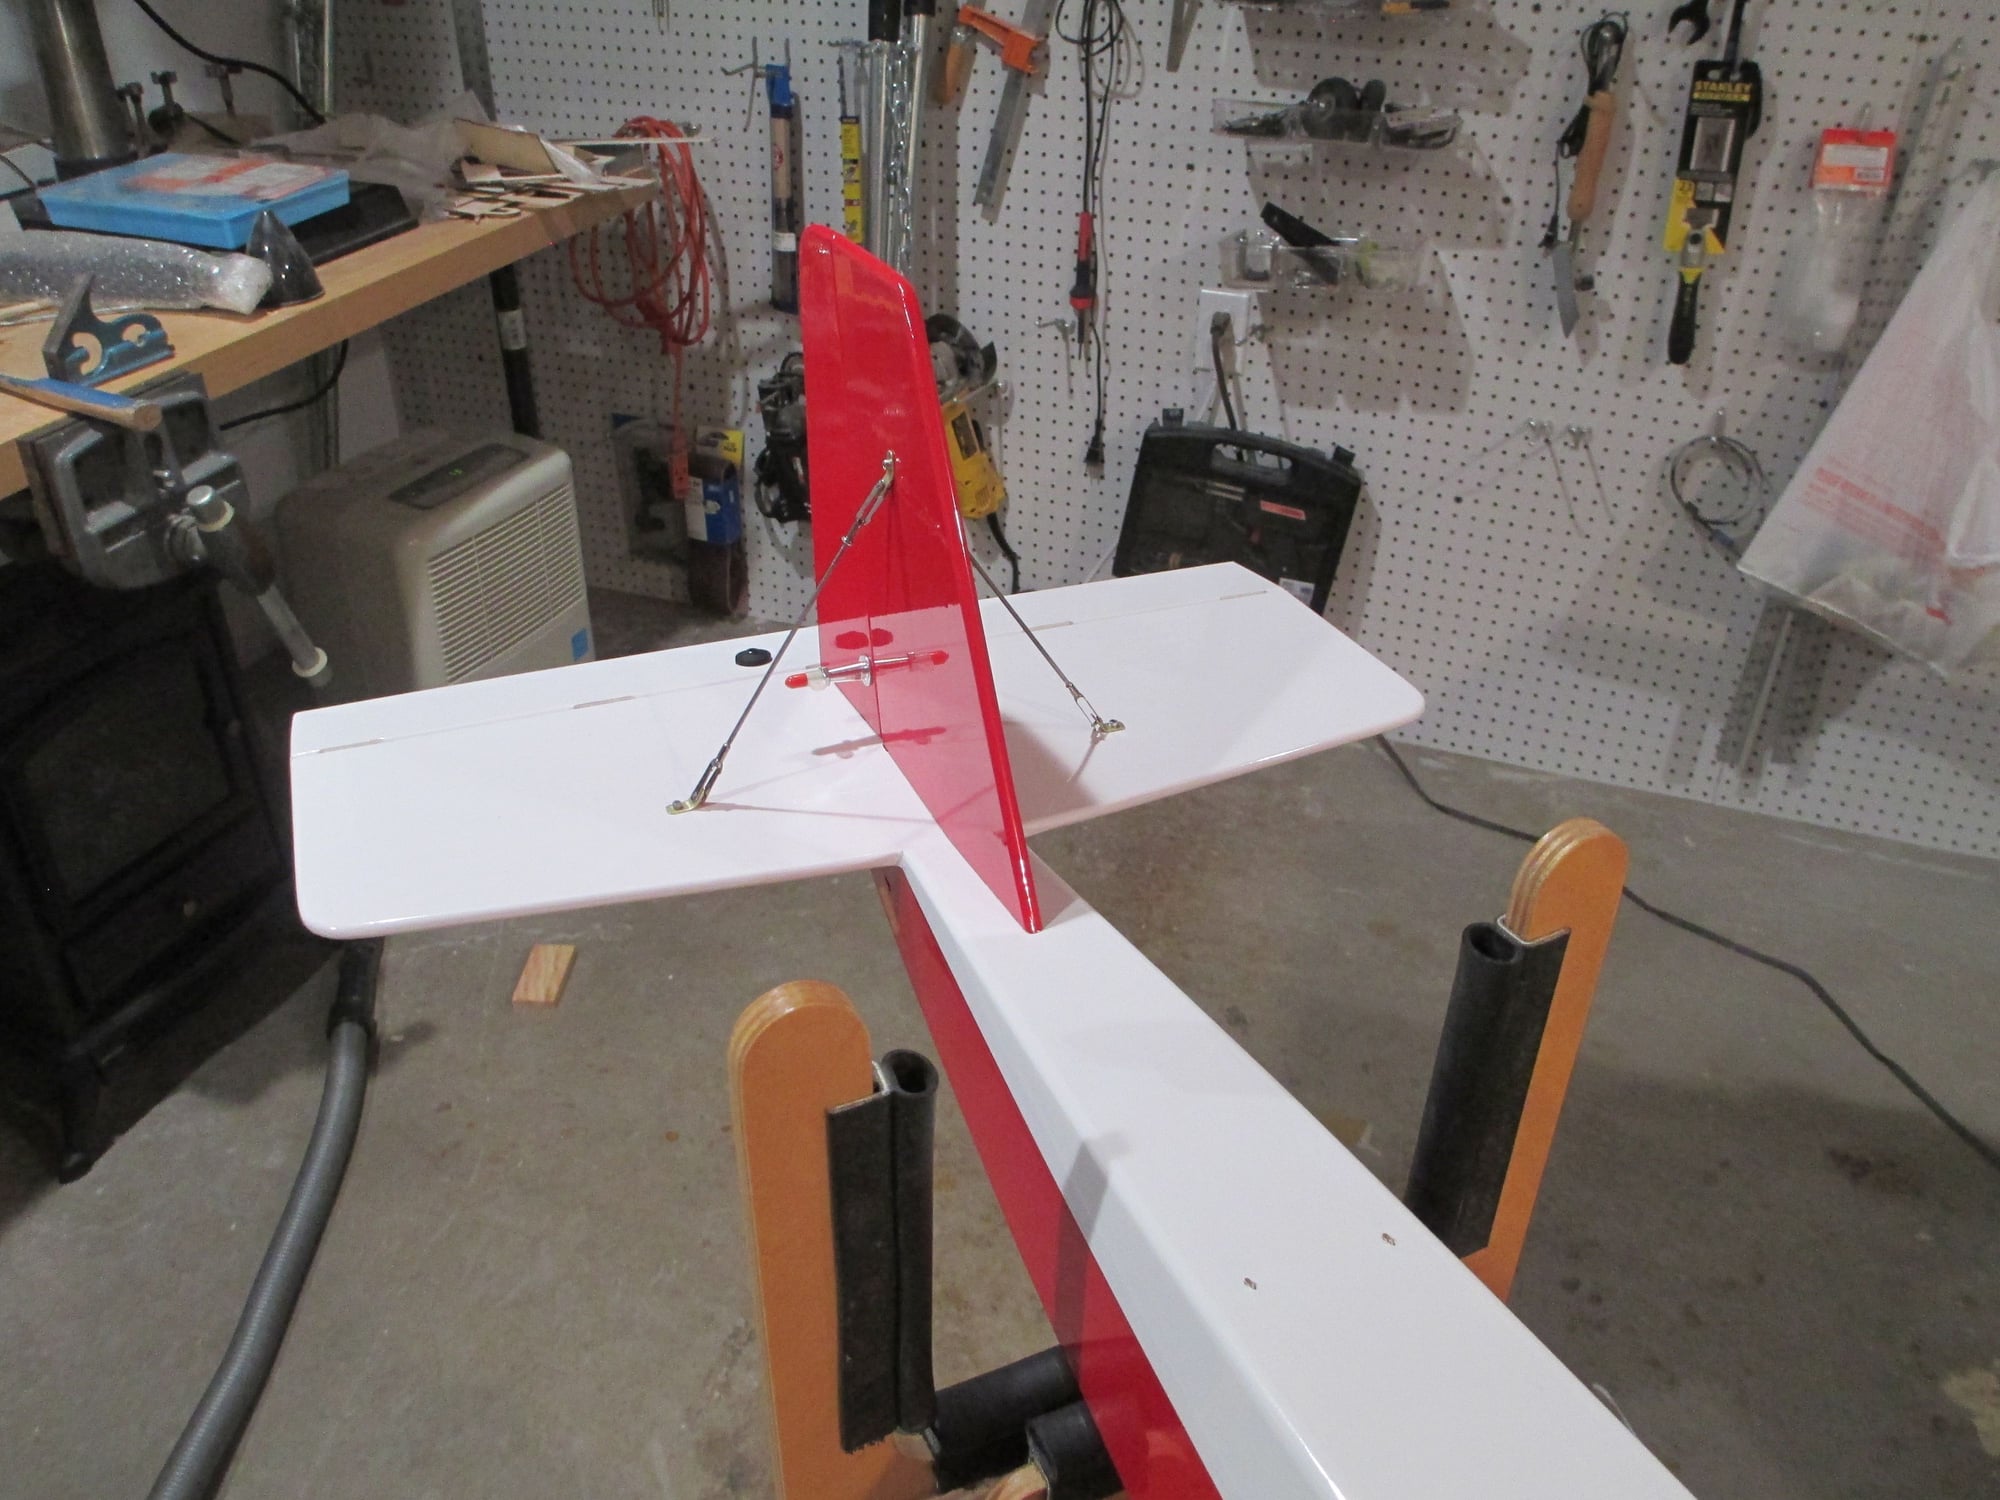
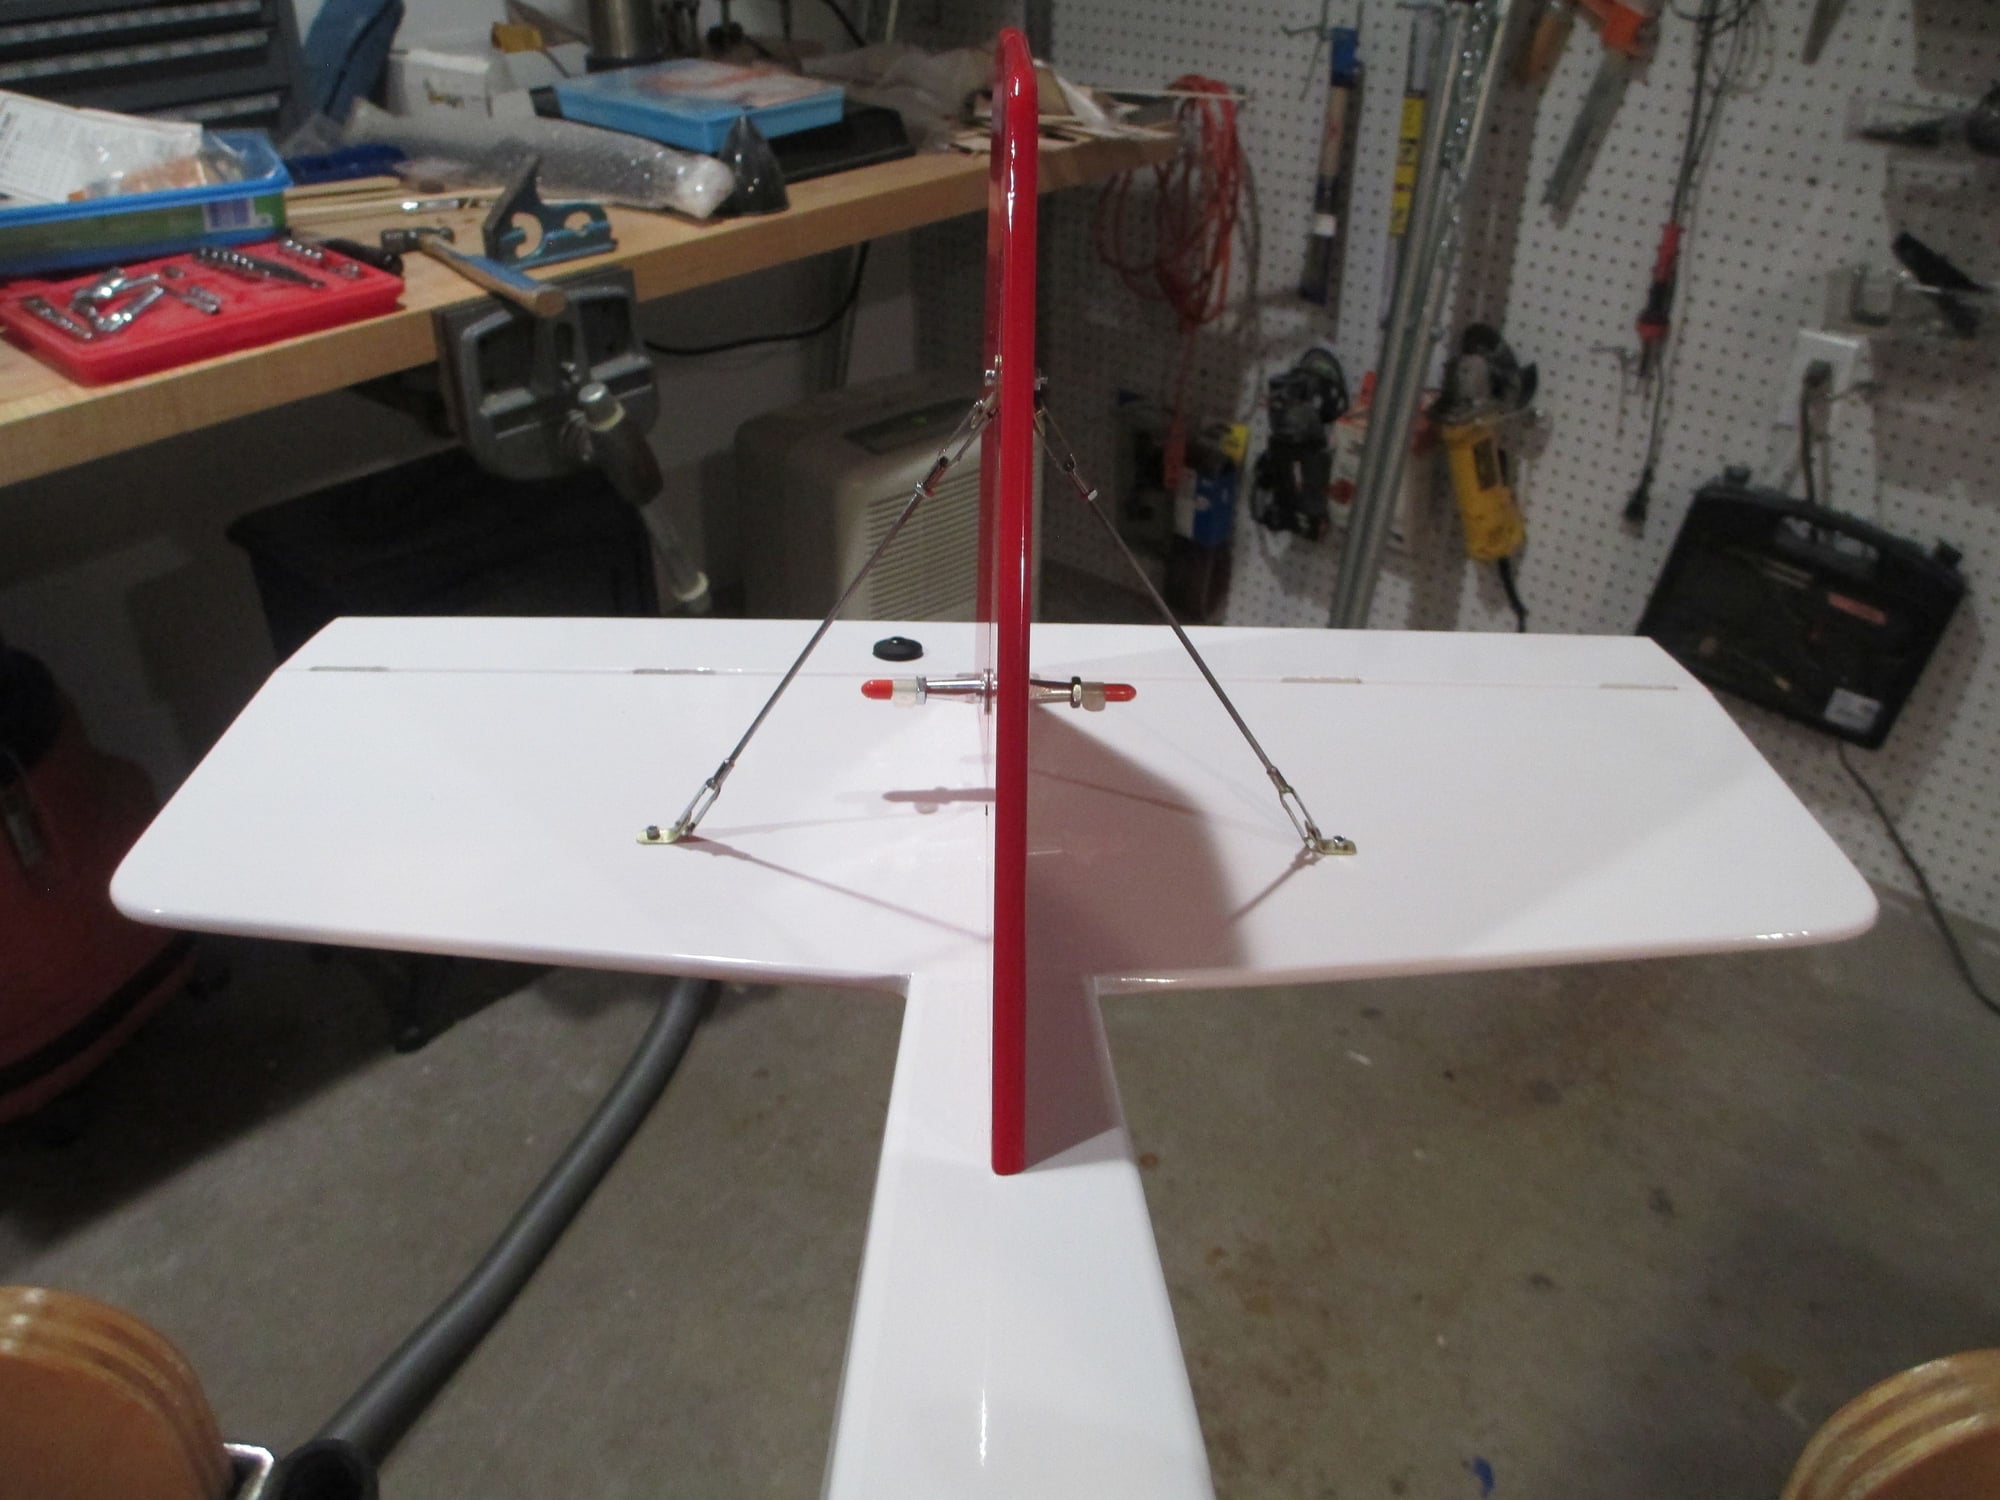
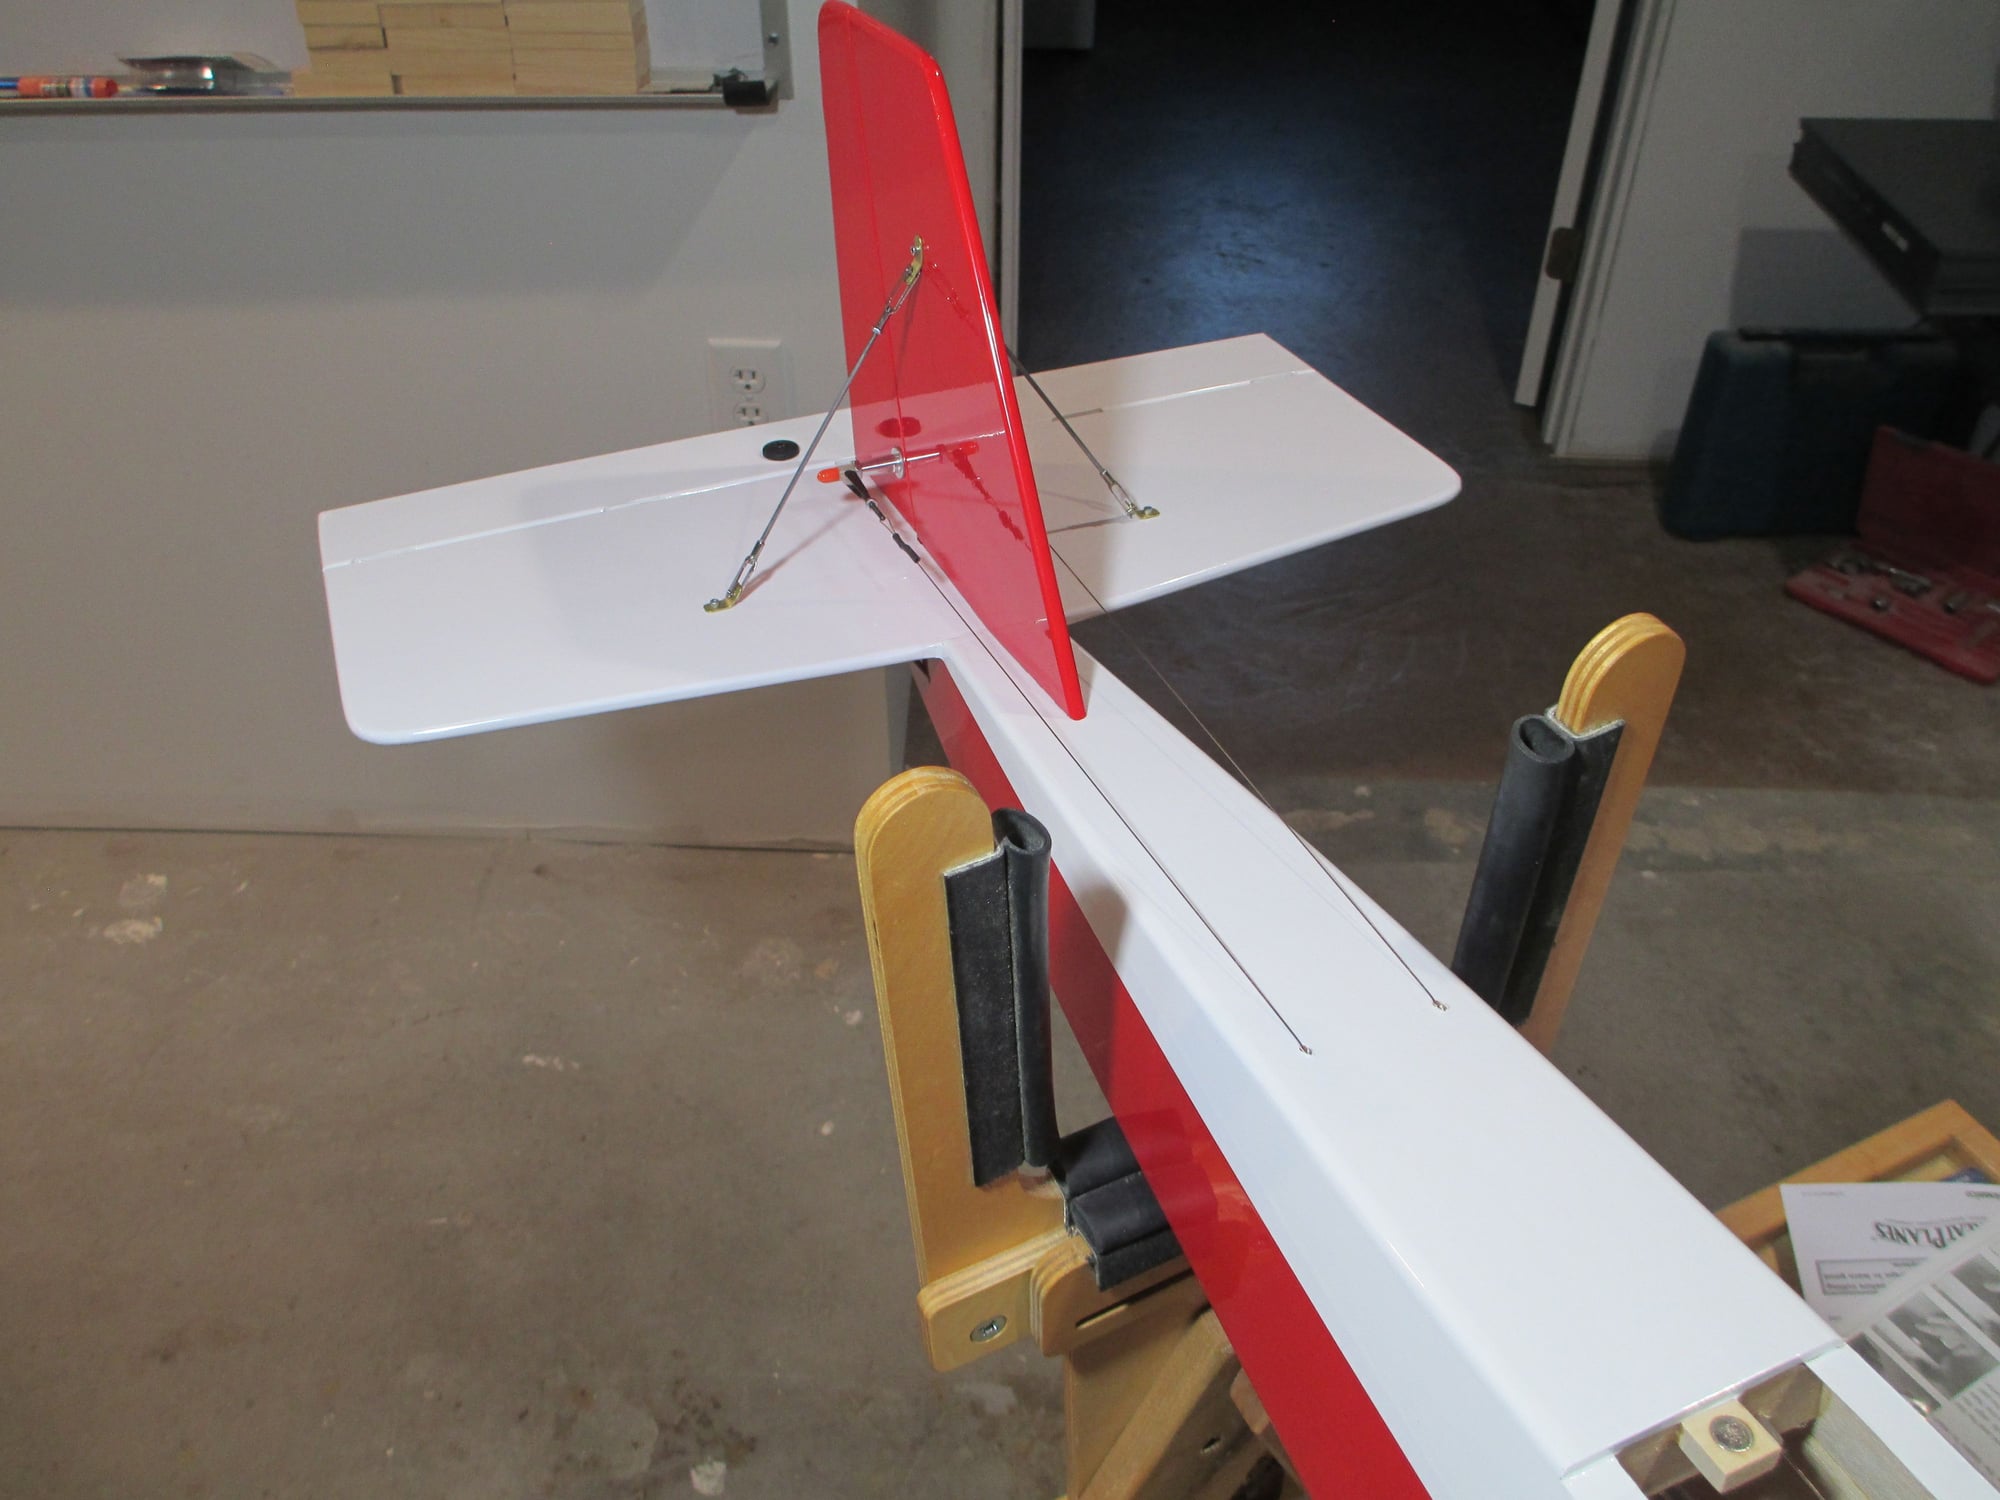
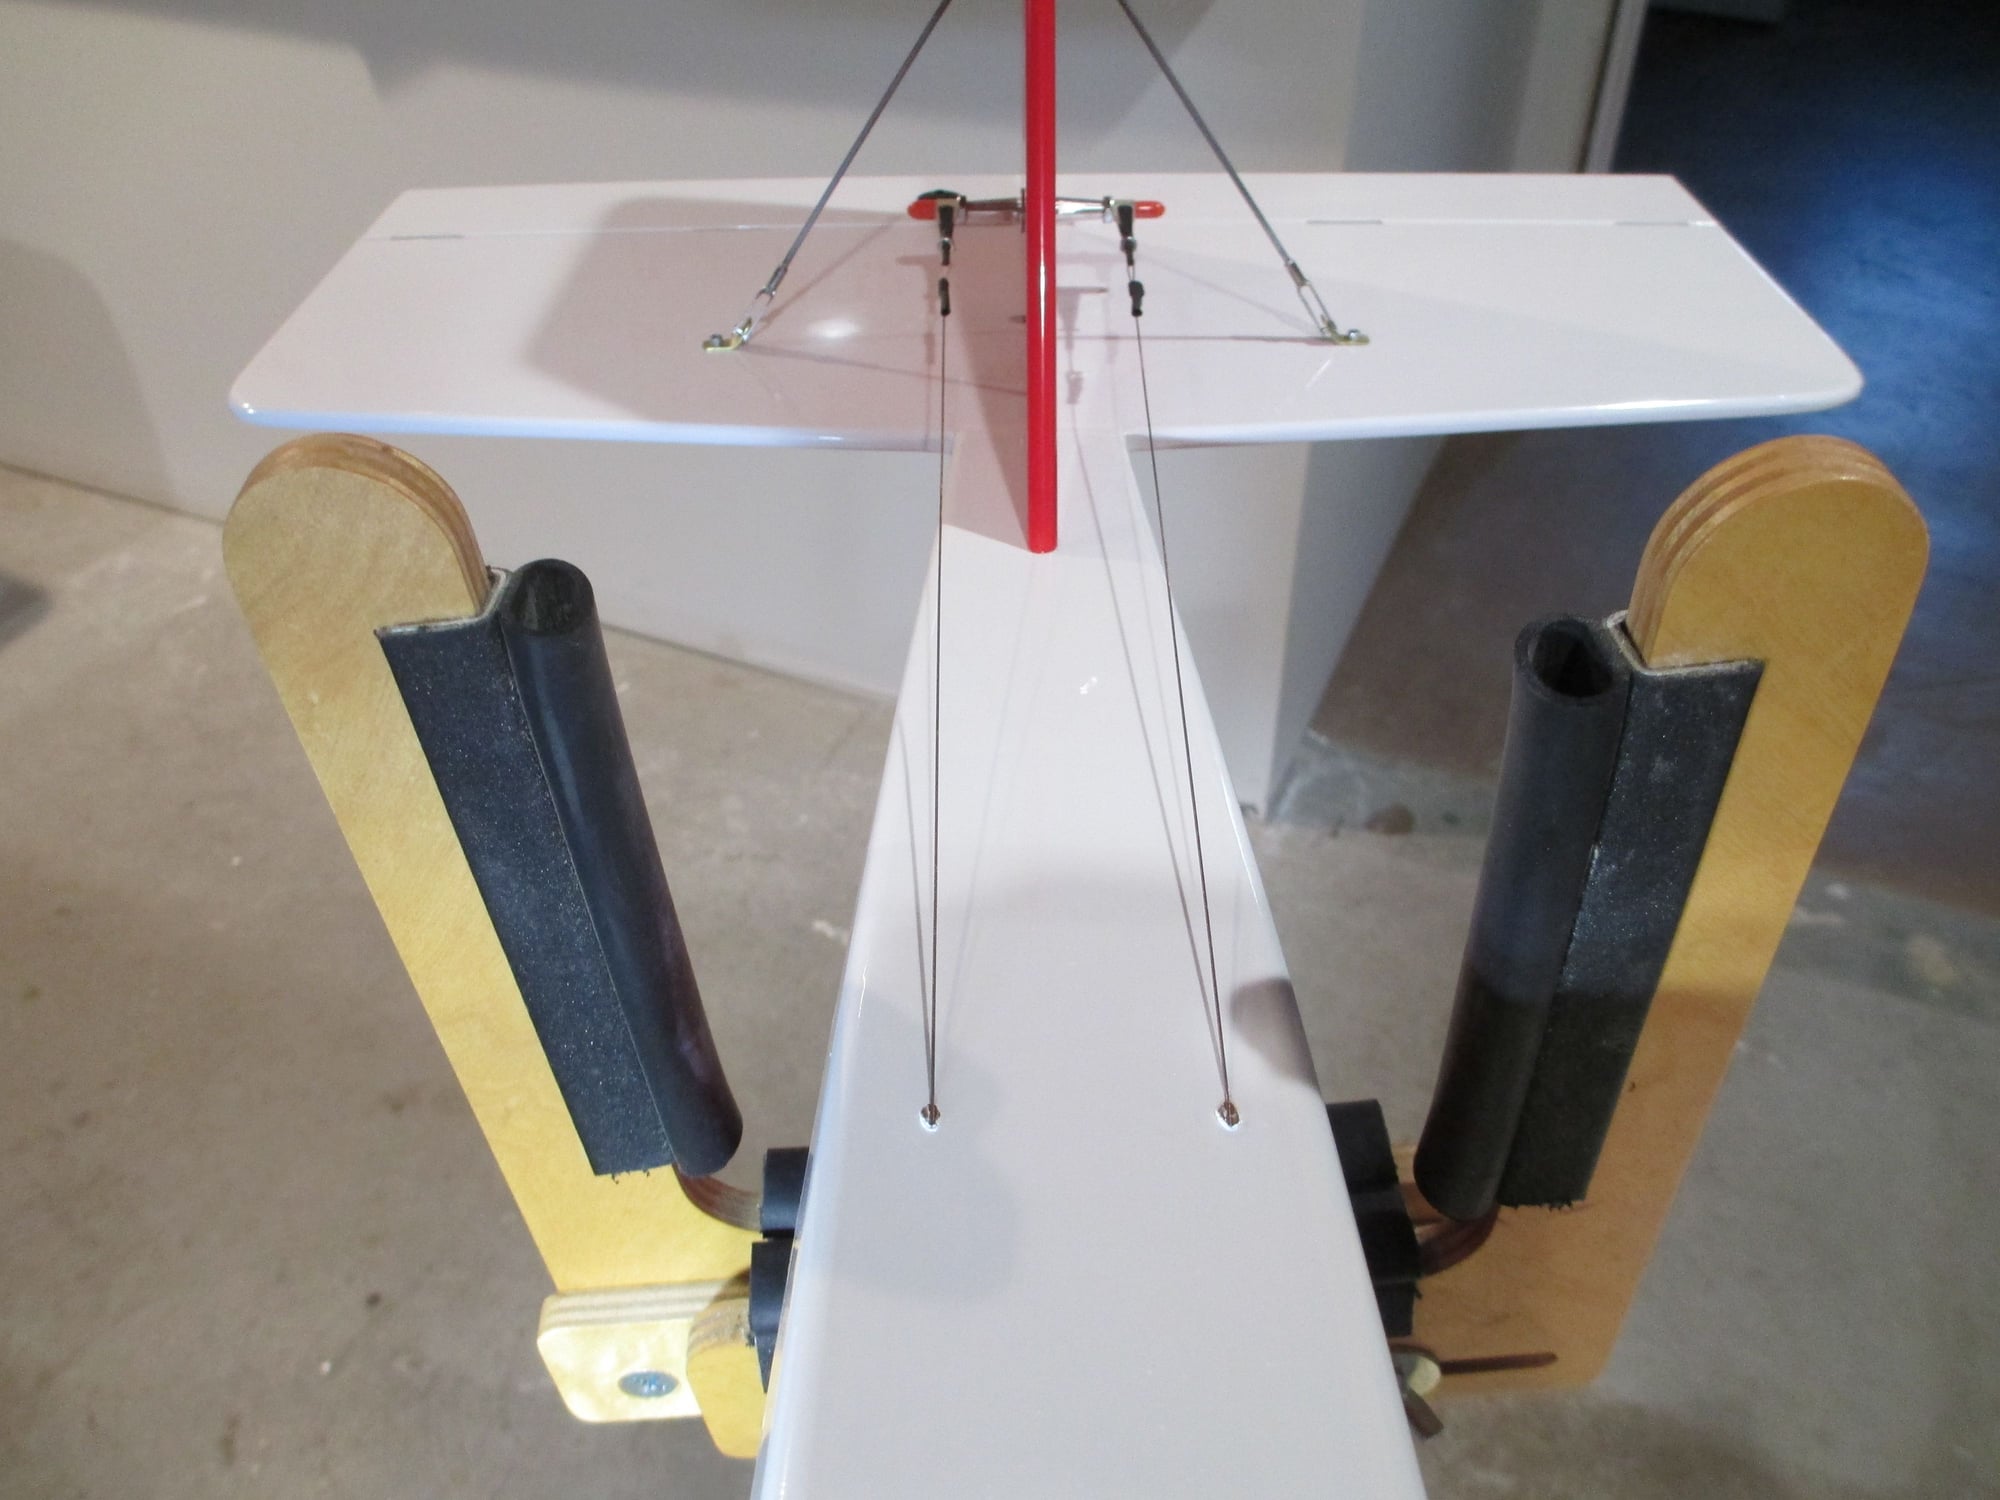
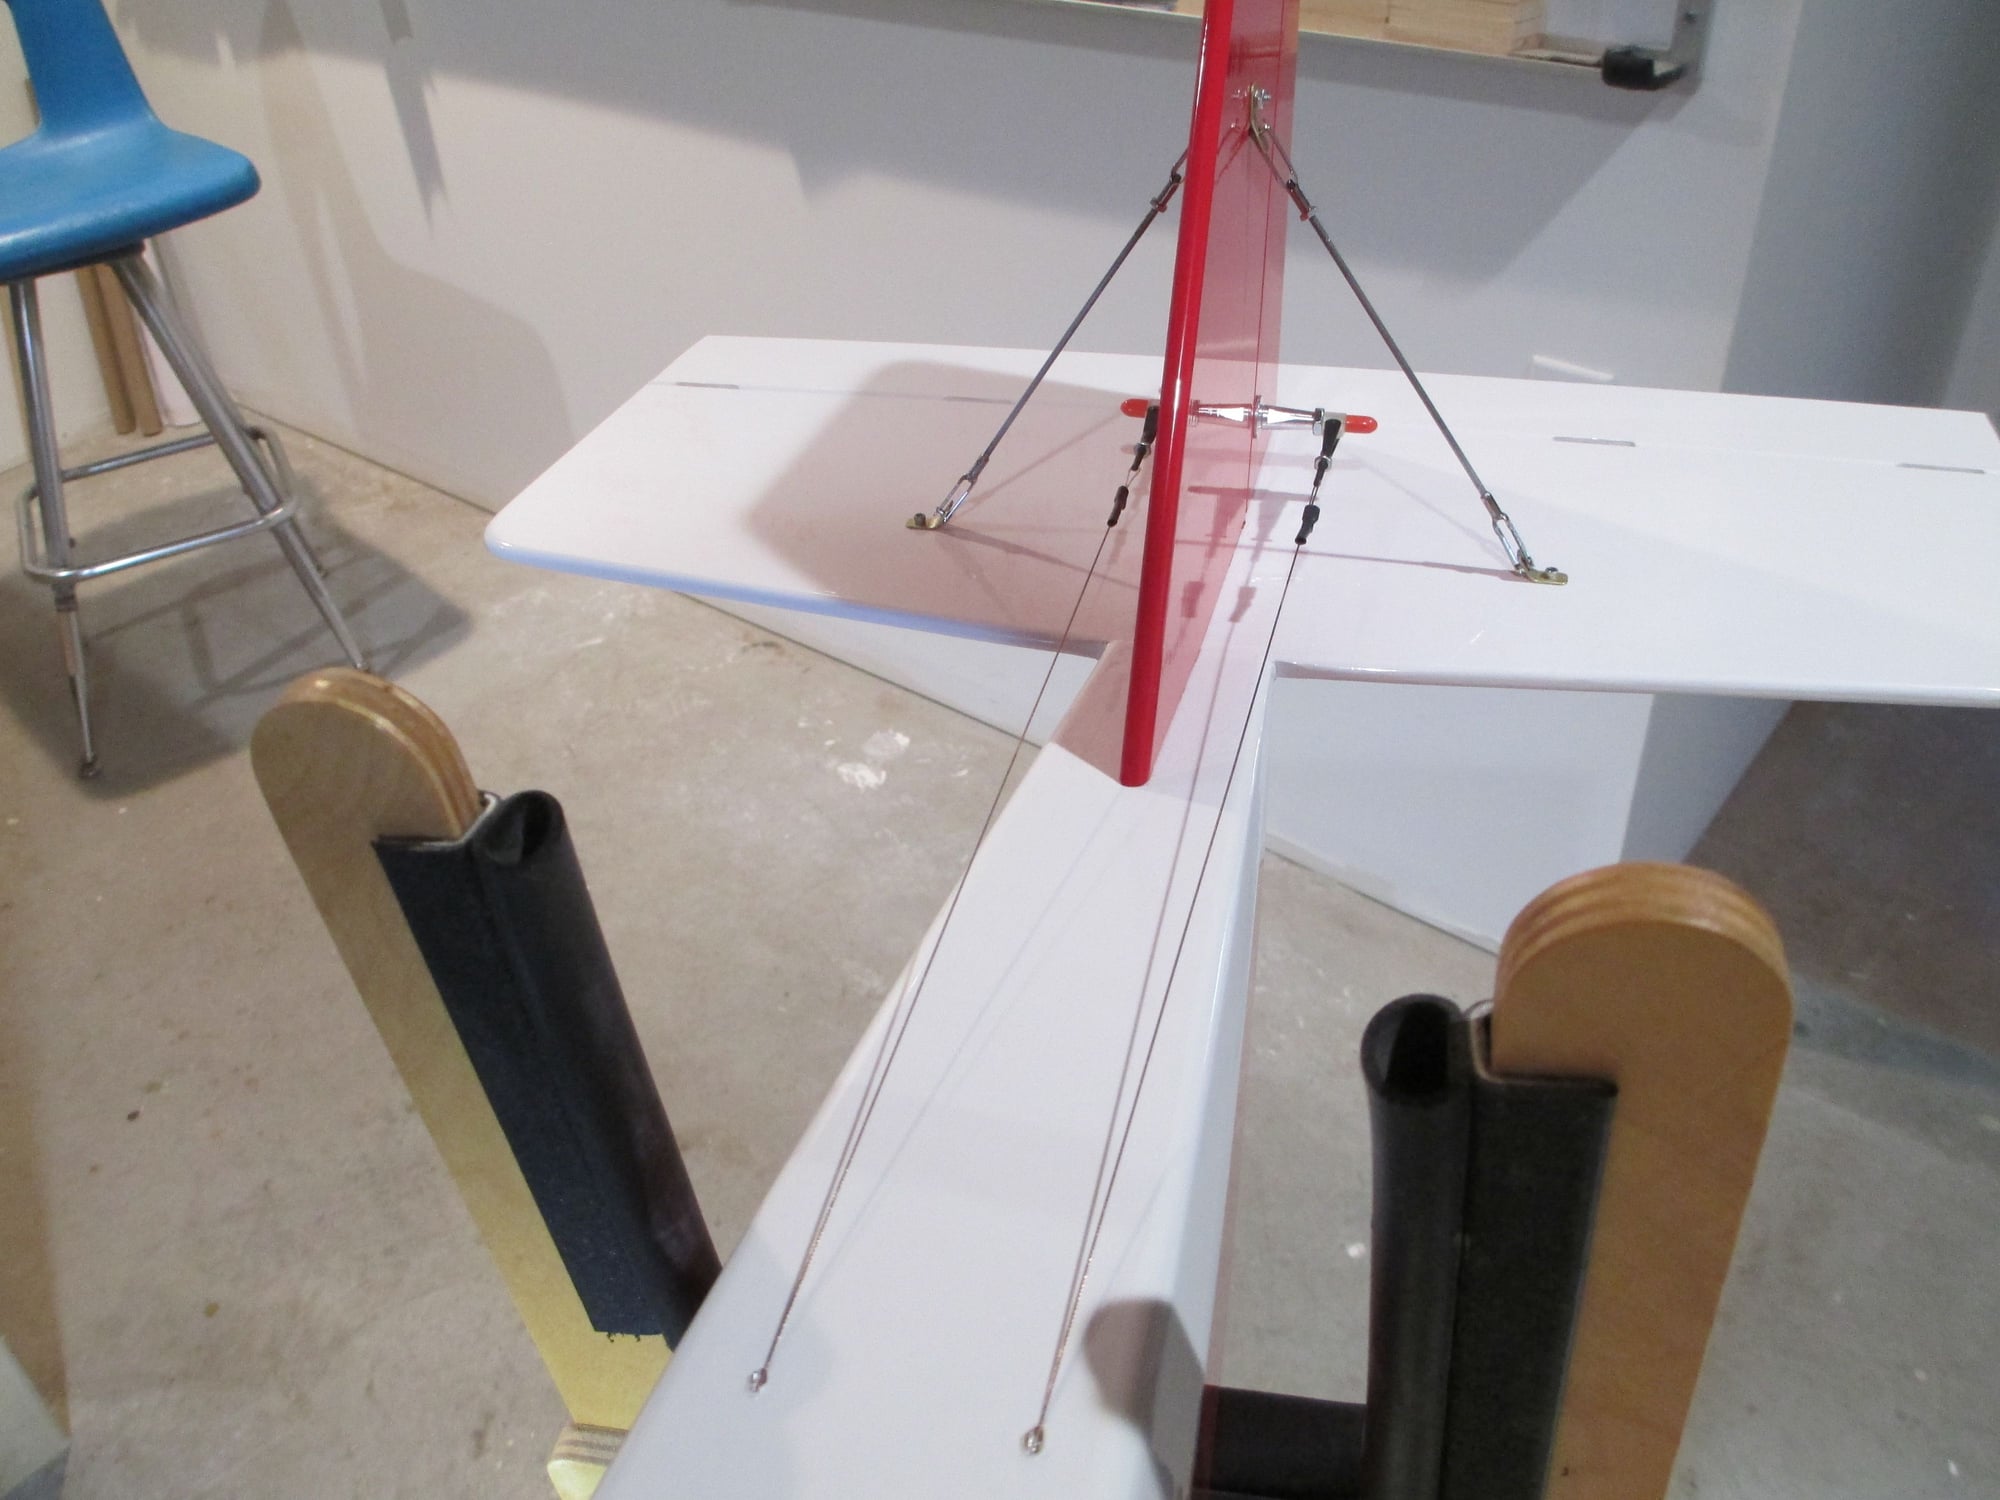
Note- Visible on the horizontal stabilizer are the two hard points for the Fin flying wires.
Last edited by VincentJ; 09-10-2018 at 07:03 AM.
09-10-2018, 07:04 AM
#129
Thread Starter
09-10-2018, 03:24 PM
#130
Thread Starter
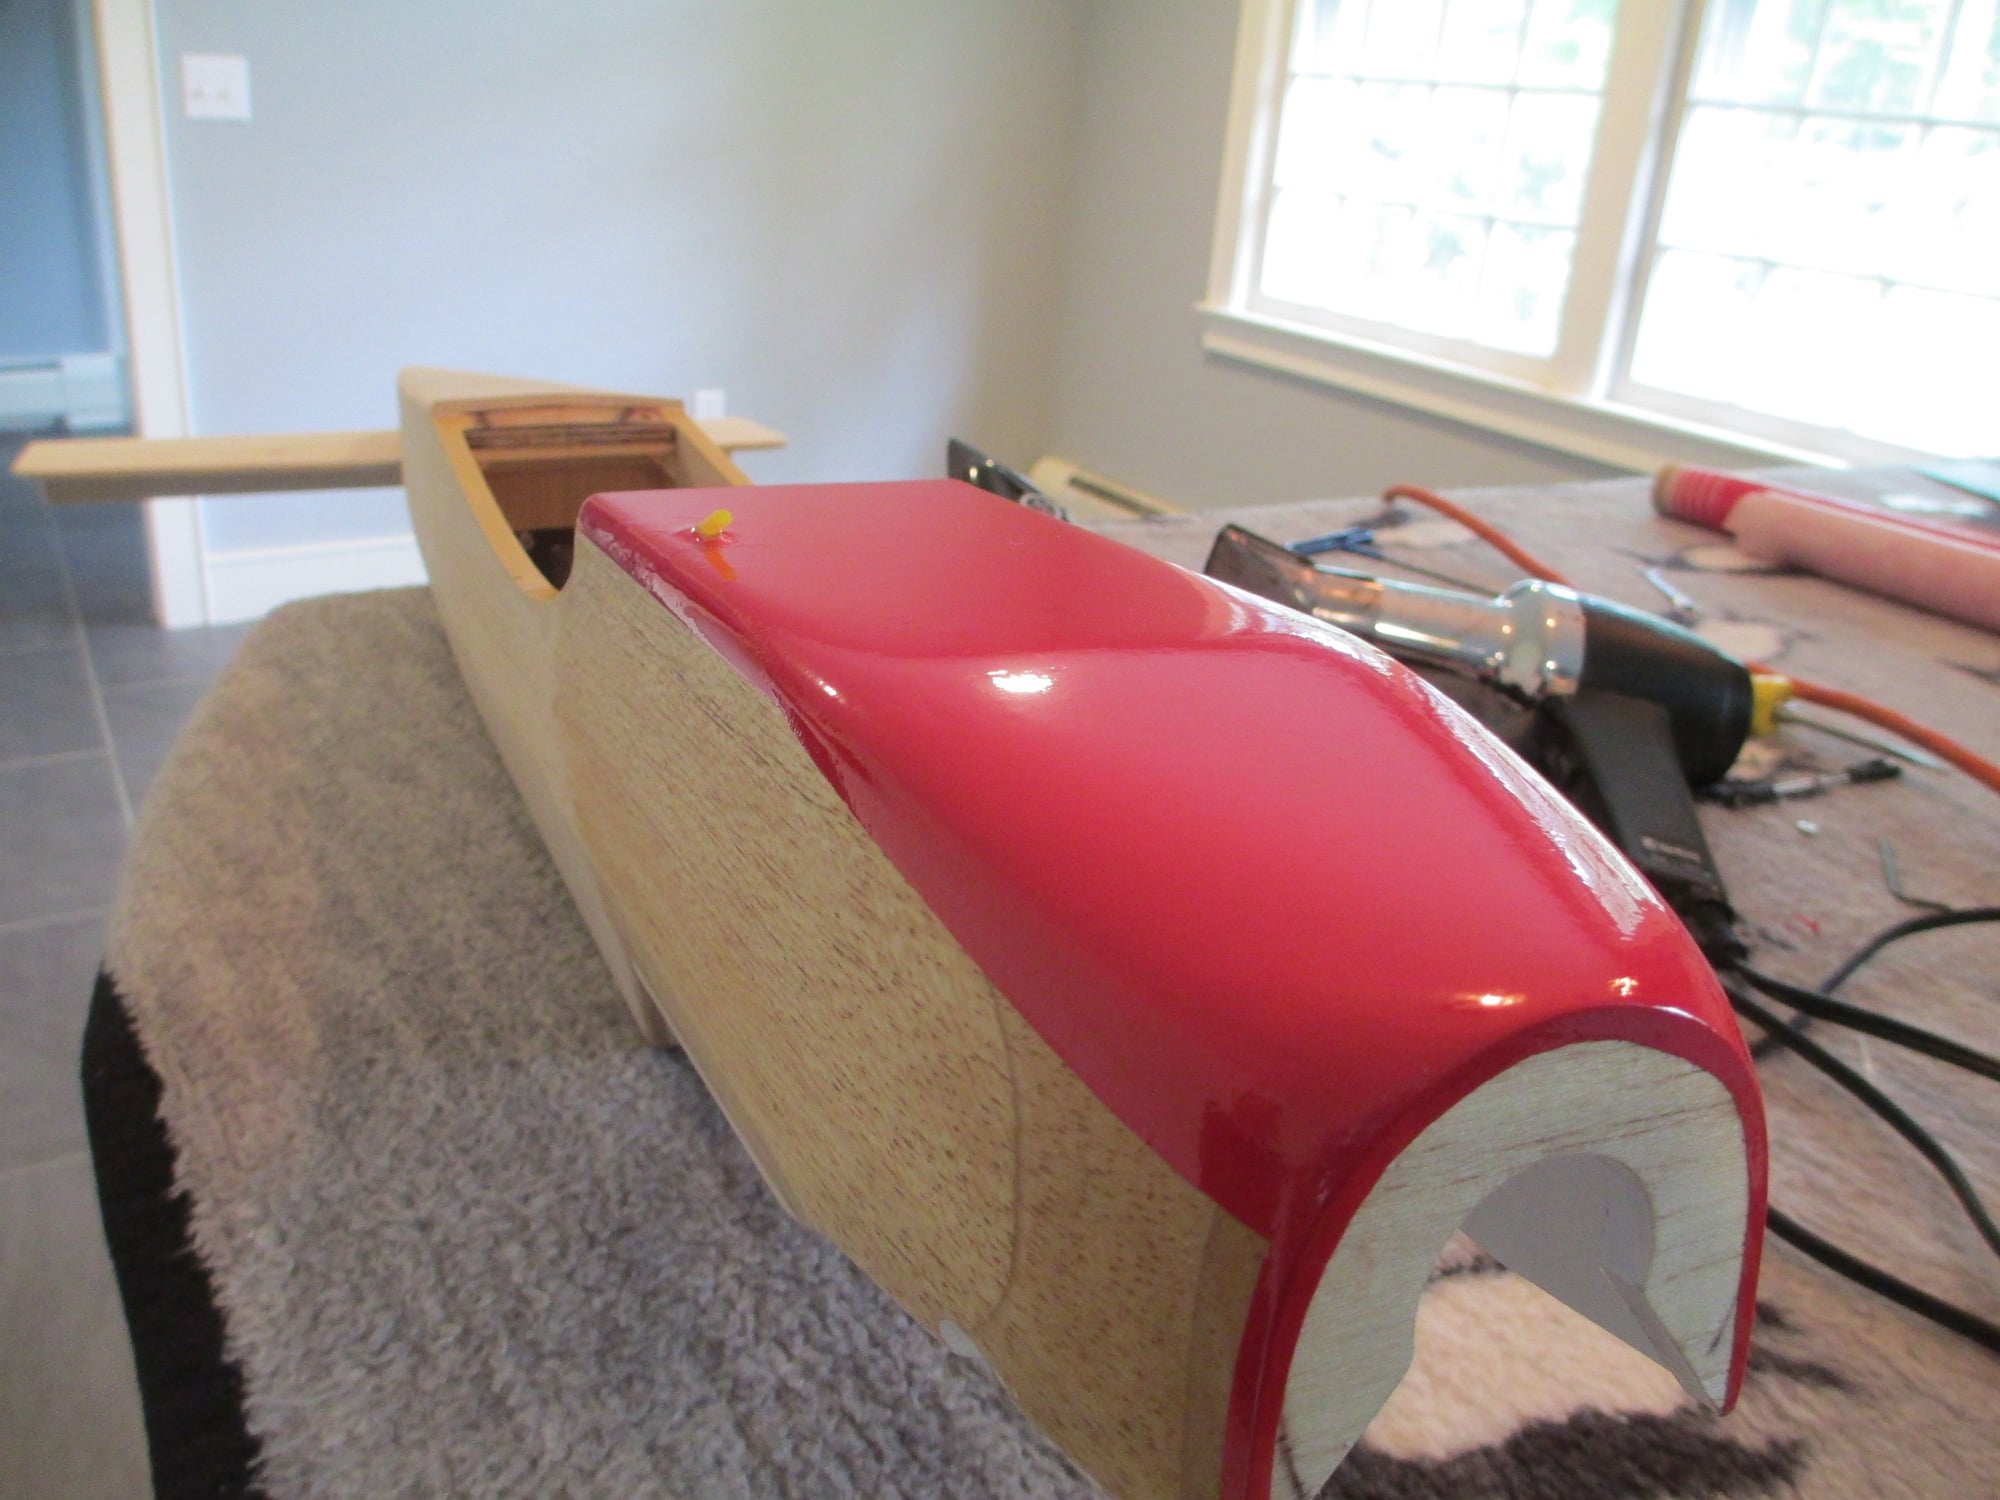
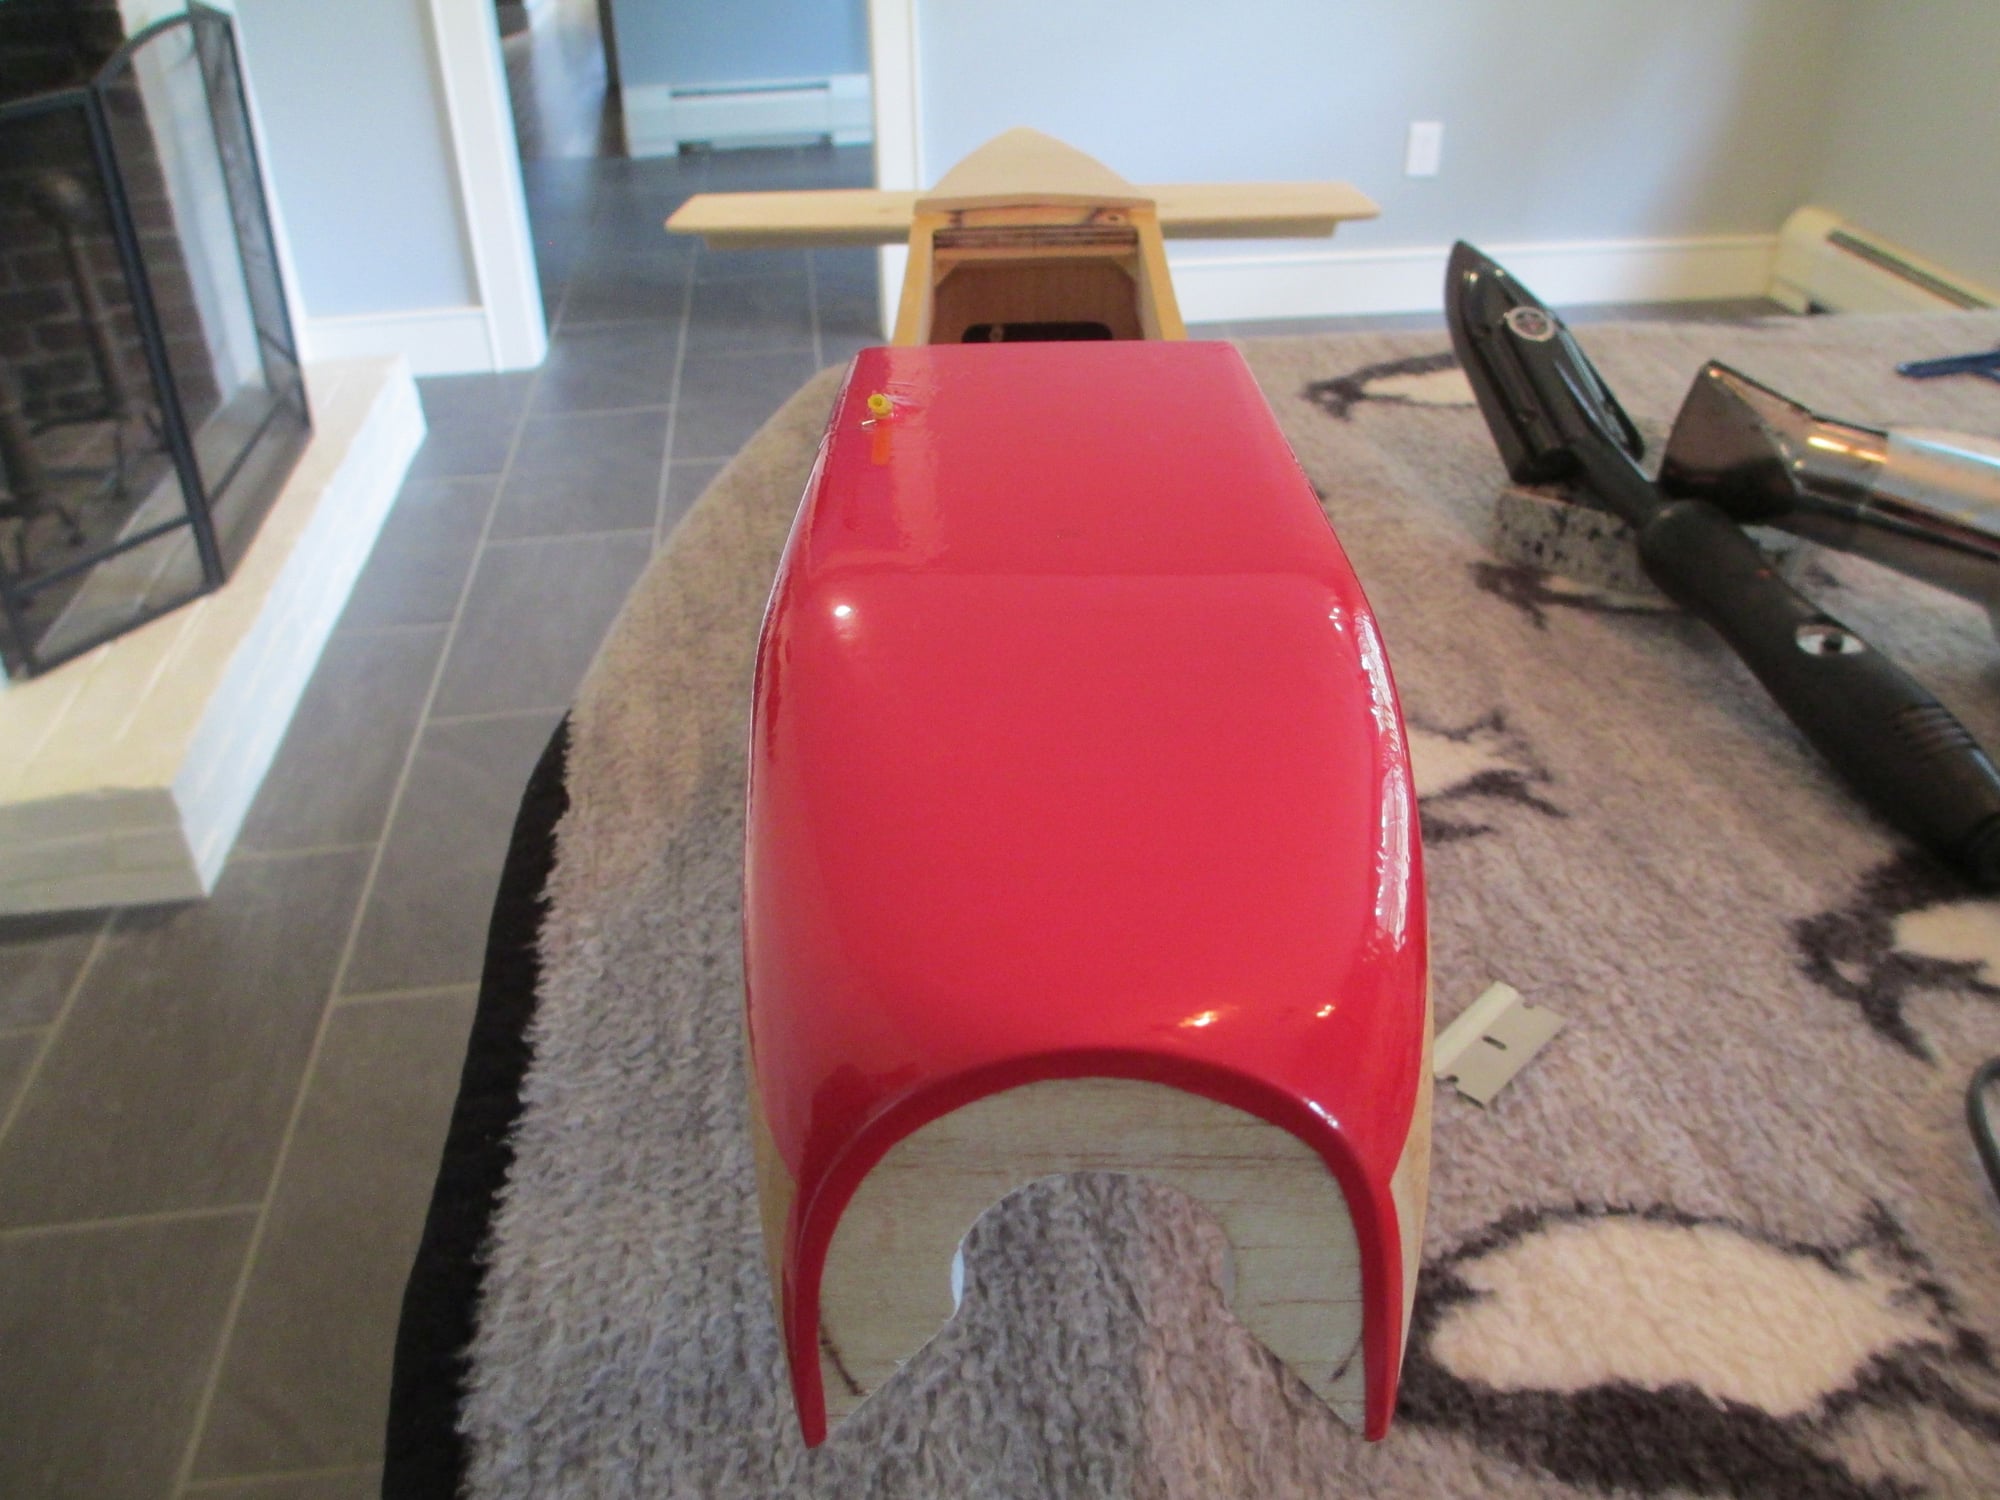
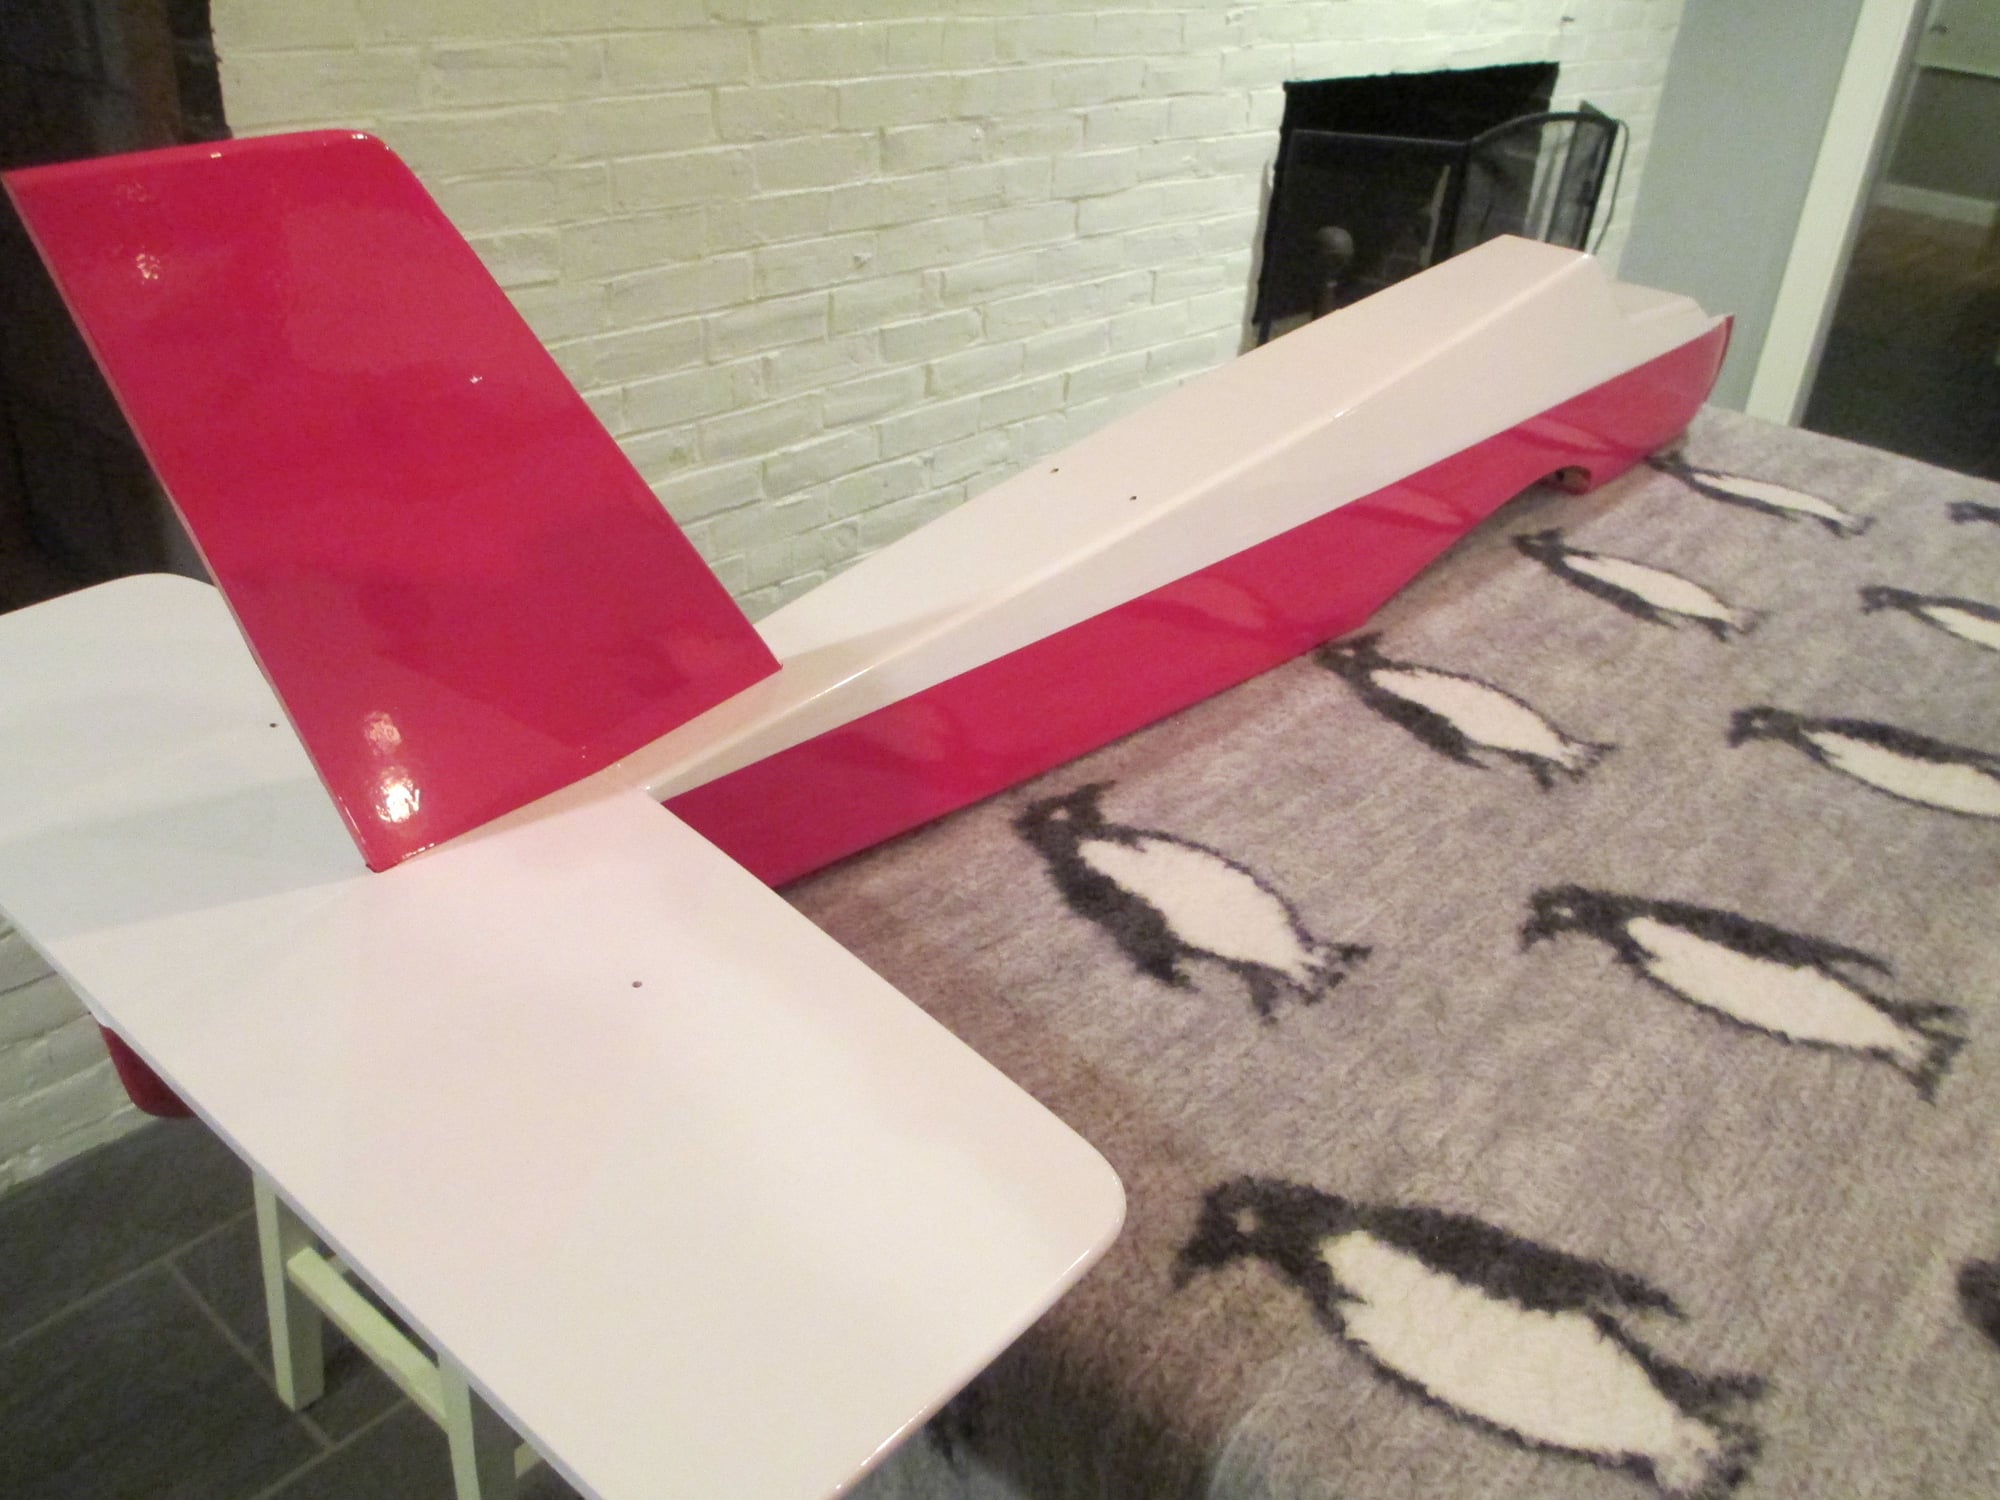
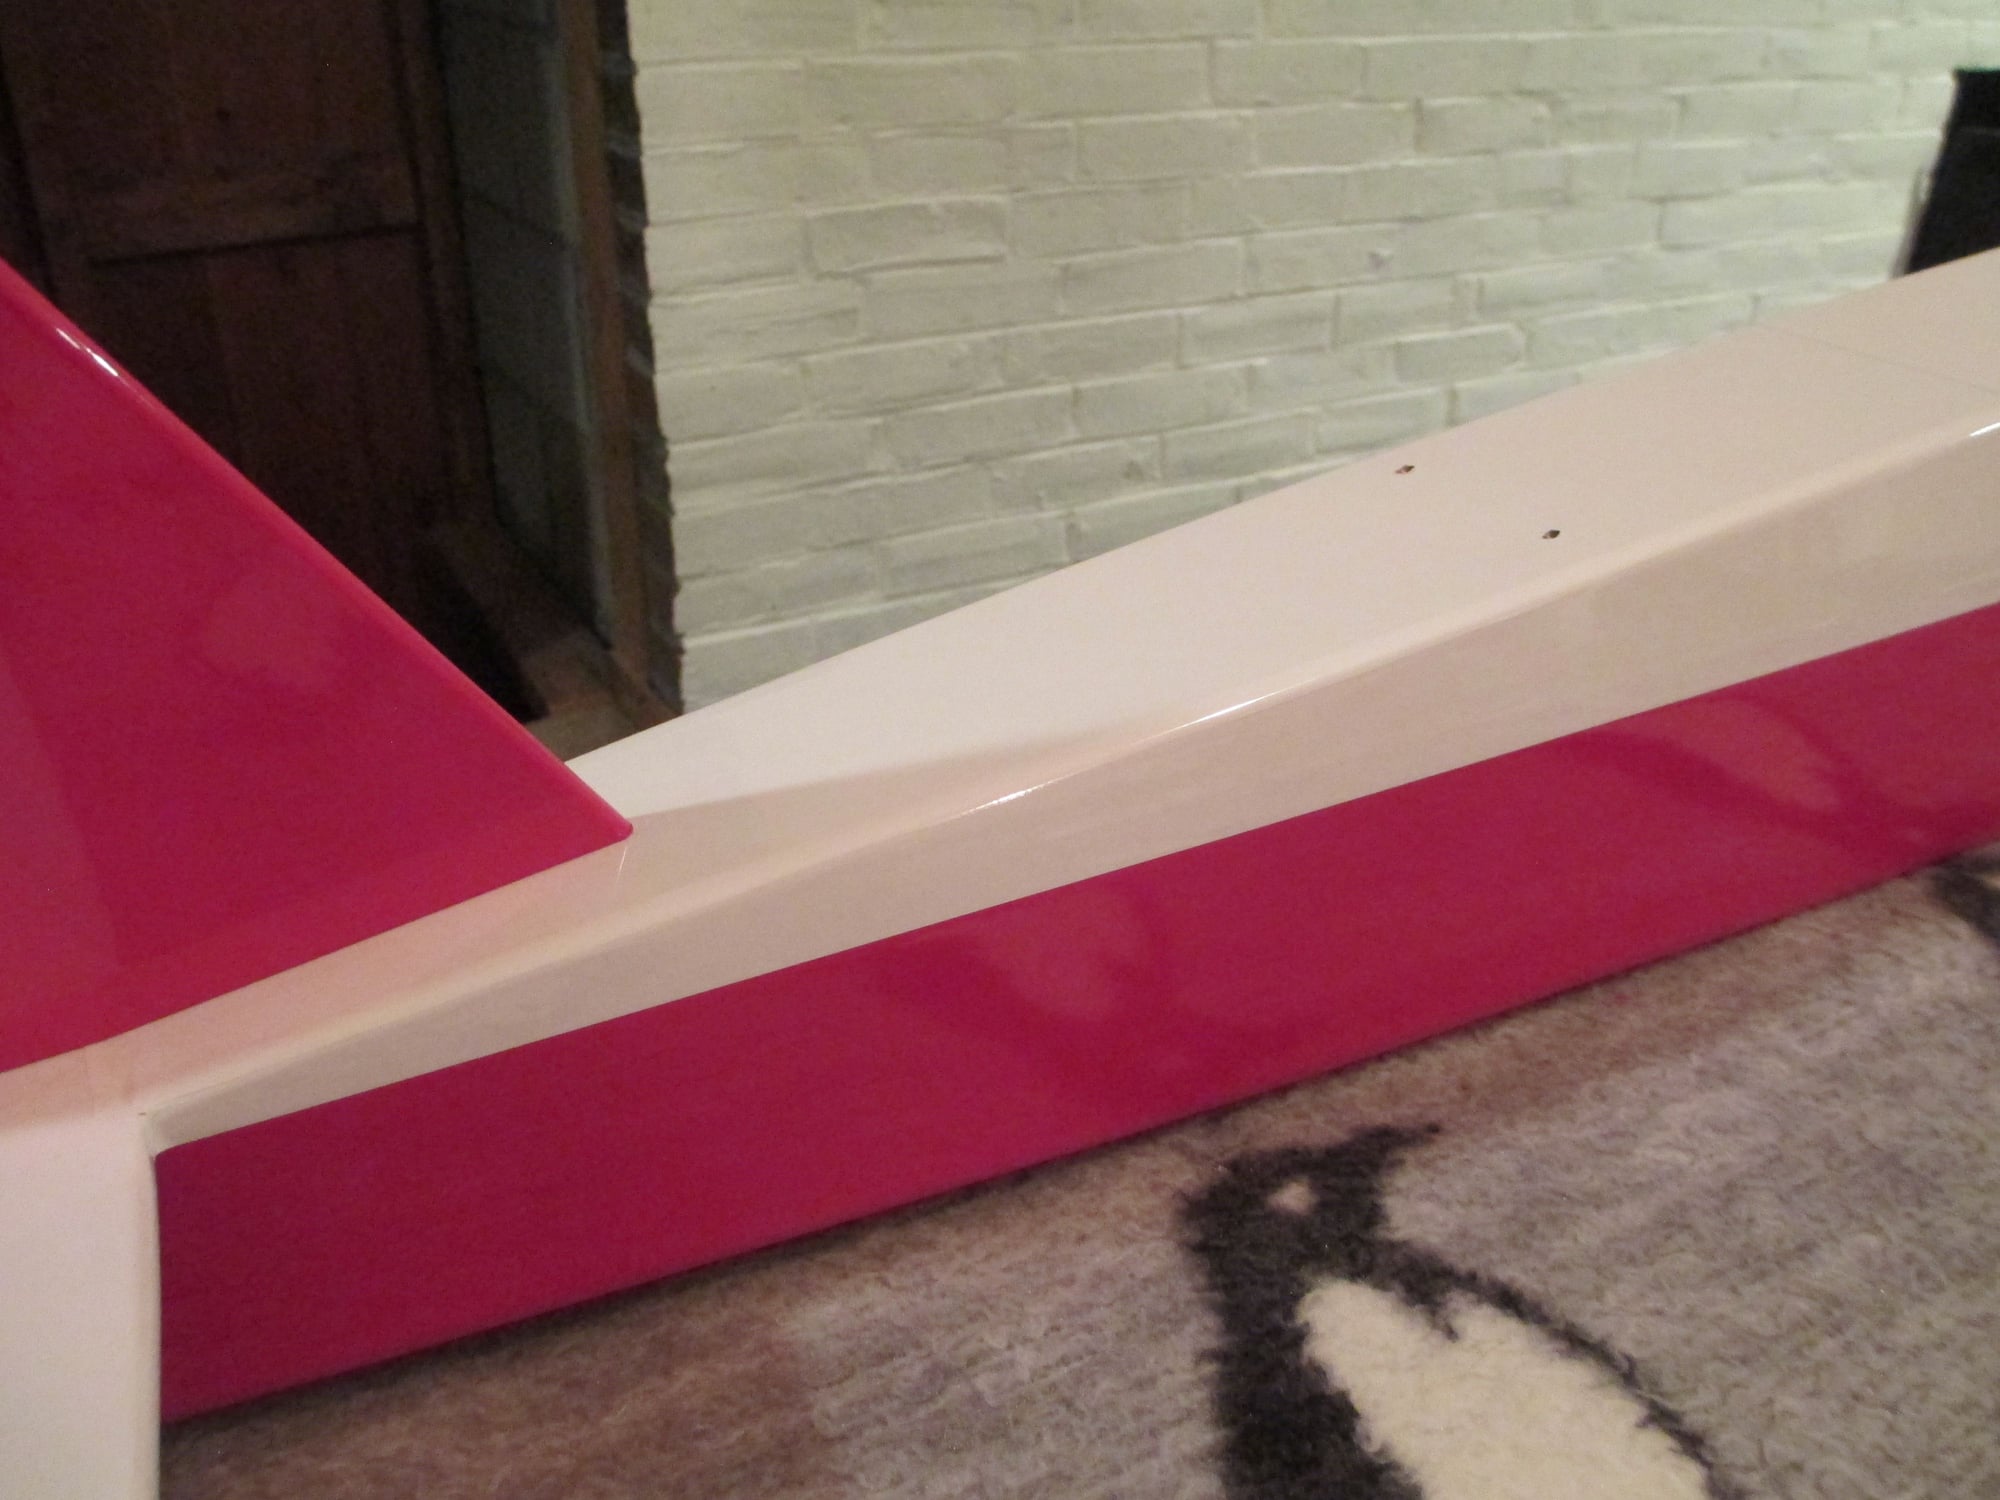
Here are some shots of the progress that I've made.
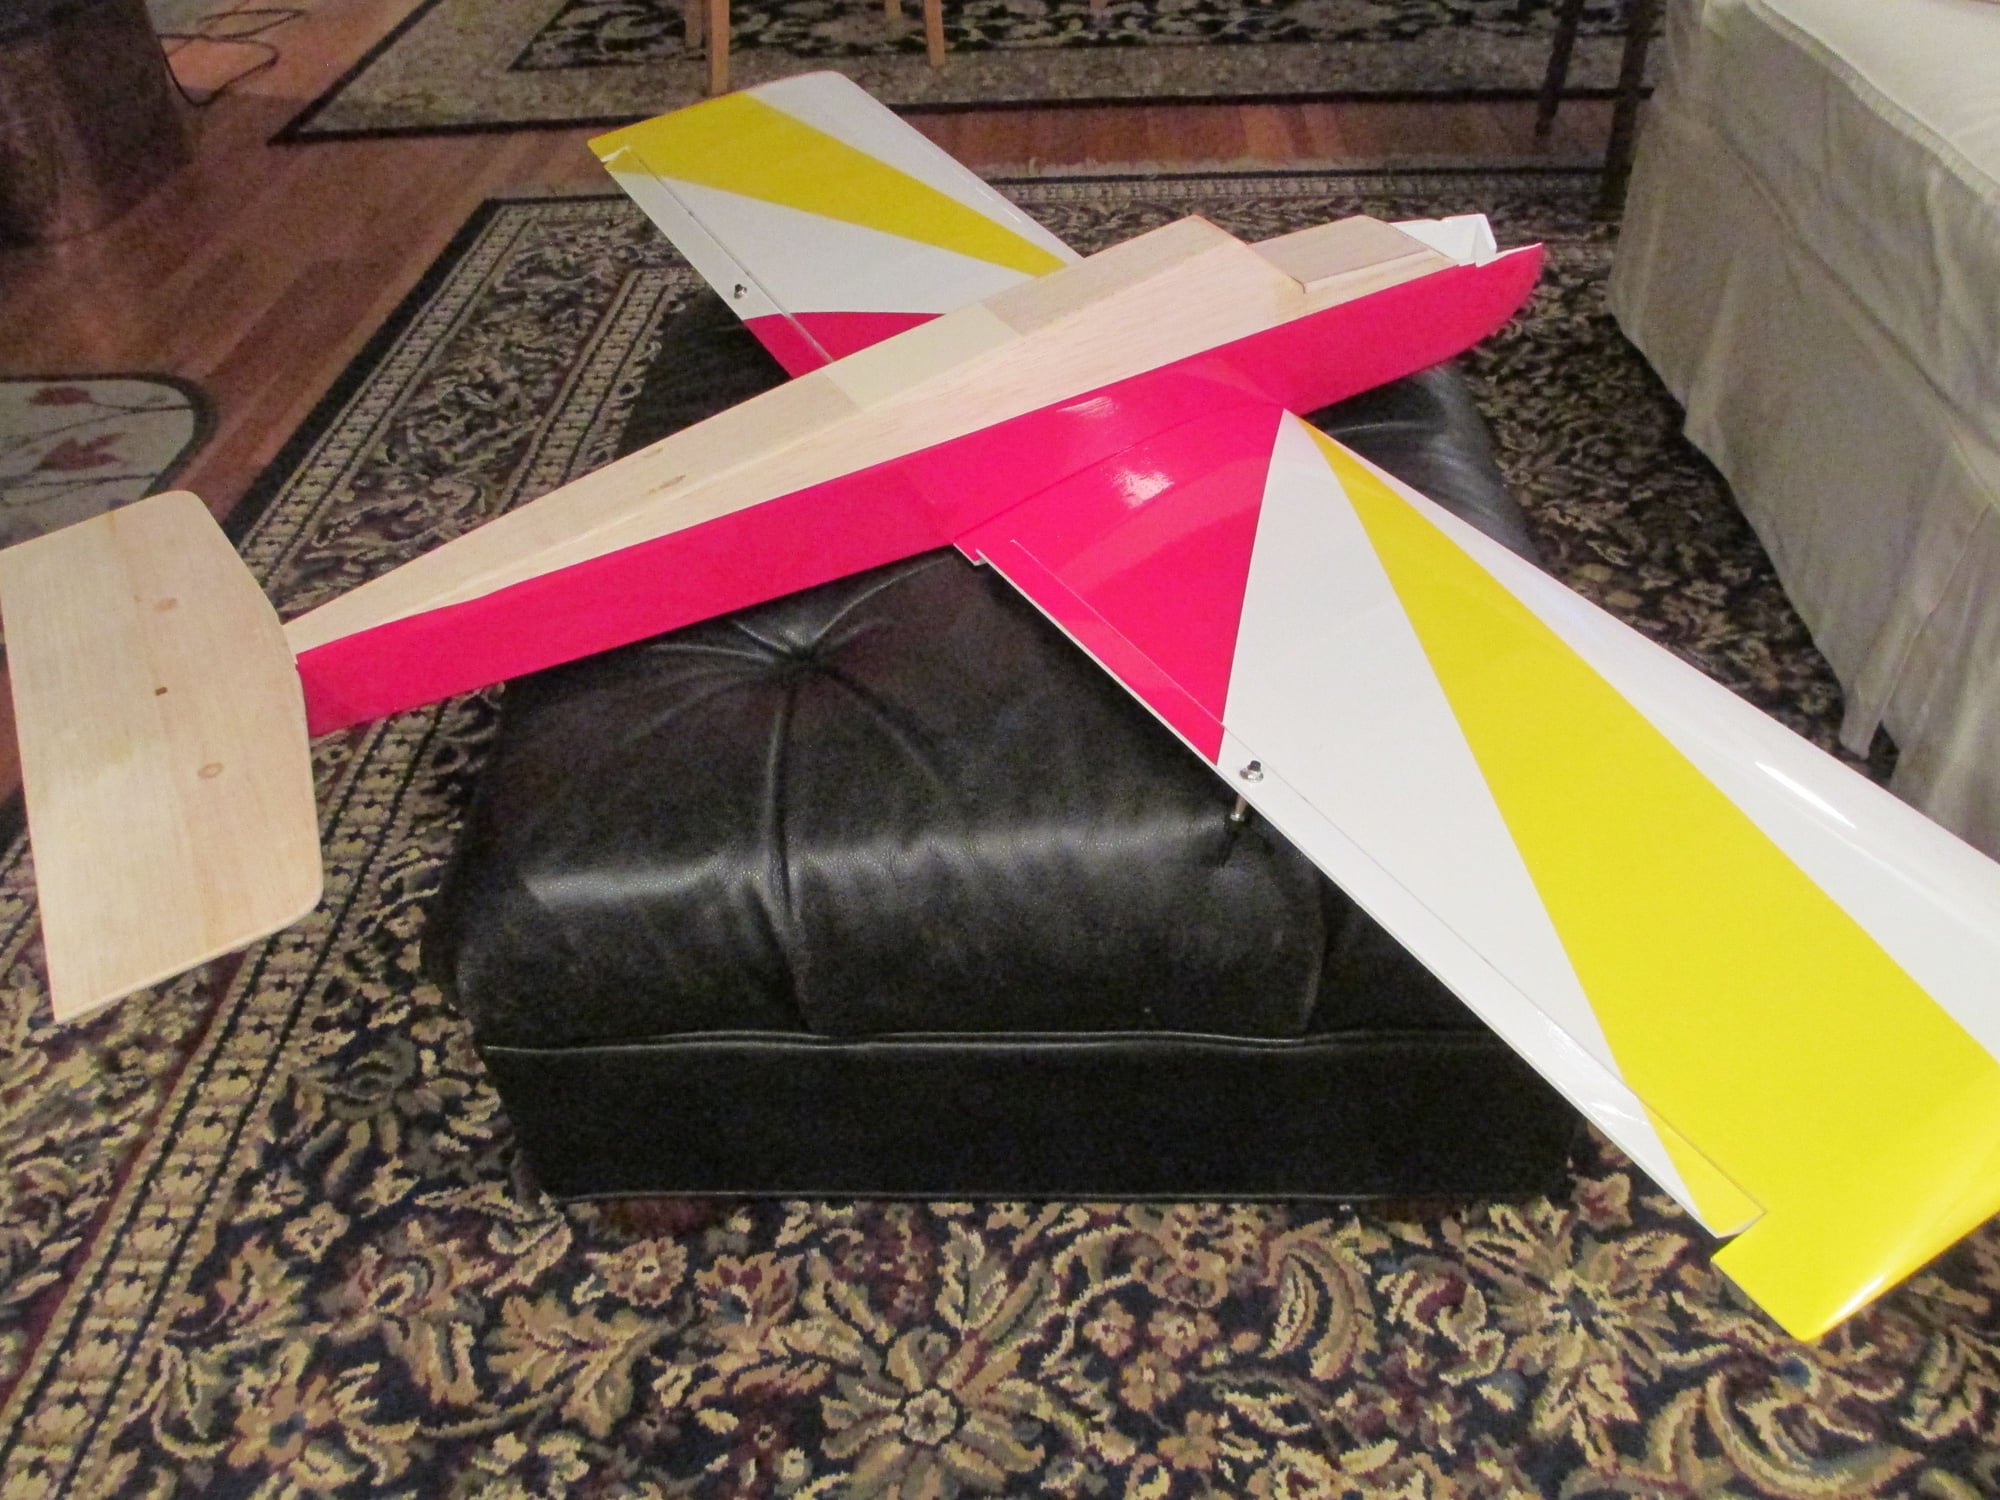
I just couldn't resist just placing the wing over the fuse to see what it looks like...
Last edited by VincentJ; 09-10-2018 at 03:42 PM.

 09-11-2018, 11:28 PM
#132
Thread Starter
Yes Alan they do come in different sizes and can be purchased individually or in small packets. I bought mine at my local hardware store nearby. If you have a hardware store next to you, visit the aisle that has all those individual pull out drawers where you typically see their assortment of nuts and bolts. You should find them there, if not go to their electrical/lighting department and they may sell them in small individual packets. Happy hunting!
Last edited by VincentJ; 09-12-2018 at 06:19 AM.
09-13-2018, 02:47 AM
#134
Thread Starter
Well Mike I'll try to explain it to you. It's not as hard as you might think to do provided you are using the right tool. First off, when you're wrapping something like a wing tip or something that has the radius like my fuselage, ditch the iron and go with the heat gun. Make sure that you leave plenty of excess covering that will extend at least six inches past the tip. This is so you can get a firm (but not death grip) hold of the covering with out burning your hand when the heat gun is on. Start to apply the heat to the middle of the wing tip while gently pulling the covering around the curve of the tip. Do not try to wrap it around in one shot, but rather stop as soon as it starts then redirect the heat to the opposite edges of the tip and do the same. Keep doing this until the covering is wrapped around the wing tip a bit more than half way then let cool and trim. You will learn quickly how much heat the covering will take, how far from the covering the gun should be and its limits as to how much it will stretch before tearing. I hope this makes some sense! Working alone, it's impossible for me to take pics of the process while doing something like a wing tip...
Last edited by VincentJ; 09-13-2018 at 02:52 AM.
09-13-2018, 05:10 PM
#135
Thread Starter
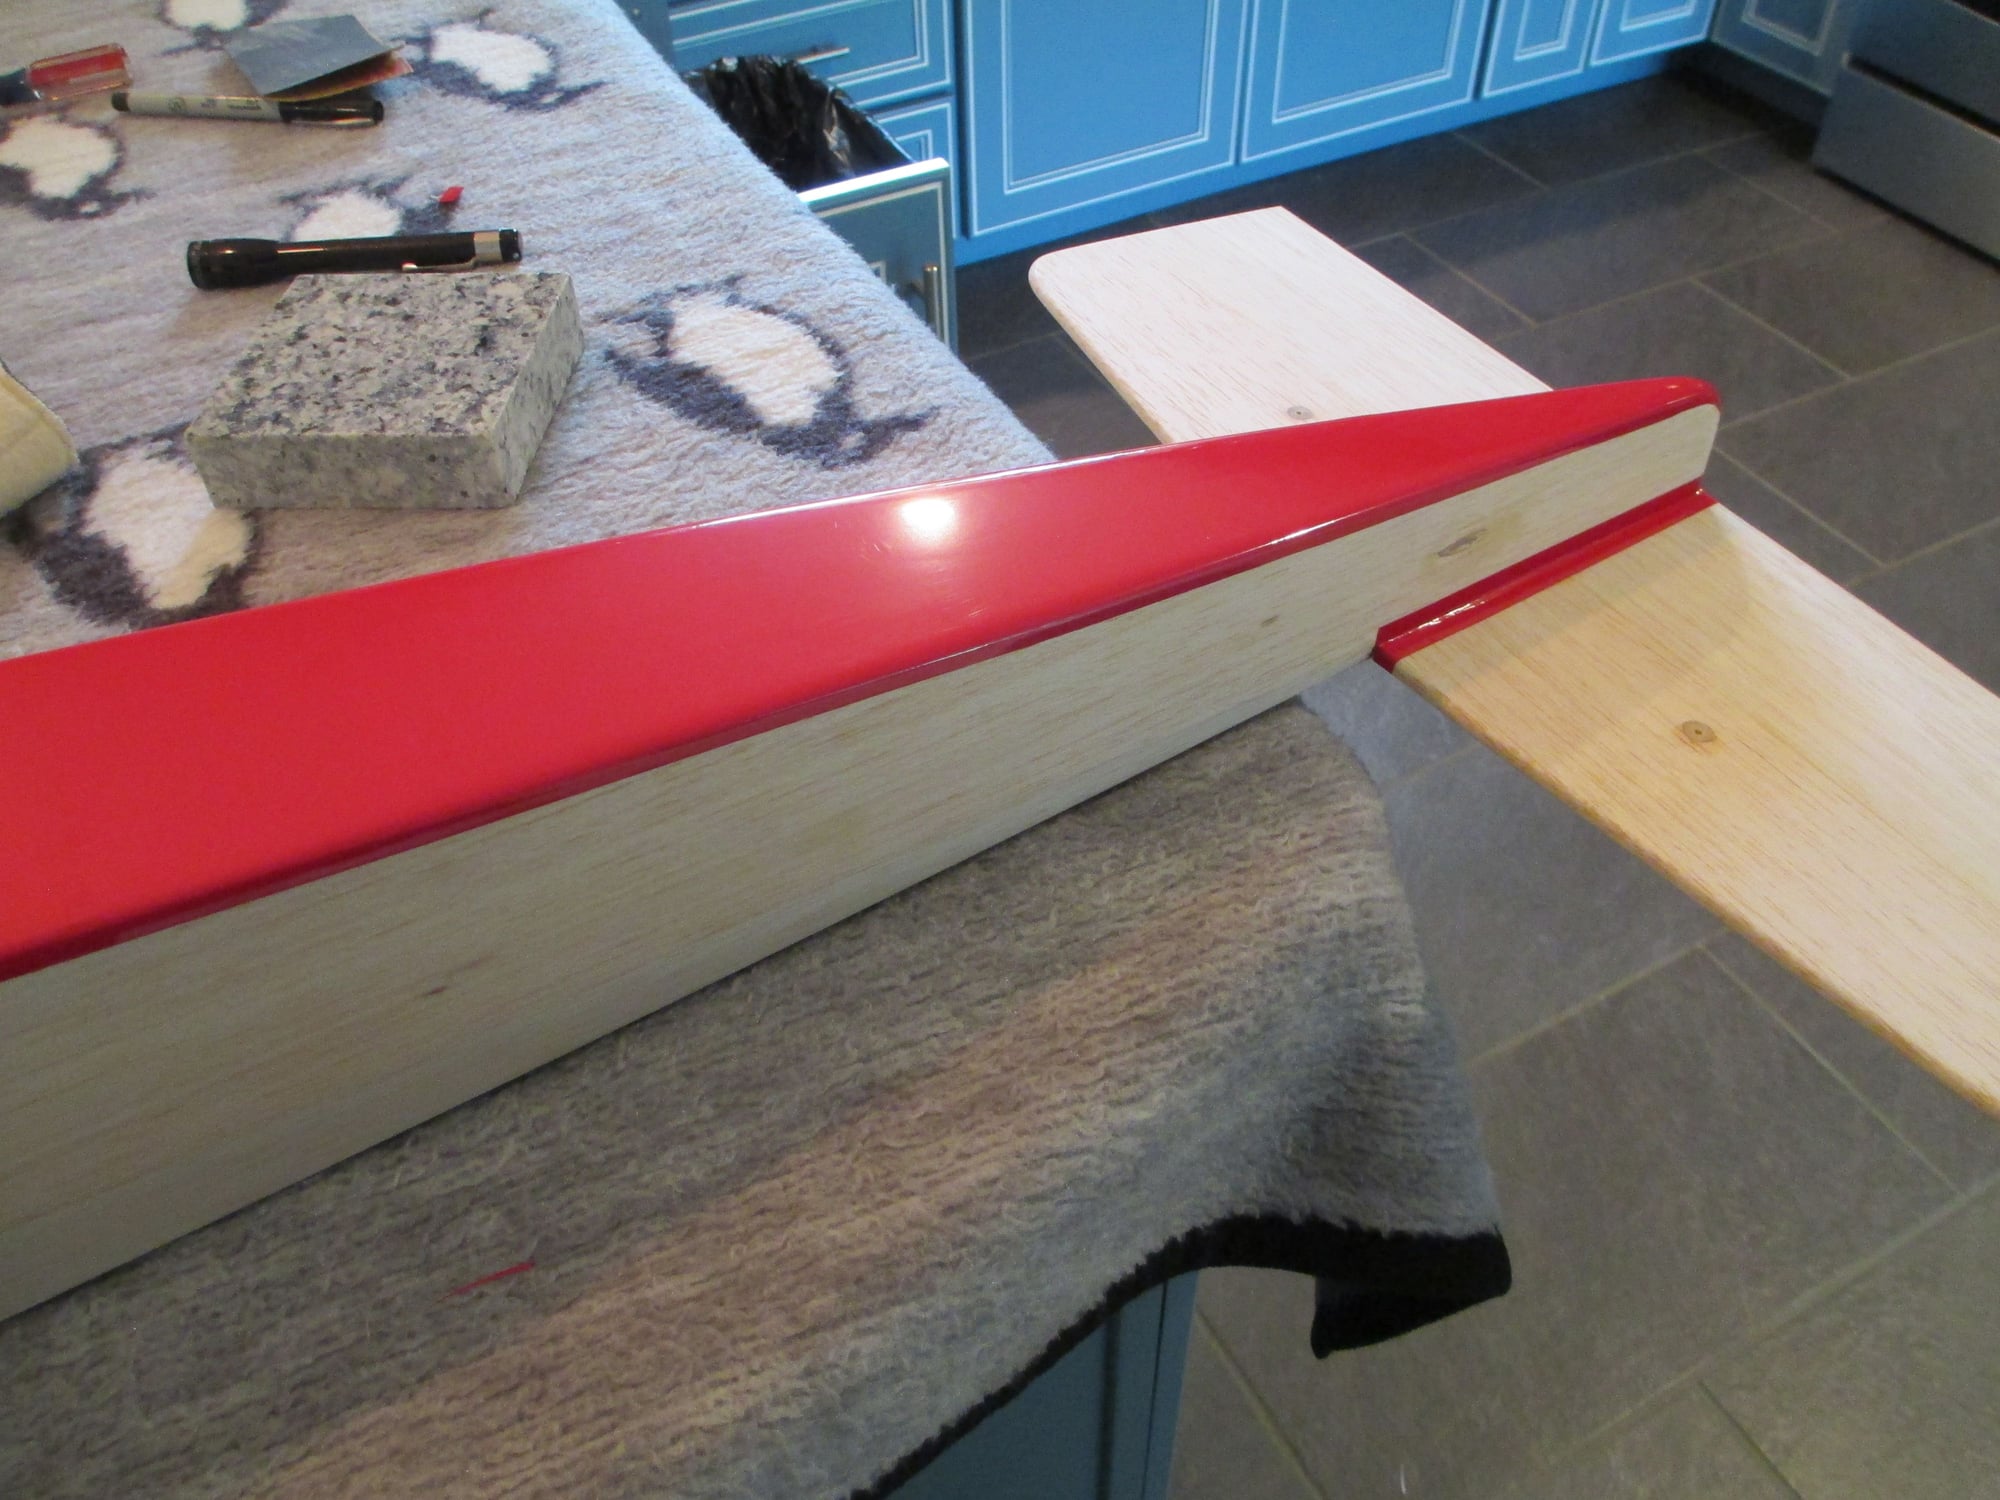
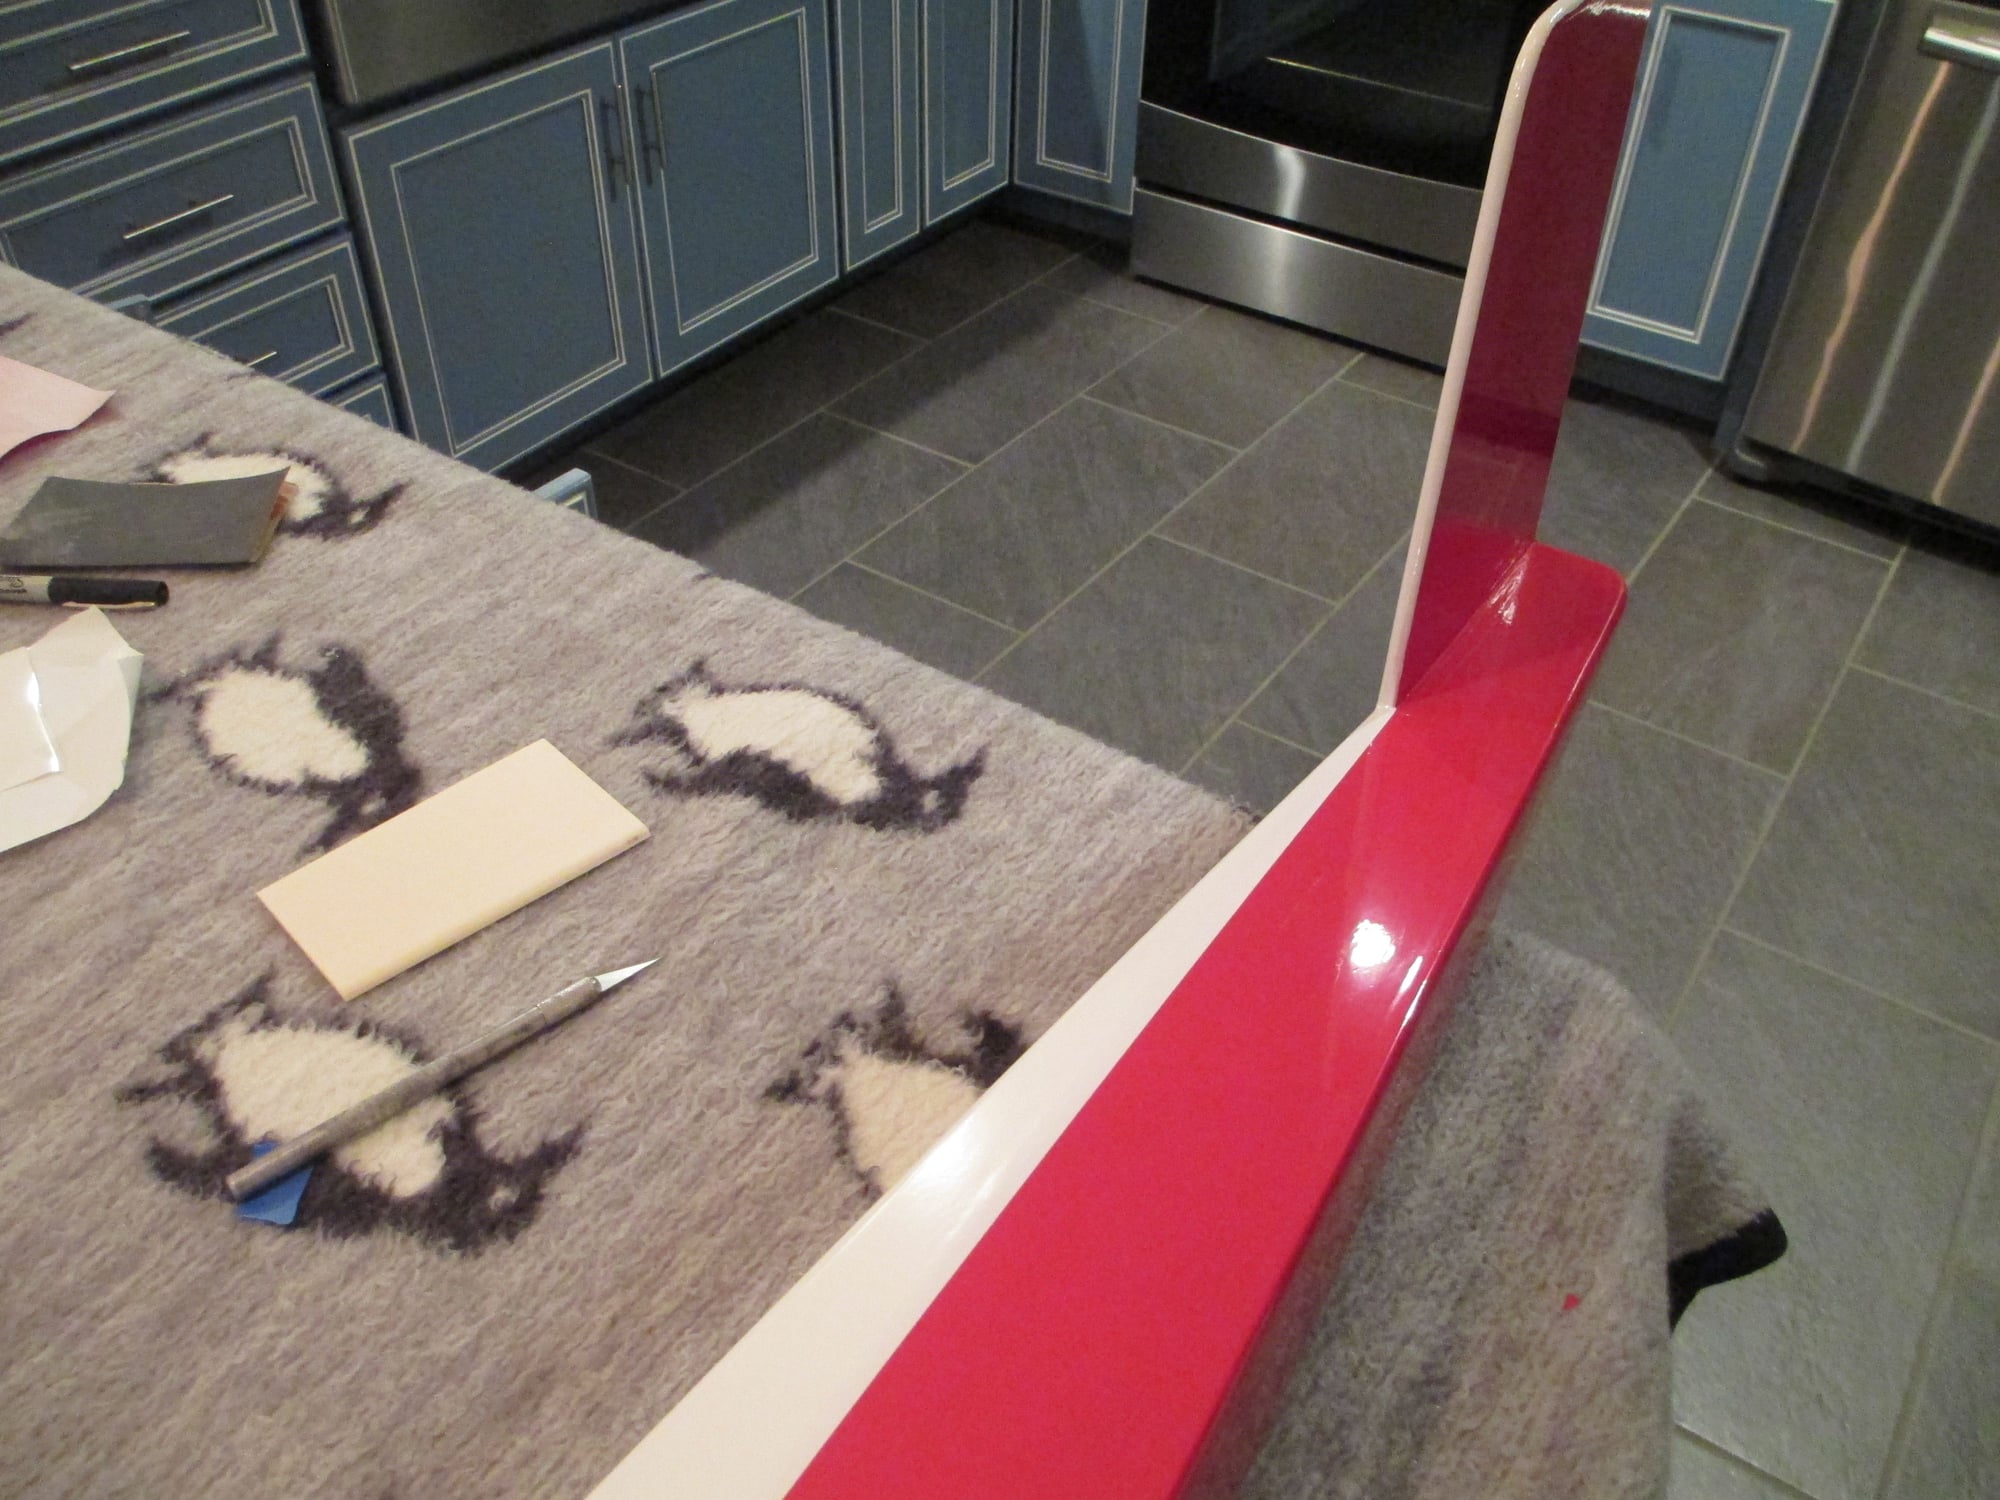
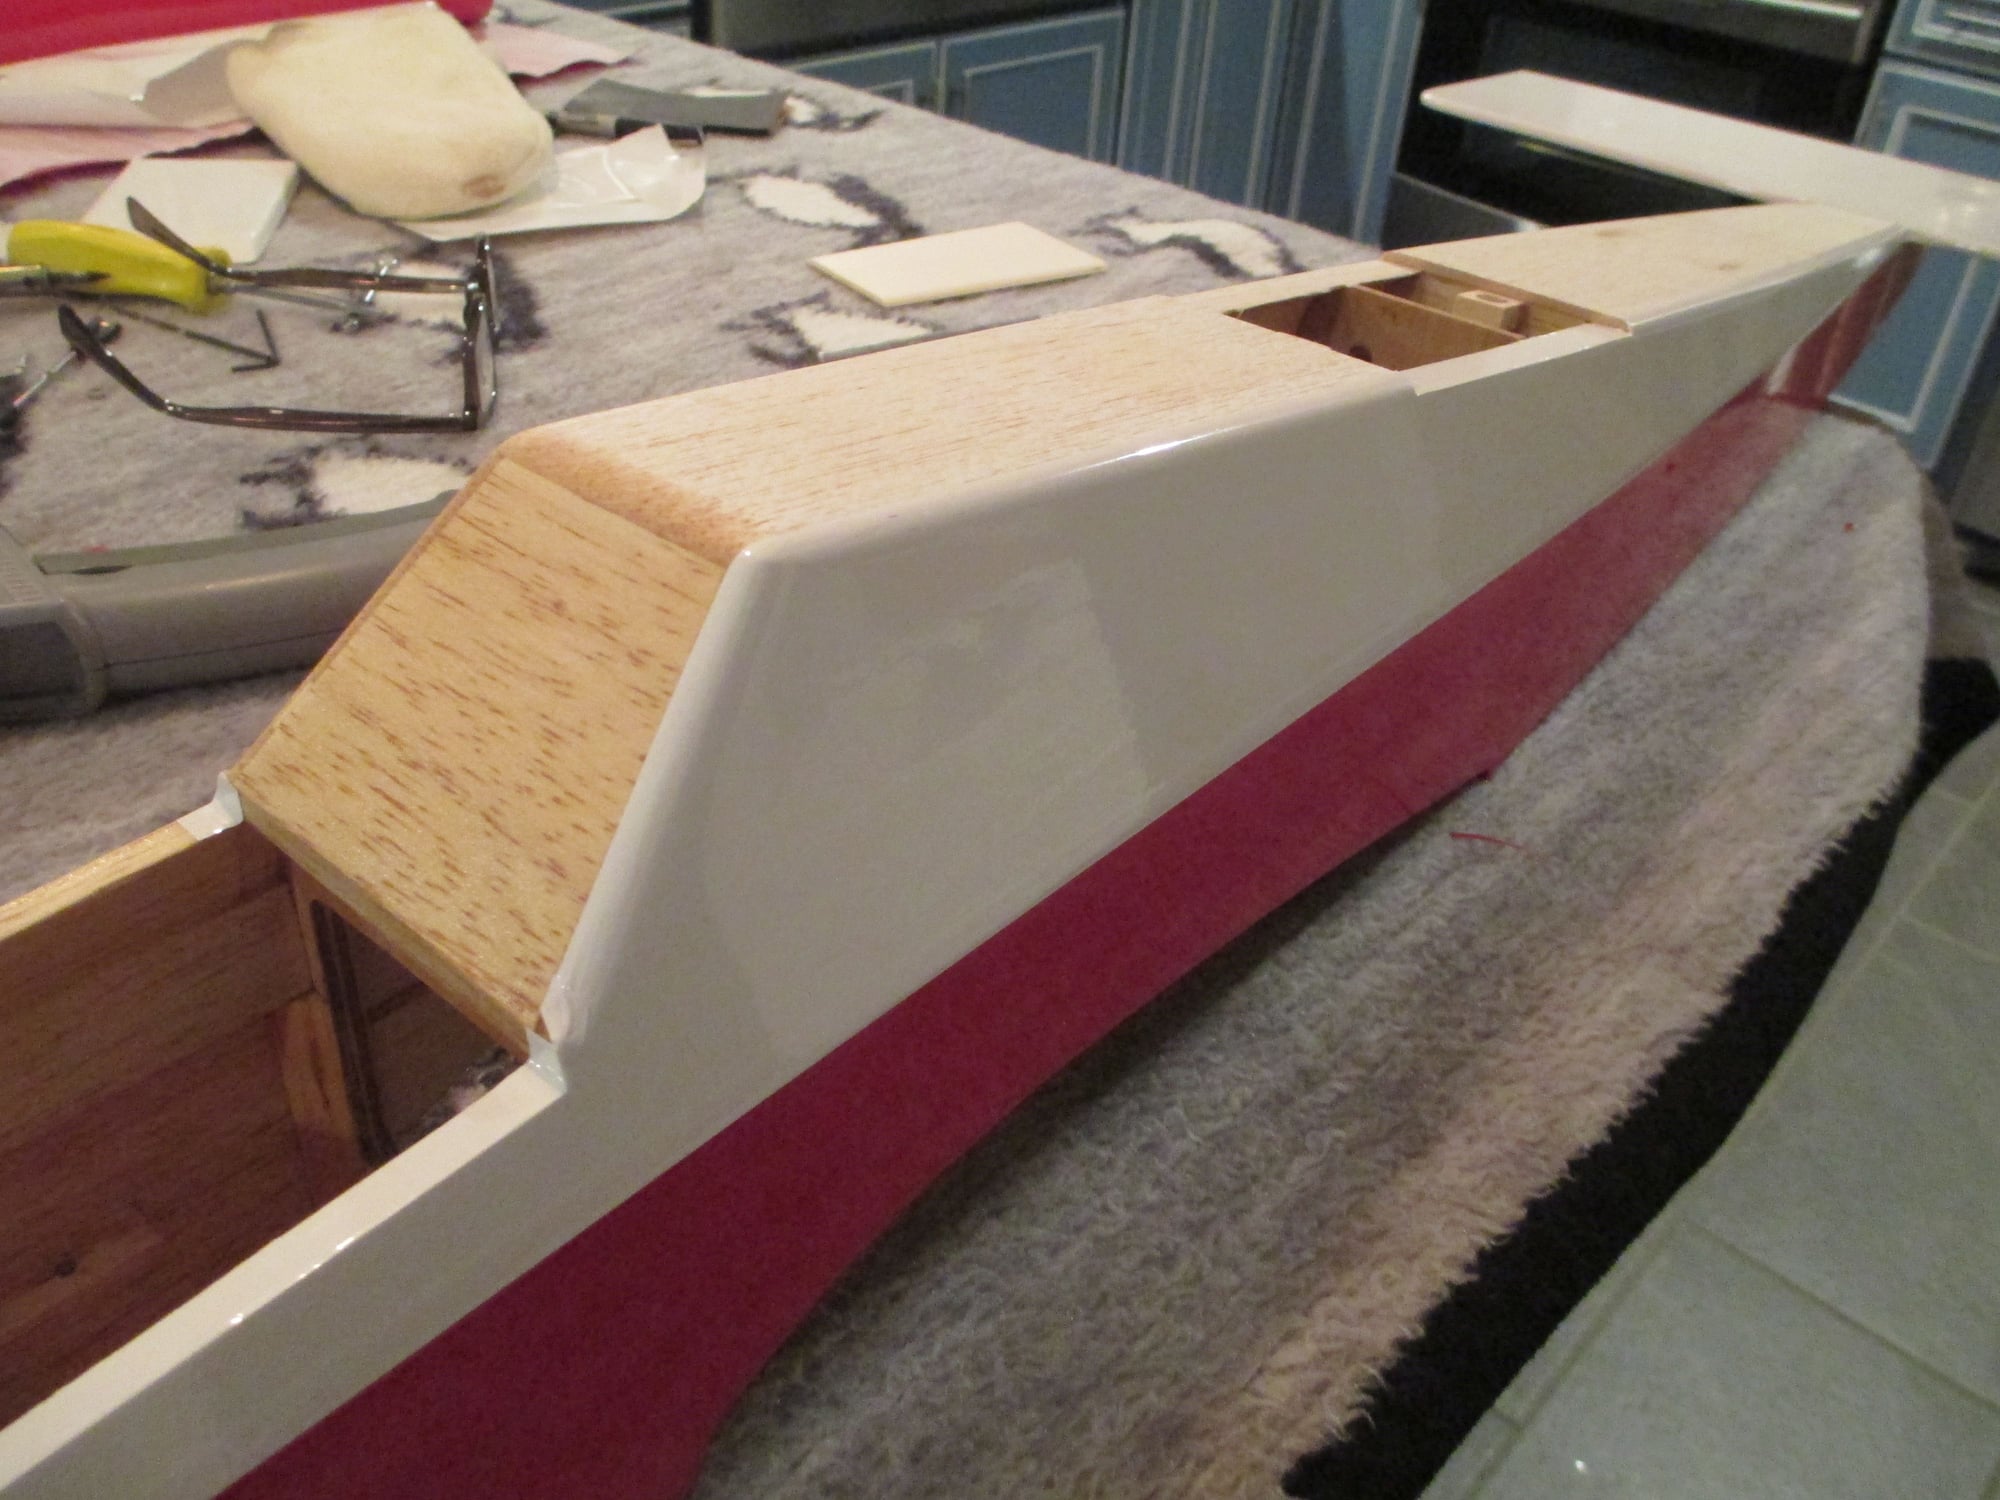
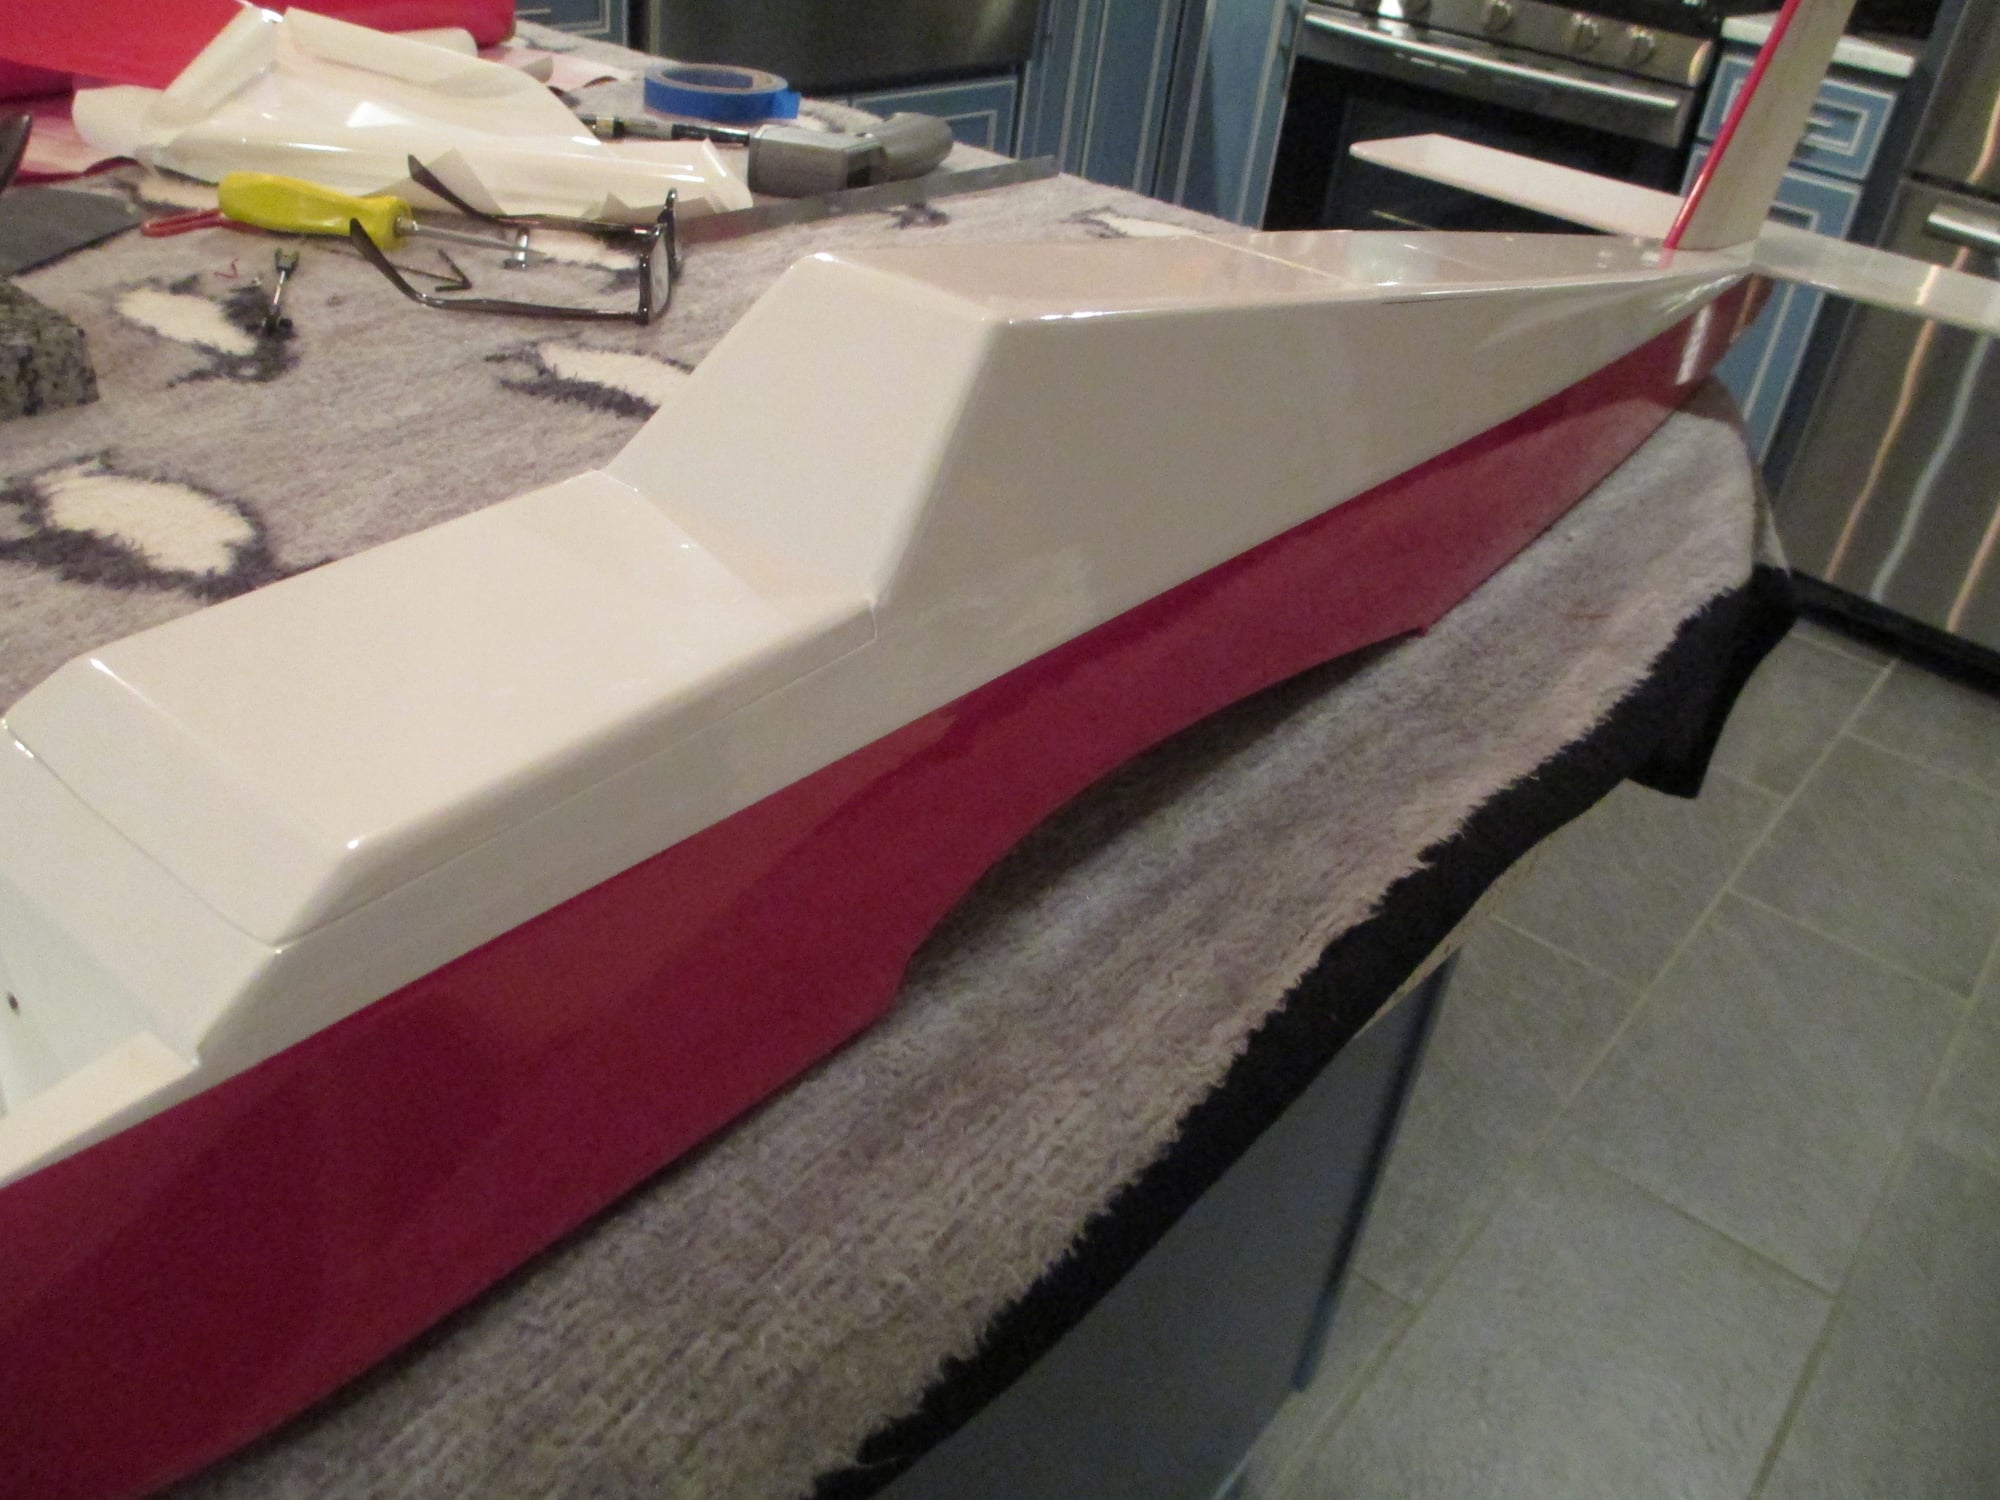
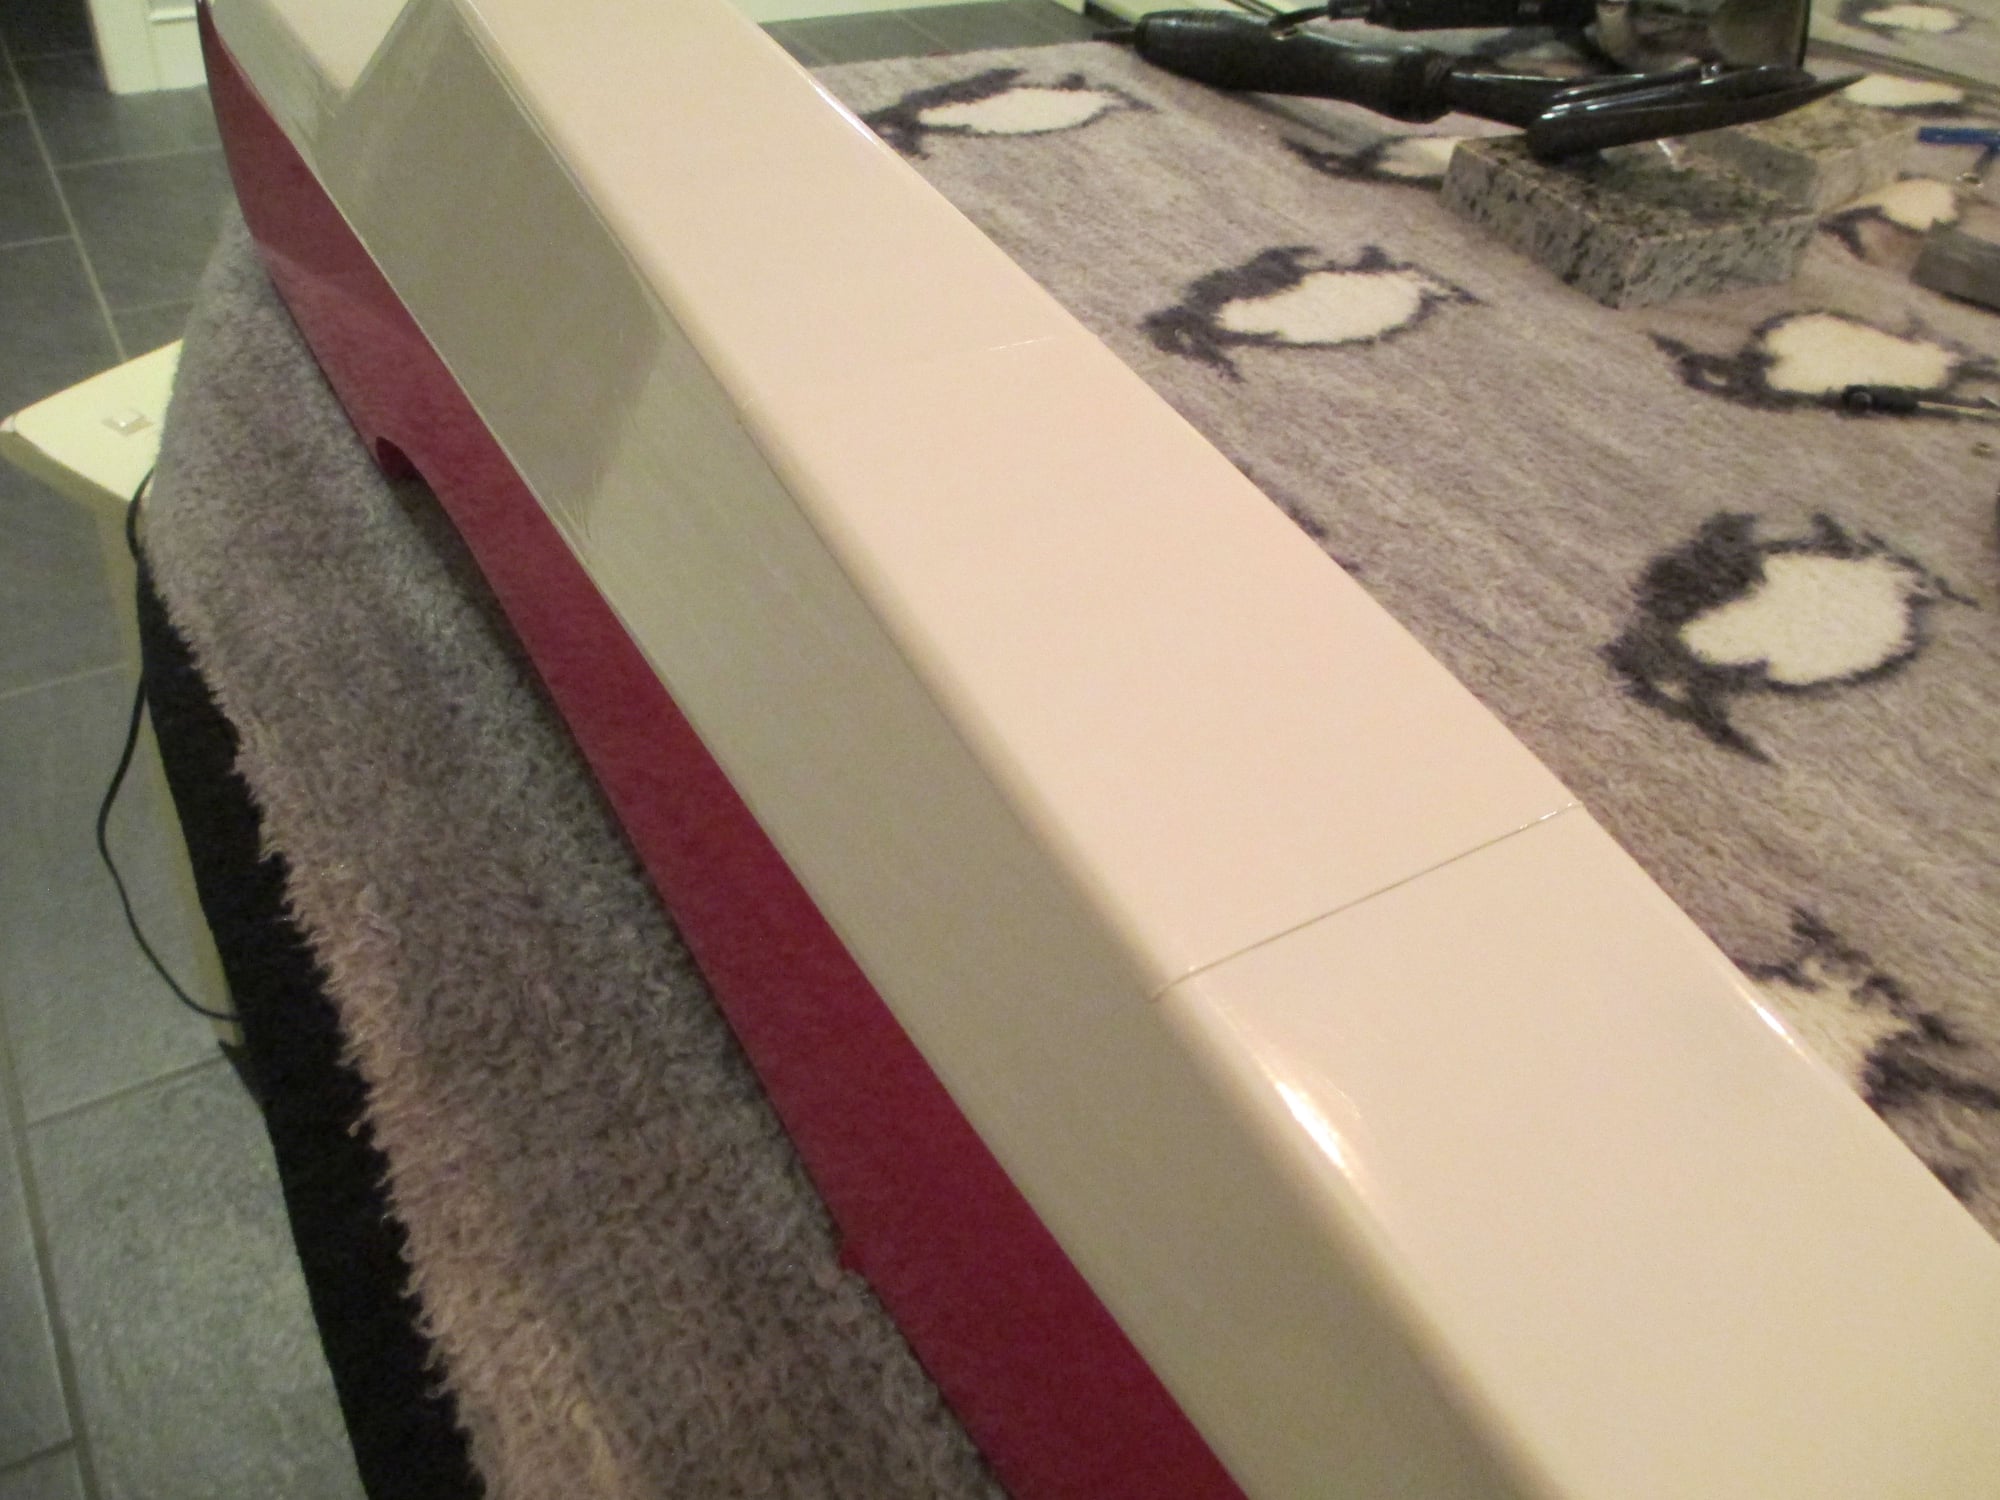
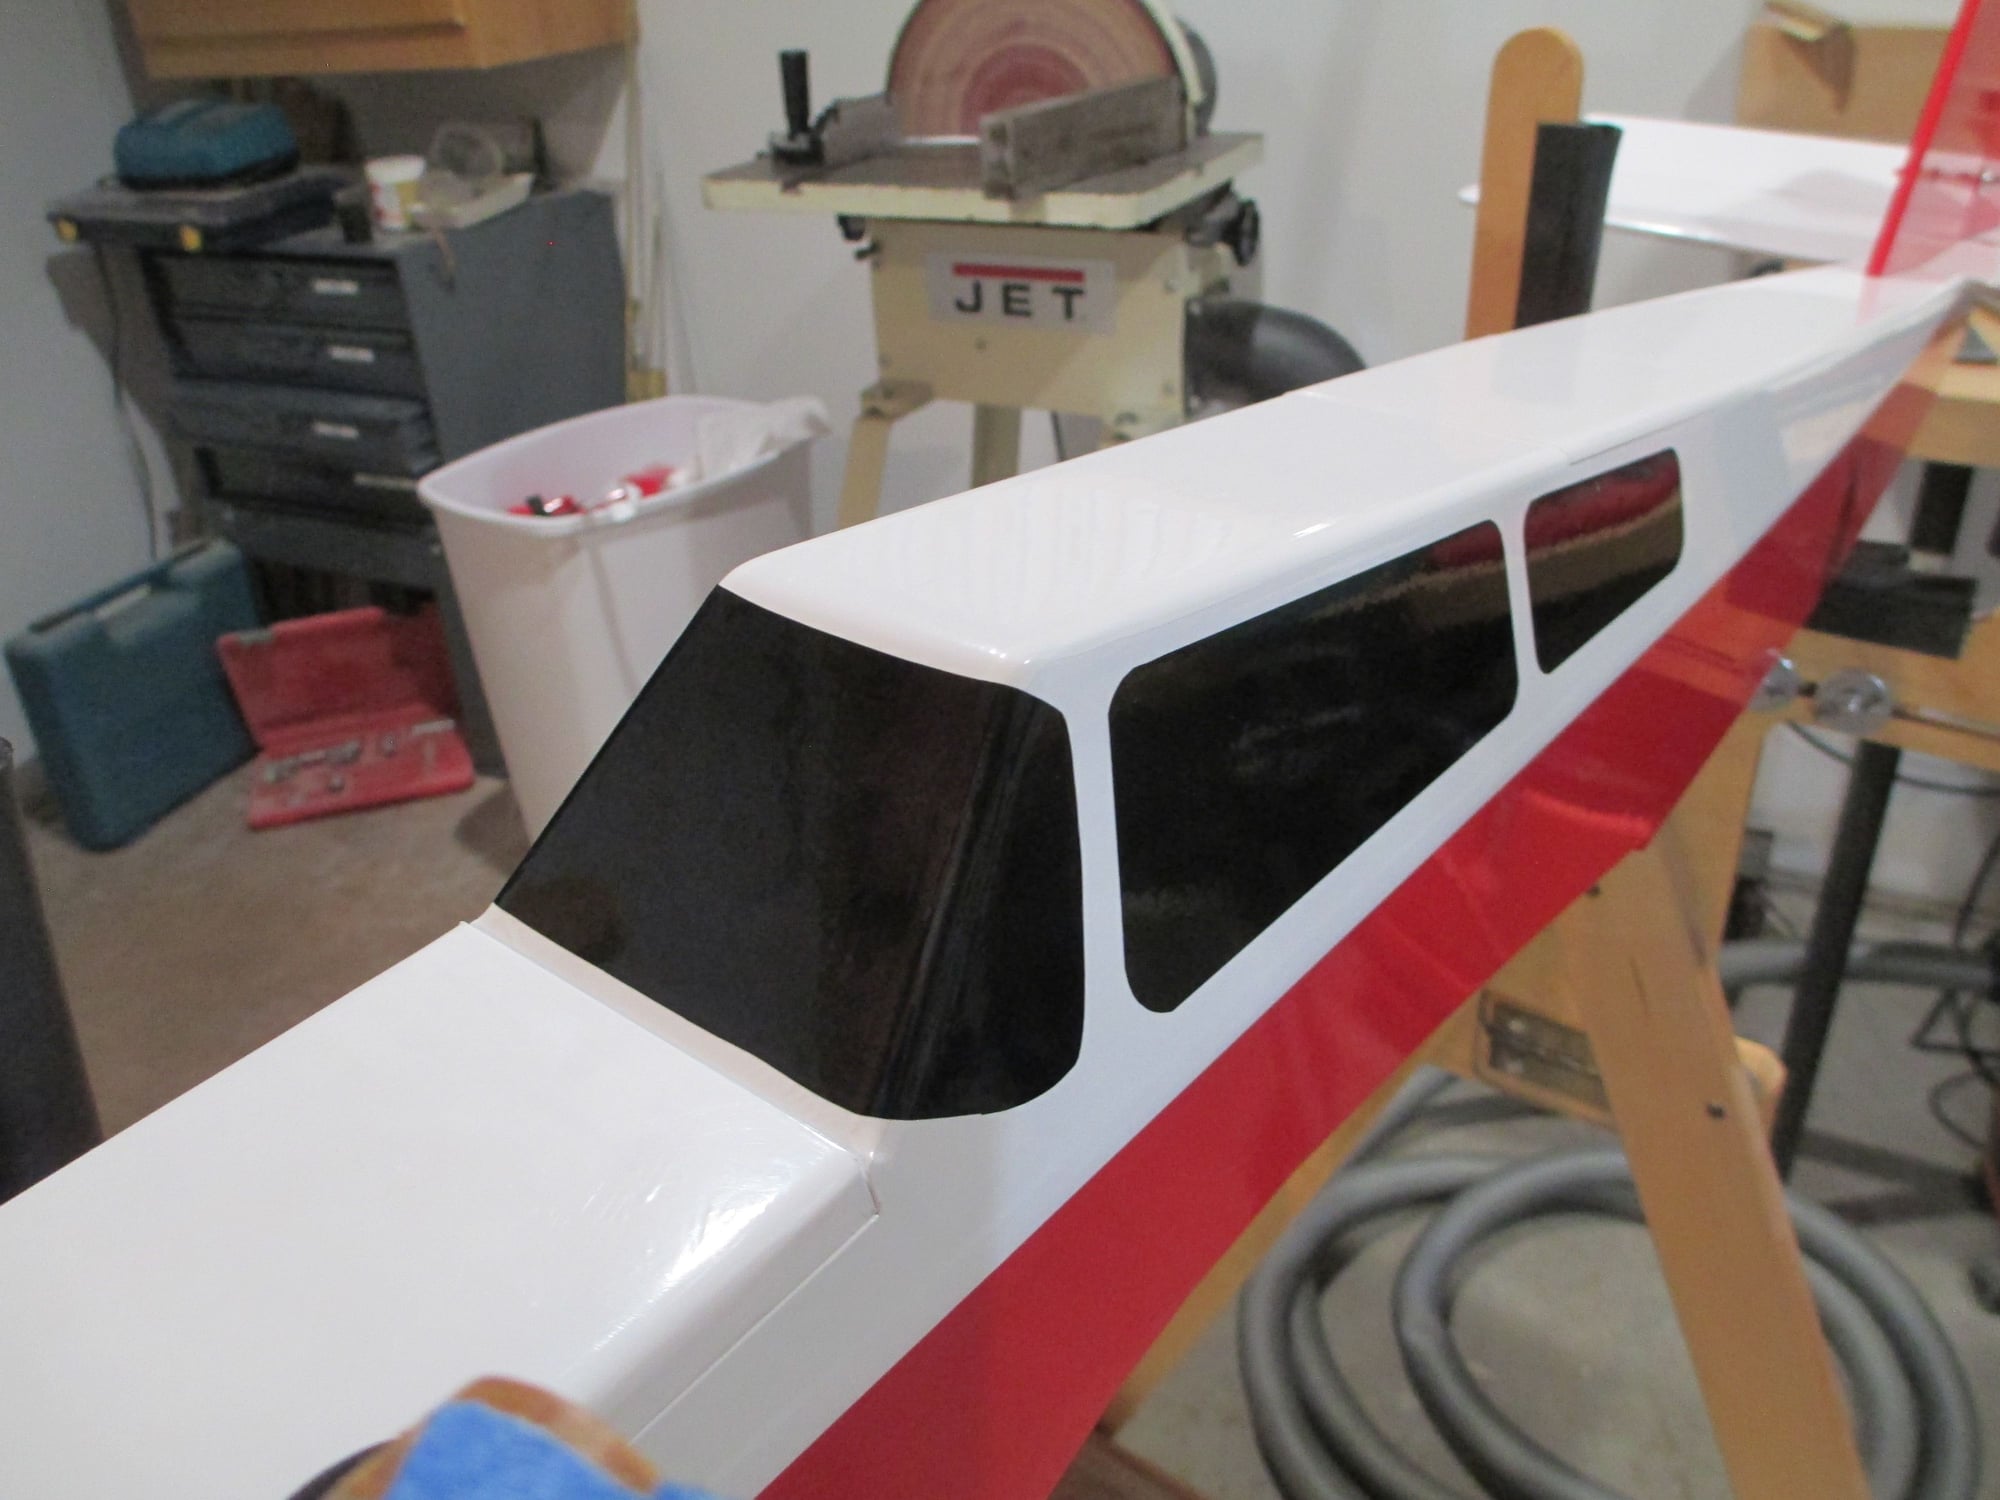
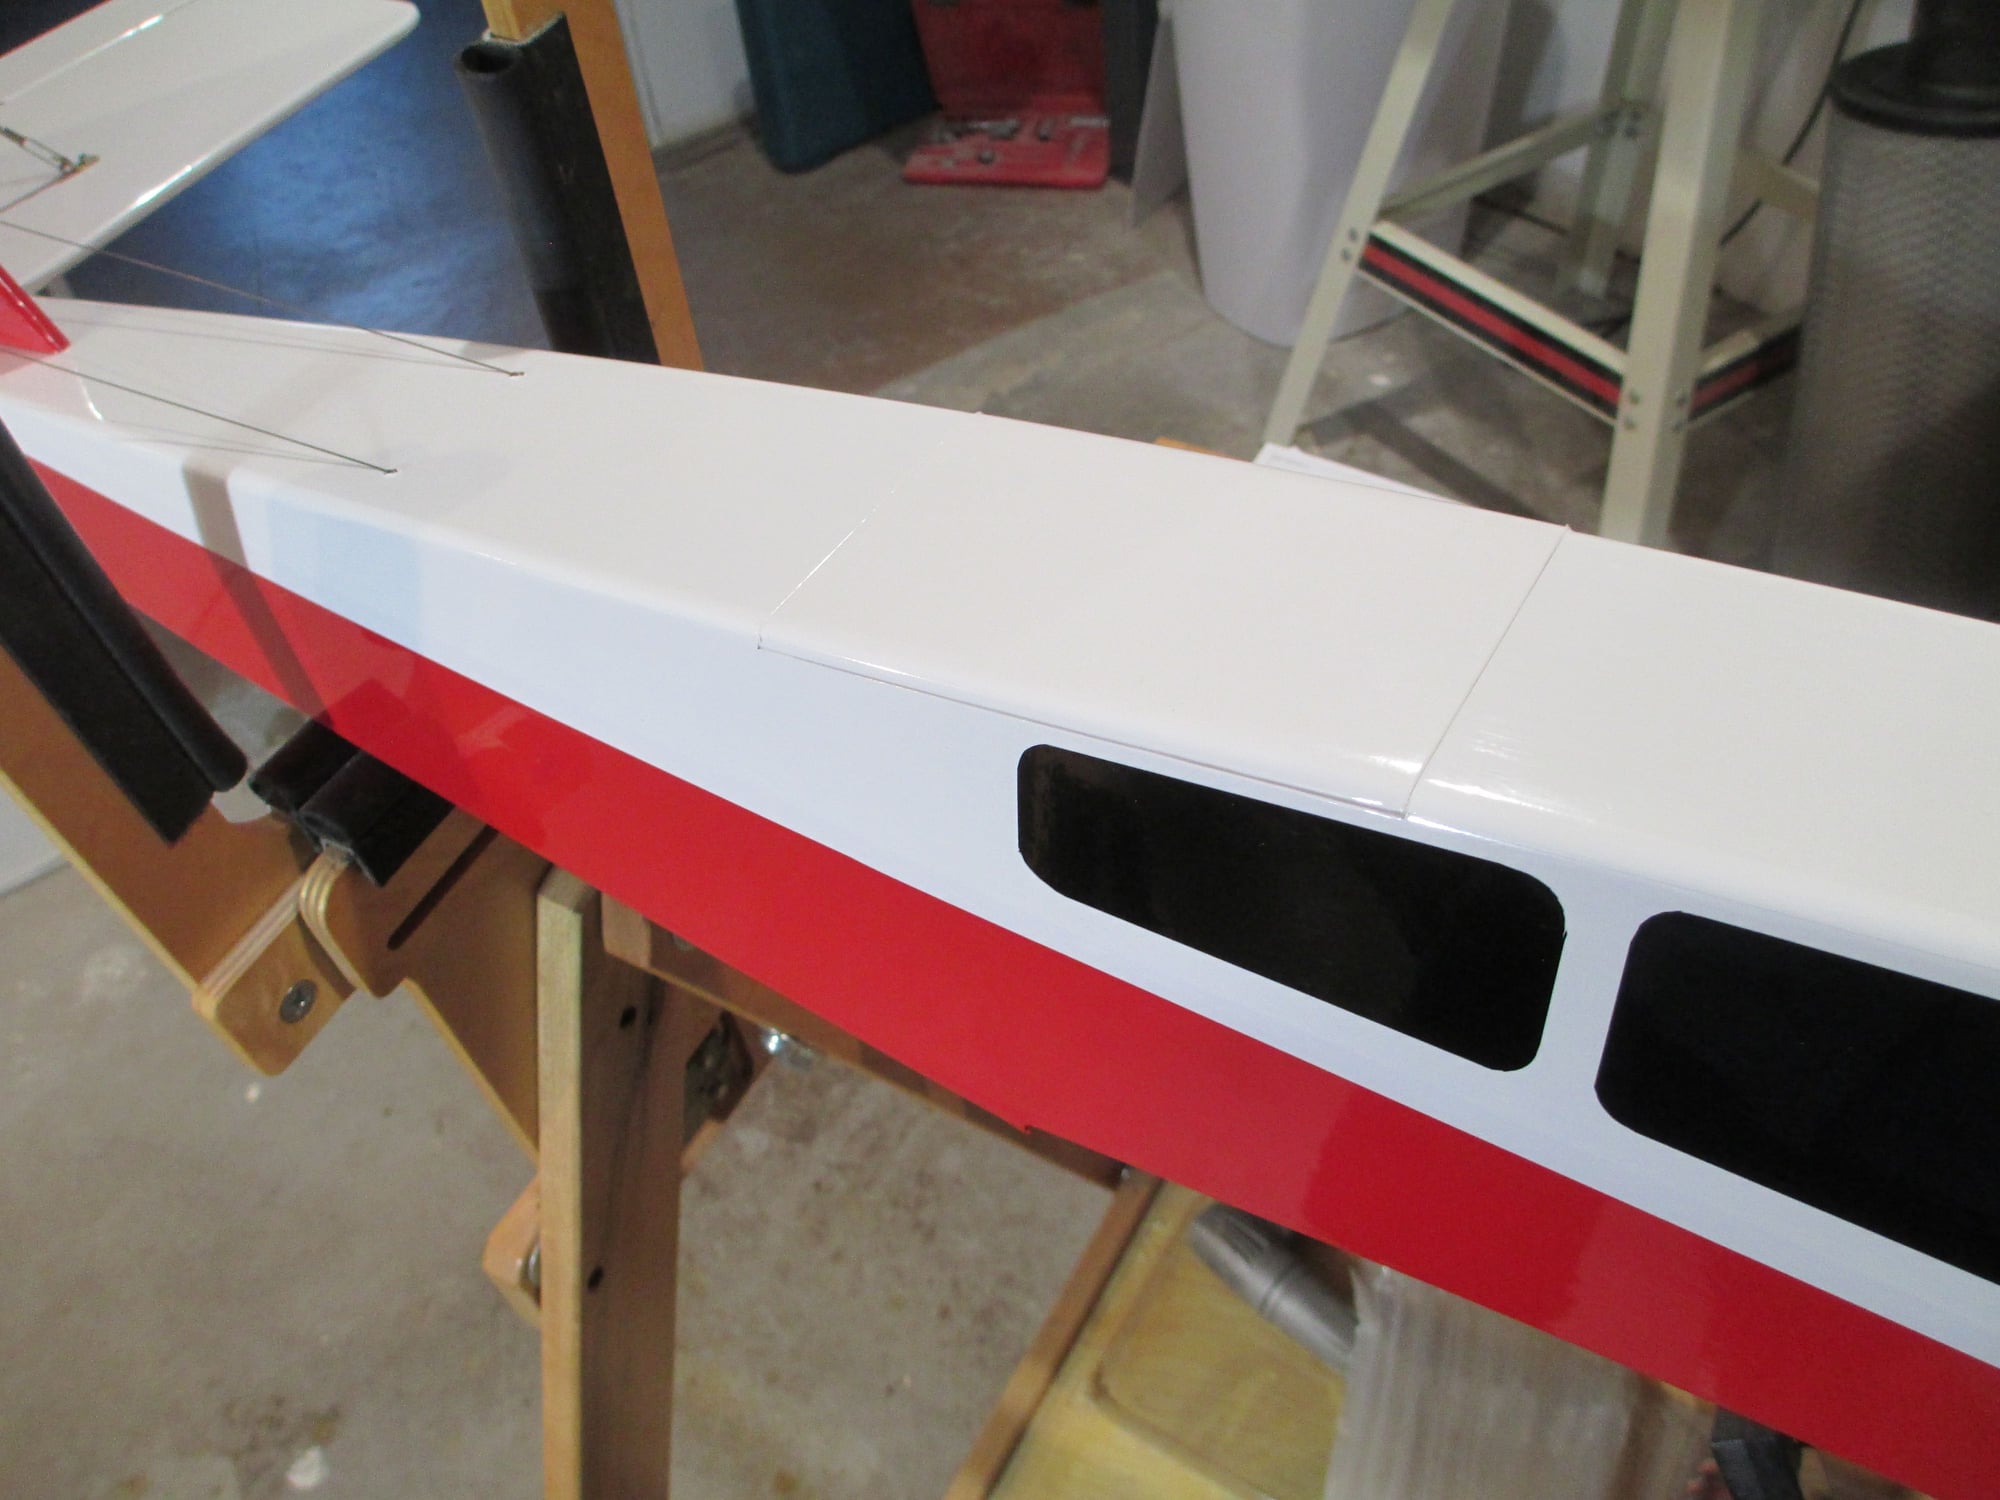
Tonight's progress, I started covering the area above the red with white on the fuselage sides. I was able to finish both sides before retiring for the evening. I just have the top of the fuse to complete.

Last edited by VincentJ; 09-14-2018 at 02:52 AM.

 09-15-2018, 12:06 AM
#138
Thread Starter
Mike, I use single edge razor blades and my hobby knife (Exacto) with an #11 blade. Most all of my trimming is done over the balsa, if you change your blade frequently you won't have to apply very much pressure to cut through the top layer of covering only without cutting what's underneath.


 09-18-2018, 02:47 PM
#143
Thread Starter
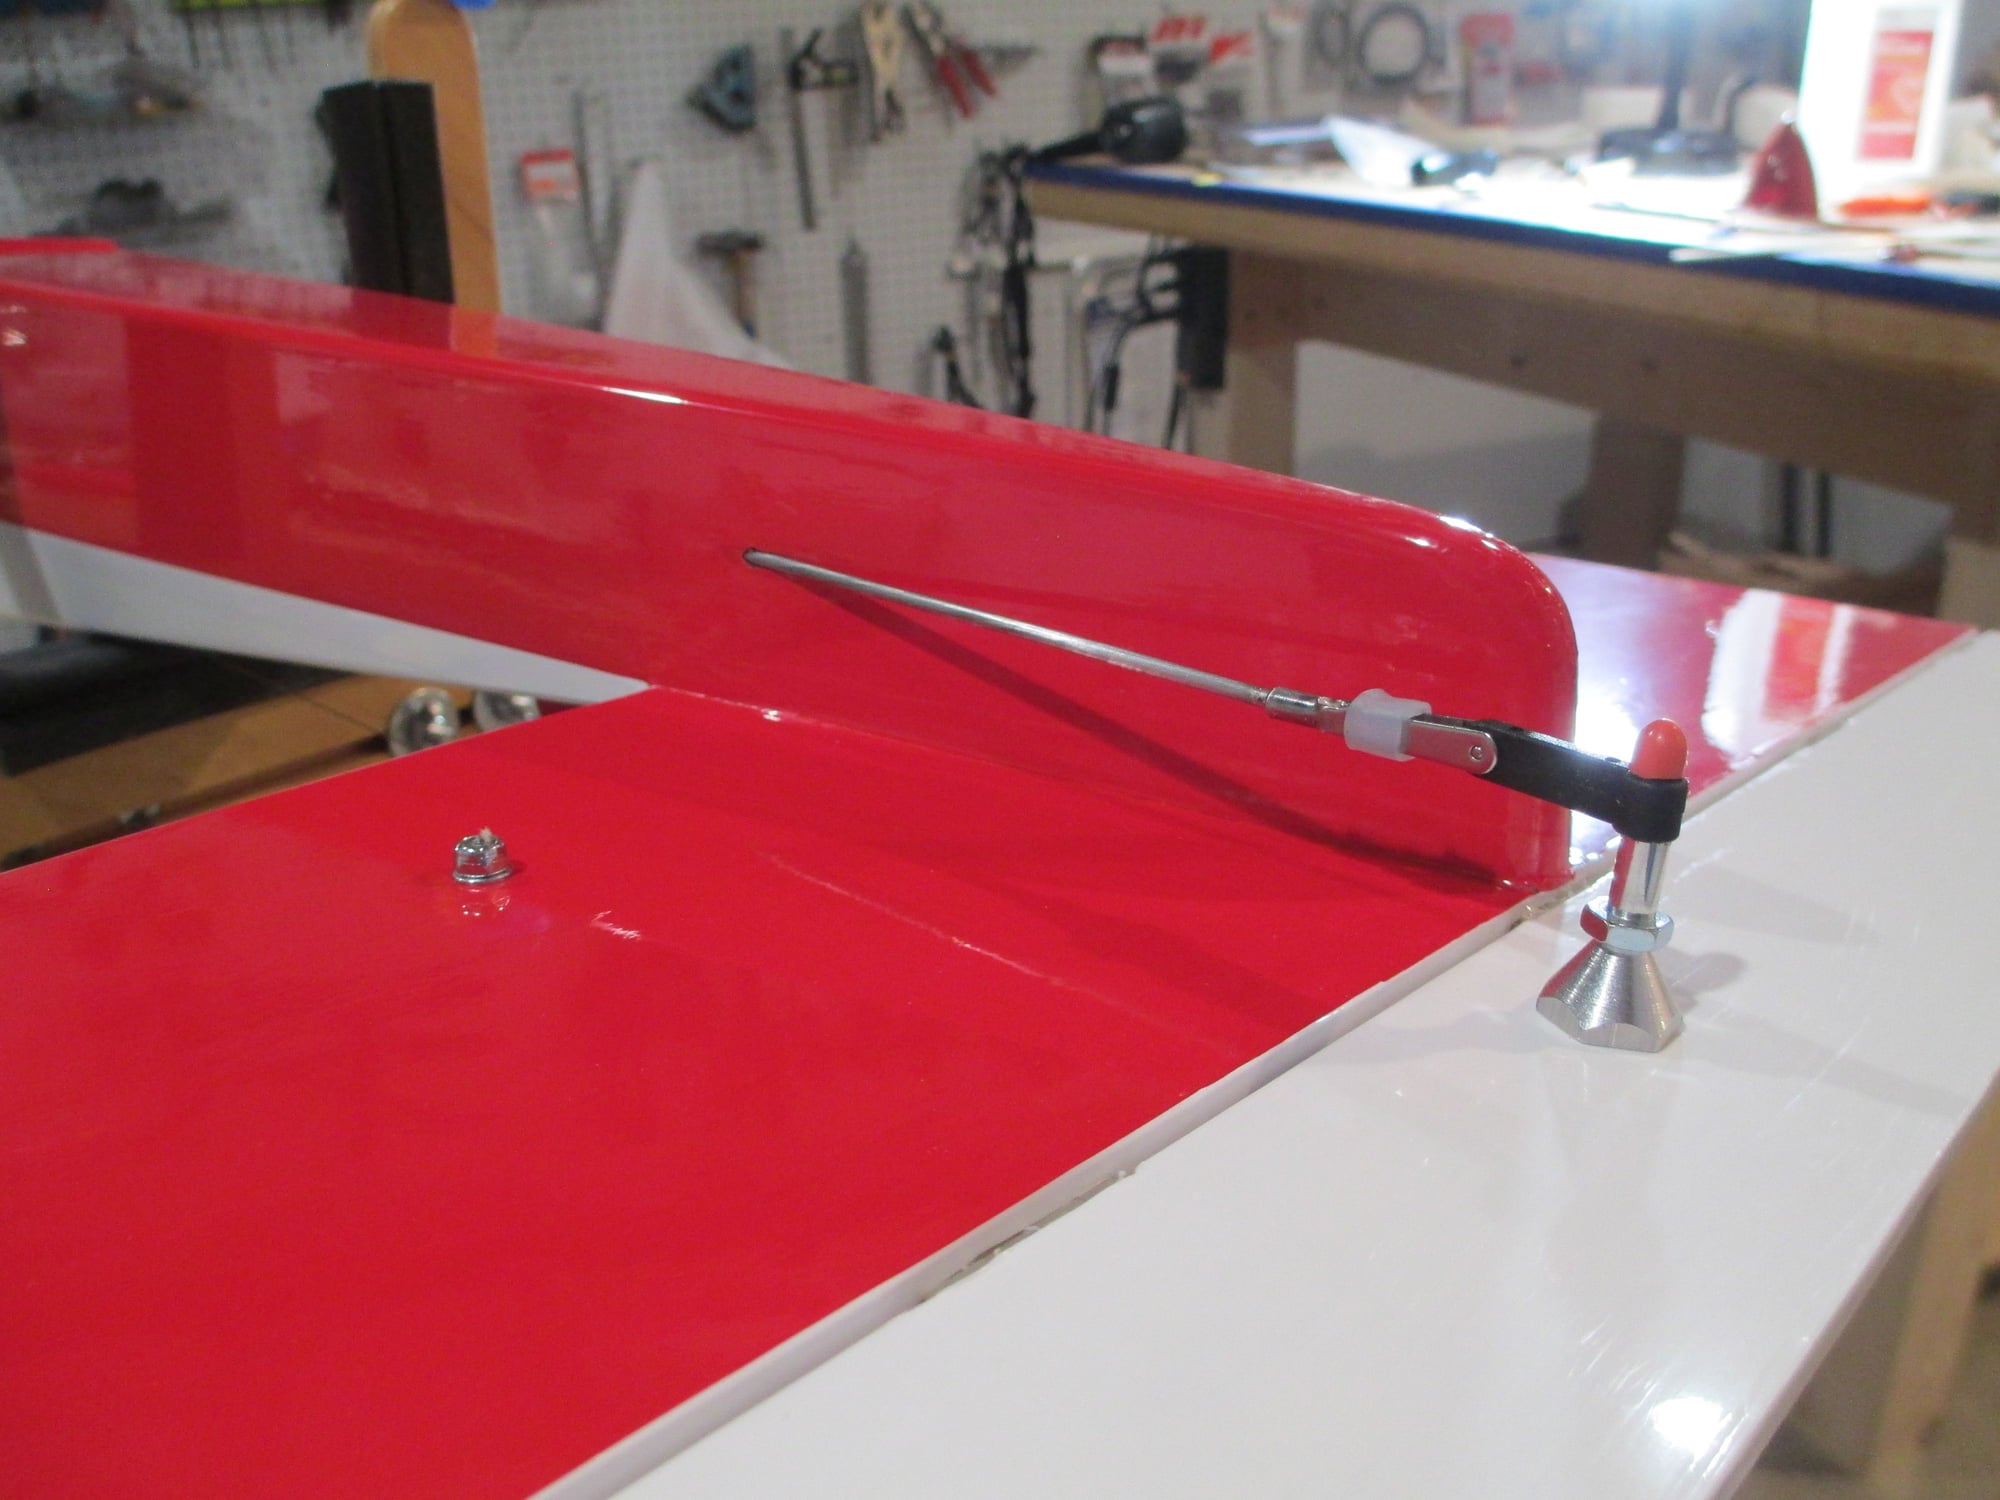
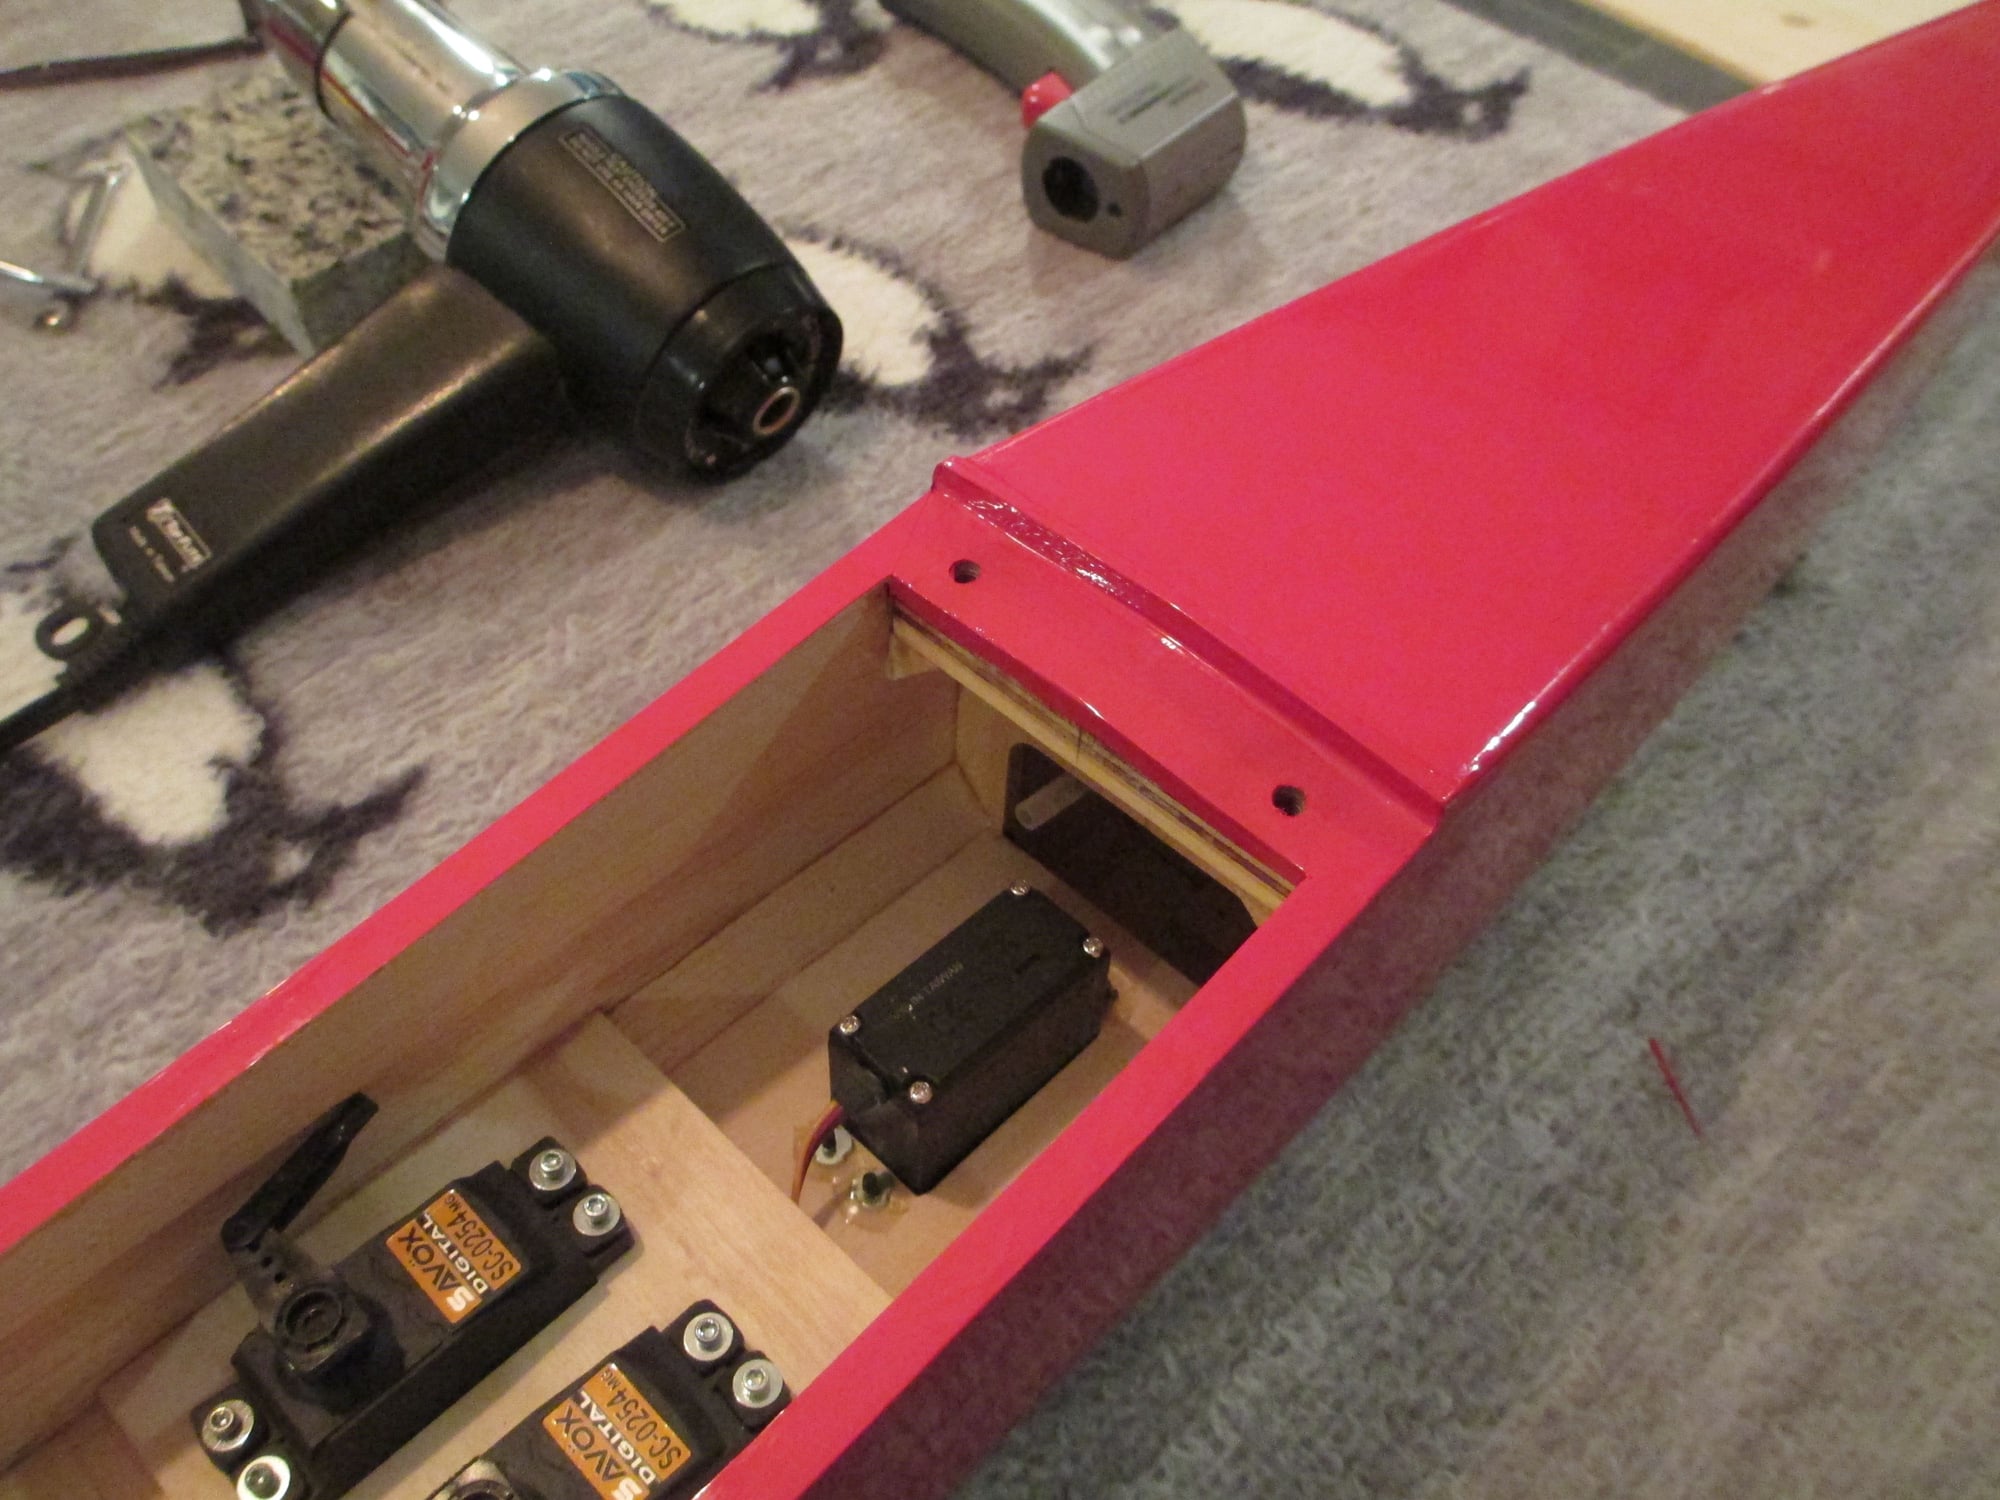
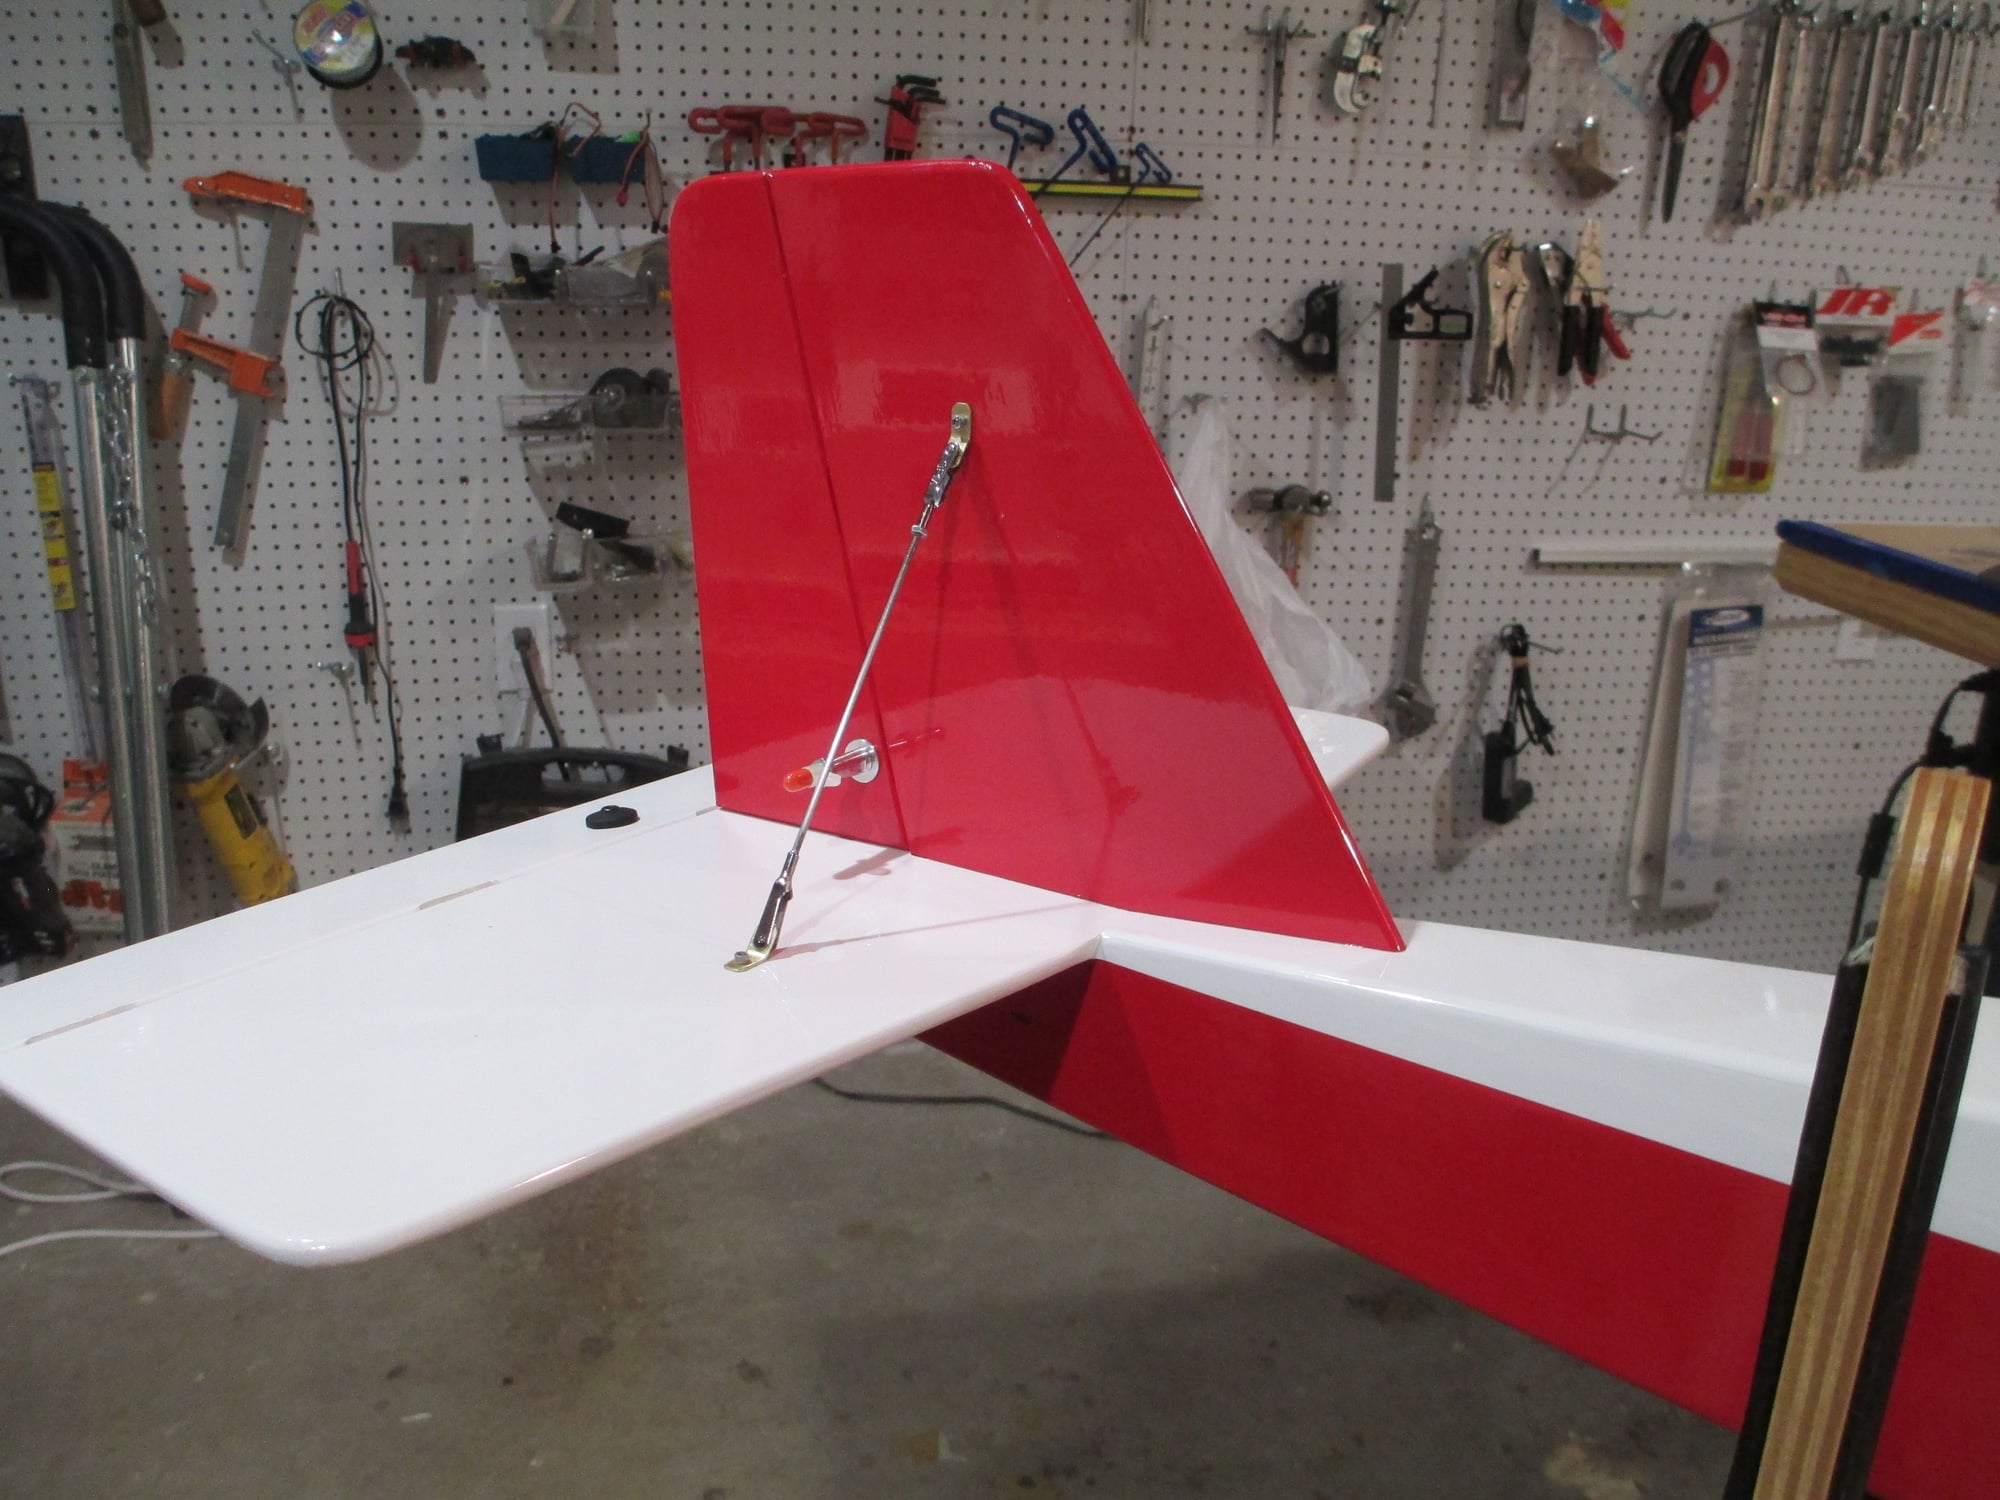
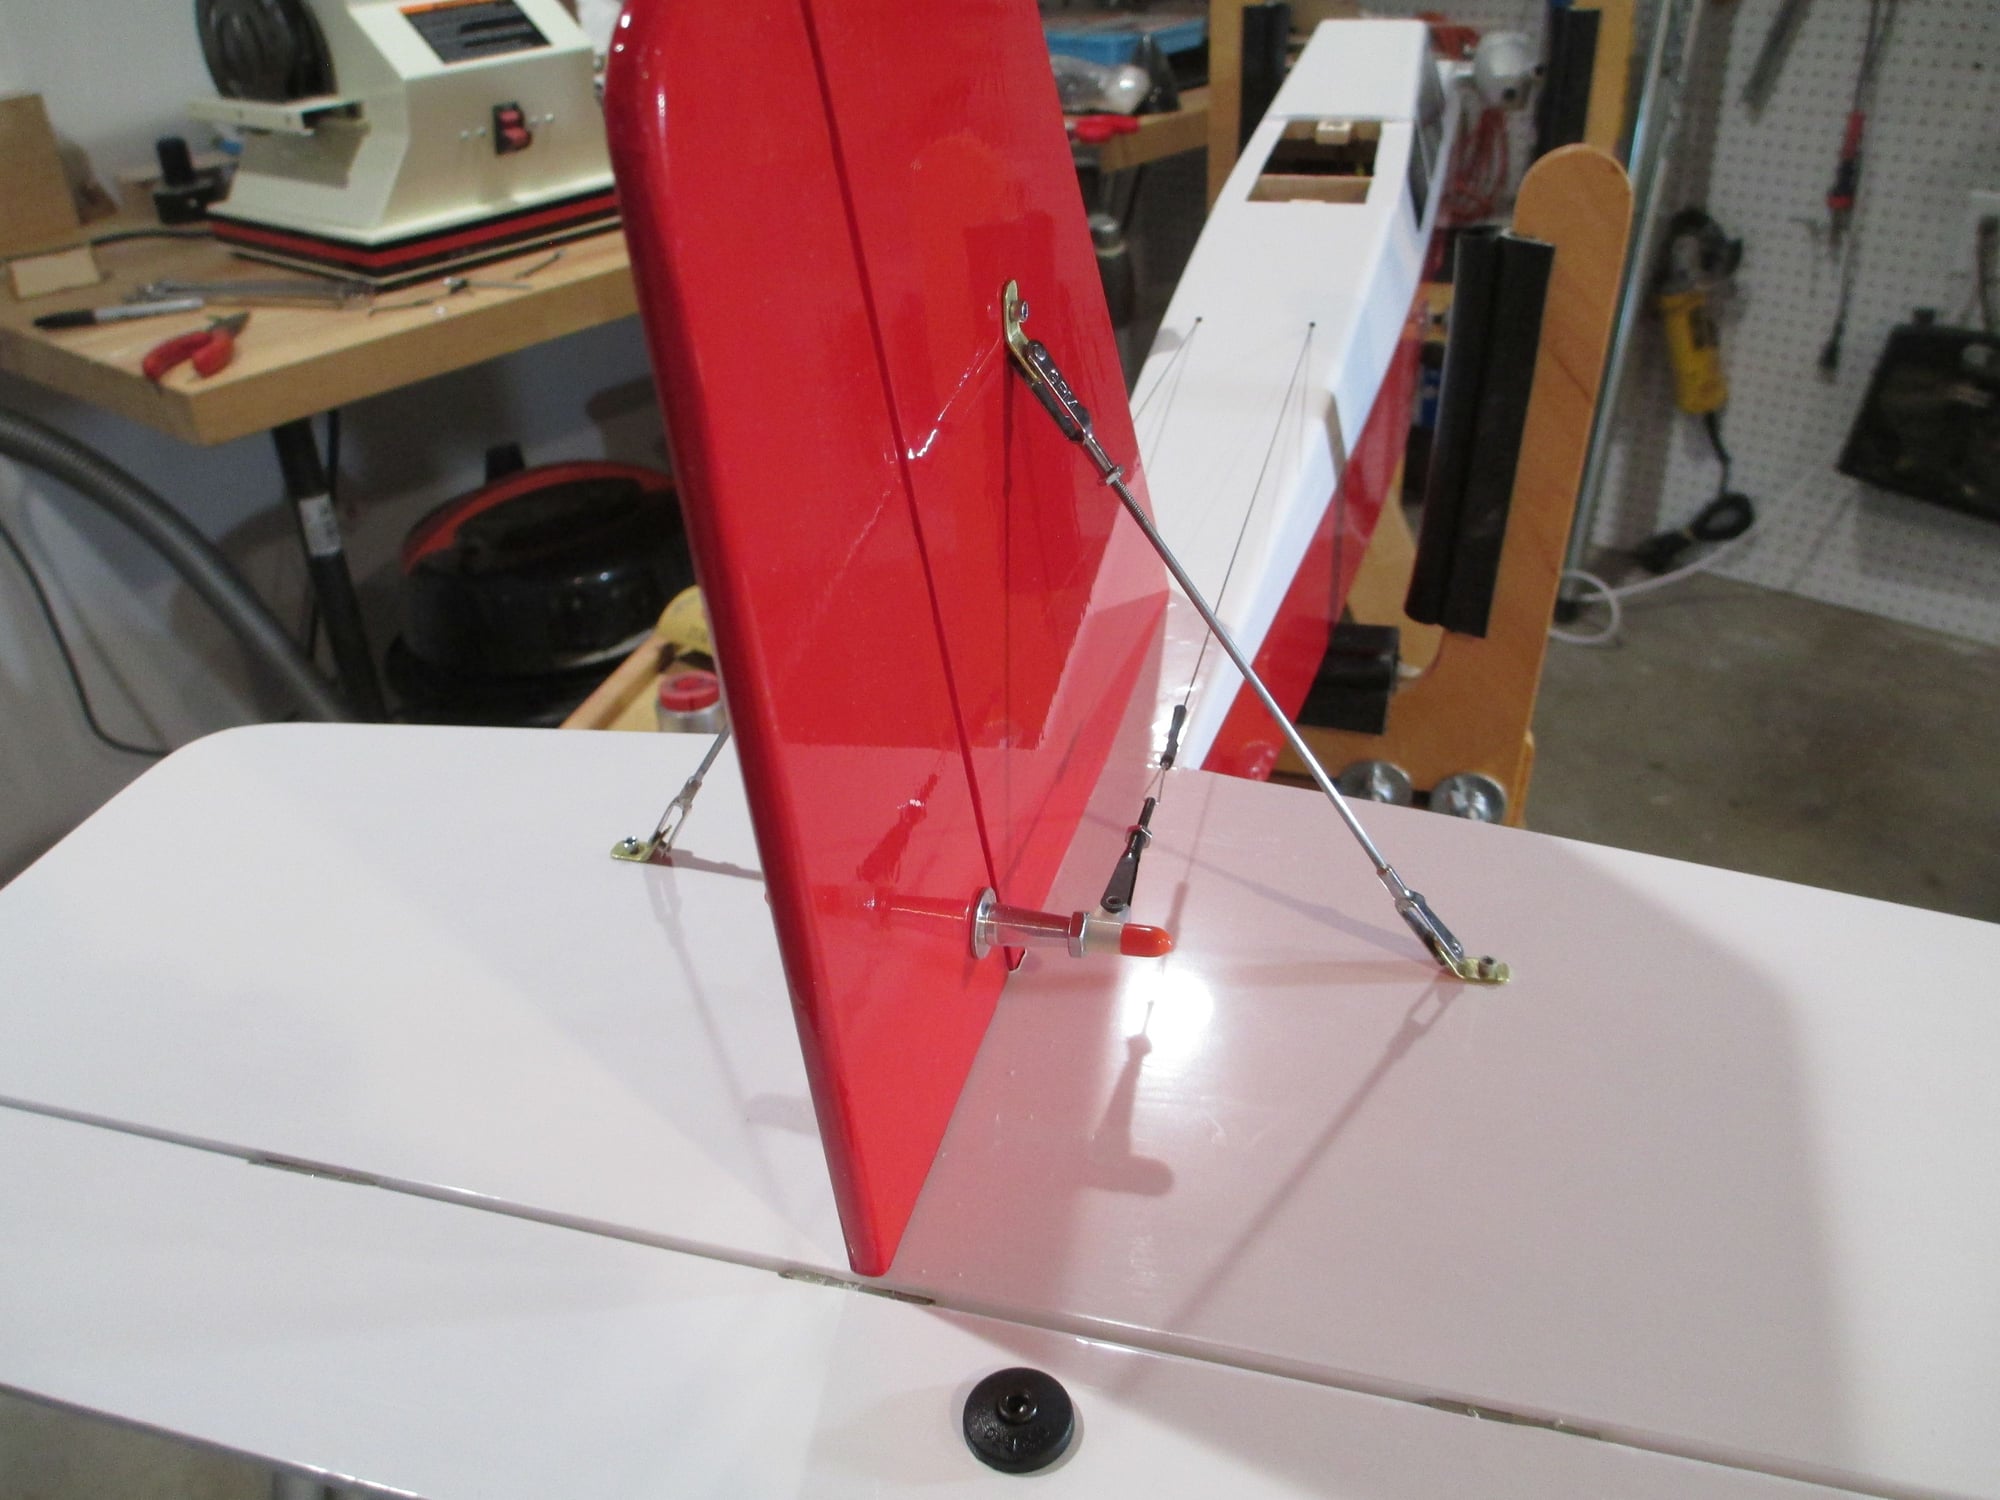
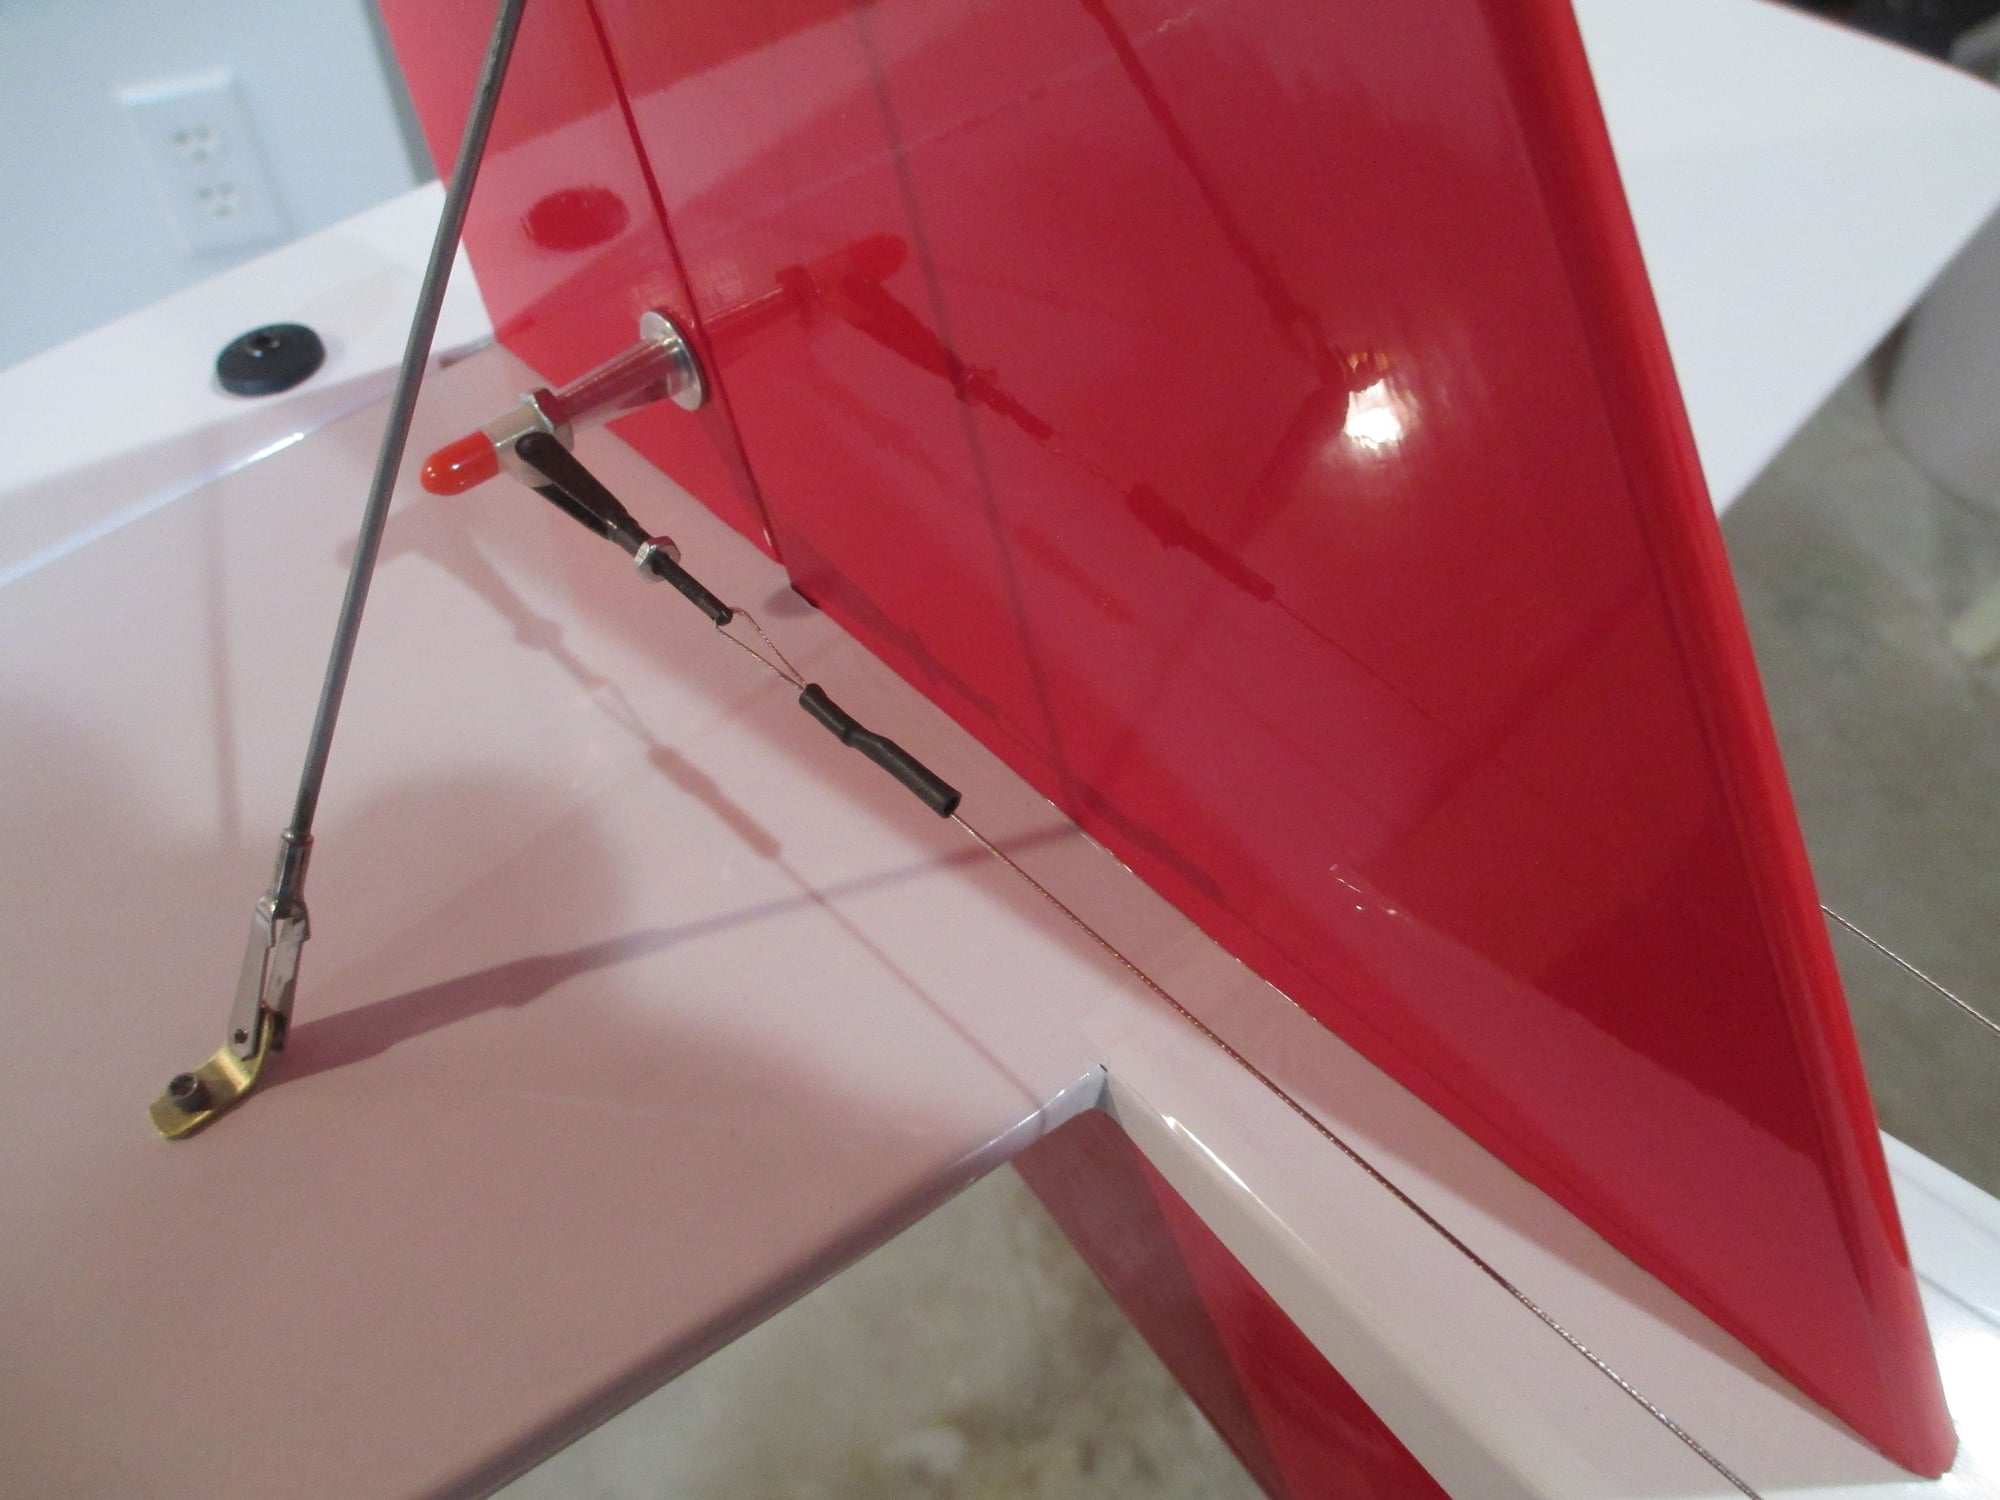
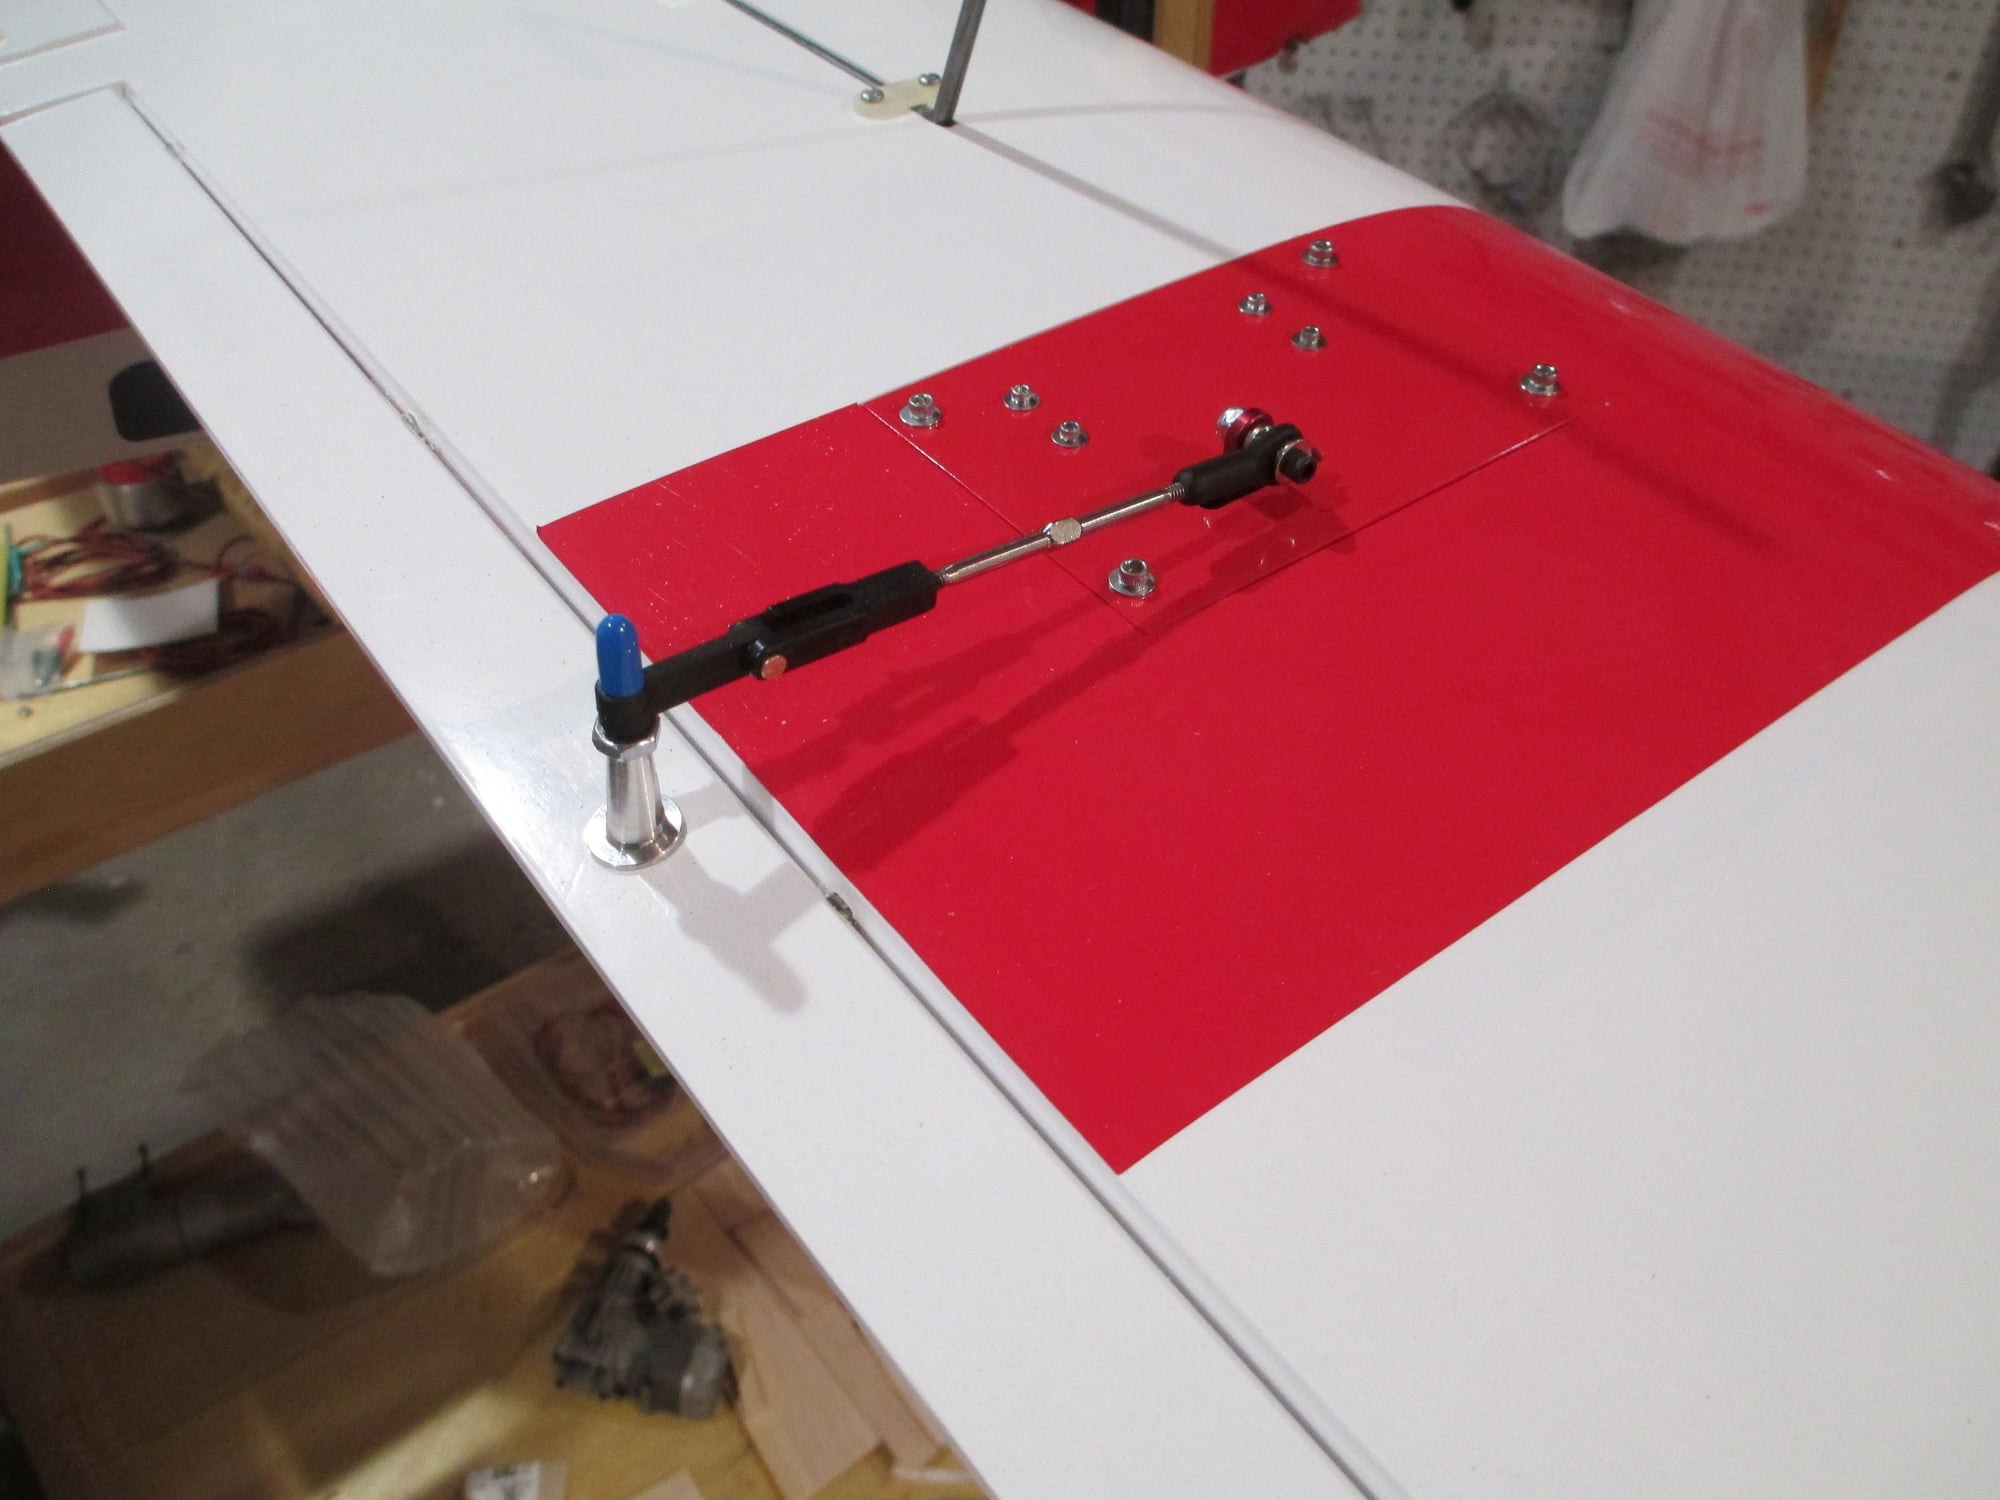
Some close-up details of the now fully functional elevator. (4-40 rod used)
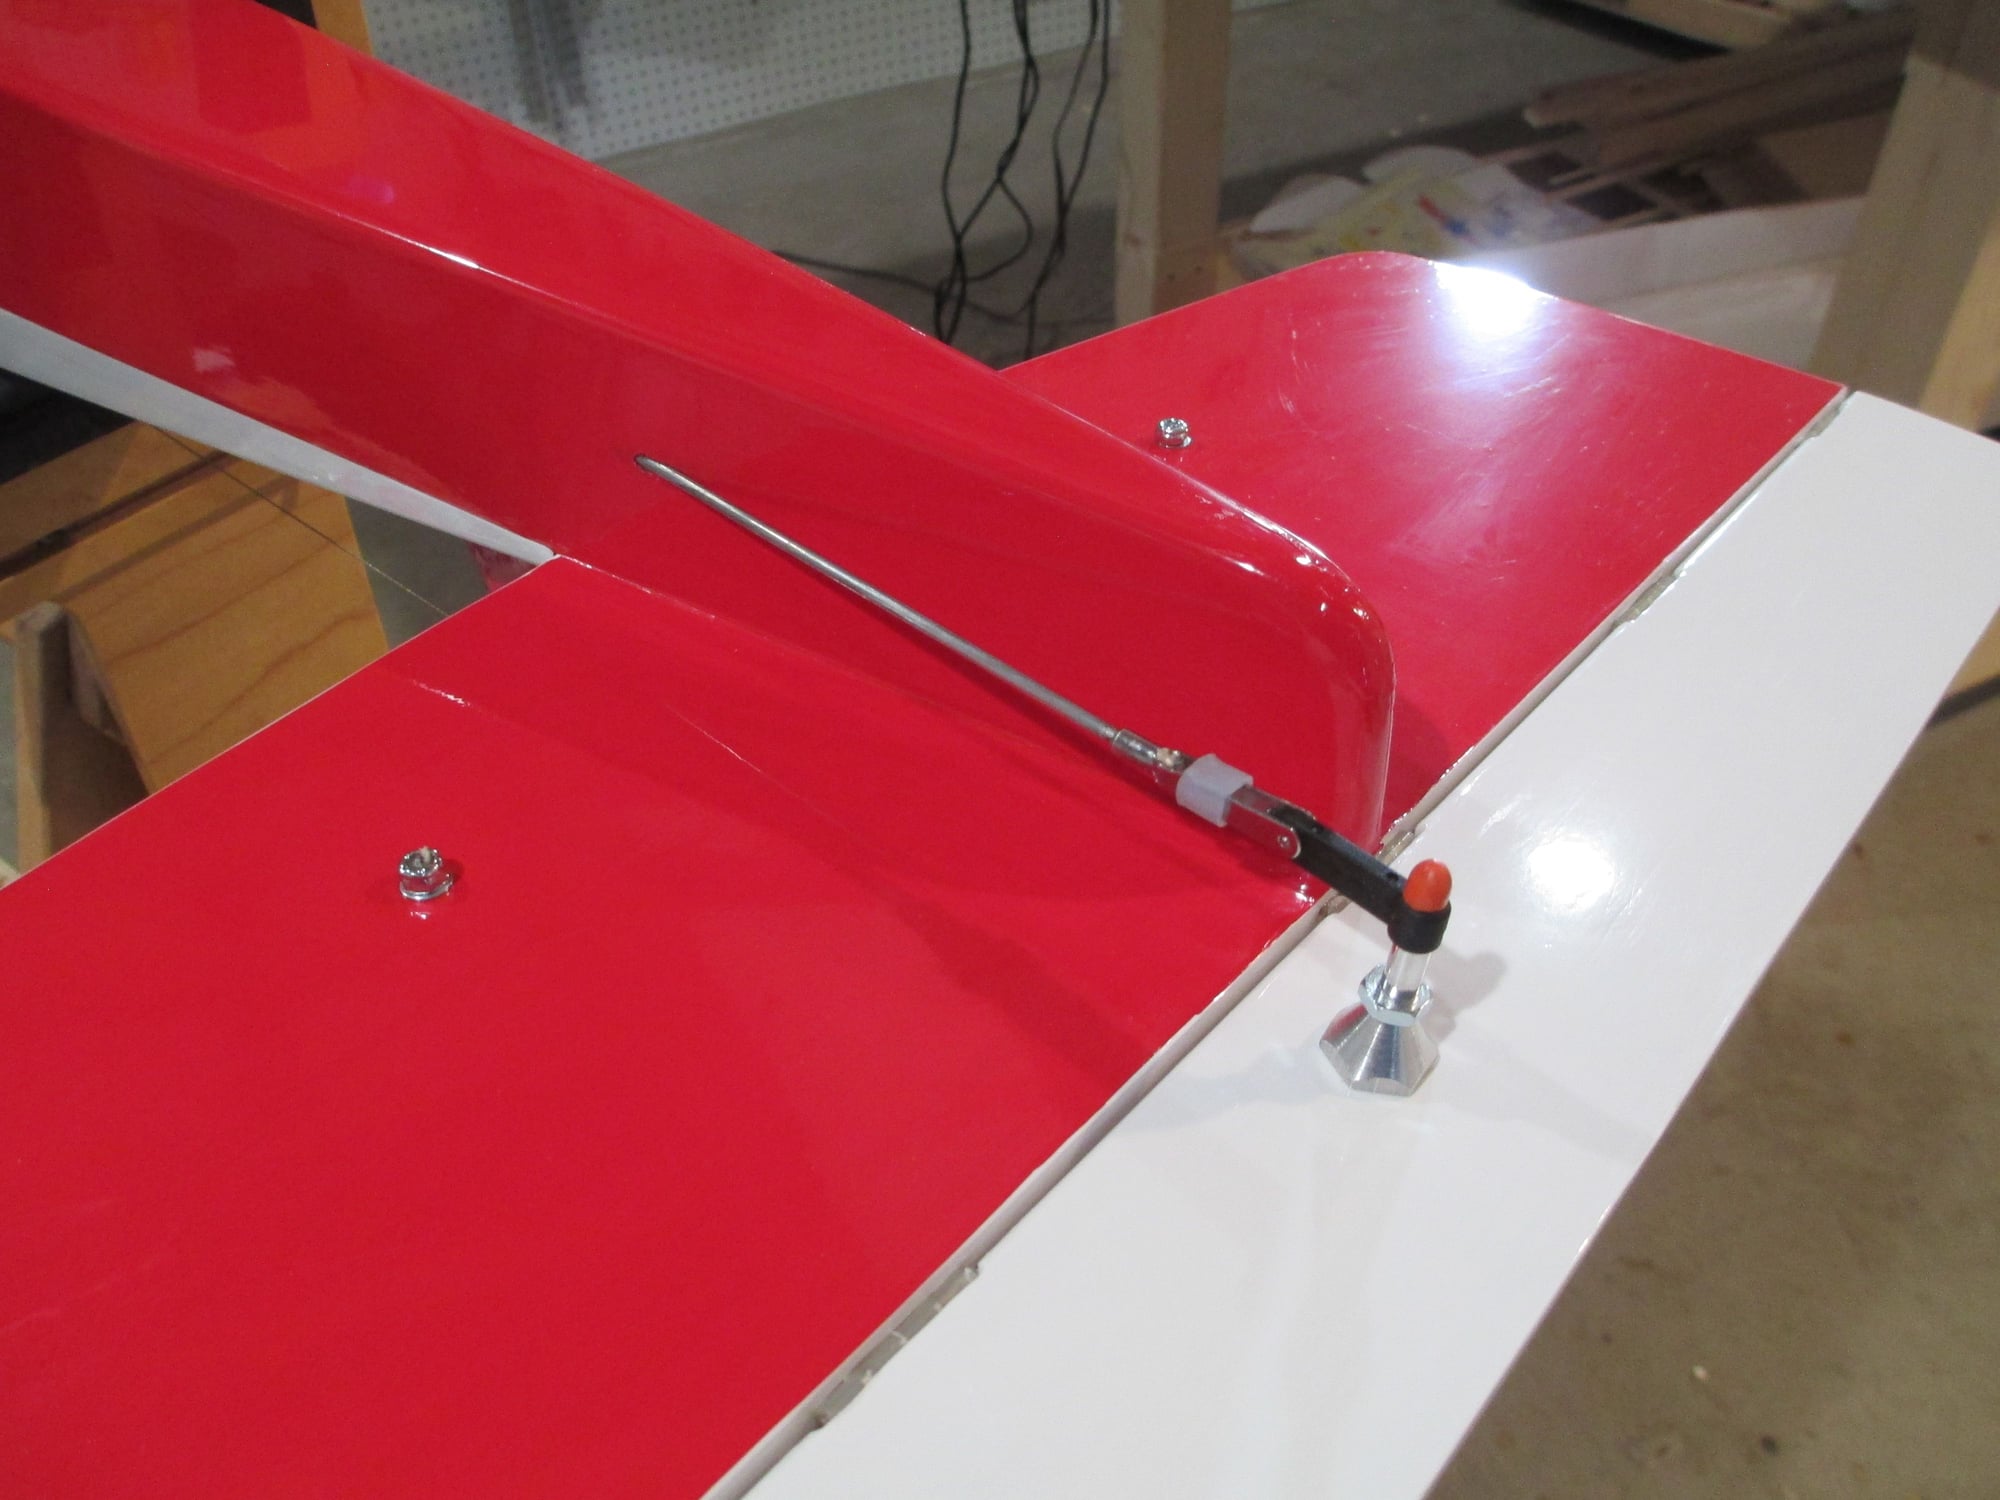
Also functional as of this evening is the pull-pull system for the rudder.

Hatch removed to reveal the servo.
Hatch reinstalled, almost seamless...
I really love the way this pull-pull system operates on this plane.

Last edited by VincentJ; 09-18-2018 at 02:50 PM.
09-18-2018, 06:42 PM
#144
My Feedback: (2)
Some close-up details of the now fully functional elevator. (4-40 rod used)
Also functional as of this evening is the pull-pull system for the rudder.
Hatch removed to reveal the servo.
Hatch reinstalled, almost seamless...
I really love the way this pull-pull system operates on this plane.
Thank you
Michael Johnston
09-20-2018, 02:51 AM
#145
Thread Starter
Last night I didn't have a lot of time to spend in my workshop, but I was able to get the nose wheel operational. So here's what's left on my punch list to get this project completed:
1. Assemble and install gas tank
2. Install battery (not purchased yet)
3. Install linkages on ailerons
4. Mount wheels (not purchased yet)
5. Mount prop and spinner
6. Set up throttle linkage to servo
7. Set CG to specs.
1. Assemble and install gas tank
2. Install battery (not purchased yet)
3. Install linkages on ailerons
4. Mount wheels (not purchased yet)
5. Mount prop and spinner
6. Set up throttle linkage to servo
7. Set CG to specs.
09-22-2018, 08:08 AM
#146
Thread Starter
View of how I linked the steerable nose wheel to the rudder pull-pull horn.
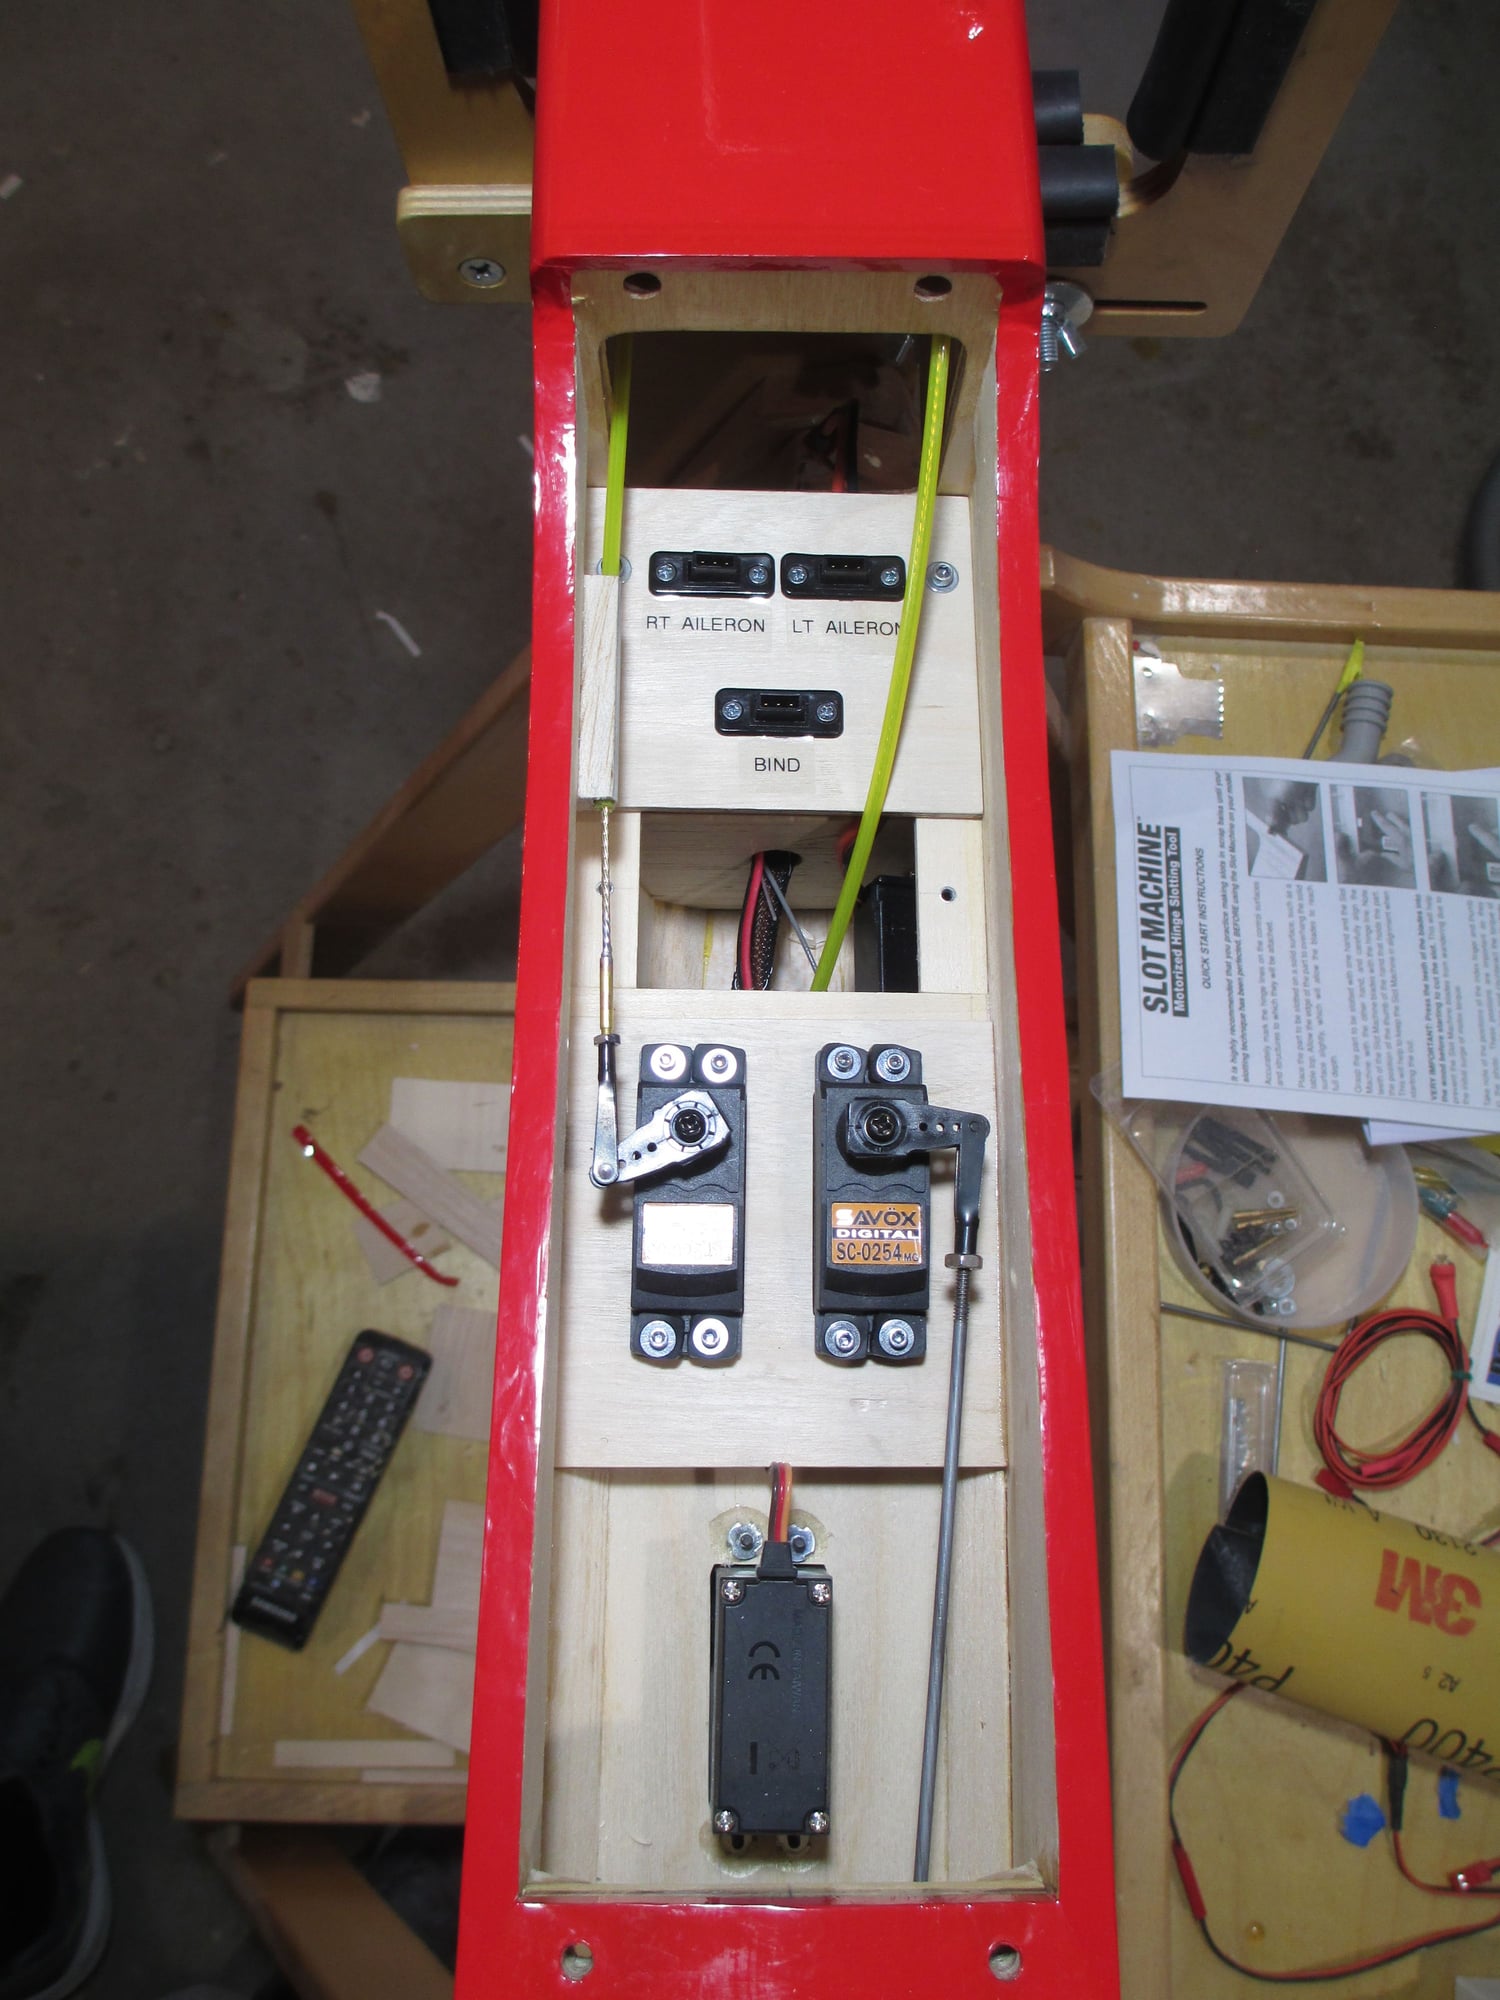
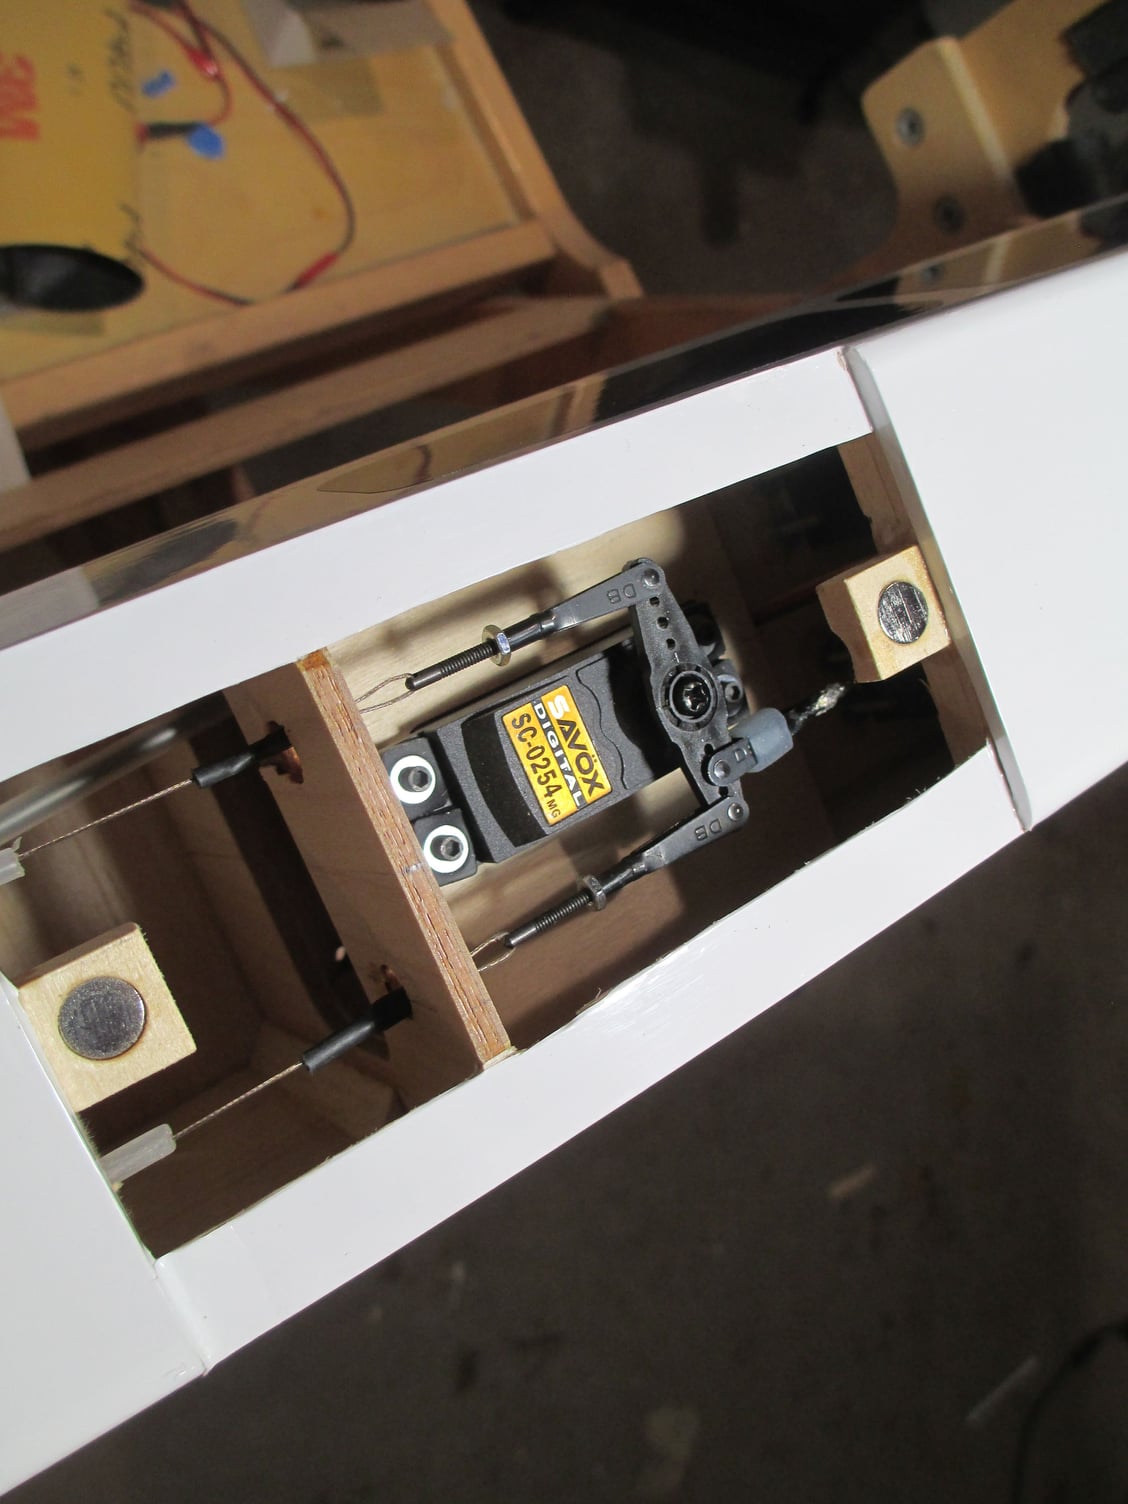
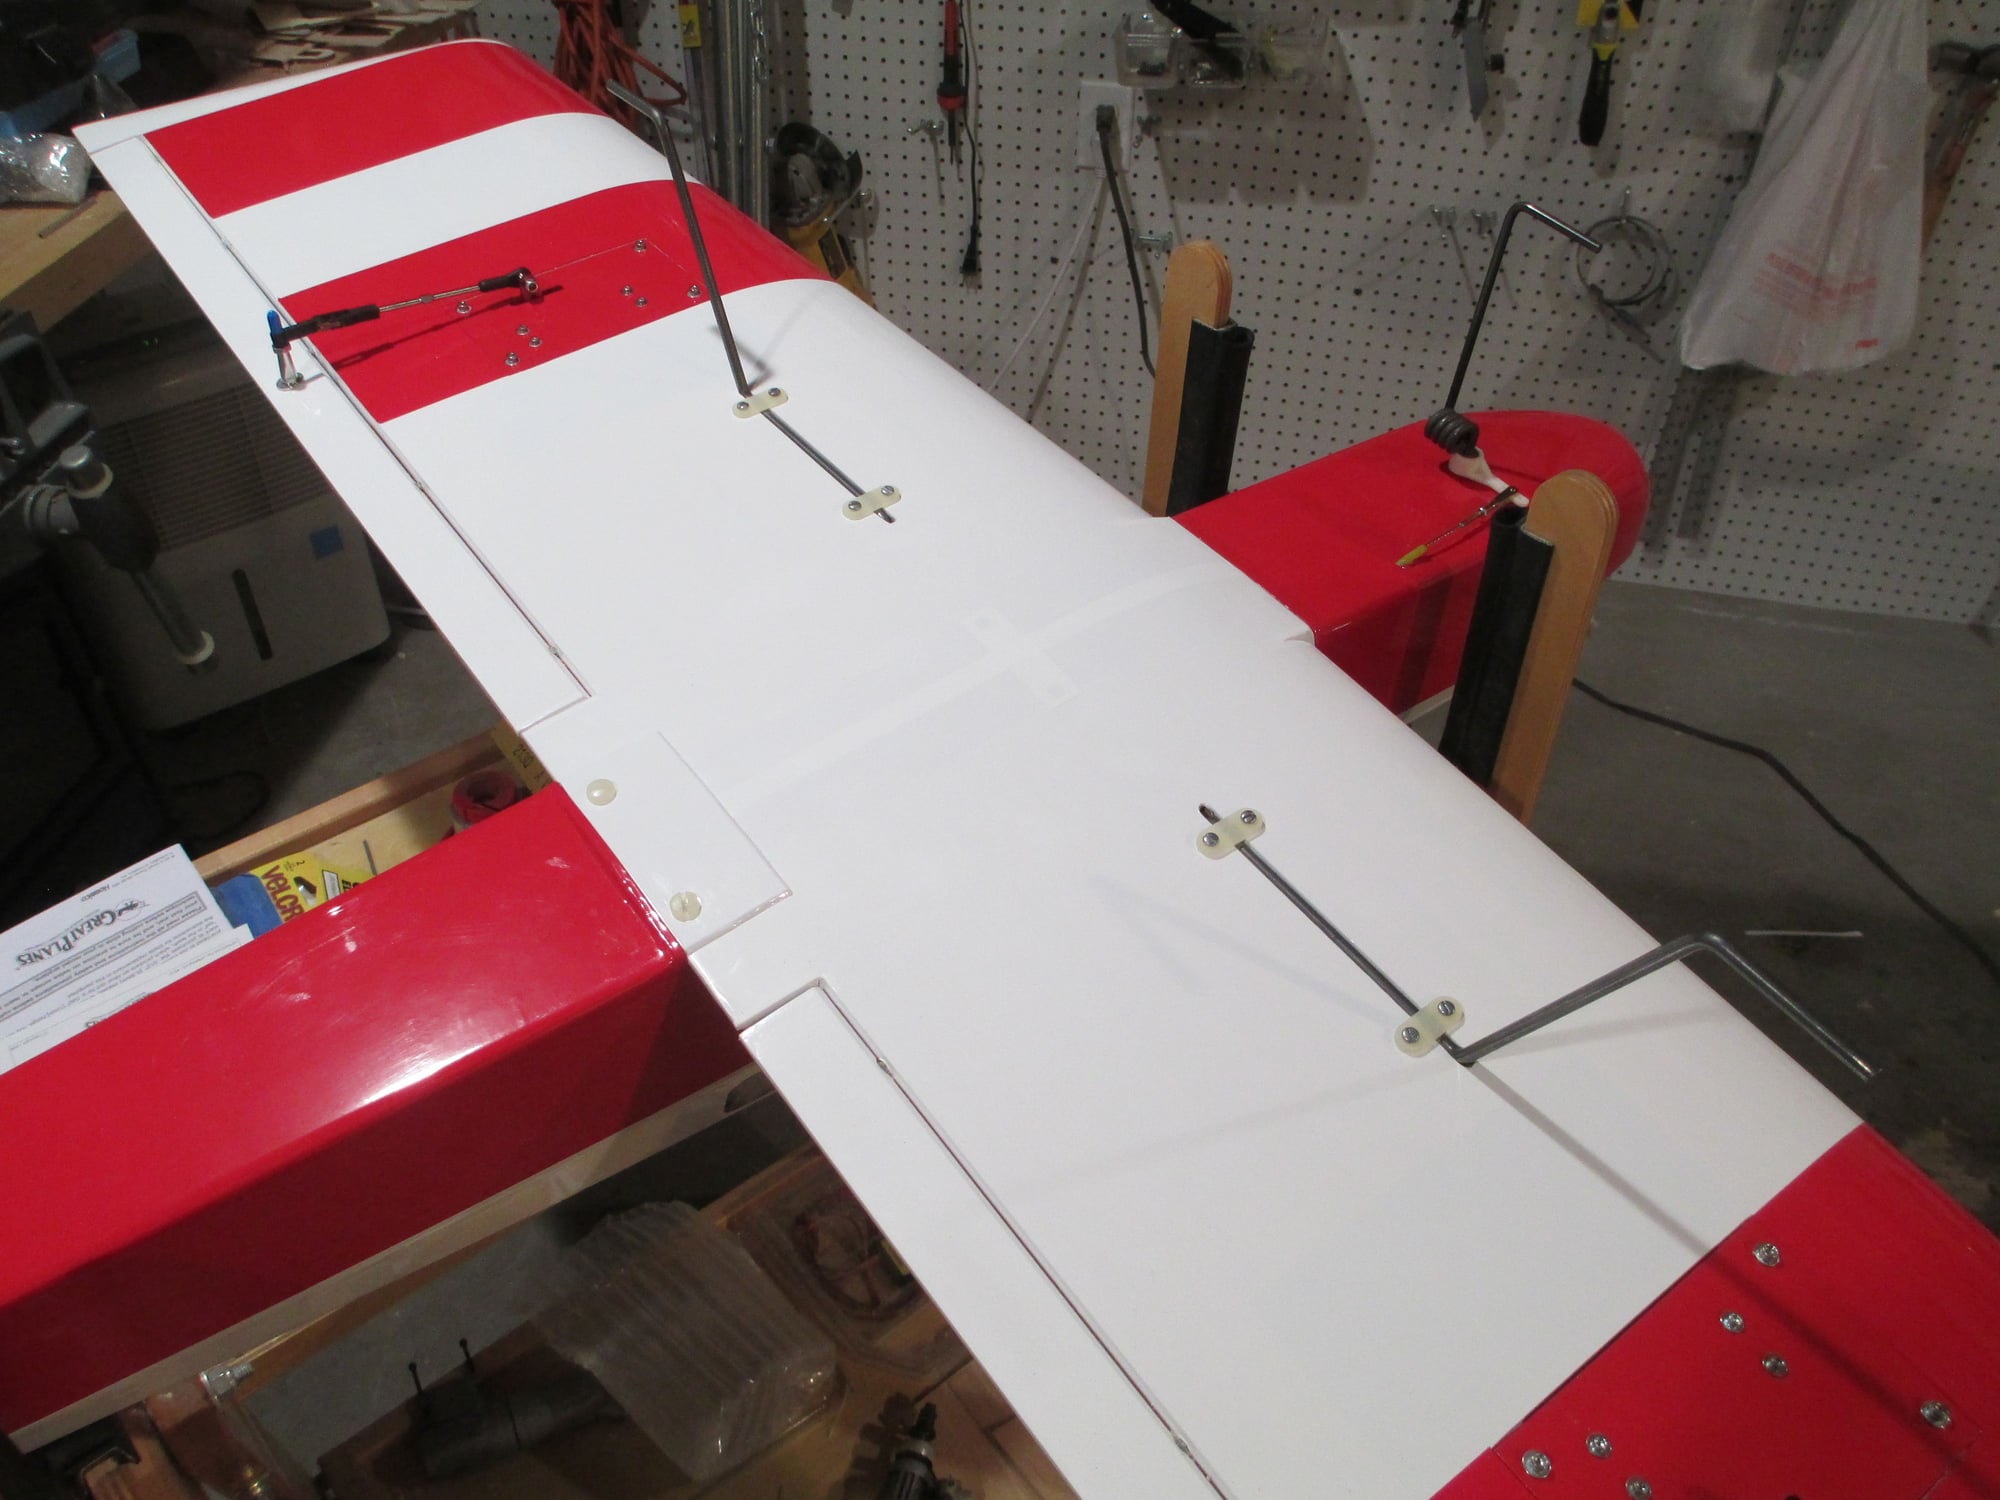
I thought I would make it very easy for Bob to plug-in the ailerons and to bind the plane should he ever have to...
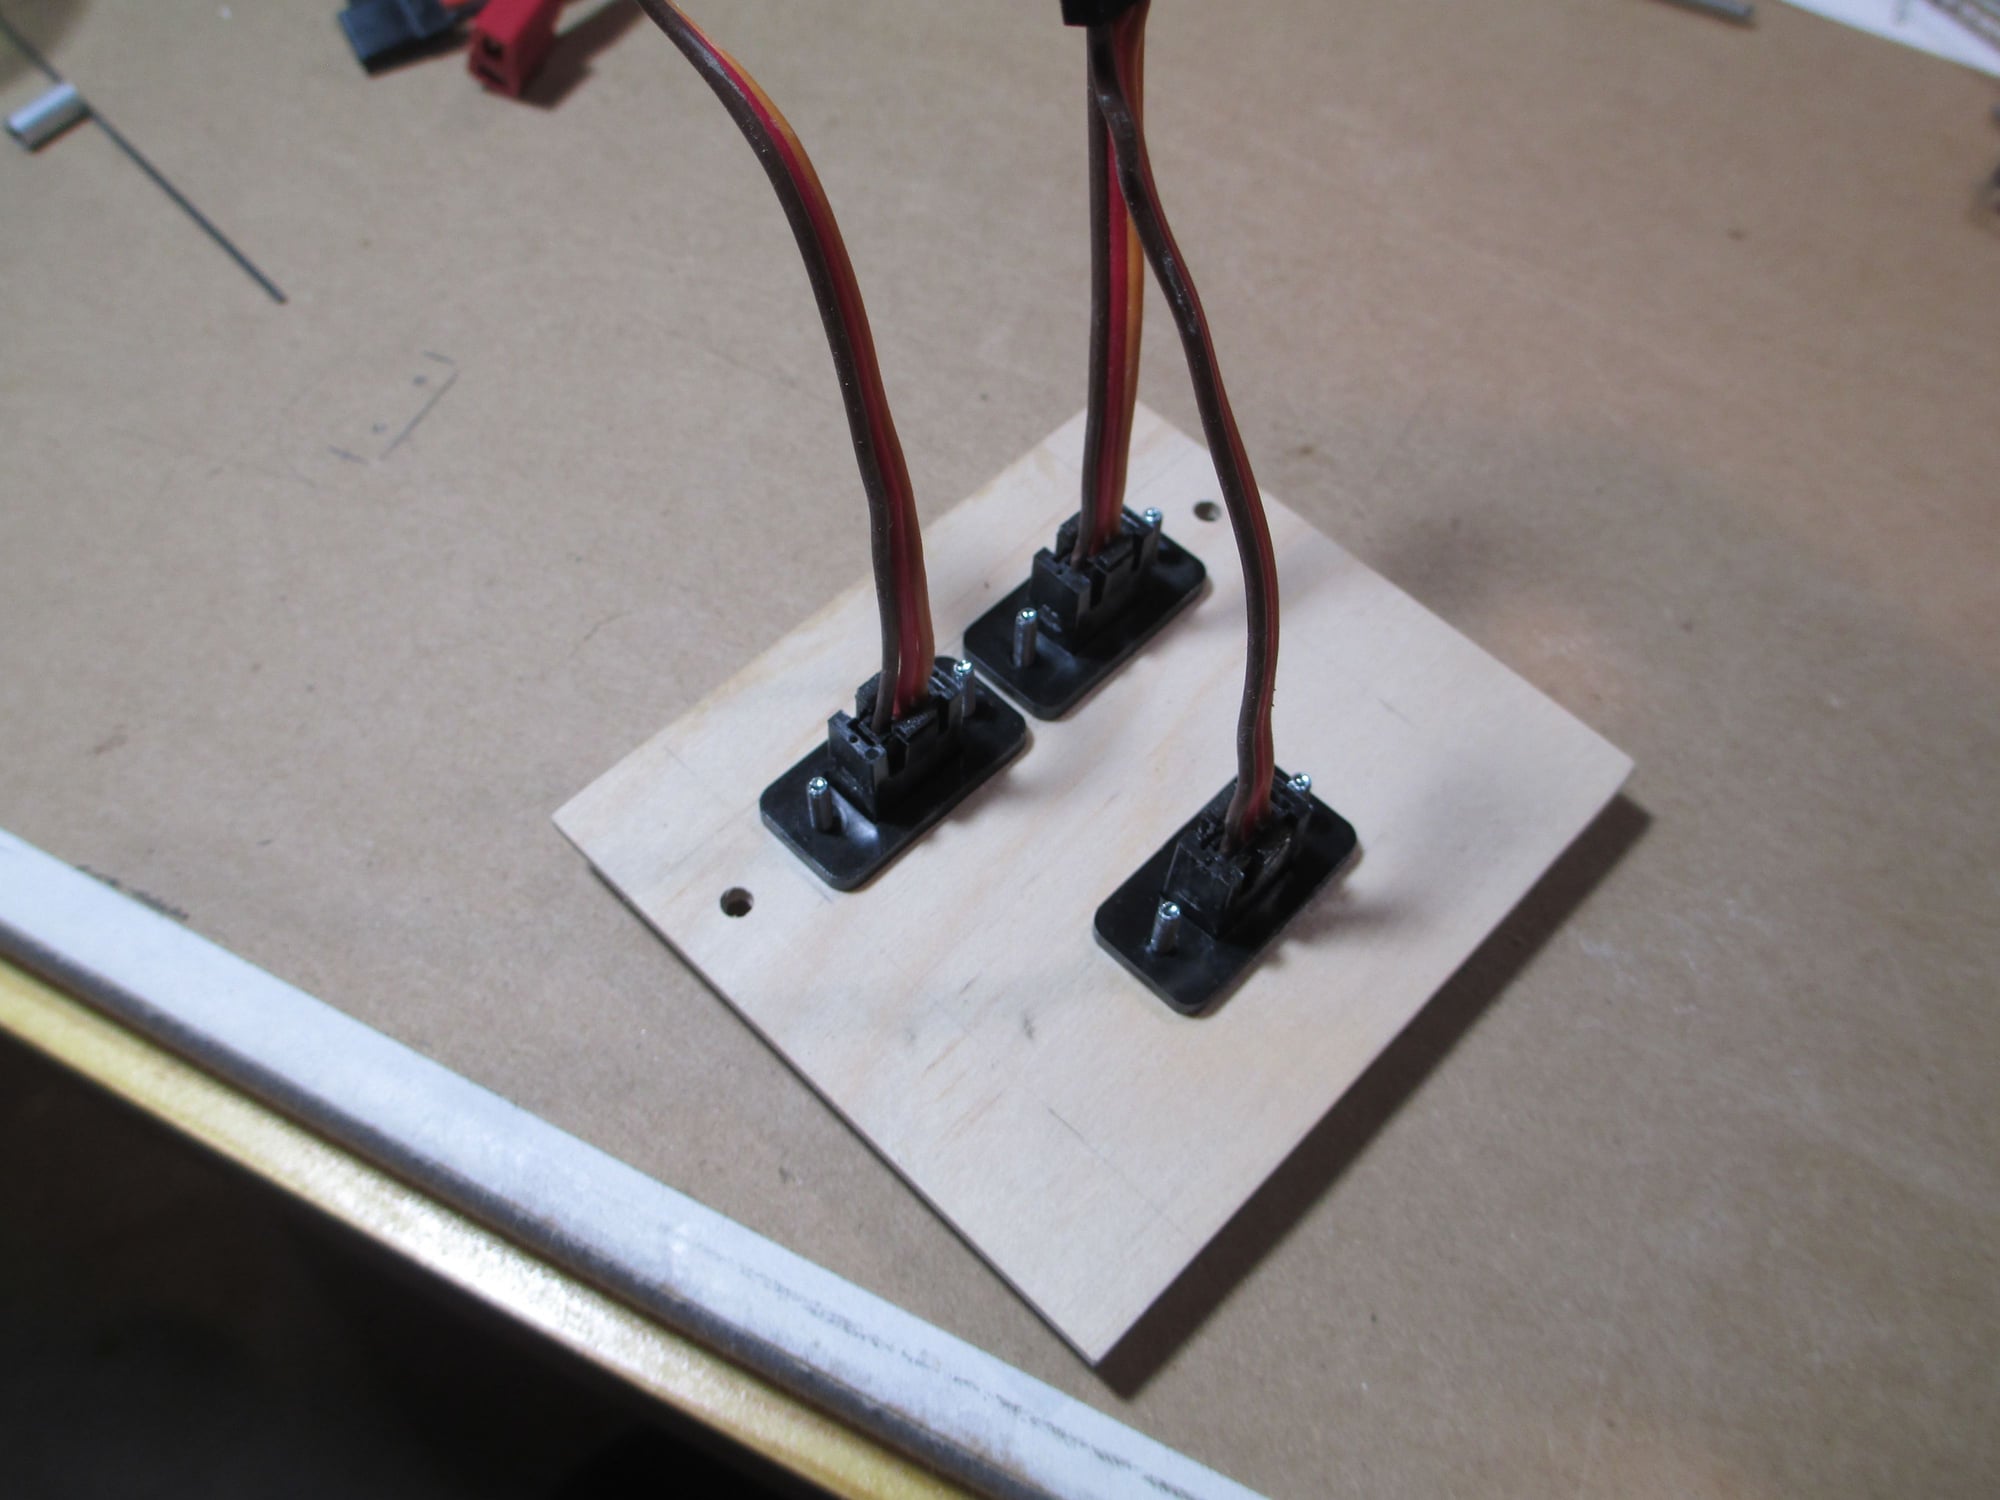
Back side of the board. These are Ernst charge receptacles that I modified for this purpose.
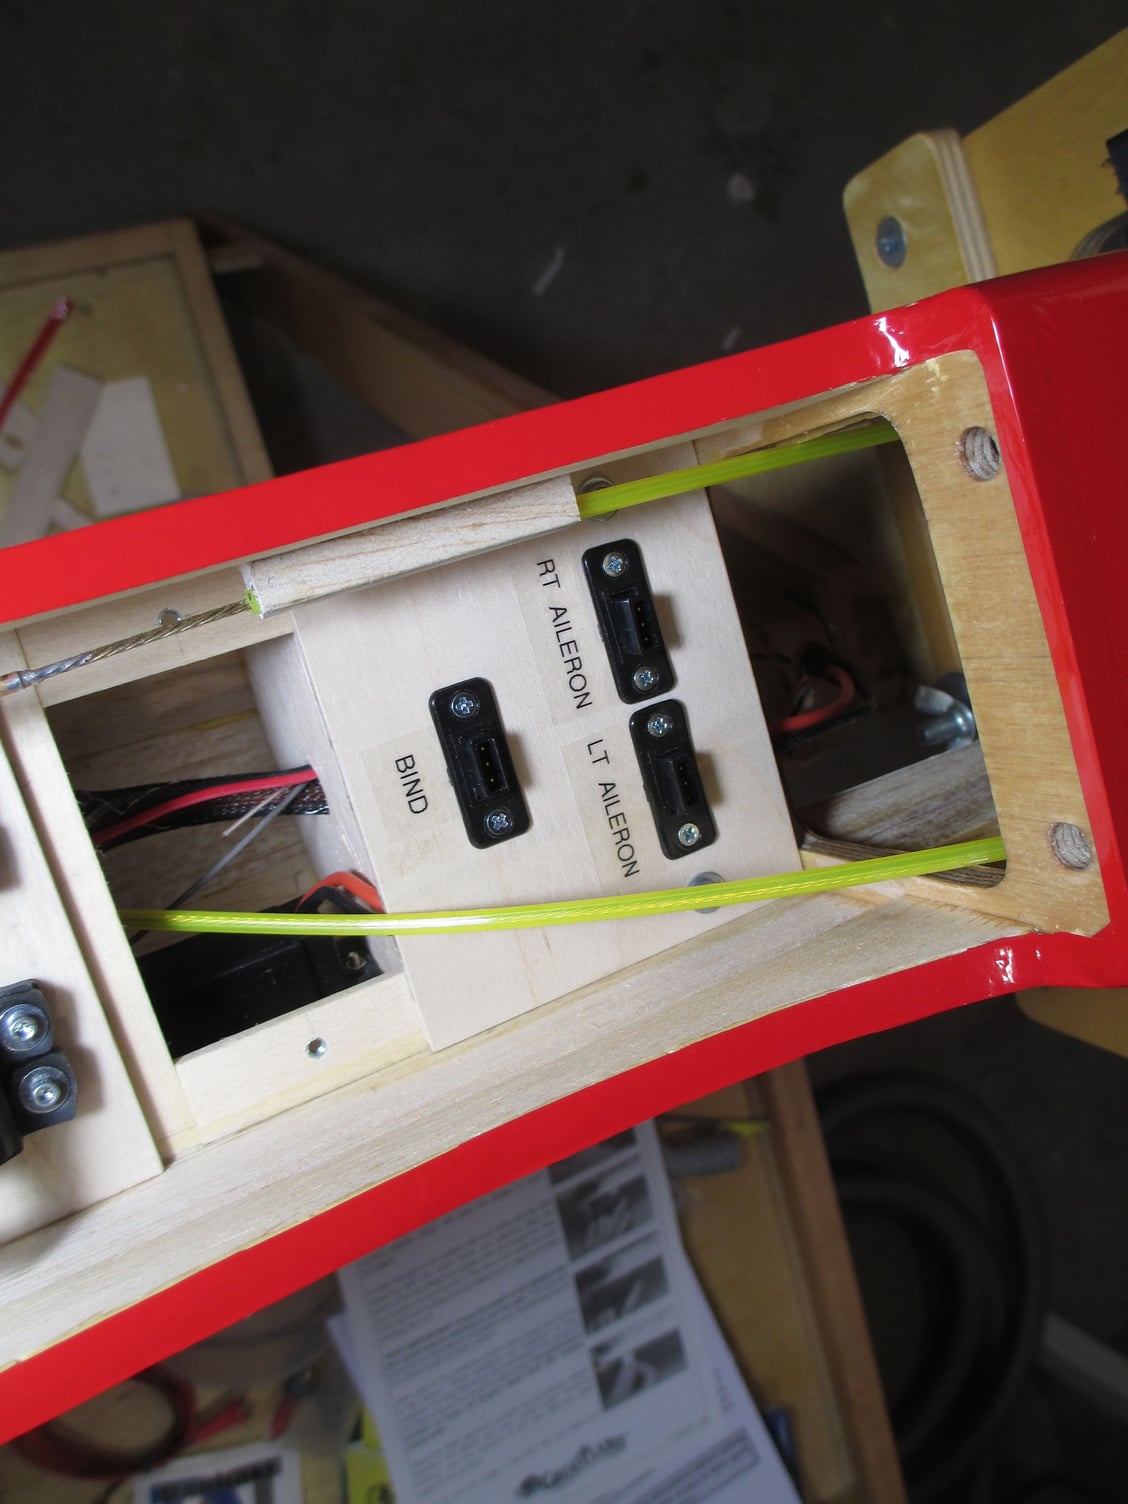
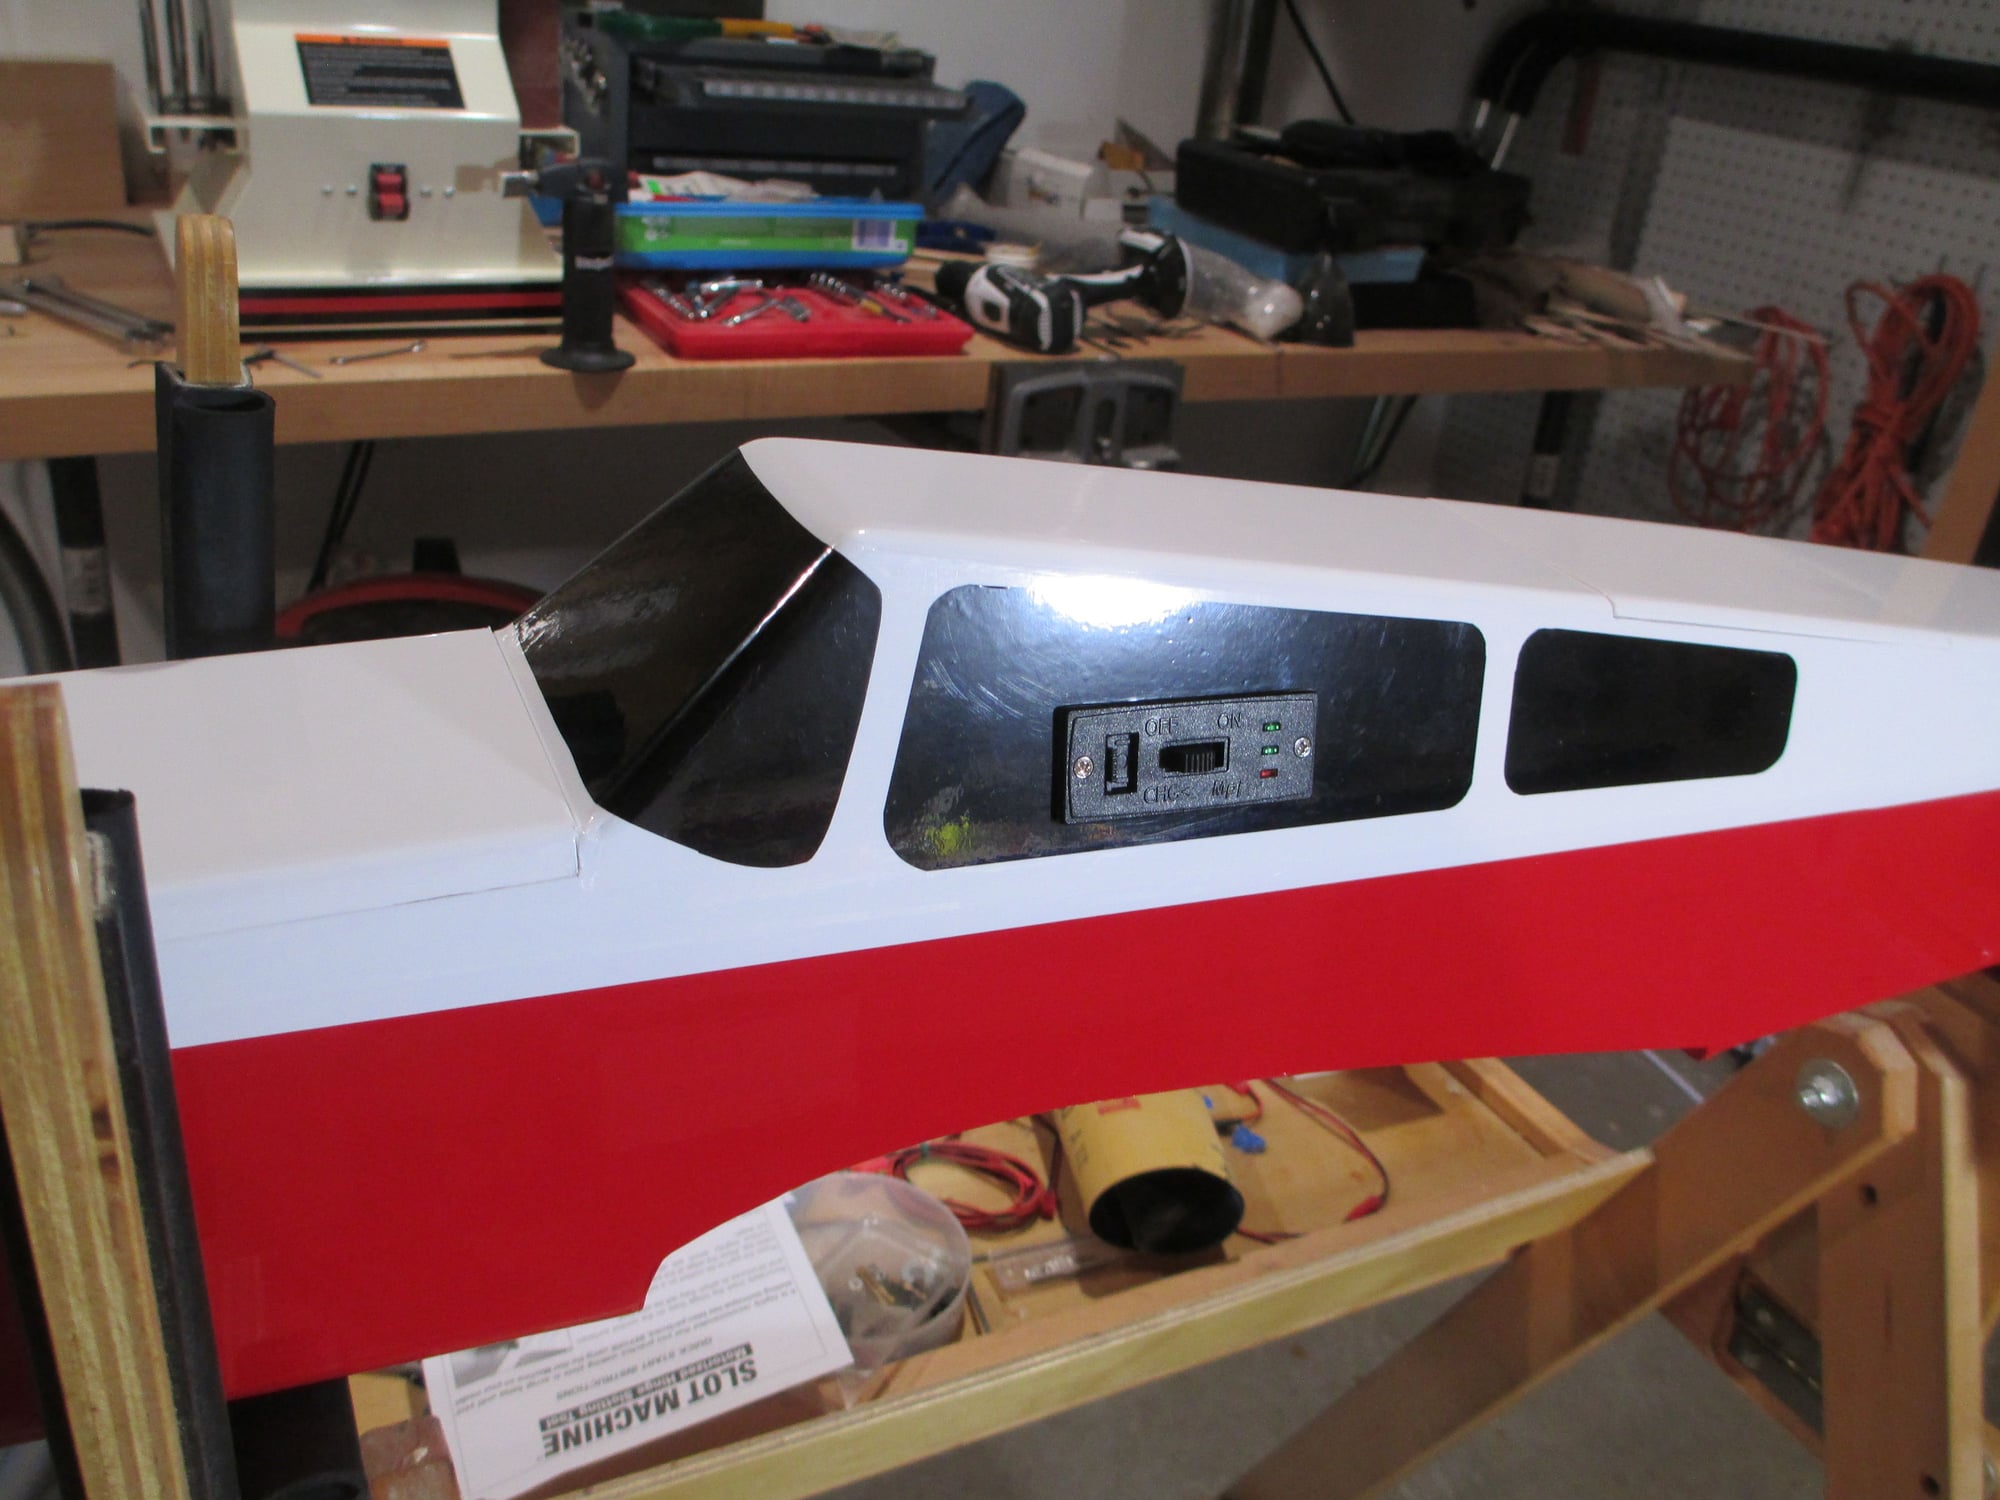
I mounted the On/Off switch (including the charge jack) in a spot that would blend in with the window as well as being convenient for Bob to operate.
09-22-2018, 03:50 PM
#147
Thread Starter
Mounted the wire landing gear. Still need to buy three 2-3/4" wheels.
Close-up of steerable nose gear.
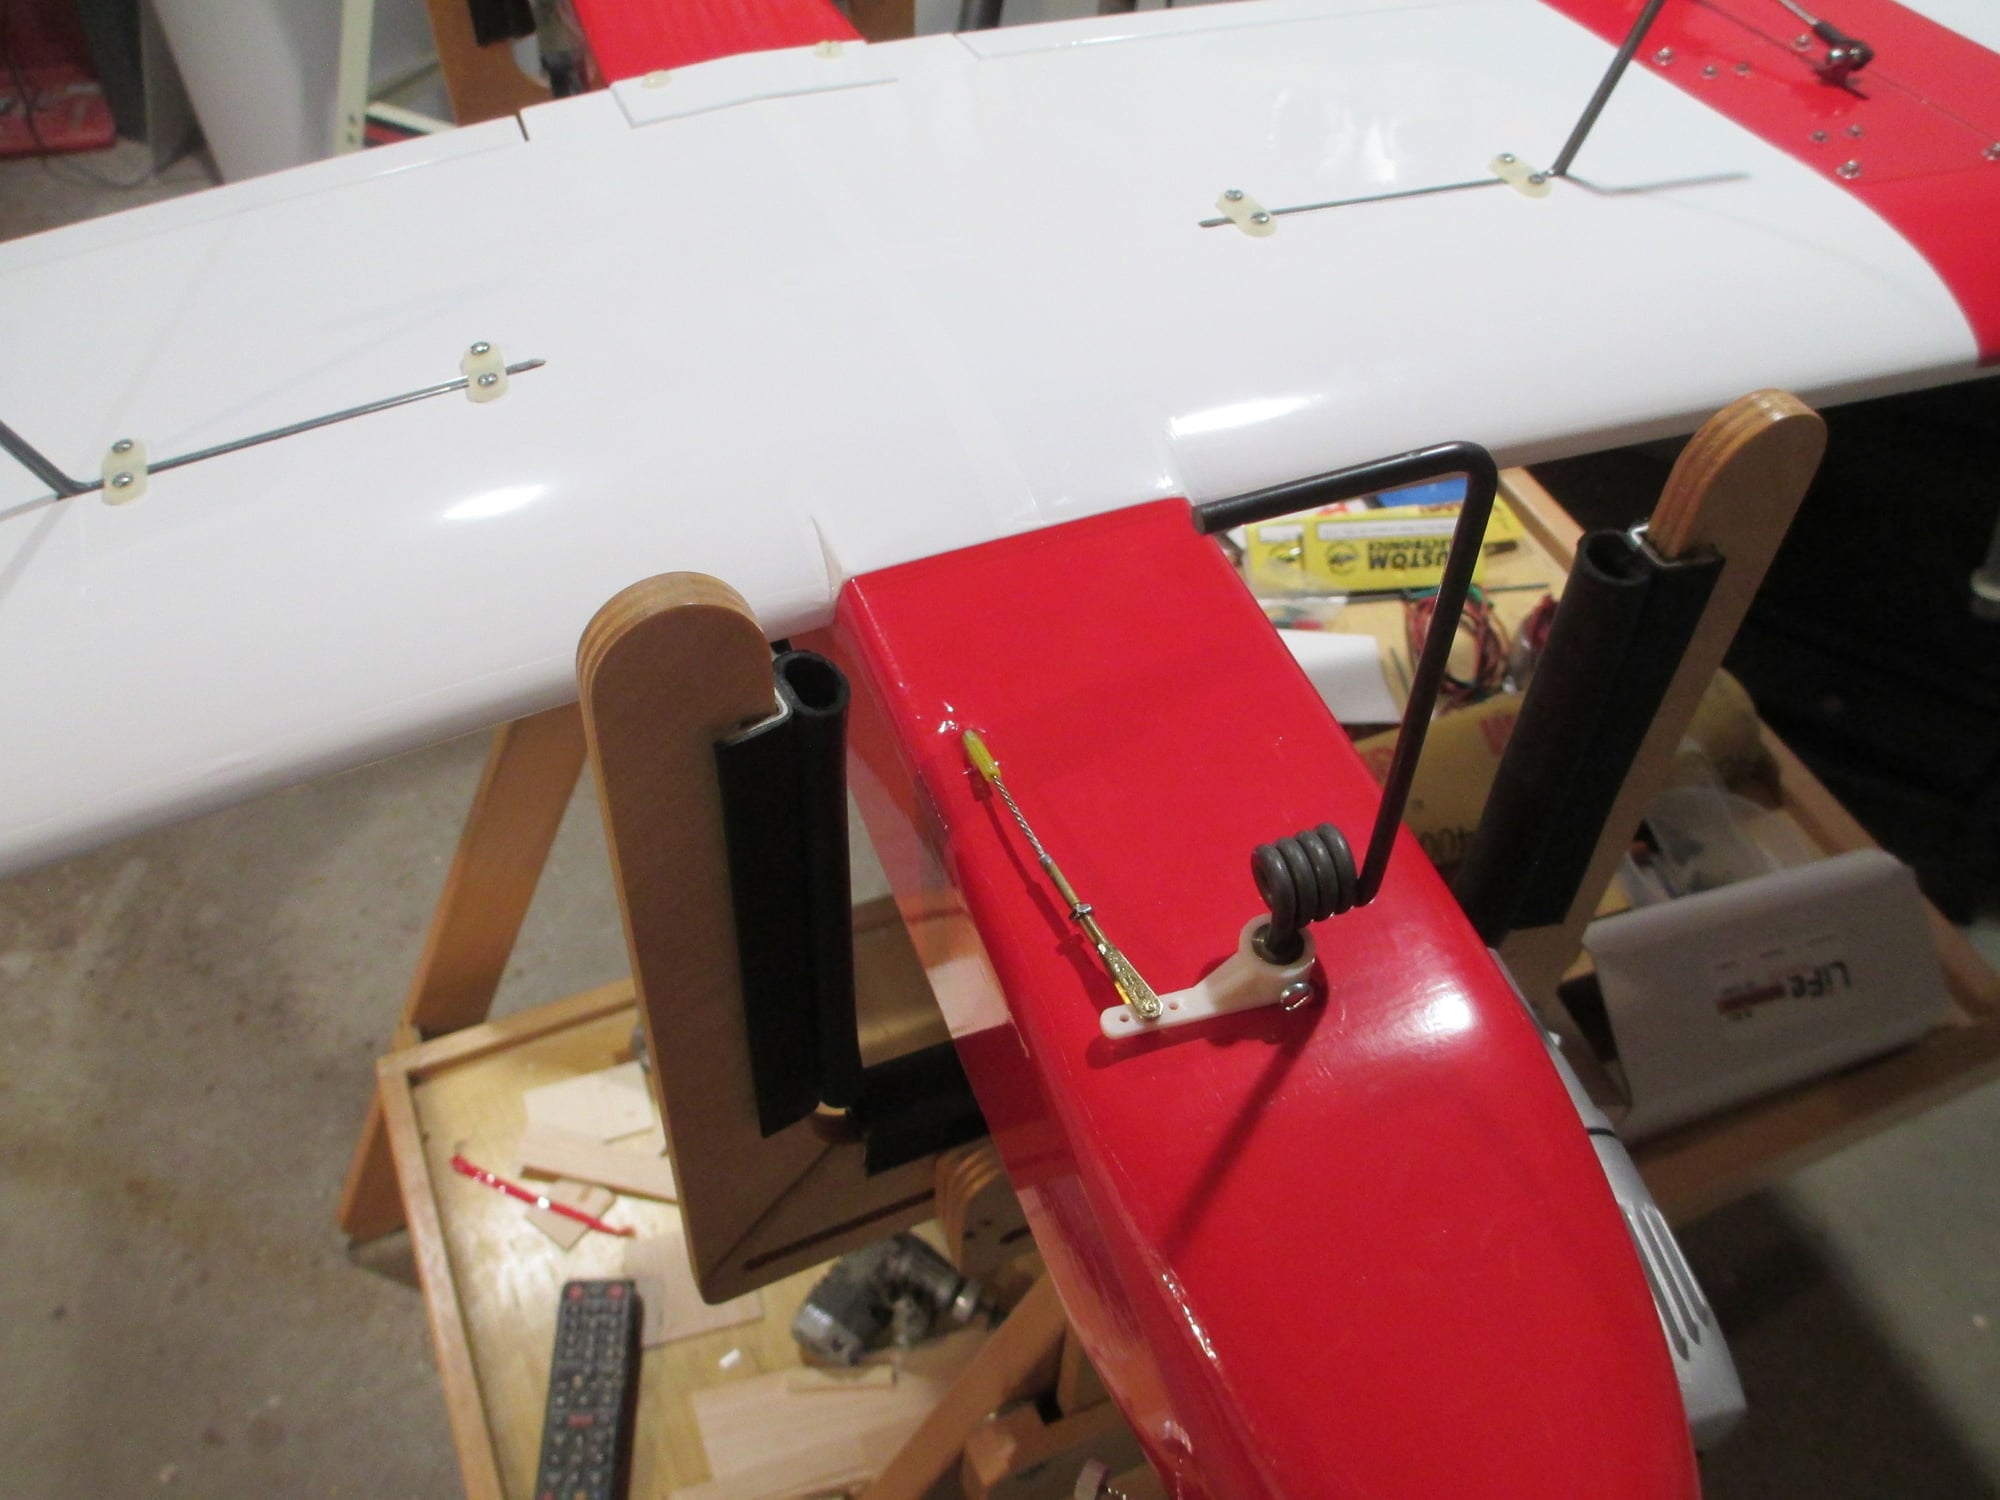
All the electronics are now fully functional. I'm very pleased with how well all of the control surfaces work. All that's left for me to do now is to assemble the gas tank and install it. Still waiting for the battery to get off back order so I can get this project wrapped up!
Last edited by VincentJ; 09-22-2018 at 11:57 PM.
09-23-2018, 07:15 AM
#148

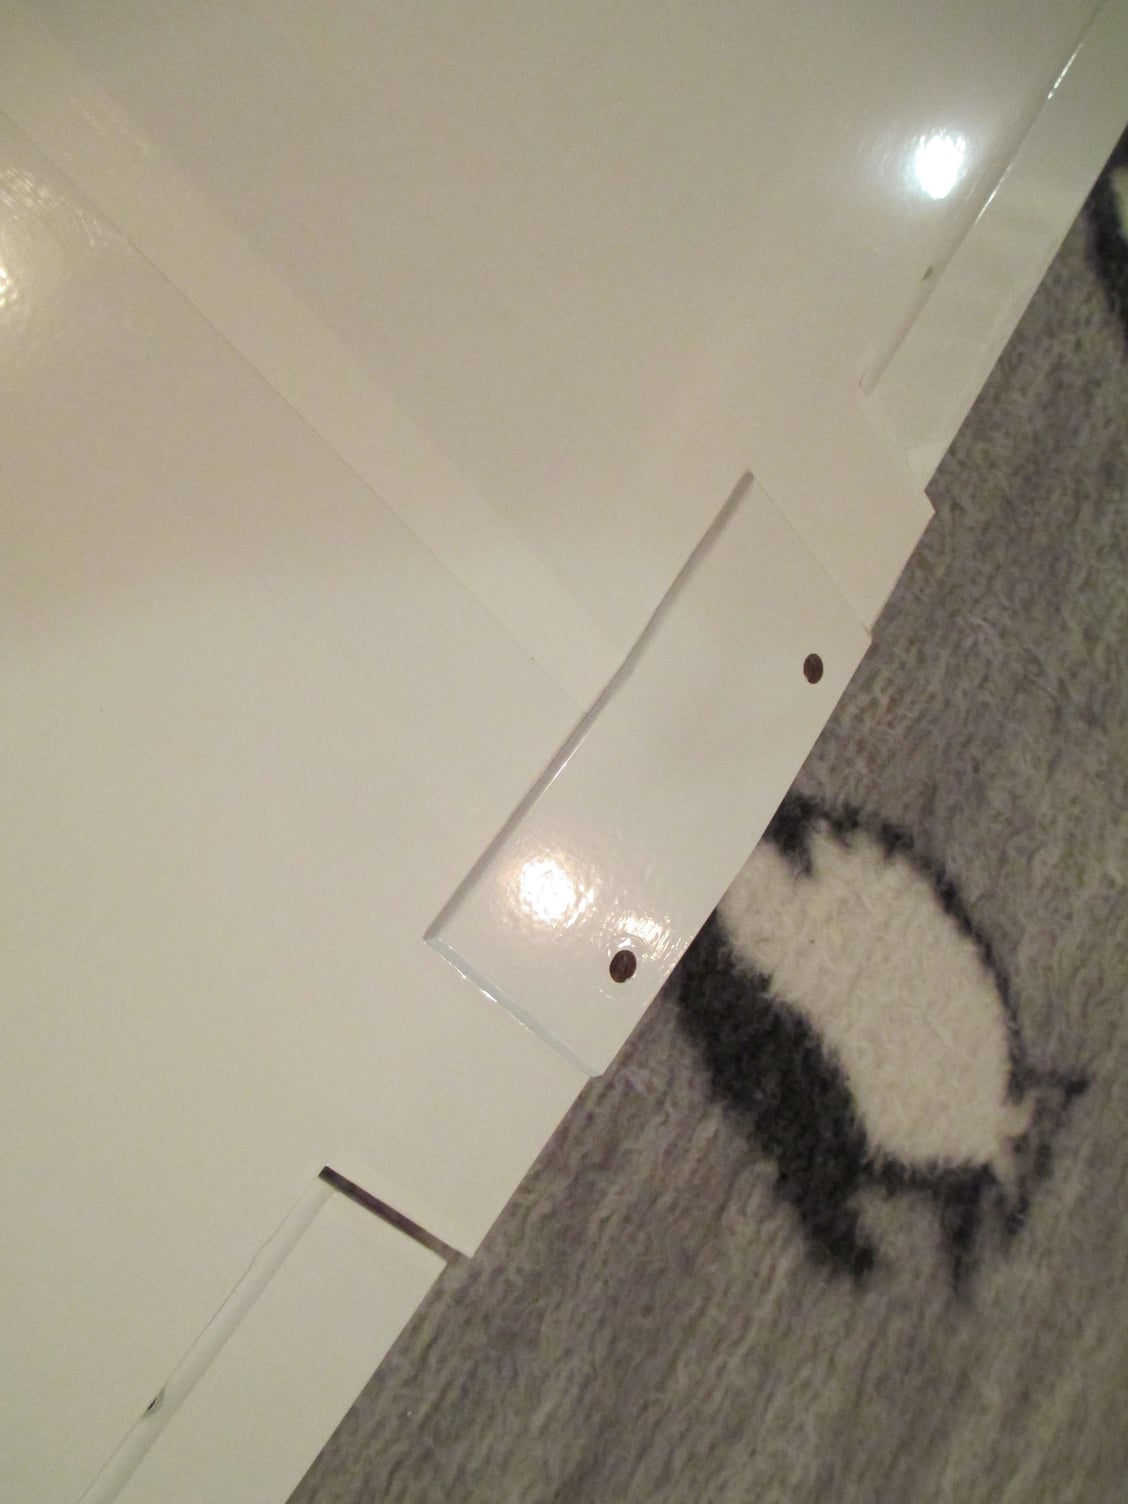
The aileron extension mounts are a nice touch.
09-23-2018, 10:34 AM
#150
Thread Starter
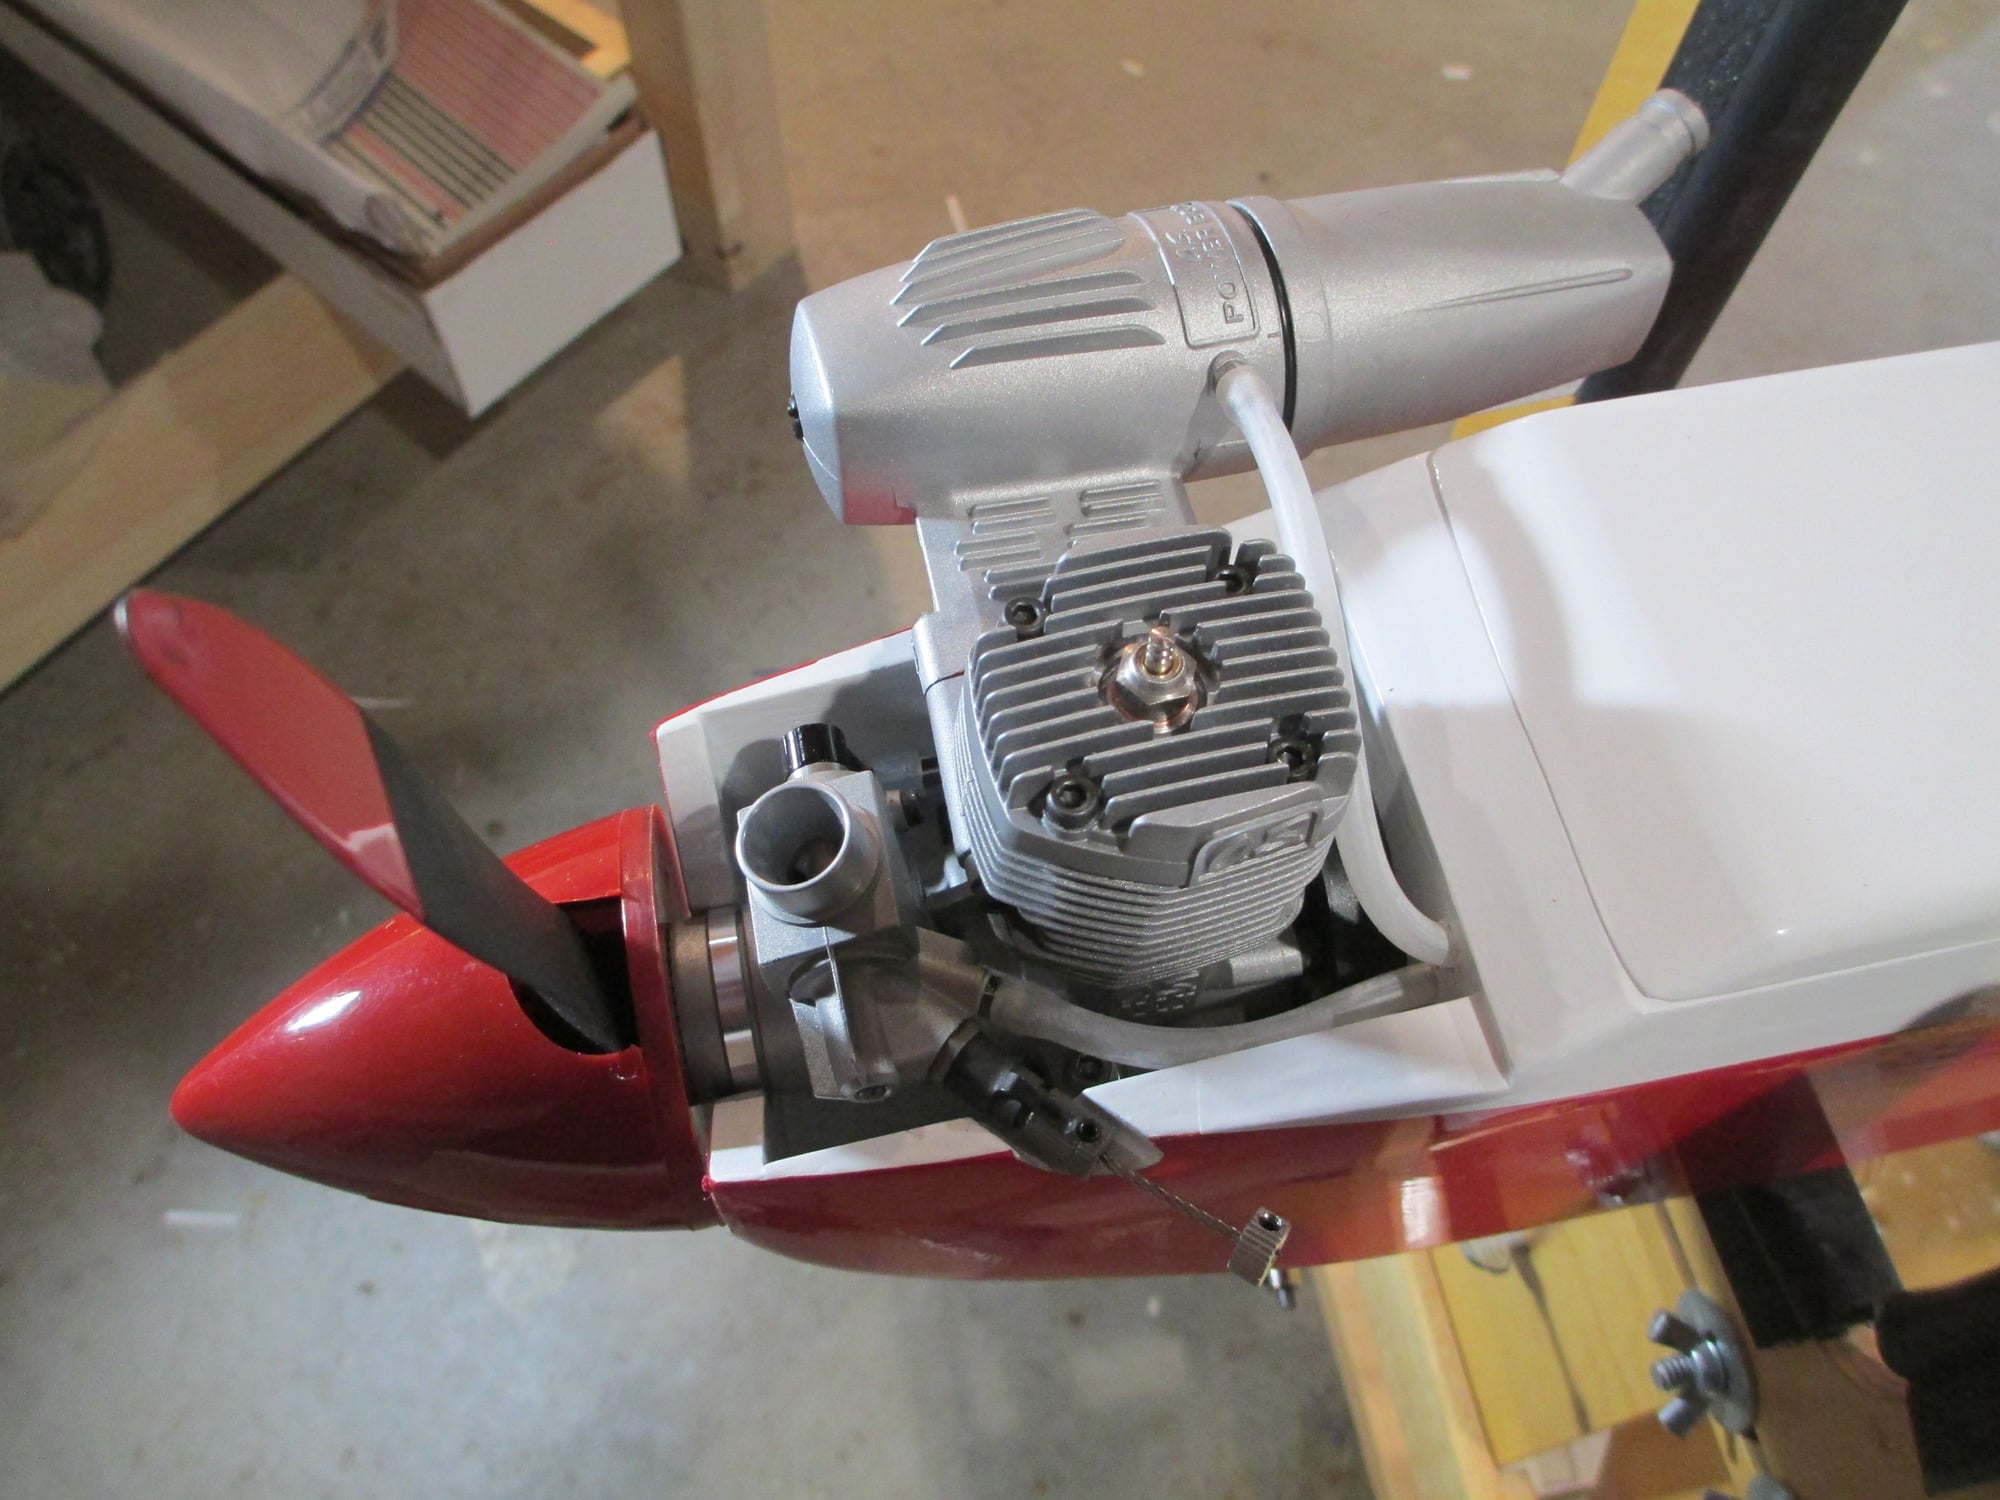
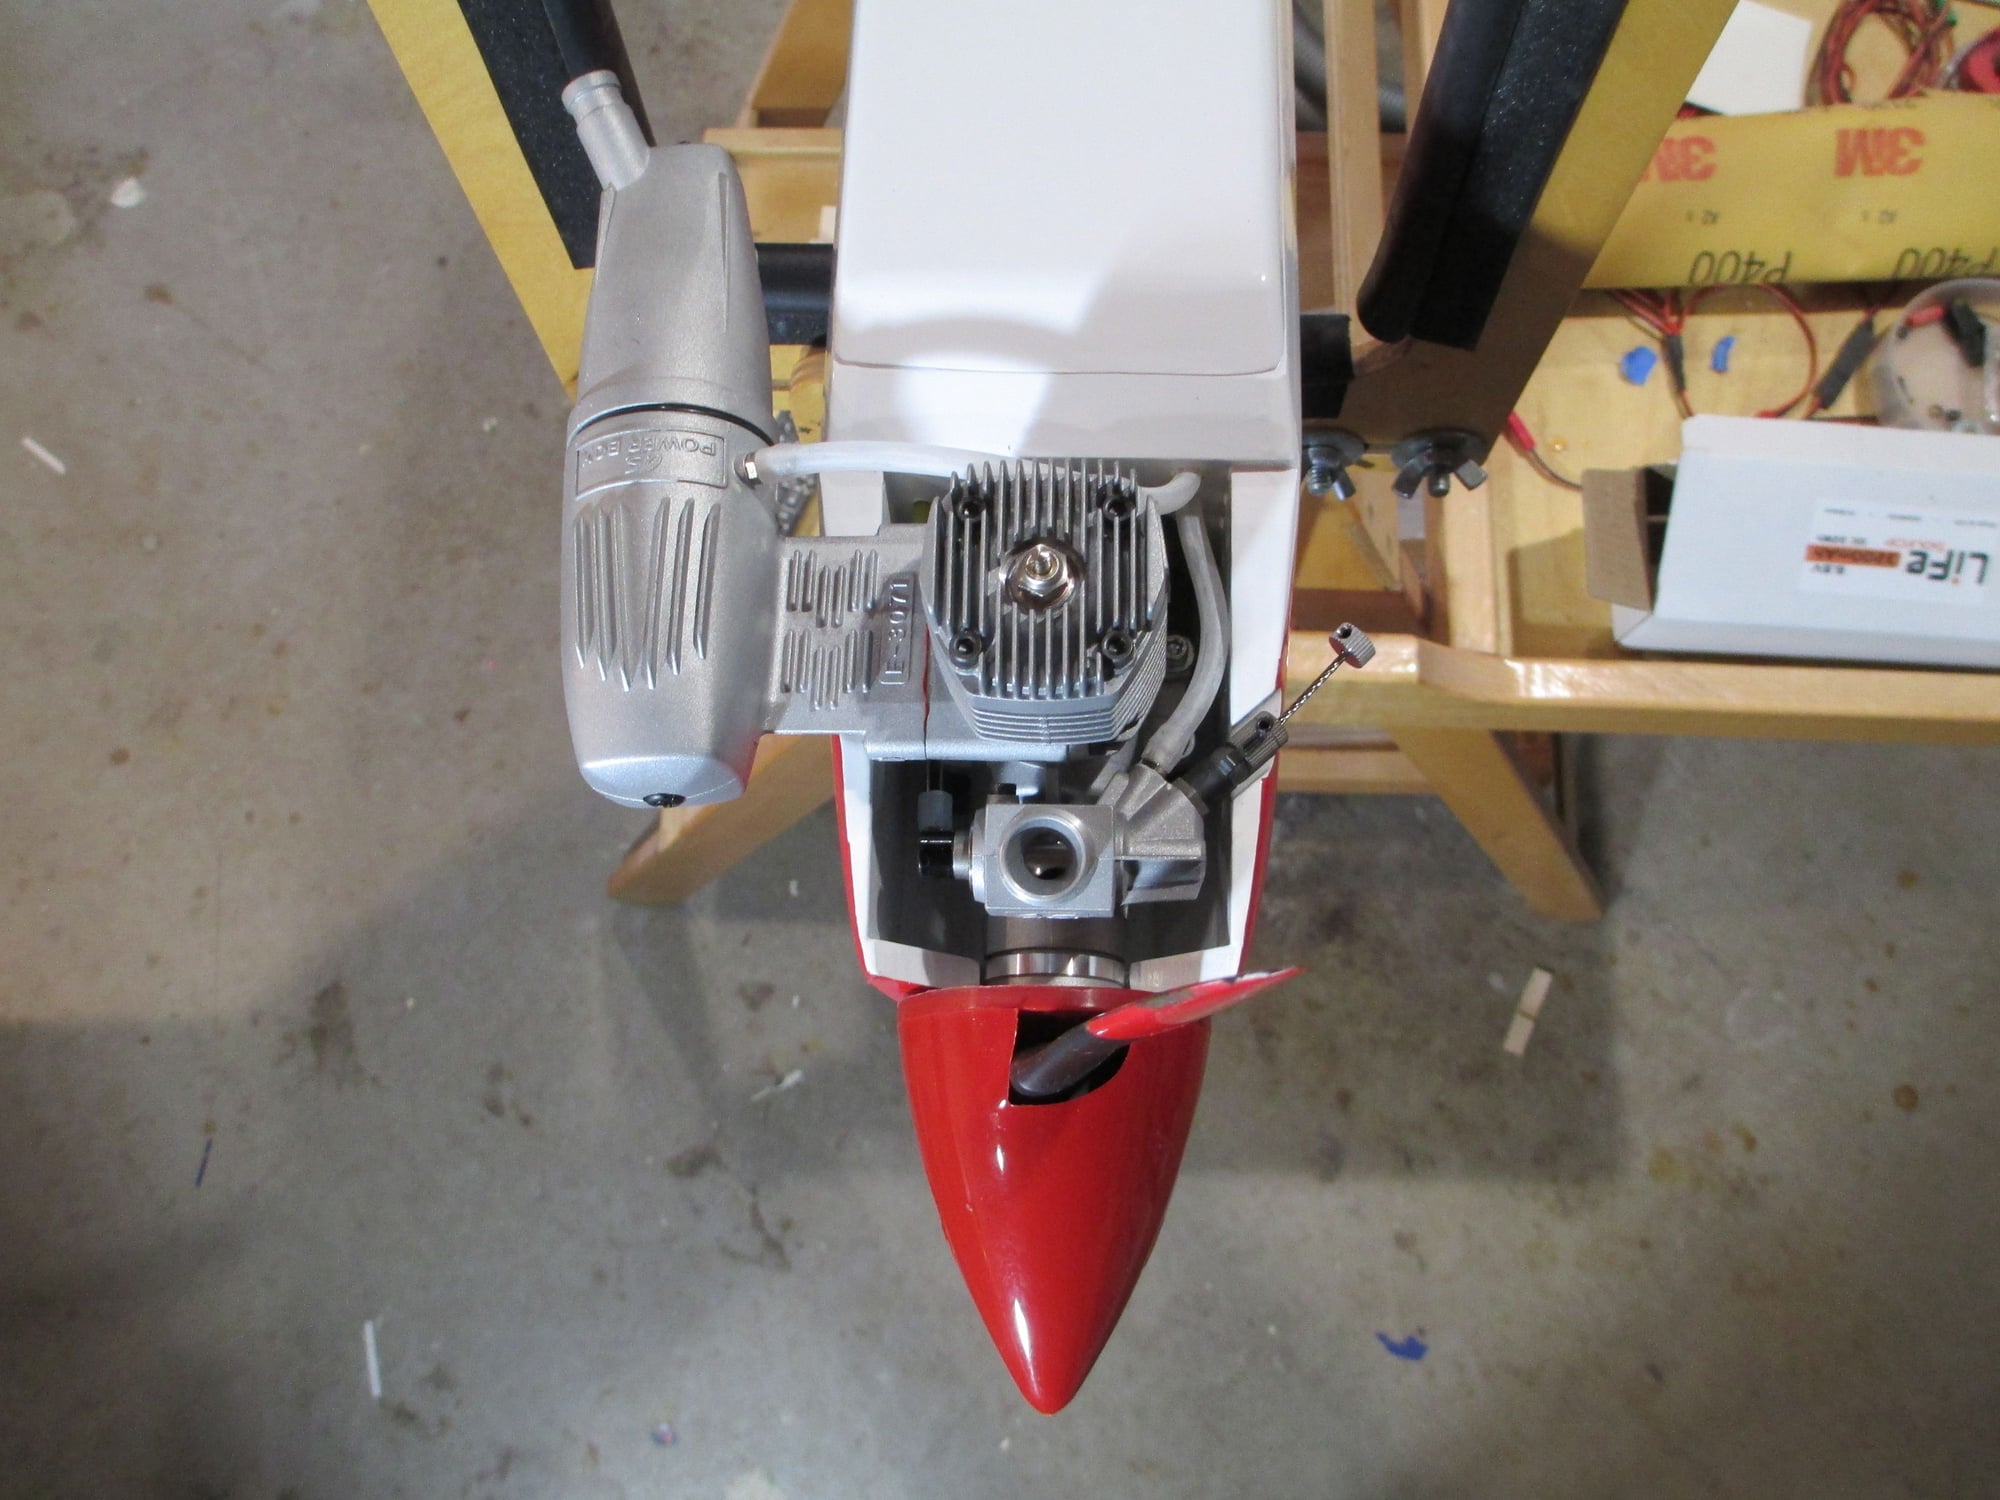
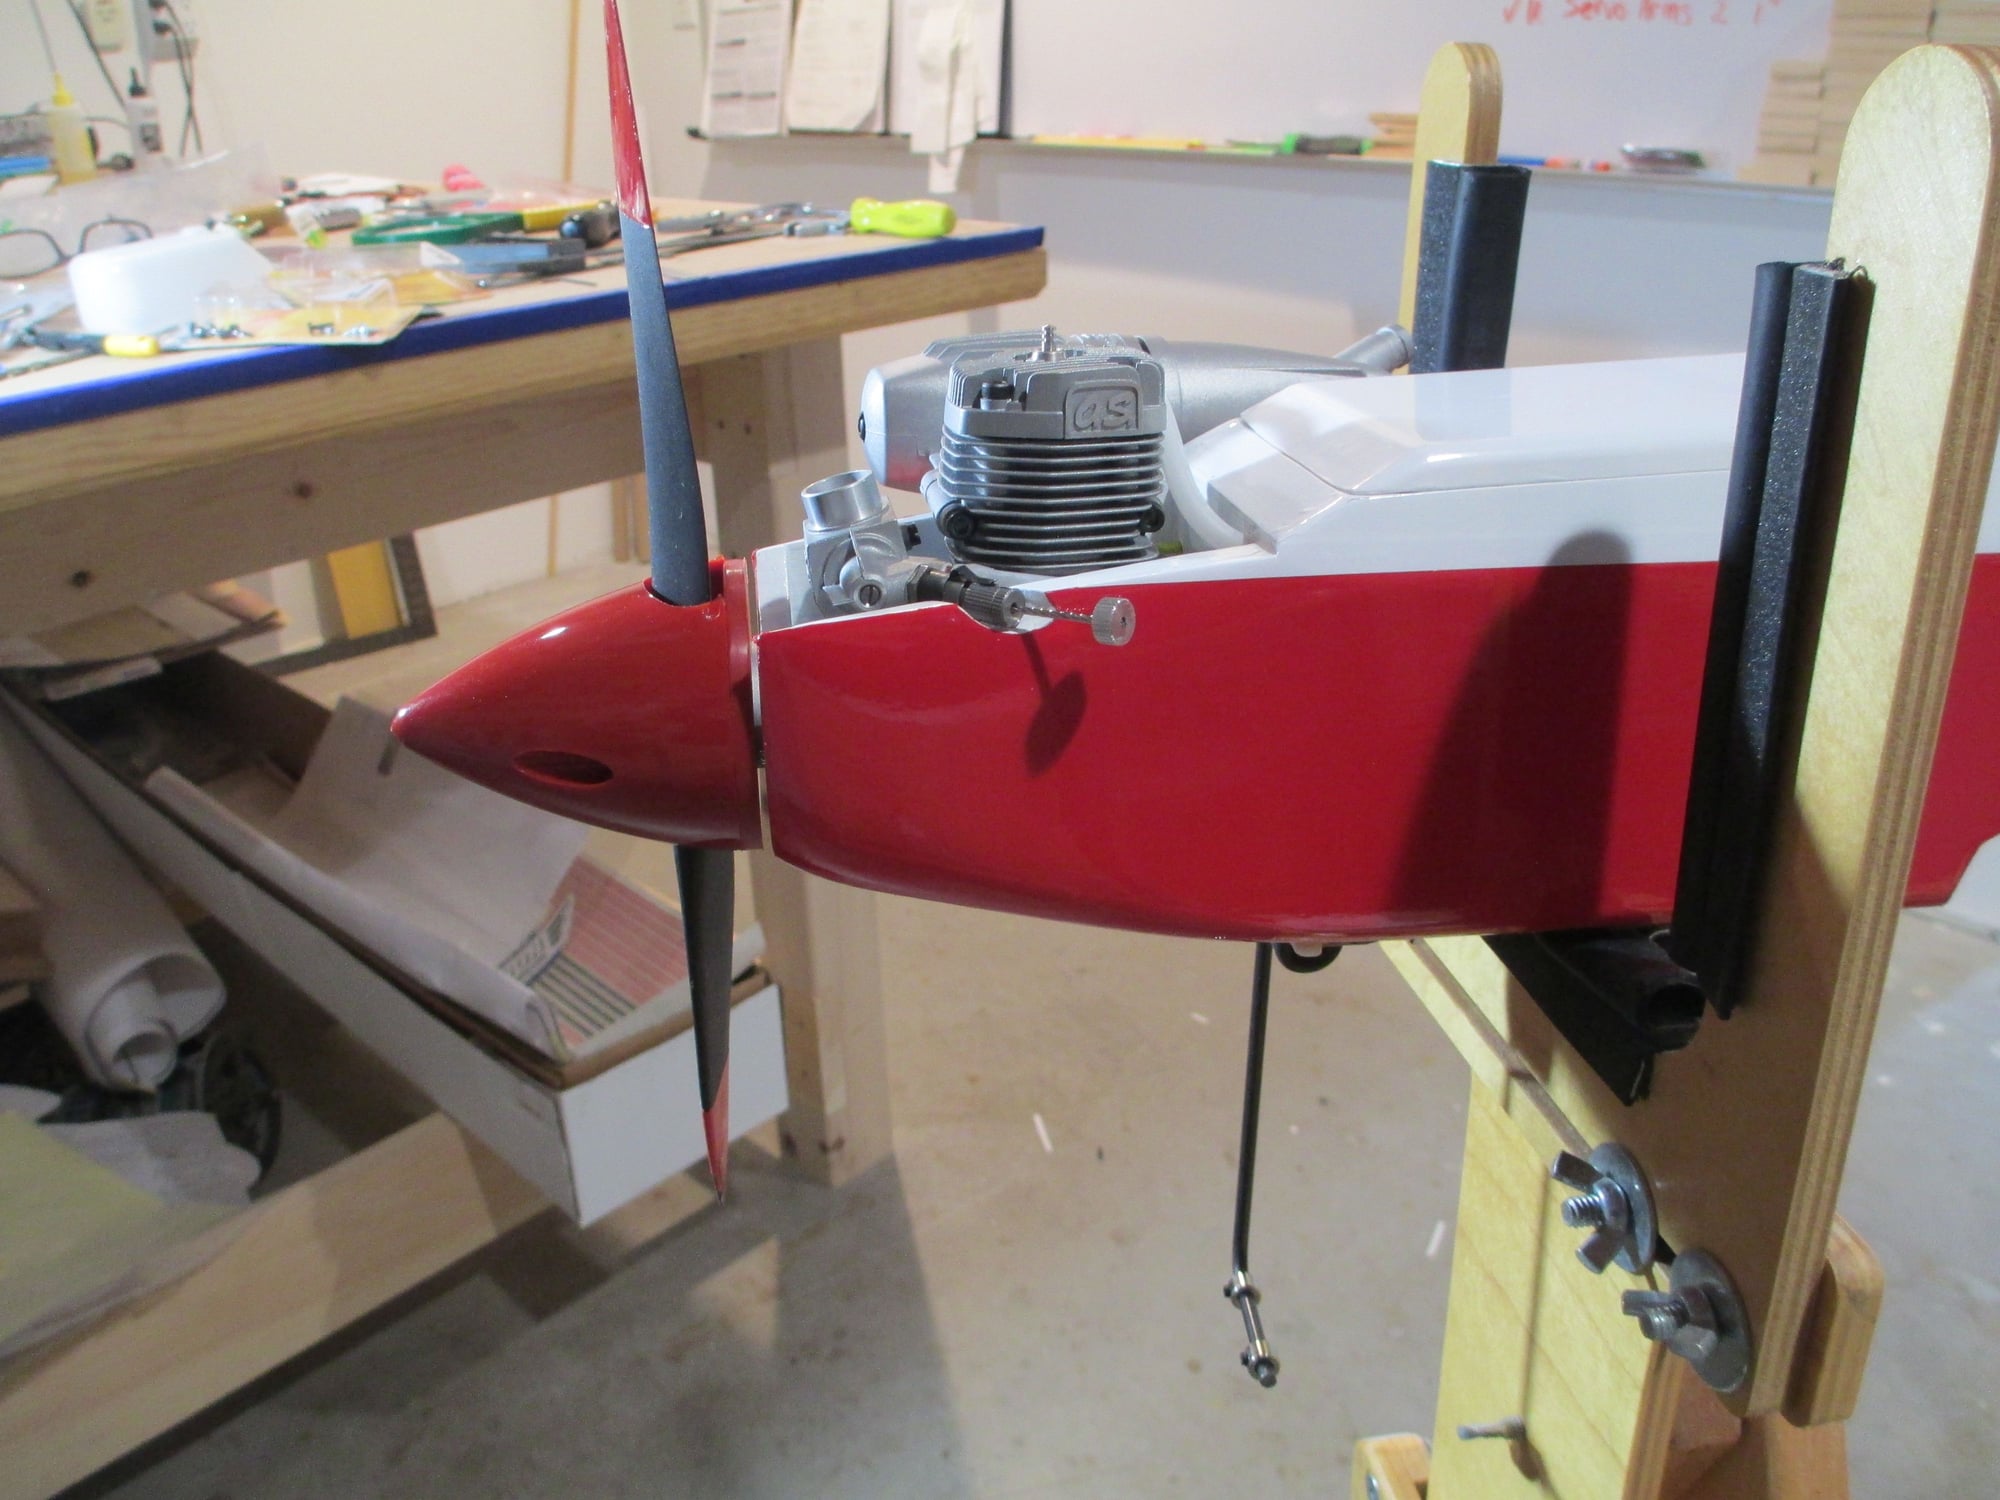
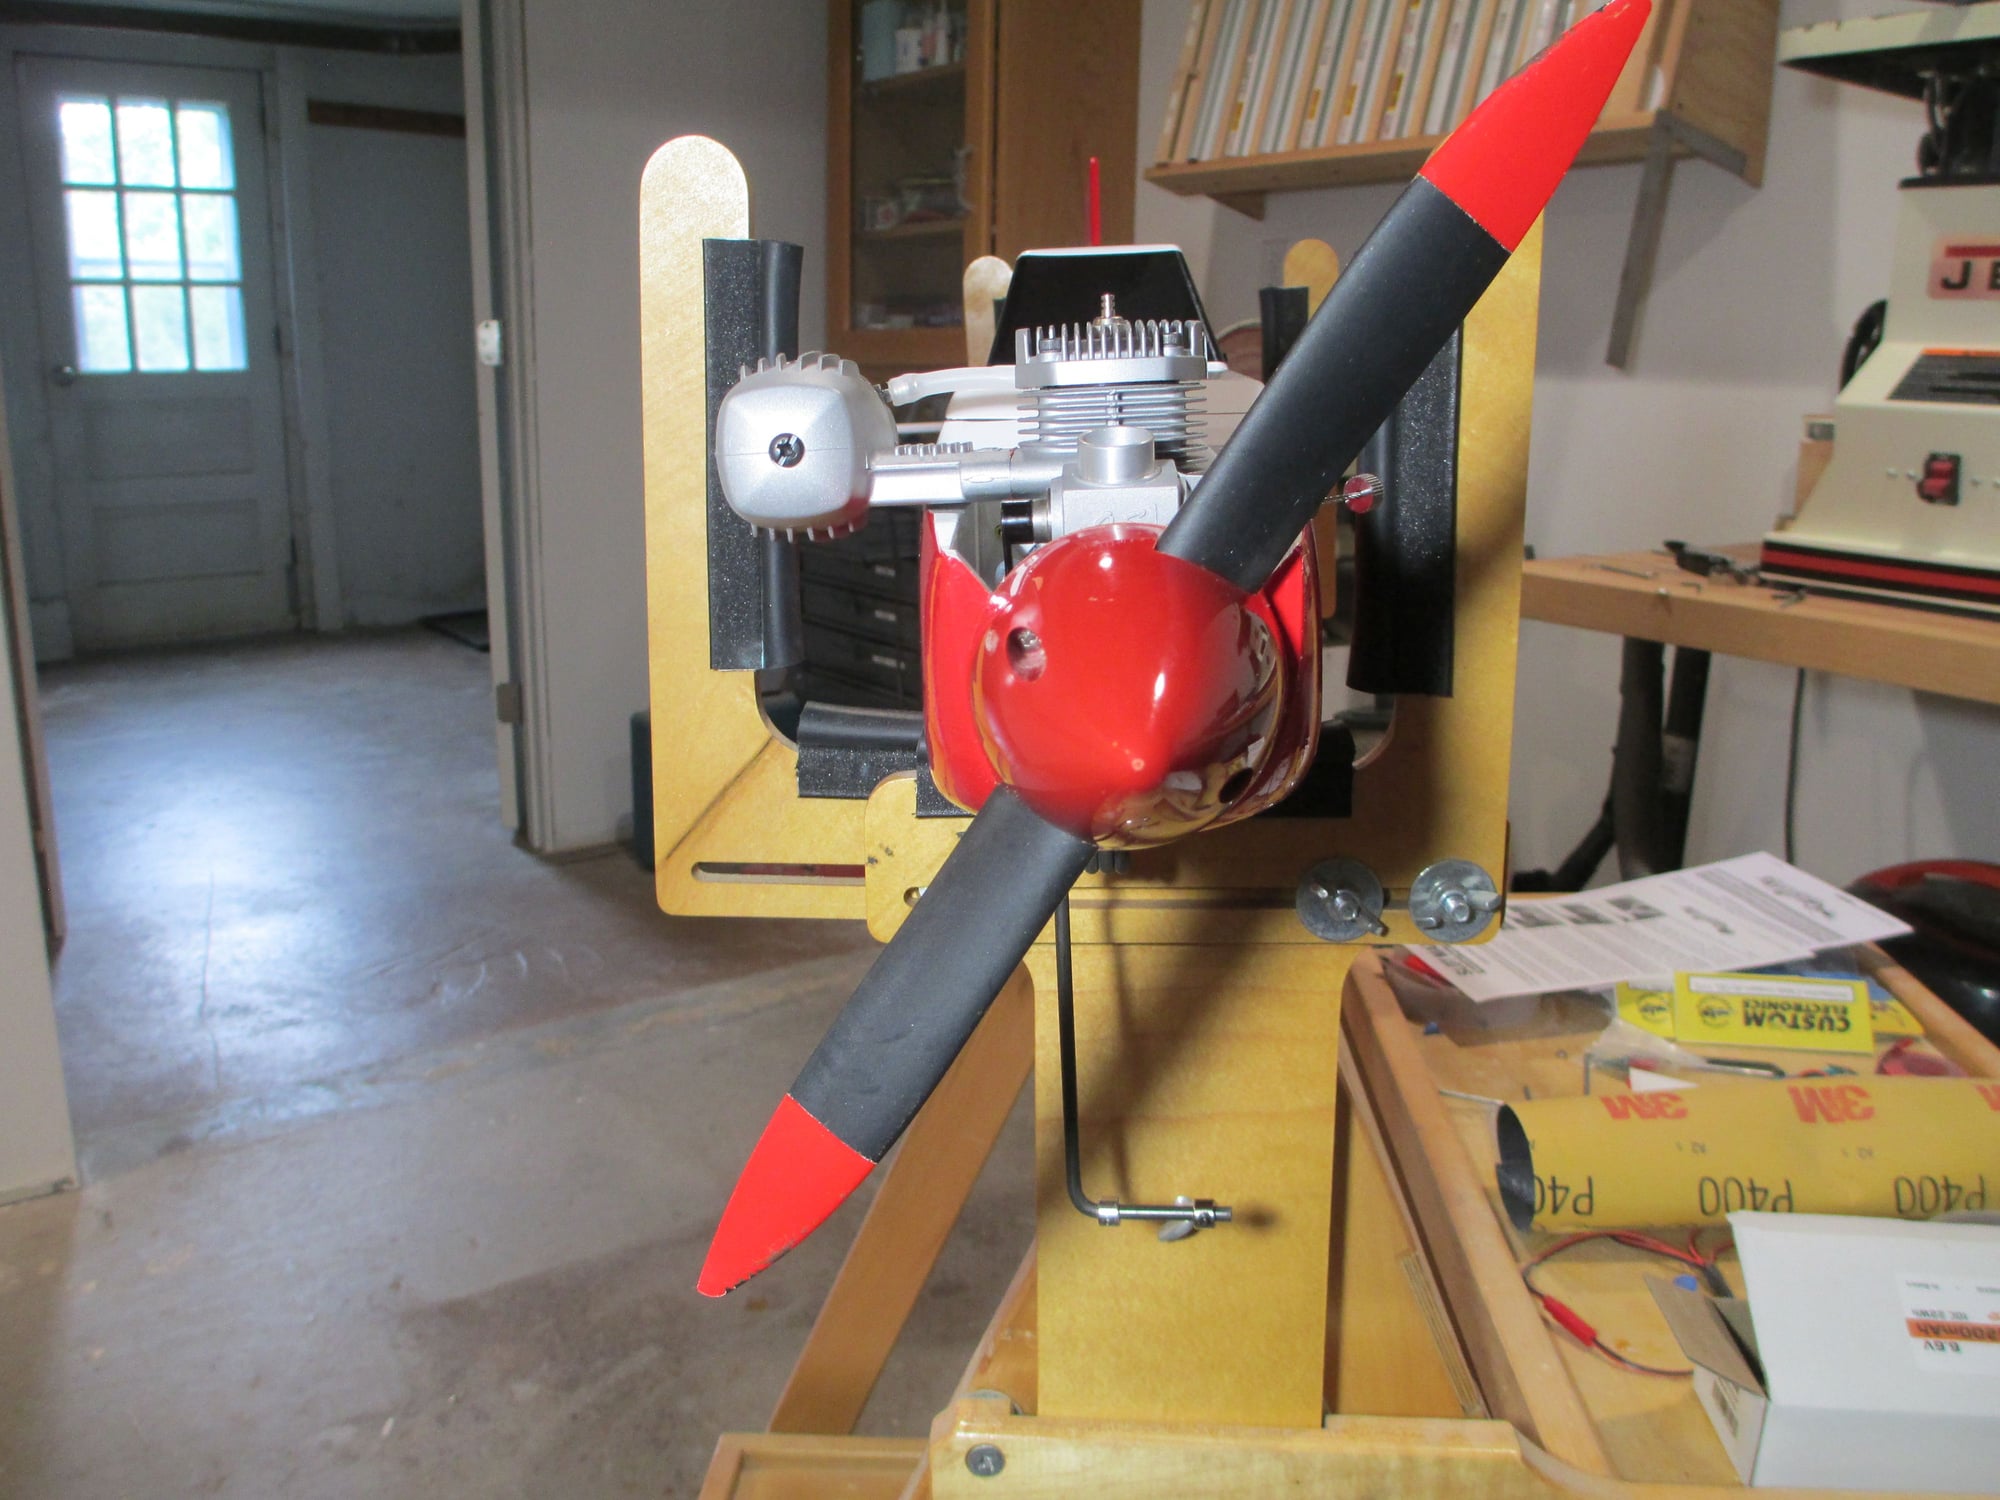
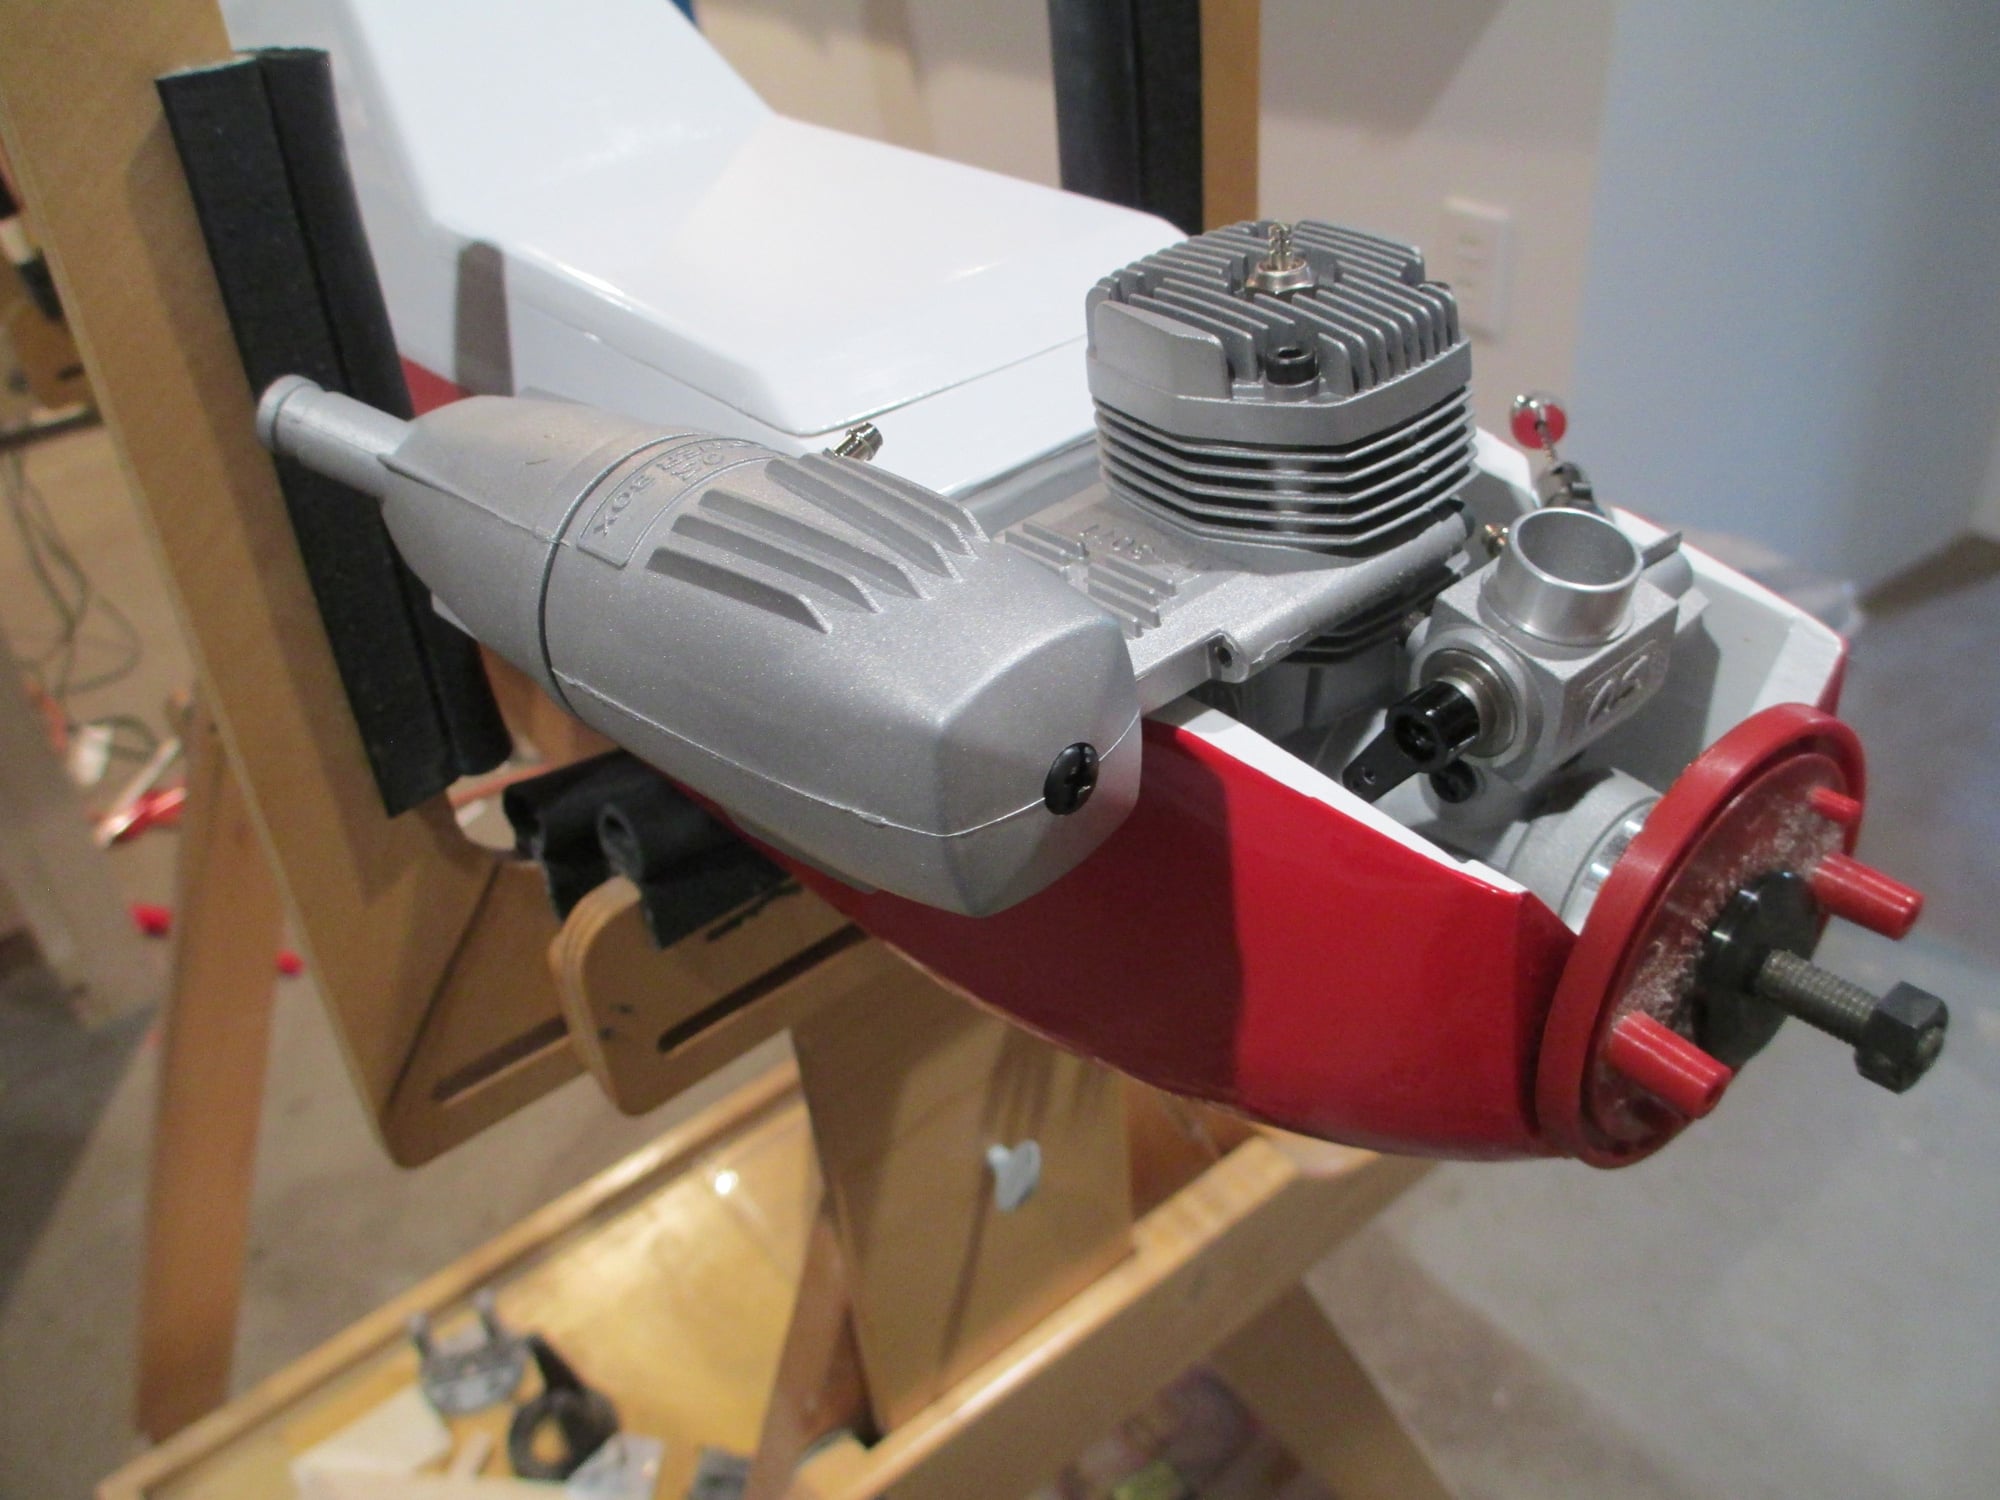
Well everything is done with the exception of mounting the wheels and battery followed by setting the CG. As I had mentioned, the battery is on back order and is expected in by late September. Here are some close-up shots of the engine.
Note: This is not the permanent spinner or prop that will remain on the plane. Until I determine (by flying) which is the most efficient prop for this plane, I will order an aluminum spinner from Tru-Turn. I will have it custom cut for the prop size and pitch.