


SIG Four-Star 60 Build
 06-10-2019, 12:27 AM
#201

Thread Starter
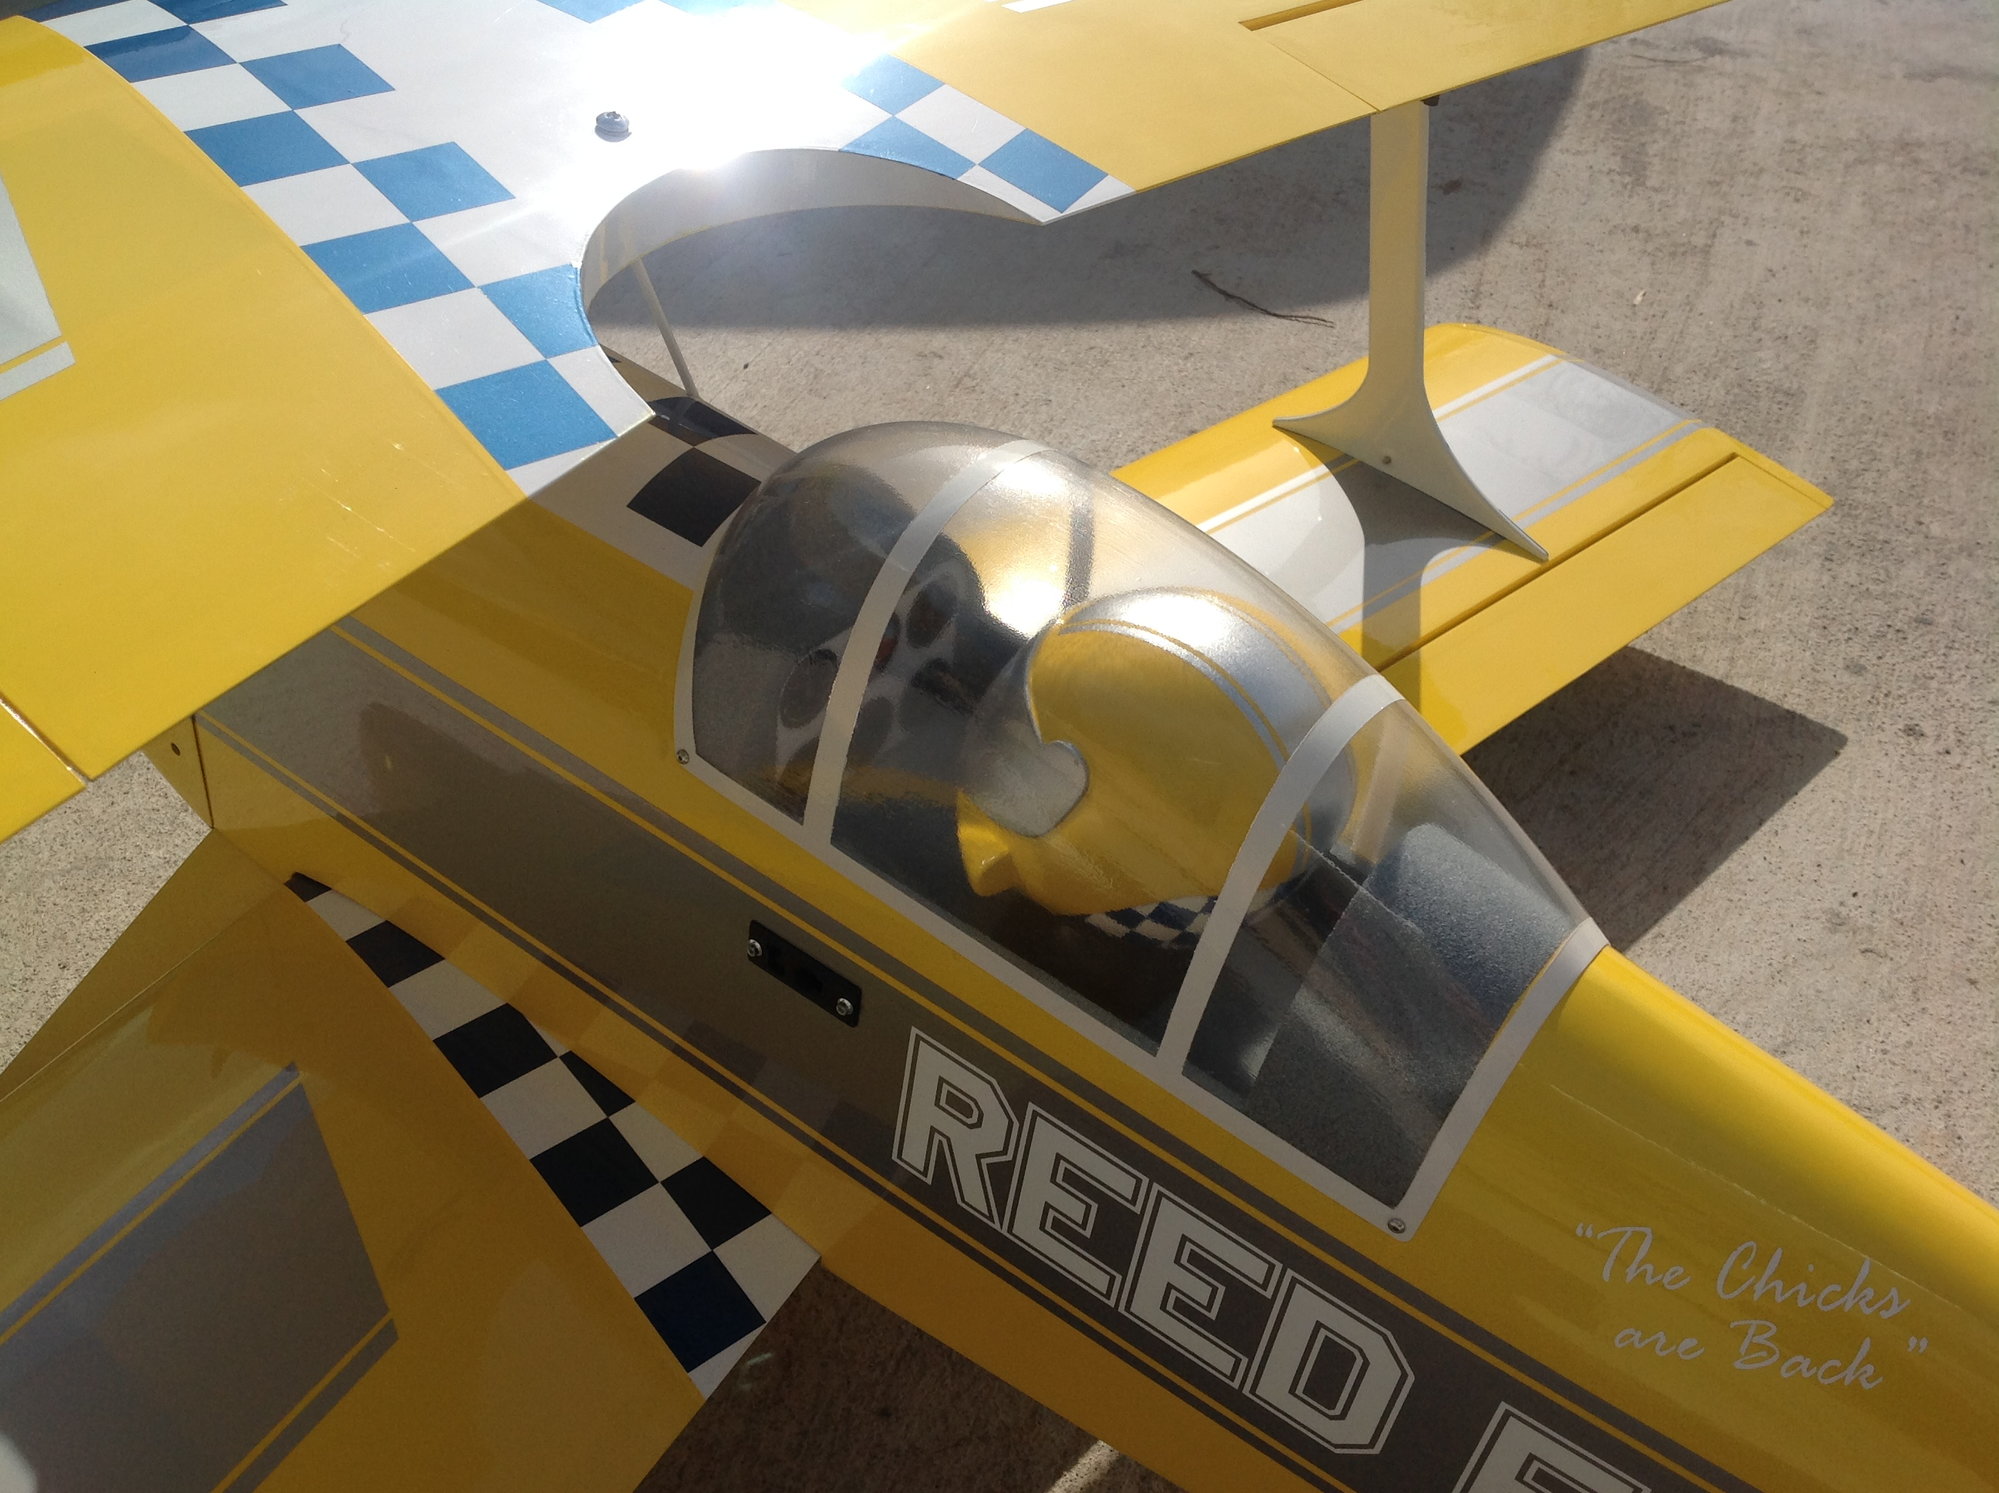
Thank you! First off let me say that your Reed Falcon is superb. You may be right, the next time I visit my not so near hobby shop I'll have to check out some appropriate sized pilots, With the canopy off, I can spray on some frame detail...I love the way that you painted the pilot's helmet and added that small patch of checkerboard pattern to match the planes color theme. Hmm, you've given me some ideas (and more work). LOL Well done!!!
Last edited by VincentJ; 06-10-2019 at 12:46 AM.
 06-11-2019, 04:43 AM
#202
Thread Starter
No pics to post, but I thought I would write a few words on the progress...
Last night the remaining aileron was covered and the last servo wire fished through the chase. Tonight I will epoxy the aileron hinges in place before retiring for bed. The punch list is growing shorter each passing day. Here's what's left:
- Adjust throws on all control surfaces.
- Mount the spinner (still waiting for delivery) and propeller.
- Mount the IBEC LED on fuselage.
- Adjust the CG to recommended specifications.
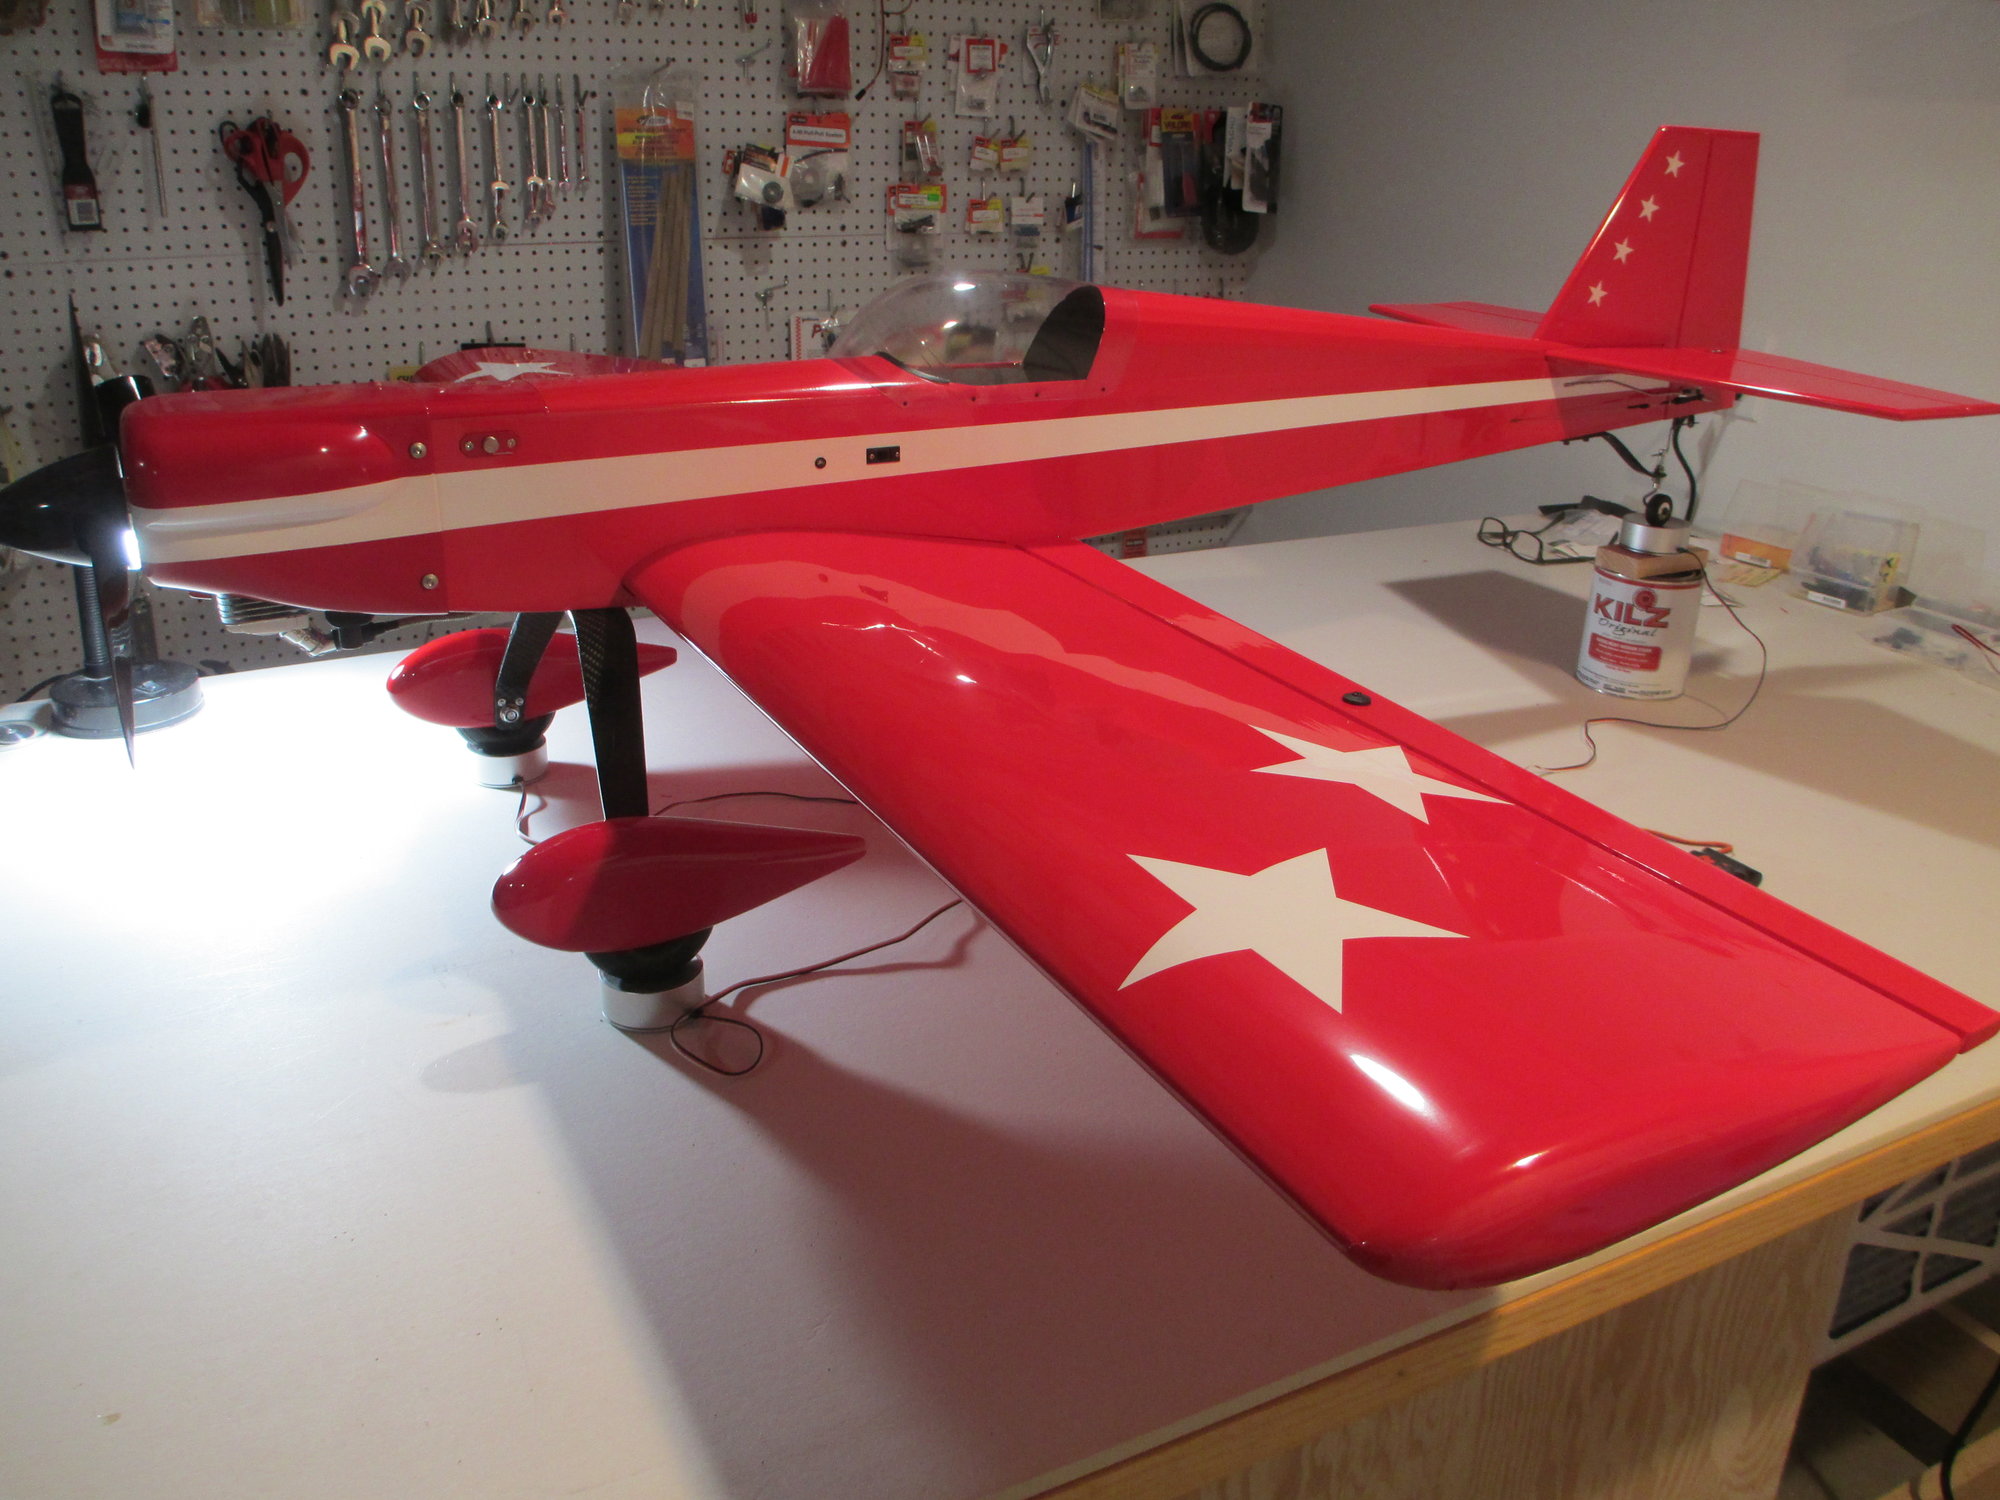
- Photo shoot!
Last night the remaining aileron was covered and the last servo wire fished through the chase. Tonight I will epoxy the aileron hinges in place before retiring for bed. The punch list is growing shorter each passing day. Here's what's left:
- Adjust throws on all control surfaces.
- Mount the spinner (still waiting for delivery) and propeller.
- Mount the IBEC LED on fuselage.
- Adjust the CG to recommended specifications.
- Photo shoot!
Last edited by VincentJ; 06-11-2019 at 07:09 AM.
06-11-2019, 08:00 AM
#203
I think you should turn off others from posting and possibly re-direct them to an email to comment. We are more interested in your build that we are comments from others. My 2 cents..
06-12-2019, 01:47 AM
#204
Thread Starter
 06-12-2019, 02:05 AM
#205
Thread Starter
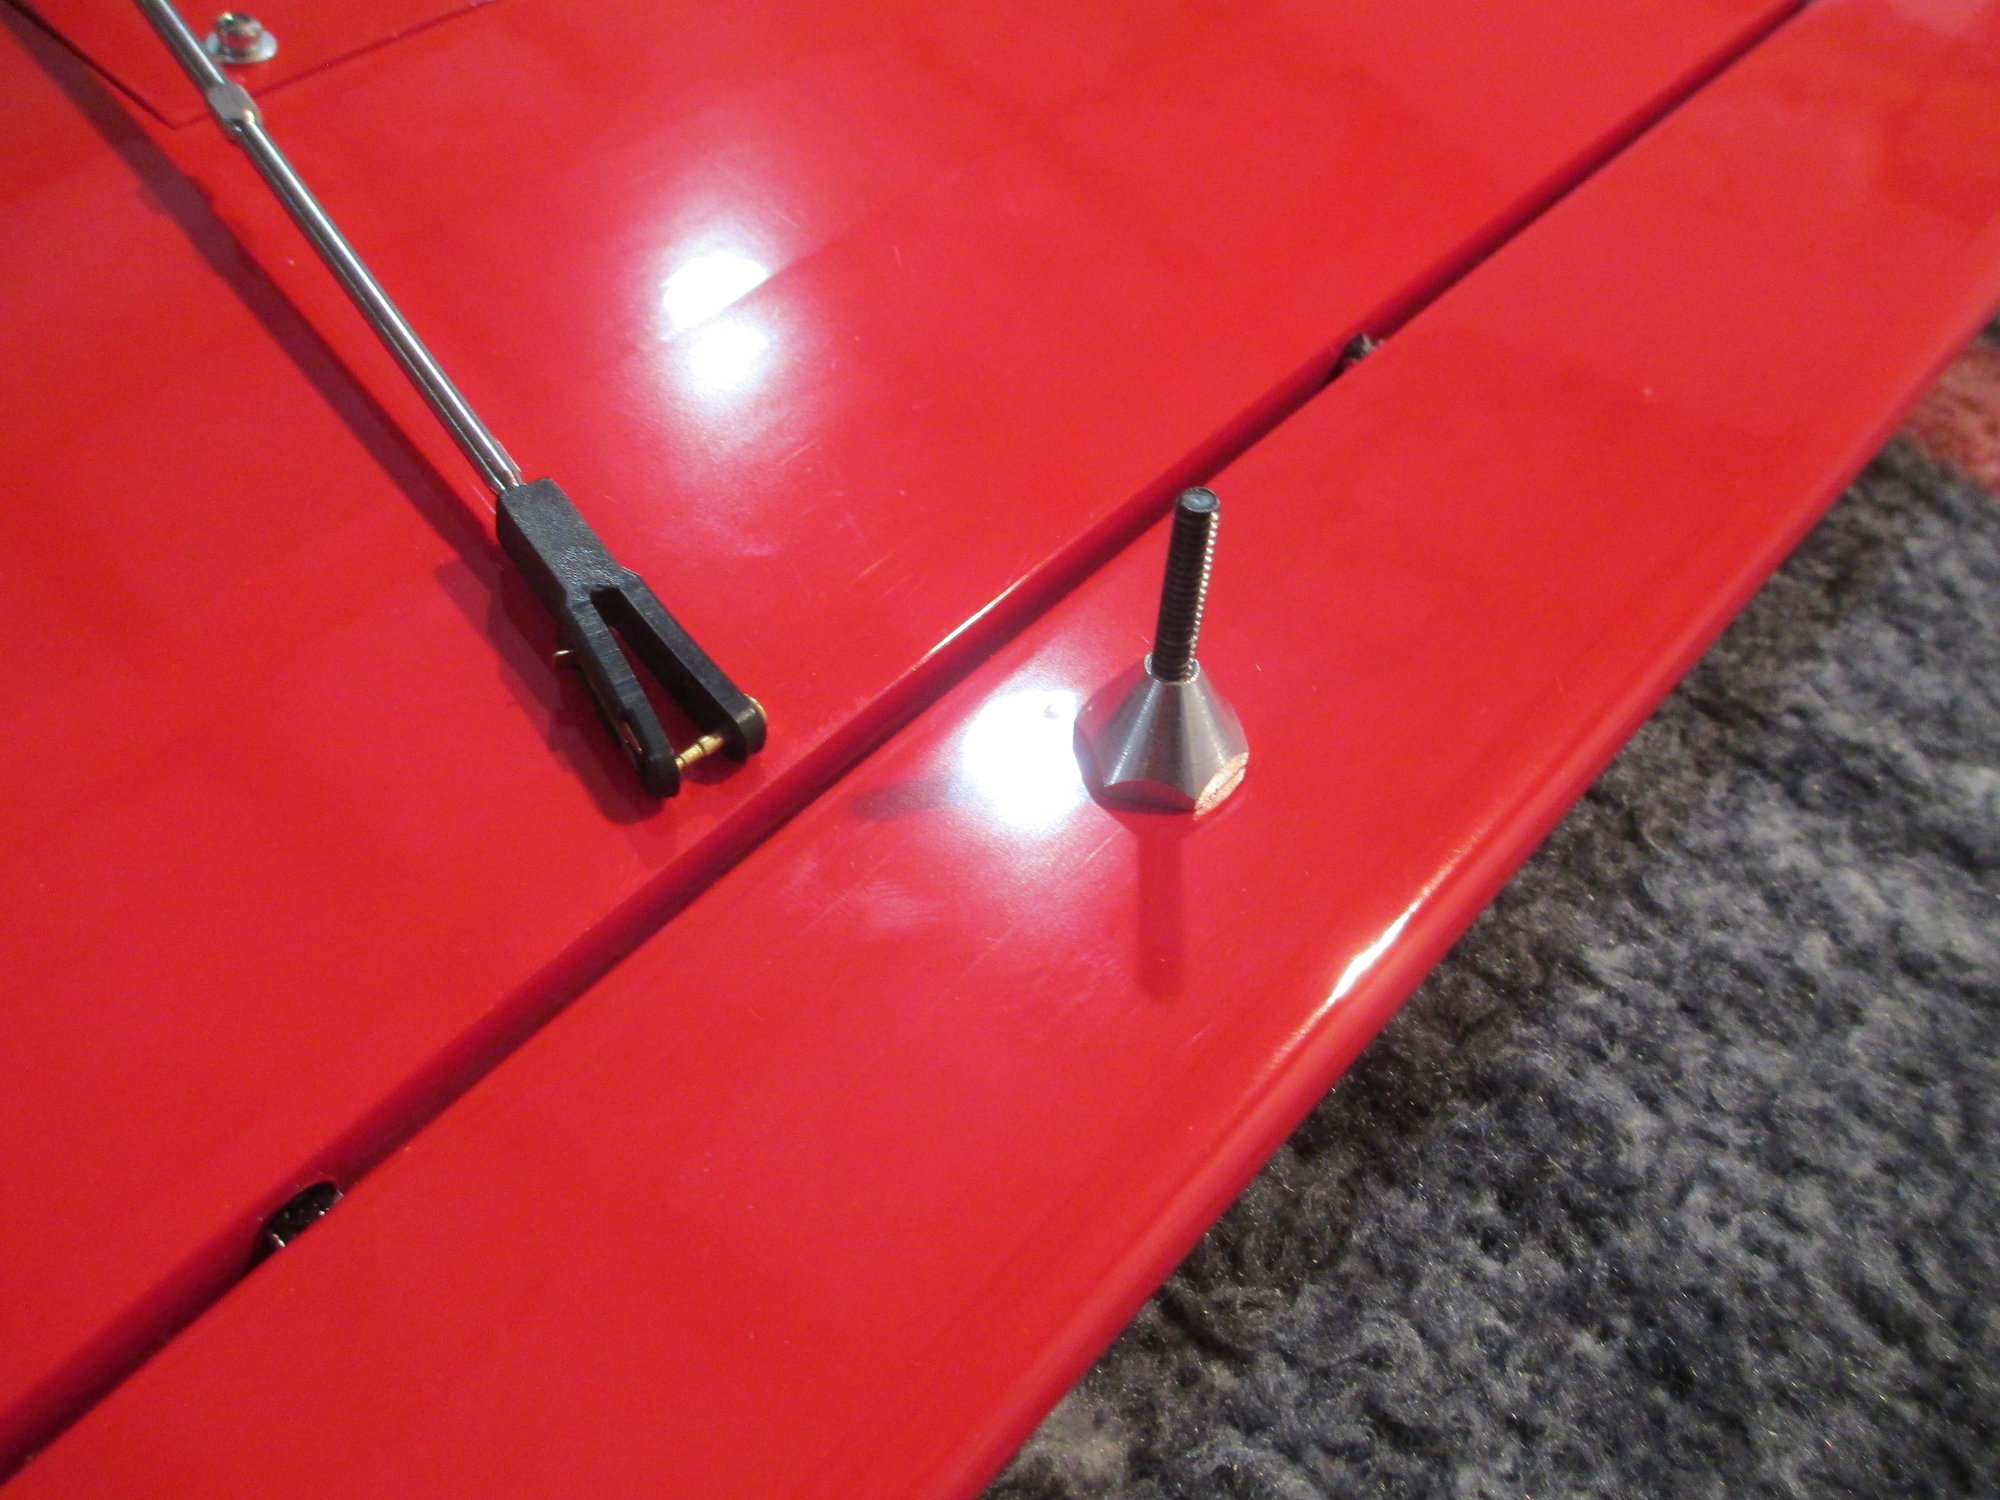
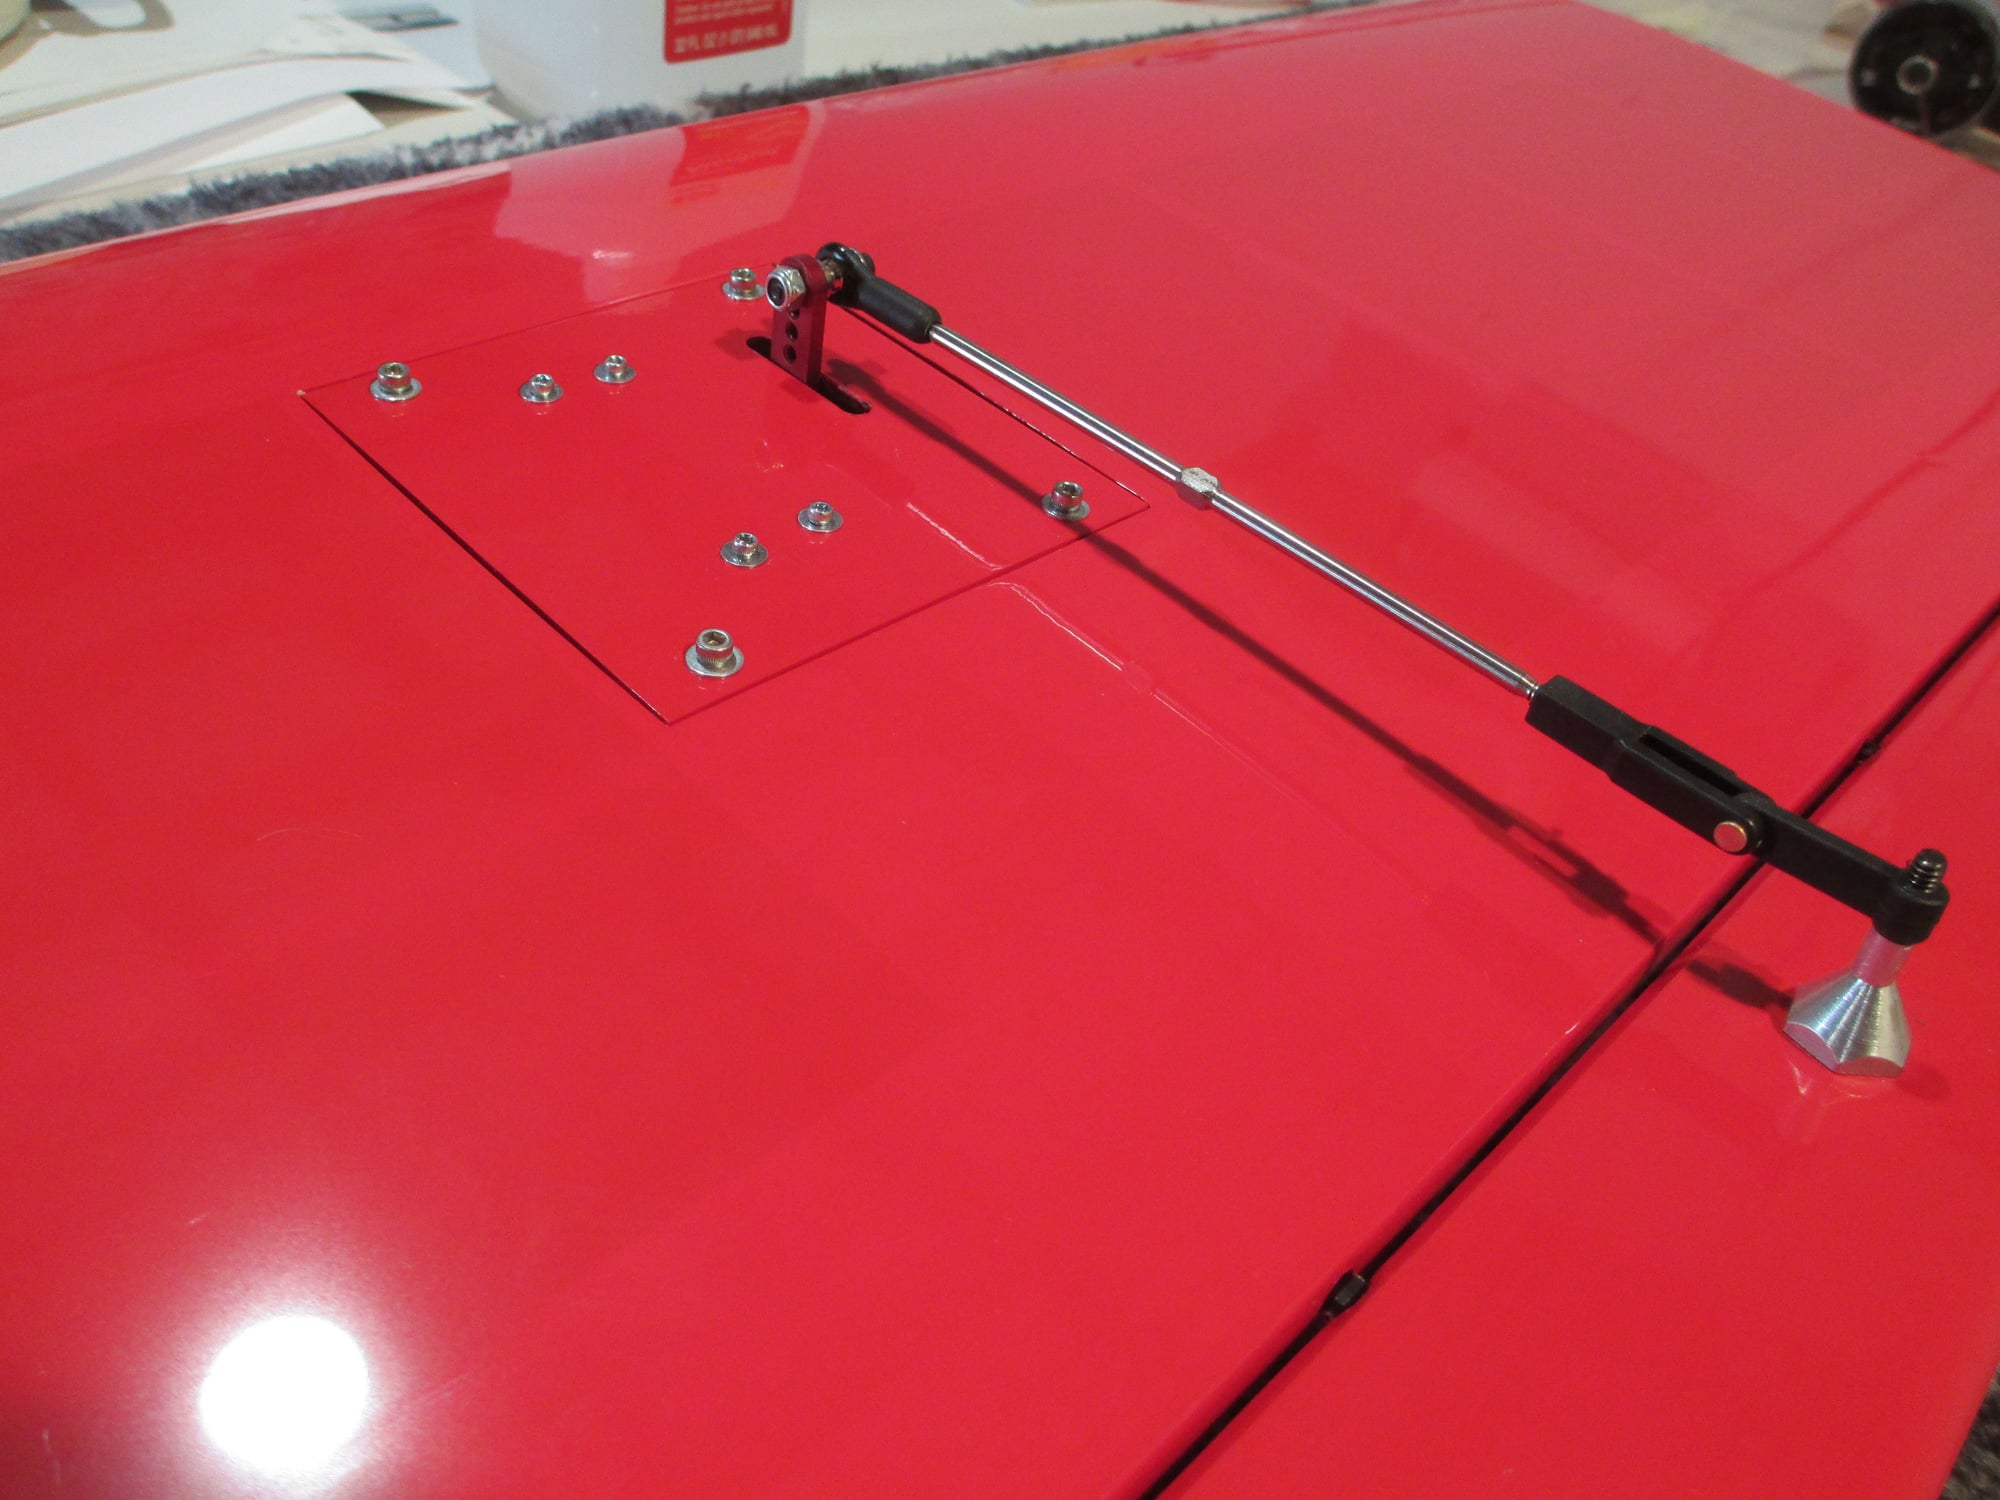
With the ailerons now hinged to their wing, the mounting of the hardware can begin. I'm using a Du-Bro Heavy Duty Control Horn. This is where the hard point that I installed earlier gets to do its job. As the control horn is tightened down, the balsa beneath the horn has not crushed! The exposed 6-32 cap screw threads are unsightly so here's what I did to dress it up a bit...
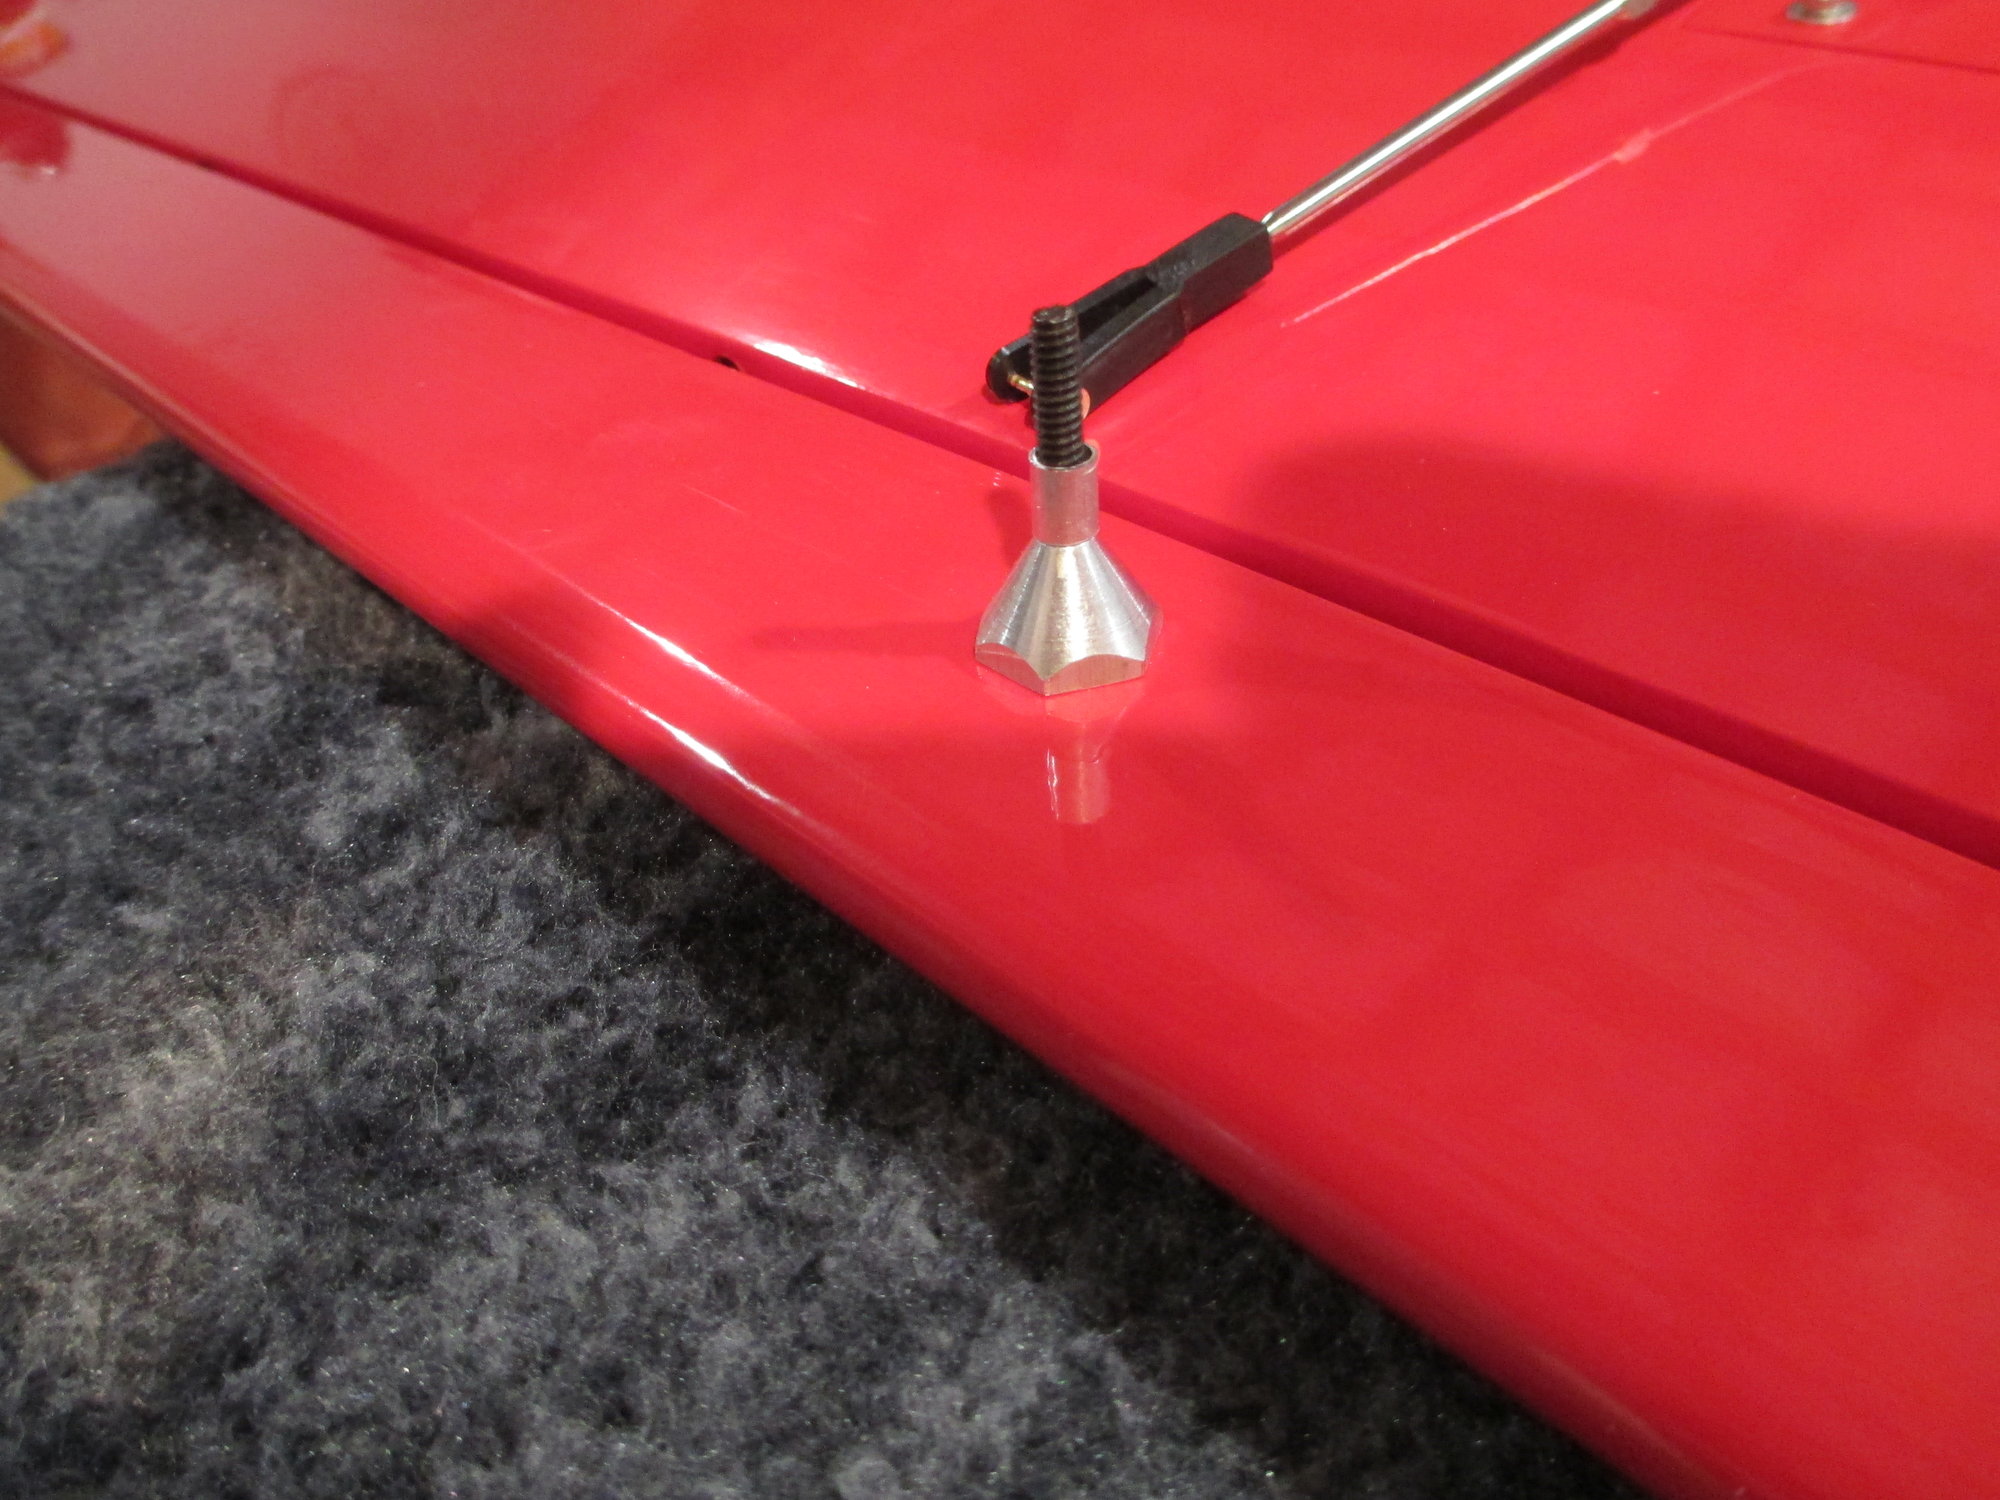
I cut a short section of 3/16" aluminum tubing and slipped it over the threads. This does nothing more than shield the threads from view.
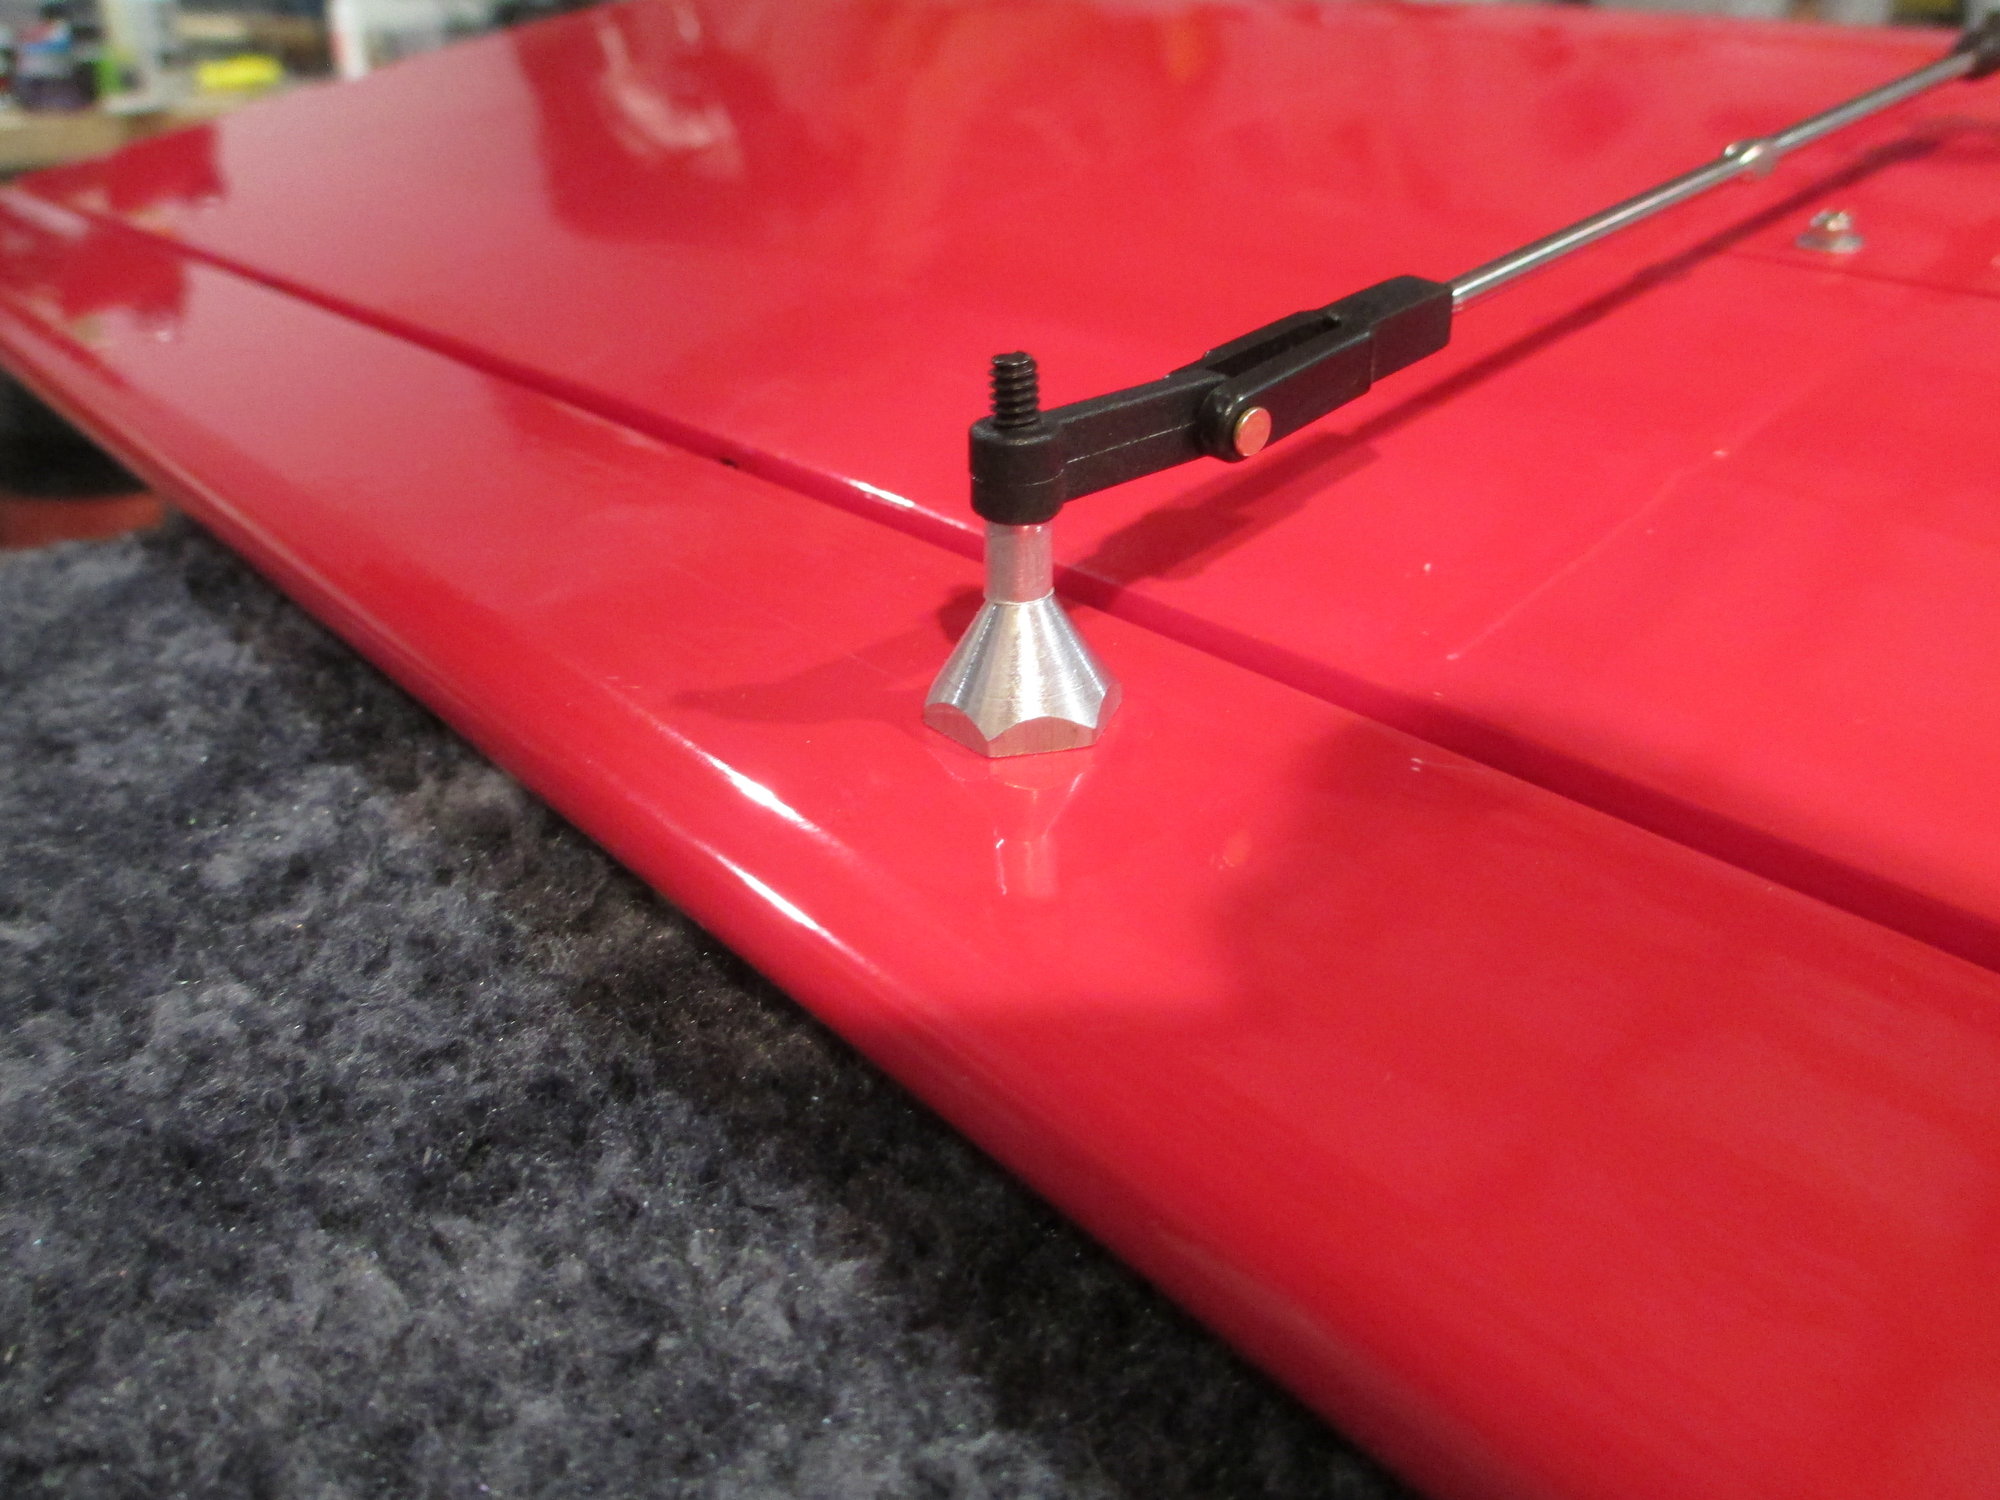
Now the horn can be threaded on. The horn's pivot is directly over the hinge center line.
Last edited by VincentJ; 06-12-2019 at 02:07 AM.
06-13-2019, 07:02 AM
#206
Thread Starter
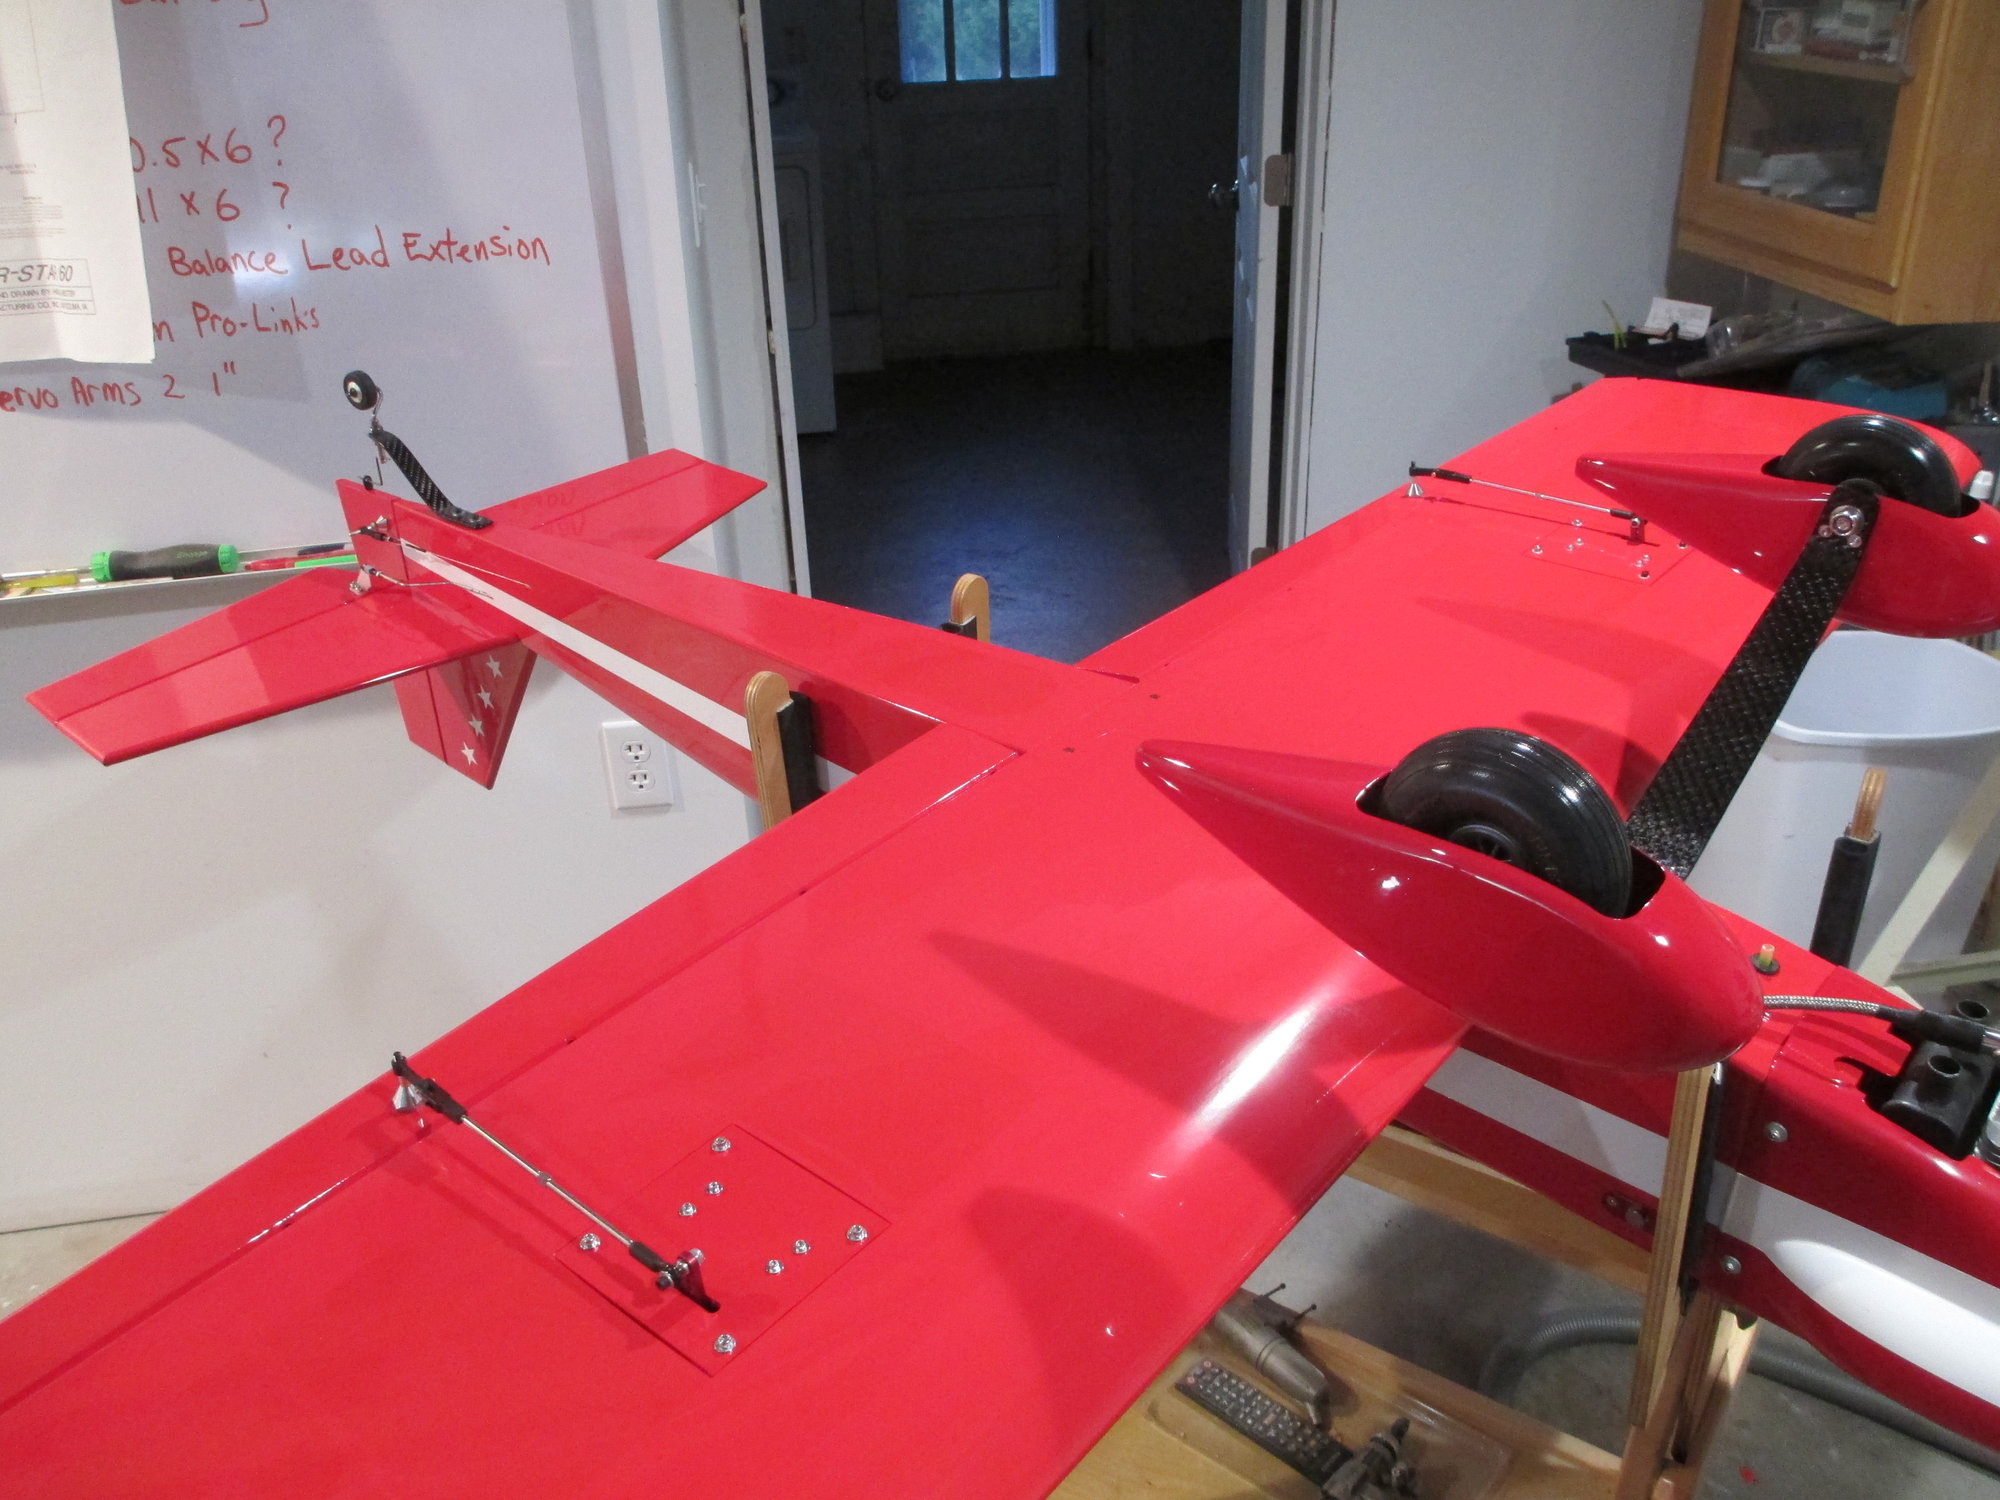
My spinner still has not arrived.  Being anxious to see how my plane would fare in the weight and balancing department, I put on a temporary spinner. I'm using an electronic digital weight and balance meter made by Xicoy. This tool will give me accurate information regarding the plane's flying weight, CG position and lateral balance. Here are the results...
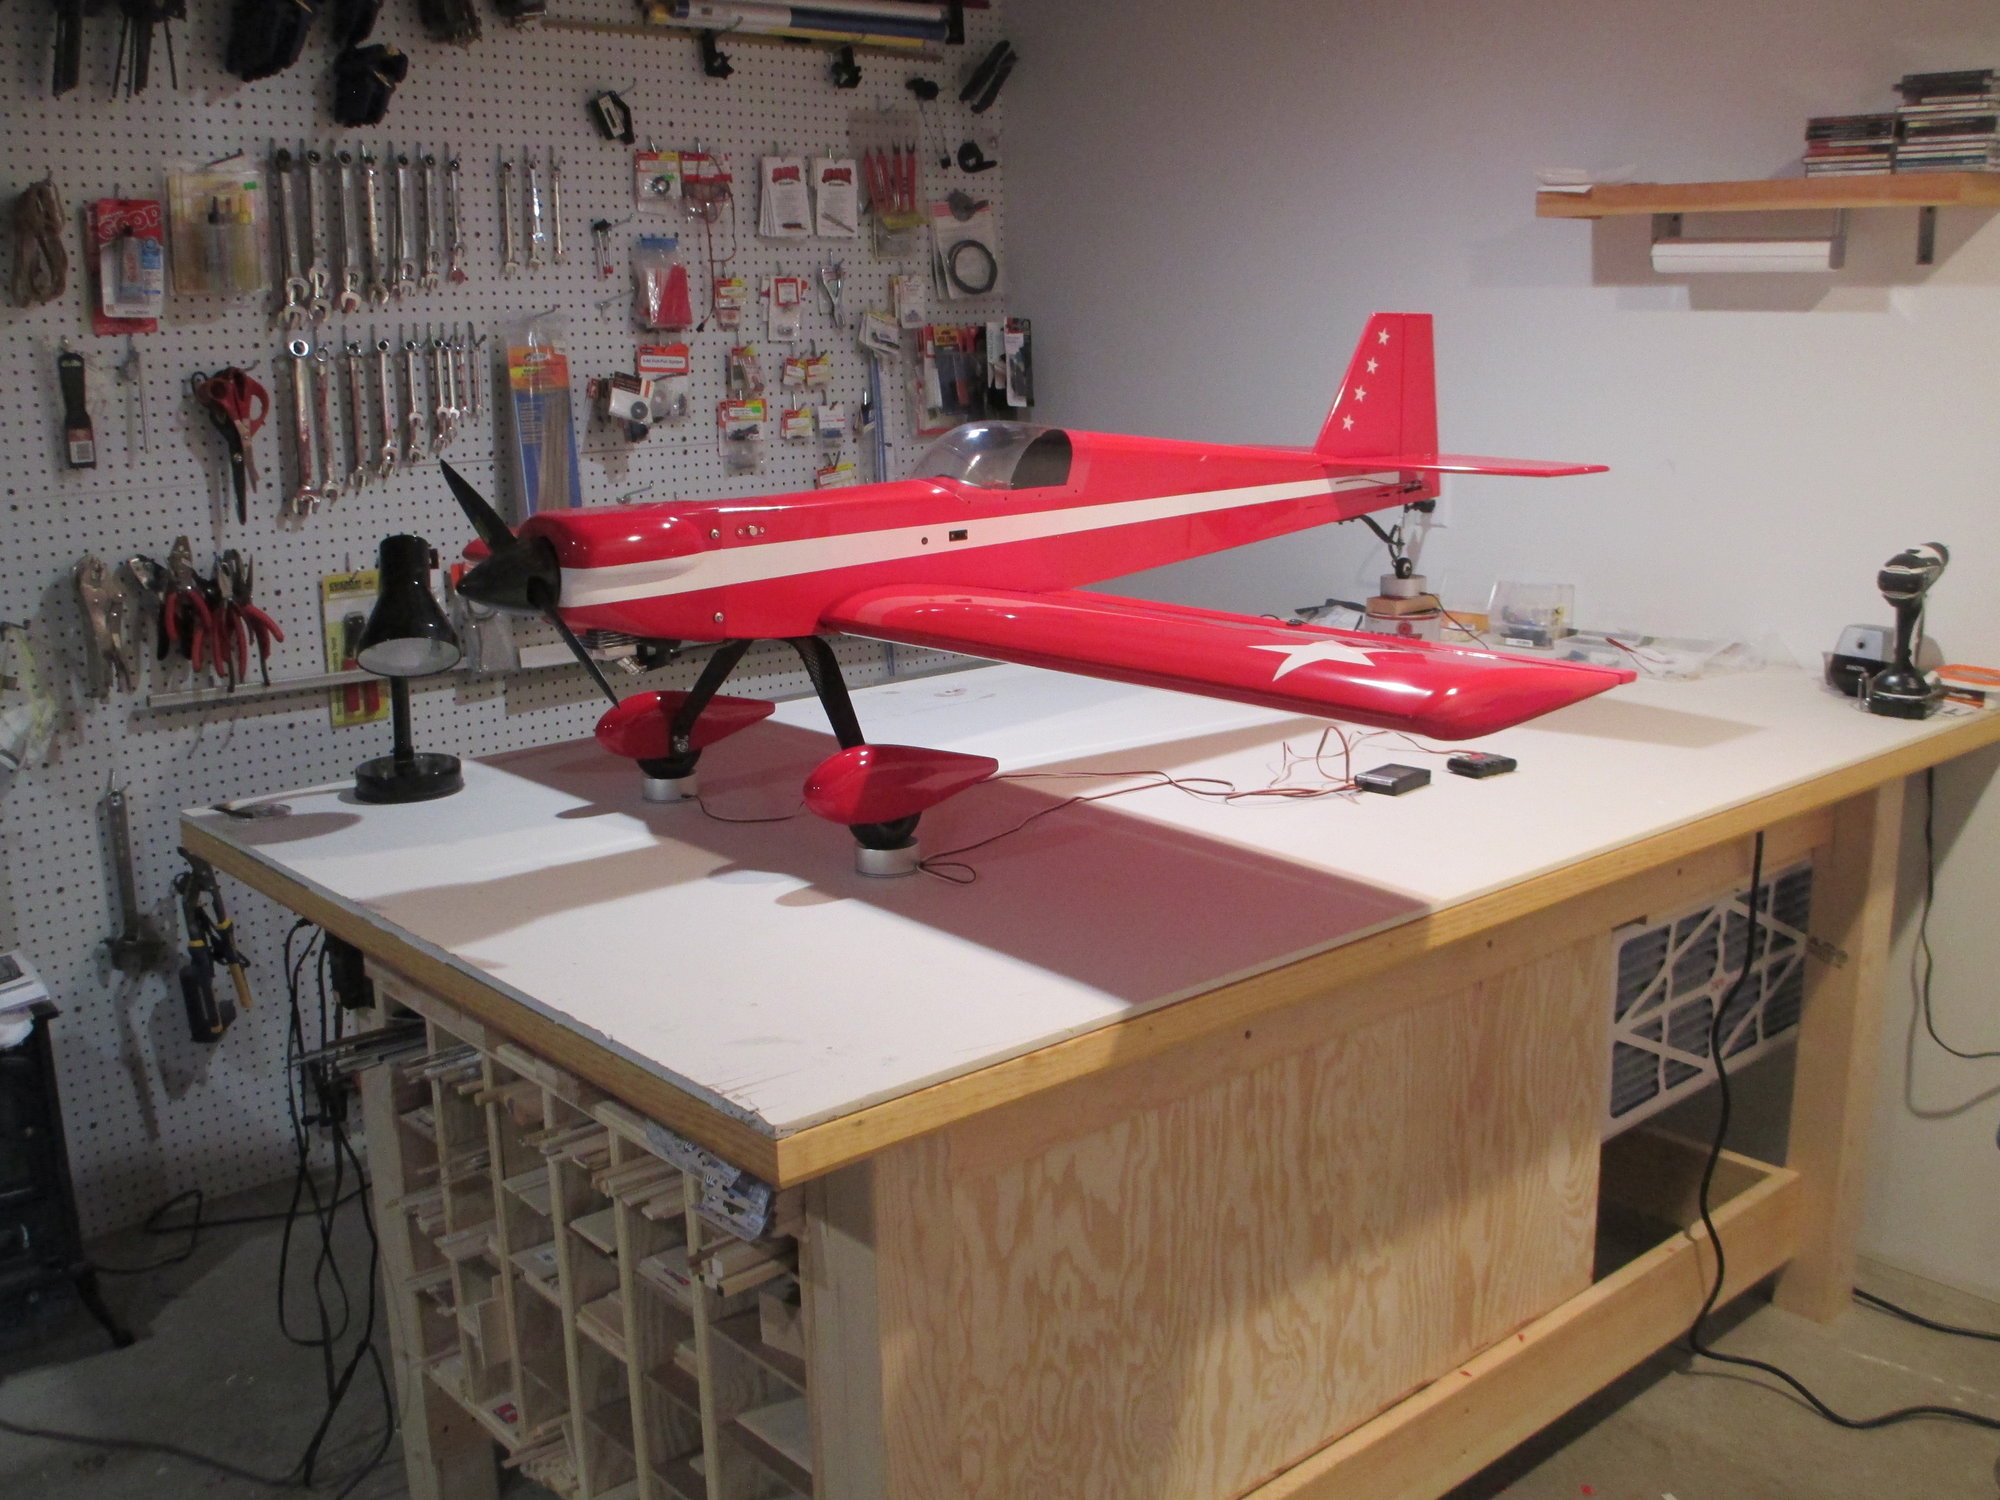
My Four Star sitting on the scales...
There is a weight scale beneath each of the main landing gear wheels and one under the tail wheel. Note that the plane is set level, this is how she will fly.
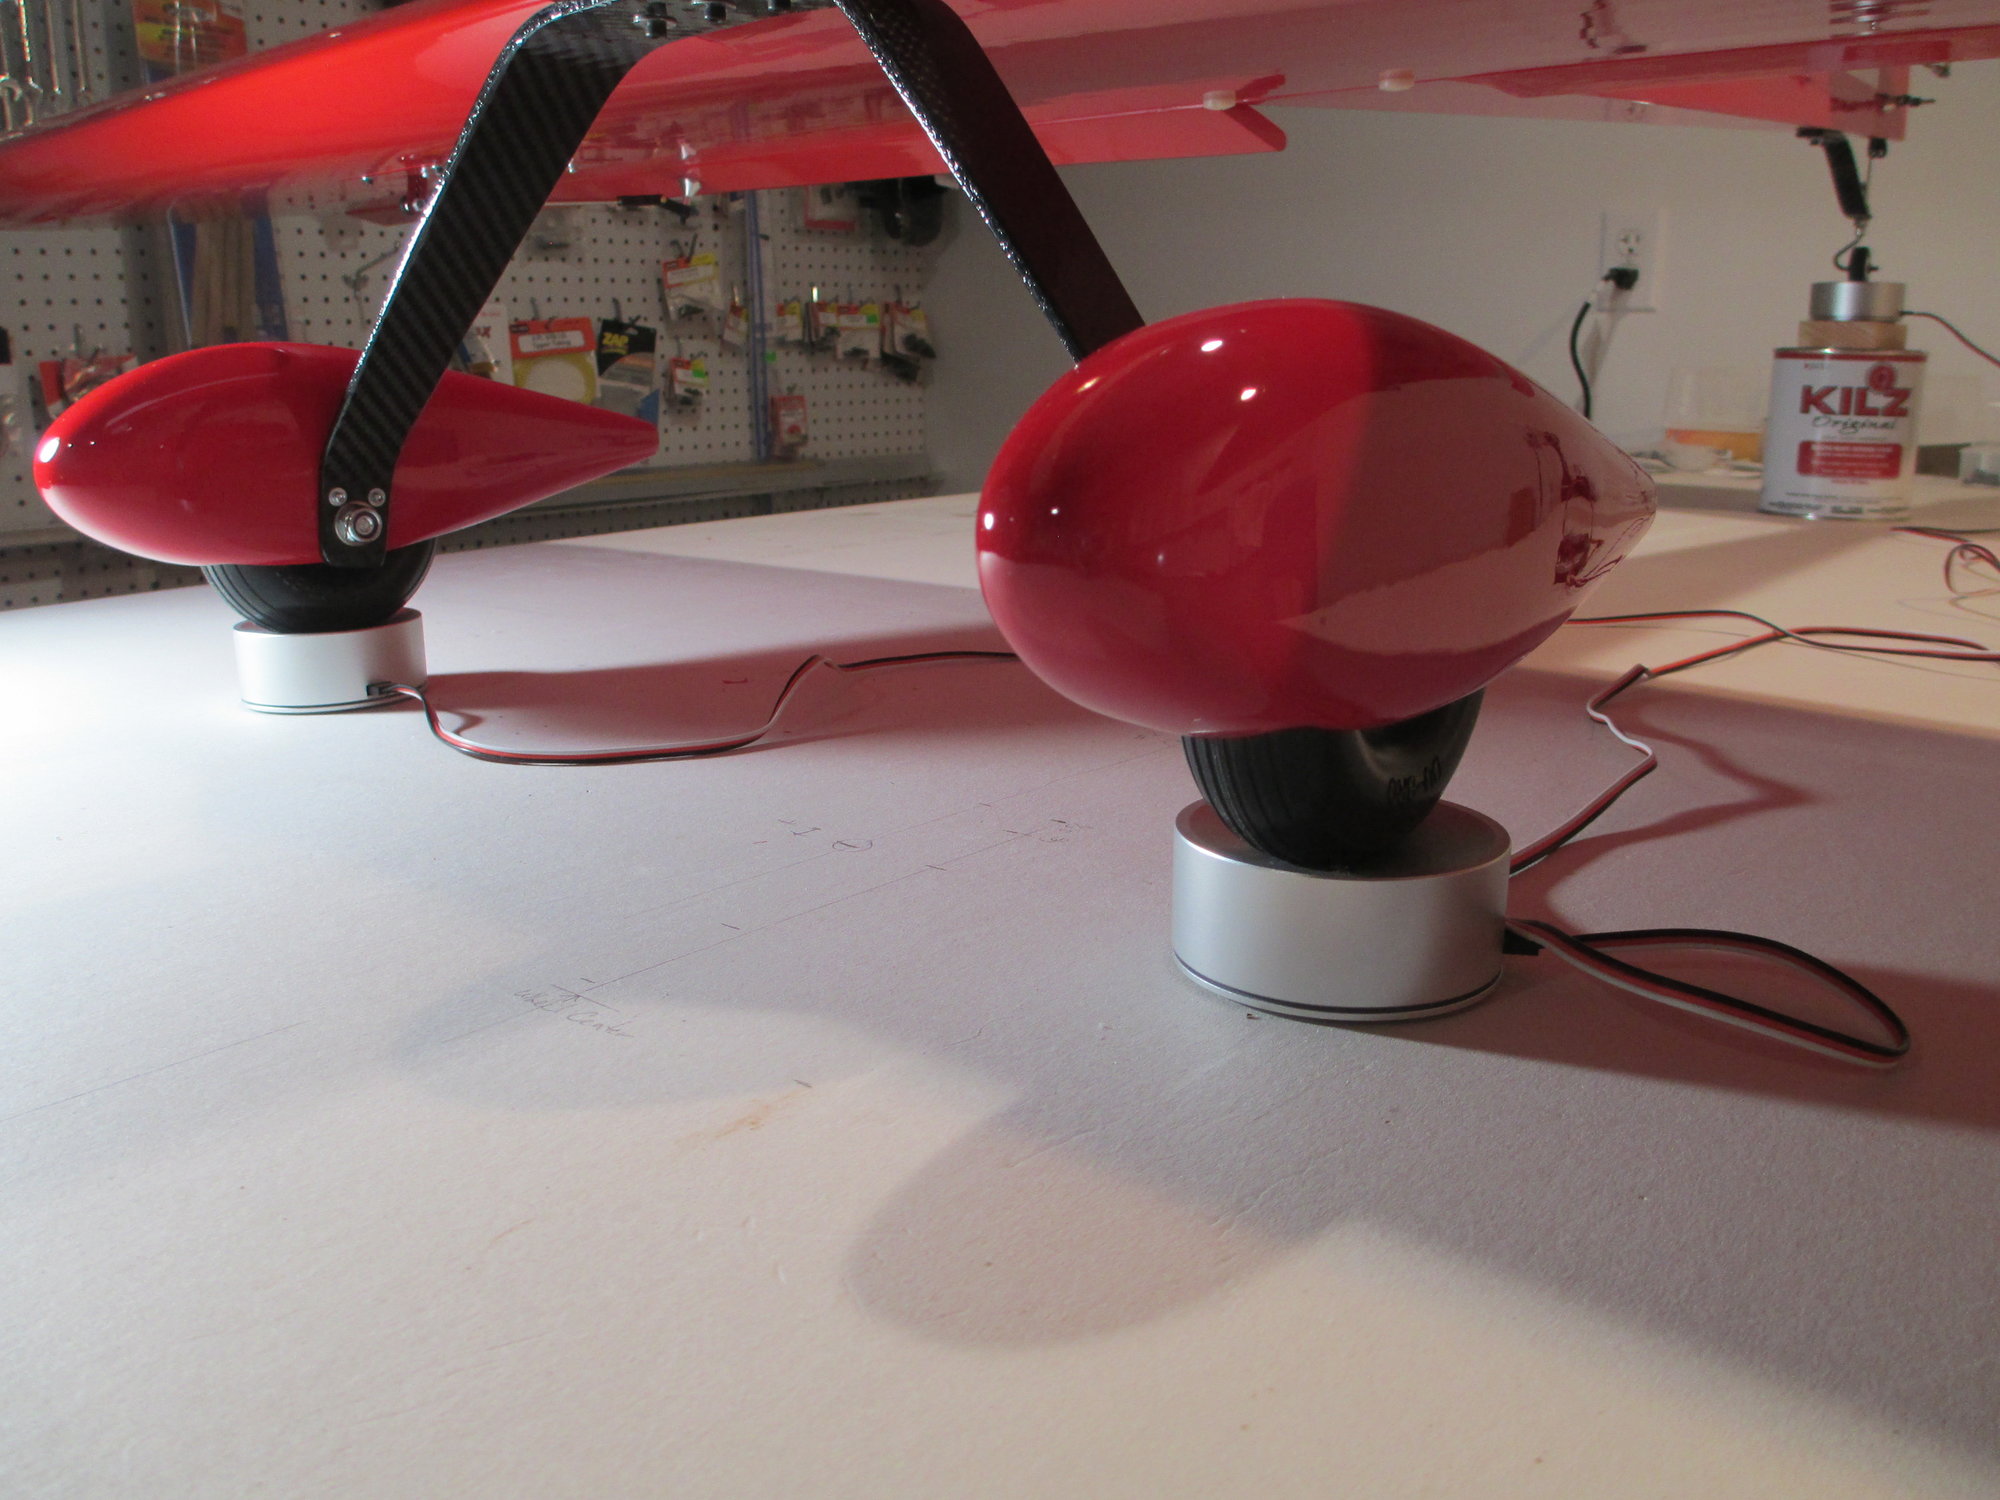
These scales are plugged into a small computer which will tell all, the good, the bad, and the ugly...
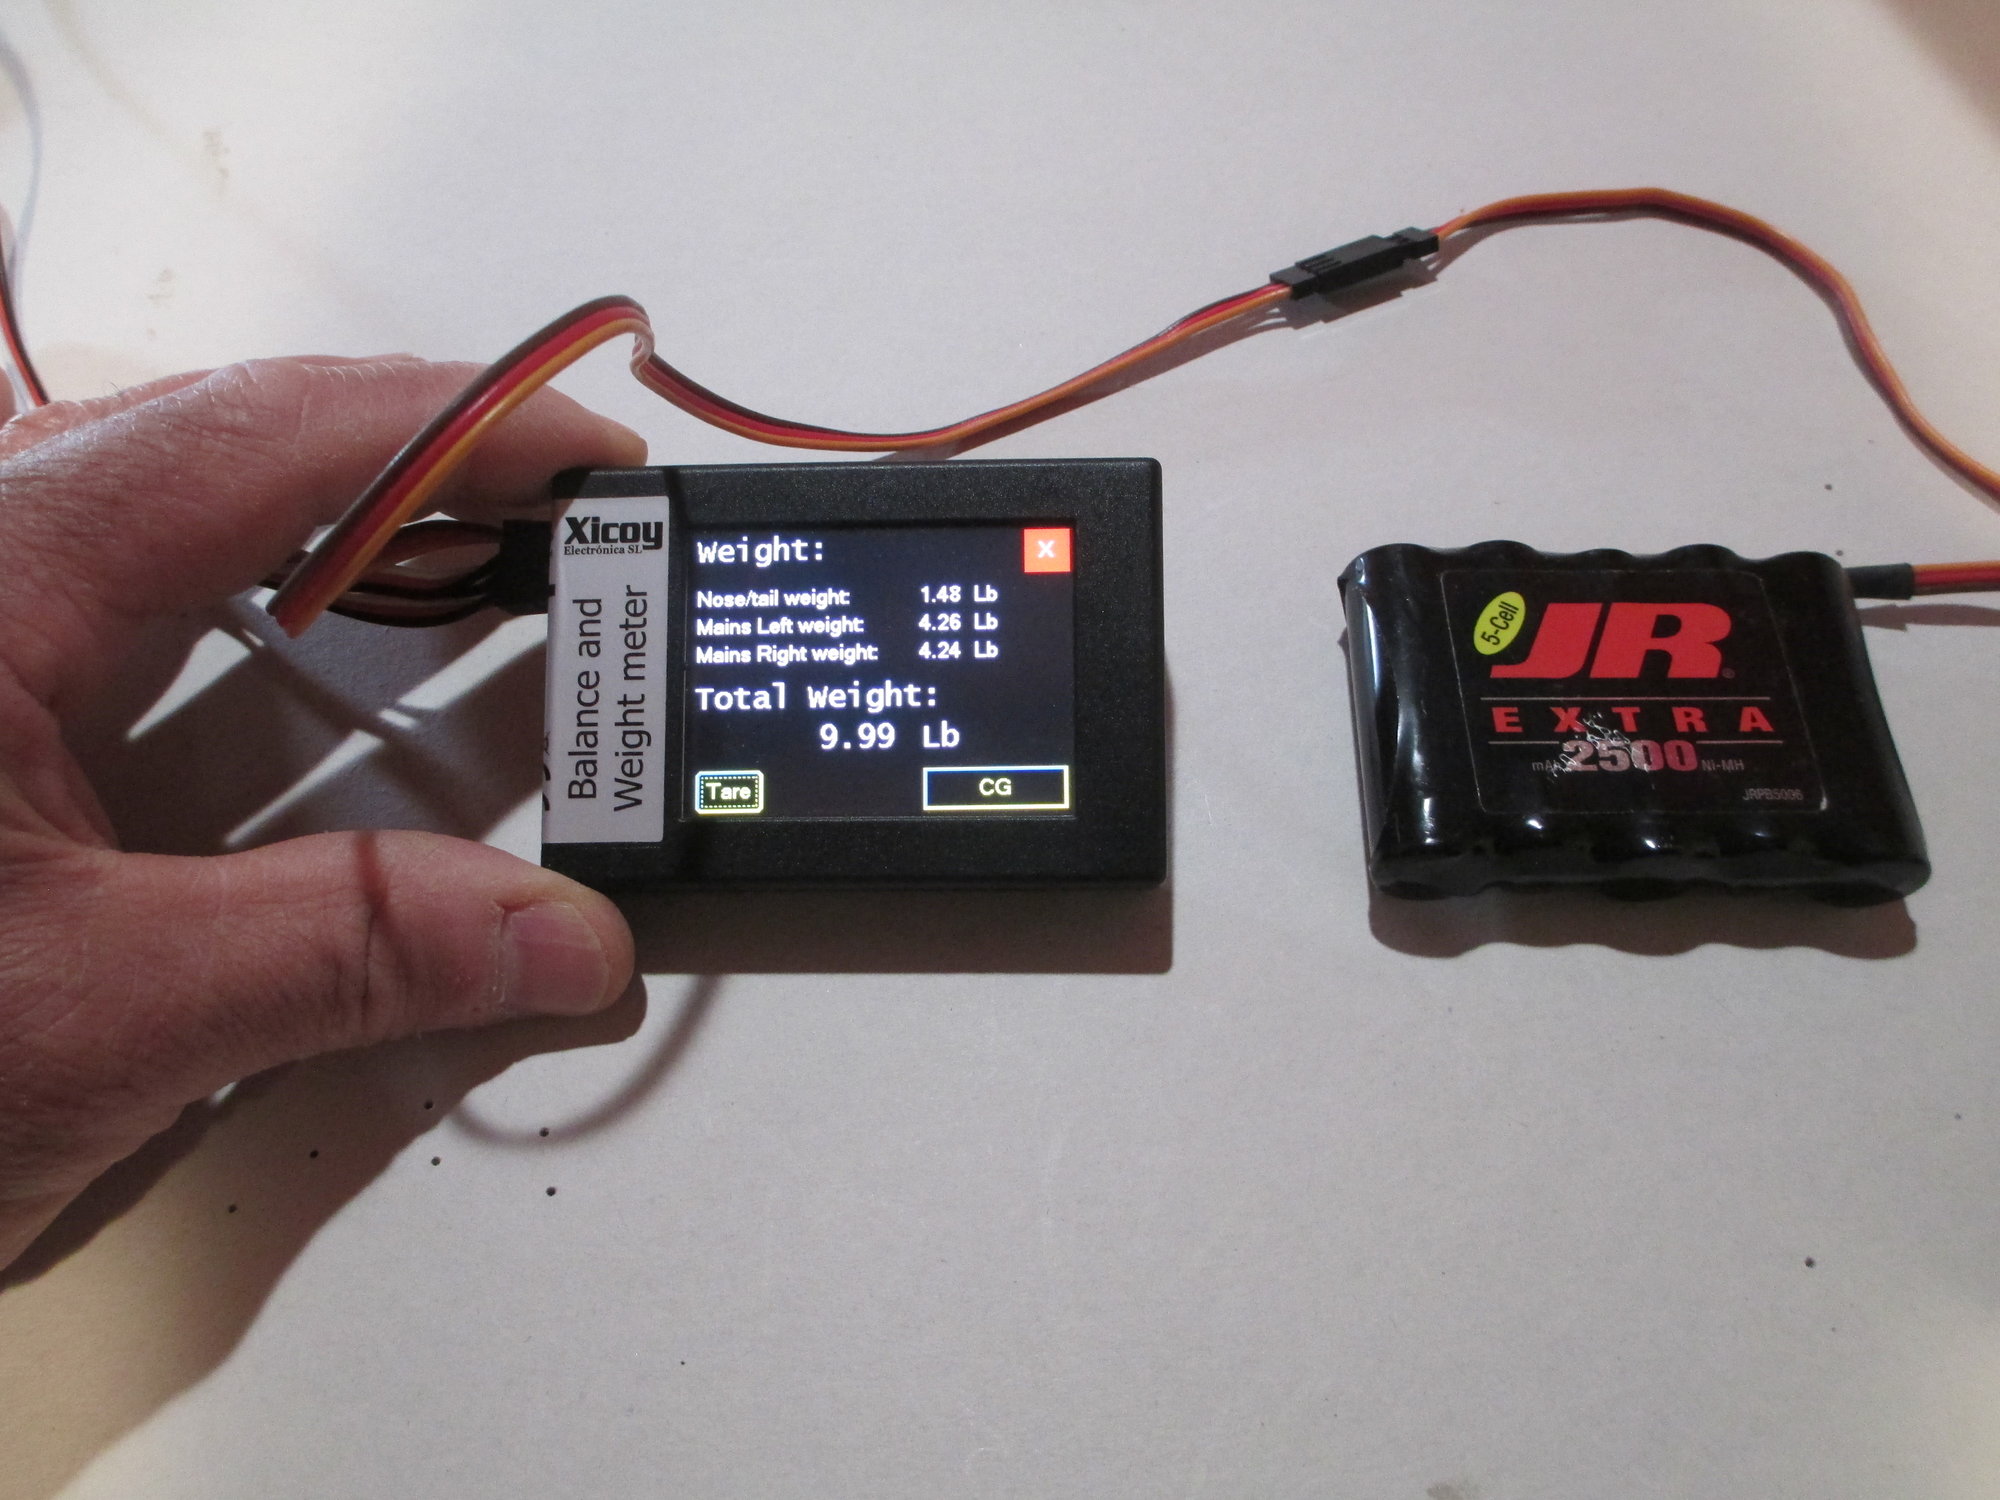
As you can see, I was able to keep the total flying weight just under 10 lbs! This tool has the ability to also check the plane's lateral balance by comparing the weight placed on the right and left main landing gear wheels. I'm very happy with the lateral results, not worth adjusting.

Using 3-3/8" CG dimension as my target I was spot on!!! No additional weight needed...
Being anxious to see how my plane would fare in the weight and balancing department, I put on a temporary spinner. I'm using an electronic digital weight and balance meter made by Xicoy. This tool will give me accurate information regarding the plane's flying weight, CG position and lateral balance. Here are the results... My Four Star sitting on the scales...
There is a weight scale beneath each of the main landing gear wheels and one under the tail wheel. Note that the plane is set level, this is how she will fly.
These scales are plugged into a small computer which will tell all, the good, the bad, and the ugly...
As you can see, I was able to keep the total flying weight just under 10 lbs! This tool has the ability to also check the plane's lateral balance by comparing the weight placed on the right and left main landing gear wheels. I'm very happy with the lateral results, not worth adjusting.
Using 3-3/8" CG dimension as my target I was spot on!!! No additional weight needed...
Last edited by VincentJ; 06-13-2019 at 08:16 AM.
06-13-2019, 07:18 AM
#207

Vincent, thanks for the comments on my thread. I have to say, you are the king of fit and finish.
06-13-2019, 12:18 PM
#208
Thread Starter
Sig Four Star 60 Build Specification Sheet
Flying Weight- 9.99 Lbs.
*CG- 3-5/8"
*May change depending on flight characteristics
Engine- DLE-20RA https://www.towerhobbies.com/cgi-bin/wti0001p?&I=LXDWDW
Prop- Mejzlik 16 x 8 Carbon Fiber Mejzlik 16x8 Carbon Propeller, from Mejzlik, mej-16x8 - Chief Aircraft Inc.
Spinner- 3" Tru-Turn https://www.truturn.com/
Gas Tank- Fourtitude 8 ounce tank https://fourtituderc.com/collections...l-tank-w-mount
Fuel Line- Sullivan ProFlex 5/32" ID http://sullivanproducts.com/product/s215/
Rudder Pull-Pull System- Du-Bro 4-40 Pull-Pull https://www.dubro.com/products/2-56-...ll-pull-system
Hinges- Robart 1/8" Steel Pin Hinge Point https://robart.com/products/1-8-stee...inge-points-15
Control Horn- Du-Bro Heavy Duty Control Horn https://www.dubro.com/products/heavy...horn-for-40-91
Ball Links- Du-Bro 4-40 Heavy Duty ball Links https://www.dubro.com/products/heavy-duty-ball-links
Titanium Pro-Links- Hangar 9 4-40 x 5" https://www.horizonhobby.com/titaniu...282%29-han3557
Wheels- Du-Bro 3.5" https://www.dubro.com/products/tread...nt=27880706887
Landing Gear- Graph Tech RC https://graphtechrcshop.com/
Tail Wheel- Graph Tech RC Tiller Tail Wheel https://graphtechrcshop.com/product.sc?productId=805&categoryId=41
Covering- Ultracote True Red https://www.horizonhobby.com/product...ue-red-hanu866
Battery- Hobbico LiFeSource 2100 mAh
Cowl- Fiberglass Specialties Fiberglass Specialties Inc Catalog
Wheel Pants- Fiberglass Specialties
ELECTRONICS
Radio Transmitter- Spektrum DX18QQ
Radio Receiver- Spektrum AR9140T (9 Channels)
Servos- Savox SA-1258TG https://www.amainhobbies.com/savox-s...1258tg/p262183
Throttle Servo- Savox SC-1258TG https://www.amainhobbies.com/savox-s...1258tg/p183316
Servo Arm- SWB Mfg. 1-1/4" Half Arm Futaba Aluminum Servo Arms Tapped for 4/40 - SWB MFG
IBEC- Ultra IBEC Tech-Aero Designs Ultra IBEC - Tech-Aero Designs LLC
ADHESIVES
Wood Glue- Titebond II
Epoxy- Bob Smith Industries (BSI) 30 minute Epoxy
Finishing Resin- Zap Z-Poxy Finishing Resin
Last edited by VincentJ; 06-14-2019 at 09:24 AM.
06-14-2019, 06:07 AM
#209
Hi Vinnie,
I may have missed this as I was going over your parts list but can I ask what fuel line did you use? I keep hearing all these bad stories about ethanol gas and hardening of fuel lines but I also hear there is a line out there that prevents this. Thanks!
I may have missed this as I was going over your parts list but can I ask what fuel line did you use? I keep hearing all these bad stories about ethanol gas and hardening of fuel lines but I also hear there is a line out there that prevents this. Thanks!
06-14-2019, 07:28 AM
#210
Thread Starter
See page #8, Post # 182 for more details on clunk replacement.
Last edited by VincentJ; 06-15-2019 at 01:00 AM.
06-17-2019, 07:21 PM
#211
Member

Well done! I plan to start this kit myself. I was looking for some good tips on this particular kit and came across your thread. Must say you are a master at building and this thread contains so much detailed information.
06-18-2019, 01:27 AM
#212
Thread Starter
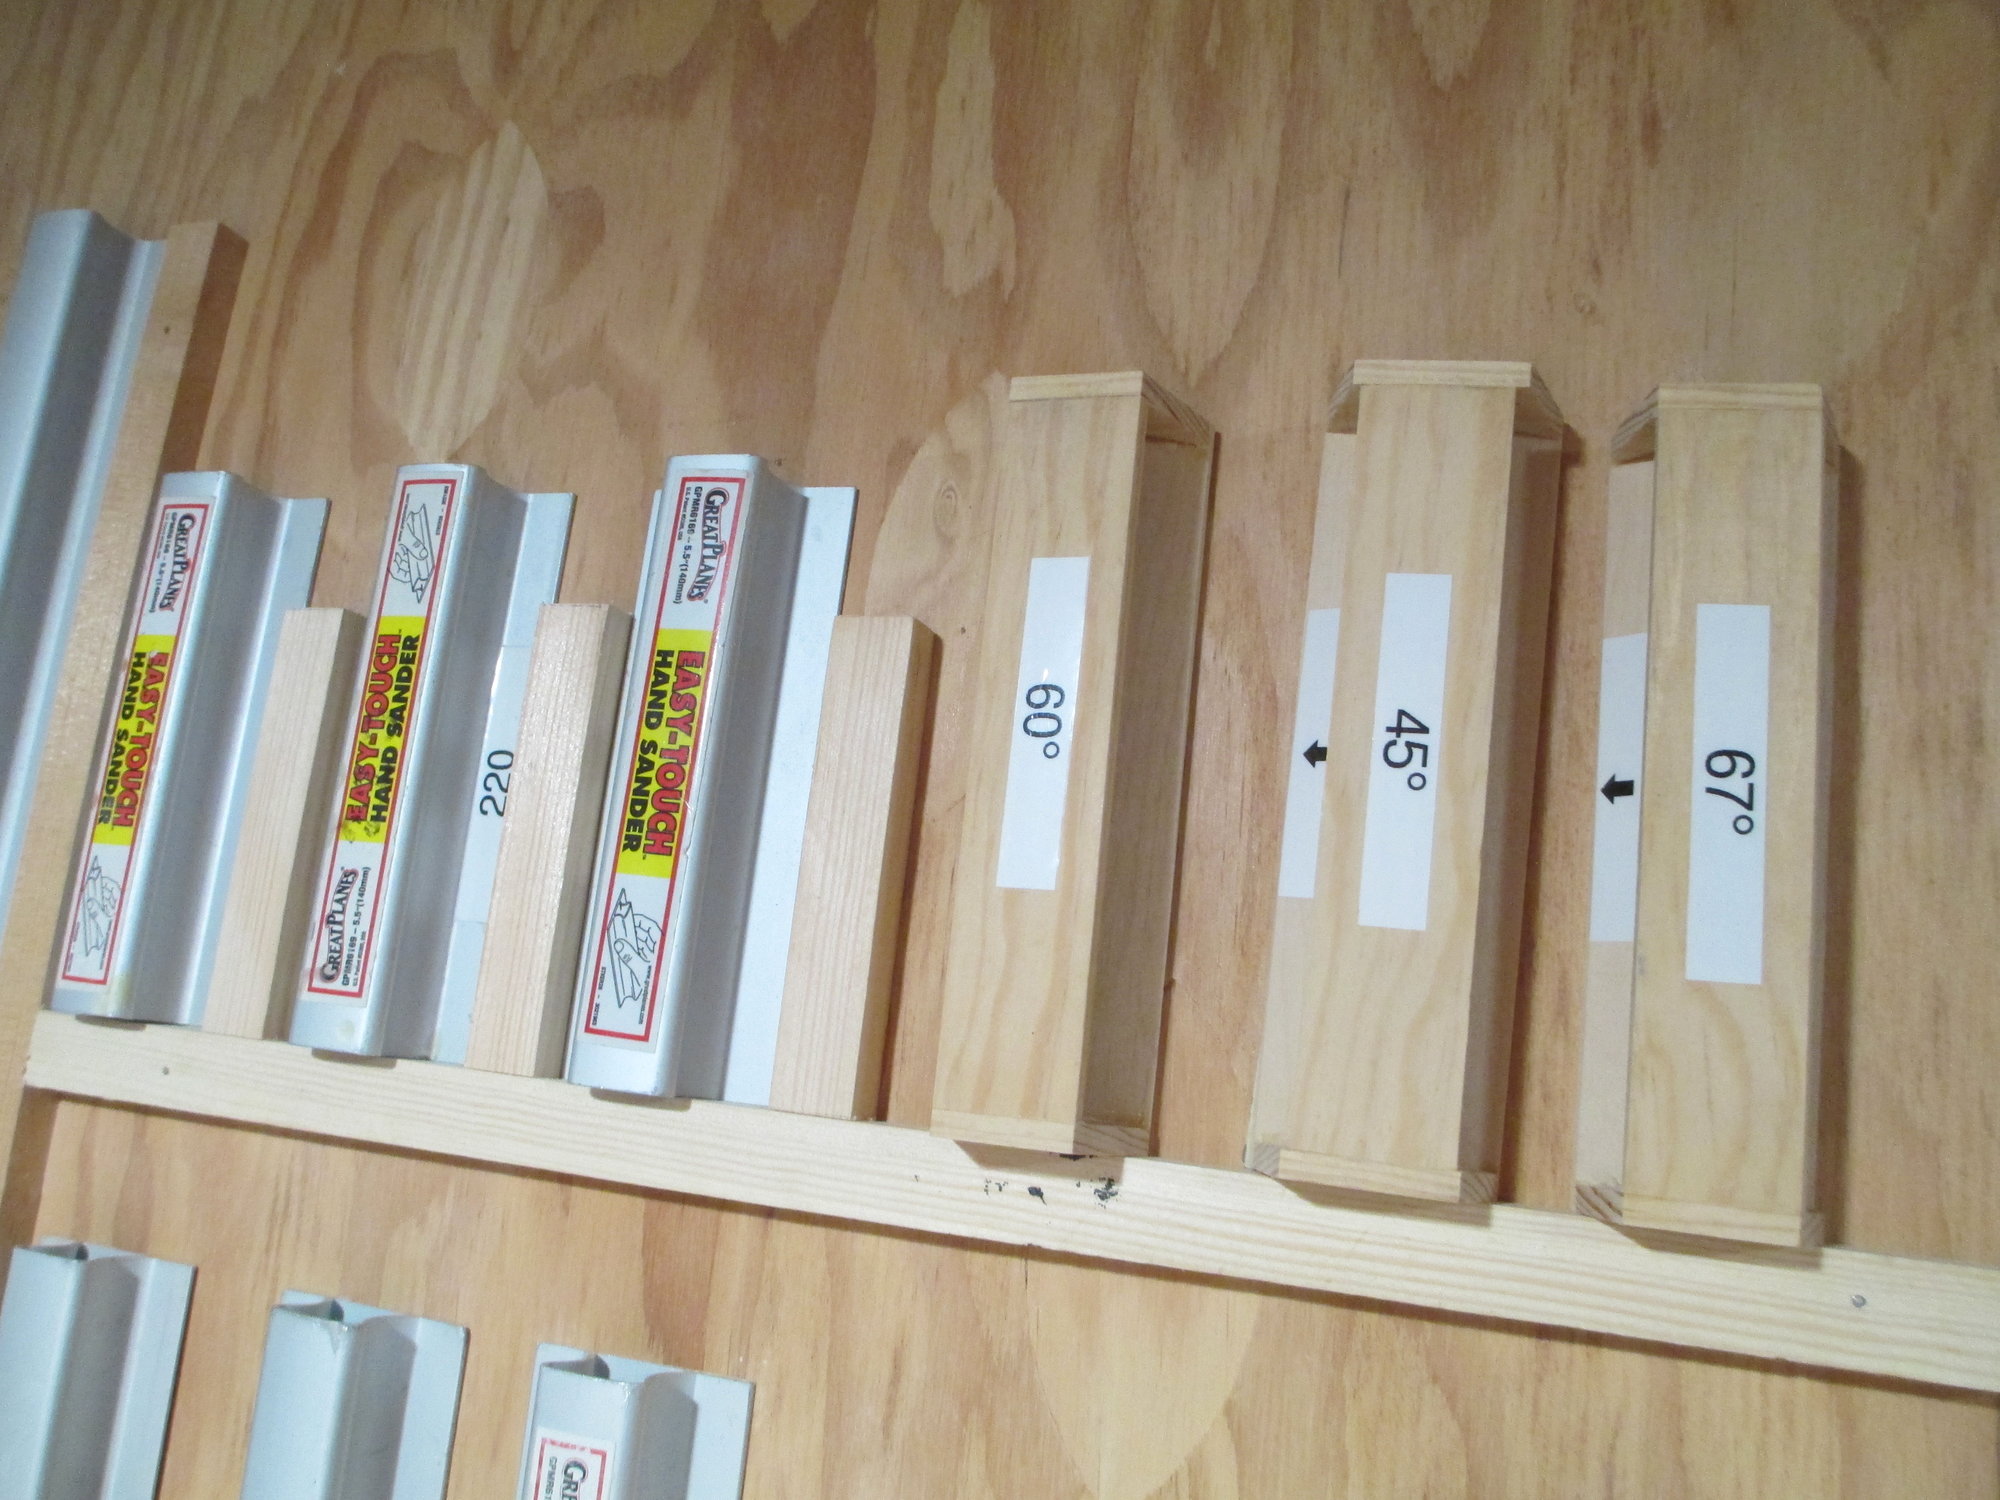
My assortment of bevel gauges that I made.
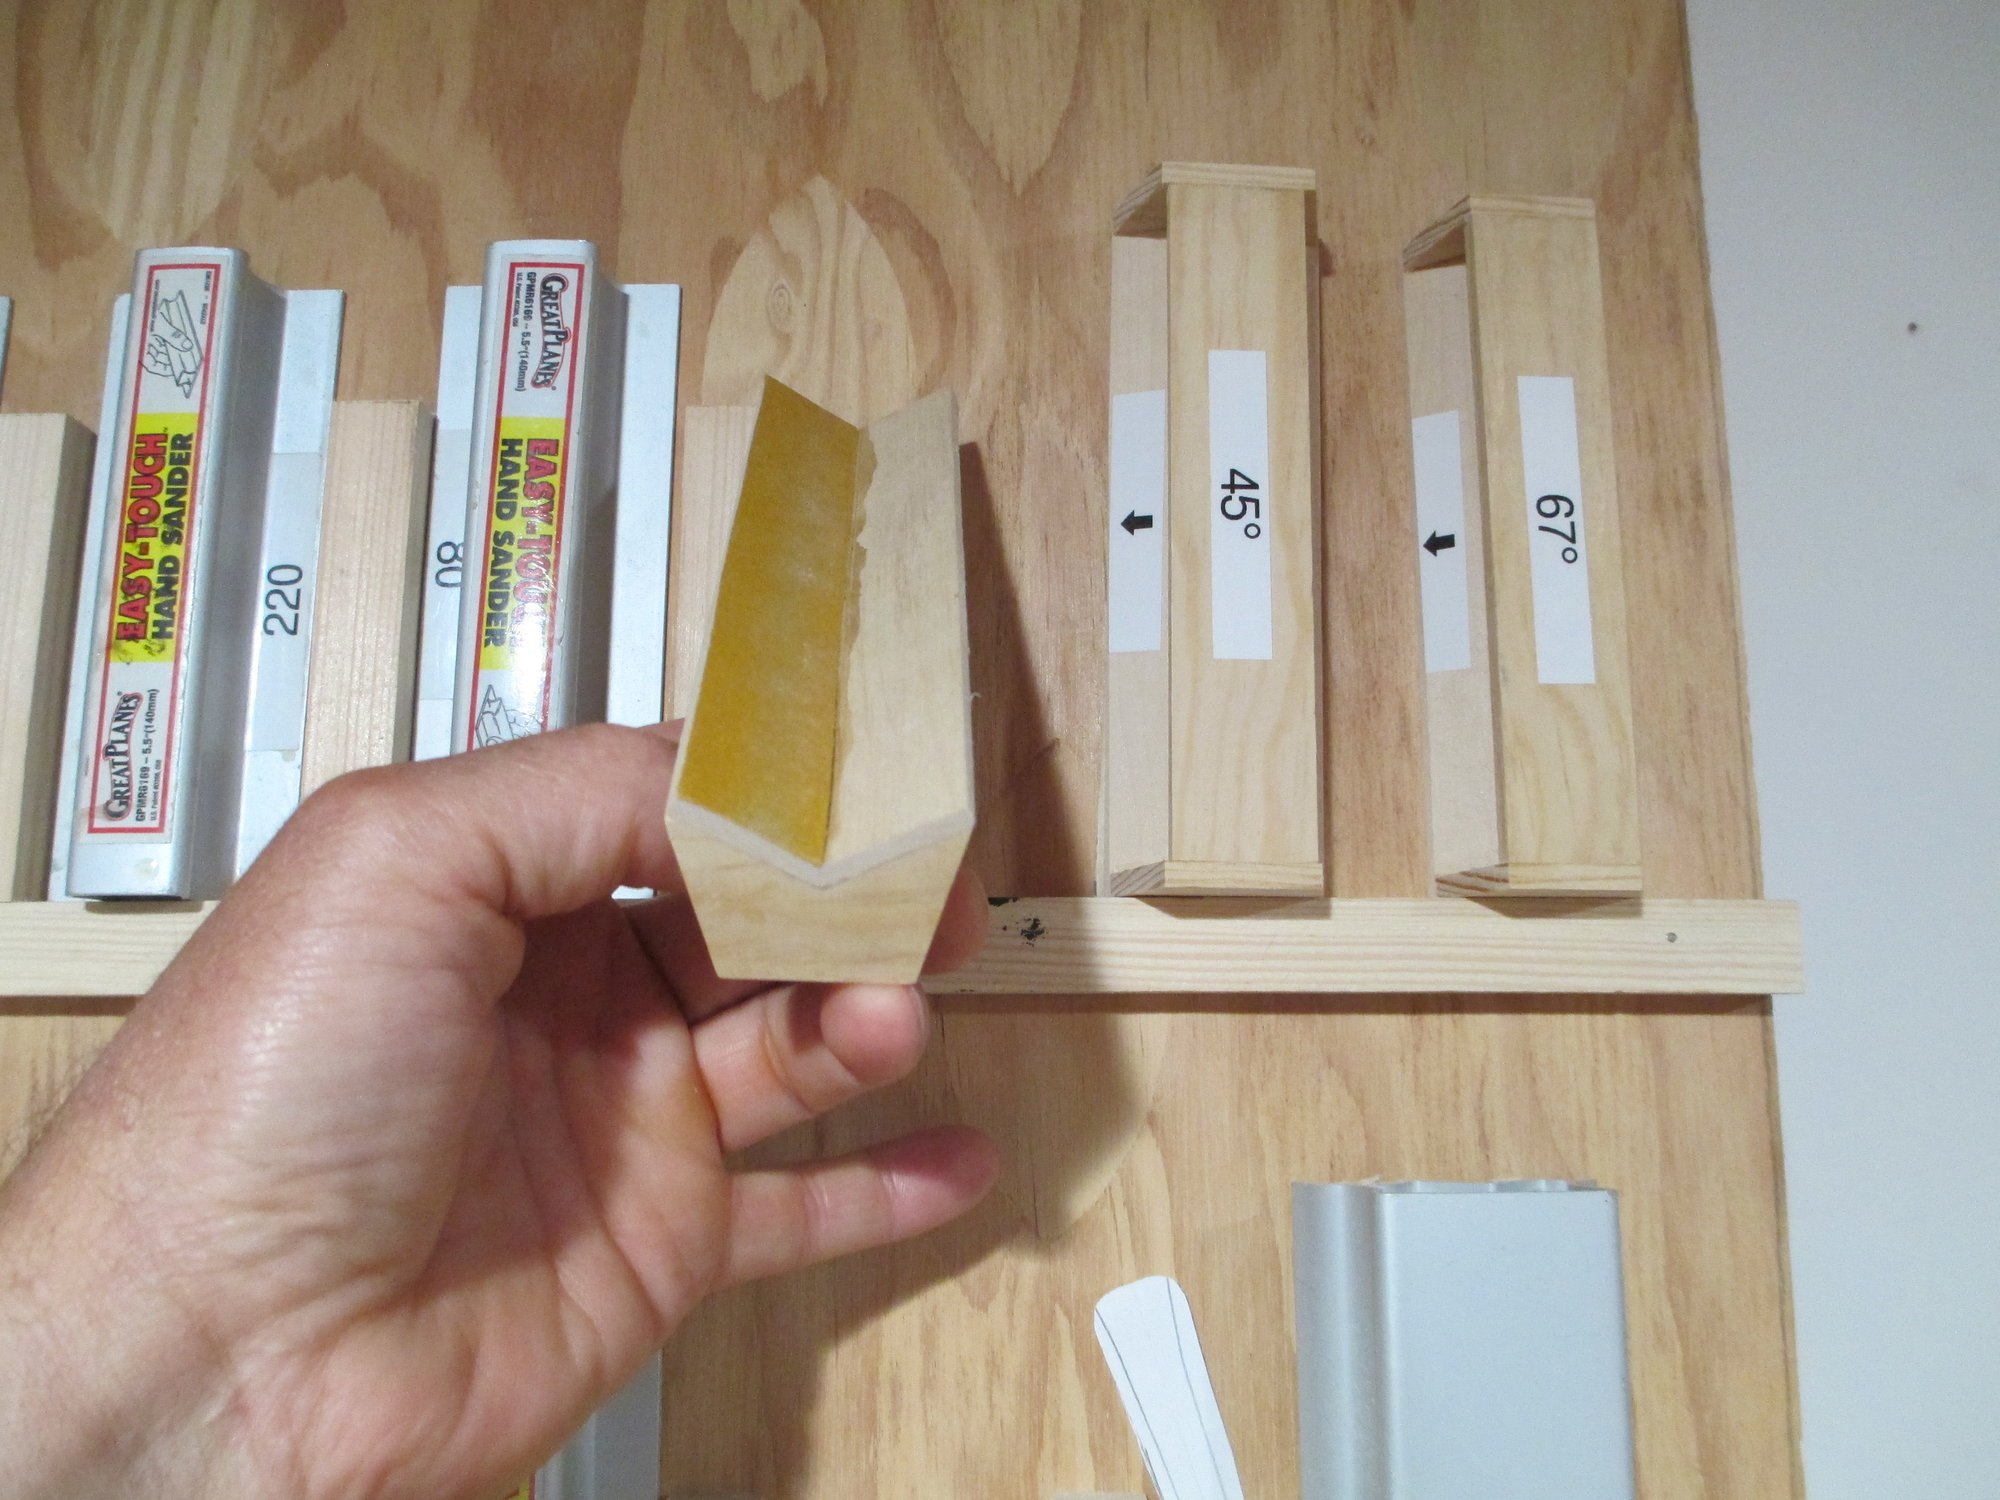
Sandpaper was secured to the inside.
Thank you GE, this is a great kit to build and it's very reasonably priced. Good luck with your project!
Last edited by VincentJ; 06-18-2019 at 02:32 AM.

The following users liked this post:
rcFLYBOY14 (04-15-2020)
06-18-2019, 06:16 AM
#214
Member
 Yes of course that makes sense. Bevel gauges for the control surface beveled edge. In fact it now reminds me of the Carl Goldberg J3 kit I built 12 years ago. It came with gauges for leading and trailing edges. I'm just getting back into kit building so I am rusty on the tricks and tools. But even then you do many things I hadn't thought of. On my last build I used the eye ball gauge method on the leading edge angles. It was "ok" but not professional looking.
Are they hand made or are they available somewhere?
Last edited by GameEngineer; 06-18-2019 at 06:25 AM.
06-18-2019, 07:05 AM
#215
Thread Starter
Steve I made those gauges myself, but I know that Great Planes makes an aluminum version called Easy-Touch Contour Multi-Sander. The part number is :GPMR6190.
http://www.greatplanes.com/accys/gpmr6190.php
http://www.greatplanes.com/accys/gpmr6190.php
Last edited by VincentJ; 06-18-2019 at 08:48 AM.
06-18-2019, 07:09 AM
#216
Thread Starter
Just letting everyone know, I apologize for this lengthy delay to maiden my plane, however I'm still waiting for my spinner to arrive...
Last edited by VincentJ; 06-18-2019 at 11:17 AM.
06-18-2019, 06:15 PM
#217
Mmmmm, bevel gauges (Homer Simpson donut voice). Another one of those things that you didn't realize you needed until you make one. Waiting on a spinner just gives you a chance to double check every thing, although given the quality of the build I doubt that it is needed.
06-24-2019, 06:31 AM
#218


Hey Vincent,
That spinner is taking a while to arrive. Tru-Turn, right?
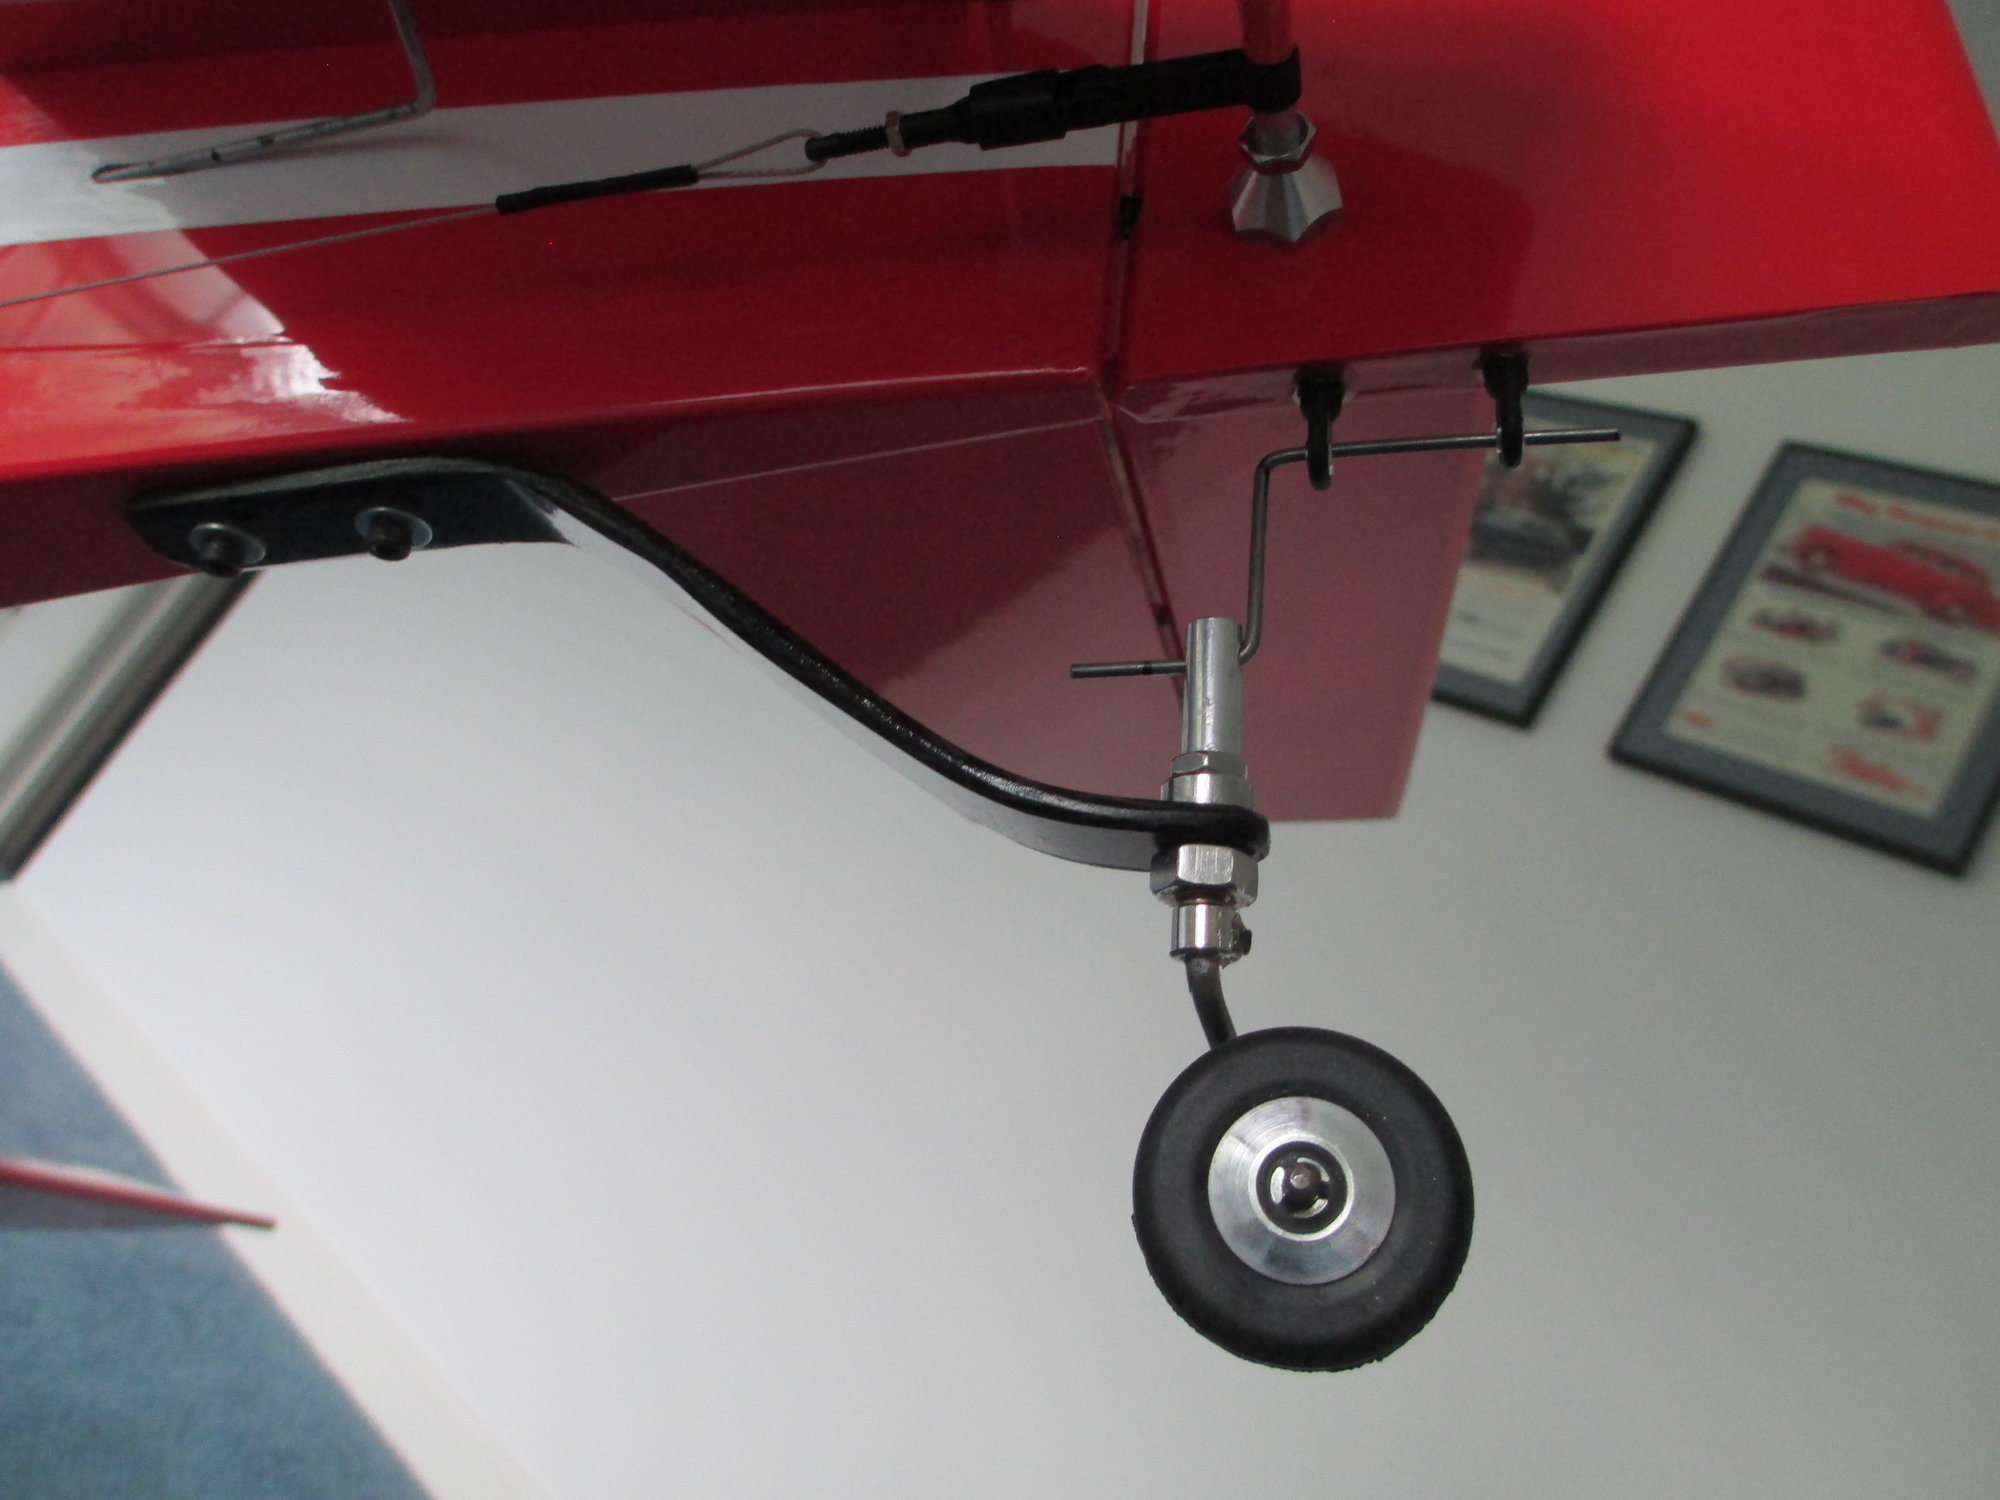
Regarding the Graph Tech TW assembly, I would want to see how you did /setup/configure the TW. This is my first such TW.
Been looking at your photos of it, but the shadows caused by the lighting above it make it look blurry when enlarged. Looks like you did a large Z bend. But, I would like to see a little more clarity. Like how sharp are the bends? I will appreciate your reply.
Thanks.
That spinner is taking a while to arrive. Tru-Turn, right?
Regarding the Graph Tech TW assembly, I would want to see how you did /setup/configure the TW. This is my first such TW.
Been looking at your photos of it, but the shadows caused by the lighting above it make it look blurry when enlarged. Looks like you did a large Z bend. But, I would like to see a little more clarity. Like how sharp are the bends? I will appreciate your reply.
Thanks.
06-24-2019, 06:30 PM
#219
Thread Starter
Hey Vincent,
That spinner is taking a while to arrive. Tru-Turn, right?
Regarding the Graph Tech TW assembly, I would want to see how you did /setup/configure the TW. This is my first such TW.
Been looking at your photos of it, but the shadows caused by the lighting above it make it look blurry when enlarged. Looks like you did a large Z bend. But, I would like to see a little more clarity. Like how sharp are the bends? I will appreciate your reply.
Thanks.
Yes, I did order the spinner from TT, still hasn't come in yet!
06-25-2019, 09:49 AM
#220
Thread Starter
While waiting for my spinner to arrive, I've cleared my build table and decided to start my next build. If you're interested, here is the link.
http://www.rcuniverse.com/forum/kit-...33a-build.html
http://www.rcuniverse.com/forum/kit-...33a-build.html
 06-25-2019, 05:45 PM
#222
Muchas gracias, Vincent.
How clever... two ball links.
Both links will keep the wheel and tiller (wire) in precise alignment with the rudder's deflection. Glad I did not proceed doing what I was going to do.
Graph Tech didn't provide (that I know of) instructions or an example.
Thanks for your reply.
Lupe
How clever... two ball links.
Both links will keep the wheel and tiller (wire) in precise alignment with the rudder's deflection. Glad I did not proceed doing what I was going to do.
Graph Tech didn't provide (that I know of) instructions or an example.
Thanks for your reply.
Lupe