


TF Beechcraft Bonanza F33A Build
 10-20-2019, 06:18 AM
#351

My Feedback: (2)
Hi Vince I would get out the monocote and go to town on her! but If I understood you right you are going to fiber glass and paint her right! I know expert on that type of finish and if my memory serves me right by the time you get it down its going to be a very heavy model. Is there some kind of actuator where the drive shafts hook up to the ailerons? I see the slots you made but didn't see what the drive shafts connect to .
Thank You
Michael Johnston
Thank You
Michael Johnston
 10-20-2019, 07:11 AM
#352

If done with half ounce glass and being careful on how much resin is used, glassing doesn't have to add a lot of weight. It's when someone gets sloppy that the weight goes up significantly
10-20-2019, 07:44 AM
#353

I'm anxious for when Vincent gets to that stage. I personally use epoxy laminating resin and thin it down with alcohol. When the glass has been wetted out I go back with paper towel to remove as much resin as possible. A light sand with 220 grit then I smear light weight filler over the glass to fill the weave, sand again and then prime with Klass Kote white primer. I still have the issue of applying too much clear coat which is the step that adds the most weight.
10-20-2019, 11:27 AM
#354
Thread Starter
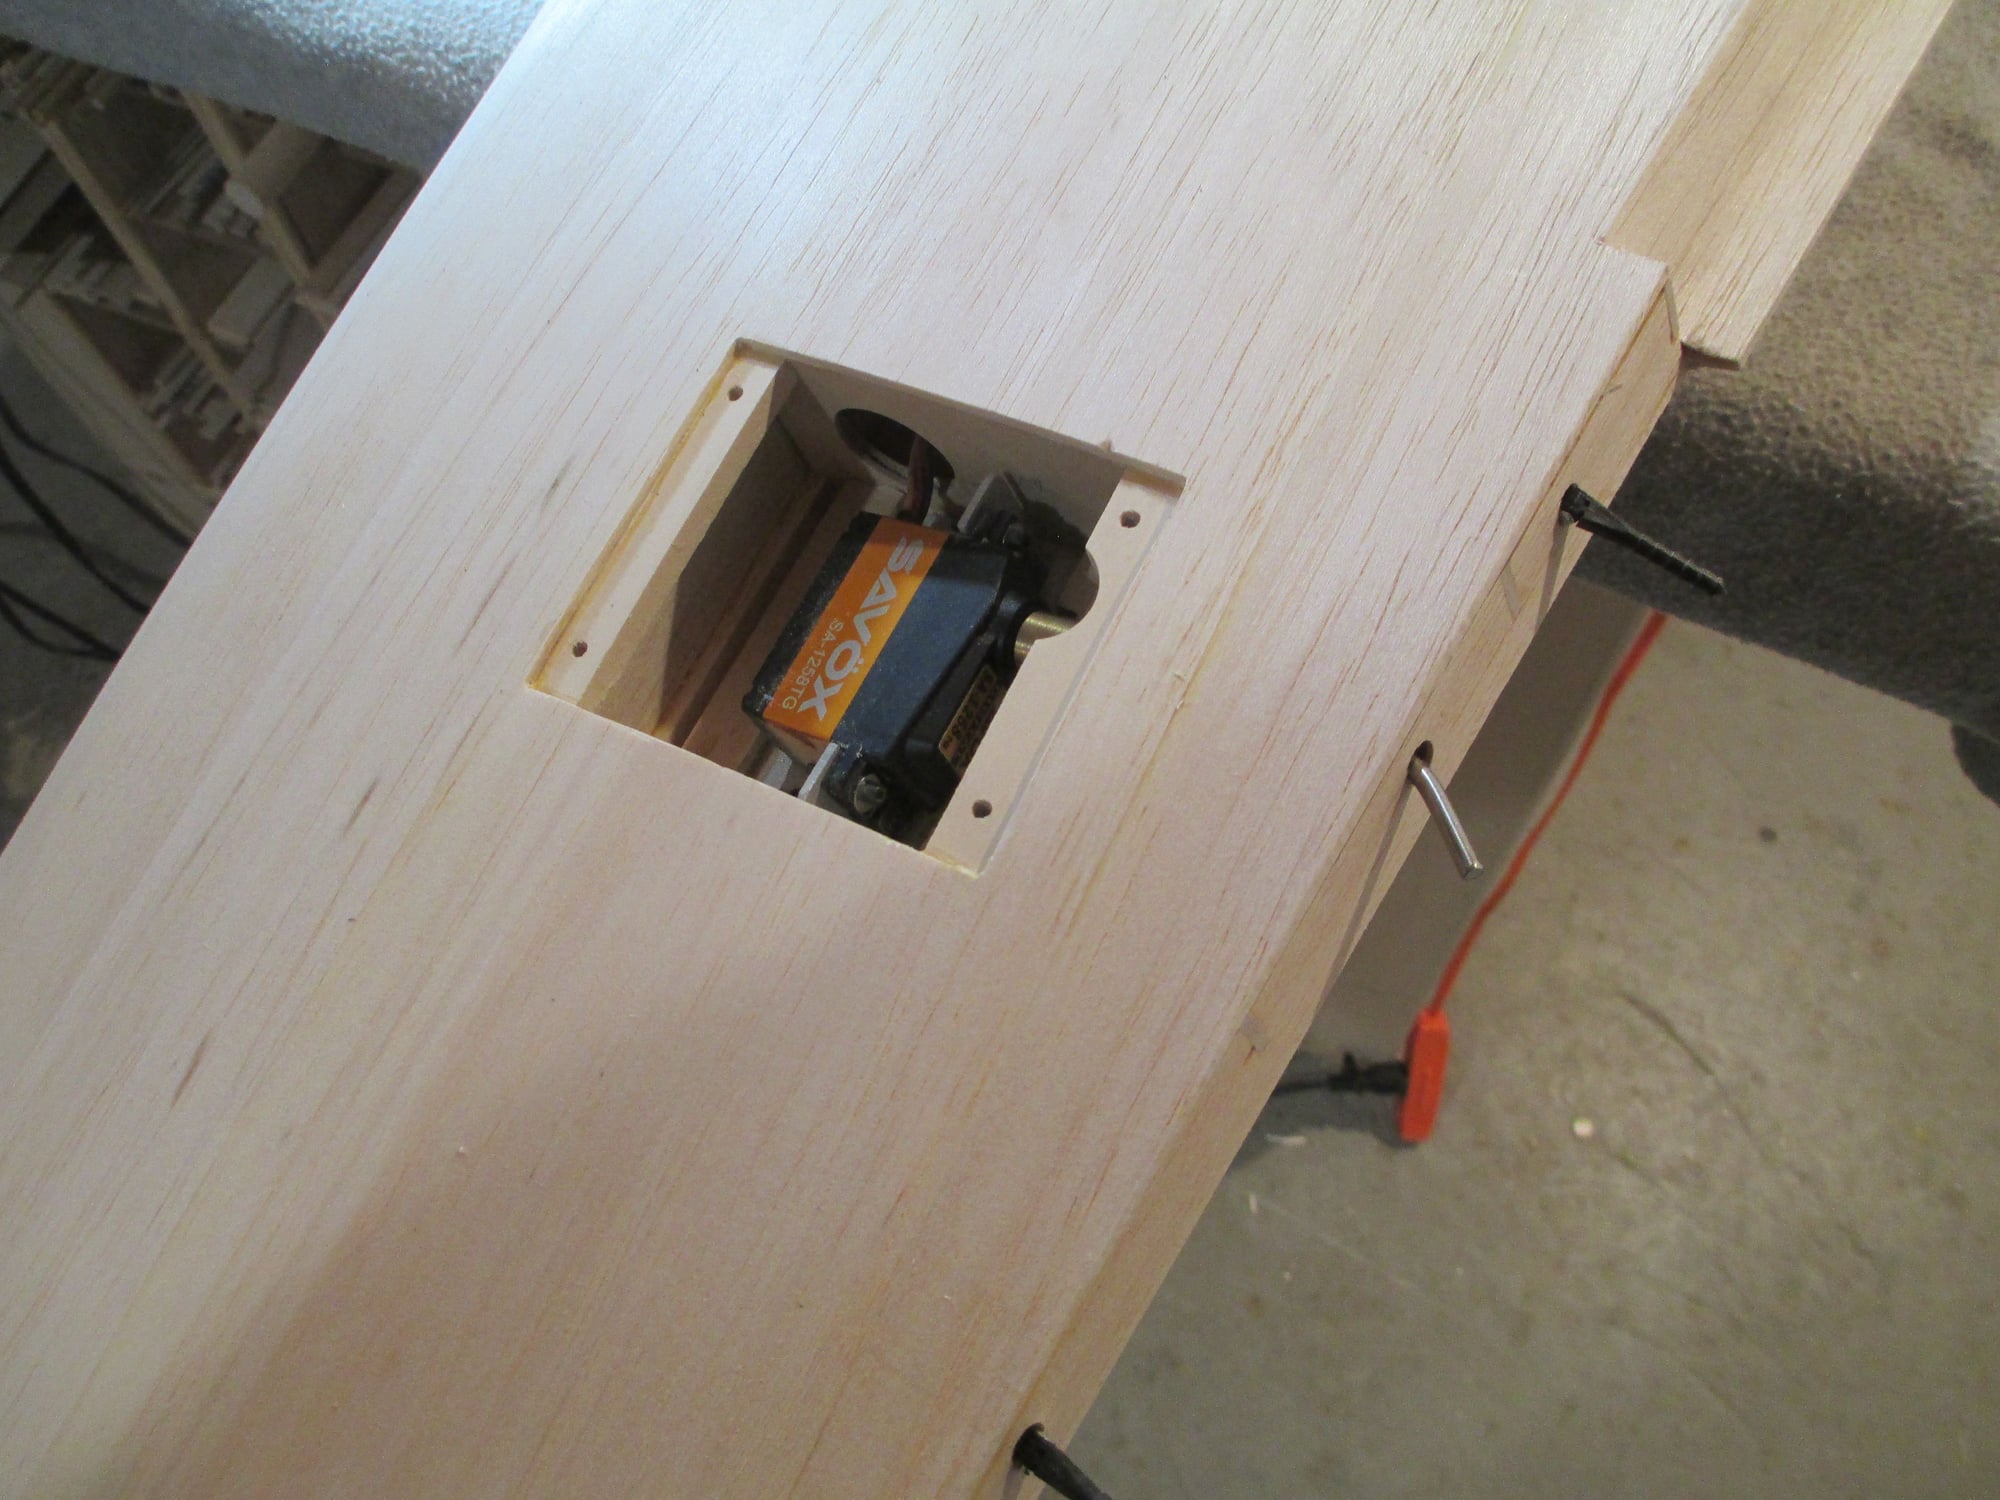
Huge milestone reached today... With the ailerons competed, it was time to cut and bend the drive shaft to see if this RDS really works. The drive shaft shown in these photos is not the actual shaft that I will be using. This is a damaged shaft that I am using as a prototype to see how to get the right bend and length before I proceed bending the good drive shafts.
Once bent and inserted into the aileron pocket, I hand rotated the servo coupler to see if the aileron deflected as I had anticipated. It did, it works! With more throw than I need and absolutely no slop in the aileron. In fact, the traditional method of aileron actuation using a pushrod, has more slop than the RDS! I did take a short video of the ceremonial event.
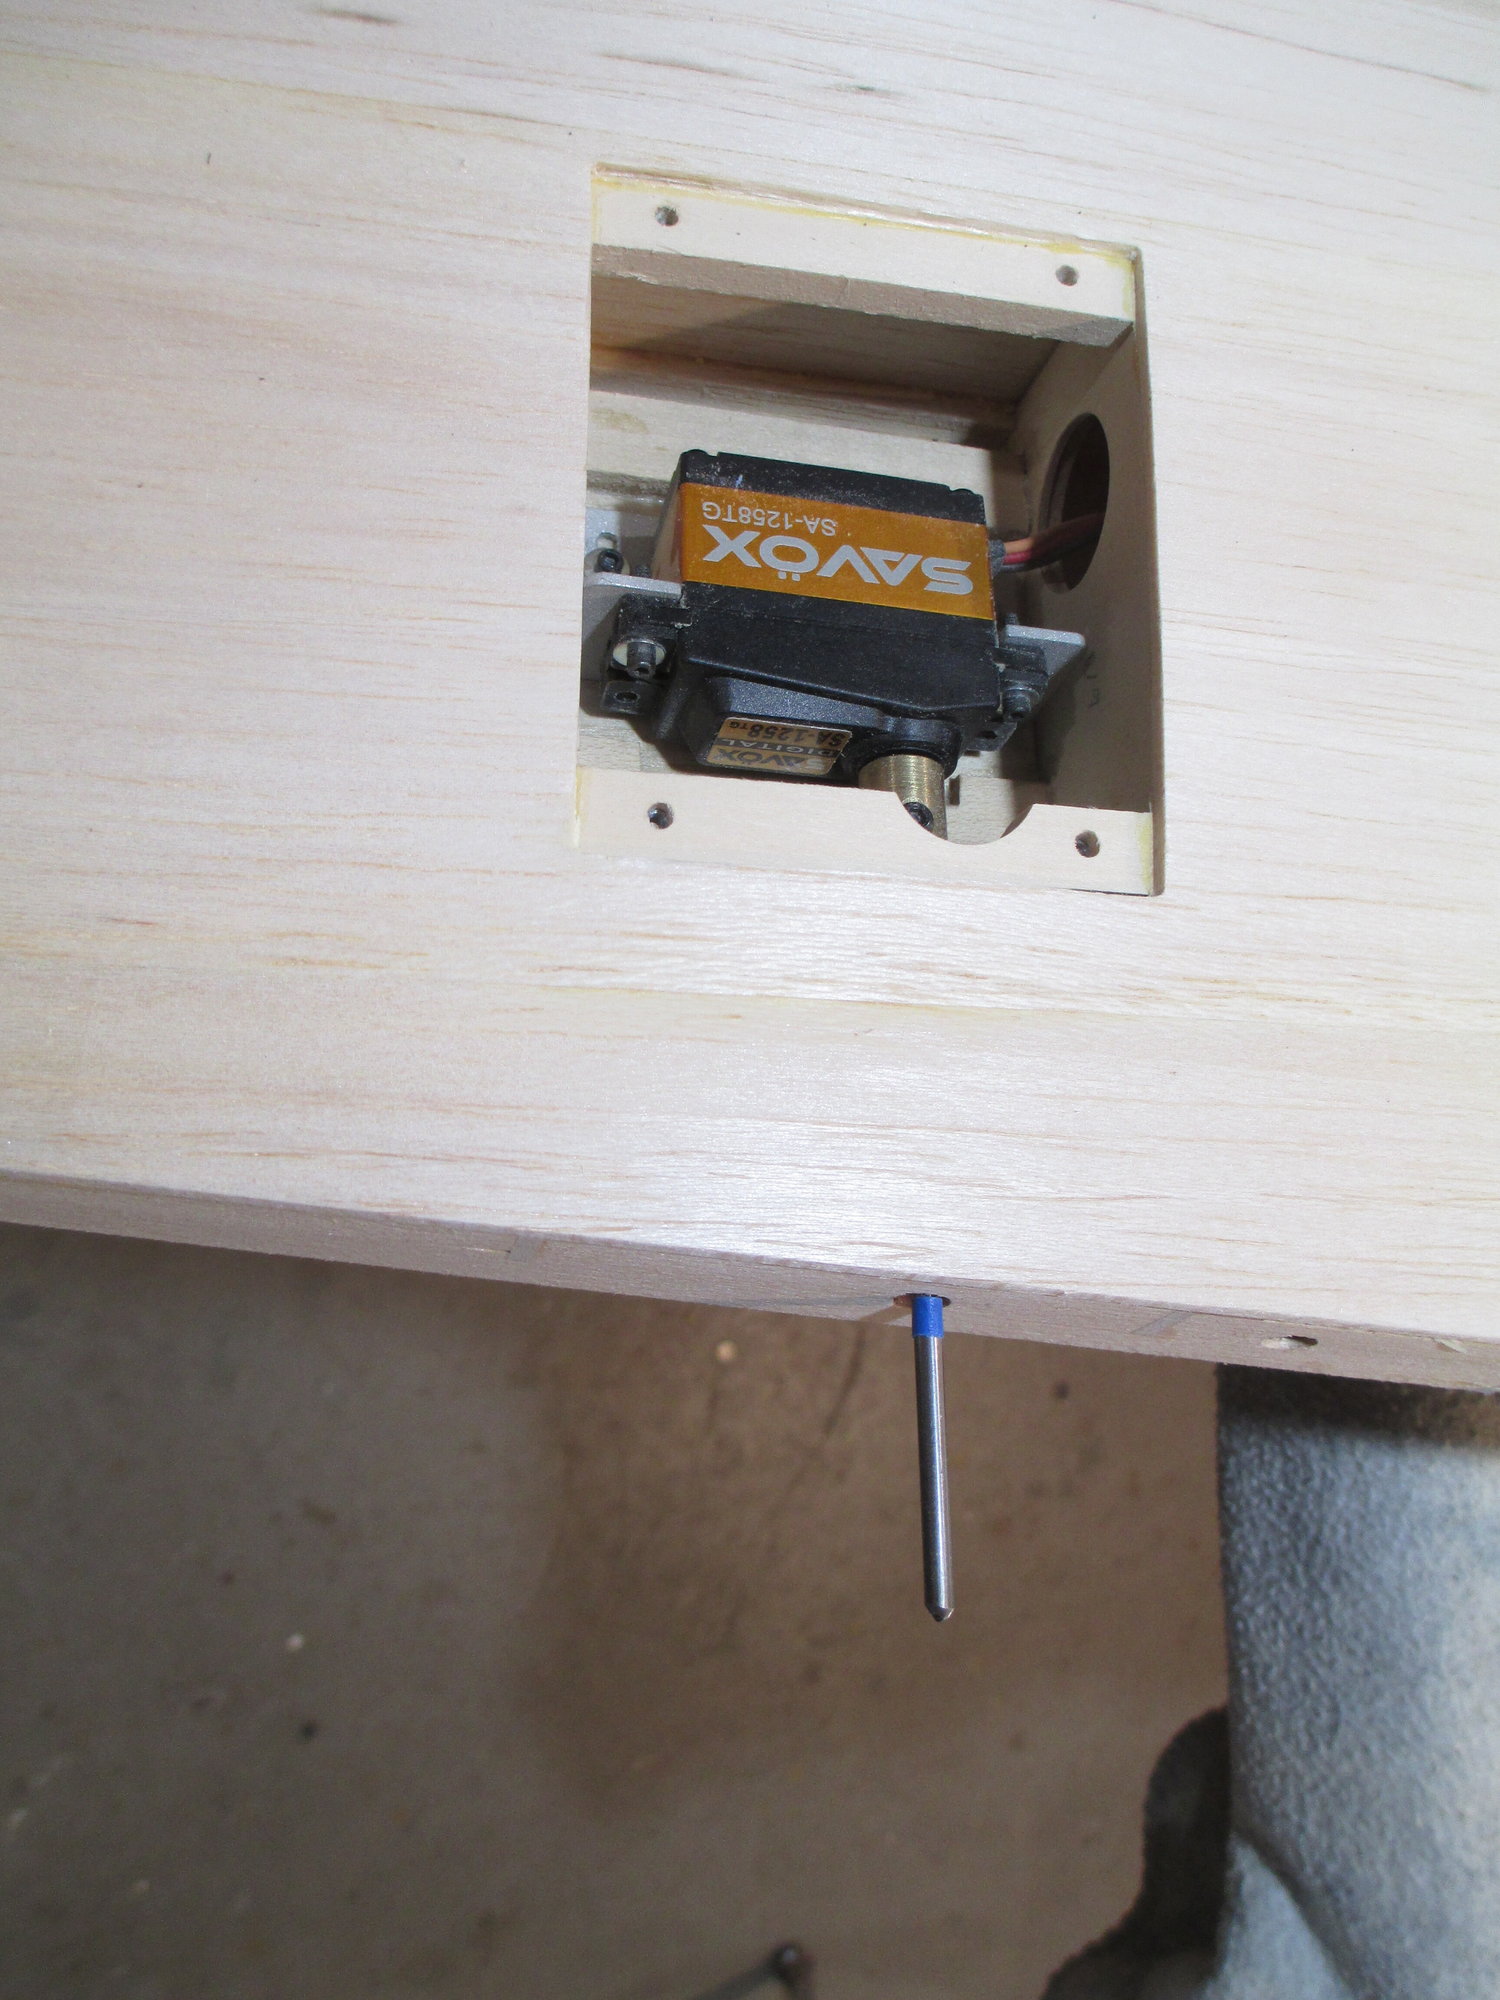
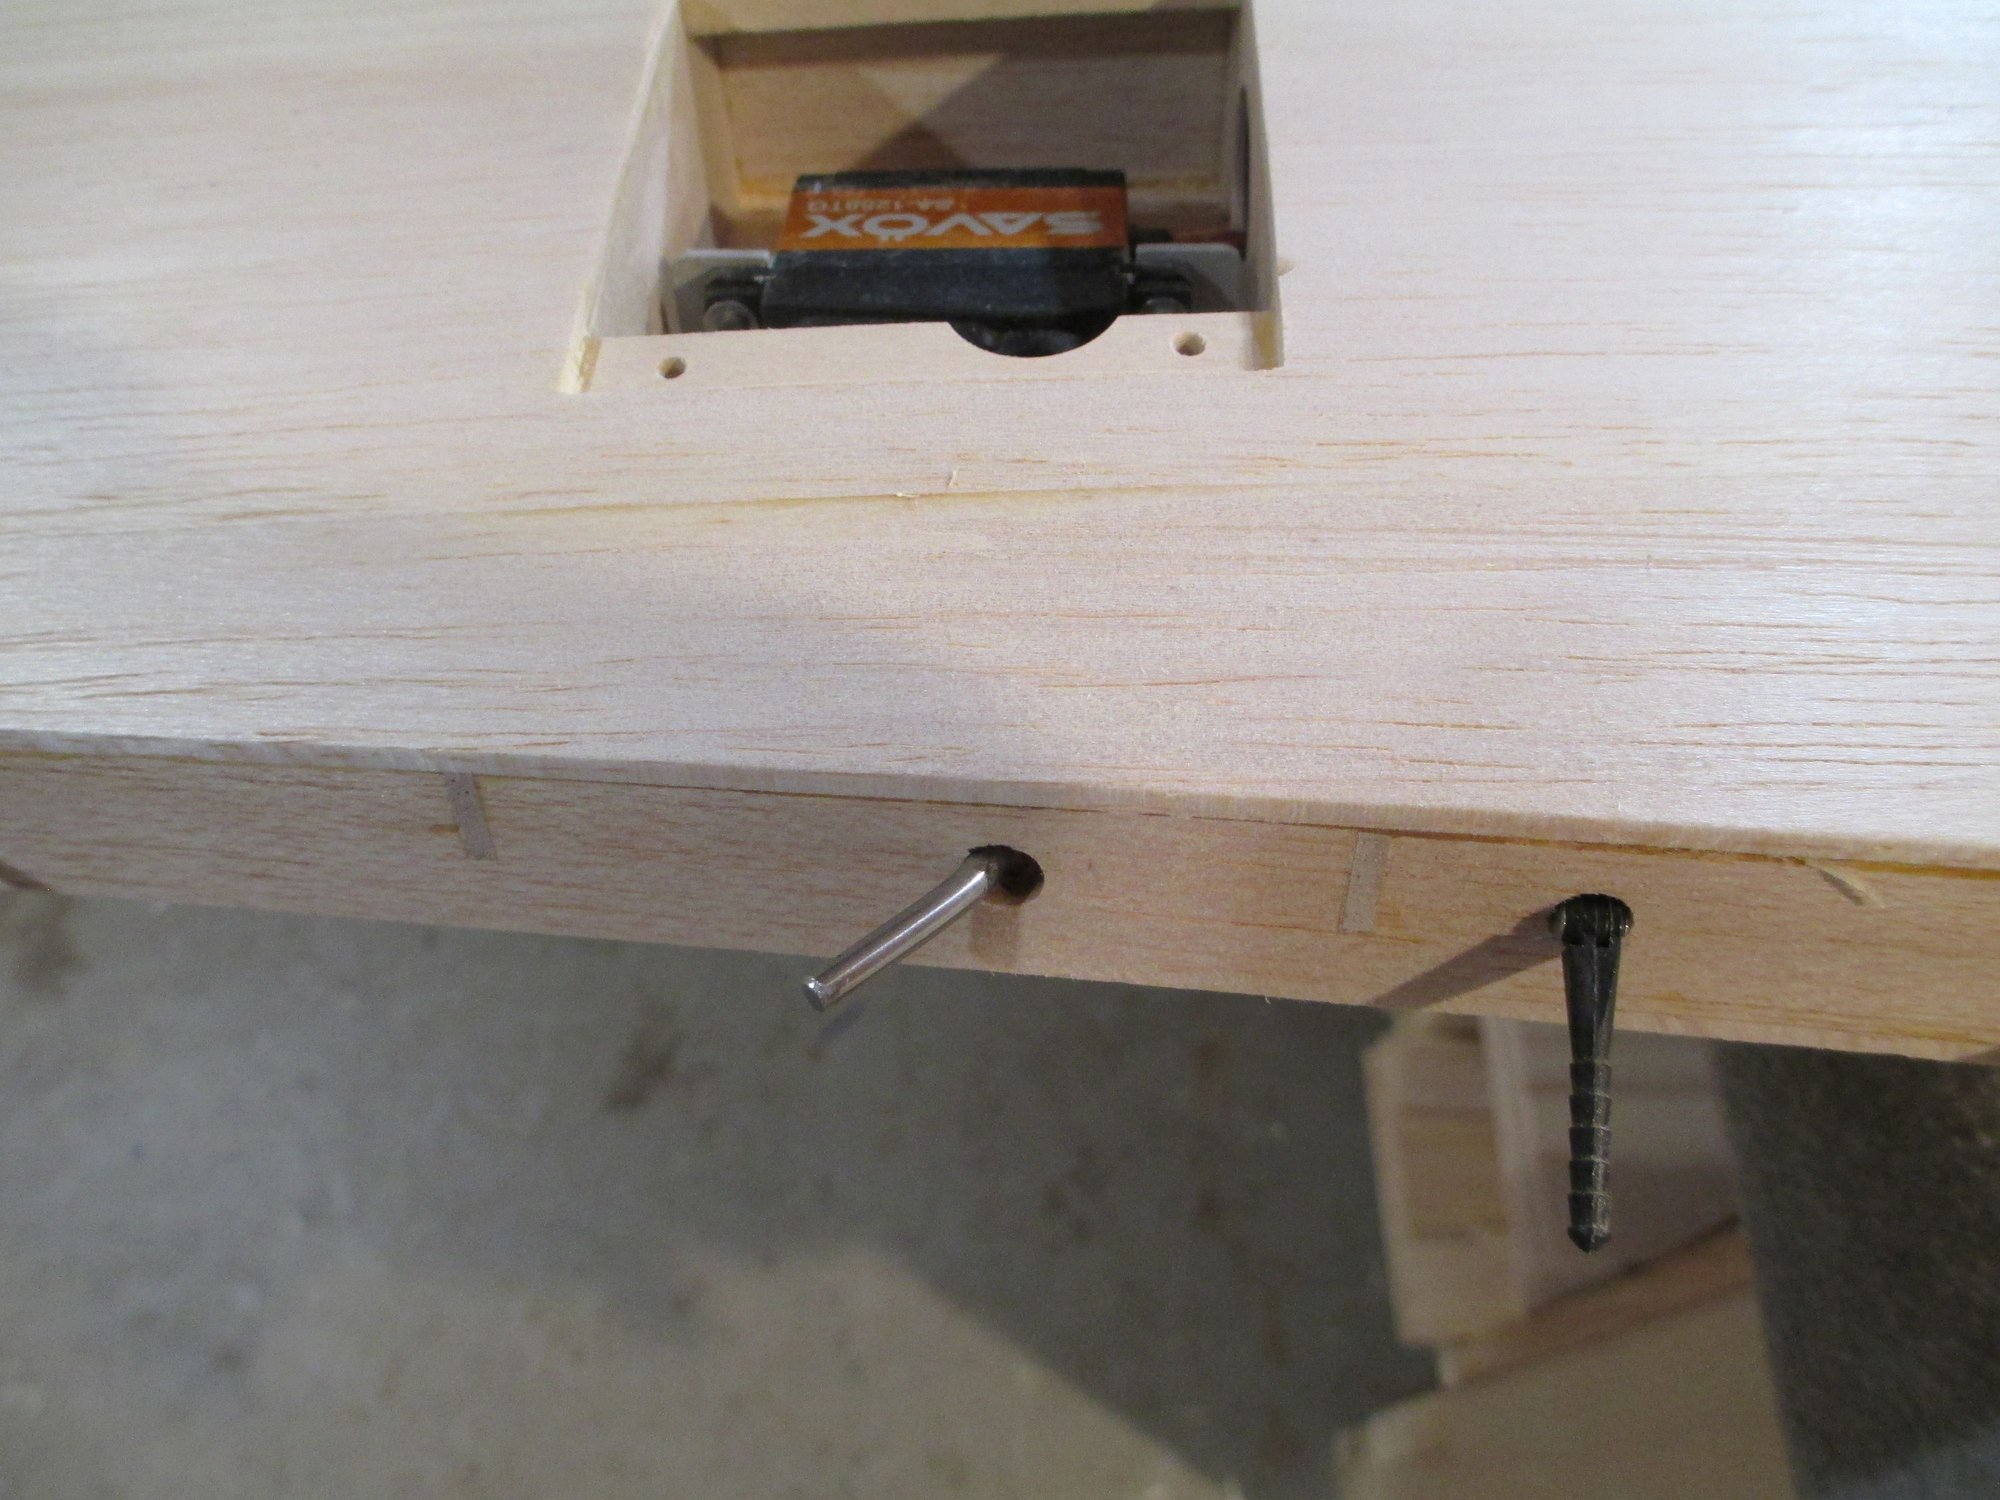
Drive shaft is inserted through the access hole made in the TE of wing and coupled to servo. I need to fully seat the drive shaft to get an accurate measurement of where the bend will start.
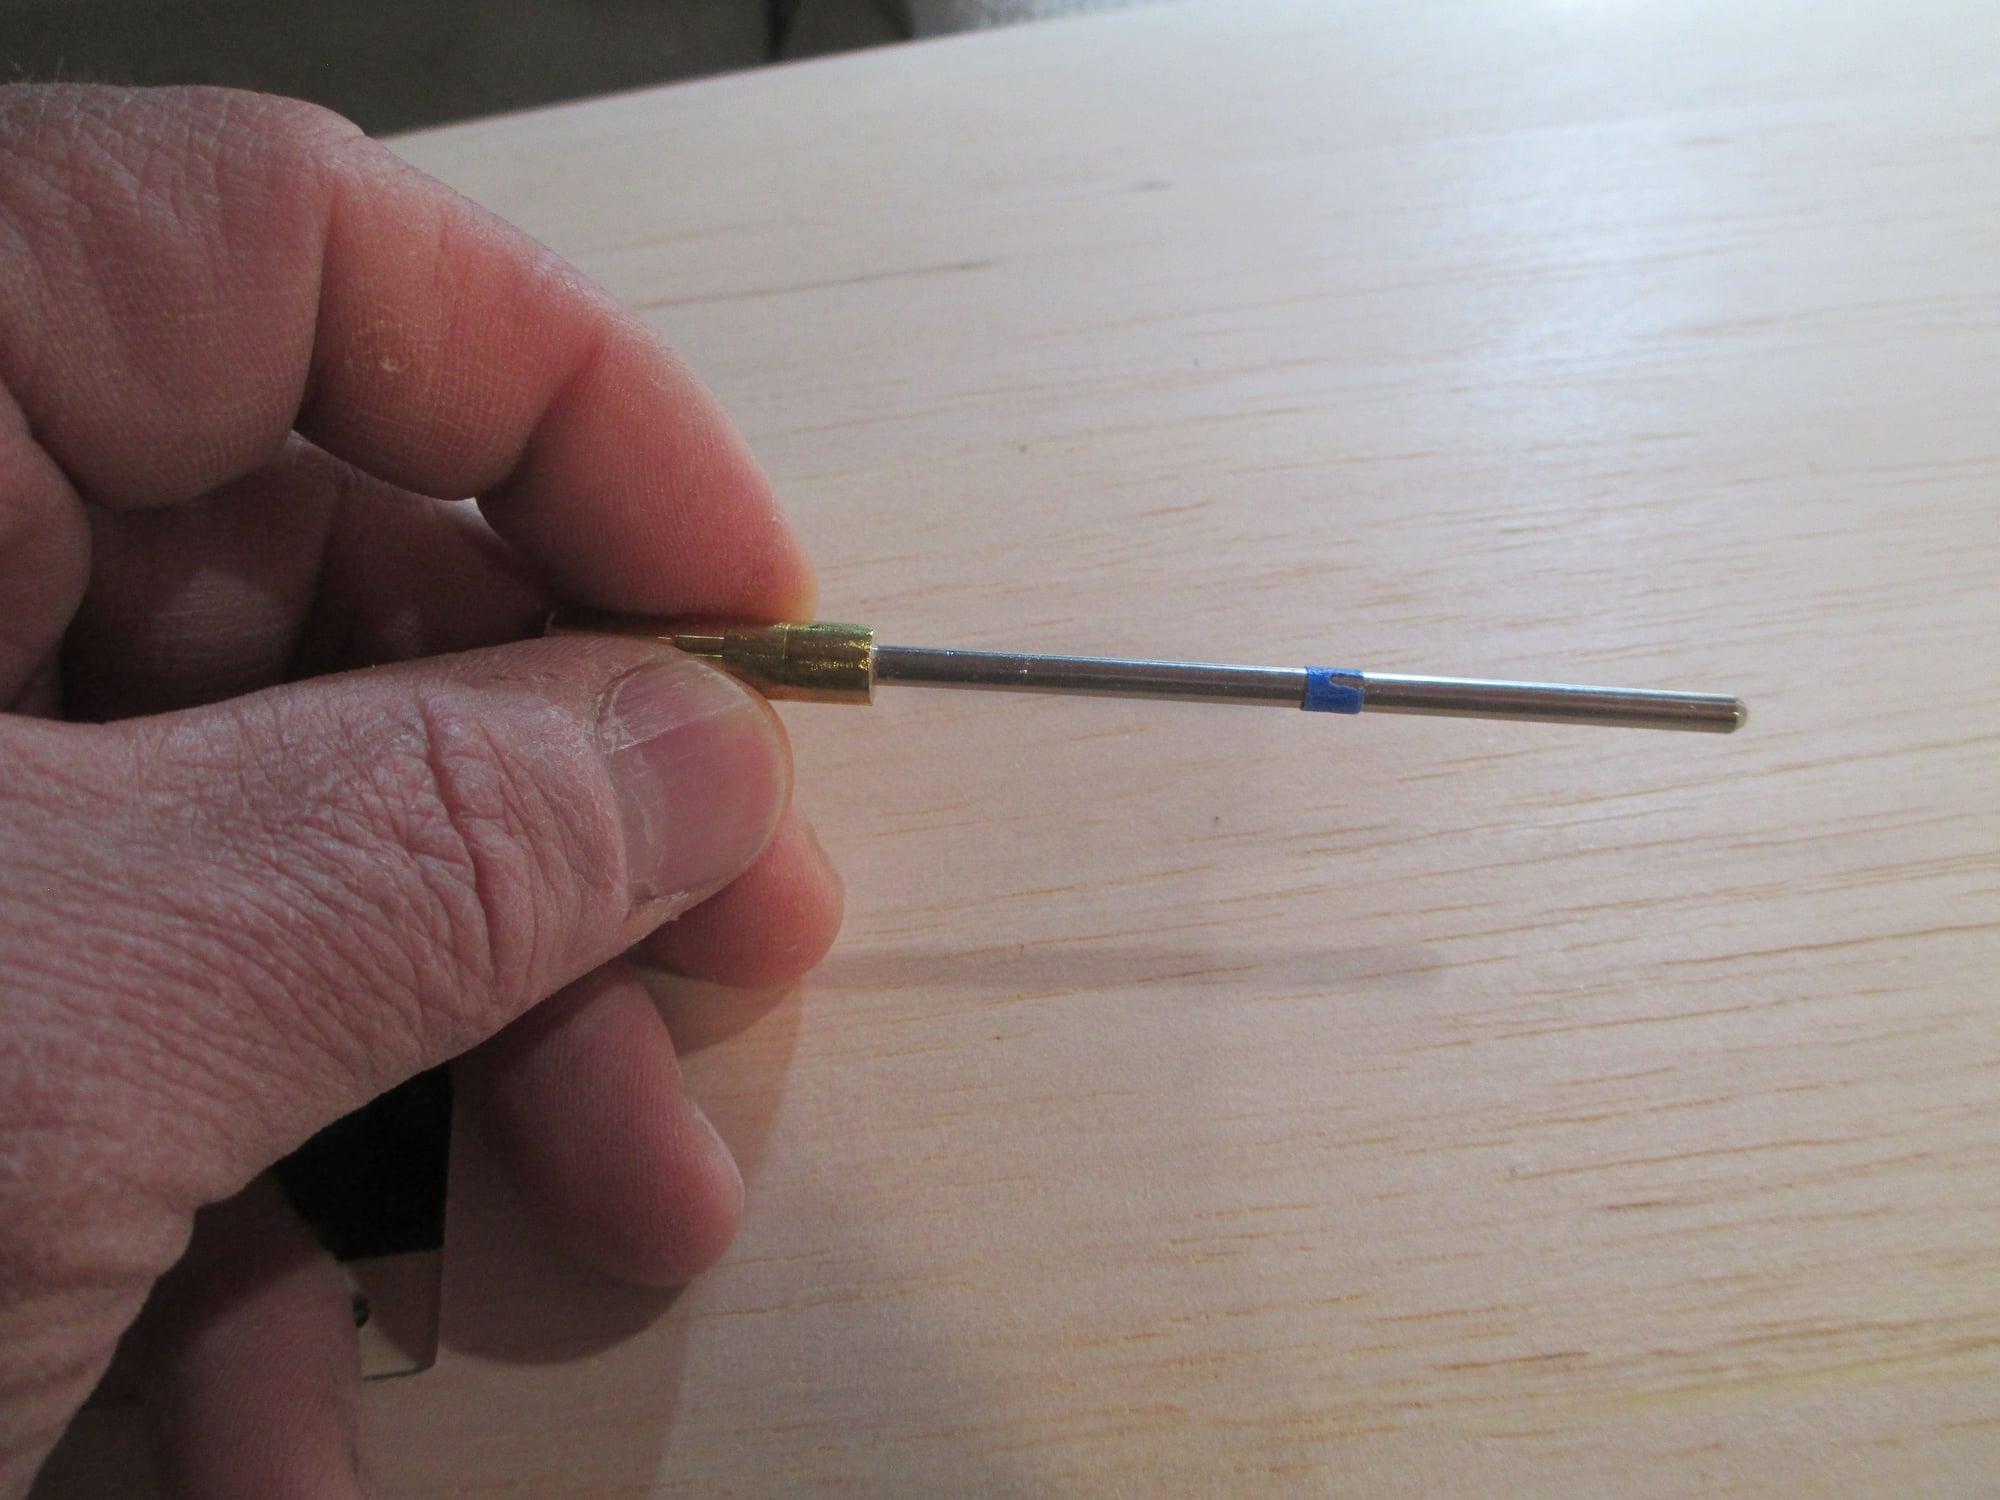
I used a piece of tape to mark where to start the bend.
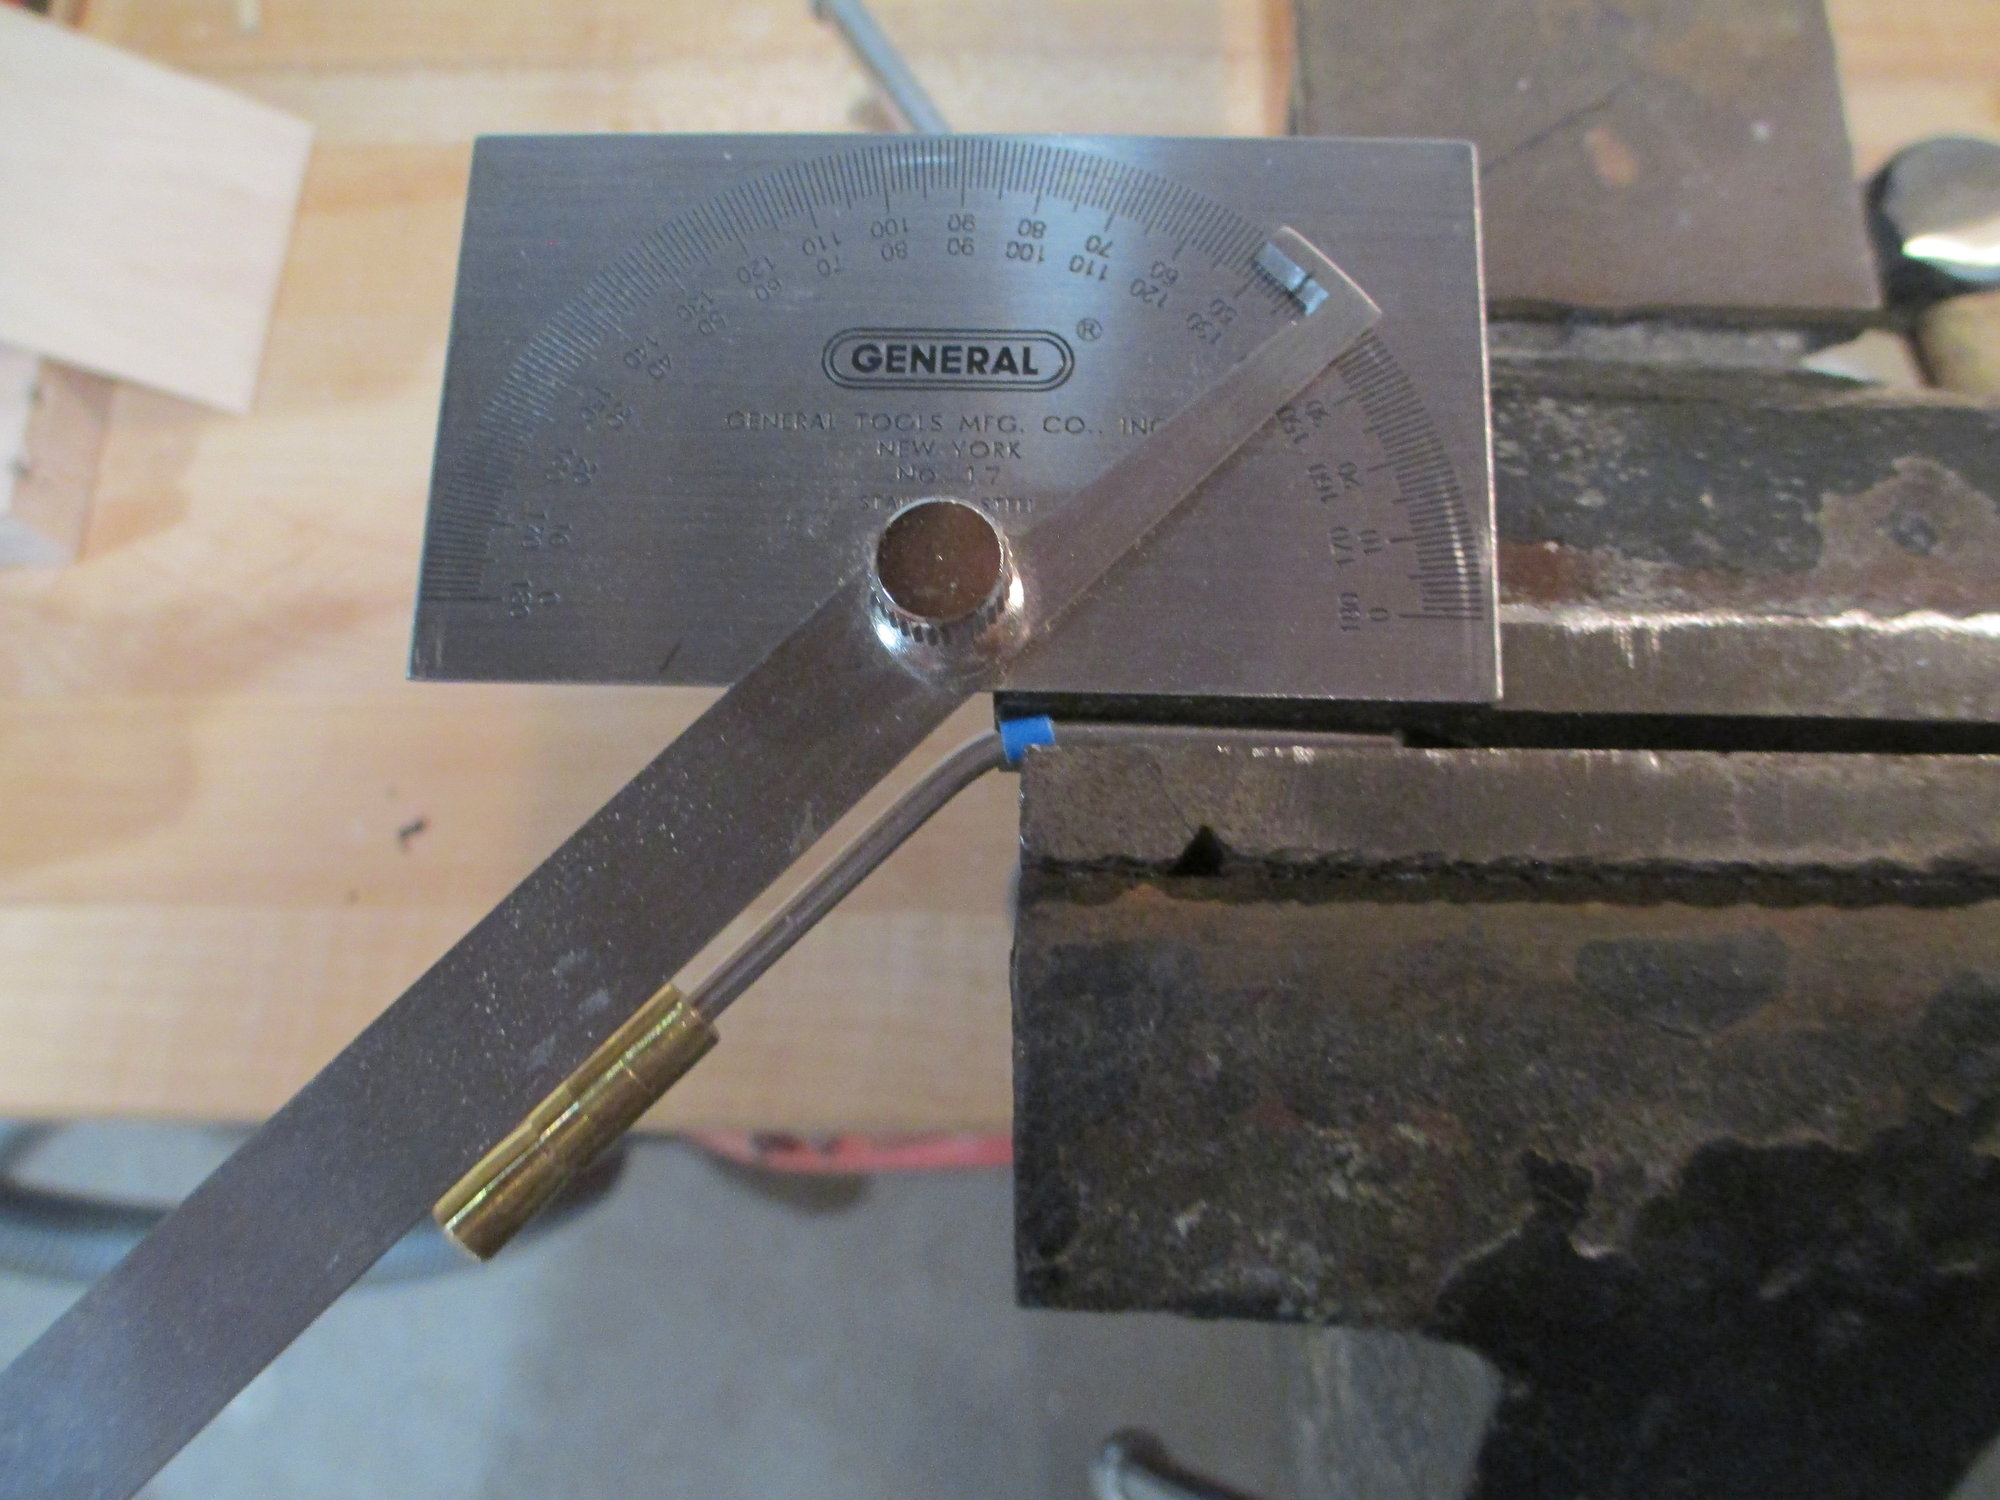
Clamped in a vise, I bent the end of the drive shaft (which is called the "wiper") at 45 degrees.
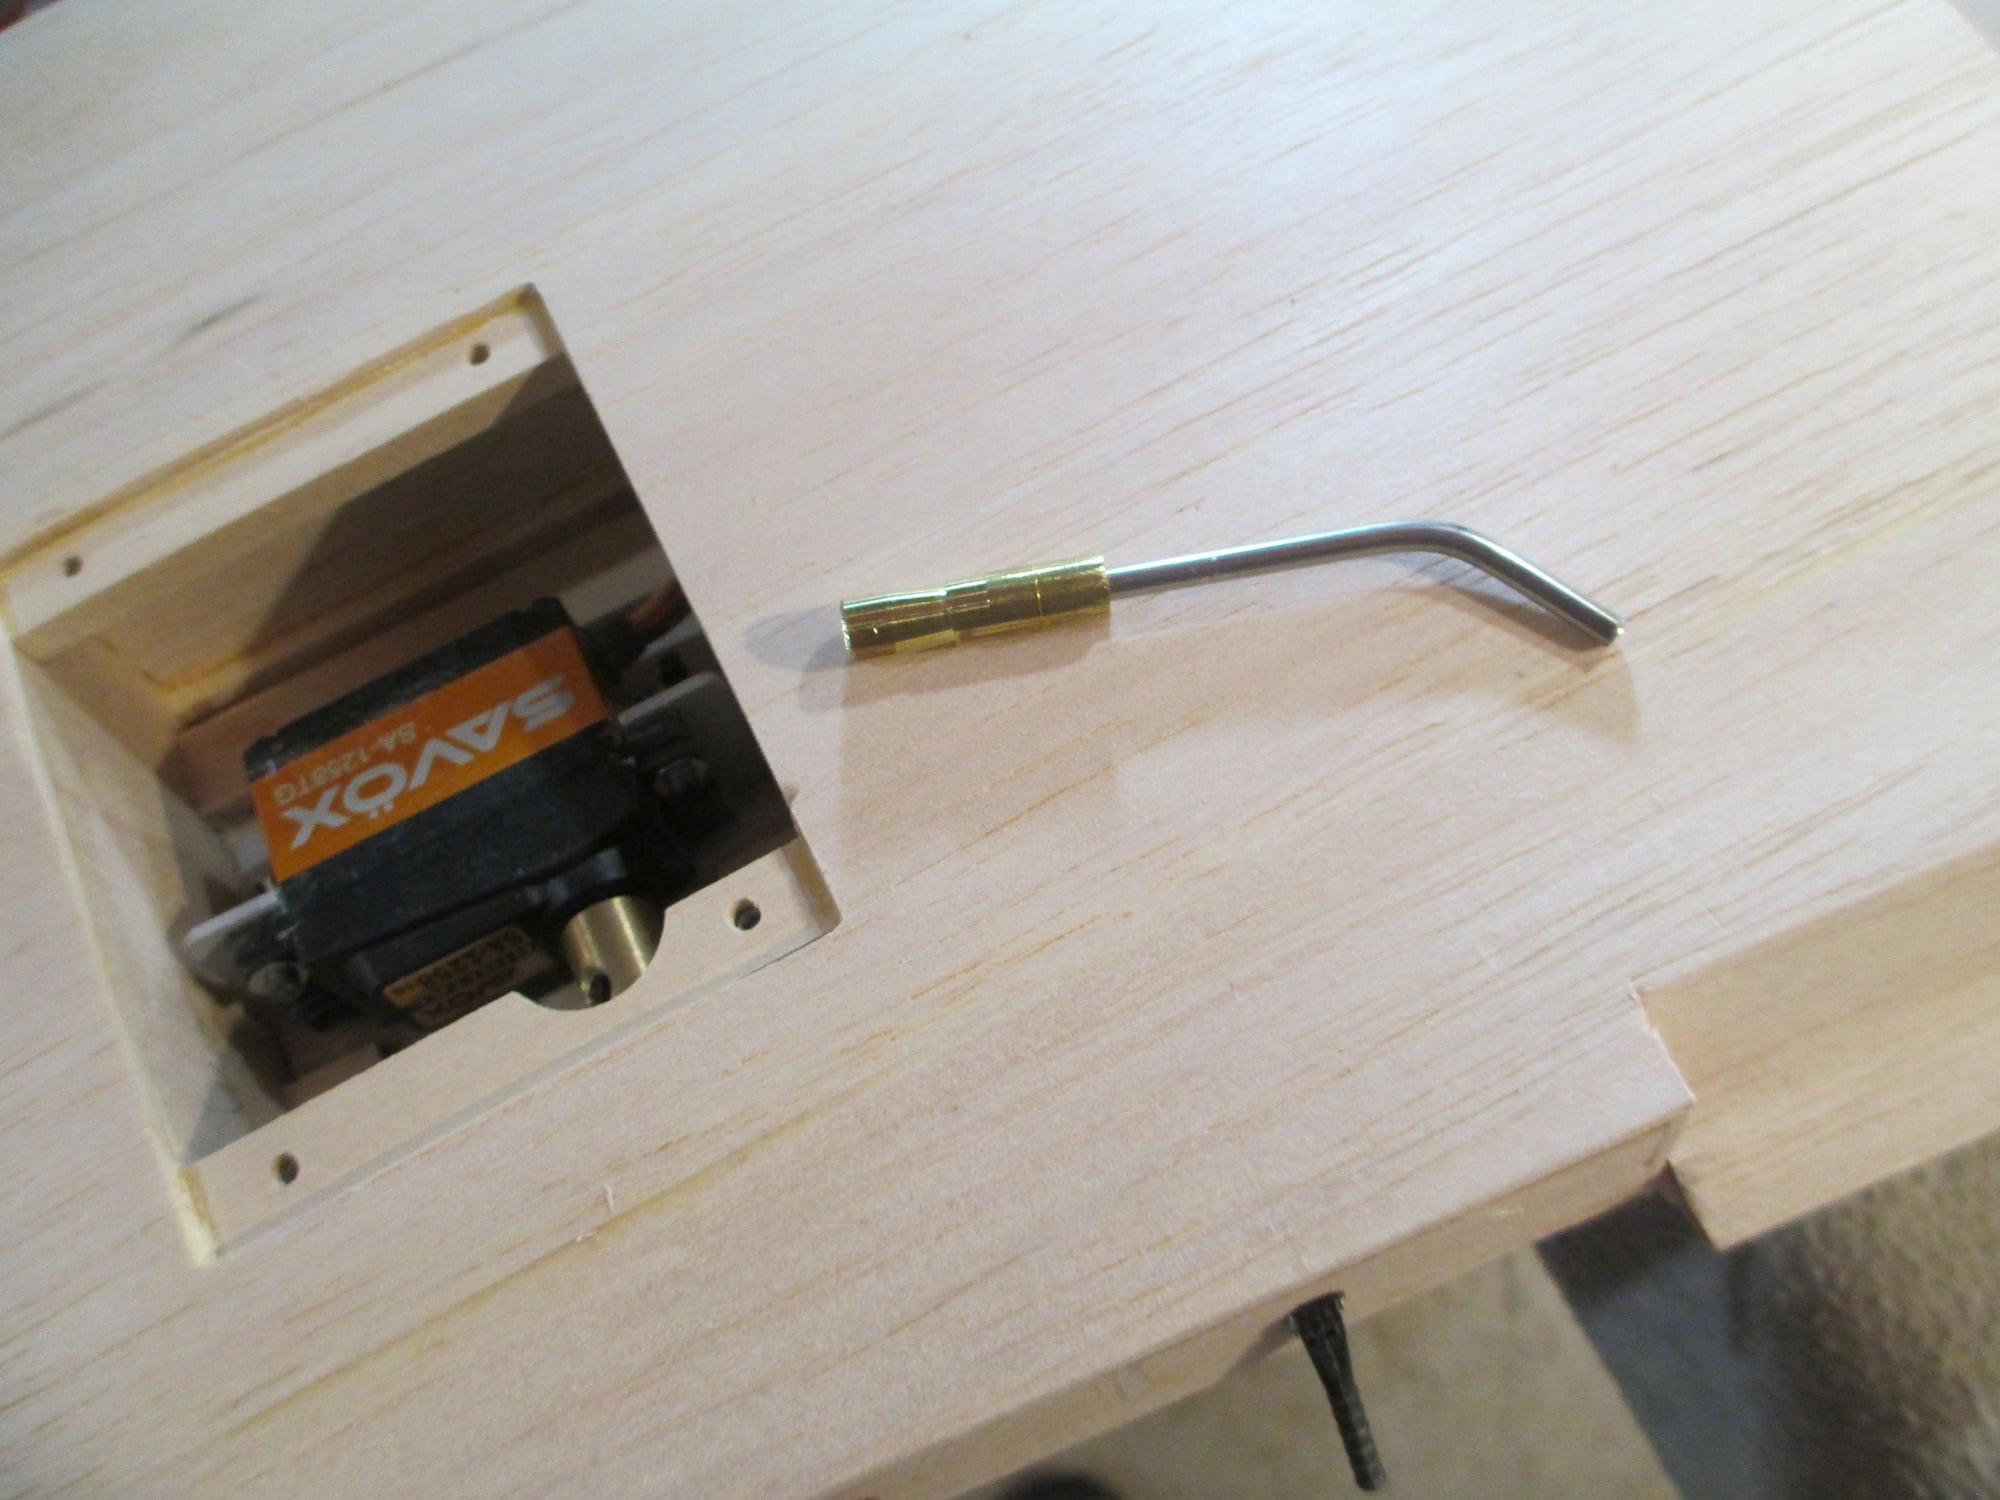
The completed drive shaft.
It is critical the bend starts exactly at the hinge line for the RDS to work correctly. Remember, I made the bracket that holds the servo adjustable. It can move forward/backward and even pivot, I can fine tune its operation once final assembled.
Once bent and inserted into the aileron pocket, I hand rotated the servo coupler to see if the aileron deflected as I had anticipated. It did, it works! With more throw than I need and absolutely no slop in the aileron. In fact, the traditional method of aileron actuation using a pushrod, has more slop than the RDS! I did take a short video of the ceremonial event.
Drive shaft is inserted through the access hole made in the TE of wing and coupled to servo. I need to fully seat the drive shaft to get an accurate measurement of where the bend will start.
I used a piece of tape to mark where to start the bend.
Clamped in a vise, I bent the end of the drive shaft (which is called the "wiper") at 45 degrees.
The completed drive shaft.
It is critical the bend starts exactly at the hinge line for the RDS to work correctly. Remember, I made the bracket that holds the servo adjustable. It can move forward/backward and even pivot, I can fine tune its operation once final assembled.
Last edited by VincentJ; 10-21-2019 at 10:50 AM.
10-20-2019, 01:15 PM
#356
What determines the 45 degree bend? Seems to me that you have a fair amount of movement of the surface with little rotation of the servo. If the bend were around 25 degrees it would require more servo movement to det the desired throw and you would gain some resolution. Just thinking out loud here.
10-20-2019, 01:46 PM
#357
Thread Starter
What determines the 45 degree bend? Seems to me that you have a fair amount of movement of the surface with little rotation of the servo. If the bend were around 25 degrees it would require more servo movement to determine the desired throw and you would gain some resolution. Just thinking out loud here.
AILERON WIPER BEND ANGLE......20 30 35 40 45
APPROXIMATE MAX DEFLECTION 20 24 27 30 33
Your point is well taken, I'll have to check the rotation of the servo and maybe reduce the angle to 40 degrees. Thanks!
Last edited by VincentJ; 10-20-2019 at 01:54 PM.
10-20-2019, 01:53 PM
#358
Thread Starter
You are correct Hydro. I'll be using 1/2 ounce cloth on this project. Fiberglassing is something I really enjoy doing and I think I have good technique that won't add unnecessary weight. In fact when done correctly, there isn't that much difference in weight as compared to other iron on coverings... You'll have to wait and see, as always I'll document how I do it...
Last edited by VincentJ; 10-21-2019 at 02:52 AM.
10-23-2019, 09:58 AM
#359
Member

Where do you find 1/2 oz cloth (other than Balsa USA which everything is expensive)? I bought 3/4 oz on ebay. Will 3/4 oz make a big difference on a, say, 60 size Warbird?
10-23-2019, 10:05 AM
#360
Thread Starter
It is very difficult to find 1/2 oz. cloth these days. I used to buy them in one square yard packs from Horizon Hobbies, but they are no longer for sale. I bought five yards from Balsa USA which sells it off a roll by the yard, and yes it was very expensive. Your 3/4 oz. cloth will technically add a bit of weight, but not enough to loose sleep over. Use it and don't worry about it...
Last edited by VincentJ; 10-24-2019 at 12:14 AM.
10-24-2019, 12:10 AM
#363
Thread Starter
I found this at Tap Plastics, if it will work:
https://www.tapplastics.com/product/.../deck_cloth/14
https://www.tapplastics.com/product/.../deck_cloth/14
Last edited by VincentJ; 10-24-2019 at 02:22 AM.
10-24-2019, 02:37 AM
#364
Thread Starter
I don't have any pics to post, but I have been working on the flaps. Hinge blocks were added inside of each flap to strengthen them. I'm also fabricating the control horns out of aluminium. I'll try and post pictures tonight.
Last edited by VincentJ; 10-24-2019 at 09:34 AM.


 10-24-2019, 03:00 PM
#368
Thread Starter
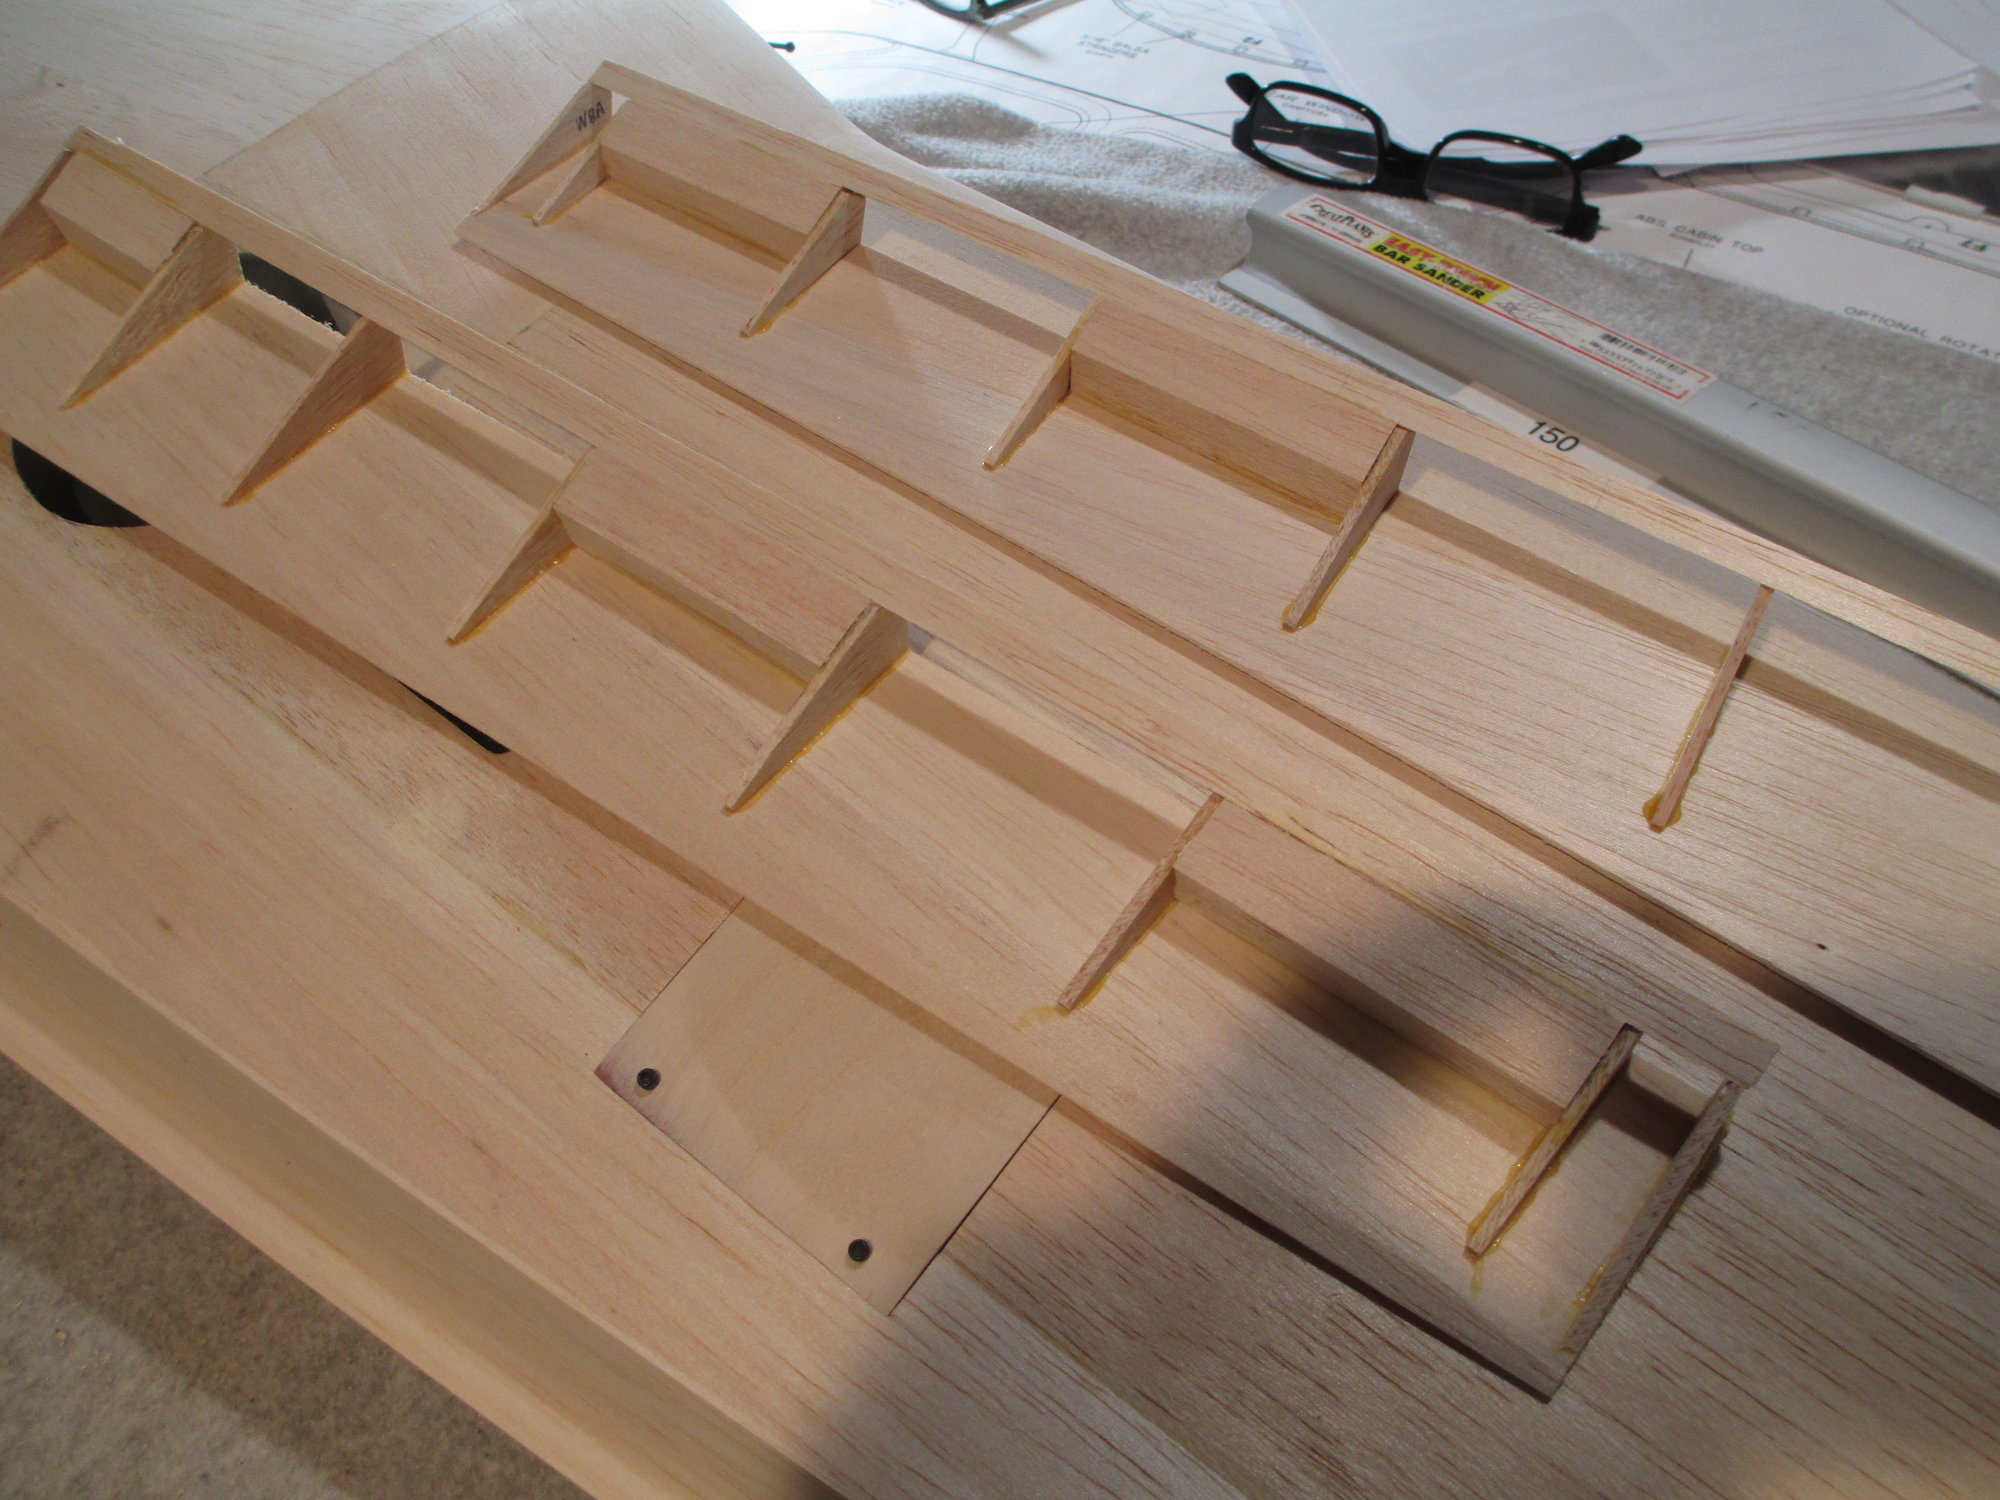
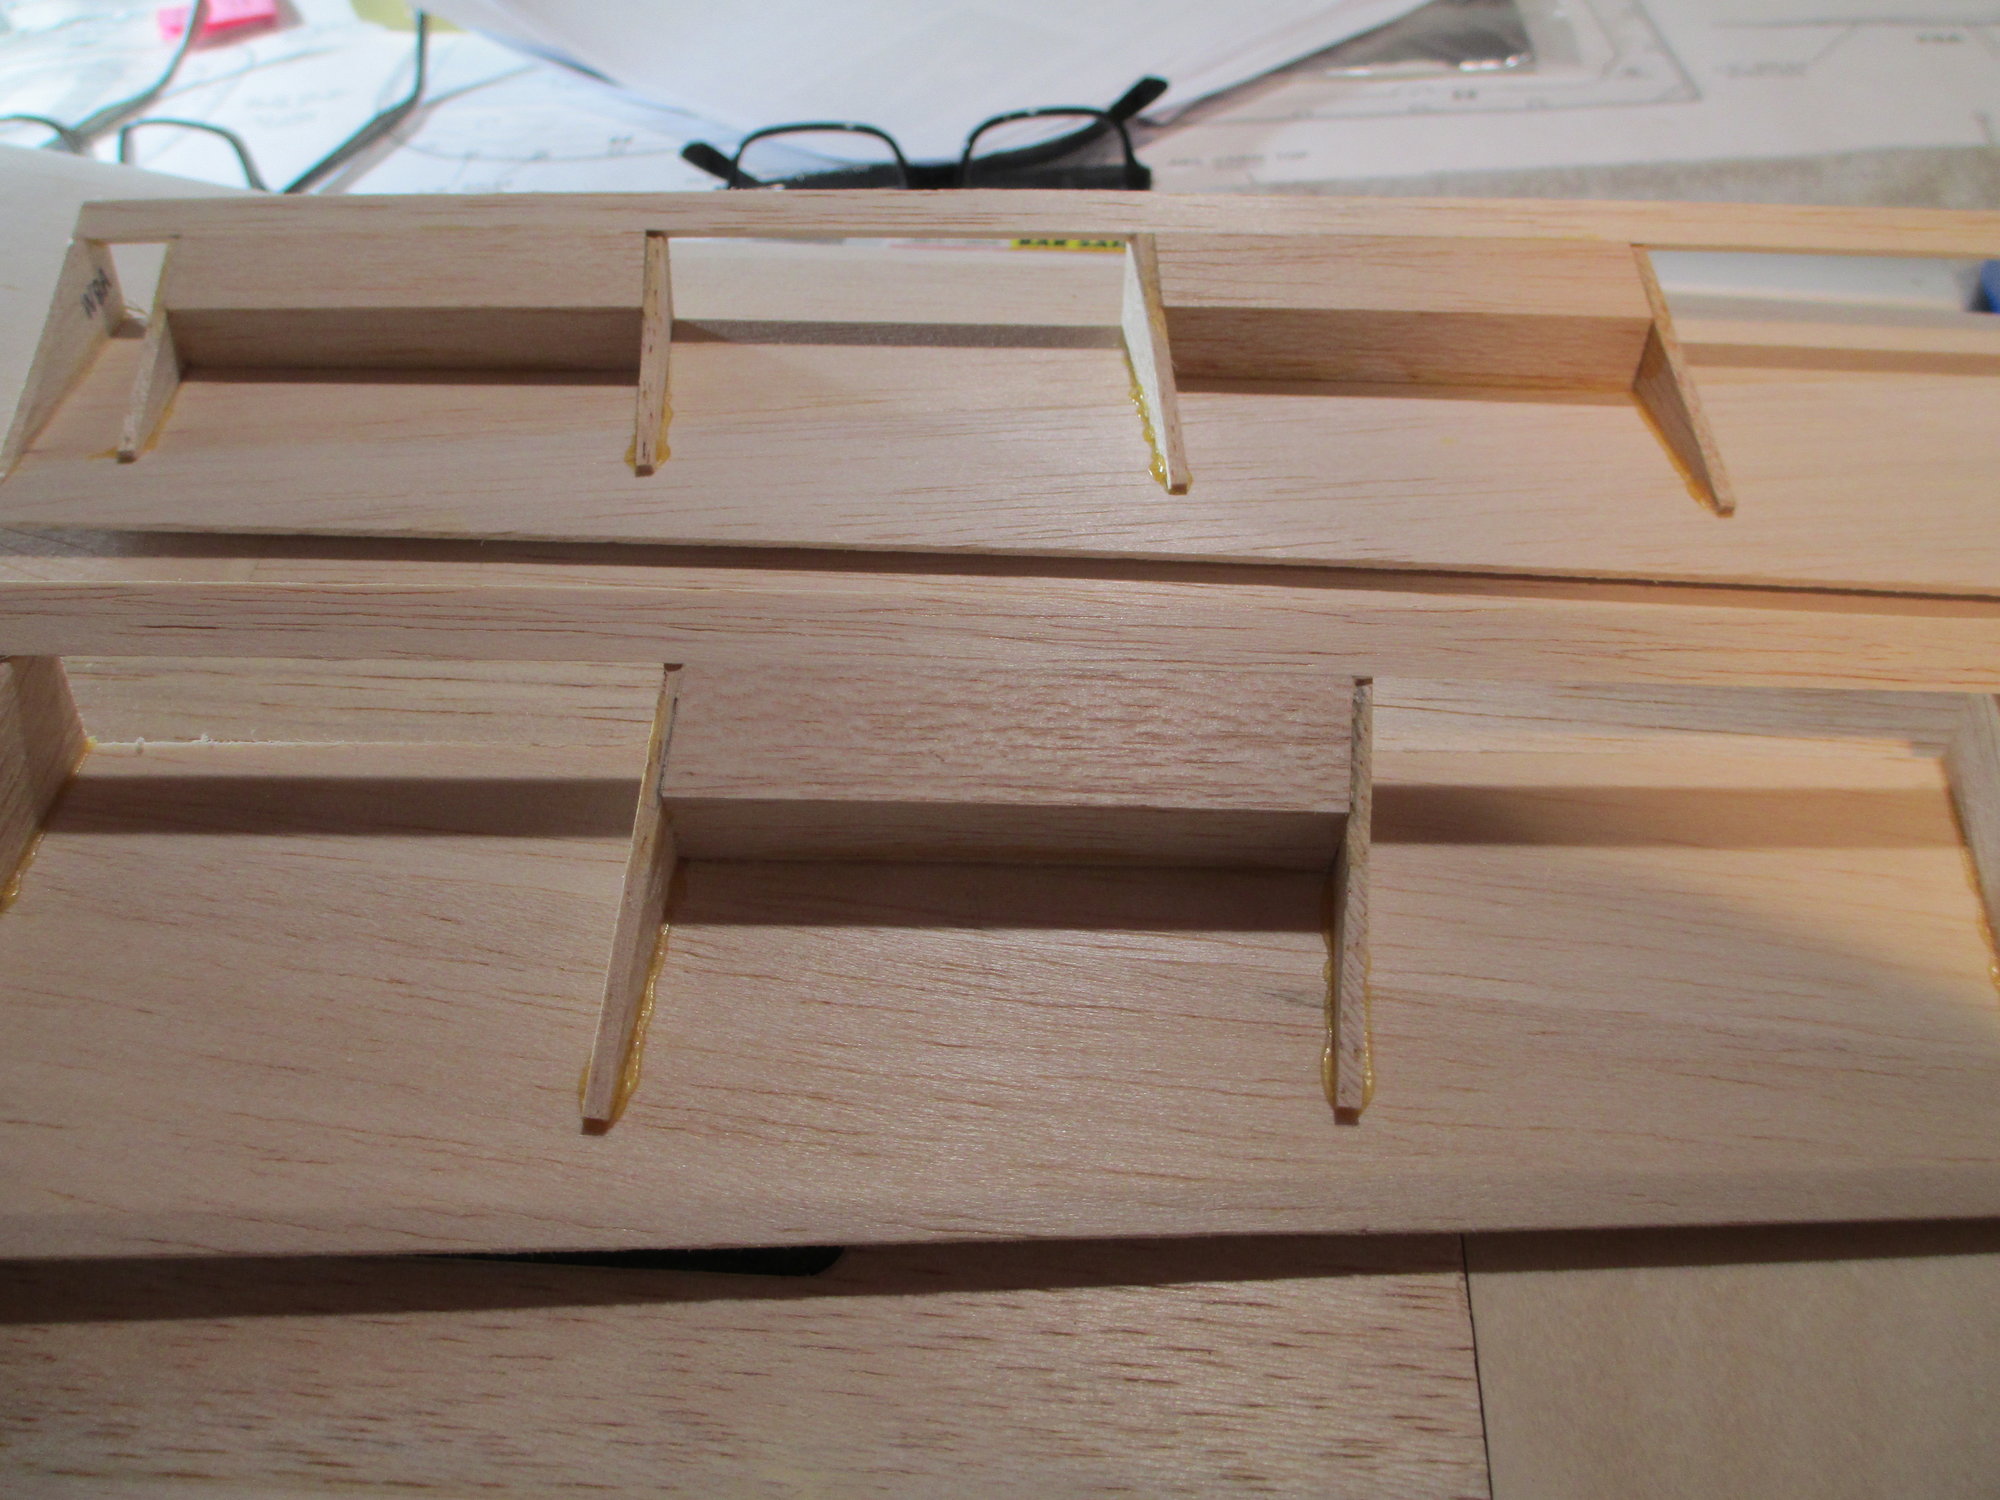
These flap hinge blocks are not shown on the plans, but I thought to include them as they will give added strength when the flaps are deployed in flight.

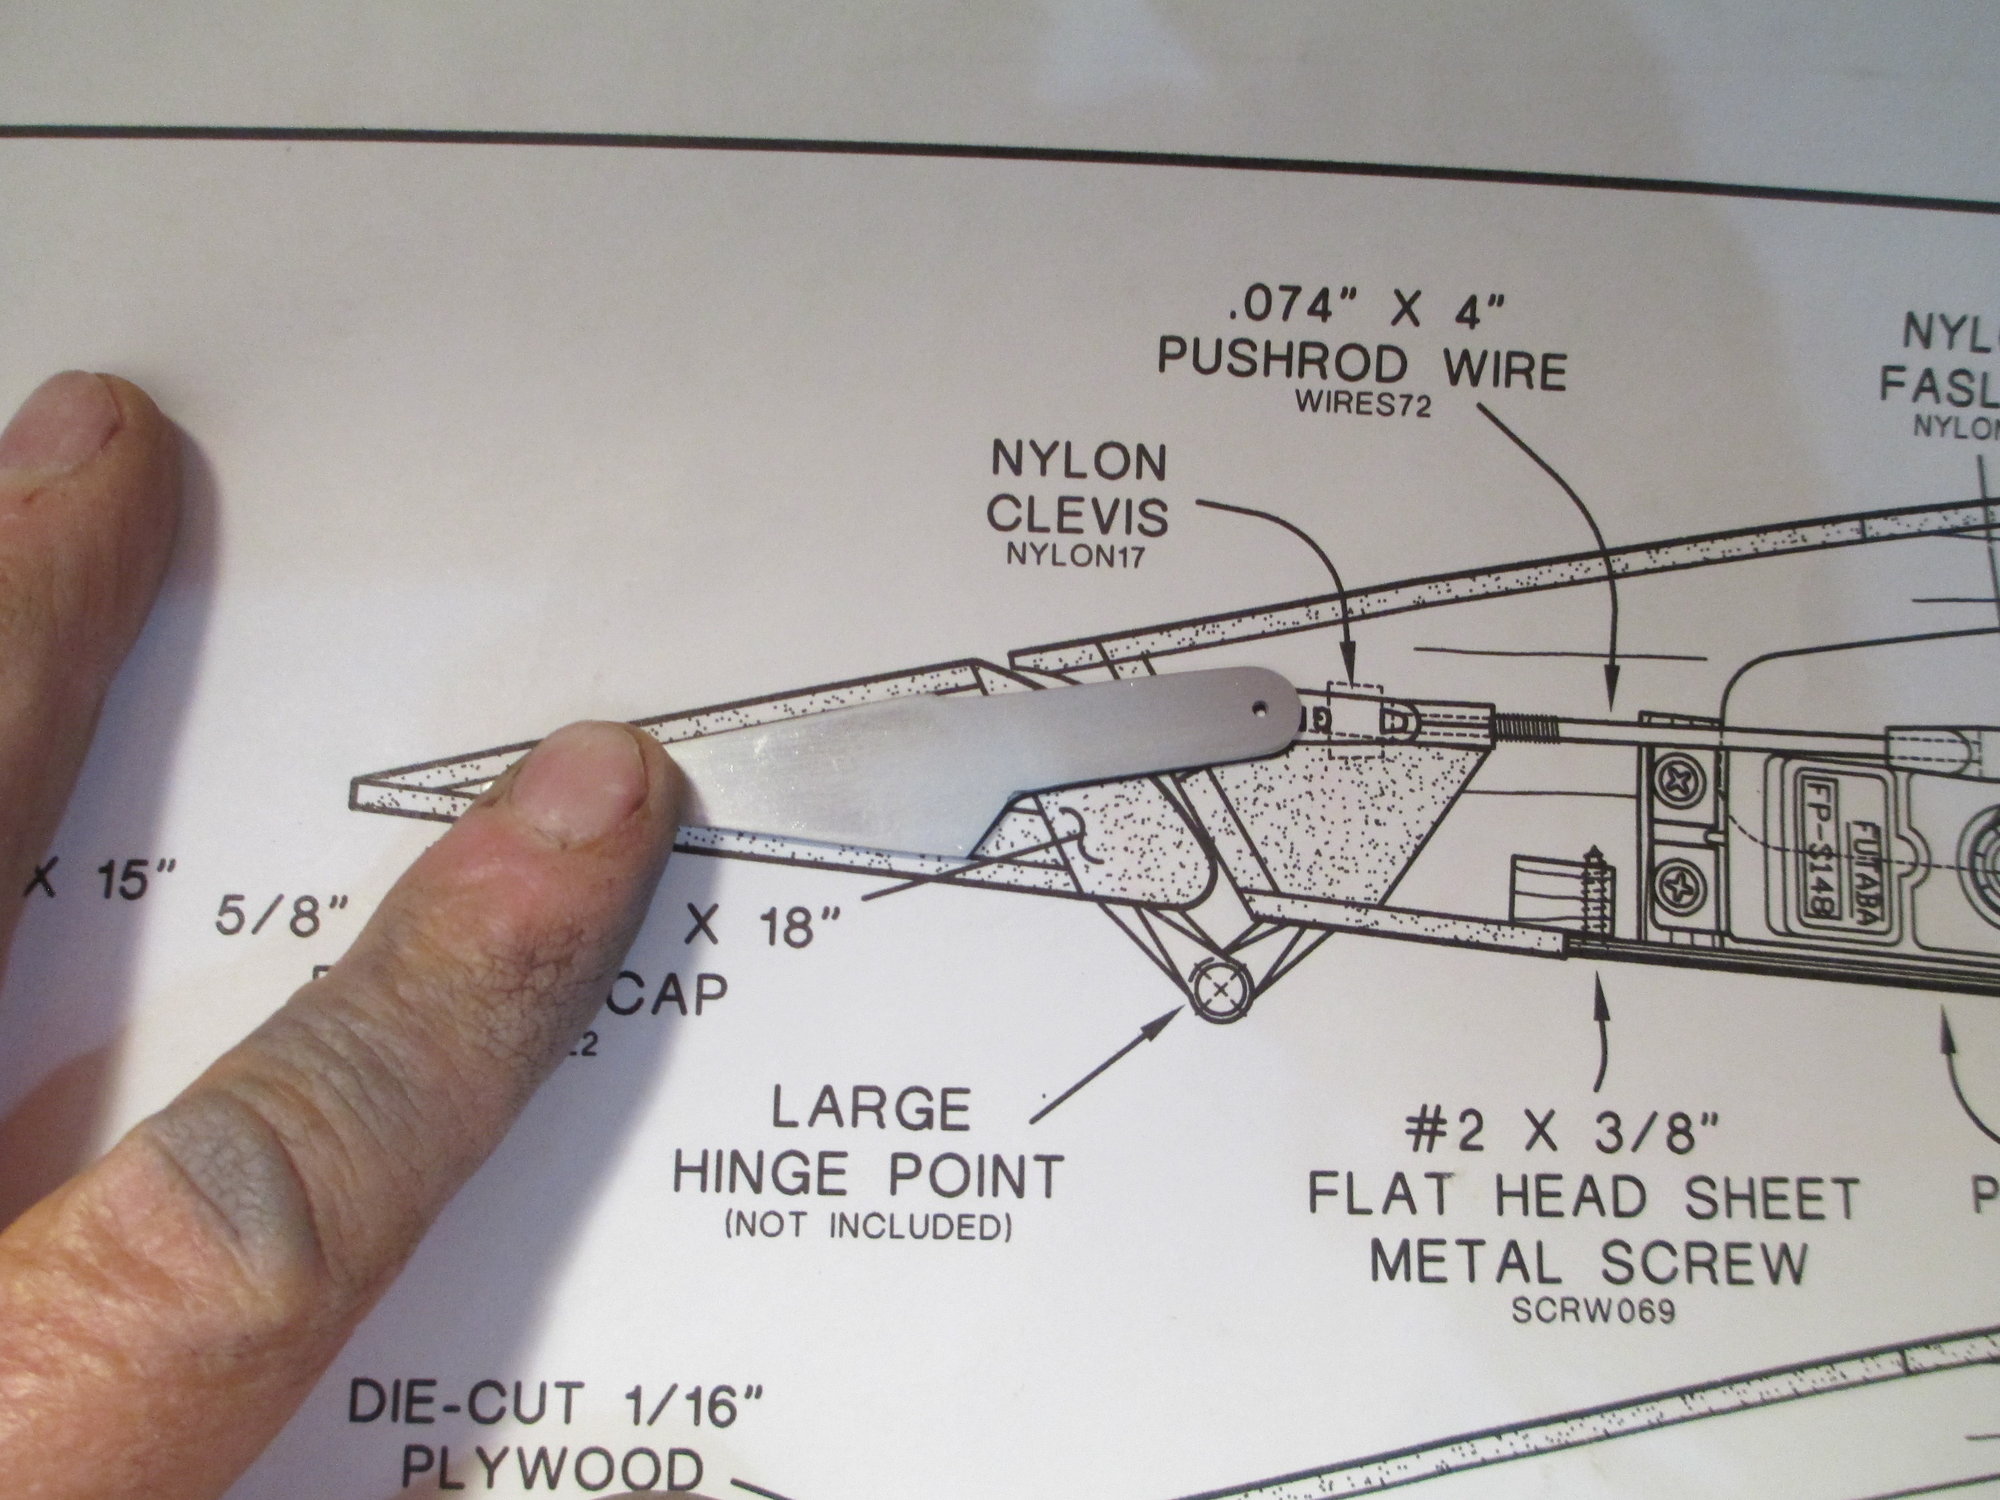
Plan detail for the flap control horn. Stock horn is 1/16" plywood. Again, I'm not comfortable with so much stress being placed on a very thin control horn. Note how close the hinge pin is anchored to the end of the flaps LE. You can see here why I chose to add material to those critical areas.
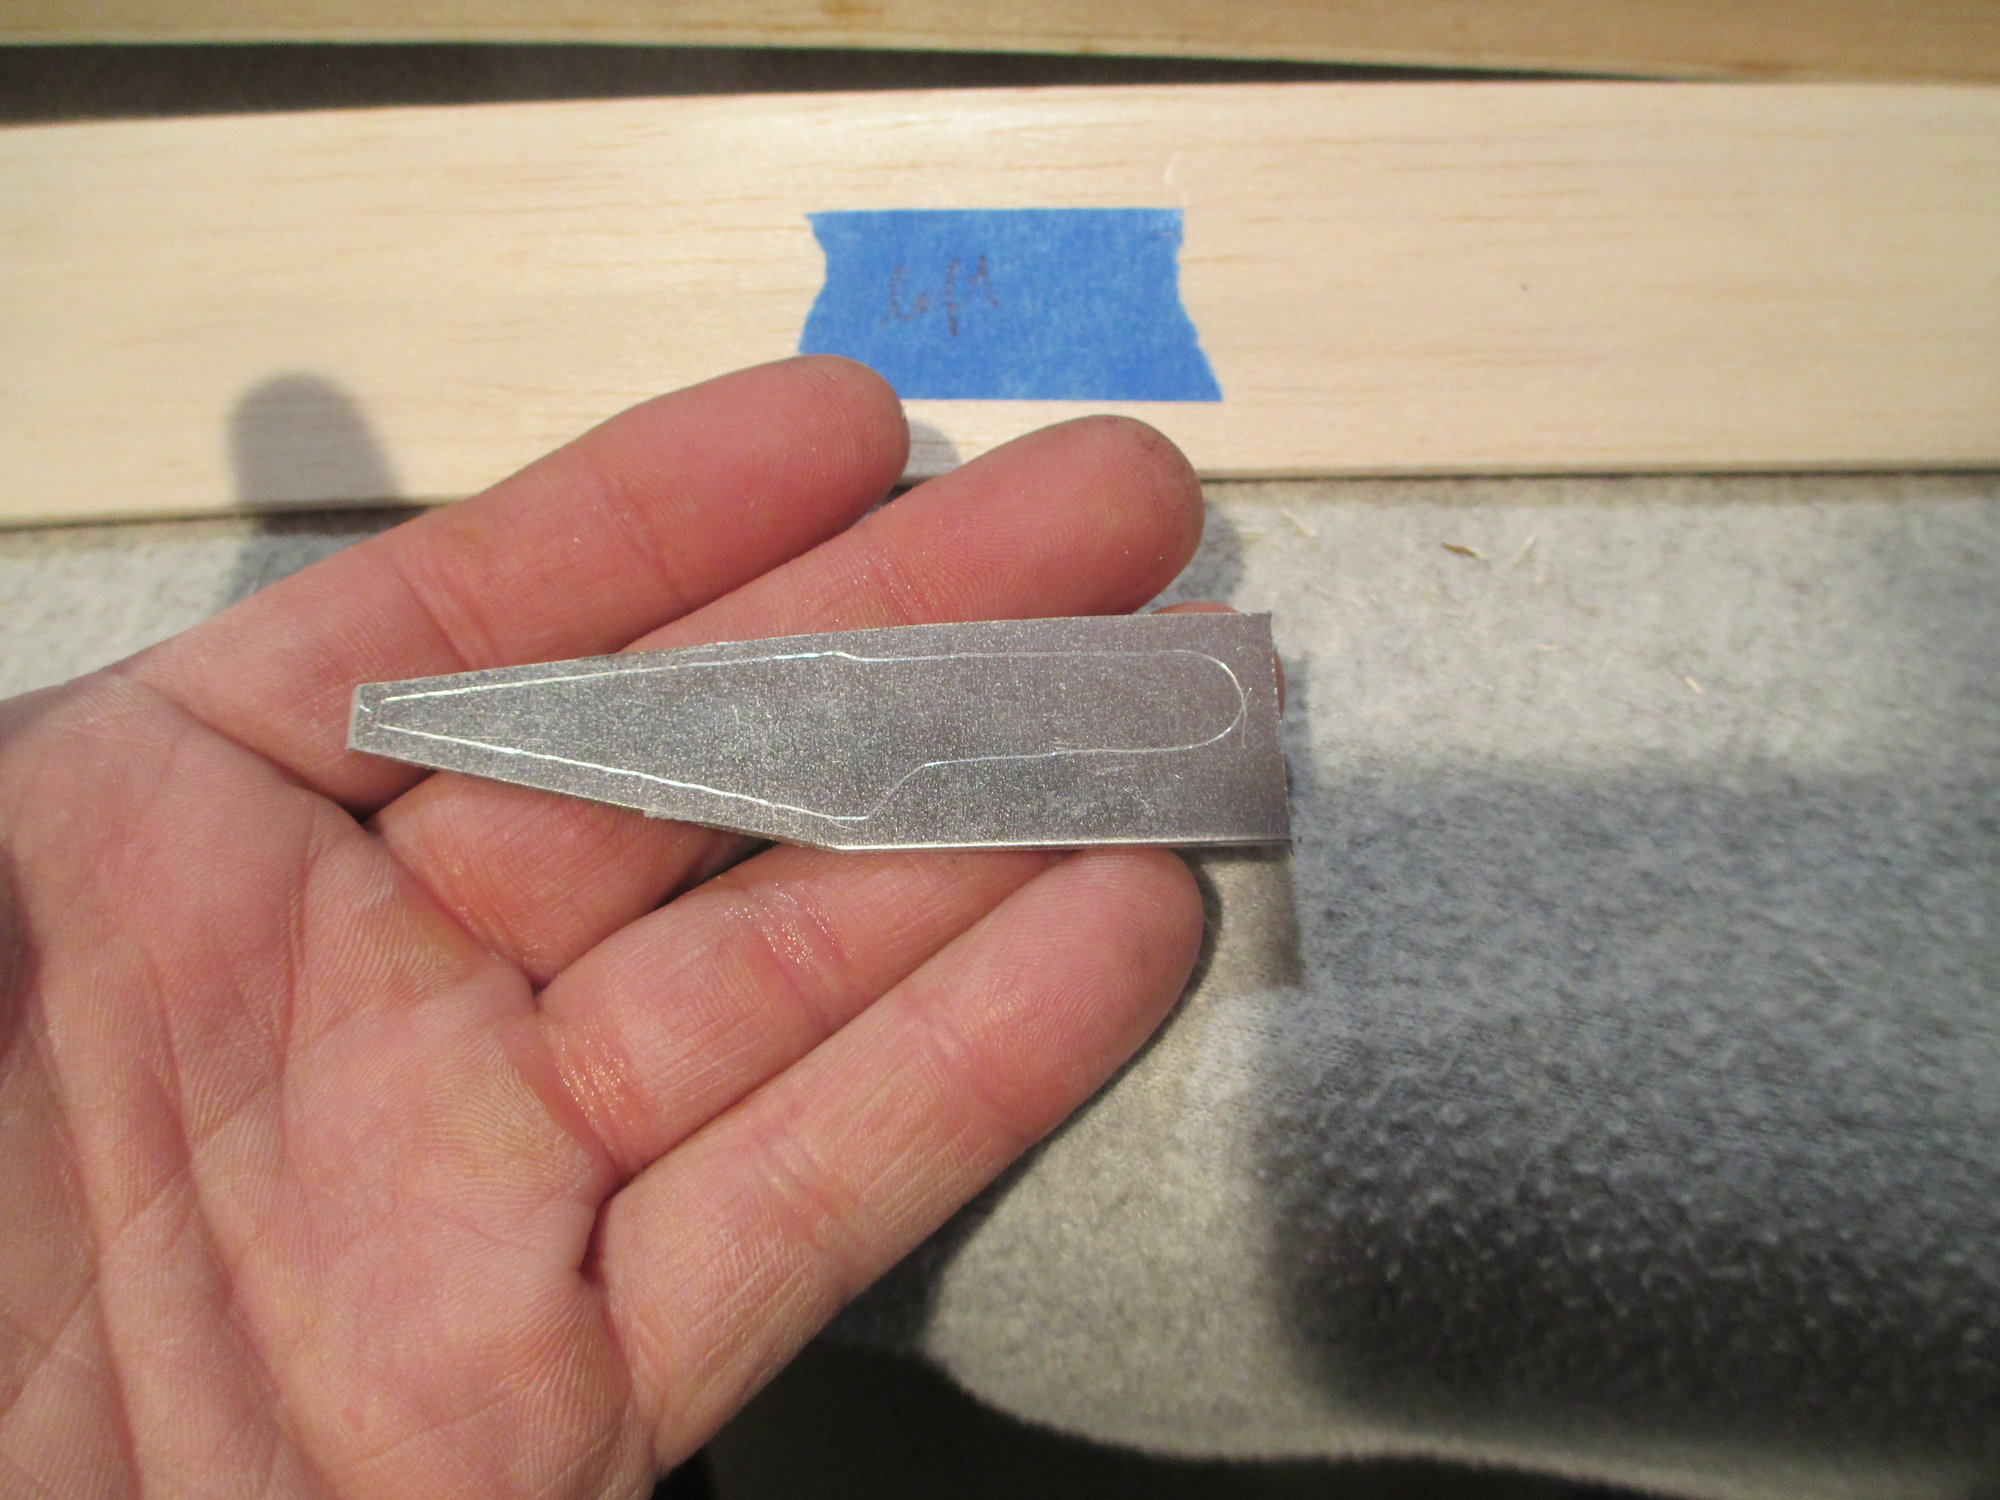
I decided to make my own horn from aluminum sheet stock (.064 thickness).
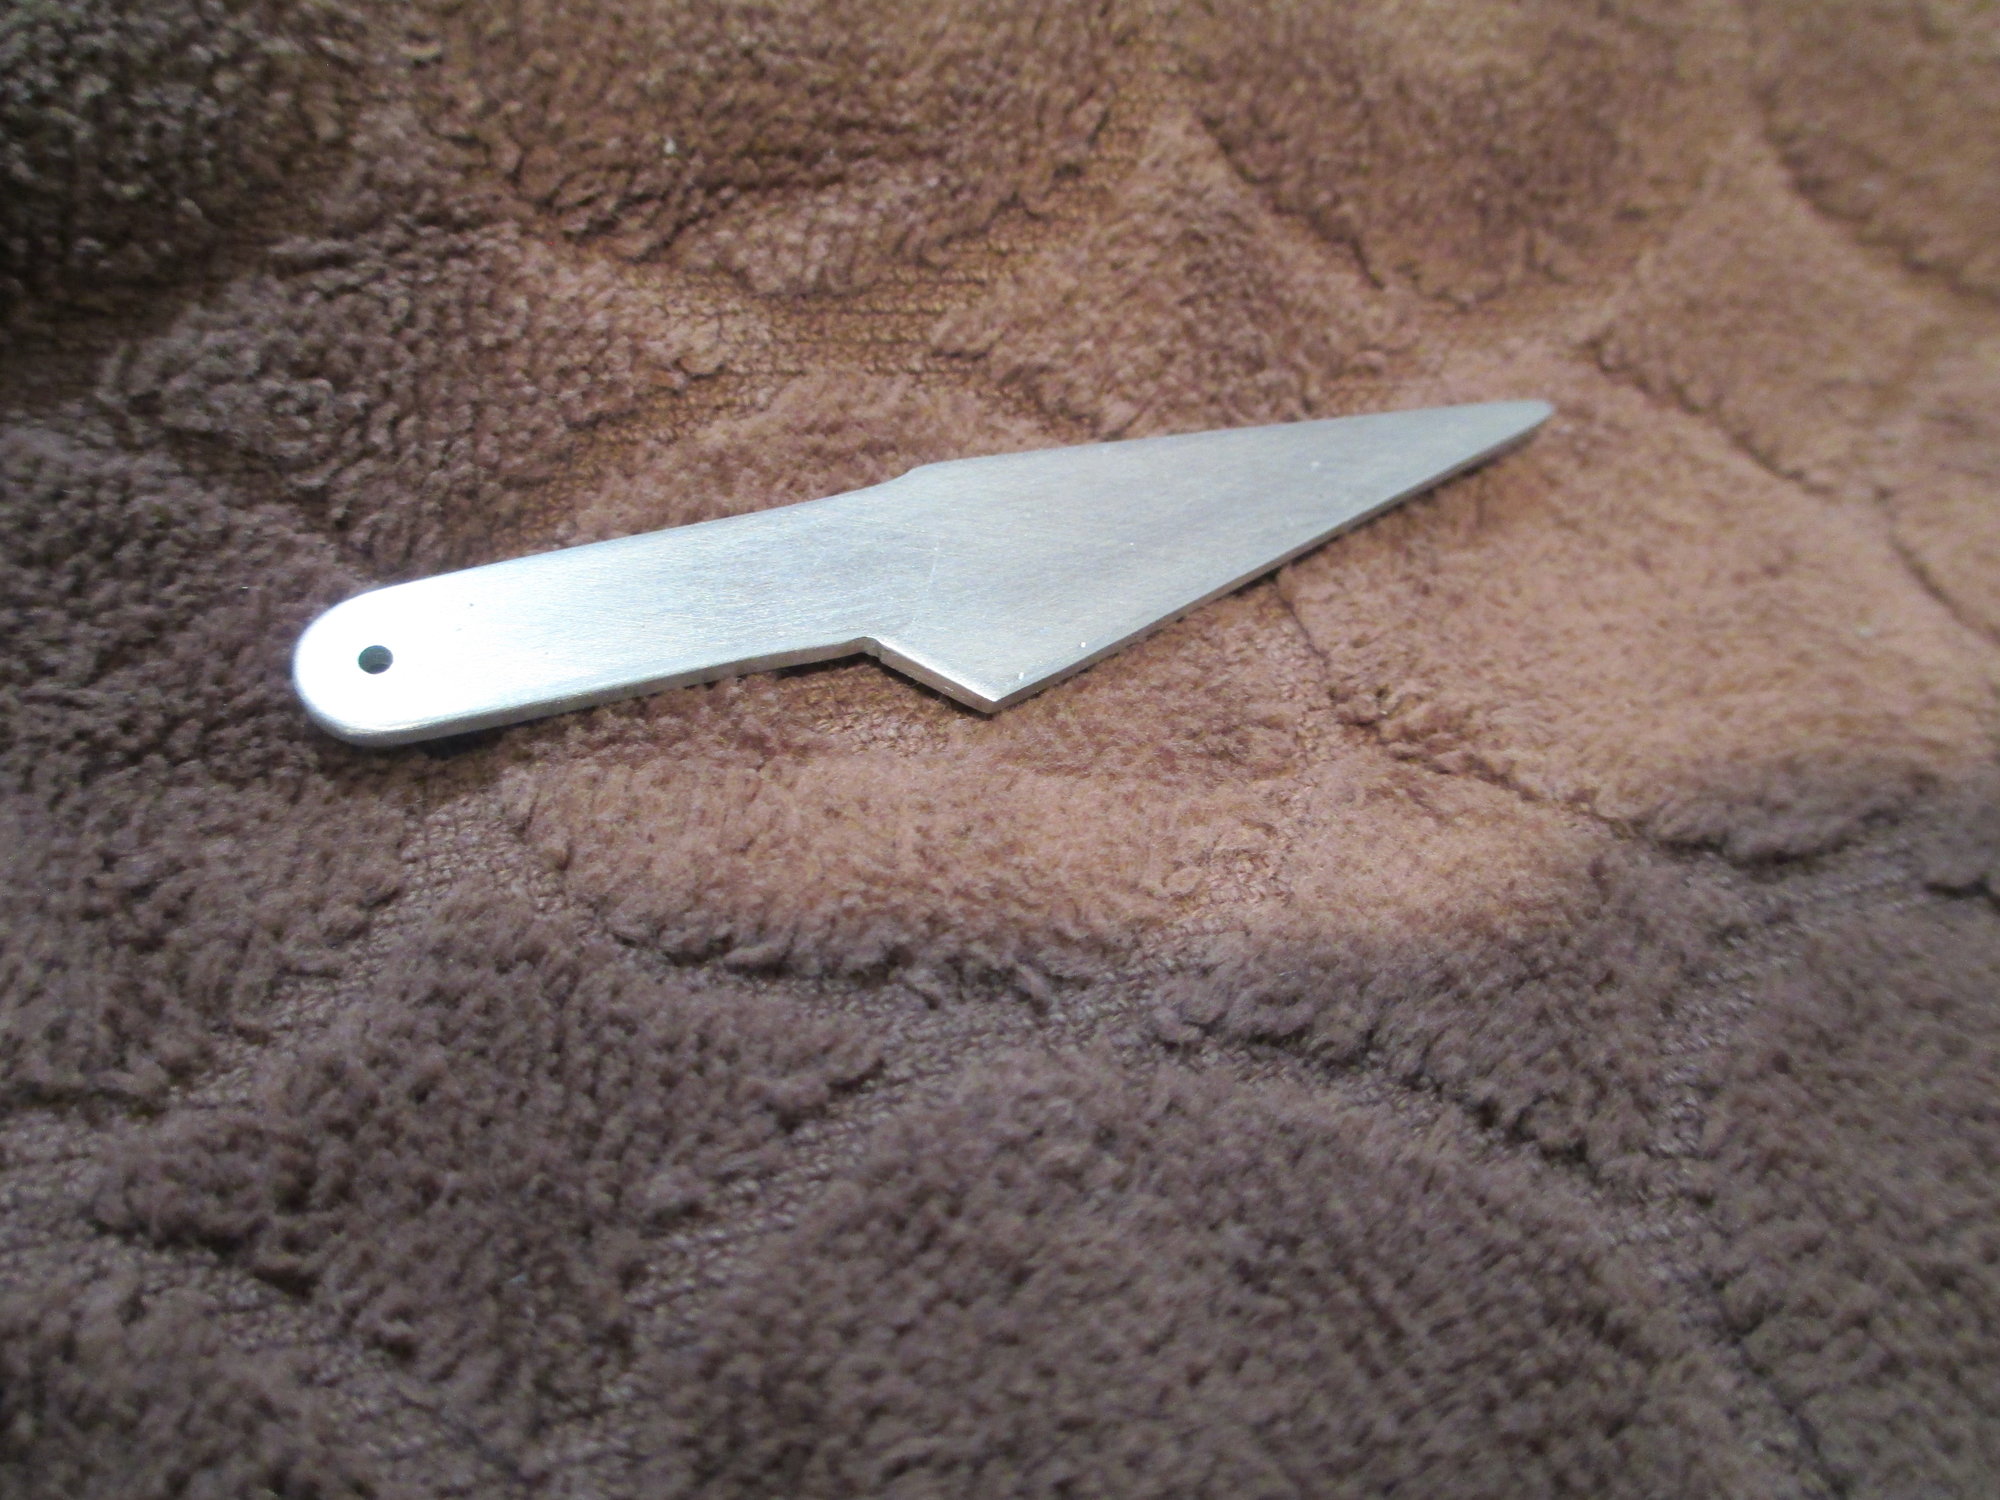
Finished product after a bit of hand filing. Light and strong. This should do the trick nicely.
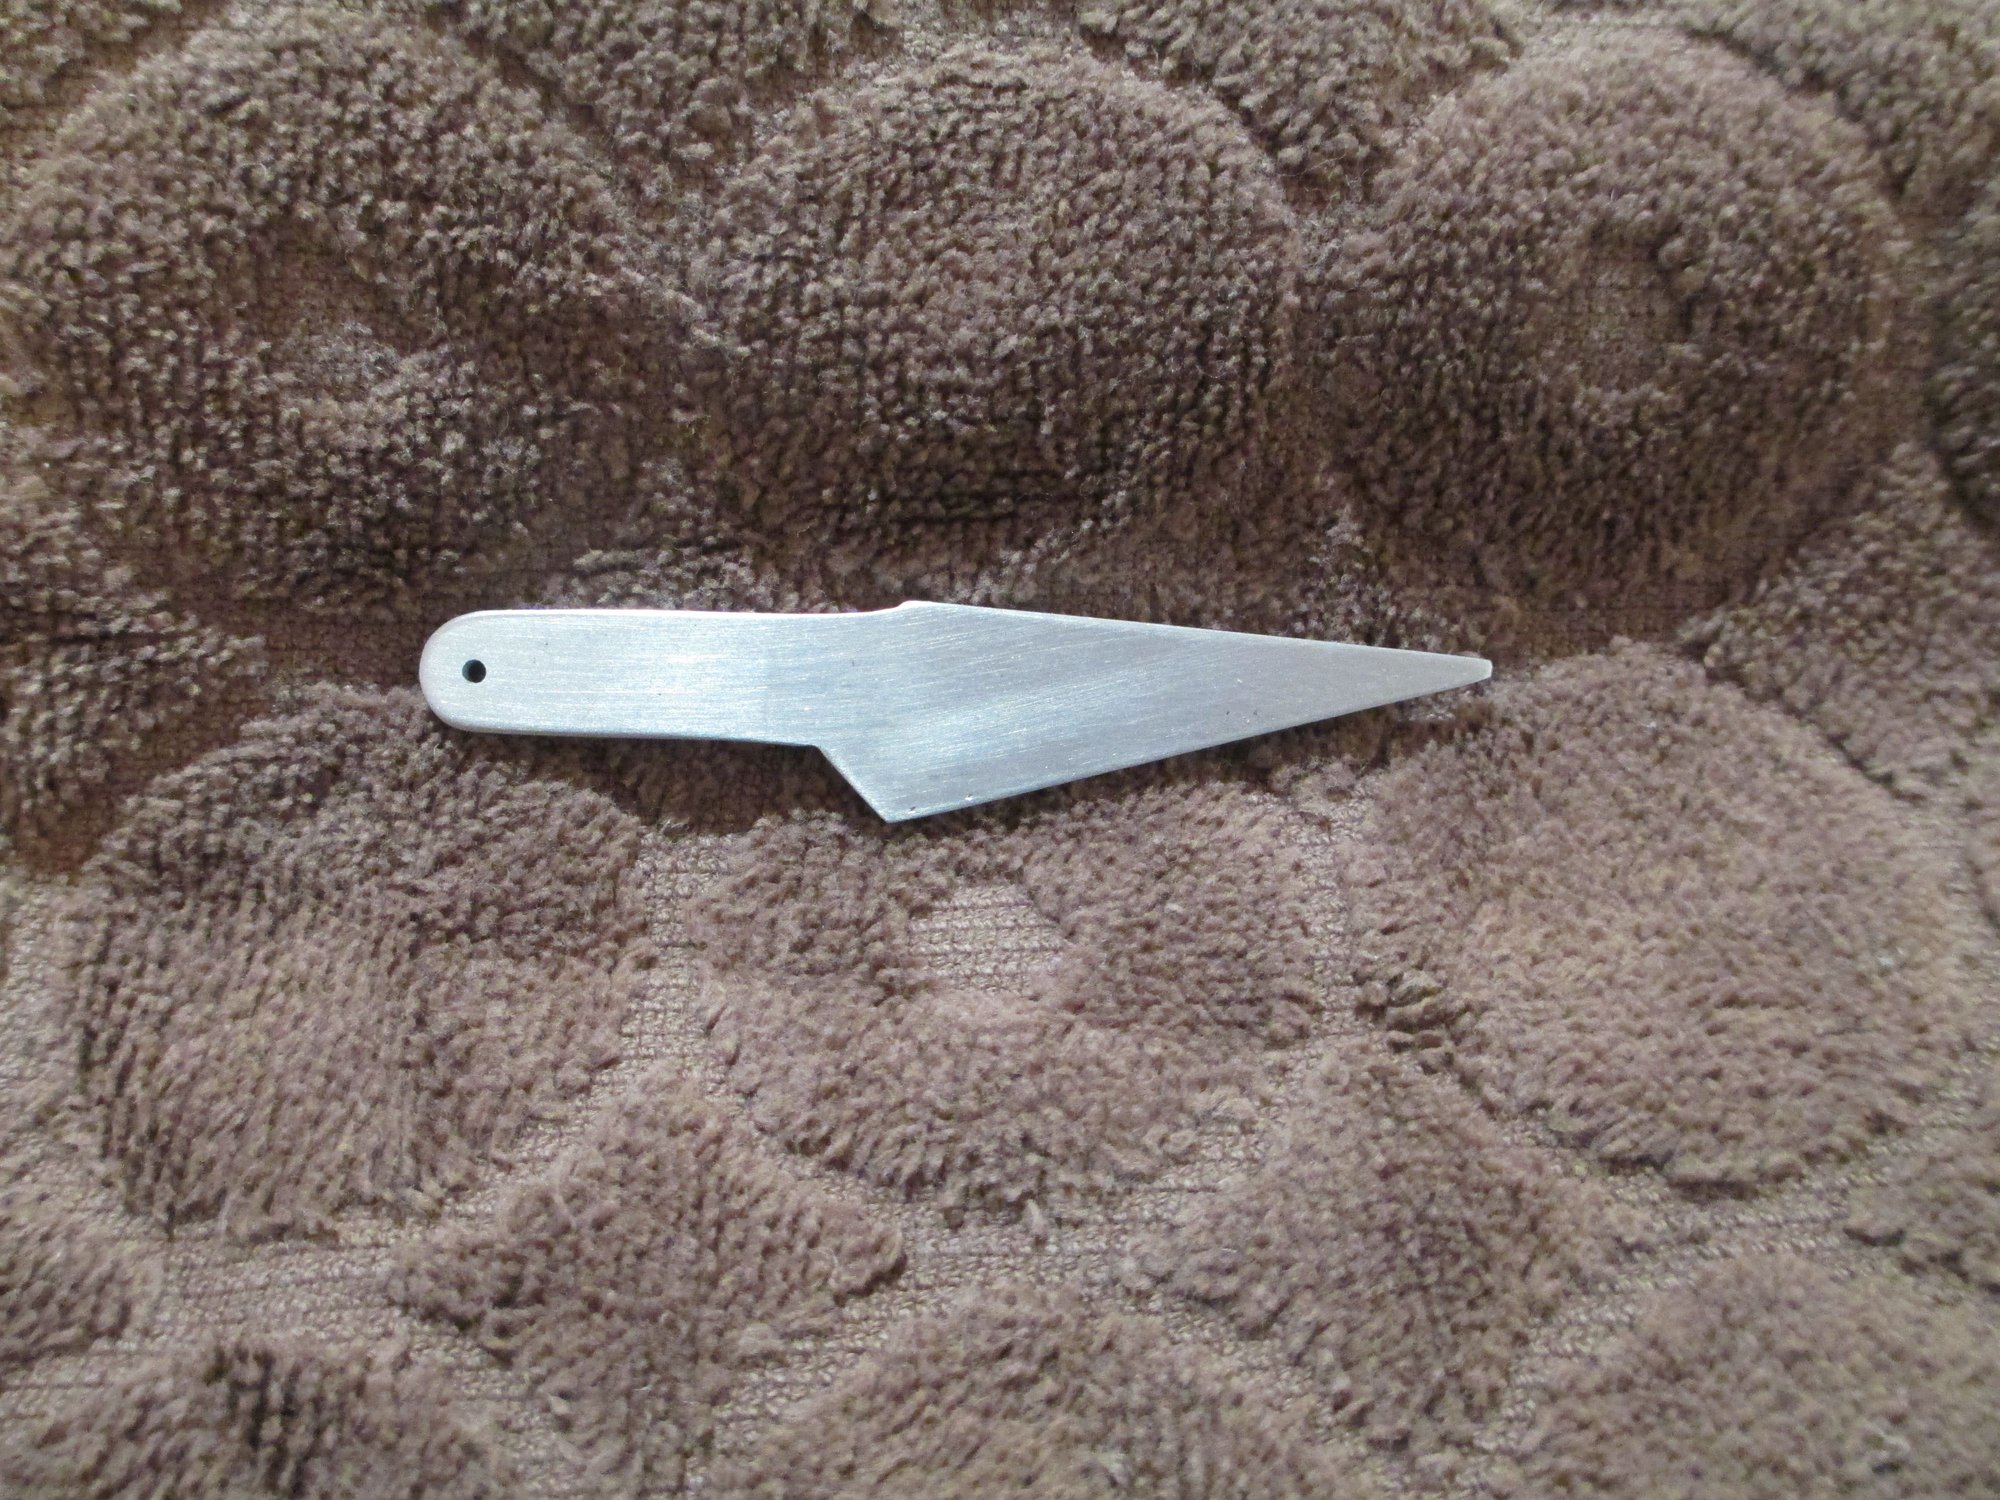
One down, one more to make!
Last edited by VincentJ; 10-25-2019 at 03:06 AM.
") 10-25-2019, 02:44 AM
10-25-2019, 02:44 AM
#373
Thread Starter
Hydro, that veil cloth is just a tad over one ounce per yard, your still better off using 3/4 oz cloth. In addition, surfacing veil can only be used with polyester or vinyl-ester resin. It will not work with epoxy. I gave up using polyester resin years ago because I couldn't take the strong odor. These days I use finishing resin made by Z-Poxy which is an epoxy.
https://robart.com/products/4-oz-118...inishing-resin
https://robart.com/products/4-oz-118...inishing-resin
Last edited by VincentJ; 10-25-2019 at 02:49 AM.