Ron Weiss 1/3 Fleet


 11-13-2013, 11:38 AM
#277

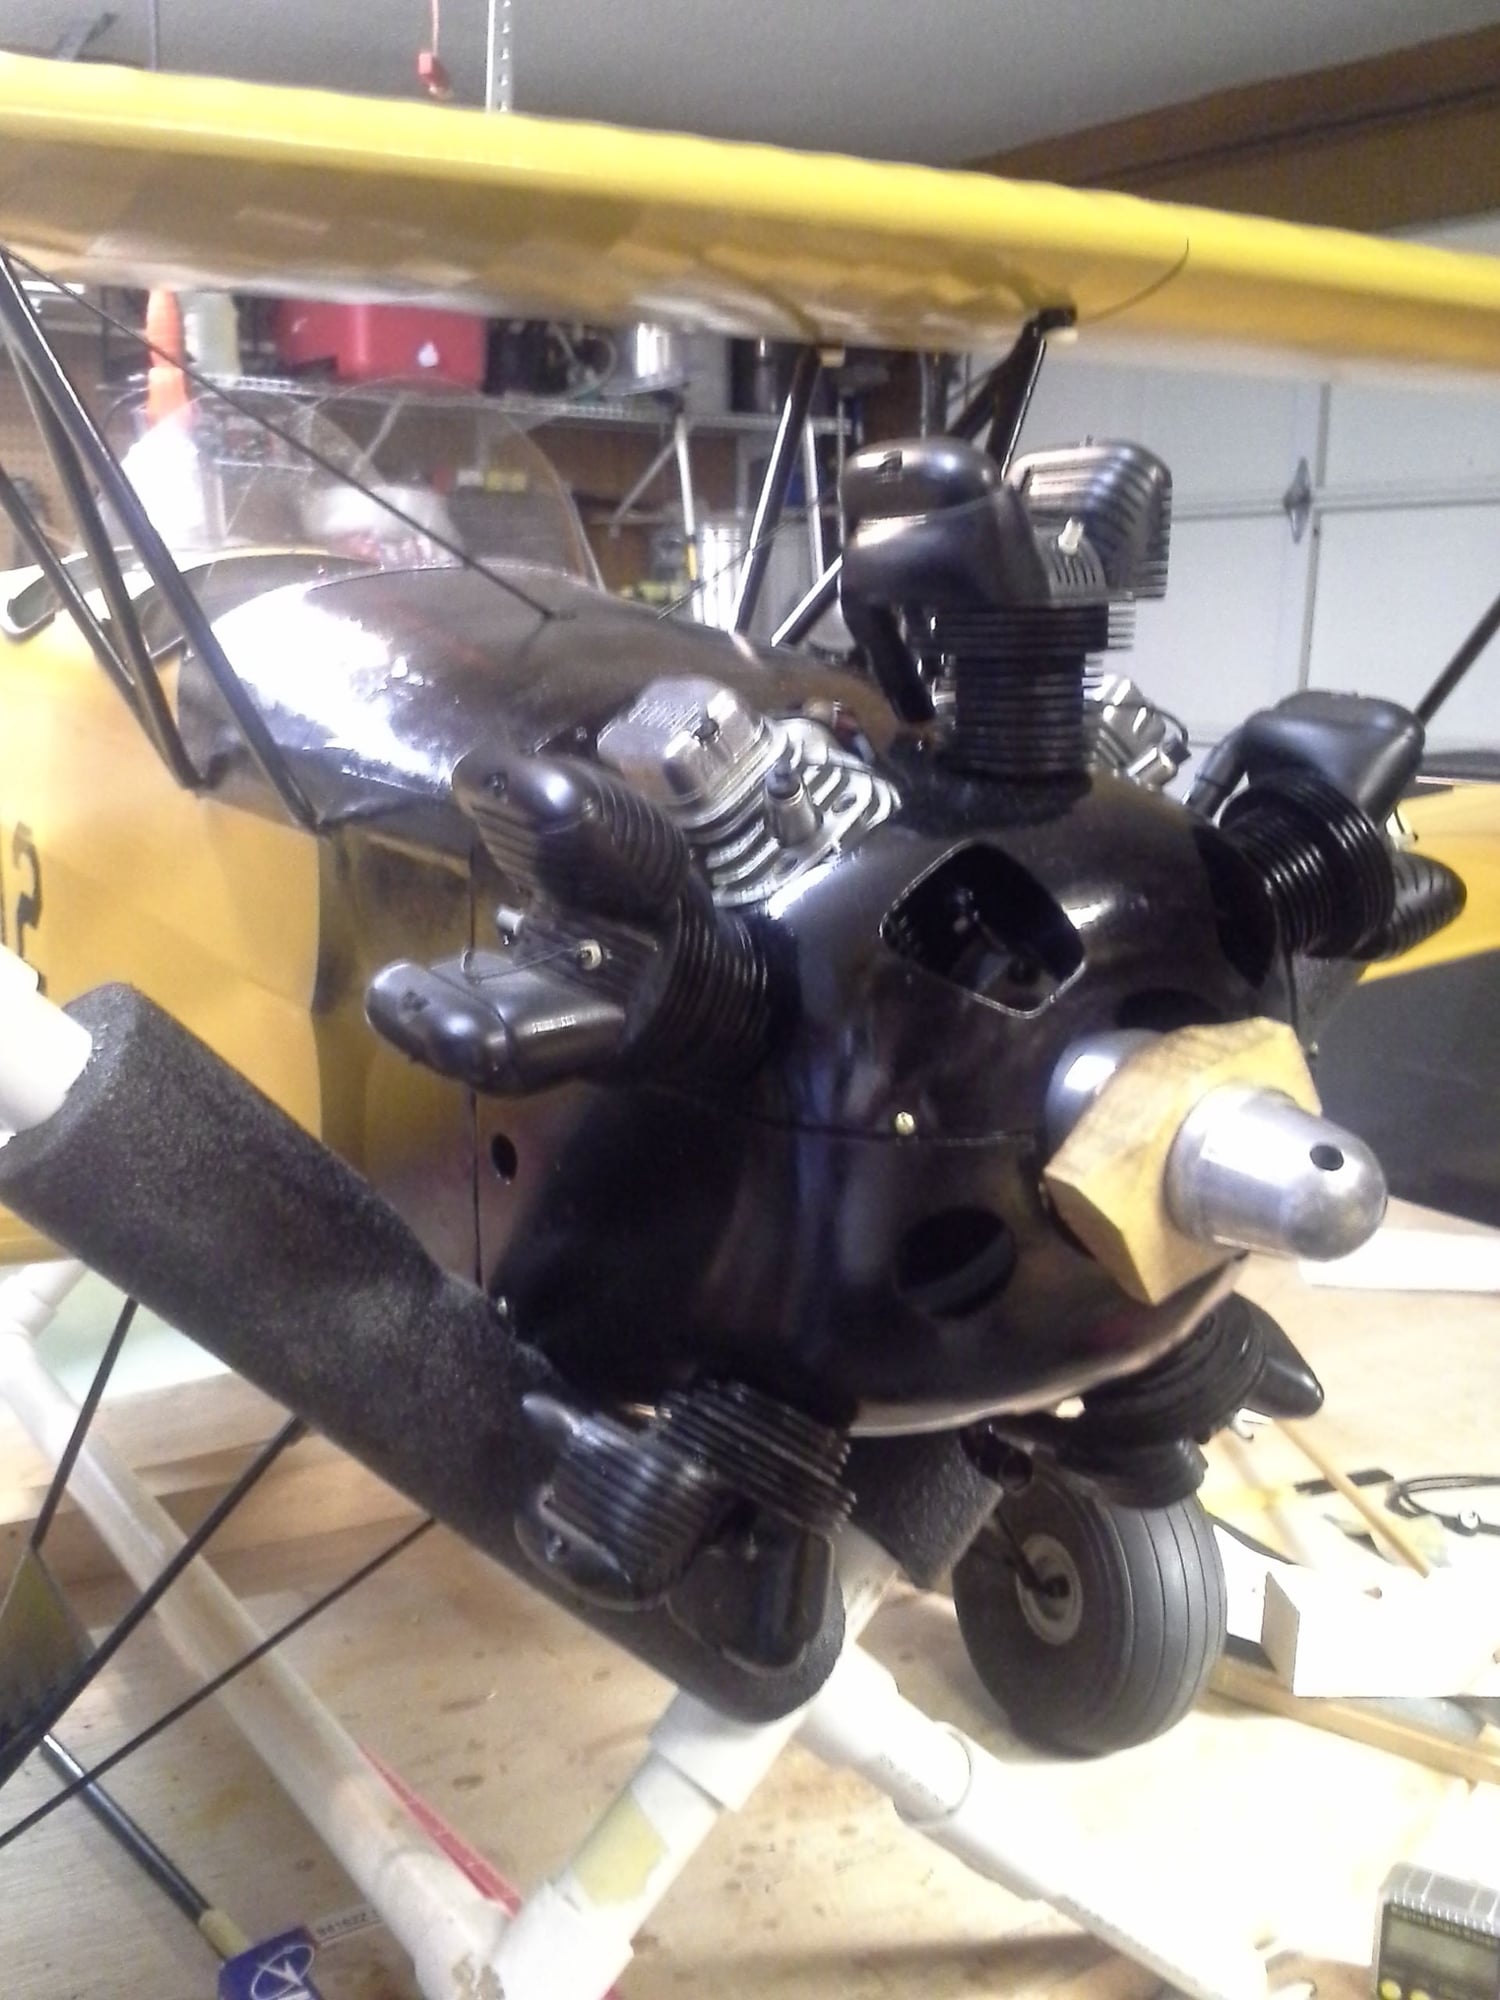
None made that I know of. I made mine per directions and really wasn't difficult to stack up a bunch of discs on a dowel. The tops were cut from maple.
The real challenge came from mounting them to the cowl in a visually believable fashion. I took an old prop and used it as a template to spin about the crank, then moto tooled a lot of wood away and came out with:

The 1/3 scaler is an exact duplicate so once the trim flights are over, we'll break out the moto tool.
Ray W.
The real challenge came from mounting them to the cowl in a visually believable fashion. I took an old prop and used it as a template to spin about the crank, then moto tooled a lot of wood away and came out with:
The 1/3 scaler is an exact duplicate so once the trim flights are over, we'll break out the moto tool.
Ray W.
11-20-2013, 11:17 AM
#278
More details that needed attention before a full on rig was initiated. The 1/4 Fleet I have uses wood screws to secure the wings to the spar extensions and, over time, wallowed out and became loose requiring an occasional CA application to tighten up the fit.
This time, I elected to embed a blind nut in each blade. The forward blades you'll note the drilling did not go through so as to hold on to some of the strength of the ply blade. I figured, if I drilled all the way through, it would provide a weakness point that could fail on high g loads. Well, that's my story and I'm sticking to it.
On the large forward blade, I slotted the wood to provide access to insert a 4-40 blind nut with attending plastic tube to keep the epoxy out of the hole and foul the cap screw.
Ray W.
12-06-2013, 08:28 AM
#279
Struts are now made from 1/8 CRS rod with a 4/40 cap screw brazed on the ends to allow precision adjustment and positioning of the wings/Incidence.
My first attempt I used silver solder (not the soldering iron variety). Good and strong but eventually ended up brazing with bronze rod.
After they were fitted , I slid 1/2 inch alum. streamlined extrusion over it with a 1/8" square maple stick to tighten things up within. The socket heads were filed flats so the extrusion wouldn't slip around the rod.
Cabanes are 5/16 CRS with 6/32 socket cap screws brazed onto the end. All the connectors will be Dubro 4-40 large scale rod connectors. The cabane connectors will be drilled and tapped to 6-32. Testing the tensile strength in a vise is good with no breakage or slippage.
I've 12 more large scale fittings on order through my LHS and may be in today so all is basically on hold.
Next up is devising some sort of AOA measuring apparatus.
Ray W.
 12-06-2013, 10:32 AM
#281
Thanks for the suggestion Bob.
I can swing without the digital meter but I have to get the 36 inch bar as the wings are 16.5 inch in chord. I don't thing the bar, as is would work. Care to measure yours to see what the max wing chord they could support?
I homemade my last set for the 1/4 Fleet but can't seem to find them.
Ray W
I can swing without the digital meter but I have to get the 36 inch bar as the wings are 16.5 inch in chord. I don't thing the bar, as is would work. Care to measure yours to see what the max wing chord they could support?
I homemade my last set for the 1/4 Fleet but can't seem to find them.
Ray W
12-06-2013, 05:40 PM
#282
Robart makes a 36" Parallel Bar part #404029M
http://www.robart.com/products/36-meter-bar
I have one of these and it can be used with the clamps from the short bar (18.5") incidence meter.
http://www.robart.com/products/36-meter-bar
I have one of these and it can be used with the clamps from the short bar (18.5") incidence meter.
04-11-2014, 11:59 AM
#283
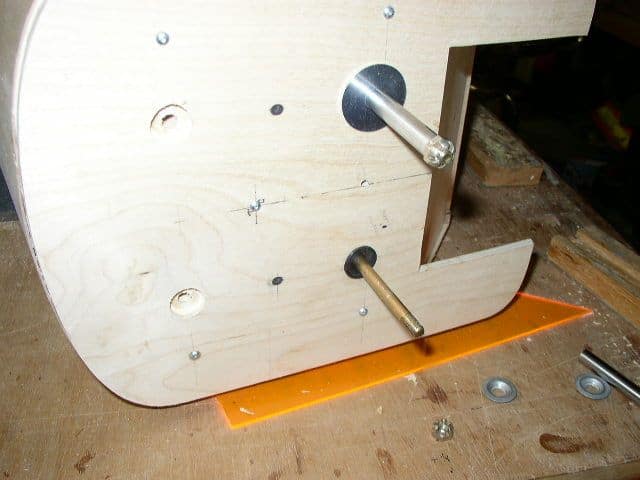
Driving me absolutely nuts is getting the rigging and alignment spot on or at least as close as I can make it. Anal retentive maybe the operable word but the straighter and true she is, the easier to fly.
All of the struts are finished. Most are 5/32 CRS rod that has socket cap screws brazed on and tested to assure the strength expected. This allowed me to use the jumbo clevis ends to be used to make truing everything easier. So I thought. I'd adjust here and over there something went out. Readjust that and the other went South. Key is the angle of attack and dihedral.
I got my 4 degrees of lower wing dihedral easily enough with only one of the two landing wires. Top wing is very long but very straight and no warps. The right lower wing has developed a bit of a warm of almost 2 degrees wash in but may be pulled out with enough time under pressure.
Interestingly, what ever I set up and leave overnight will have some movement and twist noticed the next day. Wood and fabric will absorb and dry with the weather so having such an accurate meter can make dialing it in much more rattling. I used bubble levels on my 1/4 Fleet and flew just fine.
Some pix if this thing still works as I remember.
Ray W.
04-11-2014, 12:05 PM
#284
Forgot to add that after trim flights , the rods will be faired with 3/8 K&S Aluminum streamlined stock. I made some up but decided to wait until all were made and trim flights over and save some time.
Ray W.
Ray W.
09-24-2014, 03:17 PM
#285
All rigging complete. Two days of rigging the final cabane with 1/8th Steel braid cable. Went with that as it is the easiest and most flexable when the wings are removed. Last detail is to make the engine cylinders. Those are all traced out and just need the gumption to cut them out.
On the Concept Fleet, I've begun to remove the fabric and inspect the wings for transmittal damage. Well, I found very little and No spar damage found. The plywood spice blades took the brunt of twist and hem and haw. All but one of the blades fractured at the point where they merged major assys together. I was most surprised. The socket head screws that kept the joiner blades in their pockets sheared and made removal most time consuming.
I'm still to tackle the fuse but I know it has some firewall damage and gear attach mounts needing to replace. While I'm in the fuse, I'll change the walking beam servo setup to each elevator having it's own servo. I'm stoked as I think this will be ready for Spring. Well, that's my schedule. I'm put the TBF off a while longer.
Pix:
Last edited by Kinner; 09-24-2014 at 03:27 PM.
09-24-2014, 03:21 PM
#286
I tried to capture the joiner blade detail and how they snapped at the point between assemblies.
During therebuild , I'll splice the top wing into one as Retransit has done to his Fleet, and , since the fuse needs major repair, I'll make the lower wing a one piece as seen on some Fleets. No FAA form 337 will be required yet.
Amazing how much I can get done when I'm out of work. Sorta forced retirement.

Ray W.
During therebuild , I'll splice the top wing into one as Retransit has done to his Fleet, and , since the fuse needs major repair, I'll make the lower wing a one piece as seen on some Fleets. No FAA form 337 will be required yet.
Amazing how much I can get done when I'm out of work. Sorta forced retirement.
Ray W.
Last edited by Kinner; 09-24-2014 at 03:29 PM.
01-08-2017, 02:08 PM
#288
Yes , the 1/3 scale is complete except for final balancing. No flight yet. I'm a bit concerned over my choice of powerplant. OS 300 twin sits up front but I'm feeling the weight and began to think about it. Enough power to fly but I don't know about any hot stuff.
Besides, I'm not able to find a flying field big enough for it. My last club was 45 miles away and recently left for greener pastures. Closer field is too small with very tall trees that used to eat my sailplanes.
All in , it is a beauty with a hand carved pilot and will probably let some one own the bird and take what ever from it. It is big enough to nearly fill my garage.
Thanks for the interest.
Ray W.
01-10-2017, 03:34 PM
#289
Junior Member
Join Date: Oct 2004
Location: Greenwich, NY
Posts: 2
Likes: 0
Received 0 Likes
on
0 Posts
That's too bad , I hope you find a field that will be big enough soon. Please make many pics and or video when she flies.
I will post some pics as soon as I'm done with the struts and landing gear and get the wings on the fuse.
Your build log was very helpful during the build because the plans are kind of unclear about several things.
Like the Balsa USA planes I've done this one will also be all Electric , using the Rimfire 65 CC
Anybody else out there building this plane right now ?
01-12-2017, 06:44 AM
#290
 12-08-2020, 08:28 AM
#293
The following users liked this post:
anothercrashpilot (12-08-2020)
12-09-2020, 05:39 AM
#294
Join Date: Jul 2014
Posts: 4
Likes: 0
Received 0 Likes
on
0 Posts
Between my wife and I, we've got five birds to finish up this winter. We're hoping to be able to fly at Rhinebeck this next year. That's if the world kind of returns to normal that is lol.
It looks like you'd come along pretty far with yours. Had you ever found a source for dummy cylinders or were you going to make them yourself. It seems, these days, like there should be some 3D printed ones available somewhere.
Tony
12-09-2020, 07:35 AM
#295
It is getting more rare to host those who build vs. RTFs. Likely the reason this site is not as active as it once was. I'm largely out of the hobby at this time for various reasons but do miss the actual building side of modeling. I've my trusty 1/4 Concept Fleet that I made the cylinders for. Just tedious cutting balsa and ply disc stacked up on a 1/4 dowel per plans. Some band saw work and Vous La! Hard, was attaching the cylinders to the fiberglass cowl. But, it survives.
Ray W.
Ray W.
The following users liked this post:
Jeremy_n_Germany (12-01-2021)
01-27-2024, 02:05 PM
#296

Hello Guys,
Been awhile with a post in the thread and hope to revive it a little bit. I was able to acquire a Ron Weiss 1/3 Fleet built and has been flying on a G62. I have a UMS 150 Radial I am thinking about installing in the airplane. I have gone through the thread and if I missed it, I do apologize, How did the airplane fly at the recommended CG on the plans and how much ballast did you have to use? I have the plans on order from Zirolli, but I have not received them yet. Thanks for any inputs you can provide. I think it would be awesome with the 150 Radial on it, but at 10.3 pounds, might be too much. Here are a couple pictures of the airplane I purchased.
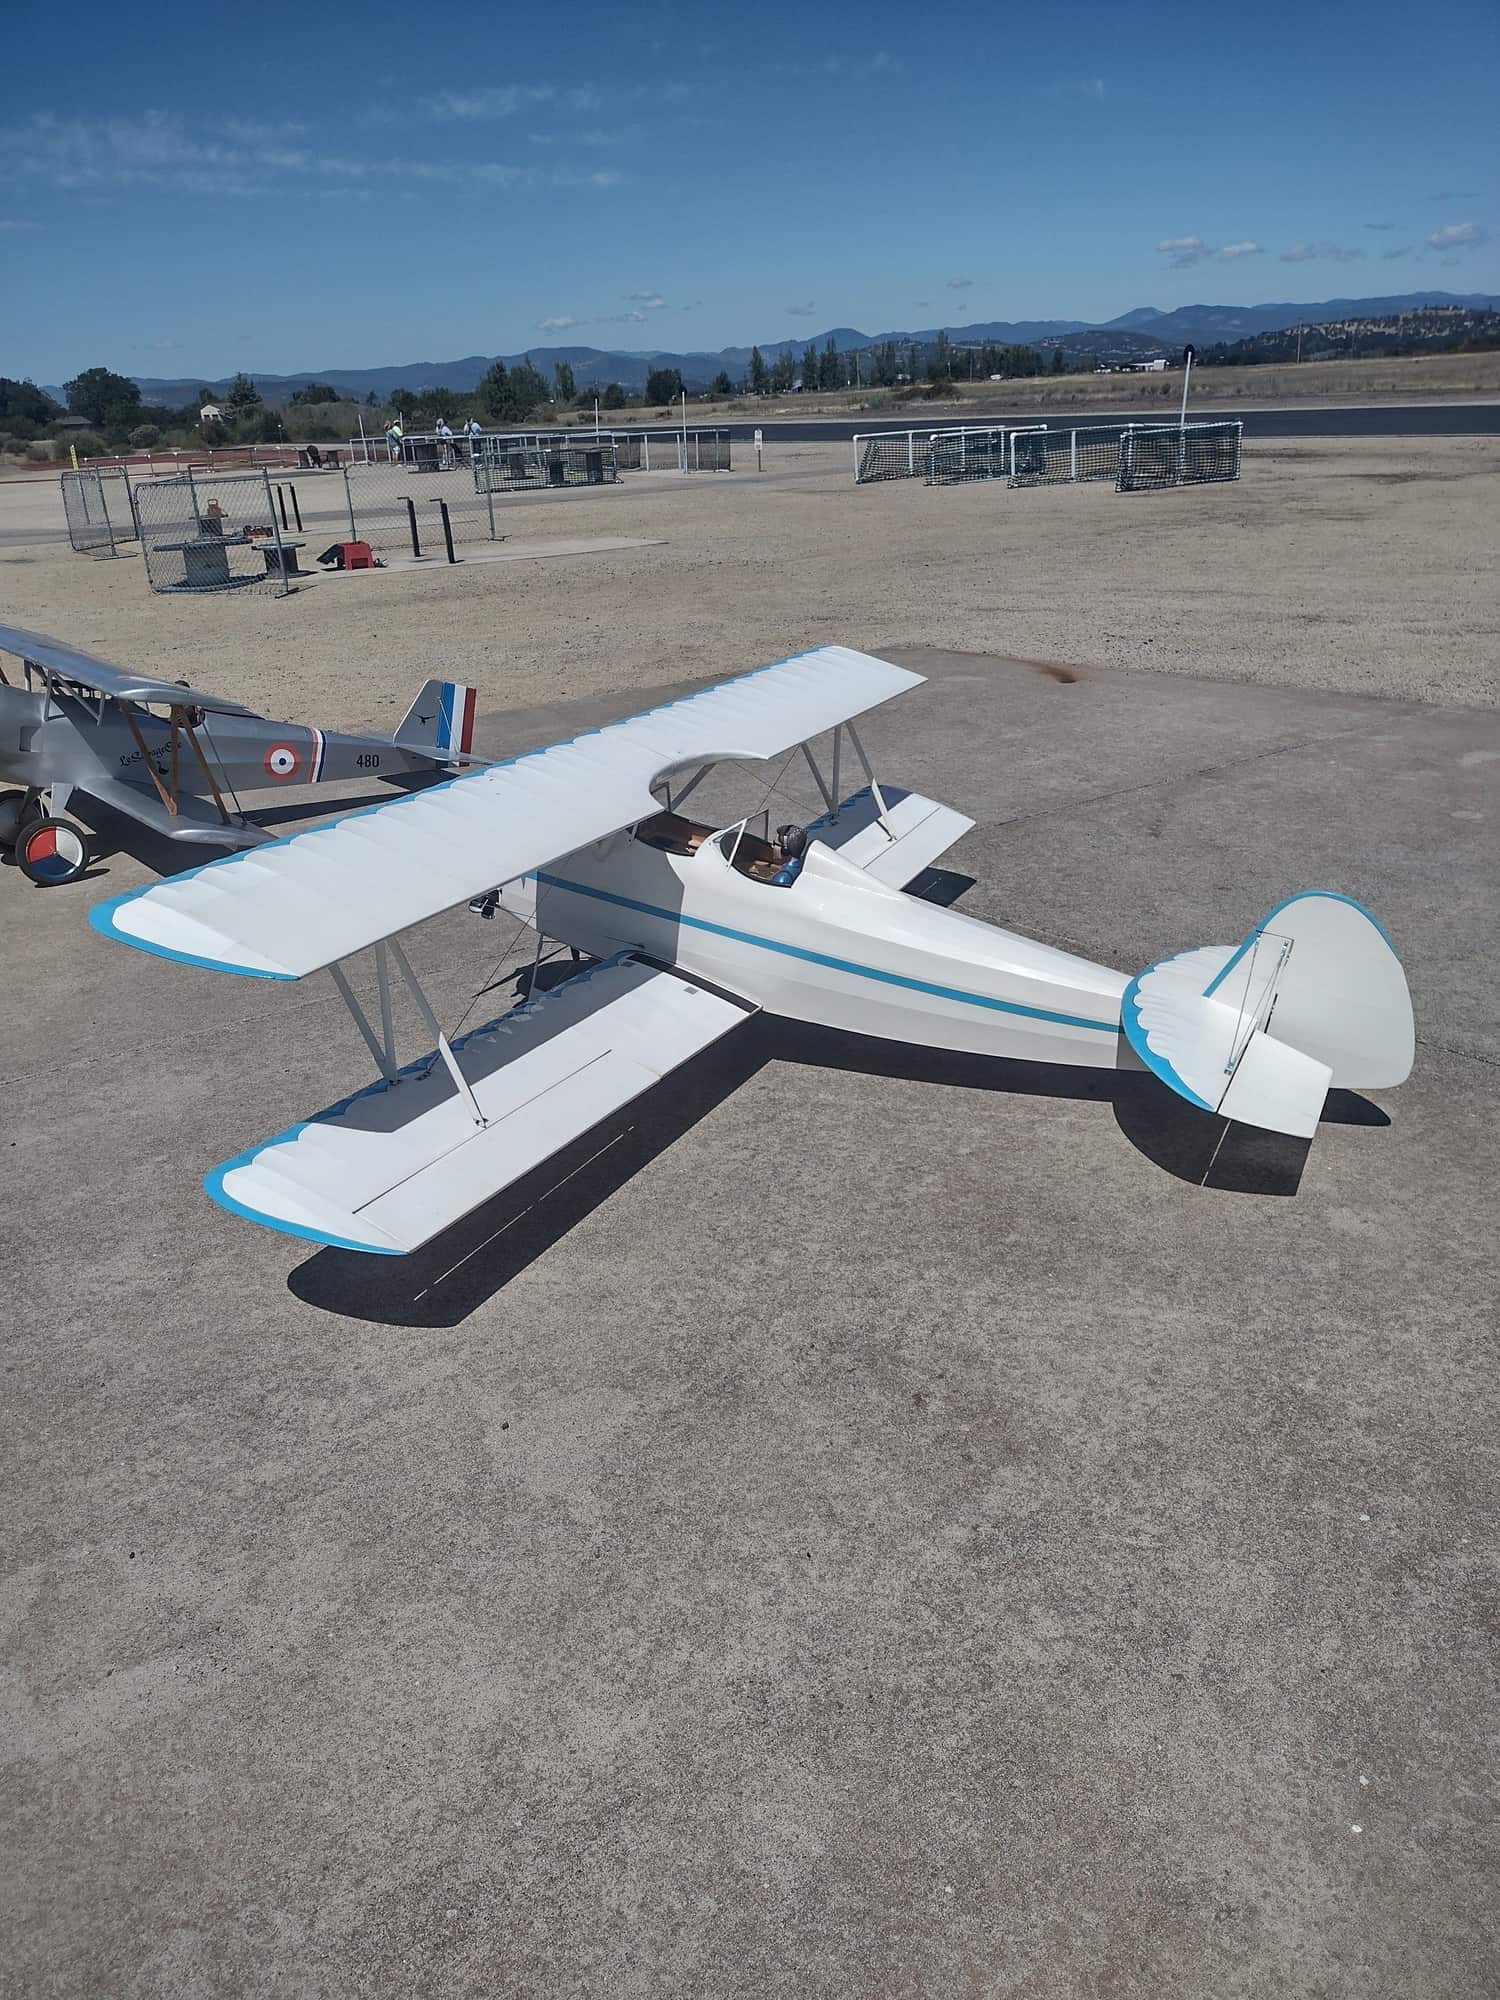

Been awhile with a post in the thread and hope to revive it a little bit. I was able to acquire a Ron Weiss 1/3 Fleet built and has been flying on a G62. I have a UMS 150 Radial I am thinking about installing in the airplane. I have gone through the thread and if I missed it, I do apologize, How did the airplane fly at the recommended CG on the plans and how much ballast did you have to use? I have the plans on order from Zirolli, but I have not received them yet. Thanks for any inputs you can provide. I think it would be awesome with the 150 Radial on it, but at 10.3 pounds, might be too much. Here are a couple pictures of the airplane I purchased.
01-29-2024, 07:39 AM
#297
Very nice find. My 1/3 build stopped at balancing and has been laying collecting dust since except some oiling of the engines. That written, I don't know any variables from the plan CG location
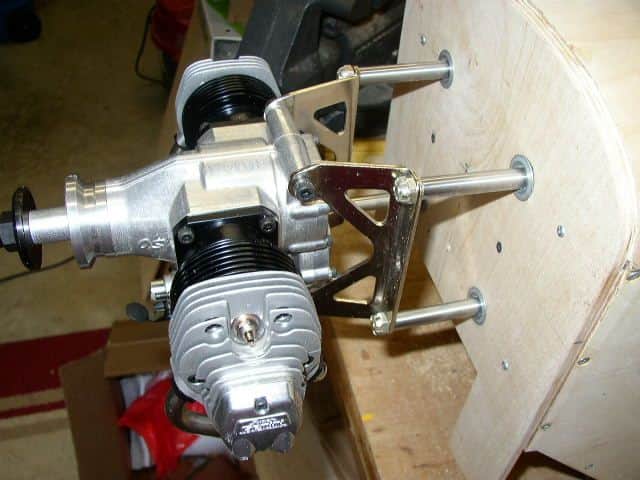
Rubber spacers between the mount washers.
. I do know, I put everything possible as far forward as possible. I've strapped an OS Gemini 300 with onboard glow, dual batteries for the RX. Still seemed to need weight fwd. I designed my own vibration rubber mounts and standoffs. Since health is an issue , I've lost enthusiasm. Great looking flying field to boot.
01-30-2024, 08:43 AM
#298
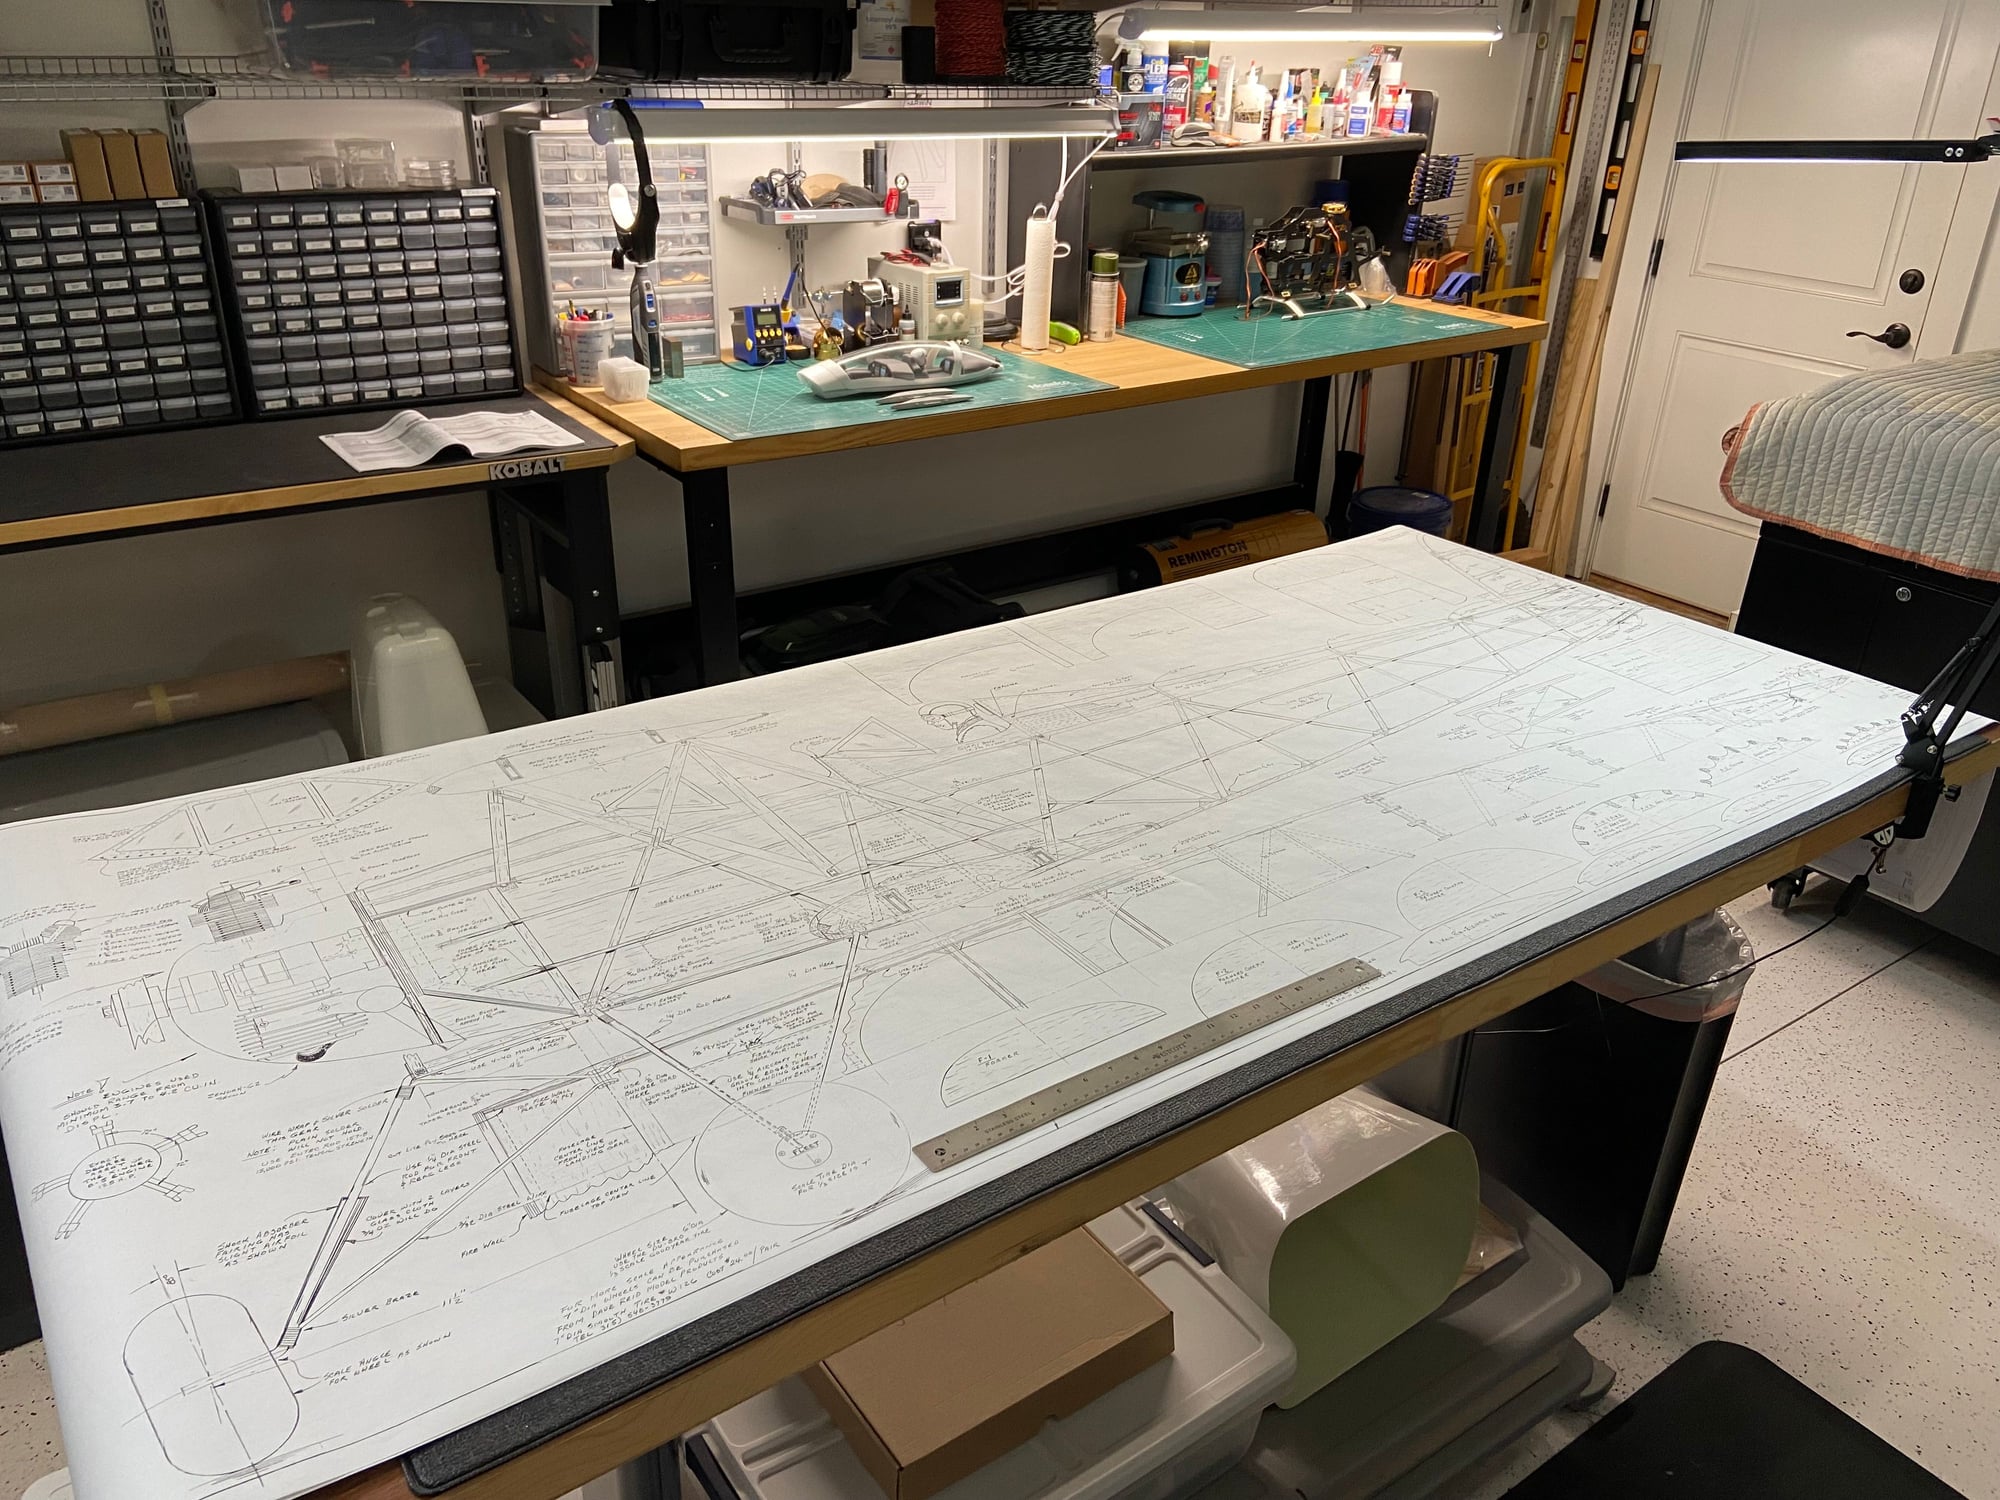
Thanks Kinner, The UMS 150 is around 11 pounds with all the running gear and prop. I might need to move some components back, but I should not need any nose weight to get it to balance. My plans from Zirolli are on the way and will be nice to have them for reference. I go pick up the airplane this weekend and will start working on this coming week. I do plan on scanning the plans and converting all the parts to CAD and I want to build another with fixed center wing section and a couple more upgrades. I will post updates if there is interest.
I hope you get yours finished and flying! Your doing an excellent job on it!
I hope you get yours finished and flying! Your doing an excellent job on it!
02-02-2024, 11:48 AM
#300