


Carl Goldberg Ultimate 10-300 Brotherhood.
 03-30-2014, 10:52 AM
#1501
Junior Member
Join Date: Mar 2014
Location: Wettingen, Switzerland
Posts: 9
Likes: 0
Received 0 Likes
on
0 Posts
Hi Mike, thanks for your input and photos from earlier postings. The wire goes through the wing with the two built in brass ferules and the tube between them easily. The problem is the initial line up from leading edge, through the front caban upturn and lining that with the front ferule. I conclude a wing bolt is the way to go. First I will fill in the space between the wing and the aluminium horizontal. That way the incidence is fixed. Then a single bolt in front of the middle bulkhead and through the two horizontal ply braces. I will bond a hardwood strip under the aluminium member, then I can install a captive nut. (M5 size, this gives plenty of thread engagement and I will use a nylon bolt.)
The drawback of American kits in Switzerland is we cannot replacement US screw sizes. My solution is to throw these pieces out and convert to metric.
Best regards, TrevorCH
The drawback of American kits in Switzerland is we cannot replacement US screw sizes. My solution is to throw these pieces out and convert to metric.
Best regards, TrevorCH
 03-30-2014, 11:02 AM
#1502

My Feedback: (6)
Wie gehts TrevorCH. I am working on the same kit and I am also using the wire to anchor the top wing. I built in internal guides for the wire that help some with this alignment, but you are correct in saying that the bolt on wing should be less problem. Please post pictures of your finished plane. Have fun flying her!
03-30-2014, 11:15 AM
#1503
Member
Join Date: Jan 2012
Location: Athens, GREECE
Posts: 84
Likes: 0
Received 0 Likes
on
0 Posts
I hear you Trevor…….I always replace all nuts, bolts etc with metric (I live in Greece)
5mm bolts into M5 captive nuts will be more than adequate.
Be very careful when you are drilling the holes for the bolts as 1mm error in the center translates 10-15mm at the wing tip.
mike
5mm bolts into M5 captive nuts will be more than adequate.
Be very careful when you are drilling the holes for the bolts as 1mm error in the center translates 10-15mm at the wing tip.
mike
03-30-2014, 11:31 AM
#1504
Junior Member
Join Date: Mar 2014
Location: Wettingen, Switzerland
Posts: 9
Likes: 0
Received 0 Likes
on
0 Posts
Hi Mike, I will leave the wing fully mounted with the outer cabane struts in place, remove the centre wire and then drill straight thru. As long as I can keep the drill perpendicular, not always easy freehand. I added the latest picture in my gallery.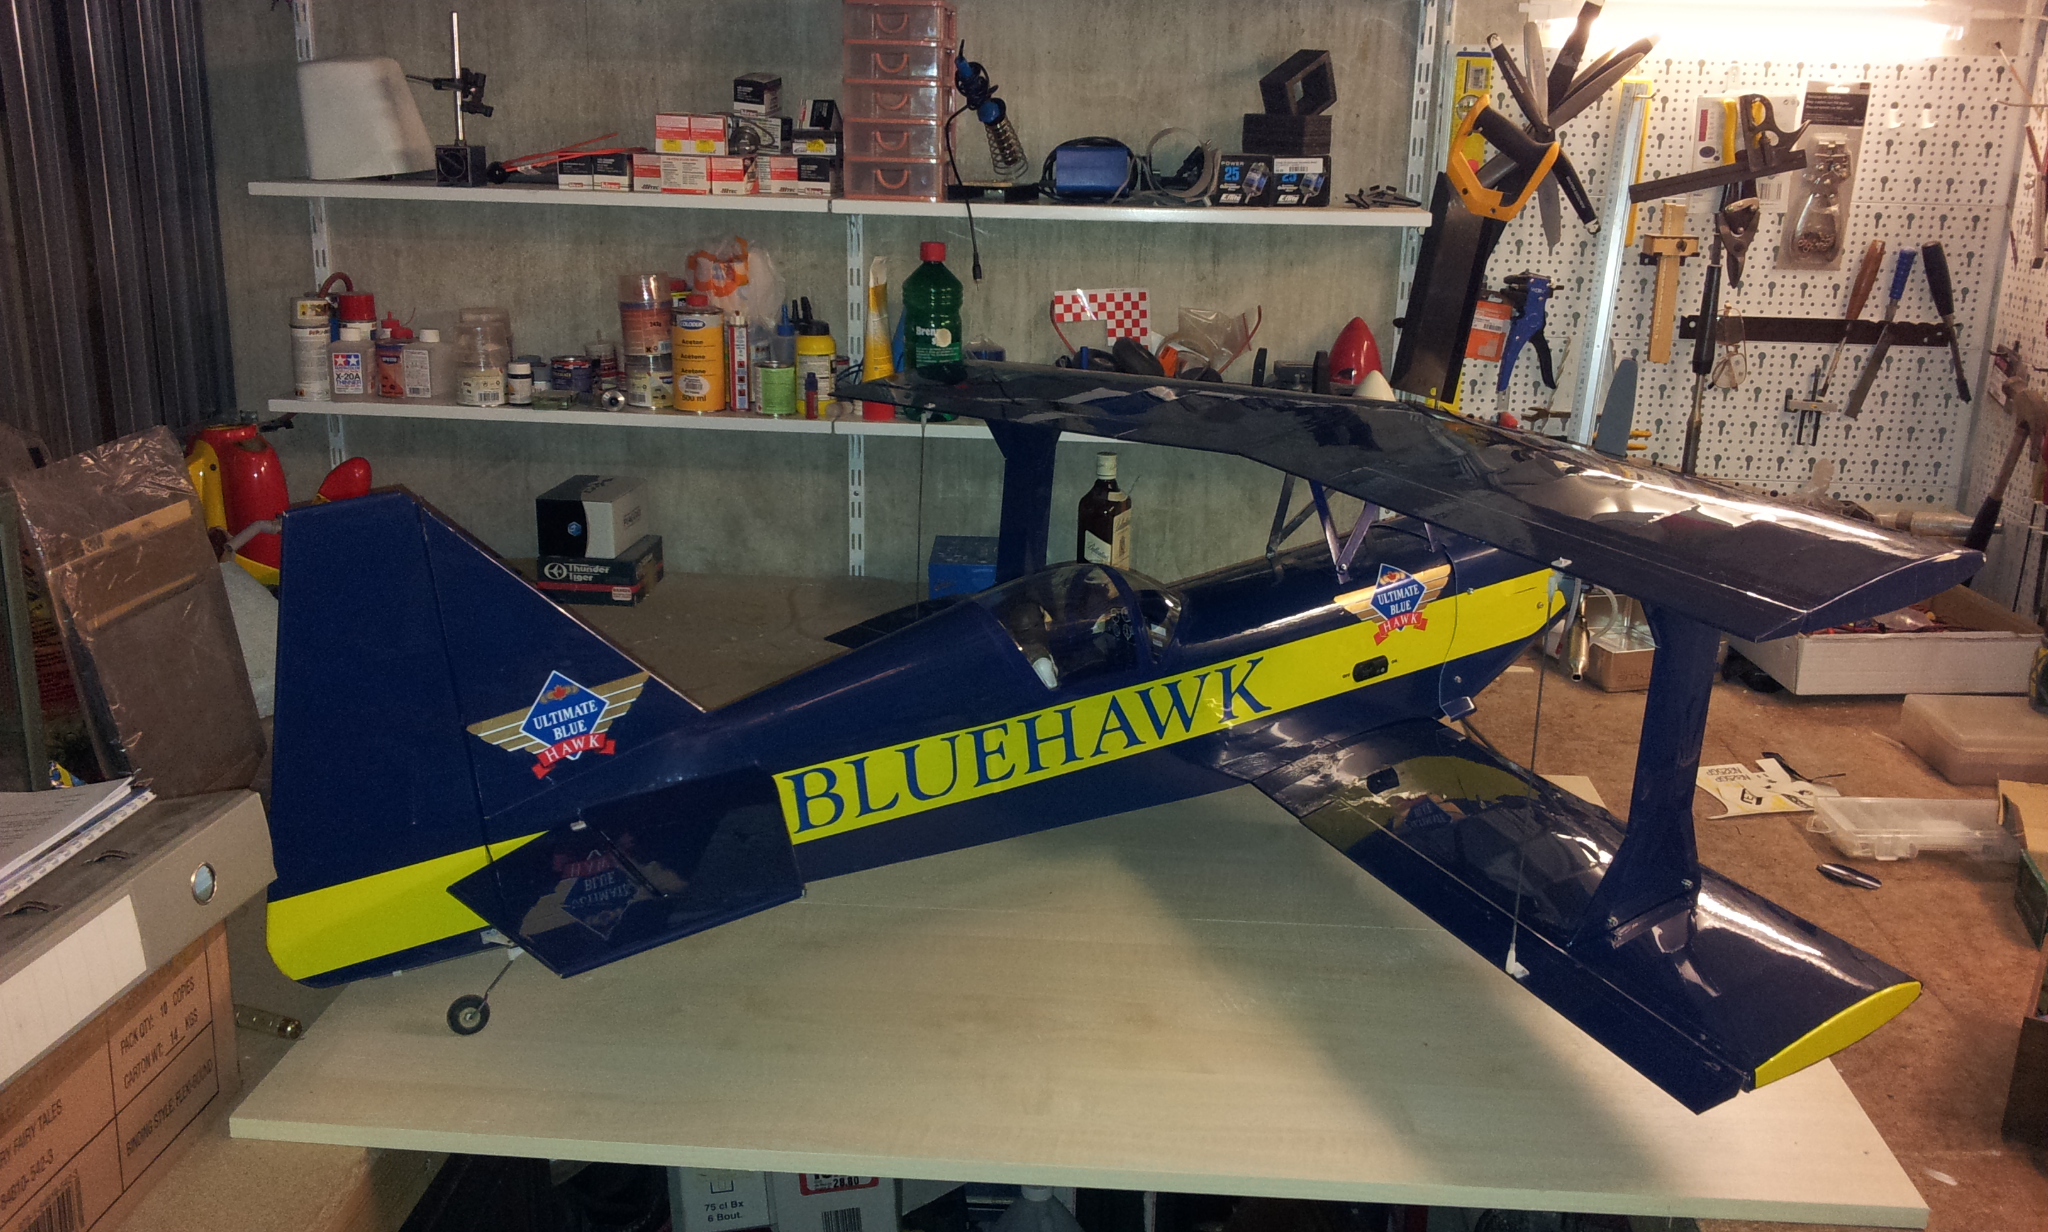
Also found out how to insert, as above.
Cheers TrevorCH
BTW, I am English , not Swiss, just lived here for 21 years.
Also found out how to insert, as above.
Cheers TrevorCH
BTW, I am English , not Swiss, just lived here for 21 years.
03-30-2014, 11:56 AM
#1506

Join Date: Jun 2008
Location: Os, , NORWAY
Posts: 41
Likes: 0
Received 0 Likes
on
0 Posts
One trick to make the wire mounting easier is to align the top mounting bracket using the struts. This is done by first fitting the top mounting brackets to the wing using the wire before you bolt the bracket to the caban. The mount the top wing to the bottom wing using the struts only. This will now allow you to easy shim the mounting bracket to the correct height before bolting it on and will avoid having to use up/down pressure on the center of the top wing to get the wire to fit its internal sleeve as you assemble the model at the flying field. I used to spend a lot of time at the field trying to get the darn wire in. Once I did the alignment the other way around, life has been much easier.
However, as I will be rebuilding both wings on my model as they're both slightly warped and gives a poor flight performance (can't get a straight loop) I will be redoing both the struts mounting and the center plate mounting. Not yet decided on what it will be but there has to be an easier way of doing it.
- Thomas
03-31-2014, 09:45 AM
#1509
Junior Member
Join Date: Mar 2014
Location: Wettingen, Switzerland
Posts: 9
Likes: 0
Received 0 Likes
on
0 Posts
Dear Mike, Mustangherb and Thomas,
Having tried various suggestions kindly provided, to get the centre wire in more easily, it was little if any improvement, so I made the centre bolt modification.
Starting with the wings fully installed and after rechecking zero incidence, I shaped a packer to go between the underside of the wing and the horizontal cabana bar.. Removed the top wing and the metal bar and then drilled a hole through the bar at the position between the main spars and the 2nd cross piece. This was then fitted back to the wing and my drill went straight through the two gussets (Removed the wire before drilling through the wing of course) I then glued a 6mm ply plate under the bar, drilled it to match and fitted a 4mm blind nut.
Now fitting the top wing is first time every time and the packer makes sure the incidence cannot shift. I will use a 4mm nylon bolt, if I can find one, otherwise a steel bolt. The top of the wing may need some reinforcement to stop it being squeezed too much. I don't think this changes the crash proofness, since the 8 steel screws fixing the outer cabanas will destroy the wing in any major prang, however the centre is fixed. Now just waiting for my GRP spats to arrive and she will be ready for engine tests and first flight. (Pilot figure is a female head and shoulders called Jeanette, had to be.)
Best regards, TrevorCH
03-31-2014, 11:48 AM
#1510
Member
Join Date: Jan 2012
Location: Athens, GREECE
Posts: 84
Likes: 0
Received 0 Likes
on
0 Posts
Forget “crash proofness” if you beef it up here it will break there and so on.
Simply build it to fly well.
Use the metal 4mm bolts as possibly nylon ones of that size may be tasked to the limit.
Many years ago a friend was flying a 1/3 scale Christen Eagle and the top wing parted company with the aeroplane. He managed to land the plane but needed a case of beers to calm him down afterwards.
What engine are you using?
mike
03-31-2014, 11:49 AM
#1511
Member
Join Date: Jan 2012
Location: Athens, GREECE
Posts: 84
Likes: 0
Received 0 Likes
on
0 Posts
Thomas have a look at my modification for the strut mounting.
It takes very little time for assembly and it is very sturdy.
See my posts #932 935 940 1001 1002
mike
It takes very little time for assembly and it is very sturdy.
See my posts #932 935 940 1001 1002
mike
03-31-2014, 11:53 AM
#1512
Junior Member
Join Date: Mar 2014
Location: Wettingen, Switzerland
Posts: 9
Likes: 0
Received 0 Likes
on
0 Posts
Hi Mike,
OS 120 Surpass. Model came out at 9 UK pounds. With servos more or less in the middle and 1100mAh battery just behind, dry C.o.G was just 1cm behind the most forward position. I agree about the steel bolt.
Cheers TrevorCH
OS 120 Surpass. Model came out at 9 UK pounds. With servos more or less in the middle and 1100mAh battery just behind, dry C.o.G was just 1cm behind the most forward position. I agree about the steel bolt.
Cheers TrevorCH
04-06-2014, 08:56 AM
#1513
Member
Join Date: Jan 2012
Location: Athens, GREECE
Posts: 84
Likes: 0
Received 0 Likes
on
0 Posts
FYI
http://www.ebay.com/itm/Carl-Goldber...item1c3ecb1084
kit is described as NIB but missing the cowl
http://www.ebay.com/itm/Carl-Goldber...item1c3ecb1084
kit is described as NIB but missing the cowl
Last edited by mikmerl; 04-06-2014 at 08:59 AM.
04-07-2014, 01:22 PM
#1514

I think the last one on ebay complete went for about $250. ... Even buying a Fibertec cowl for $30.00 added to the outlay... its a CG Ultimate!!! .. these are getting harder to find. I have 2 kits NIB for reserves.. Maybe one day a kit cutter will start cutting this one since GP/Goldberg will probably not re-release the absolute best selling/flying kit (beyond a basic trainer) that was released. Hmmmm....... I wonder if there was some royalty agreement with Dave Patrick on this and the Extra?
Last edited by ThunderBoat42; 04-07-2014 at 01:26 PM. Reason: new touch screen tablet + ole guy typos :-)
04-07-2014, 10:26 PM
#1515

My Feedback: (1)
Join Date: Feb 2007
Location: madera, CA
Posts: 82
Likes: 0
Received 0 Likes
on
0 Posts
Hi guys. My name is rick. I'm in search of a bottom wing for my DP ultimate .40/ cremark ultimate 40. I guess these will interchange. The wing span is 43.5" any one have one? Does not have to be new or match the covering maybe even needing minor repair.Btw I have 3 ultimates got to be my favorite bipe!
04-08-2014, 10:14 AM
#1516
Join Date: Jun 2008
Location: Os, , NORWAY
Posts: 41
Likes: 0
Received 0 Likes
on
0 Posts
Another possibility would be to make a sort of snap on mounting where the struts are slotted in and pulled backwards a bit to be locked in place with a pin. Not sure if that would be easy to do at all.
Thomas
04-08-2014, 10:18 AM
#1517
Join Date: Jun 2008
Location: Os, , NORWAY
Posts: 41
Likes: 0
Received 0 Likes
on
0 Posts
TrevorCH. Could you post a picture or two on how you did your top wing mounting? Makes it so much easier to get to grips with it than imagining bits an pieces here and there 
Thomas
Thomas
 04-13-2014, 05:10 PM
#1519
Join Date: Sep 2002
Location: Concepcion, CHILE
Posts: 355
Likes: 0
Received 0 Likes
on
0 Posts
OK, more progress!!!
Wheelpants reinforcement and anti-rotation bolt:


Fiberglass primed, sanded and with 3 hands of jet White lustrkote:

After a few monkote stripes I will put glossy clear coat on them.
Monokote began today!!!!


That's all for today.
Saludos,
Jean Paul
Wheelpants reinforcement and anti-rotation bolt:
Fiberglass primed, sanded and with 3 hands of jet White lustrkote:
After a few monkote stripes I will put glossy clear coat on them.
Monokote began today!!!!
That's all for today.
Saludos,
Jean Paul
04-14-2014, 08:42 AM
#1520
Junior Member
Join Date: Mar 2014
Posts: 3
Likes: 0
Received 0 Likes
on
0 Posts
I was trolling eBay for a few weeks and finally landed one at $187.00, shipped. Box was in good shape and the kit is, from what I can tell by the inventory sheet, complete! Most of the folks selling these kits are starting between 220 and 250 for "buy it now" option. Don't know what the original price was... I heard there is a fiber glass cowl available. Is that still the case? FiberTec only has the Cub cowl....
Pete
Pete
04-14-2014, 09:41 AM
#1521
My Feedback: (4)
Join Date: Jan 2002
Location: Westhampton Beach,
NY
Posts: 860
Likes: 0
Received 0 Likes
on
0 Posts
there are four kits listed right now...
http://www.ebay.com/sch/i.html?_nkw=...:MEFSRCHX:SRCH
Bill S.
http://www.ebay.com/sch/i.html?_nkw=...:MEFSRCHX:SRCH
Bill S.
04-14-2014, 12:18 PM
#1522
My Feedback: (17)

Join Date: Sep 2002
Location: Nokomis FL
Posts: 145
Likes: 0
Received 0 Likes
on
0 Posts
Pete,
I just got a nice one from Fiberglass Specialties. He has several varieties to suit different exhausts and engines and also has wheel pants and canopies.
Good luck,
Jim
I just got a nice one from Fiberglass Specialties. He has several varieties to suit different exhausts and engines and also has wheel pants and canopies.
Good luck,
Jim
I was trolling eBay for a few weeks and finally landed one at $187.00, shipped. Box was in good shape and the kit is, from what I can tell by the inventory sheet, complete! Most of the folks selling these kits are starting between 220 and 250 for "buy it now" option. Don't know what the original price was... I heard there is a fiber glass cowl available. Is that still the case? FiberTec only has the Cub cowl....
Pete
Pete
04-14-2014, 12:32 PM
#1523
Join Date: Sep 2002
Location: Concepcion, CHILE
Posts: 355
Likes: 0
Received 0 Likes
on
0 Posts
The ones I'm using are from Fiberglass Specialties.
very good quality, light. The wheelpants need some work on the seams.
i bought the "normal" cowl, it has the traditional shape...
very good quality, light. The wheelpants need some work on the seams.
i bought the "normal" cowl, it has the traditional shape...
04-15-2014, 04:17 PM
#1524
My Feedback: (2)
I was trolling eBay for a few weeks and finally landed one at $187.00, shipped. Box was in good shape and the kit is, from what I can tell by the inventory sheet, complete! Most of the folks selling these kits are starting between 220 and 250 for "buy it now" option. Don't know what the original price was... I heard there is a fiber glass cowl available. Is that still the case? FiberTec only has the Cub cowl....
Pete
Pete
see fiberglass specialties, they have the cowl.
edit.. nvm... I see 3 people already told you this... sorry!
04-15-2014, 04:19 PM
#1525
My Feedback: (2)
I was trolling eBay for a few weeks and finally landed one at $187.00, shipped. Box was in good shape and the kit is, from what I can tell by the inventory sheet, complete! Most of the folks selling these kits are starting between 220 and 250 for "buy it now" option. Don't know what the original price was... I heard there is a fiber glass cowl available. Is that still the case? FiberTec only has the Cub cowl....
Pete
Pete
$180 to $200 is probably a reasonable price for these kits. I know I've seen them for higher, but I've also seen them over the past year for much lower as well. Patience pays off.. I'm sure you could spend $300 to get one if you had to have it today, but in reality I think most I've seen sold were in the $180-$200 range.