


PT 40 parts
 09-12-2010, 04:34 PM
#1
Junior Member
Thread Starter
Join Date: Sep 2010
Location: , NJ
Posts: 3
Likes: 0
Received 0 Likes
on
0 Posts
Hello I am a new member and would like some help on building a kit I found at a yard sale.
I recently bought a PT40 trainer plane at a yardsale just to take a crack at building an RC airplane. Im 35 years old now and finally getting into the hobby specifically since it was something I wanted to do and never had the patience for. Now I have children and I want to show them things that I enjoyed when I was a child but never could get into.
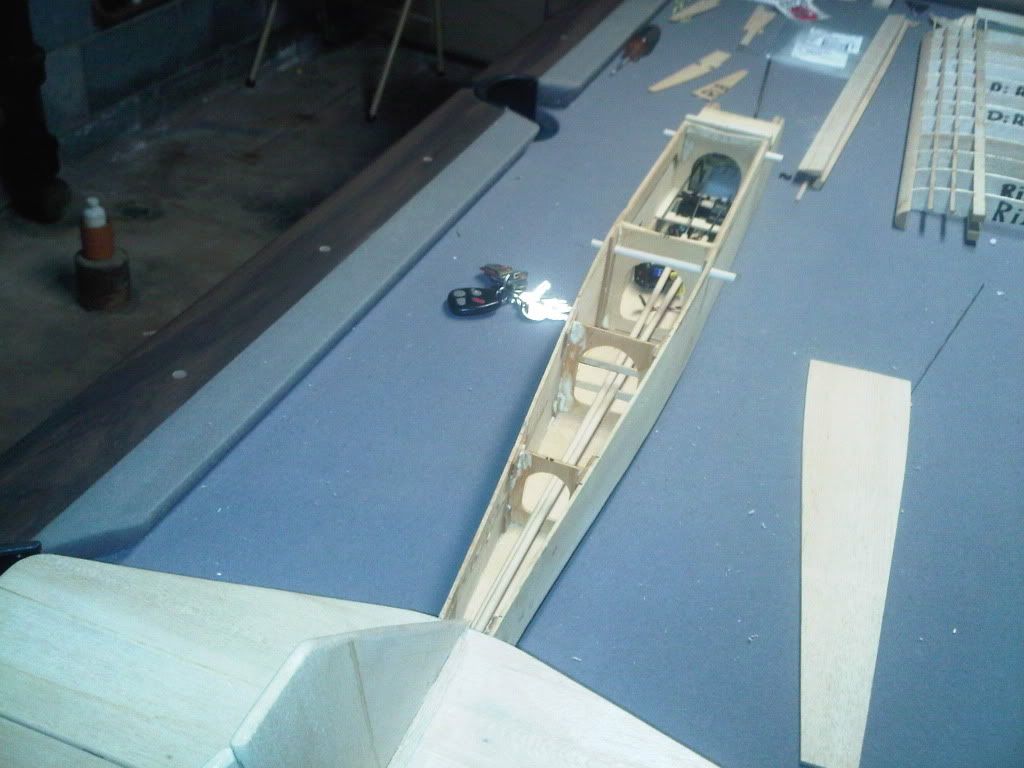
I basically bought this PT40 kit at a yardsale for $5 although the gentleman mentioned the plane was complete it was not. I wasnt too worried since the plane didnt cost witha whole lot but he did include the plans and some of the missing pieces I was able to cut out myself with the plans.
So far I am missing one of the wing front leading edges which I found online.
I am speaking with another hobby enthusiast online who is going to send me some missing parts I need for free.
I really dont have any questions but just showing my enthusiasm for my new hobby and sharing some photos. I am completely open to any advice though. Basically what you see in the photos is everything I had that would complete the kit other than thatI do have all the ribs for the other wing.
 09-12-2010, 05:02 PM
#3
Junior Member
Thread Starter
Join Date: Sep 2010
Location: , NJ
Posts: 3
Likes: 0
Received 0 Likes
on
0 Posts
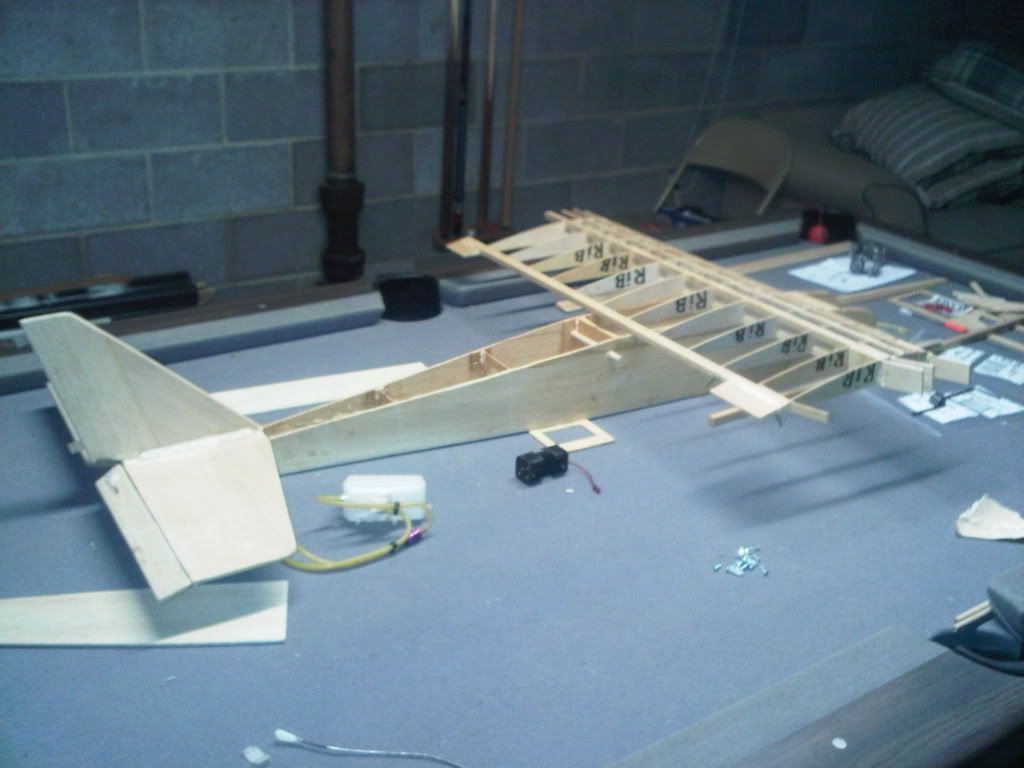
Thanks. I used gorilla glue to build the plane. It works well since Im able to sand it smooth without oversanding the balsa and when it foams up its quite light. The plane feels very sturdy so it should take crashing well.  Hopefully I can finish it and attempt to fly it. Im a beginner at flying so we will see. I definately have had alot of practice on flight sims for my PC but Im sure thats just a taste of what its really like.
Hopefully I can finish it and attempt to fly it. Im a beginner at flying so we will see. I definately have had alot of practice on flight sims for my PC but Im sure thats just a taste of what its really like.
09-12-2010, 09:20 PM
#4
Senior Member
You definetly got a great deal! I usually cover the fuselage and tali feathers seperatly before gluing them together. Cant tell from your pictures if they are glued on or not. No big deal if they are, some guys prefer to glue them up before covering. Just be sure to give her a good final sanding with at least 220 (preferably even finer like 400) before covering. The smoother the wood is, the smoother the finish wil be! Good luck and keep the pictures coming as you progress!  Looking good!
-Johnny-
Looking good!-Johnny-
