


View Poll Results: Would you like to see a Bro******** e-book published
Yes - that would be great !


17
73.91%
Not particularly


6
26.09%
Voters: 23. You may not vote on this poll
Bro rc Surfer Custom Boards
 08-25-2014, 02:38 AM
#926

Thread Starter

Join Date: May 2009
Location: Cape Towm, SOUTH AFRICA
Posts: 2,769
Likes: 0
Received 0 Likes
on
0 Posts
Howzit BC ......always good to hear from you...and even better to know you are looking to build another rc Surfer.
As for the difference between the two boards - Personally I could not chose between the two - the differences are very subtle - I have employed much the same rocker / POD shape / and geometry in both.
The 28" SUP ( with paddle) or CrackerJack ( without paddle) may have the edge over the Float�r in a tighter hollow and be ever so slightly more stable, due to its aspect ratio advantage - But ! - I would say it would really be down to the preferred board shape ....I fortunately have both so don't have to decide.....just enjoying surfing something different for now.....That said ....all my current orders are the CrackerJack shape - Both 36"and 28".
I do prefer the new Bro dude - it's buoyancy and stance work well...and has a far better scale ratio in respect to the board size.....surprisingly not effected by the wind as I may have thought....
Take Care !
 08-25-2014, 03:04 AM
#927
Thread Starter
Join Date: May 2009
Location: Cape Towm, SOUTH AFRICA
Posts: 2,769
Likes: 0
Received 0 Likes
on
0 Posts
28" CrackerJack board - Hatch-cover - head - Bro core - de-moulded and trimmed .... inset moulded into the hatch cover is to accommodate a 4s lipo pack whilst keeping the boards volume down, reducing the required righting weight.


08-25-2014, 03:48 AM
#928
Thread Starter
Join Date: May 2009
Location: Cape Towm, SOUTH AFRICA
Posts: 2,769
Likes: 0
Received 0 Likes
on
0 Posts
Footpad heel extensions and carbon reinforcement applied.

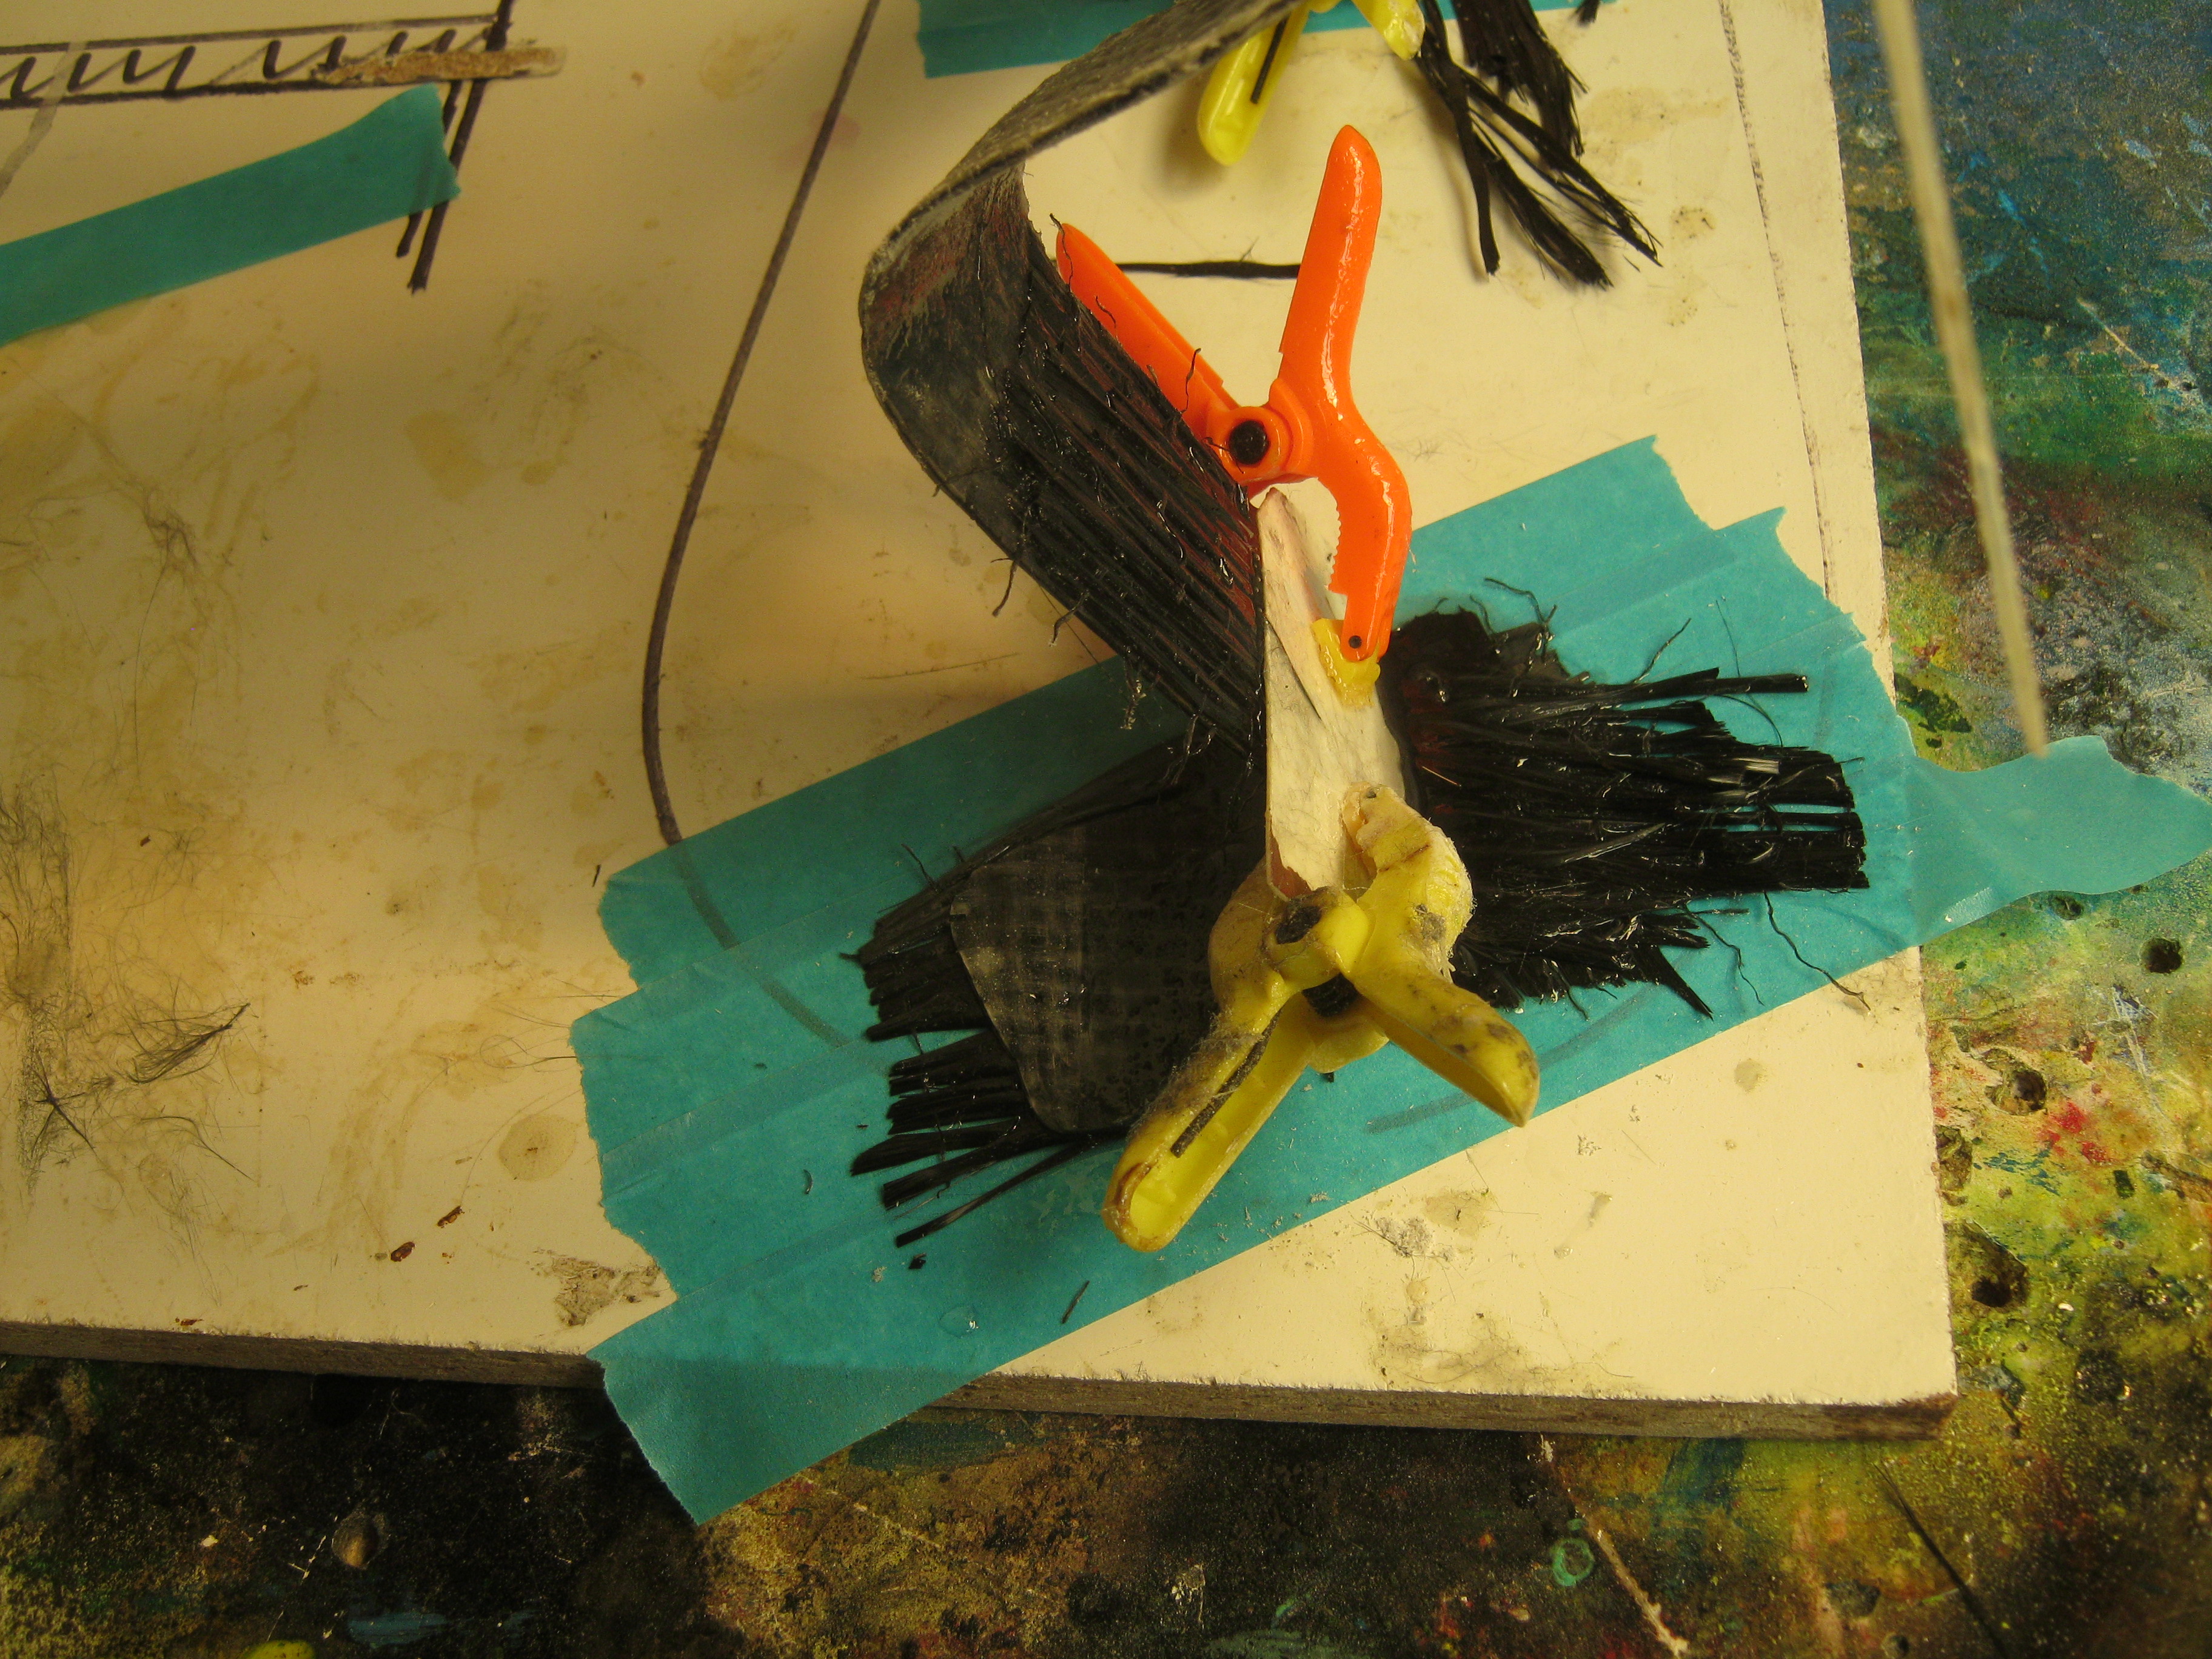

The ankle area has a total of 6 Carbon fibre layers and 2 glass fibre layers
making for good strength. The total surface area of each foot pad provides
good stability and glueing bond to the hatch cover.


The ankle area has a total of 6 Carbon fibre layers and 2 glass fibre layers
making for good strength. The total surface area of each foot pad provides
good stability and glueing bond to the hatch cover.
Last edited by YPC; 08-26-2014 at 02:06 AM.
08-25-2014, 07:57 AM
#929
Thread Starter
Join Date: May 2009
Location: Cape Towm, SOUTH AFRICA
Posts: 2,769
Likes: 0
Received 0 Likes
on
0 Posts
Fitting water cooling pipes into the 36"board. Single inlet /outlet - flowing first to the ESC - then to the motor. Special care is taken inside/outside the housing to ensure a strong bond and a good seal.


Last edited by YPC; 08-25-2014 at 08:11 AM.
08-26-2014, 01:20 AM
#930
Senior Member
Join Date: Aug 2012
Location: sydney, AUSTRALIA
Posts: 388
Likes: 0
Received 0 Likes
on
0 Posts
Thanks for quick reply Dom, Crackerjack does seem like a nice allrounder for general surfin.
Even though the Floater looks like a wake board, i do like the theory of a full rail board, espec as we cant weight back on the tail like a real surfer.
Anyway, took me a year to build last one so new board will be a way off yet, was thinkin of a new deck system but then again, keeping deck same as can use same deck / riders on both.
May have to purchase a new flexybro to enhance the experience!
All good brosurfer, here's a pic of 'old' flexybro getting one last year...
Last edited by bearcave; 08-26-2014 at 01:23 AM.
08-26-2014, 01:55 AM
#931
Thread Starter
Join Date: May 2009
Location: Cape Towm, SOUTH AFRICA
Posts: 2,769
Likes: 0
Received 0 Likes
on
0 Posts
Howzit BC ....decisions - decisions ...lol...due to the wide square tail - the CrackerJack also has a relatively parallel rail aspect.
Classic picture - I like the carve line on the face of the wave - nice entry style !
Classic picture - I like the carve line on the face of the wave - nice entry style !
08-26-2014, 02:21 AM
#932
Thread Starter
Join Date: May 2009
Location: Cape Towm, SOUTH AFRICA
Posts: 2,769
Likes: 0
Received 0 Likes
on
0 Posts
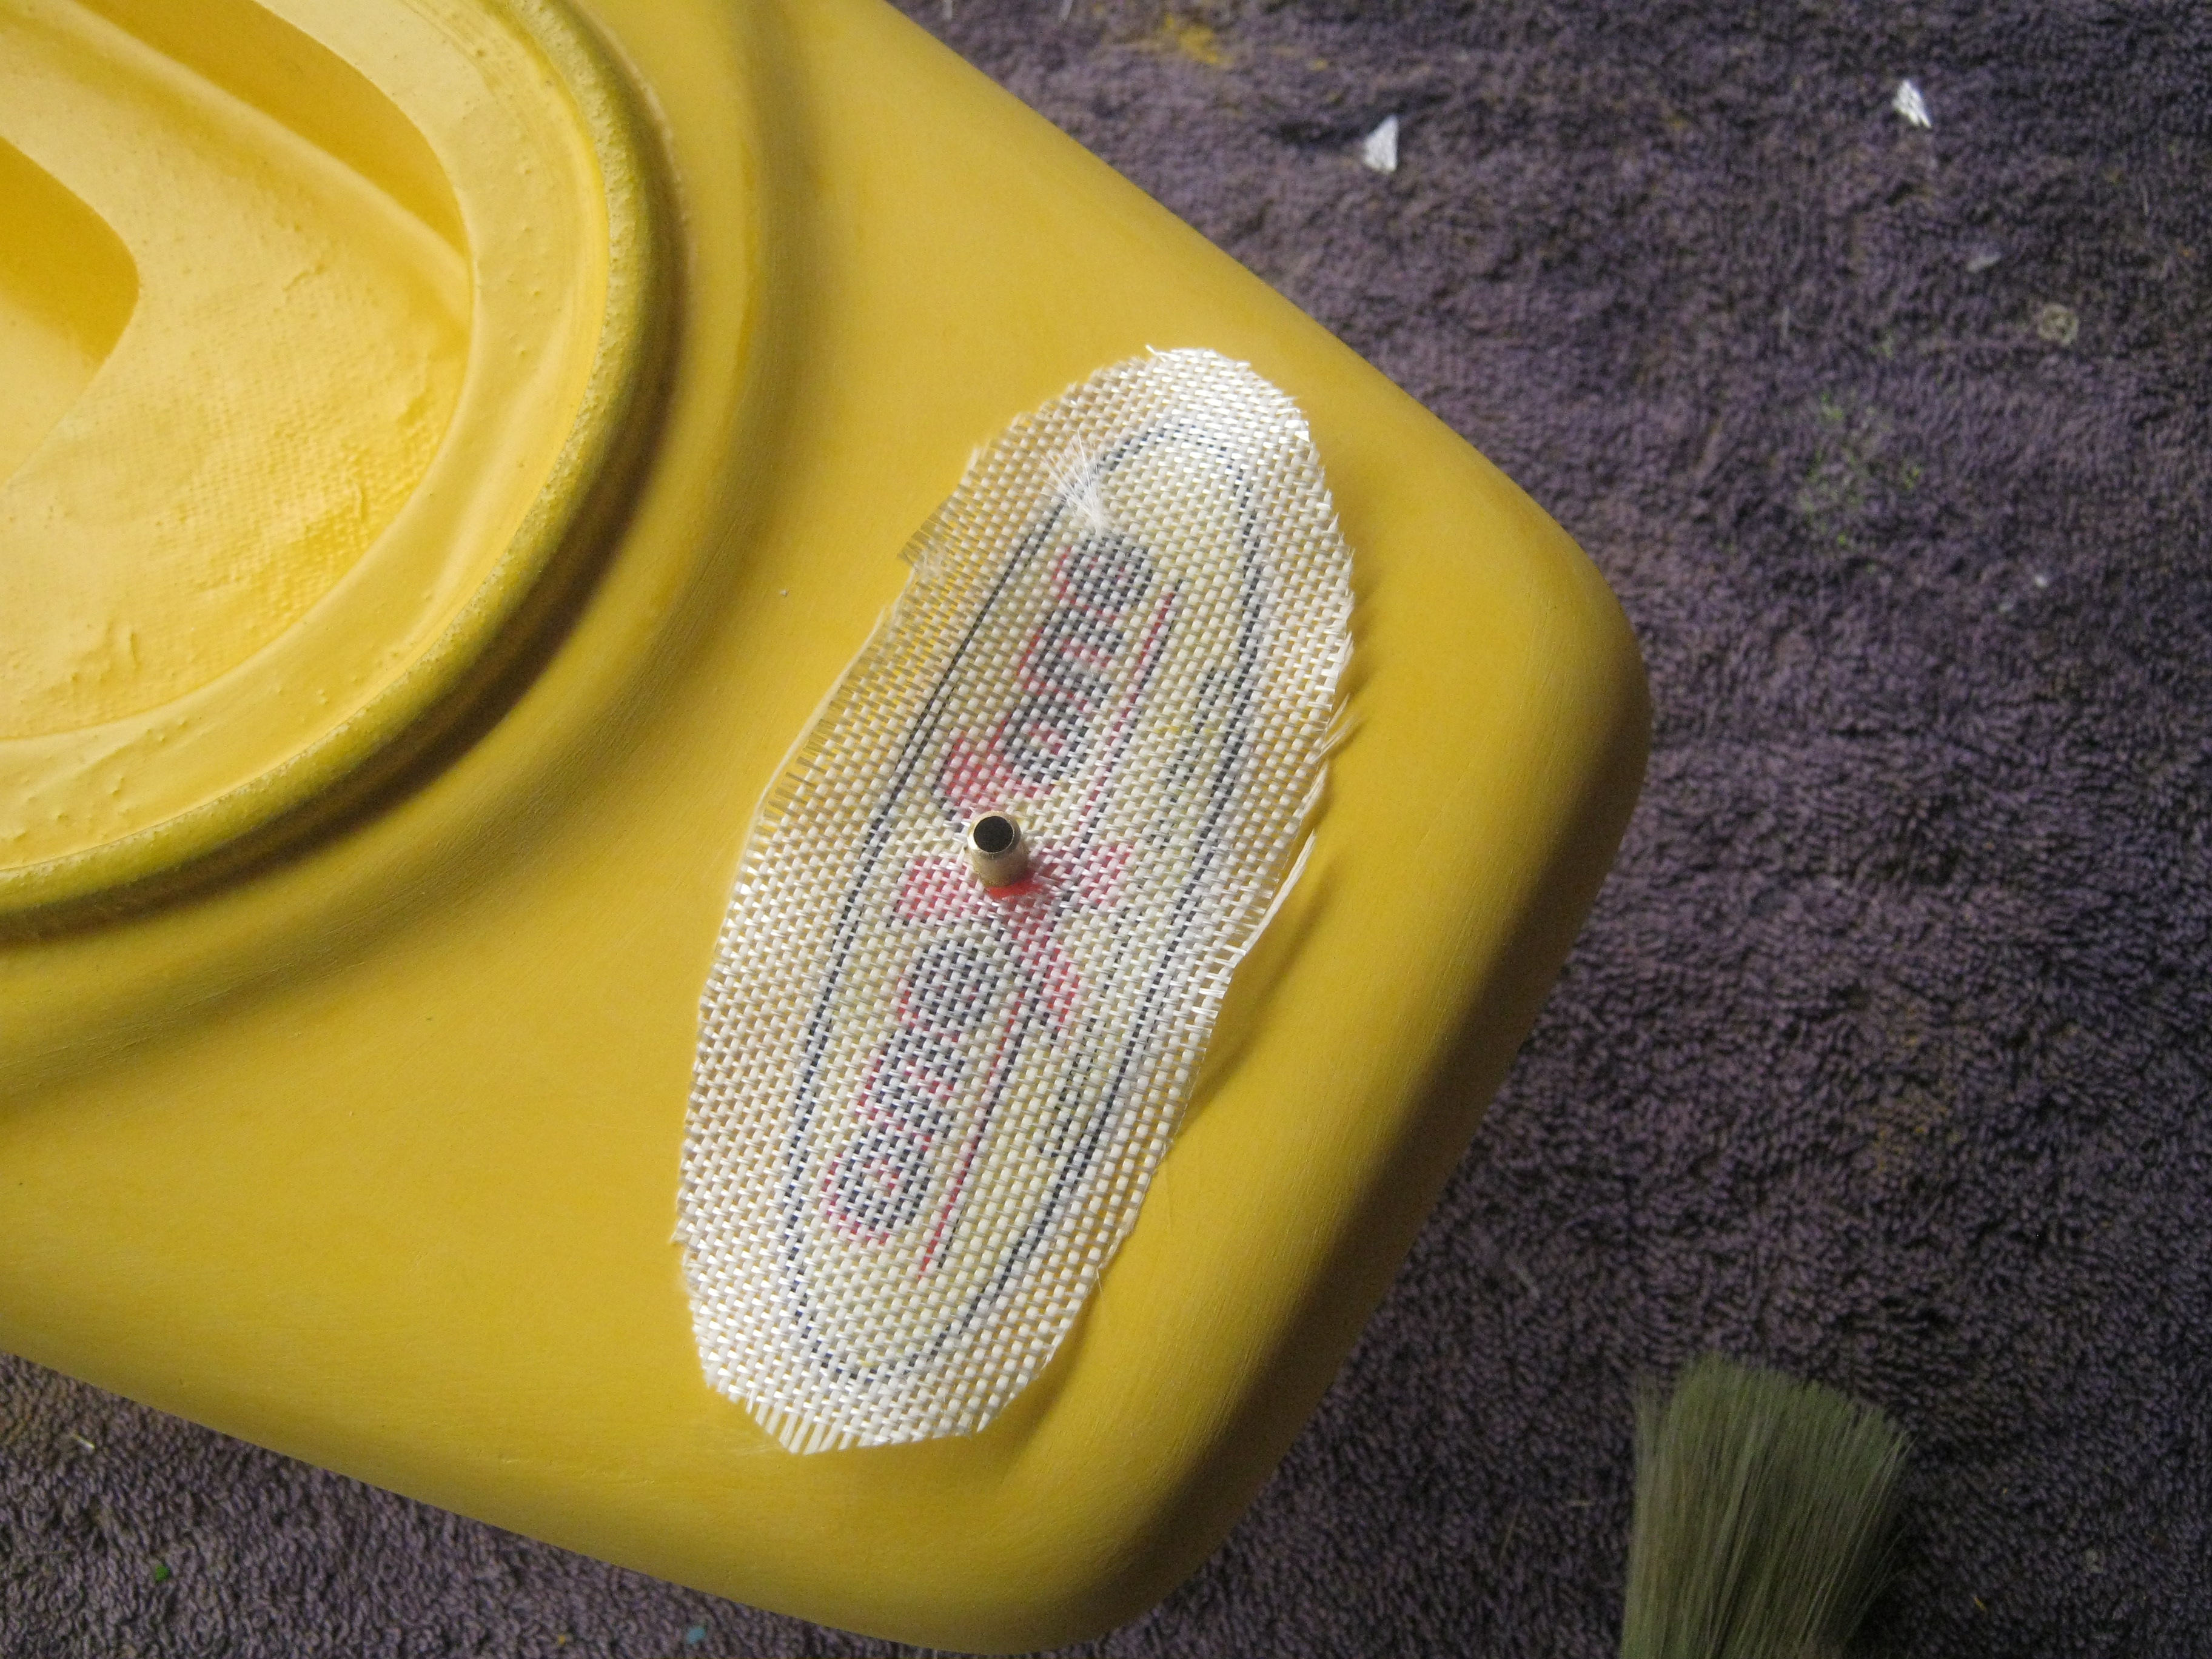
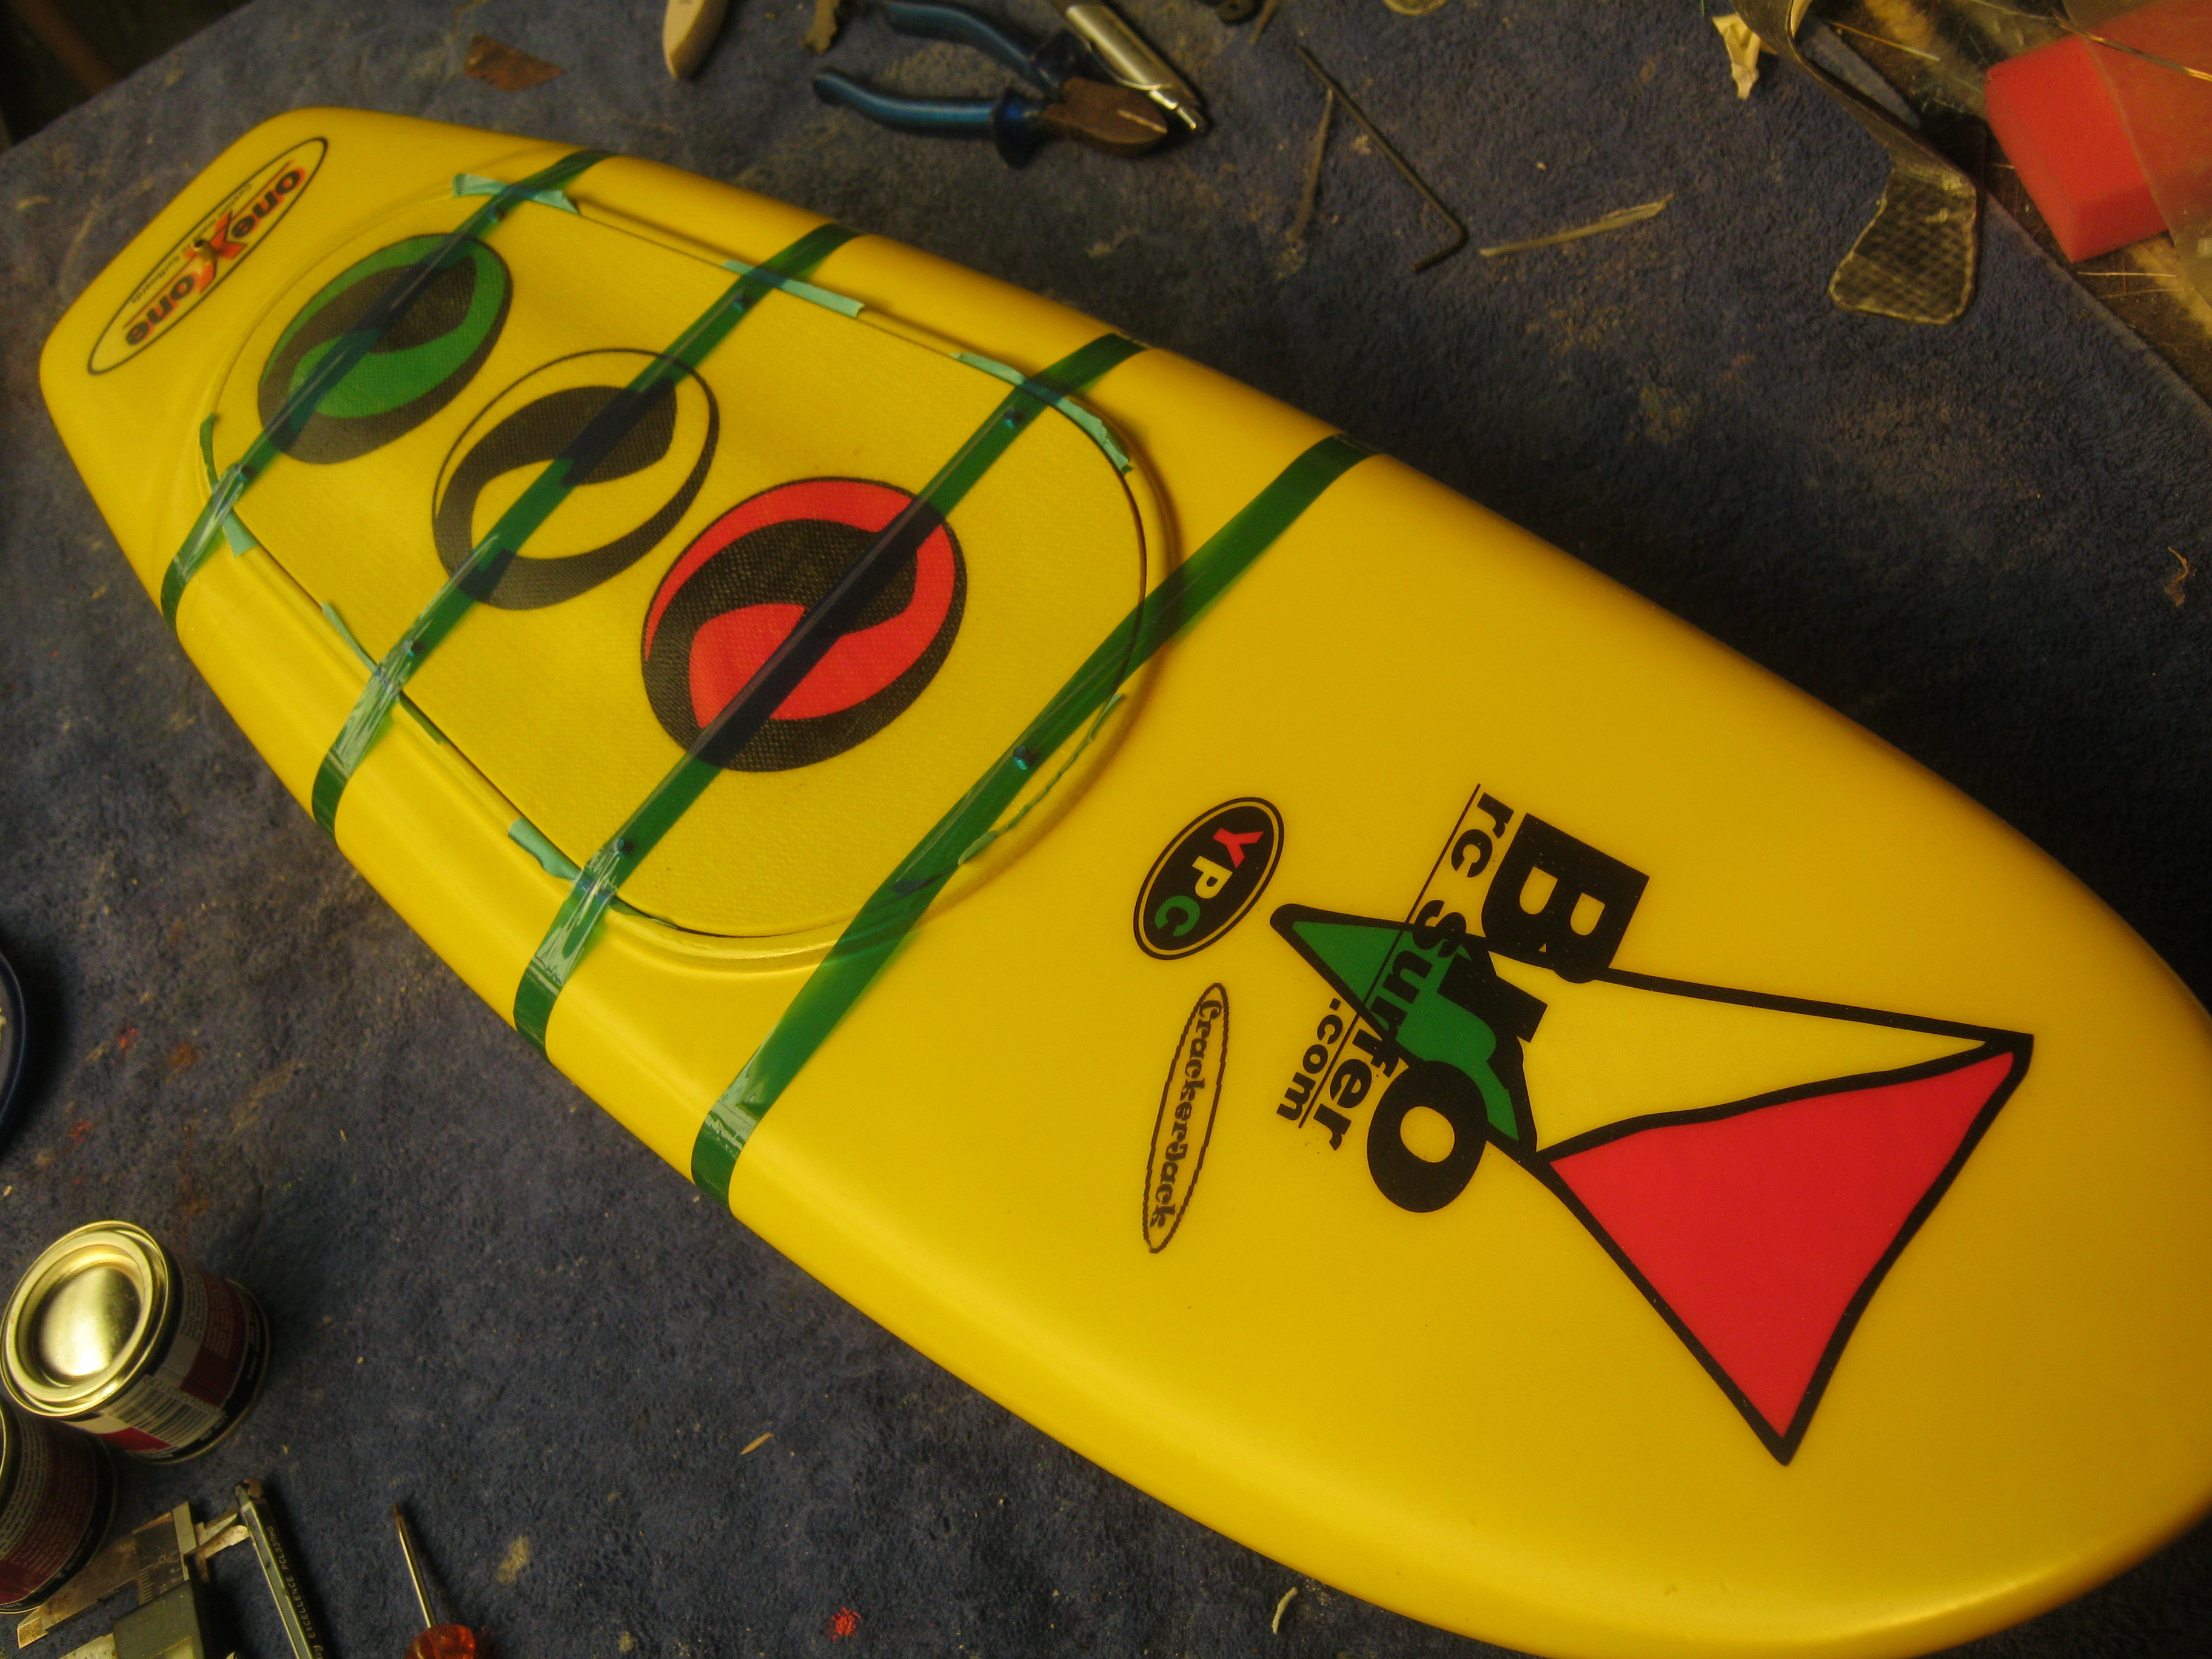
28" colour flow coat sanded down in preparation for decals...decals are laminated between a layer of cloth before a clear filler coat is applied.


Last edited by YPC; 08-26-2014 at 03:53 AM.
08-26-2014, 09:46 AM
#934
Thread Starter
Join Date: May 2009
Location: Cape Towm, SOUTH AFRICA
Posts: 2,769
Likes: 0
Received 0 Likes
on
0 Posts
Just had to squeeze in a quick pack .....suffering from workshop fever - had to get the kids to sports....
http://youtu.be/yYPBiYakfI0
http://youtu.be/yYPBiYakfI0
08-27-2014, 02:06 AM
#935
Thread Starter
Join Date: May 2009
Location: Cape Towm, SOUTH AFRICA
Posts: 2,769
Likes: 0
Received 0 Likes
on
0 Posts
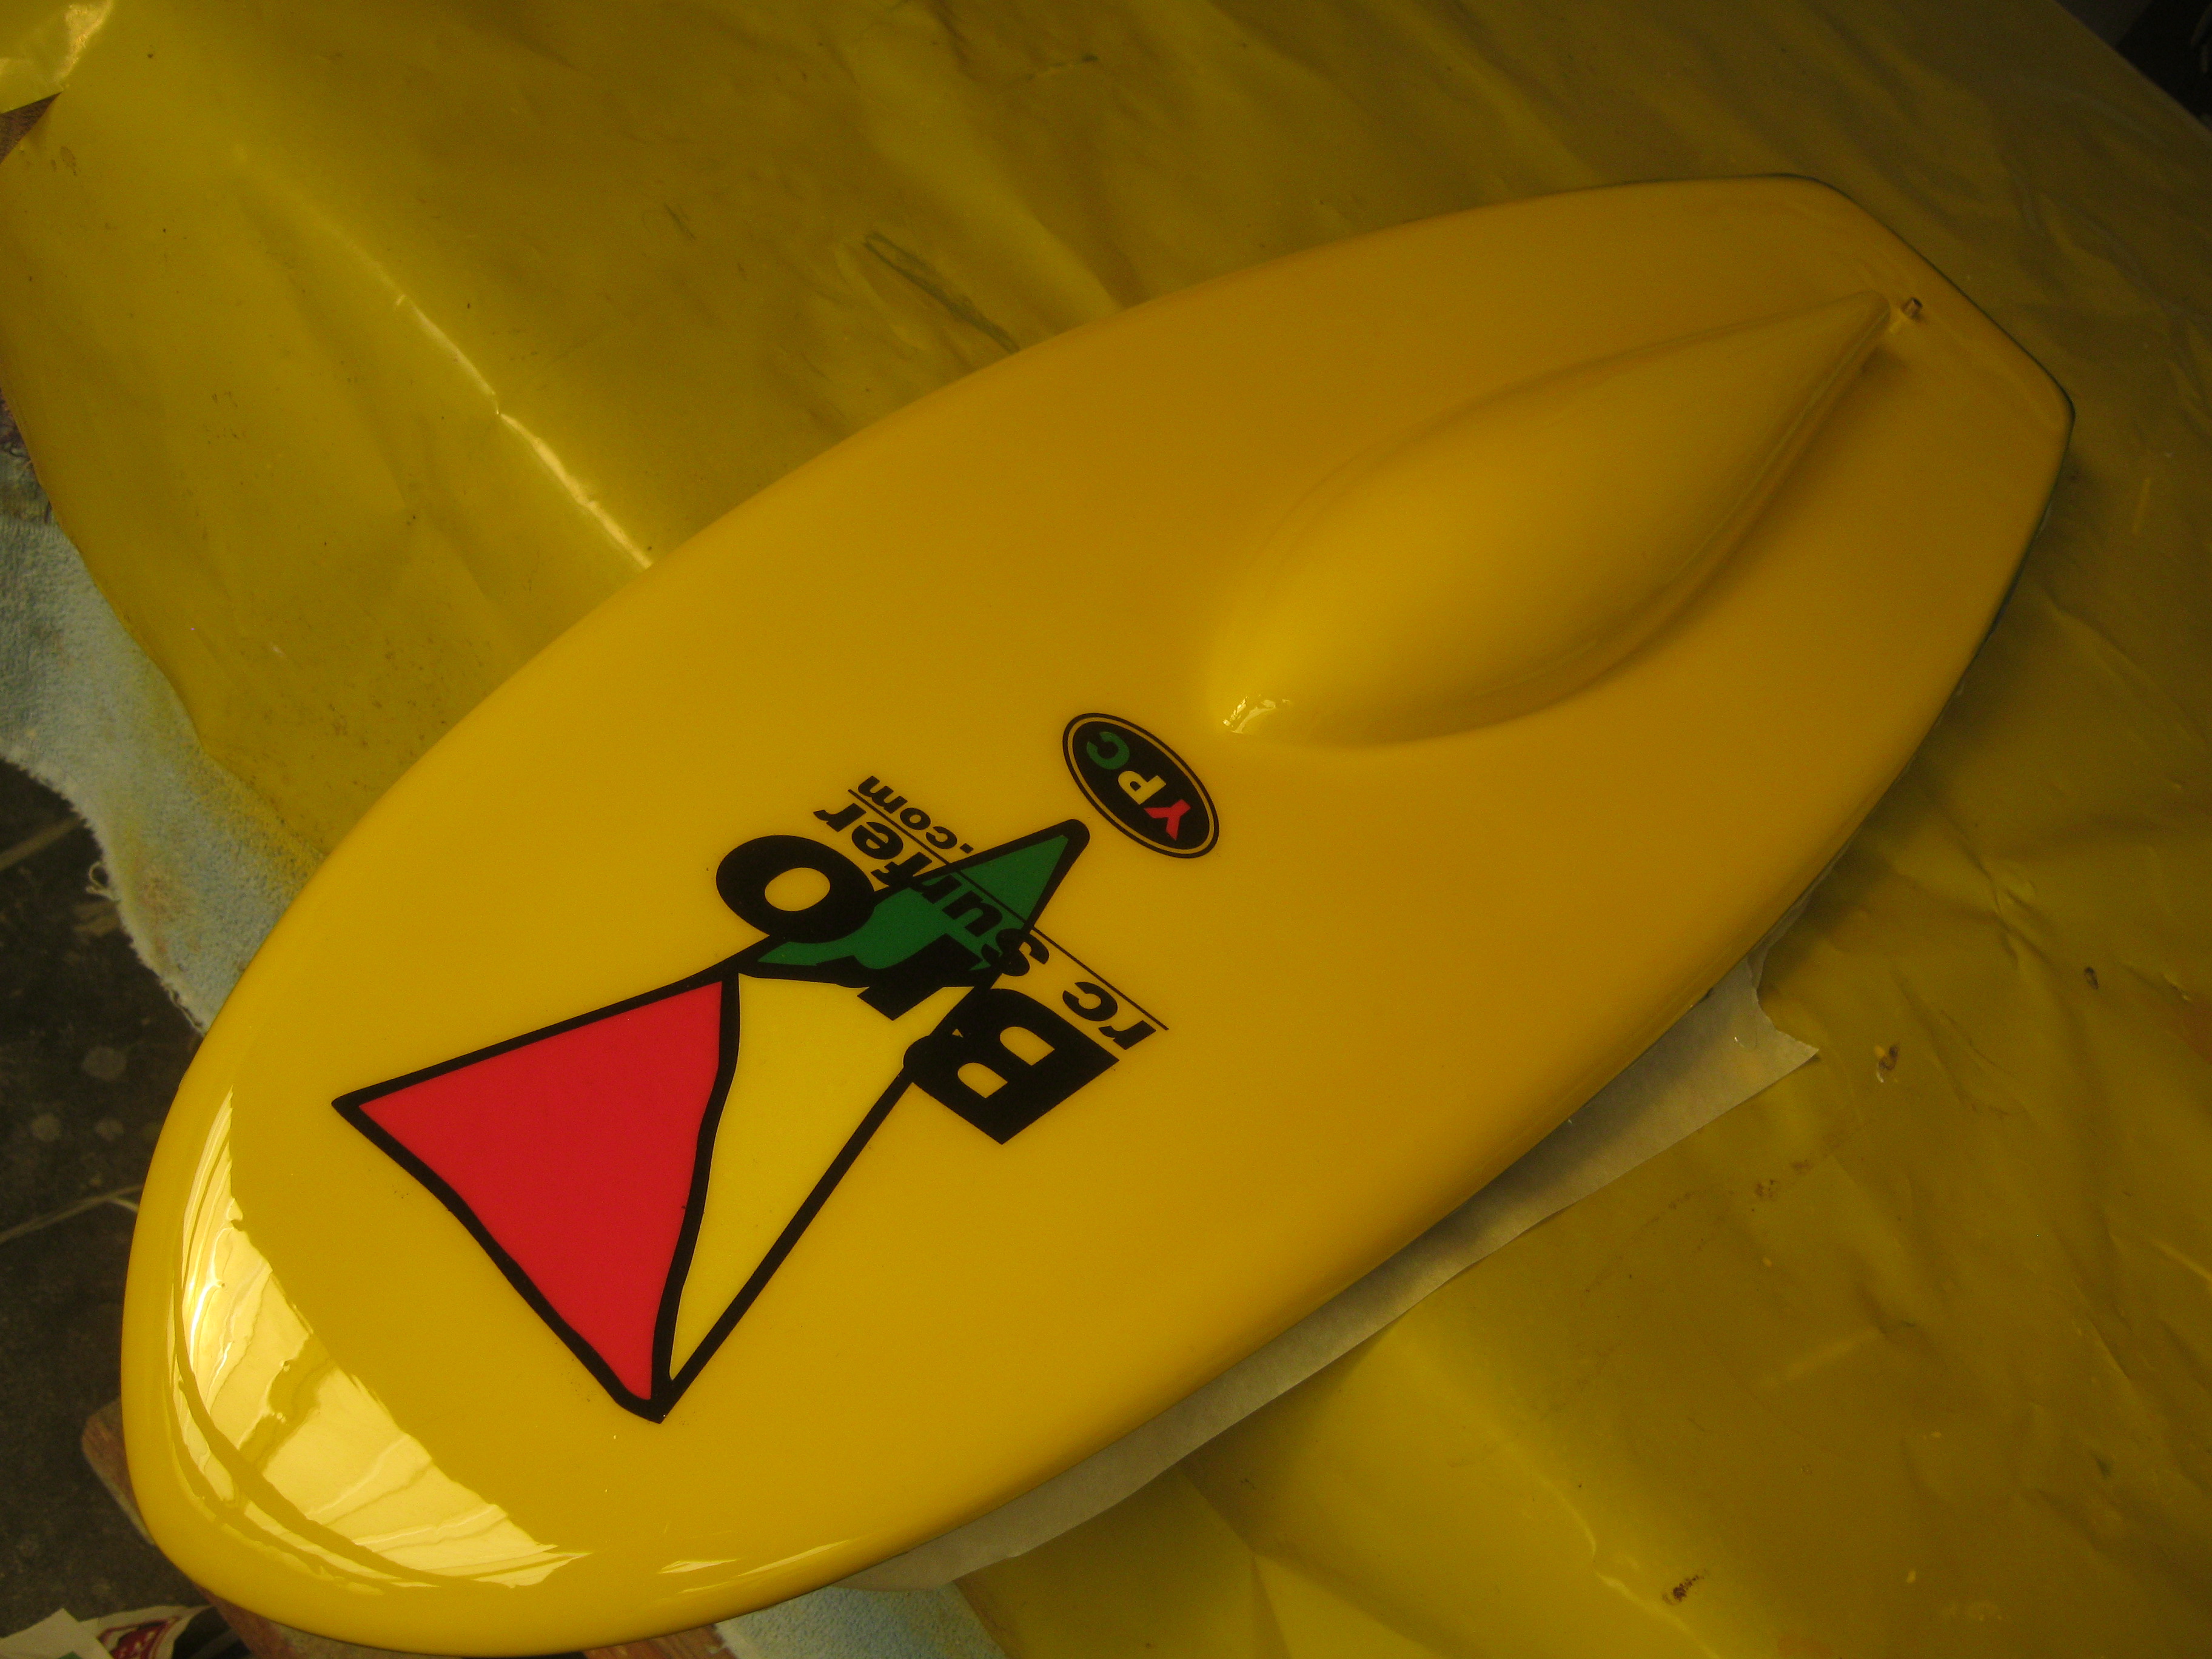
Cloth lamination sanded down - Clear gloss coat applied to hull/bottom.
Levels set to maintain desired rockers.
Tail taped up to create a sharp release edge.


Levels set to maintain desired rockers.
Tail taped up to create a sharp release edge.
08-27-2014, 10:19 PM
#936
Thread Starter
Join Date: May 2009
Location: Cape Towm, SOUTH AFRICA
Posts: 2,769
Likes: 0
Received 0 Likes
on
0 Posts
Enjoying !..........what would seem to ne the last of the Winter swell in the Bay .....Spring will soon be upon us ......it has been a great season !
http://youtu.be/fU35ouQK370
http://youtu.be/fU35ouQK370
08-28-2014, 06:21 AM
#938
Thread Starter
Join Date: May 2009
Location: Cape Towm, SOUTH AFRICA
Posts: 2,769
Likes: 0
Received 0 Likes
on
0 Posts
36" boards Steering servo trays manufactured - makes for easy placement and removal of the servo for servicing/exchanging....


Just waiting on the delivery of the ESC's and Props so that we can get these two Big Boys WET !
Just waiting on the delivery of the ESC's and Props so that we can get these two Big Boys WET !
08-28-2014, 09:51 PM
#940
Thread Starter
Join Date: May 2009
Location: Cape Towm, SOUTH AFRICA
Posts: 2,769
Likes: 0
Received 0 Likes
on
0 Posts
Howzit Thijs !...welcome to the forum !.....thank you for the compliment - always great to know that there is another rc Surfer hitting the surf - keep us posted !
08-28-2014, 10:17 PM
#941
Thread Starter
Join Date: May 2009
Location: Cape Towm, SOUTH AFRICA
Posts: 2,769
Likes: 0
Received 0 Likes
on
0 Posts
Big Bro's getting kitted out with the Rash vests - certainly adds some more authentic dimension to them.
Lisa-Marie has found some very cool rash vest Lycra ..........


Lisa-Marie has found some very cool rash vest Lycra ..........
08-28-2014, 11:57 PM
#942
Junior Member
Join Date: Apr 2009
Location: , NETHERLANDS
Posts: 6
Likes: 0
Received 0 Likes
on
0 Posts
Hi Bro, thank you.
I read everything in this thread and learned a lot.
My son-in-law first time with the Kyosho
https://www.youtube.com/watch?v=xyW_X71DKkM&feature=youtu.be
Thijs
I read everything in this thread and learned a lot.
My son-in-law first time with the Kyosho
https://www.youtube.com/watch?v=xyW_X71DKkM&feature=youtu.be
Thijs
08-29-2014, 02:39 AM
#943
Thread Starter
Join Date: May 2009
Location: Cape Towm, SOUTH AFRICA
Posts: 2,769
Likes: 0
Received 0 Likes
on
0 Posts
Howzit Thijs !....thanks for posting the video ....were was the location ? - The board looked very nippy - nice set up - waves were a bit bumpy - nice big back flip at the end of the video - I have no Tim will get into it more and more - it is very Addictive !.....with no known cure.....LOL
08-29-2014, 03:23 AM
#944
Junior Member
Join Date: Apr 2009
Location: , NETHERLANDS
Posts: 6
Likes: 0
Received 0 Likes
on
0 Posts
Very nice vest, you should be proud of your wife 
Spot is here: https://www.google.nl/maps/place/51%...s0x0:0x0?hl=nl
I have a NQD and Kyosho, I was lucky to find a Kyosho (I paid 60 euro)
Yesterday I started sanding the Kyosho and thinking about painting it
Spot is here: https://www.google.nl/maps/place/51%...s0x0:0x0?hl=nl
I have a NQD and Kyosho, I was lucky to find a Kyosho (I paid 60 euro)
Yesterday I started sanding the Kyosho and thinking about painting it
08-29-2014, 04:35 AM
#945
Thread Starter
Join Date: May 2009
Location: Cape Towm, SOUTH AFRICA
Posts: 2,769
Likes: 0
Received 0 Likes
on
0 Posts
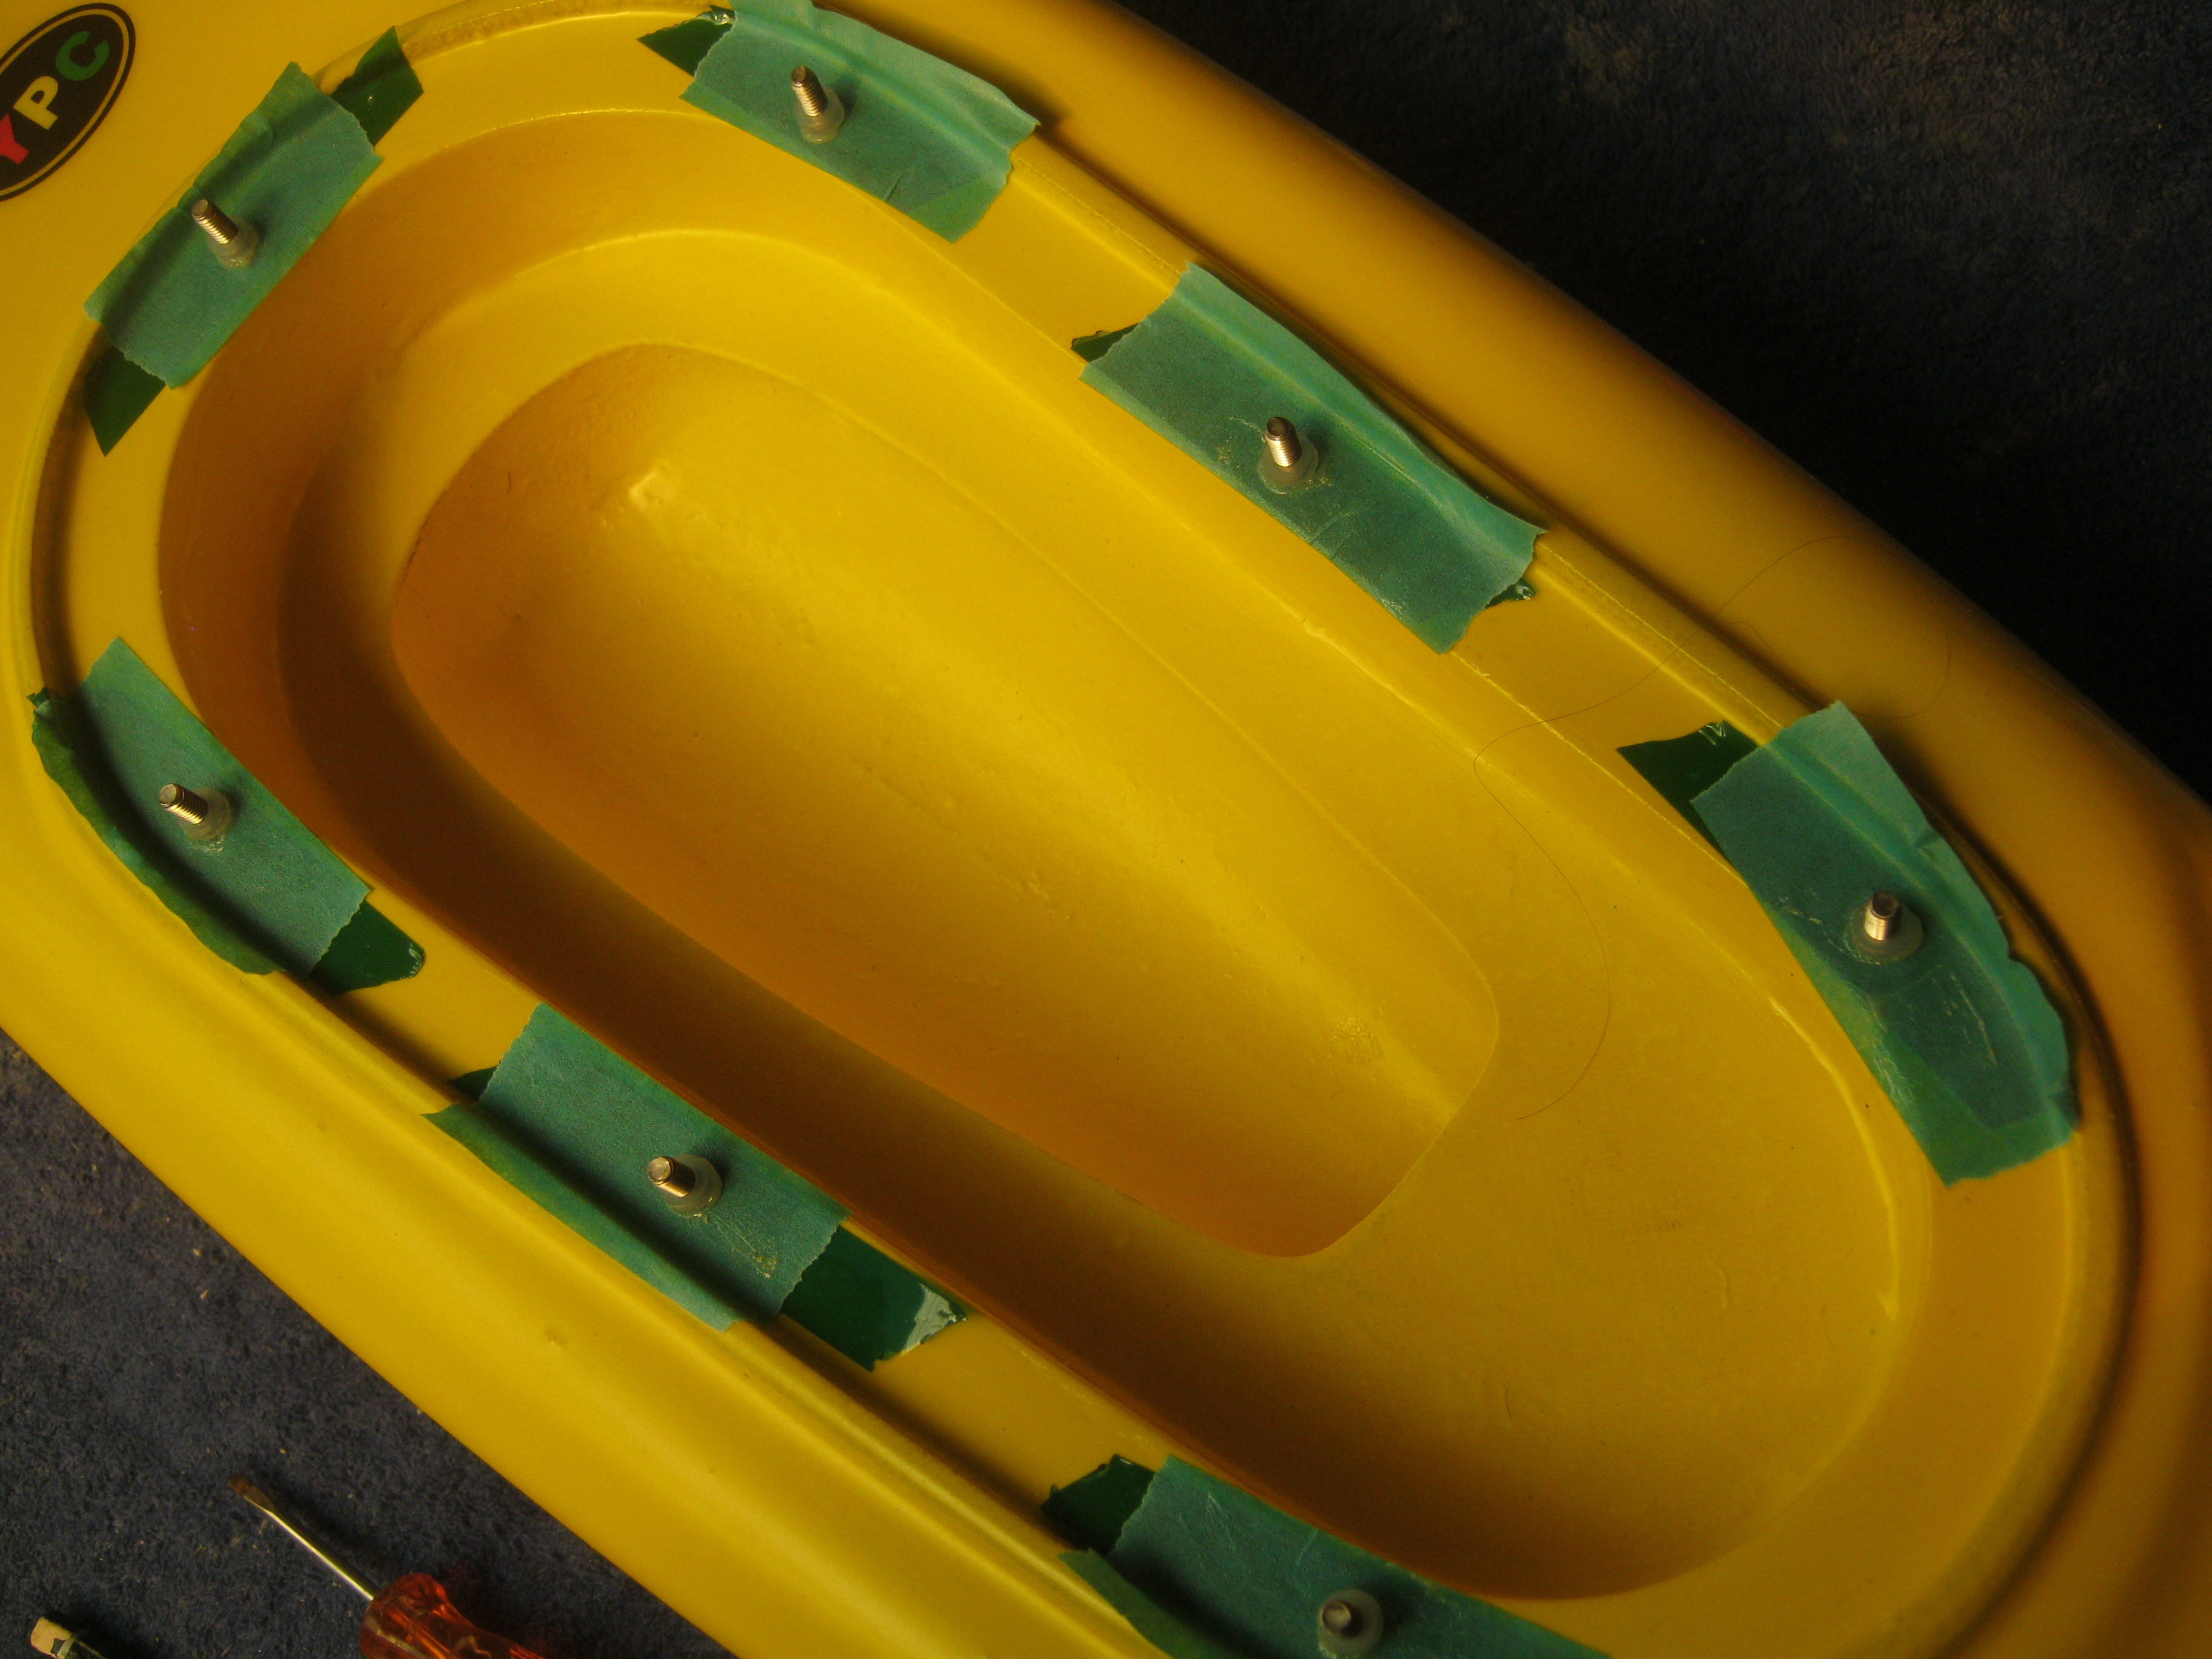
28" CrackerJack hatch cover securing studs bonded into the board. This process needs to be carried out very meticulously to achieve a solid anchoring within the board. Syringing the epoxy into the cavities creates an hydraulic pressure which forces the epoxy into the foams open cells. The cavity hole extends all the way through to the hull, securing the stud to the opposite sides glass fibre.


08-30-2014, 02:32 AM
#948
Thread Starter
Join Date: May 2009
Location: Cape Towm, SOUTH AFRICA
Posts: 2,769
Likes: 0
Received 0 Likes
on
0 Posts
Thanks Thijs !... ..the colour of the heads are more like the first two pictures - somehow the lighting changed ...which changed the picture colour.
Hatch Cover Securing system complete - I use / recommend the plastic knurl nuts not only because they look great -BUT- More Importantly - One is less likely to 'over torque' them when tightening down - as opposed to Wing Nuts - which can lead to lifting the stud out of its bond. The deflection rim around the hatch cover - deflects any water pressure- preventing it from
passing between the housing flange and cover - it also locates the hatch cover- preventing any movement which would otherwise place added stress on the studs.


..the colour of the heads are more like the first two pictures - somehow the lighting changed ...which changed the picture colour.Hatch Cover Securing system complete - I use / recommend the plastic knurl nuts not only because they look great -BUT- More Importantly - One is less likely to 'over torque' them when tightening down - as opposed to Wing Nuts - which can lead to lifting the stud out of its bond. The deflection rim around the hatch cover - deflects any water pressure- preventing it from
passing between the housing flange and cover - it also locates the hatch cover- preventing any movement which would otherwise place added stress on the studs.
Last edited by YPC; 08-30-2014 at 03:04 AM.
08-30-2014, 09:28 PM
#950
Thread Starter
Join Date: May 2009
Location: Cape Towm, SOUTH AFRICA
Posts: 2,769
Likes: 0
Received 0 Likes
on
0 Posts

