


LocalxLegend's R34 WIP
 09-02-2012, 06:13 PM
#1
Junior Member
Thread Starter
Join Date: Nov 2010
Location: York,
PA
Posts: 26
Likes: 0
Received 0 Likes
on
0 Posts
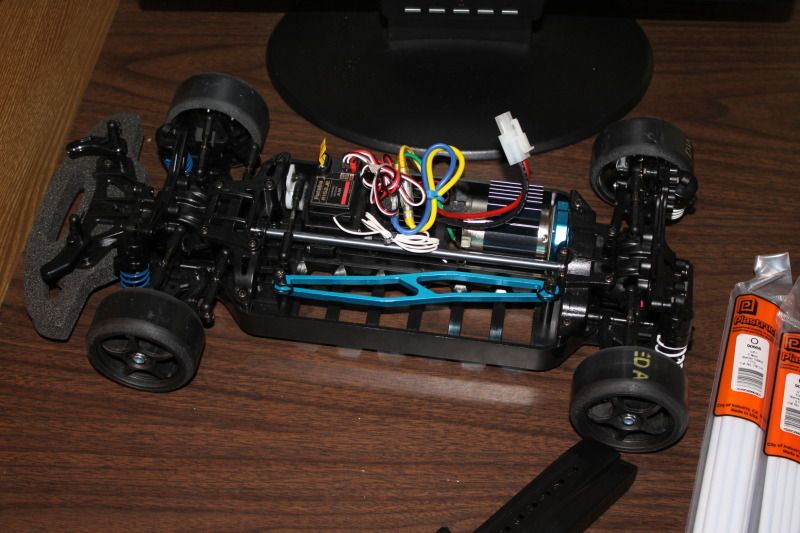
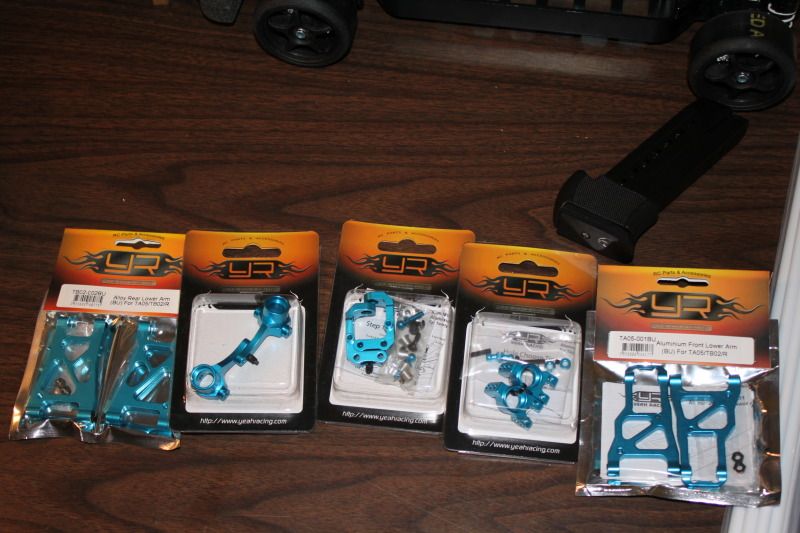
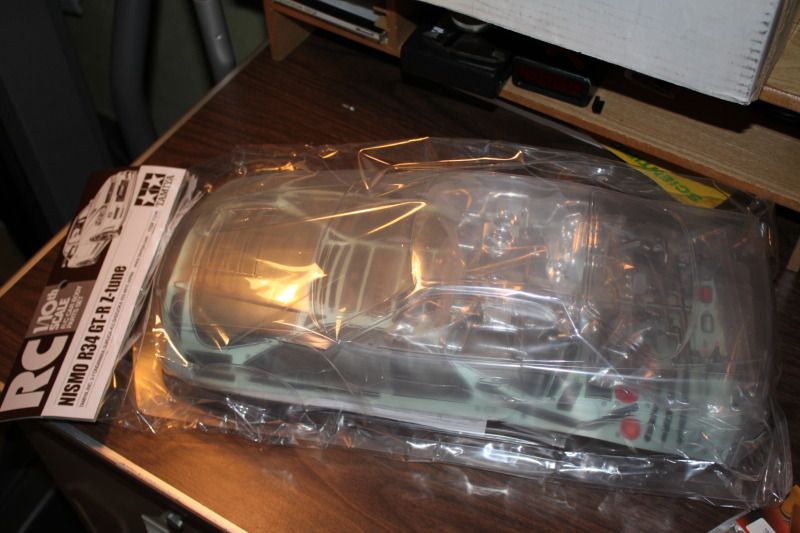
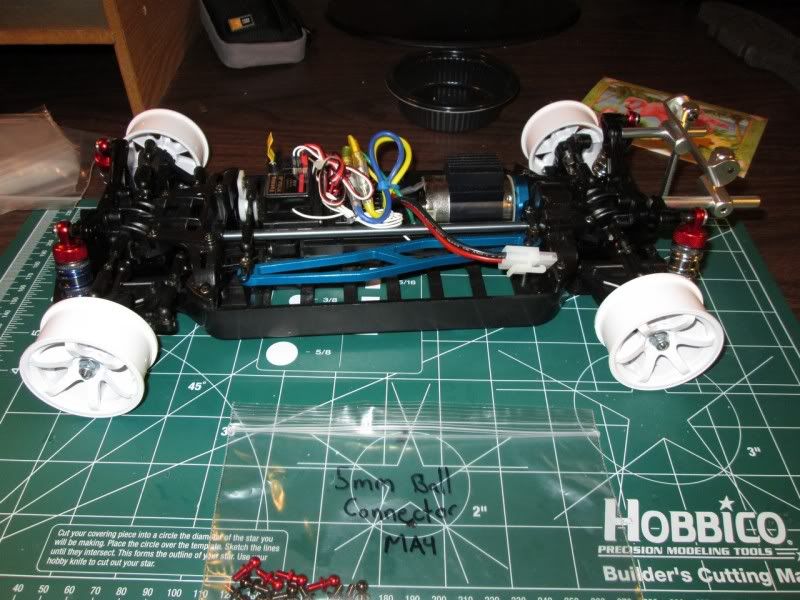
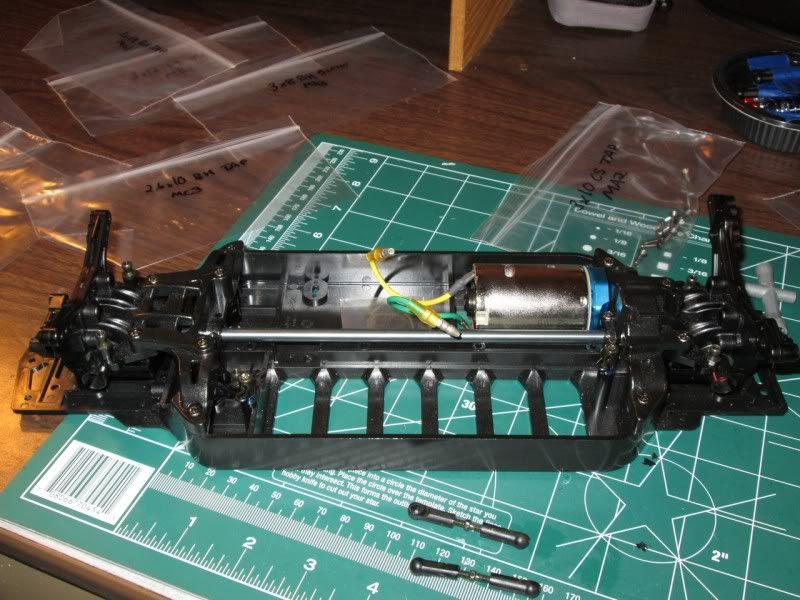
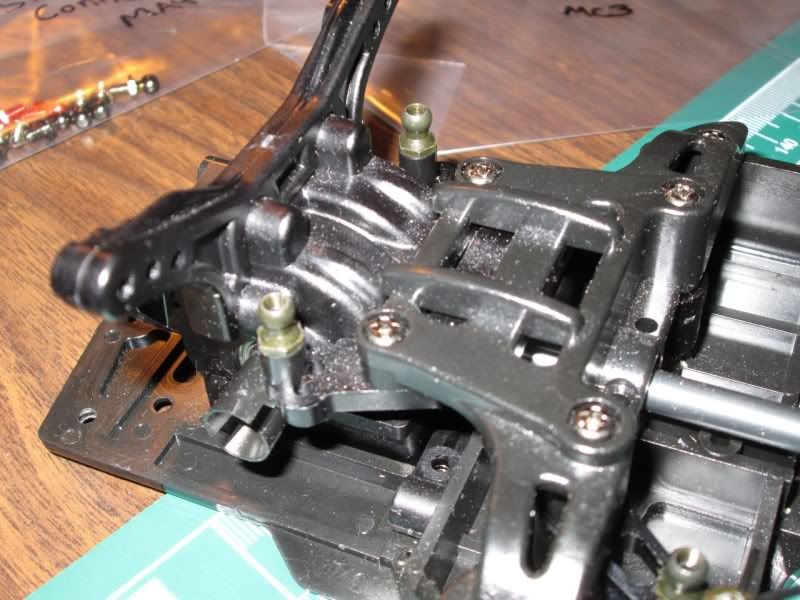
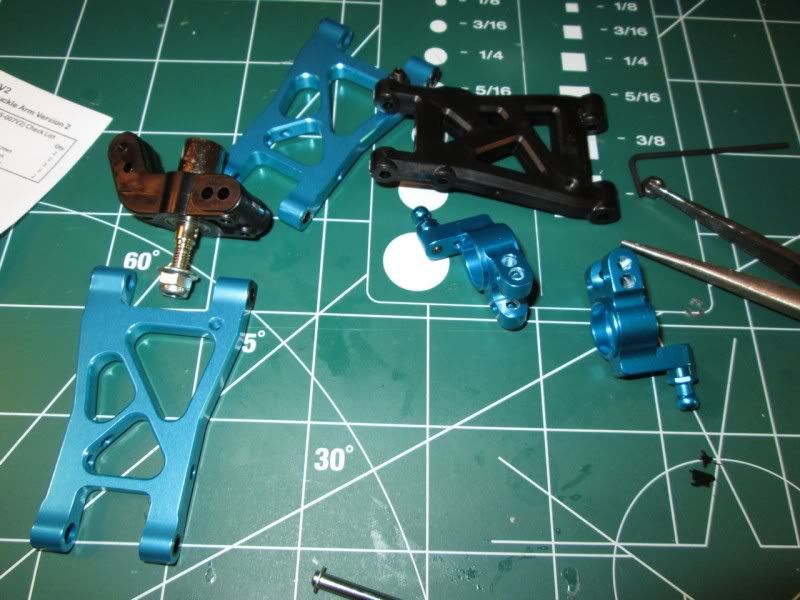
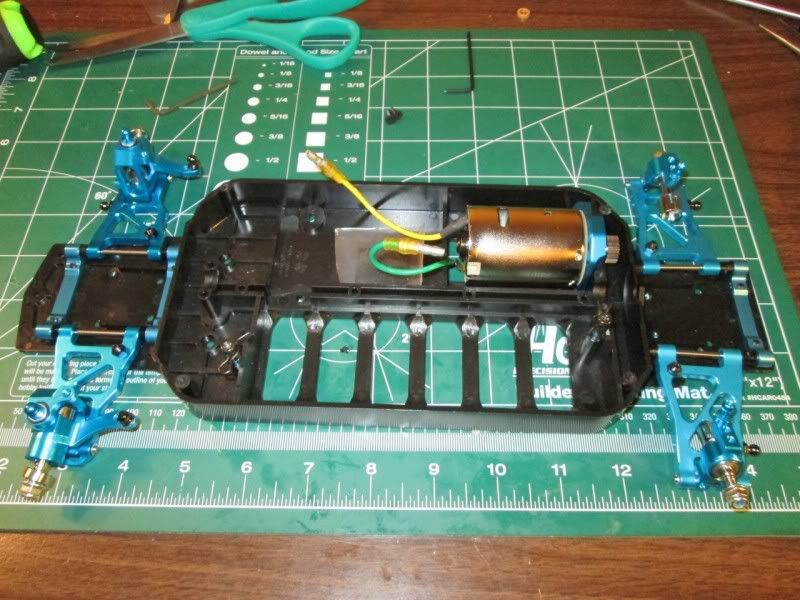
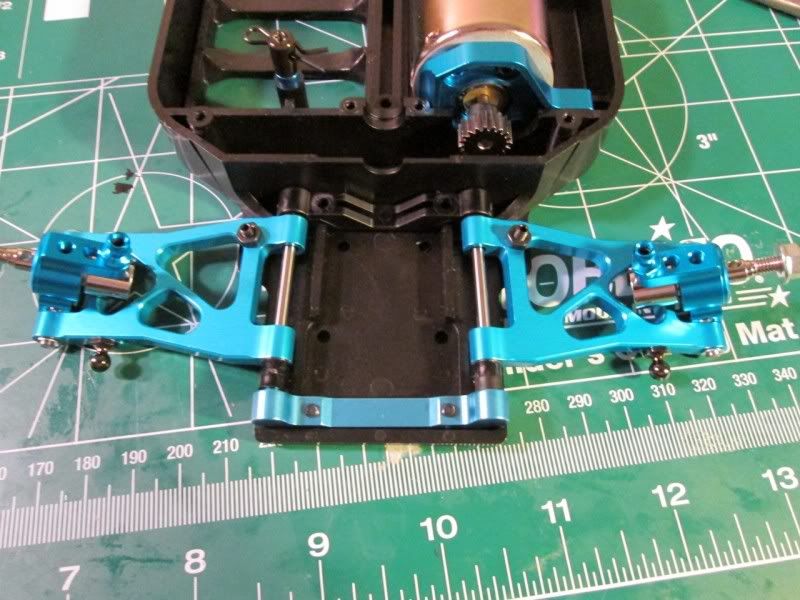
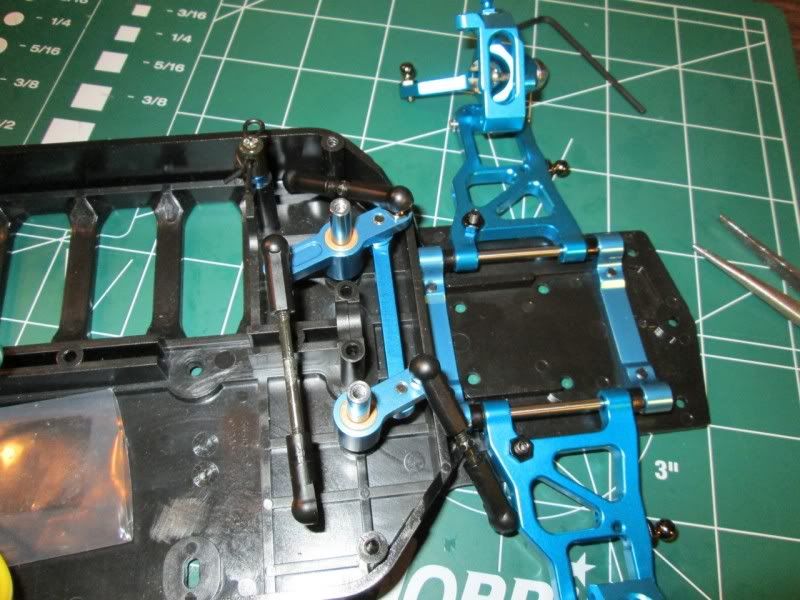
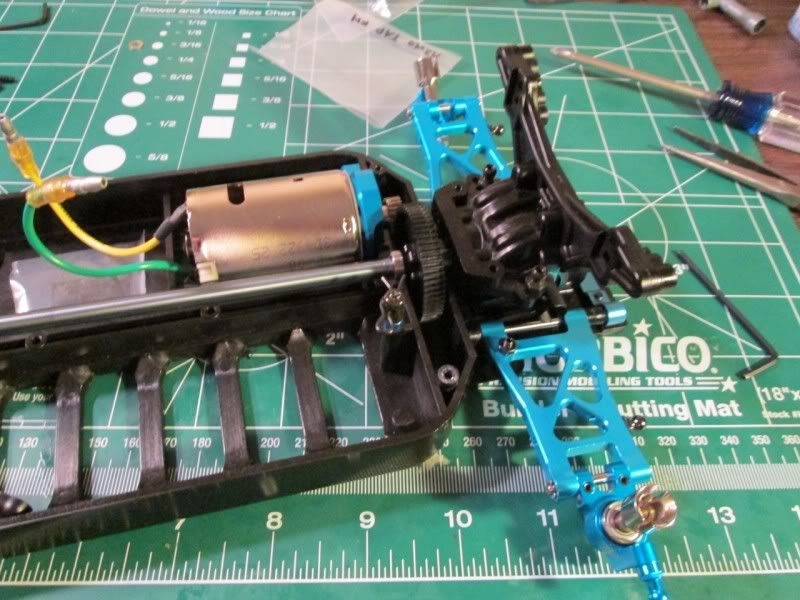
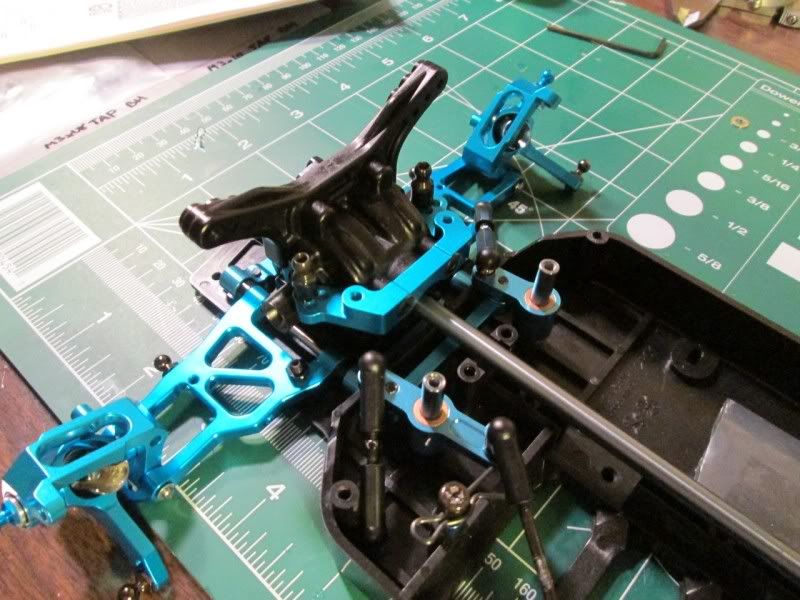
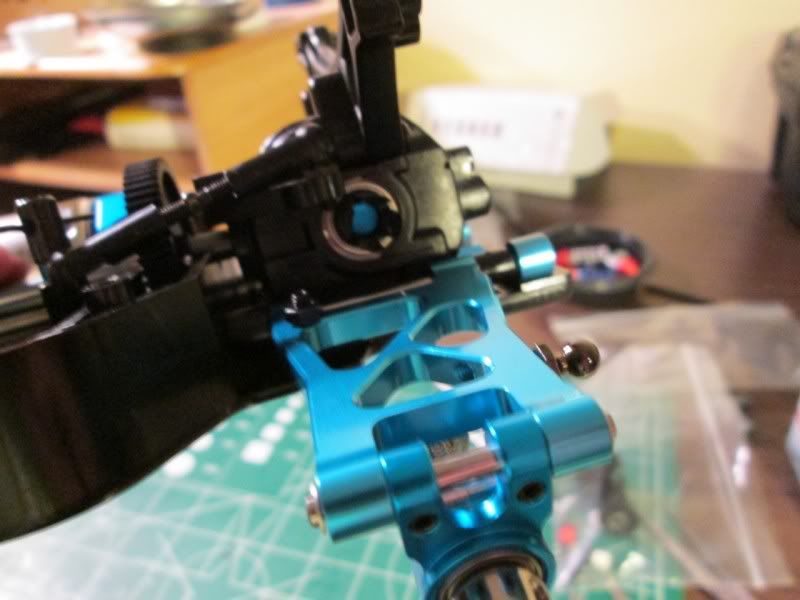
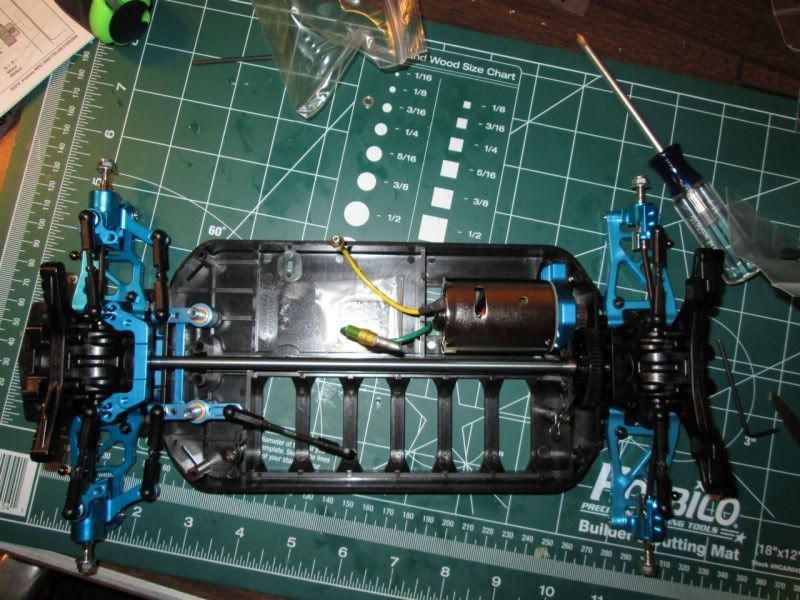
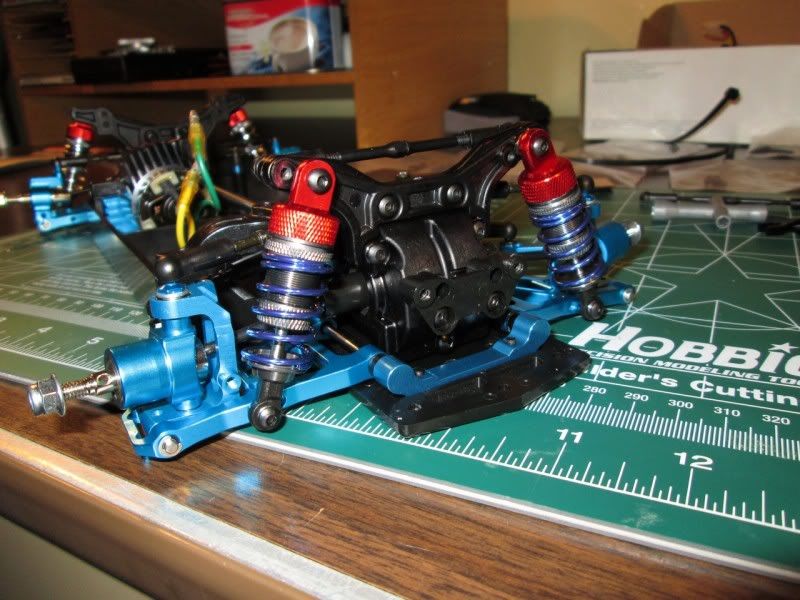
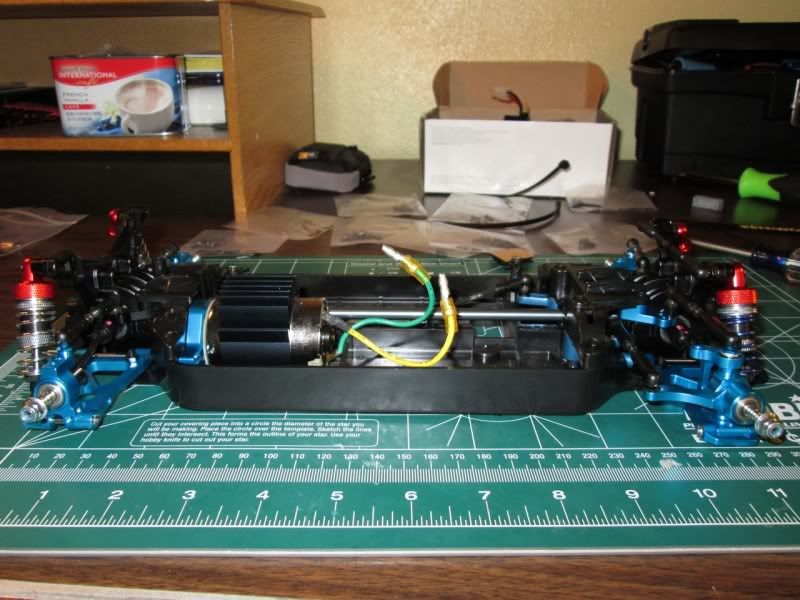
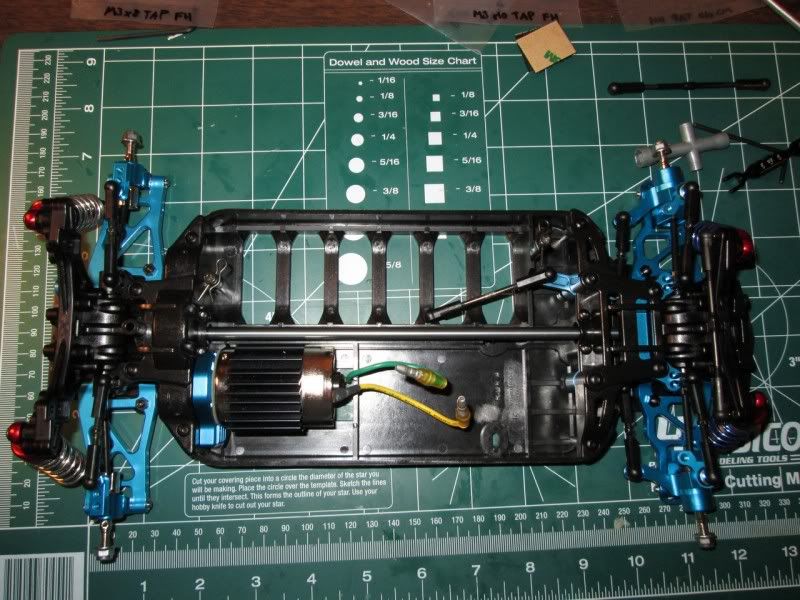
Hey everyone. I had an STi shell before that was okay to learn how to drift, but the shell was my first one and it just needed...help. It wasn't as clean as I had hoped. So here is my second installment in my shell collection. It's the Tamiya Z-Tune R34. Got a few chassis additions (with a few more coming). They're not Tamiya, but I've read good reviews on many of the Yeah Racing parts. I either can't find what I want in Tamiya pieces or because it's a TB-02, they are so expensive because parts aren't made anymore. Here's the run down of parts I have or will have:
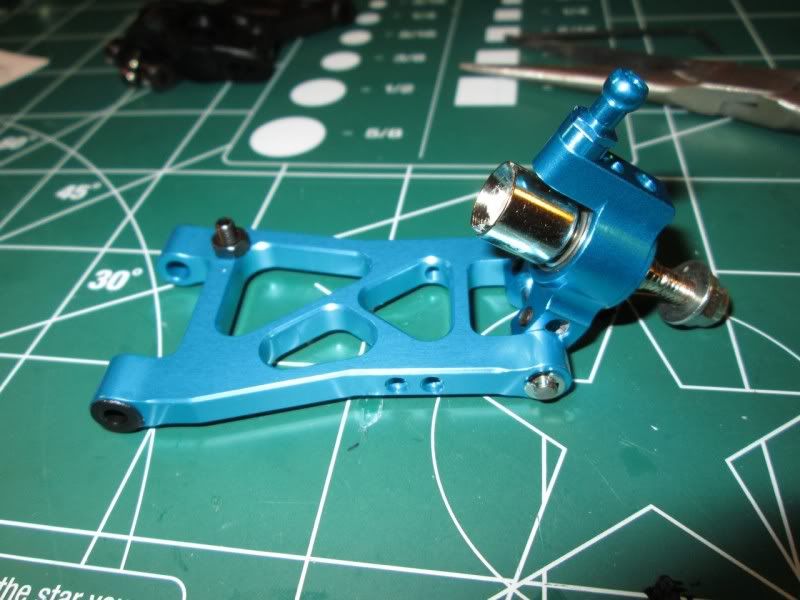
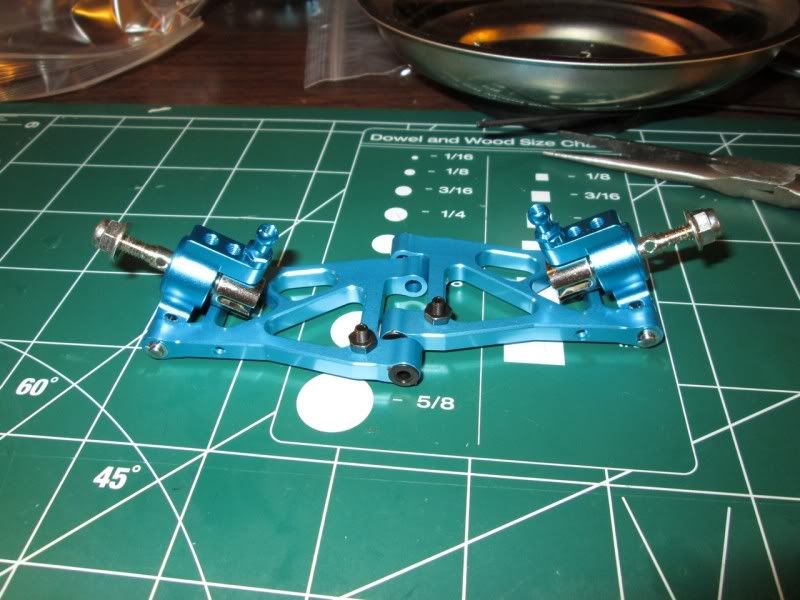
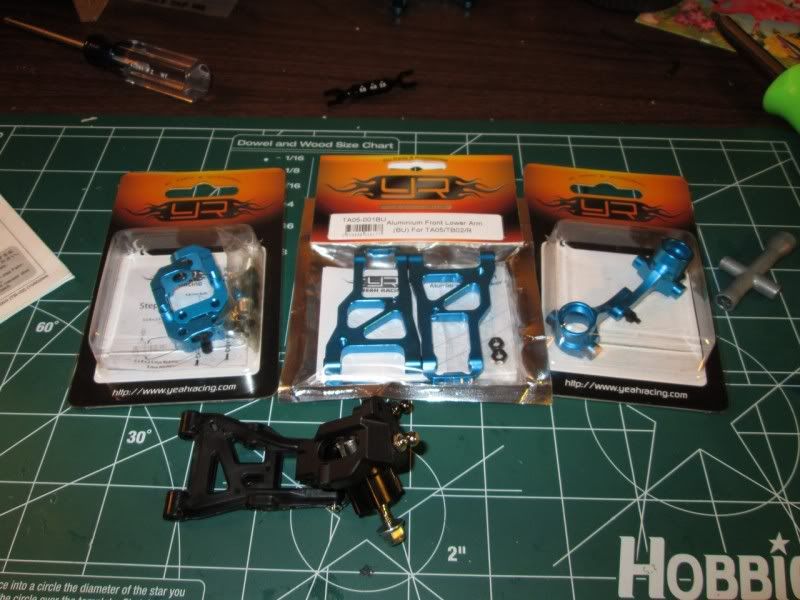
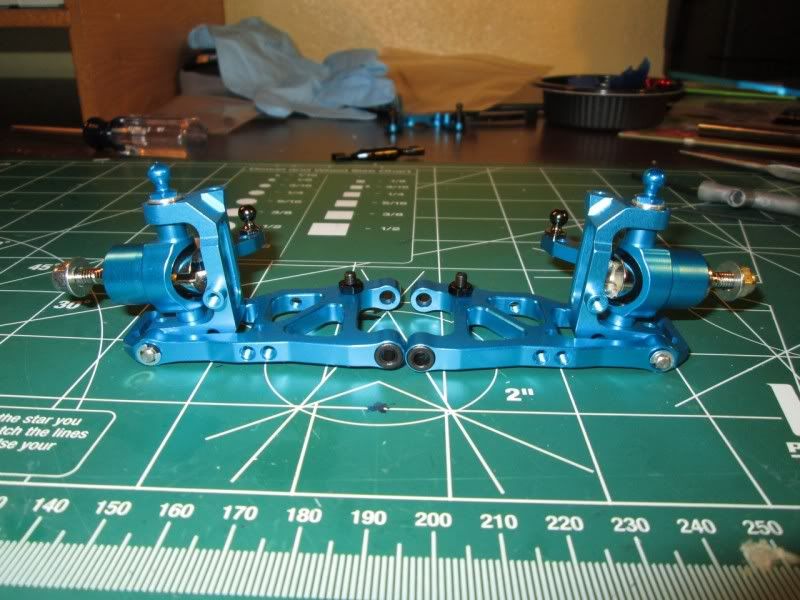
Yeah Racing (#TA05-001BU) Aluminium Front Lower Arm (BU) For TA05/TB02/R
Yeah Racing (#TA05-002BU) Alloy Rear Lower Arm (BU) For TA05/TB02/R
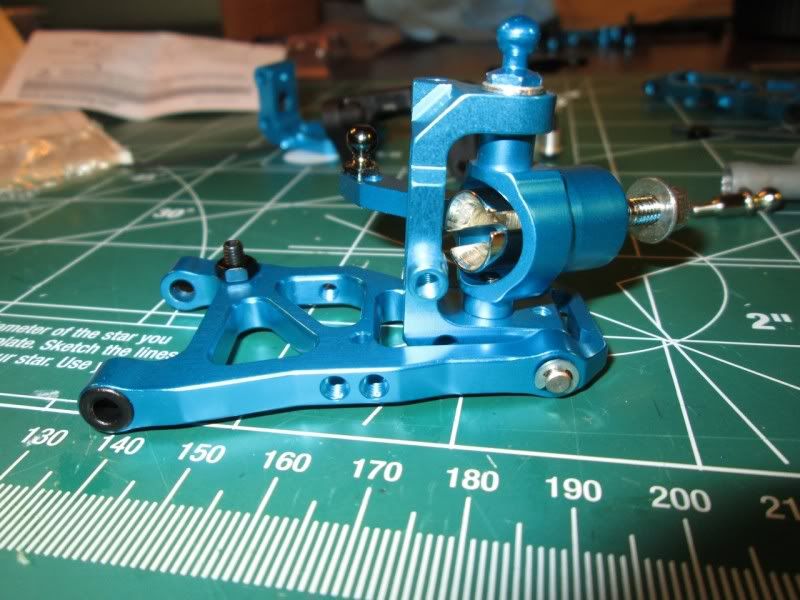
Yeah Racing (#TA05-005V2BU) Alloy Bearing C-Hub Version 2 (BU) For TA05/TB02/R
Yeah Racing (#TA05-006BU) Alloy Front Knuckle Arm (BU) For TA05/TB02/R
Yeah Racing (#TA05-007V2BU) Alloy Rear Knuckle Arm Ver 2 (BU) For TA05/TB02/R
Yeah Racing (#TA05-021V2BU) Alloy 6 Cells Battery Hold (BU) For TA05/TB02/R
Yeah Racing (#TB02-005V2BU) Alloy Light Weight King Pin Set For TB02,TA05
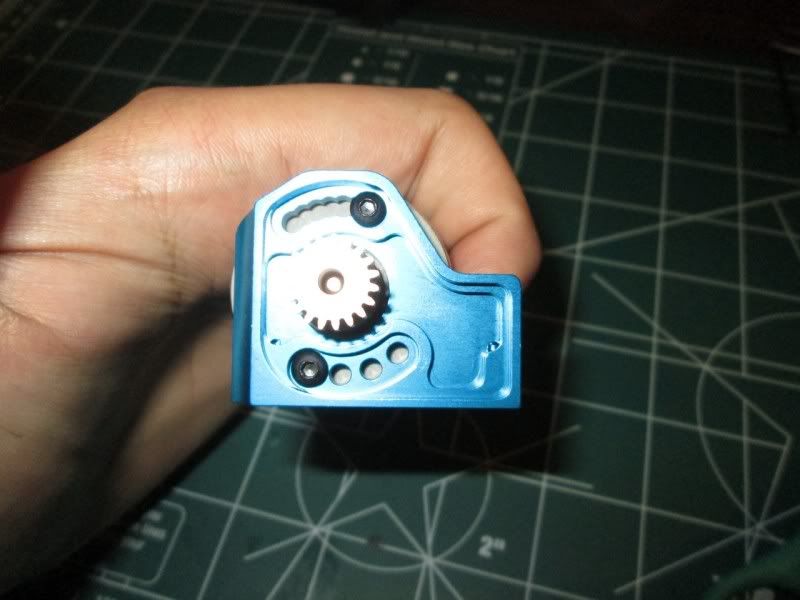
Yeah Racing (#TB02-013V2BU) Alloy Motor Mount (BU) For TB02/R
Yeah Racing (#TB02-019BU) F/R Suspension Mount 0Deg Toe In For TB02/R
Yeah Racing (#TB02-019V3BU) F/R Suspension Mount 2Deg Toe In For TB02/R
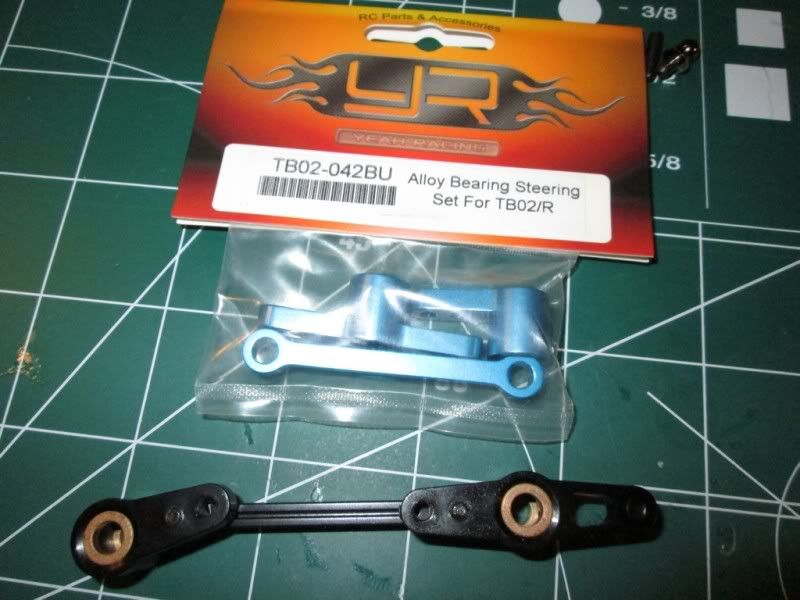
Yeah Racing (#TB02-042BU) Alloy Bearing Steering Set For TB02/R
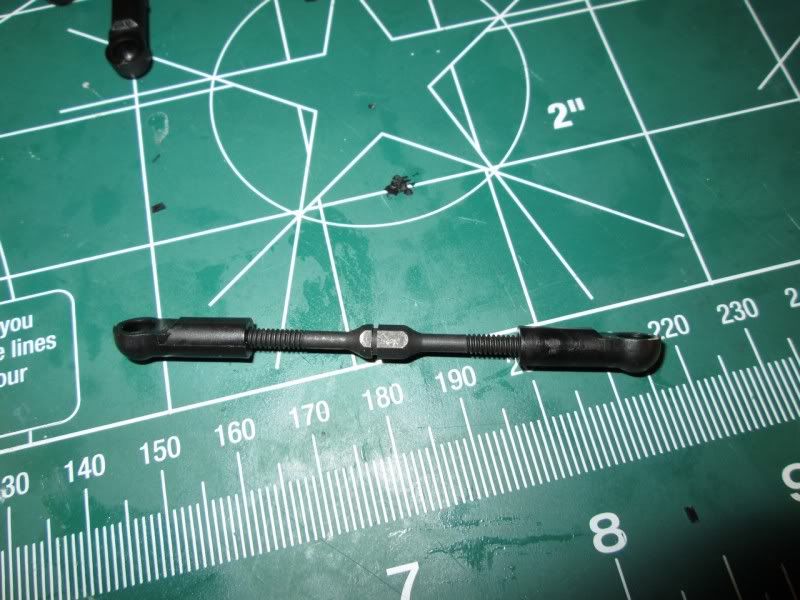
Yeah Racing (#TB02-100BU) Alloy F/R Tie Rod Holder (BU) For TB02/R
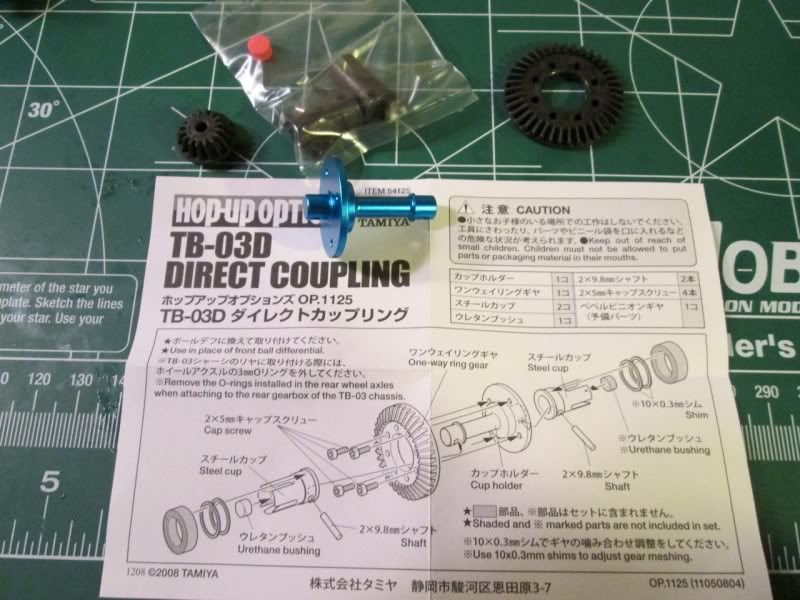
Tamiya (#54125) TB03D Direct Coupling
Yeah Racing (#LK-0002) Dark Drifter 6-Slots LED Light Kit
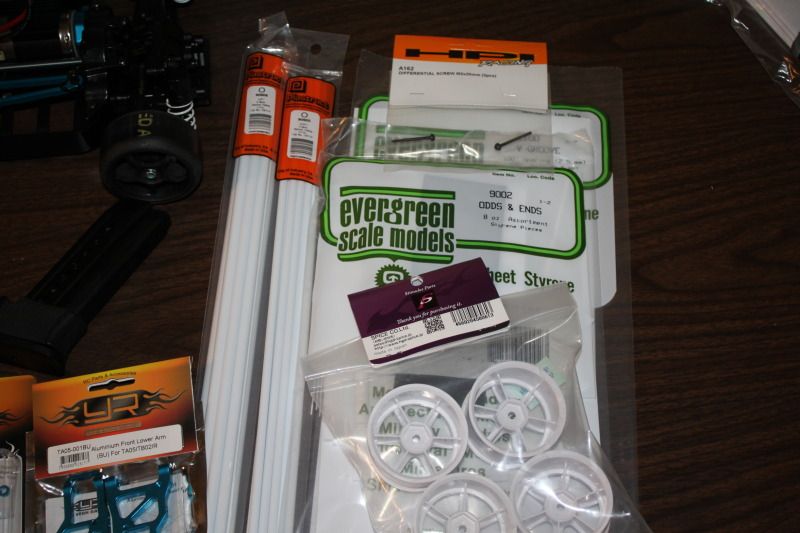
HPI (#A162) Differential Screw M2x25mm (2pcs)
There are also a few scratch built items I want to do. My first attempt was horrible so I said screw it. I'm taking my time this time.
FMIC
Roll cage
Splitter
Diffuser
Oil cooler
Brake ducts
Canards
and a few others
The following pics are of what I have currently. More will follow
Yeah Racing (#TA05-001BU) Aluminium Front Lower Arm (BU) For TA05/TB02/R
Yeah Racing (#TA05-002BU) Alloy Rear Lower Arm (BU) For TA05/TB02/R
Yeah Racing (#TA05-005V2BU) Alloy Bearing C-Hub Version 2 (BU) For TA05/TB02/R
Yeah Racing (#TA05-006BU) Alloy Front Knuckle Arm (BU) For TA05/TB02/R
Yeah Racing (#TA05-007V2BU) Alloy Rear Knuckle Arm Ver 2 (BU) For TA05/TB02/R
Yeah Racing (#TA05-021V2BU) Alloy 6 Cells Battery Hold (BU) For TA05/TB02/R
Yeah Racing (#TB02-005V2BU) Alloy Light Weight King Pin Set For TB02,TA05
Yeah Racing (#TB02-013V2BU) Alloy Motor Mount (BU) For TB02/R
Yeah Racing (#TB02-019BU) F/R Suspension Mount 0Deg Toe In For TB02/R
Yeah Racing (#TB02-019V3BU) F/R Suspension Mount 2Deg Toe In For TB02/R
Yeah Racing (#TB02-042BU) Alloy Bearing Steering Set For TB02/R
Yeah Racing (#TB02-100BU) Alloy F/R Tie Rod Holder (BU) For TB02/R
Tamiya (#54125) TB03D Direct Coupling
Yeah Racing (#LK-0002) Dark Drifter 6-Slots LED Light Kit
HPI (#A162) Differential Screw M2x25mm (2pcs)
There are also a few scratch built items I want to do. My first attempt was horrible so I said screw it. I'm taking my time this time.
FMIC
Roll cage
Splitter
Diffuser
Oil cooler
Brake ducts
Canards
and a few others
The following pics are of what I have currently. More will follow
 09-05-2012, 02:54 AM
#2
Junior Member
Thread Starter
Join Date: Nov 2010
Location: York,
PA
Posts: 26
Likes: 0
Received 0 Likes
on
0 Posts
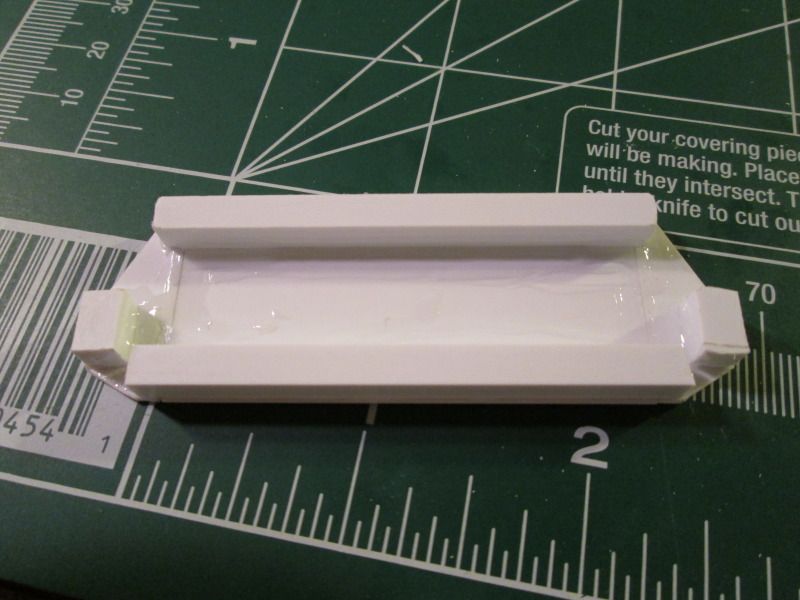
Alright everyone. First update. Decided to start on the FMIC. I don't think I'll keep it as it is but we'll see.
The first attempt I wasn't happy with so I went a little more basic
Here's where I decided to toss out the first idea and took a break and started the end tanks.

The first attempt I wasn't happy with so I went a little more basic
Here's where I decided to toss out the first idea and took a break and started the end tanks.
09-10-2012, 05:51 PM
#3
Junior Member
Thread Starter
Join Date: Nov 2010
Location: York,
PA
Posts: 26
Likes: 0
Received 0 Likes
on
0 Posts
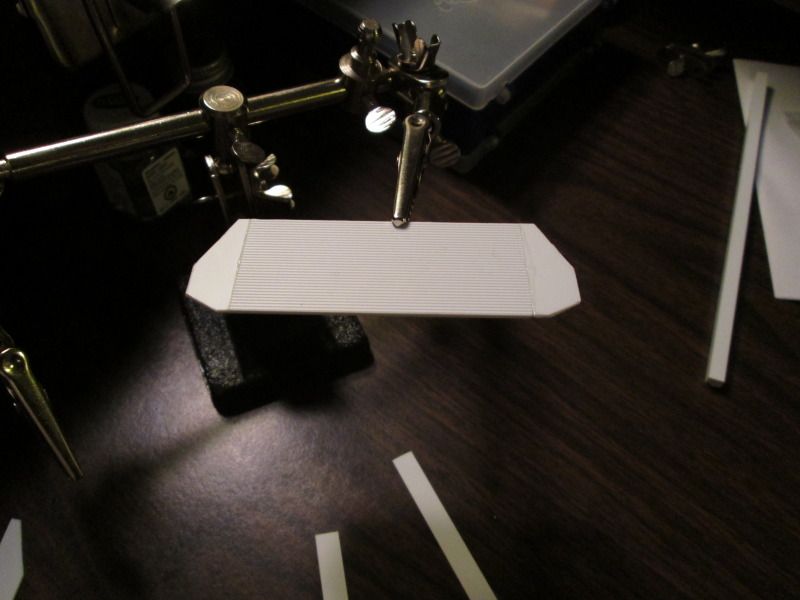
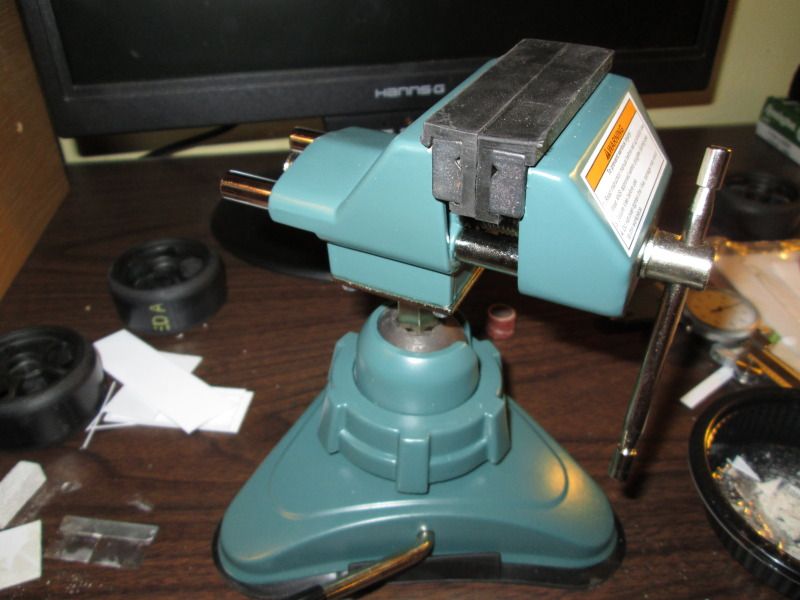
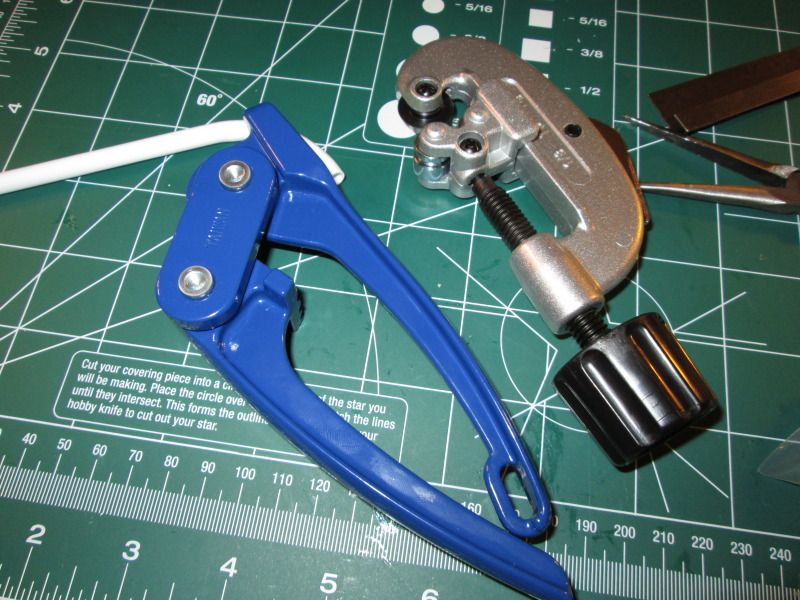
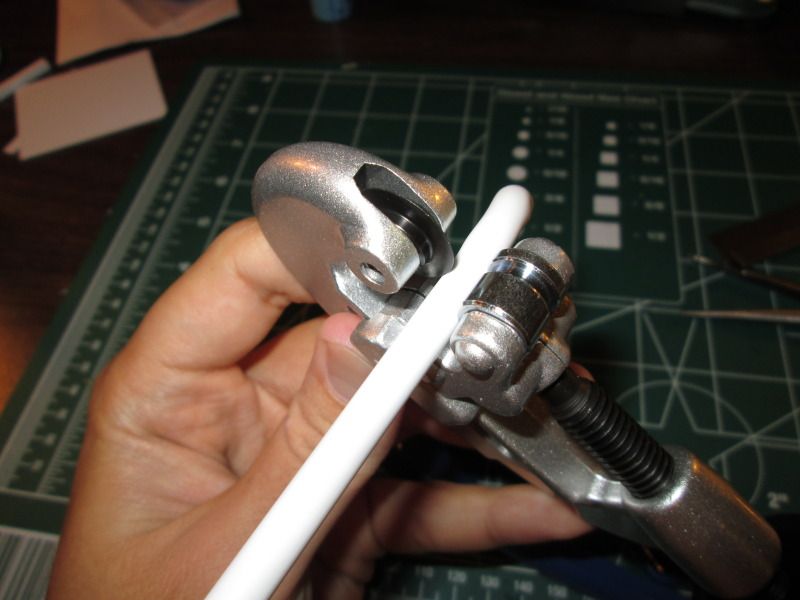
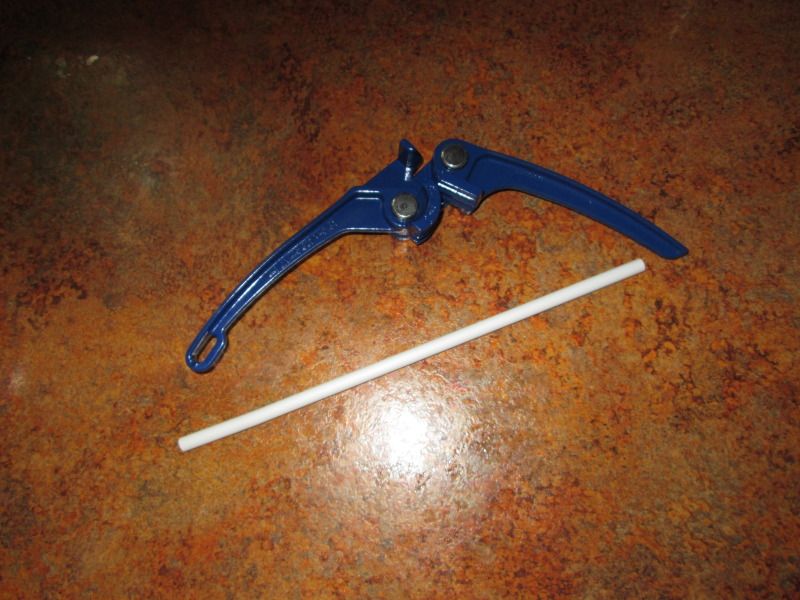
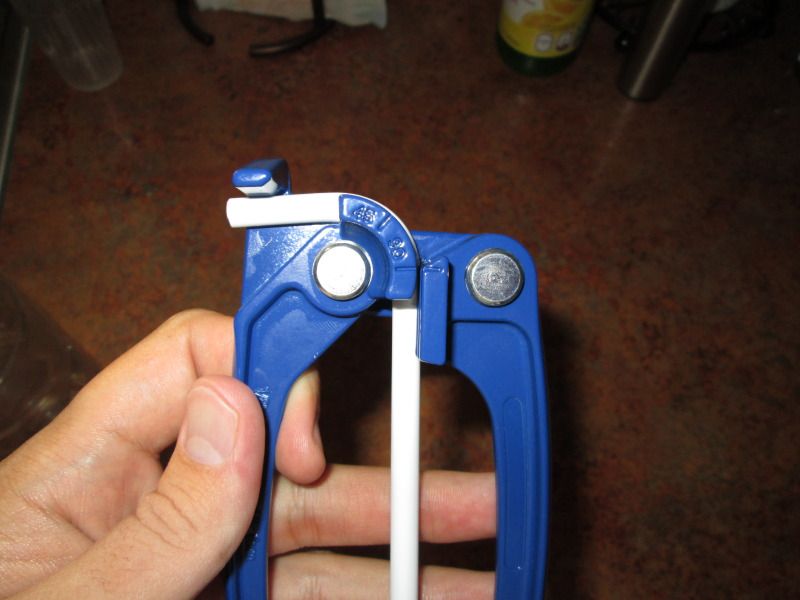
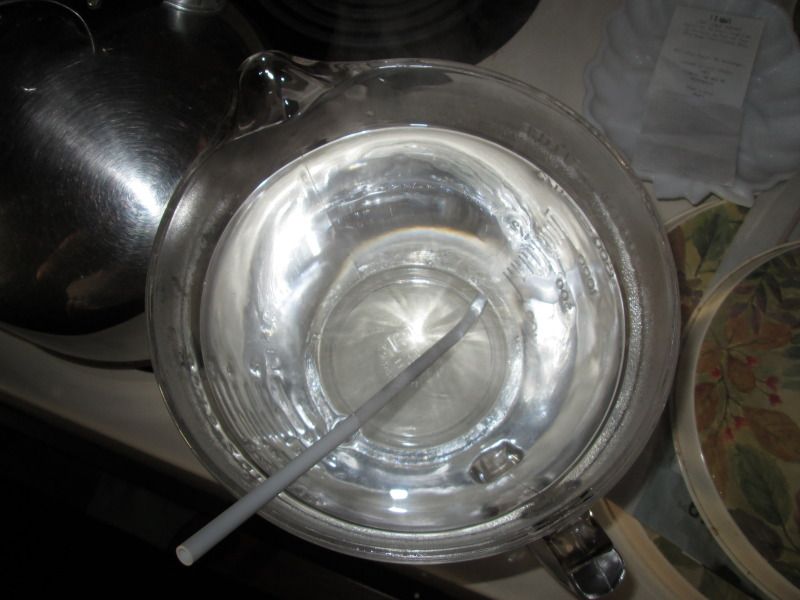
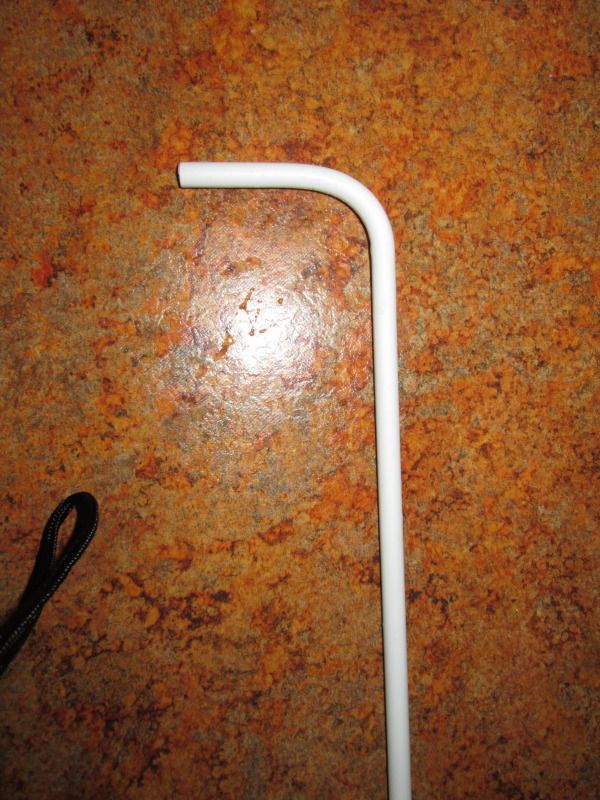
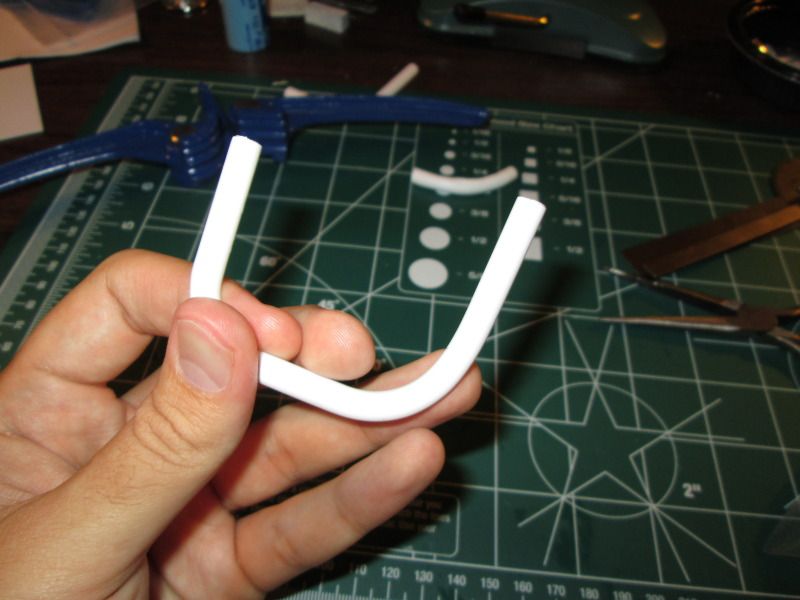
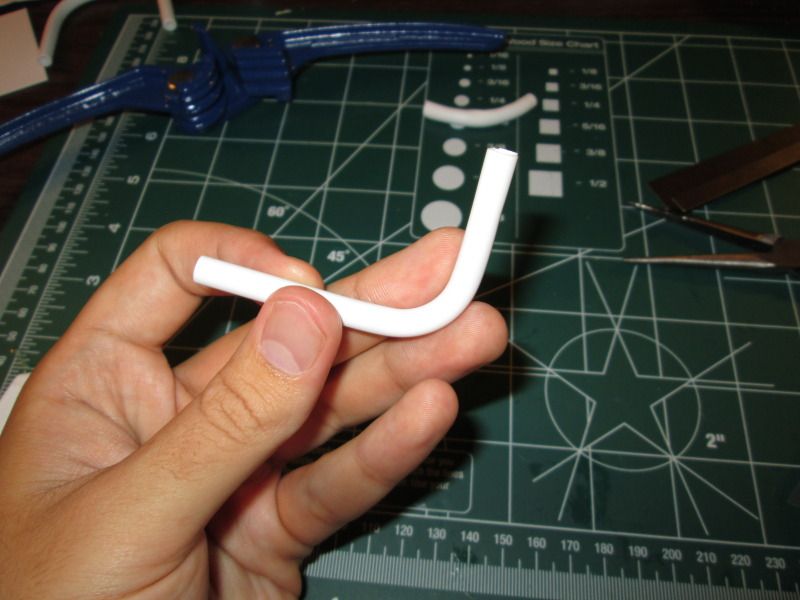
Few updates. I picked up a few things at Harbor Freight just to try out. I figured if they dont work, I only spent a couple bucks. So got a hobby vice (highly recommend for 16$ since it can tilt and all that stuff), a small pipe cutter (works well, especially on styrene), and a tiny hand pipe bender. Now. The pipe bender works as advertised but styrene doesn't hold its shape well which I knew would happen. So I tried a few things. What I found works best is to bend the styrene and submerge the bender in boiling water for around 5 min, then quickly put the styrene and bender in the freezer until the bender is cold (it'll remain hot much longer than the styrene).
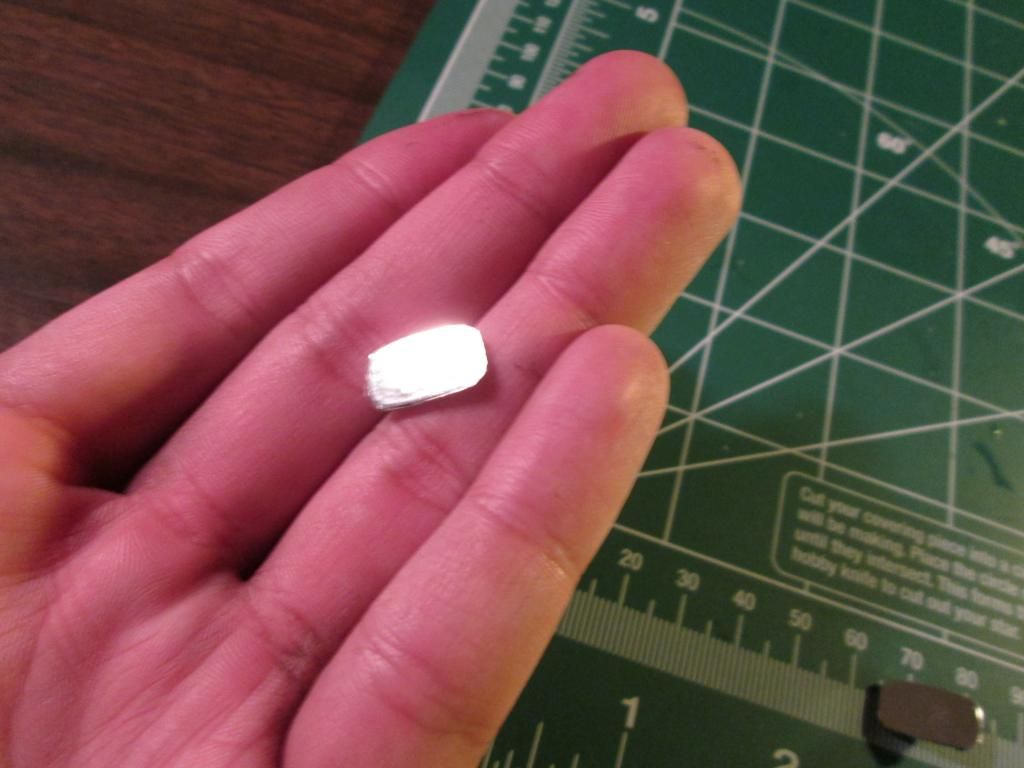
So after that was done, I put them on the intercooler only to realize that the piece with 2 bends from my first few attempts at bending, didn't hold its shape quite as well as the single bend using the method above. So I ripped them off. I said at the beginning I want to take my time and do things right. So I was just thinking and it hit me. These two pieces will be seen in the bumper so I want them look good. Why not use the corners of a hanger? They're even the same diameter as what I was using. Lastly, I got 2 packages (see below). I'm just waiting on one more package to complete the parts for this.
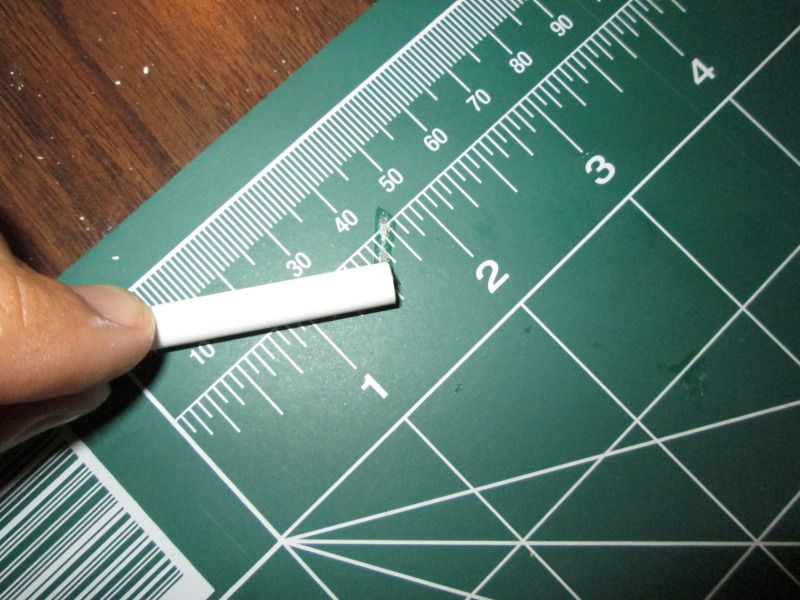
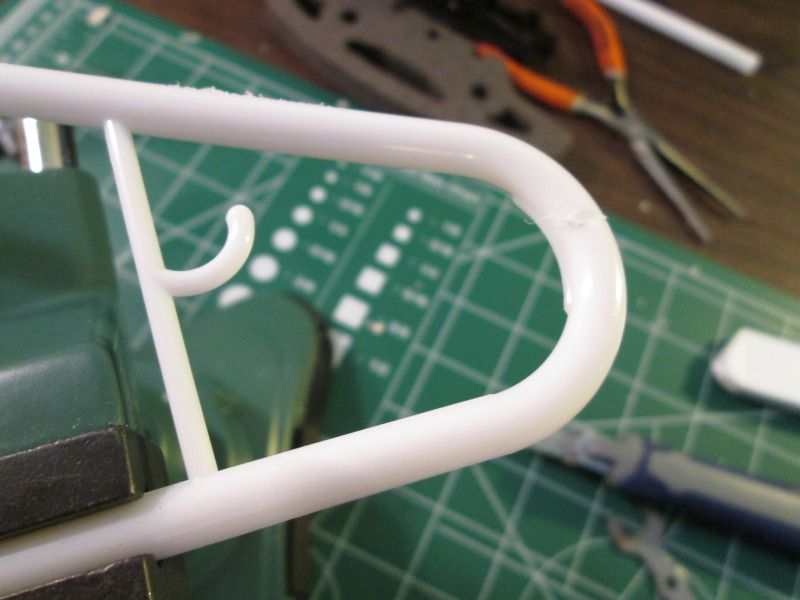
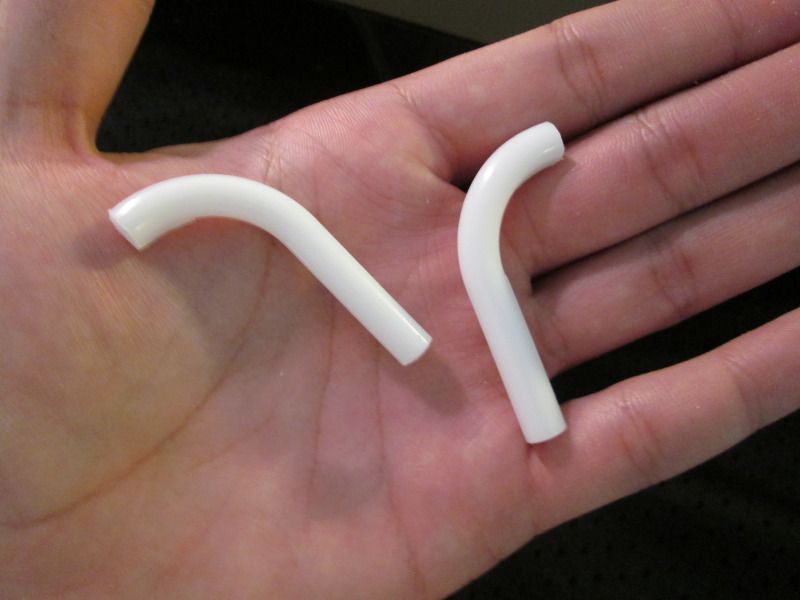

So after that was done, I put them on the intercooler only to realize that the piece with 2 bends from my first few attempts at bending, didn't hold its shape quite as well as the single bend using the method above. So I ripped them off. I said at the beginning I want to take my time and do things right. So I was just thinking and it hit me. These two pieces will be seen in the bumper so I want them look good. Why not use the corners of a hanger? They're even the same diameter as what I was using. Lastly, I got 2 packages (see below). I'm just waiting on one more package to complete the parts for this.
09-13-2012, 04:06 PM
#4
Senior Member
Join Date: Oct 2007
Location: Missoula,
MT
Posts: 2,161
Likes: 0
Received 0 Likes
on
0 Posts
Oh man I'm glad I found this and will be watching..
Love building my own stuff and making it different then just what others can buy, one of the reasons I love scale building. How do you think a heat gun would work when using the bender?
Love building my own stuff and making it different then just what others can buy, one of the reasons I love scale building. How do you think a heat gun would work when using the bender?
09-14-2012, 01:02 PM
#5
Junior Member
Thread Starter
Join Date: Nov 2010
Location: York,
PA
Posts: 26
Likes: 0
Received 0 Likes
on
0 Posts
ORIGINAL: MTboy
Oh man I'm glad I found this and will be watching..
Love building my own stuff and making it different then just what others can buy, one of the reasons I love scale building. How do you think a heat gun would work when using the bender?
Oh man I'm glad I found this and will be watching..
Love building my own stuff and making it different then just what others can buy, one of the reasons I love scale building. How do you think a heat gun would work when using the bender?
11-03-2012, 06:07 PM
#6
Junior Member
Thread Starter
Join Date: Nov 2010
Location: York,
PA
Posts: 26
Likes: 0
Received 0 Likes
on
0 Posts
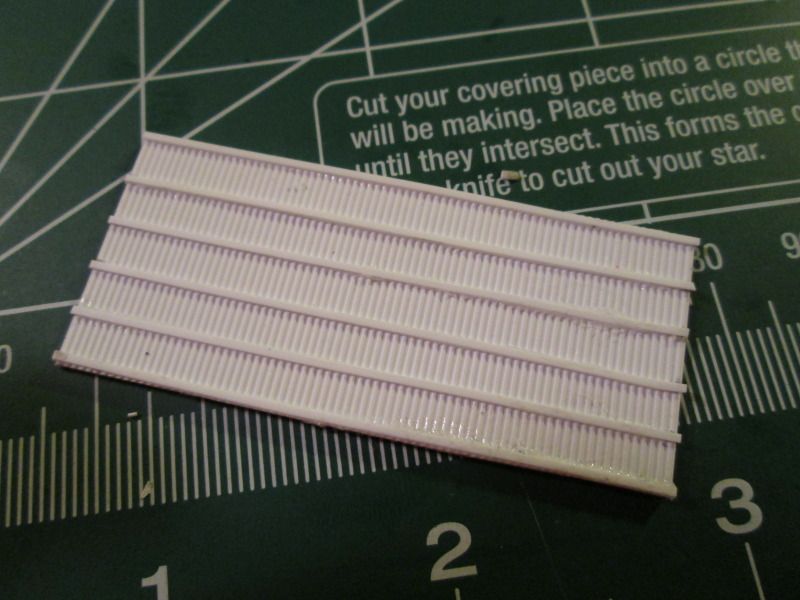
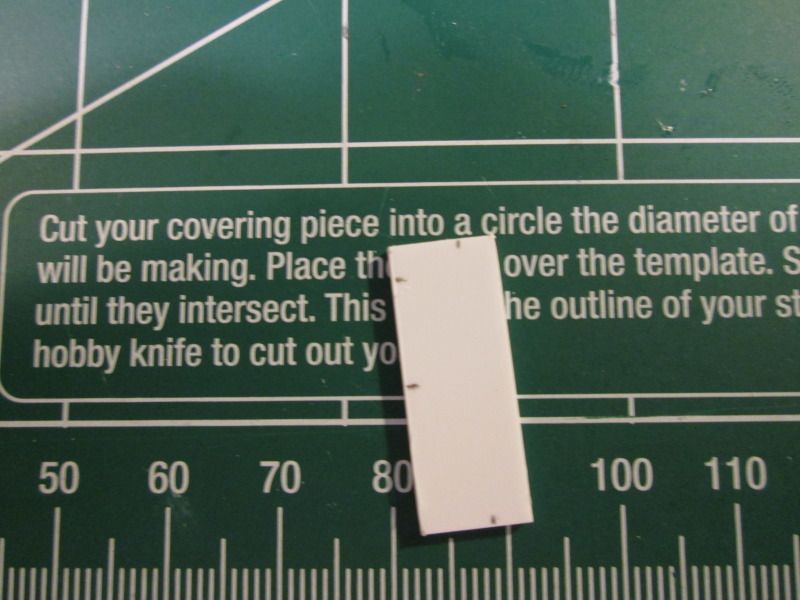
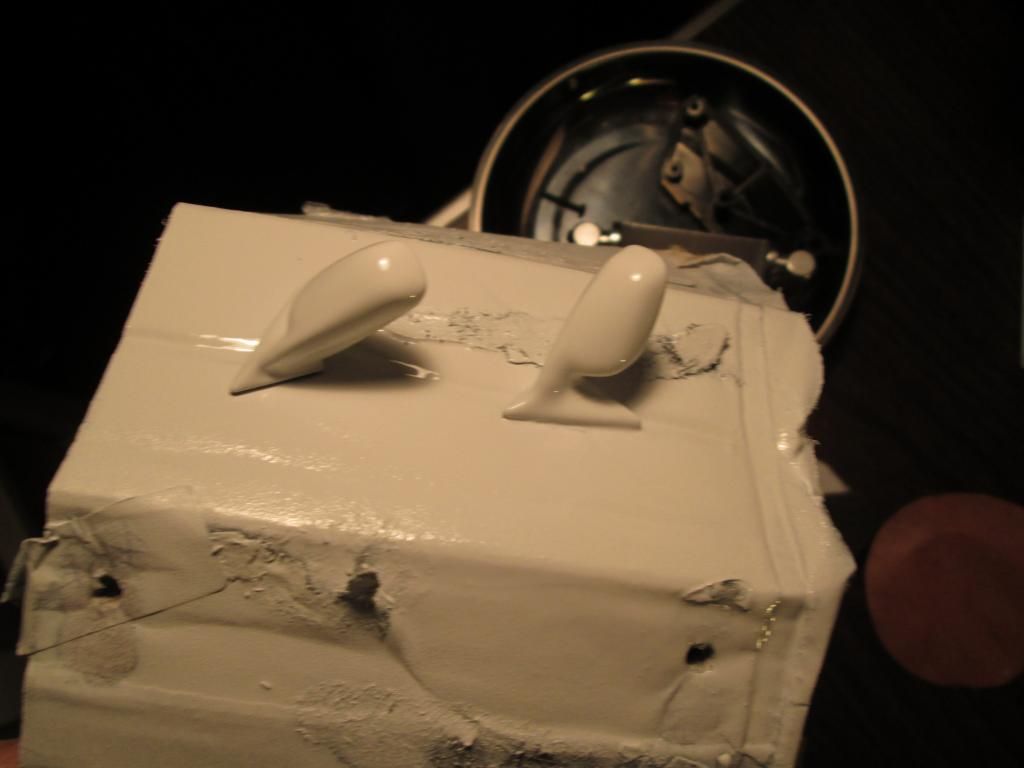
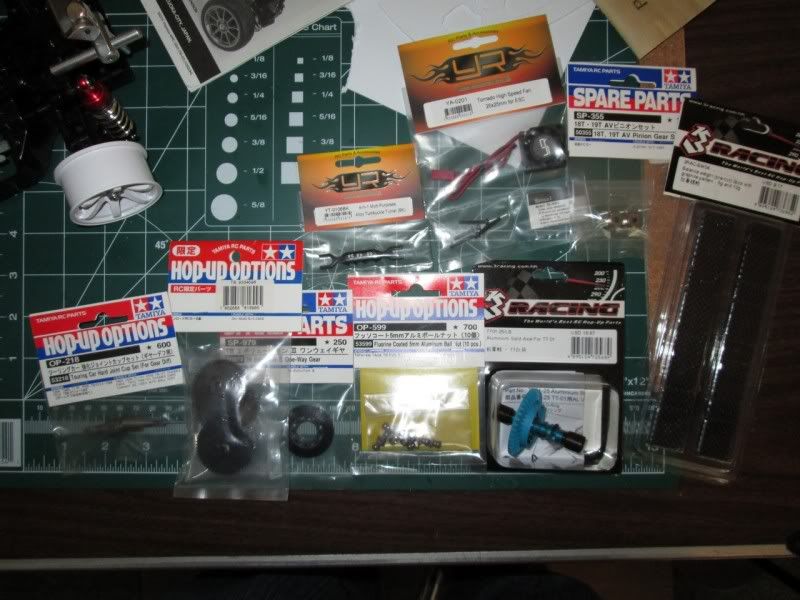
Hey y'all. I havent forgotten or given up! I've just been traveling a bit for work and haven't had TOO much time to do anything (although I did finalize the intercooler in my hotel room one night, just needs sanded and painted). I have been buying a few more parts. I purchased a front one way for the car from the TB EVO III. I also purchased parts for a CS setup. Sadly, the TB02 isn't super popular so a kit isn't directly made for it like other popular ones. I believe I've purchased the parts to build my own setup which will most likely require some modifications. Anyway, the one way and CS stuff isn't here yet (hopefully this week). I do have a few pictures though!
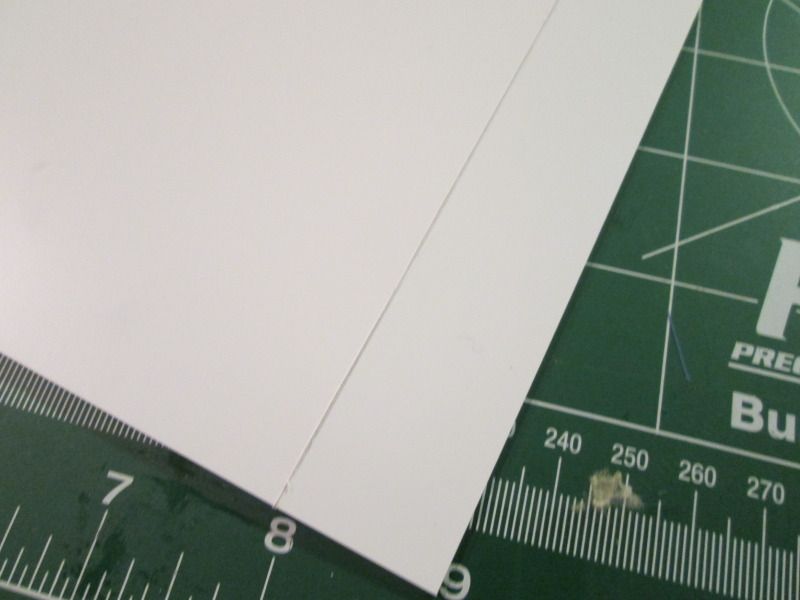
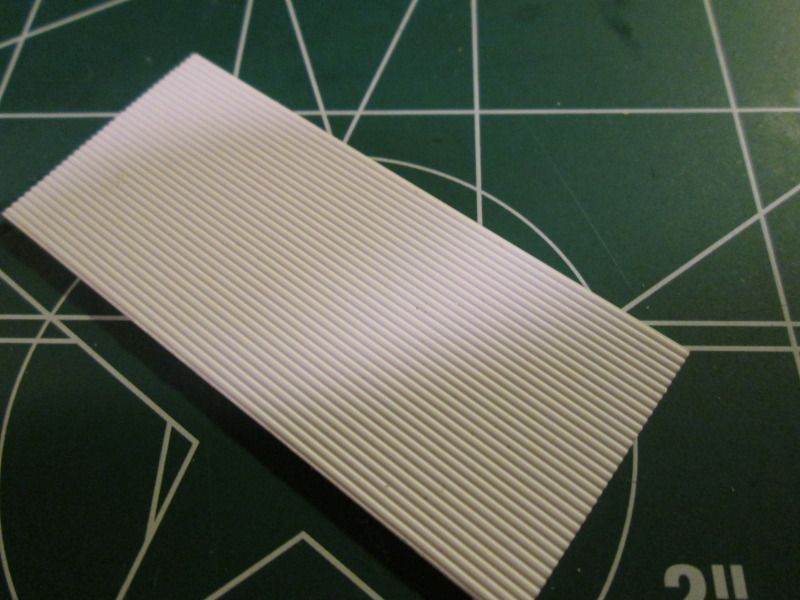
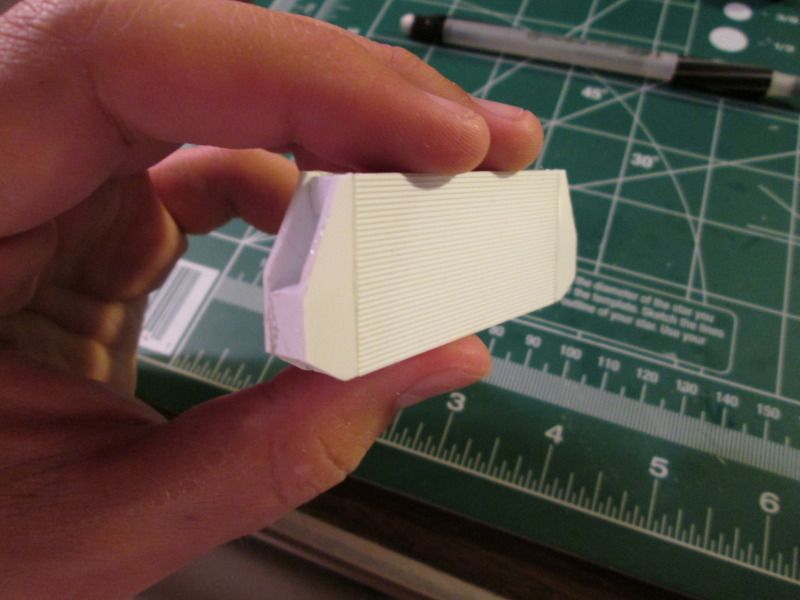
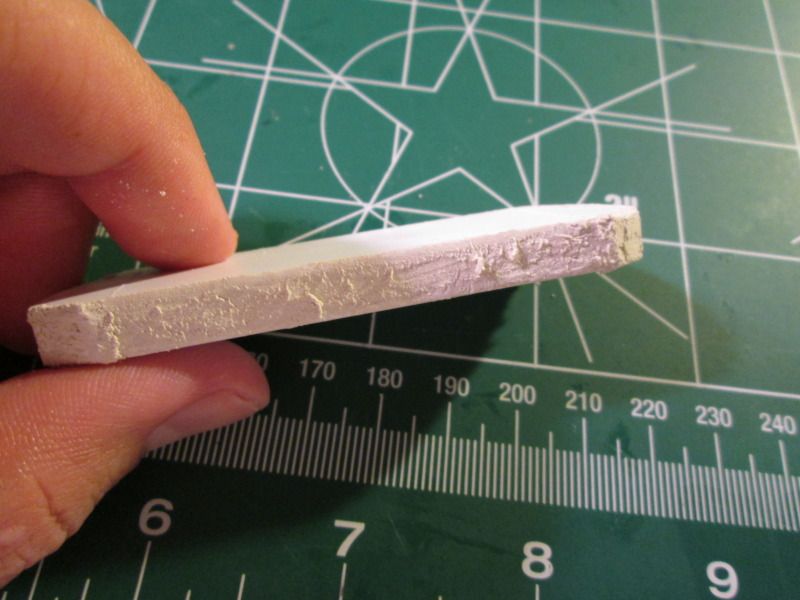
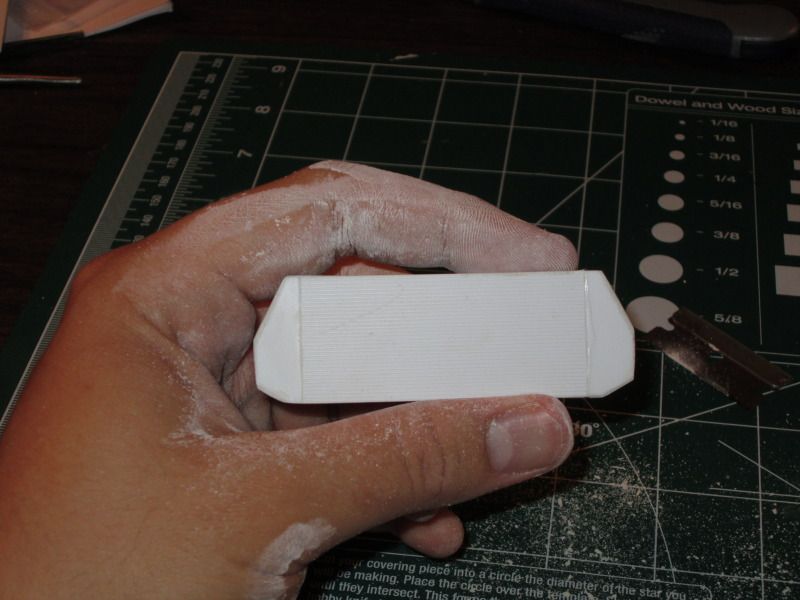
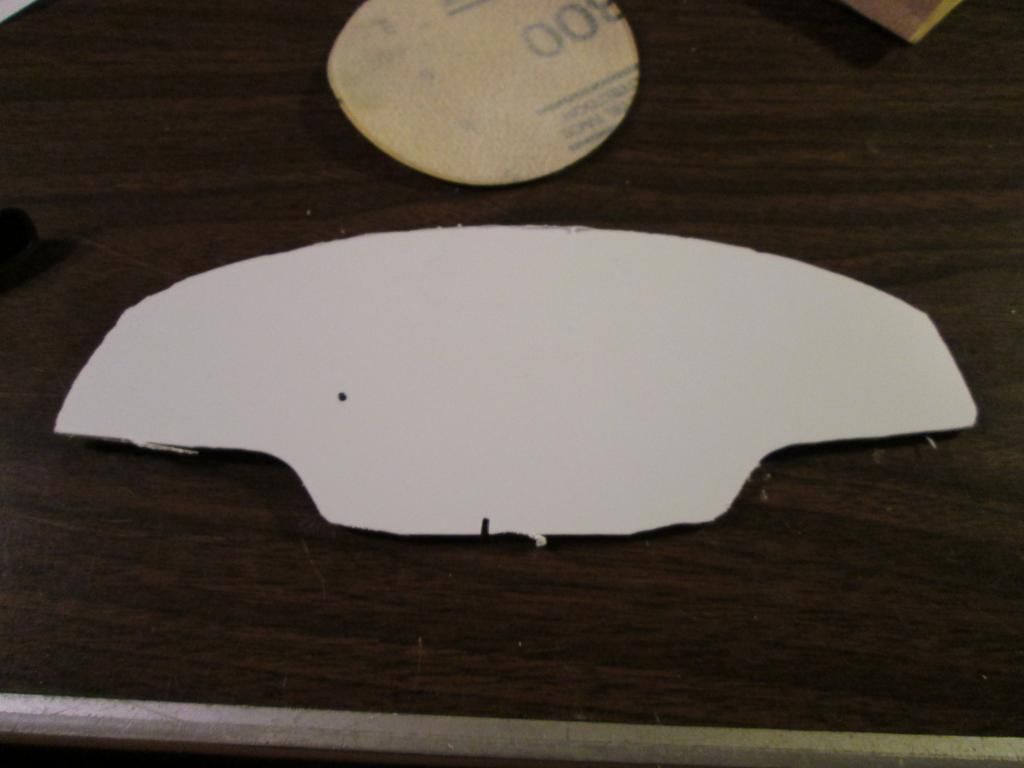
This is the start of the front splitter
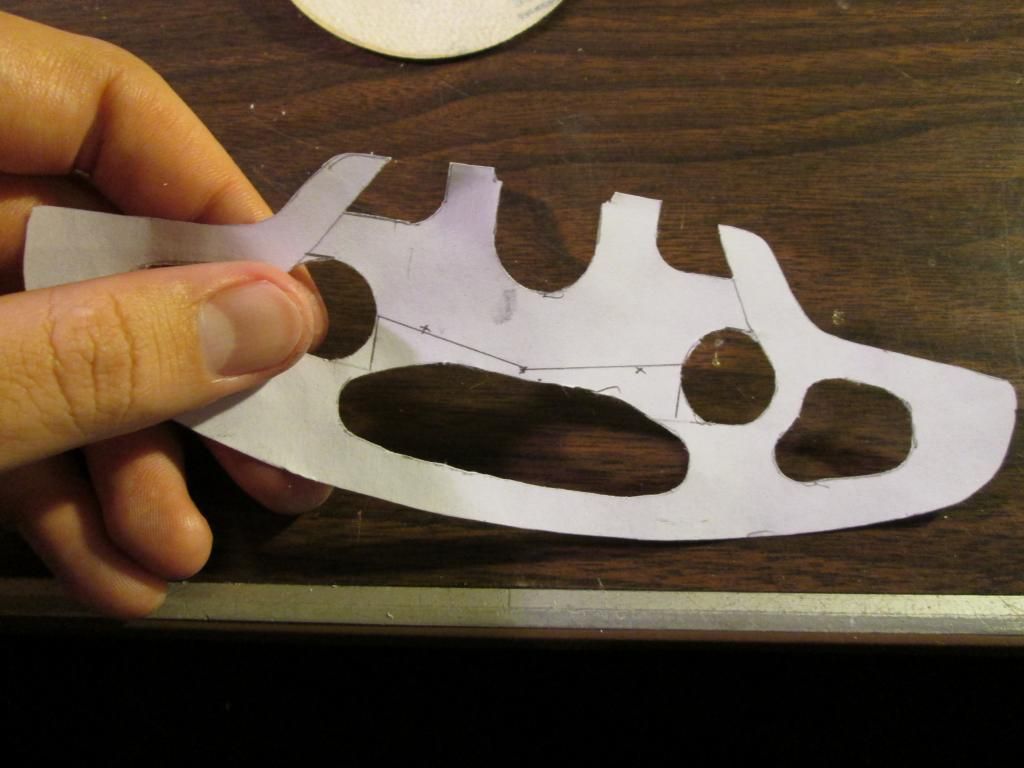
Mostly cut out, but needs touched up and smoothed out
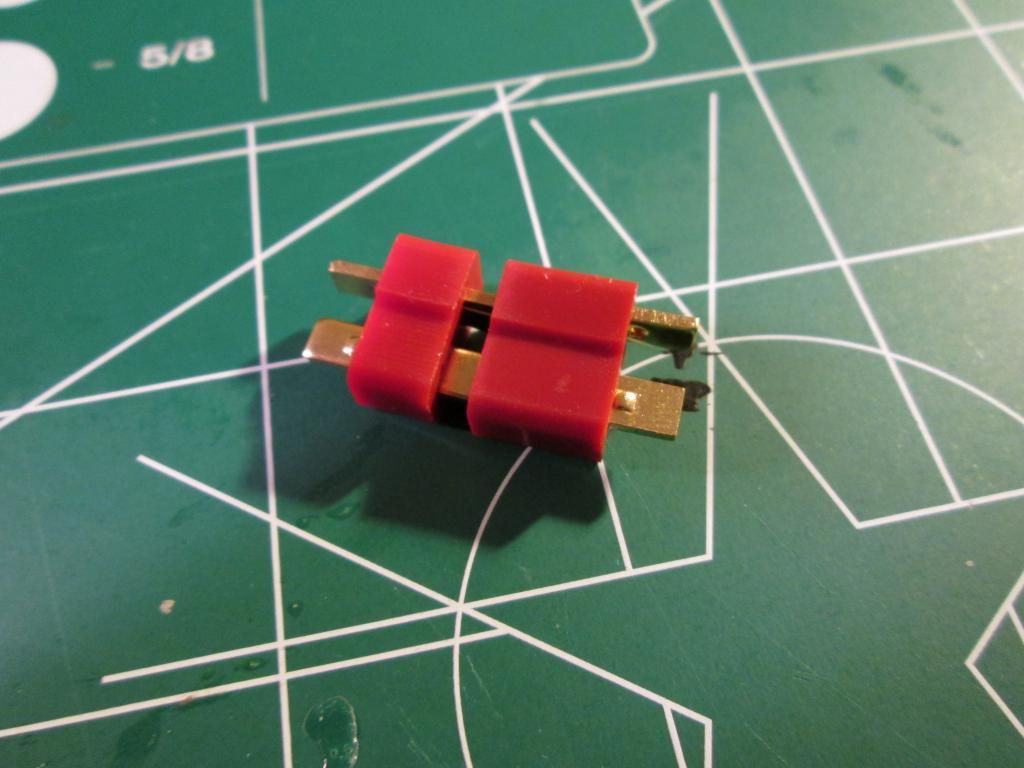
Got some Deans plugs
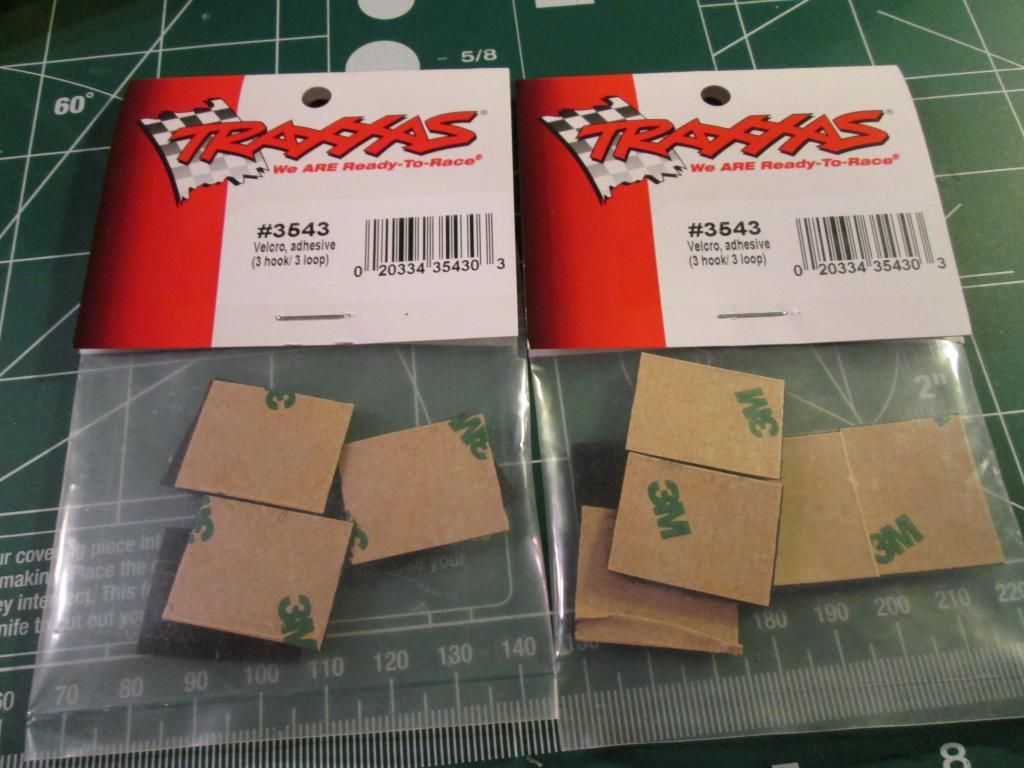
And some velcro for the postless mounts

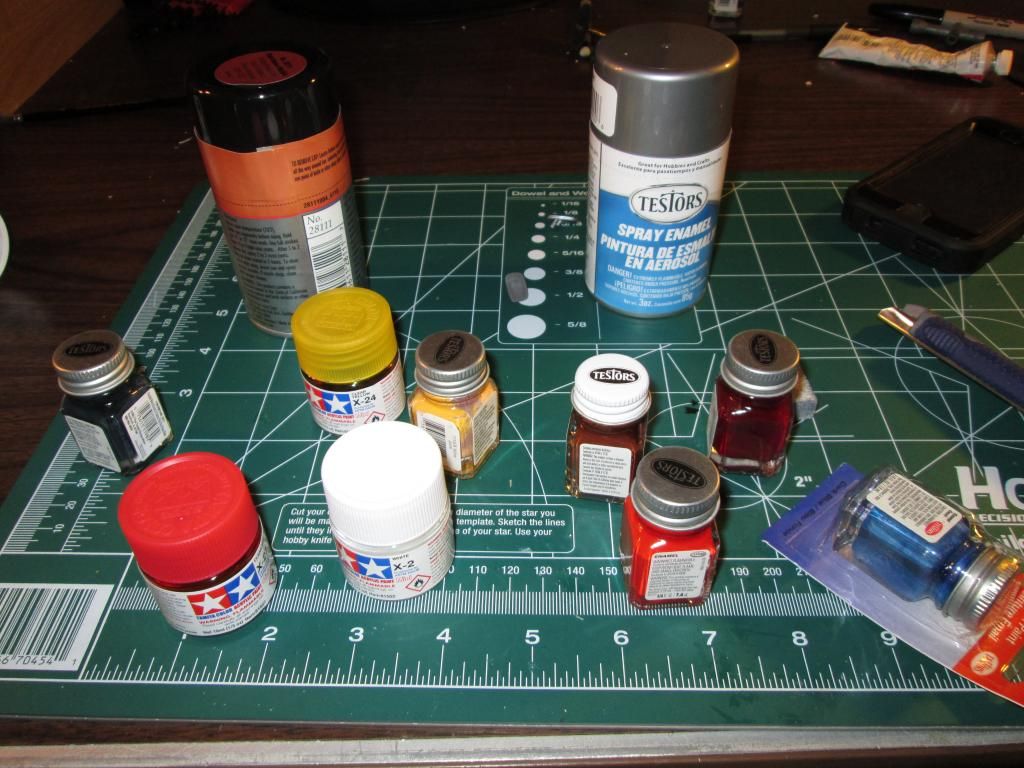
More paint for the lights
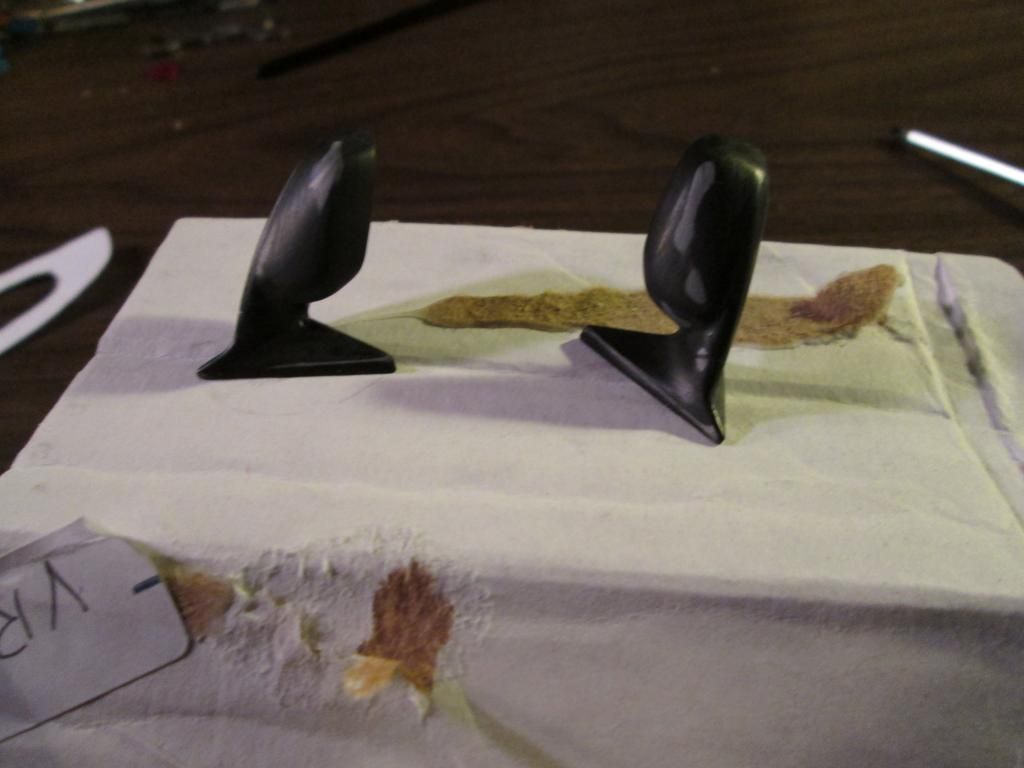
Aluminum tape for mirror glass which was a black plastic
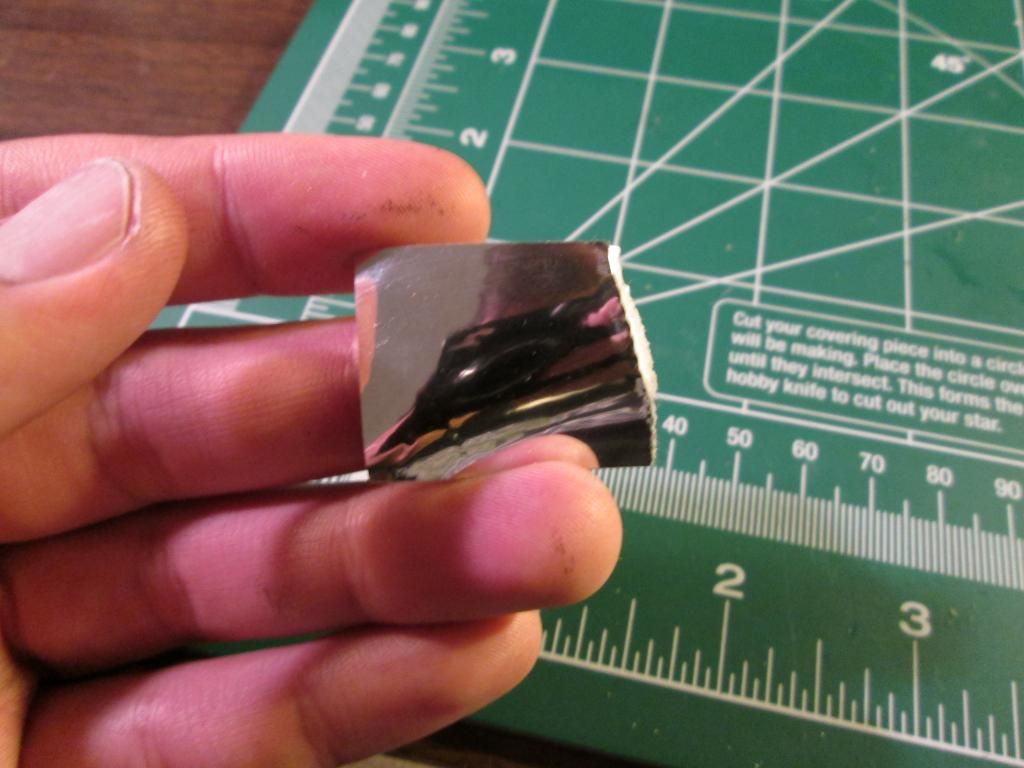
Didn't like the mirrors black
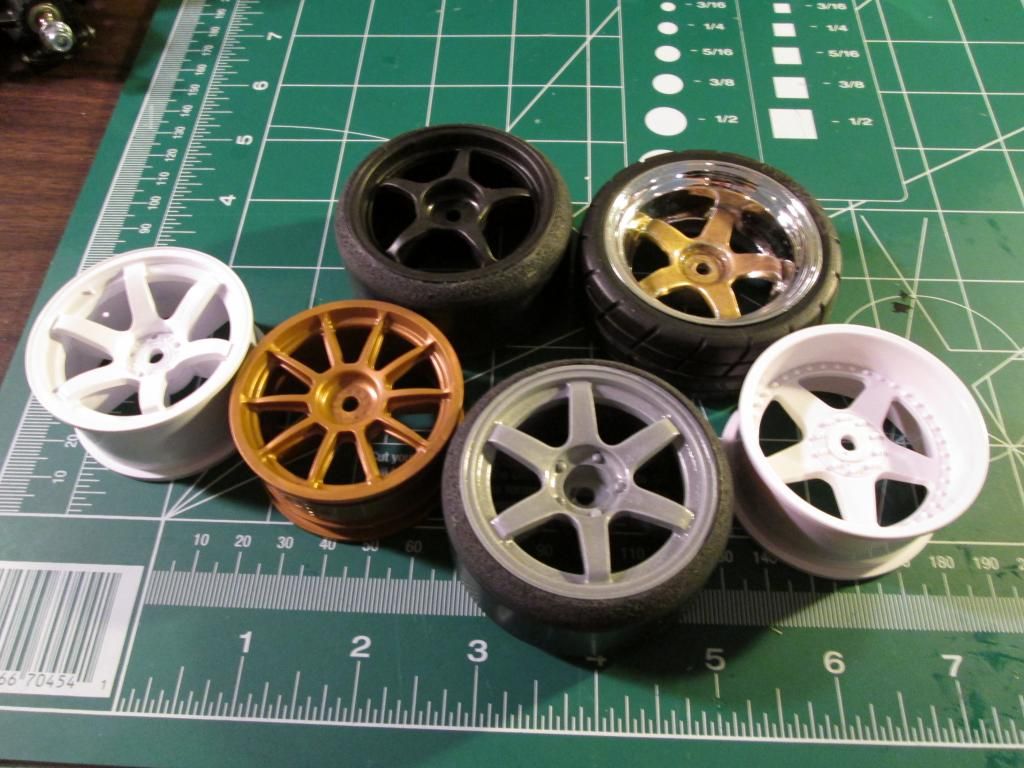
Which wheels? I can't decide
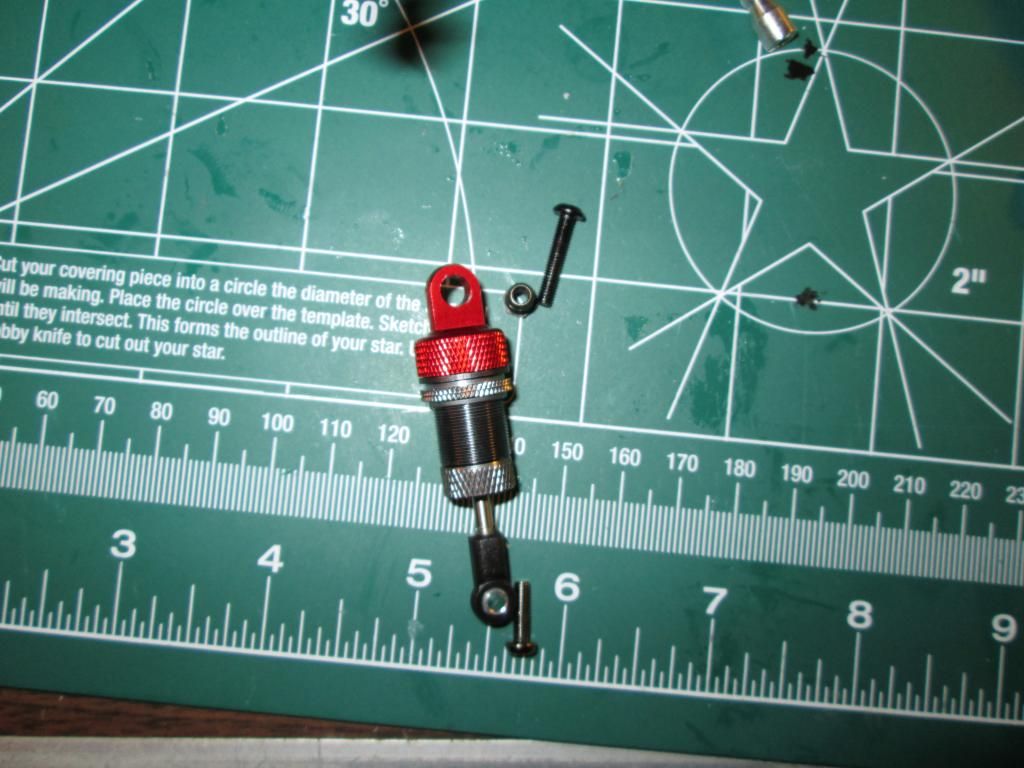
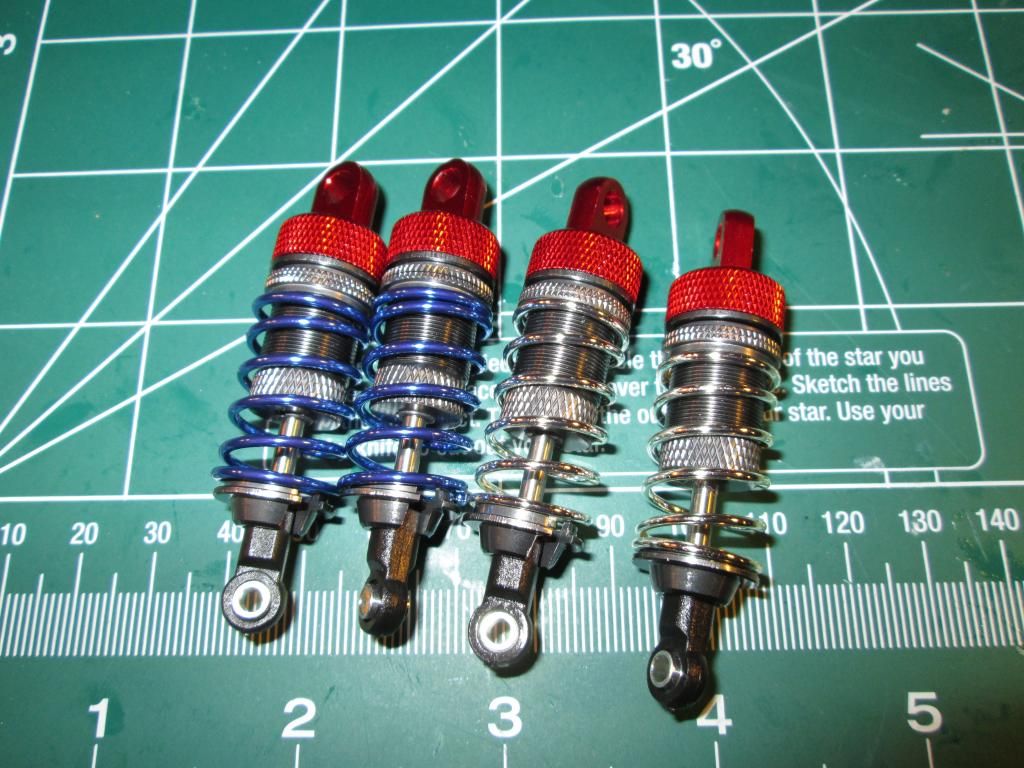
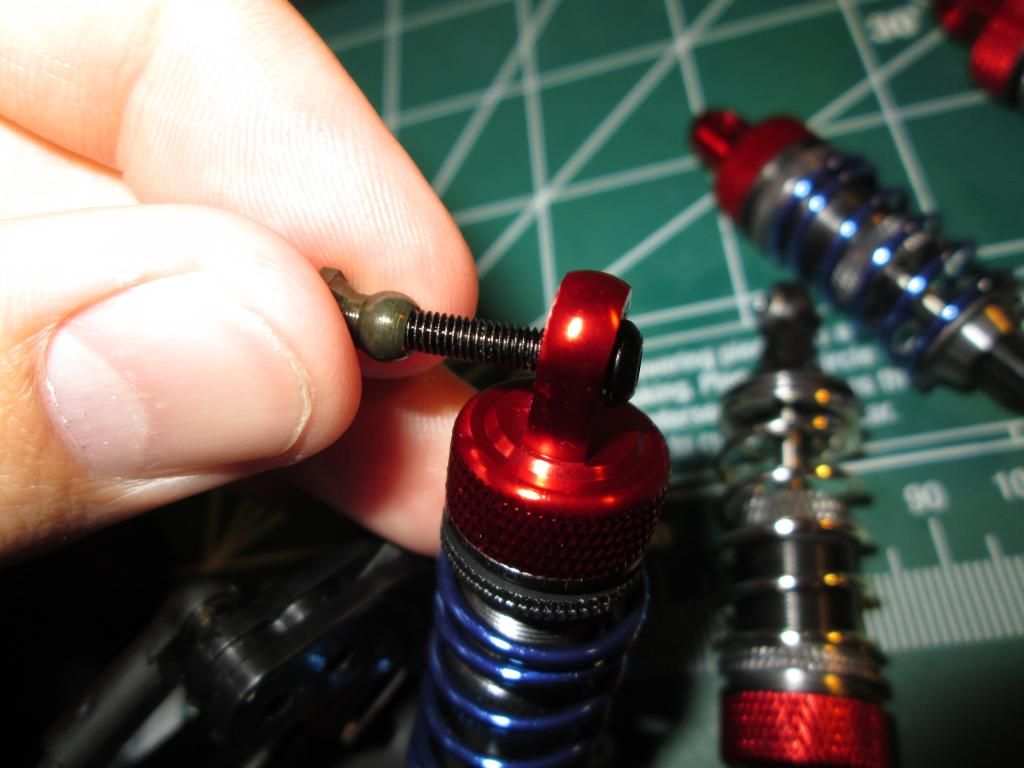
Not totally finished, just makin sure everything fits
This is the start of the front splitter
Mostly cut out, but needs touched up and smoothed out
Got some Deans plugs
And some velcro for the postless mounts
More paint for the lights
Aluminum tape for mirror glass which was a black plastic
Didn't like the mirrors black
Which wheels? I can't decide
Not totally finished, just makin sure everything fits
11-17-2012, 08:32 PM
#8
Junior Member
Thread Starter
Join Date: Nov 2010
Location: York,
PA
Posts: 26
Likes: 0
Received 0 Likes
on
0 Posts
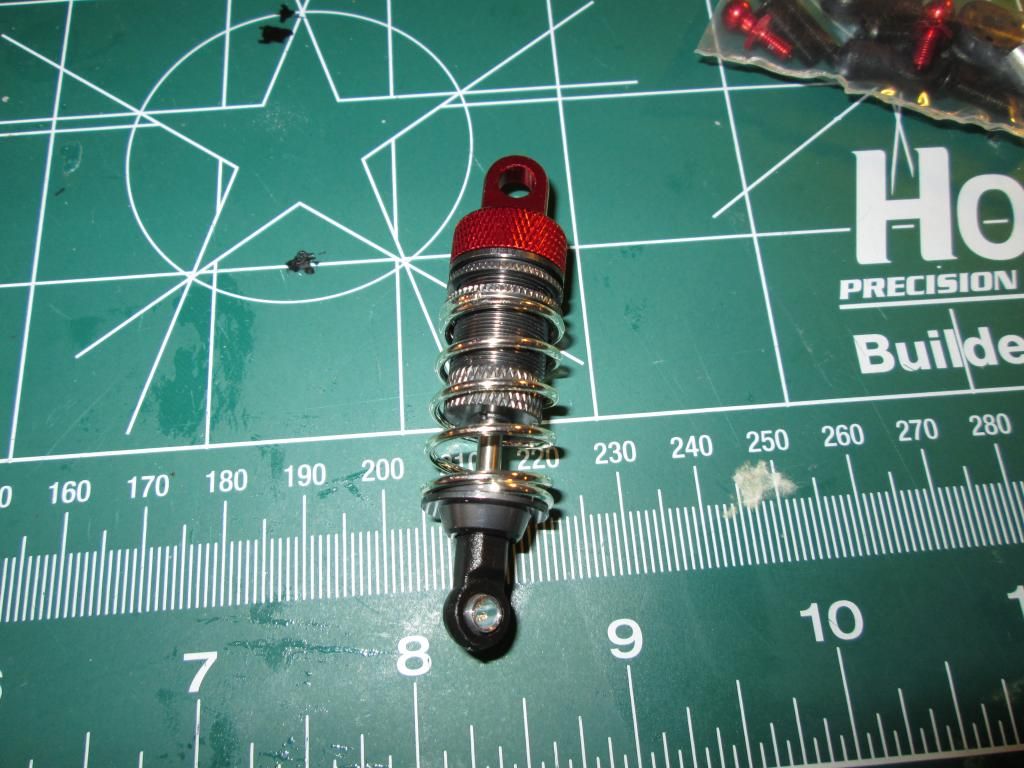
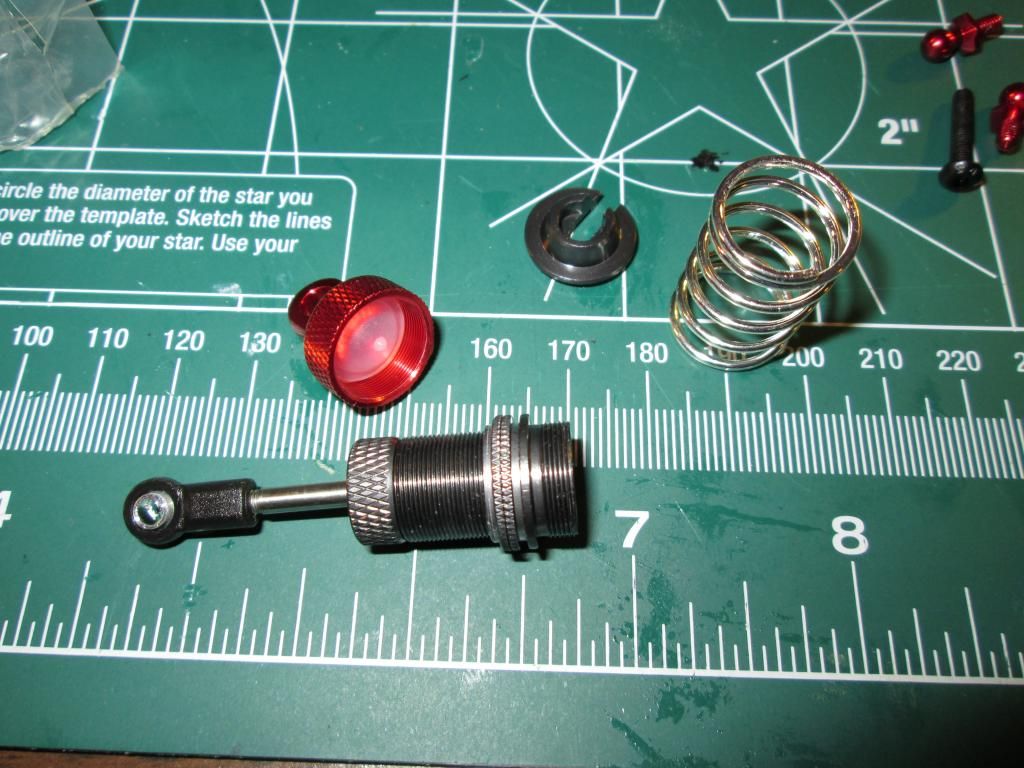
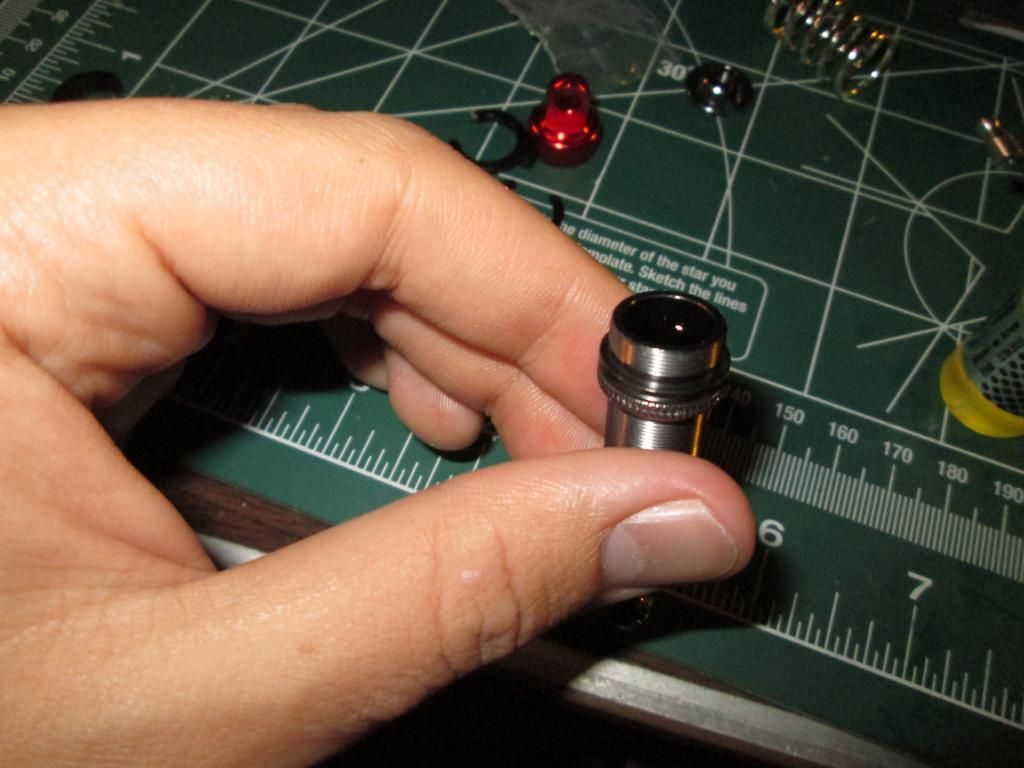
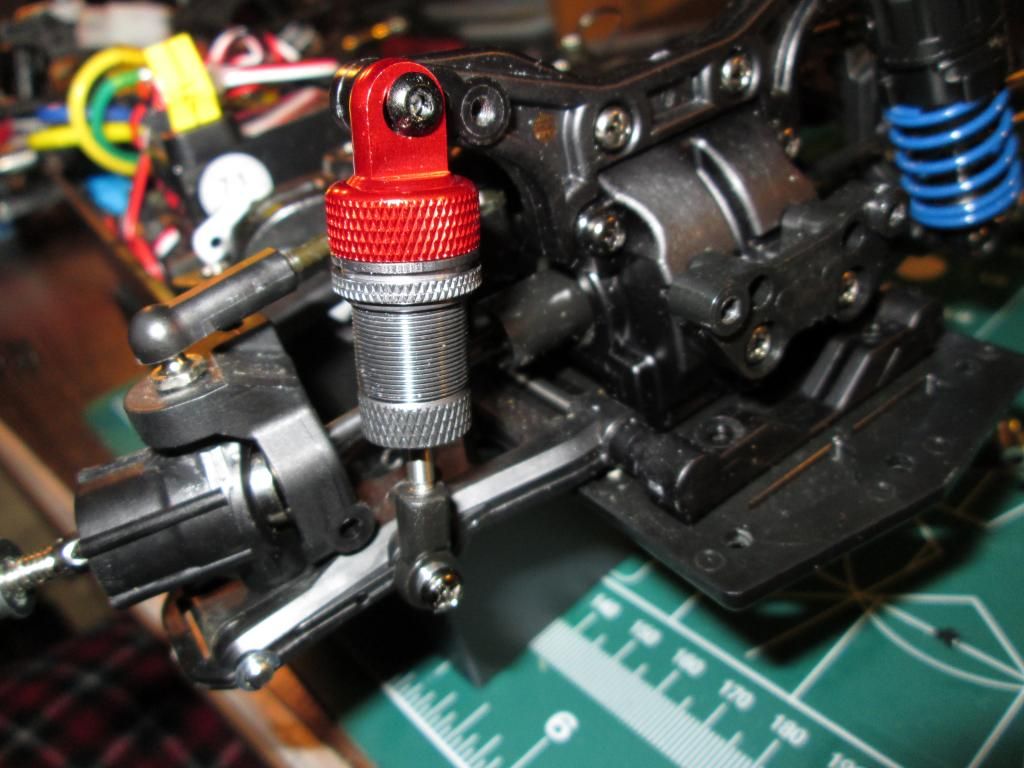
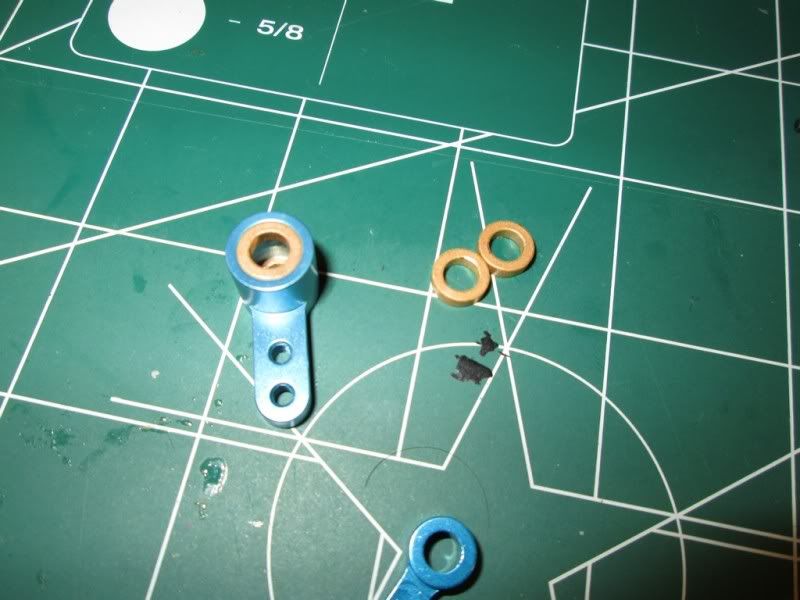
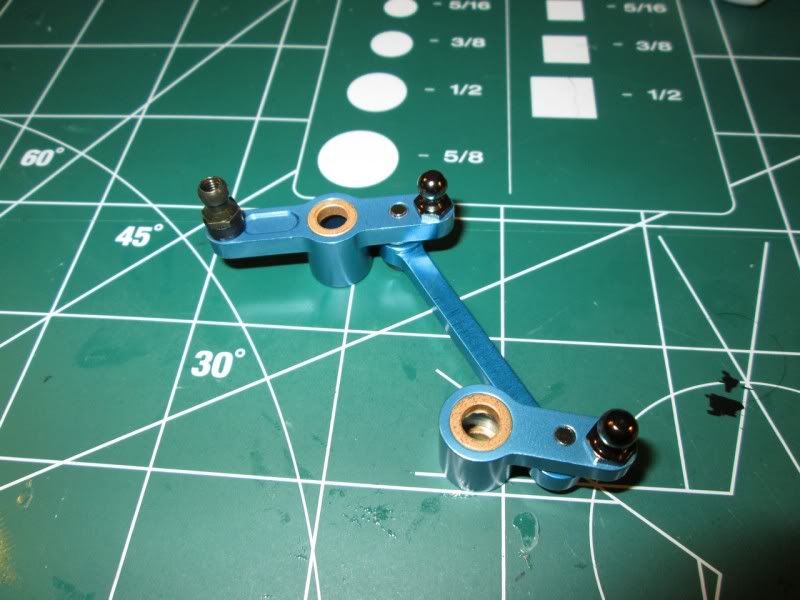
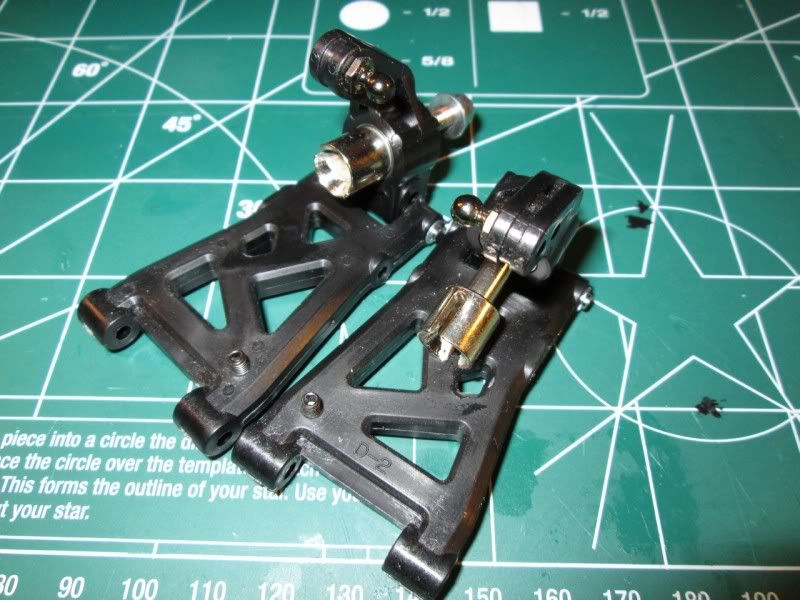
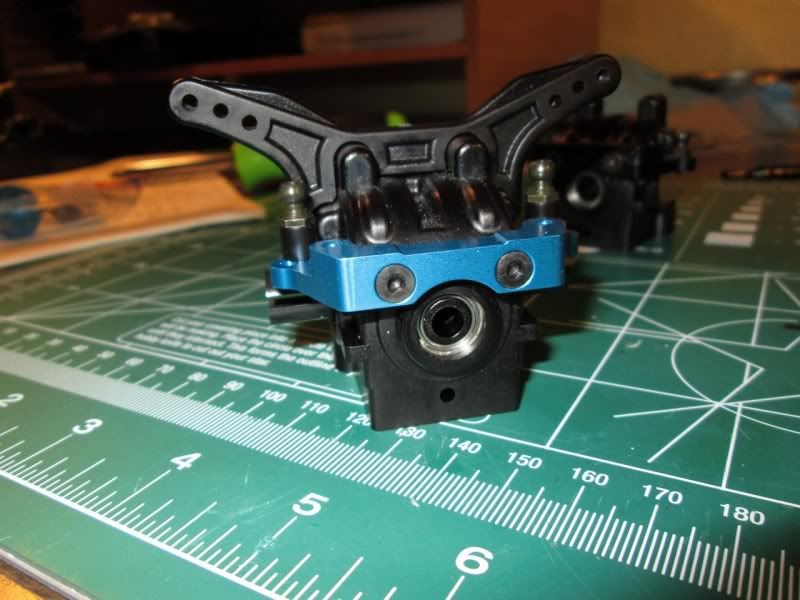
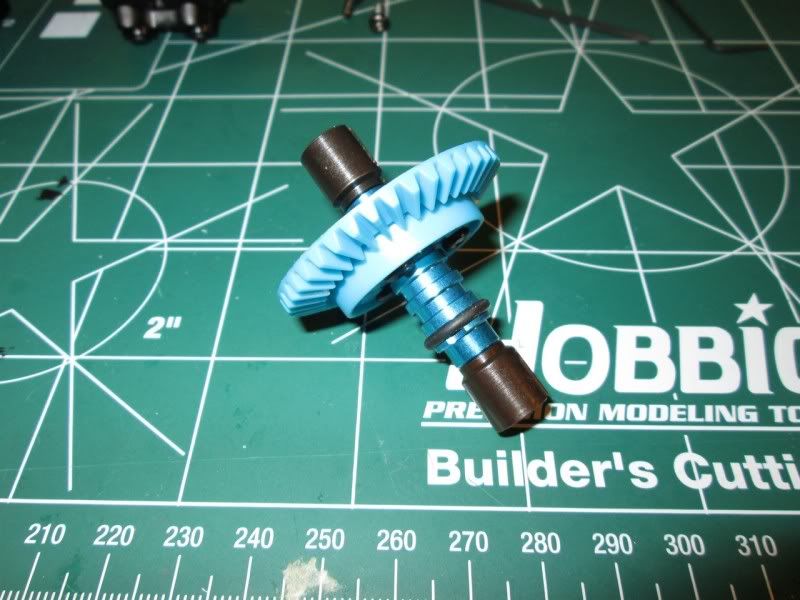
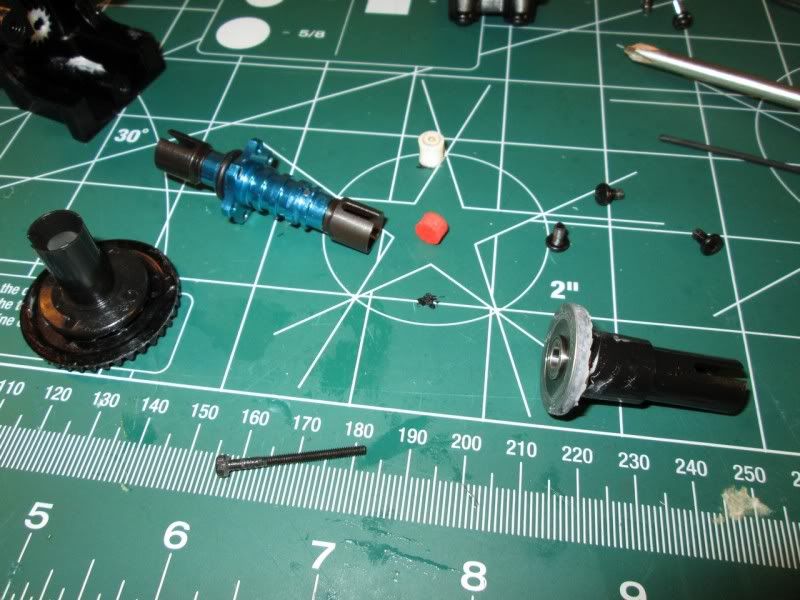
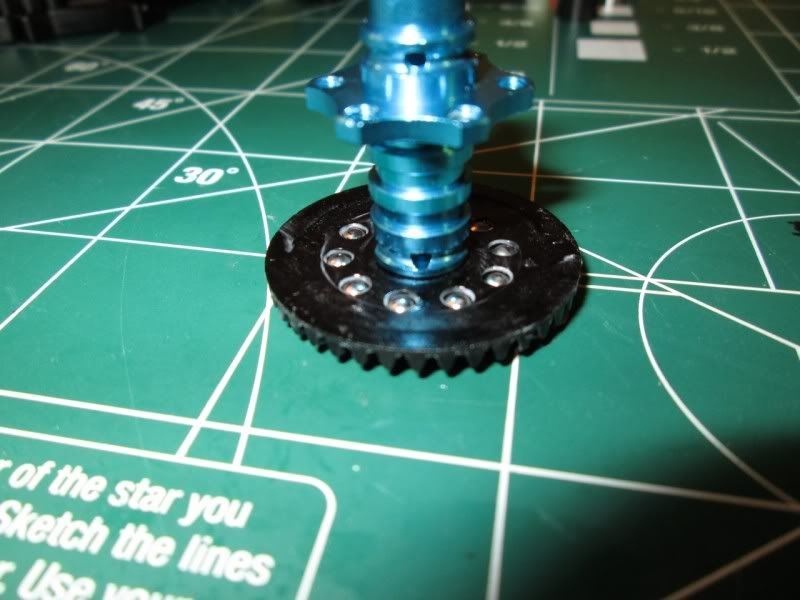
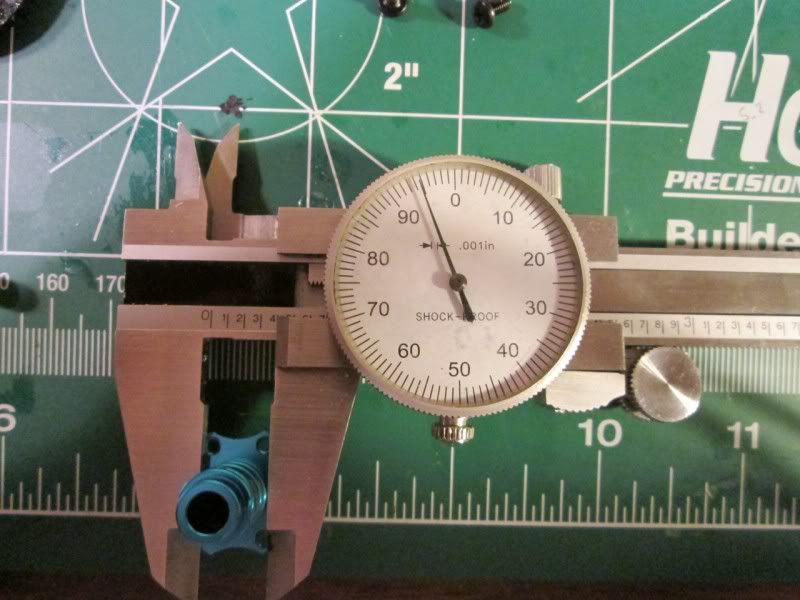
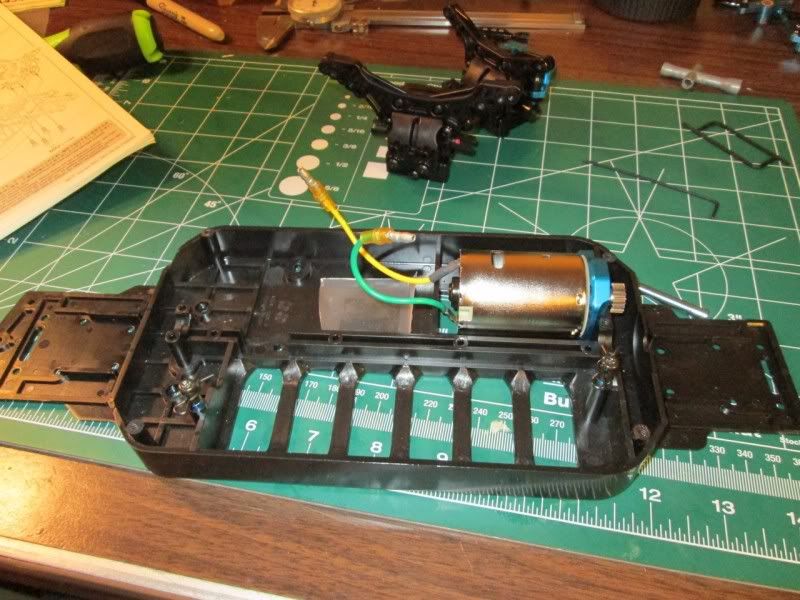
Alright y'all, got a fairly large update tonight. Lots of things going down. I lost a few pieces and had to order more so hopefully after Thanksgiving, I'll have them. I've been waiting on my front one way for 3+ weeks now. I hope it gets here soon :|. Onto the pics!
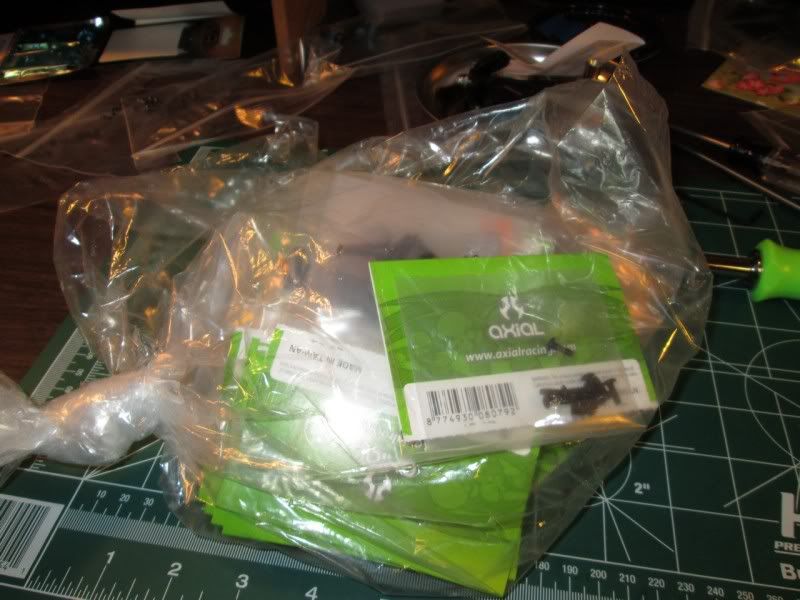
Some new goodies
Ready for tear down
I started with what I could while I waited for my hardware to come in
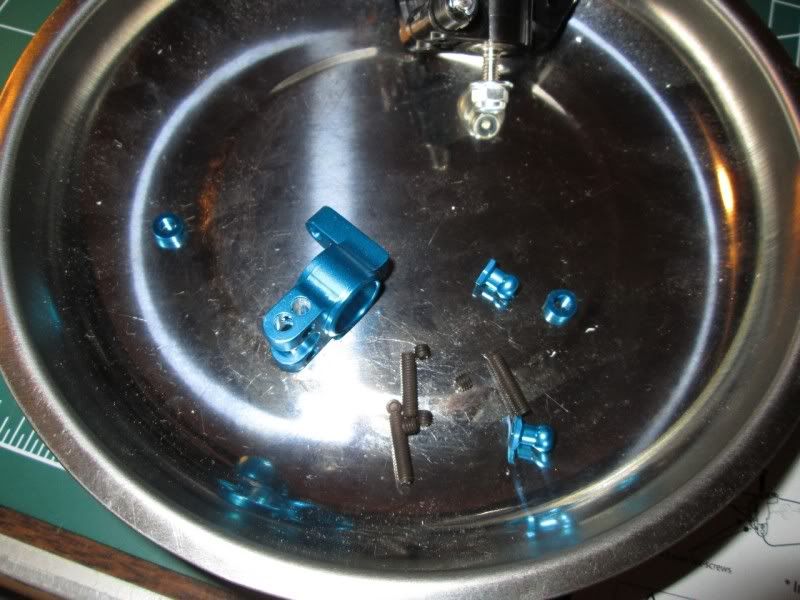
Stripped screw FTL
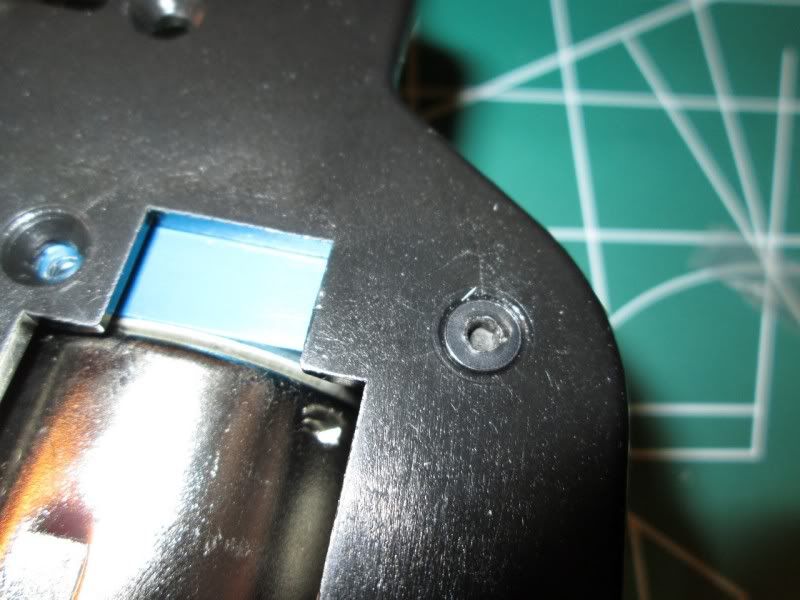
But no worries!
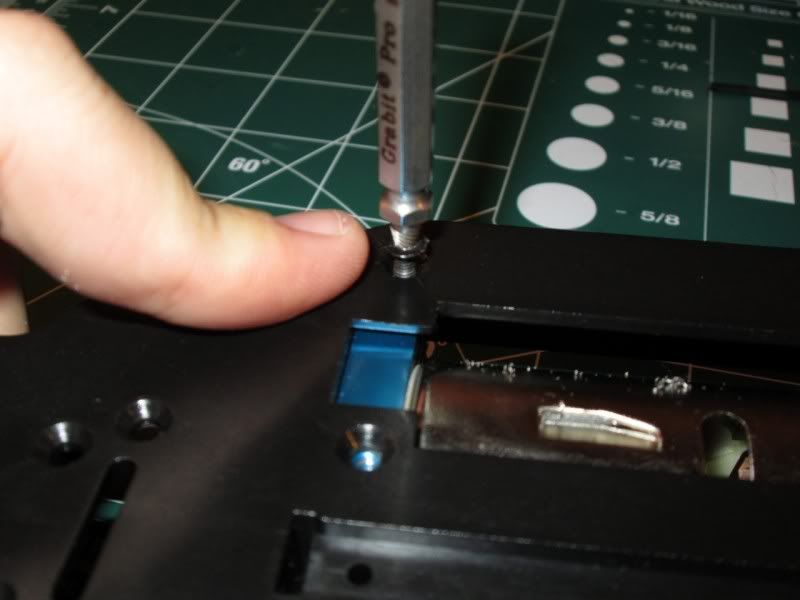
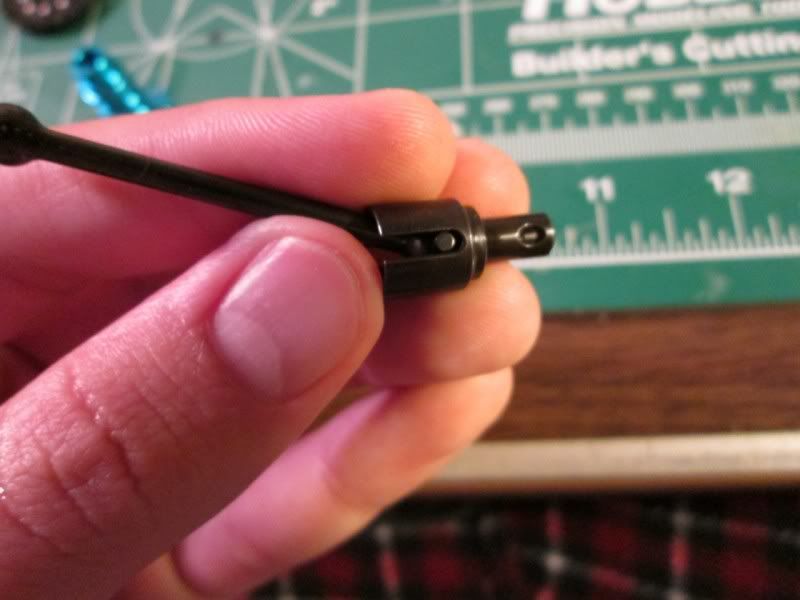
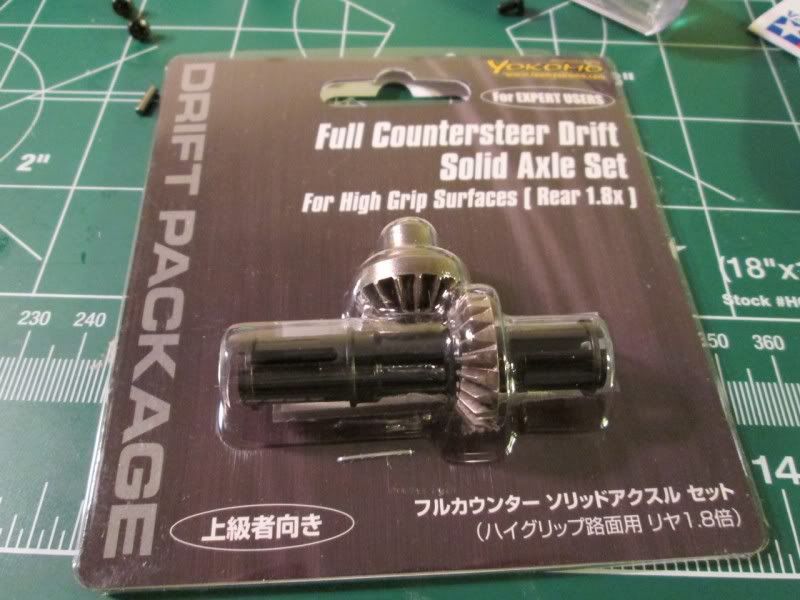
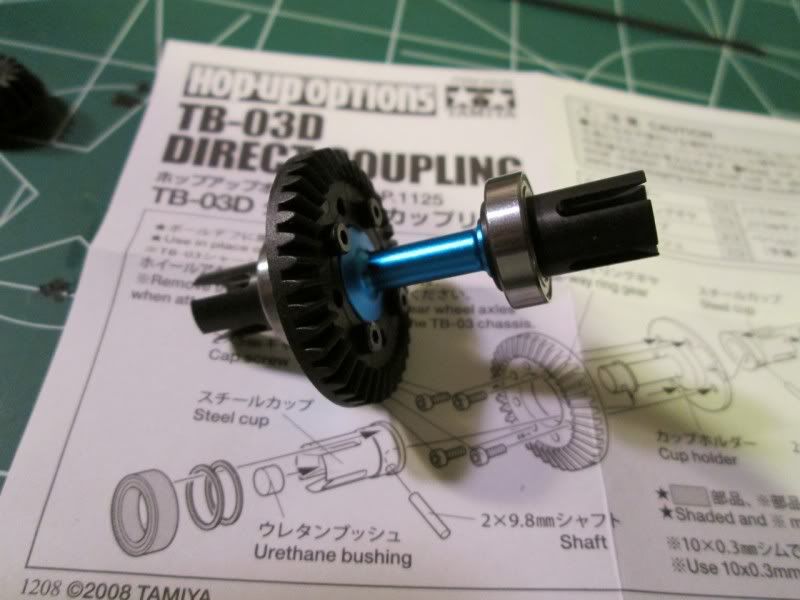
Okay, so I purchased some things to try to CS this sucker, including the TT01 solid axle. I will need some more time with this since they aren't direct bolt up, and it'll take some modification of the diff housing, gears, and who knows what else. I did buy the Yokomo metal gears though to use instead of delrin. For now, I just put the TB03D direct coupling in then I'll put the one way in the front (assuming it comes in. I'm waiting on the ring gear plate and one way unit itself. I have the gear and the cup joints)
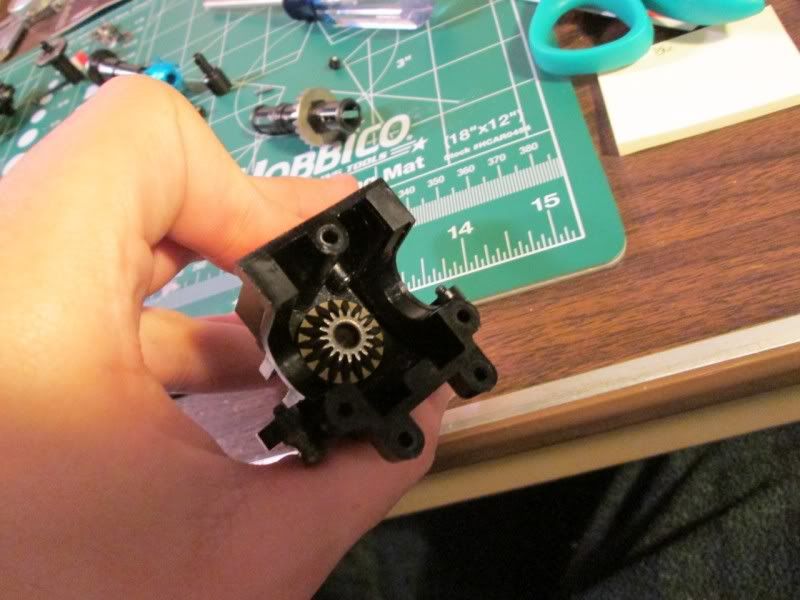

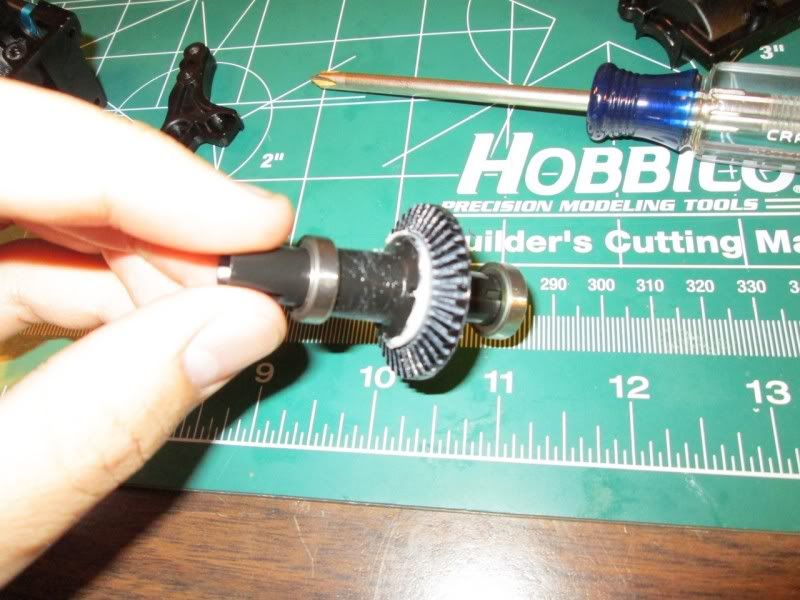
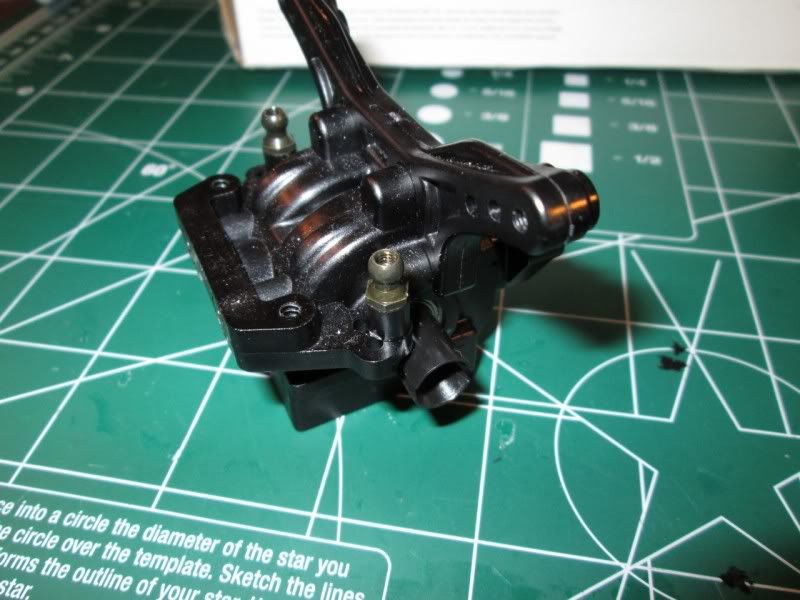
Out with the old, in with the new (for the front diff)
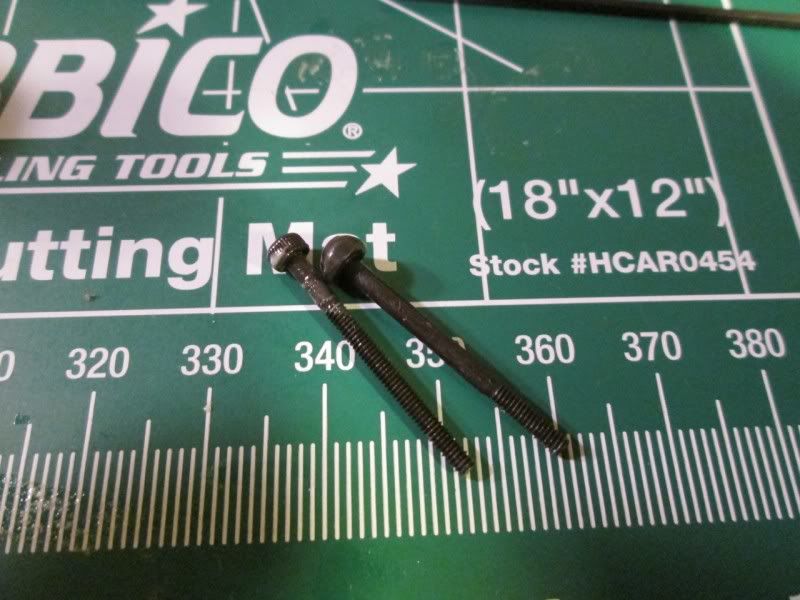
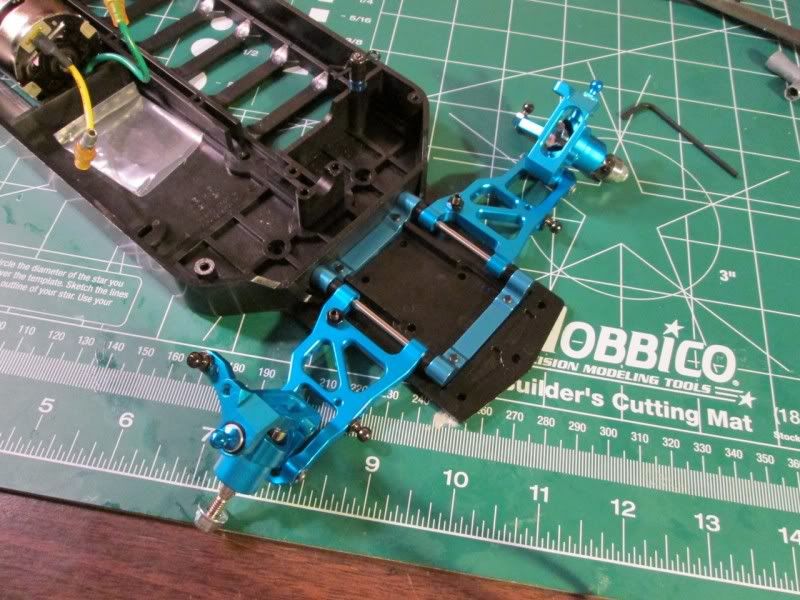
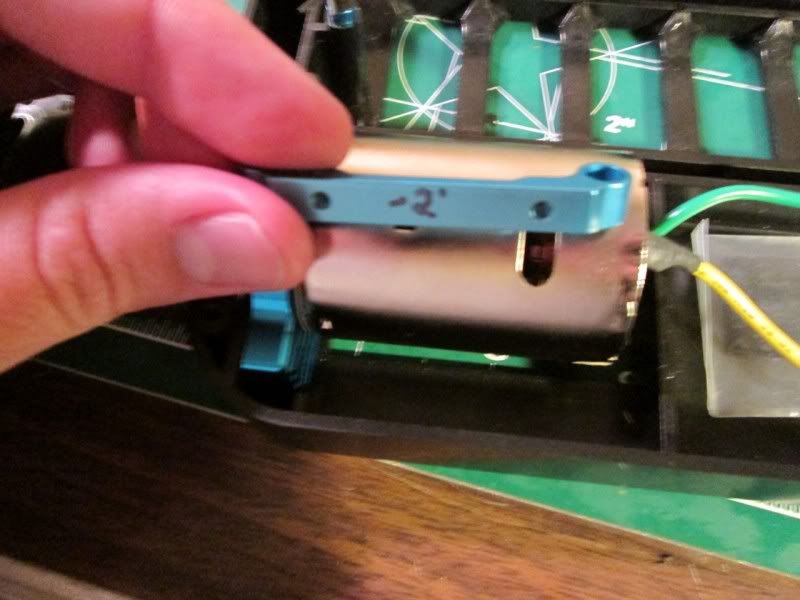

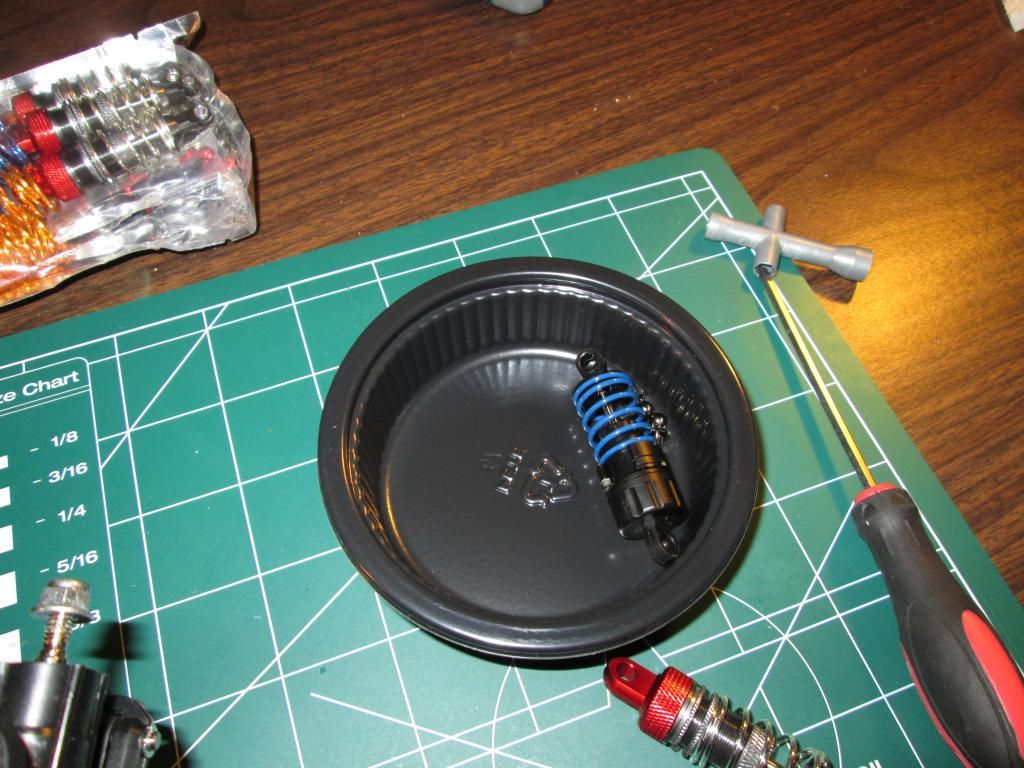
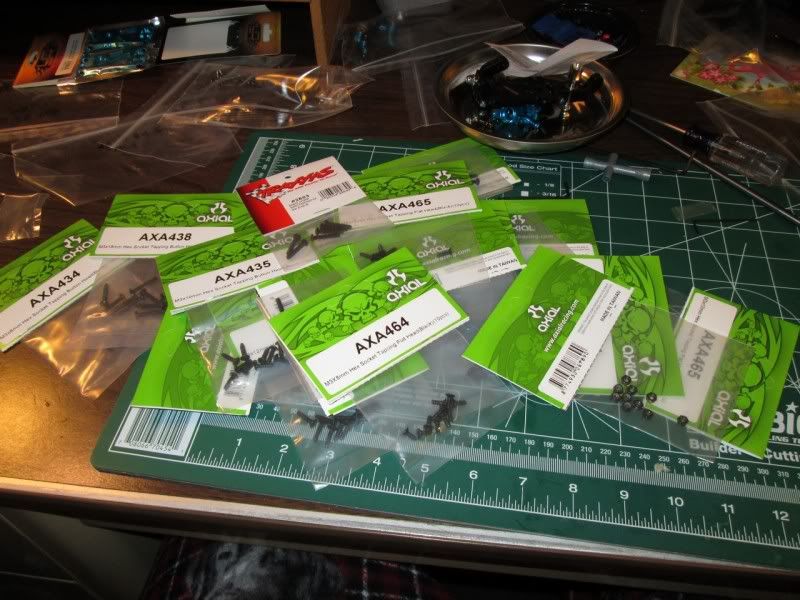
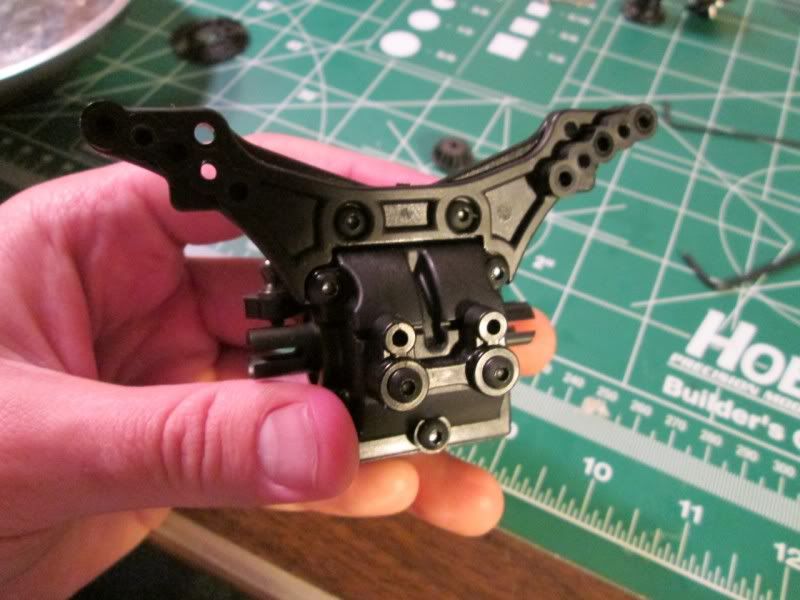
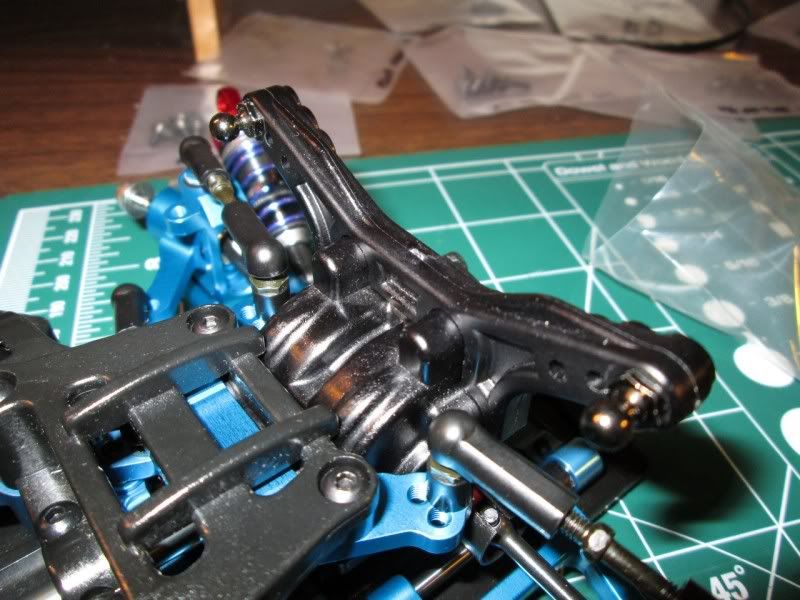
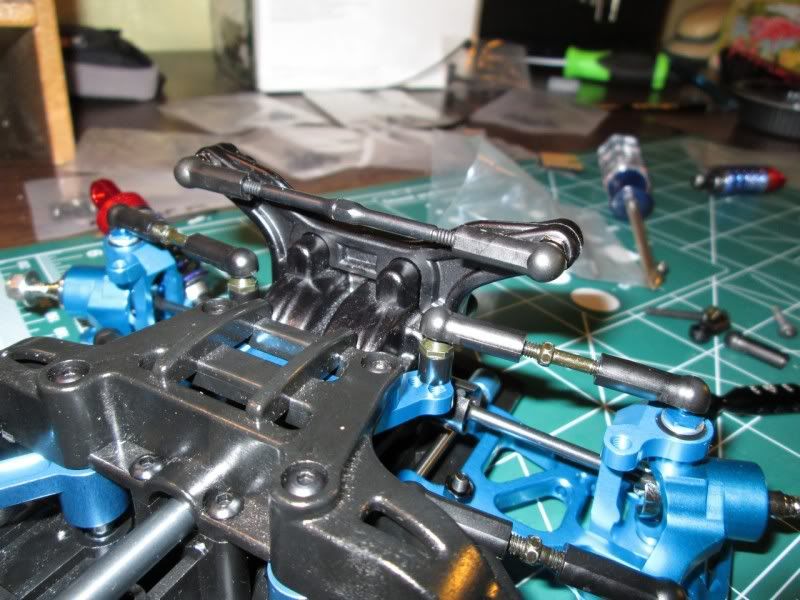
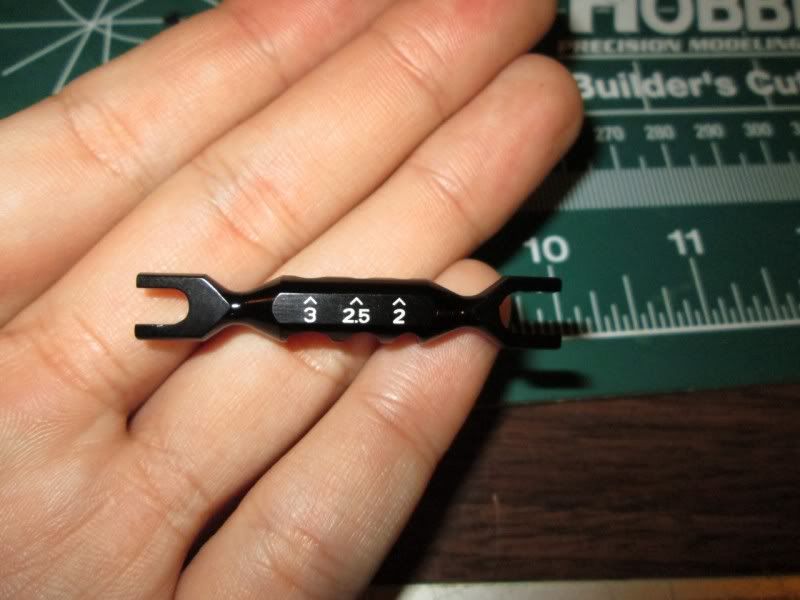
Okay, the next few pictures are to *hopefully* help with tower flex. It can bend with just your hands so I'm hoping this will help. If not, it was literally only a few bucks for everything seen below.

Some new goodies
Ready for tear down
I started with what I could while I waited for my hardware to come in
Stripped screw FTL
But no worries!
Okay, so I purchased some things to try to CS this sucker, including the TT01 solid axle. I will need some more time with this since they aren't direct bolt up, and it'll take some modification of the diff housing, gears, and who knows what else. I did buy the Yokomo metal gears though to use instead of delrin. For now, I just put the TB03D direct coupling in then I'll put the one way in the front (assuming it comes in. I'm waiting on the ring gear plate and one way unit itself. I have the gear and the cup joints)
Out with the old, in with the new (for the front diff)
Okay, the next few pictures are to *hopefully* help with tower flex. It can bend with just your hands so I'm hoping this will help. If not, it was literally only a few bucks for everything seen below.
