


dragnse7en's Team Associated RC10 "cadillac era" project
 10-11-2011, 10:58 AM
#1
Banned
Thread Starter
Join Date: Sep 2010
Location: Northampton,
MA
Posts: 1,766
Likes: 0
Received 0 Likes
on
0 Posts
Hello everyone
I picked up two vintage RC10 gold pan cars to restore. I took the best parts between the two, and will make one nice roller out of it.
Unfortunately though, this won't be a full build thread, because I didn't take any pictures of a huge bunch of steps on disassembly and restoration.
I found two interesting articles on the RC10Talk.com forums, about making the 6 gear tranny more efficient, and took the best from both articles, and have completed half of that part of the project. I used my dremel tool to de-burr all the steel gears so far, and purchased replacement black idler gears that mesh better than the original white ones. I'll also be replacing the felt seals and retainers that surround the outdrives, and will be adding ball bearings in their place. For fitment, I'll be removing the inner bearings from the outdrives and just use the outer flanged ones. I'll also need to drill thru the entire tranny case's outdrive holes to make a 1/2 inch clearance so that the outdrives can spin more freely, and seat better in the added outdrive bearings. The bearing on the pinion gear side will be secured by the motor mount automatically, and I will drill a small hole near the outdrive hole on the other side, and use a 2-56 x 1/8 inch button head screw and washer to keep that bearing in place.
Other than that, I have been restoring the white nylon plastic parts and de-rusting all the metal parts and hardware.
I also bought a fully restored "edinger era" car off eBay, from one of the members on RC10Talk.com. He also sold me a stainless steel screw set for my restoration project.
The other car was in such bad shape that I could only use a handful of parts from it, so I didn't even bother to take pictures of it.
Pics before (see below):


An example of one of the finished steel gears. de-burred, and recut at an angle for less rotating mass and a truer contact, just like modern gears (see below):

I live in a condo complex, and all my windows face east. I don't get the sunlight I needed to whiten all the nylon parts, so I substituted sunlight with a 60 watt plant light bulb. I soaked the parts in a hydrogen peroxide bath, and flipped and rotated the parts for three full days and used the light in the center, about 6 inches away from the container.
Whitened parts (see below):


So, that's about it for now. Next month, I will hunt down a steering set, the antenna mount, and steering servo mounting blocks, the front knockoffs, and this roller will be a complete car. One of the rollers I got had no steering at all in it, and the other one's steering has a cracked servo saver - that white oval-looking ring that sits on the left hand side of the steering setup.
Stay tuned for more!
I picked up two vintage RC10 gold pan cars to restore. I took the best parts between the two, and will make one nice roller out of it.
Unfortunately though, this won't be a full build thread, because I didn't take any pictures of a huge bunch of steps on disassembly and restoration.
I found two interesting articles on the RC10Talk.com forums, about making the 6 gear tranny more efficient, and took the best from both articles, and have completed half of that part of the project. I used my dremel tool to de-burr all the steel gears so far, and purchased replacement black idler gears that mesh better than the original white ones. I'll also be replacing the felt seals and retainers that surround the outdrives, and will be adding ball bearings in their place. For fitment, I'll be removing the inner bearings from the outdrives and just use the outer flanged ones. I'll also need to drill thru the entire tranny case's outdrive holes to make a 1/2 inch clearance so that the outdrives can spin more freely, and seat better in the added outdrive bearings. The bearing on the pinion gear side will be secured by the motor mount automatically, and I will drill a small hole near the outdrive hole on the other side, and use a 2-56 x 1/8 inch button head screw and washer to keep that bearing in place.
Other than that, I have been restoring the white nylon plastic parts and de-rusting all the metal parts and hardware.
I also bought a fully restored "edinger era" car off eBay, from one of the members on RC10Talk.com. He also sold me a stainless steel screw set for my restoration project.
The other car was in such bad shape that I could only use a handful of parts from it, so I didn't even bother to take pictures of it.
Pics before (see below):
An example of one of the finished steel gears. de-burred, and recut at an angle for less rotating mass and a truer contact, just like modern gears (see below):
I live in a condo complex, and all my windows face east. I don't get the sunlight I needed to whiten all the nylon parts, so I substituted sunlight with a 60 watt plant light bulb. I soaked the parts in a hydrogen peroxide bath, and flipped and rotated the parts for three full days and used the light in the center, about 6 inches away from the container.
Whitened parts (see below):
So, that's about it for now. Next month, I will hunt down a steering set, the antenna mount, and steering servo mounting blocks, the front knockoffs, and this roller will be a complete car. One of the rollers I got had no steering at all in it, and the other one's steering has a cracked servo saver - that white oval-looking ring that sits on the left hand side of the steering setup.
Stay tuned for more!

 10-12-2011, 09:09 AM
#3
Senior Member
Join Date: Jul 2007
Location: Tampa,
FL
Posts: 460
Likes: 0
Received 0 Likes
on
0 Posts
I bought a beat up gold pan off of CL a while back to restore but havent started in on it yet. Keep us updated! Do you plan on using all vintage parts or will you be mixing in some newer stuff?
10-12-2011, 09:33 AM
#4
Banned
Thread Starter
Join Date: Sep 2010
Location: Northampton,
MA
Posts: 1,766
Likes: 0
Received 0 Likes
on
0 Posts
ORIGINAL: e123
I bought a beat up gold pan off of CL a while back to restore but havent started in on it yet. Keep us updated! Do you plan on using all vintage parts or will you be mixing in some newer stuff?
I bought a beat up gold pan off of CL a while back to restore but havent started in on it yet. Keep us updated! Do you plan on using all vintage parts or will you be mixing in some newer stuff?
I'll be using this one as a runner/ vintage racer, so I'll more likely use modern electrics. I did try and test-fit one of my 2S lipo hardcase packs, and it won't fit without modding the battery cups. I'm not too wild about that idea, so I may just stick to high capacity NiMH packs instead. I know the voltage drop-off between the two are considerable, but I'd rather not destroy the battery cups in case I want to sell it down the road.
As soon as I get the newer black idler gears, I'll post some updates here, and show you what I've opted to do out of the two tranny tuning guides.
Stay tuned for more
10-12-2011, 01:06 PM
#5
Banned
Thread Starter
Join Date: Sep 2010
Location: Northampton,
MA
Posts: 1,766
Likes: 0
Received 0 Likes
on
0 Posts
I took a look at my "edinger era" car's transmission action, and was pretty concerned about the gritty feel to it. I removed the gear cover, and can see why. I will make a small project to restore the entire drivetrain on that car, after I complete this current project.


A comparison between the edigner car's spur gear, and the cadillac car's newly restored spur gear, after the hydrogen peroxide bath (see below):

One major aspect of this project that I want to share, is the modified and tuned transmission that I am building. I'm using two informative references from RC10Talk.com; Jim Halsey's Tranny Tips, and Bob Gagne's Tranny Makeover. I read both of them, and chose to take the most important mods from each guide together and combine them into a top-quality and uber-efficient six gear vintage transmission.
From Jim Halsey's guide, I decided to de-burr all the metal gears as he suggested. This will make them more efficient, and not prone to sticking or binding up on burrs or sharp edges.
According to Jim Halsey's guide, I was supposed to look for burrs or imperfections in the mounting holes on the aluminum spine plate, and he suggested to clean anything up with an X-Acto knife. I didn't find this necessary at all, and in fact, sort of objected to it, because I didn't want to add any excess slop in those areas. I added a few drops of thread locking compound to the outdrive shaft nut, and let it dry before adding the ball bearing outdrives themselves. The E-ring for the idler shaft was missing on this transmission, but weirdly and luckily enough, a spare rocker arm c-clip from my TA05 ver.II R was a perfect fit, after bending it into a spring shape, it became just like the original part (see the 2nd pic below). The original washer behind the newly modded E-clip was still in the transmission, and it was cleaned up and installed 1st, under the newly modded Tamiya part.


I opted to go with Bob Gagne's guide, halfway, with the outdrives. By replacing the felt seals and retainers with 3/8" x 5/8" outdrive bearings, I needed to omit all the bearings that sit underneath the flanged ones that go into the outdrives, to prevent any tight tolerance bind-up, and provide a better fitment. I did, however, ignore using the 7/16" brass tubing spacers that he suggested, and instead kept the outdrive screws. It didn't make any sense to me when Bob Gagne's article said that he was trimming a lot of weight off the tranny by deleting the outdrive screws, yet adding the brass tube spacers, which had to be impossibly fit and measured somehow to compensate for the absence of the outdrive screws. The 3/8" x 5/8" outdrive bearings, which he didn't use in his article, will do just fine keeping the outdrives in proper alignment. I test-fitted the added outdrive bearings to make sure that they seated well and didn't bind up the outdrives themselves, and they're good to go (the the 3rd pic below).


I'm still waiting for a purchase from an online hobby shop from Canada, to get the updated and better machined black idler gears. So, for now, I decided to assemble the de-burred outdrives on the spine plate, and assemble the top shaft and diff pinion assembly. All these metal gears were also de-burred and cleaned up. I had to buy a whole new top shaft set, because the old transmission was missing one of the thrust bearing washers, and I couldn't find a matching size at my local hardware store or anywhere else online. I bought a fresh tube of black moly grease for the whole inner workings of this tranny, and added some 1st to the thrust bearing assy to ensure a glide-smooth action.


Stay tuned for more . . .
A comparison between the edigner car's spur gear, and the cadillac car's newly restored spur gear, after the hydrogen peroxide bath (see below):
One major aspect of this project that I want to share, is the modified and tuned transmission that I am building. I'm using two informative references from RC10Talk.com; Jim Halsey's Tranny Tips, and Bob Gagne's Tranny Makeover. I read both of them, and chose to take the most important mods from each guide together and combine them into a top-quality and uber-efficient six gear vintage transmission.
From Jim Halsey's guide, I decided to de-burr all the metal gears as he suggested. This will make them more efficient, and not prone to sticking or binding up on burrs or sharp edges.
According to Jim Halsey's guide, I was supposed to look for burrs or imperfections in the mounting holes on the aluminum spine plate, and he suggested to clean anything up with an X-Acto knife. I didn't find this necessary at all, and in fact, sort of objected to it, because I didn't want to add any excess slop in those areas. I added a few drops of thread locking compound to the outdrive shaft nut, and let it dry before adding the ball bearing outdrives themselves. The E-ring for the idler shaft was missing on this transmission, but weirdly and luckily enough, a spare rocker arm c-clip from my TA05 ver.II R was a perfect fit, after bending it into a spring shape, it became just like the original part (see the 2nd pic below). The original washer behind the newly modded E-clip was still in the transmission, and it was cleaned up and installed 1st, under the newly modded Tamiya part.
I opted to go with Bob Gagne's guide, halfway, with the outdrives. By replacing the felt seals and retainers with 3/8" x 5/8" outdrive bearings, I needed to omit all the bearings that sit underneath the flanged ones that go into the outdrives, to prevent any tight tolerance bind-up, and provide a better fitment. I did, however, ignore using the 7/16" brass tubing spacers that he suggested, and instead kept the outdrive screws. It didn't make any sense to me when Bob Gagne's article said that he was trimming a lot of weight off the tranny by deleting the outdrive screws, yet adding the brass tube spacers, which had to be impossibly fit and measured somehow to compensate for the absence of the outdrive screws. The 3/8" x 5/8" outdrive bearings, which he didn't use in his article, will do just fine keeping the outdrives in proper alignment. I test-fitted the added outdrive bearings to make sure that they seated well and didn't bind up the outdrives themselves, and they're good to go (the the 3rd pic below).
I'm still waiting for a purchase from an online hobby shop from Canada, to get the updated and better machined black idler gears. So, for now, I decided to assemble the de-burred outdrives on the spine plate, and assemble the top shaft and diff pinion assembly. All these metal gears were also de-burred and cleaned up. I had to buy a whole new top shaft set, because the old transmission was missing one of the thrust bearing washers, and I couldn't find a matching size at my local hardware store or anywhere else online. I bought a fresh tube of black moly grease for the whole inner workings of this tranny, and added some 1st to the thrust bearing assy to ensure a glide-smooth action.
Stay tuned for more . . .
10-14-2011, 01:24 PM
#6
Banned
Thread Starter
Join Date: Sep 2010
Location: Northampton,
MA
Posts: 1,766
Likes: 0
Received 0 Likes
on
0 Posts
Yay! I finally got the newer black idle gears in the mail from Canada today, so I decided to finish up the transmission today.
I found this rare set of full bearings for this build, which I've been using as things are coming along. Neither of the roller cars had bearings, and from the looks of things, I may have to buy more for the other complete car's tranny too.

I started finishing things up by modding the left hand side of the tranny case. The outdrive bearing just sits there, with nothing to retain it. In Bob Gagne's Tranny Makeover guide, he lists the tools needed and the steps necessary to retain the bearing. One important note he did mention, was to make sure the hole isn't too close to the outdrive bearing, because when the screw goes in, and it's too close, it could swell up the nylon area and possibly make the outdrive bind up. I bought a #47 drill bit, some 2-56 x 1/8" button head screws, and an extra set of washers. I wanted to make the drill hole in a location that wouldn't position the washer over the case screw hole, so I test fitted it 1st to make sure that the bearing would be captured and that the case's screw hole isn't obstructed. I marked the spot where I wanted the hole with a hobby knife, and used a pin vise to carefully hand-drill the hole. Putting everything together was easy, but I had to pay attention not to strip out the new hole I just made. The screw and washer are now nice and snug, and everything worked out as planned.


There was a lot of flash from the molding on the inner rings where the flanged bearings seated, so I had to carefully remove that stuff with an X-Acto knife, and finished the surface with a round file. The gears came with 10 small screws to secure the flanged bearings, along with a small hex wrench to install them. That small wrench seemed a bit iffy, so I took my careful time to install the screws, and everything came together without a hitch.

According to Jim Halsey's guide, the transmission should spin freely for 15 seconds. I wanted to add black moly grease to the gears, so although it desn't spin freely for that long, it still spins freely for about 4-5 seconds, which is fine enough for me. As you can see from the 2nd picture below, the motor mount plate captures that outdrive bearing, so I didn't need to make the modification there.


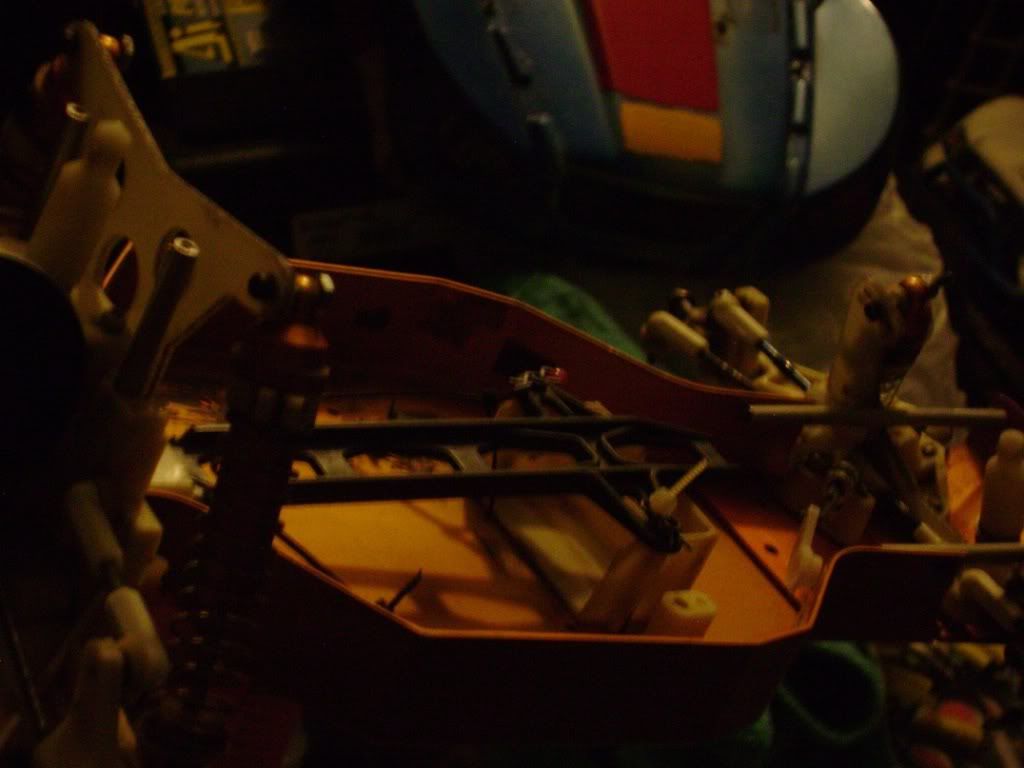
Lastly, I installed the tranny into the chassis. I bought a stainless steel screw set and I'm still waiting for it, so all the hardware installed will be taken out and replaced. I still wanted to test fit everything and make sure that there were no problems, and everything's looking good so far.

So, that's all for the time being. I'll post another update to this build when I get the stainless screw set.
Stay tuned . . .
I found this rare set of full bearings for this build, which I've been using as things are coming along. Neither of the roller cars had bearings, and from the looks of things, I may have to buy more for the other complete car's tranny too.
I started finishing things up by modding the left hand side of the tranny case. The outdrive bearing just sits there, with nothing to retain it. In Bob Gagne's Tranny Makeover guide, he lists the tools needed and the steps necessary to retain the bearing. One important note he did mention, was to make sure the hole isn't too close to the outdrive bearing, because when the screw goes in, and it's too close, it could swell up the nylon area and possibly make the outdrive bind up. I bought a #47 drill bit, some 2-56 x 1/8" button head screws, and an extra set of washers. I wanted to make the drill hole in a location that wouldn't position the washer over the case screw hole, so I test fitted it 1st to make sure that the bearing would be captured and that the case's screw hole isn't obstructed. I marked the spot where I wanted the hole with a hobby knife, and used a pin vise to carefully hand-drill the hole. Putting everything together was easy, but I had to pay attention not to strip out the new hole I just made. The screw and washer are now nice and snug, and everything worked out as planned.
There was a lot of flash from the molding on the inner rings where the flanged bearings seated, so I had to carefully remove that stuff with an X-Acto knife, and finished the surface with a round file. The gears came with 10 small screws to secure the flanged bearings, along with a small hex wrench to install them. That small wrench seemed a bit iffy, so I took my careful time to install the screws, and everything came together without a hitch.
According to Jim Halsey's guide, the transmission should spin freely for 15 seconds. I wanted to add black moly grease to the gears, so although it desn't spin freely for that long, it still spins freely for about 4-5 seconds, which is fine enough for me. As you can see from the 2nd picture below, the motor mount plate captures that outdrive bearing, so I didn't need to make the modification there.
Lastly, I installed the tranny into the chassis. I bought a stainless steel screw set and I'm still waiting for it, so all the hardware installed will be taken out and replaced. I still wanted to test fit everything and make sure that there were no problems, and everything's looking good so far.
So, that's all for the time being. I'll post another update to this build when I get the stainless screw set.
Stay tuned . . .
10-18-2011, 09:58 PM
#7
Banned
Thread Starter
Join Date: Sep 2010
Location: Northampton,
MA
Posts: 1,766
Likes: 0
Received 0 Likes
on
0 Posts
Well, I feel like I'm almost done, but still have a ways to go on this project. I want to say that it's around 75% finished and ready to run, and I'll post those remaining things on this build here. Then it's video taking time to show it in action!
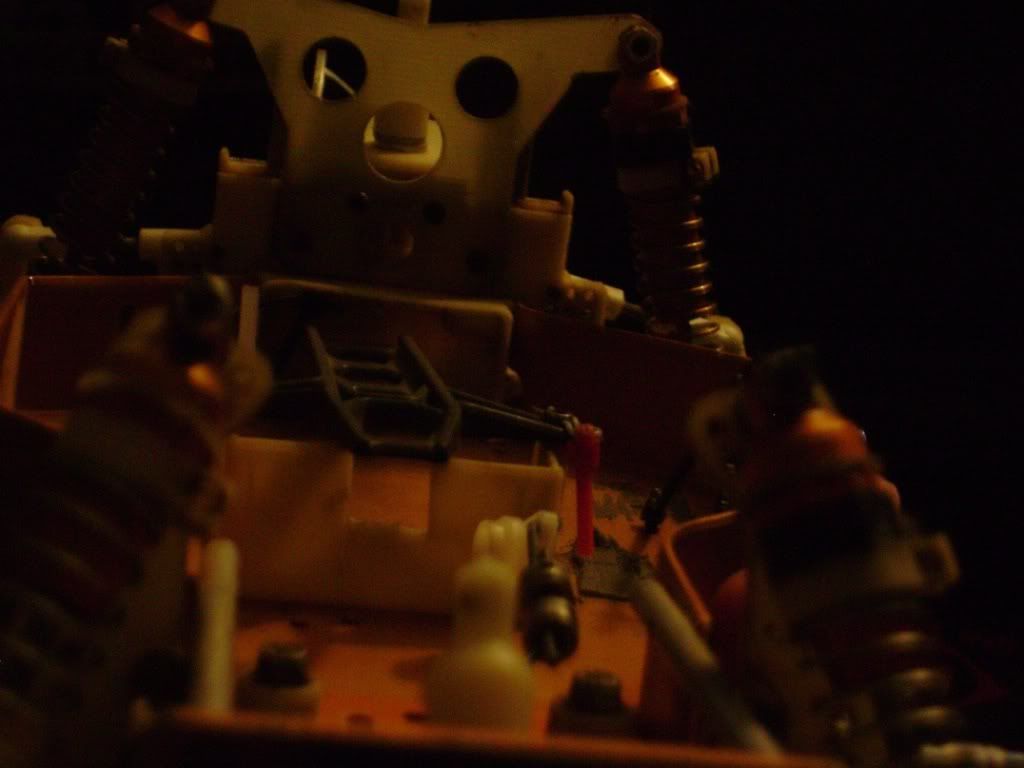
Thanks to seth556, I was able to put the car together as a complete rolling chassis. Nothing too complicated to mention from the previous pictures, since the front and rear end shocks and steering go on it very easily (compared to some of today's cars). I'm very happy with the time that I put into restoring it, Here's a few pictures of it put together, for now, while I wait for the stainless screw set to arrive hopefully by the end of this week.


I was lucky with parts off of the other roller; it helped me save from buying new aluminum counter-sunk screws for the underside of the chassis, and it came with the correct length rear wing tubes, which are virtually impossible to find these days.
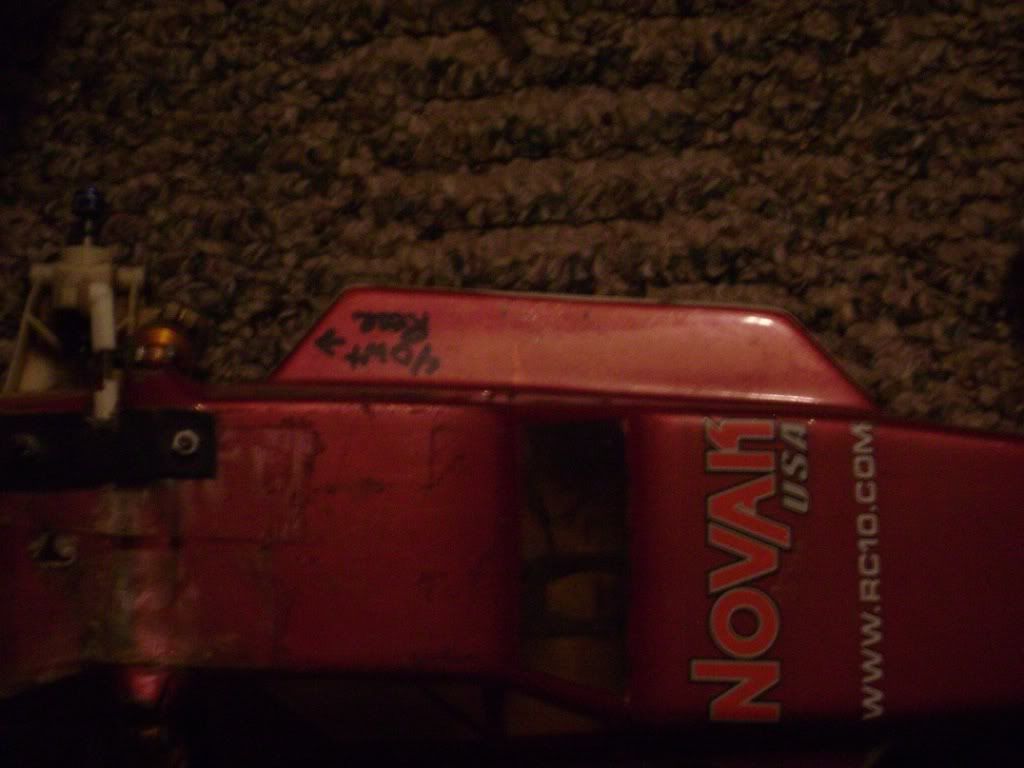
This is definitely a cadillac era car. I put it next to my edinger era RC10, for comparison. The chassis for this build has a slightly darker shade of gold anodizing, the front tires are four ribbed. The edinger cars had a light shade of gold anodizing, and the seven-ribbed front tires. Both have the semi-transparent gear covers, and are period correct as well. I also found out that my cadillac era chassis is a rare chassis, and has an A stamp on the bottom of the chassis as well as the top. That's not going to stop me from running it on the local race track down the road though!


A better picture shown below to tell the difference between the gold shades of anodizing:

Stay tuned . . .
Thanks to seth556, I was able to put the car together as a complete rolling chassis. Nothing too complicated to mention from the previous pictures, since the front and rear end shocks and steering go on it very easily (compared to some of today's cars). I'm very happy with the time that I put into restoring it, Here's a few pictures of it put together, for now, while I wait for the stainless screw set to arrive hopefully by the end of this week.
I was lucky with parts off of the other roller; it helped me save from buying new aluminum counter-sunk screws for the underside of the chassis, and it came with the correct length rear wing tubes, which are virtually impossible to find these days.
This is definitely a cadillac era car. I put it next to my edinger era RC10, for comparison. The chassis for this build has a slightly darker shade of gold anodizing, the front tires are four ribbed. The edinger cars had a light shade of gold anodizing, and the seven-ribbed front tires. Both have the semi-transparent gear covers, and are period correct as well. I also found out that my cadillac era chassis is a rare chassis, and has an A stamp on the bottom of the chassis as well as the top. That's not going to stop me from running it on the local race track down the road though!
A better picture shown below to tell the difference between the gold shades of anodizing:
Stay tuned . . .
10-19-2011, 09:15 AM
#8
Banned
Thread Starter
Join Date: Sep 2010
Location: Northampton,
MA
Posts: 1,766
Likes: 0
Received 0 Likes
on
0 Posts
When I took the better looking roller apart, I washed the parts with Lysol multi-purpose kitchen cleaner and hot water. After that, there was still a lot of stuck on dirty film and servo tape residue. I decided to try out a stain remover called Goof Off.

This stuff works fantastic!!! I cleaned all the gold parts (all chassis parts and didn't forget the gold shock bodies and caps) by squirting the remover into a clean rag, and rubbing it firmly and generously onto the anodized aluminum. I then let it dry, and re-checked everything and re-cleaned any areas as necessary.
Here's a link to the product's web site, in case you're interested in this stuff:
www.goofoffstainremover.com/
The instructions say that 1) It's got harmful vapors, and oh boy it sure does! So, take it easy and use ventilation with it, and 2) It can be harmful to some plastics, so make sure that you remove any plastic parts attached. The directions on the can say that you should test a small spot on the plastic first, and check if there are any negative results. Since this is a classic vintage car, i decided not to take any chances
For the front kick plate tubes and rear wing tubes, I cleaned them up the same way I did with the chassis parts, but then instead shined them up with some Crest triple-action whitening toothpaste and a dremel buffing wheel. I cleaned off the toothpaste with a rag and some rubbing alcohol.
The front kick plate is a brand new part. Those are a bit pricey brand new, so I shopped around and found one for $38, and bought it along with a bunch of essential new or new-condition parts necessary for this build.
Hope these tips help
This stuff works fantastic!!!
I cleaned all the gold parts (all chassis parts and didn't forget the gold shock bodies and caps) by squirting the remover into a clean rag, and rubbing it firmly and generously onto the anodized aluminum. I then let it dry, and re-checked everything and re-cleaned any areas as necessary.Here's a link to the product's web site, in case you're interested in this stuff:
www.goofoffstainremover.com/
The instructions say that 1) It's got harmful vapors, and oh boy it sure does! So, take it easy and use ventilation with it, and 2) It can be harmful to some plastics, so make sure that you remove any plastic parts attached. The directions on the can say that you should test a small spot on the plastic first, and check if there are any negative results. Since this is a classic vintage car, i decided not to take any chances
For the front kick plate tubes and rear wing tubes, I cleaned them up the same way I did with the chassis parts, but then instead shined them up with some Crest triple-action whitening toothpaste and a dremel buffing wheel. I cleaned off the toothpaste with a rag and some rubbing alcohol.
The front kick plate is a brand new part. Those are a bit pricey brand new, so I shopped around and found one for $38, and bought it along with a bunch of essential new or new-condition parts necessary for this build.
Hope these tips help
10-21-2011, 06:41 PM
#10
Banned
Thread Starter
Join Date: Sep 2010
Location: Northampton,
MA
Posts: 1,766
Likes: 0
Received 0 Likes
on
0 Posts
ORIGINAL: ElectricGuy007
Im watching this project slowly. I have a goldpan era RC10 as well.
Im watching this project slowly. I have a goldpan era RC10 as well.
I hope that I get the stainless steel screw set tomorrow. Otherwise, I could always work on something else . . .
Post a pic of your RC10 here ElectricGuy007!!!
 10-23-2011, 02:10 PM
#13
Banned
Thread Starter
Join Date: Sep 2010
Location: Northampton,
MA
Posts: 1,766
Likes: 0
Received 0 Likes
on
0 Posts
The stainless steel screw set didn't come it this week, so I decided to move on elsewhere with this build.
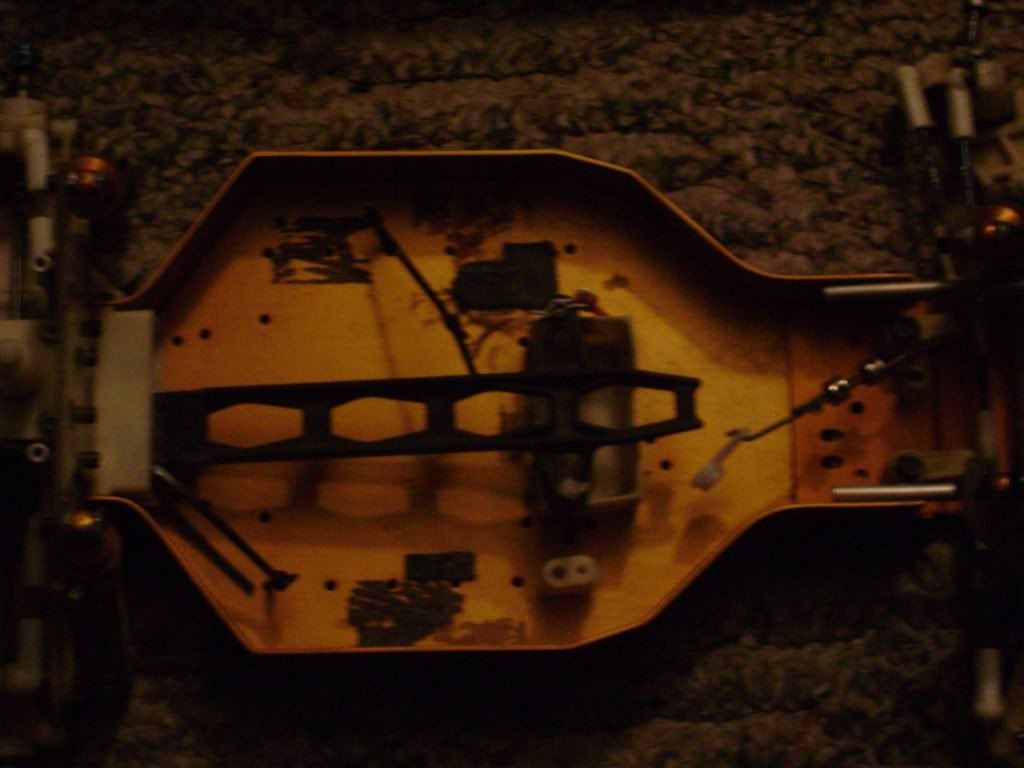
I'm missing both the battery bars for the kit, and I really don't want to waste my time and money hunting them down. From all my resources, I can only find them when they come with the battery cups, and that's where the waste of money is at; buying parts I don't need.

I decided to make my own instead. I have some polystyrene sheet for scratch-building model parts, and this was a great substitute for the nylon part.

I cut a few pieces and stacked them up to see how many layers I'd need to match the thickness of the original, and four was perfect. I measured out some long rectangular pieces, enough to make two bars. After that, I made a laminate of four pieces into one bar, and made two of them.

After that, I took a pen and traced out a template from the original bar, drawing the template slightly over-sized. I then cut the shape out with a razor saw.

After the two repro bars were cut out, I sanded the edges down until they matched the shape of the original. Finally, I grabbed my drill and drill bits, matched up the two different hole sizes (there's one smaller hole offset to the side), and drilled thru the new part.

Finally, I cleaned up the new battery bar, and bam! It's not exactly like the original part, but it's damn close, and good enough to serve its purpose.
I'm missing both the battery bars for the kit, and I really don't want to waste my time and money hunting them down. From all my resources, I can only find them when they come with the battery cups, and that's where the waste of money is at; buying parts I don't need.
I decided to make my own instead. I have some polystyrene sheet for scratch-building model parts, and this was a great substitute for the nylon part.
I cut a few pieces and stacked them up to see how many layers I'd need to match the thickness of the original, and four was perfect. I measured out some long rectangular pieces, enough to make two bars. After that, I made a laminate of four pieces into one bar, and made two of them.
After that, I took a pen and traced out a template from the original bar, drawing the template slightly over-sized. I then cut the shape out with a razor saw.
After the two repro bars were cut out, I sanded the edges down until they matched the shape of the original. Finally, I grabbed my drill and drill bits, matched up the two different hole sizes (there's one smaller hole offset to the side), and drilled thru the new part.
Finally, I cleaned up the new battery bar, and bam! It's not exactly like the original part, but it's damn close, and good enough to serve its purpose.
10-31-2011, 04:52 AM
#14
Banned
Thread Starter
Join Date: Sep 2010
Location: Northampton,
MA
Posts: 1,766
Likes: 0
Received 0 Likes
on
0 Posts
I got the stainless steel screw set in Saturday afternoon, and was able to install it before the huge power outage here. Some screws I wanted to be stainless didn't come with the set, so I'll hunt those down later on.


 11-11-2011, 06:28 AM
#16
Senior Member
Join Date: Jul 2007
Location: Tampa,
FL
Posts: 460
Likes: 0
Received 0 Likes
on
0 Posts
Wow those both look great! Mine isnt nearly as clean. Soaked all the front end parts in peroxide all weekend but thet still arent as bright white as yours.
 11-11-2011, 10:30 AM
#18
Banned
Thread Starter
Join Date: Sep 2010
Location: Northampton,
MA
Posts: 1,766
Likes: 0
Received 0 Likes
on
0 Posts
ORIGINAL: e123
Wow those both look great! Mine isnt nearly as clean. Soaked all the front end parts in peroxide all weekend but thet still arent as bright white as yours.
Wow those both look great! Mine isnt nearly as clean. Soaked all the front end parts in peroxide all weekend but thet still arent as bright white as yours.
Did you try using the sunlight? It won't work w/o it.
11-17-2011, 05:34 PM
#19

Join Date: Feb 2007
Location: Owensboro, KY
Posts: 5,527
Likes: 0
Received 0 Likes
on
0 Posts
Looks good. What really does "Cadalliac Era" really mean I dunno. Would i take the time and soak my parts, maybe not
but some people love shelf queens, heck i wouldnt even drive those cars.....lol
but some people love shelf queens, heck i wouldnt even drive those cars.....lol
11-17-2011, 05:56 PM
#20
Banned
Thread Starter
Join Date: Sep 2010
Location: Northampton,
MA
Posts: 1,766
Likes: 0
Received 0 Likes
on
0 Posts
ORIGINAL: ElectricGuy007
Looks good. What really does "Cadalliac Era" really mean I dunno. Would i take the time and soak my parts, maybe not
but some people love shelf queens, heck i wouldnt even drive those cars.....lol
Looks good. What really does "Cadalliac Era" really mean I dunno. Would i take the time and soak my parts, maybe not
but some people love shelf queens, heck i wouldnt even drive those cars.....lol
Shortly after, because of the demand, they moved to Cadillac Drive, to meet the demand.
The East Edinger cars have the brightest, and lightest tone of gold anodizing. Later 1986 Cadillac cars had a darker gold.
The major changes between the East Edinger car and the Cadillac car are few; The Early East Edinger cars had different shock cups, and shock collars, with some sort of pure metal collar, VS the nylon clamp-style ones that we usually see on typical Gold Pans. The clear plastic gear cover turned into a transparent cover on the Cadillac cars, but had the same transparency despite the design.
The very early East Edinger cars also had a slight difference in their 6 gear tranny. The capture on the spine plate for one of the gear mounts was different - a pressed roll pin VS a threaded nut.
Otherwise, they came the same. Later Cadillac era cars came out with the Jay Halsey stickers, and the original box art stickers appeared to be discontinued at that time, but BITD I'm sure we all could have ordered them.
Hope that clears things up, from what I know and understand
11-17-2011, 05:58 PM
#21
Banned
Thread Starter
Join Date: Sep 2010
Location: Northampton,
MA
Posts: 1,766
Likes: 0
Received 0 Likes
on
0 Posts
A hydrogen peroxide bath is wicked worth it. Gotta bath it in sunlight or a plant light (takes at least 3 times long though) to bring that beautiful nylon color back
11-17-2011, 06:04 PM
#22
Banned
Thread Starter
Join Date: Sep 2010
Location: Northampton,
MA
Posts: 1,766
Likes: 0
Received 0 Likes
on
0 Posts
ORIGINAL: ElectricGuy007
Looks good. What really does "Cadalliac Era" really mean I dunno. Would i take the time and soak my parts, maybe not
but some people love shelf queens, heck i wouldnt even drive those cars.....lol
Looks good. What really does "Cadalliac Era" really mean I dunno. Would i take the time and soak my parts, maybe not
but some people love shelf queens, heck i wouldnt even drive those cars.....lol
 11-18-2011, 07:39 AM
#25
ORIGINAL: ThunderbirdJunkie
ThunderbirdJunkie never really understood how the 6 gear trans worked. Is the diff on the topshaft?
ThunderbirdJunkie never really understood how the 6 gear trans worked. Is the diff on the topshaft?