The Sandman cometh..... ( AKA *** is a Holden HX Sandman Overlander....?!! )
 02-24-2014, 06:11 AM
#26

Thread Starter
Join Date: Jan 2004
Location: Queens,
NY
Posts: 559
Likes: 0
Received 0 Likes
on
0 Posts
Hey thanks Frederick!
Actually, I think I spend more time contemplating how to make a piece than the actual work itself ! The good thing about styrene, is if you make a mistake, you can glue in another piece and reshape it without starting all over..
Actually, I think I spend more time contemplating how to make a piece than the actual work itself ! The good thing about styrene, is if you make a mistake, you can glue in another piece and reshape it without starting all over..
 03-02-2014, 01:04 PM
#28
Thread Starter
Join Date: Jan 2004
Location: Queens,
NY
Posts: 559
Likes: 0
Received 0 Likes
on
0 Posts
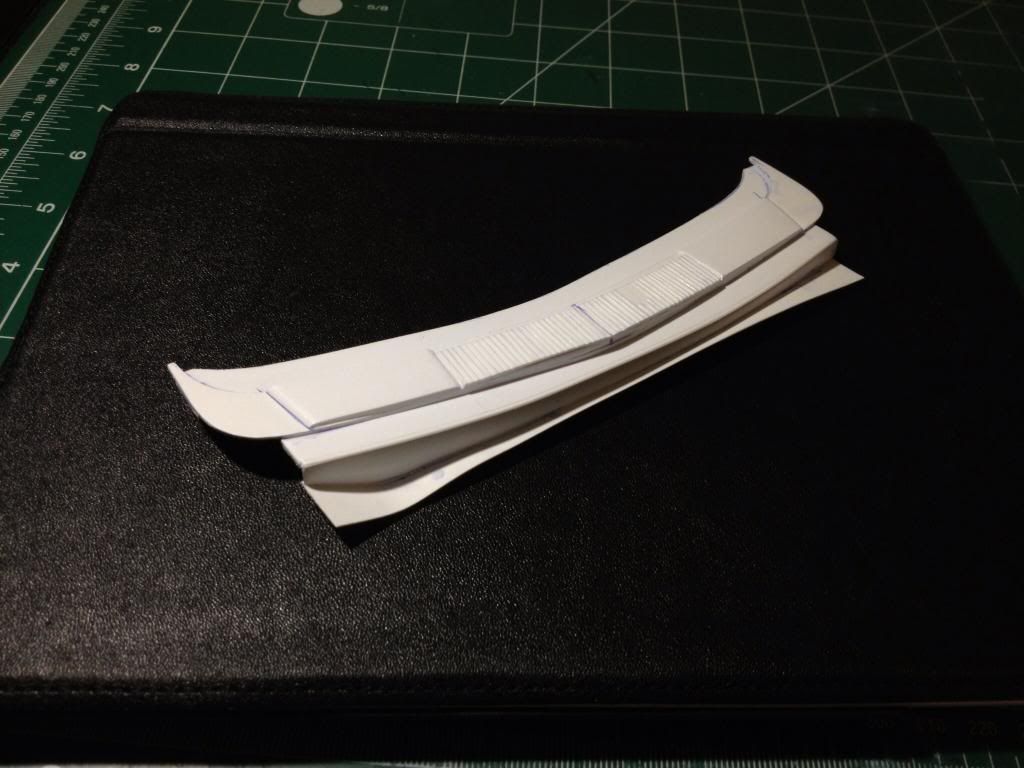
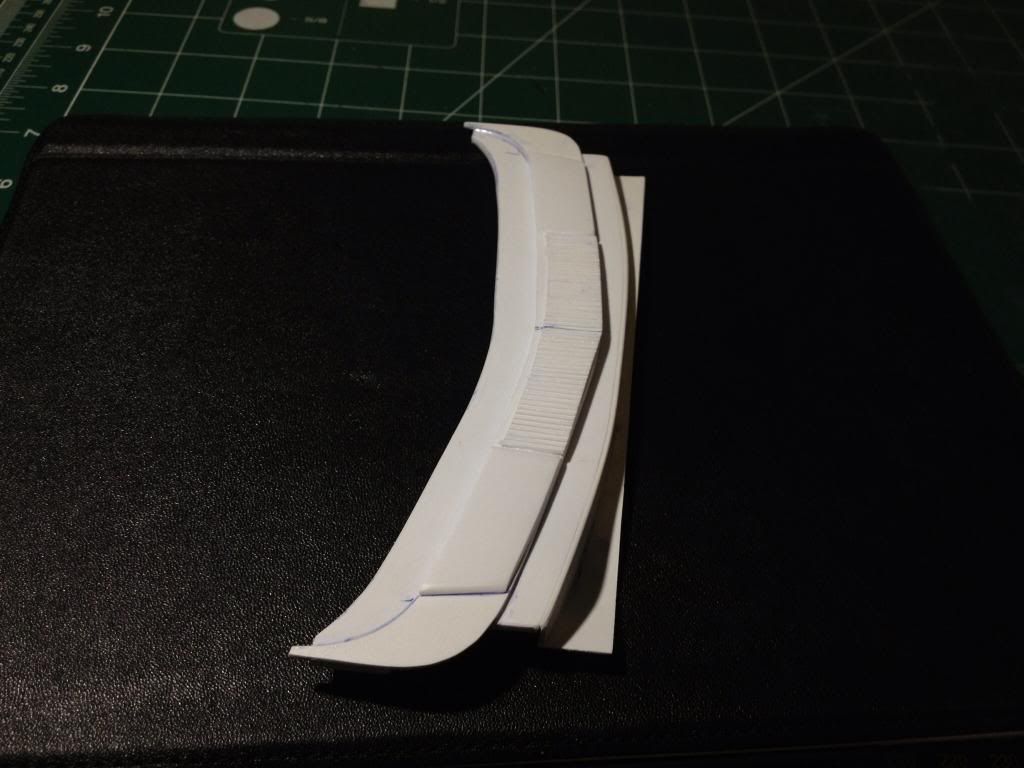
Got the cowl panel built.... And seeing as I intend to have the hood opening, I included the area where the back of the hood will rest when it's closed. Also included the beginnings of the firewall, because once I have the hood opening I will have to do an engine bay...
Also included the area for the bottom of the front windscreen to rest (behind the cowl panel itself).
Still need to attach the assembly, will do so once I figure out how the windscreen and doors line up!
Also included the area for the bottom of the front windscreen to rest (behind the cowl panel itself).
Still need to attach the assembly, will do so once I figure out how the windscreen and doors line up!


 03-02-2014, 03:12 PM
#30
Thread Starter
Join Date: Jan 2004
Location: Queens,
NY
Posts: 559
Likes: 0
Received 0 Likes
on
0 Posts
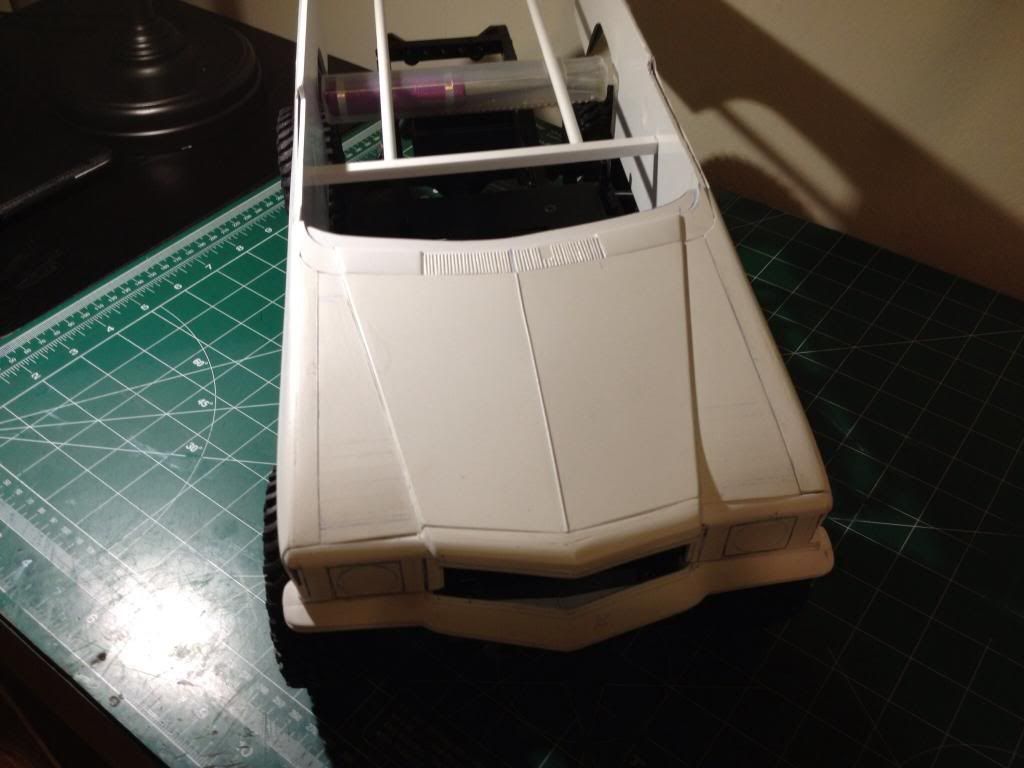
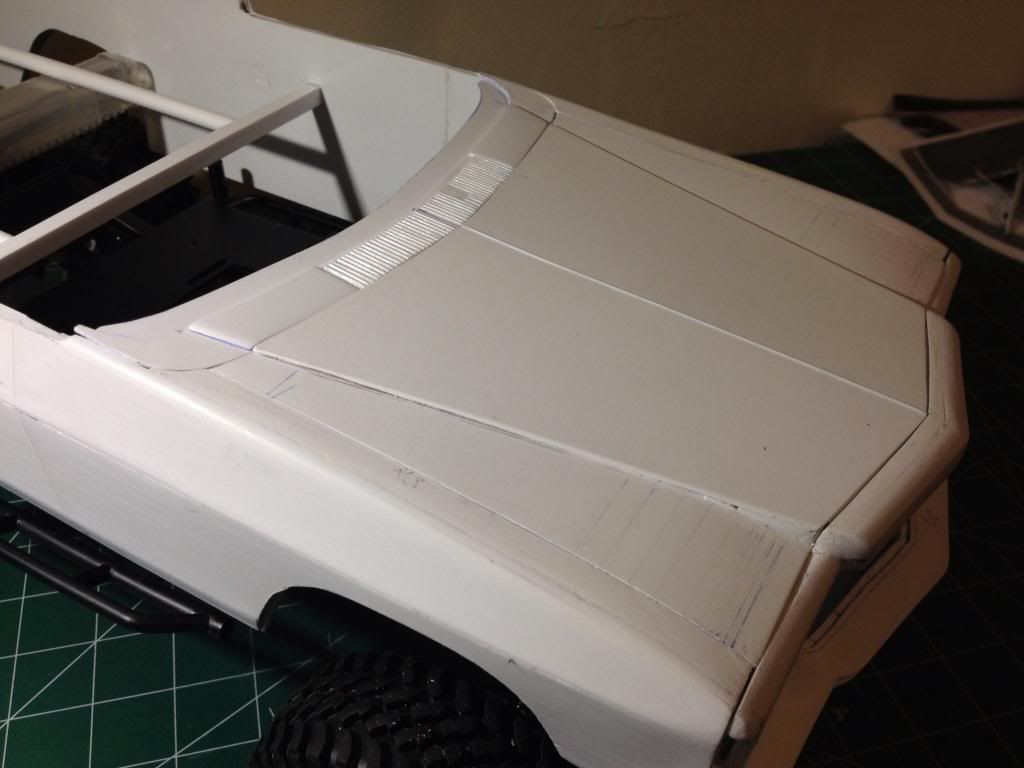
Hey thanks phmaximus! Trying to figure out how to build the headlight finishers now...then I'm thinking I'm of starting the side panels and the roof...those should enable me to line up the front windscreen pillars and door posts!
03-05-2014, 10:36 PM
#31
Thread Starter
Join Date: Jan 2004
Location: Queens,
NY
Posts: 559
Likes: 0
Received 0 Likes
on
0 Posts
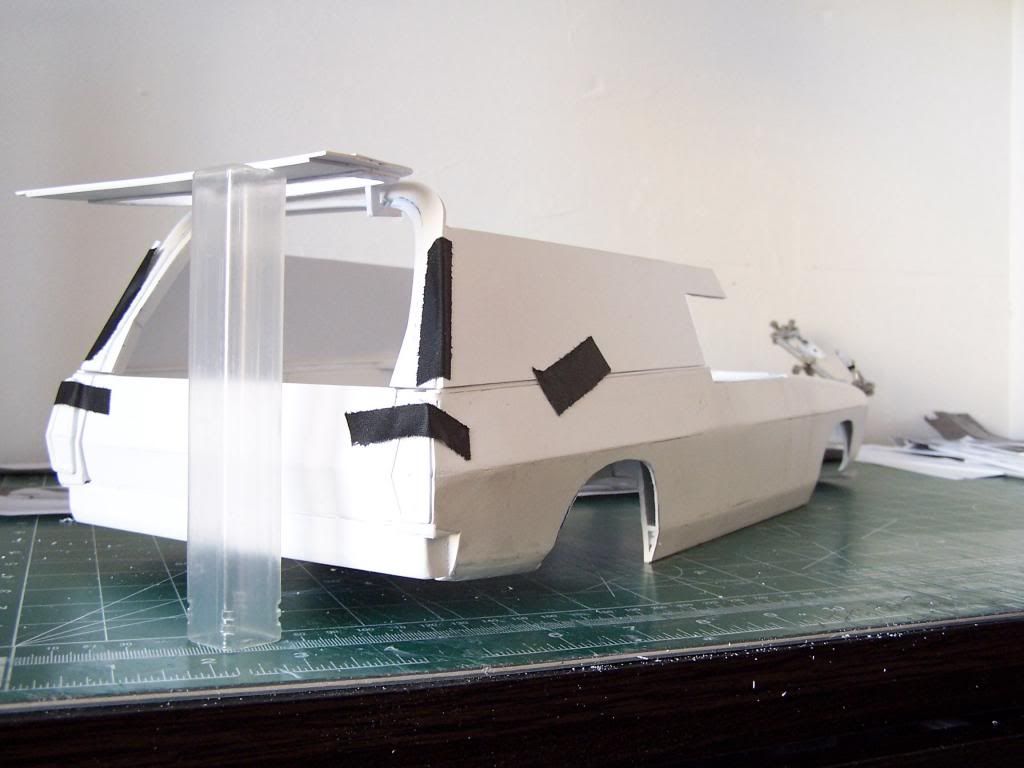
Hey guys...:update:
Well....after 3 days of epic fails...I finally found the answer to the riddle...how to make holden headlight finishers...:banghead:
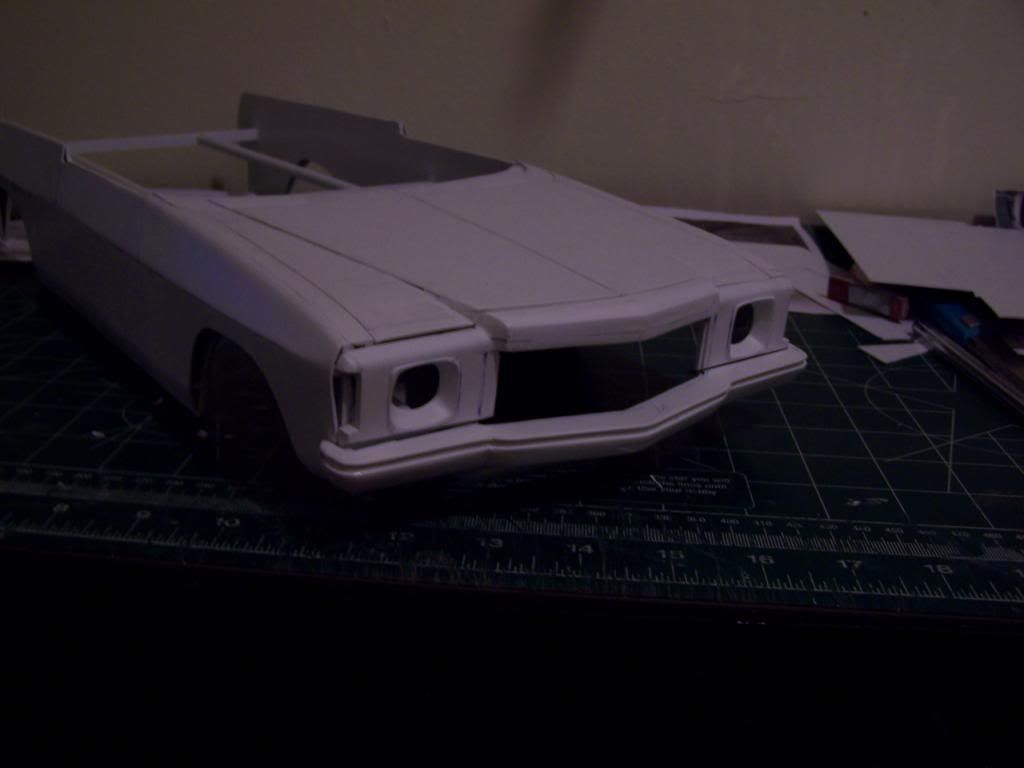
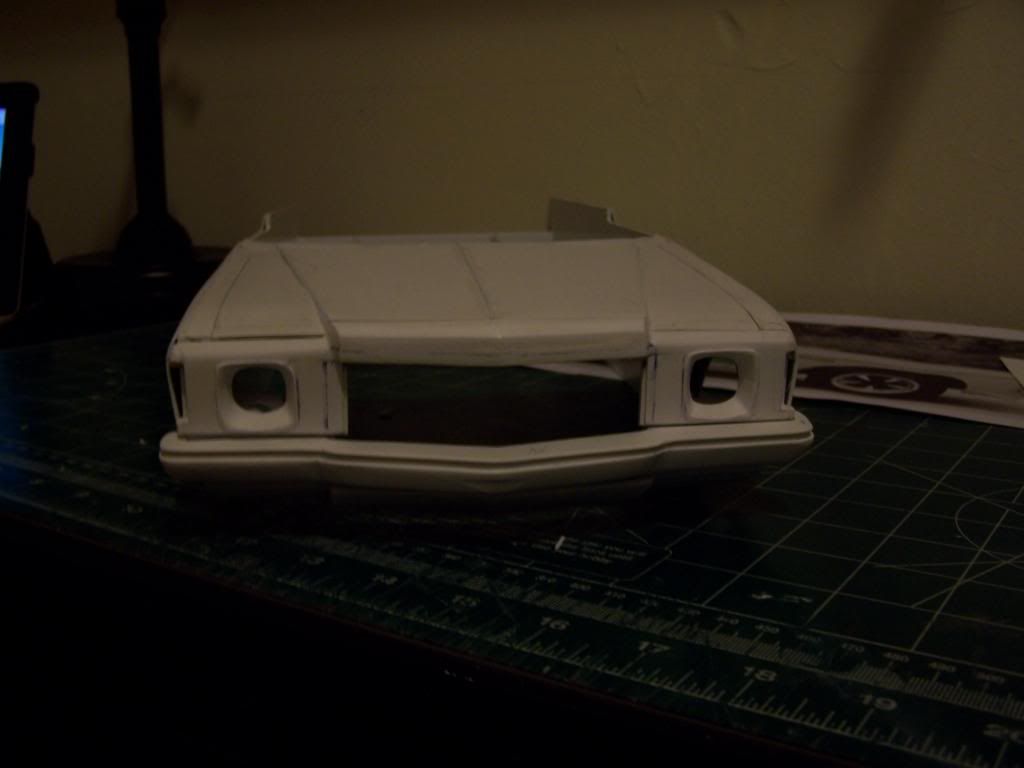
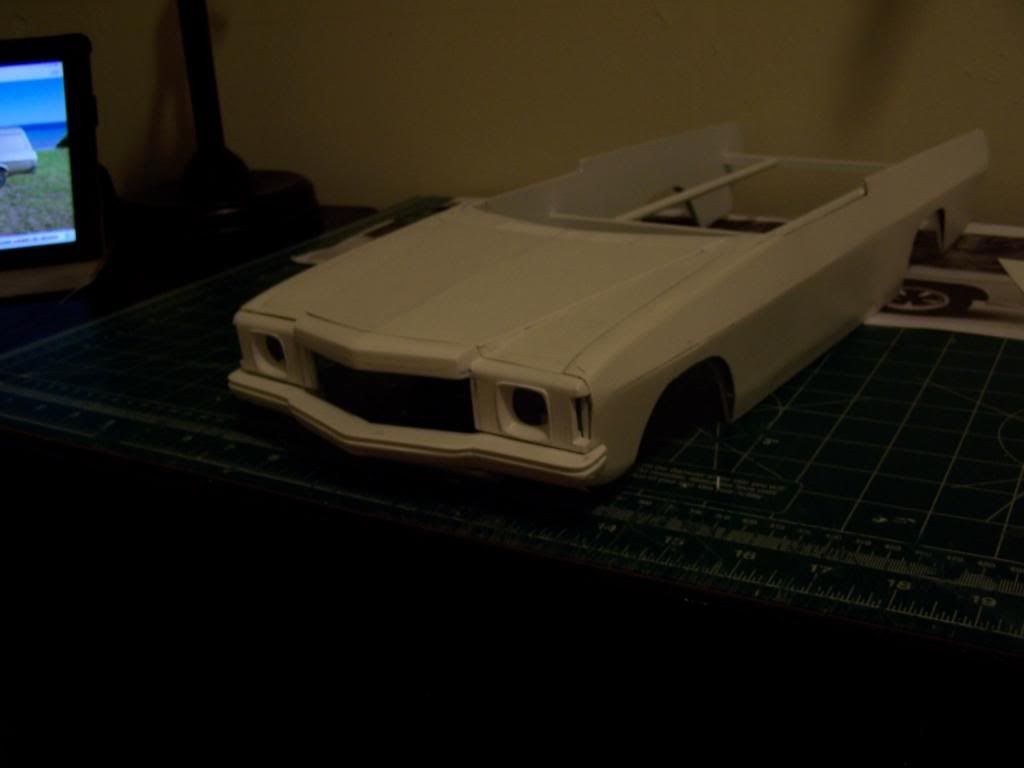

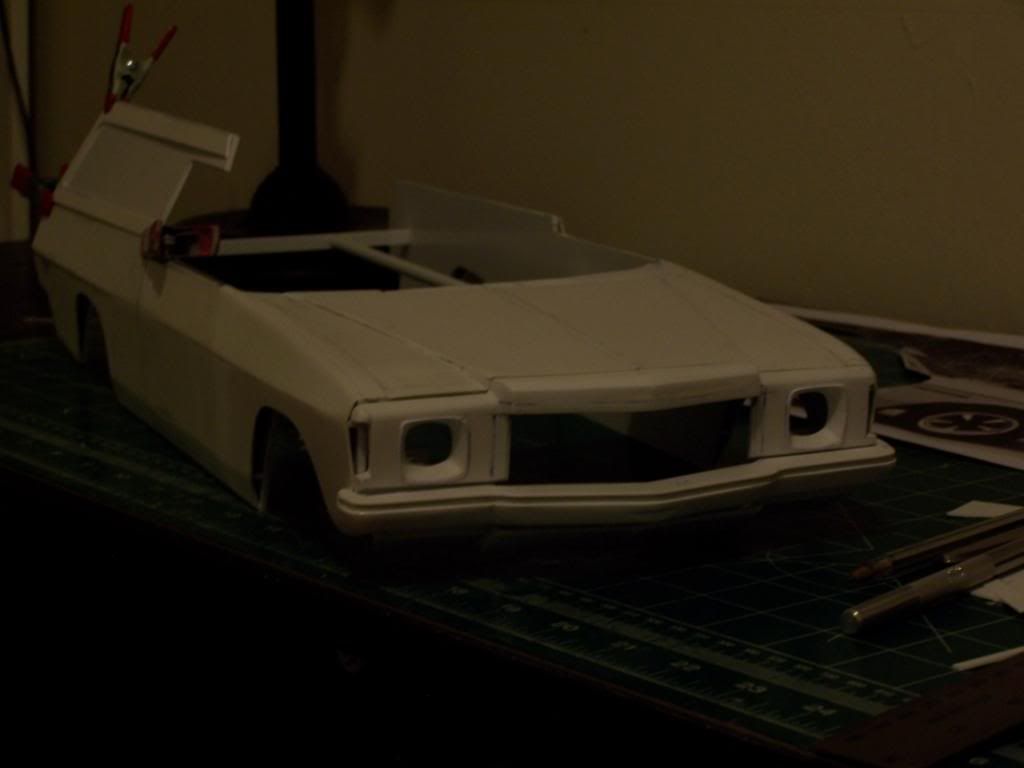
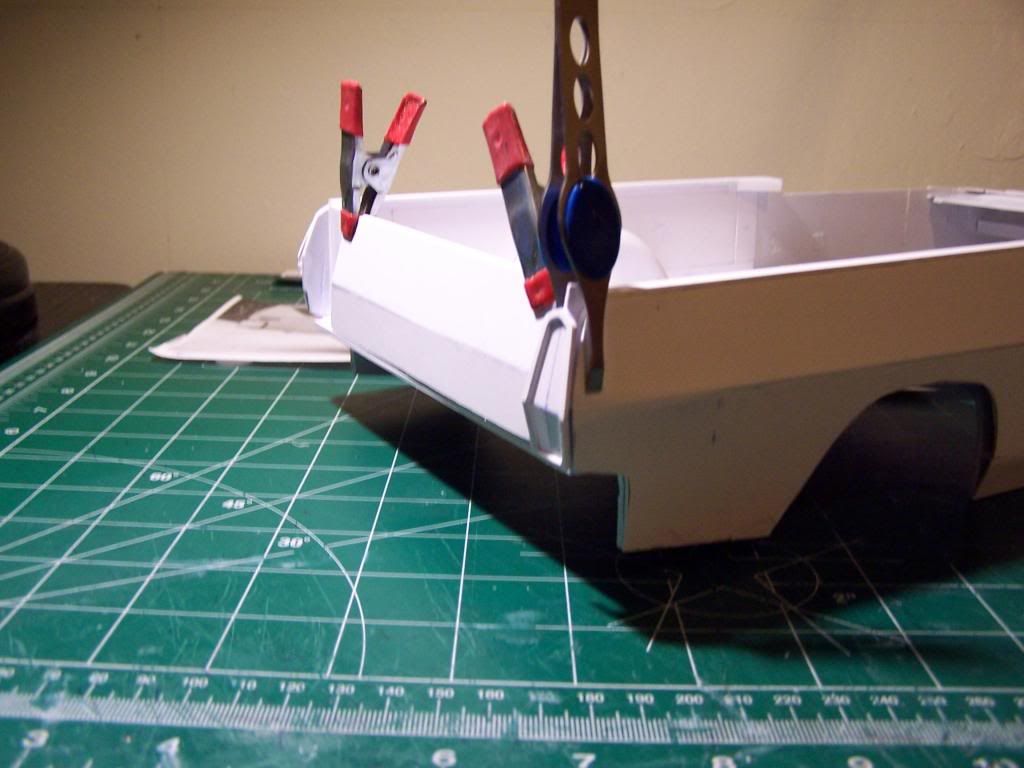
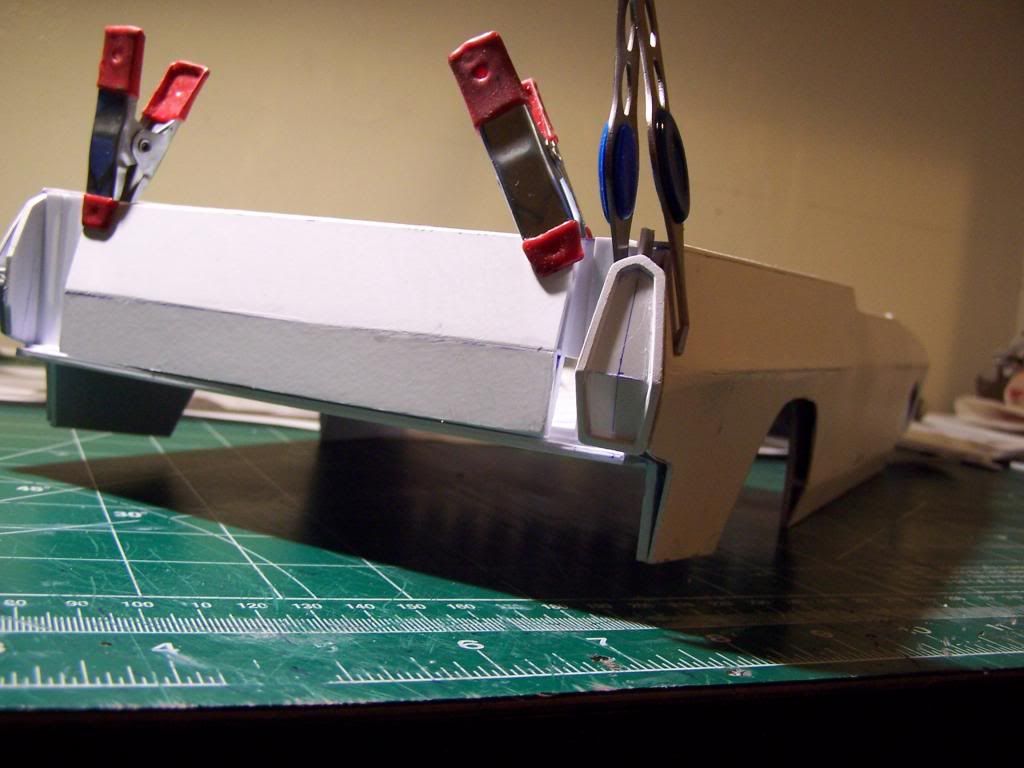
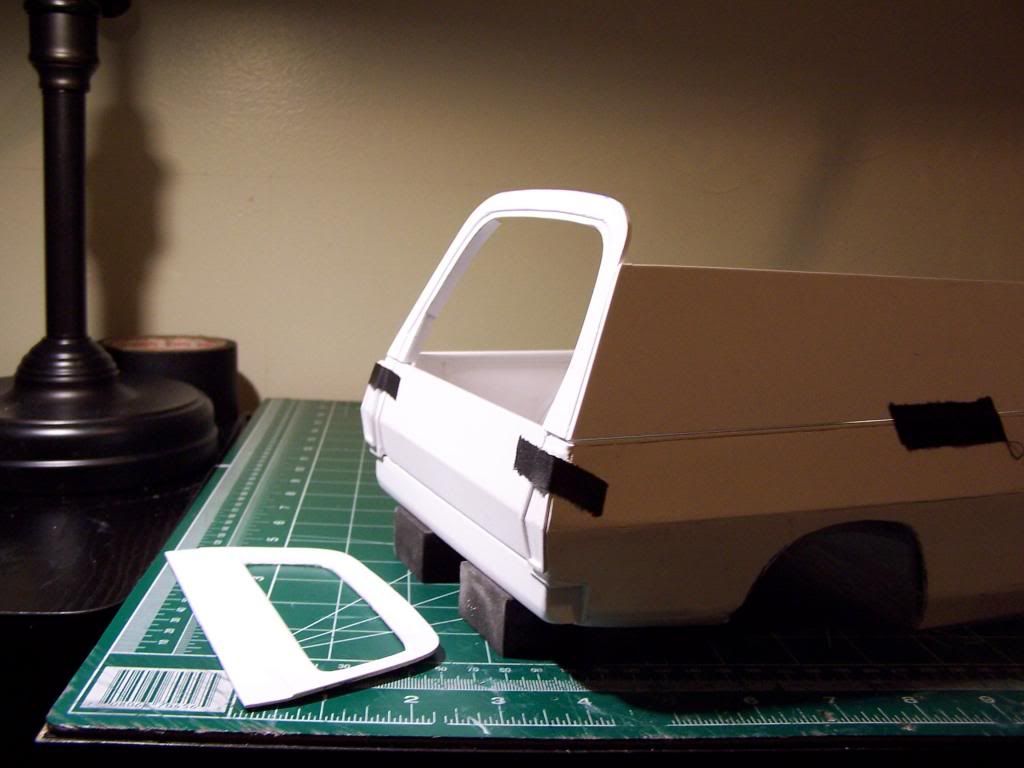
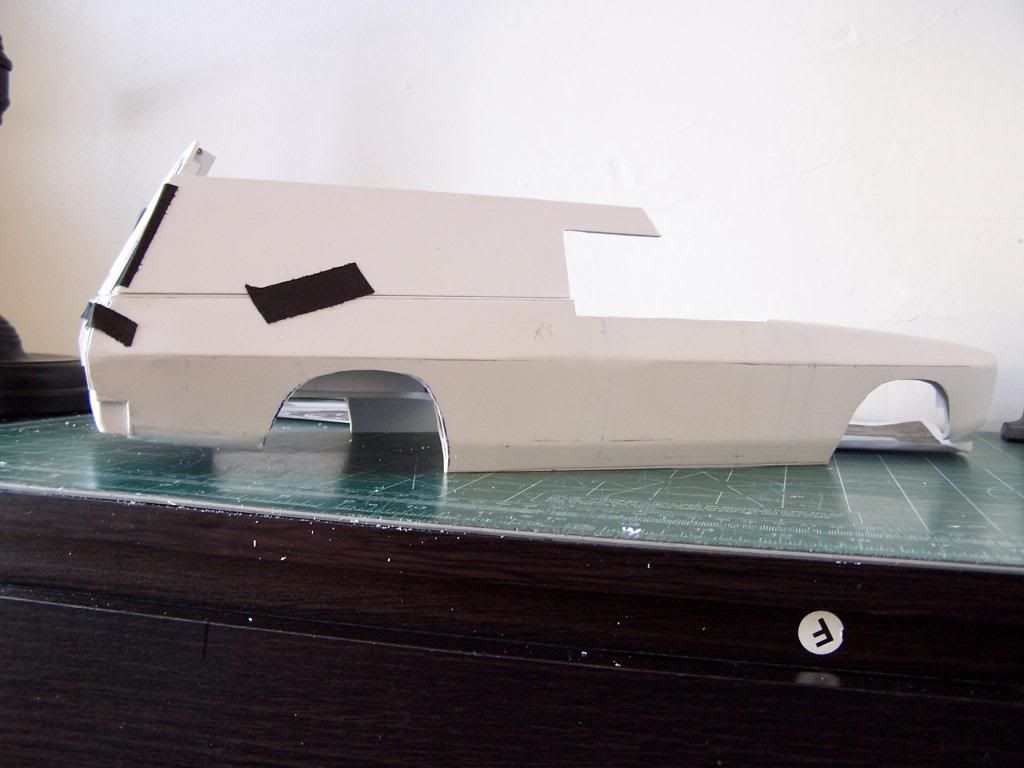
Also some teaser shots...starting to set up the profile of the panel van...it's not glued on yet...just being held together with the clips...needs to be more upright....lol!
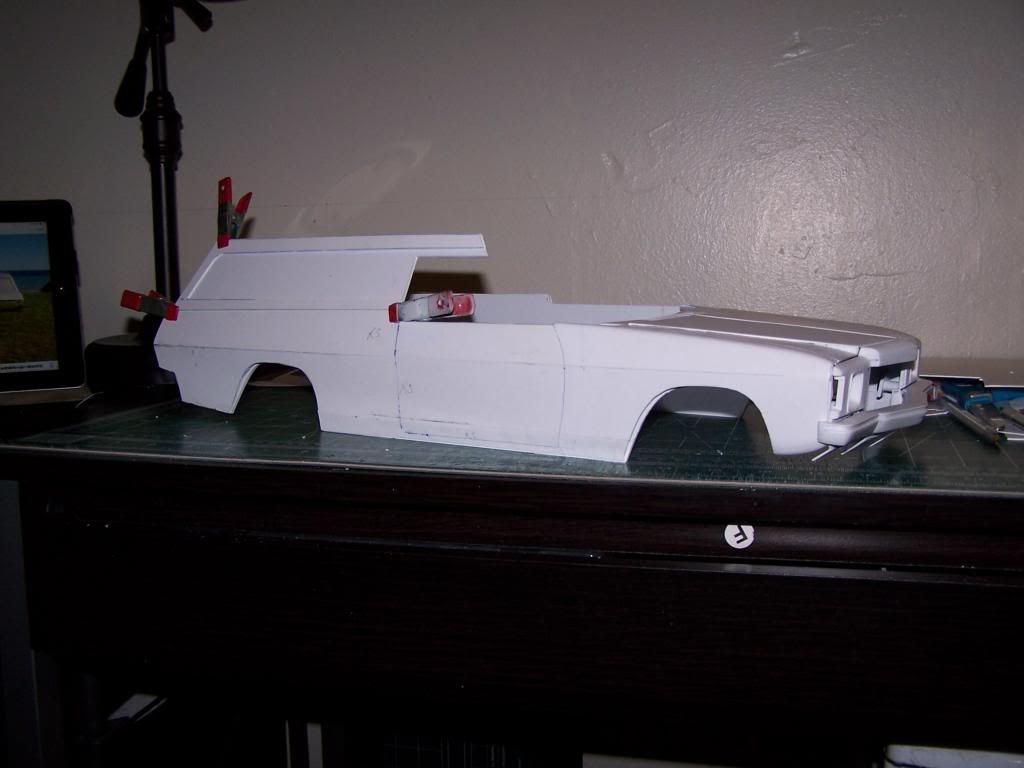
:bacondance:
Camera came in tonight...still need to set it up properly...will have better pics in the daylight tomorrow...:nice:
Well....after 3 days of epic fails...I finally found the answer to the riddle...how to make holden headlight finishers...:banghead:


Also some teaser shots...starting to set up the profile of the panel van...it's not glued on yet...just being held together with the clips...needs to be more upright....lol!


:bacondance:
Camera came in tonight...still need to set it up properly...will have better pics in the daylight tomorrow...:nice:
Last edited by prestonlal; 03-06-2014 at 08:55 AM.
03-05-2014, 10:37 PM
#32
Thread Starter
Join Date: Jan 2004
Location: Queens,
NY
Posts: 559
Likes: 0
Received 0 Likes
on
0 Posts
Also some teaser shots...starting to set up the profile of the panel van...it's not glued on yet...just being held together with the clips...Leeds to be more upright....lol!


 03-10-2014, 07:31 PM
#37
Thread Starter
Join Date: Jan 2004
Location: Queens,
NY
Posts: 559
Likes: 0
Received 0 Likes
on
0 Posts
")
 03-16-2014, 11:16 AM
#38
Thread Starter
Join Date: Jan 2004
Location: Queens,
NY
Posts: 559
Likes: 0
Received 0 Likes
on
0 Posts
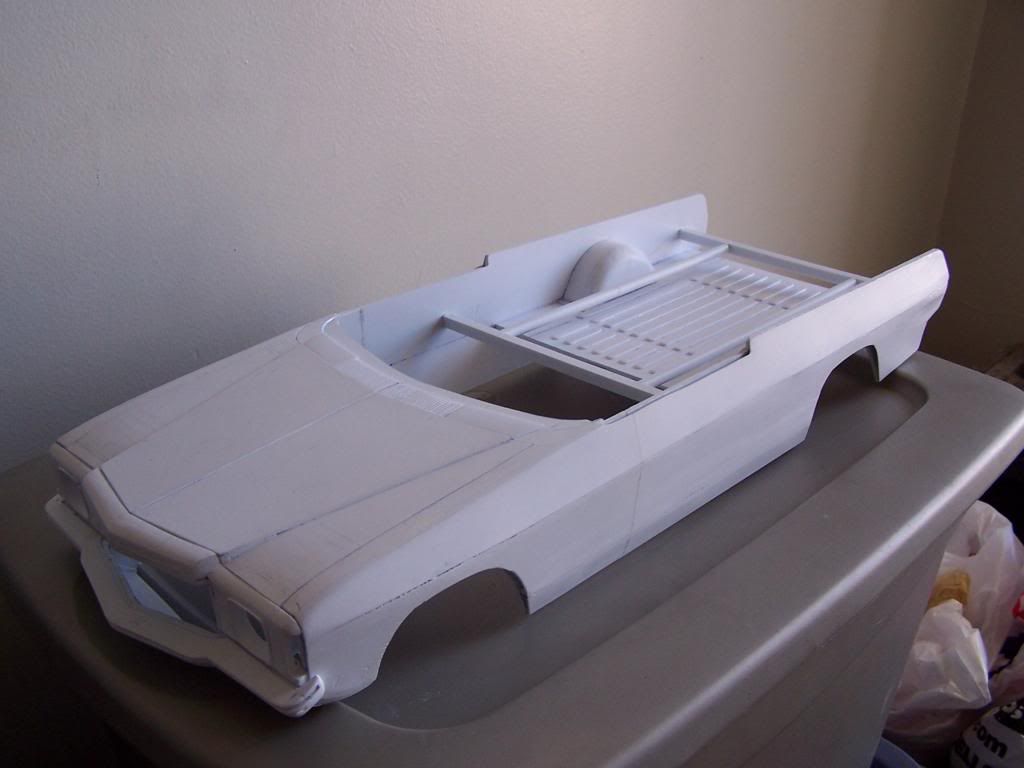
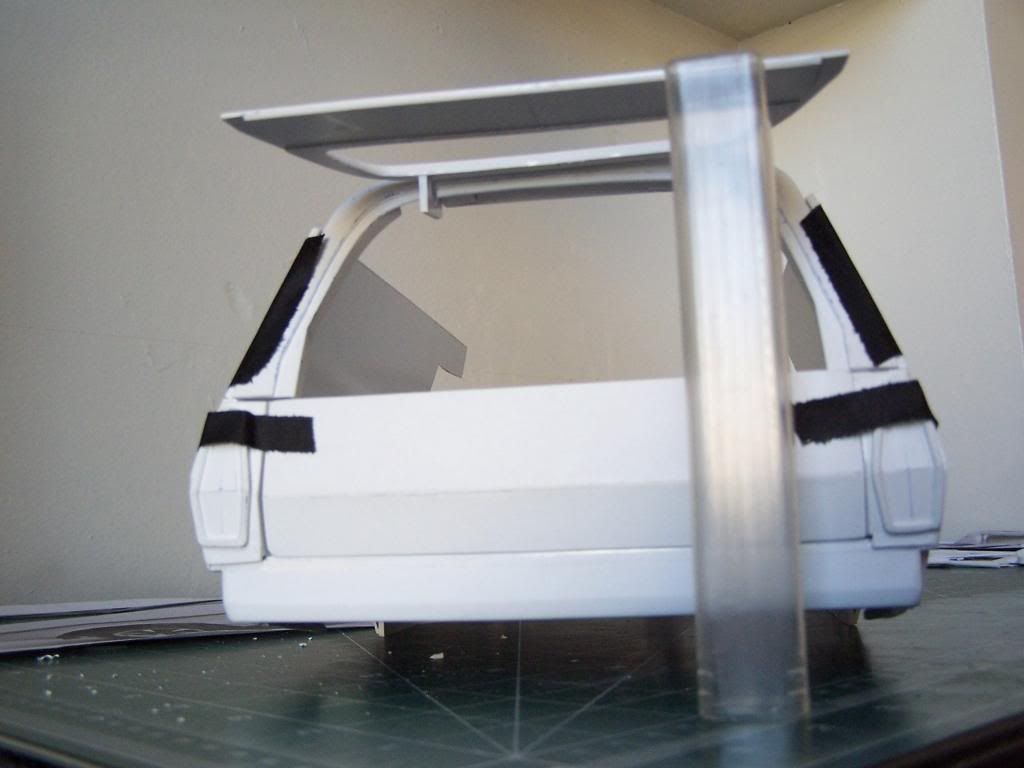
Hey guys...small update!
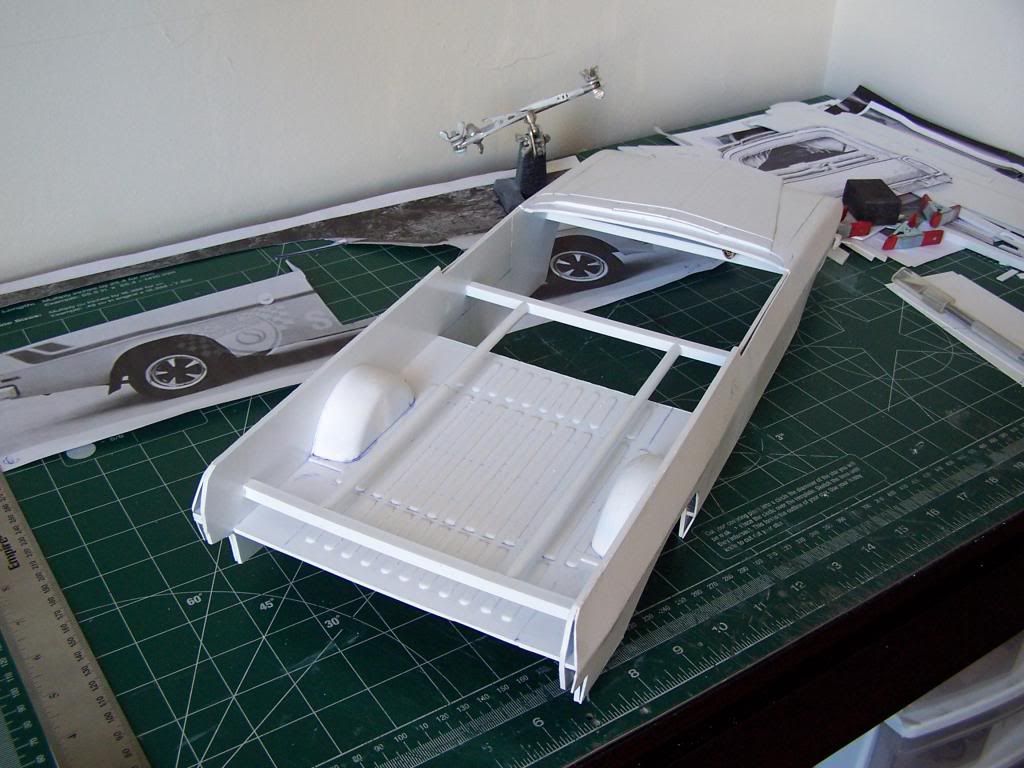
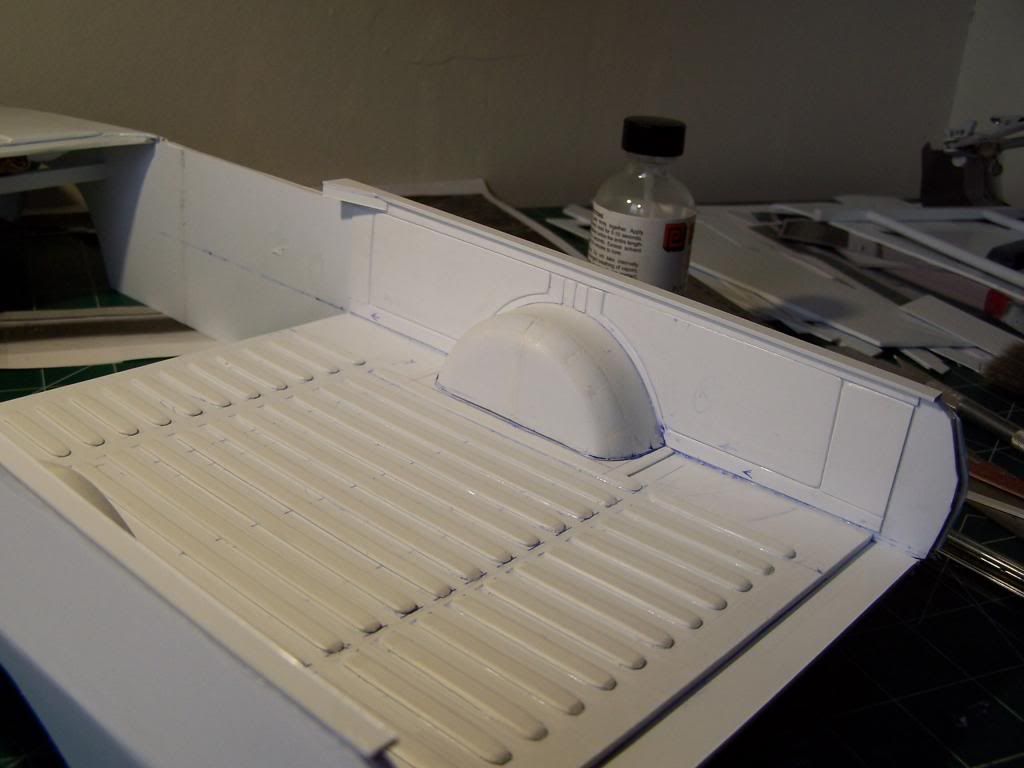
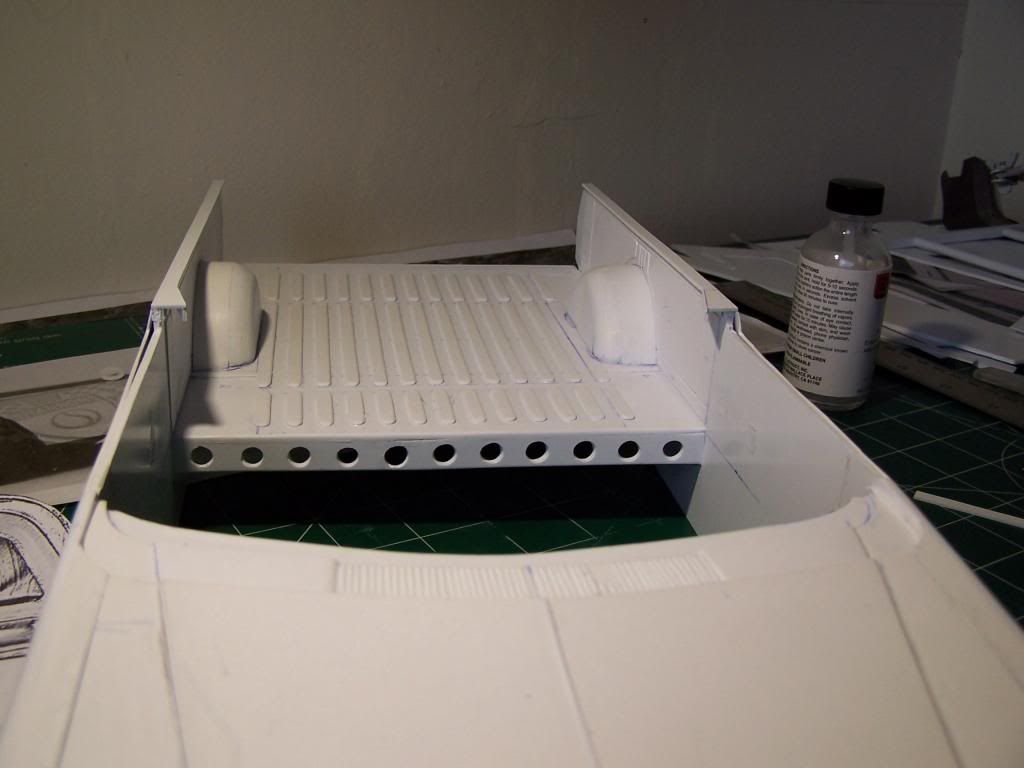
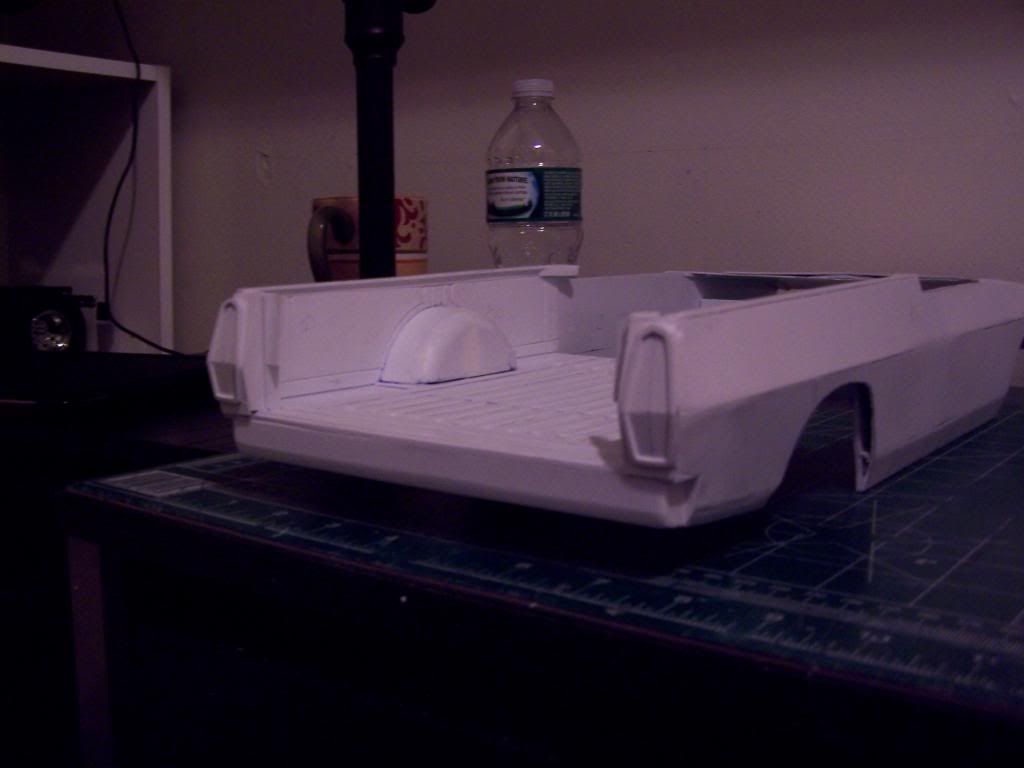
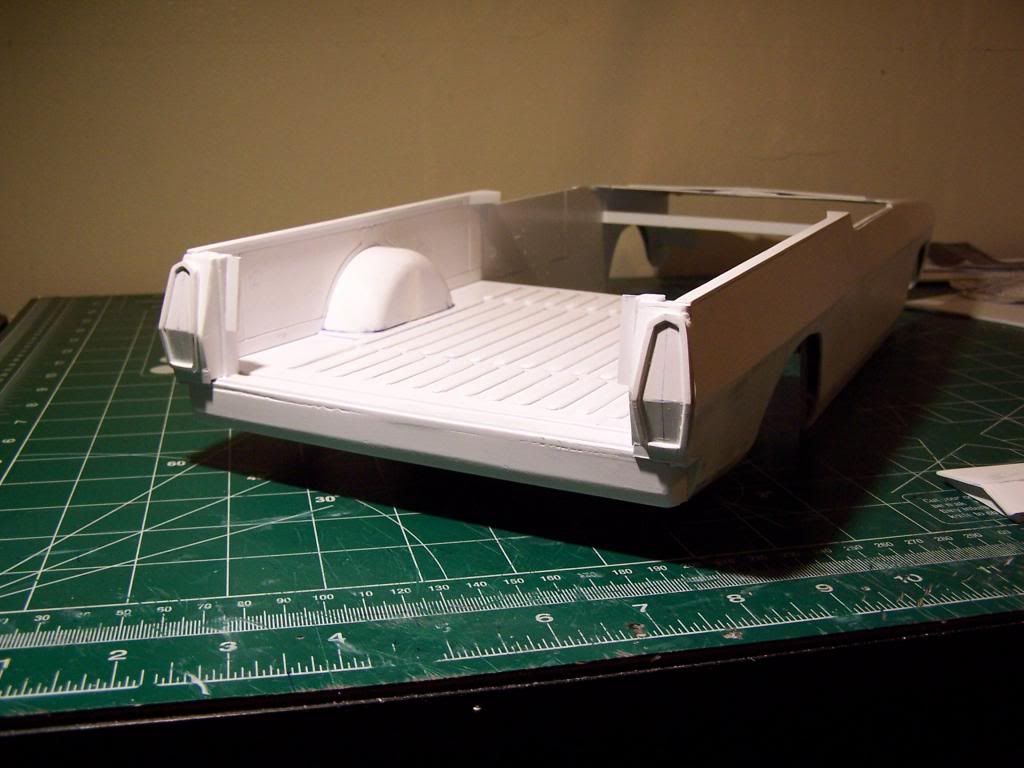
Been bogged down for the last few days with some other stuff...but did manage to get the rear floor made and installed..! Once it cures properly I will remove the brace...
After reviewing the process to make the sides and the top, I realized that I needed to build the rear floor first...
Tonight I'm hoping to get some more details added to the sides of the tray and then build the lower tailgate piece. Once that is completed I will start on the sides and the top.
Some progress pics...


 03-20-2014, 06:20 AM
#39
Thread Starter
Join Date: Jan 2004
Location: Queens,
NY
Posts: 559
Likes: 0
Received 0 Likes
on
0 Posts
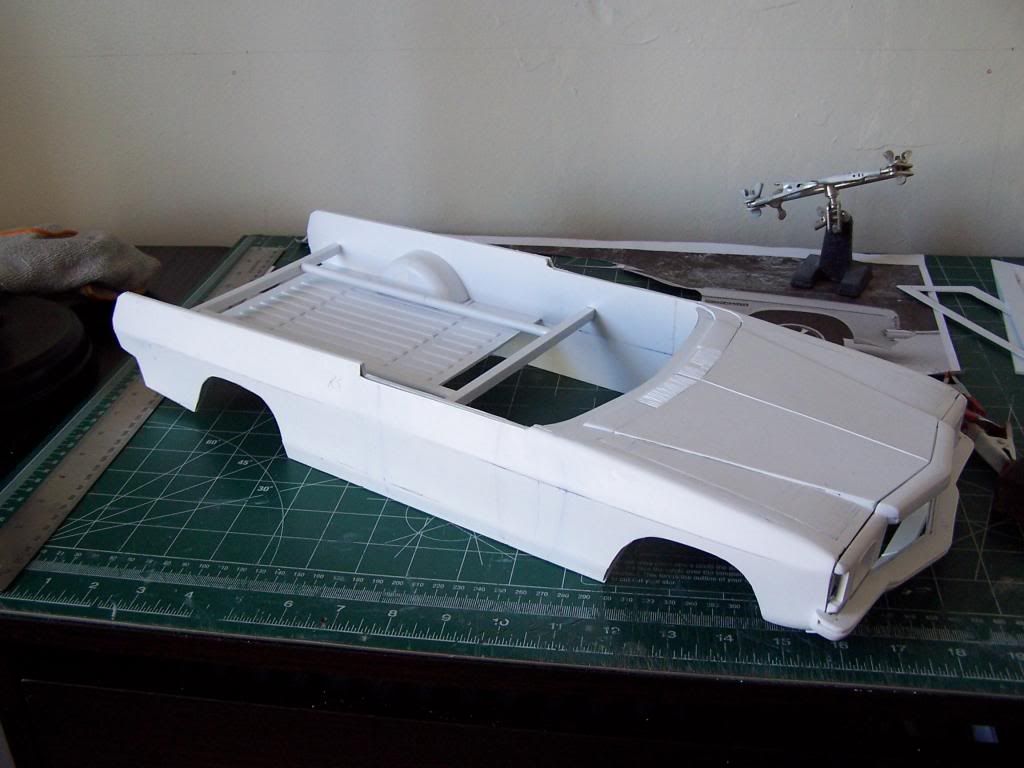
Hey guys.....another small :update:
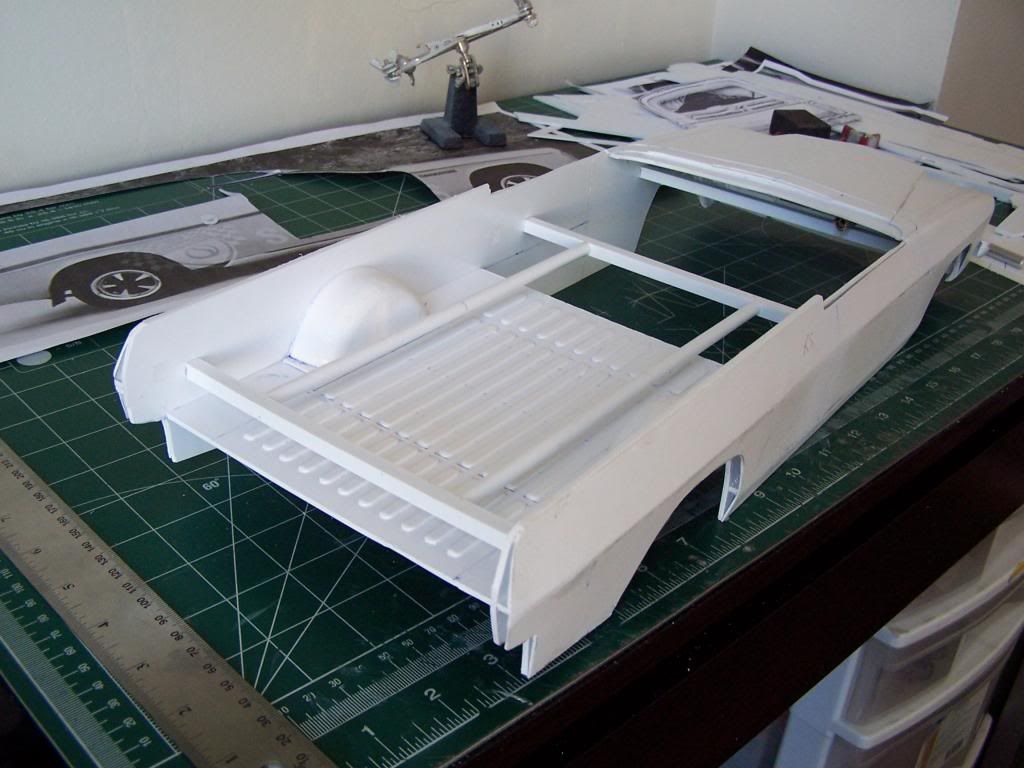
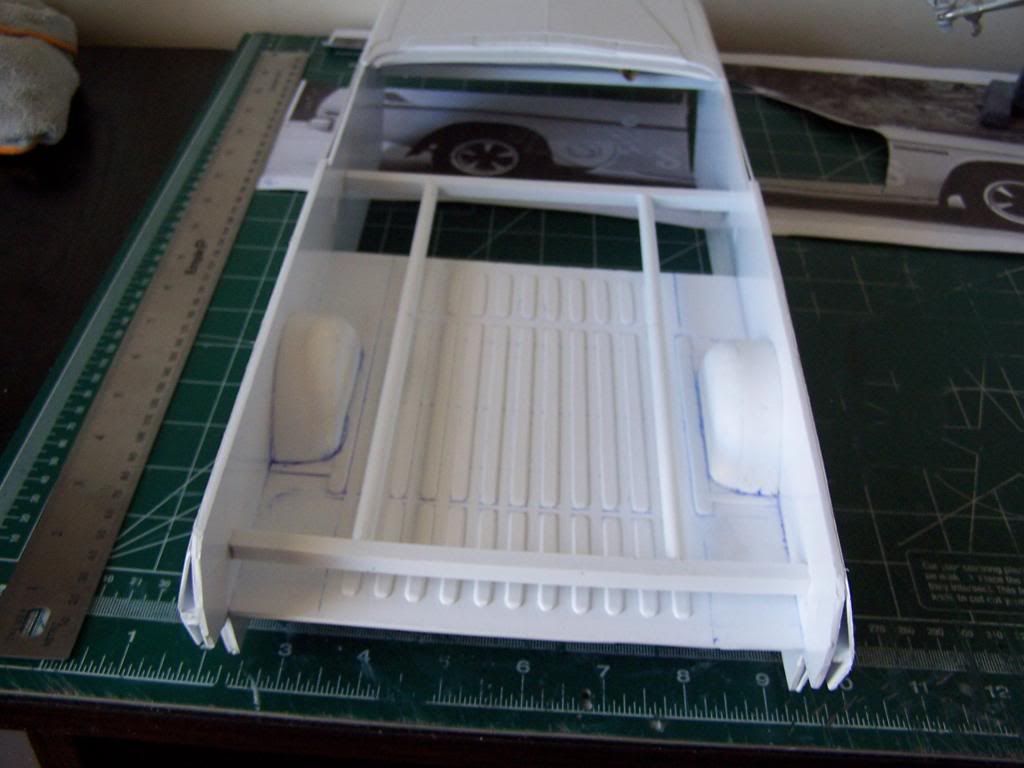
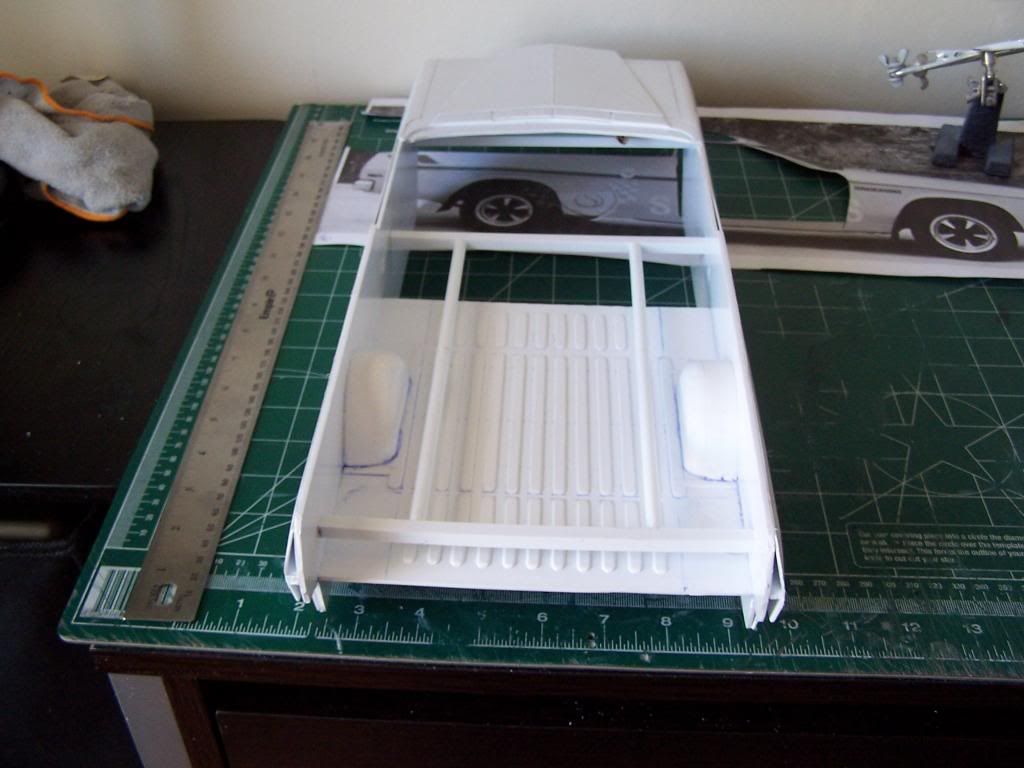
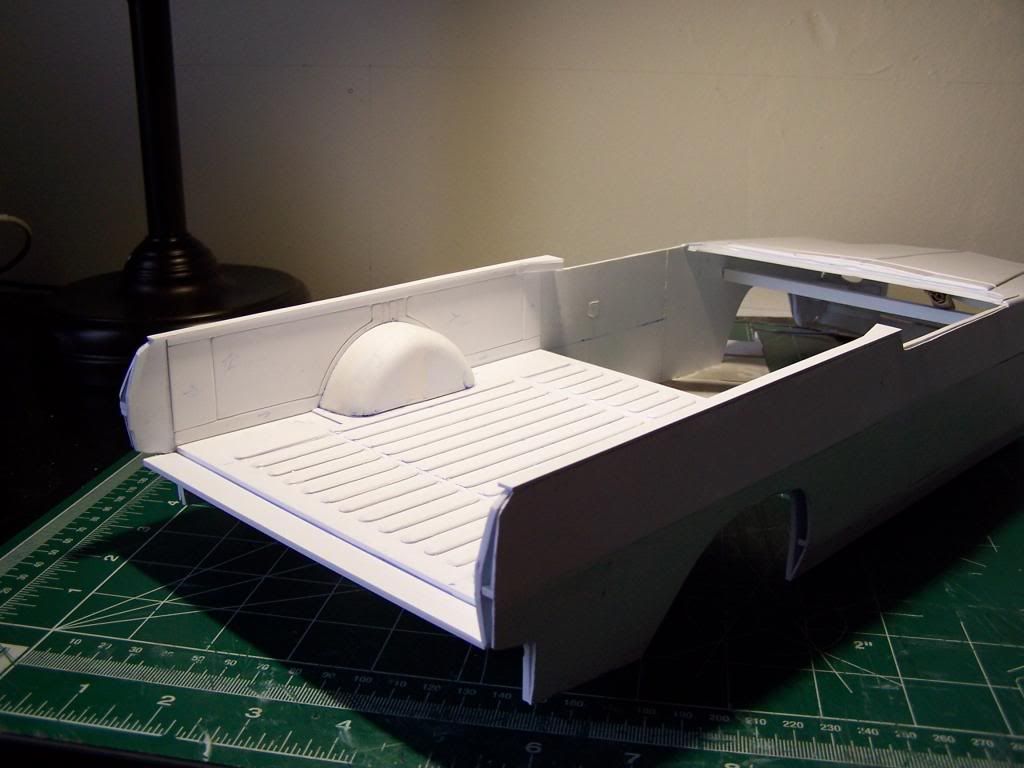
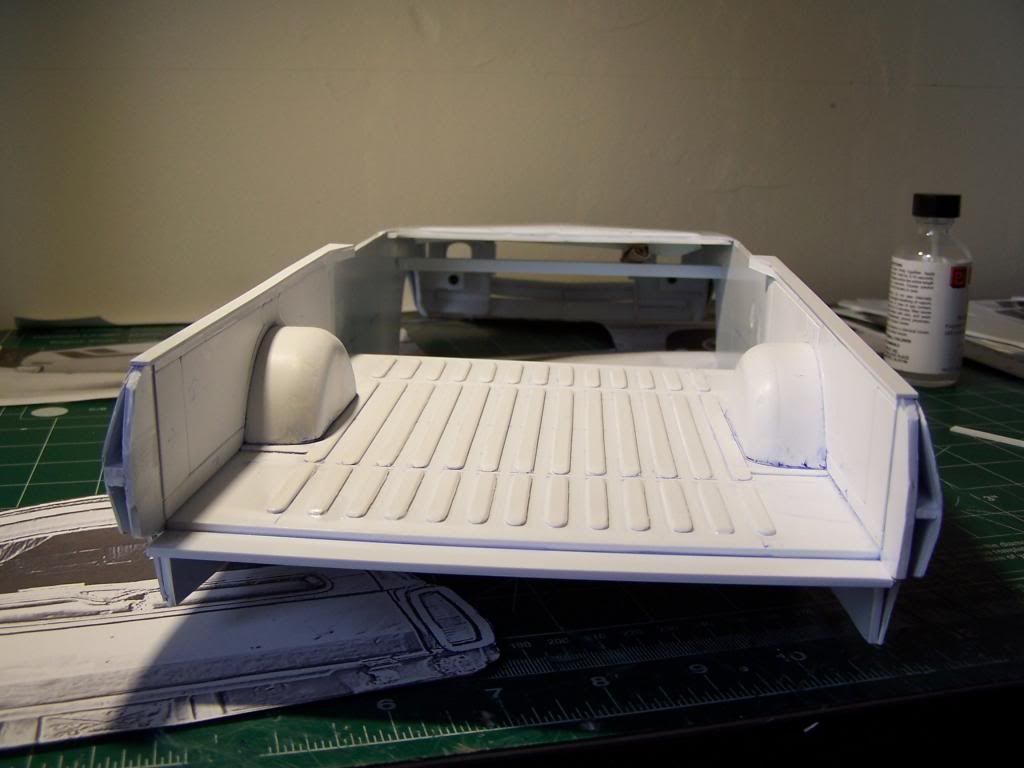
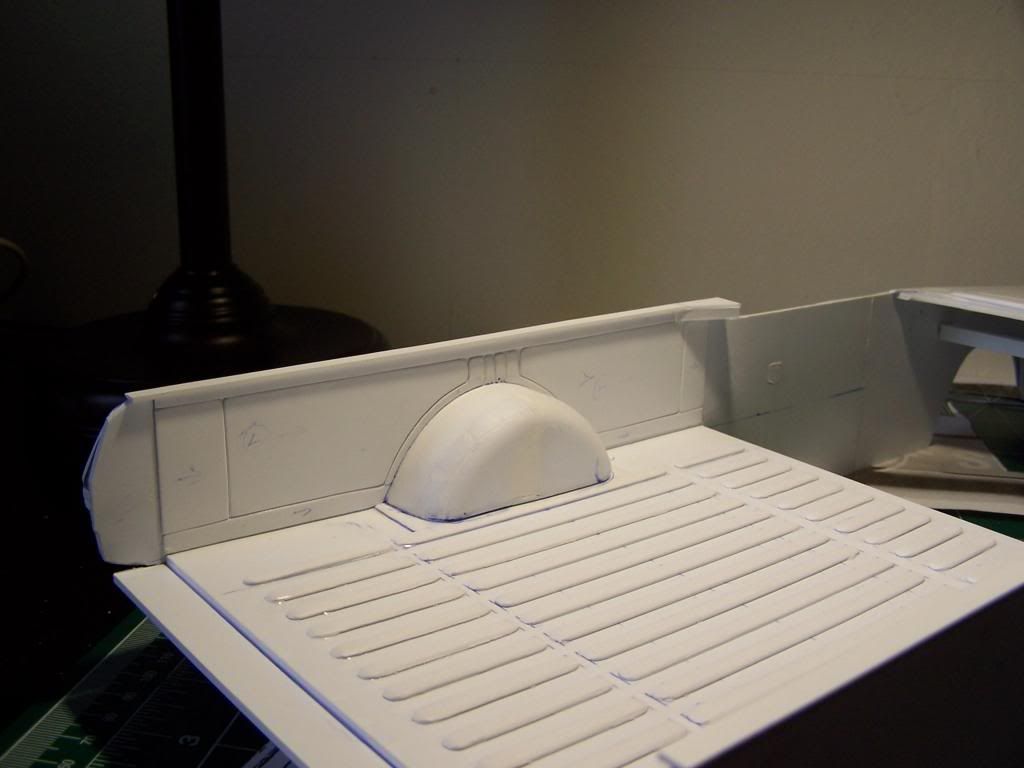
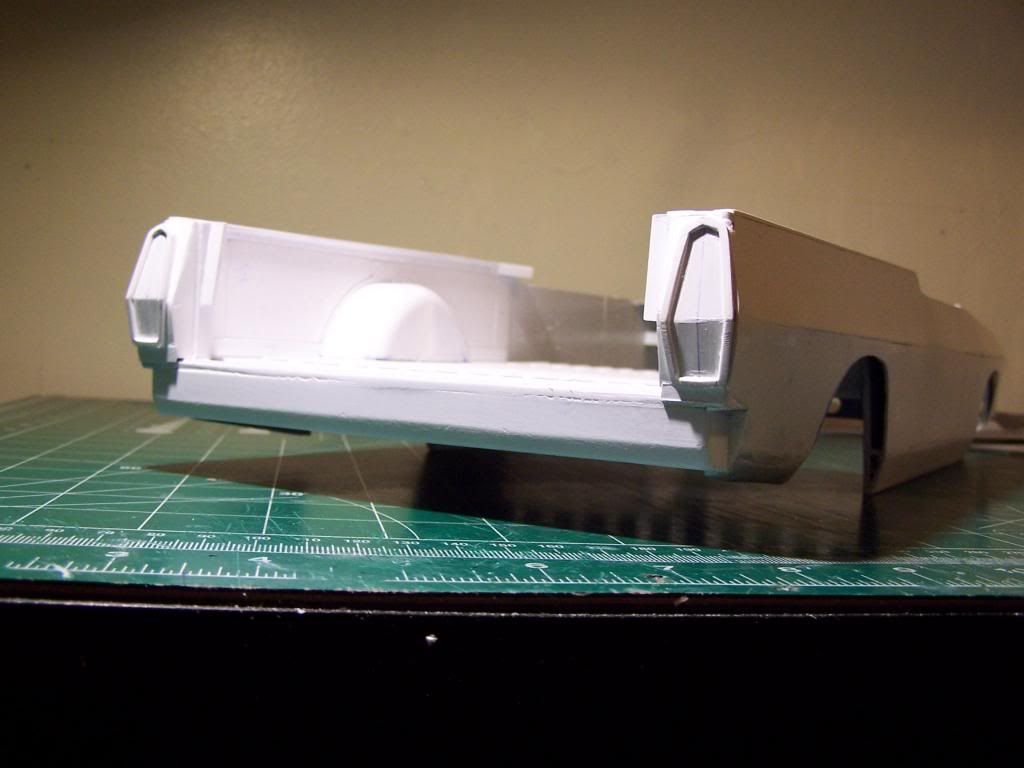
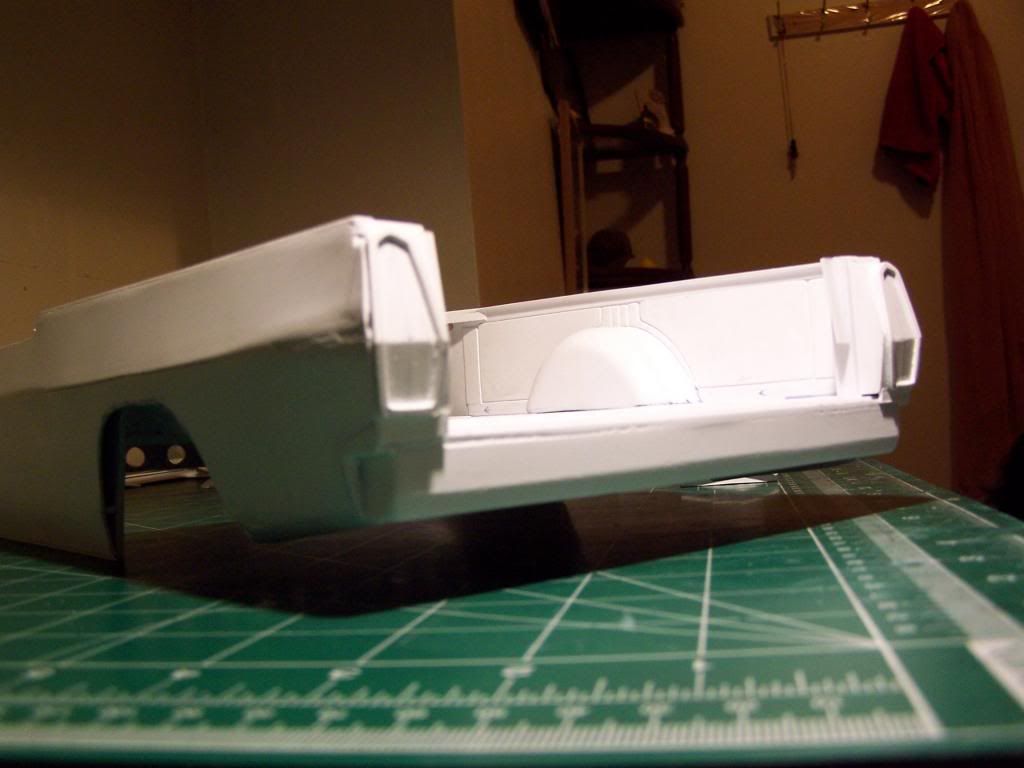
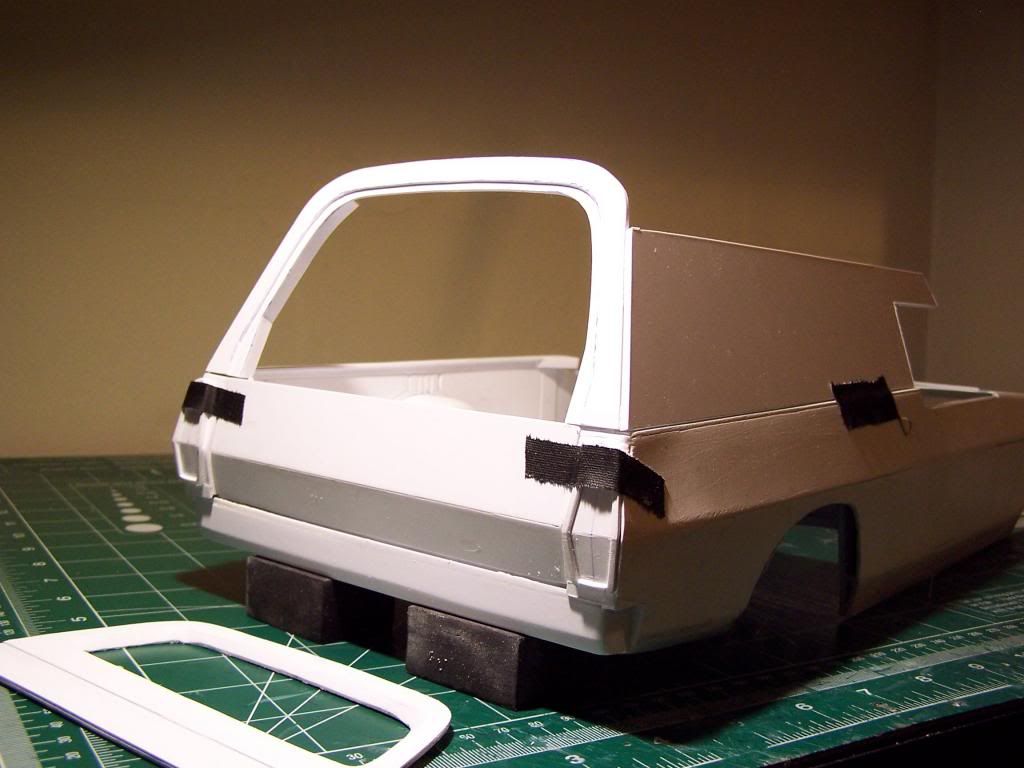
Think I'm done with the rear flooring...at least for now..I removed the brace then added some detail to the sides of the bed and the holey brace at the front...lol! Also prepped the top of the sides of the bed for the side panels...
Started on the tailgate as well ... Also figured out how I'm doing the tail light housings... Need to get some lens material and figure out how to cut and shape it without scratching it up too much...
Some progress pics...
Will try to get some more done after work tonight...!
Think I'm done with the rear flooring...at least for now..I removed the brace then added some detail to the sides of the bed and the holey brace at the front...lol! Also prepped the top of the sides of the bed for the side panels...
Started on the tailgate as well ... Also figured out how I'm doing the tail light housings... Need to get some lens material and figure out how to cut and shape it without scratching it up too much...
Some progress pics...


Will try to get some more done after work tonight...!
04-02-2014, 09:14 AM
#40
Thread Starter
Join Date: Jan 2004
Location: Queens,
NY
Posts: 559
Likes: 0
Received 0 Likes
on
0 Posts
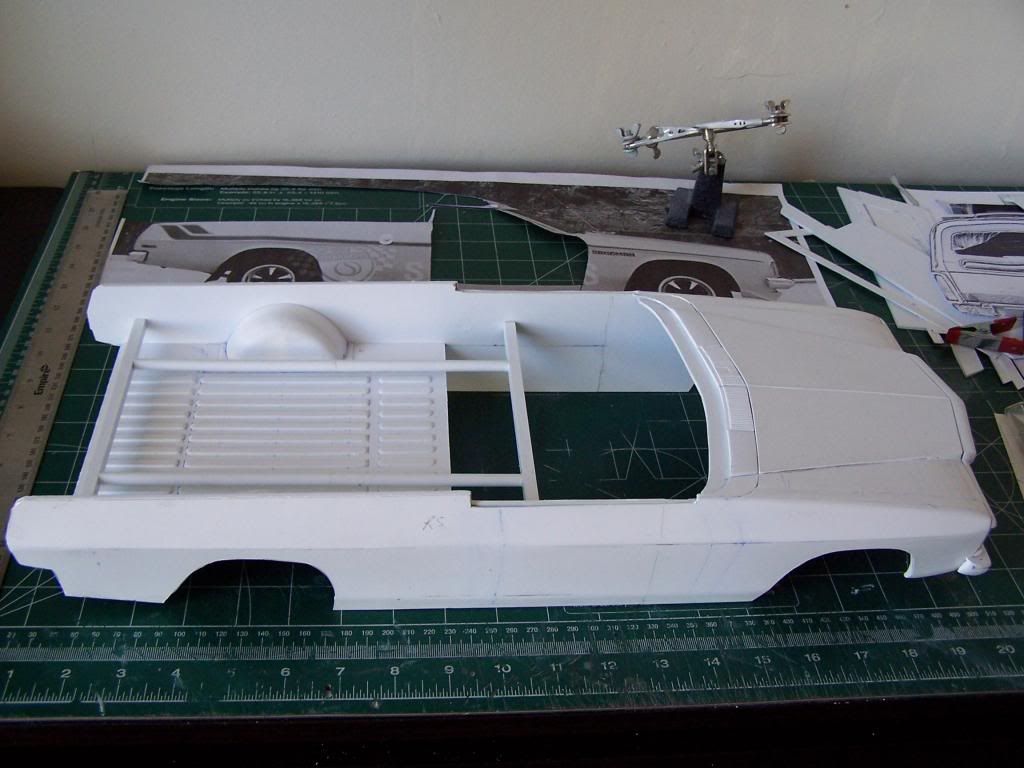
Hey Guys...small update lol!
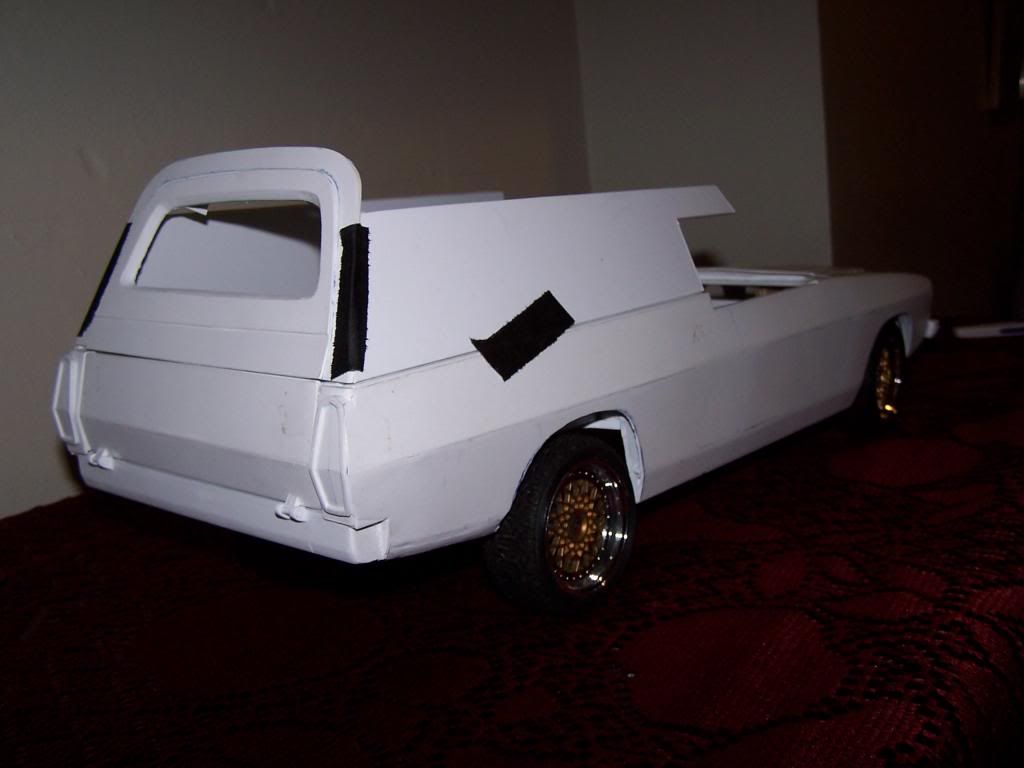
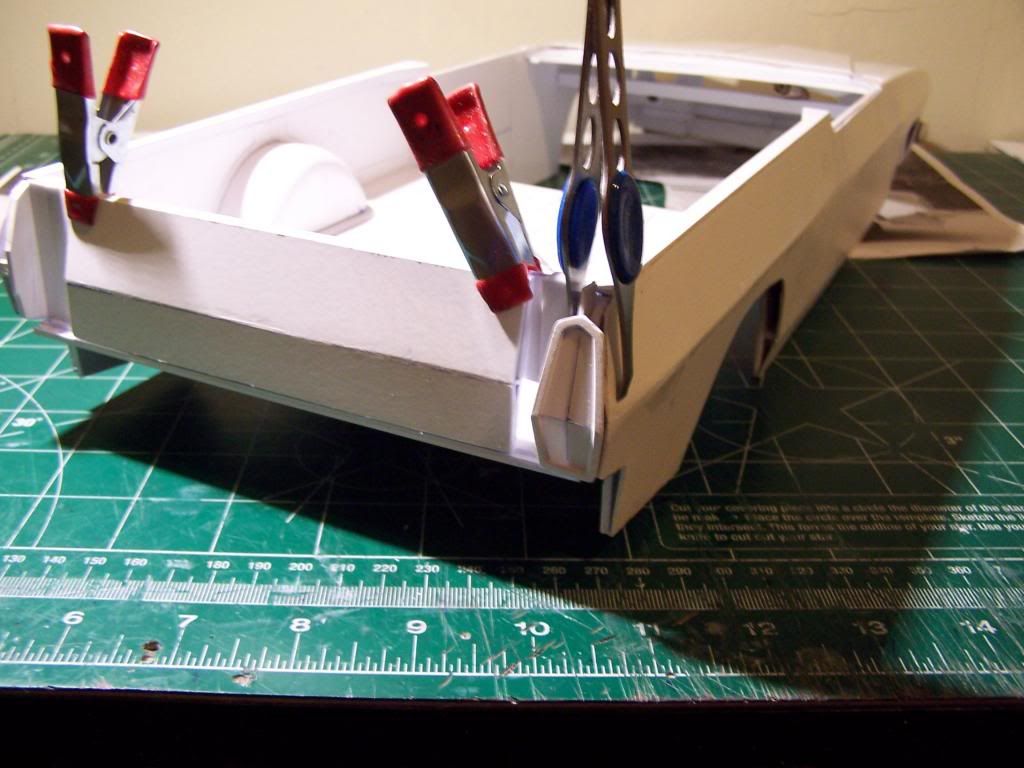
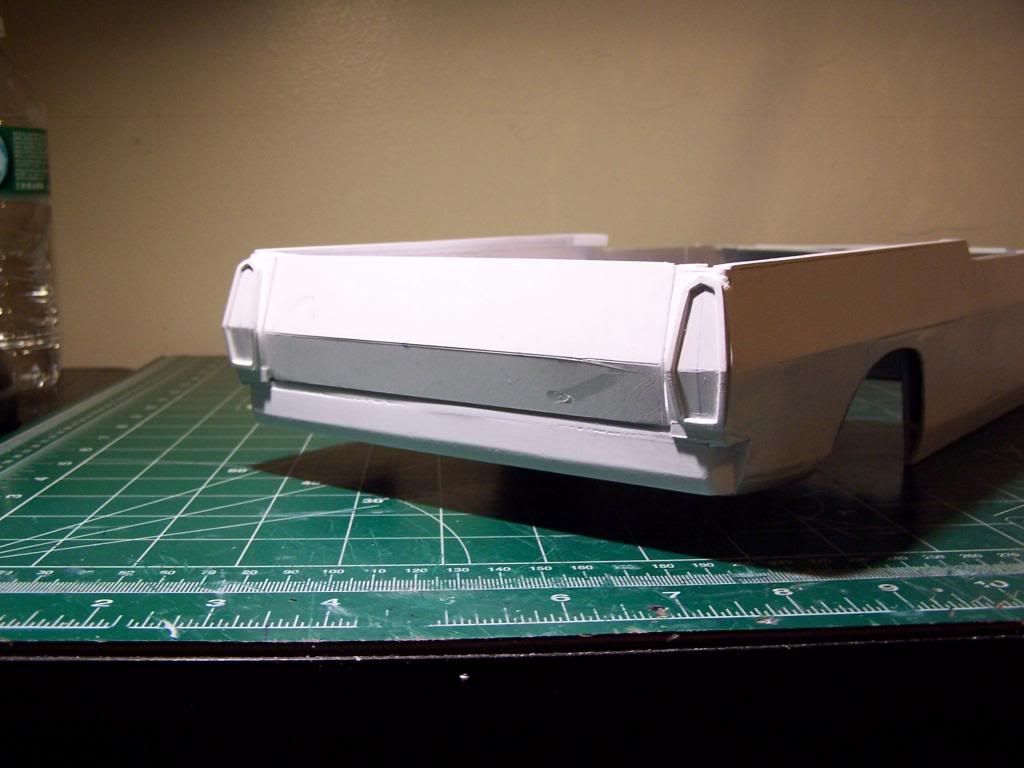
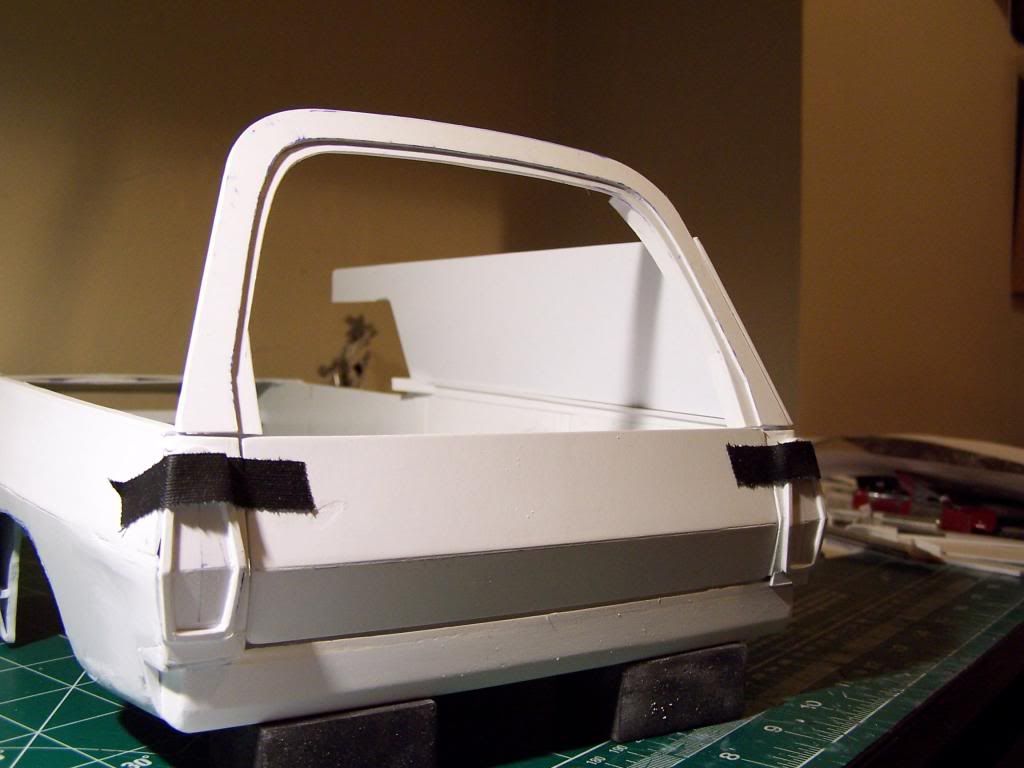
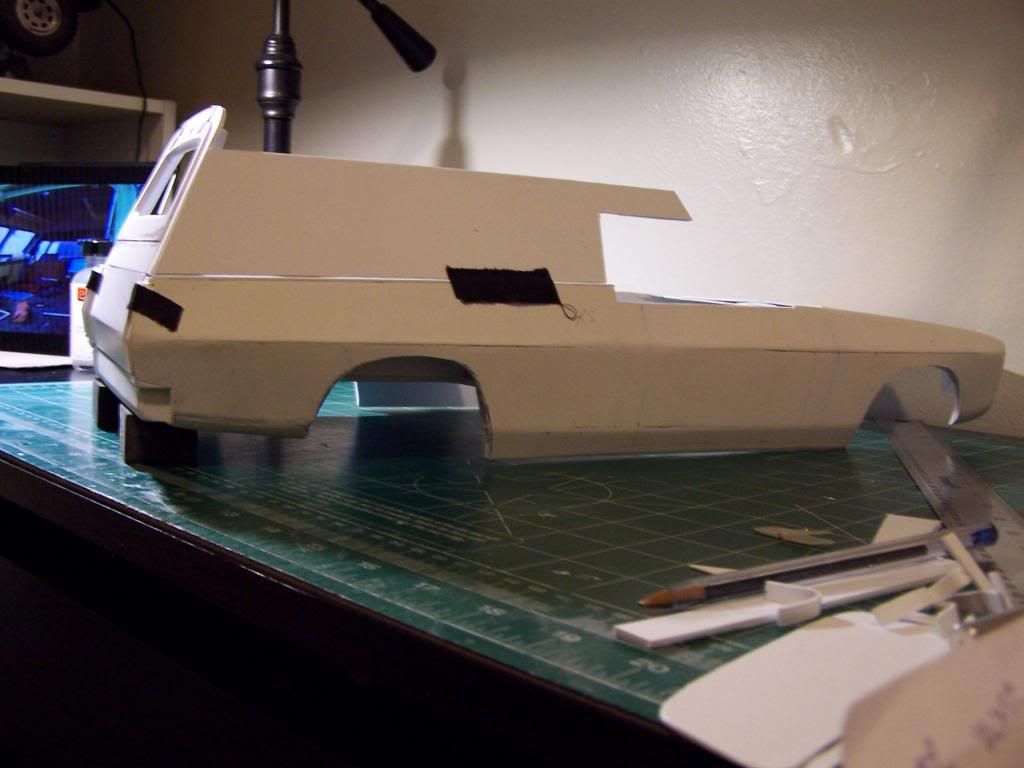
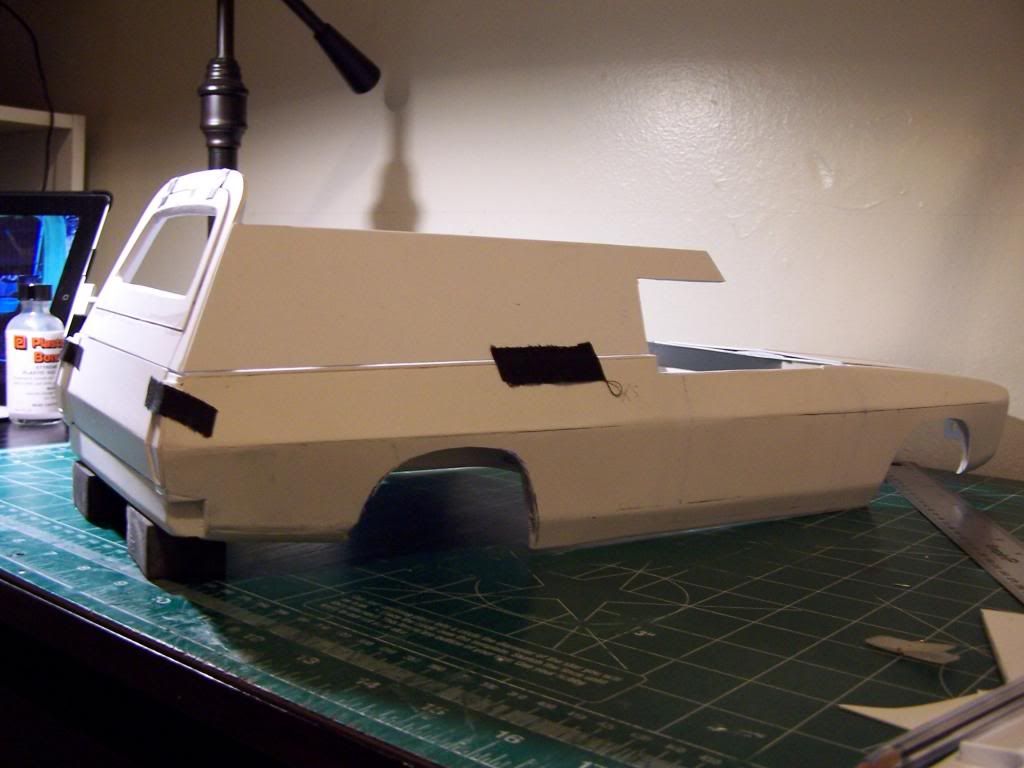
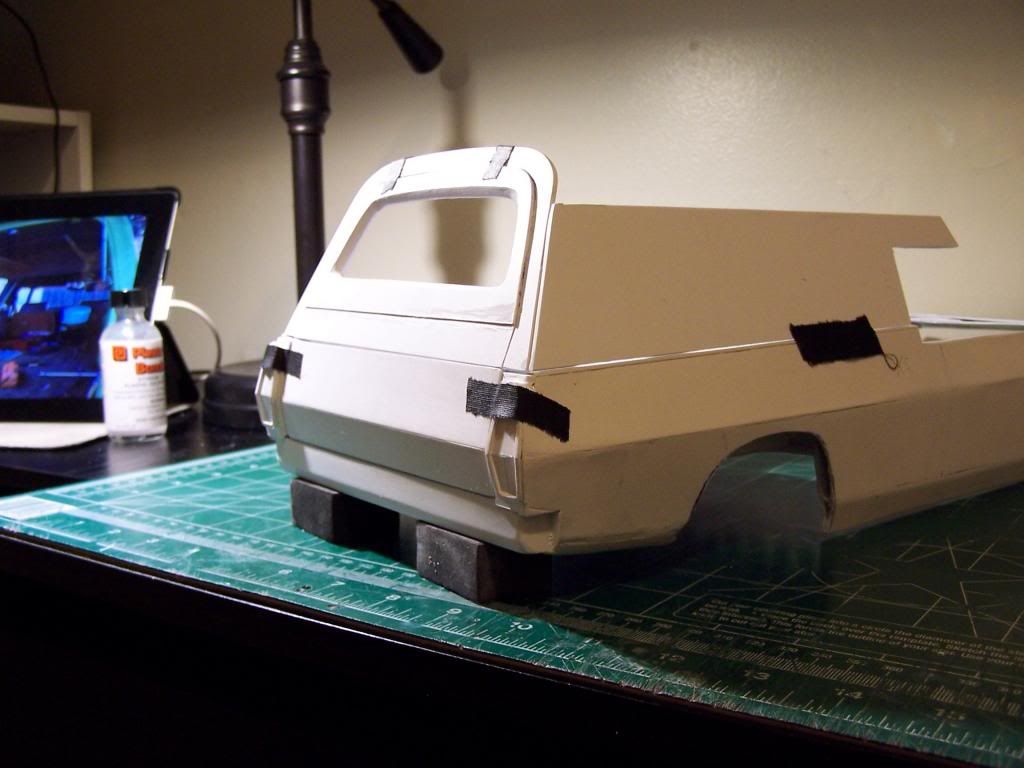
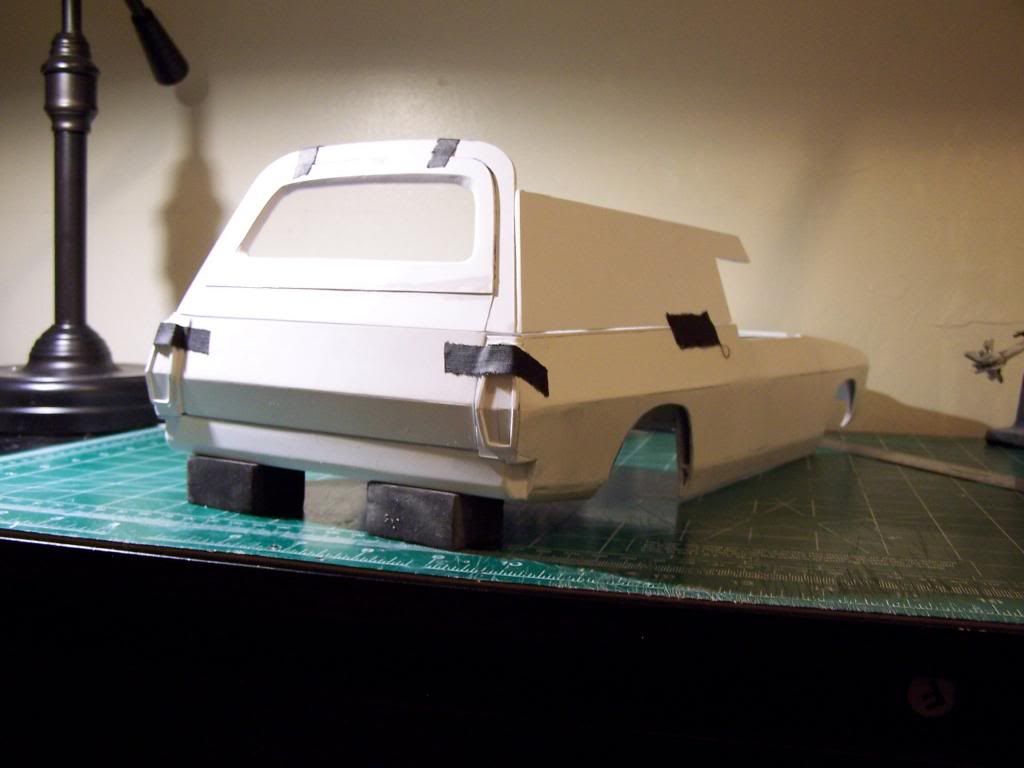
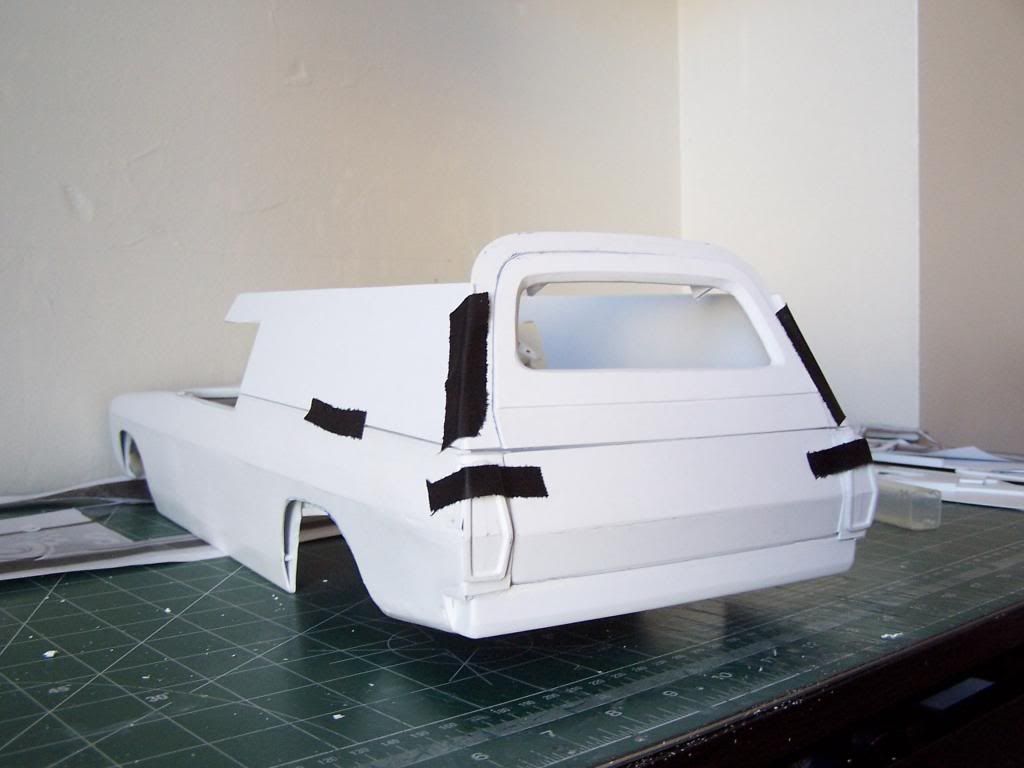
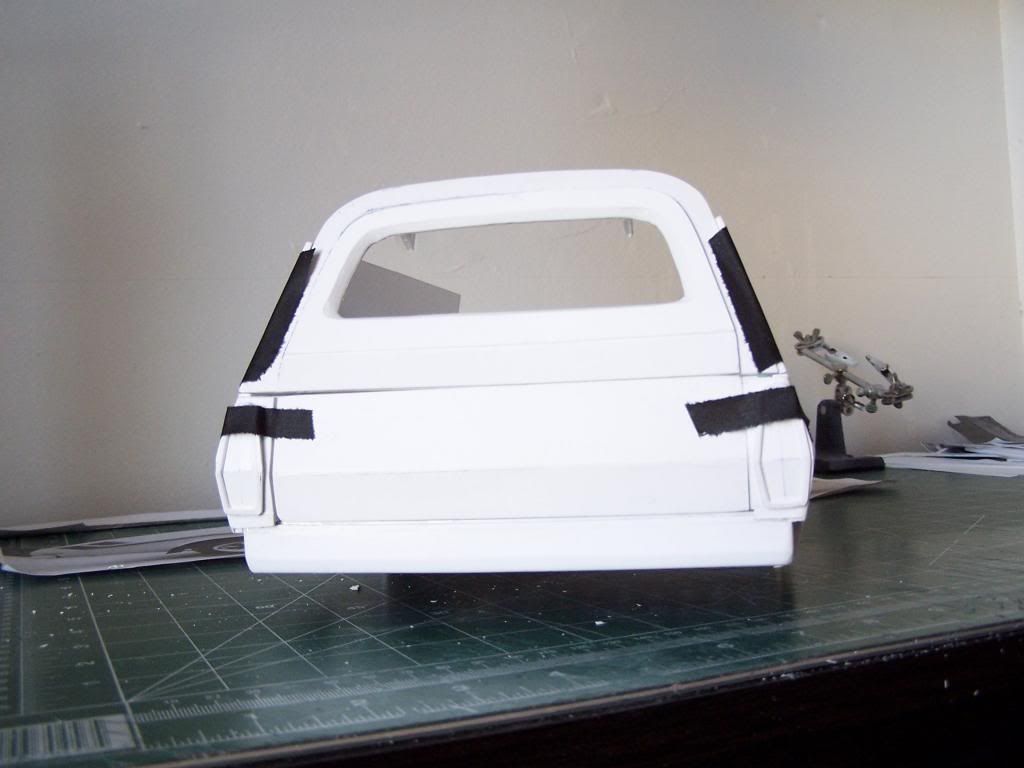
Finally got some time to do some more...I got the rear section for the tray in, tidied up the area just below the tail lights!not 100% accurate and I still need to make the recessed area for the rear license plate as well as make the rear bumpers!
Also did some work on the bottom of the rear fenders.
Still need to install the lower tailgate, I have some small Dubro hinges that I plan to use.
I also started on the the upper tailgate but haven't taken any pics of that as yet...
Should have some more progress tomorrow night.
Finally got some time to do some more...I got the rear section for the tray in, tidied up the area just below the tail lights!not 100% accurate and I still need to make the recessed area for the rear license plate as well as make the rear bumpers!
Also did some work on the bottom of the rear fenders.
Still need to install the lower tailgate, I have some small Dubro hinges that I plan to use.
I also started on the the upper tailgate but haven't taken any pics of that as yet...


Should have some more progress tomorrow night.
04-06-2014, 08:41 PM
#41
Thread Starter
Join Date: Jan 2004
Location: Queens,
NY
Posts: 559
Likes: 0
Received 0 Likes
on
0 Posts
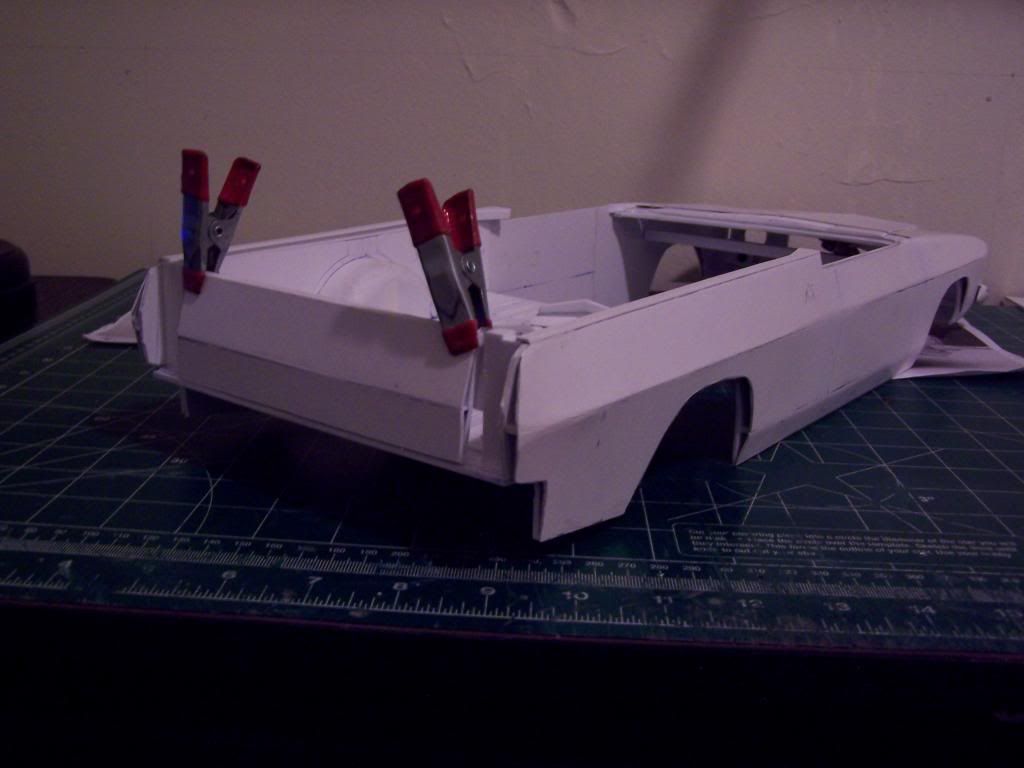
Hey guys...another small :update: Lol!
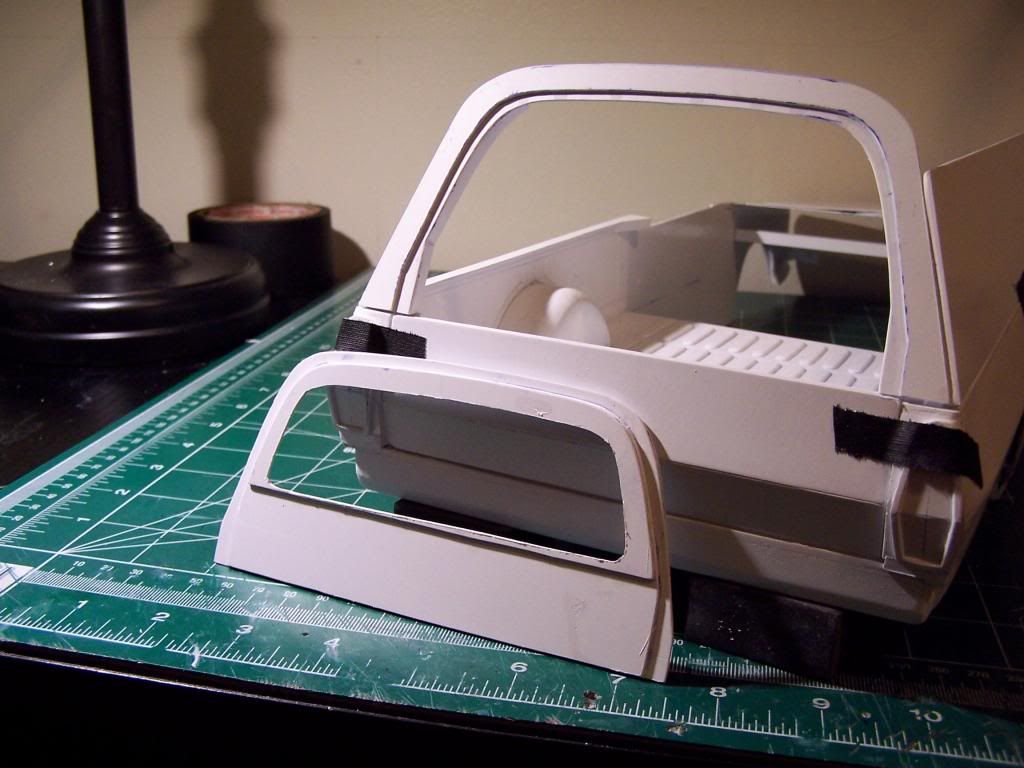
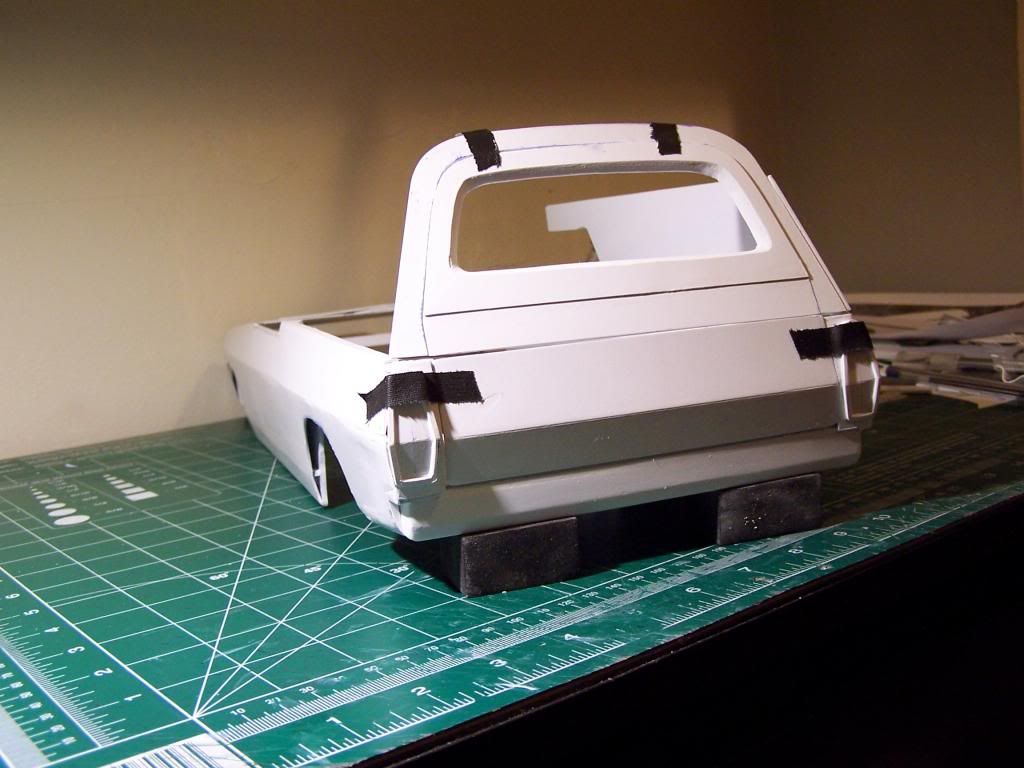
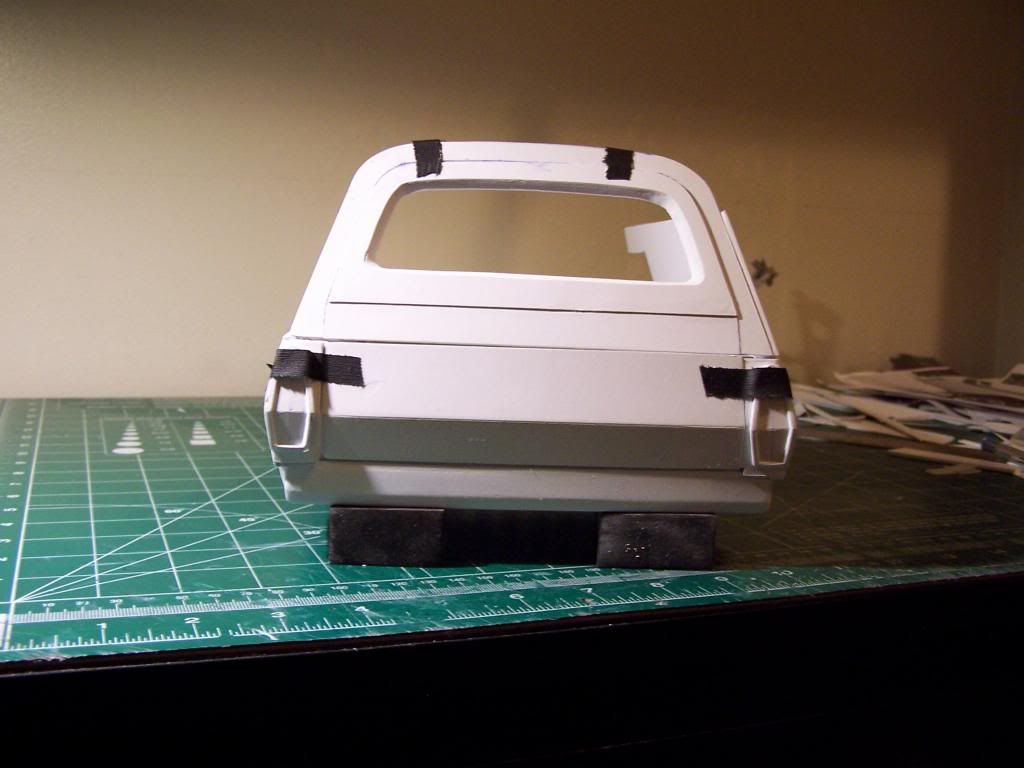
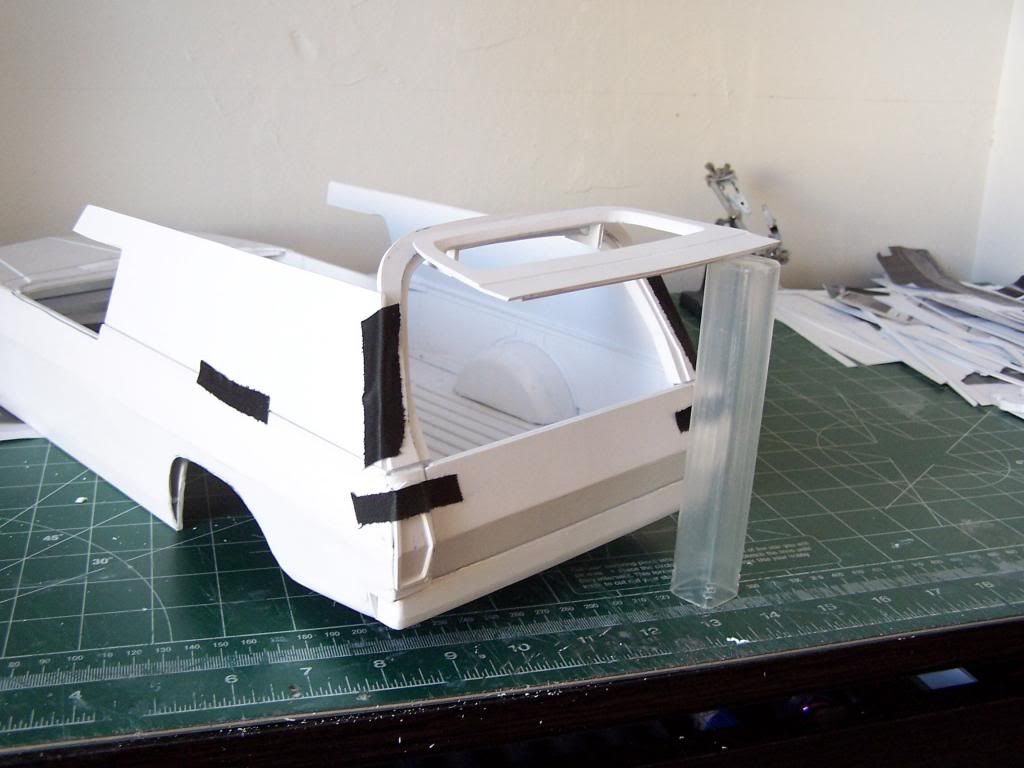
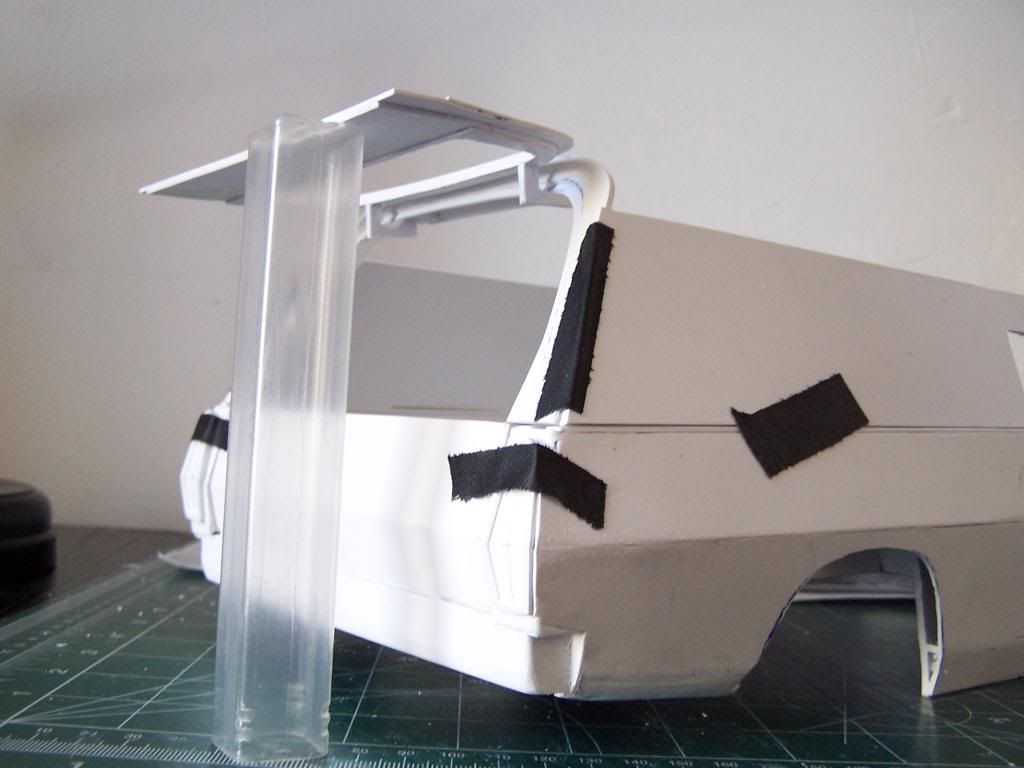
Got some work done on the upper tailgate and surrounding frame. Still trying to work out the hinges...can't seem to find proper pics to use as a pattern. If anyone has pics of various angles of the upper hinges, post them up..lol!
Anywho...some pics... Just mocked up one side panel with the rear tailgates...


 04-20-2014, 06:06 AM
#42
Thread Starter
Join Date: Jan 2004
Location: Queens,
NY
Posts: 559
Likes: 0
Received 0 Likes
on
0 Posts
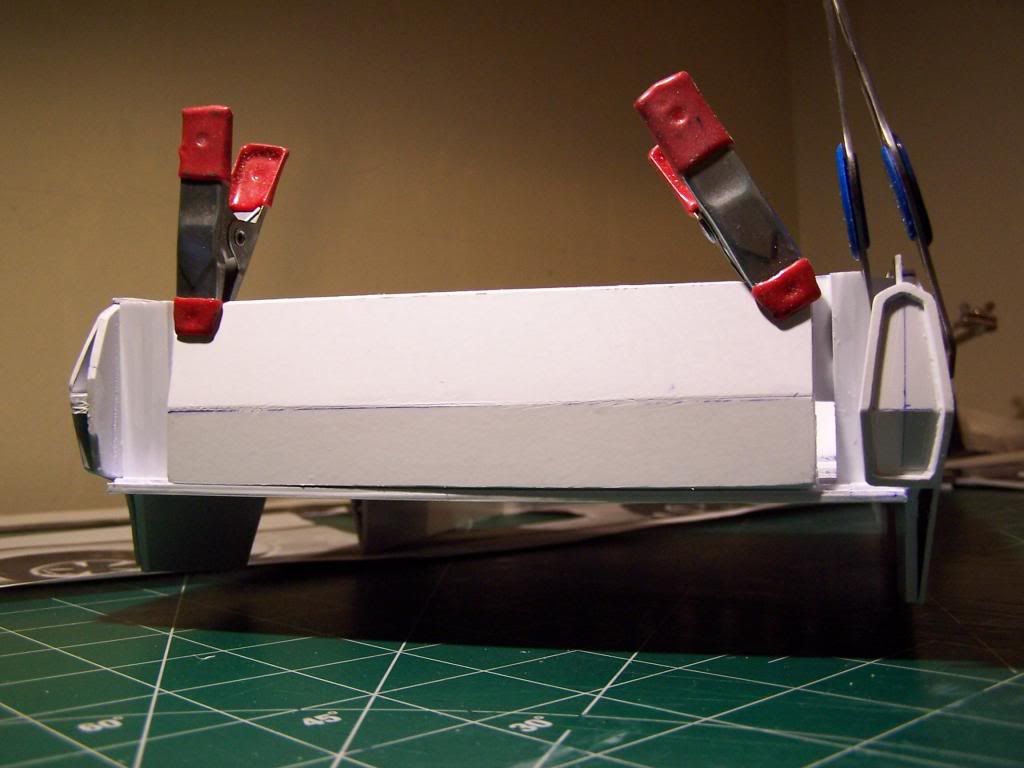
Time for an update! Lol!
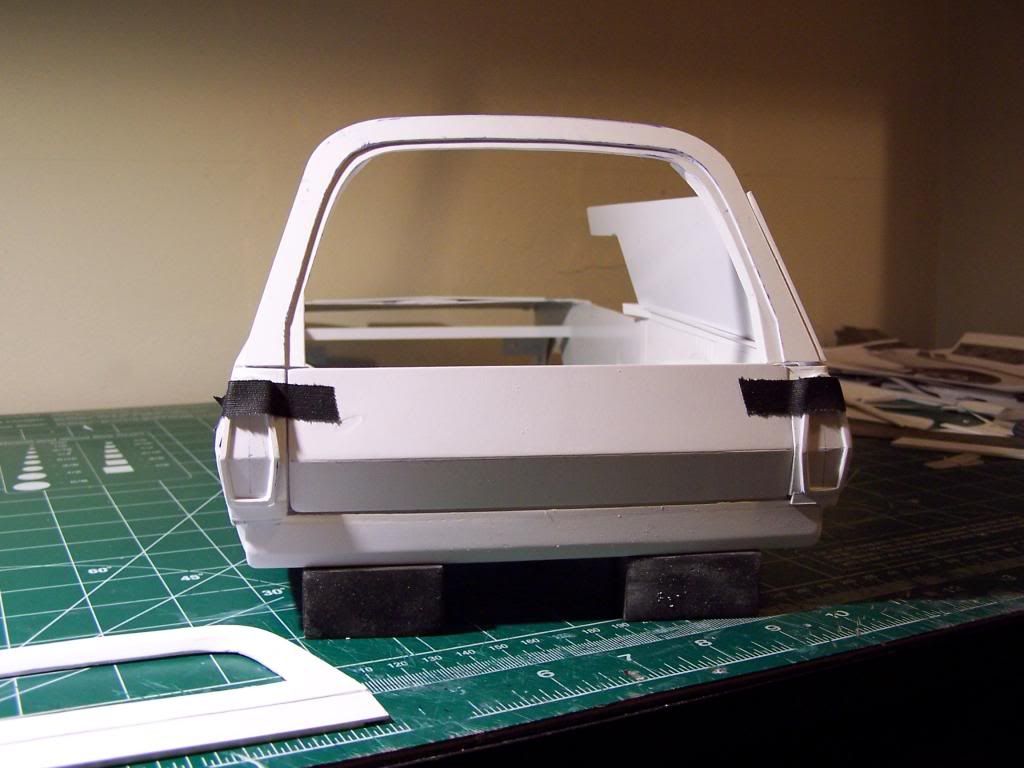
Started on the upper hinges...not scale looking....but a real pain in the azz to get the tailgate to open and close as it should...lol!
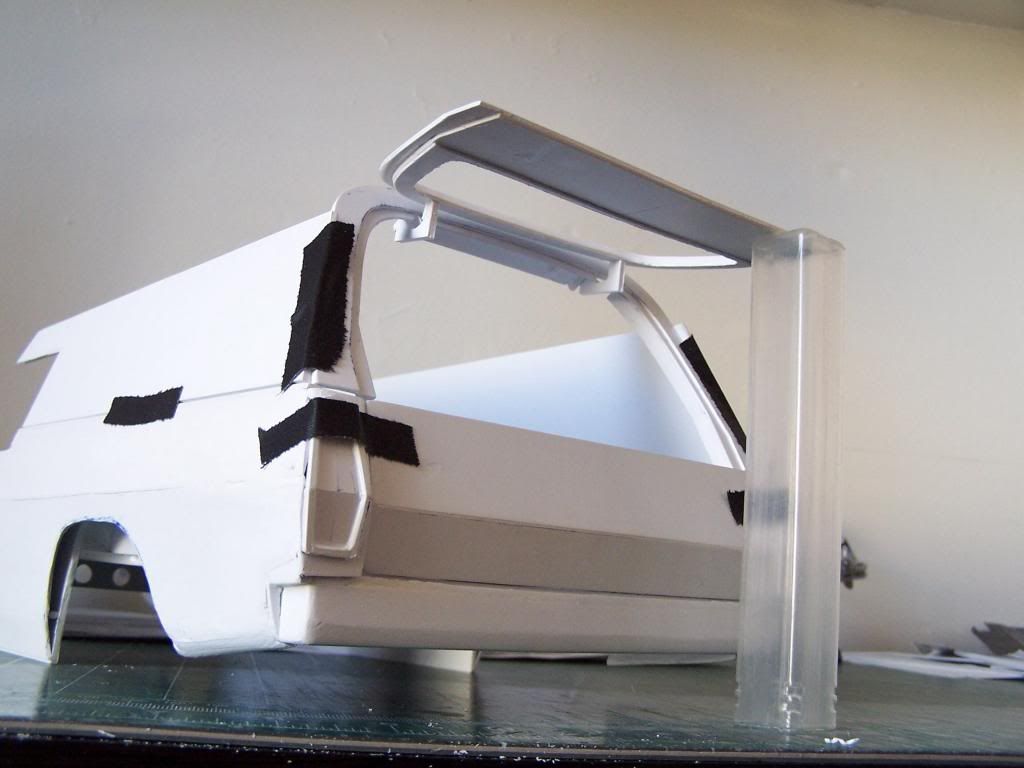
And what it should look like......lol!
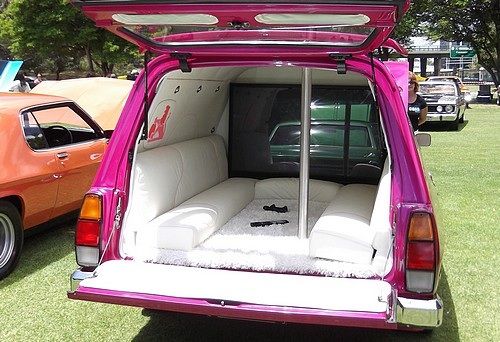
Started on the upper hinges...not scale looking....but a real pain in the azz to get the tailgate to open and close as it should...lol!


And what it should look like......lol!


 04-20-2014, 02:39 PM
#47

Impressive work Preston! It is nice to see the body taking shape and mounted on the chassis.
Do you have some tamiya m-chassis tires handy? Just as a mock up for fun, I would love to see this body sitting on rc4wd 1.55 landies wheels, and the m-chassis tires kind of mount on the landies. IIRC you have those wheels too, right? It would be kind of cool haha you know the old family car look.
Do you have some tamiya m-chassis tires handy? Just as a mock up for fun, I would love to see this body sitting on rc4wd 1.55 landies wheels, and the m-chassis tires kind of mount on the landies. IIRC you have those wheels too, right? It would be kind of cool haha you know the old family car look.
04-20-2014, 03:46 PM
#48
Thread Starter
Join Date: Jan 2004
Location: Queens,
NY
Posts: 559
Likes: 0
Received 0 Likes
on
0 Posts
Actually I have been thinking about that as well...lol! Mounting it on an on-road chassis.... I have a HPI super nitro rolling chassis and the wheel base is almost the same as the body. However since I installed the rear tray, it won't sit on that chassis, so been meaning to strip it down( remove the shock tower, center diff etc so I can do a mock up, but just haven't had the time...lol!
but will definitely try it over the next few days...
but will definitely try it over the next few days...
04-20-2014, 06:02 PM
#49
Just to see what it looks like, you could put the wheels and tires sitting by themselves with no chassis, and shim the body with anything to make it sit just high enough to have a car's ride height and see what it could look like! 
kind of like this

kind of like this
04-20-2014, 09:27 PM
#50
Thread Starter
Join Date: Jan 2004
Location: Queens,
NY
Posts: 559
Likes: 0
Received 0 Likes
on
0 Posts
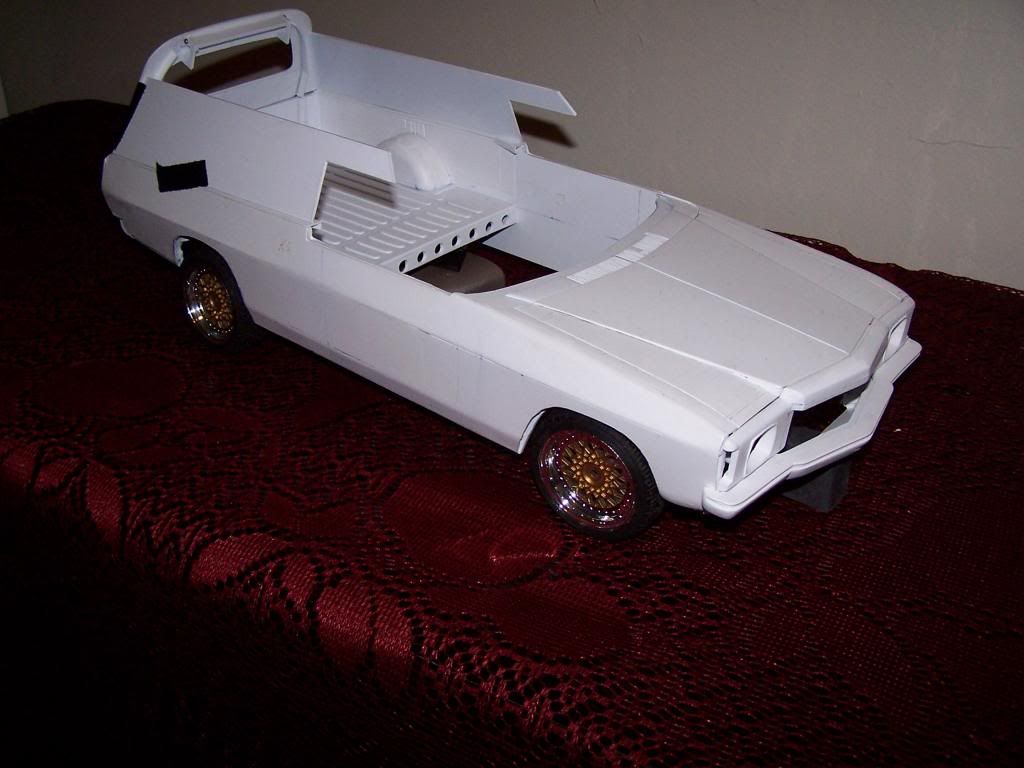
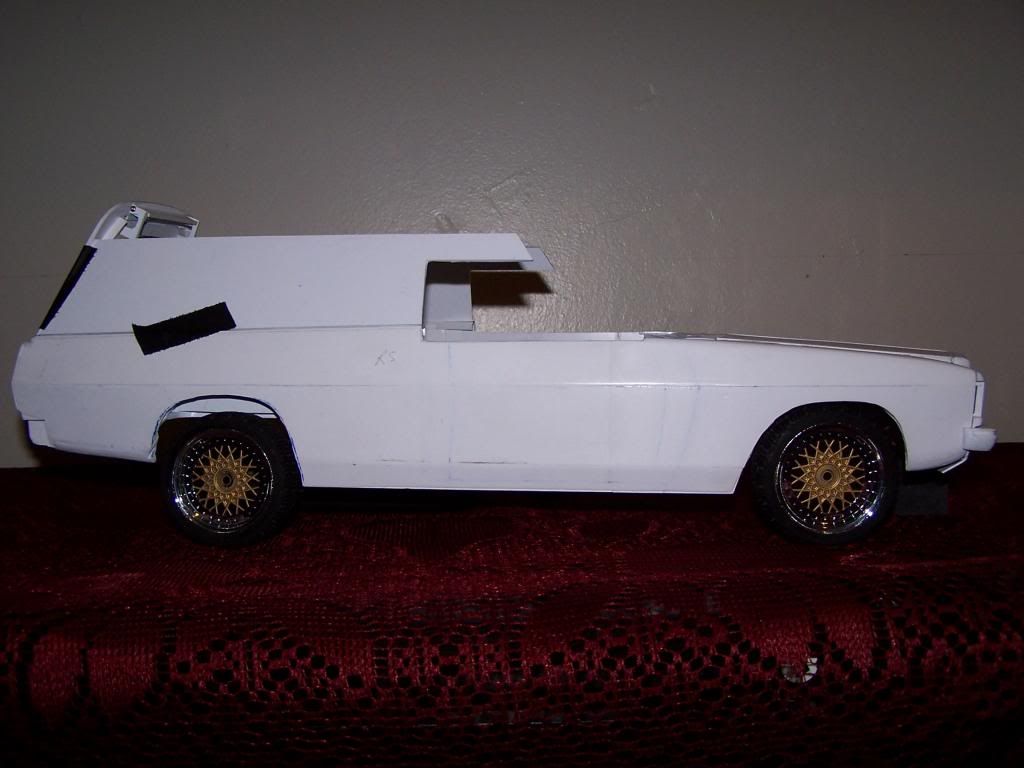
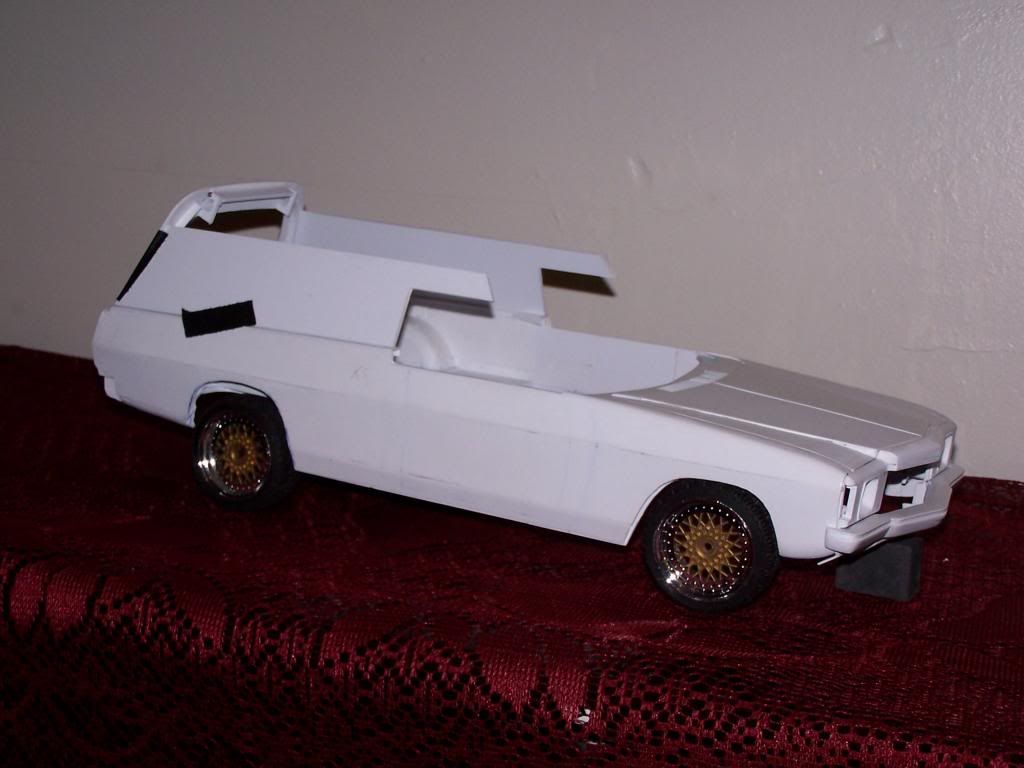
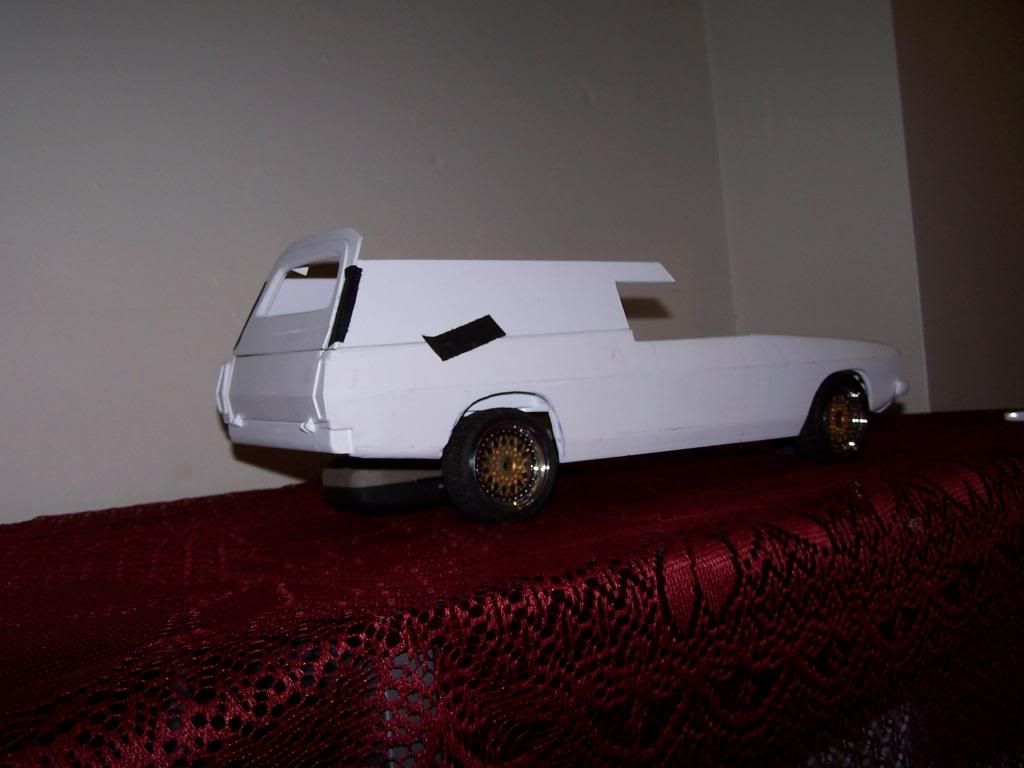
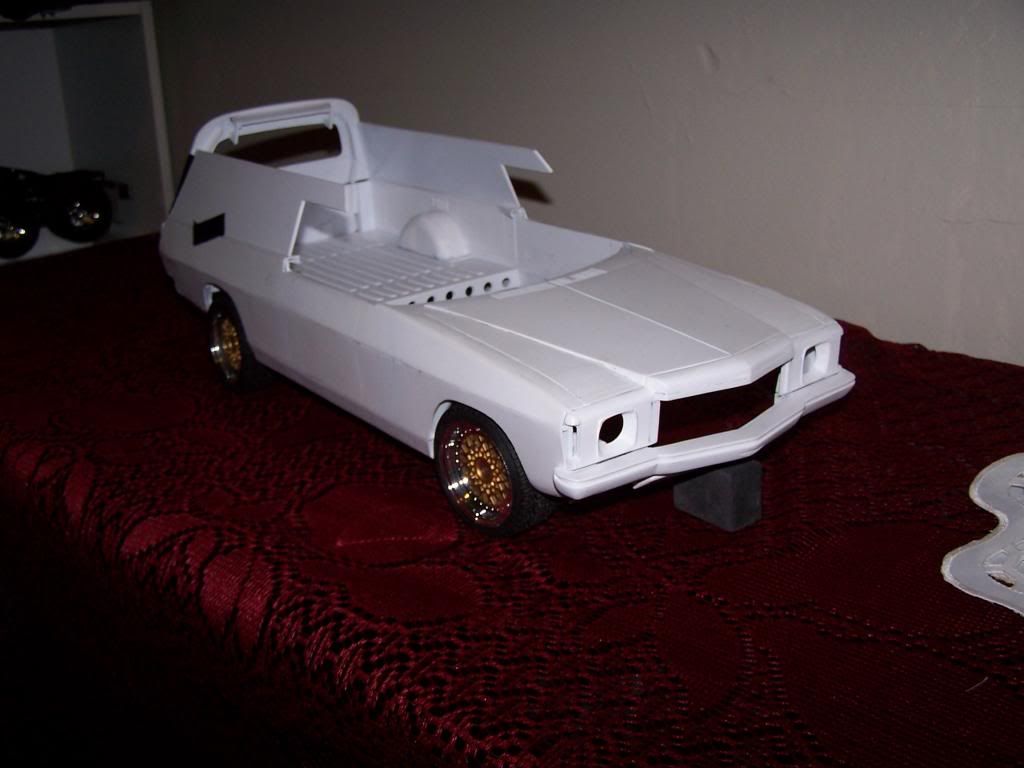
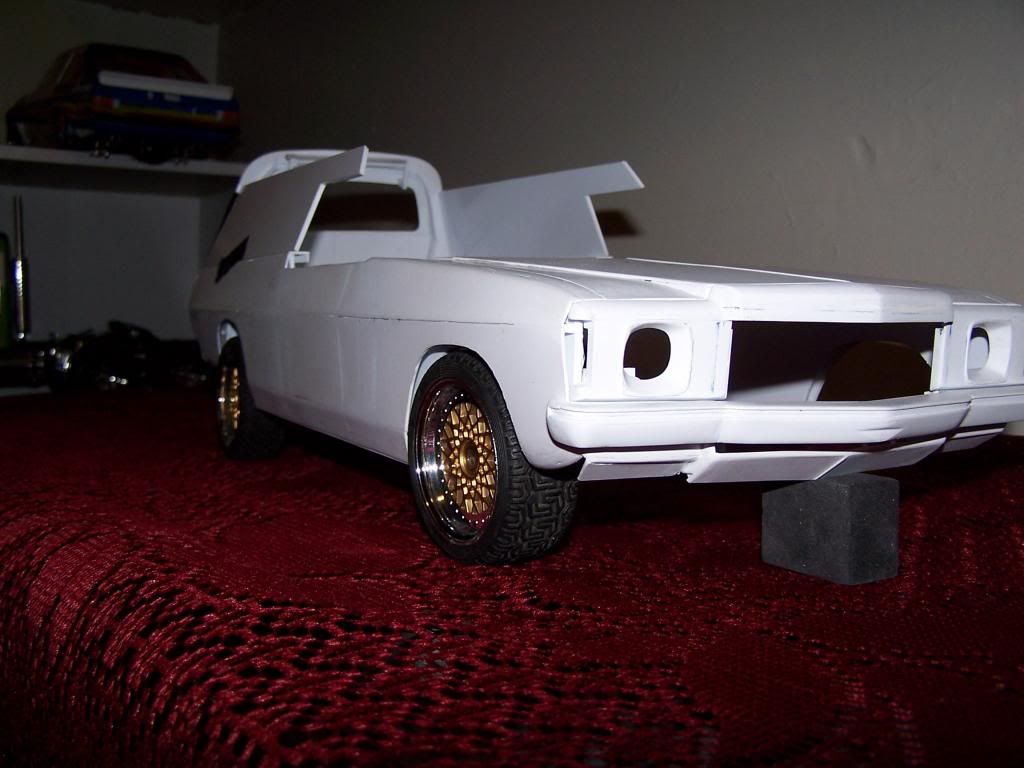
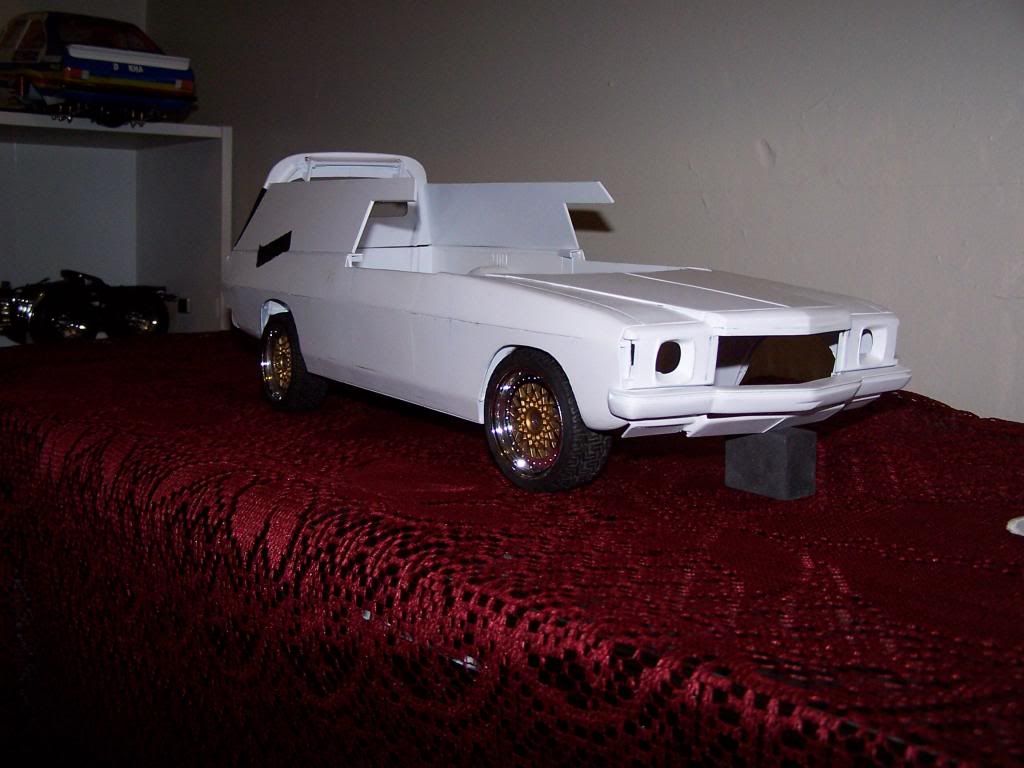
Thought I still had the M chassis tires and wheels, but no longer have them.....haven't got any Landys either...so...next best thing...lol! I robbed the escort of it rear tires...lol! Watcha think?