


UNOFFICAL Tamiya Blackfoot Thread
 06-08-2010, 03:21 PM
#651
Member
Join Date: Jan 2008
Location: , CT
Posts: 58
Likes: 0
Received 0 Likes
on
0 Posts
ORIGINAL: Stampede Killer
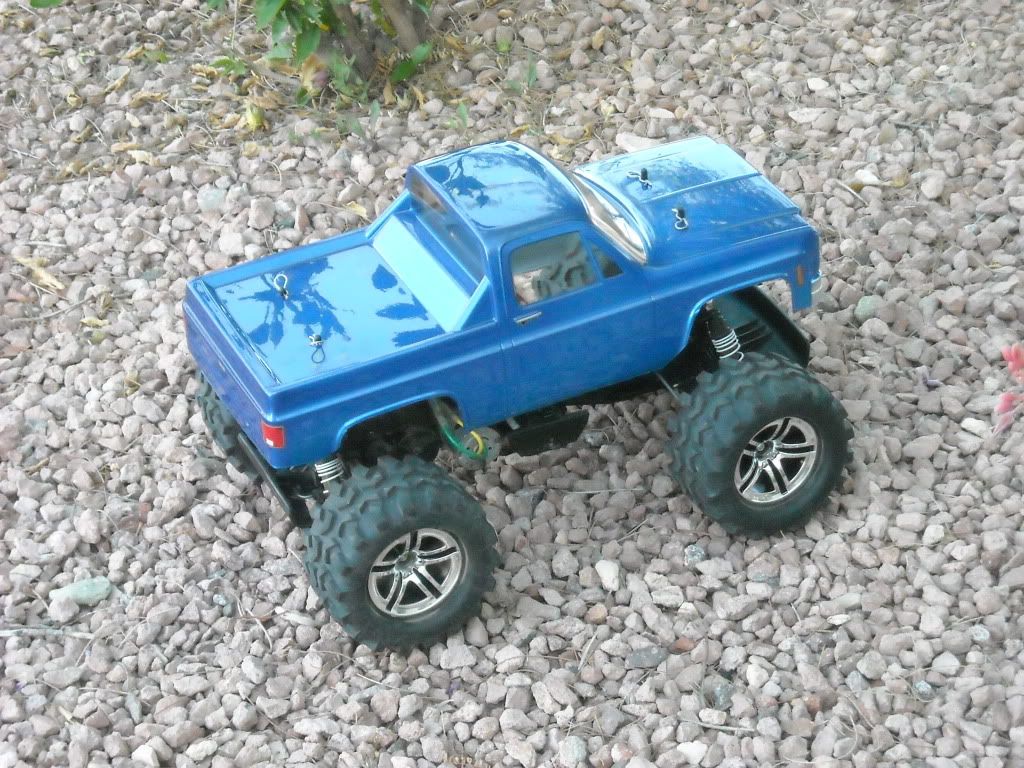
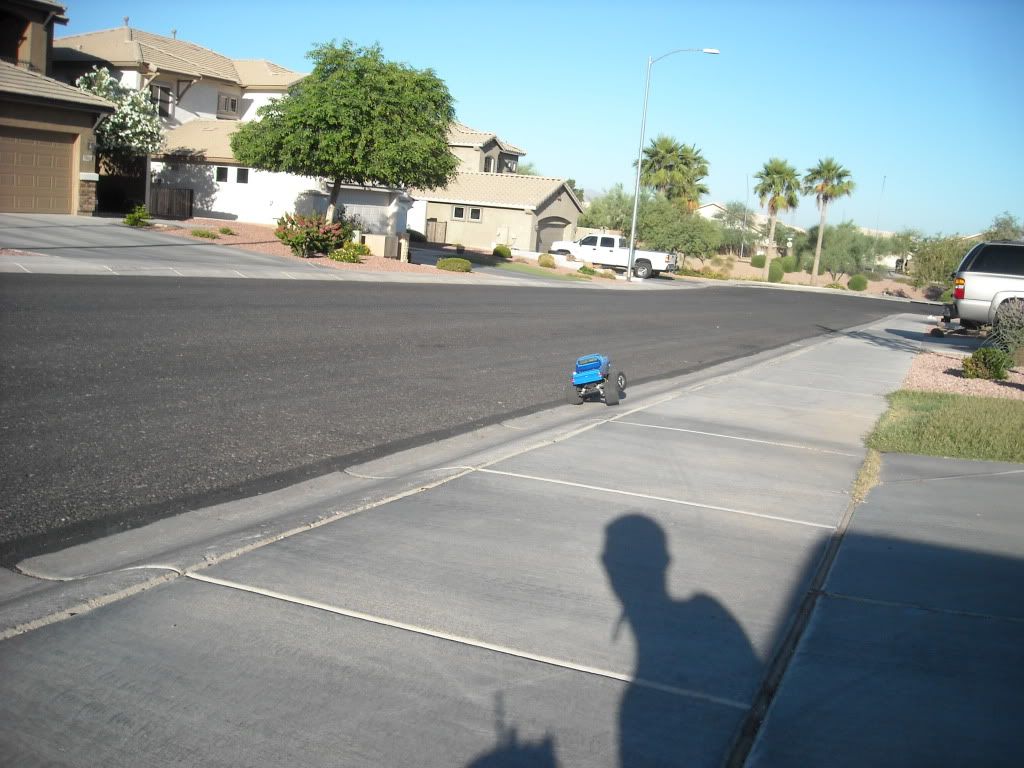
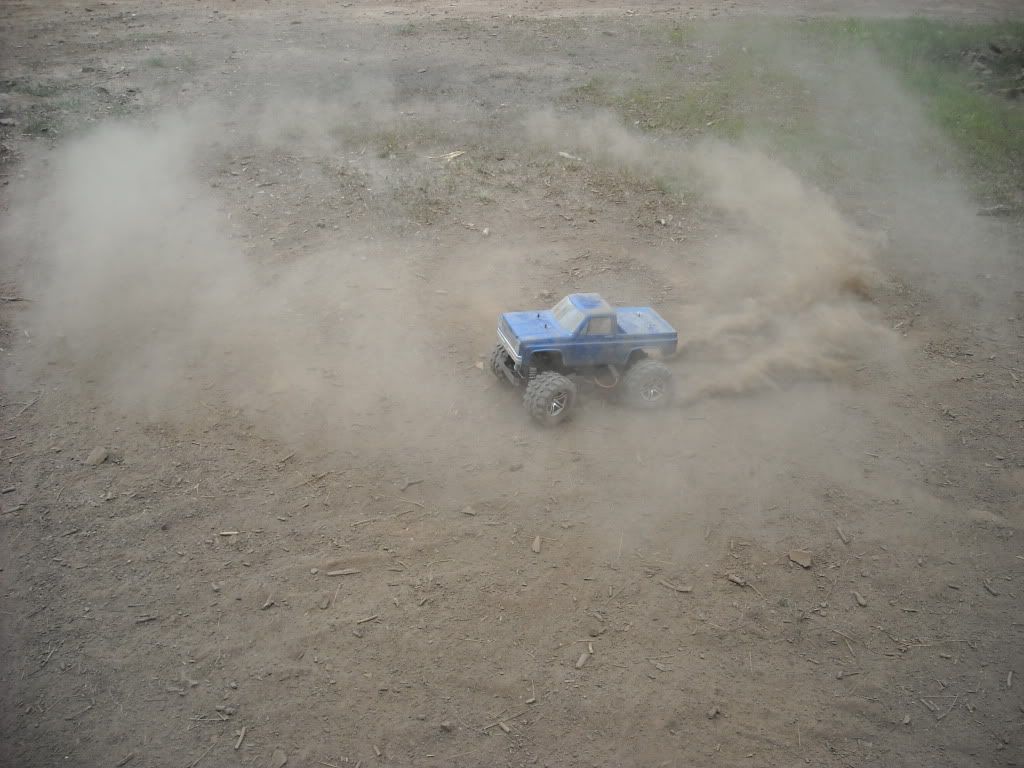
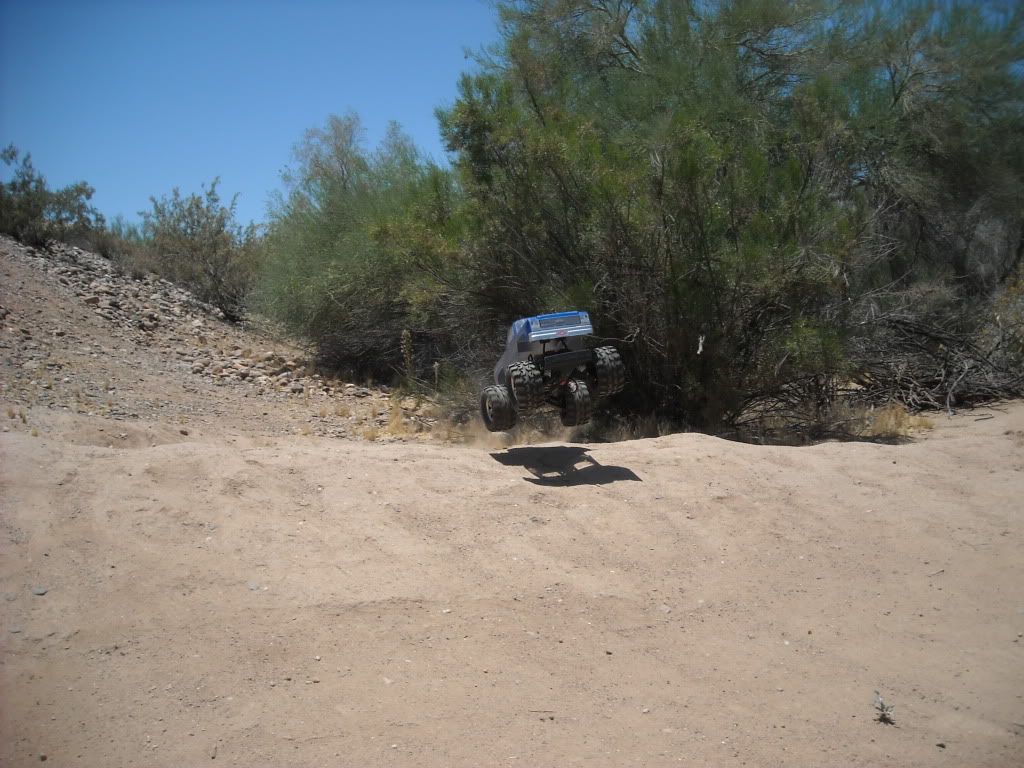
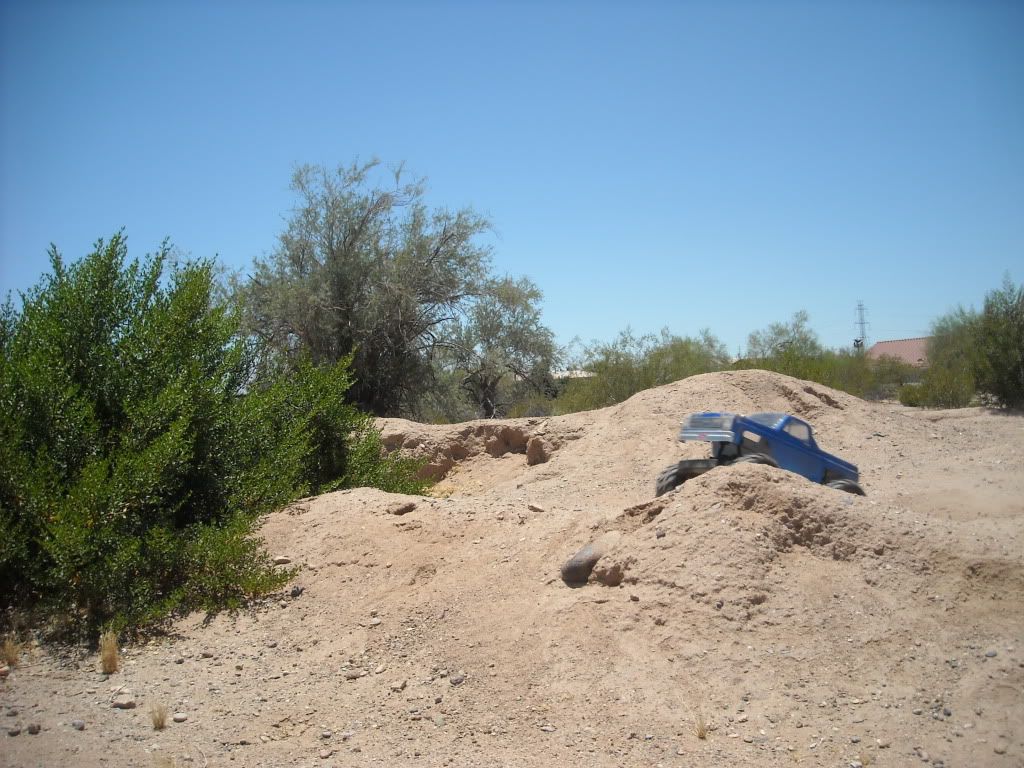
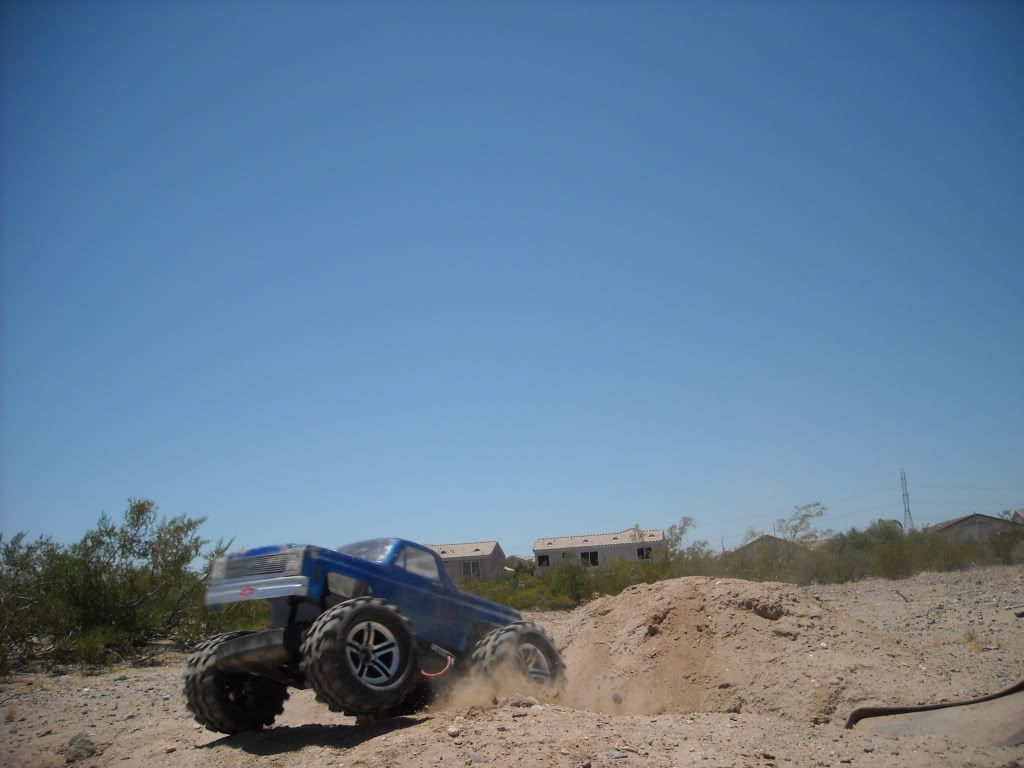
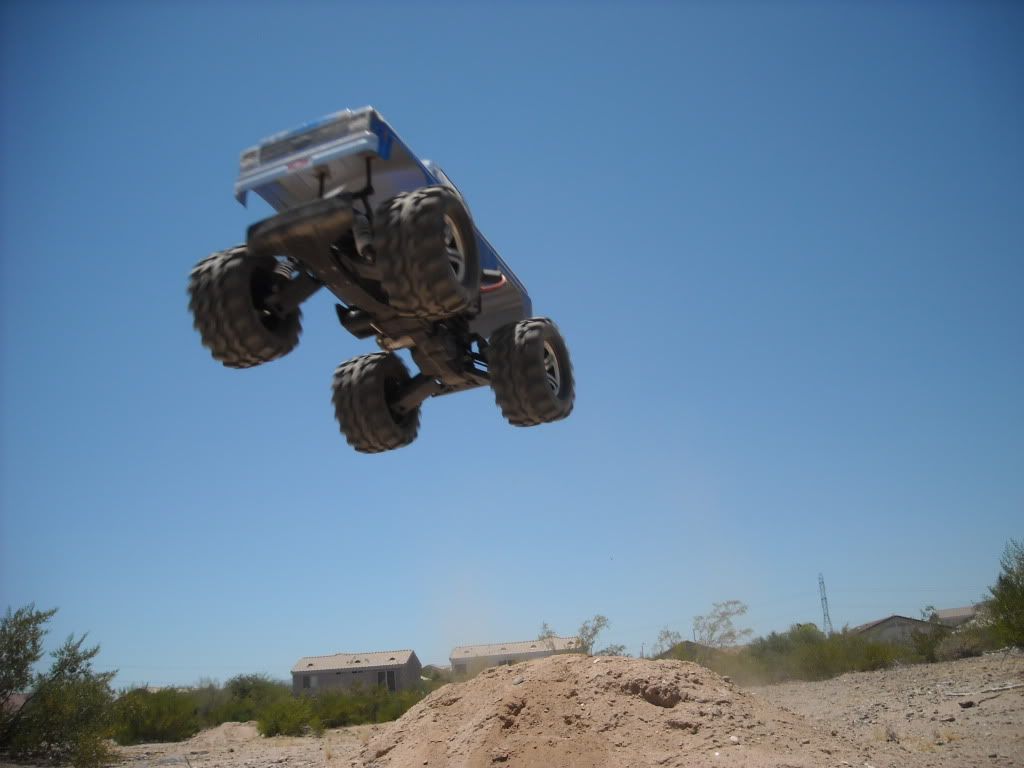
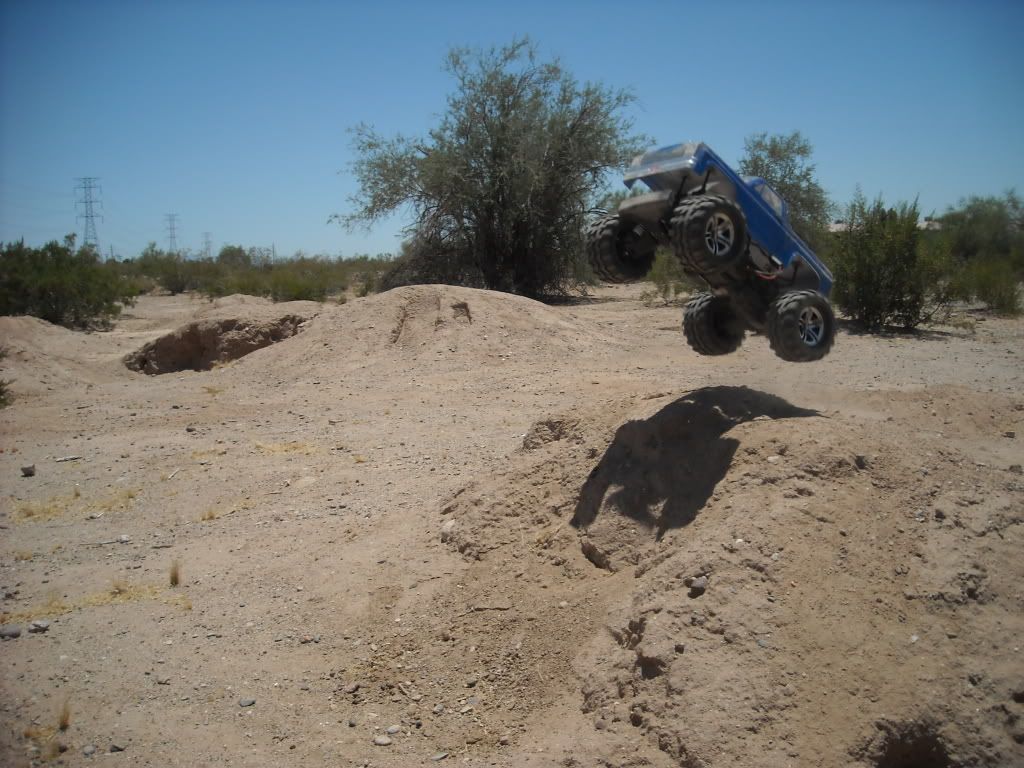
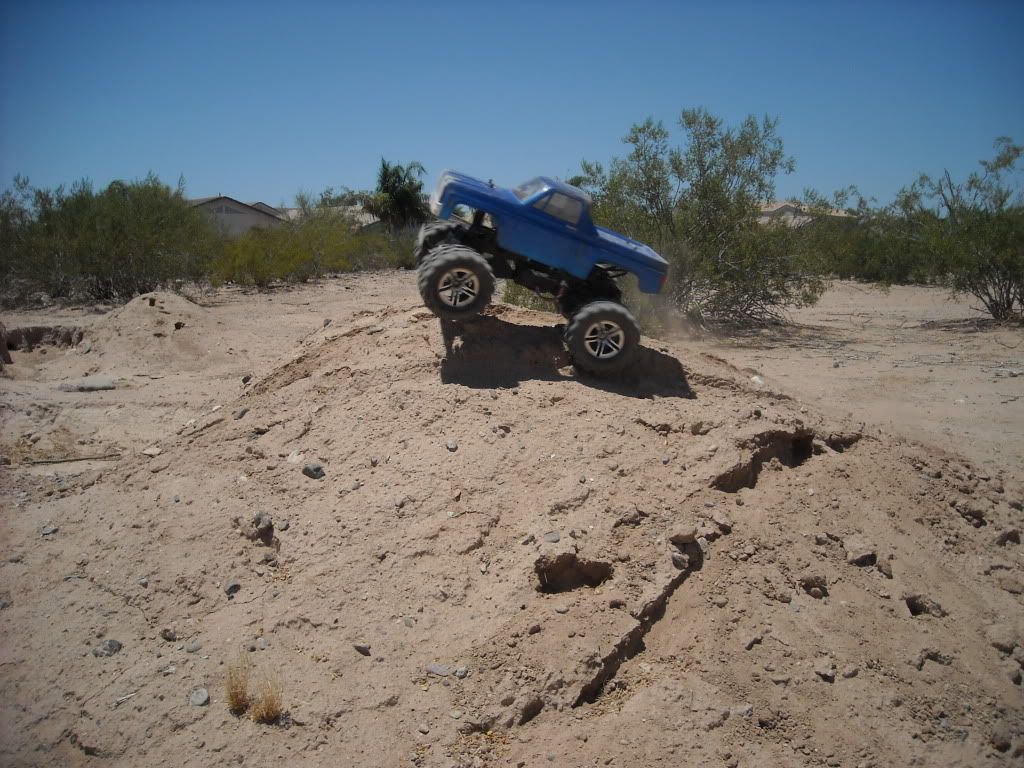
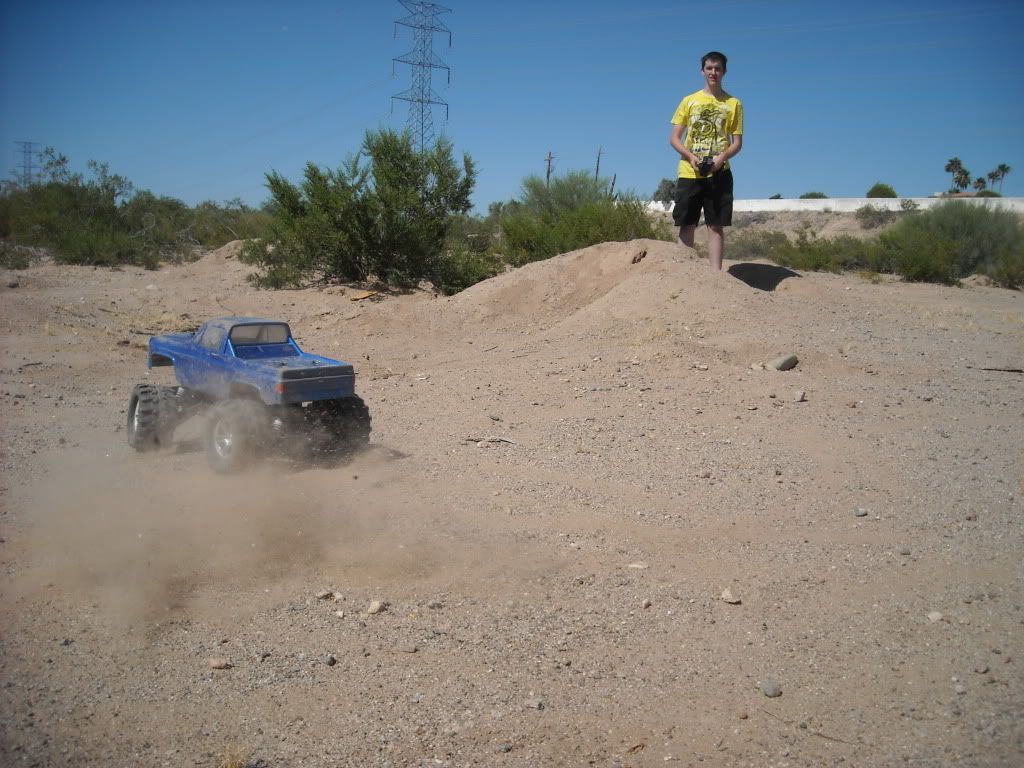
here it is, it is done
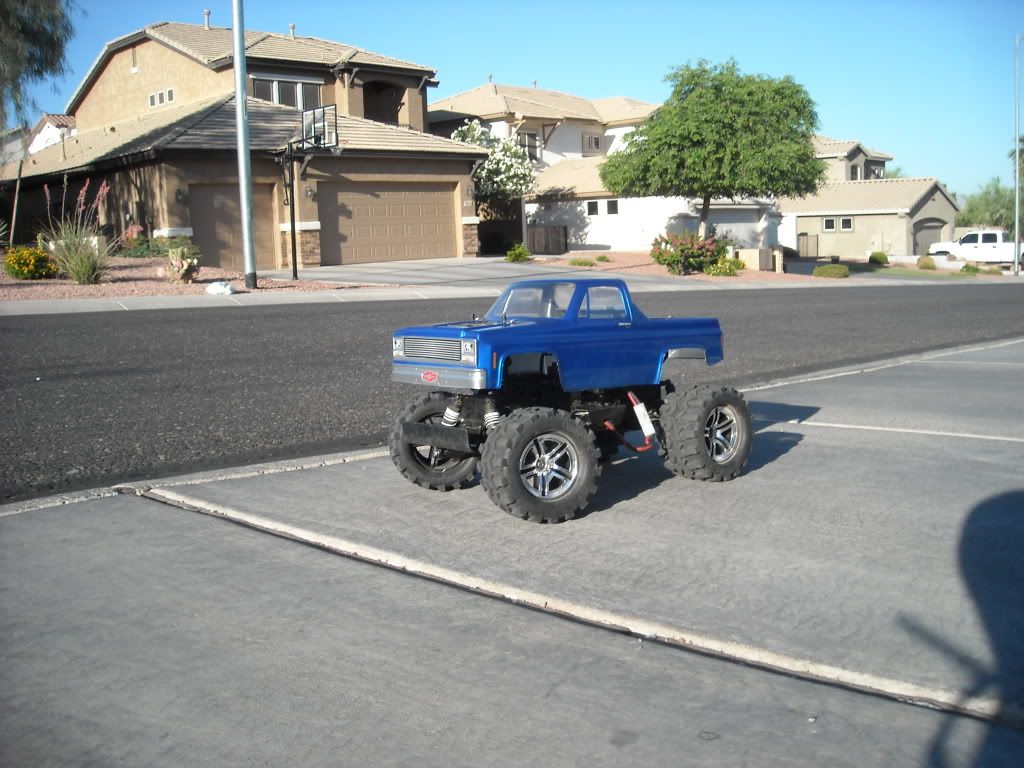
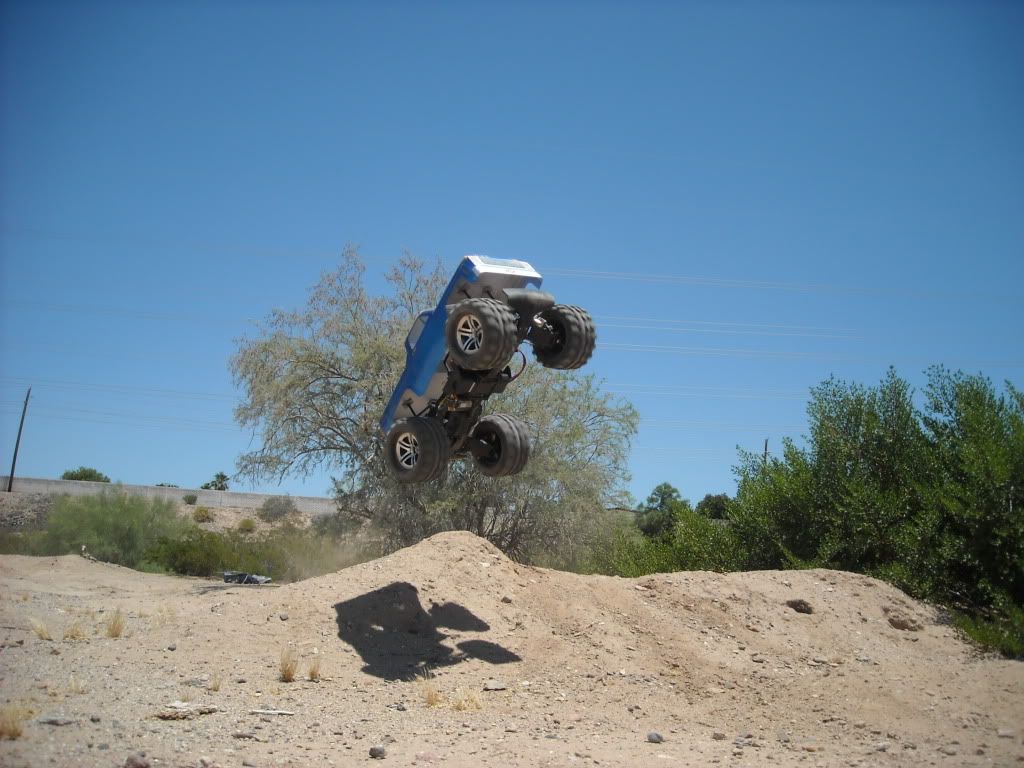
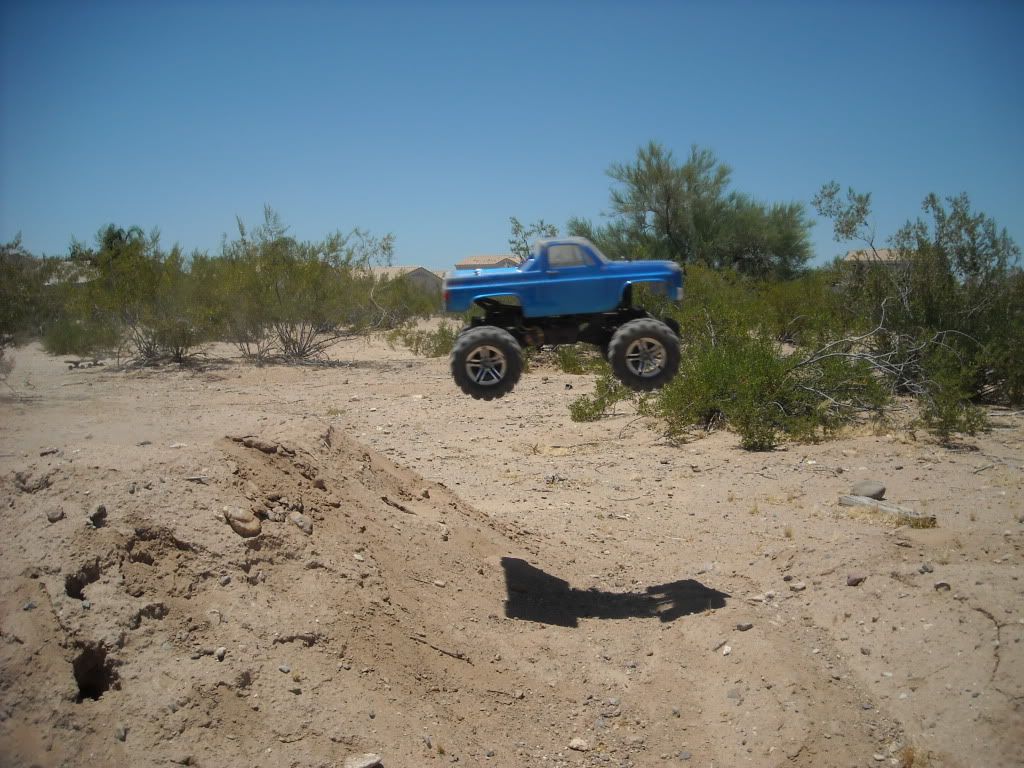
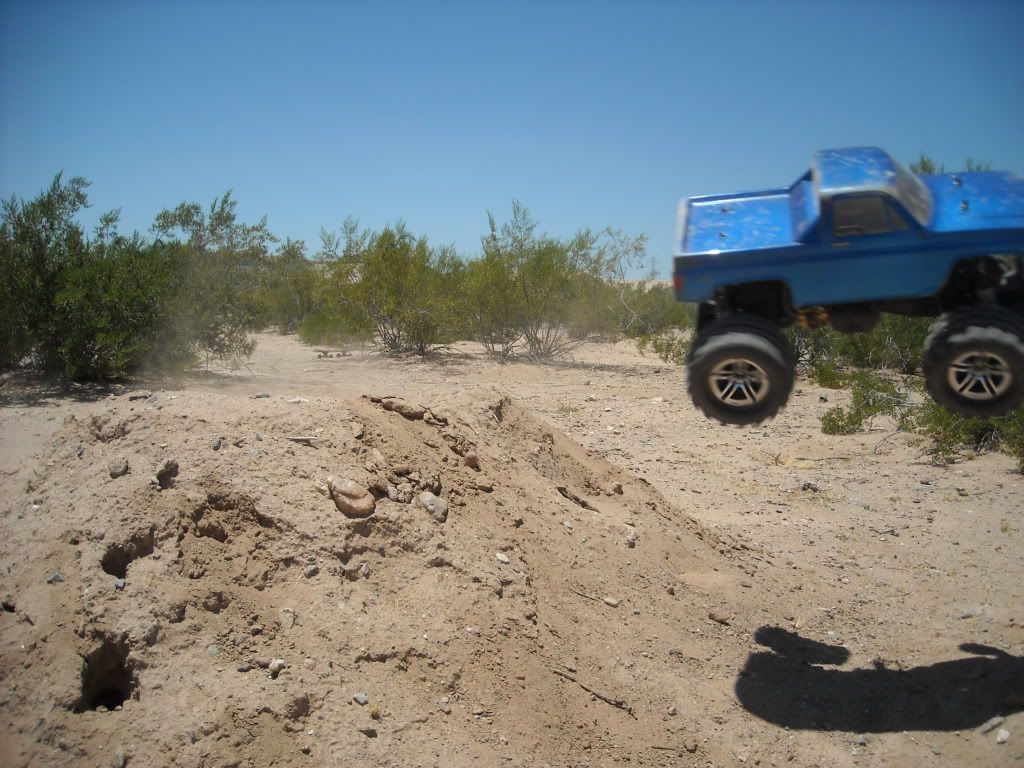
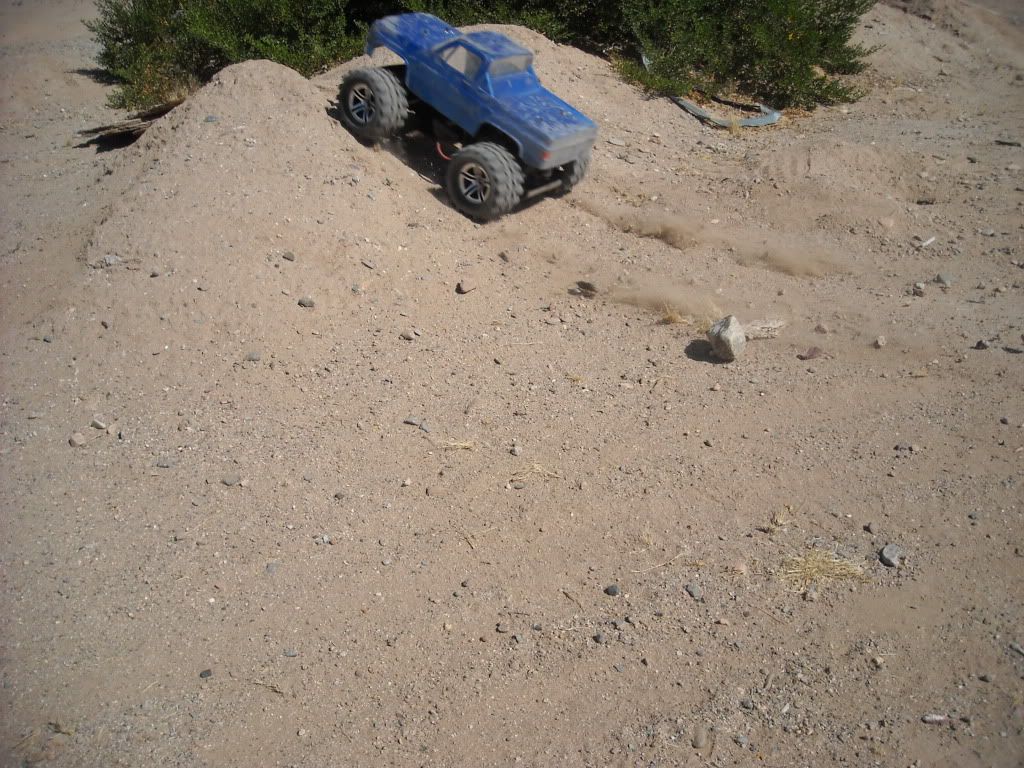
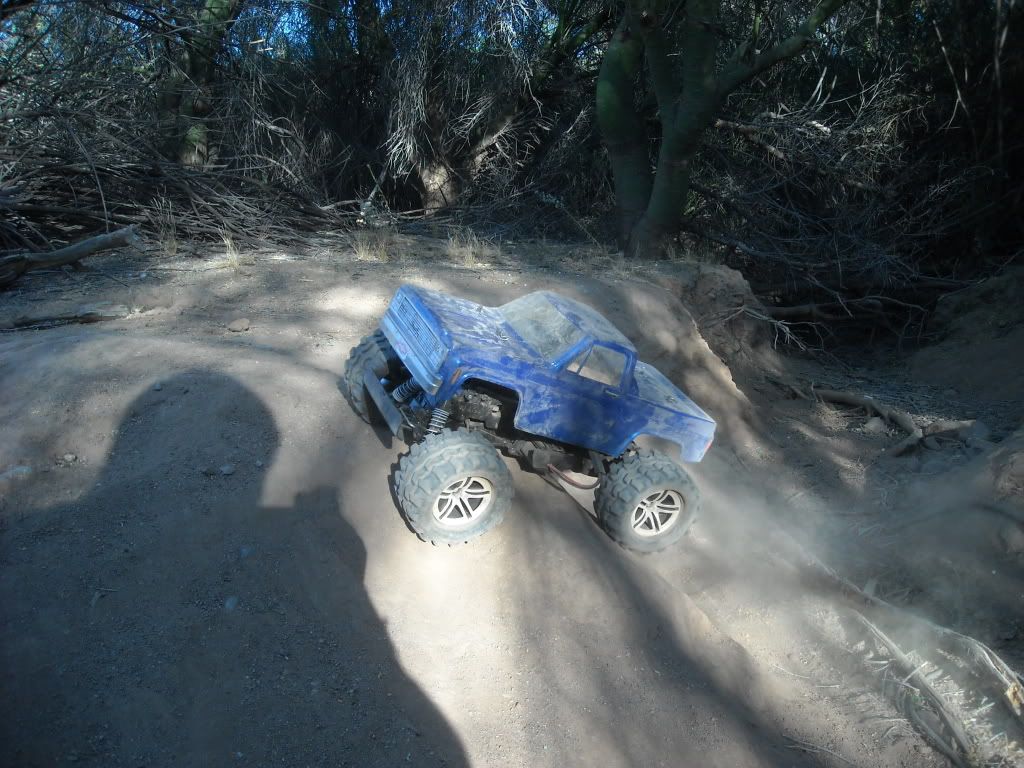
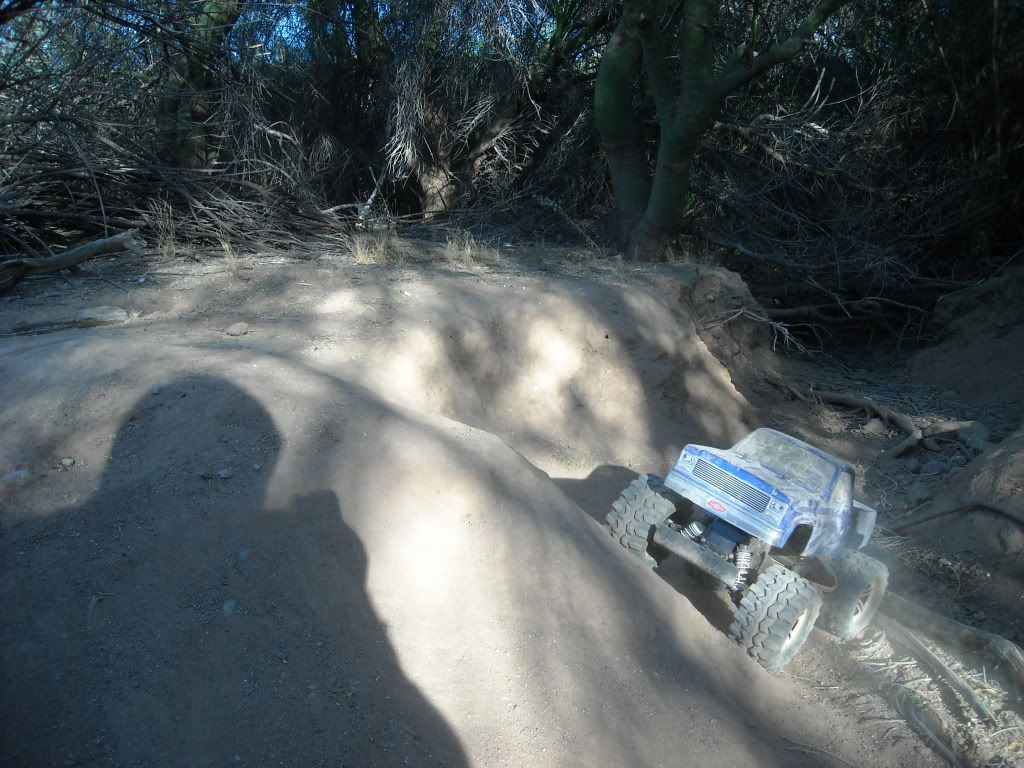
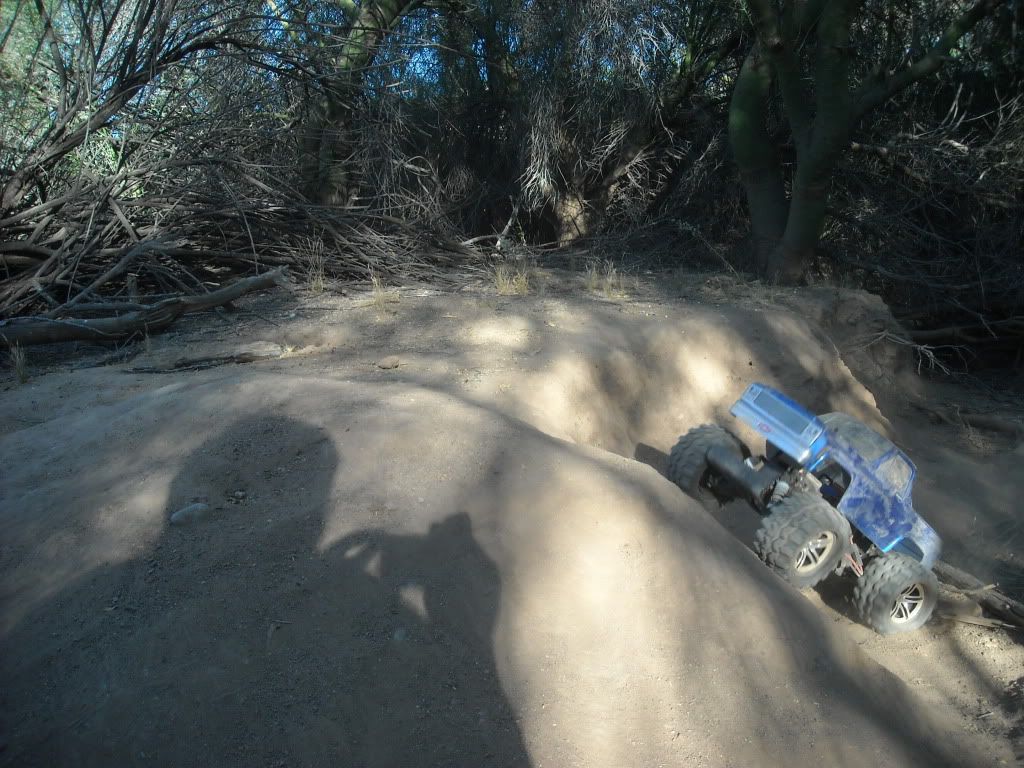
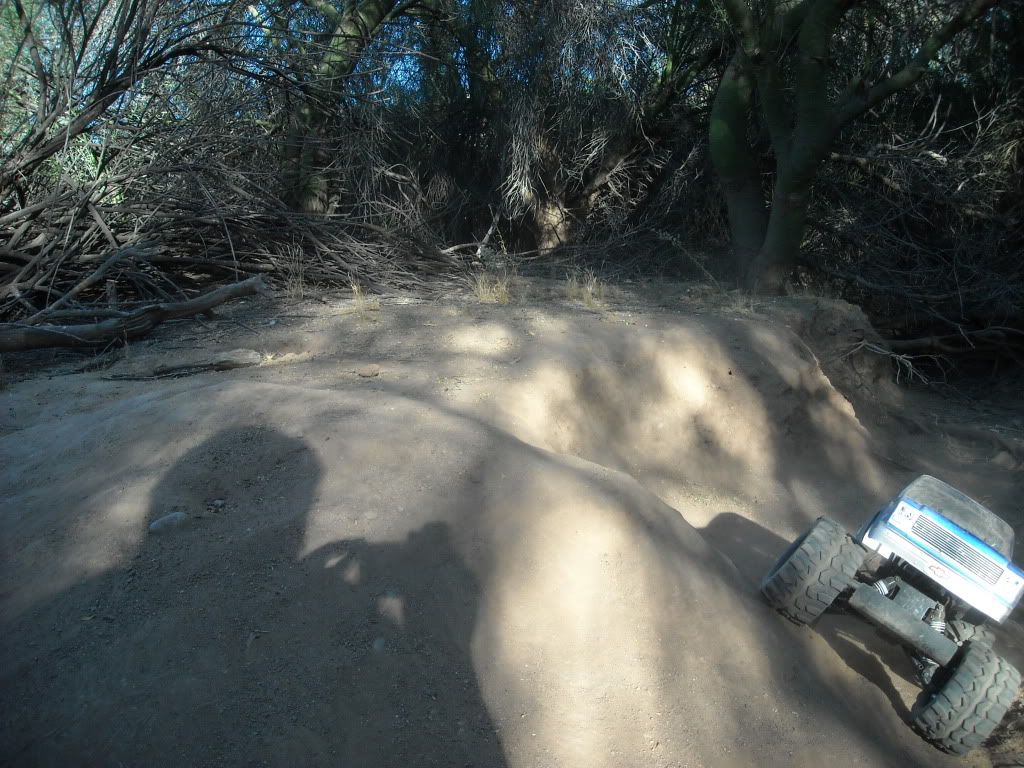
and some action pics
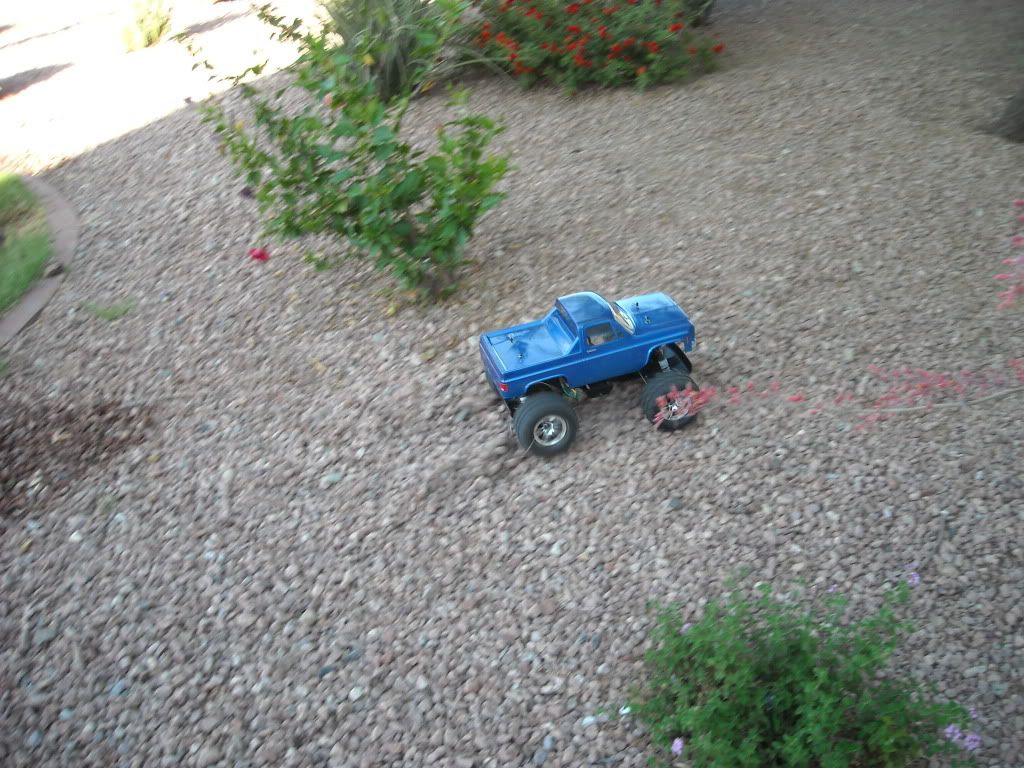
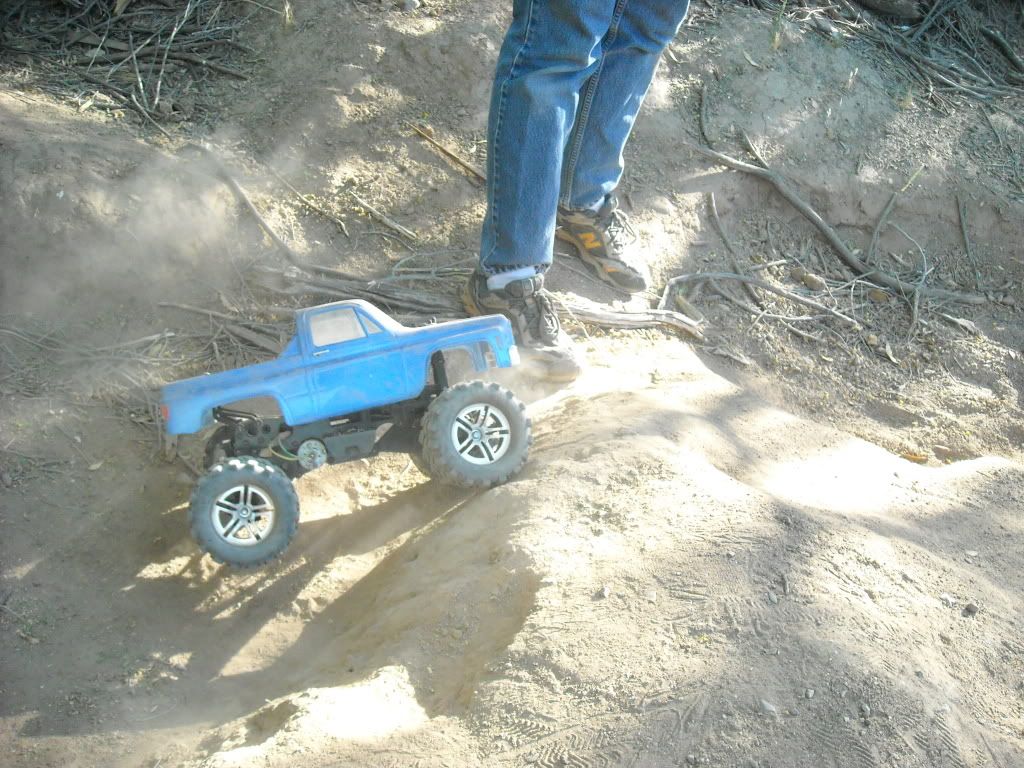
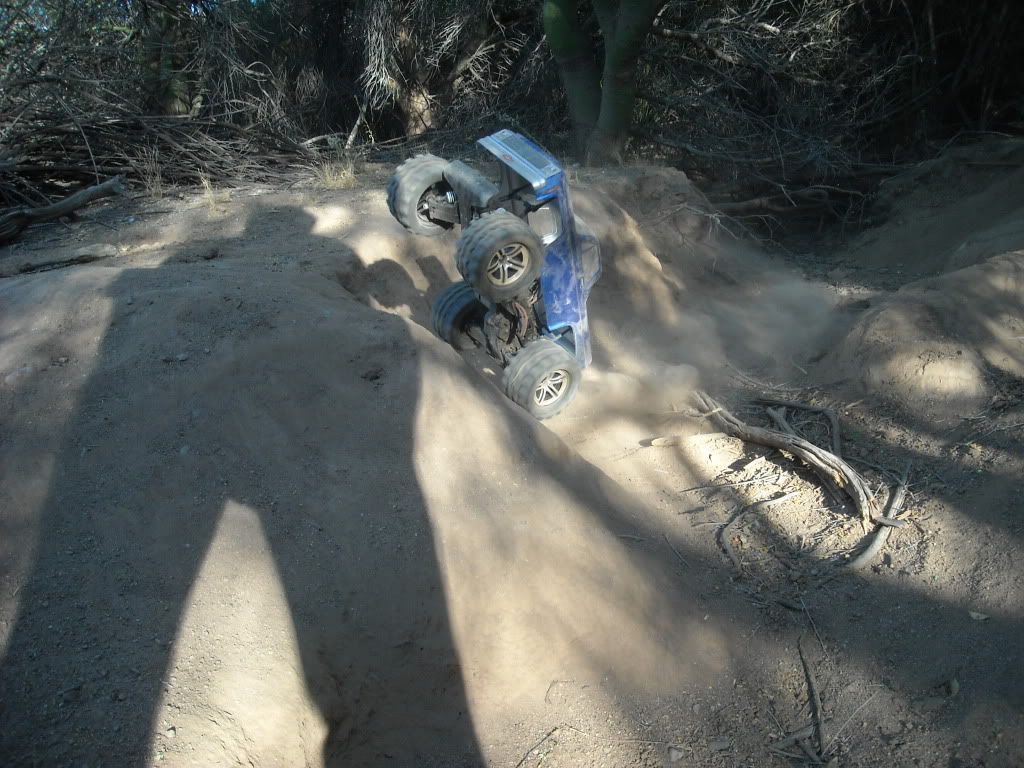
hard take off
if you look closely, you can see the front wheel is off the ground
here it is, it is done
and some action pics
hard take off
if you look closely, you can see the front wheel is off the ground
man that came out nice.looks awesome

 06-09-2010, 02:08 PM
#654
Senior Member

Join Date: Sep 2007
Location: Peoria,
AZ
Posts: 5,052
Likes: 0
Received 0 Likes
on
0 Posts
short video, i think when i get the new motor, i will be able to clear it.
idk why the video is in black and white
http://www.youtube.com/watch?v=zb6_vtvARVA
idk why the video is in black and white
http://www.youtube.com/watch?v=zb6_vtvARVA
06-10-2010, 06:21 PM
#655
Senior Member
Join Date: Sep 2007
Location: Peoria,
AZ
Posts: 5,052
Likes: 0
Received 0 Likes
on
0 Posts
second video, it was taken on a cell phone, so not the greatest
http://www.youtube.com/watch?v=SpcW0HMwH3g
http://www.youtube.com/watch?v=SpcW0HMwH3g
06-10-2010, 08:26 PM
#656
Senior Member
Join Date: Sep 2007
Location: Peoria,
AZ
Posts: 5,052
Likes: 0
Received 0 Likes
on
0 Posts
Just got the new motor in and all i can say is WOW! what a boost of speed, it is faster then a stampede xl5
this is it
http://www3.towerhobbies.com/cgi-bin/wti0001p?&I=LXMUN9
this is it
http://www3.towerhobbies.com/cgi-bin/wti0001p?&I=LXMUN9
06-12-2010, 01:44 PM
#657
Senior Member
Join Date: Sep 2007
Location: Peoria,
AZ
Posts: 5,052
Likes: 0
Received 0 Likes
on
0 Posts
new motor (didn't realize the mantenence on brushed motors, i will be going brushless soon)

comparison with my dads baja
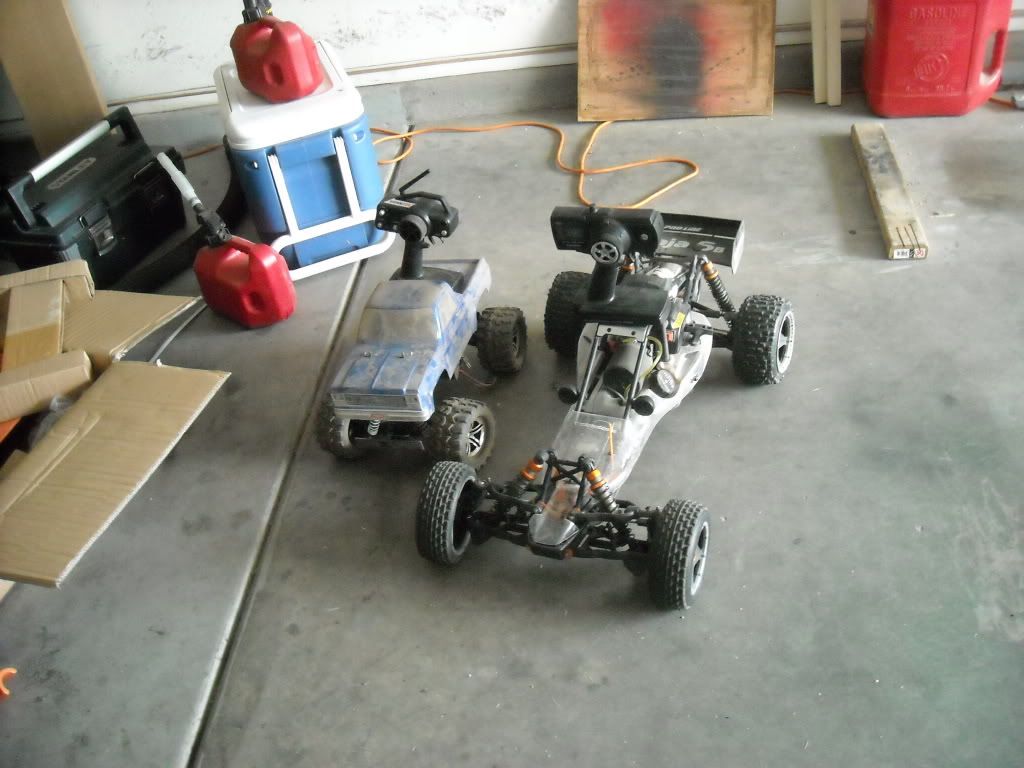
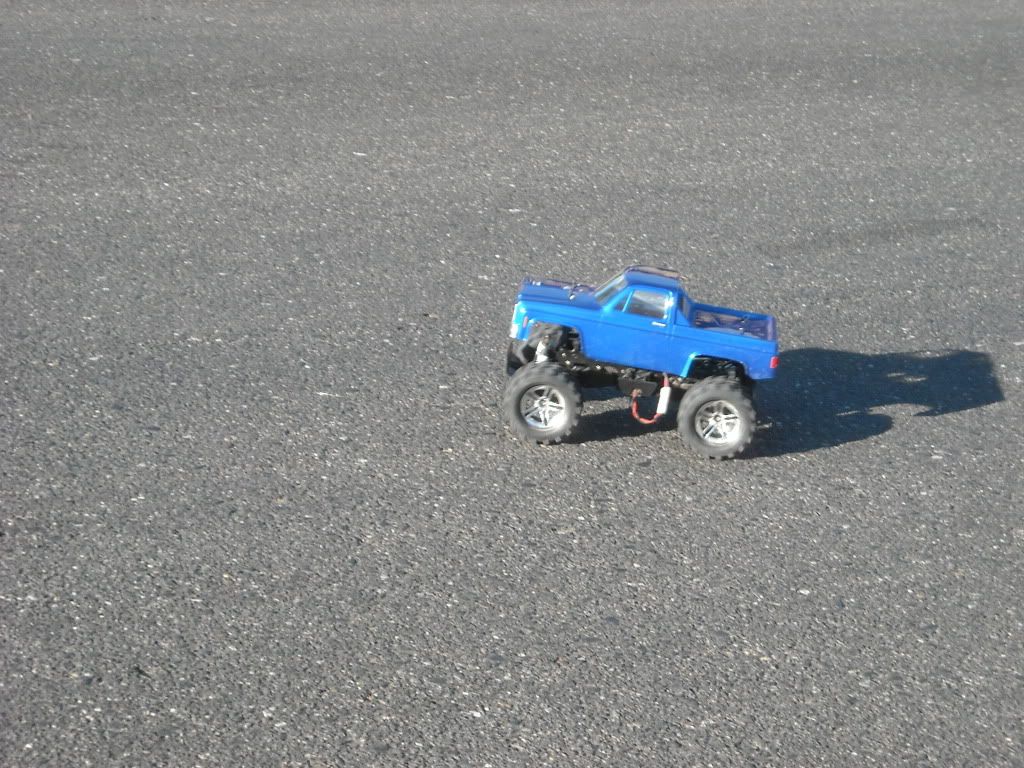
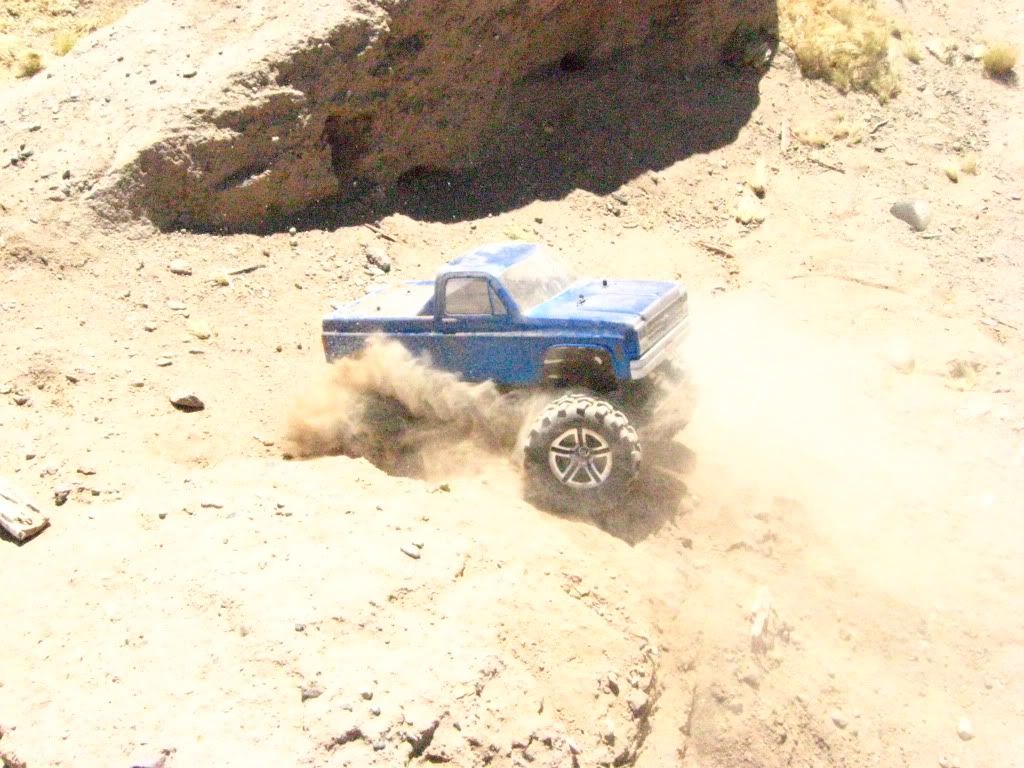
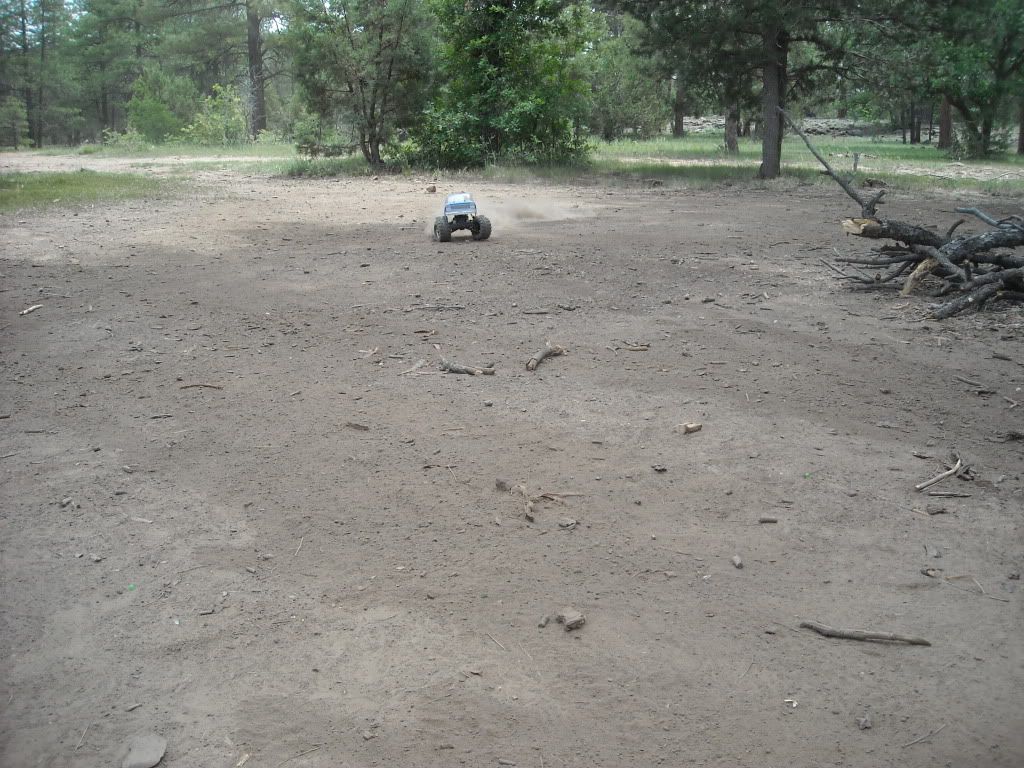
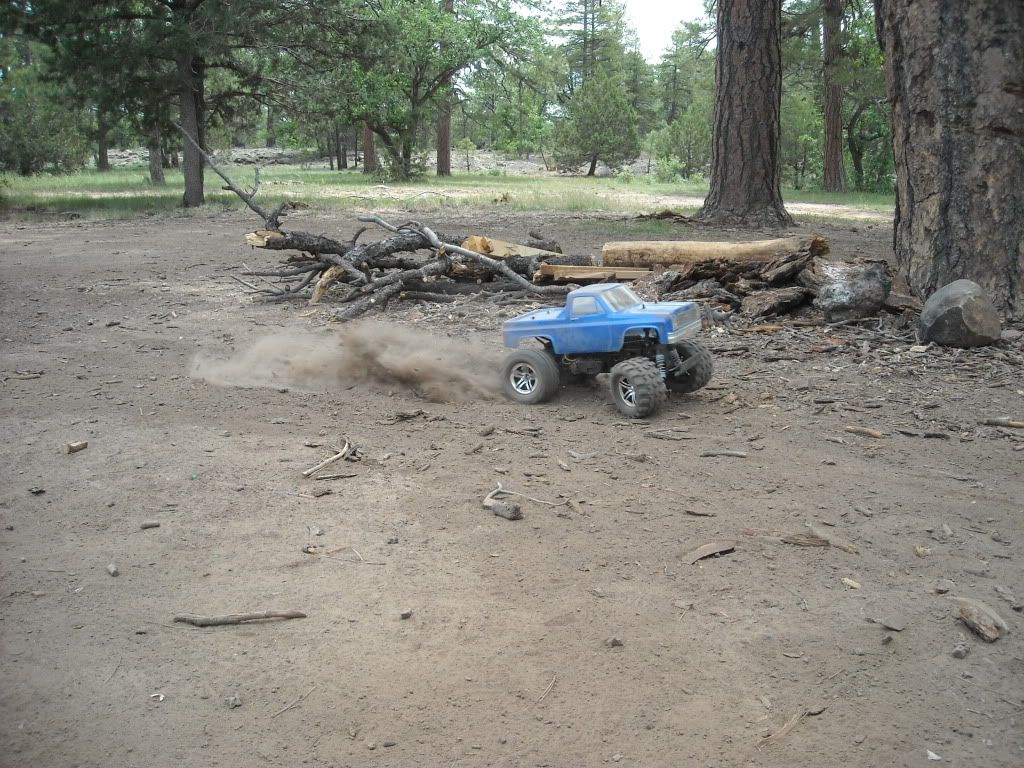
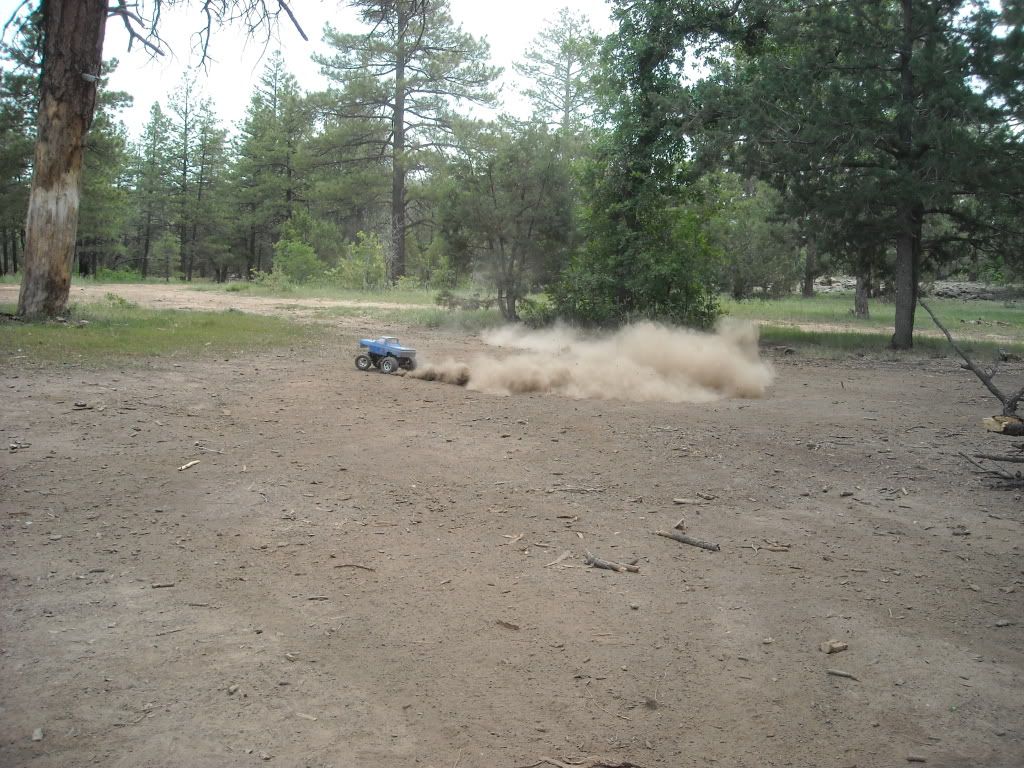
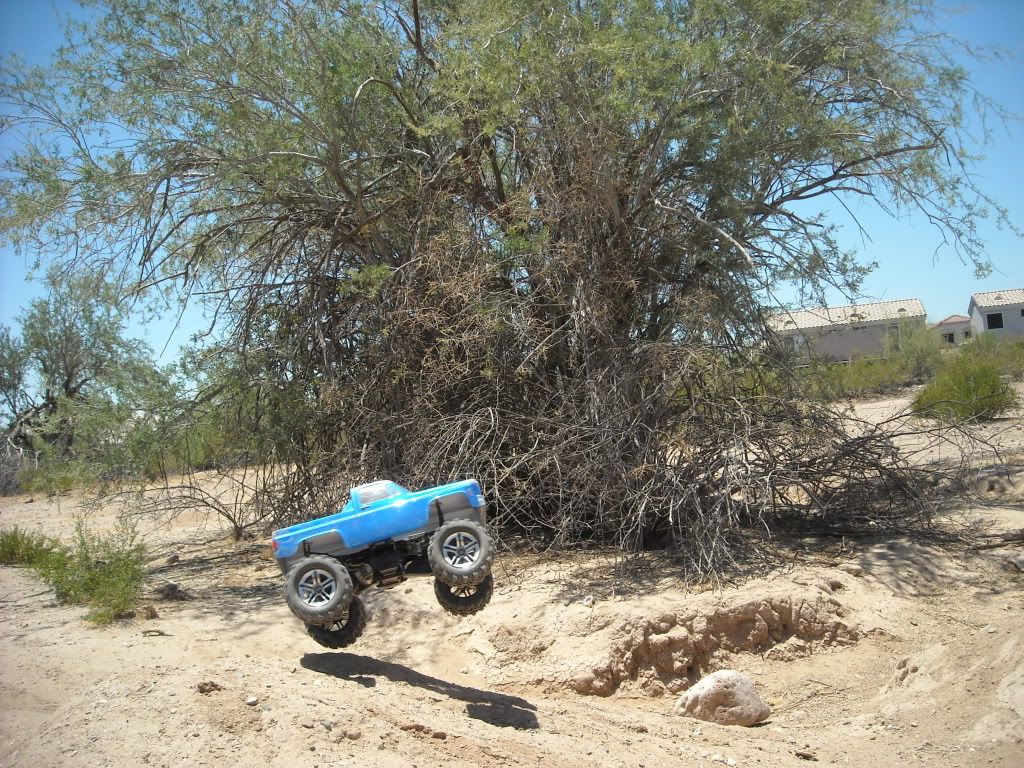
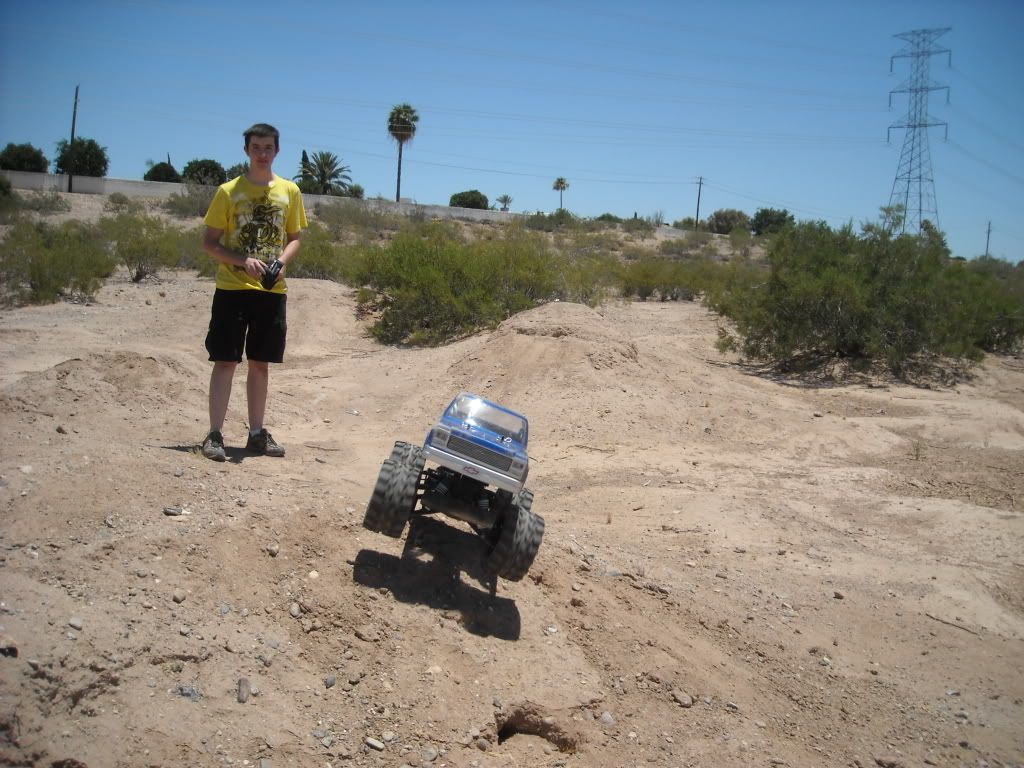
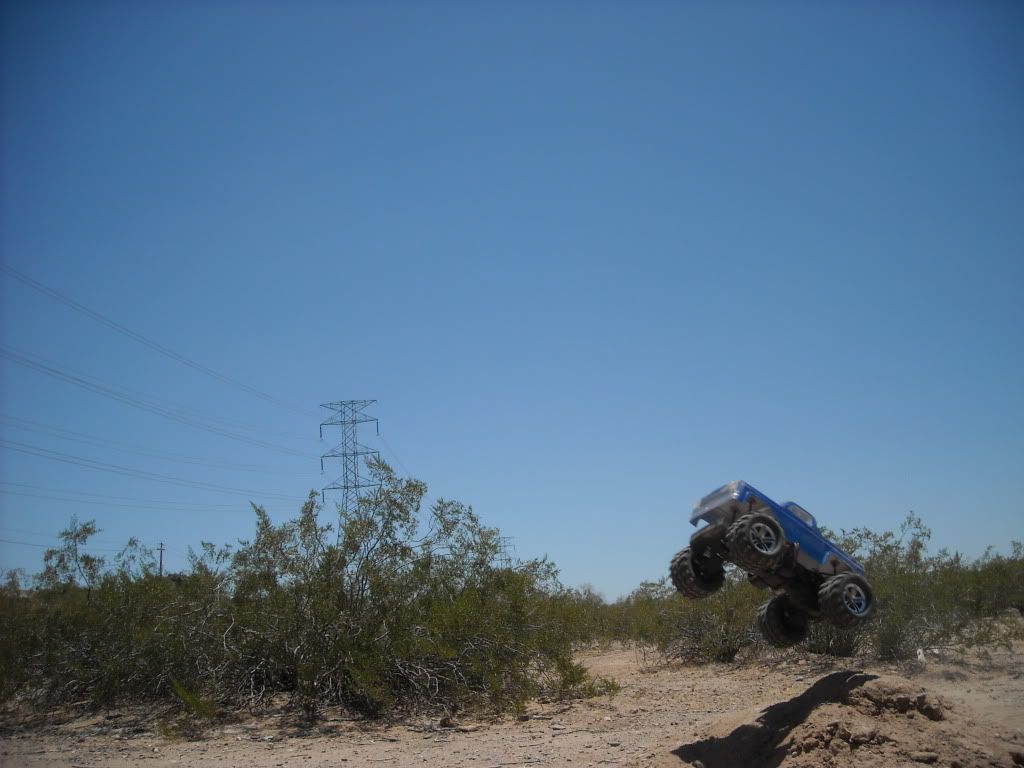
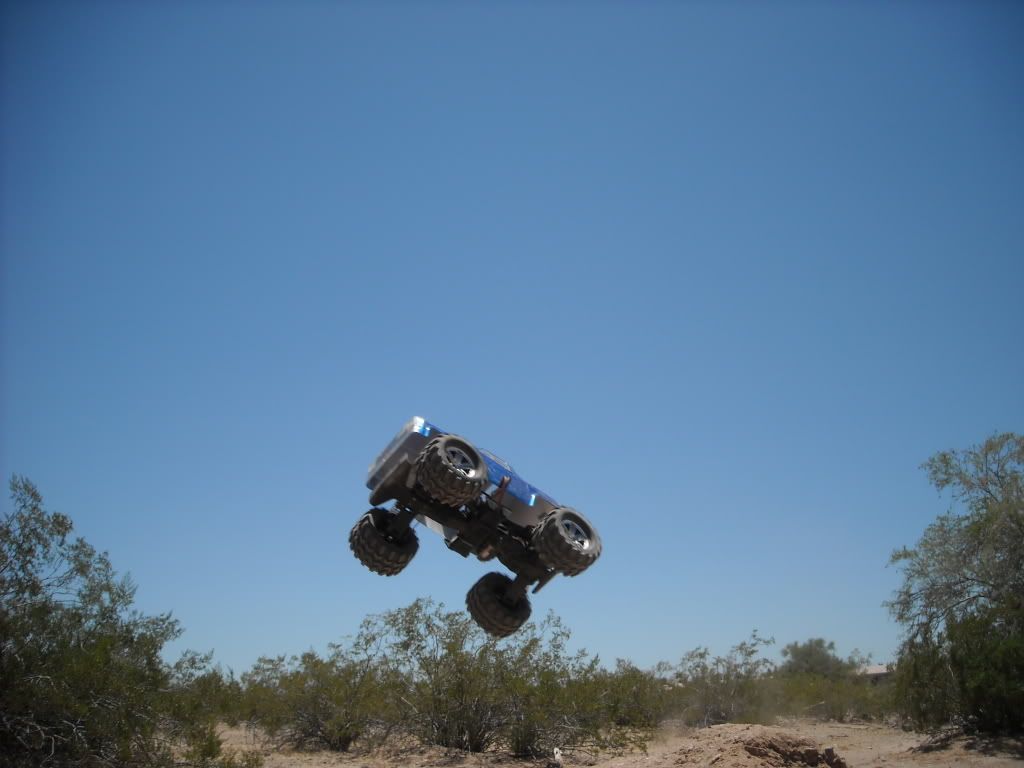
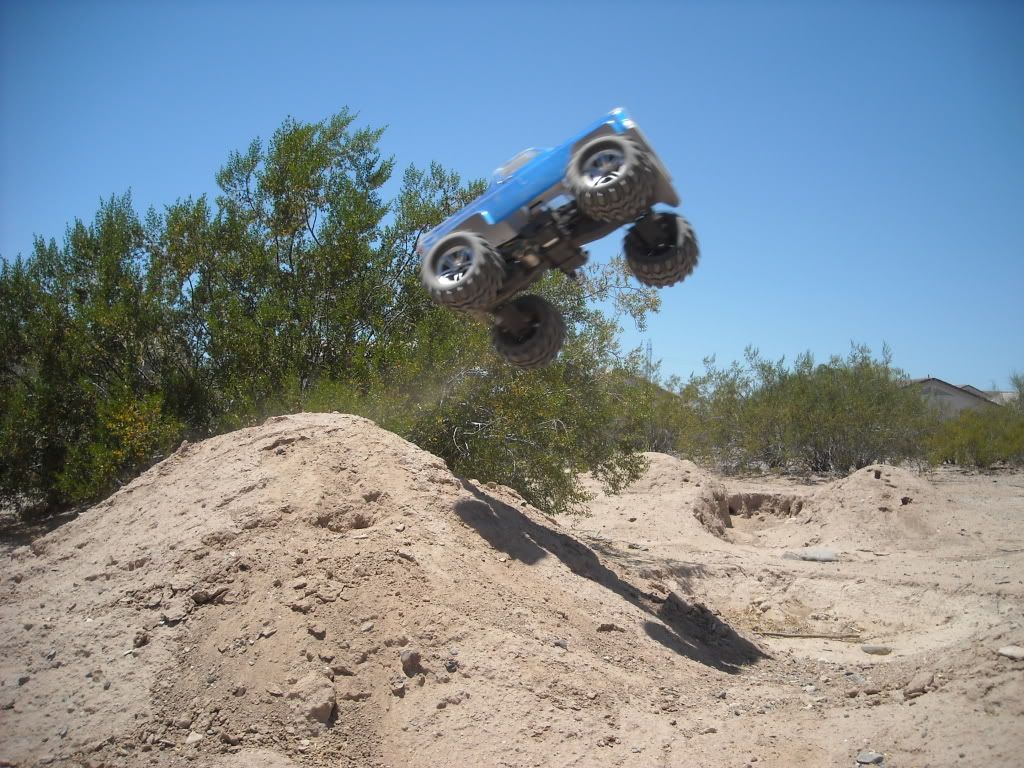
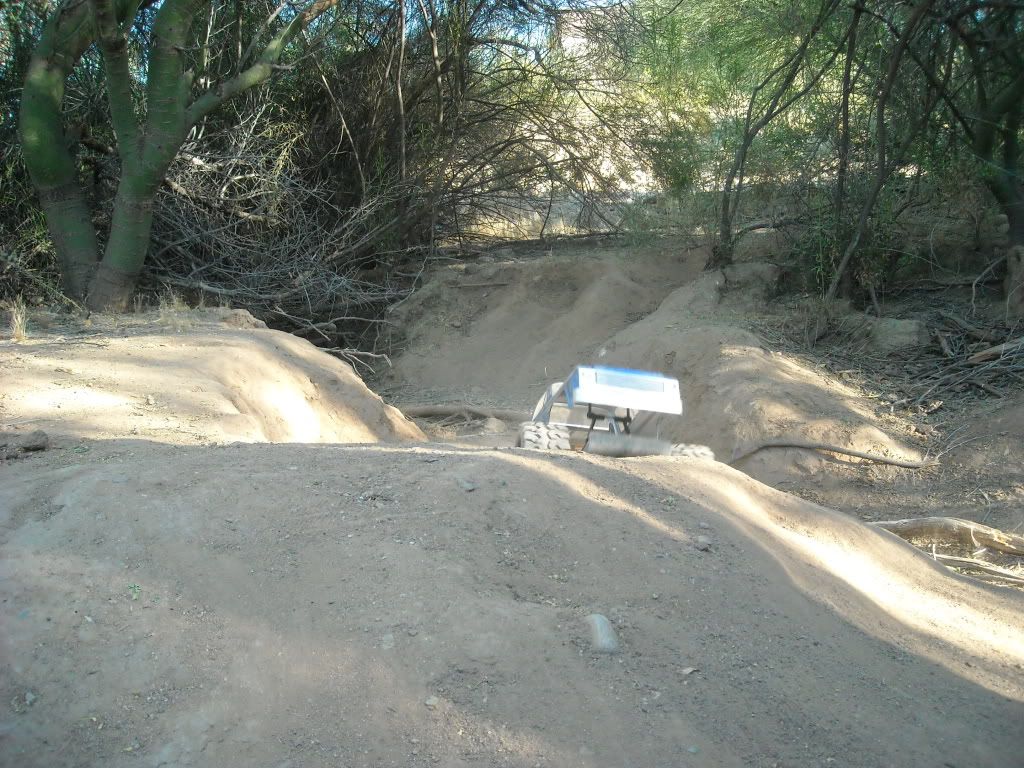
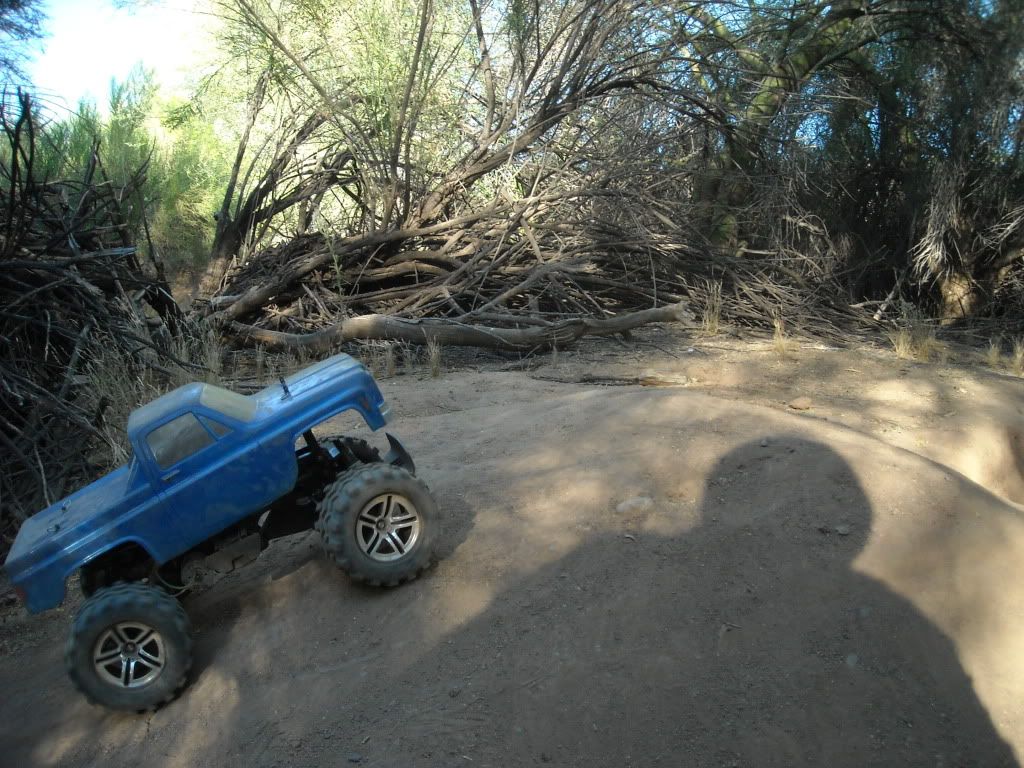
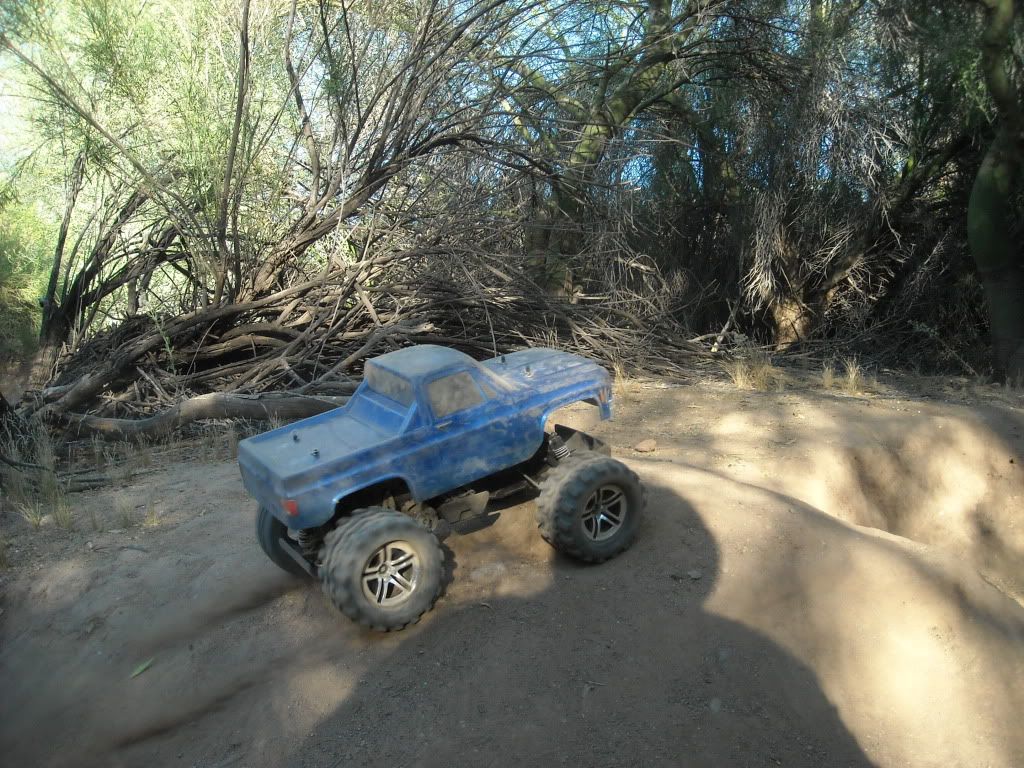
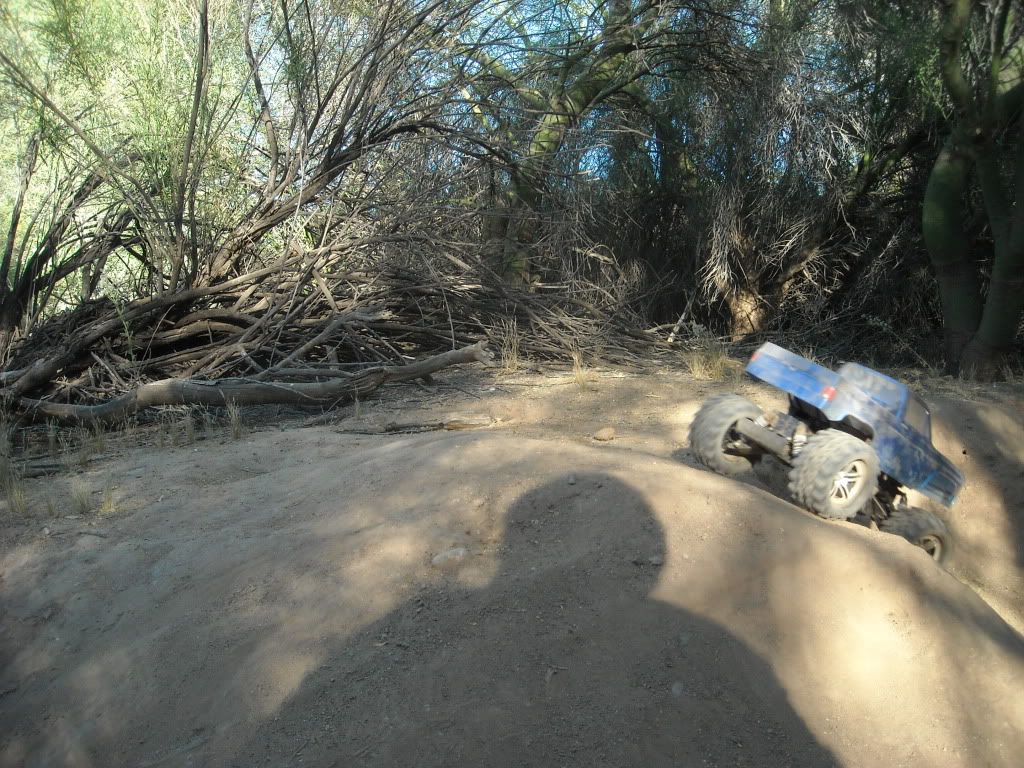
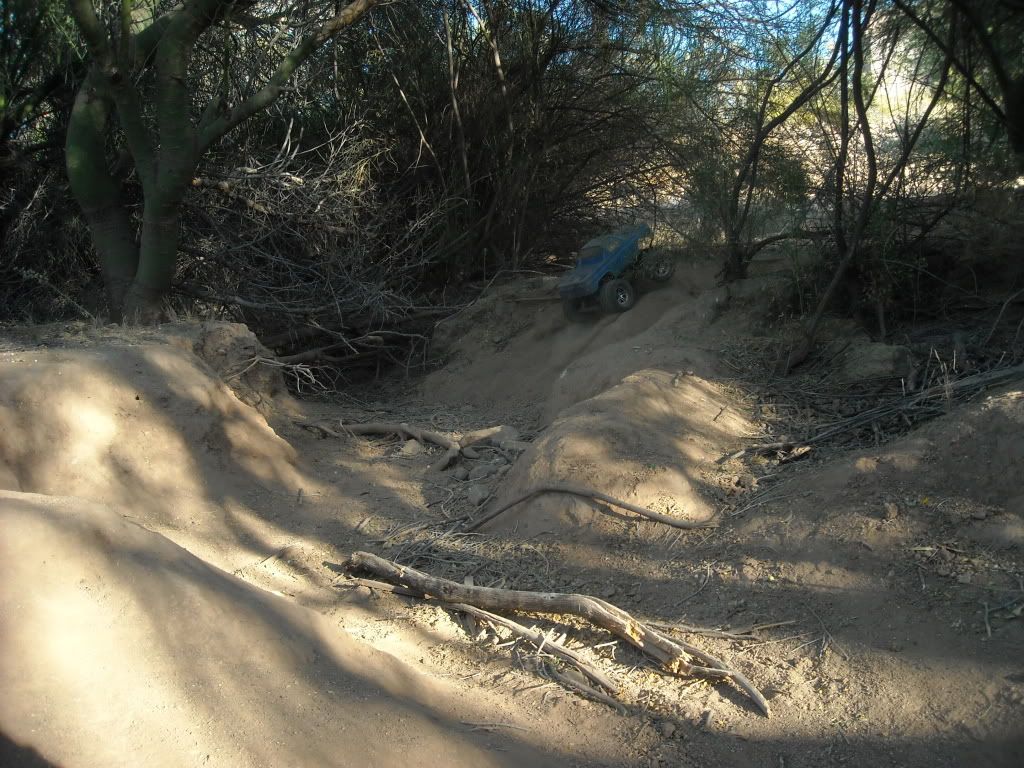
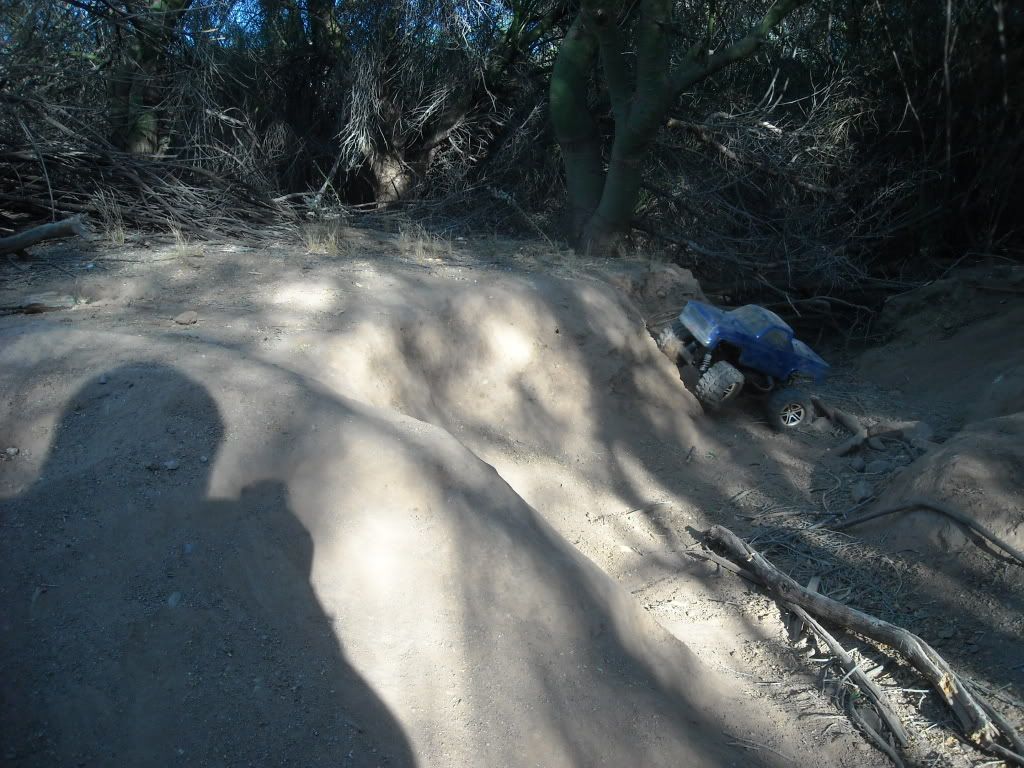
action pics from up north
comparison with my dads baja
action pics from up north
06-15-2010, 11:04 AM
#658
Senior Member
Join Date: Sep 2007
Location: Peoria,
AZ
Posts: 5,052
Likes: 0
Received 0 Likes
on
0 Posts
found some pics of this conversion, the body in the pic is the same width as mine


ORIGINAL: Stampede Killer
found my next mod i will be doing, it a conversion to the HPI RS4 MT suspension, it widens the truck. i copied the parts list for a wild dagger, so you dont need the front drive shaft parts. i also just ordered an associated 17t motor for some extra speed
Parts Required
• HPI Black Flange Pipe (2 packs). http://www3.towerhobbies.com/cgi-bin/wti0001p?&I=LXM736
• HPI Cap Head Screw (2 packs). http://www3.towerhobbies.com/cgi-bin/wti0001p?&I=LXM655
• HPI Dogbones (2 packs of 2 required). http://www3.towerhobbies.com/cgi-bin/wti0001p?&I=LXM844
• HPI Front Axle http://www3.towerhobbies.com/cgi-bin/wti0001p?&I=LXM658
• HPI rear Axle http://www3.towerhobbies.com/cgi-bin/wti0001p?&I=LXM659
• HPI Suspension Arm Set (2 packs Required). http://www3.towerhobbies.com/cgi-bin/wti0001p?&I=LXM846
• HPI Upright Set. http://www3.towerhobbies.com/cgi-bin/wti0001p?&I=LXM622
• Traxxas Rod Ends. http://www3.towerhobbies.com/cgi-bin/wti0001p?&I=LXHGB7
• HPI Rear Hub Set. http://www3.towerhobbies.com/cgi-bin/wti0001p?&W=001477191&I=LXBTA2&P=K
• Bearings – 5 x 11 x 4, rubber shielded (you need six of these bearings in total)
• Bearings – 10 x 15 x 4, rubber shielded (you need two of these bearings in total)
• 3mm threaded rod
• 4mm threaded rod
• HPI Screw Shaft. http://www3.towerhobbies.com/cgi-bin...&FVSEARCH=z593
• HPI Ball Black. http://www3.towerhobbies.com/cgi-bin...&FVSEARCH=z136
• HPI Flat Head Screw. http://www3.towerhobbies.com/cgi-bin...&FVSEARCH=z578
• HPI O Ring. http://www3.towerhobbies.com/cgi-bin...&FVSEARCH=6819
• 3mm steel washers (you need 12 in total)
HPI Link:
Front: http://www.hpiracing.com/graphics/in.../n_mt-10v2.jpg
Rear: http://www.hpiracing.com/graphics/in.../n_mt-11v2.jpg
Instructions
1. Remove all stock suspension arms and u joints from the stock gearboxes.
2. Use the stock 3mm U joints to connect the HPI RS4 suspension arm to the mount on the gearbox. You will need 3 x 3mm washers on either side as spacers as the HPI arms are a little short.
3. Assemble the uprights, and wheel supports per the link above for the front and rear.
4. You will need to make some upper arm supports using the 4mm threaded rod, and the Traxxas rod ends.
5. When connecting the upper arm support to the gearbox mount, use the HPI flanges – these flanges pack out the space and make the screws fit
6. Make some steering links using the 3mm threaded rod. I used the stock ends for the steering rod where you connect it onto the servo saver and brass ball end on the steering hub.
7. For the mounting of the shocks, you will need to be creative as you will find you cant use the stock mounts, depending on what shocks you use, in conjunction with what shock towers. I use the GPM towers on mine with EMaxx shocks. I was able to drill some mounting points into the suspension arms and get them mounted ok. The plastic seems strong enough to take the load, but time will tell….
8. Use the 3mm o rings to pack the drive cups. On mine, because I have a “Henry super diff”, the drive cups are slightly smaller than stock. I had to dremel the ends of the dogbones to make them fit.
Overall, the assembly is very easy. Use the links above from the HPI website to aid on the assembly. The only difference between this and the Dagger build is:
• Using the 3mm washers where the arms join the gearbox
• The upper suspension arms that you need to make
• The mounting of the shocks, which you may need to be creative on
• You may have a preference on how to link the steering arms to the steering hubs. I used the stock “tall type” brass balls.
• Mount the arms to the gearboxes using the stock “u” type connectors
06-15-2010, 02:49 PM
#659
Senior Member
Join Date: Sep 2007
Location: Peoria,
AZ
Posts: 5,052
Likes: 0
Received 0 Likes
on
0 Posts
so after figuring out how to use this site, and associated's specs on my motor, i figured out my BFX does between 20 and 25 mph, it sure feels faster. but i guess it is because stock it does around 12 mph


 06-16-2010, 08:48 PM
#662
Senior Member
Join Date: Sep 2007
Location: Peoria,
AZ
Posts: 5,052
Likes: 0
Received 0 Likes
on
0 Posts
some more, they all wouldn't fit on one post
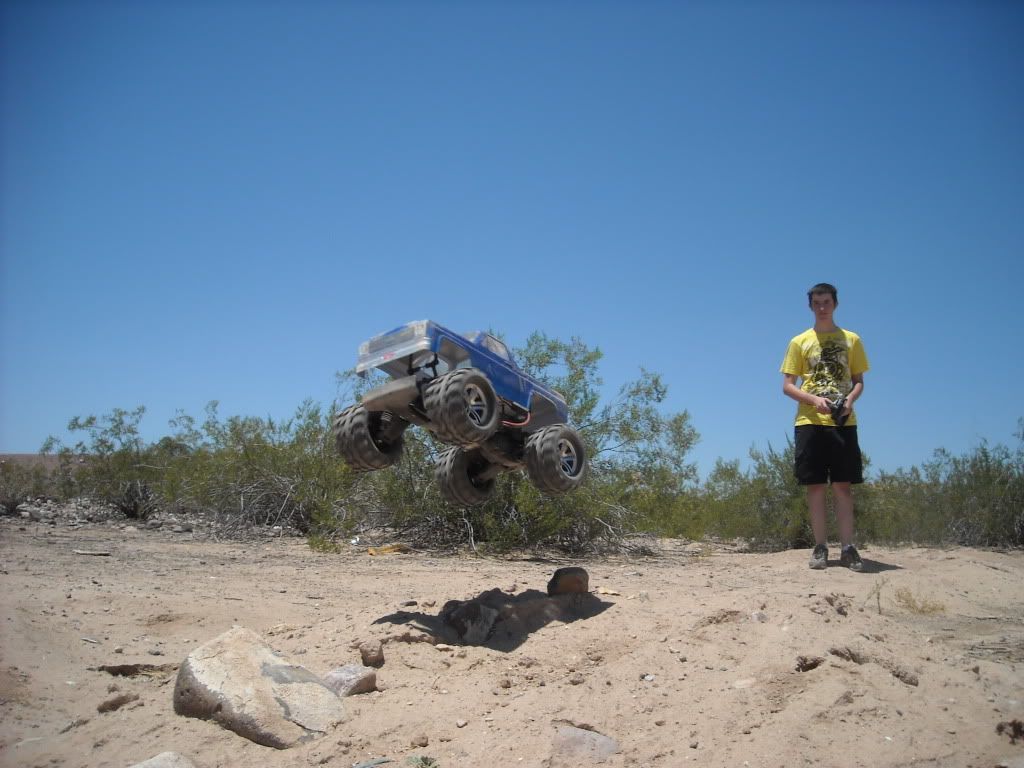
notice the determination on my face, trying to avoid hitting the camera man(tongue is out)

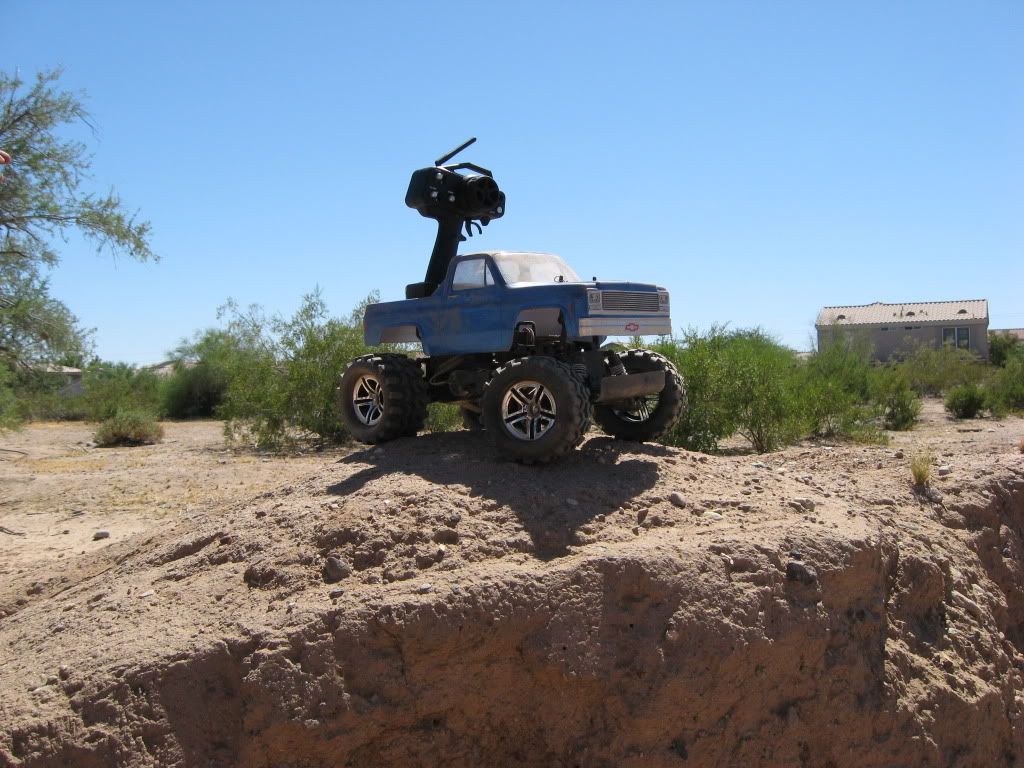
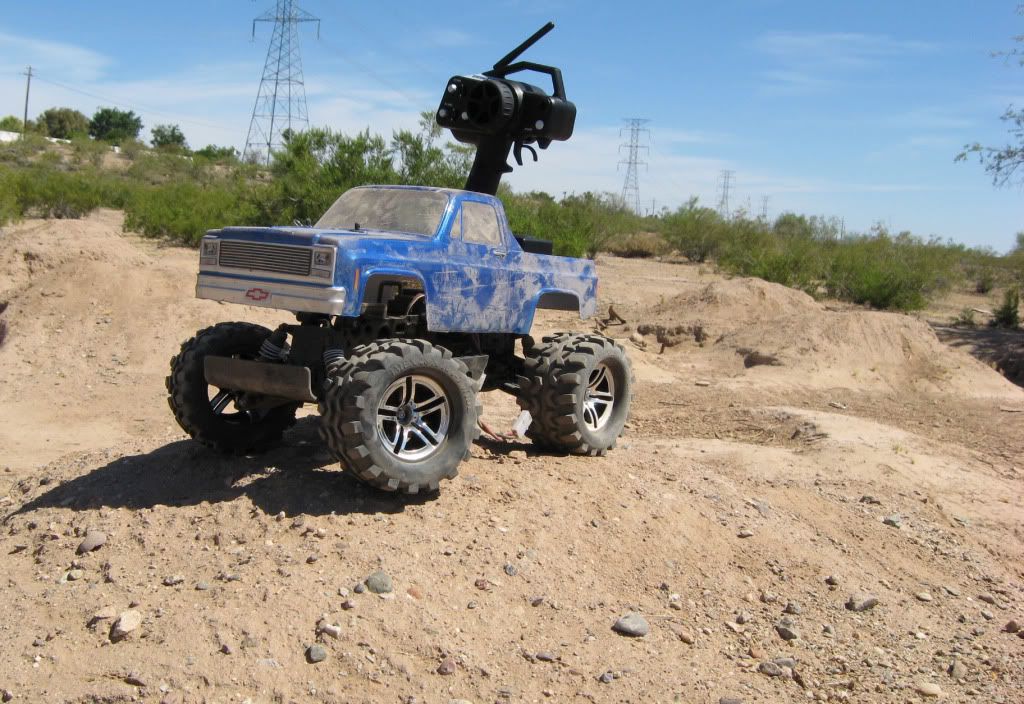
poser pictures
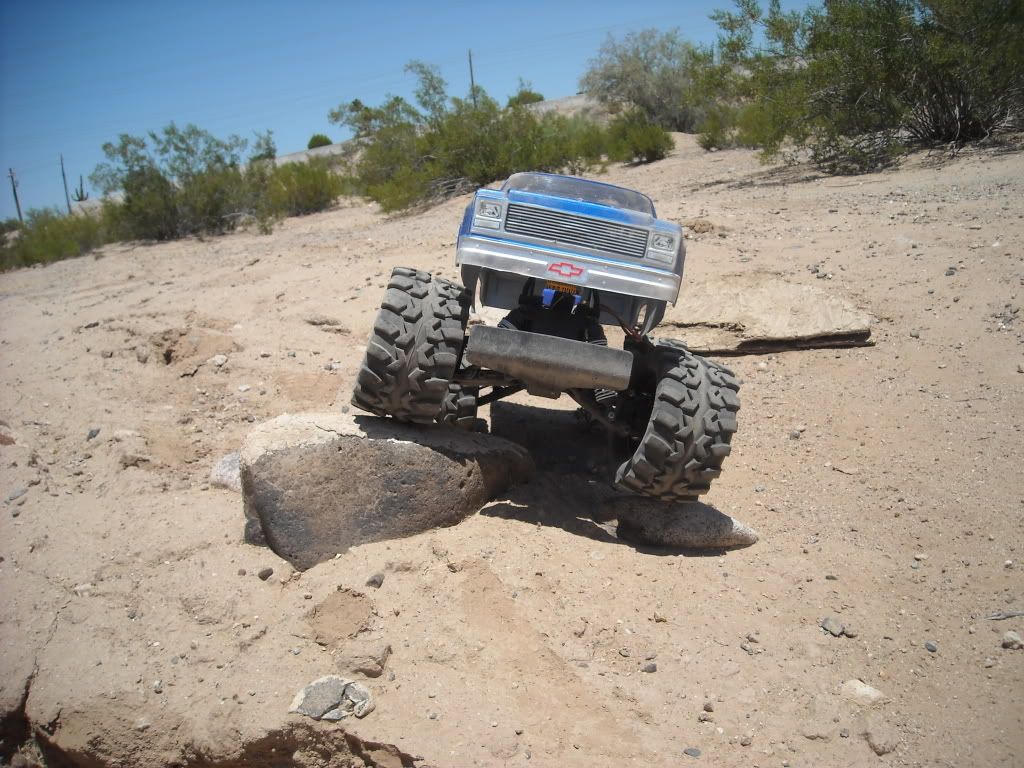
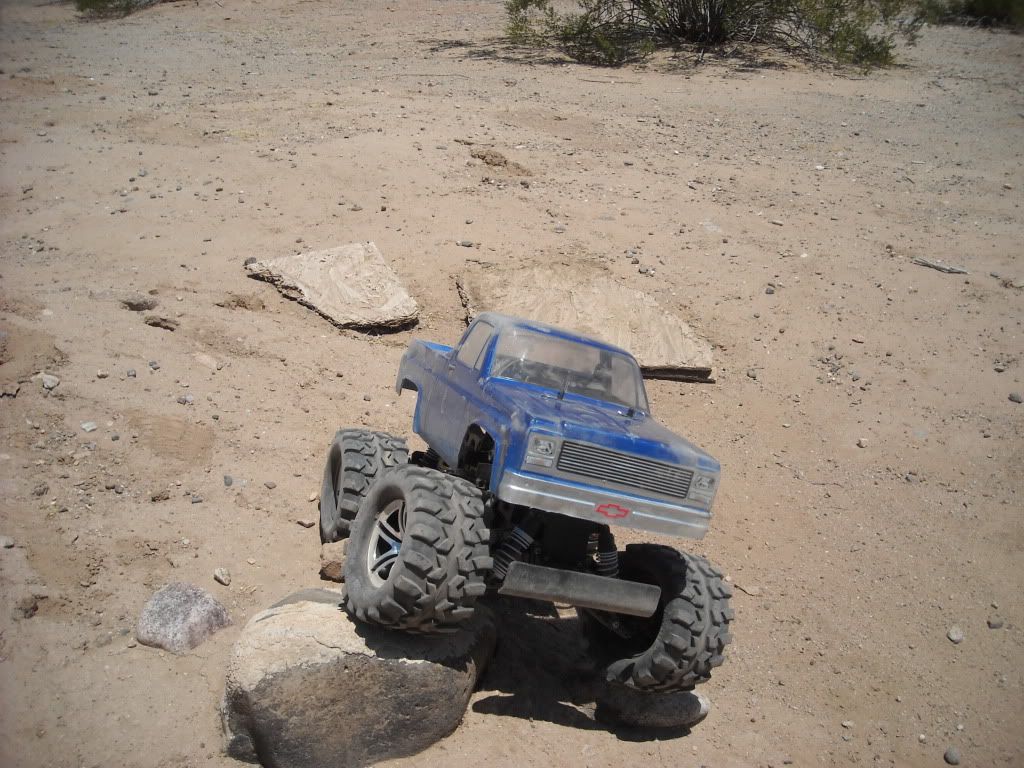

i will have some video up tomorrow
notice the determination on my face, trying to avoid hitting the camera man(tongue is out)
poser pictures
i will have some video up tomorrow
06-17-2010, 07:31 PM
#663
Senior Member
Join Date: Sep 2007
Location: Peoria,
AZ
Posts: 5,052
Likes: 0
Received 0 Likes
on
0 Posts
i feel like im the only one here who still has a blackfoot, just remember, if anyone has a twin detonator, wild dagger, dual hunter, and any i missed that are the same as a blackfoot extreme, come in here!!
Any ways here is my video from yesterday stupid youtube, it is blocked
[youtube]http://www.youtube.com/watch?v=qexY2o1K1_U[/youtube]
Any ways here is my video from yesterday stupid youtube, it is blocked
[youtube]http://www.youtube.com/watch?v=qexY2o1K1_U[/youtube]
06-23-2010, 04:13 PM
#665
Senior Member
Join Date: Sep 2007
Location: Peoria,
AZ
Posts: 5,052
Likes: 0
Received 0 Likes
on
0 Posts
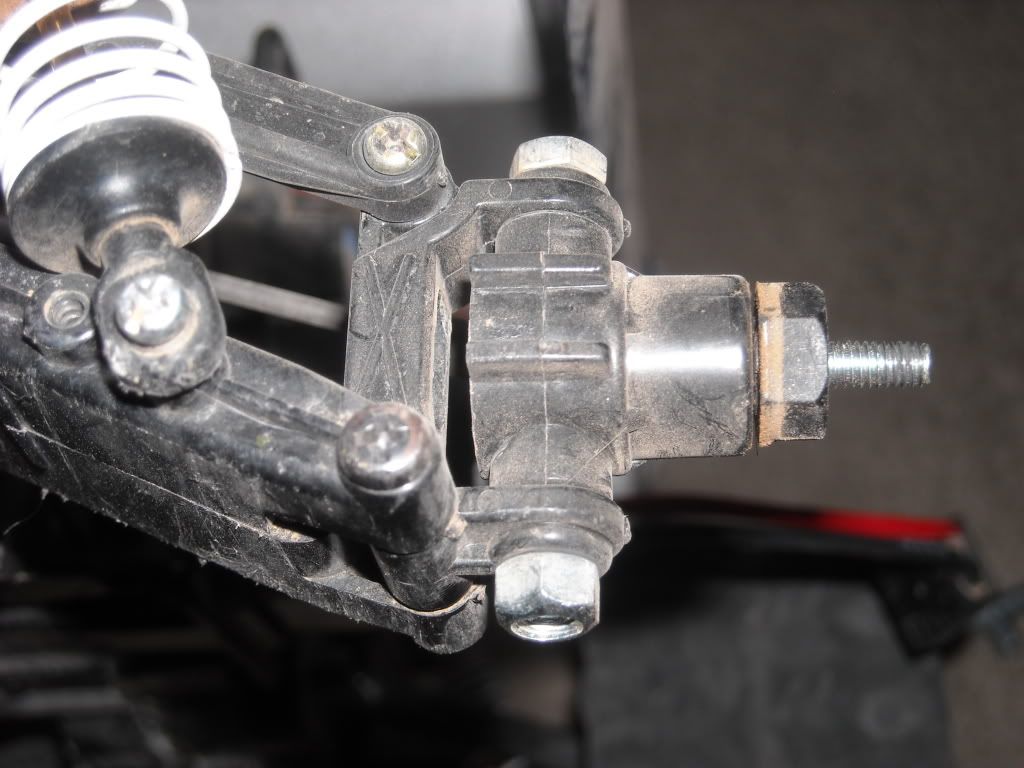
here is my fix to the two lost screws, i picked up a 5mm bolt that was long enough to go all the way through and a lock nut, and drilled through the spindle.
06-23-2010, 10:03 PM
#666
Senior Member
Join Date: Sep 2007
Location: Peoria,
AZ
Posts: 5,052
Likes: 0
Received 0 Likes
on
0 Posts
so i was reading in this thread, and someone said that the dog bones dont hold up to much power past stock, so i decided to check mine, and found this.

im going to run it until it breaks. but it is twisted (bottom one)
im going to run it until it breaks. but it is twisted (bottom one)

 07-03-2010, 09:25 PM
#669
Senior Member
Join Date: Sep 2007
Location: Peoria,
AZ
Posts: 5,052
Likes: 0
Received 0 Likes
on
0 Posts
lol it isn't even mine, i haven't even got to drive it
ORIGINAL: pure speed:]
Stampede killa LMFAO!!!!!!!!!!!! i'll race ur baha b5 4 pinks LOL!!!!!!!!!! j/k
Stampede killa LMFAO!!!!!!!!!!!! i'll race ur baha b5 4 pinks LOL!!!!!!!!!! j/k
07-06-2010, 09:33 PM
#670
Senior Member
Join Date: Sep 2007
Location: Peoria,
AZ
Posts: 5,052
Likes: 0
Received 0 Likes
on
0 Posts
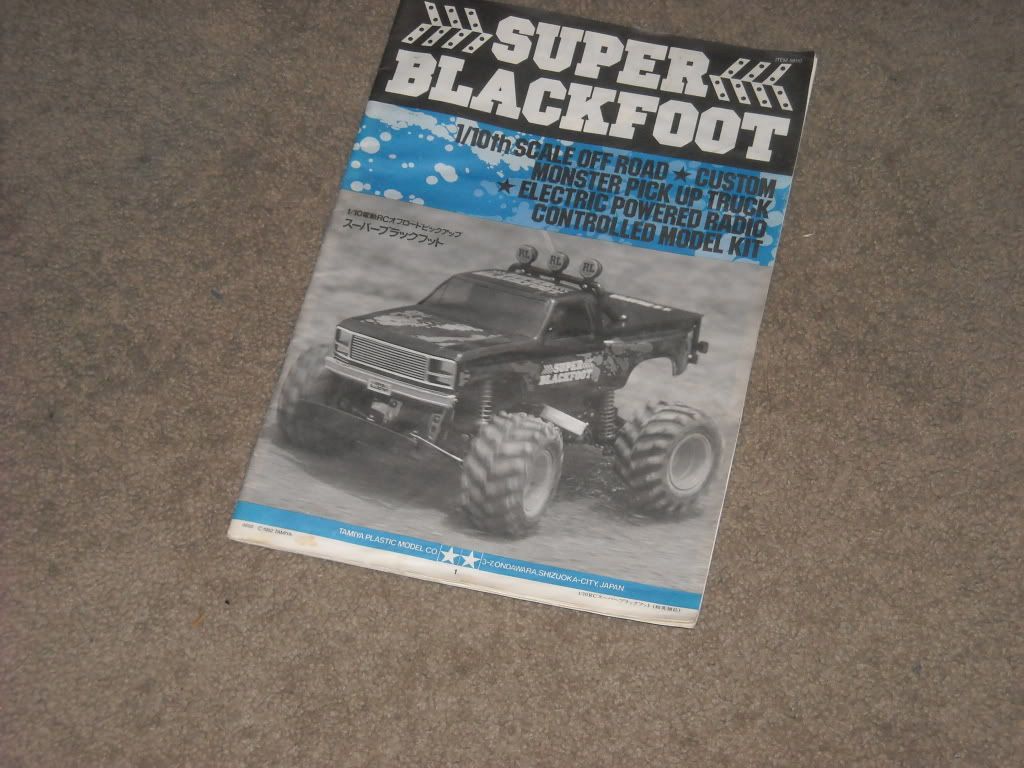
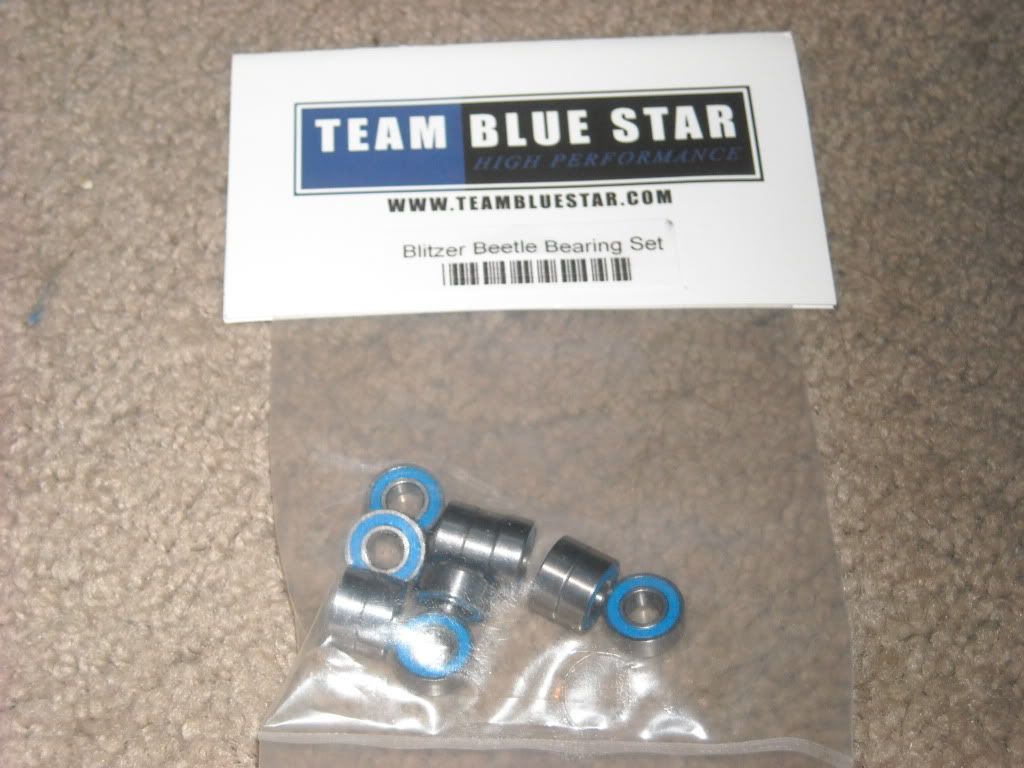
ordered a set of bearing for my SBF (super blackfoot) from the same company i used for my BFX (blackfoot Xtreme)
http://www.teambluestar.com/bearings.htm
Very well made bearing, nice and quiet!
http://www.teambluestar.com/bearings.htm
Very well made bearing, nice and quiet!
 07-12-2010, 06:02 PM
#672
Senior Member
Join Date: Sep 2007
Location: Peoria,
AZ
Posts: 5,052
Likes: 0
Received 0 Likes
on
0 Posts
had a bashing session with a traxxas stampede, and a traxxas rustler, both were stock, and both broke a-armes, the bf xtreme got beat on just as hard, and just threw the dog bone, must have tooken some abuse to bend, it was perfectly straight before i left
hard to get it on camera, but is is bent more then shown

hard to get it on camera, but is is bent more then shown

 07-29-2010, 12:22 PM
#674
Senior Member
Join Date: Sep 2007
Location: Peoria,
AZ
Posts: 5,052
Likes: 0
Received 0 Likes
on
0 Posts
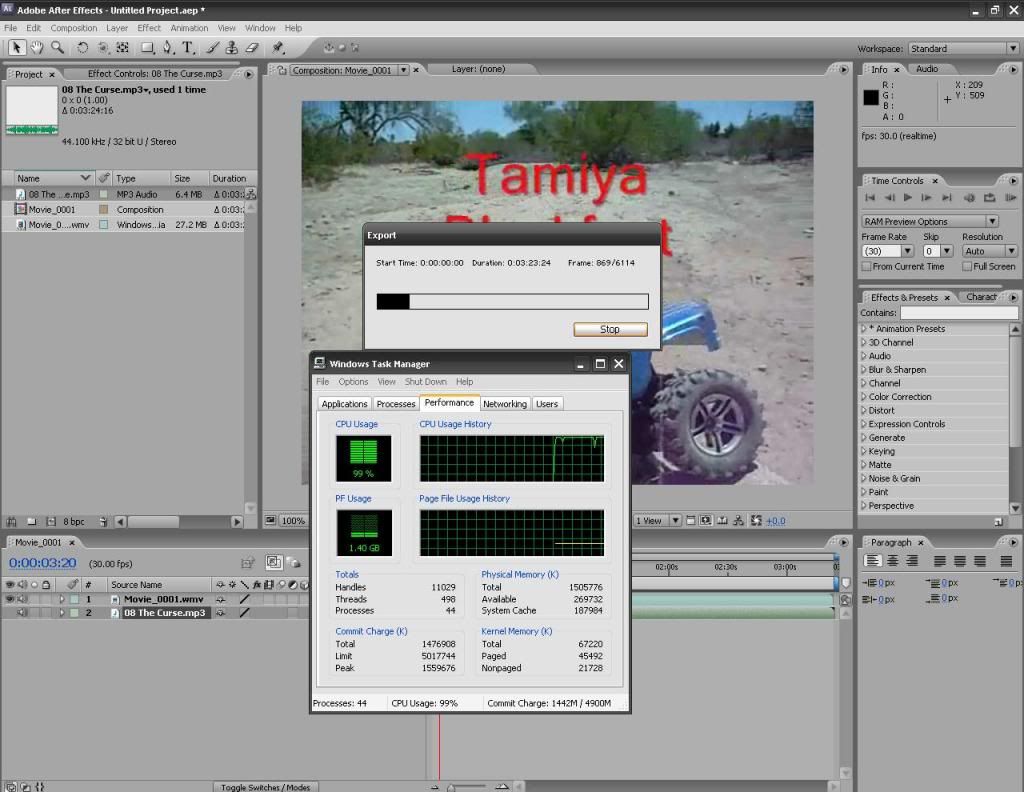
i ment to post this up, but forgot, i thought it was funny that i used my computer to its fullest when exporting the video to upload. i only have 1.5 GB of ram
ORIGINAL: Stampede Killer
[youtube]http://www.youtube.com/watch?v=emHPlNdTFrA[/youtube]
[youtube]http://www.youtube.com/watch?v=emHPlNdTFrA[/youtube]
07-29-2010, 12:28 PM
#675
Senior Member
i still have an og black foot:

i don't run it much due to the worst gearbox ever created. it's got a parma baja beetle shell on it now.
i'd love to find a king blackfoot so i could put the gearbox and rear end in my bf.
'pedekiller, i recognize your pics from tamiyaclub. nice bfx for sure.
i don't run it much due to the worst gearbox ever created. it's got a parma baja beetle shell on it now.
i'd love to find a king blackfoot so i could put the gearbox and rear end in my bf.
'pedekiller, i recognize your pics from tamiyaclub. nice bfx for sure.